Anyone who knows how and love to do something on their own to make and repair is usually a curious person. He constantly improves his skills, “spies” effective techniques and techniques, and also regularly replenishes his arsenal of craftsman-in-all-areas with various useful tips.
We bring to your attention another selection of curious devices and tricks recommended for use by the author of the channel “Hands from the Shoulders”. It is possible that one (or several) of them will be useful to you in the future.
So here we go!
Device No. 1. Laser level holder
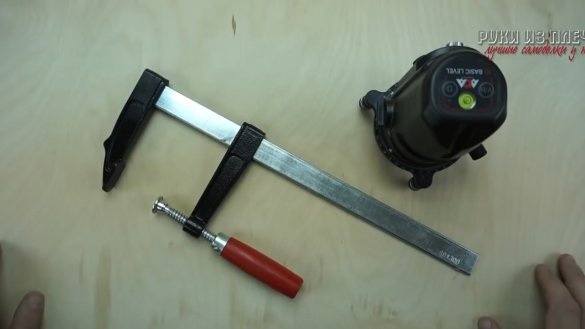
This idea can be used by those craftsmen who have a laser level and a clamp. If you “make friends” with them, you will get a very convenient and simple holder for the measuring device.
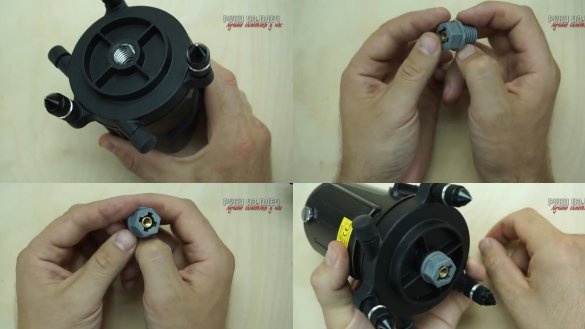
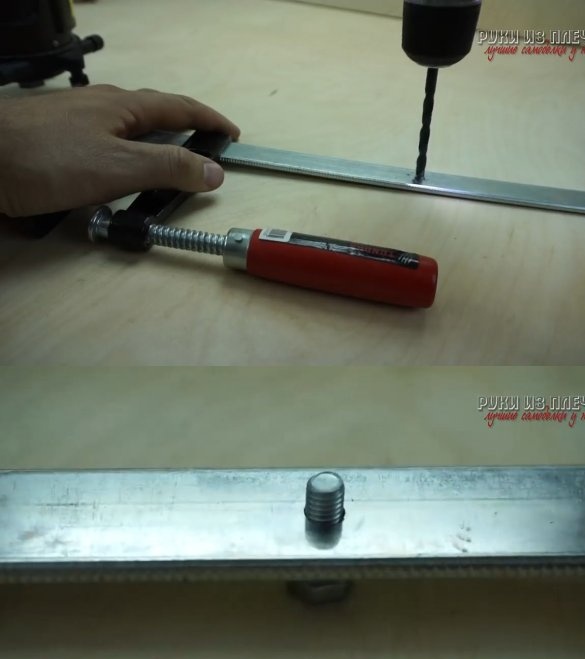
First, we deal with fasteners of the laser level. In this case, the clip has a 5/8 inch diameter mounting hole. It is not very convenient for the implementation of our plan. Therefore, you should use an adapter bolt with the usual metric thread (if there is no suitable adapter at hand, and there is no desire to purchase or manufacture it), you can try to choose a suitable chopstick made of soft wood.
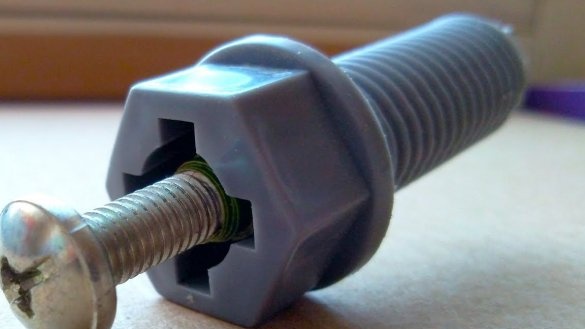
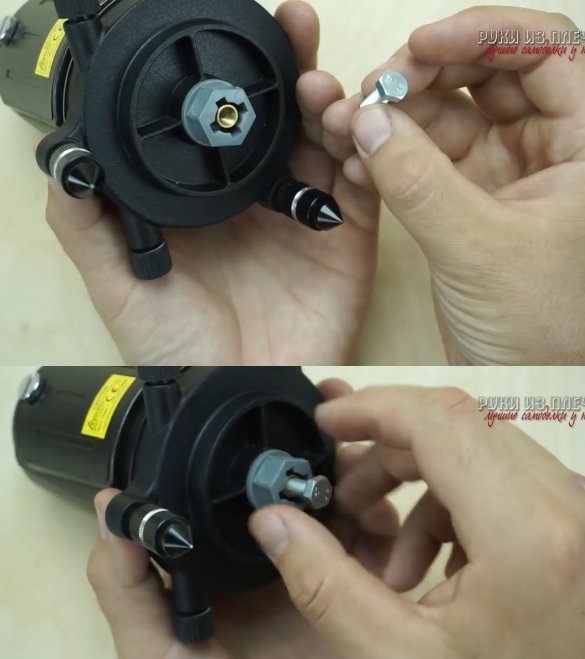
The author of the idea gets out of the situation by finding a plastic bolt from a children's designer, where he inserted the M6 driven anchor.
Now our level can be fixed with an ordinary M6 bolt.
Next, we drill a suitable hole in the clamp for the M6 bolt.
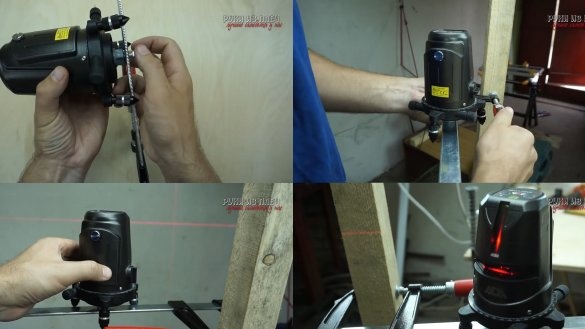
Now we connect the clamp and the laser level. The result was a simple and functional holder.
In almost any room there is a place where you can fix it.
Tip number 1. Masking tape ignites
Masking tape is a versatile material that has a very wide field of application (and it still continues to expand). Here's another good tip on where it might come in handy.
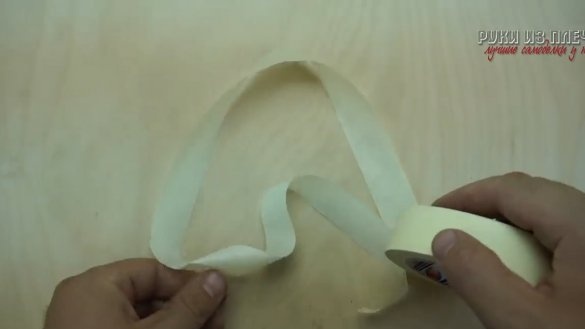
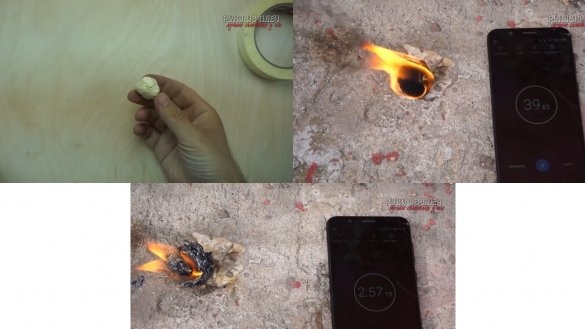
If you rewind a little tape, and then roll it into a ball
Due to these properties, it can be used as a “pill” for lighting a fire. So, when going on a camping trip or on a picnic, put a skein of masking tape with you - it certainly will not be superfluous.
Adaptation No. 2. Sponges for soft parts
«the inhabitants of our site", Working with a variety of materials, they know: standard iron" jaws "of a vice during clamping can damage wooden and other" fragile "parts. The following simple device will help solve this problem.
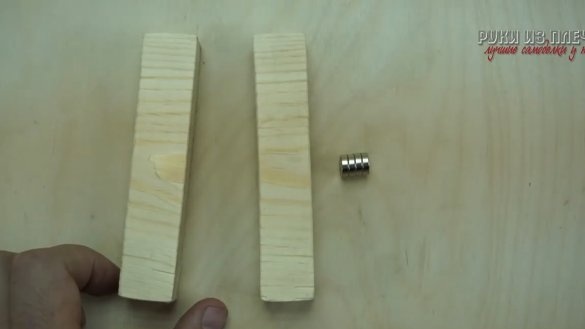
To make it, we need: two wooden blocks (equal to the length of the standard "jaws" of the vise), 4 neodymium magnets and a drill.
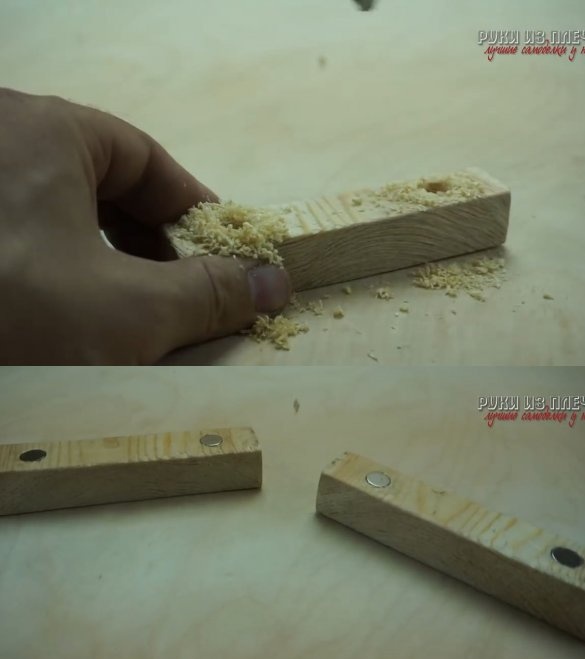
We drill in each block two holes at the ends (slightly smaller in diameter than the neodymium magnets). Then we press magnets into them.
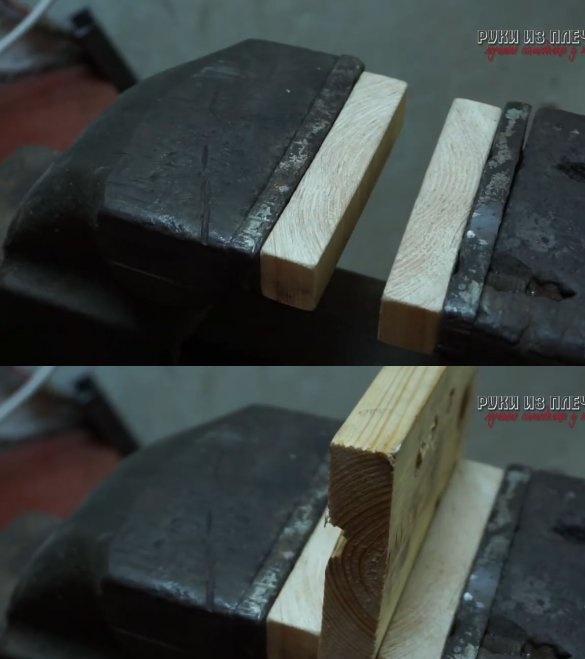
The result is such “sponges” for processing workpieces made of soft materials, held on a vise by means of magnets. They will protect the clamped parts from damage and make working with them more convenient. Moreover, wooden “sponges” are mounted and removed with a couple of movements.
P.S. Instead of wooden blocks, you can use rubber.
Tip number 2. Quickly remove the bearing from the blind hole
This method is known and has been used for a long time. If anyone does not know - take note.
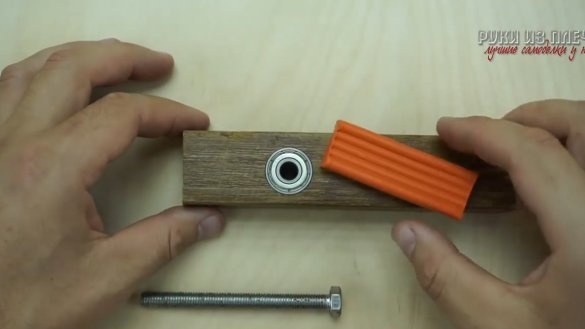
To get such a problematic part, you only need a bolt corresponding to the diameter of the bearing bore, and a little clay.
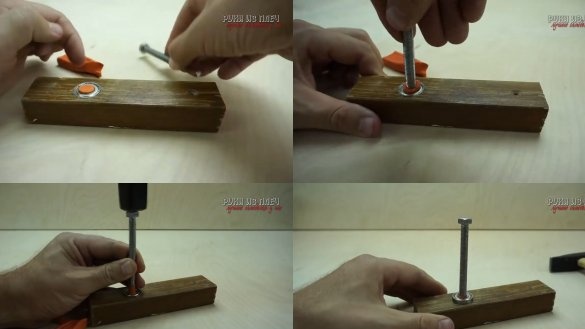
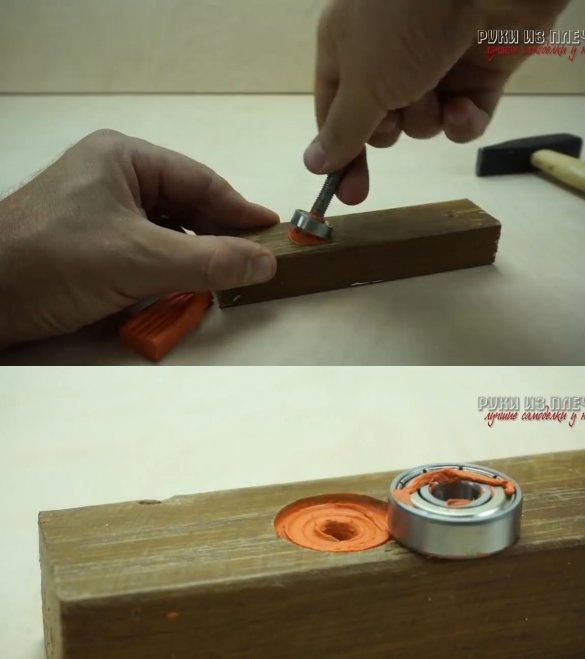
We tear off pieces from our piece of plasticine and push them through the bearing hole inward with a bolt. When the plasticine mass fills the entire internal space, hammer the bolt into the bearing bore.
Plasticine will squeeze the part out of the hole without any effort.
P.S. Note that plasticine is not the most successful material, since then cleaning the freed hole from it can turn out to be a time-consuming undertaking. You can use bread crumb, pieces of soap or paper dipped in water for this purpose. All this will work with approximately the same efficiency.
Adaptation No. 3. Case for little things
After wiring the cable, cable-channel trimmings are sure to remain. Do not throw them away - this is useful material that is still useful.
All household and “arm” men
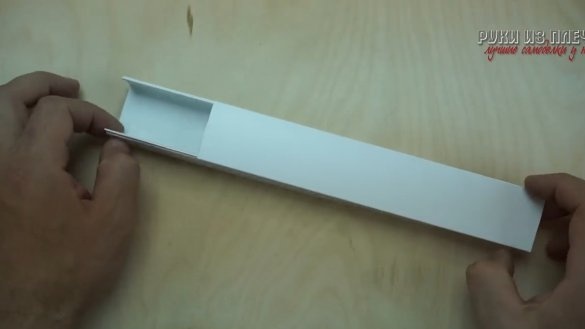
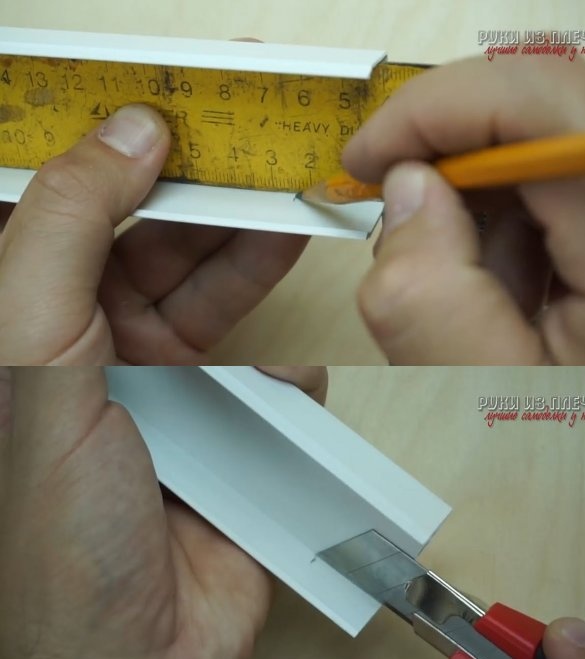
All that we need to convert the cable channel into a convenient pencil case is: pencil, square, stationery knife and glue.
We measure the distance equal to its height on the sides of the cable channel. After that, we make incisions at their base to the corresponding marks.
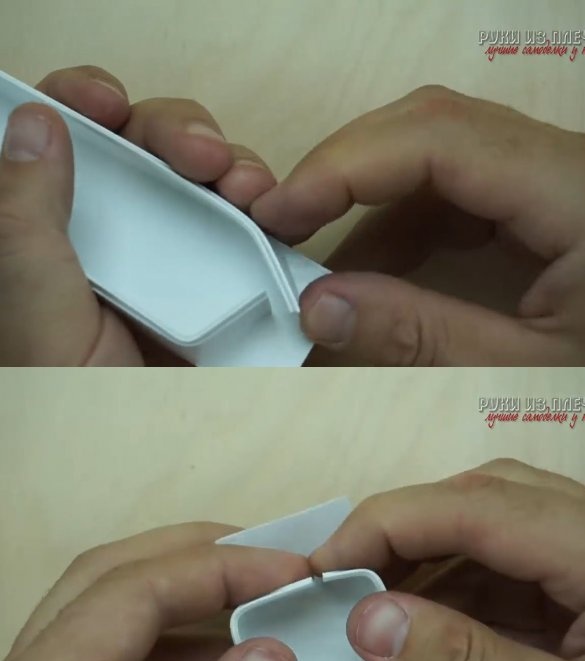
We bend the incised sidewalls to each other. They must be joined end-to-end, so the surplus is also cut off.
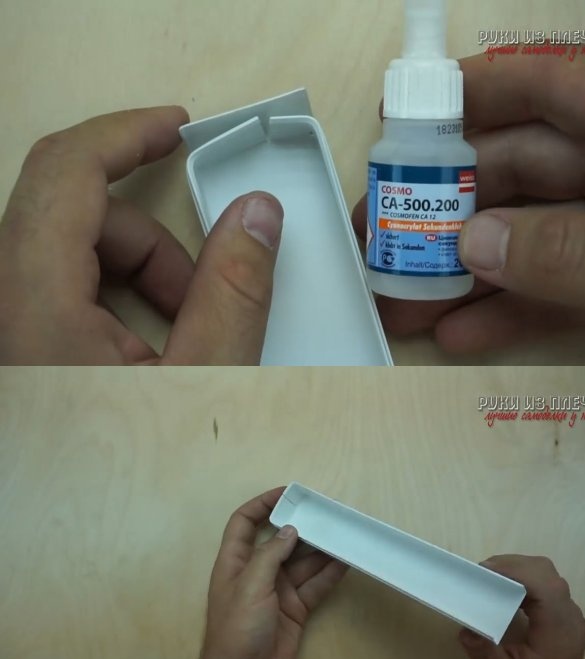
Now you need to glue the lower length of the cable channel to the bent sidewalls.
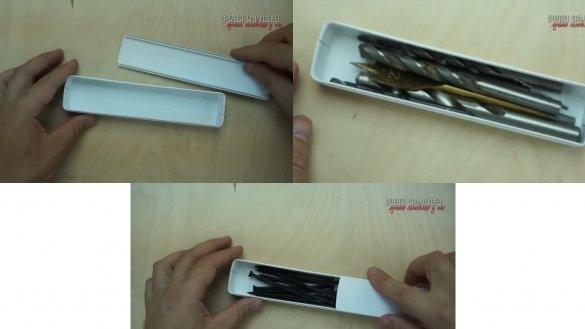
We do the same at the other end of the cable channel and cut the size of the lid. The result is just such a pencil case for any "small things"
Tip number 3. How to cut a rope without improvised means
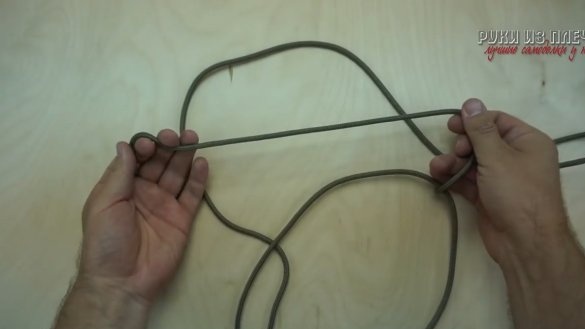
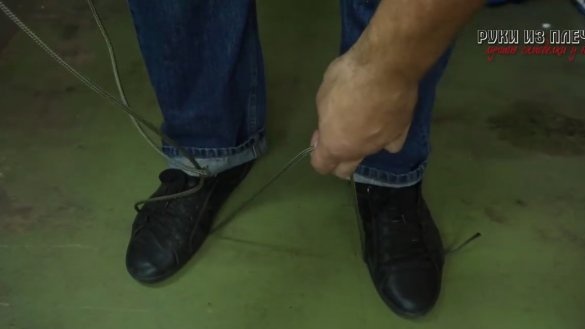
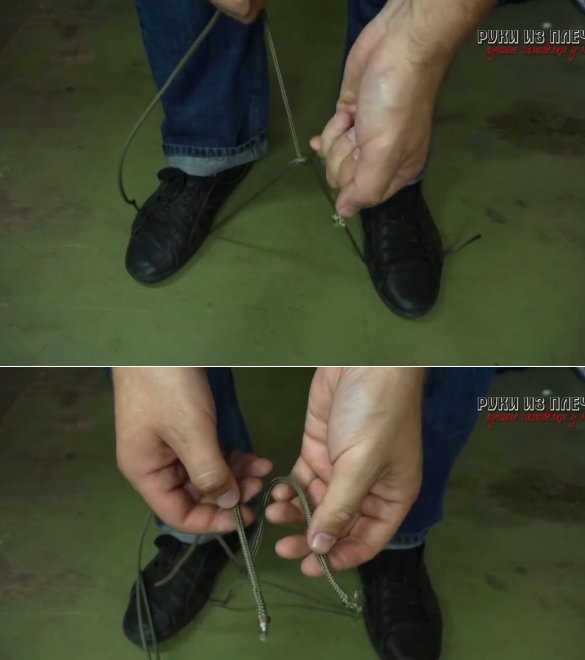
If you need to cut the rope, and there is no knife or other improvised means, there is an old, simple and quick way to deal with this difficulty.
It's simple: you can rub the rope itself. We put it on the ground and step in two places, holding with the hand that part of it that is between the boots.
Then we let the free end pass under it, and - holding its pull-in - we begin to grind. Very soon we will achieve the desired result.
That's all for today.We hope that these devices and tips will be useful. Good luck in the implementation of homemade products and success in other creative endeavors!

