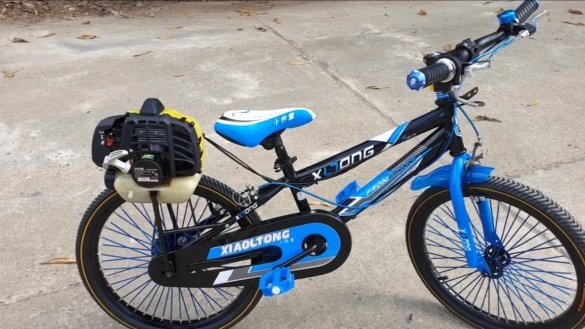
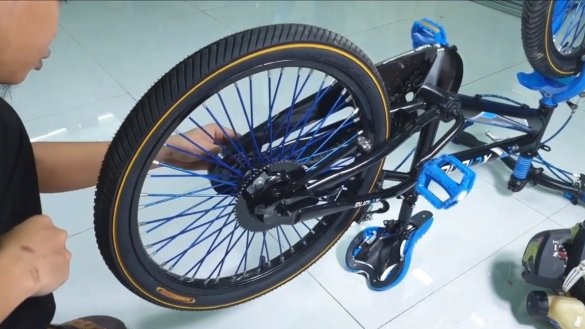
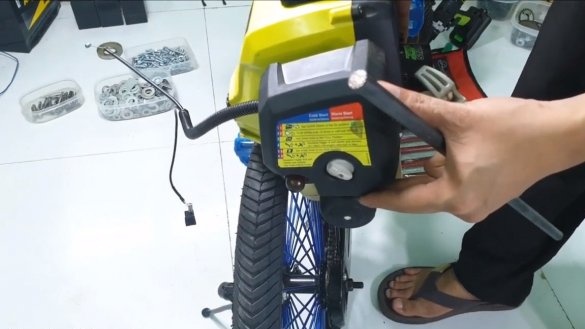
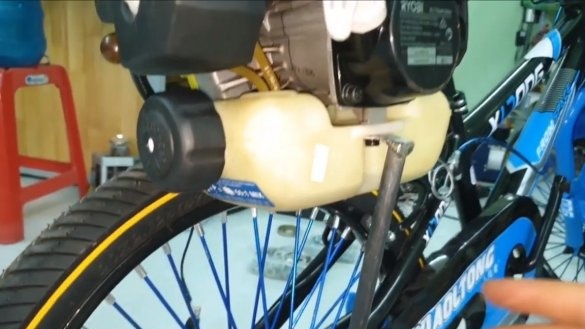
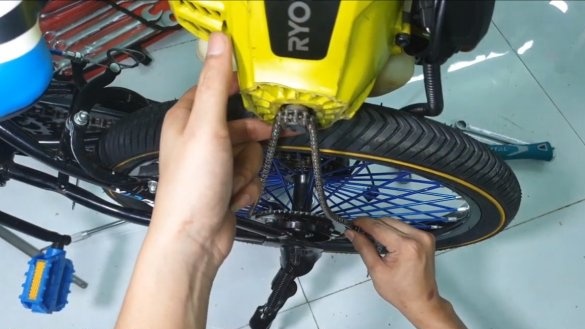
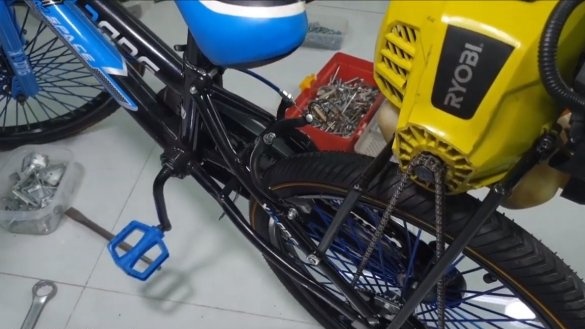
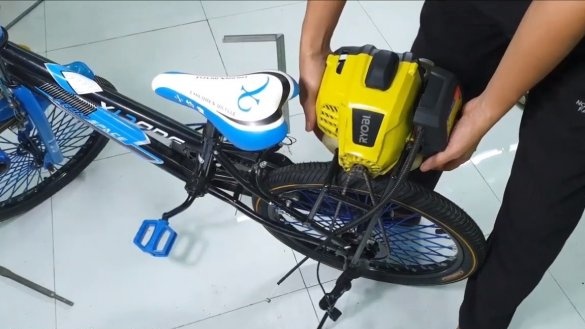
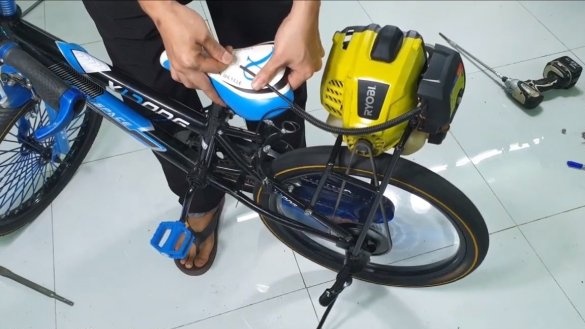
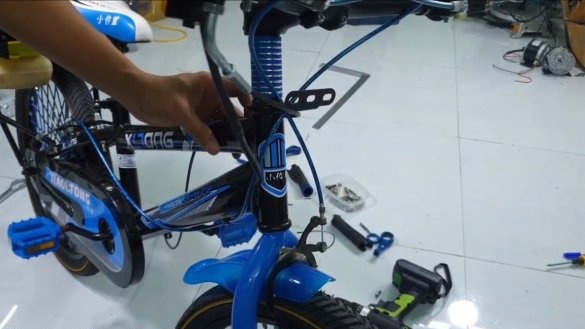
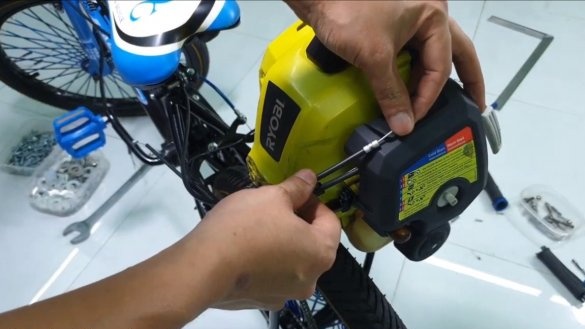
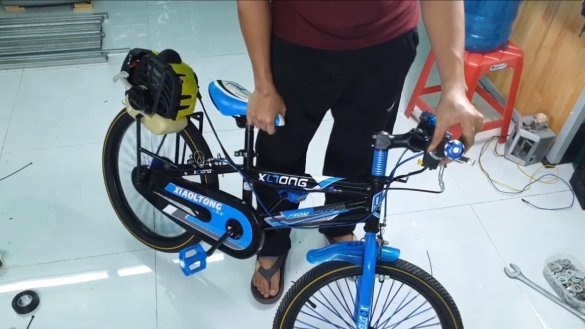
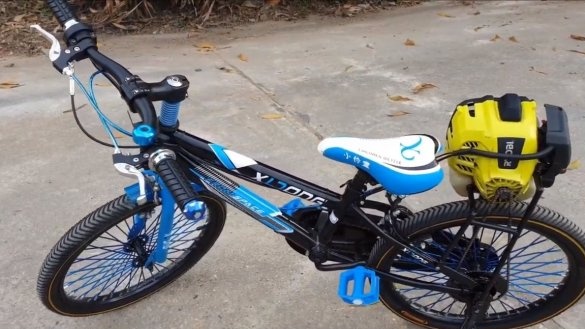
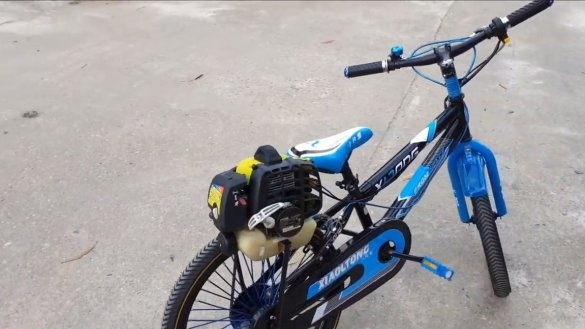
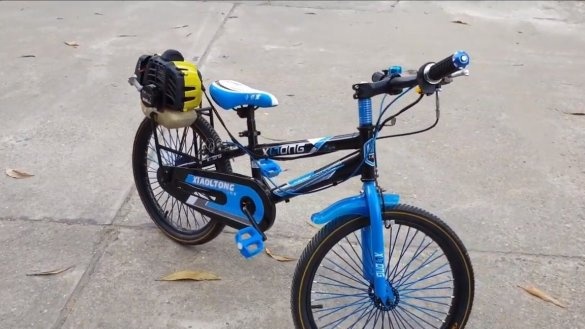
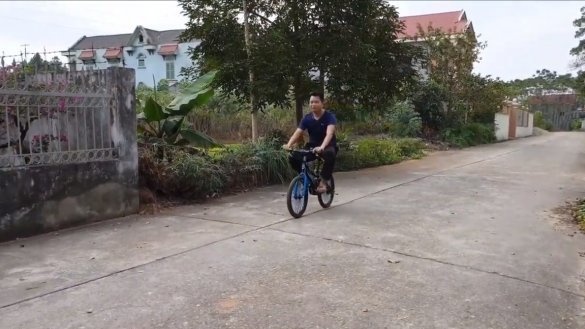
Hello everyone, in this instruction we will look at how you can install a gasoline engine on bike. The bike’s design doesn’t really change much, apart from reworking the rear drum brake, an additional sprocket for a gas engine is installed instead.
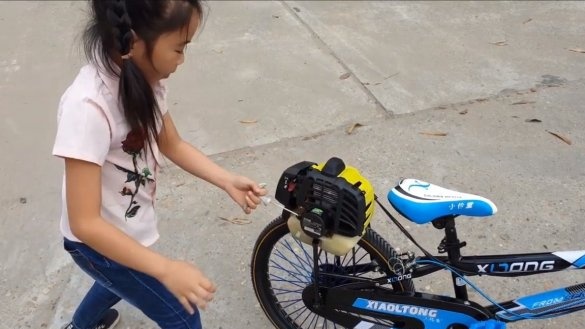
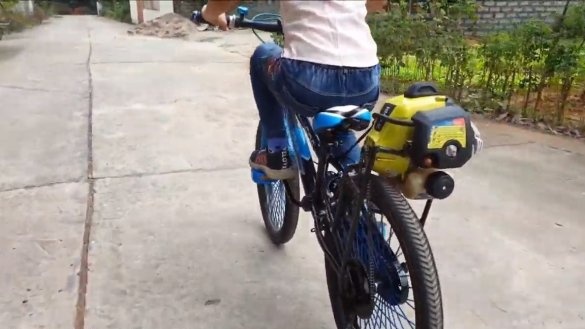
Engine power is enough, the author drives it, and even his little daughter. In use, the bike is also quite comfortable, even a child can start the engine. As for the usual standard chain drive, it remains unchanged, so if gas runs out or something breaks, you can ride the bike in the classic way. If the project interests you, I propose to familiarize yourself with it in more detail!
Materials and tools used by the author:
Material List:
- engine from a brushcutter;
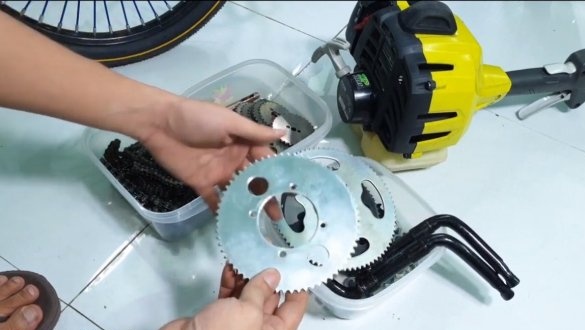
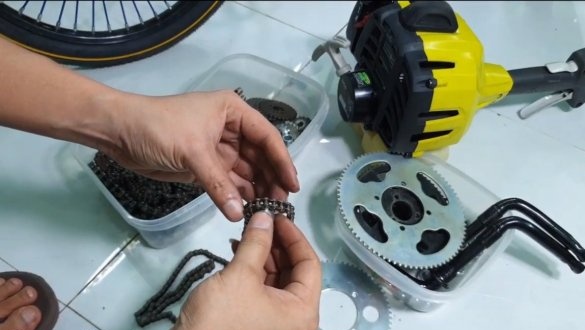
- driven and leading sprockets plus chain;
- a bicycle with a drum brake (or a wheel with a drum brake);
- (from a moped or the like);
- steel tubes and plates;
- bolts and nuts.
Tool List:
- spanners;
- welding machine;
- grinder;
- drill and screwdriver.
Manufacturing process homemade:
Step one. Engine preparation
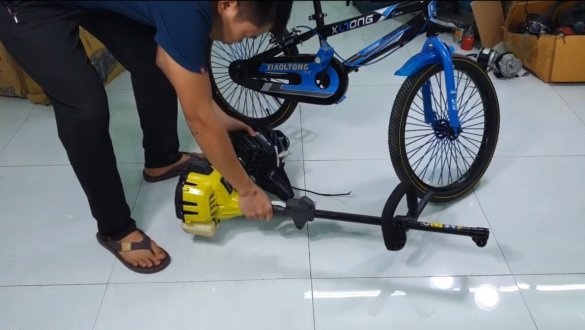
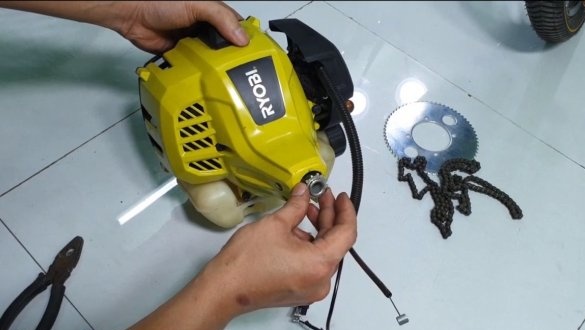
We need the engine from a gas trimmer. It is well suited, as it has a convenient design for installation, unlike a chainsaw.
An automatic centrifugal clutch is already installed on the engine, which will allow the engine to idle and ride a bicycle on the coast, which is very economical.
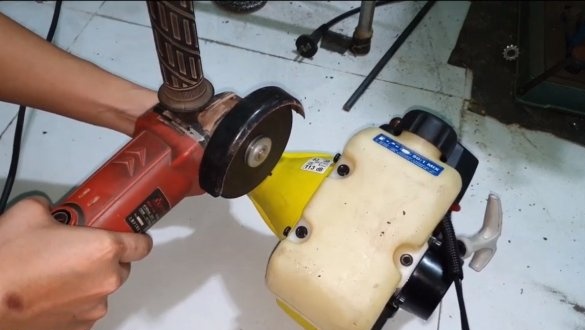
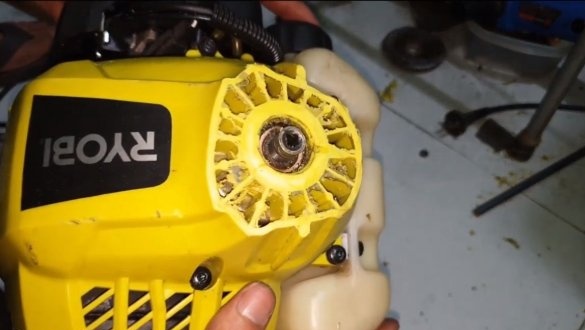
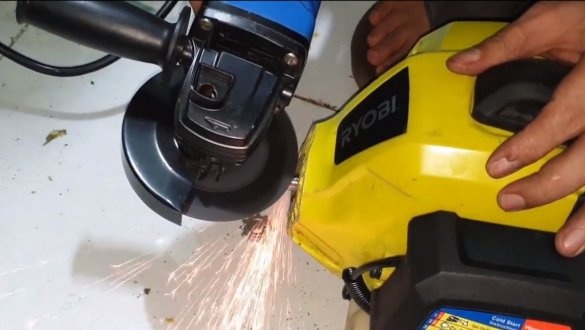
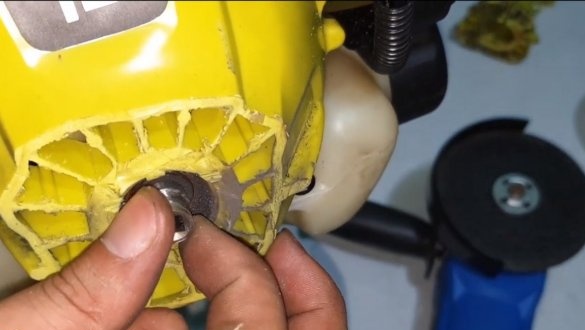
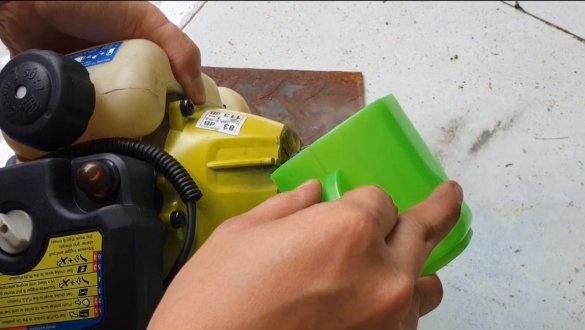
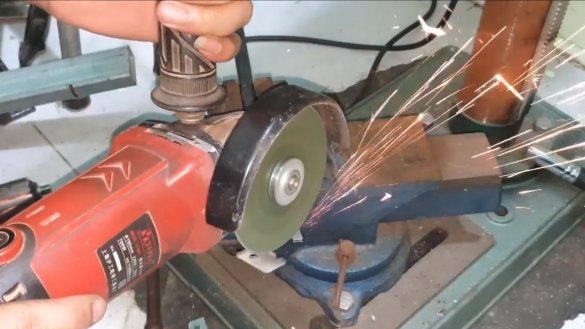
To begin with, we will need to cut off the bow of the engine, where the working shaft is located. This is done so that you can install the drive sprocket. The author’s case is made of plastic; he easily cuts it off with a grinder.
Step Two Setting the drive sprocket
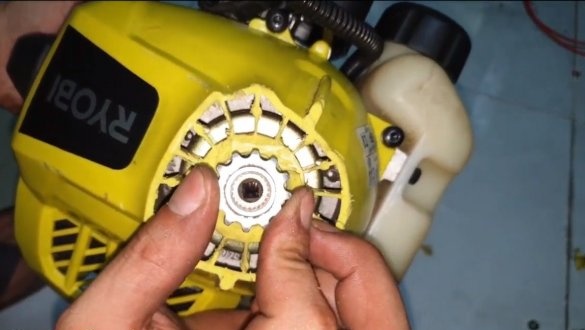
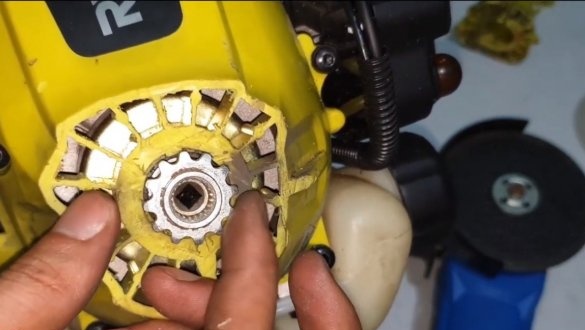
We need to fix the drive sprocket on the engine shaft, and more precisely, on the clutch shaft. The sprocket is selected as small as possible, since the speed of such an engine is very high, and we need to get high torque.
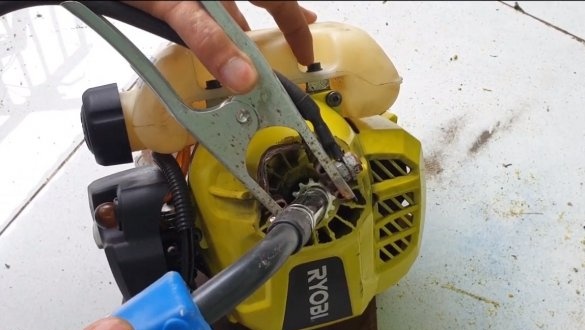
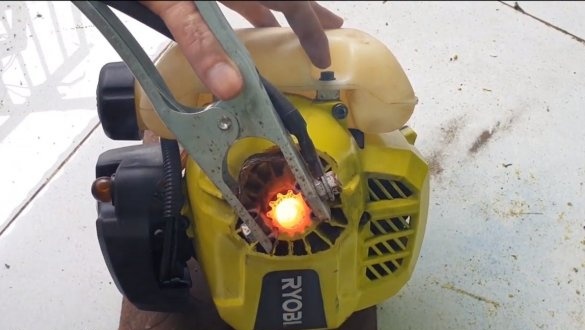
To install an asterisk, the author grinds the gearbox shaft with a grinder, as a result, the asterisk can now be put on the shaft with a minimum clearance. Well, then we weld an asterisk. The author warmed it up when welding to a red glow, which is not very good, since after that the steel can become soft.However, the author poured water over the star after welding, it is quite possible that this will temper it. Also, water will not allow the shaft to overheat and melt important engine components.
Step Three Installing a driven sprocket
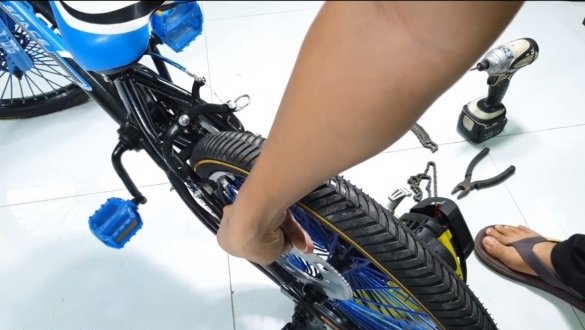
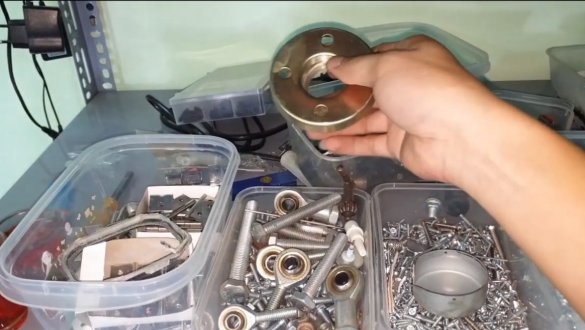
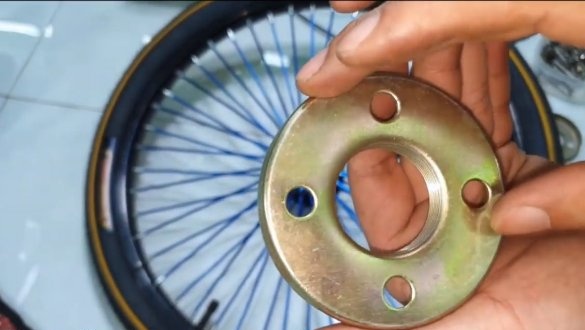
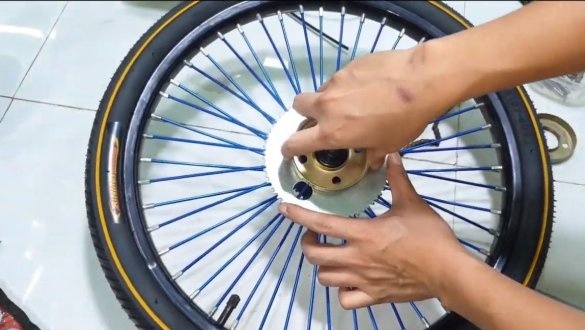
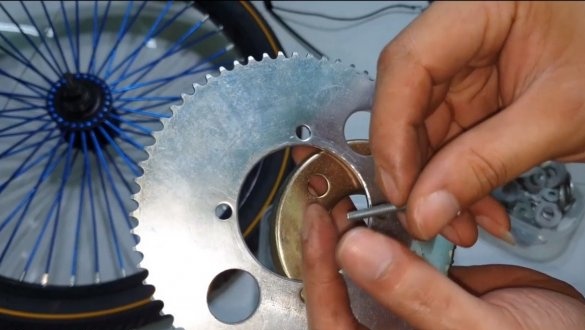
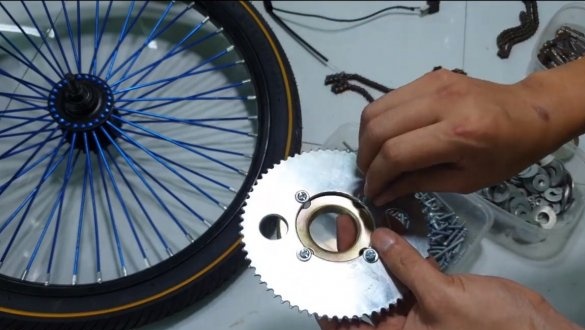
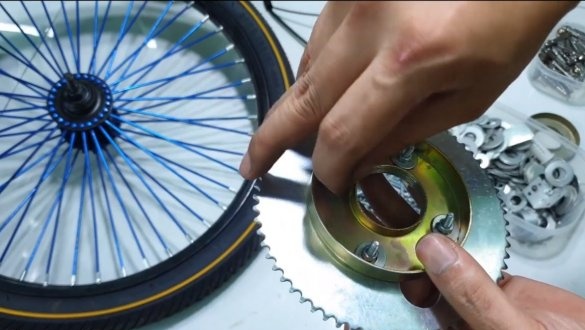
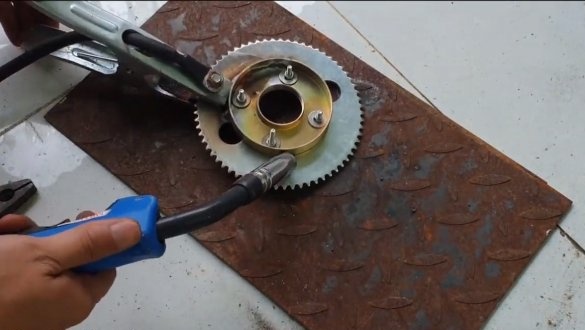
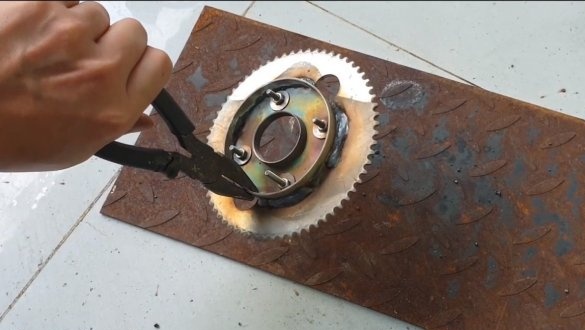
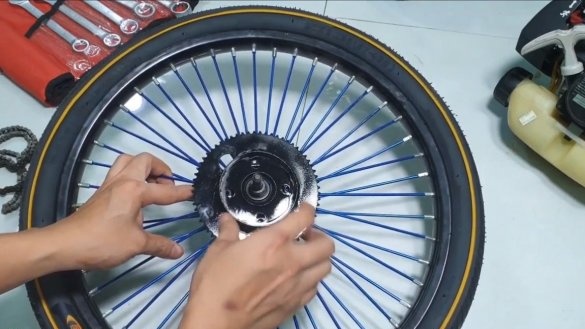
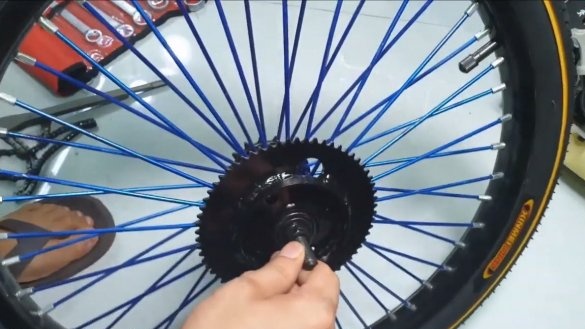
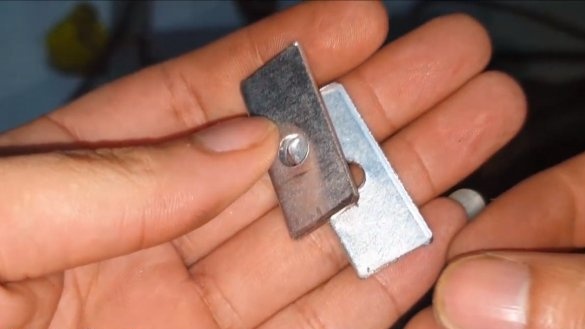
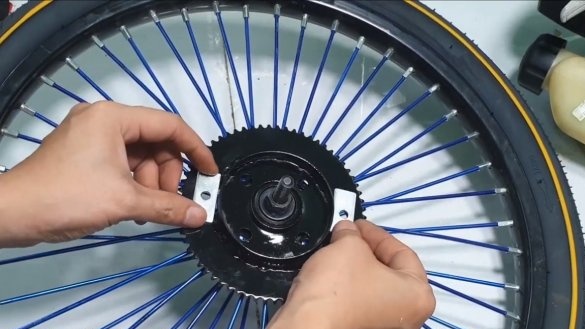
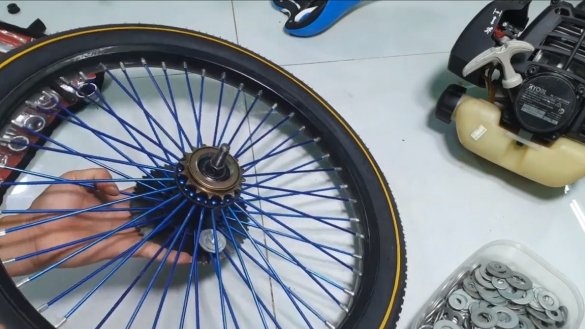
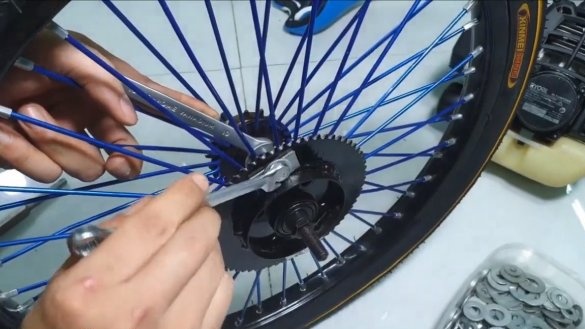
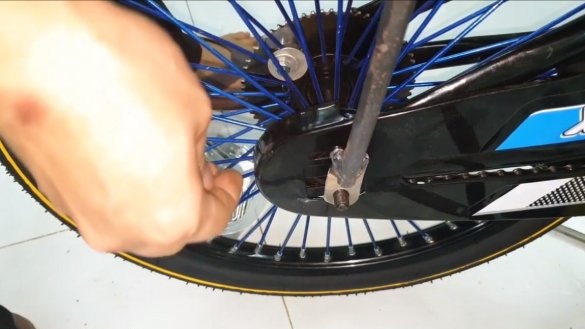
To install the driven sprocket, we need a part from the drum brake, which is screwed onto the wheel hub. We weld a driven asterisk to it. This sprocket must be large in order to reduce wheel speed, turning them into high torque.
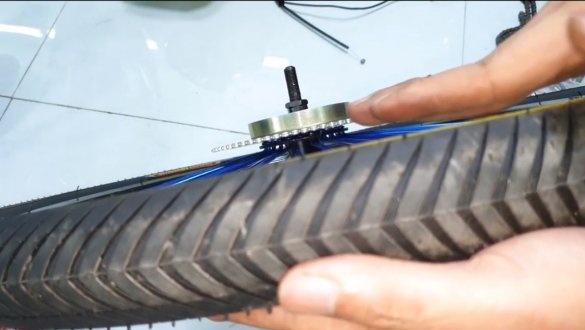
First, center the sprocket with bolts and nuts, and then weld the parts. The author additionally secured the sprocket with two bolts with nuts to the spokes. We paint an asterisk so that it does not rust and looks beautiful.
Step Four Chain installation
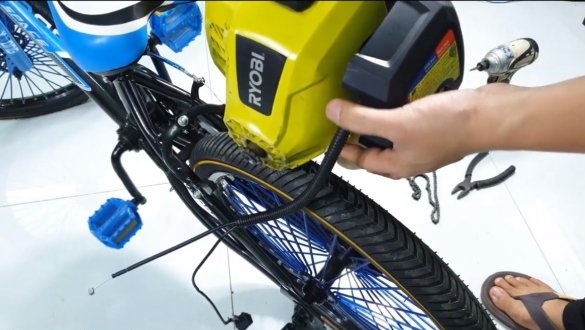
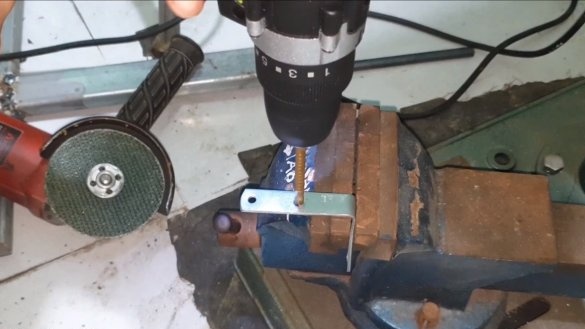
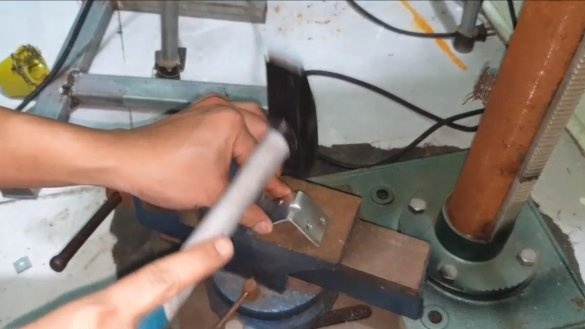
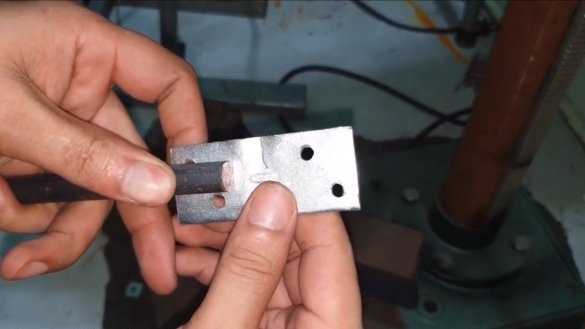
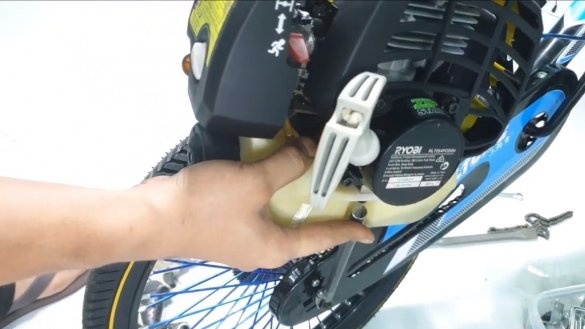
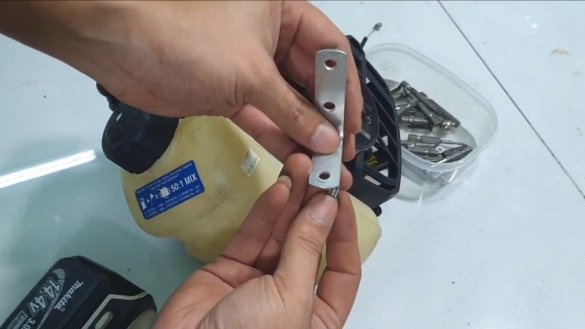
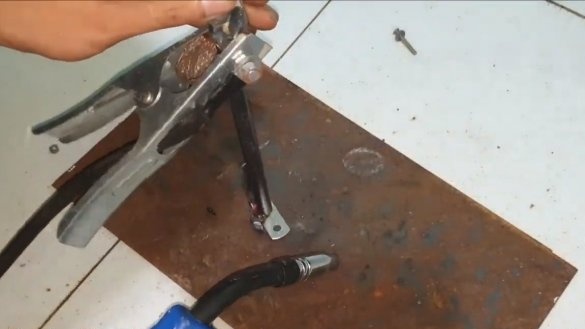
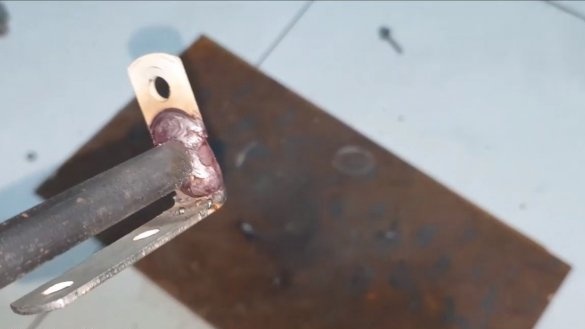
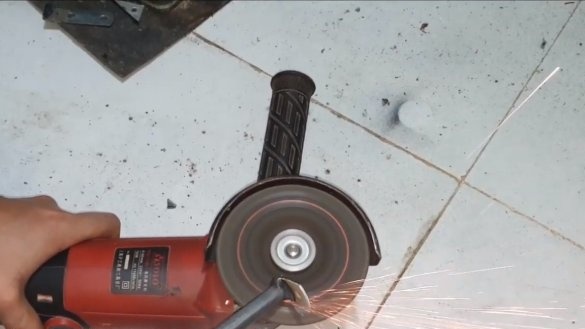
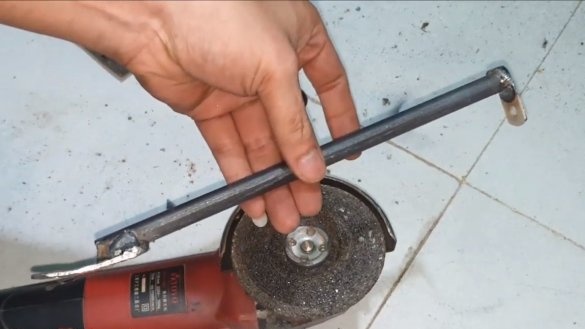
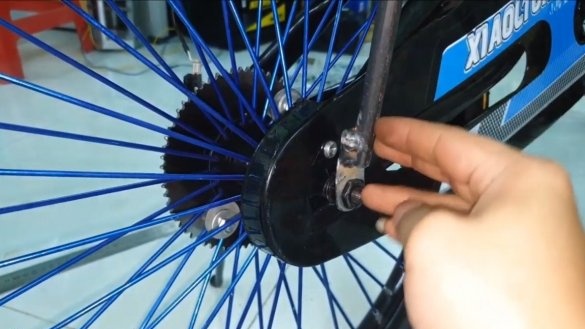
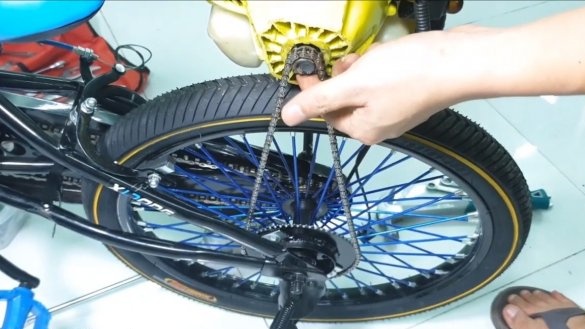
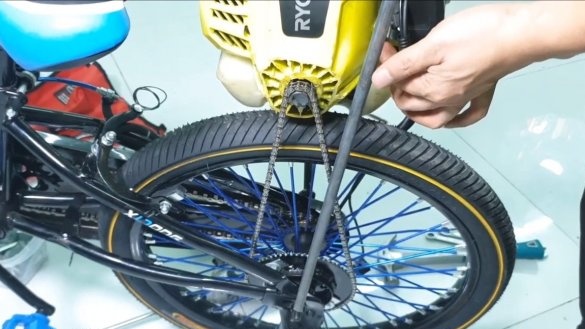
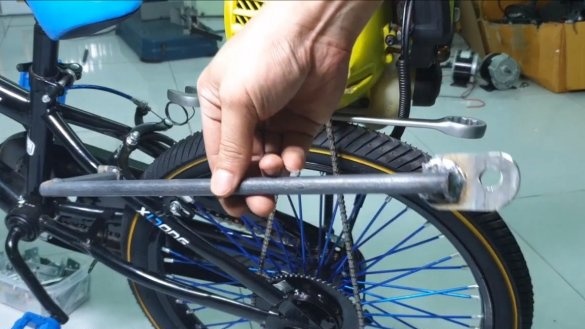
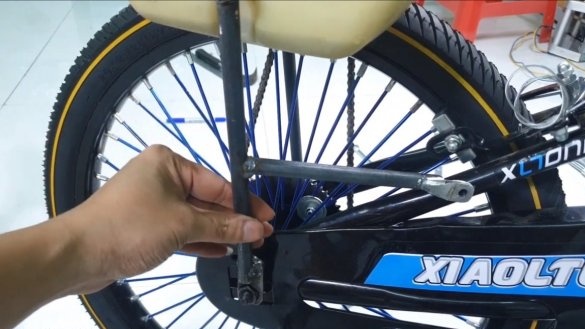
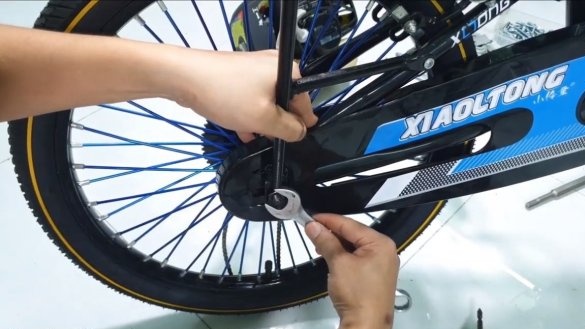
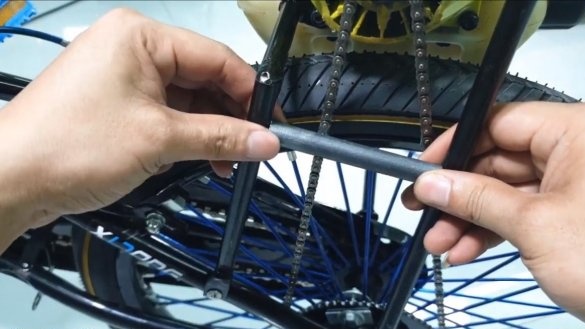
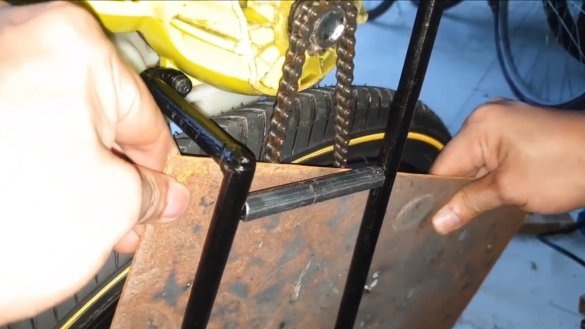
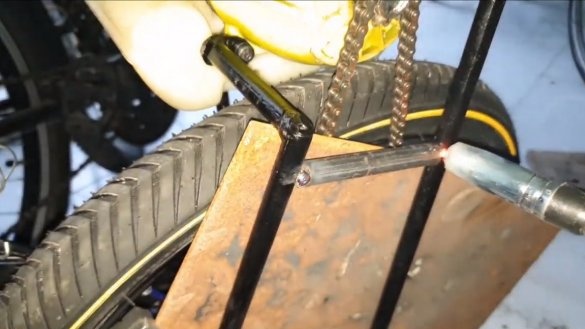
Next, we need to install the circuit, but before that we need to somehow fix the engine. The author makes fasteners, making it from a piece of pipe and steel plates from which fastening ears are made. One side of the fastener is fastened with a nut to the axis of the wheel, and the other side is screwed with a screw to the engine.
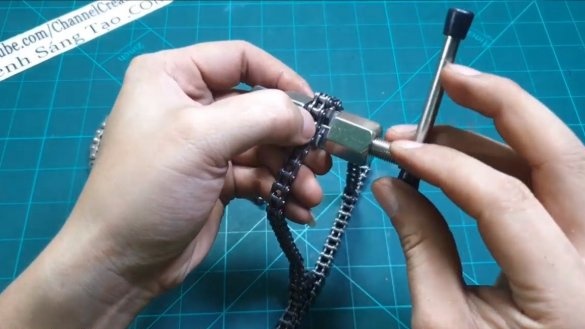
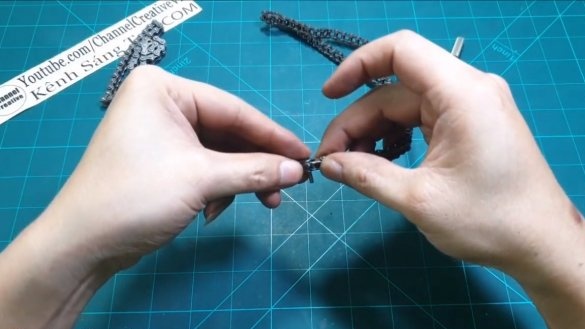
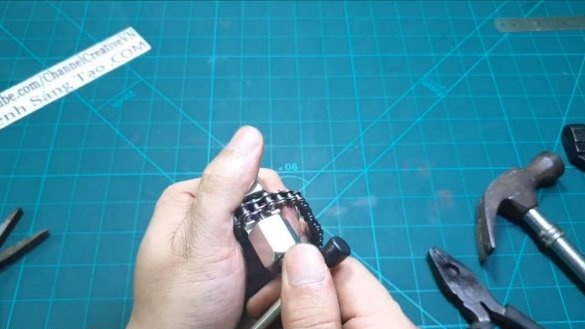
When the engine is already fixed, we prepare the chain, increase or decrease its length depending on the needs. You can assemble the chain on the locks, or you can make it whole if you have device for pressing out connecting pins as an author.
Step Five We fasten the engine
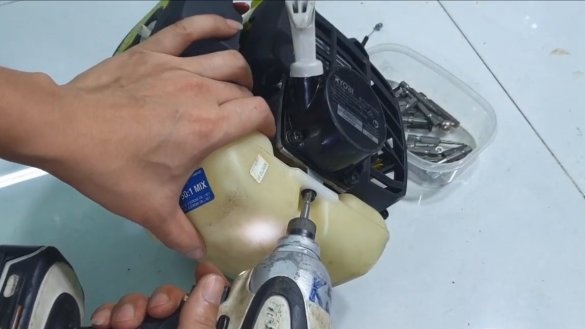
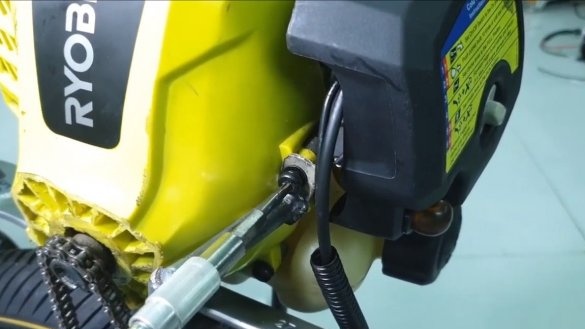
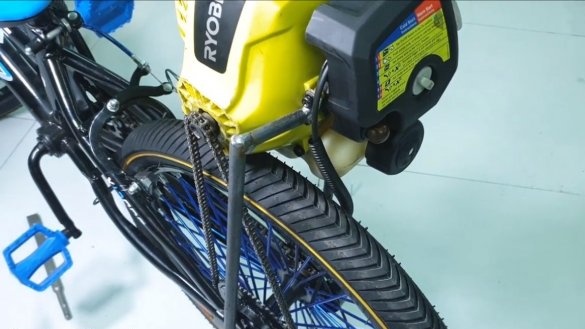
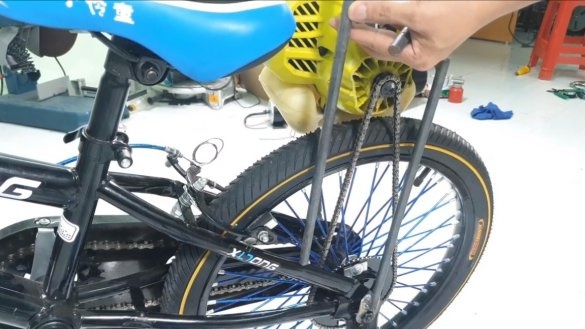
We need to fix the engine reliably, for these purposes the author made special fasteners from steel pipes and plates. Fasteners are screwed to the engine using native bolts that hold different parts of the engine.
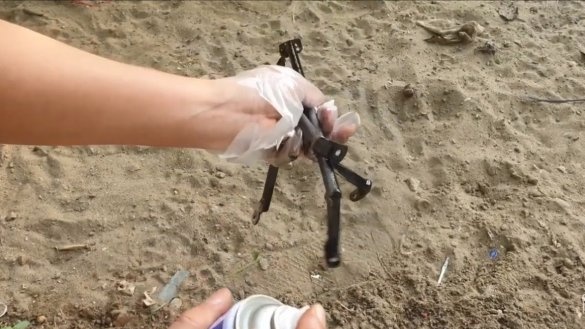
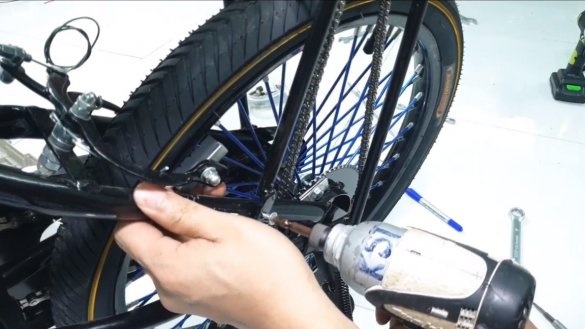
And the fasteners are attached to the frame behind the rear axle of the wheel, as well as to the fork using self-tapping screws. In general, this whole design looks quite reliable. We paint this whole structure so that it does not rust.
After that, you can start the engine and see how everything works. It is very important that the chain does not fly off, otherwise it will immediately fall into the spokes and jam the rear wheel, which is very dangerous.
Step Six Control
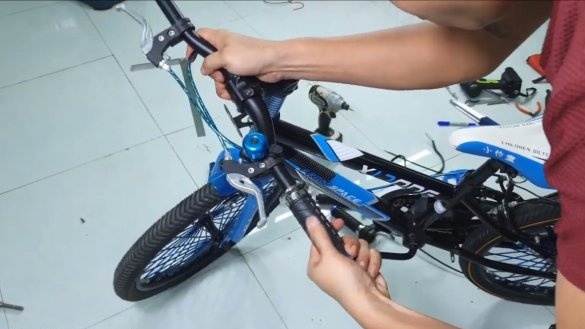
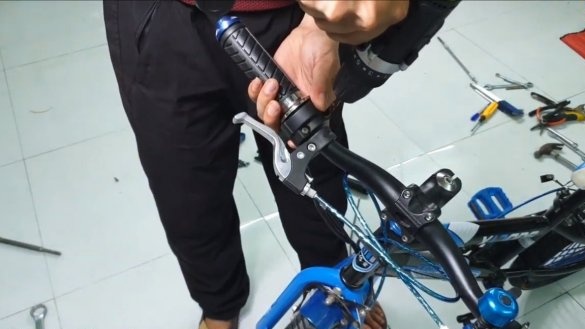
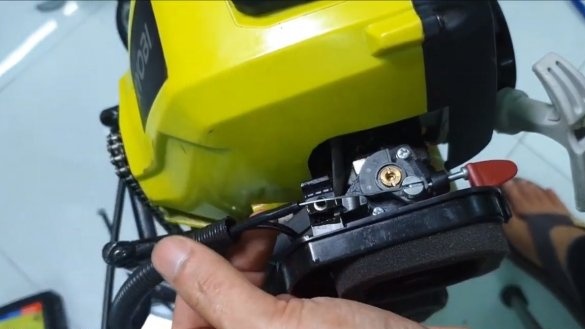
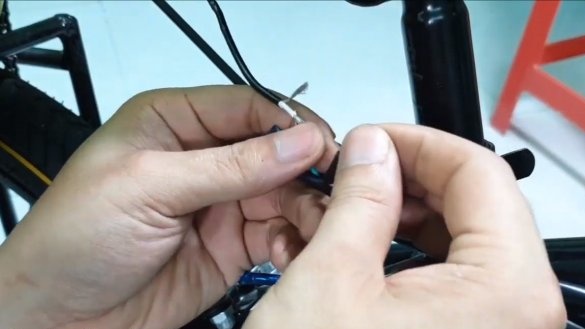
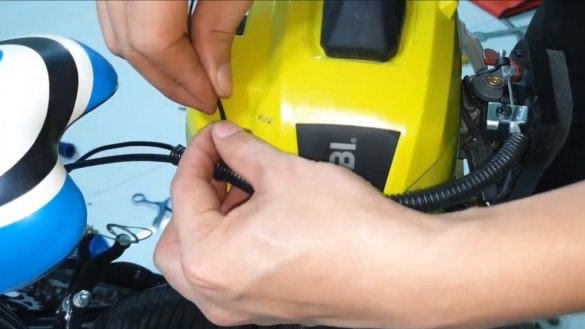
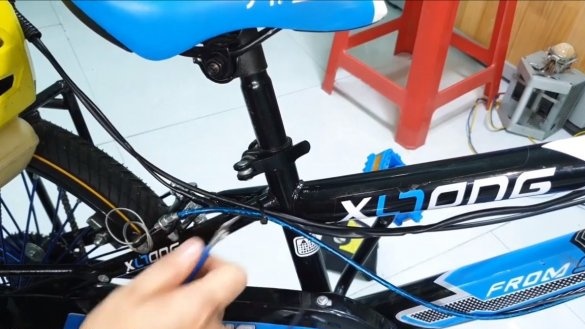
On the steering wheel we need to install a throttle control knob, you can choose a similar one for mopeds. We carry the cable through the frame and connect to the engine throttle, the author had enough length.
We also need to connect the ignition, this will turn off the engine if something goes wrong. Be sure to install the rear brake, we now have a classic, lever, which is going over the wheel rim.
Seventh step. Homemade test
The bike is ready, you can experience it. If the engine is in good condition, you should have no trouble starting it. The author starts the engine very easily, even his little daughter starts it.
You can experience it, the bike starts off with the child quite briskly, judging by the sound, the engine runs at low speeds, so it does not overheat, and will consume little fuel. And if you drive on the coast, fuel consumption will be small.
The author himself also tries to ride a bicycle; the machine can easily withstand such a load.
That's all, the project is over. I hope you liked the homemade product, and you found useful information for yourself. Good luck and creative inspiration, if you decide to repeat this. Do not forget to share your ideas and homemade things with us!

