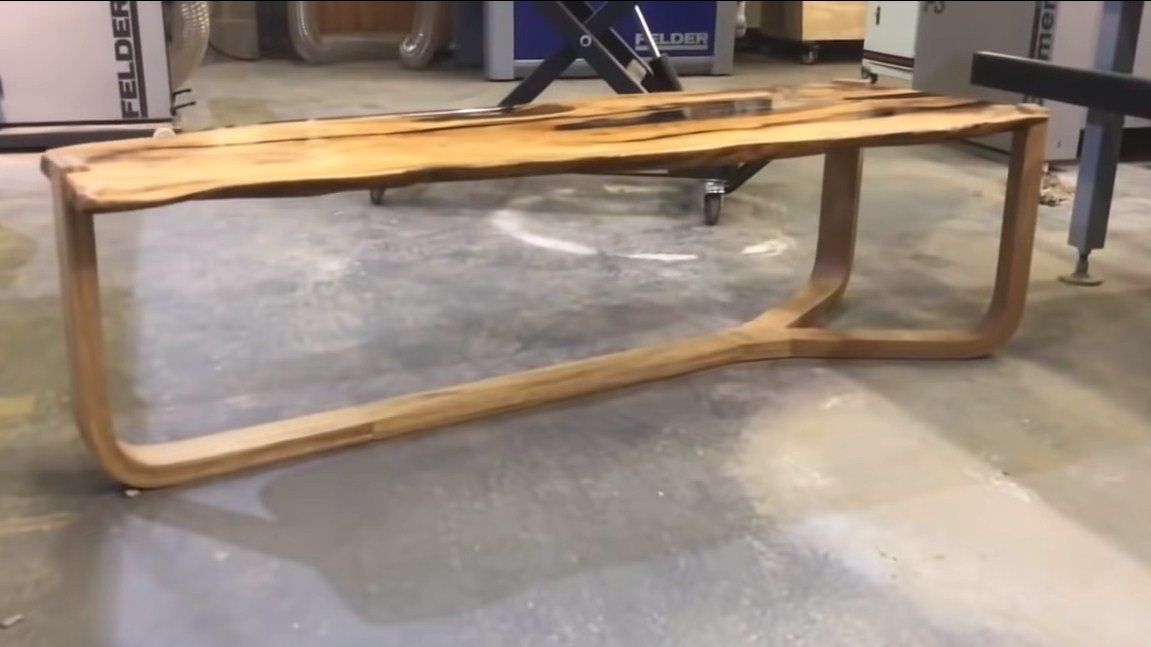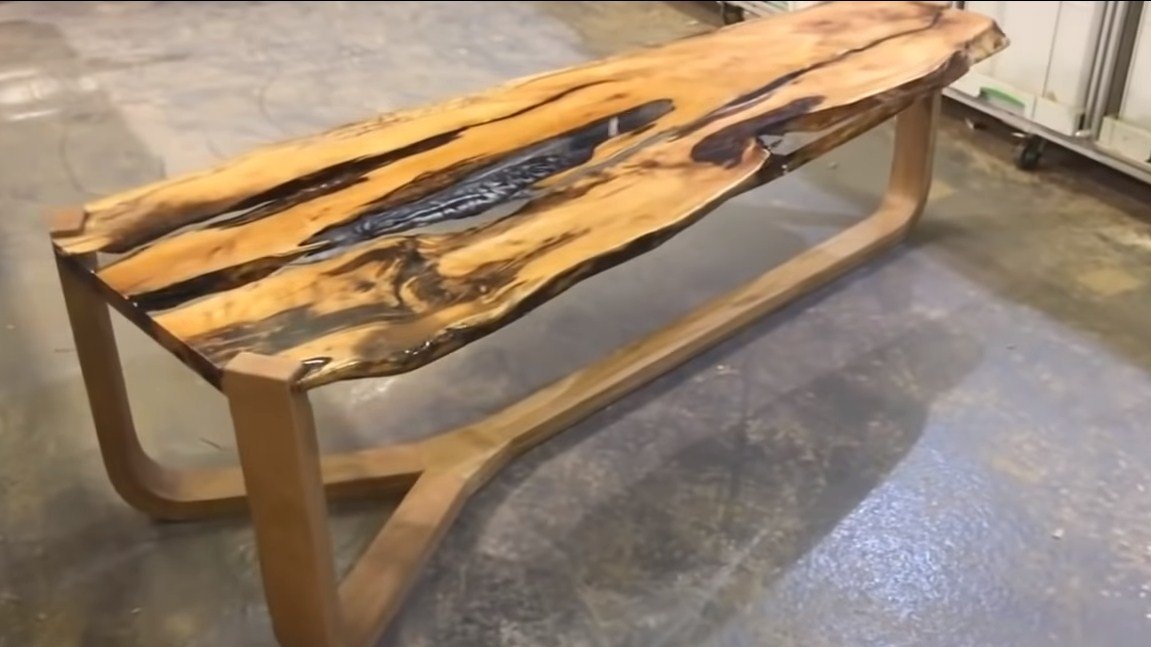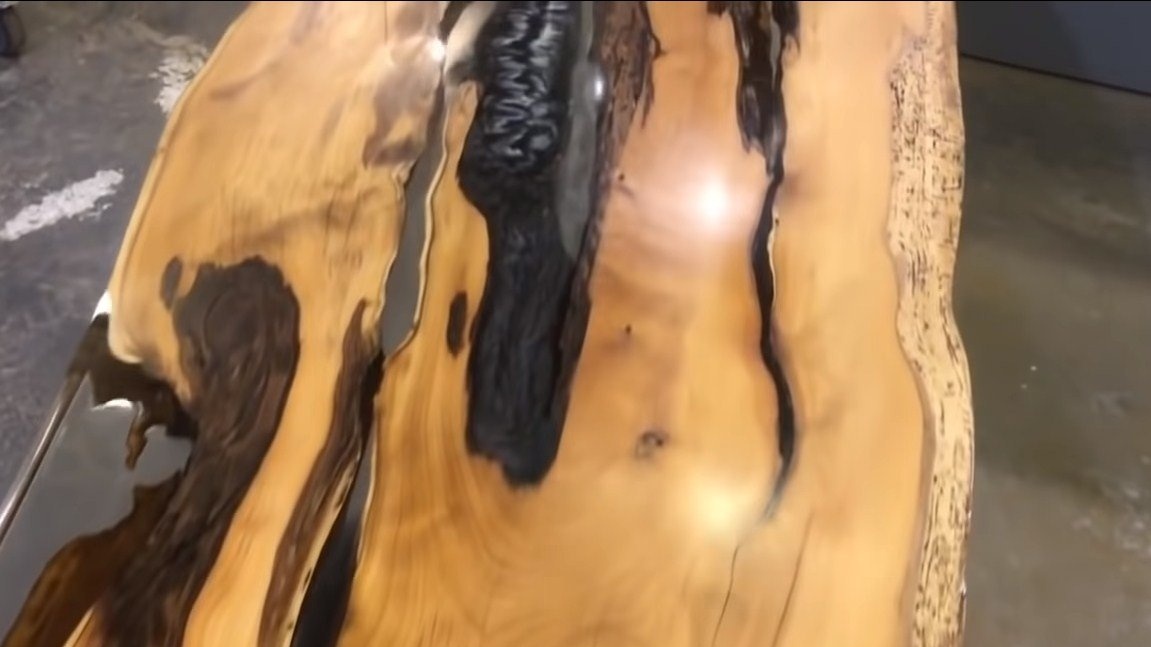

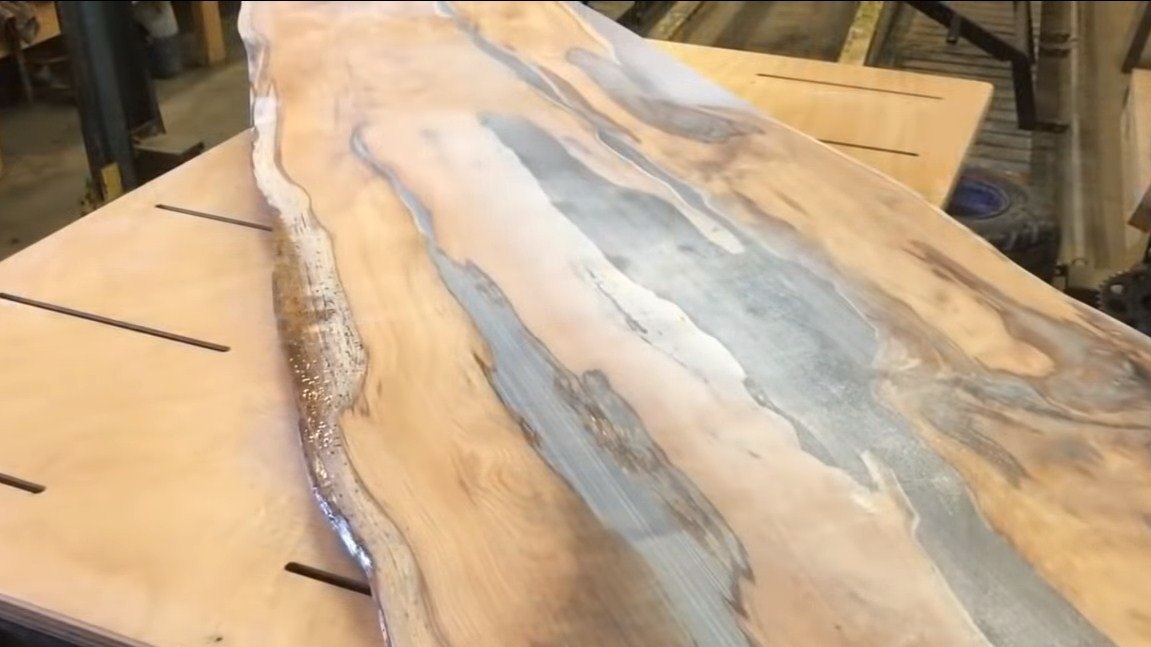
Hello everyone, I propose to consider an interesting table that can be made do it yourself. The table top of this table is unique in that it consists of slices of wood, which were then flooded with epoxy. Also, some areas were filled with resin with dye, as a result, this whole thing looks pretty nice.
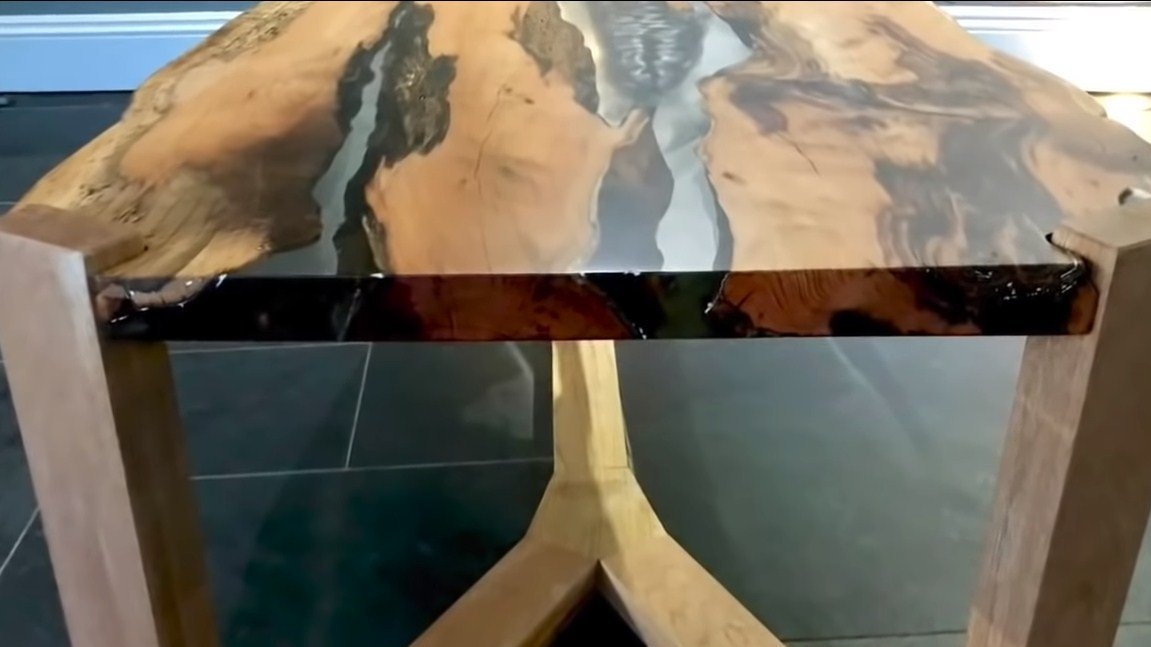
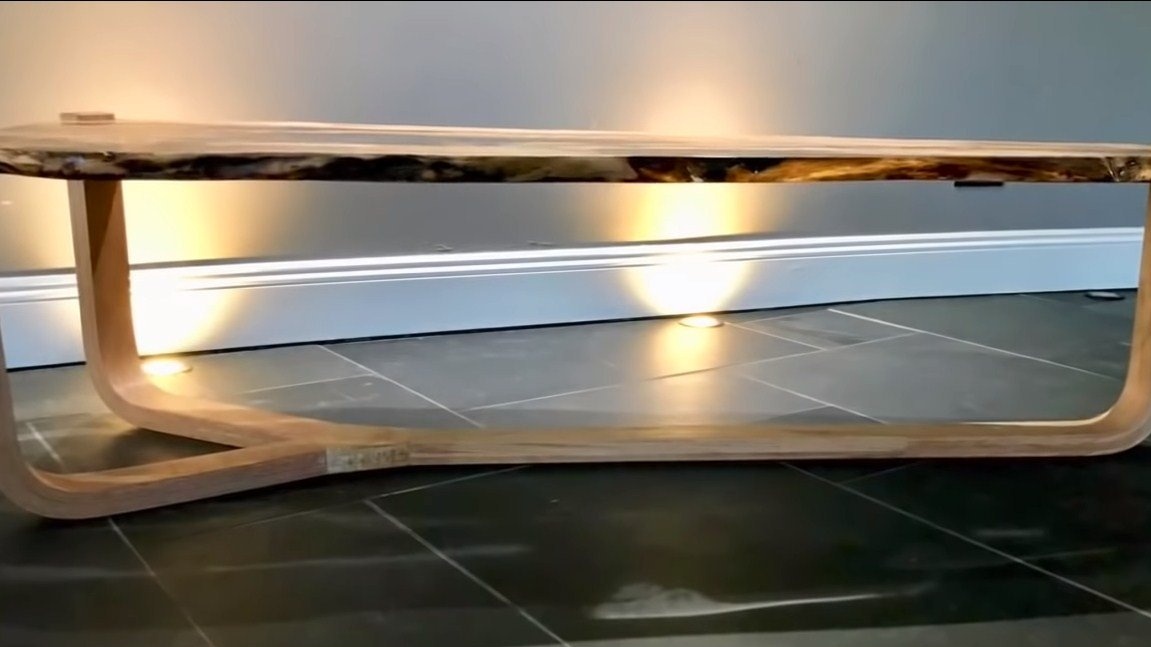
The legs of the table are also of interest, there are three of them in total and they are all interconnected. But the most interesting thing is that the table is collapsible, all three legs are unscrewed, and they are attached to the countertop by a spike connection.
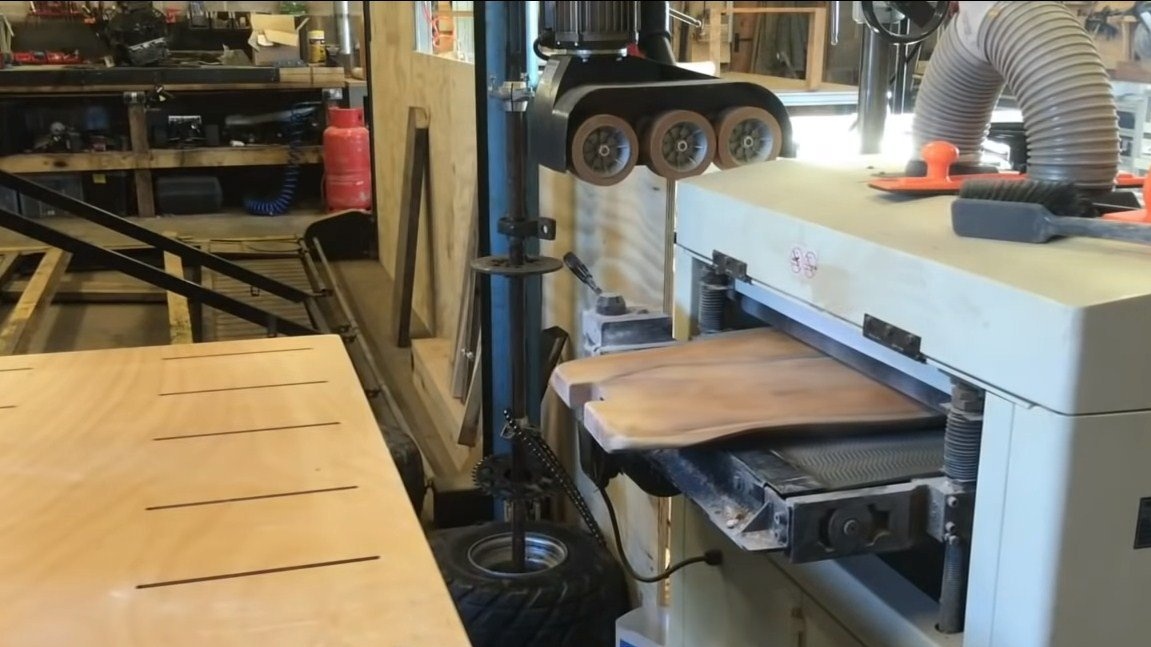
Making such a table is not difficult, but you should have a lot of equipment. So, for example, such a countertop will be hard to grind for a long time with hand grinders. The author drove her through the surface gage and still had to grind it later. You will also need a milling cutter to cut holes for stud connections and so on. But if all this does not scare you, I suggest that you familiarize yourself with the project in more detail!
Materials and tools used by the author:
Material List:
- epoxy resin for pouring;
- dye for epoxy;
- cuts of wood;
- plywood for legs;
- varnish;
- materials, sealant, bars (for the manufacture of formwork);
- screw connections for the legs (which for sure, did not understand).
Tool List:
- surface gage;
- grinding machine (orbital or other);
- belt sander;
- a circular saw;
- a hacksaw;
- devices for milling;
- clamps;
- ruler, marker and so on.
Table making process:
Step one. Material preparation and pouring worktops
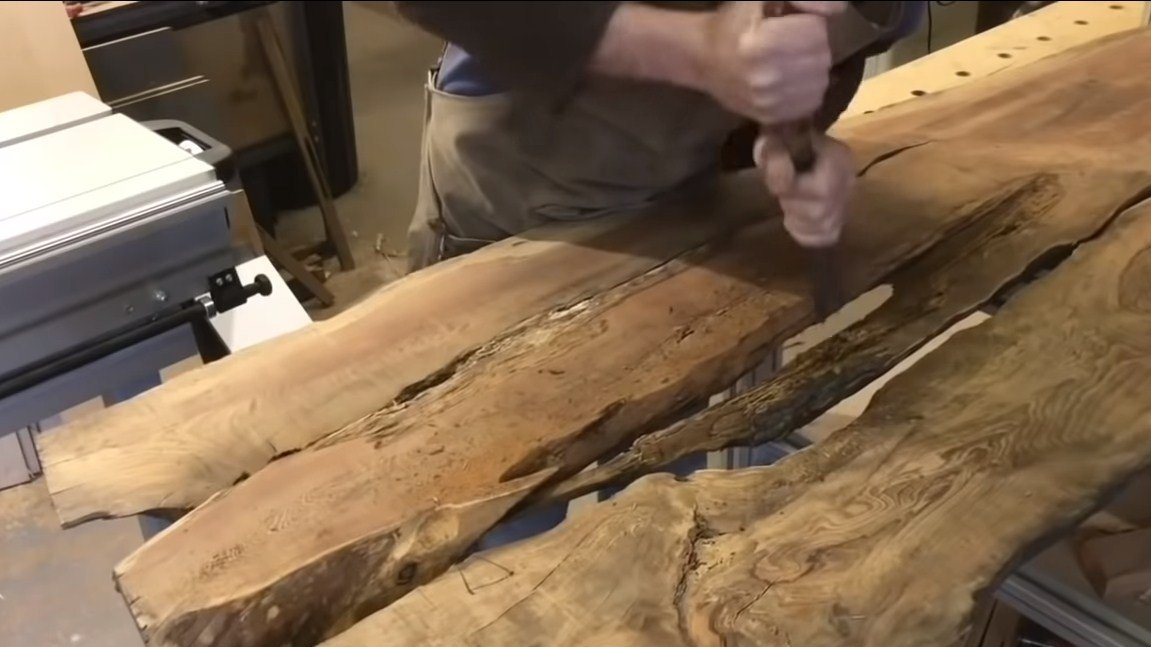
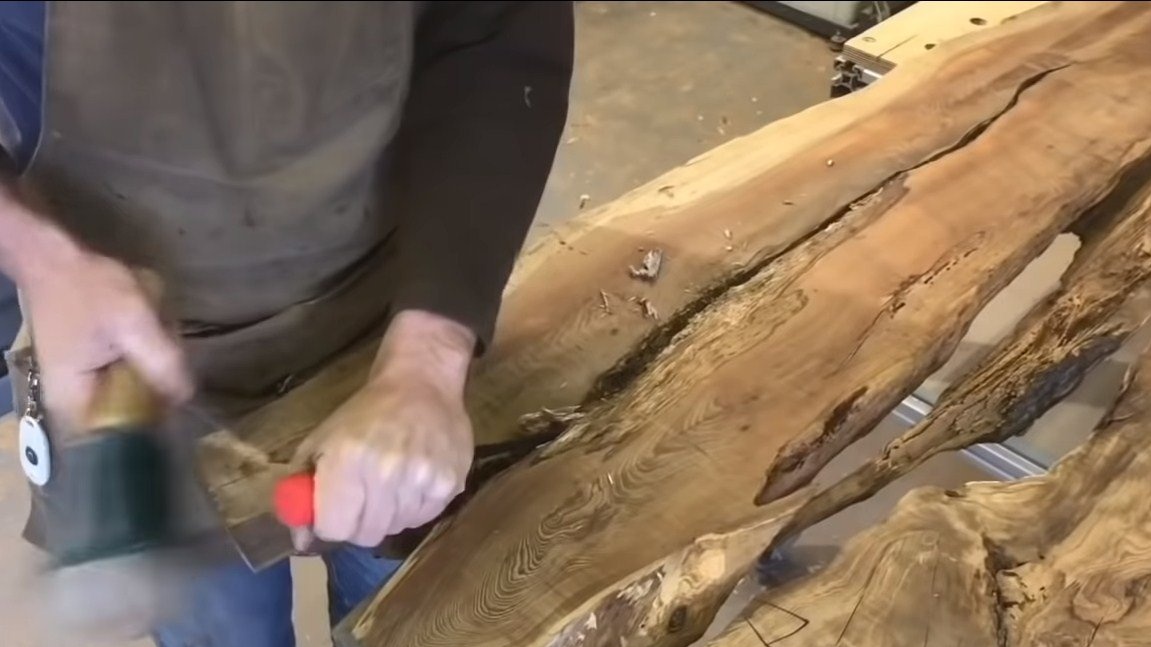
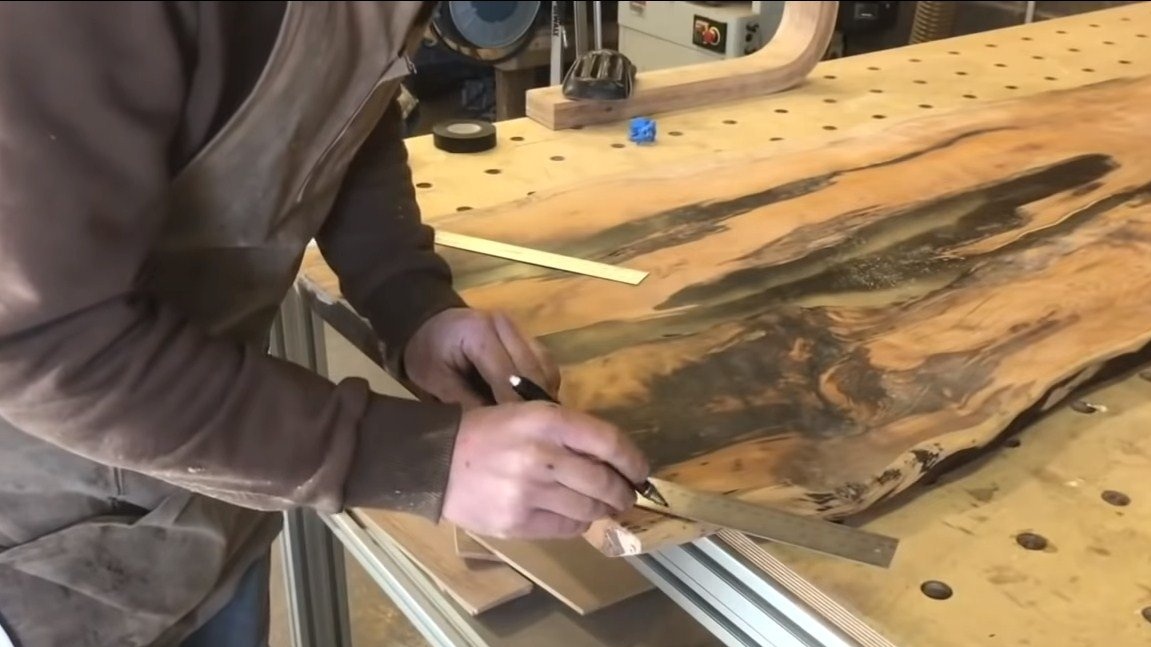
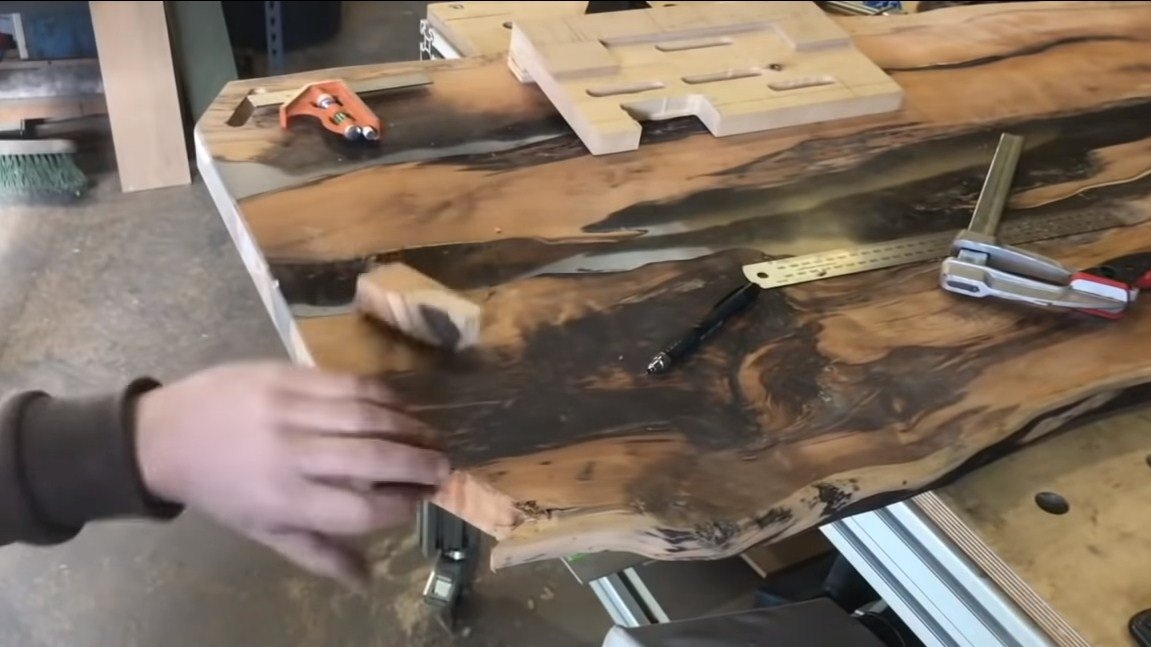
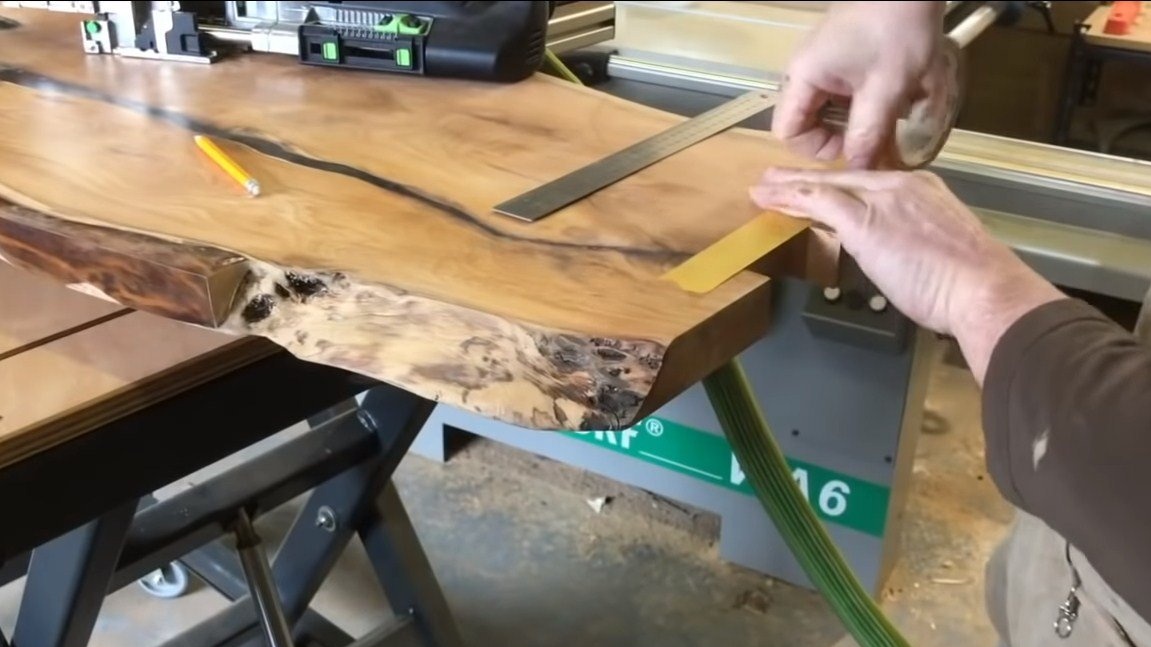
As a material for the countertops, cuts of wood are suitable. It is not at all necessary that these be smooth and beautiful boards; an unedged board with rotten places is well suited. Such material, poured into epoxy, will look beautiful, but this will not affect the strength of the countertop. The most important thing is that the boards are dry, otherwise the resin will become cloudy upon contact with water.
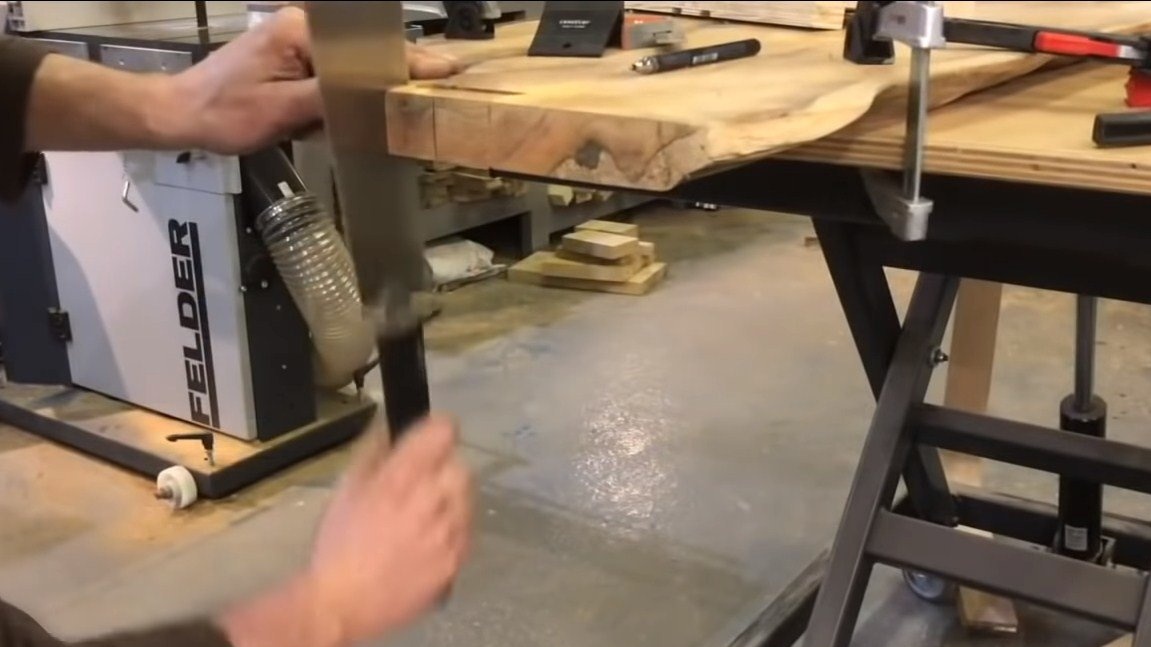
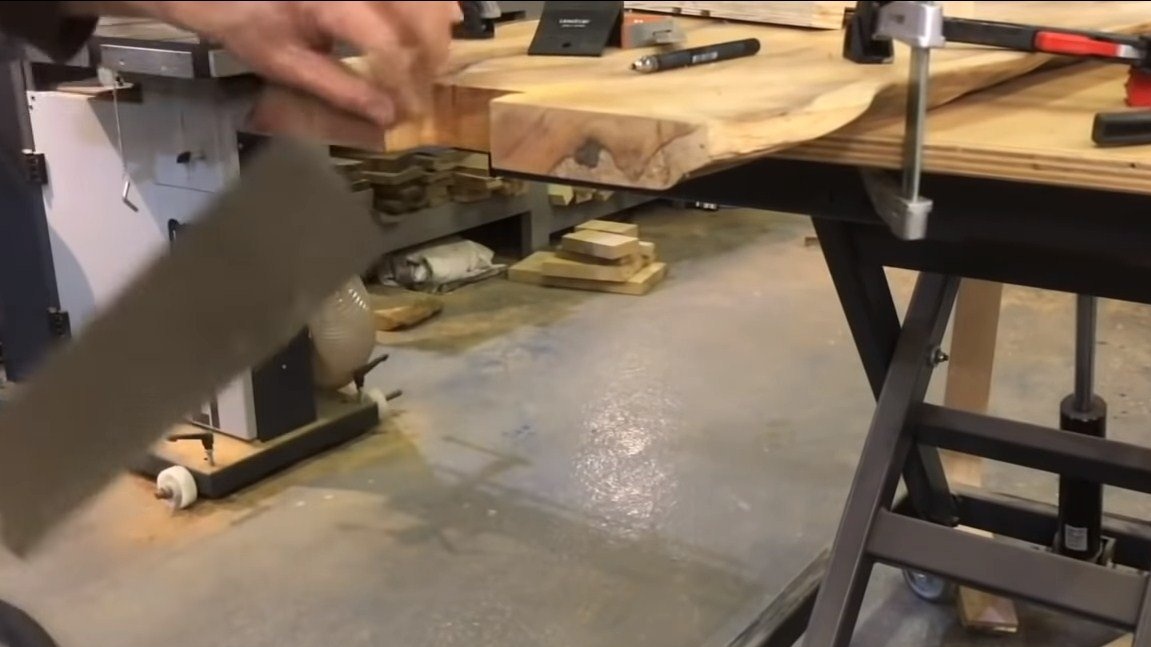
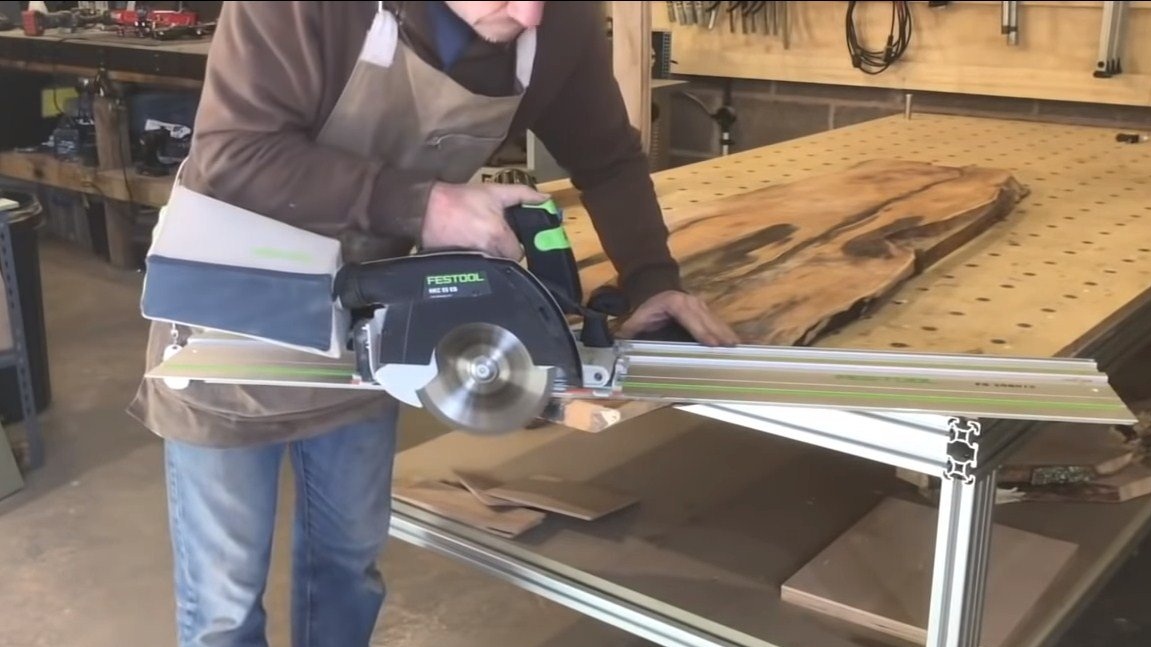
We remove all those places that may break off when pouring, the author works with a chisel with a hammer. Also cut off excess on a circular machine.

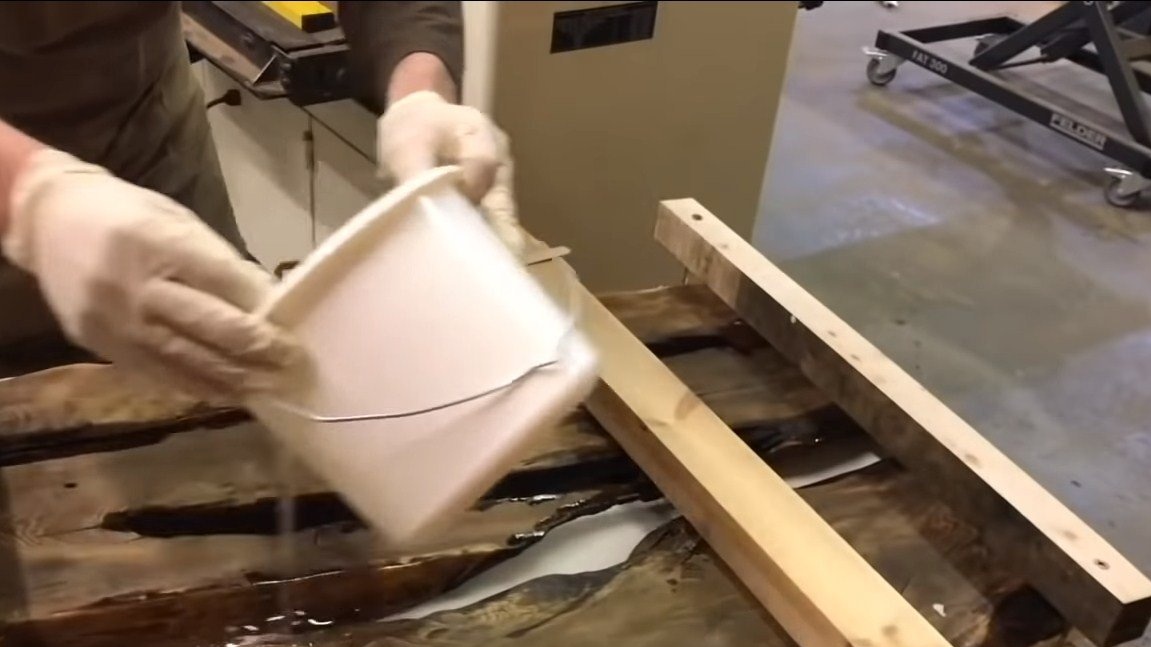
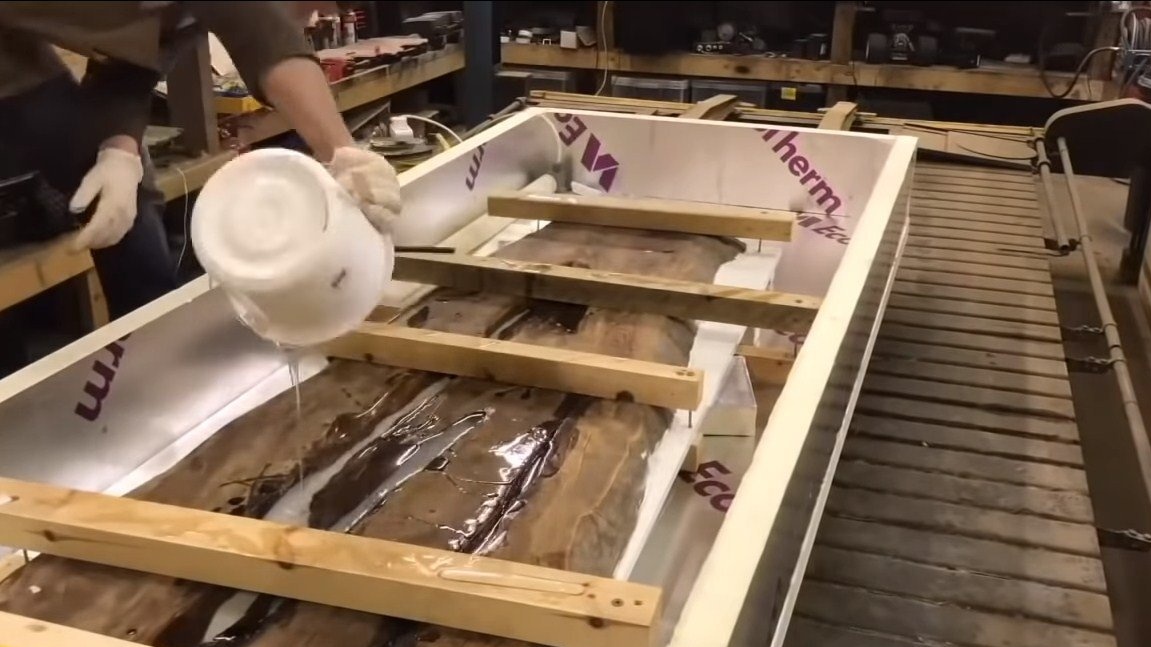
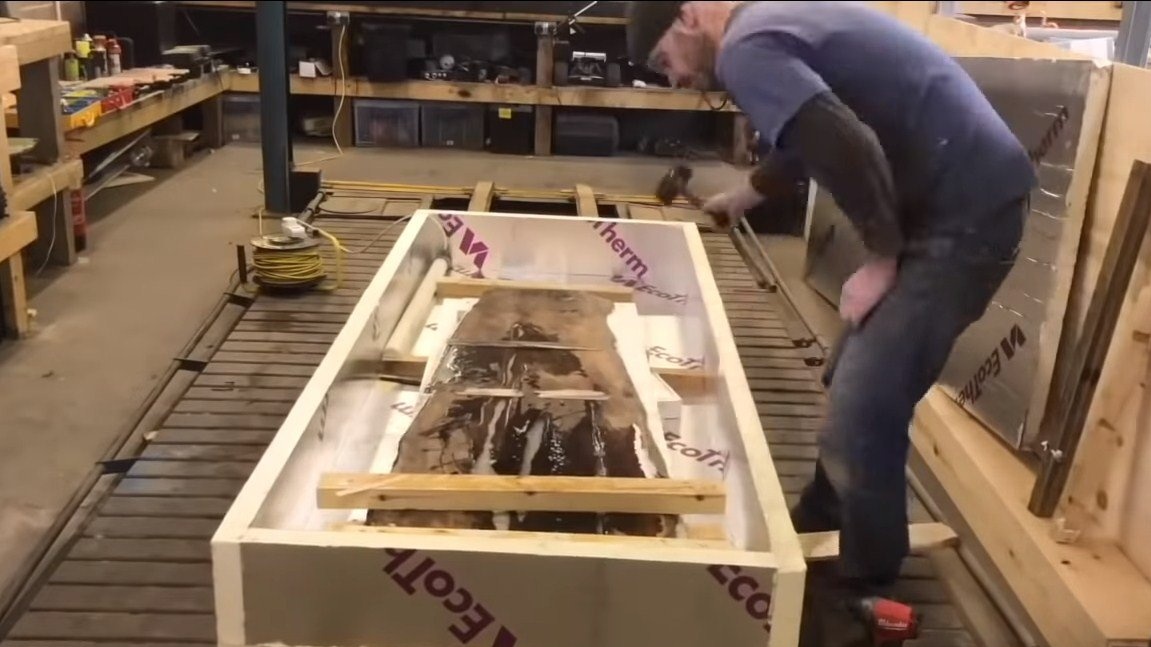
Next, we make the formwork for pouring. The bottom line is to fasten to one side of the countertop sheet material that will not let out the epoxy glue. Do not forget that the pouring resin is very fluid, so everything should be airtight. For these purposes, you can use silicone sealant.
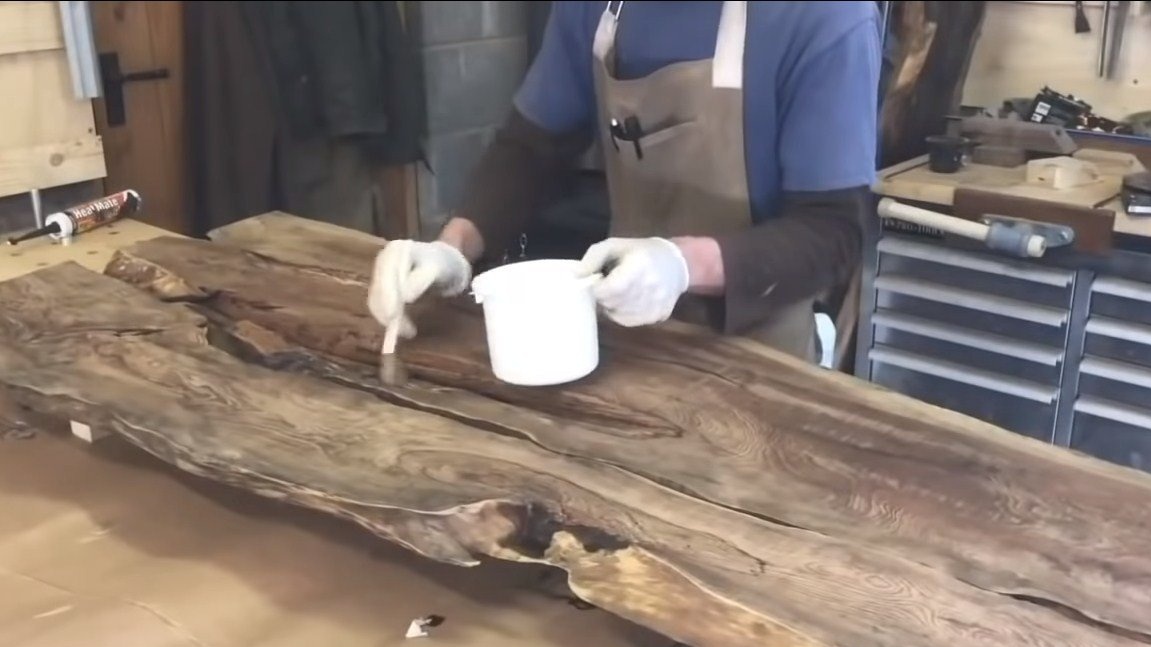
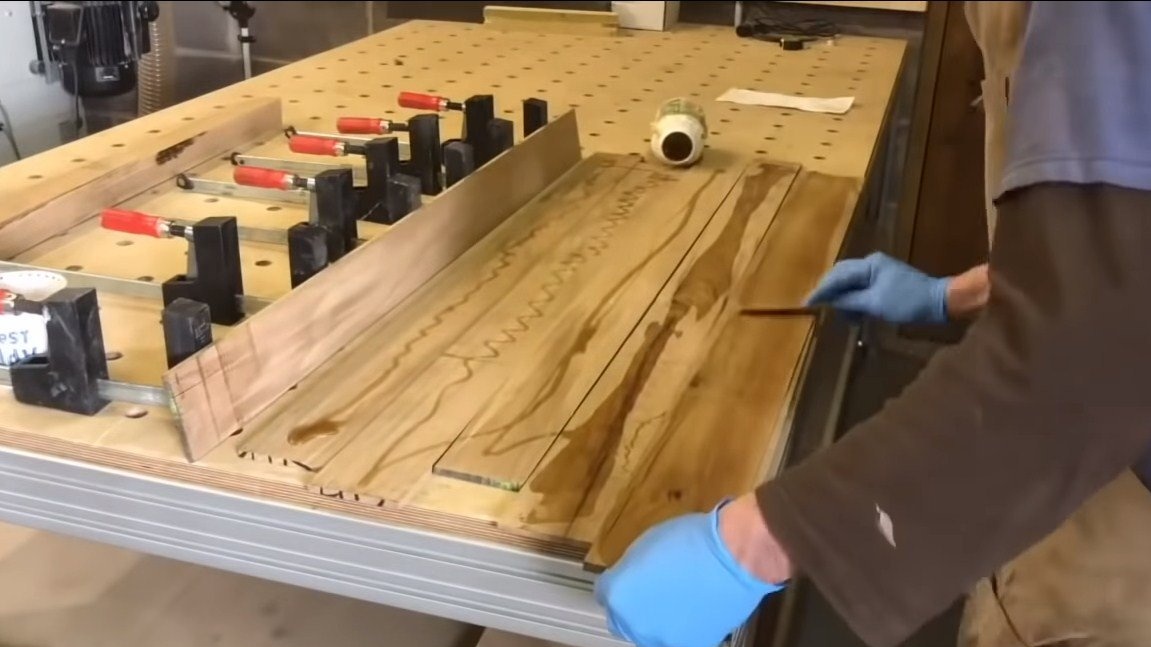
The sheet material is well pressed to the countertop by attaching them to the bars located on the other side. Before pouring, we brush with a brush with epoxy glue those places where there are rotten areas, bark, and so on.
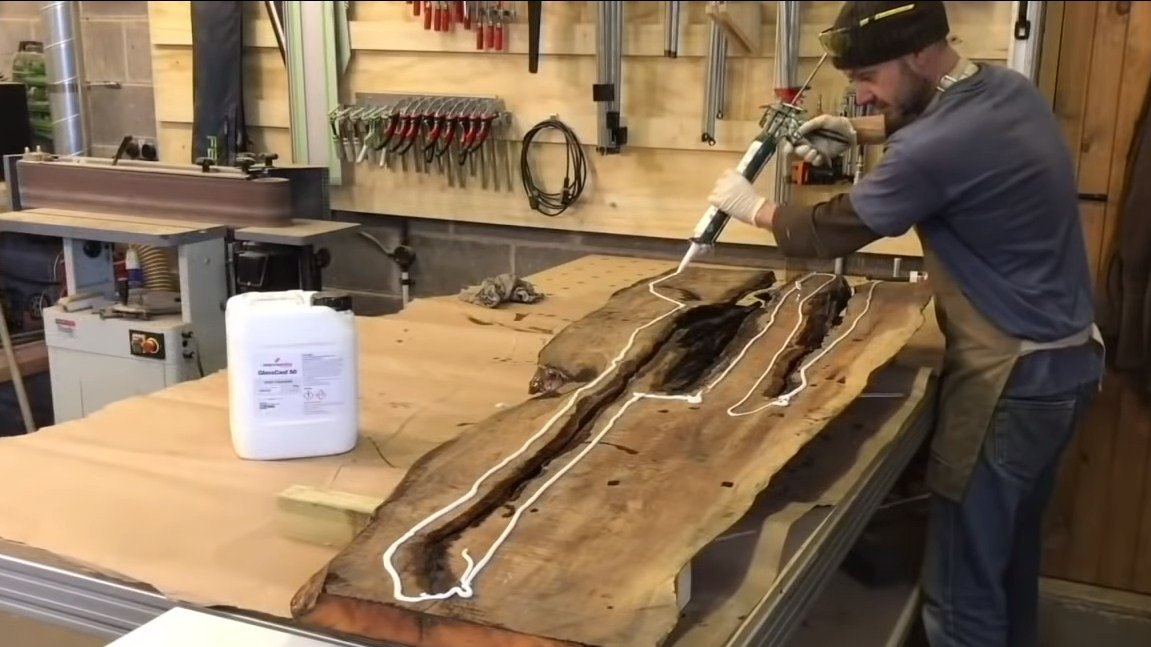
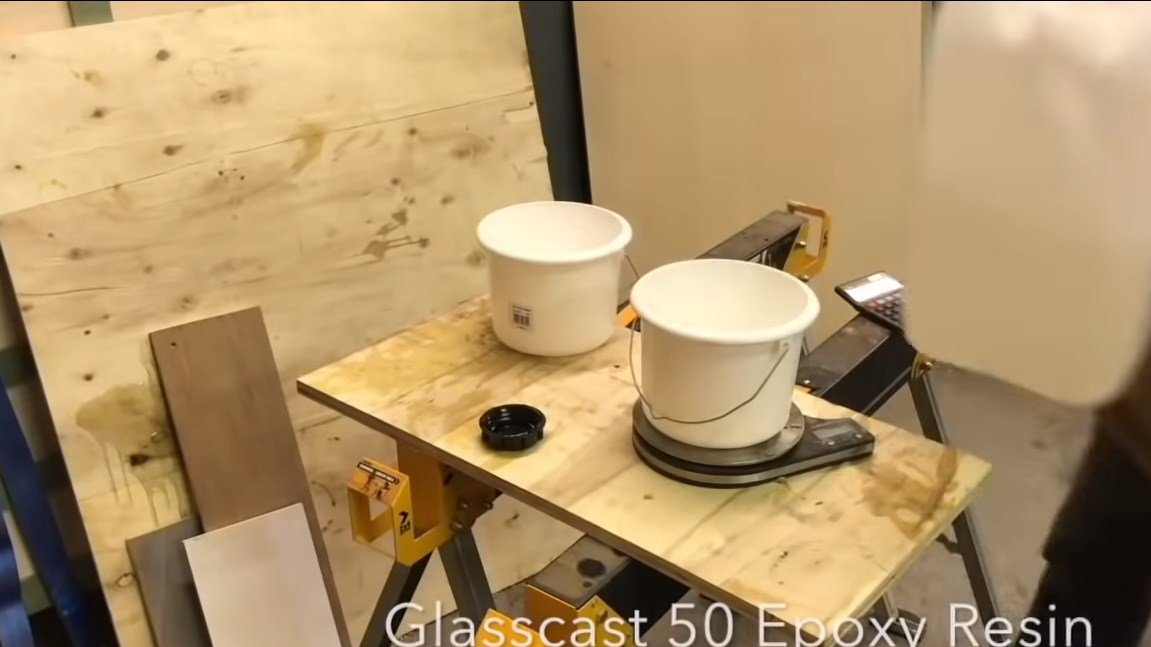
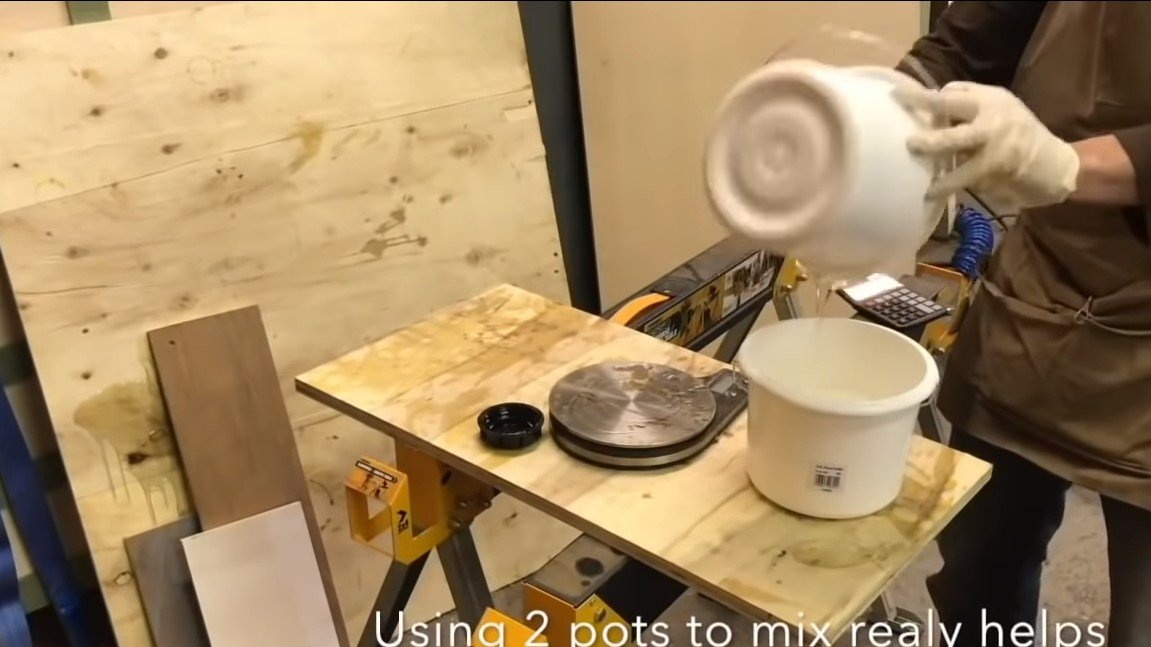
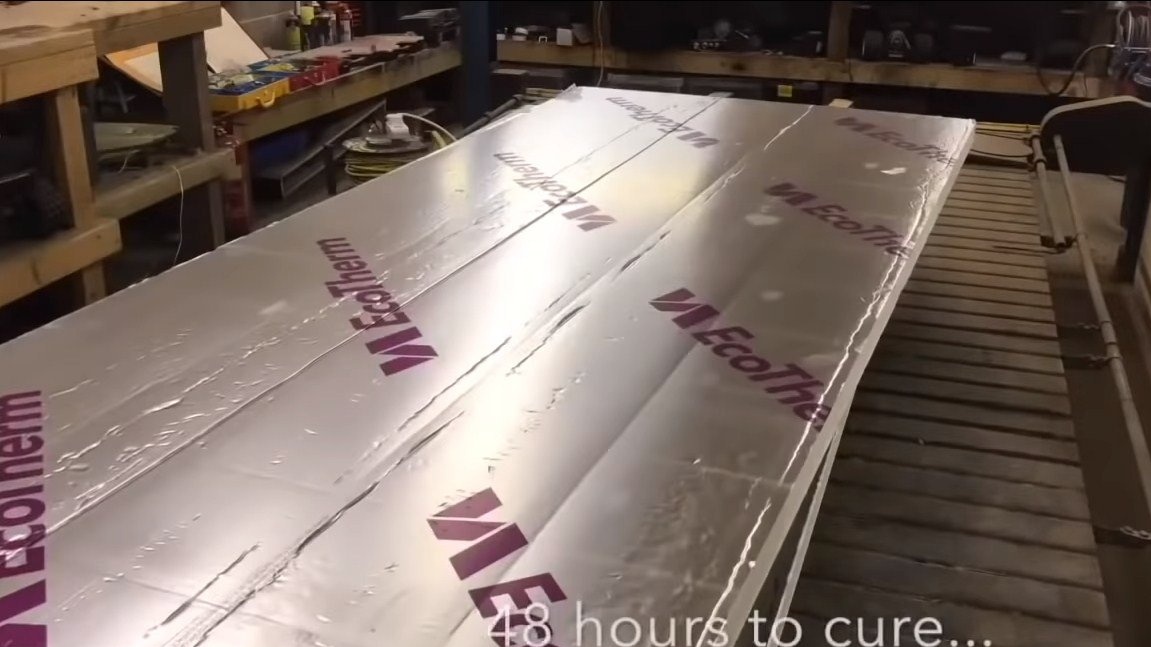
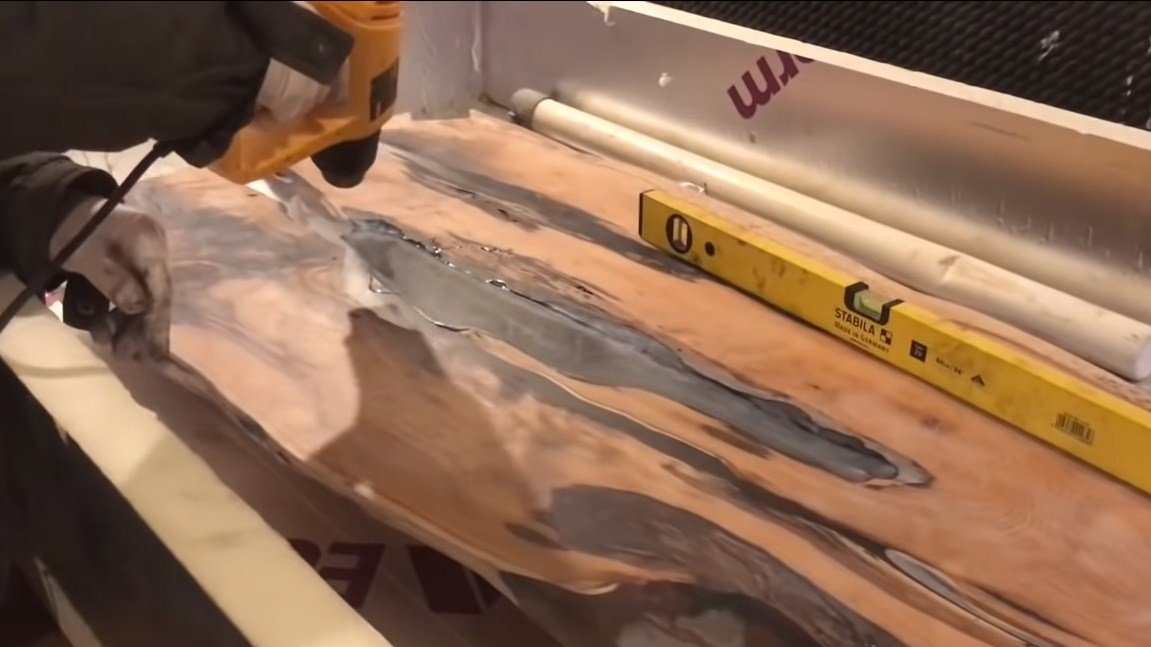
You can start pouring, the author uses Glasscast 50 resin. We mix it by weight with a hardener, be sure to pour the resin from container to container, only in this way you can evenly mix it with a hardener. Well, then fill the countertop and cover the whole thing from above so that nothing is poured. Leave the resin to harden.
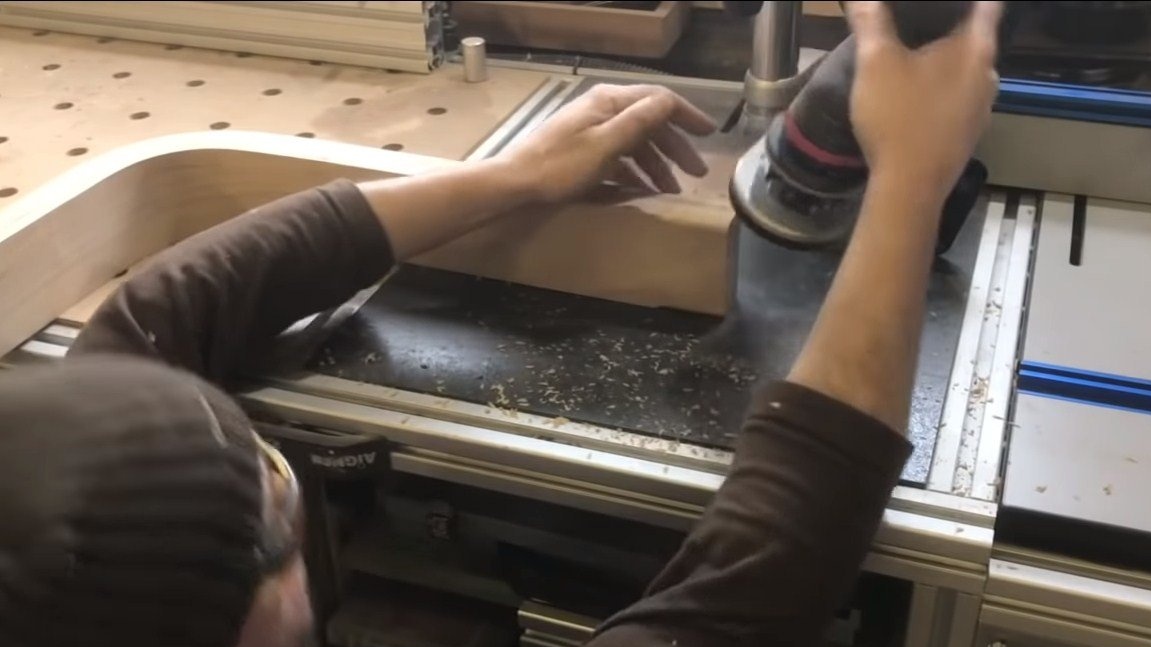
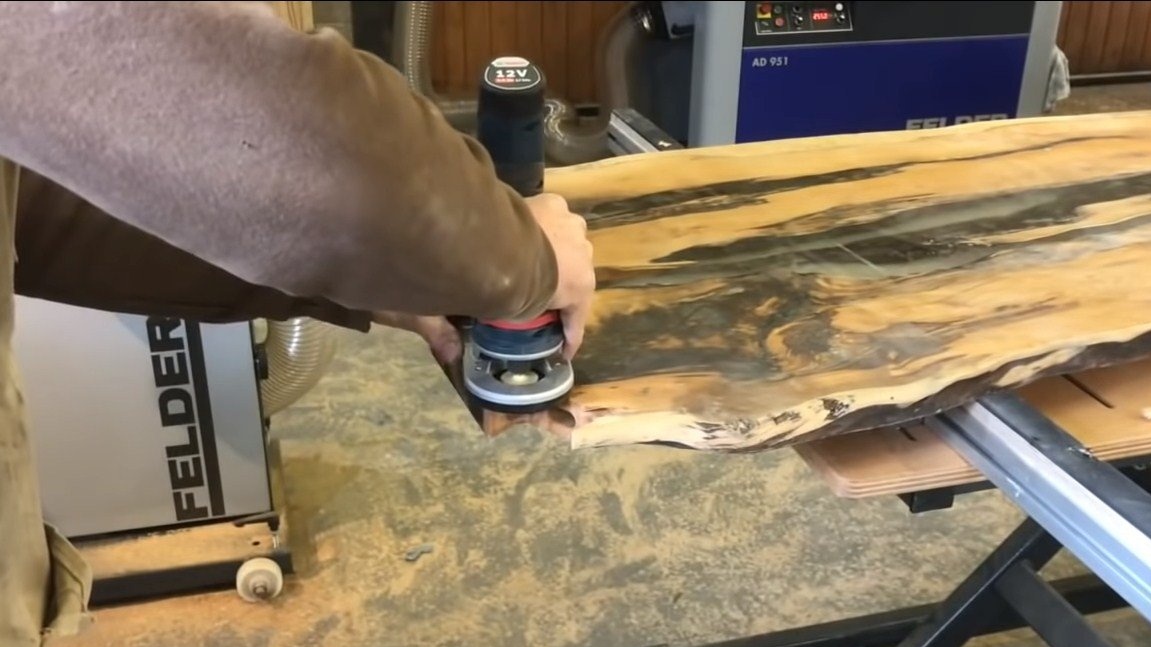
Step Two Grinding
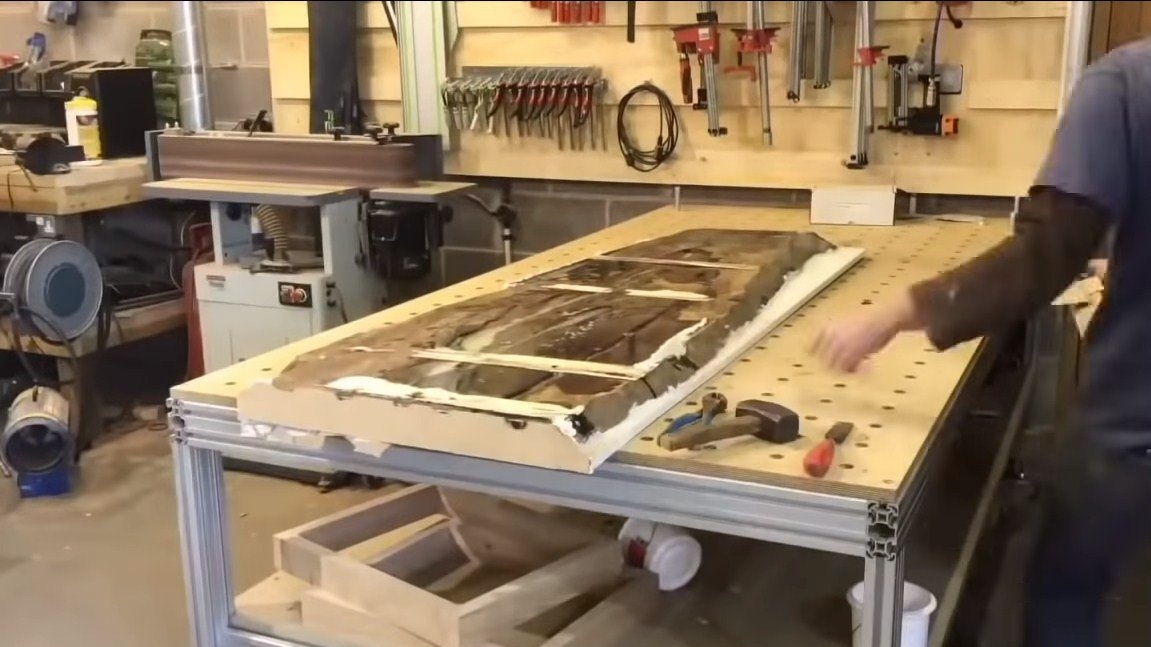
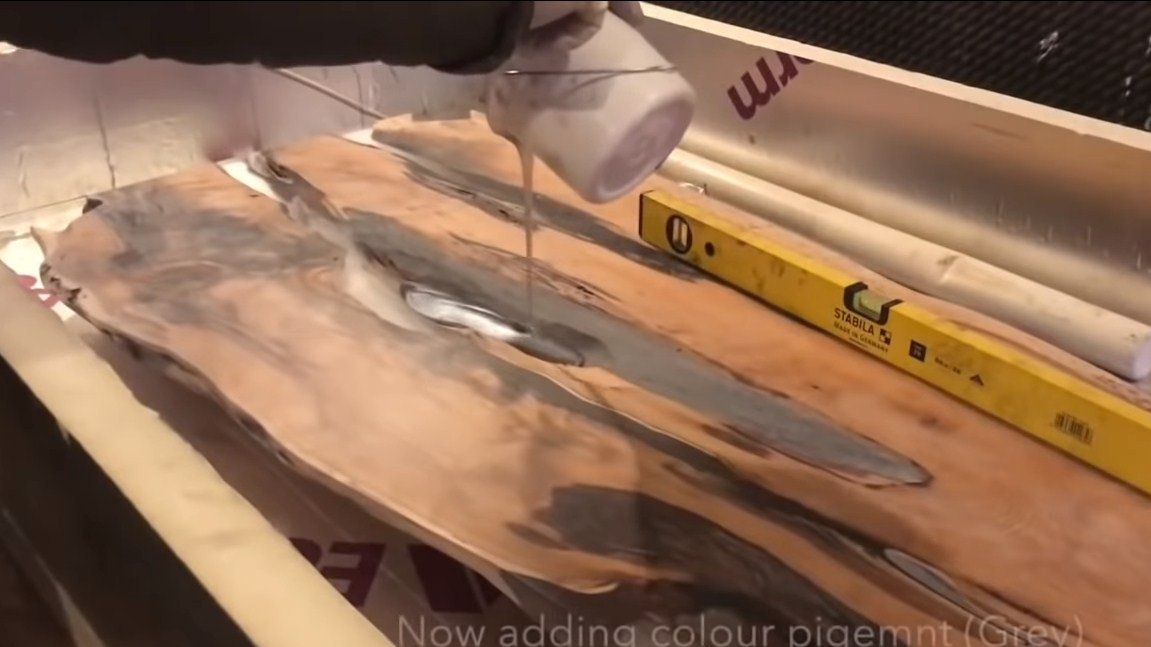
When the resin hardens, remove the formwork. On the countertop there were places not filled with resin. Their author refills, but takes the resin with dye.
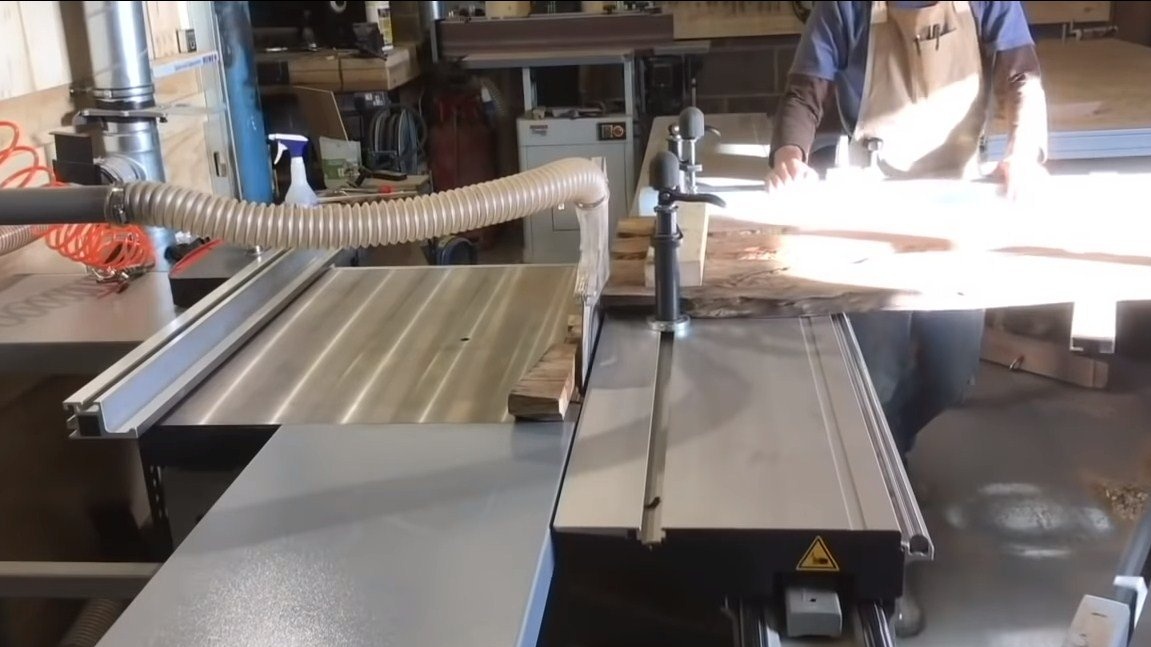
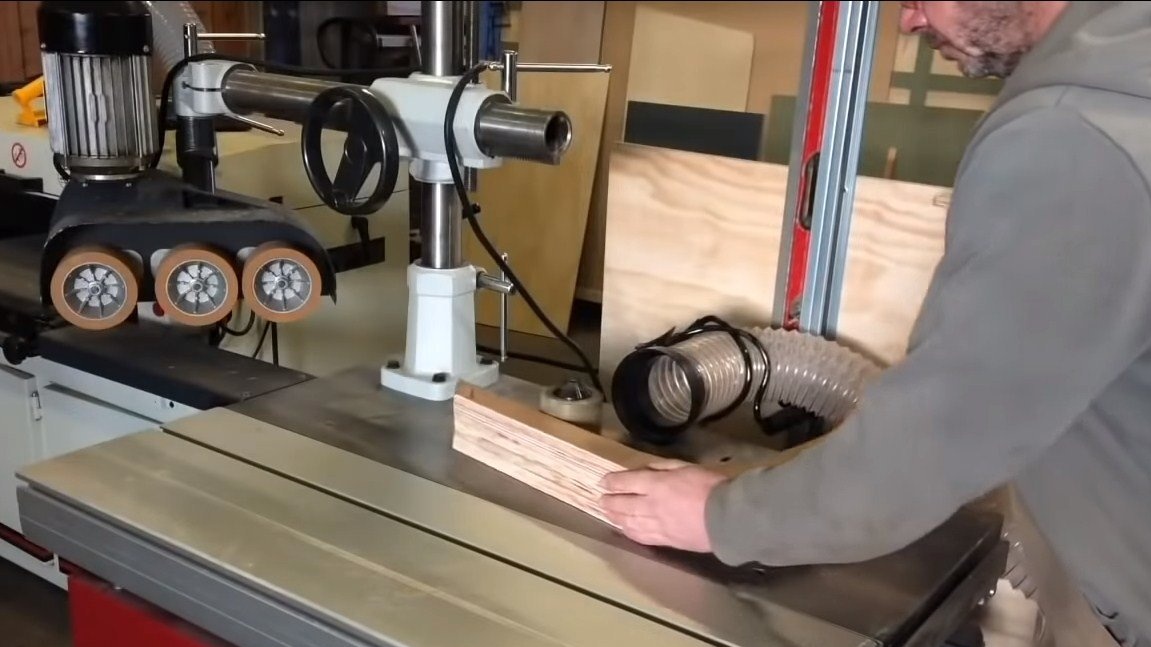
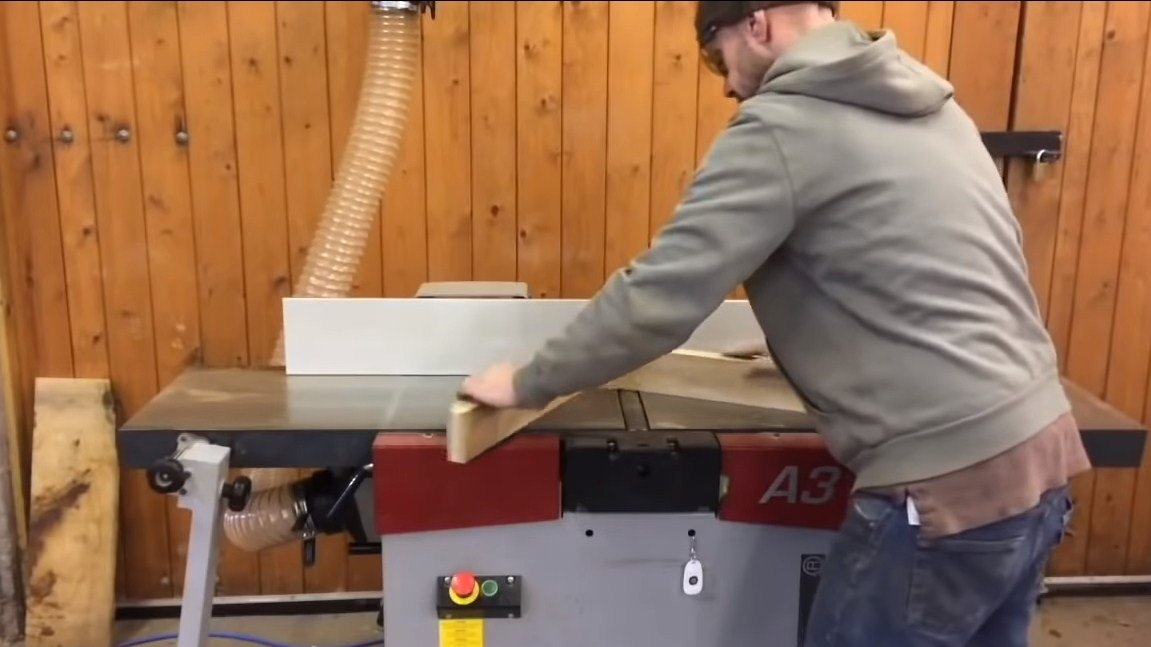
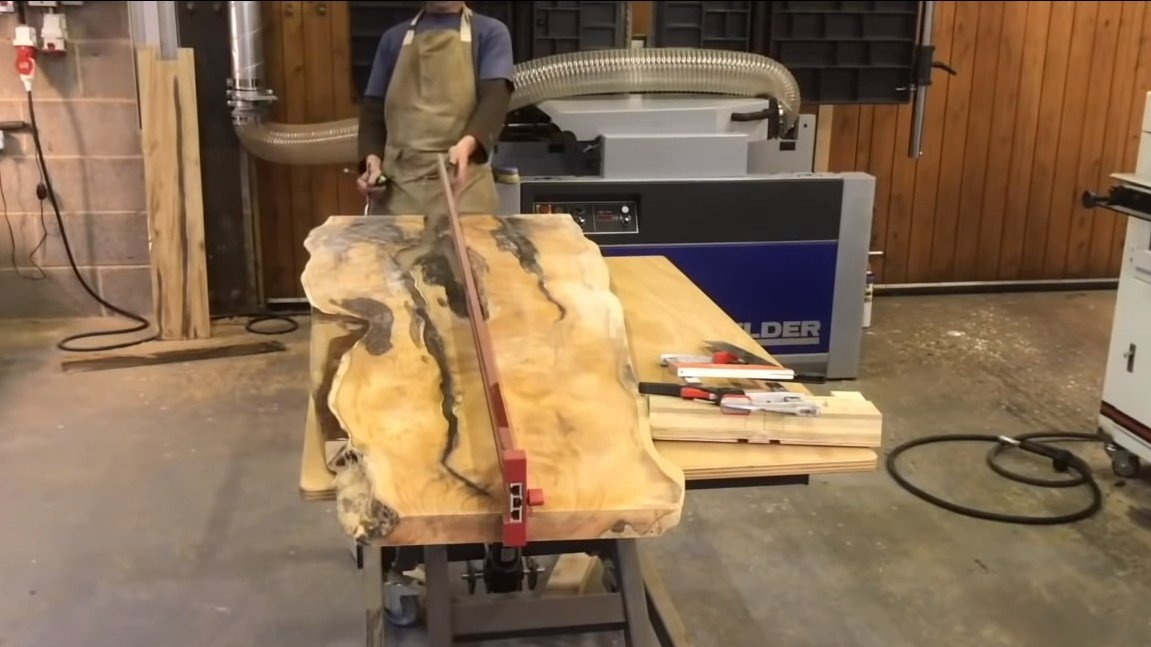
At the end, we run the countertop through the thicknesser, this machine will solve the main problem with grinding. The remaining areas are processed with a manual grinder.
[center]

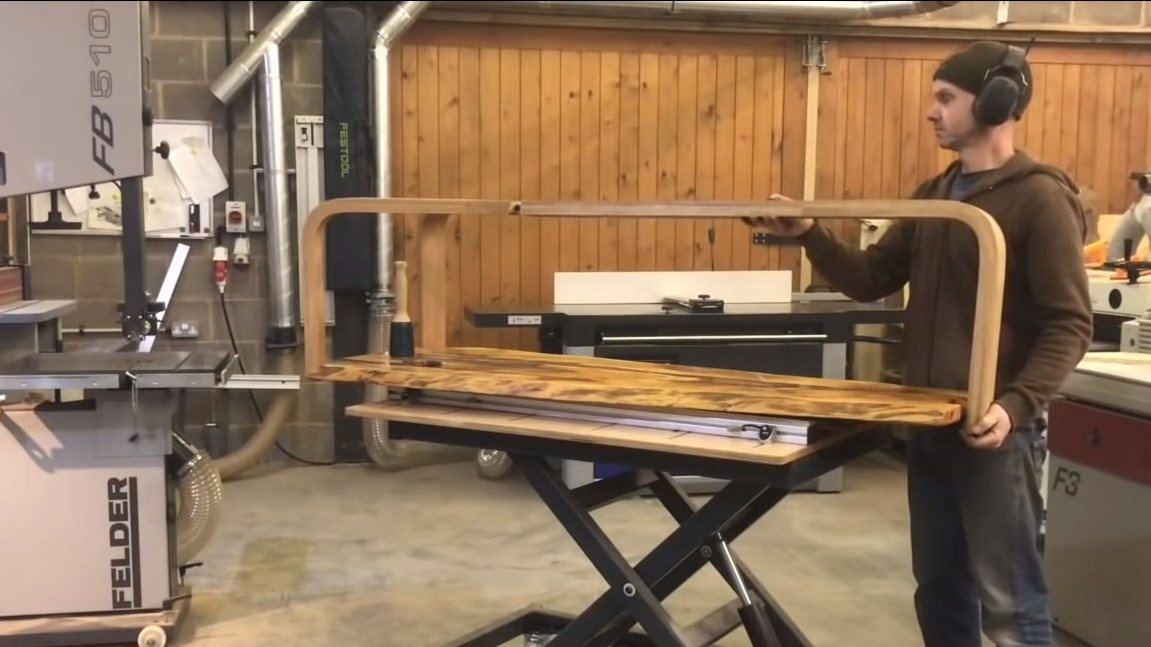
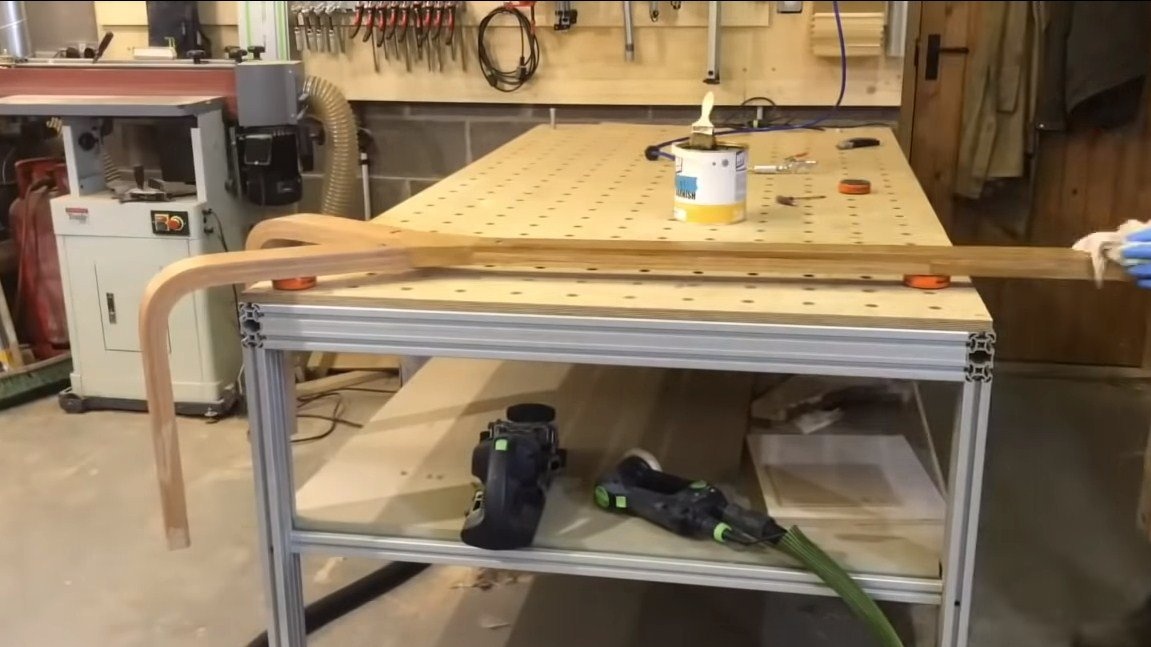
Step Three Making legs
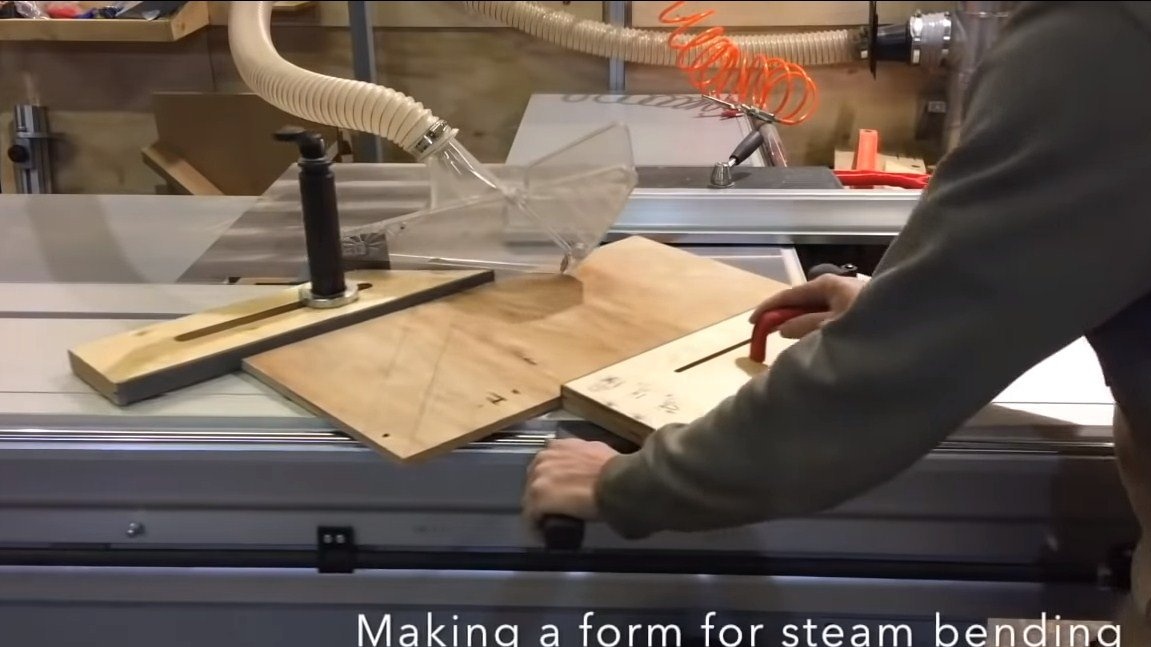
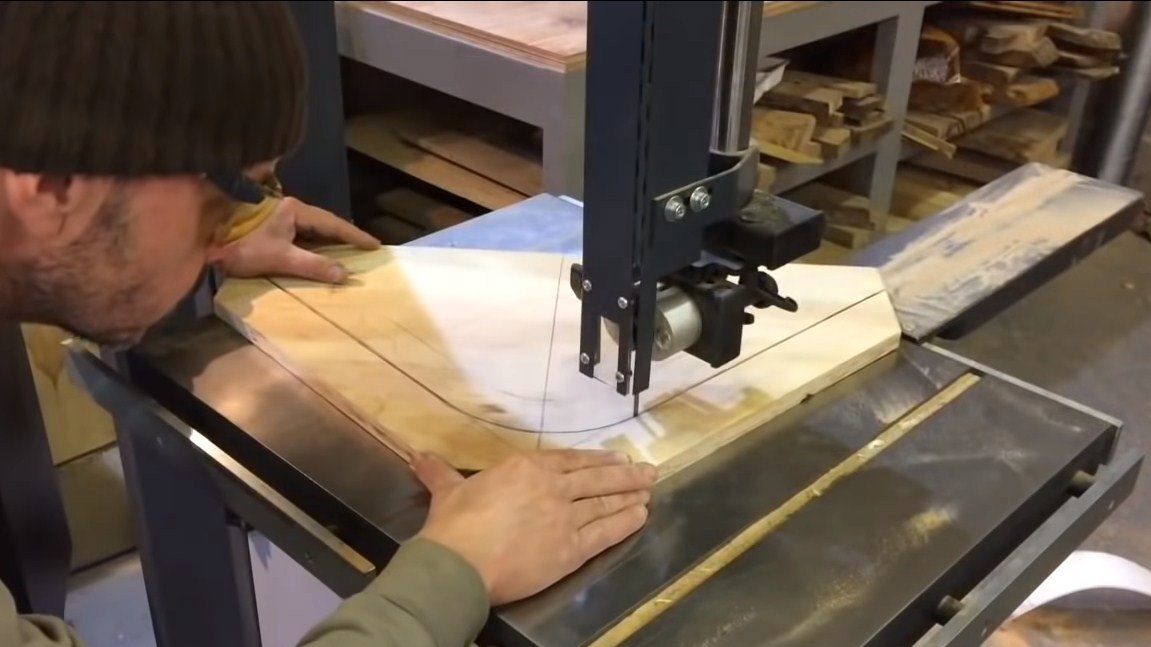
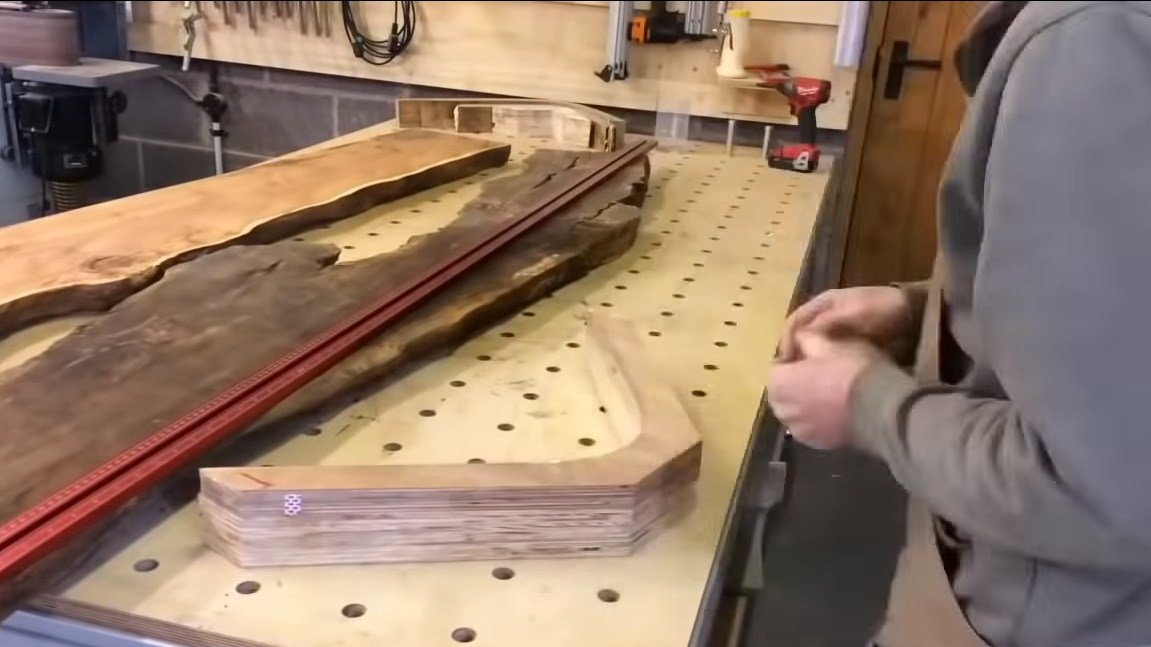
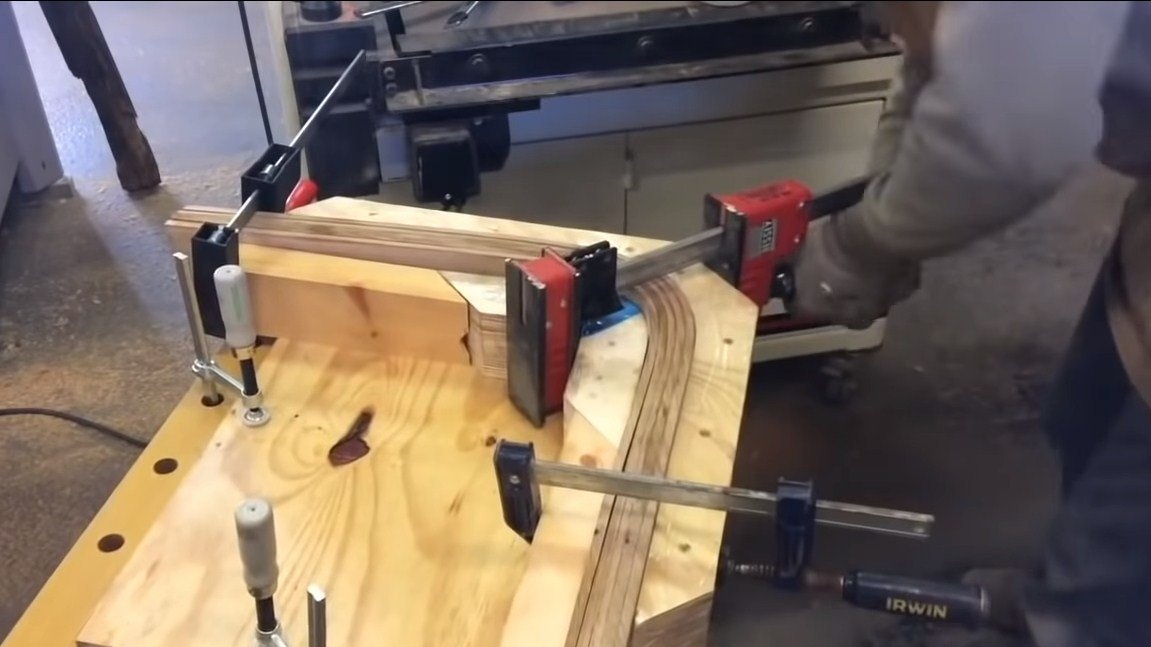
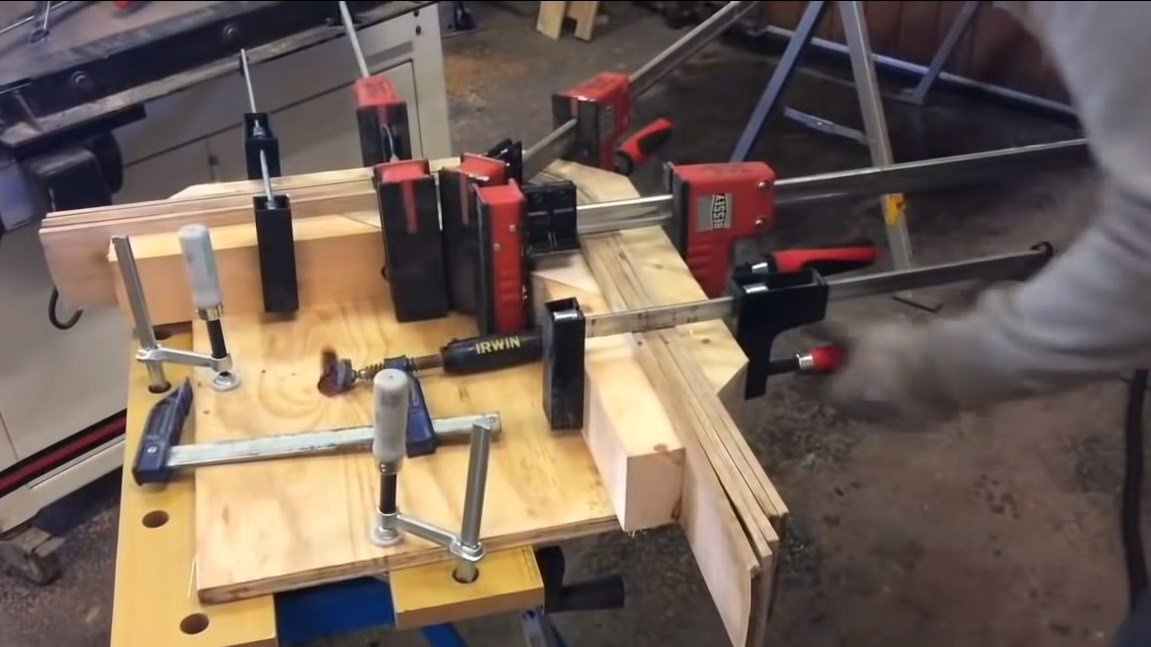
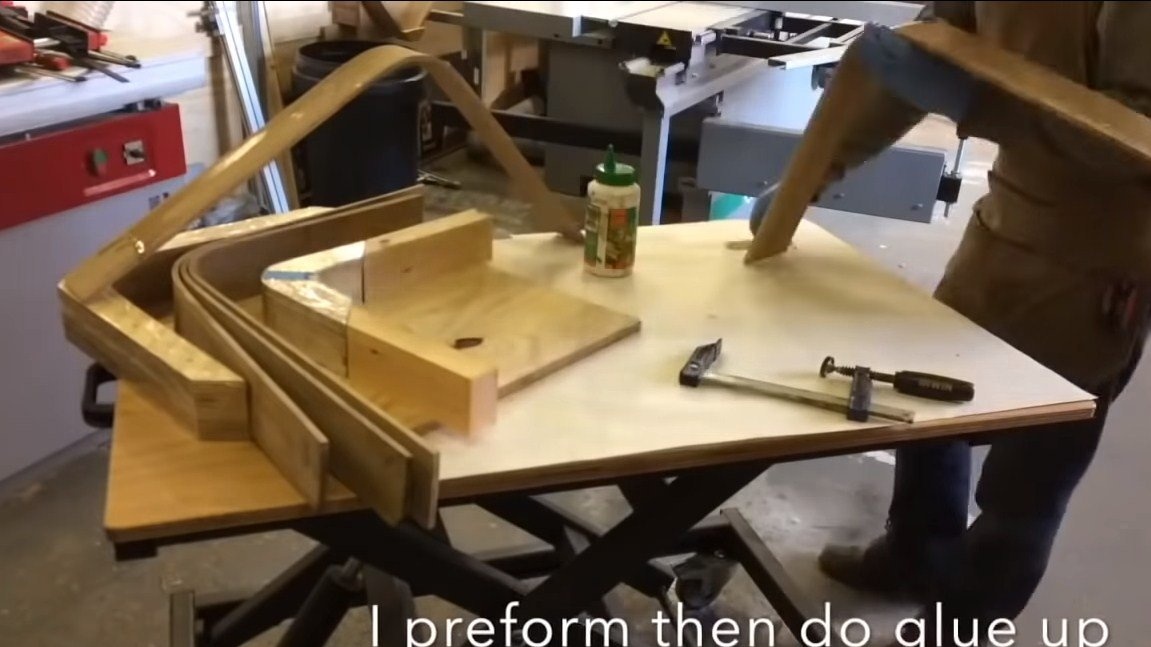
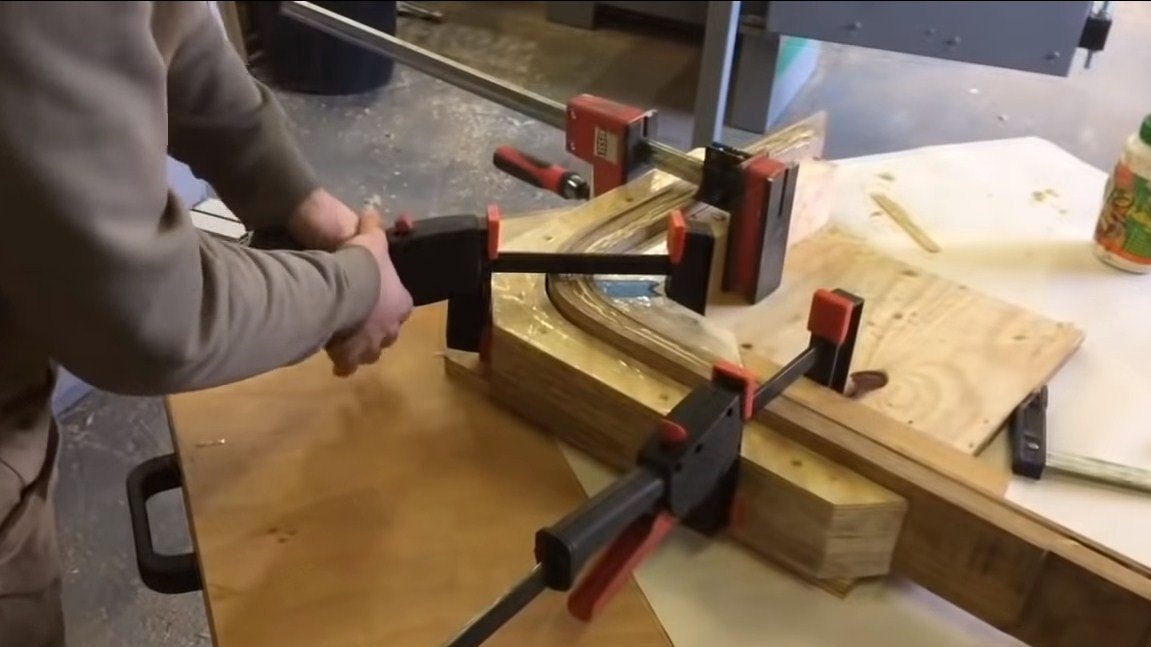
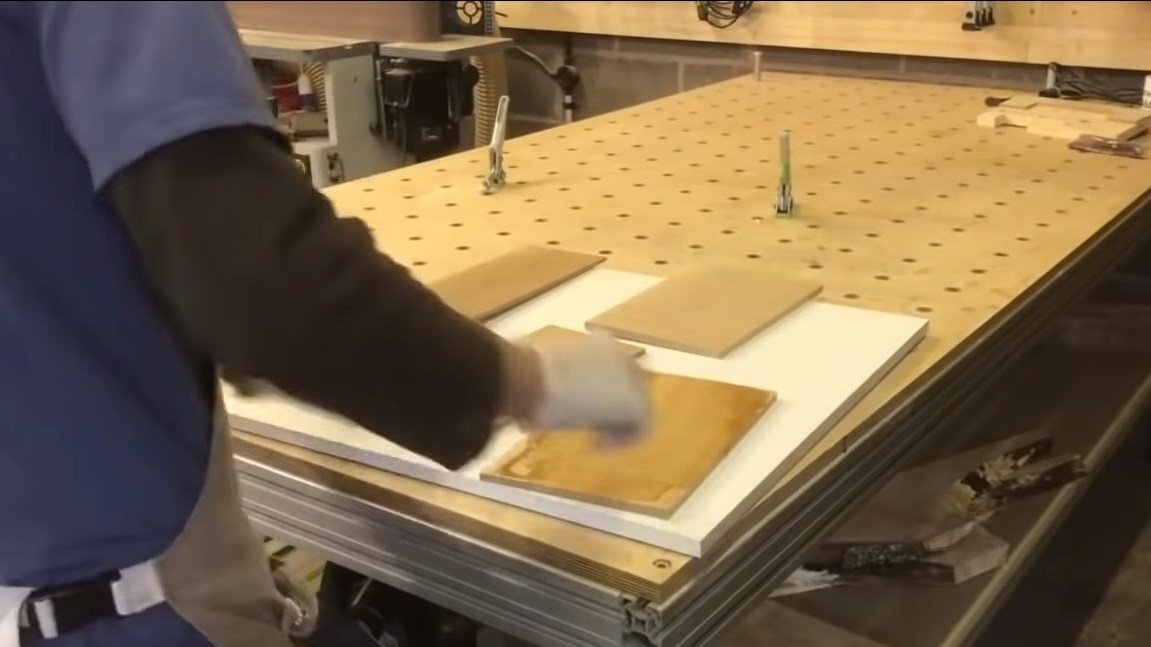
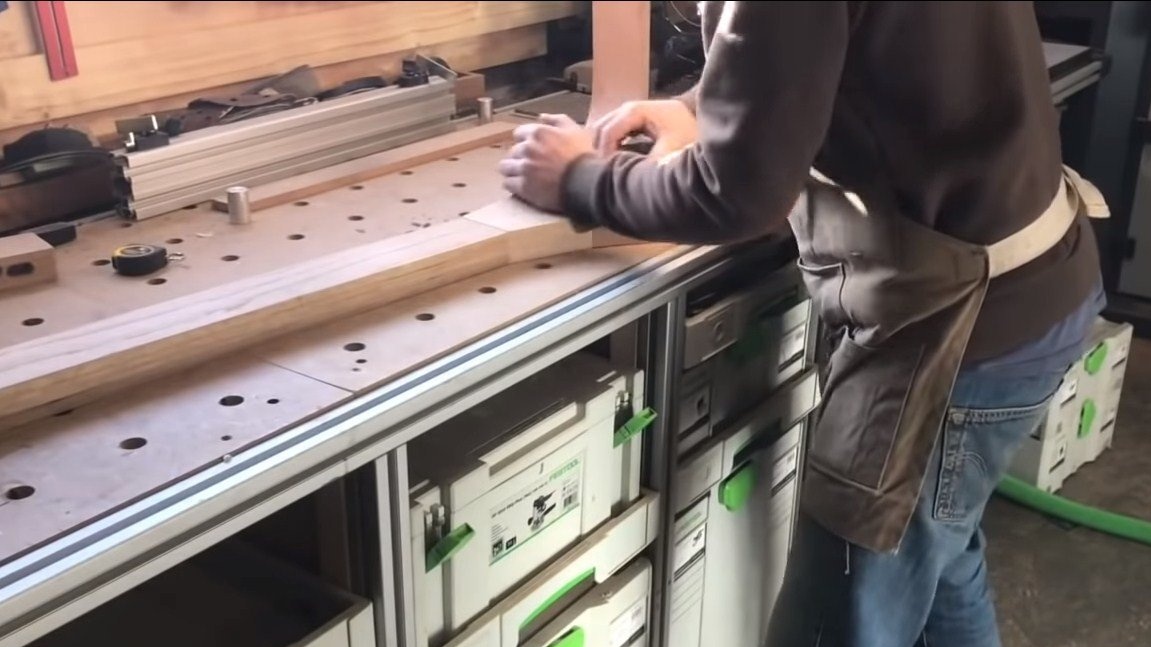
The author makes the legs of multilayer plywood, the sheets are glued together with glue. But to ask them the desired shape, we need a special clamp, its author cuts out of plywood and glues it.
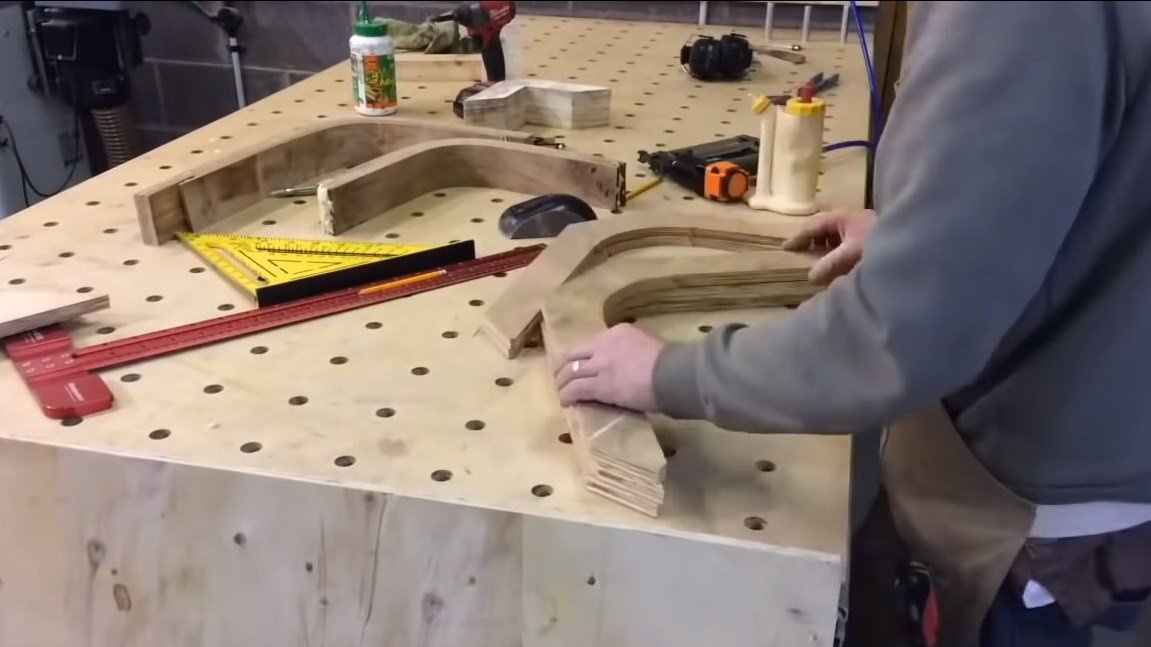
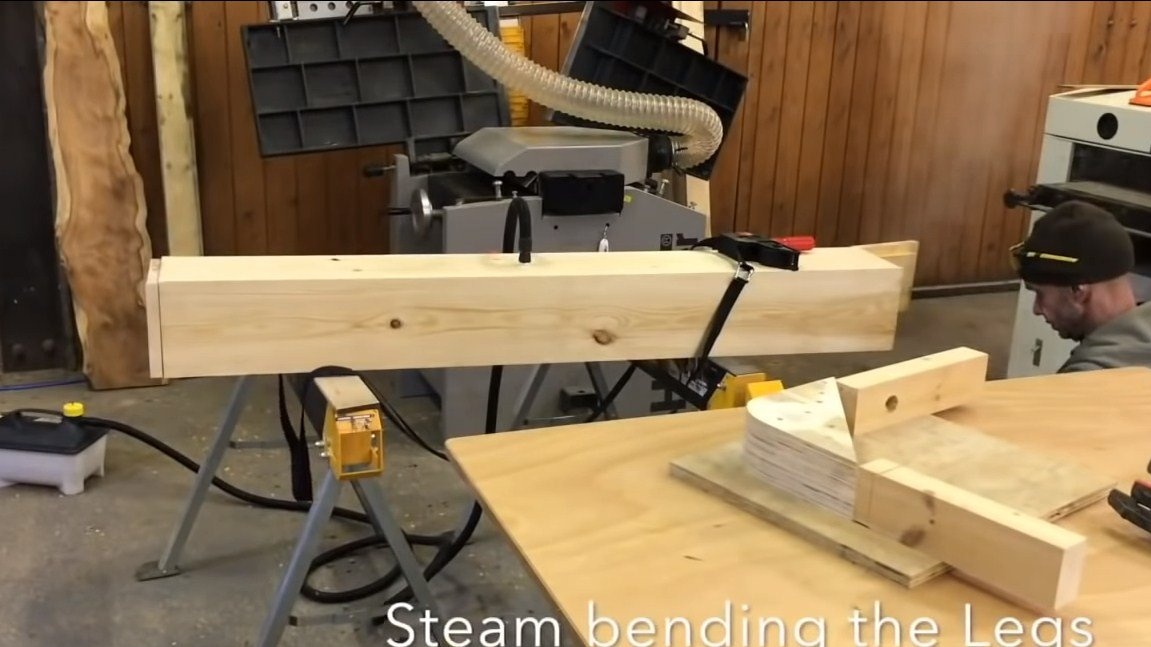
Next, cut the desired number of pieces of plywood, heat them up in a pair and clamp them into a template. After some time, the material will take the form we need. In total, we will need to collect three legs that resemble the shape of the letter “G”.
You will also need another detail for connecting the legs, we also collect it from pieces of plywood by gluing.
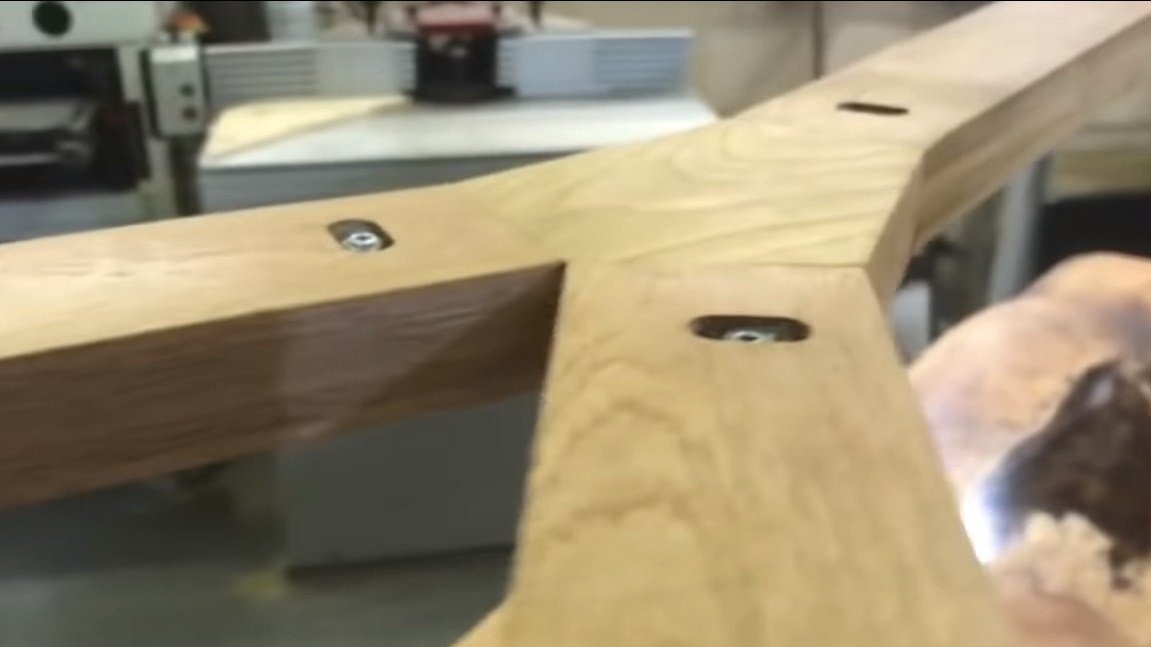
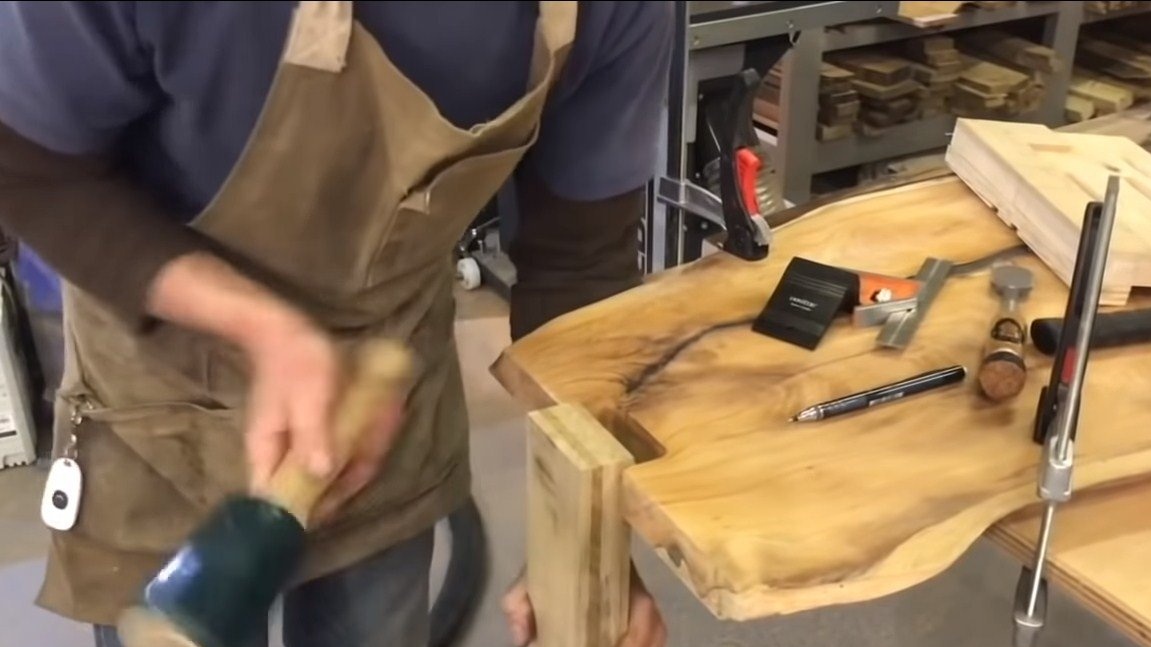
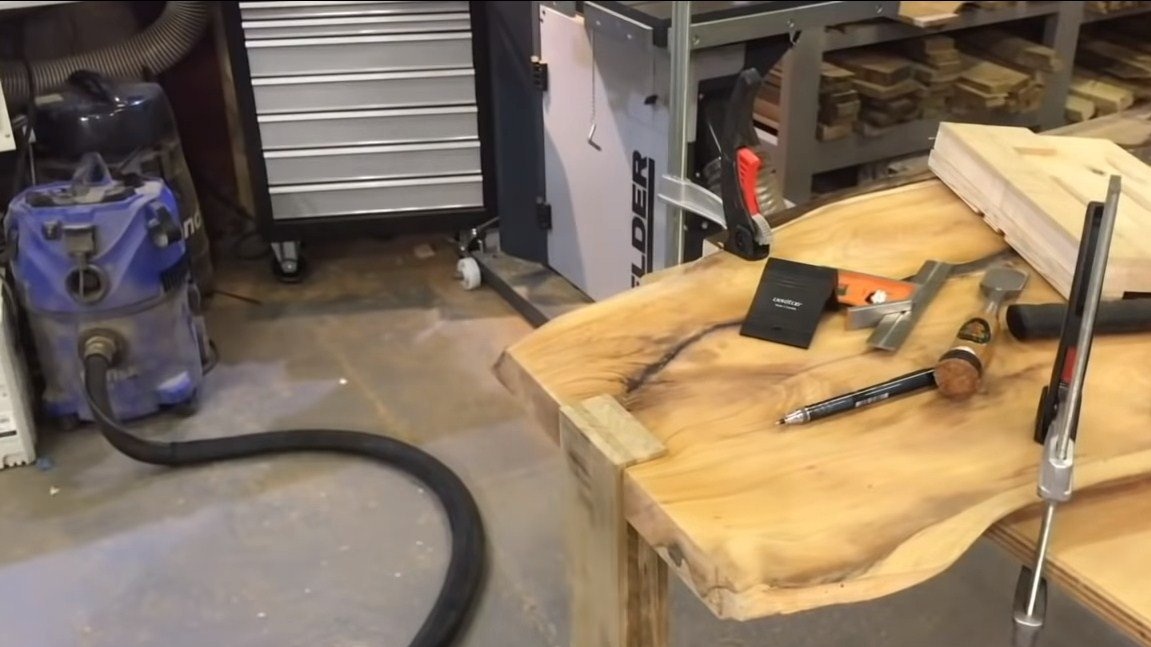
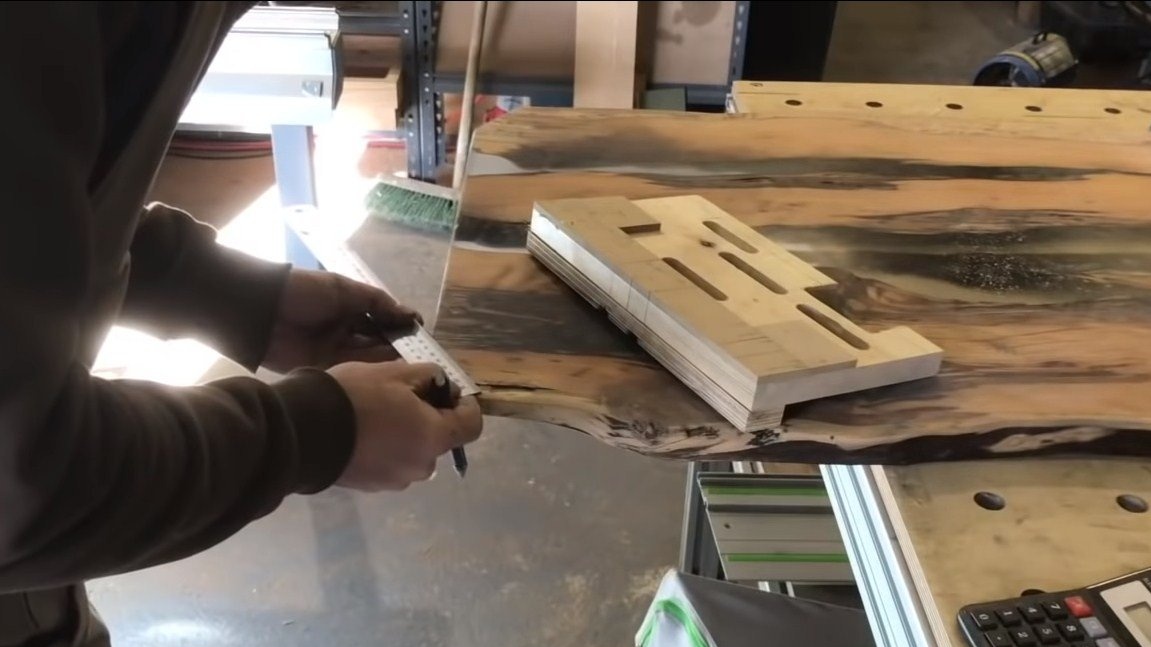
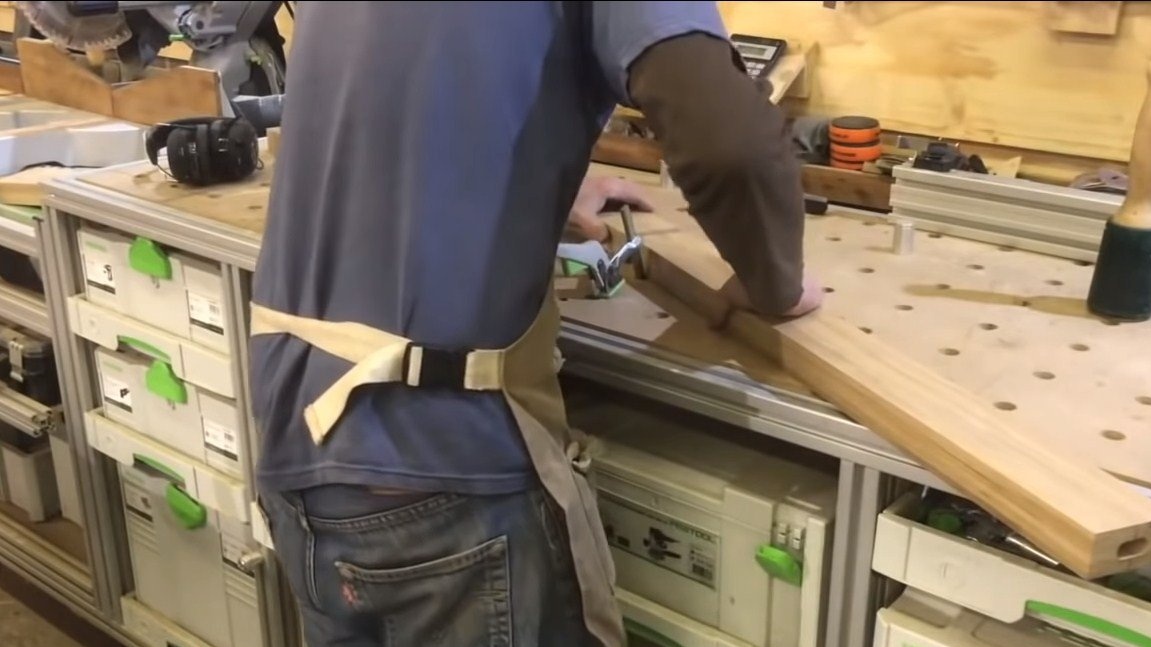
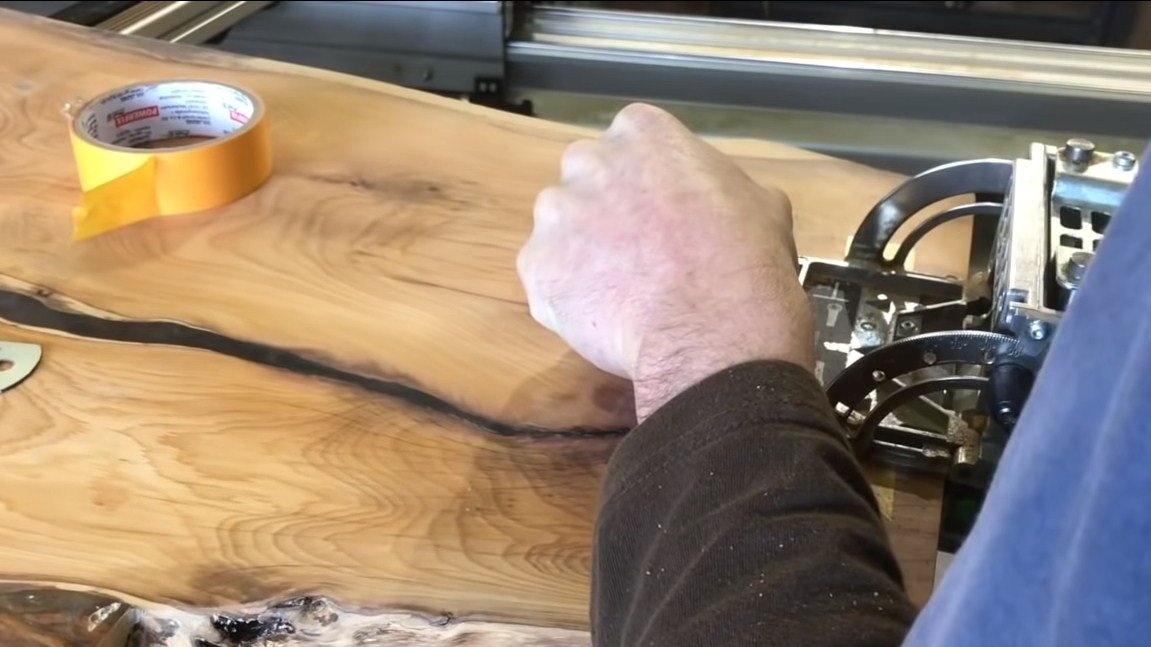
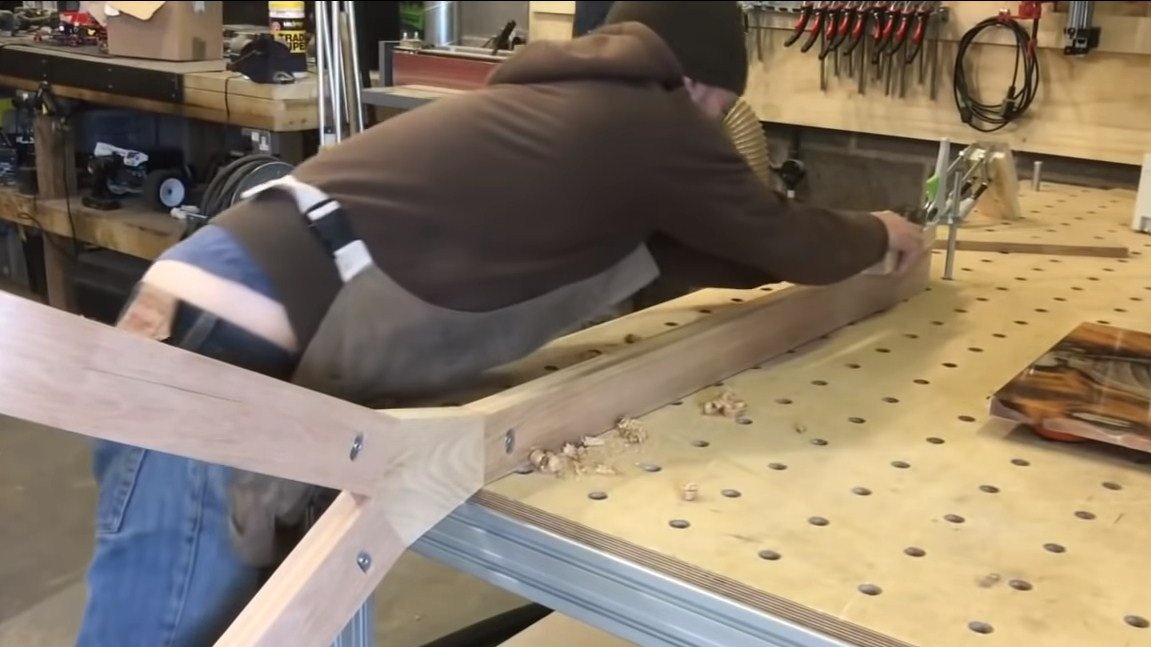
Step Four Countertop grooves
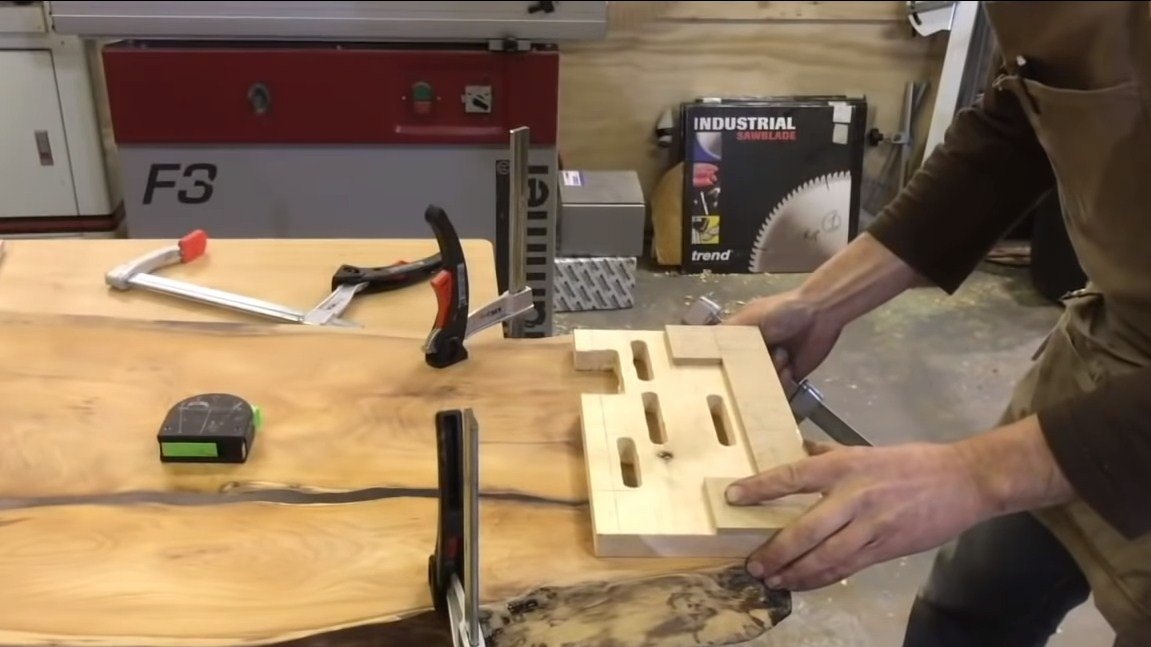
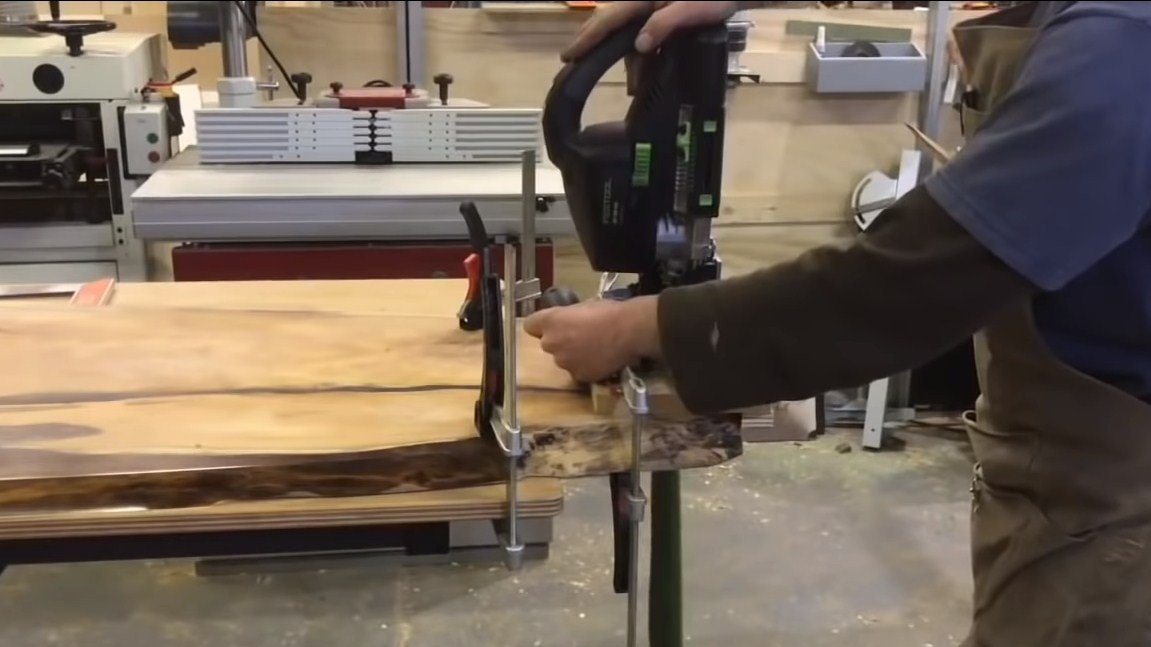
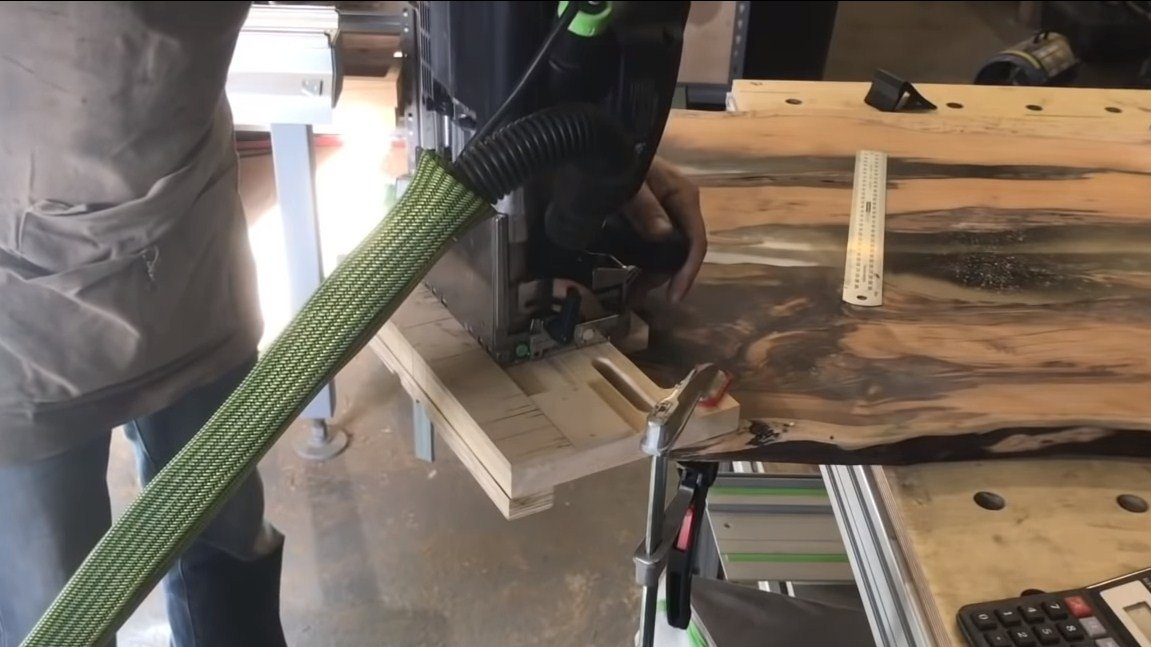
In the countertop, you need to make three grooves for installing the legs. They should be made quite accurately so that the legs go into them with a minimum clearance. There are also installed spikes that will hold the legs. We look in more detail at the photo. The author uses two special milling machines to solve these problems, but in general, you can cope with a drill and other common tools.

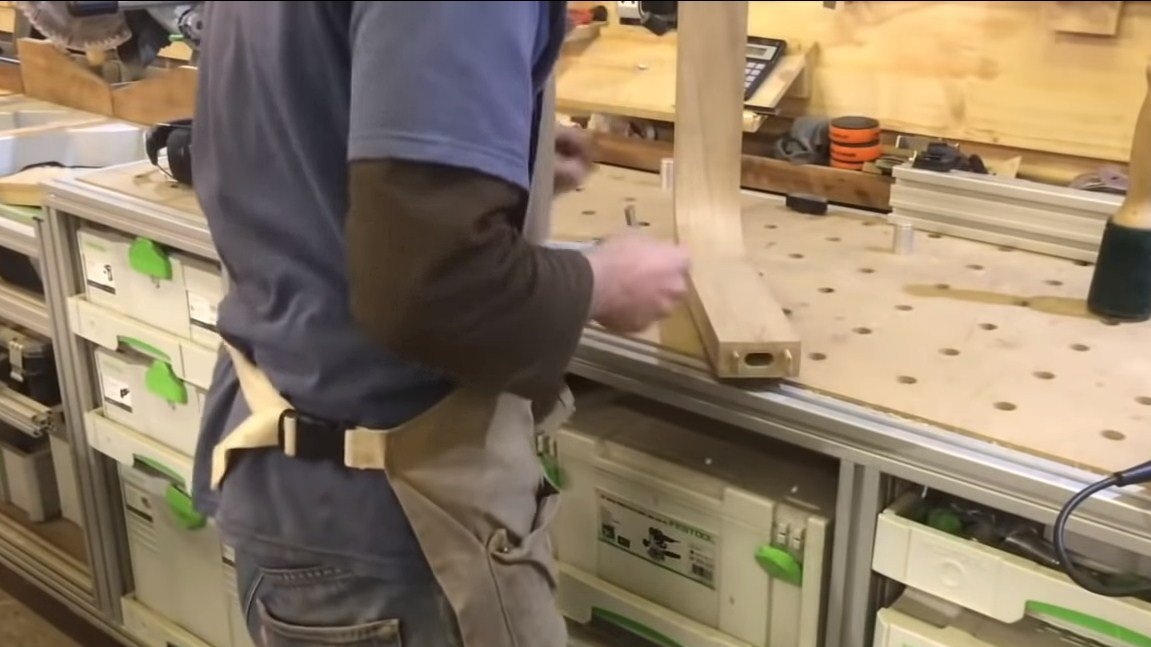
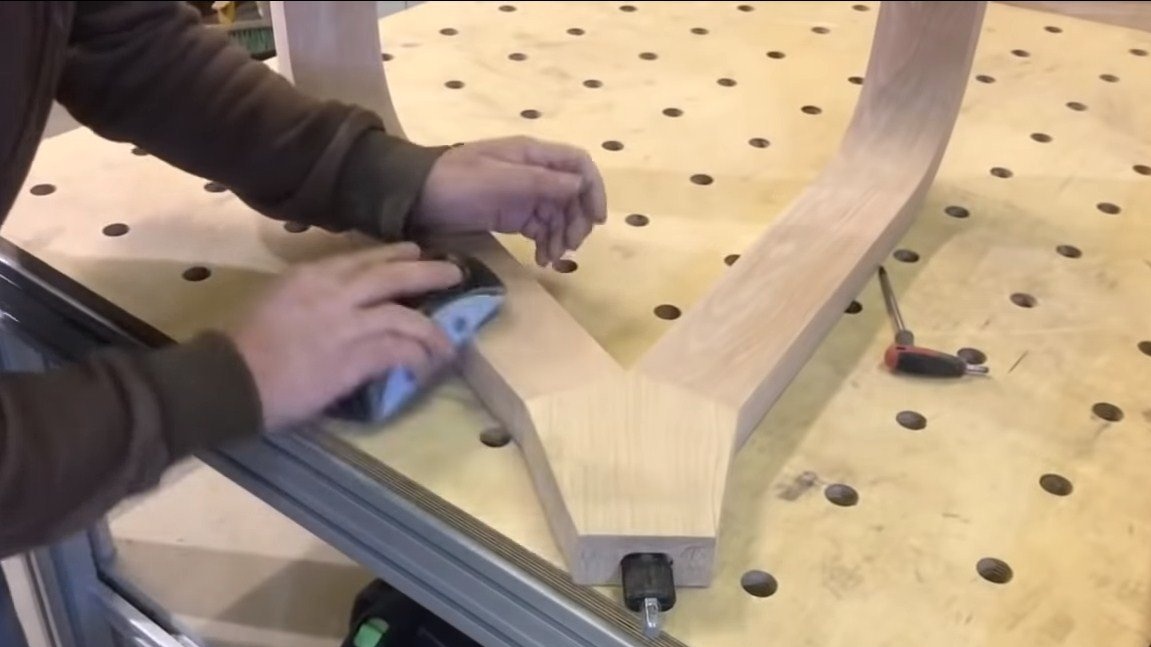
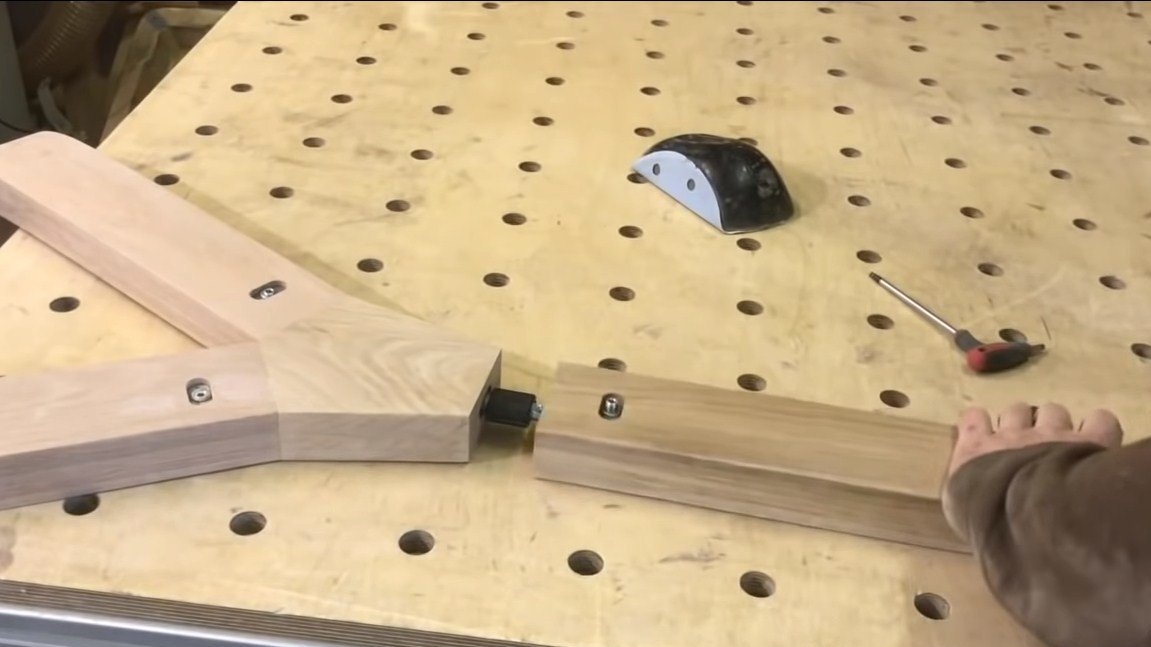
Step Five We finalize the legs
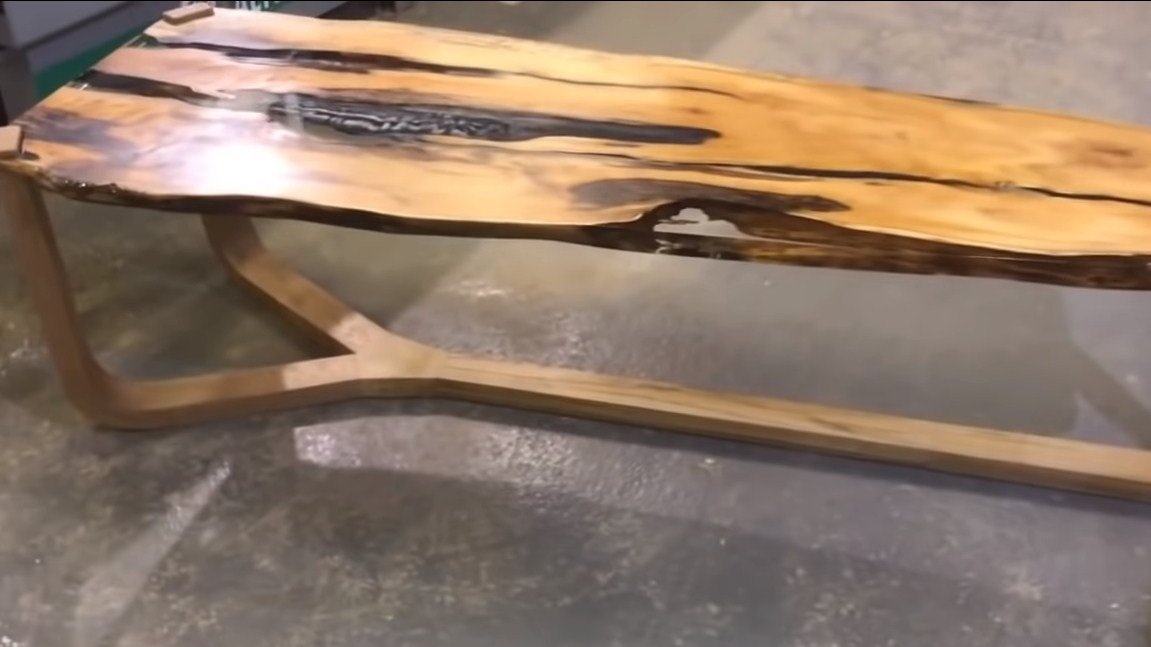
For the legs you need to make a special transitional part, in shape resembling the letter "Y". With it, the legs will connect. Special furniture nuts are installed here.
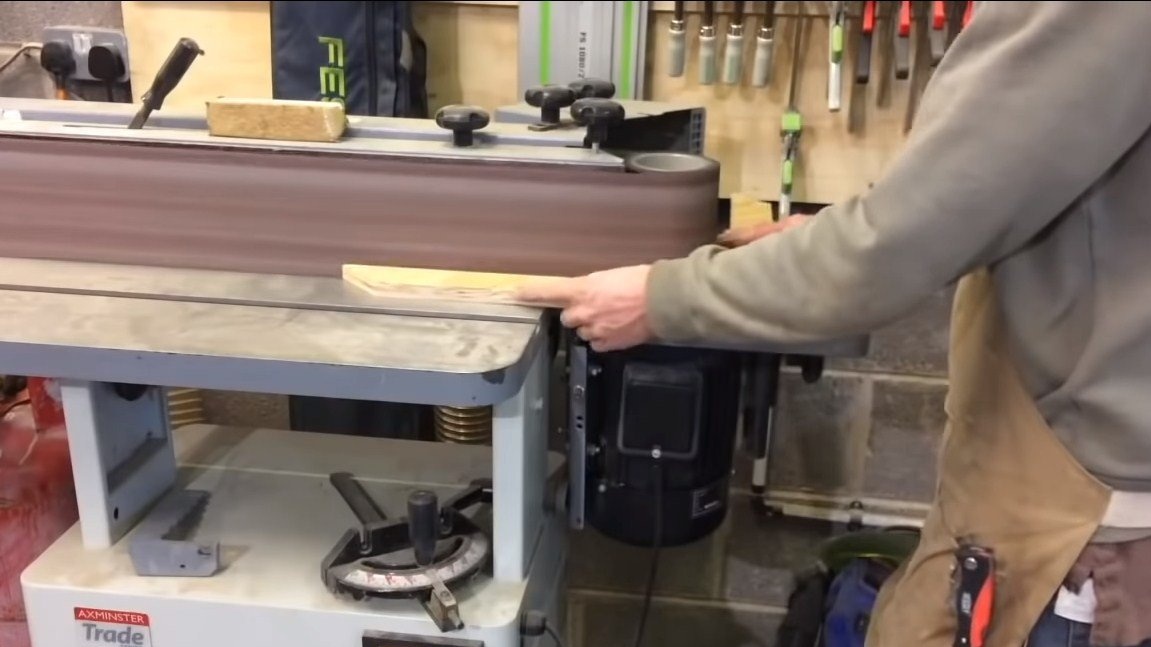
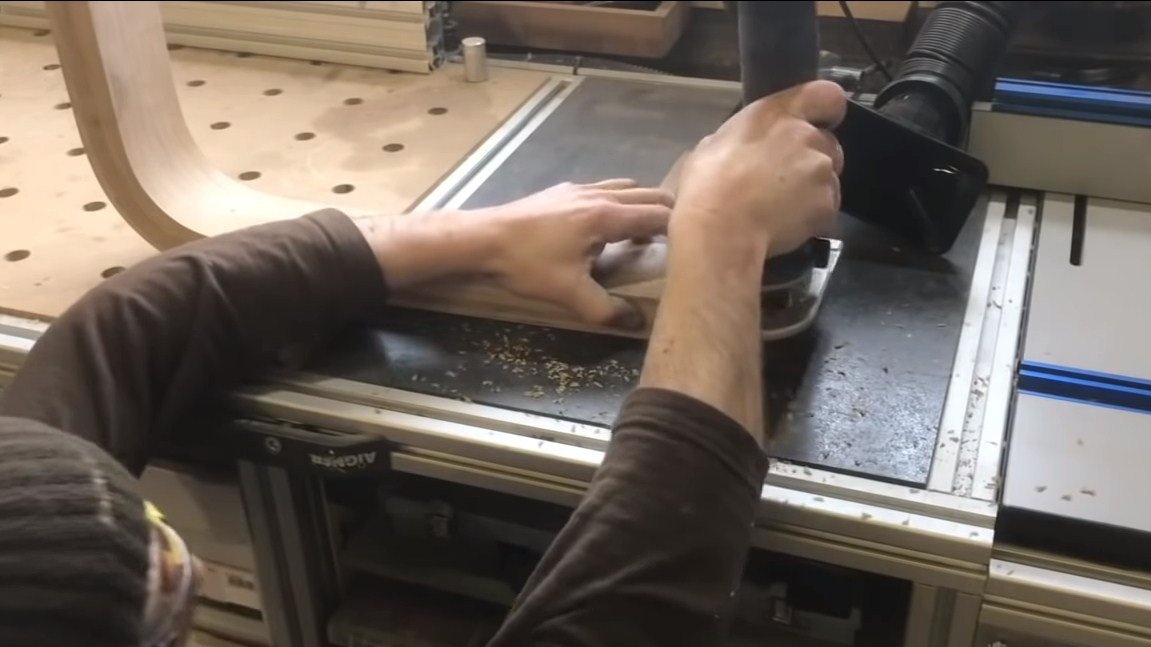
When all the parts are ready, we will walk through them with a planer, and then grind well to a smooth state. After grinding, the legs can be varnished.
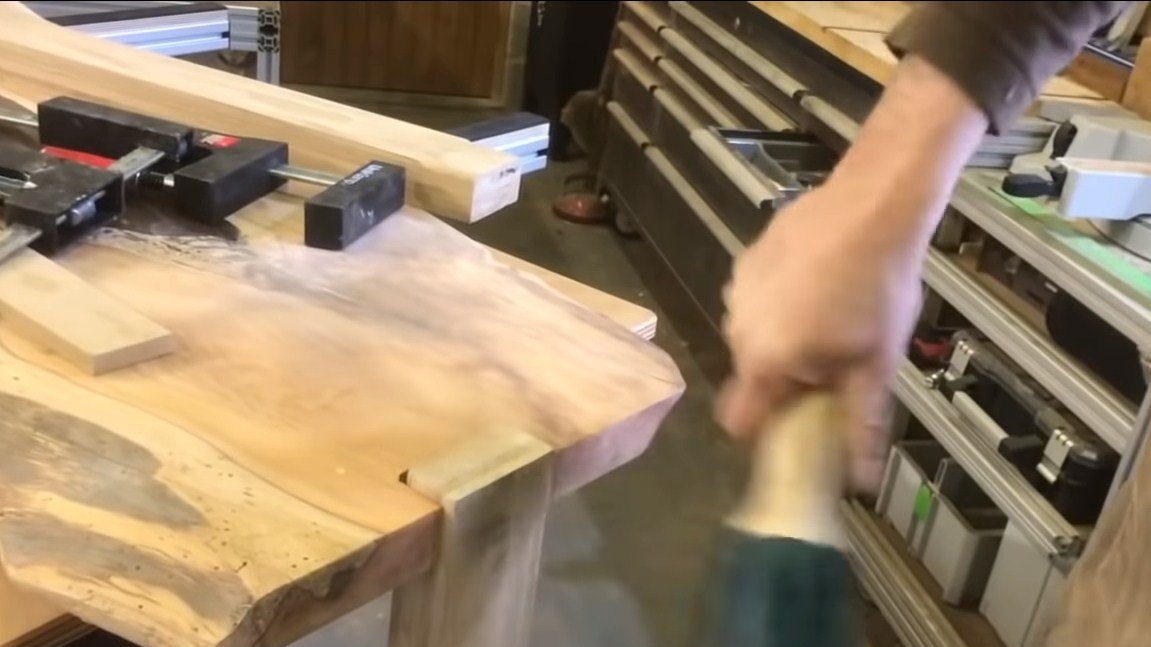
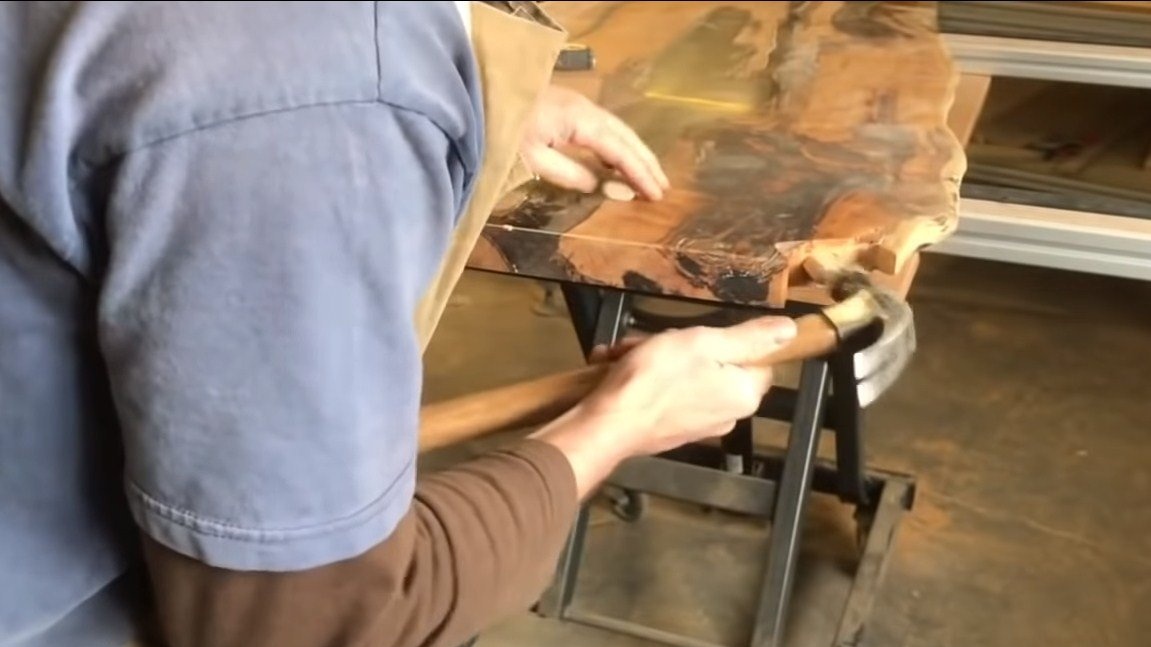
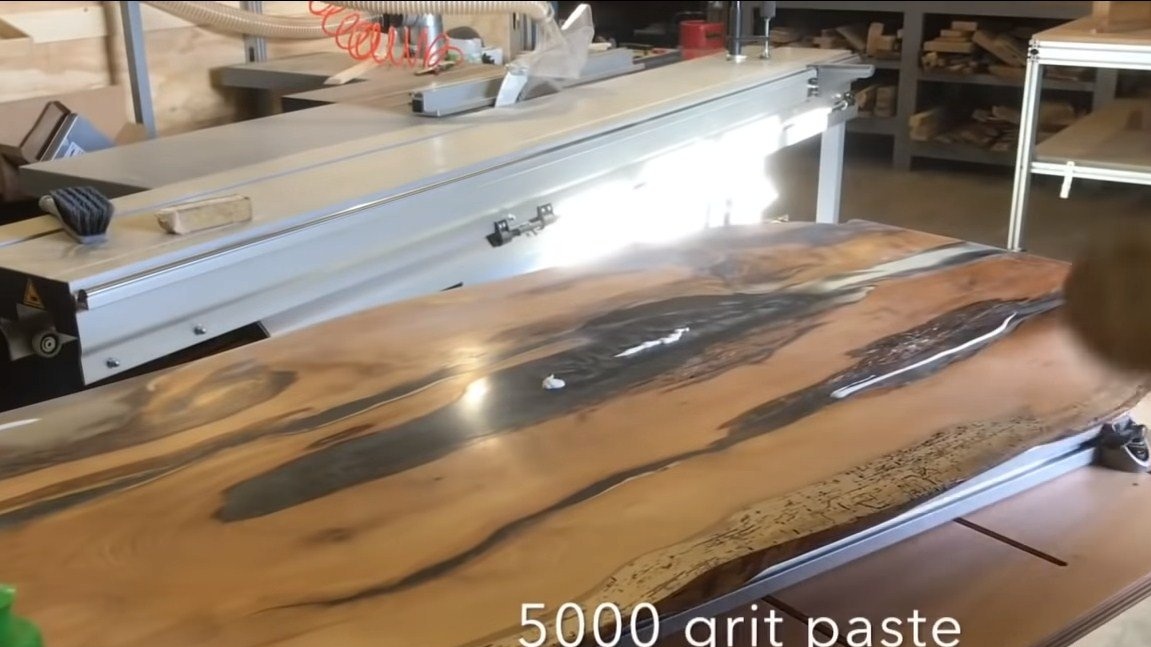
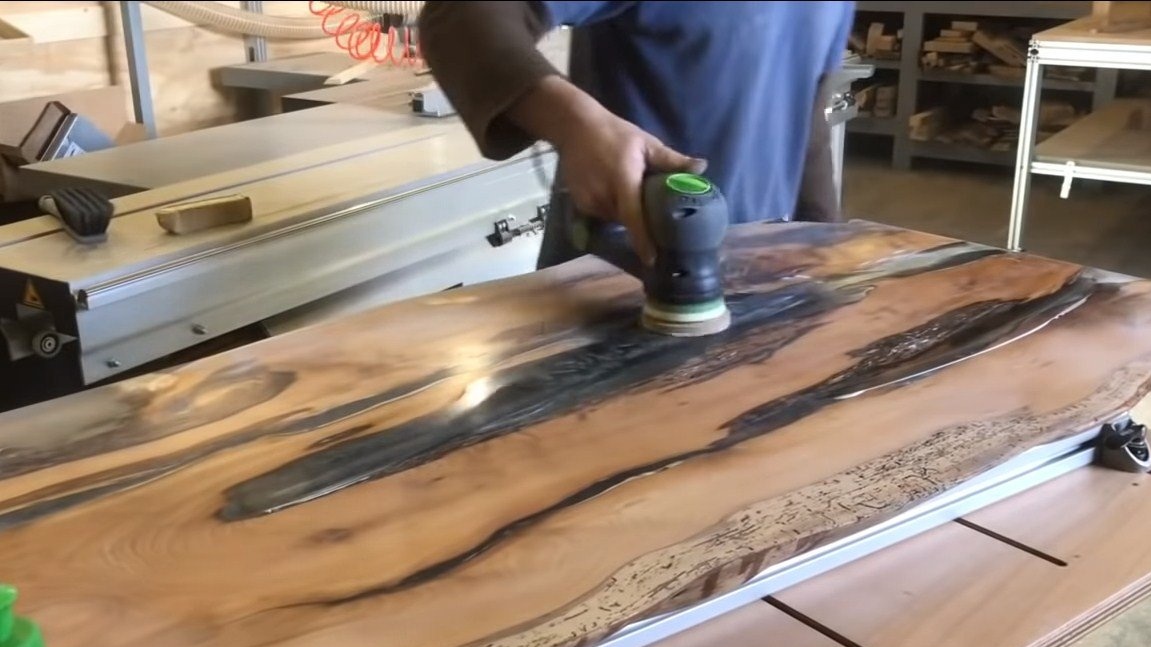
Step Six Worktop refinement
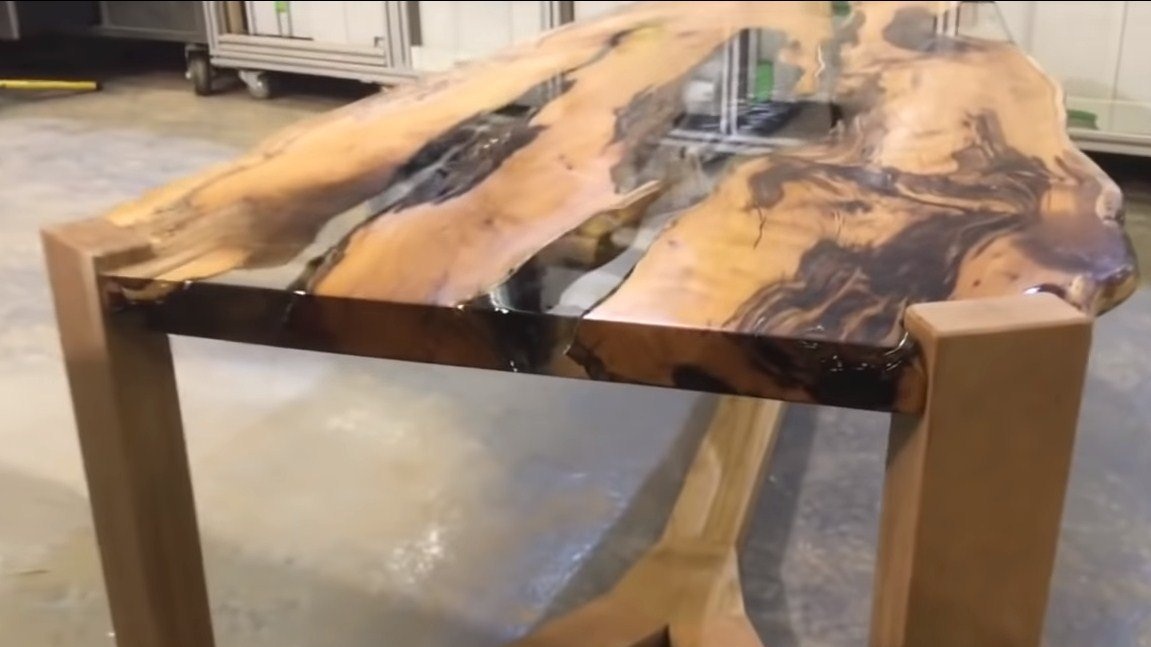
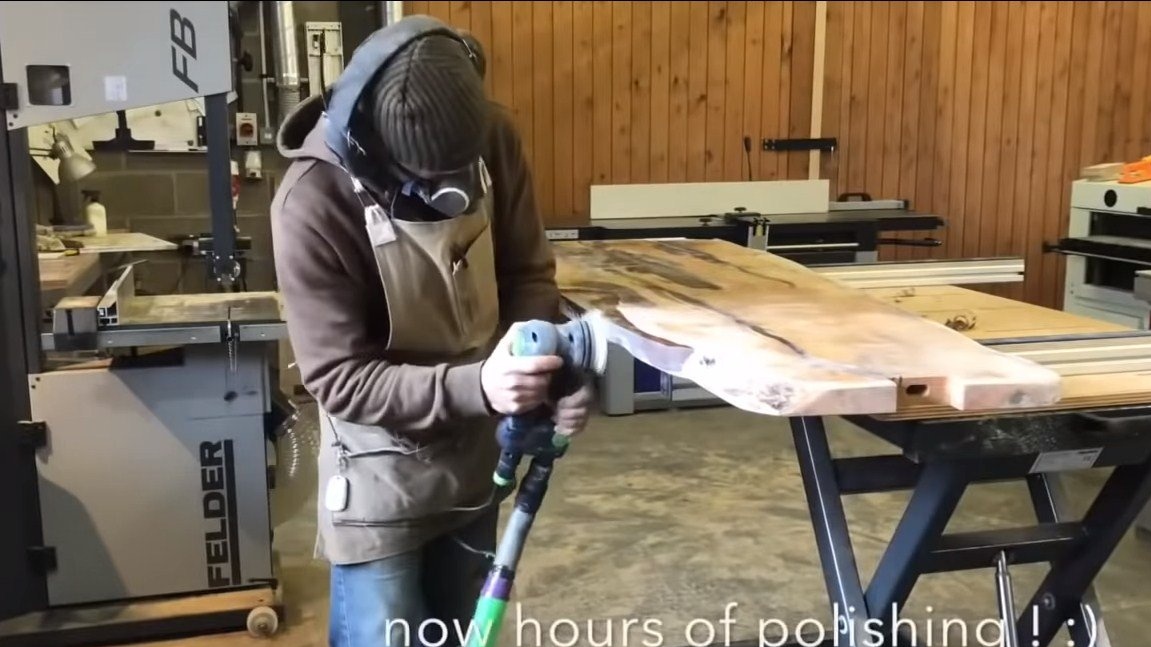
It remains to modify the countertop, we need to make the epoxy transparent. To do this, first you need to polish the plane with fine sandpaper, and then polish it. The author polishes the countertop with a nozzle with a grit of 5000 units.
After polishing, cover the countertop with varnish or special epoxy. As a result, the coating will become perfectly transparent.

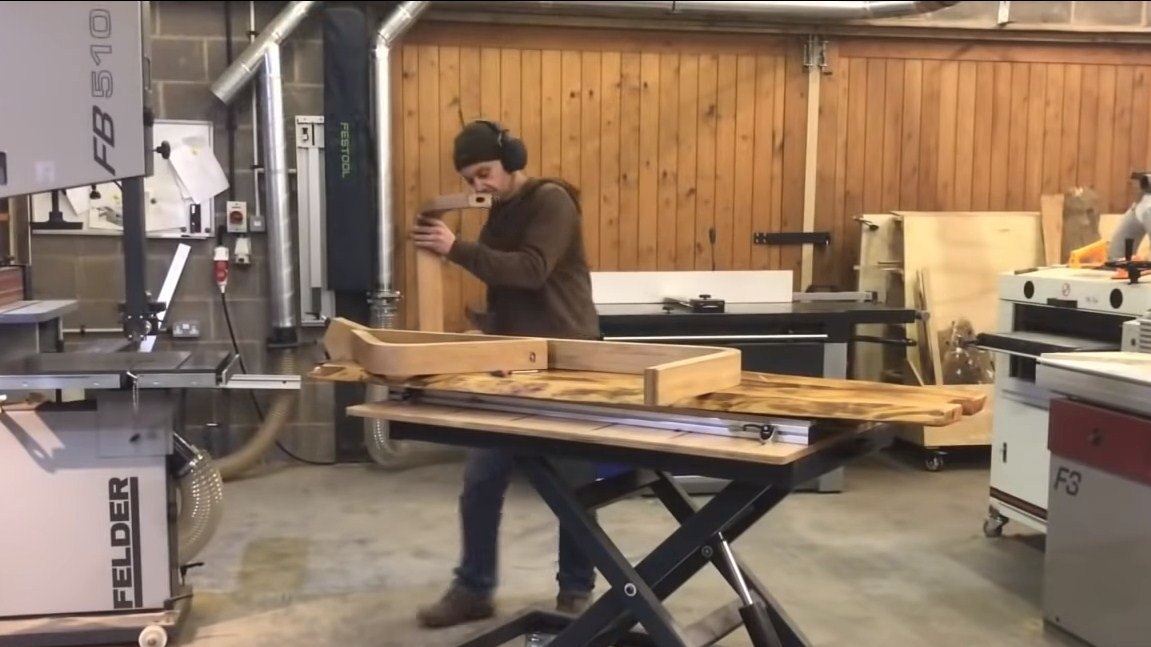
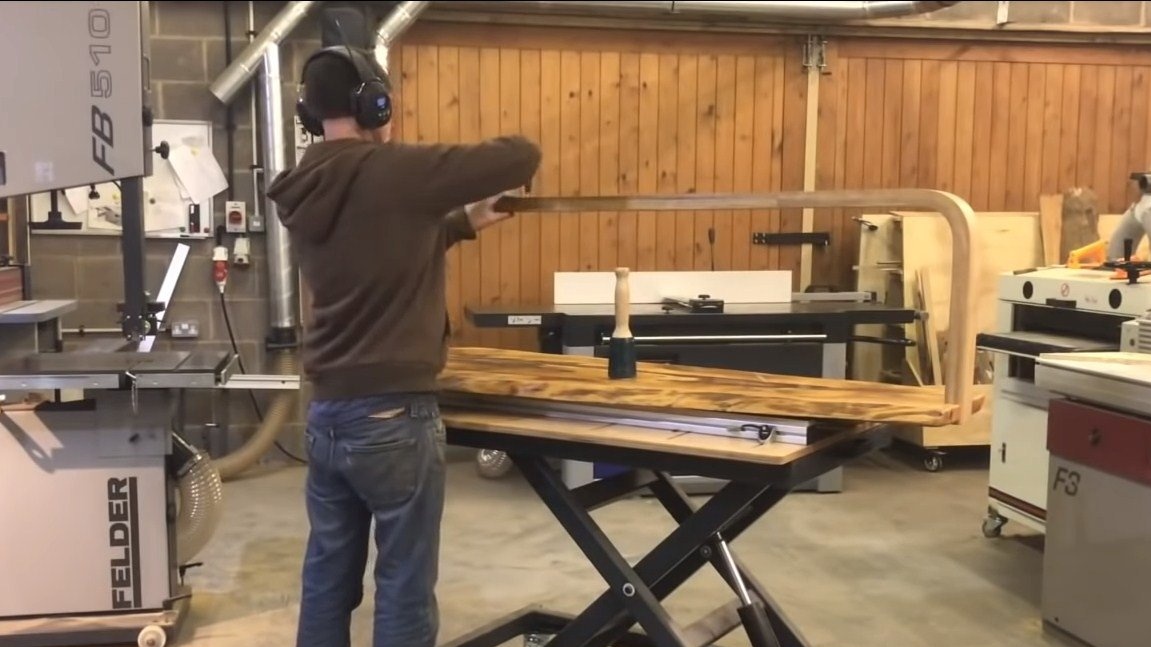
Seventh step. Assembly
Everything is ready, the table can be assembled. The assembly process is very simple, you can see in the photo. Only three screws need to be tightened and the table is assembled. It is also easy to understand.
That's all, in fact, the project is over. I hope homemade you liked it. Good luck and creative inspiration, if you want to repeat this. Do not forget to share with us your ideas and homemade products.