
The author of the TeraFox YouTube channel set himself a difficult task, to make a furnace and not just a furnace, but so that it would not have a demolition and more efficiency.
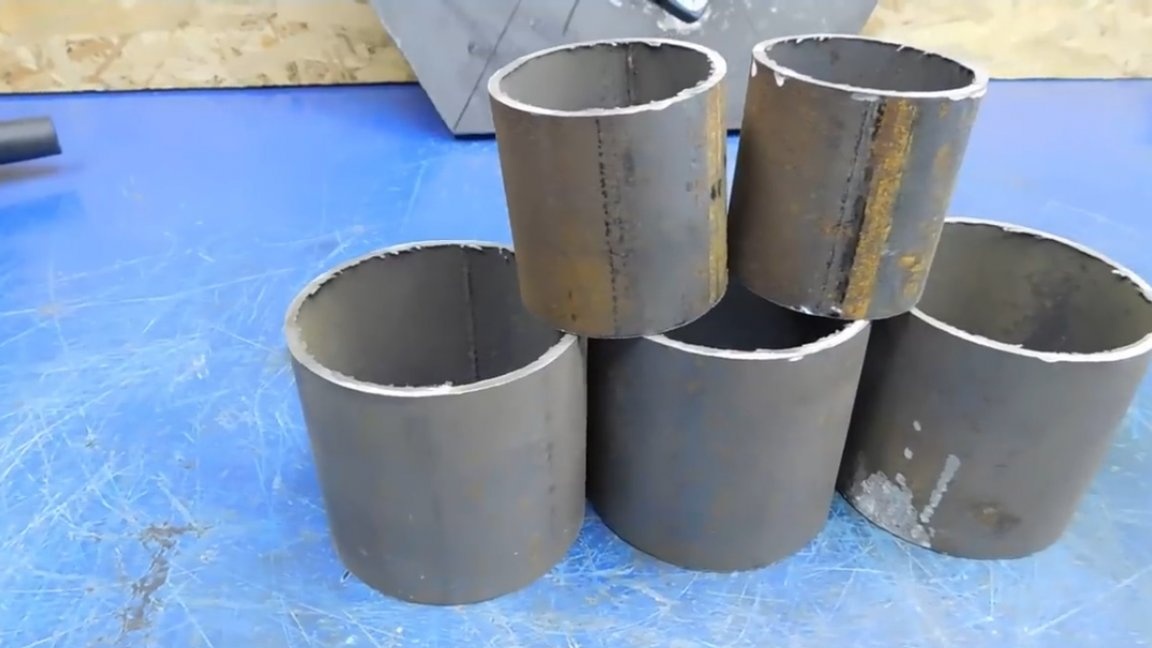
The weight of this pipe is 65 kg, the wall thickness is 8 mm.
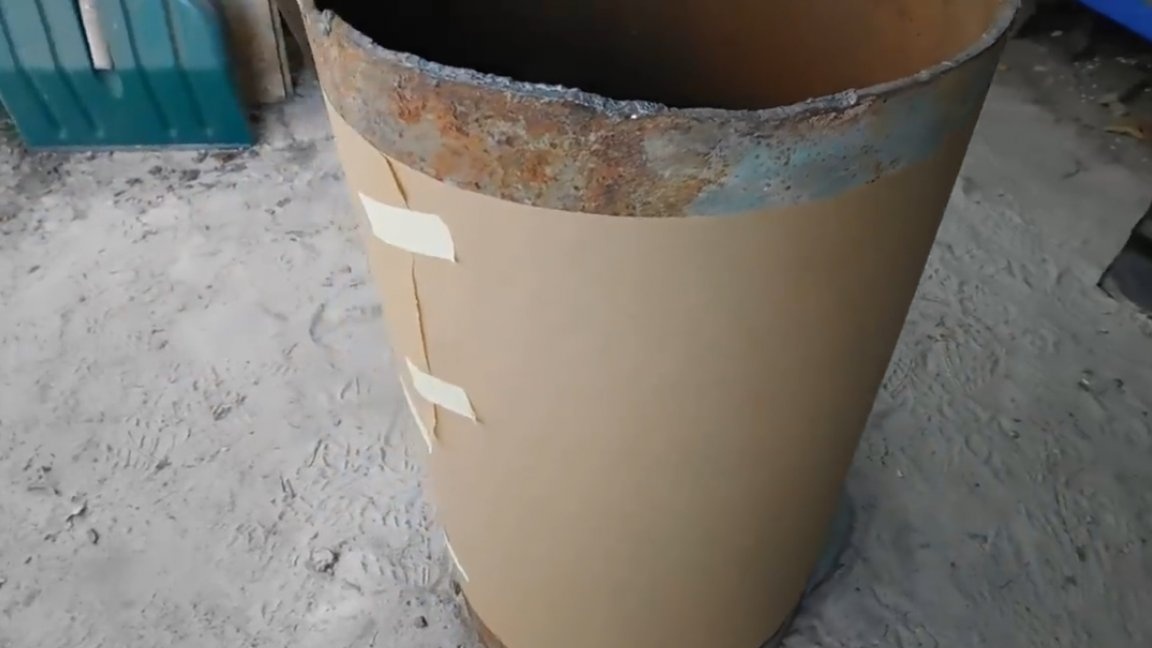
It was purchased on the basis of used metal. For smooth marking of the ends we use paper from a roll.
Next, draw a marker with a line along which you can confidently cut it with a grinder.
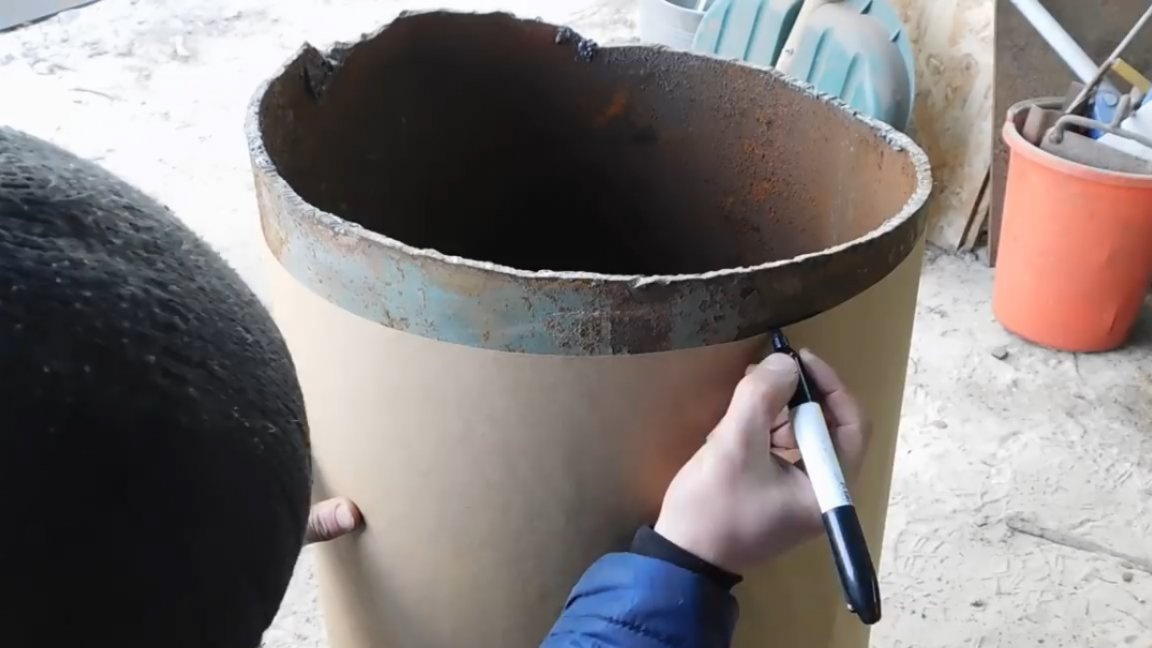
The marking of the second line is much easier, because there is something to push from.
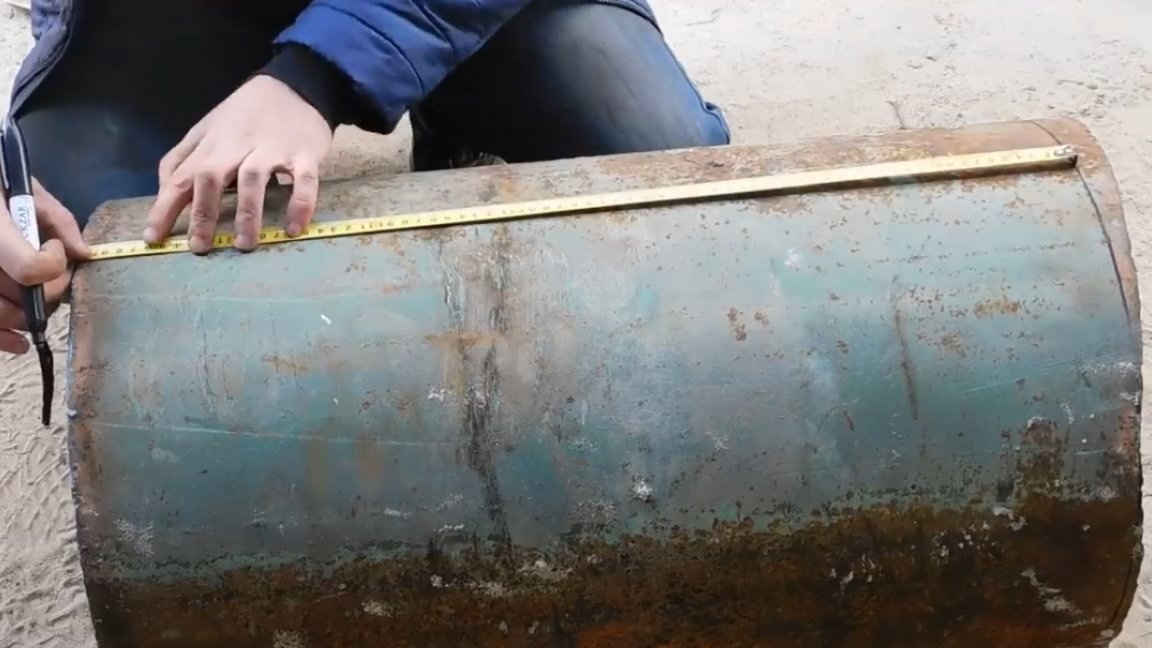
Now you can start cutting. Such wall thickness could be a problem for the 125th grinder, but for the 180th it is not a problem, the problem is solved quickly. But the brush for metal on a small grinder is it.
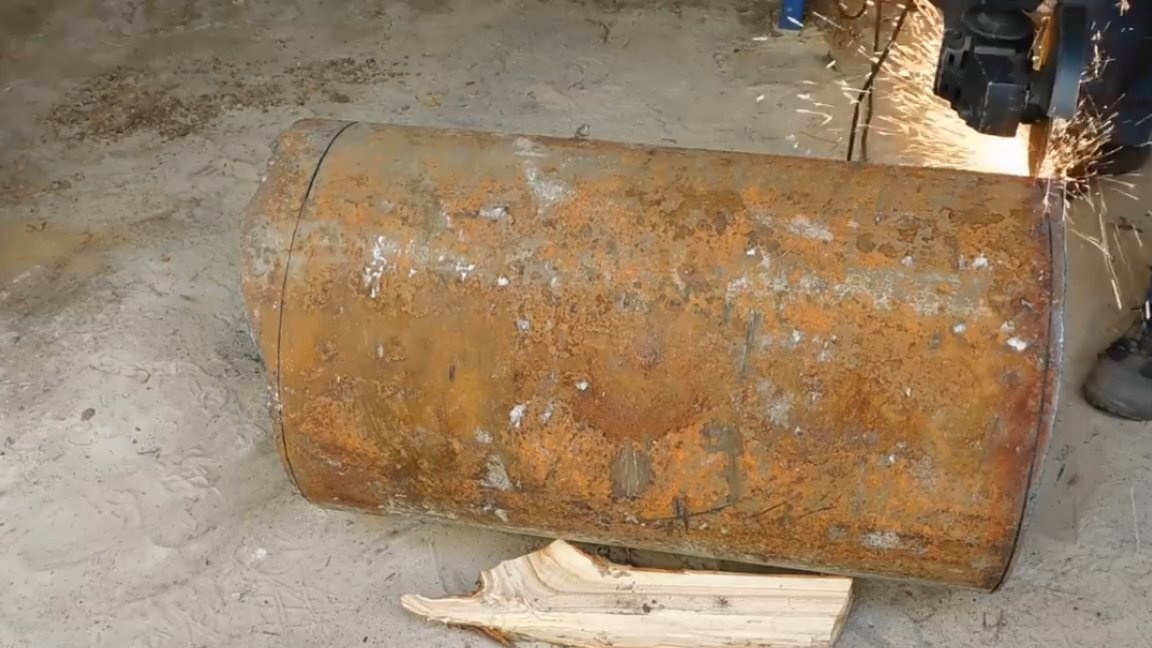

During all these works, the red haze stood for several meters, without glasses and a respirator there was definitely nothing to do. Also do not forget about the inside of the pipe.
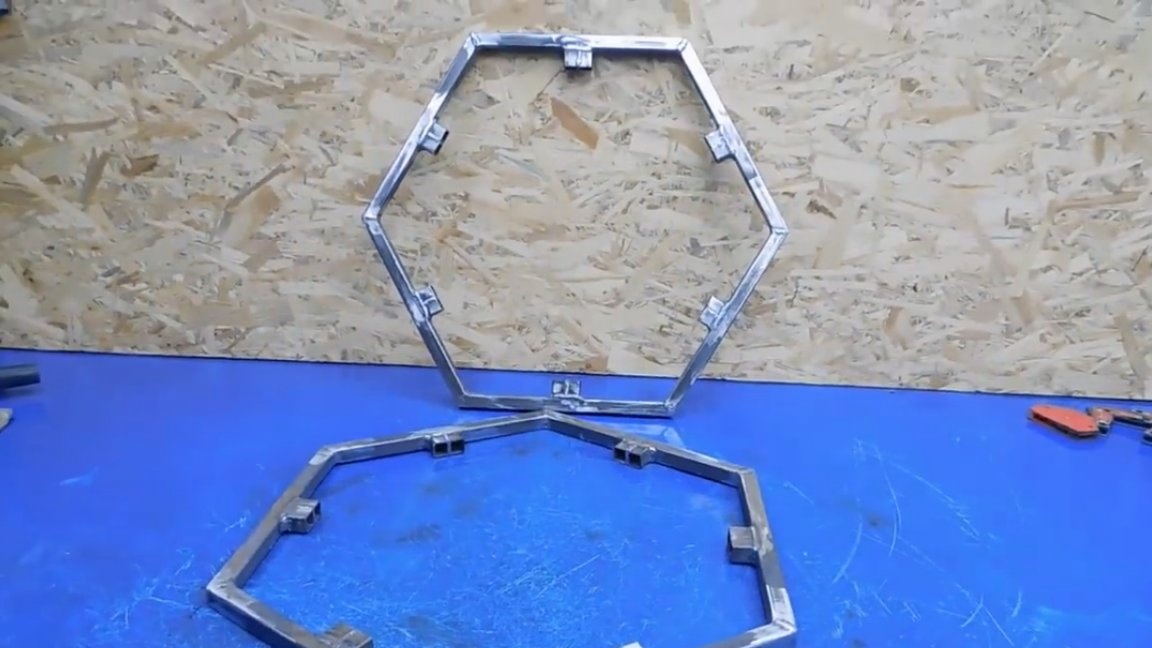
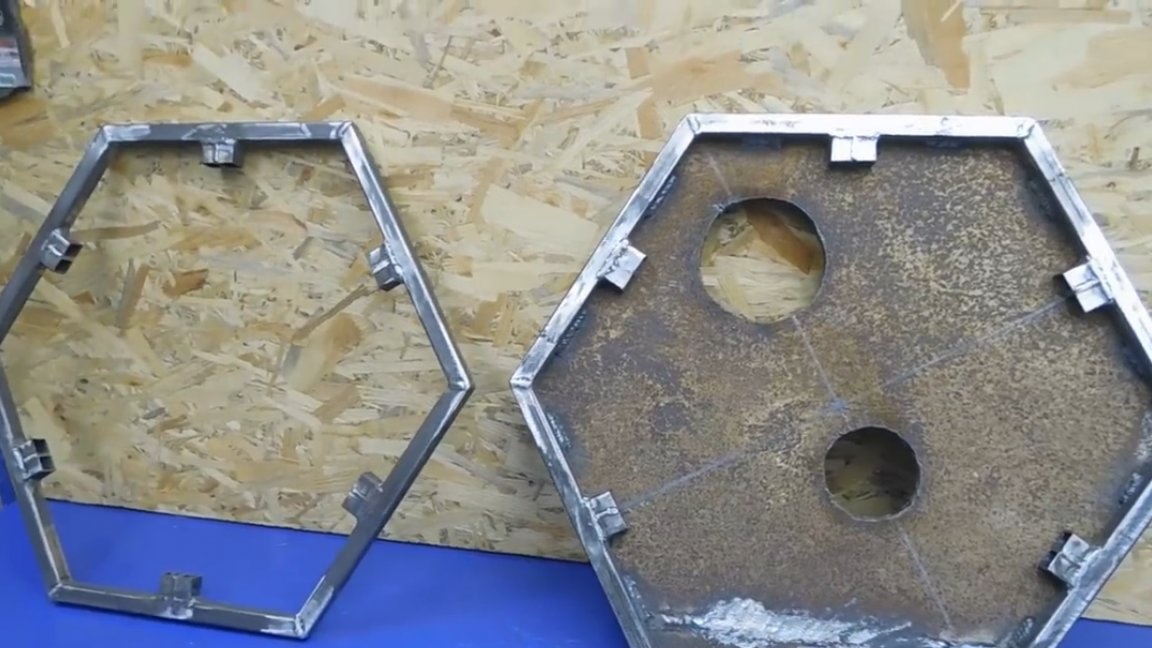
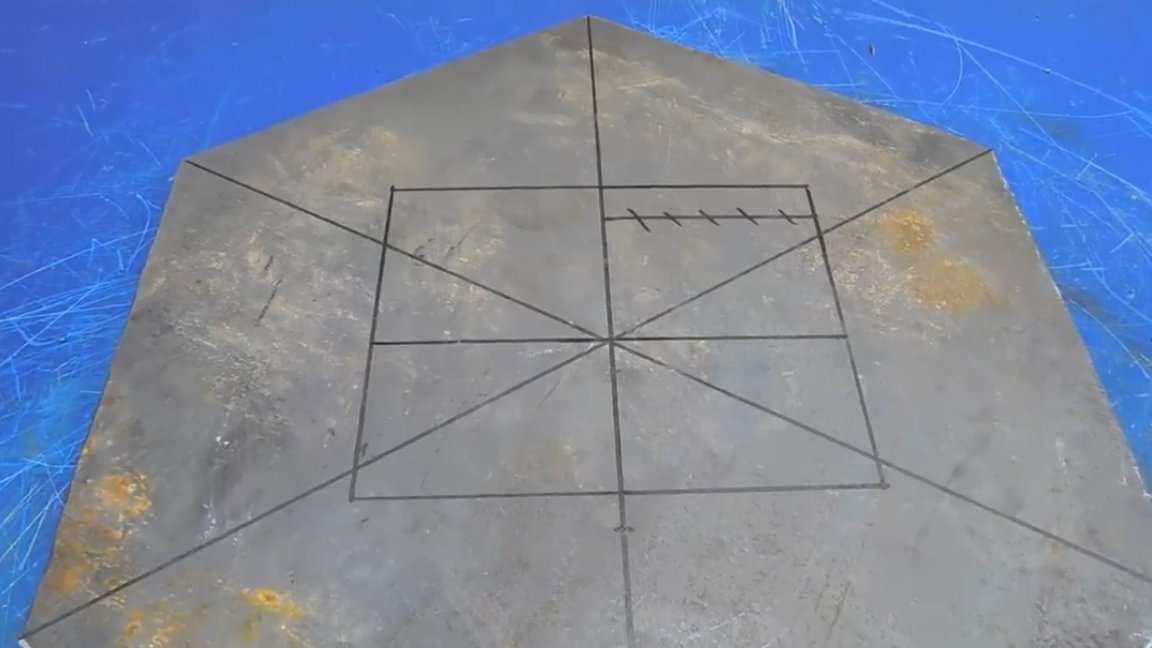
It is always difficult to start something new. The main thing is to understand the sequence, even if you have drawings. After all the stages have been determined, we proceed to cutting the profile pipe. These are 12 identical long segments and a whole bunch of short ones that will form the basis of the front and rear walls of the furnace.
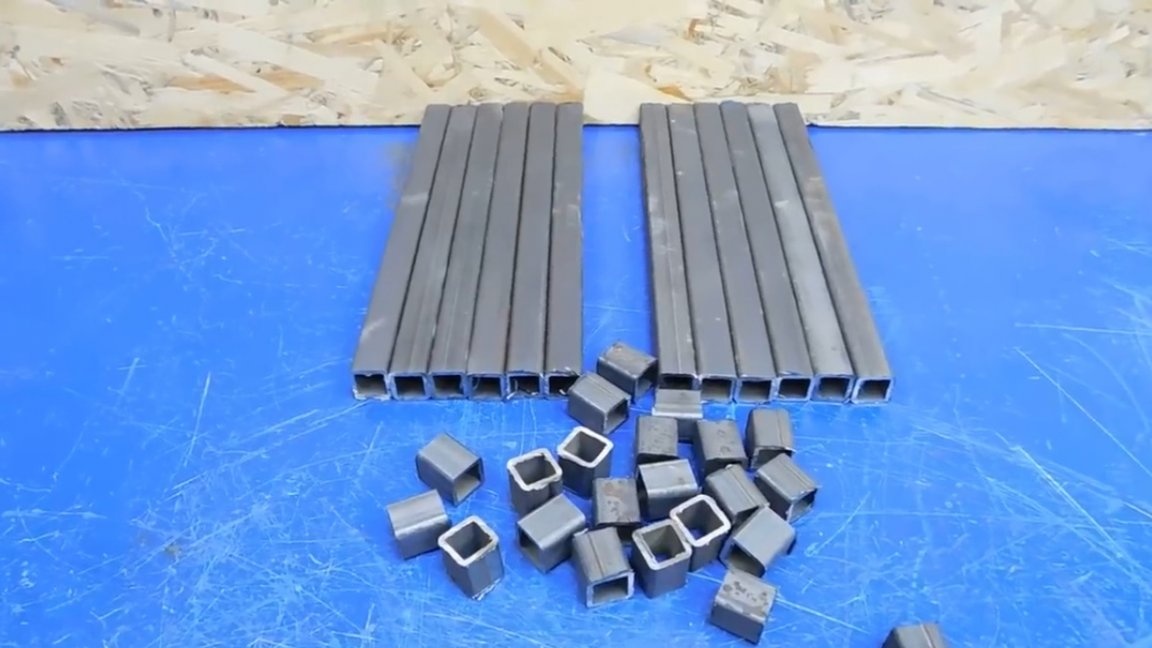
We weld short segments among themselves. This point could be circumvented if there was a wider profile.
The main pipes are cut at an angle.
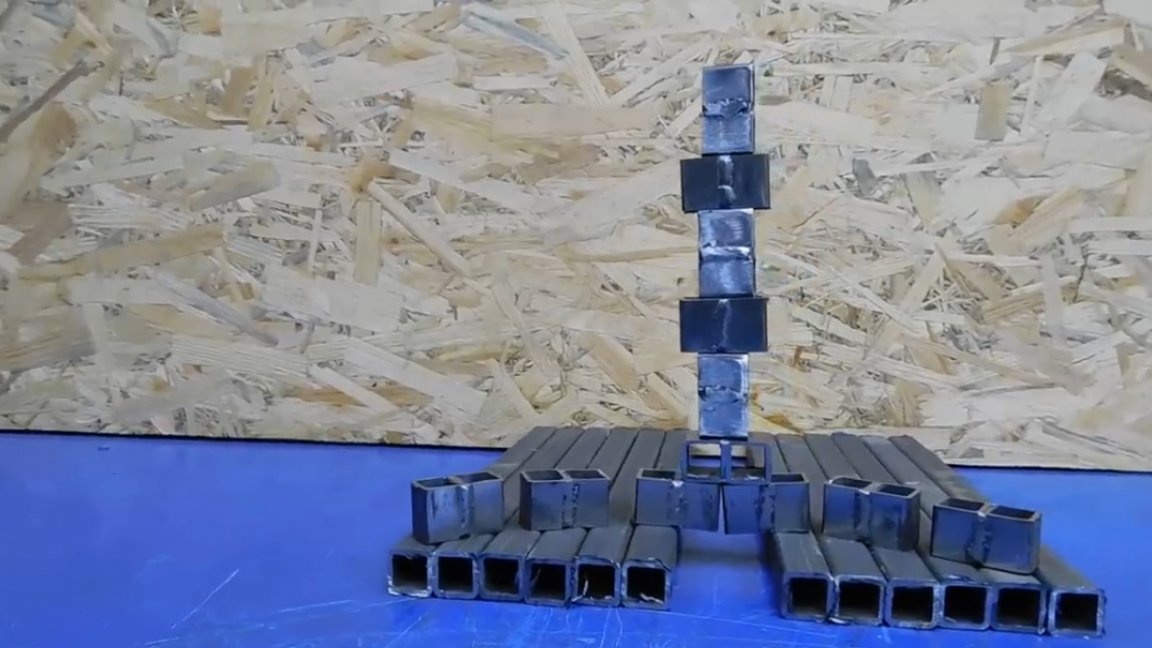
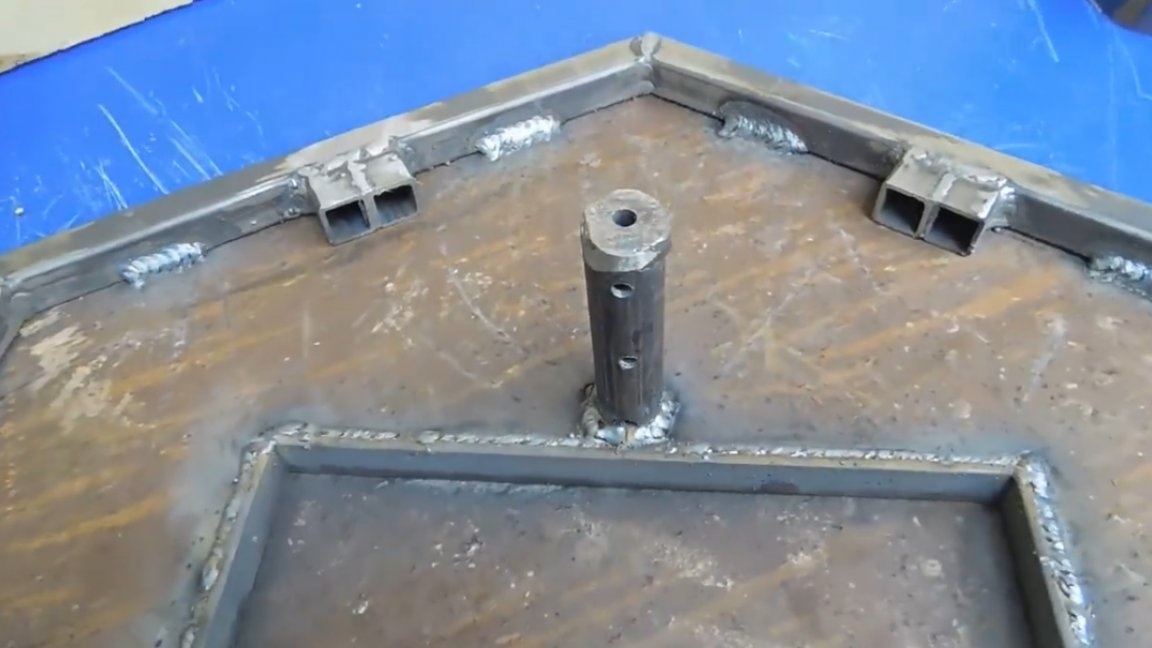
Further a matter of technology, we weld a pair of hexagons. The same blanks mentioned earlier are placed in the center of each plane of the hexagon and welded. A couple of elements are ready.
This was one of the easy tasks in the literal sense of the word. Now you have to drag the material harder. This piece of sheet weighs more than 35 kg.
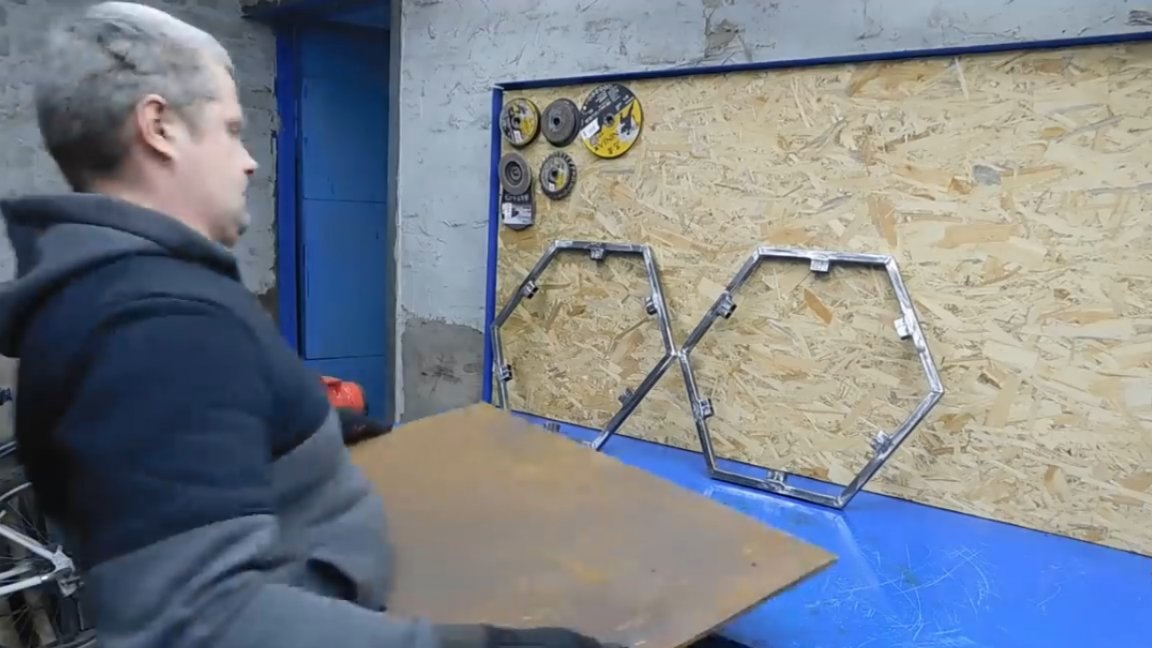
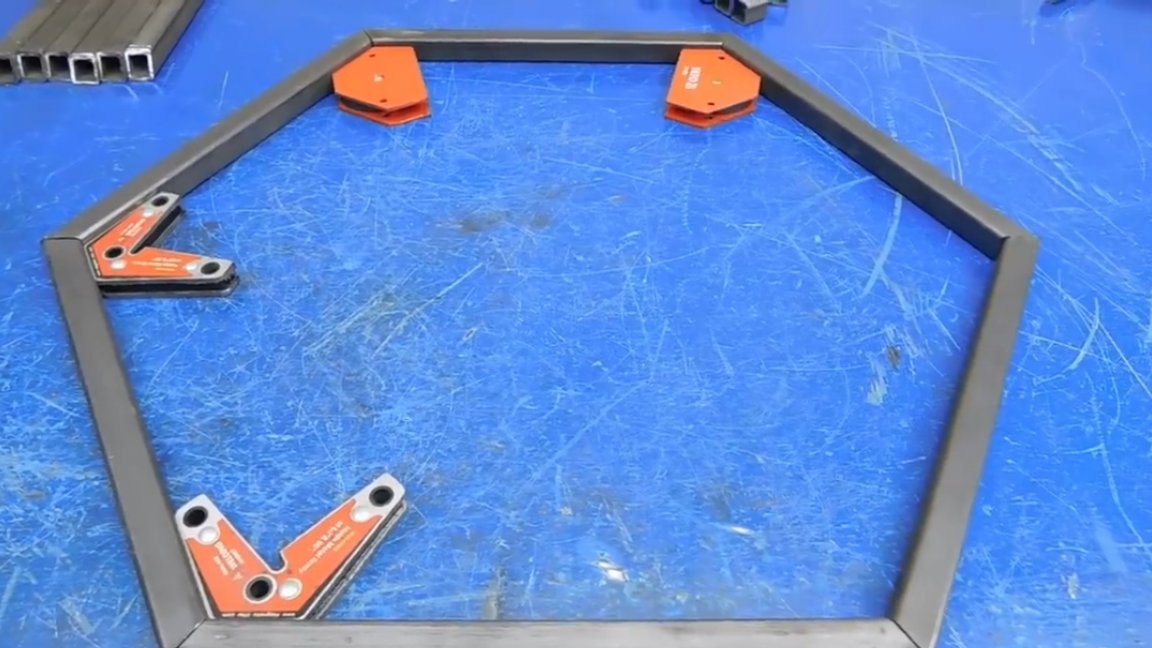
The author makes the stove out of what is available, so if it doesn’t match in size, it’s okay, you can redraw and weld as needed. The hexagon from the "eight" is ready.
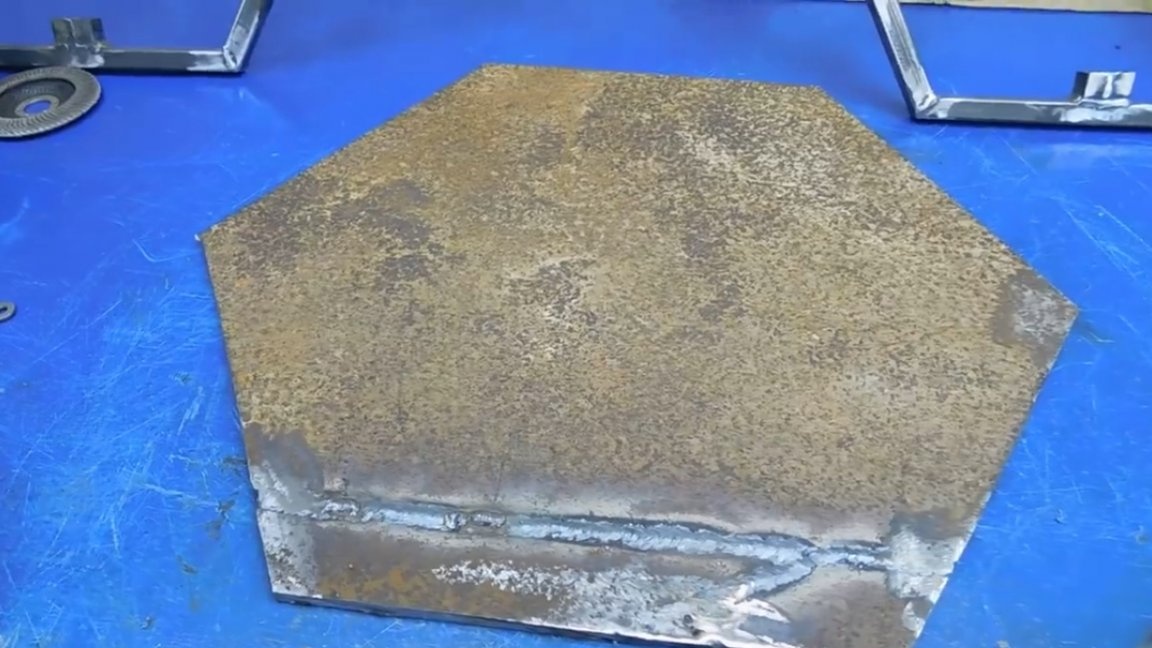
Next, marking for a pair of holes of different diameters. The author cuts them with a plasma cutter.
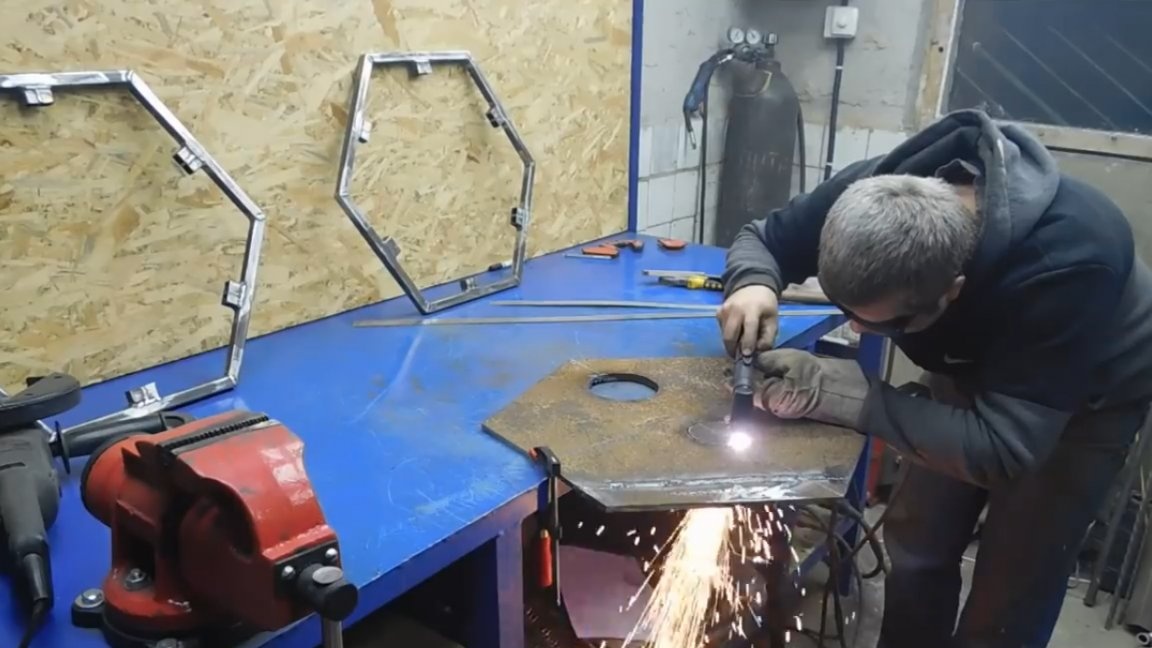
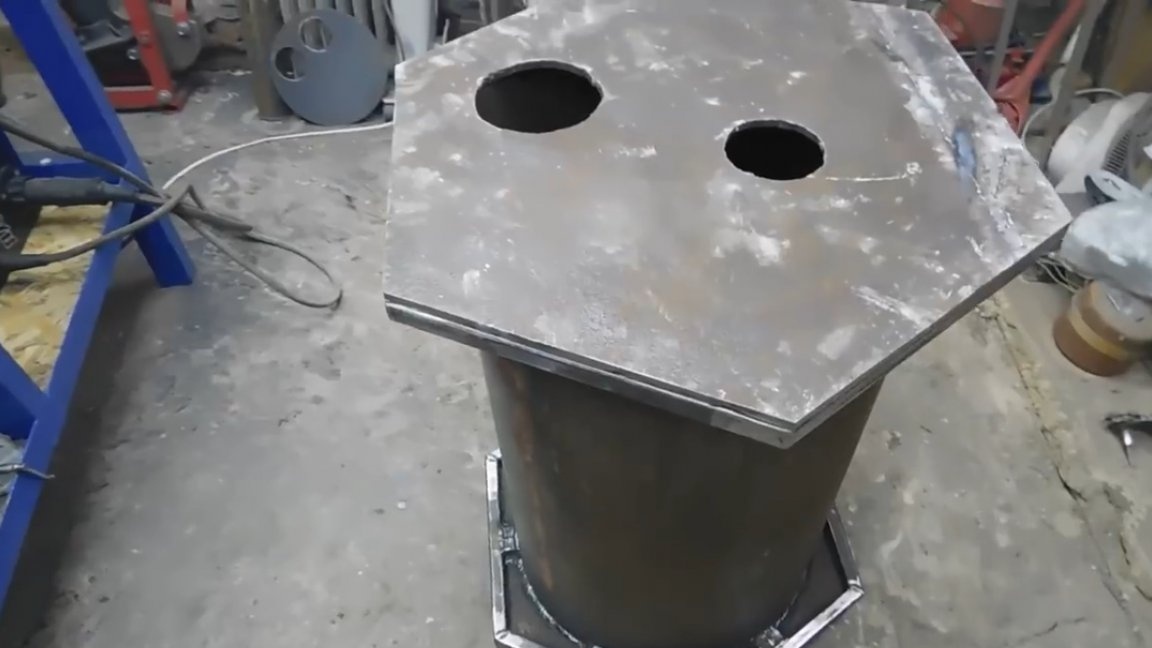
Then we attach the hexagon from the pipe to the place, then we weld it from the inside. The back wall of the oven is ready. Upcoming to do more and front, but a little later.
On the same metal plate, 8 mm plates were purchased. We weld them together, make a partition of the furnace itself.
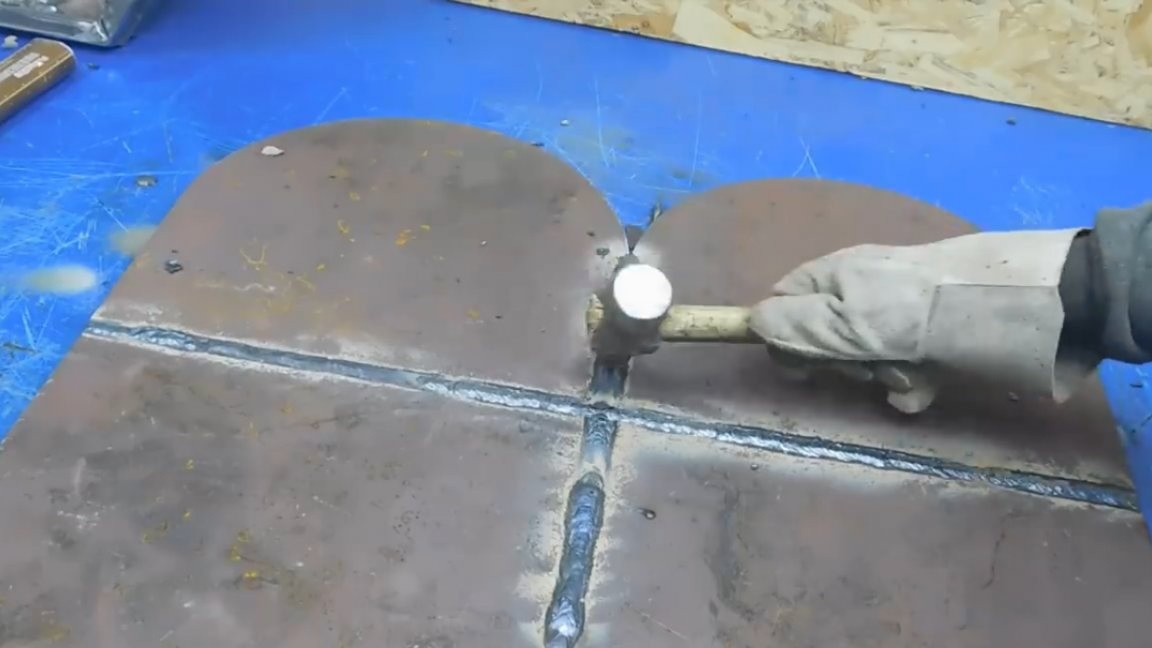
We expose the partition, it is welded, then we weld thoroughly.
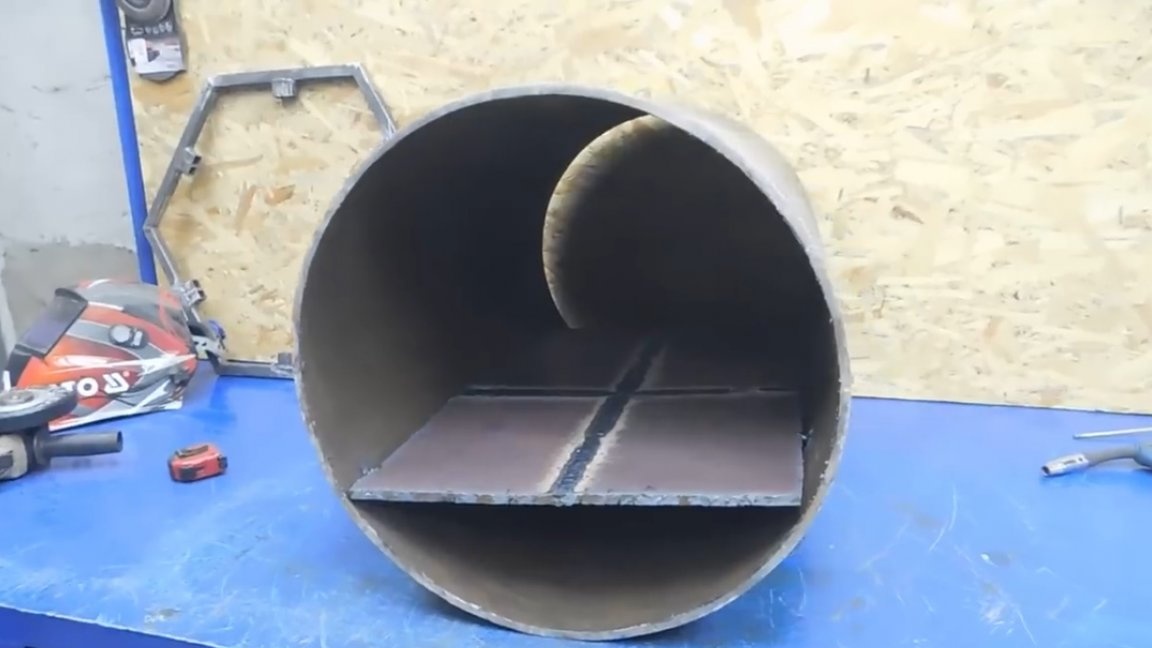
After that, you can already weld in a circle a pipe with the rear wall of the furnace.The seam should be leak free and without exaggeration.
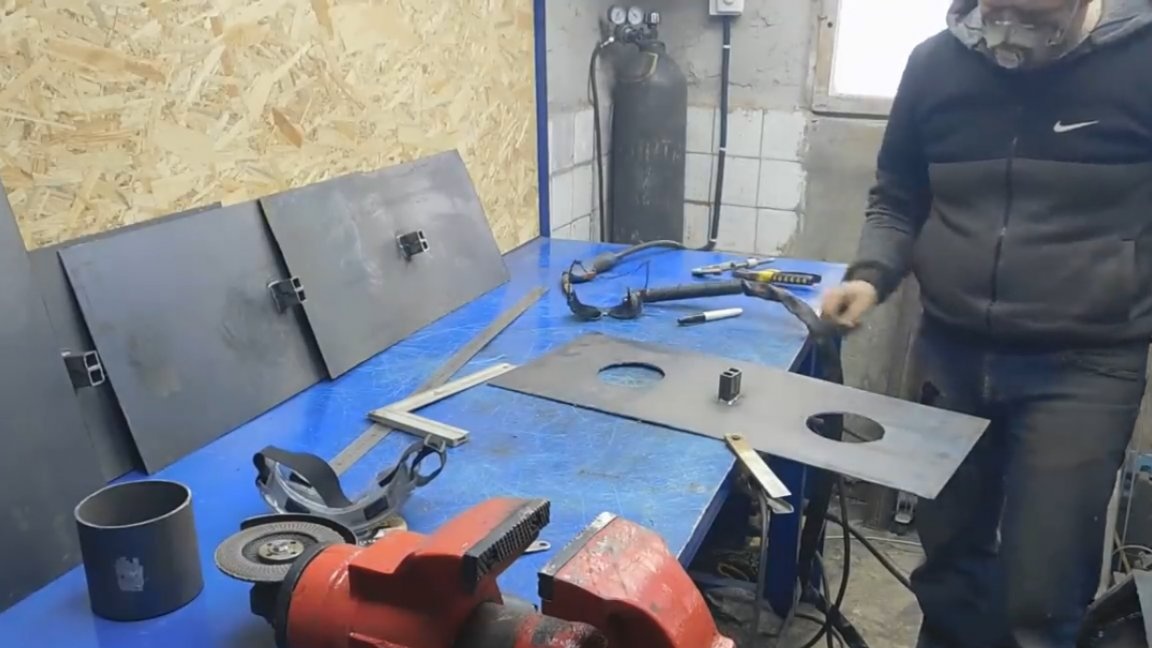
Next is the face of the stove. We mark and start cutting, and then we weld elements to each other.
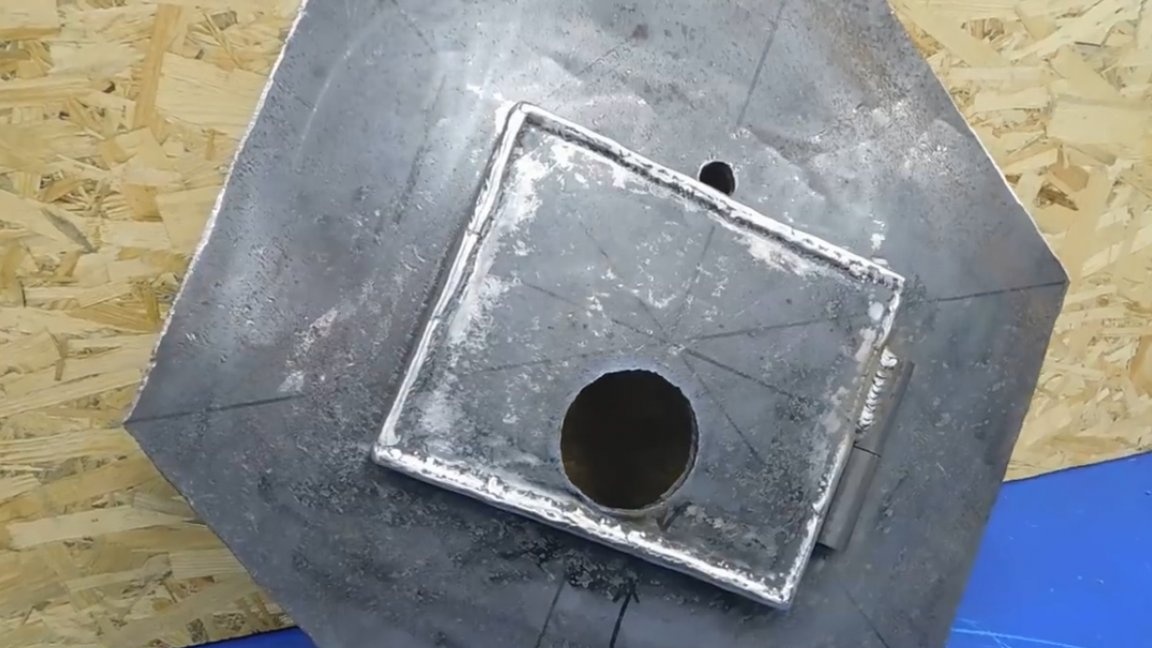
But that is far from all. On the front wall there should also be a door, a handle, a blower and so on. Simple marking under the door, just above the hole for the injector.
Got a huge rectangle. And this is actually the injector itself:
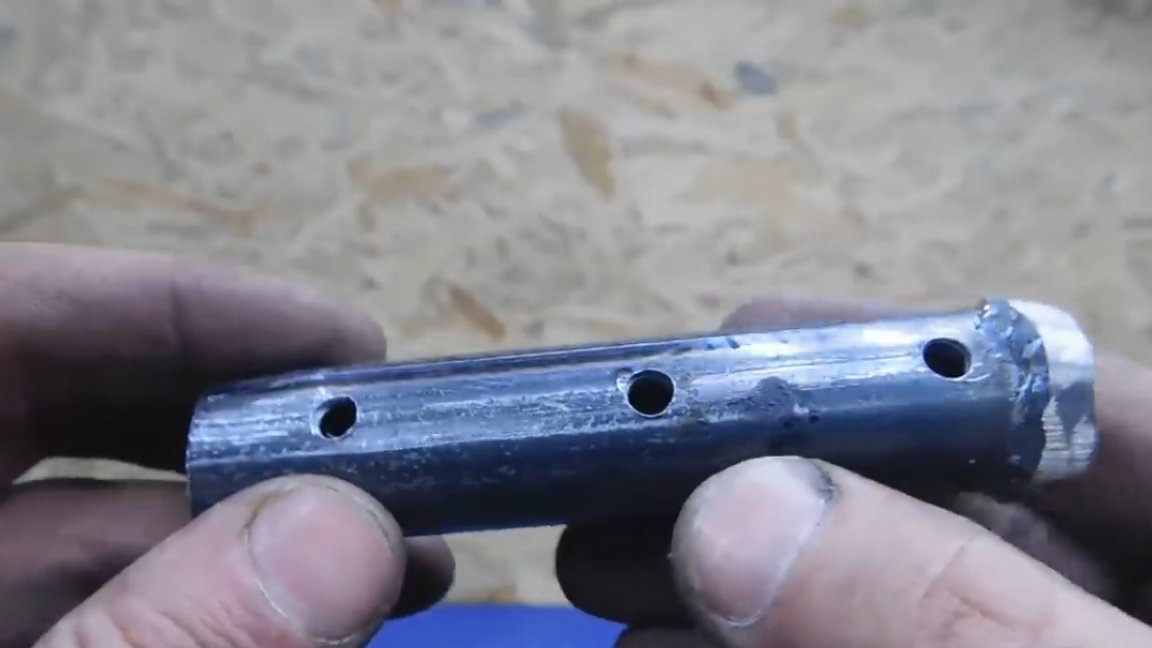
It is made of a half-inch pipe with several holes, it will be located at the level of the partition for burning pyrolysis gases in the furnace. This is theoretically, in practice we will see.
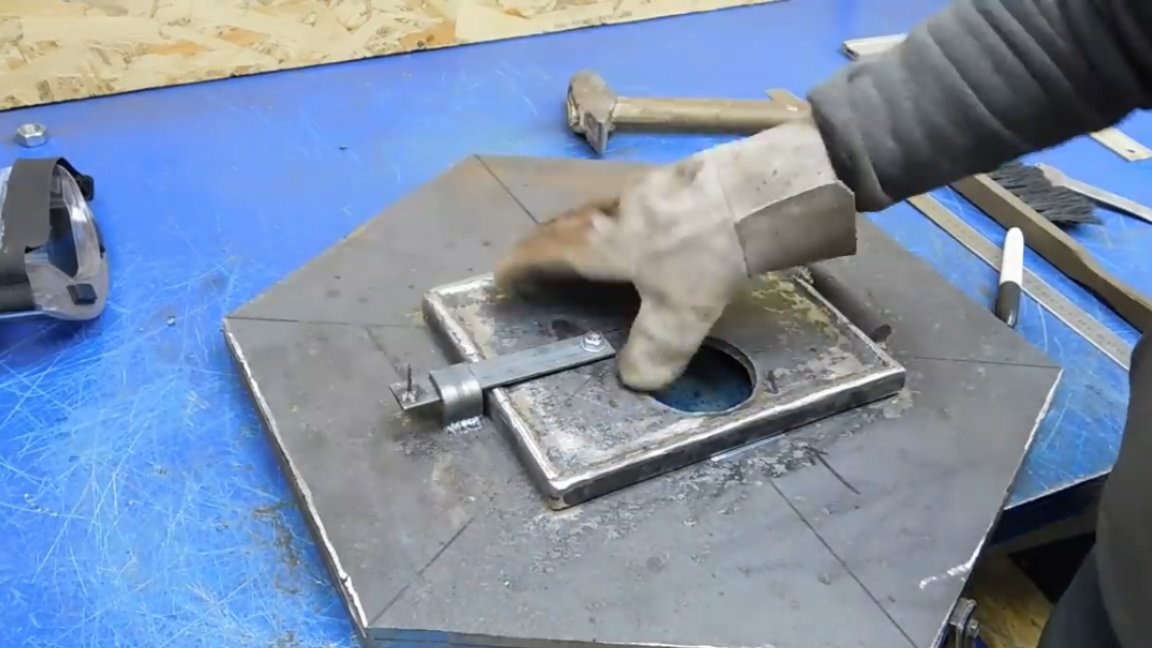
We cut out the holes for the blower at the bottom of the door and weld an ordinary hinge, connecting the door to the front end of the furnace.
Let's make a classic version of the deadbolt.
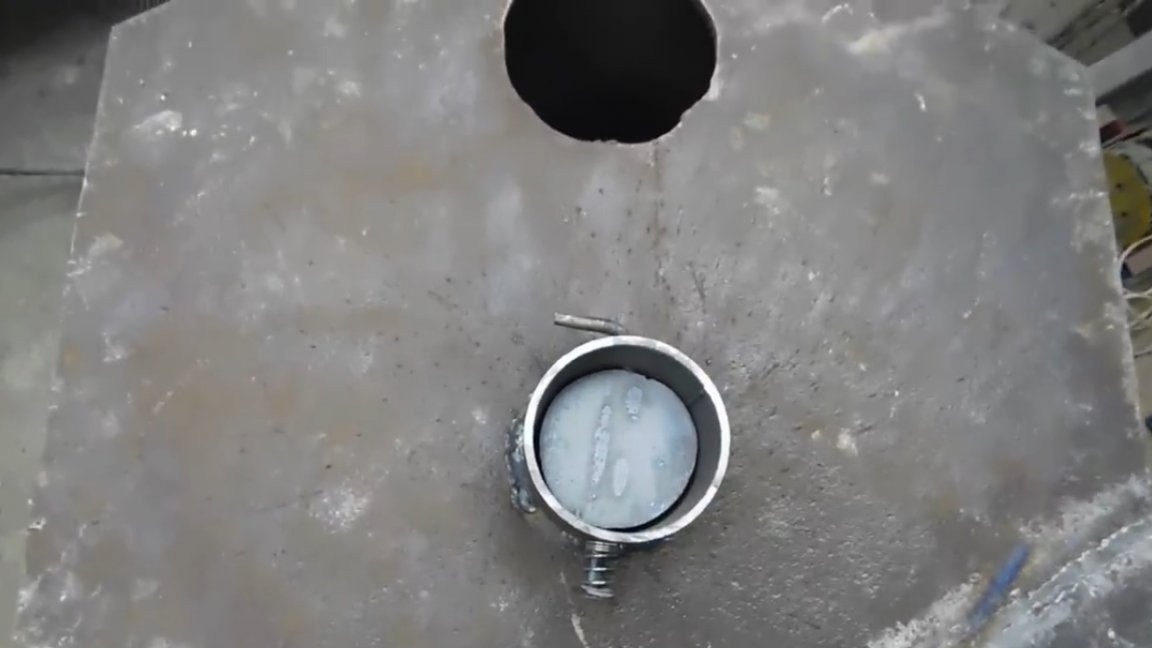
Next, you need 5 segments of a round pipe, 2 of which are smaller in diameter. 4 of them will serve as adjustable dampers, and one as an air inlet.
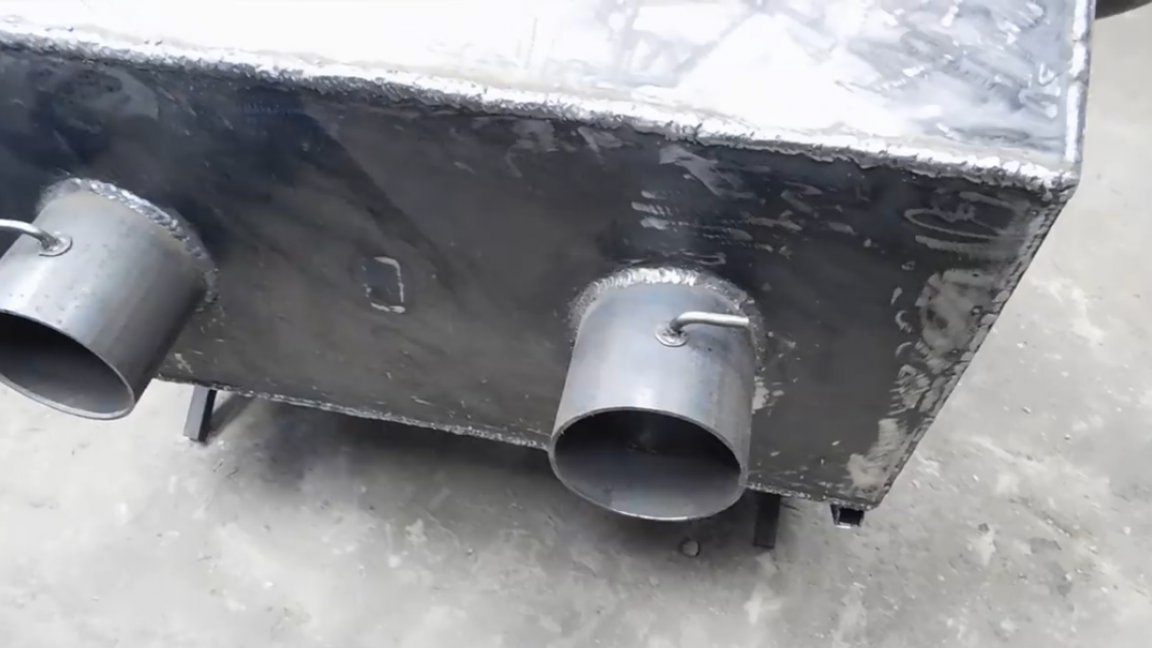
The front end is ready, blown with a damper welded, the injector is also in place. The butt is welded to the pipe with a good solid seam.
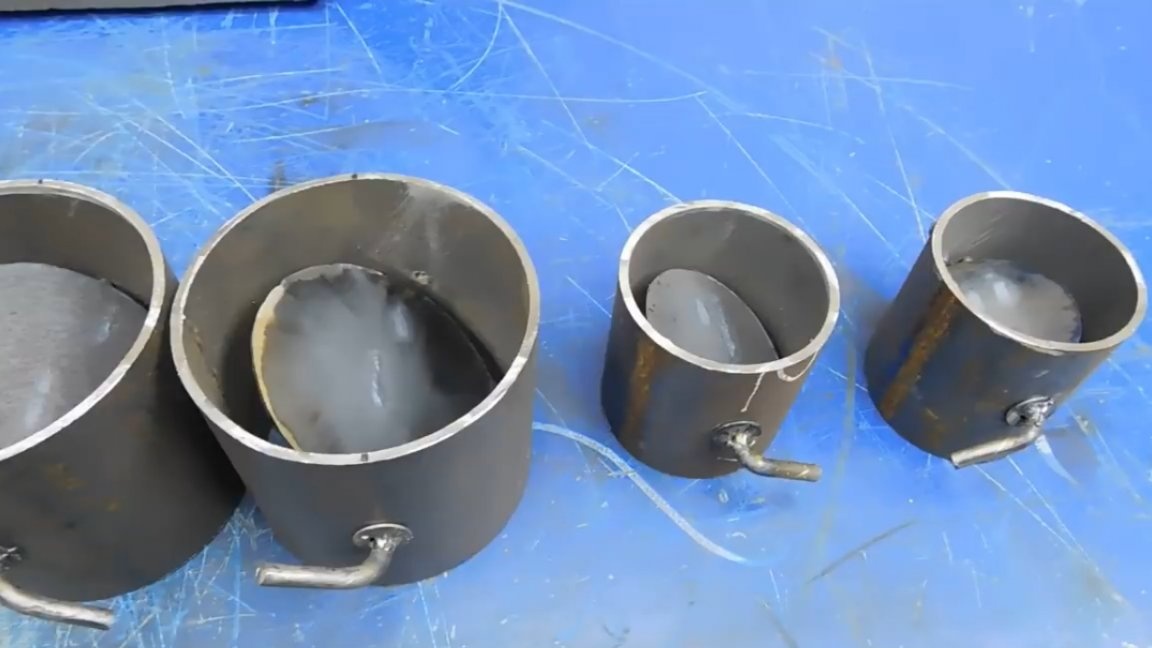
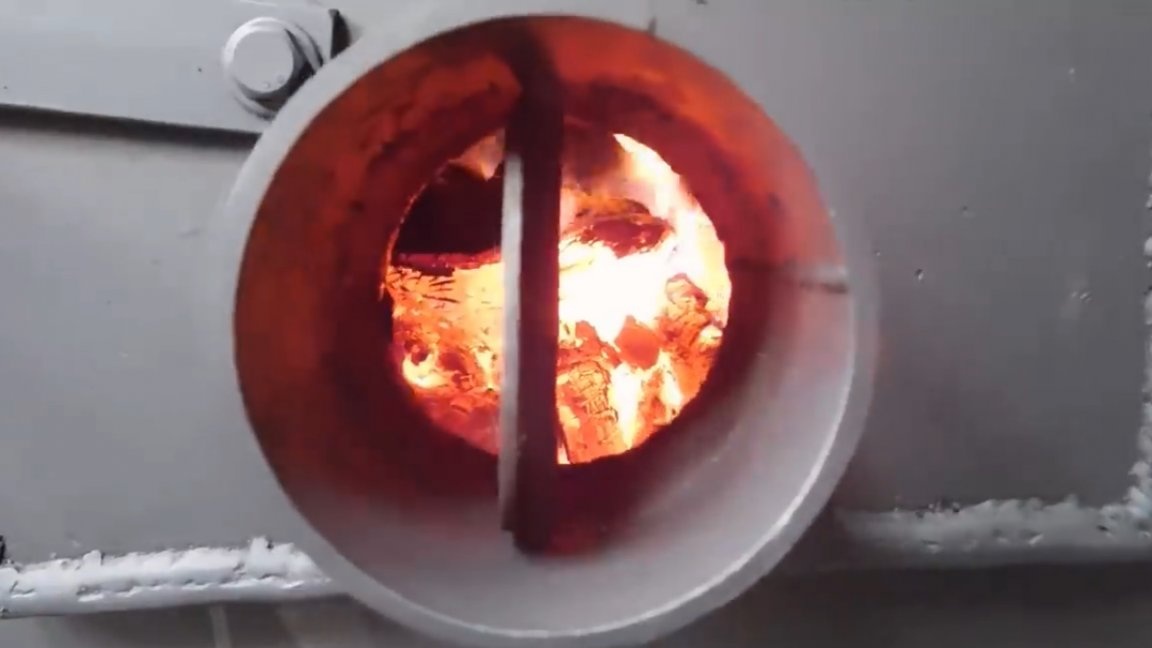
The rear end is also not deprived of a blower, a non-standard solution and there are reasons for which there will still be references.
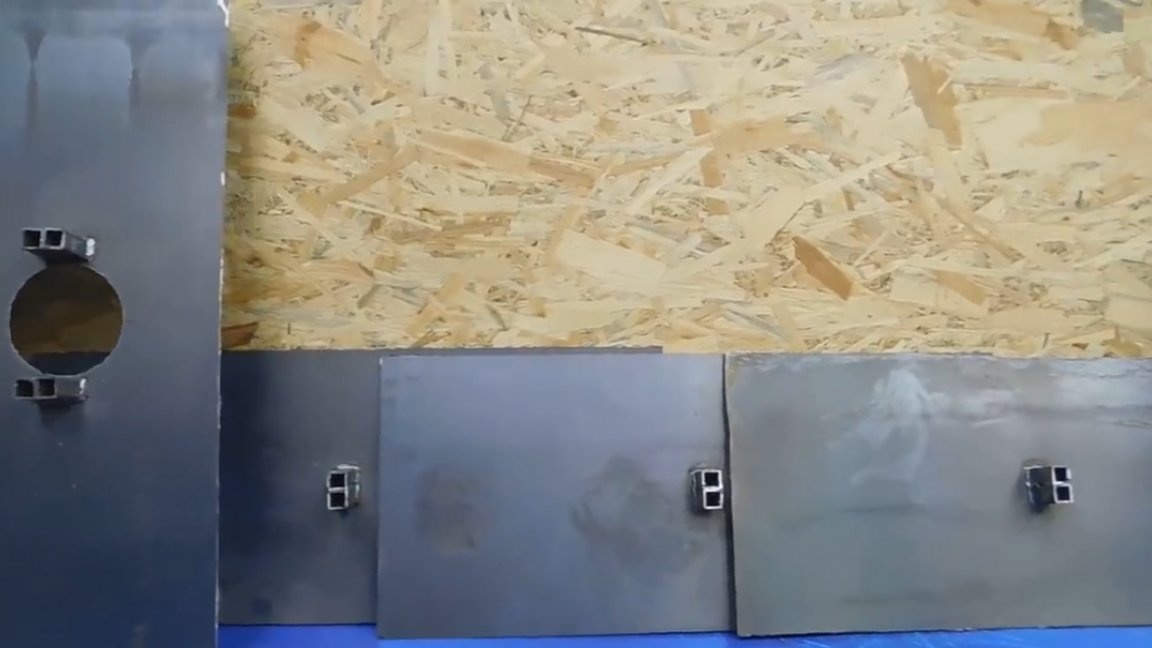
Then we cut a sheet of metal 2 mm thick into segments. According to the plan, it was originally intended to use a 1 mm sheet, but given the thickness of the metal in the furnace itself, the author considered this absurd.
In the center of each of the 5 sheets, we weld the stop.
In some, we cut holes, and in the 6th sheet, the emphasis consists of 2 parts. In general, everything is prepared, you can sheathe the structure.
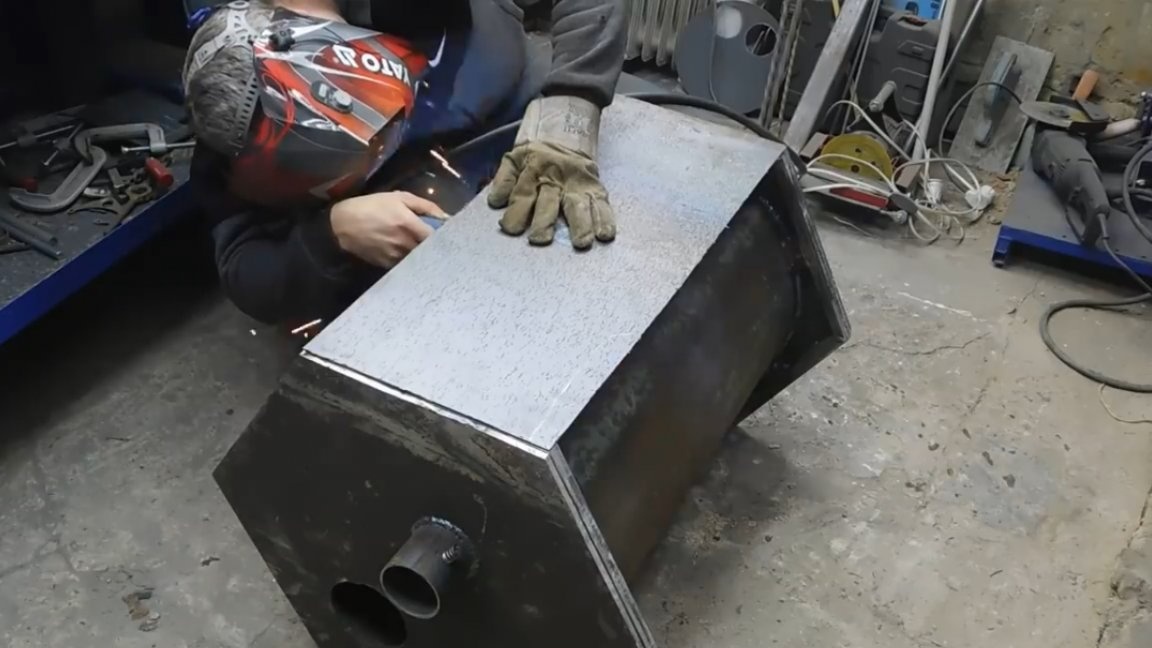
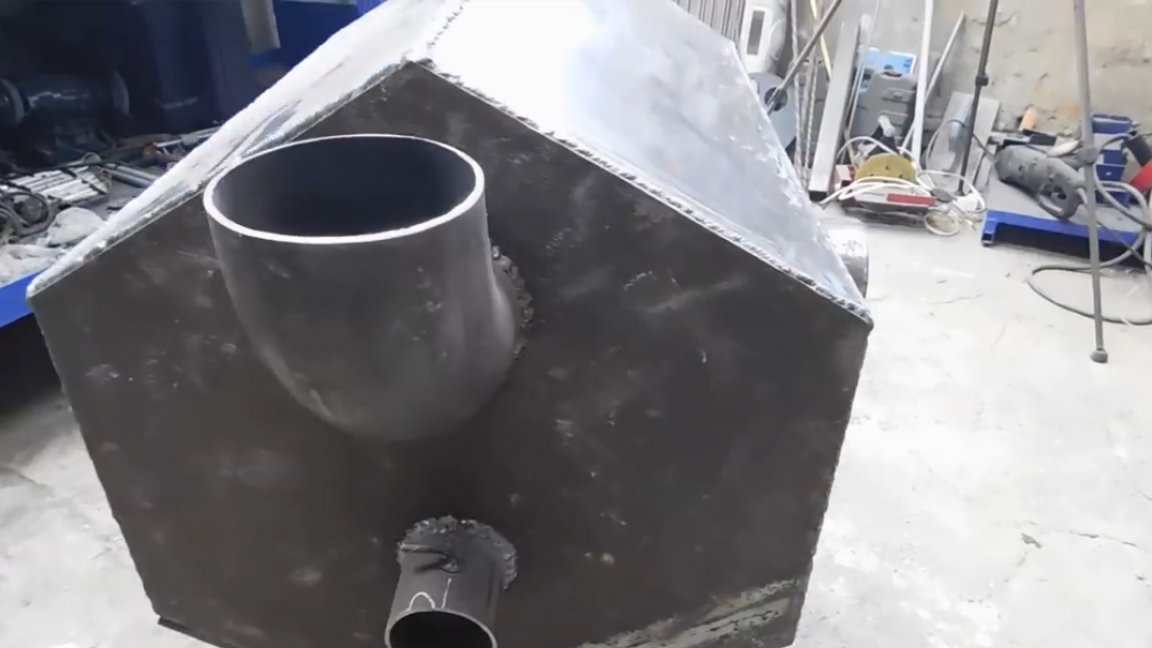
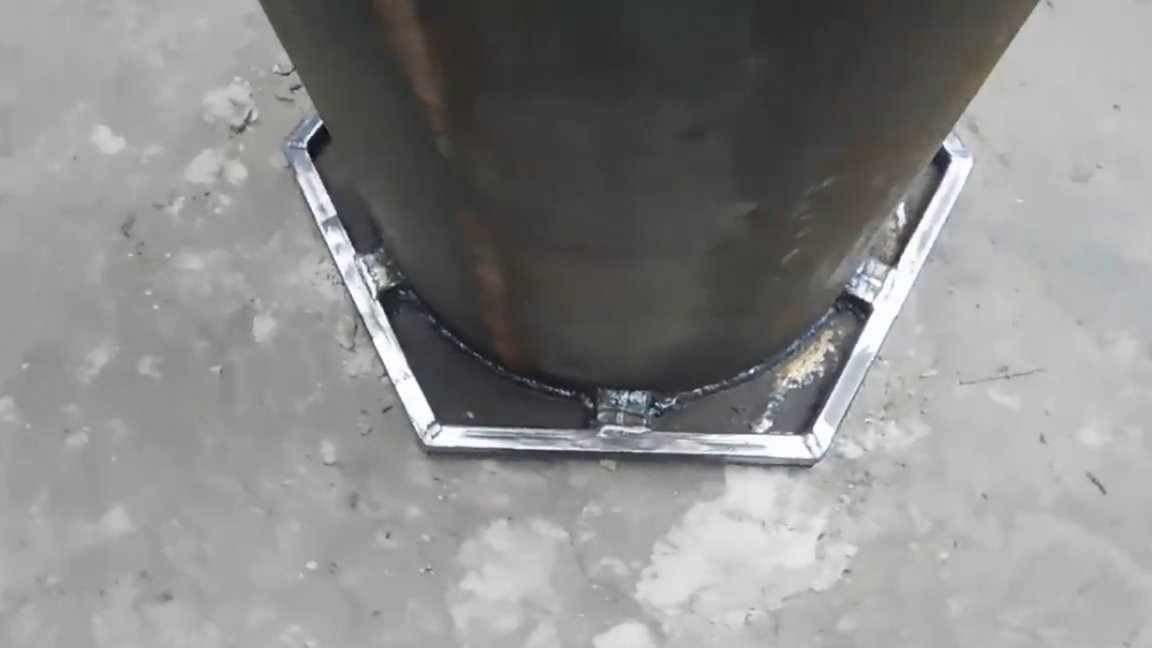
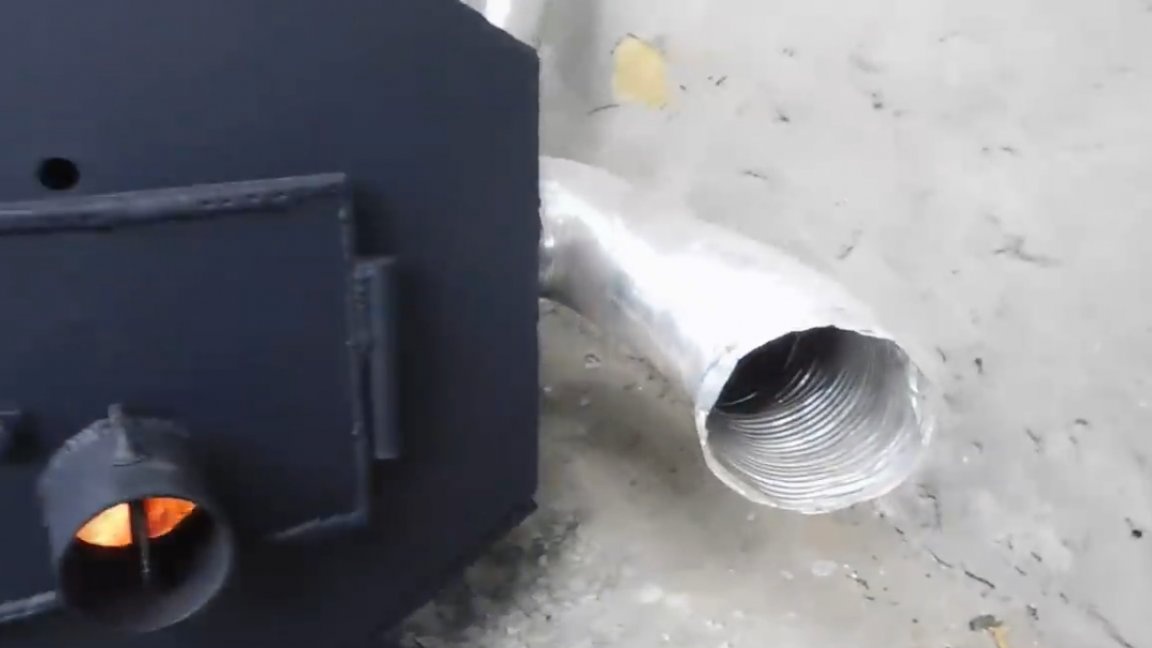
We will make the legs from the remains of the profile pipe, any height can be made as desired. Air flow is planned on the left side, and 2 exits with partitions on the right. The knee under the chimney is also in place. In general, welding is almost complete.
The old woman, who had worked for 4 years, now needed to be dismantled.
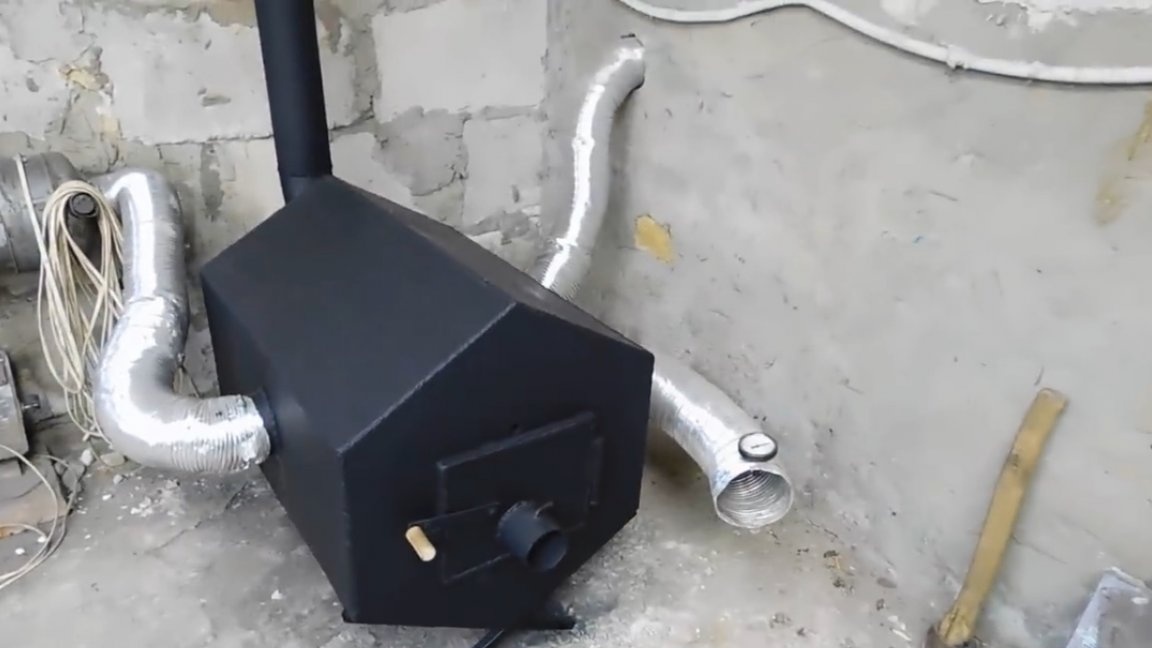
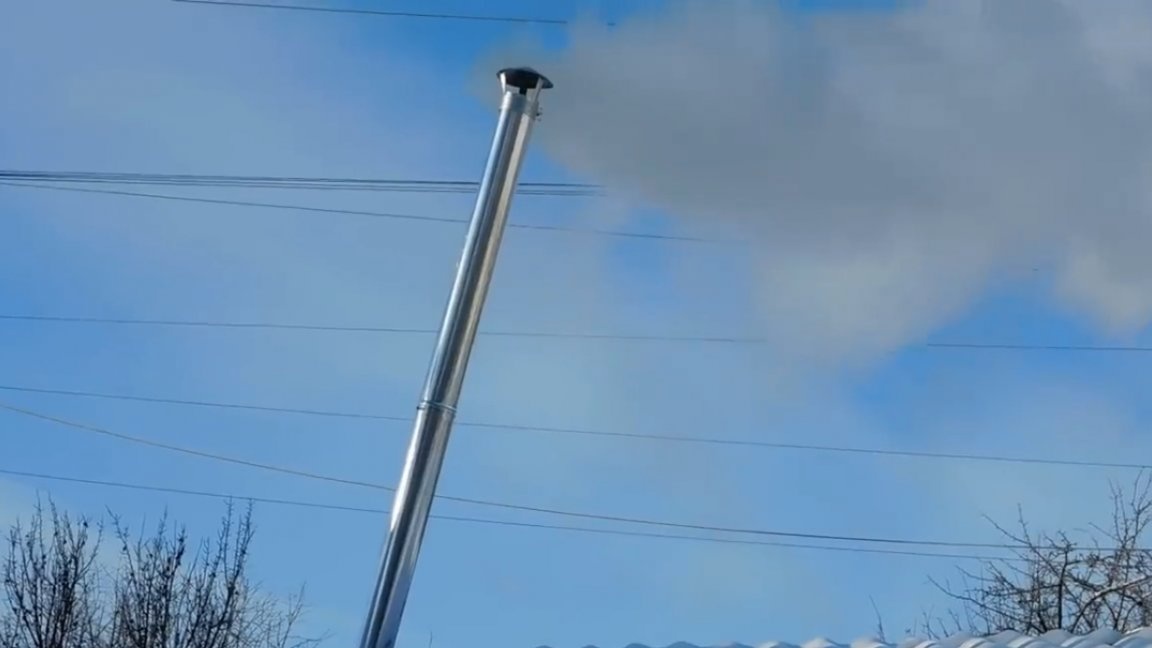
We install a new furnace in the workplace. And weld a chimney with a protruding end of the pipe into the street.
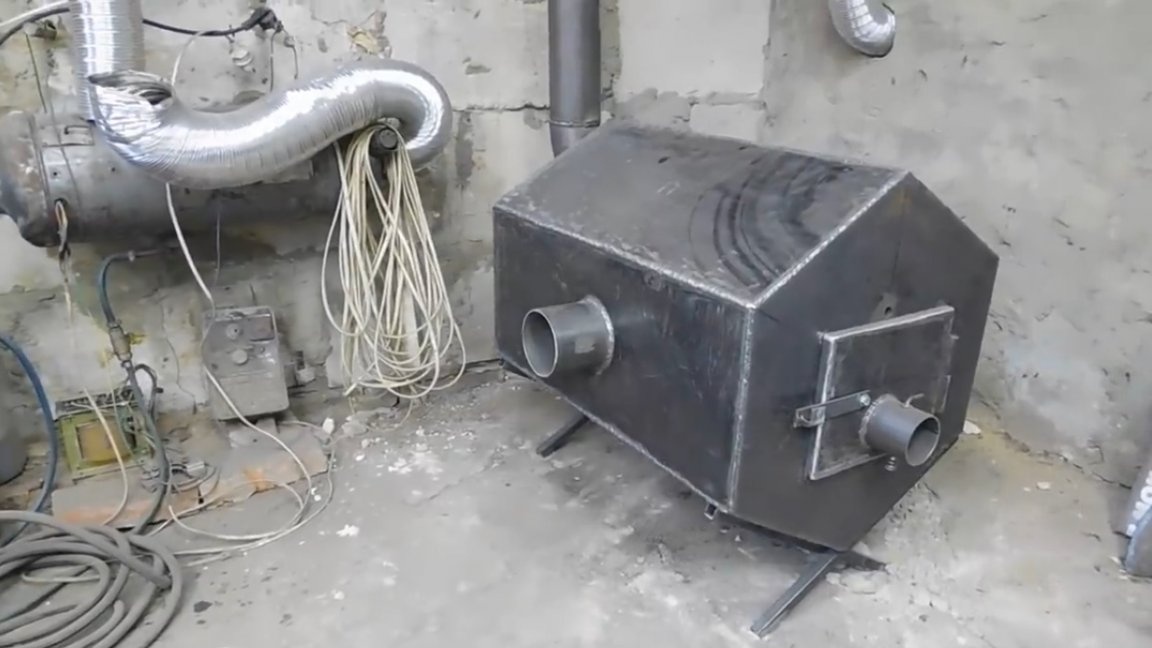
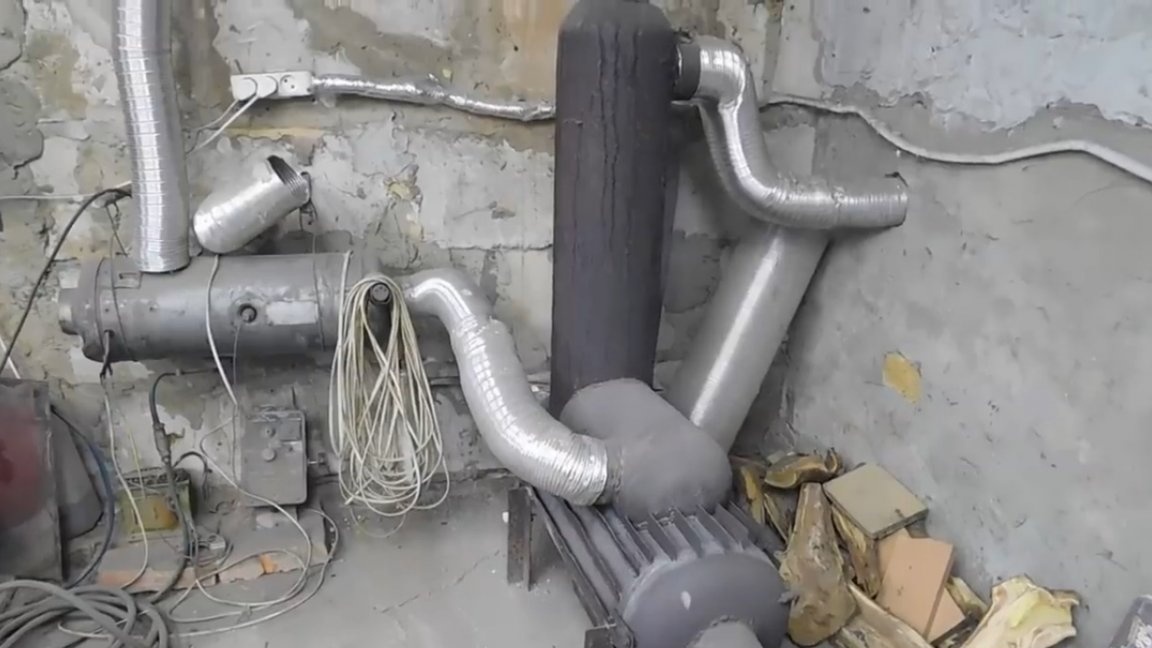
It remains to paint and connect the ducts. We paint with heat-resistant paint with a working temperature of up to 400 degrees in 2 layers. Let's see how she shows herself over time.
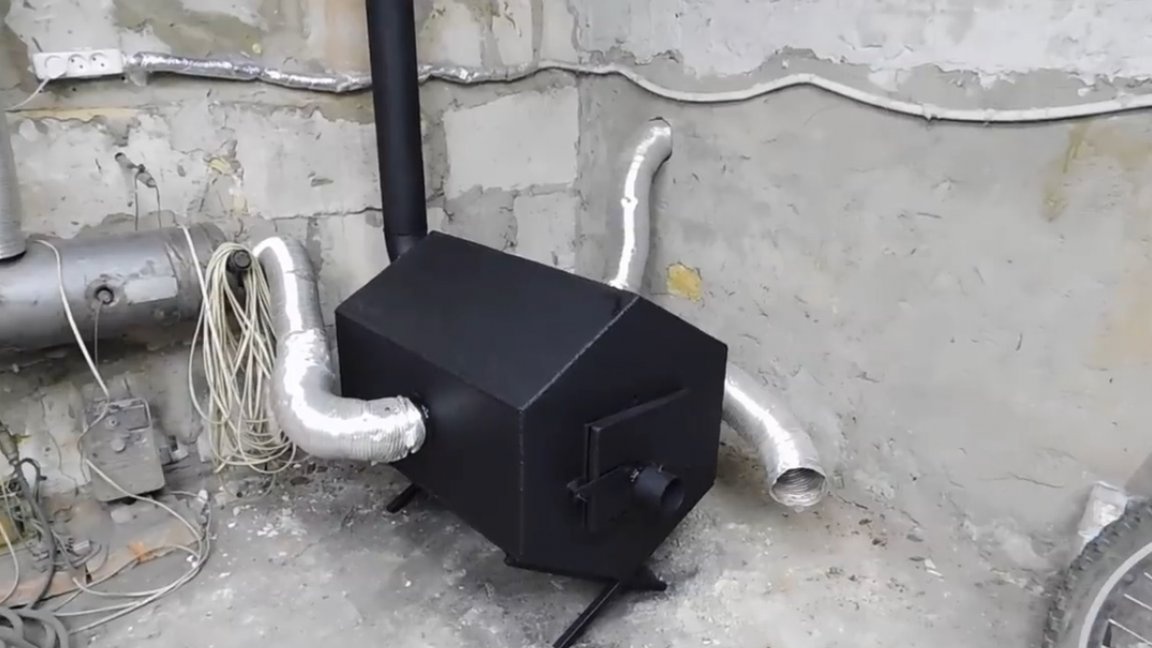
We use a diesel gun as a fan, it has 2 speed modes, this will be quite enough. One air outlet directly to the workshop, and the second to garage behind the wall.
The author has not been using a diesel gun for a long time, since it is not very profitable to heat a diesel engine, but he used the fan constantly.
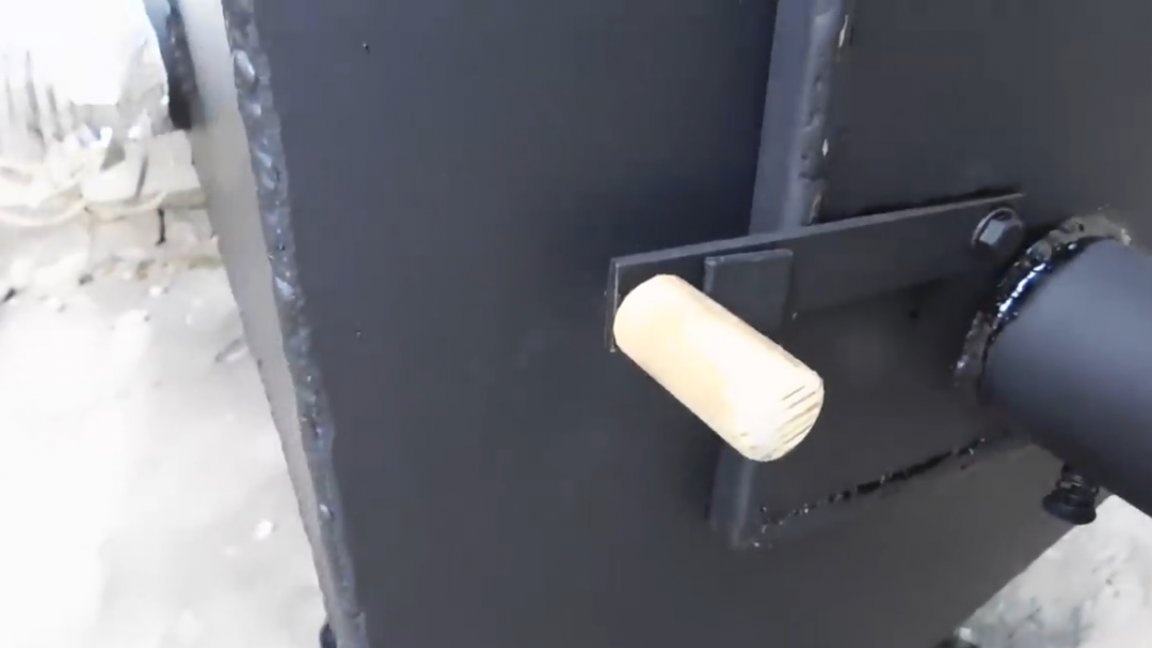
And the last addition is the wooden handle on the deadbolt.
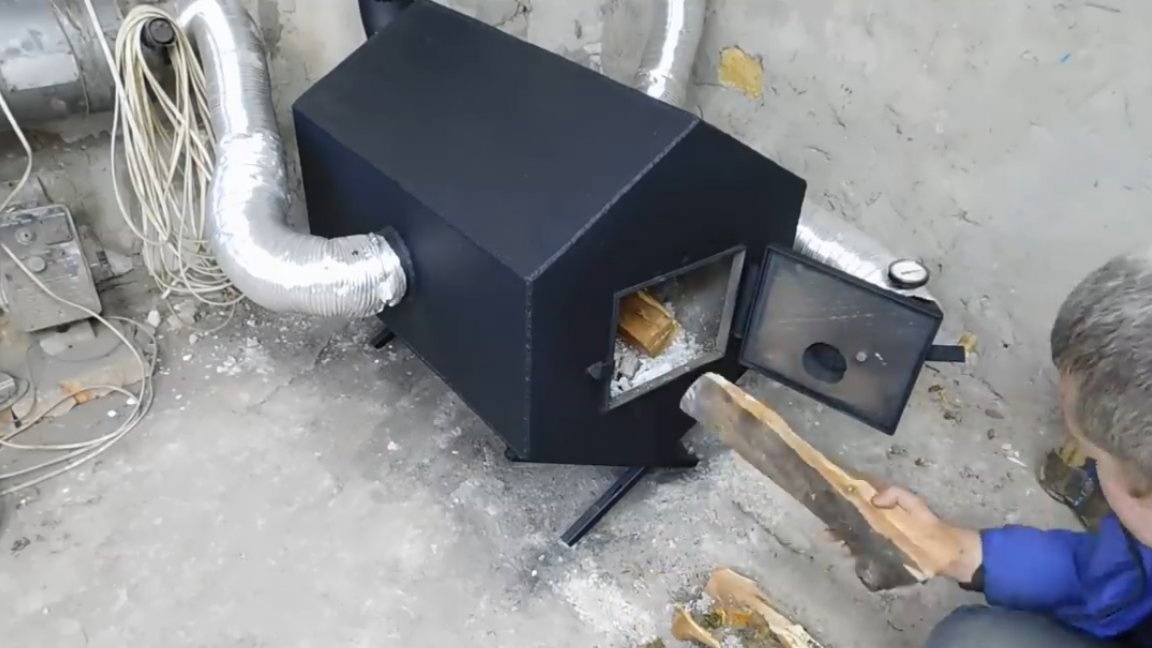
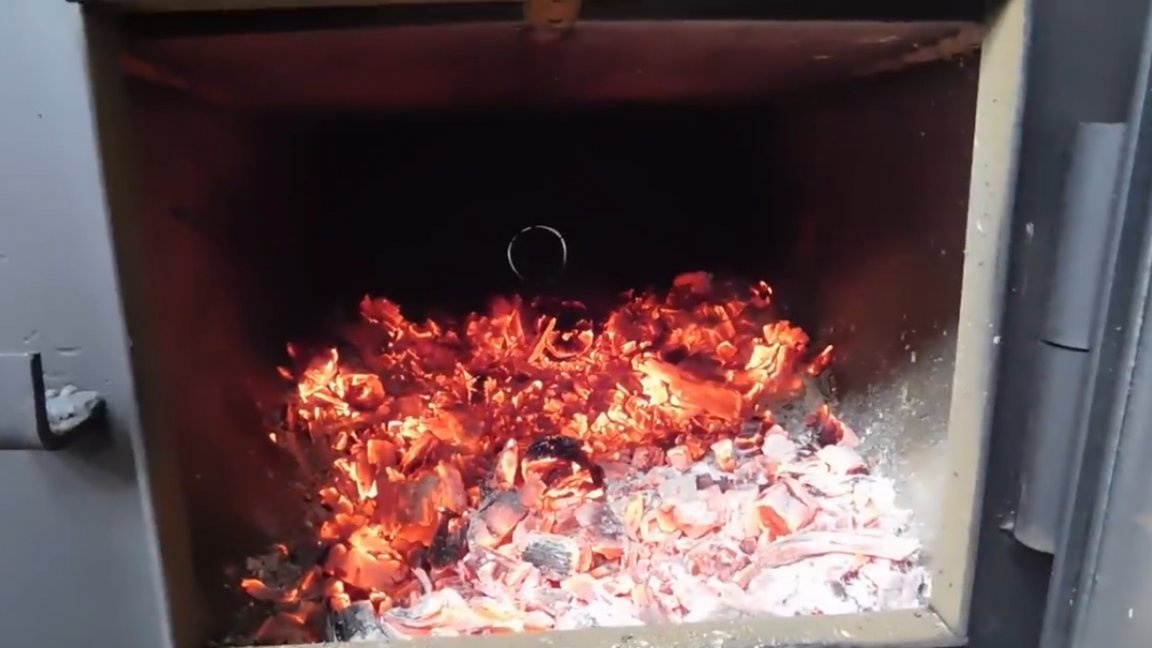
The first bookmark of firewood and look at what today's homemade is capable of.
View from the outside:
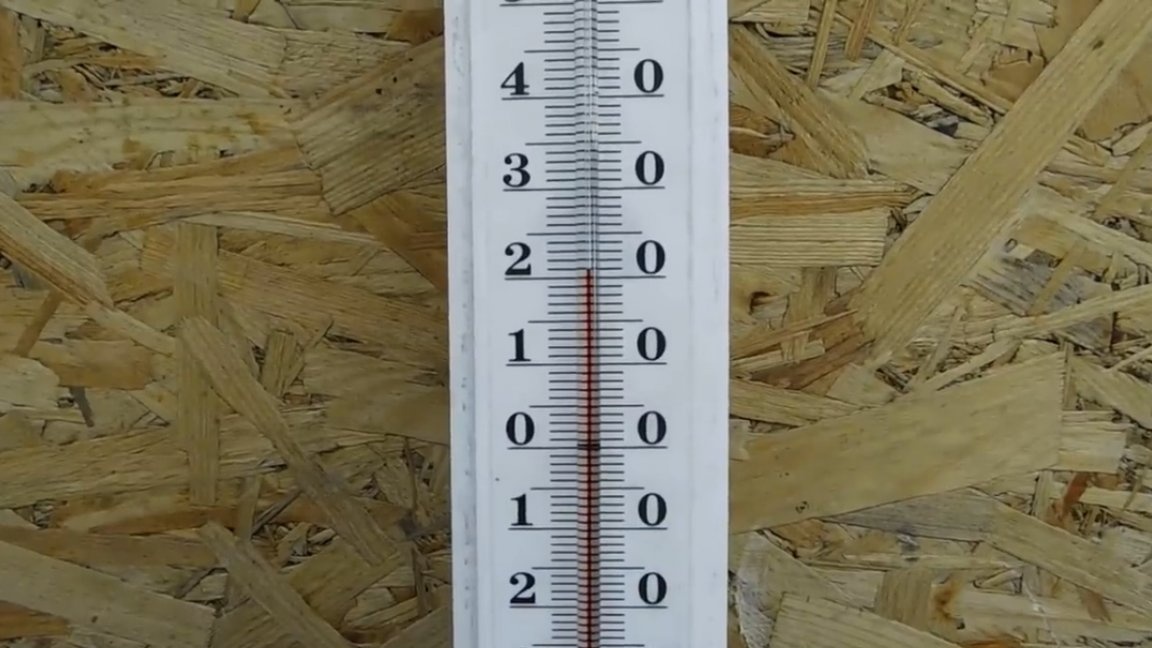
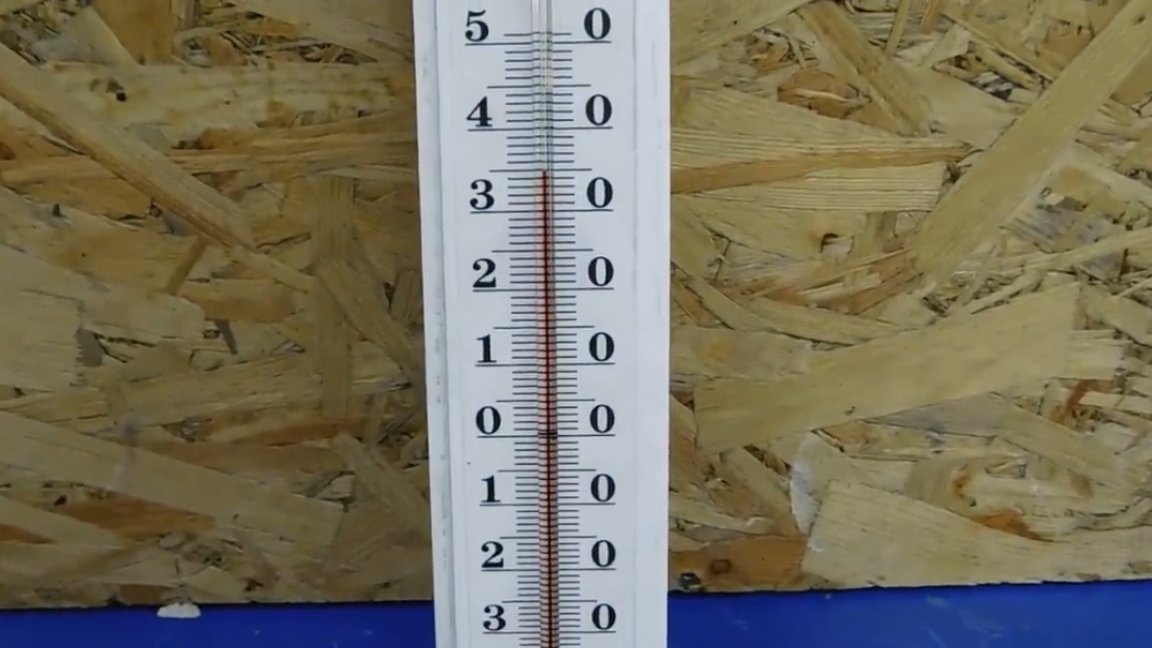
In the workshop -6 on the street -12. After the wood burned out a bit, the master turned on the fan to blow the room, immediately blew well heated air, it would even be more correct to blow very hot air. For a more accurate determination of the outlet temperature, we take an old thermometer from the smokehouse and fix it on the corrugation.

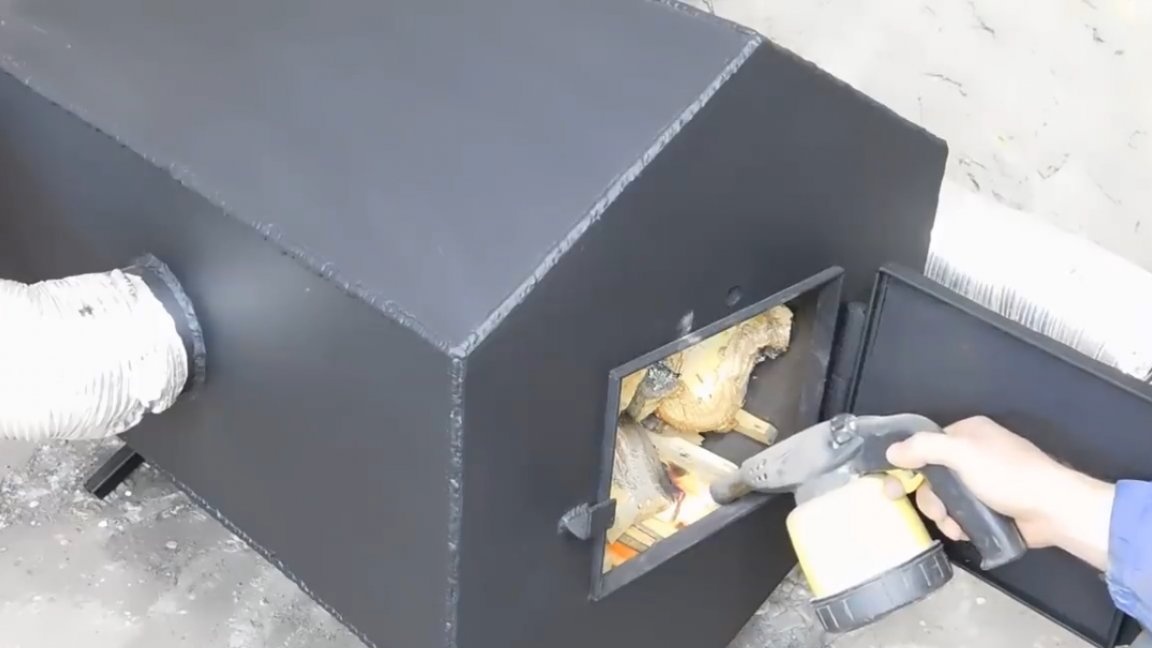
The temperature began to rise quickly, but it felt clear that this was not the limit. So, why on the back wall blew? When firewood burns out in the front of the furnace, closer to the back wall they may still remain unburned, because there simply is no access to oxygen. Closing the front flap and opening the rear, oxygen will flow through the entire firebox, thereby eliminating the burning of firewood in the back of the firebox.
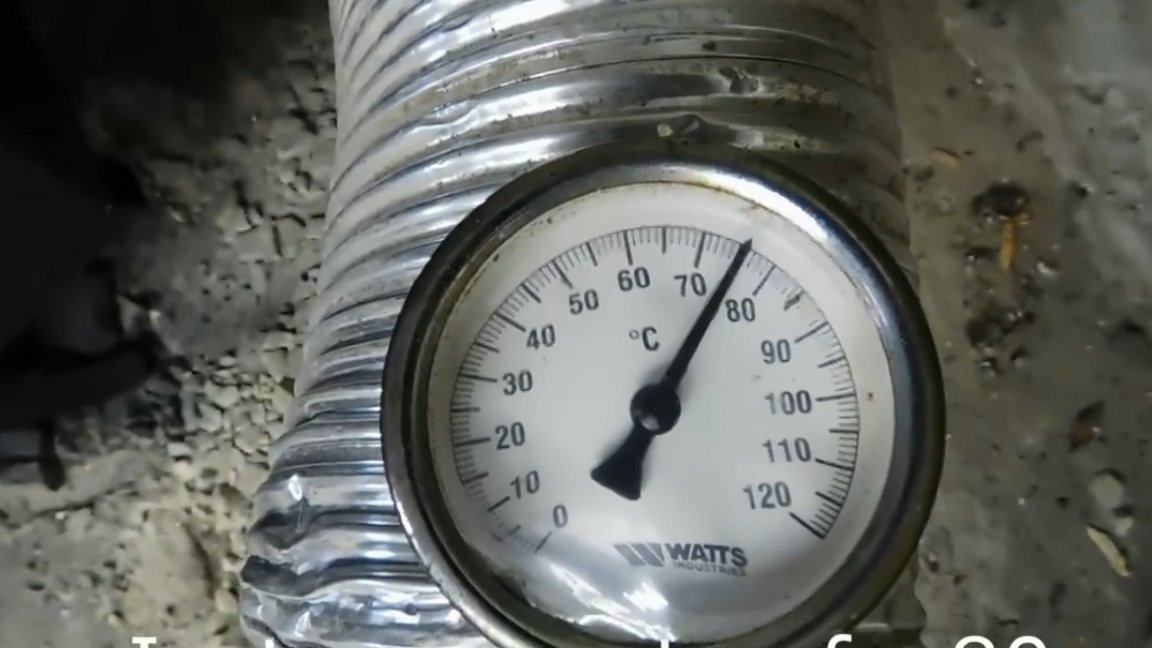
The thermometer, meanwhile, was already showing more than 85 degrees, and the temperature in the room reached 21 degrees.
It would not hurt to experience how quickly the garage heats up. The temperature at that time is 3 degrees. Open the shutter to the garage and close the workshop. You can of course and simultaneously heat 2 rooms, but this will take more time. While the garage is warming along with a cold machine, the temperature in the workshop is stable.An hour later, the garage was already 15 degrees, without a car, it would probably have been warmer. But this is already quite a comfortable temperature for a stay.
The workshop became even warmer, switching the shutter to the workshop, the thermometer eventually showed more than 95 degrees at the exit. The same indicators were approximately given out by a diesel-powered furnace.
And on the thermometer it was already +29.
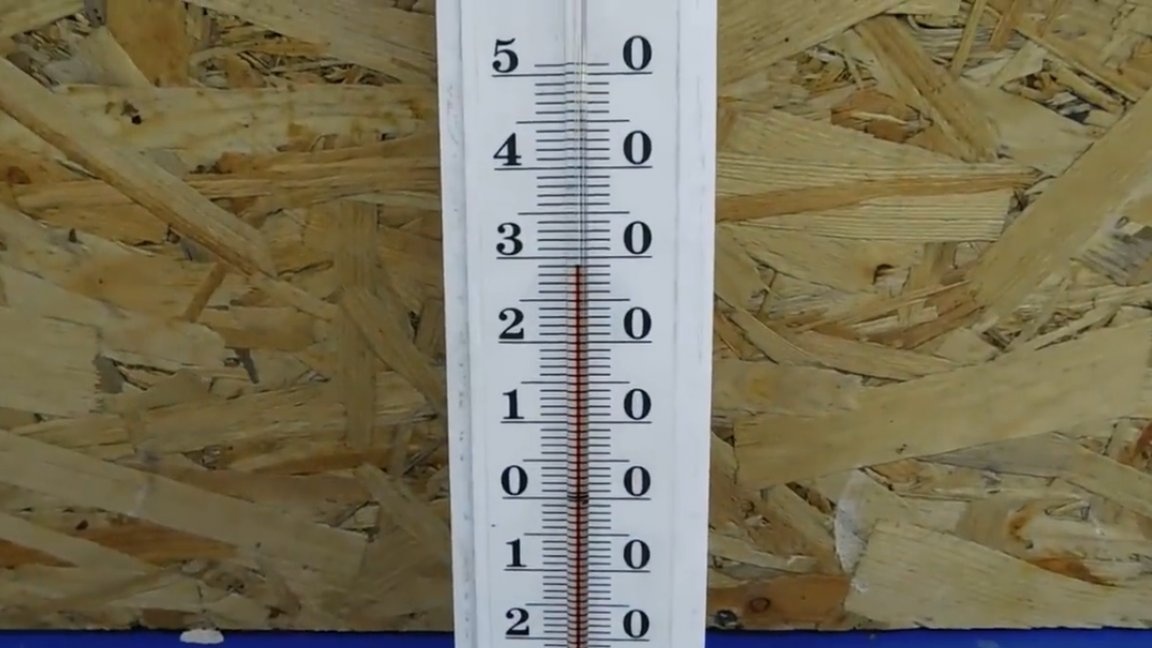
And after 2 hours, the temperature in the room reached 35 degrees. The working air temperature at the outlet was more than 90 degrees.
On this, all tests can be considered passed. Thank you for attention. See you soon!
Video: