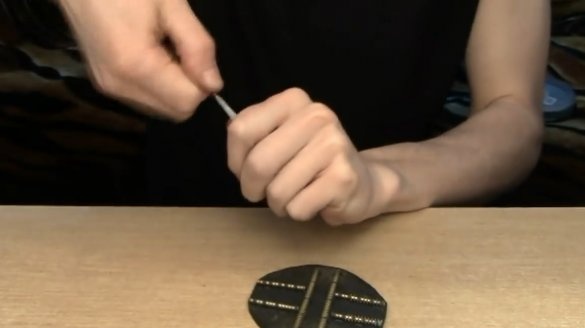
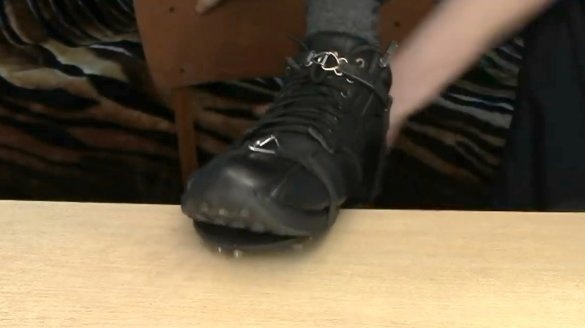
Winter came, and the topic of ice and ways to individually combat it became very relevant. In this article, the author of the YouTube channel "Alokin AlokinAlokin" will consider one of the options for solving this issue. He will tell you how to make ice drills from screws and rubber. This is the first version of this fixtures. In the following articles I will consider a few more analogues, maybe there are simpler solutions.
You can make this homemade product in home conditions without the use of sophisticated tools.
Materials
- Long wood screws
- Second glue
- Clay moment, or any other universal
- Degreasing fluid (gasoline, white spirit ...)
- Thick coarse cotton thread
- Thick sheet rubber with reinforcement
- Leather strips
- Fasteners, or triangular half rings
- Rubber strips from old bicycle or car cameras.
Instruments, used by the author.
- Screwdriver, thin drill, or awl
- Thick needle "gypsy"
- Pliers or crocodile clip
- Hacksaw
- Sandpaper.
Manufacturing process.
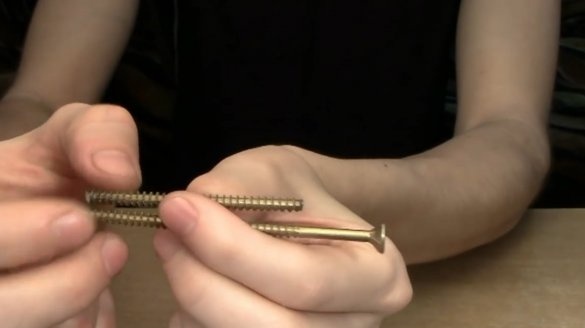
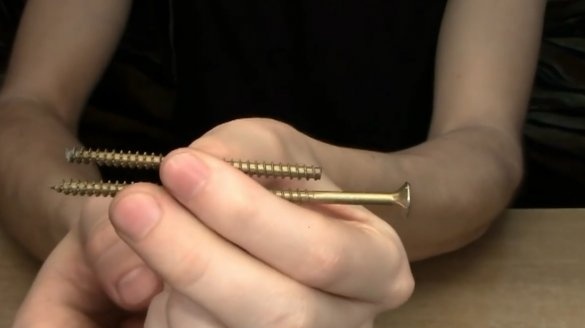
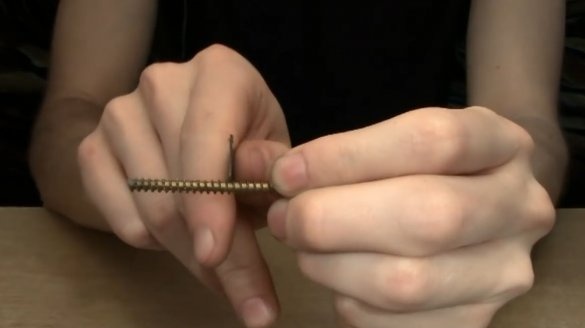
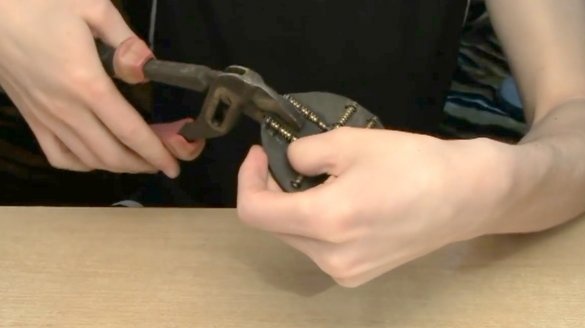
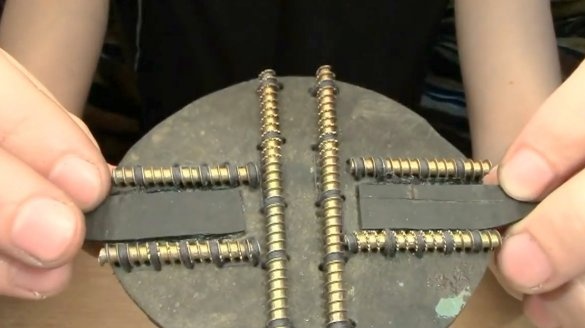
First of all, the author cuts several screws into pieces of suitable length, and all should be threaded. When using such self-tapping screws, as in the photo, it is enough to file it a little with a hacksaw and just break it off.
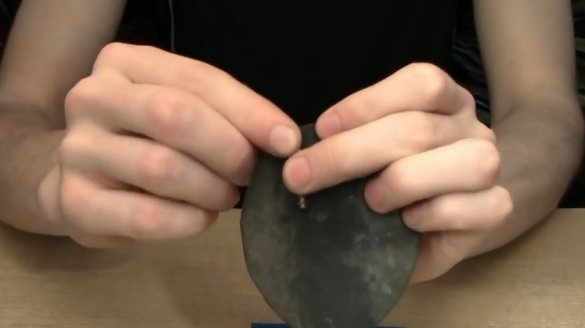
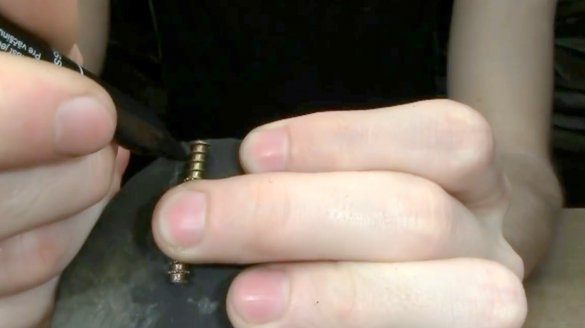
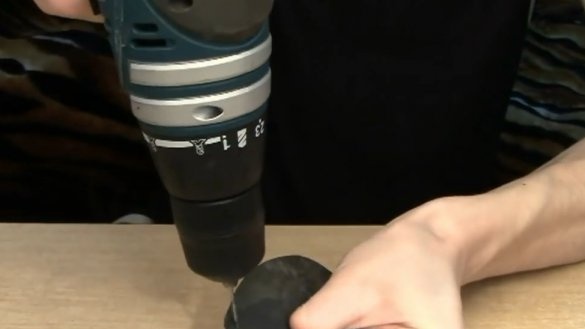
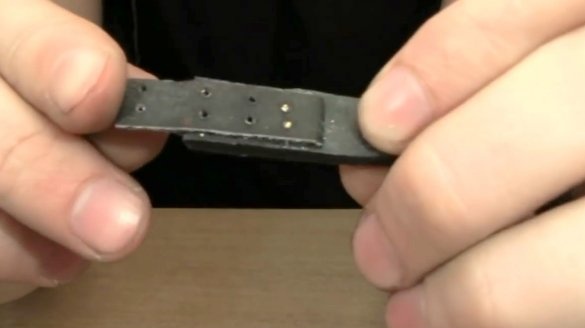
The next step, the author marked a piece of reinforced rubber, it must be tough, otherwise it will move out of the sole. Then I marked the mounting points for the self-tapping screws, and drilled it with a 2mm drill. The same can be done with a hot nail or awl.
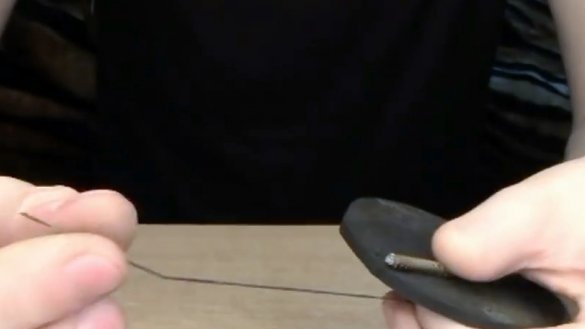
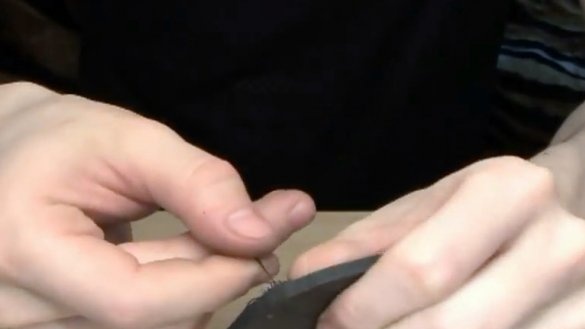
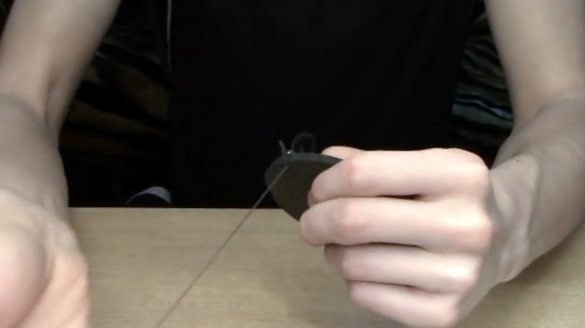
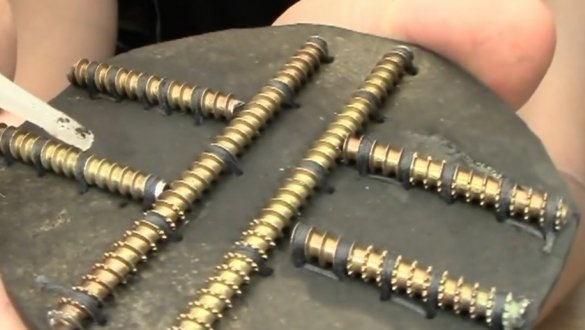
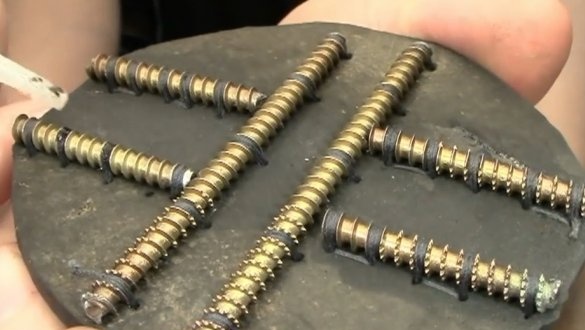
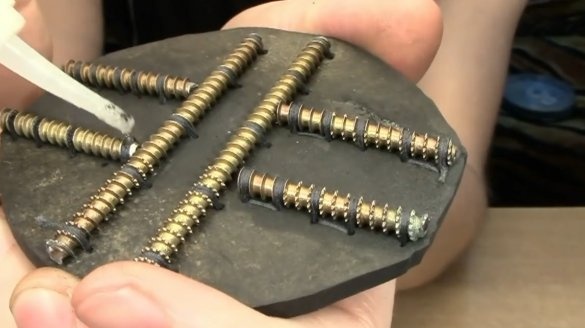
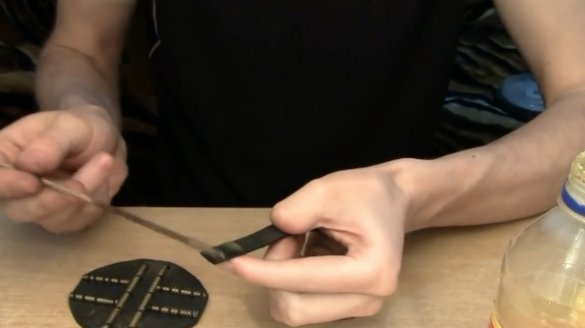
Now you need to attach the cuttings of the screws to the surface of the rubber with a cotton thread.
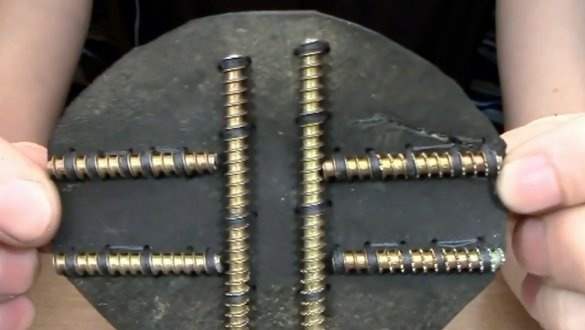
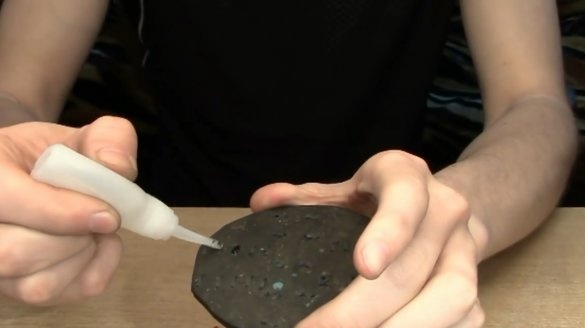
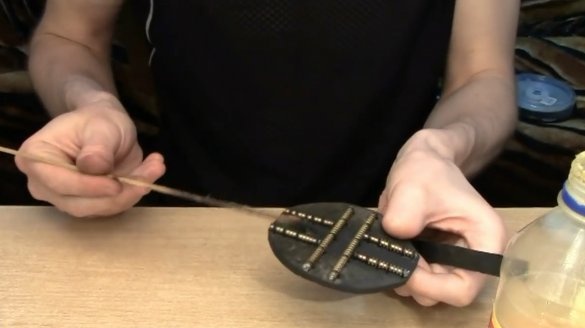
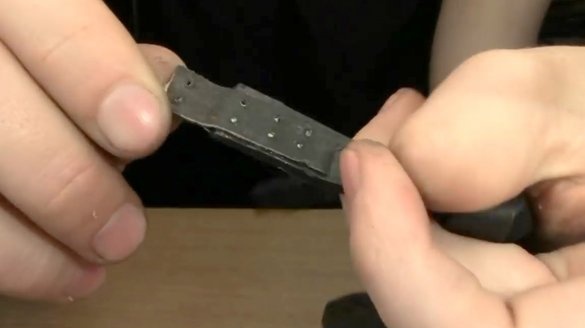
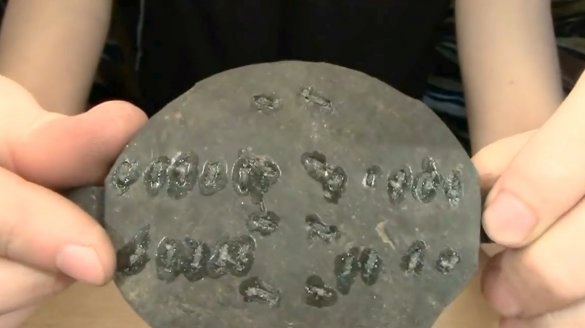
Such a stitched blank turned out, the author opens a second glue.
It impregnates each loop with a second glue, this will protect the threads from salt and moisture. And you need to do this from two sides.
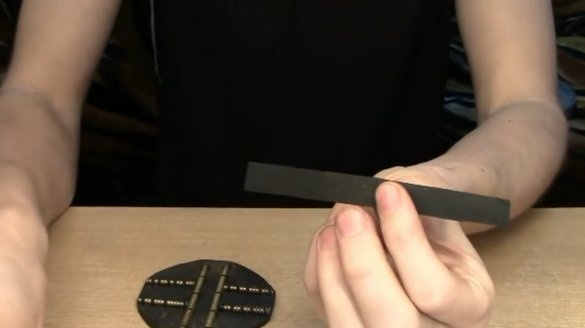
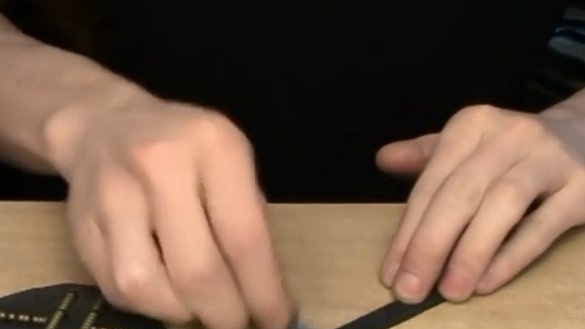
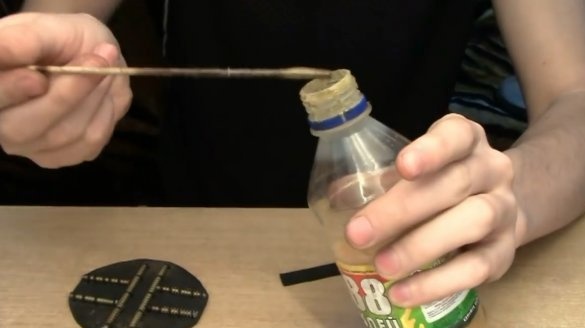
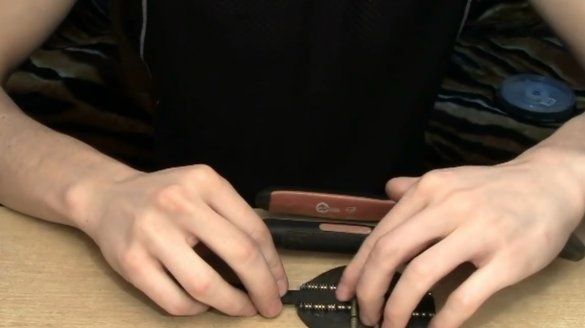
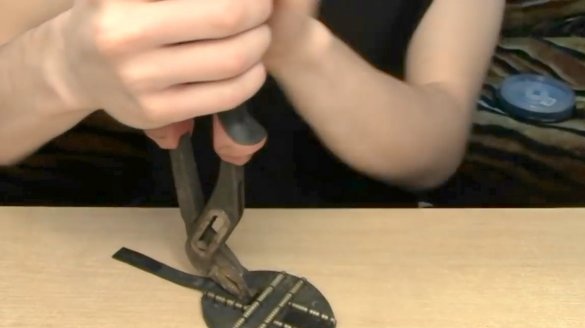
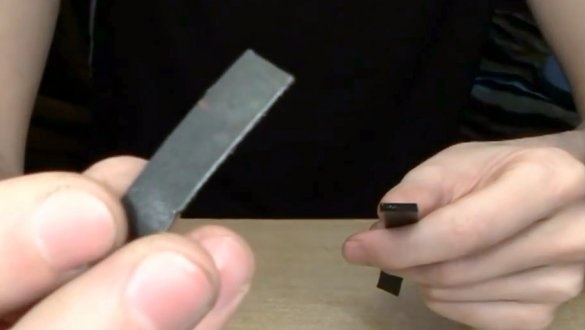
The author will use a strip from a car camera with a width of 10 mm to fasten a disk with screws to shoes. It should be carefully cleaned with sandpaper or cutting hacksaw blades for metal, be sure to degrease both surfaces with gasoline or analogues. Then apply universal glue (for example, moment or rubber) on both surfaces, let it dry for 10-15 minutes.
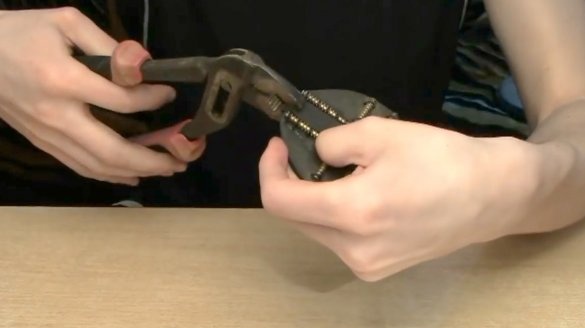
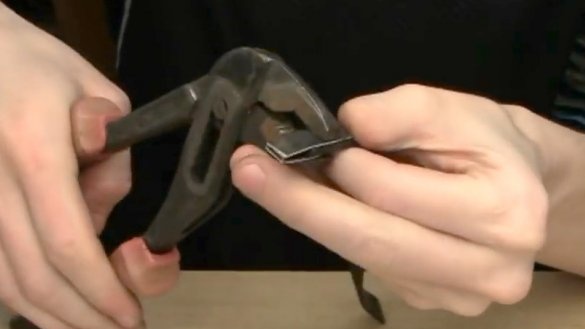
Now, after the glue has dried, it is necessary to press both parts together as much as possible. The pressing time is not so important, first of all, maximum effort is required.
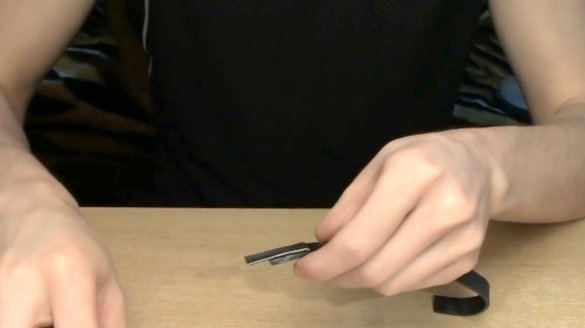
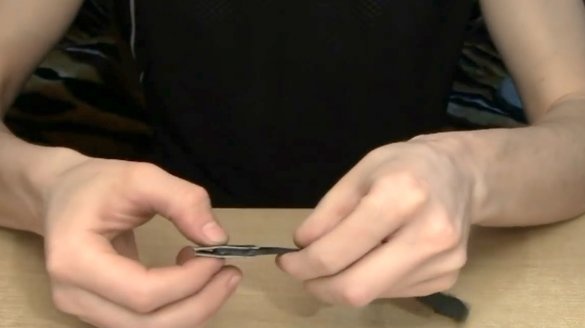
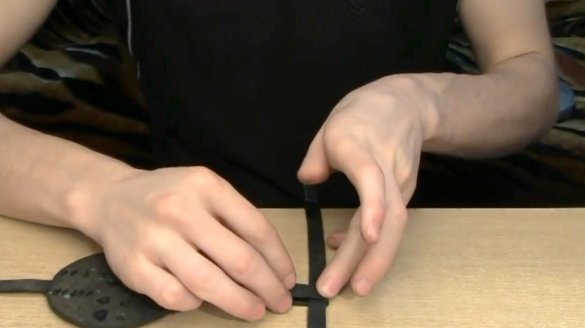
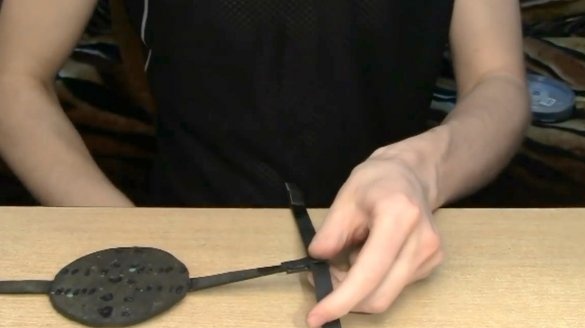
To fix the fasteners, the author will use leather strips, they will help increase the strength of the rubber band with the fastener. Glues them using the same technology, pressing them with a crocodile.
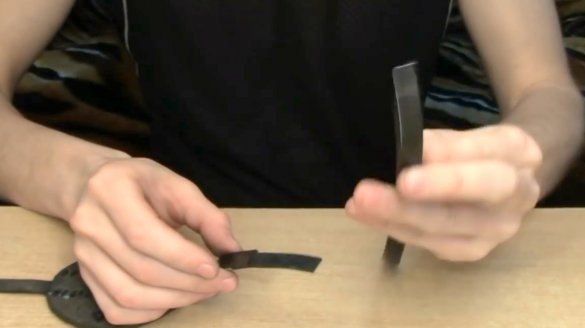
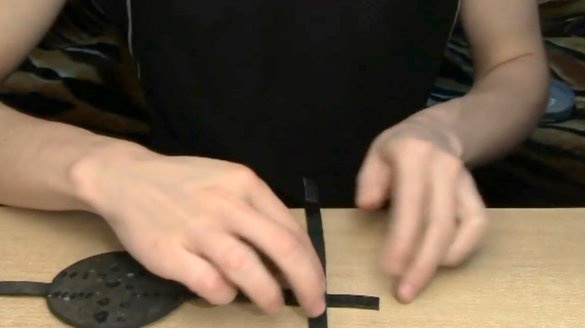
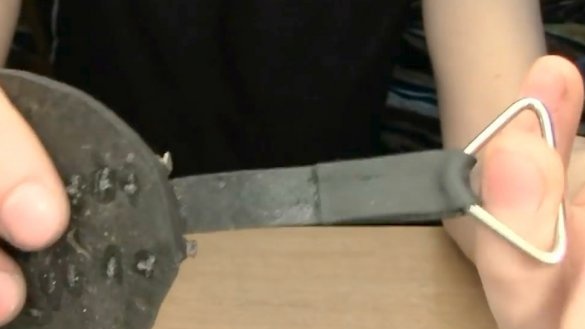
Now the author forms and glues the fastening of the back of the ice drifts. It looks like lightweight shoes for women.
Taped joints reinforce with rivets.
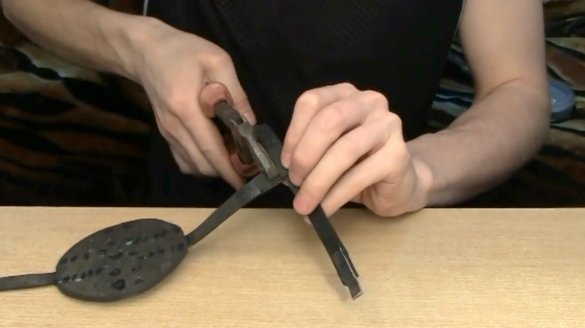
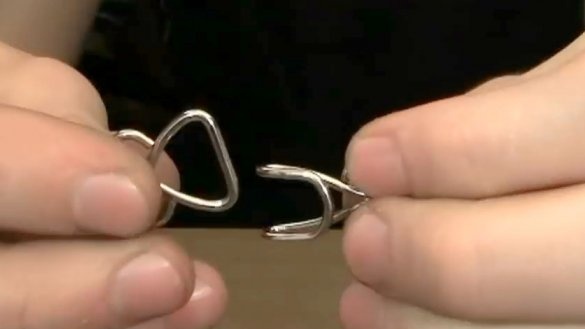
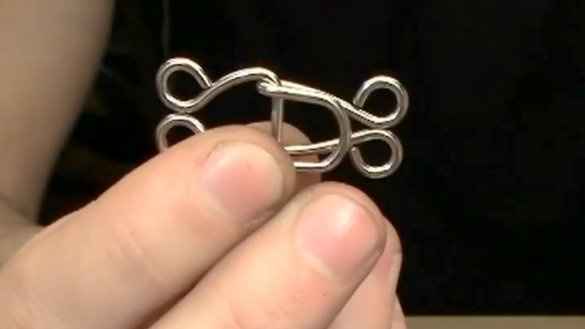
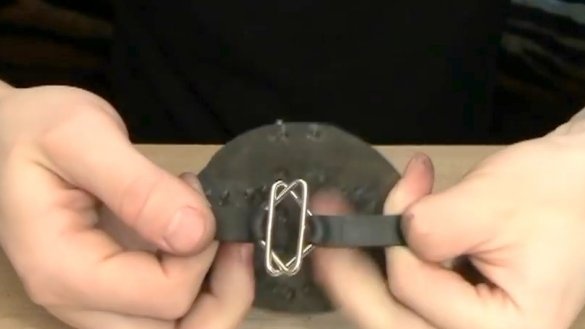
And for reliable and convenient fixation of ice drifts, the author suggests using these fasteners. They can be independently bent from galvanized steel wire, or purchased in a store. Alternatively, you can use the "Velcro", slightly changing the way they are attached.
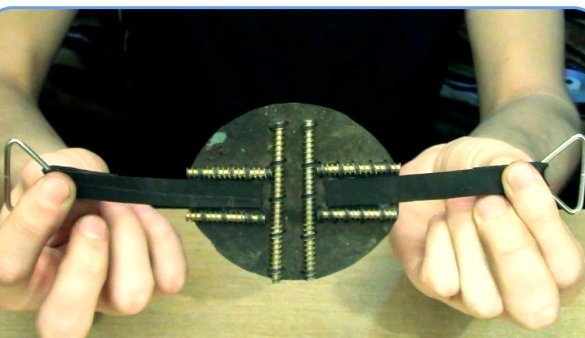
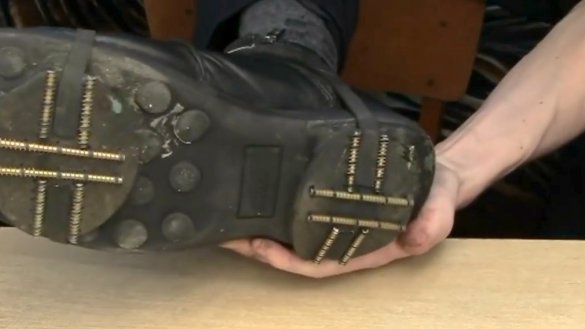
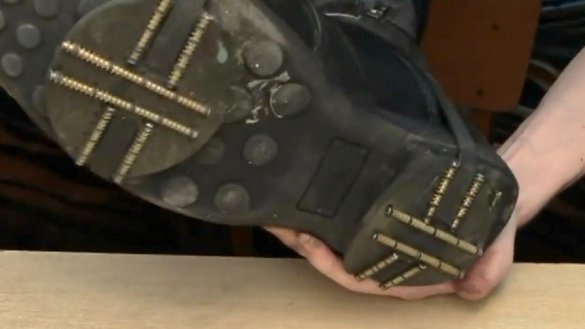
So, here is such a double-sided ice drift disk.
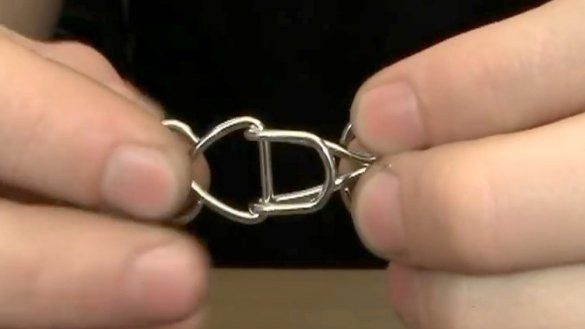
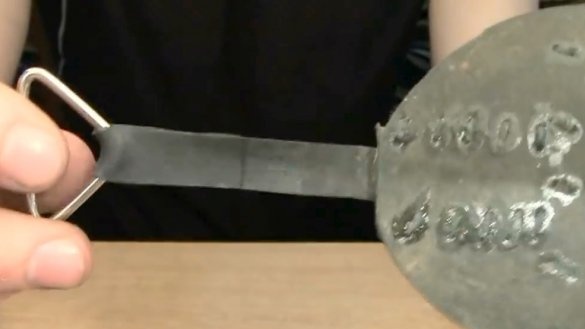
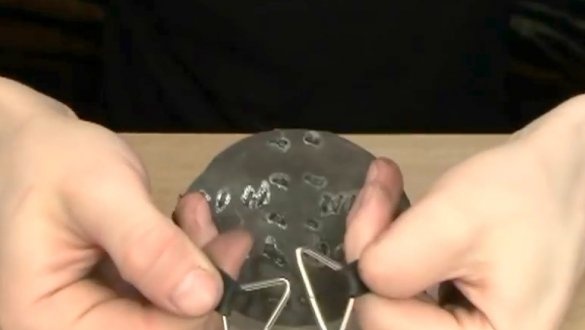
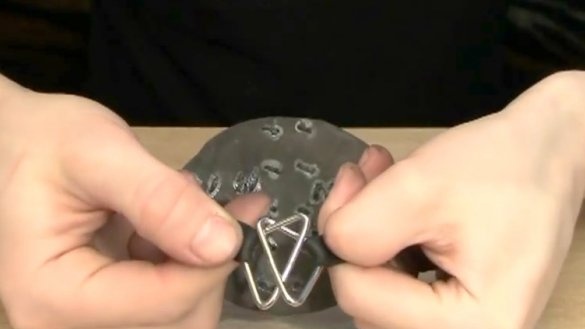
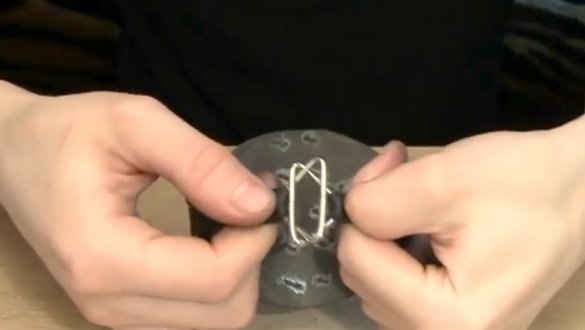
Yes, the clasps can be replaced with such triangular staples.
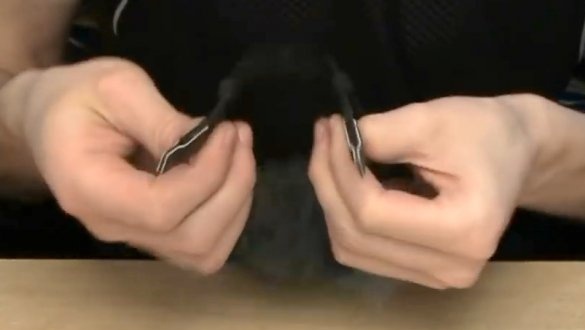
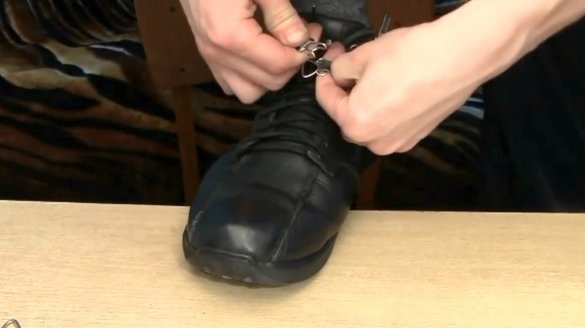
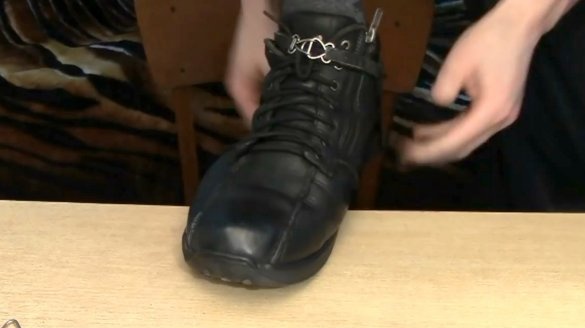
They will be buttoned so.
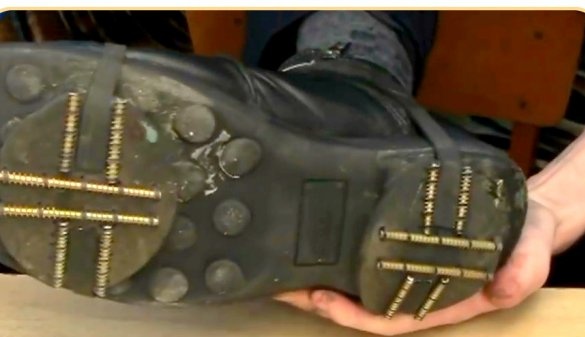
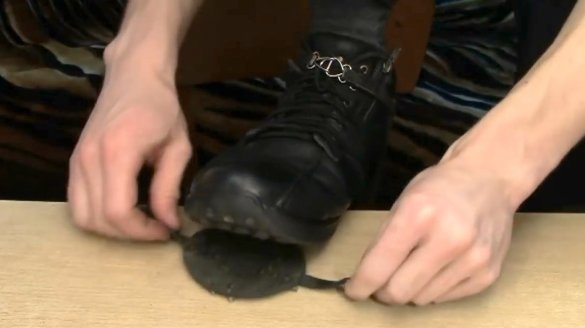
So, both parts of the ice drifts are ready, it's time to try them on to the boots.
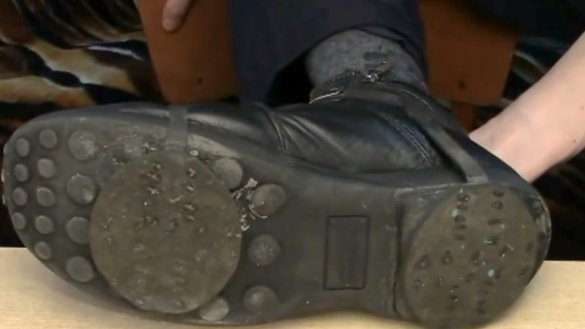
Yes, the versatility of this product is added by the fact that they can be turned over in the absence of ice, and not look for a package where to hide dirty ice drifts. It will be convenient at the entrance to the building.
The large length of the screws provides greater rigidity and traction.
Thanks to the author for the provided material for consideration! The idea deserves attention!
All a good mood and grip =)

