
This article will be interesting to joiners, and lovers of classic carpentry tools.
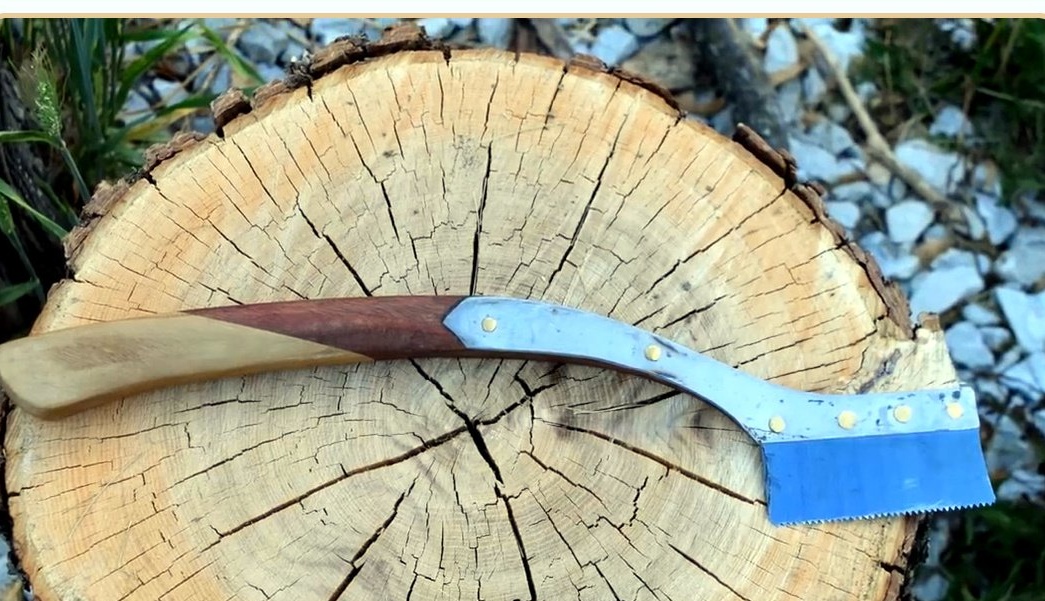
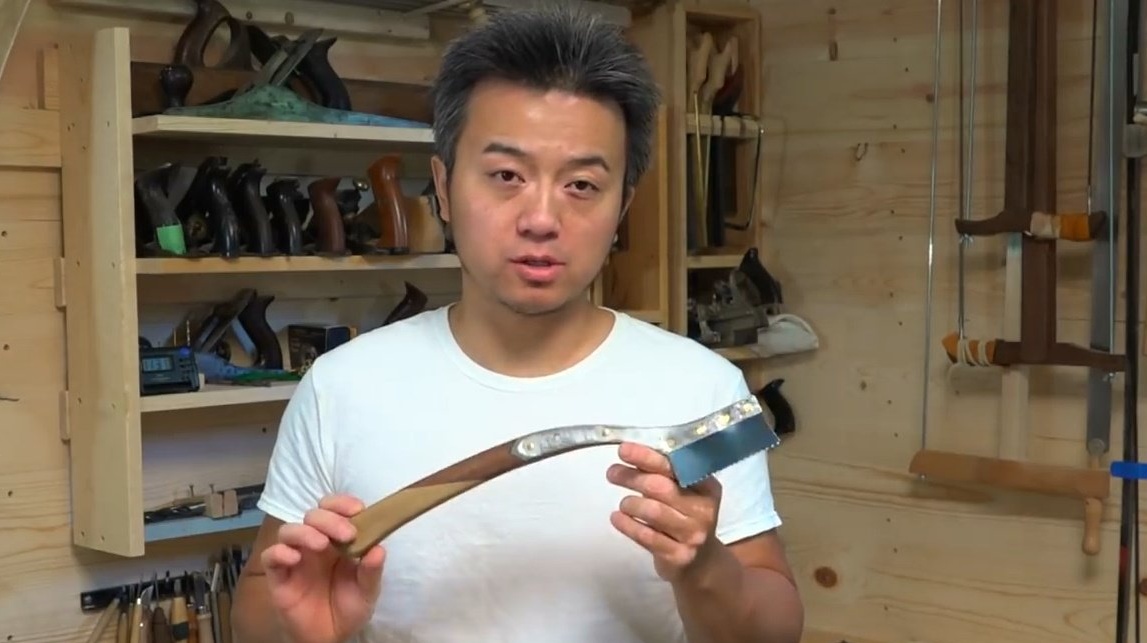
In it, the author of YouTube channel "John Zhu" will tell you how to make a Chinese saw with a short blade, this is a traditional Chinese carpentry tool.
He himself drew information on the manufacture of such tools from video masters of Xing Quian Sheng (幸 全 生), which demonstrates the manufacture of such a tool.
However, the method that John uses is significantly different from what is proposed in the description, but the result is one.
The primary reason why the author decided to make such a specific tool was to saw out the inclined sides of the sliding joint, known as the "dovetail".
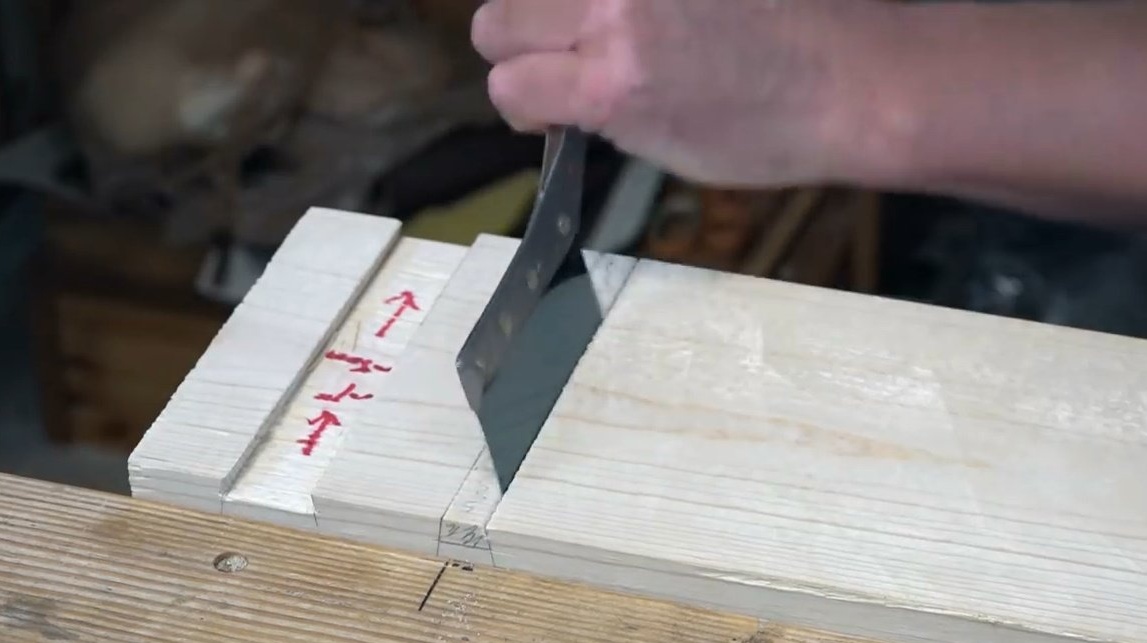
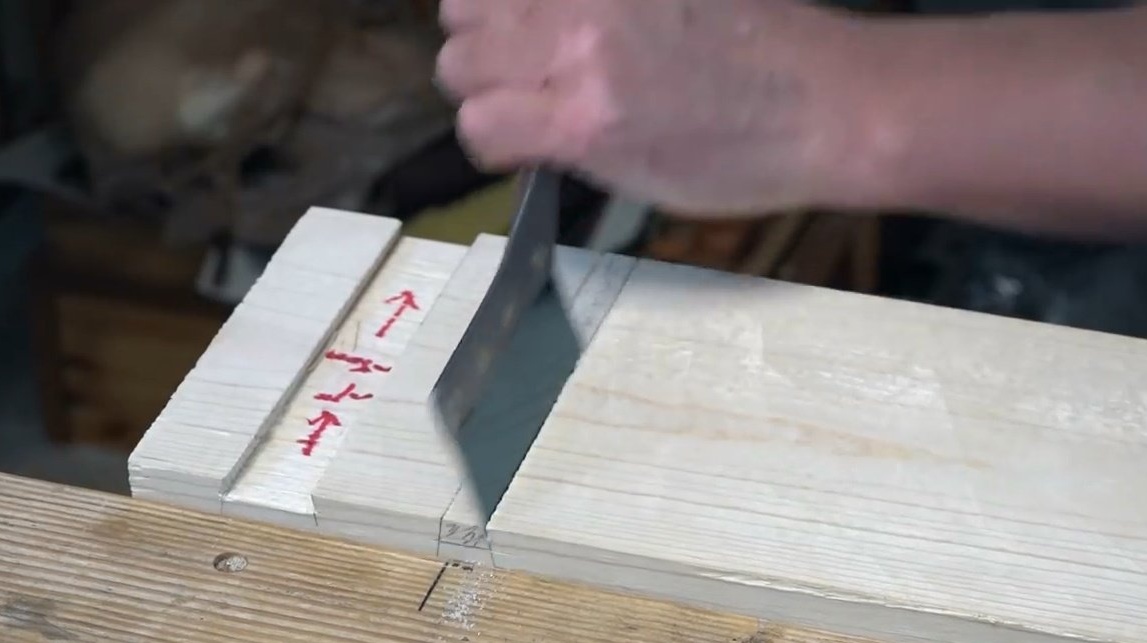
But this saw can be very useful for other types of thin carpentry. In copyright videos, John often uses this tool, and you can see what can be done with such a short saw.
Materials
- Hardwood bars
- Sheet steel 1.5 mm
- Spring steel sheet
- Brass bar
- Double-sided tape
- Second glue
- Two-component epoxy resin
- Wax.
Instruments, used by the author.
- Band-saw
- Grinder, cutting disc
- Grinder
- Belt sander
- Drilling machine
- Technical hair dryer
- Vise
- clamps
- Chisel
- Engraving machine
- Needle file
- Hacksaw
- Anvil, hammer.
Manufacturing process.
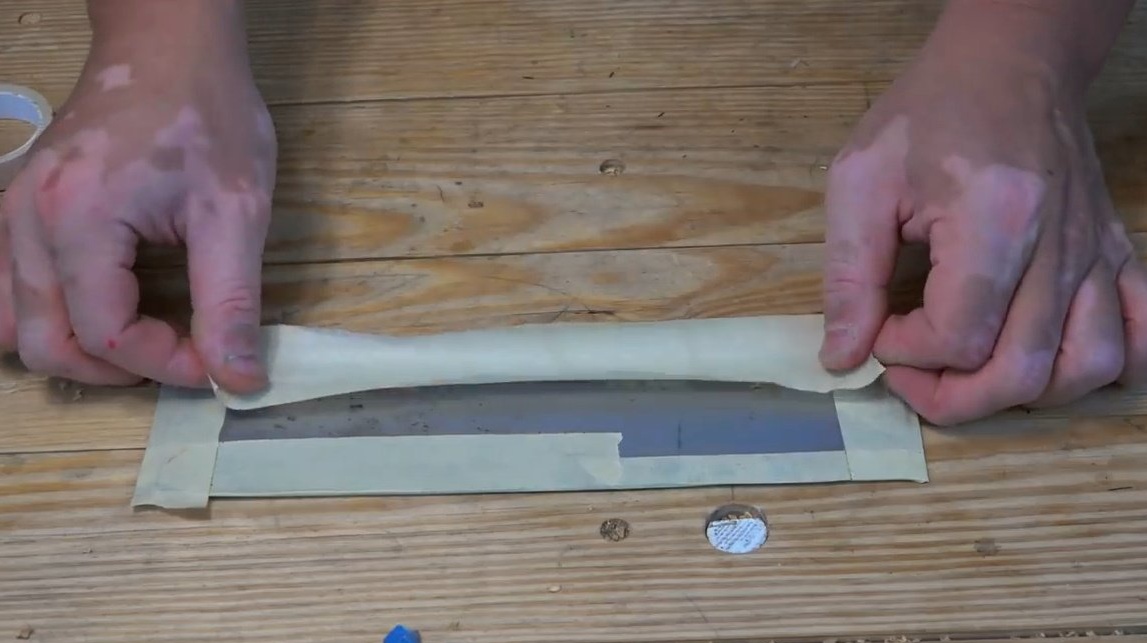
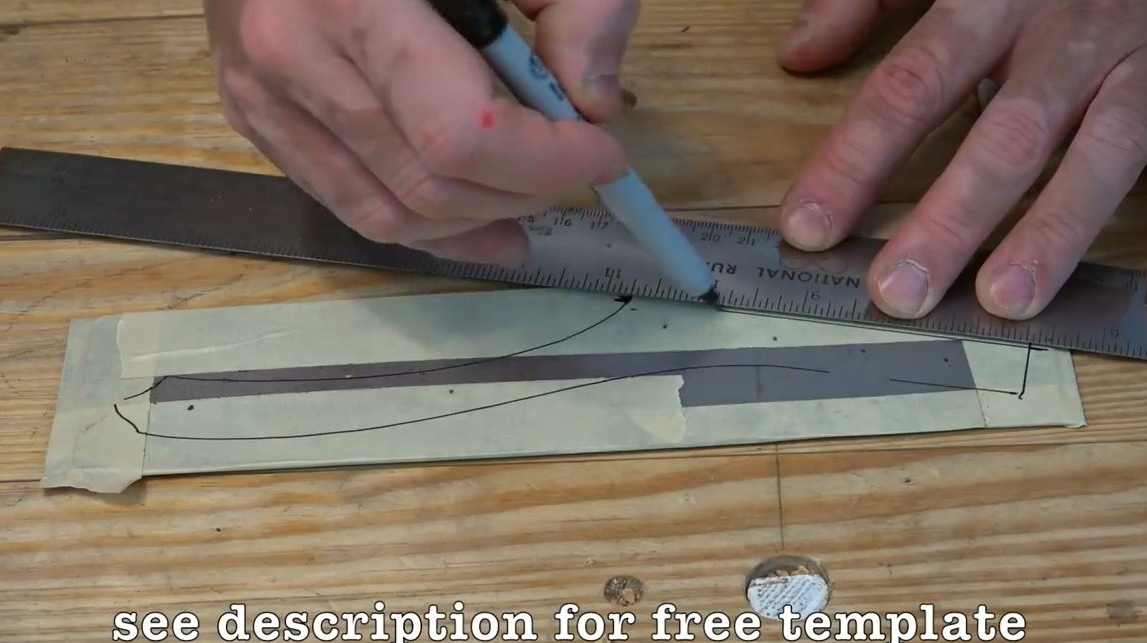
The master began by picking up two steel plates with double-sided duct tape.
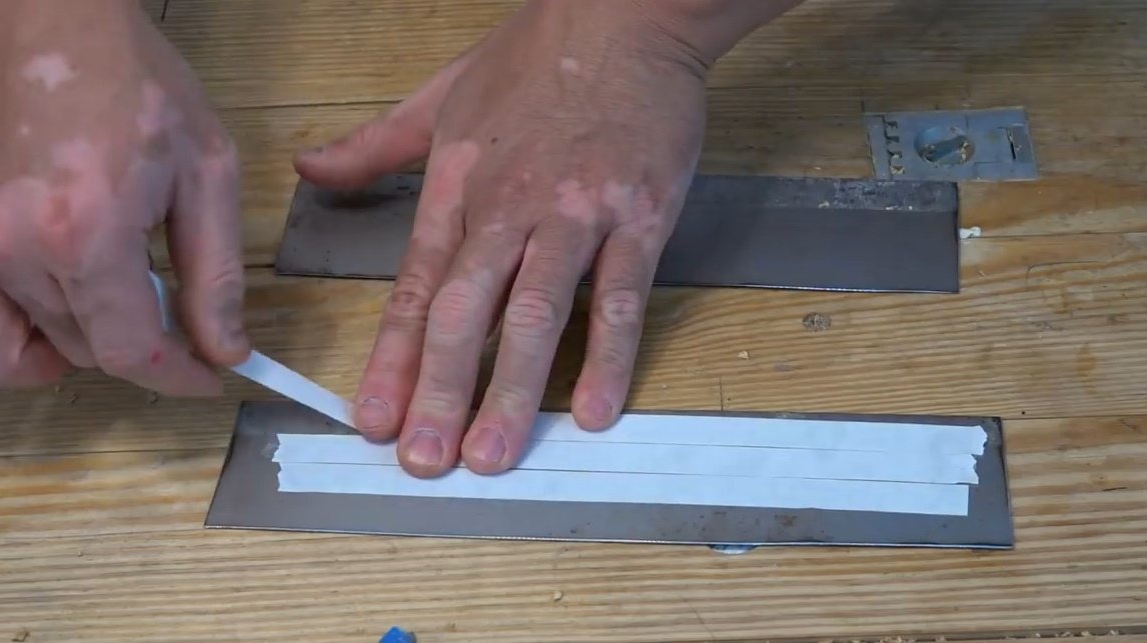
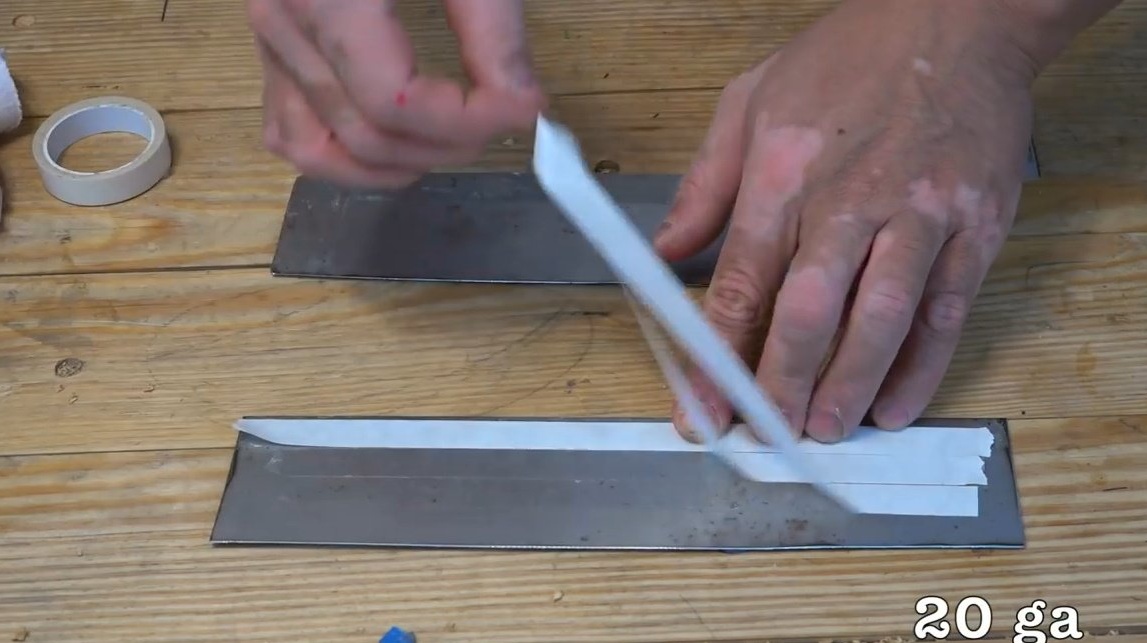
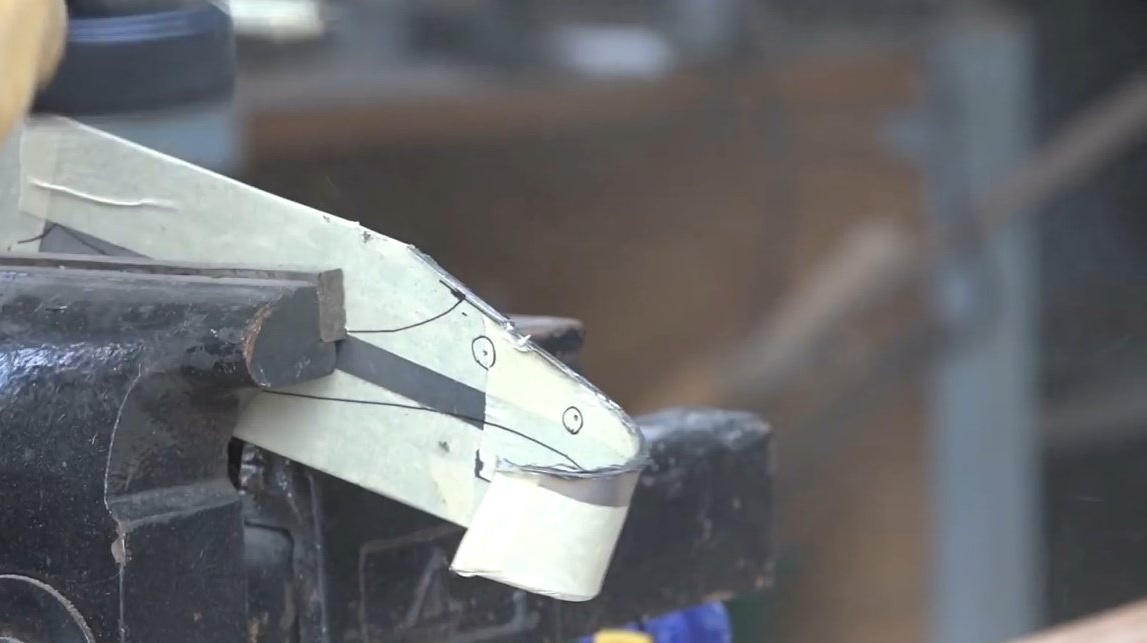
Then, using the link to the video description of that same Chinese master, he found a ready-made template for the shape of this knife and transferred it to the material. The template can be downloaded for free:

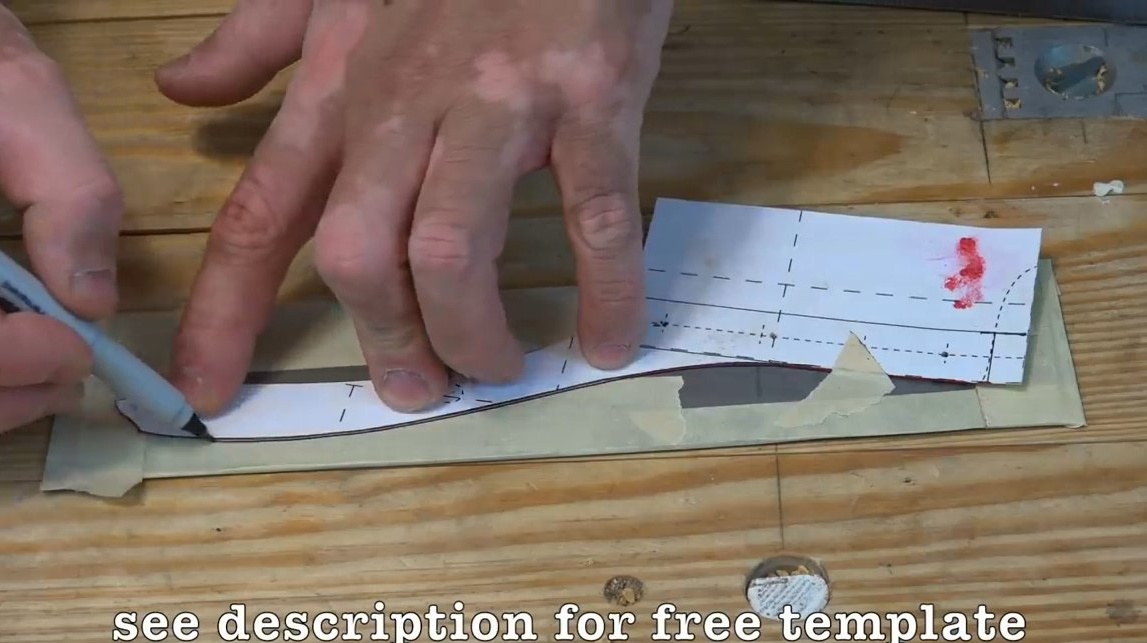
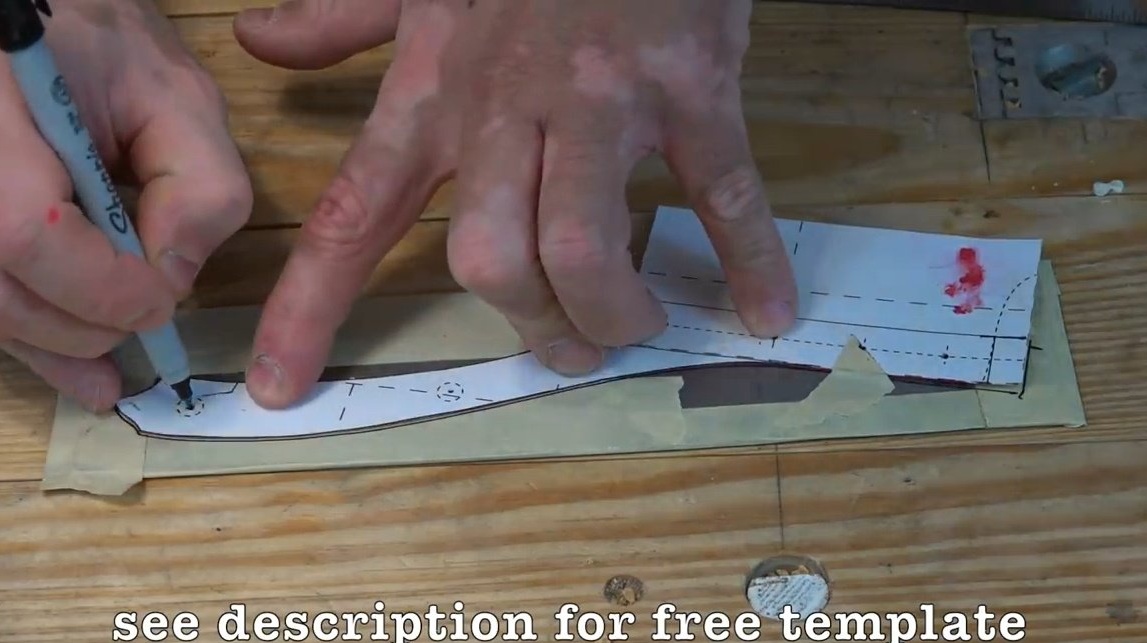

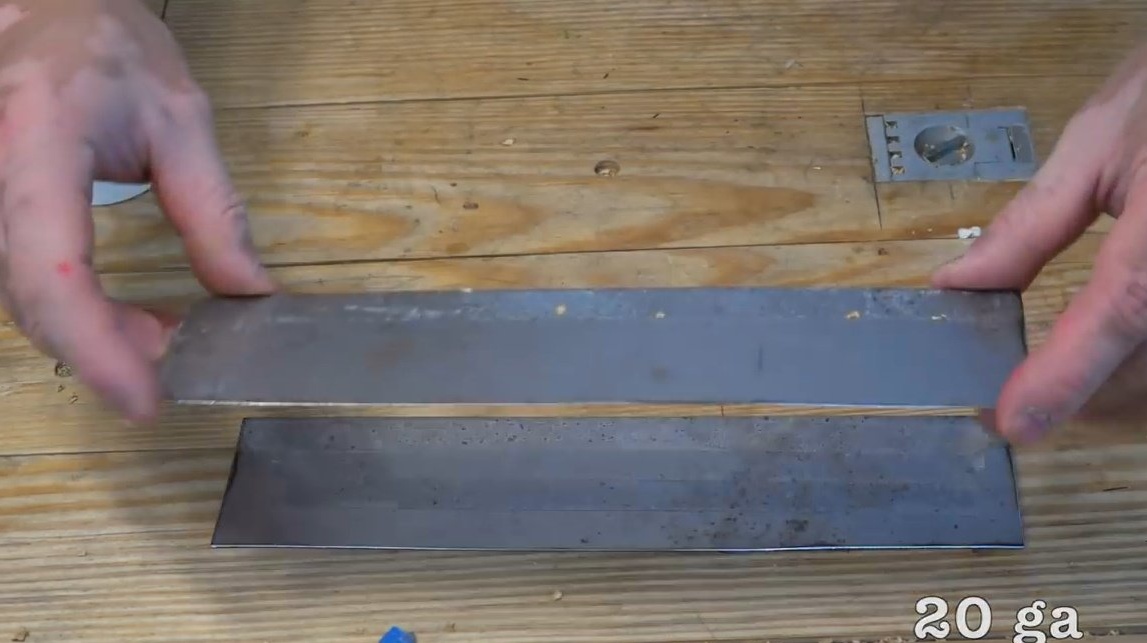
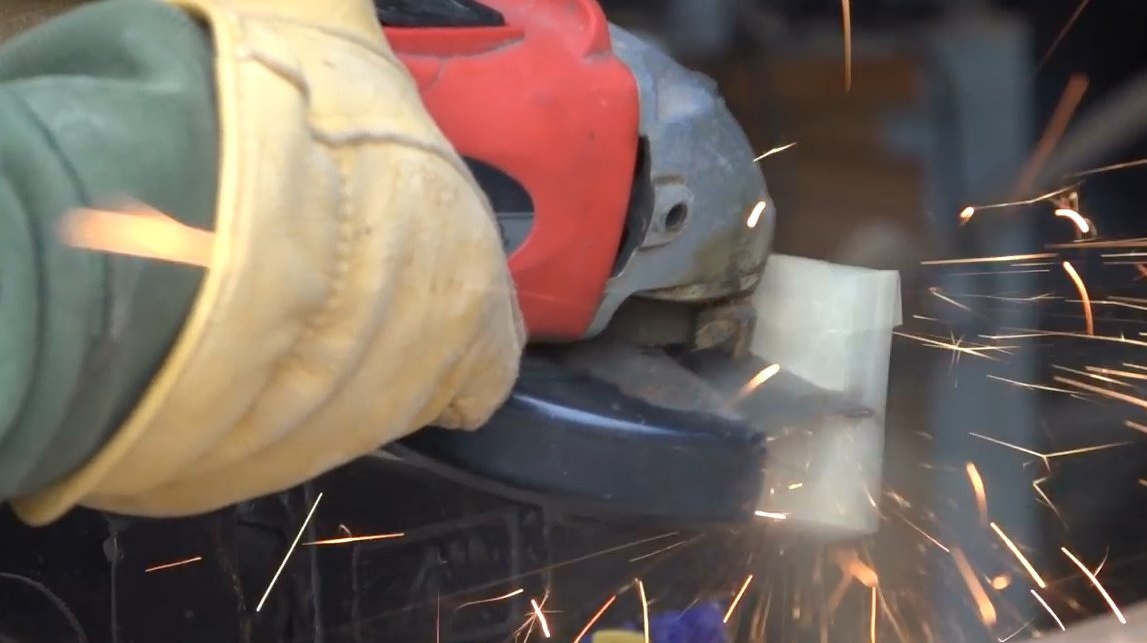
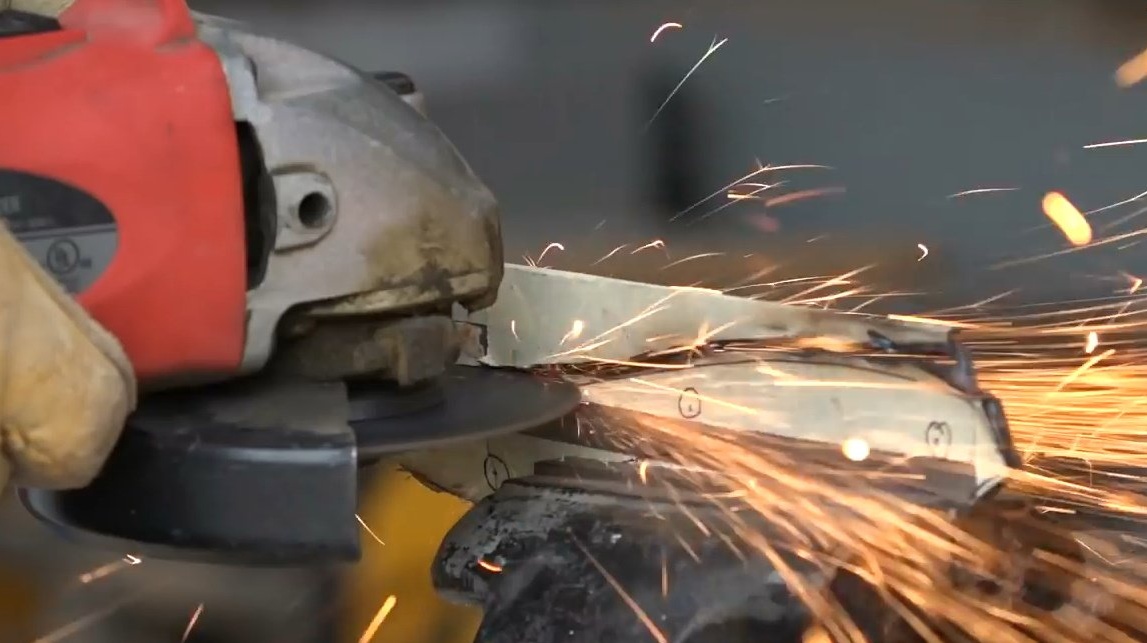
Now it’s pretty easy to cut a shape from a pattern. However, the author made a small but fatal mistake, did not fix the edge of the workpiece by anything, and, cutting the length of the part made of thin steel too long, it bent and the cutting disc caught and burst. No one was hurt, but there is experience!
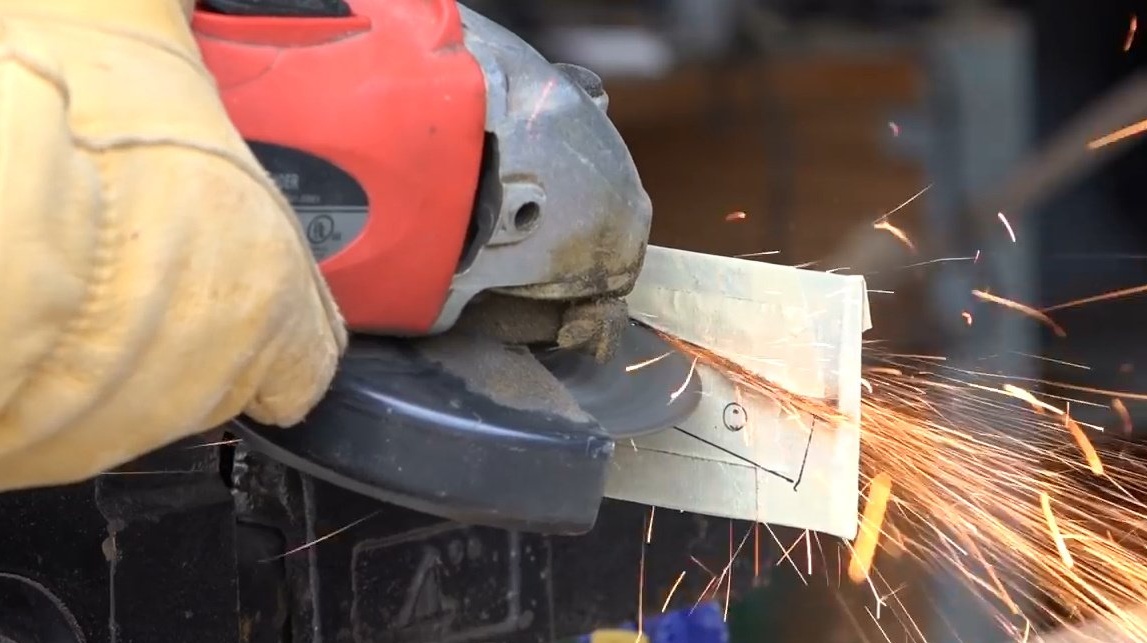

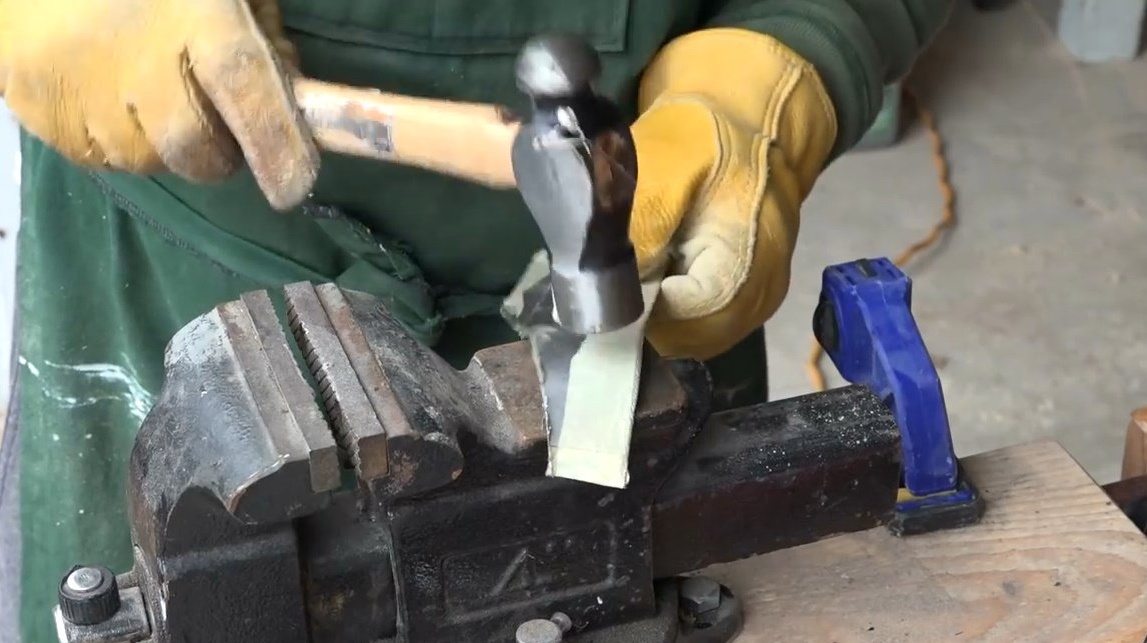
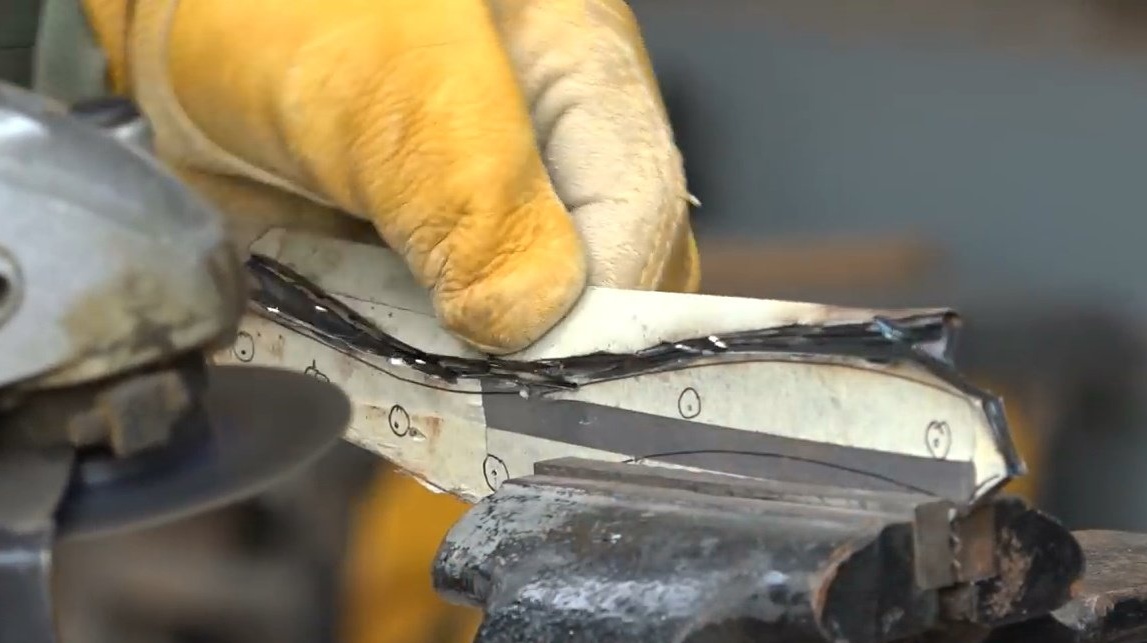
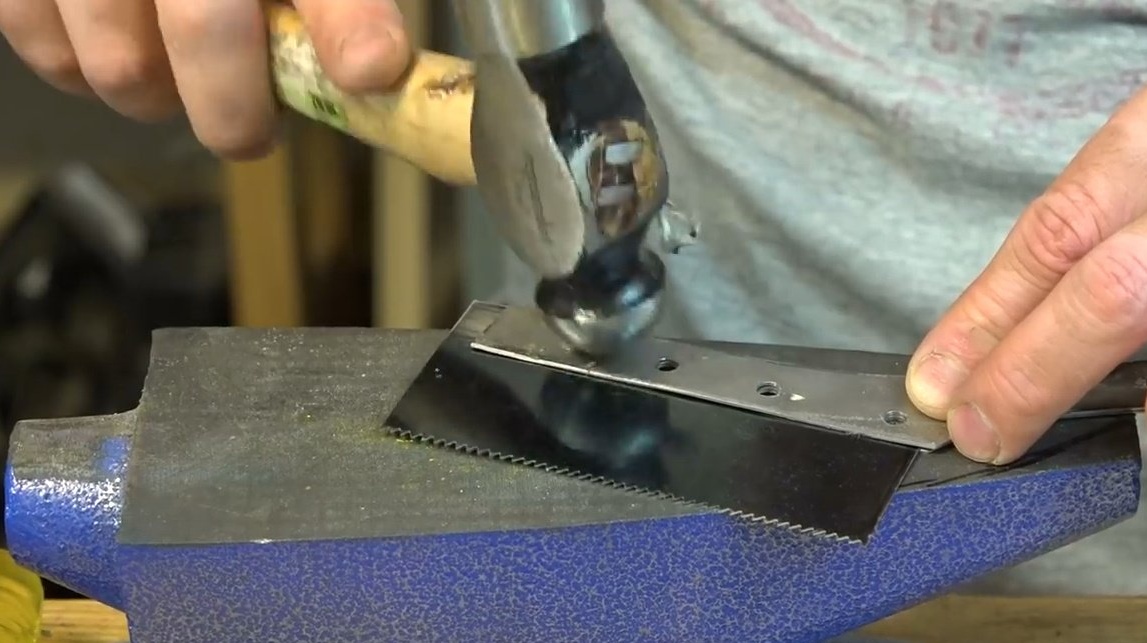
The master had to level the workpiece on the anvil. And then re-mark the steel sheet under the template and again start cutting the mold. At the same time, John intentionally left the lower part of the handle uncut, so that there was something to hold on to while grinding the upper part of the fastening of the future saw blade.
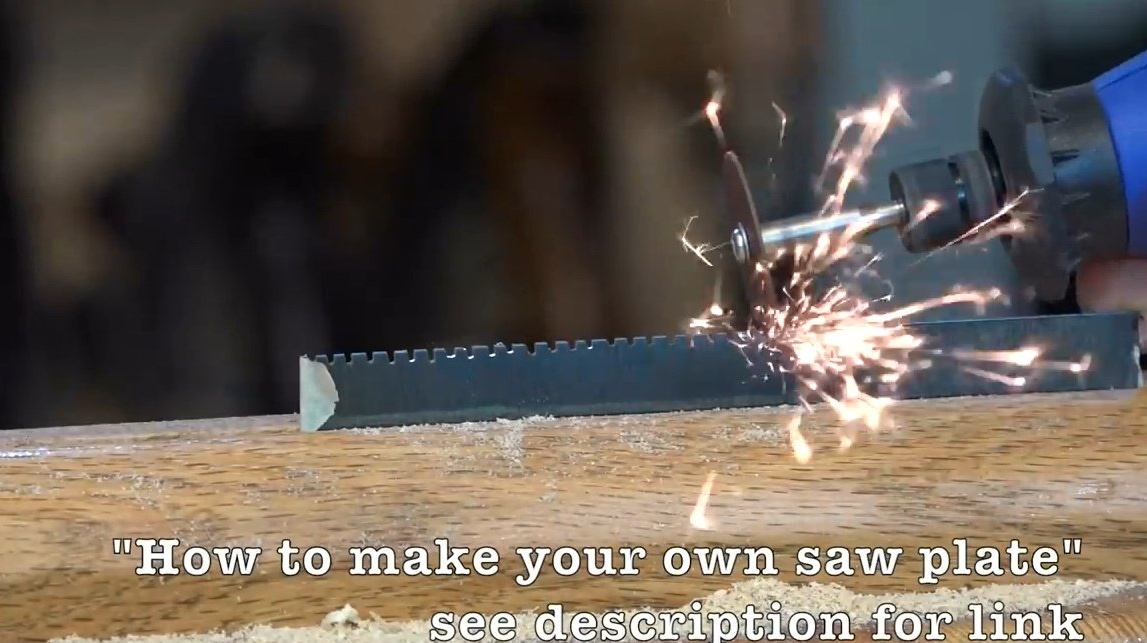
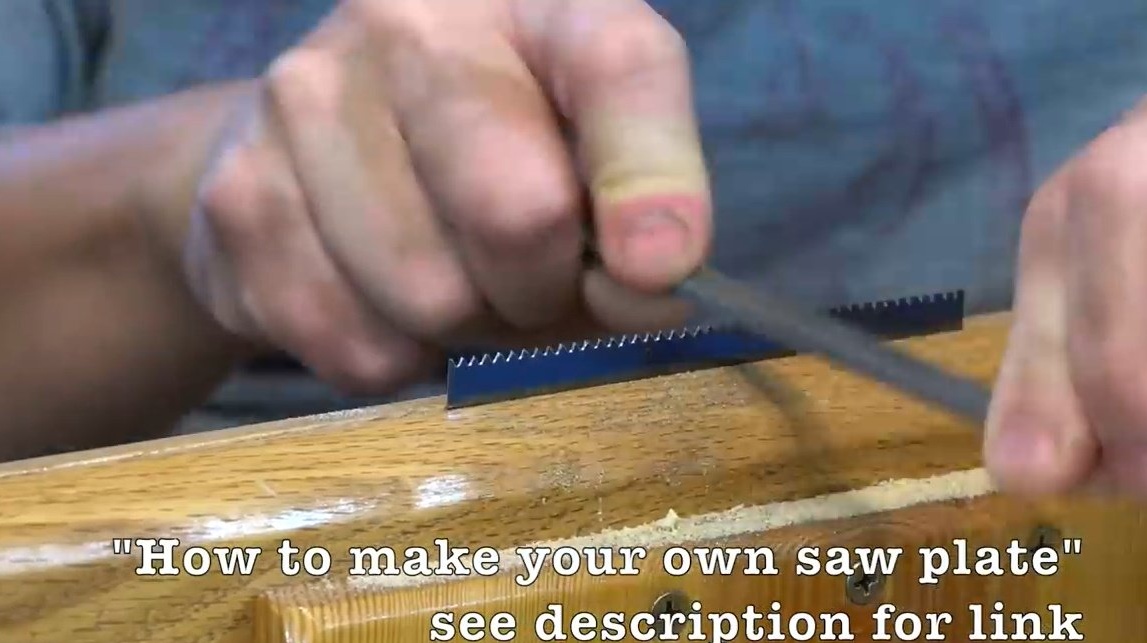
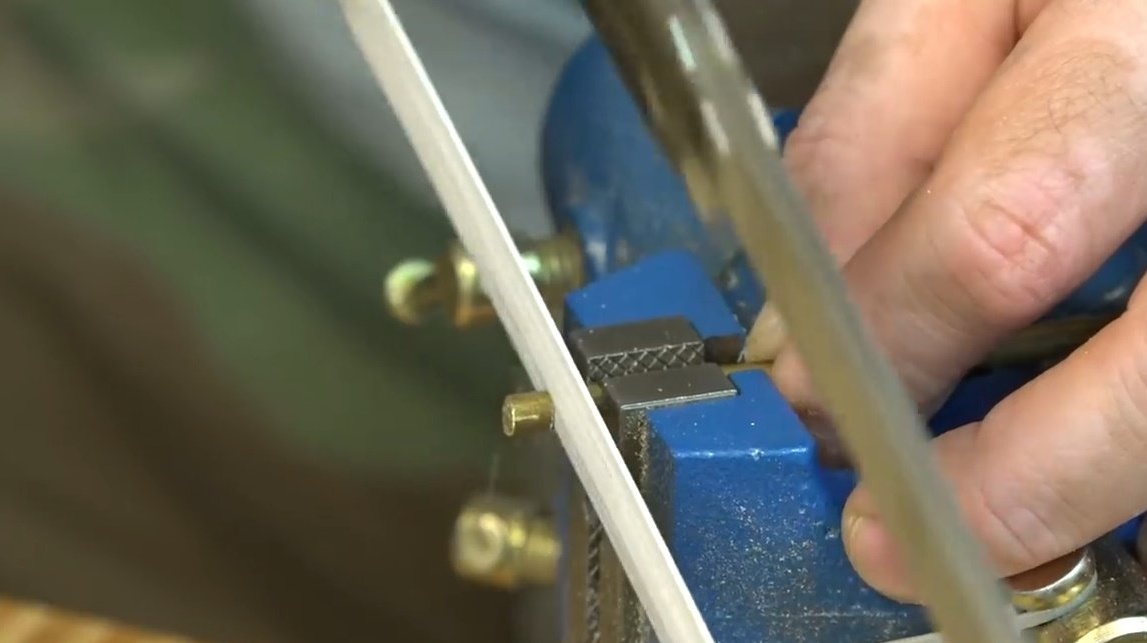
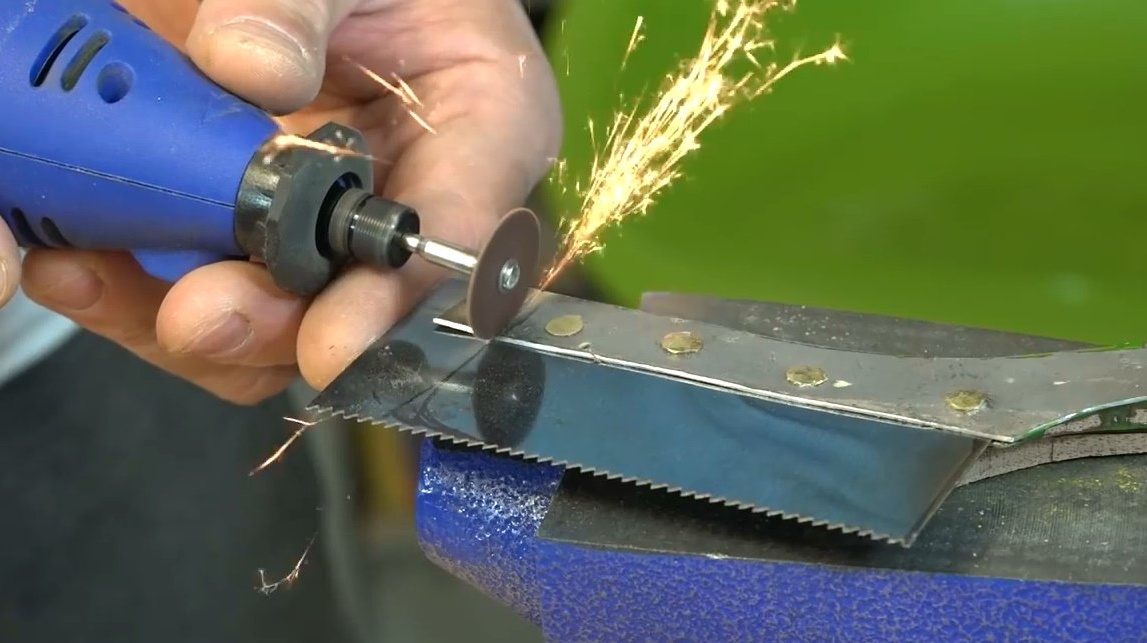
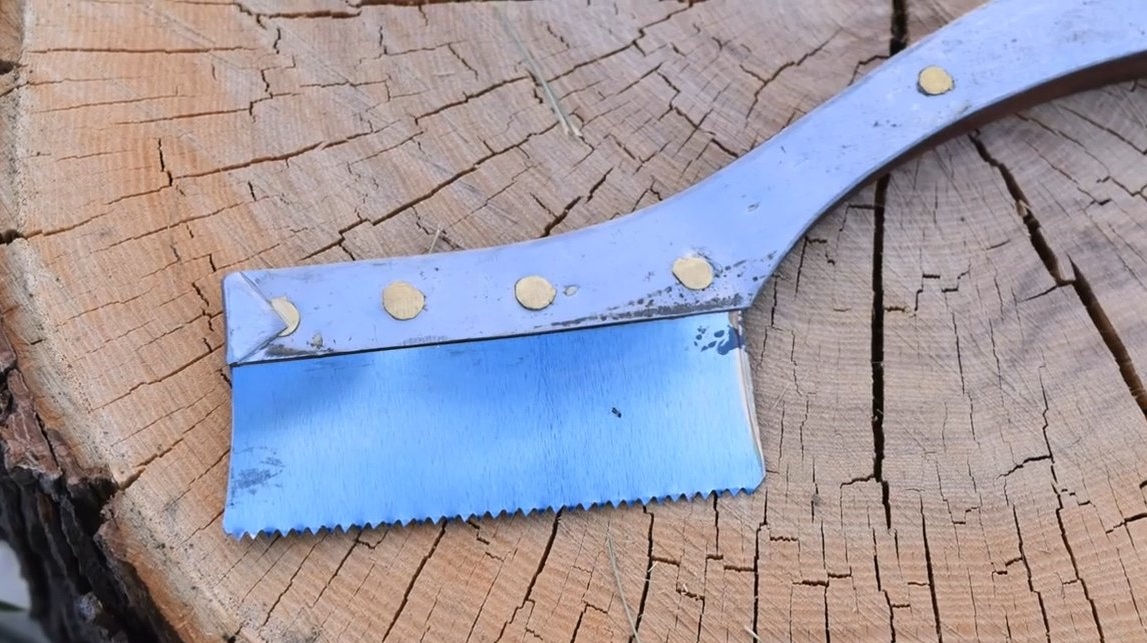
The author used spring steel as the material for the saw blade. Clutching the plate in a vise, cut the teeth using an engraving machine, then sharpened them using a file.
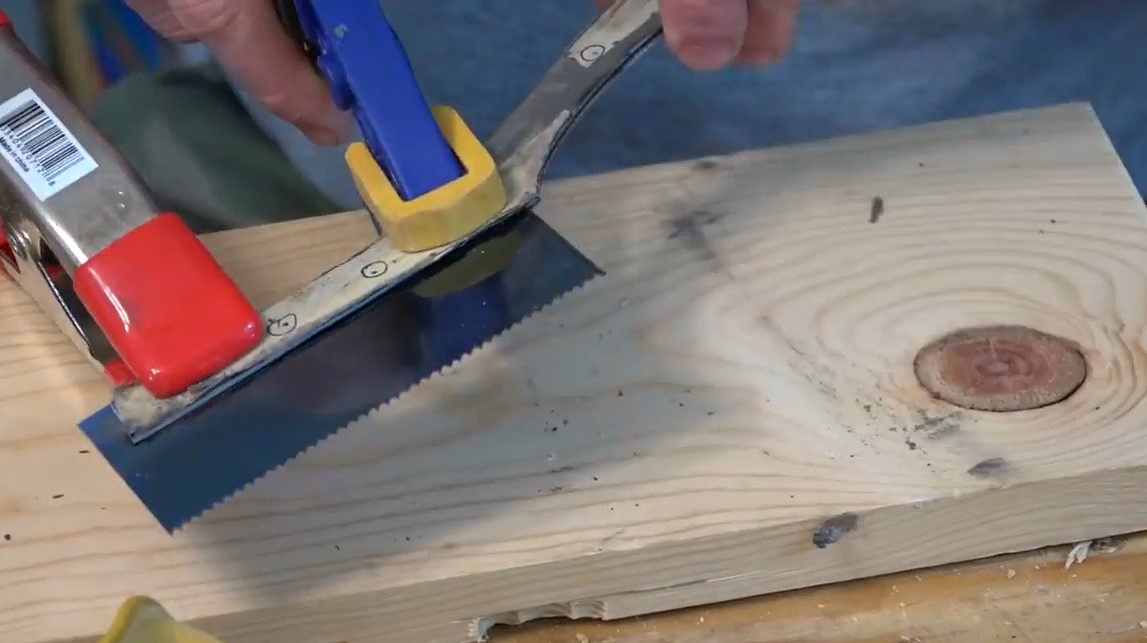
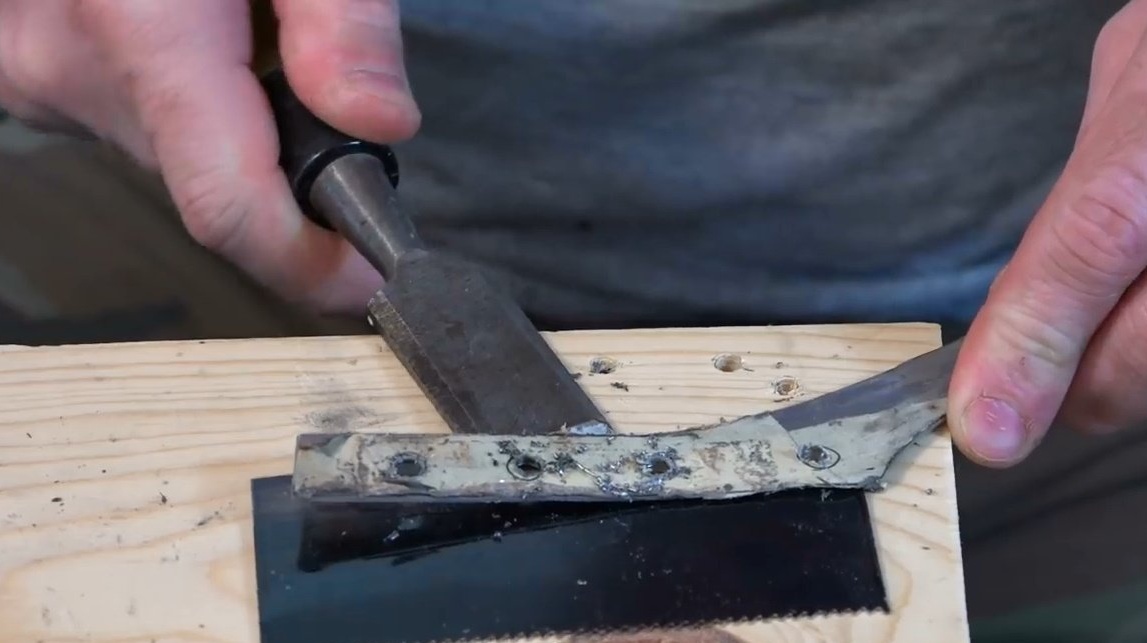
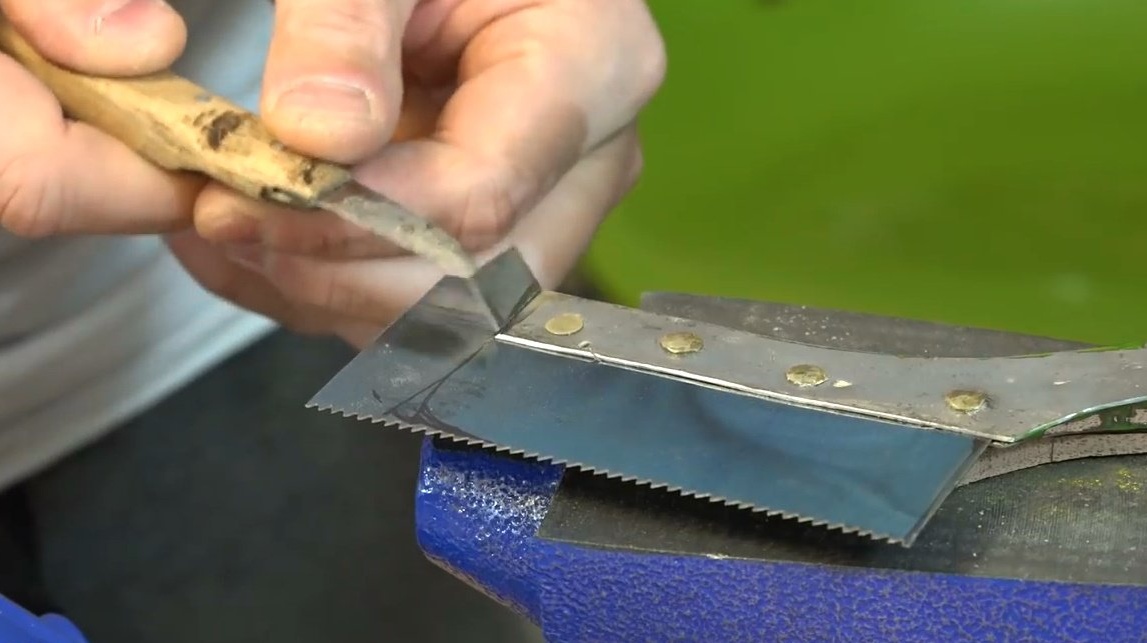
Next, John removes the remnants of the adhesive tape with a chisel, cleans the surface with sandpaper, and temporarily glues the holder and blade with superglue.
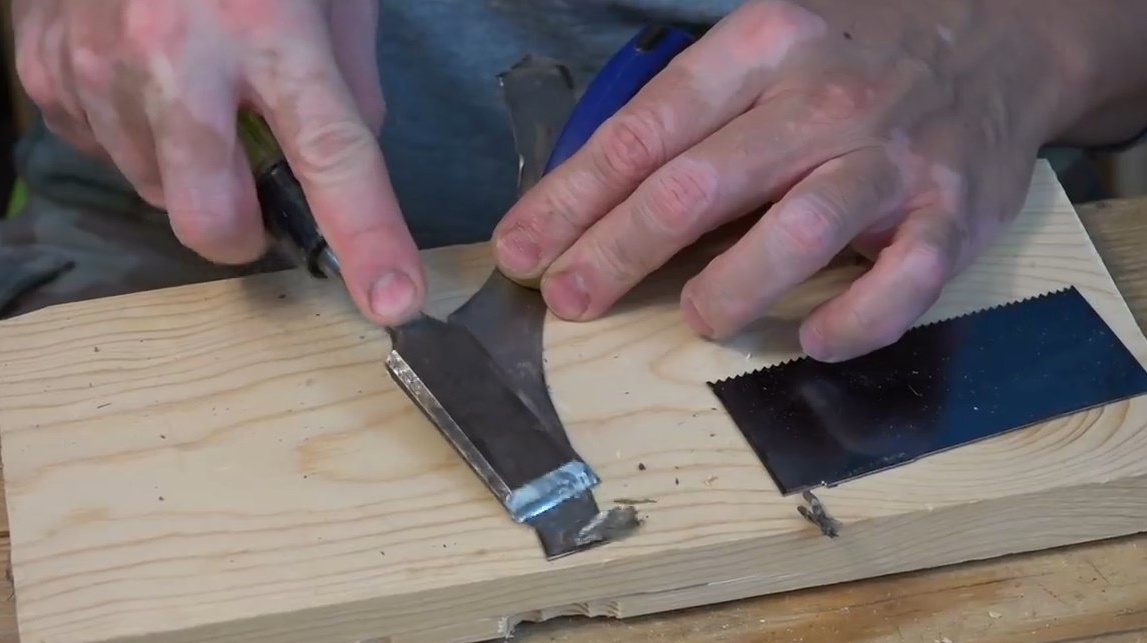
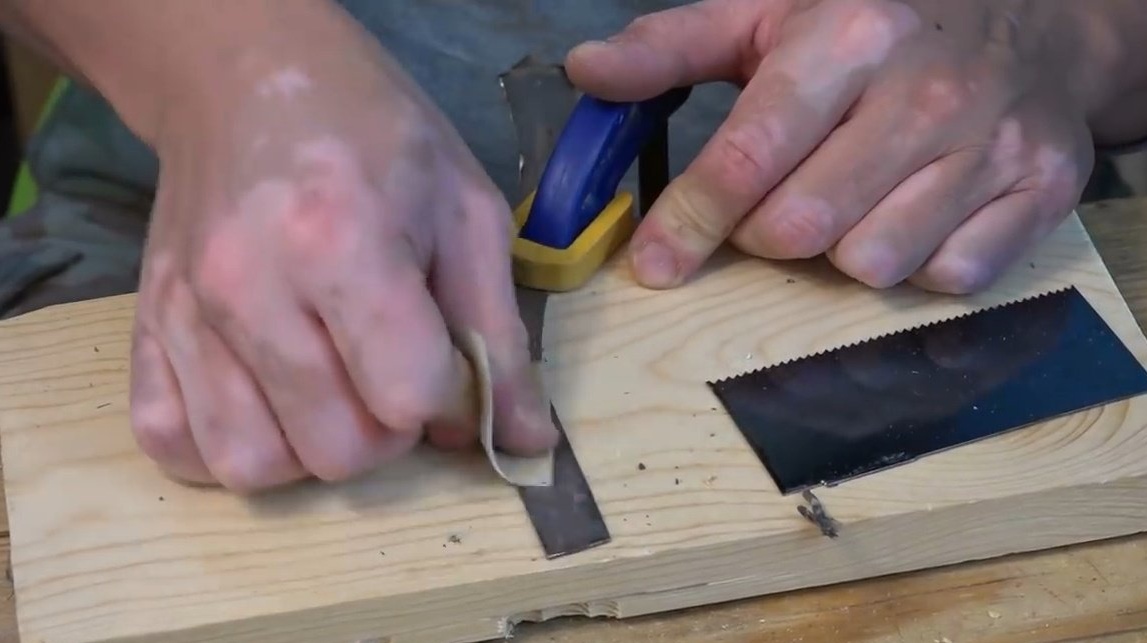
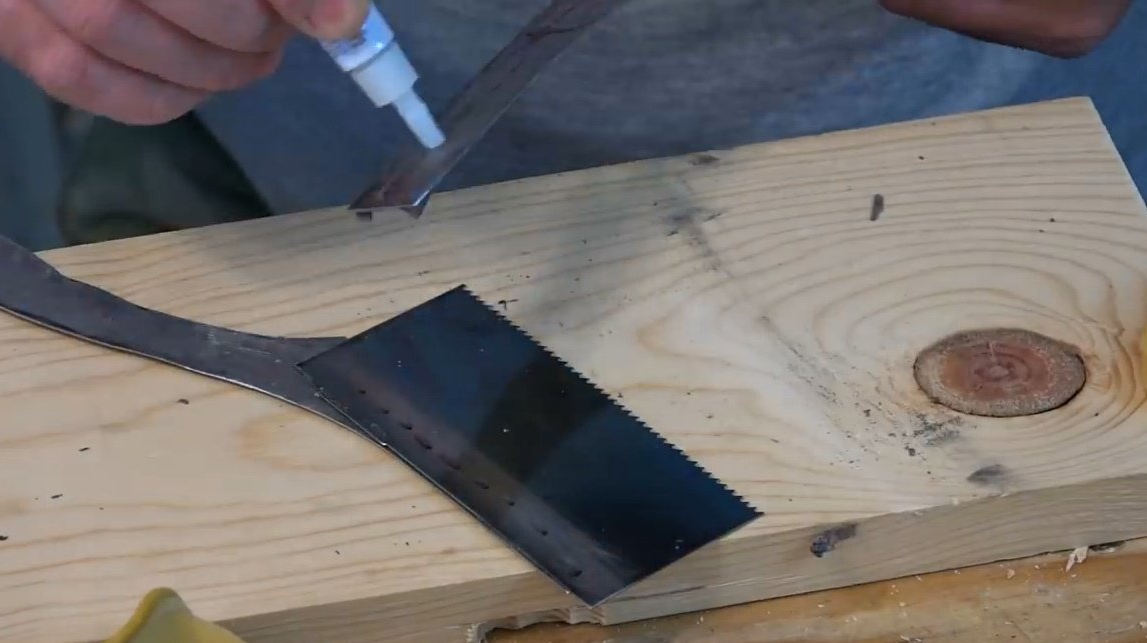
Although this is superglue, the master is safe and clamps the elements to be glued with clamps.
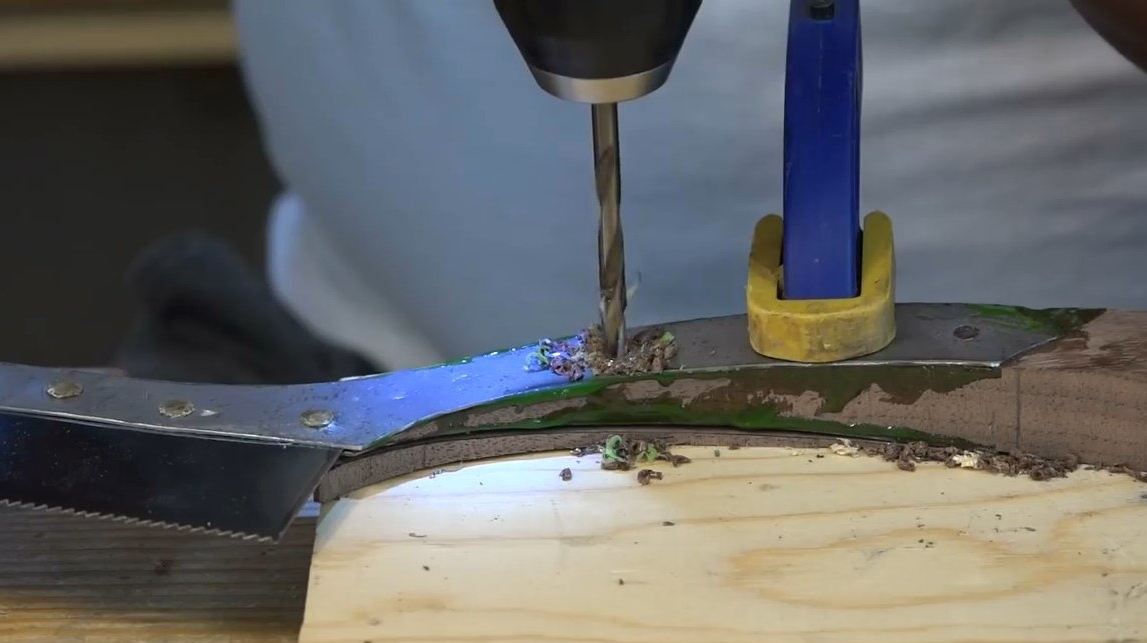
Then, on a drilling machine, he makes the four holes that are needed to secure the saw blade.
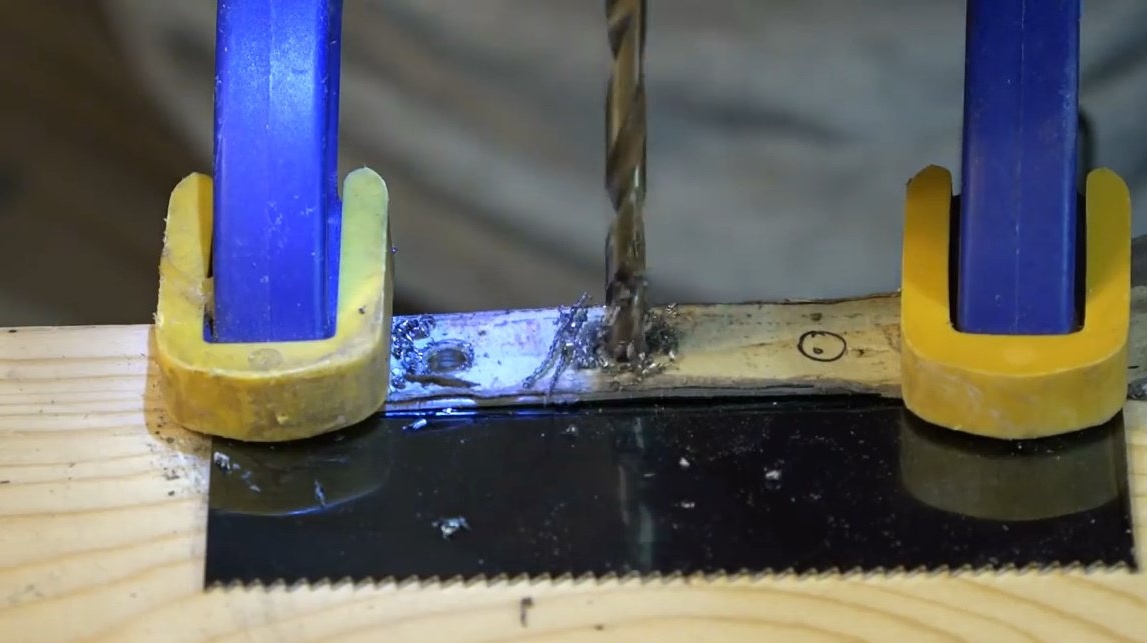
Then disconnects the workpiece.
Next, it drills two more holes for the handle to be attached, but only on one of the two halves of the mount. Later, the author will comment on this point.

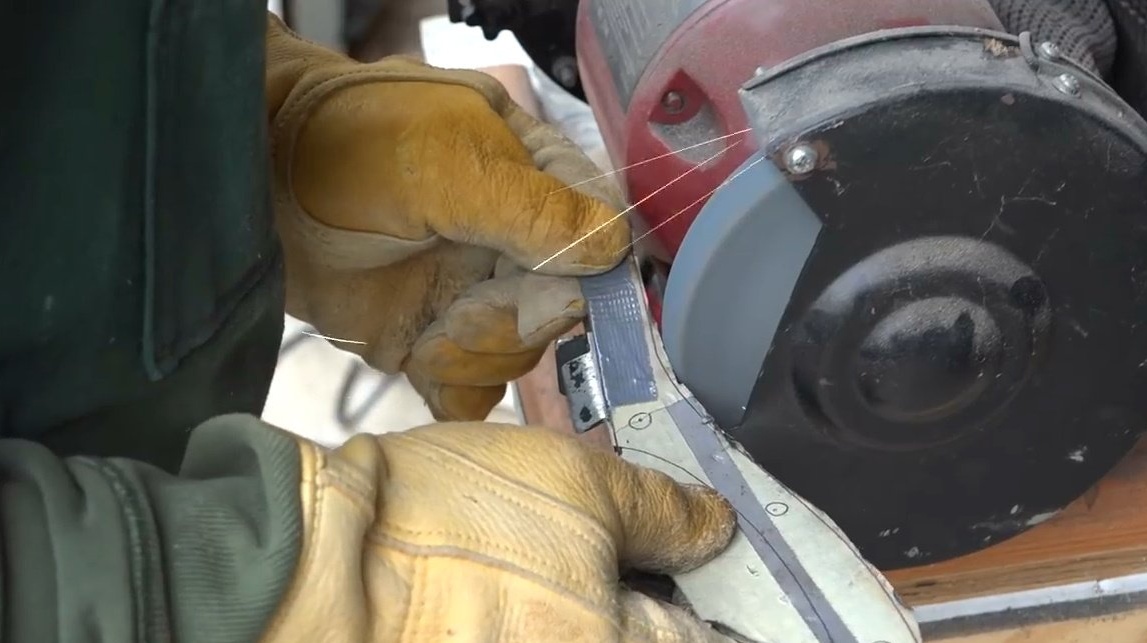
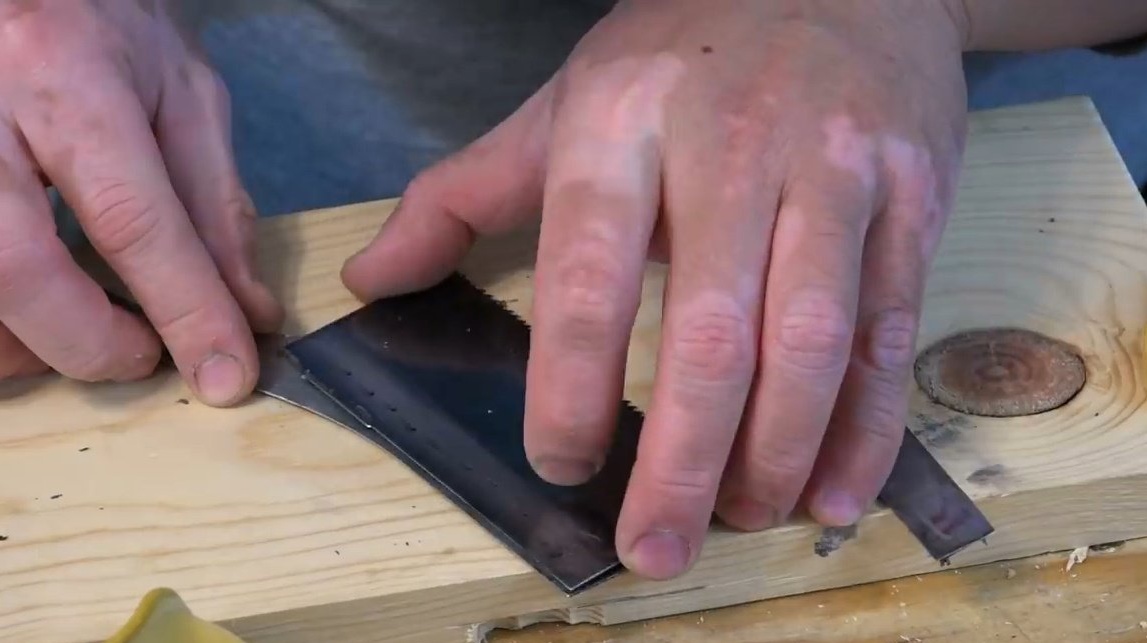
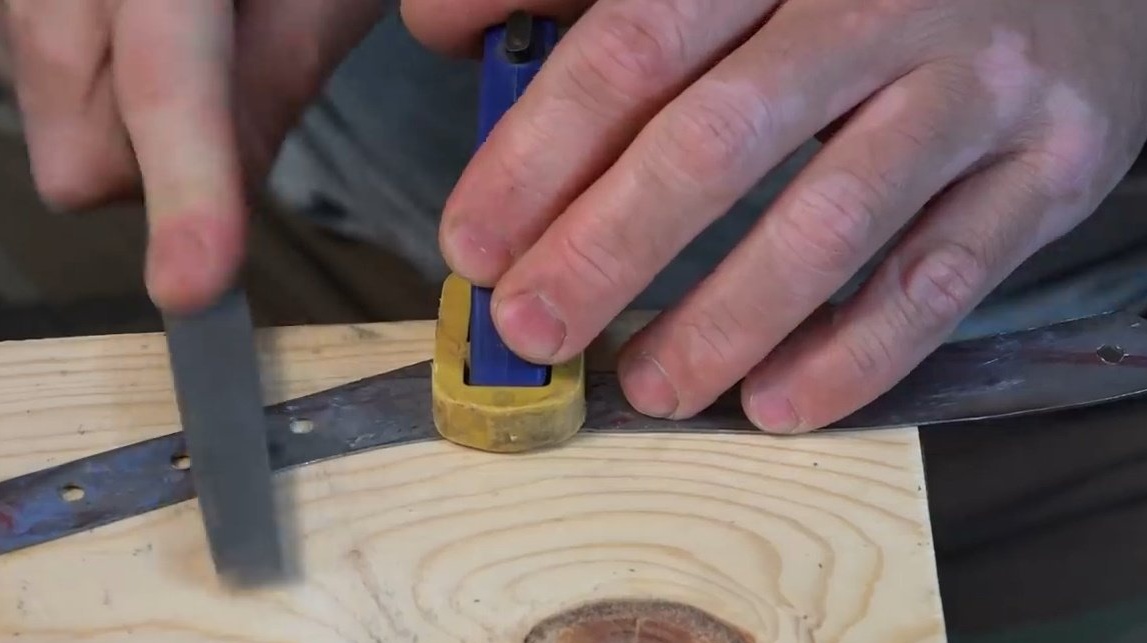
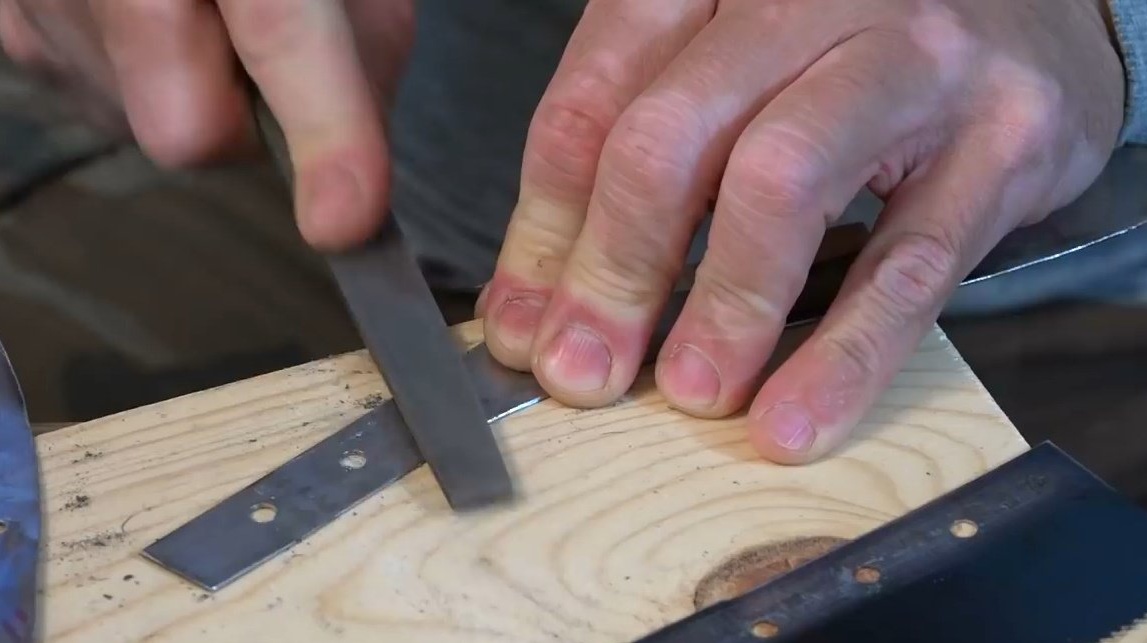
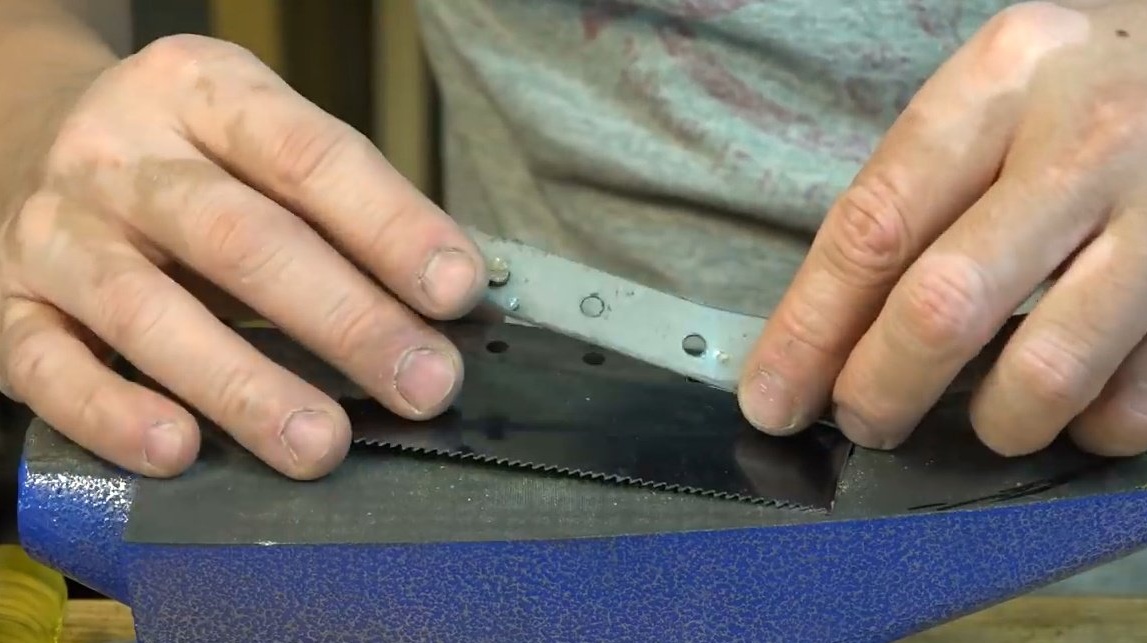
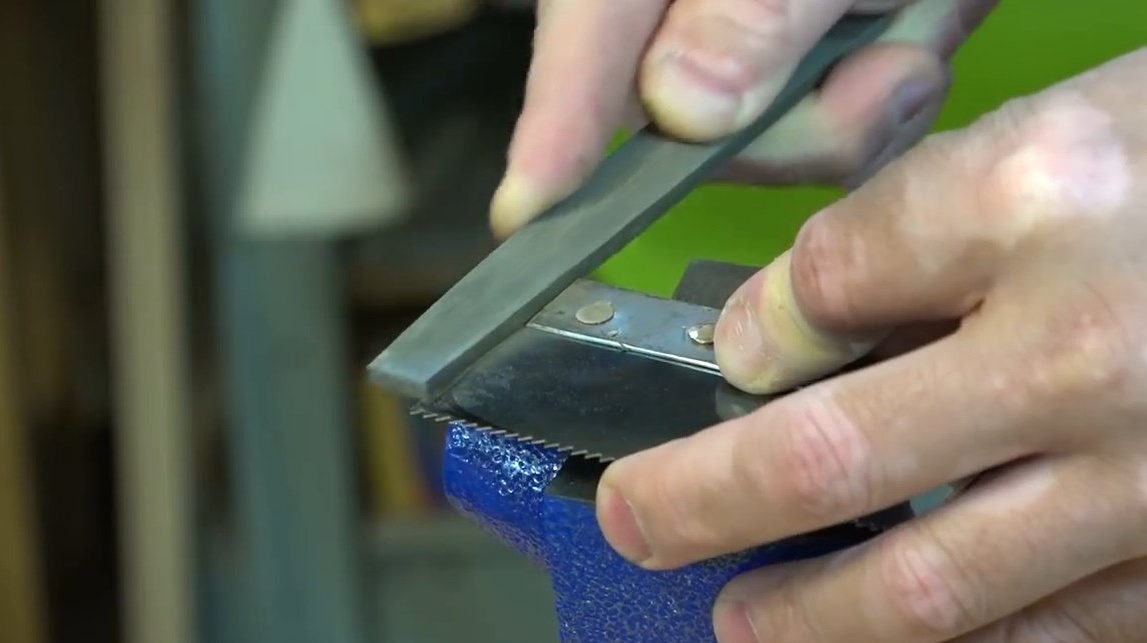
After drilling, John properly removes metal burrs from the burrs with a file and polishes them.
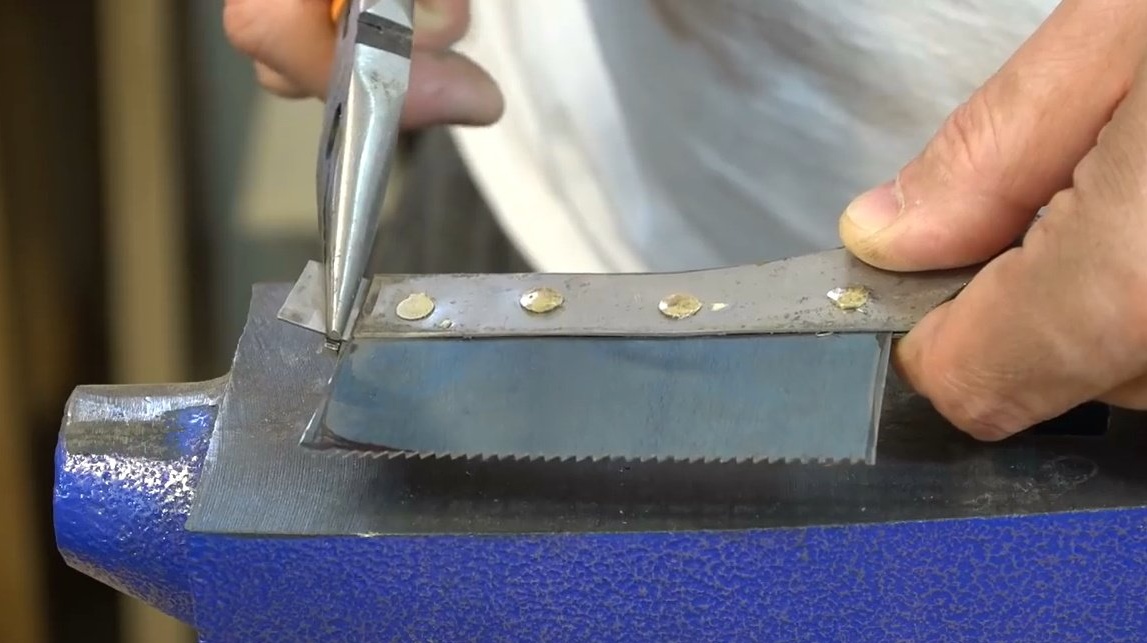
He makes rivets from a brass rod, but you can also make them steel. It will be stronger. However, brass rivets will be enough to hold these metal elements together. In addition, they are much easier to flatten.
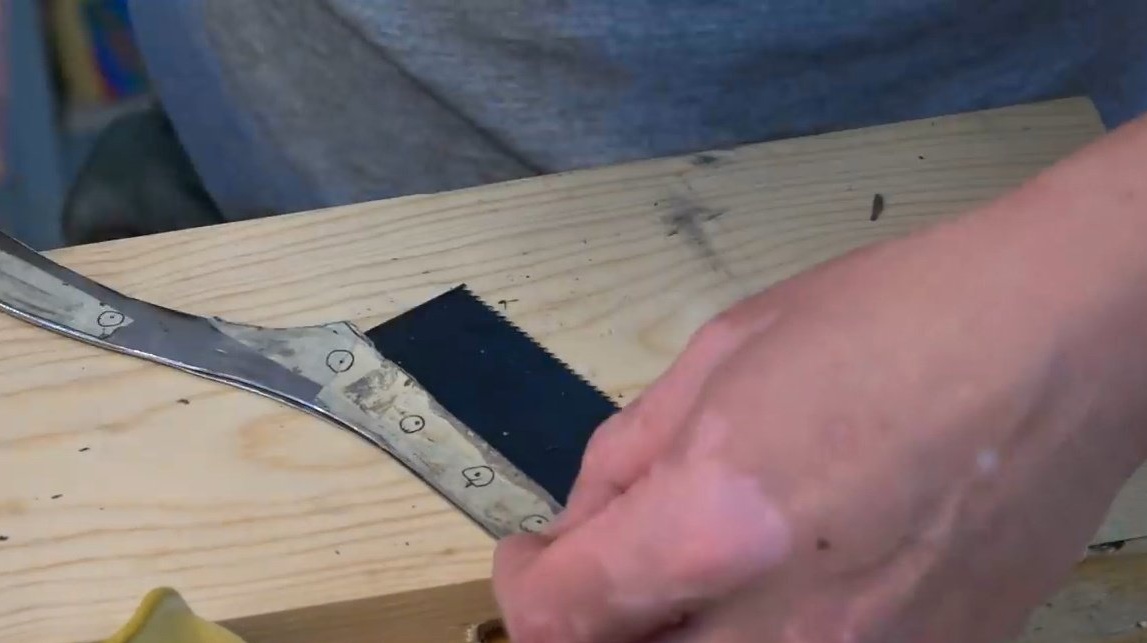
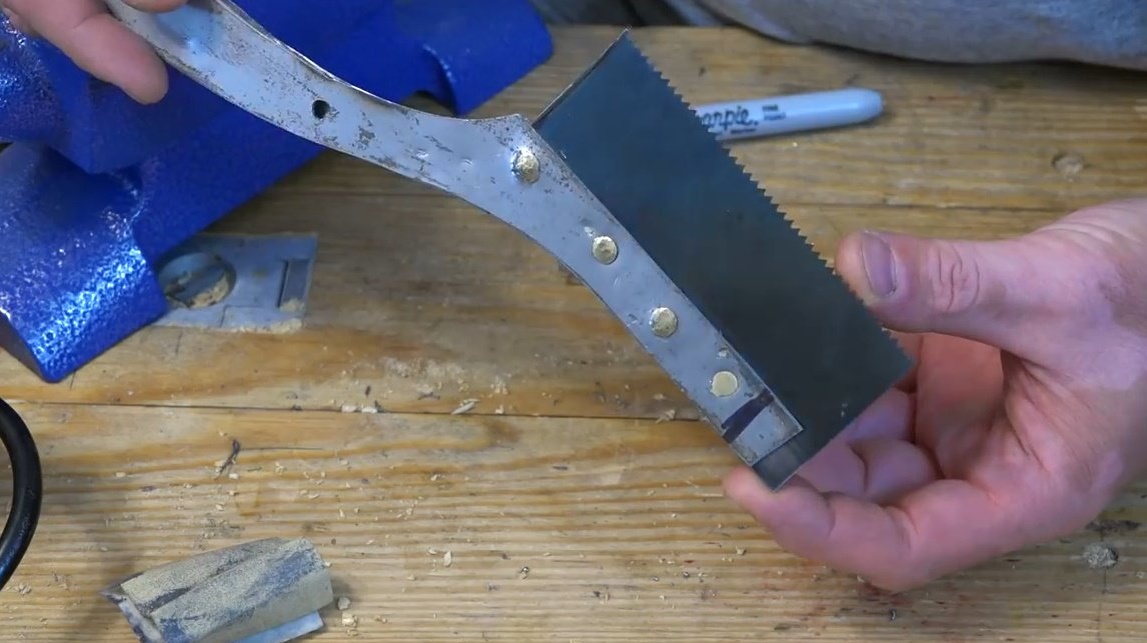
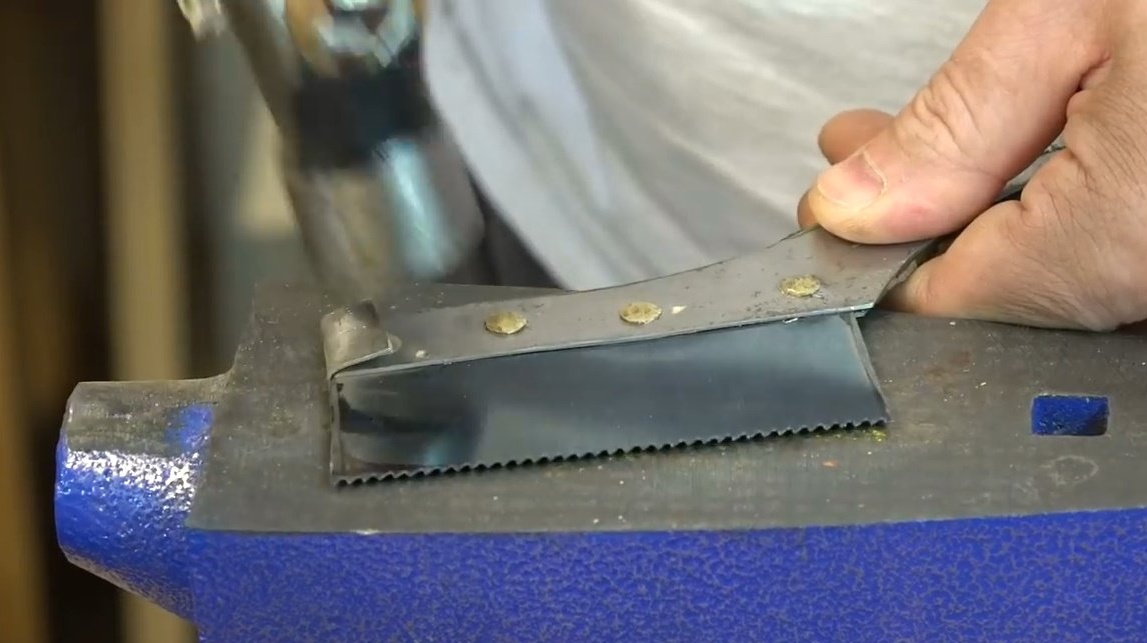
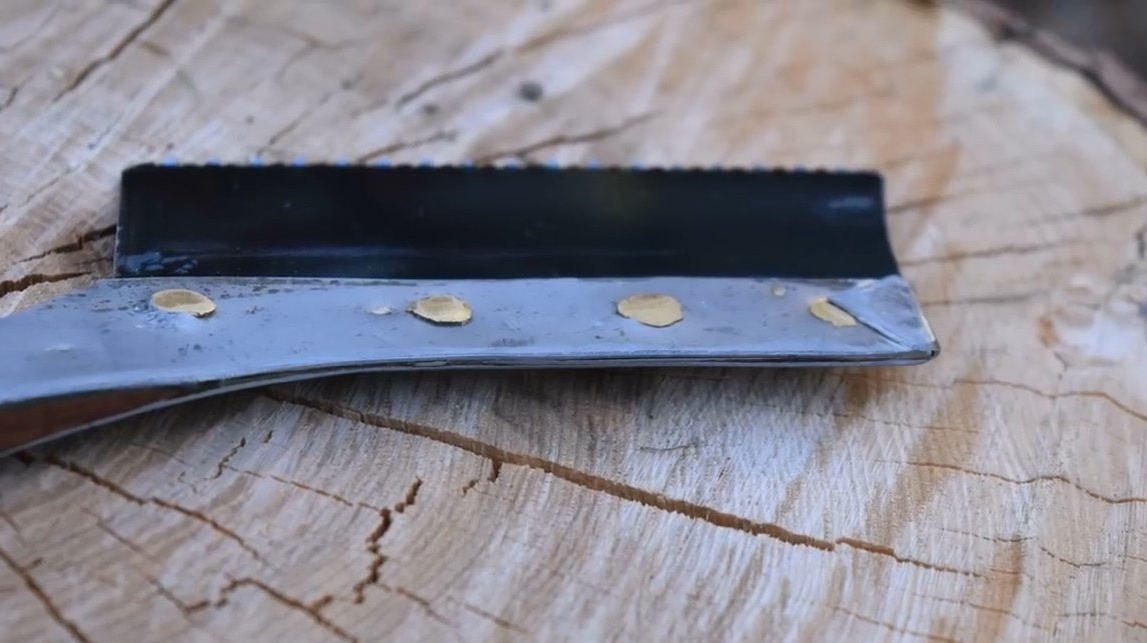
Then he collects the blade and holder, uncovers brass rivets.
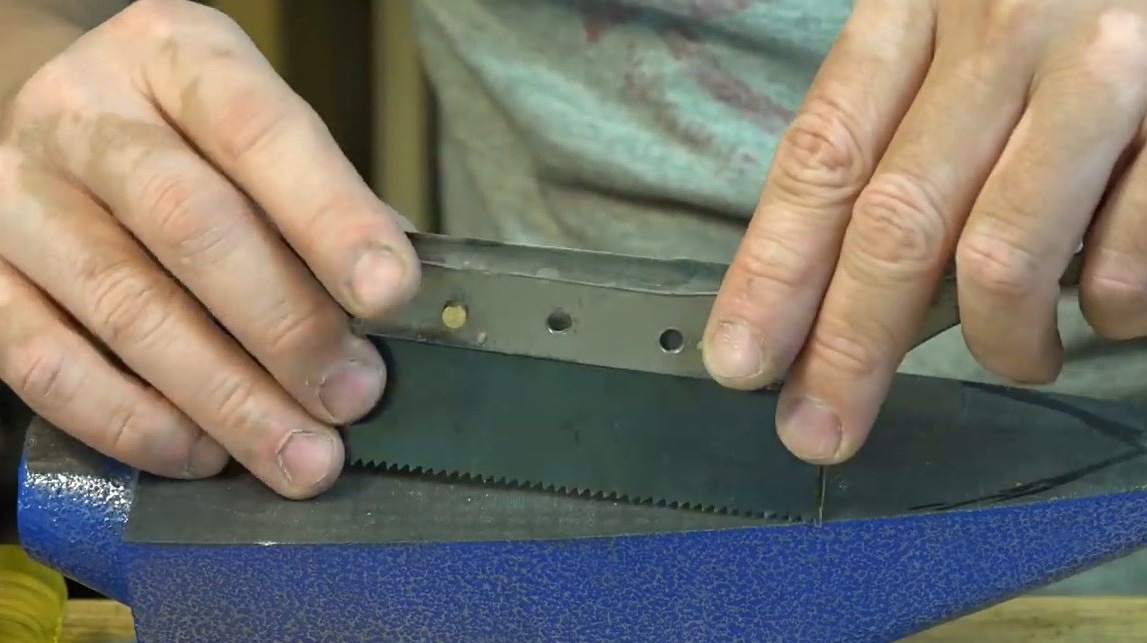
This is what a fixed blade looks like.
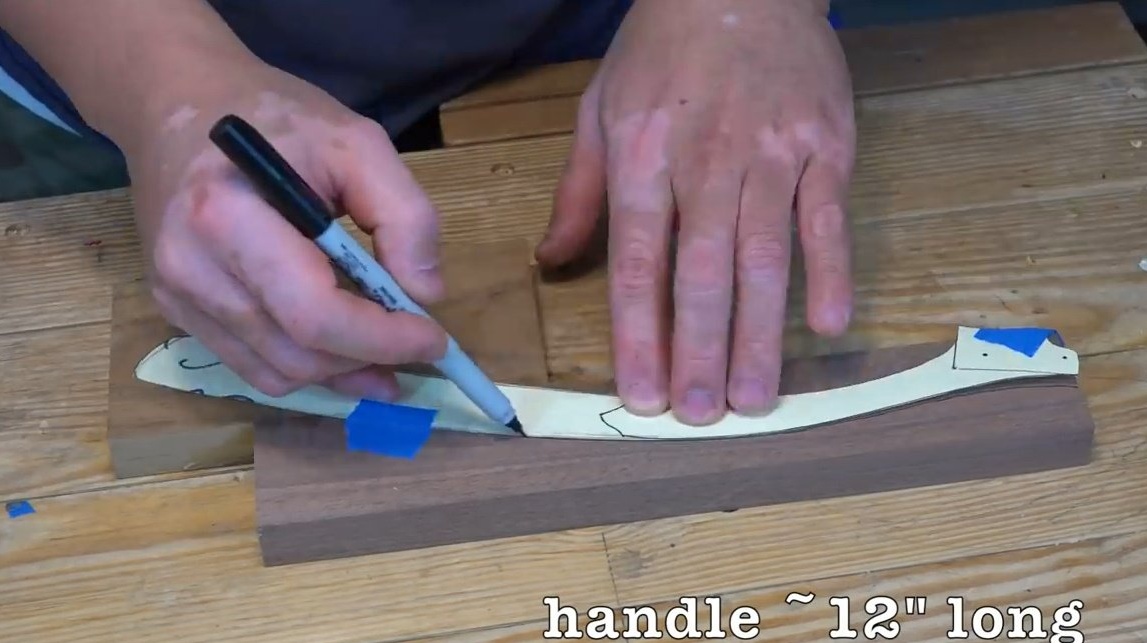
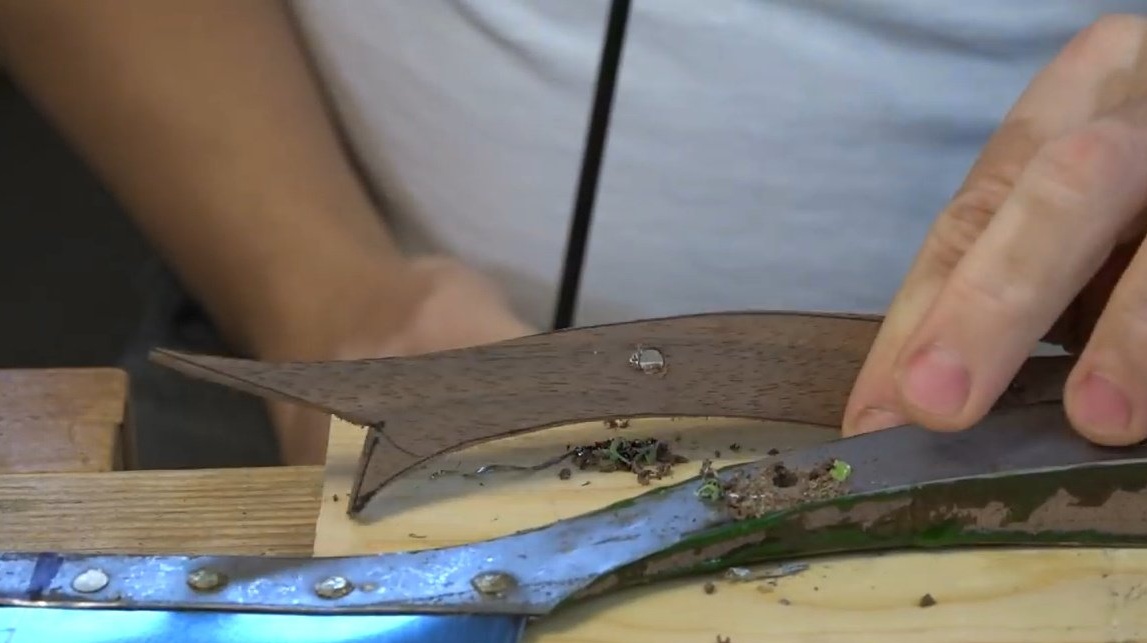
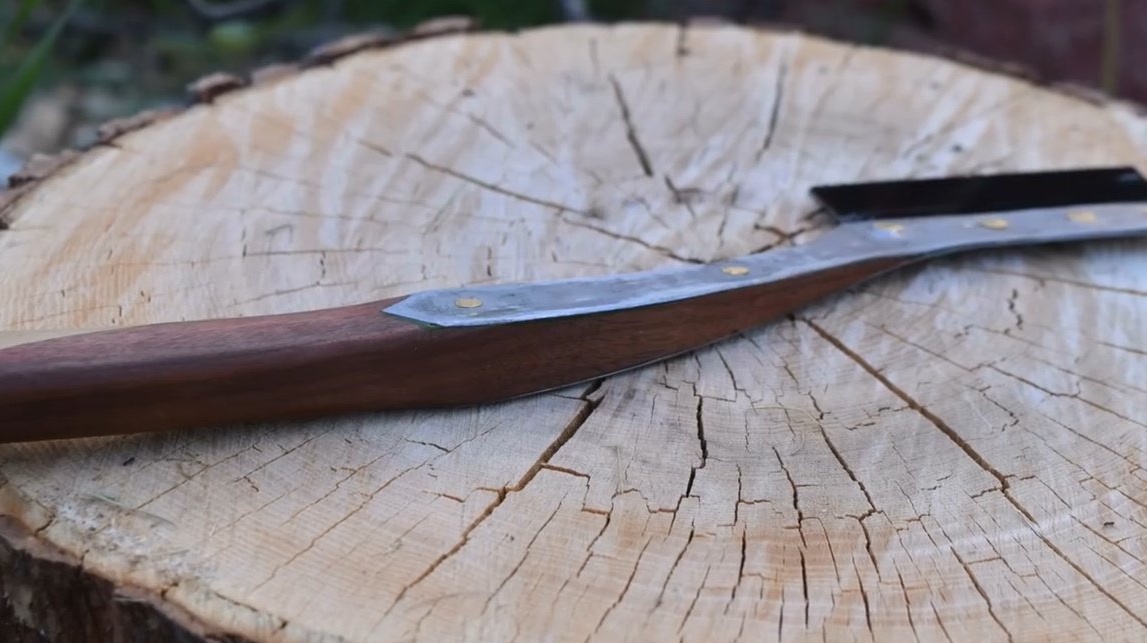
Pay attention when applying the template to the wood so that the wood fibers pass along the handle and repeat its bending. This version of the handle is based on the shape of the arc, and is made so that it is most convenient to lie in the palm of your hand.
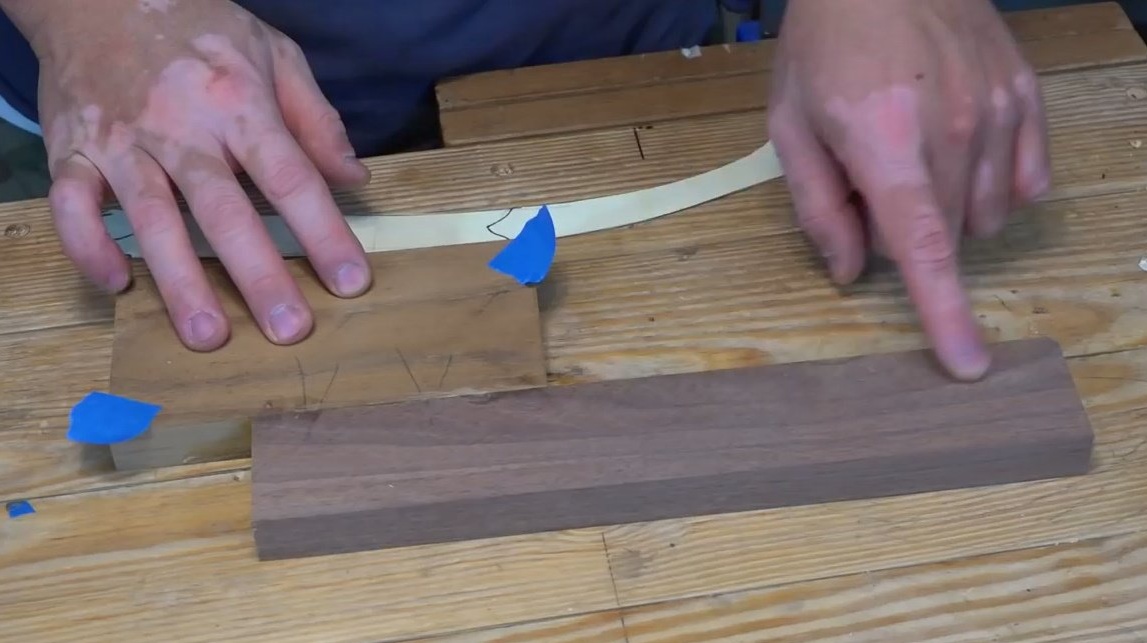

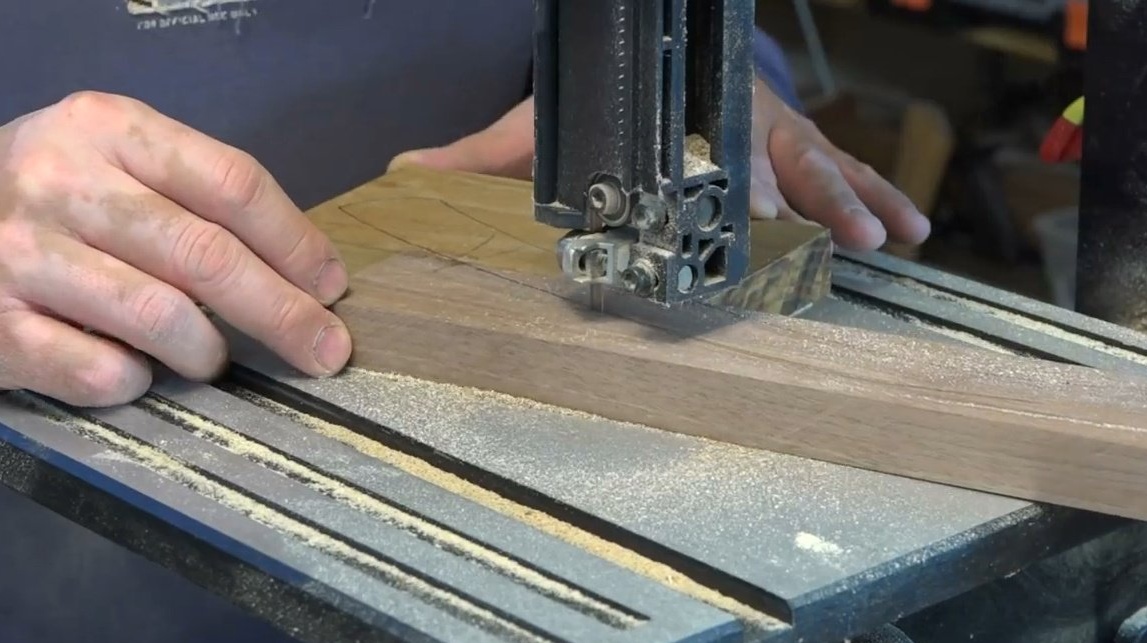
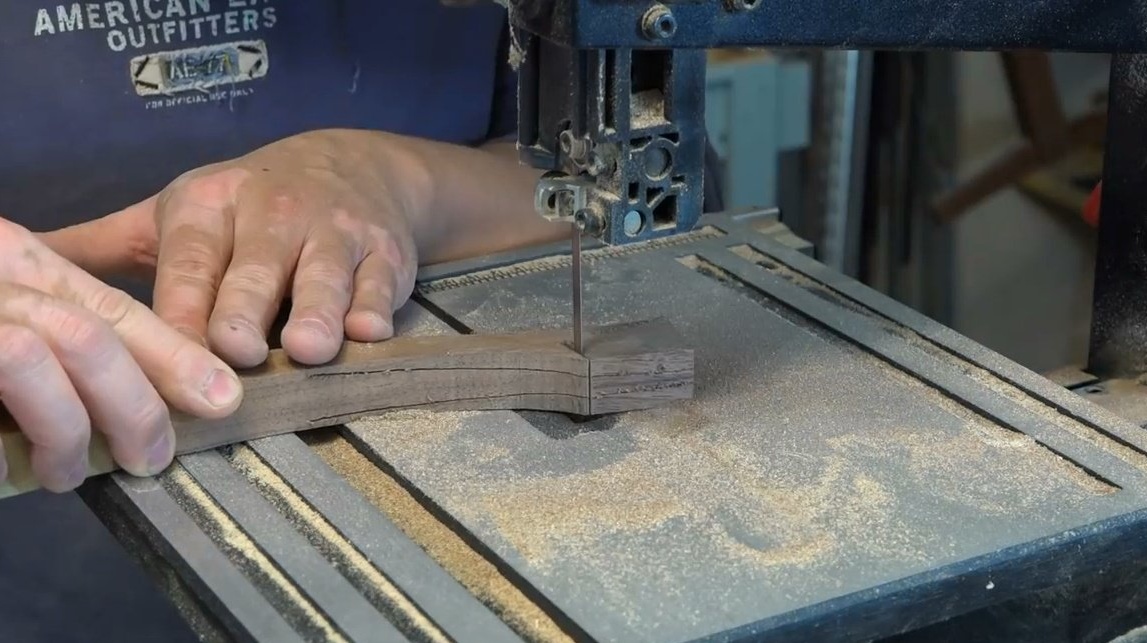
The author cuts the handle, after gluing together two elements of the tree.
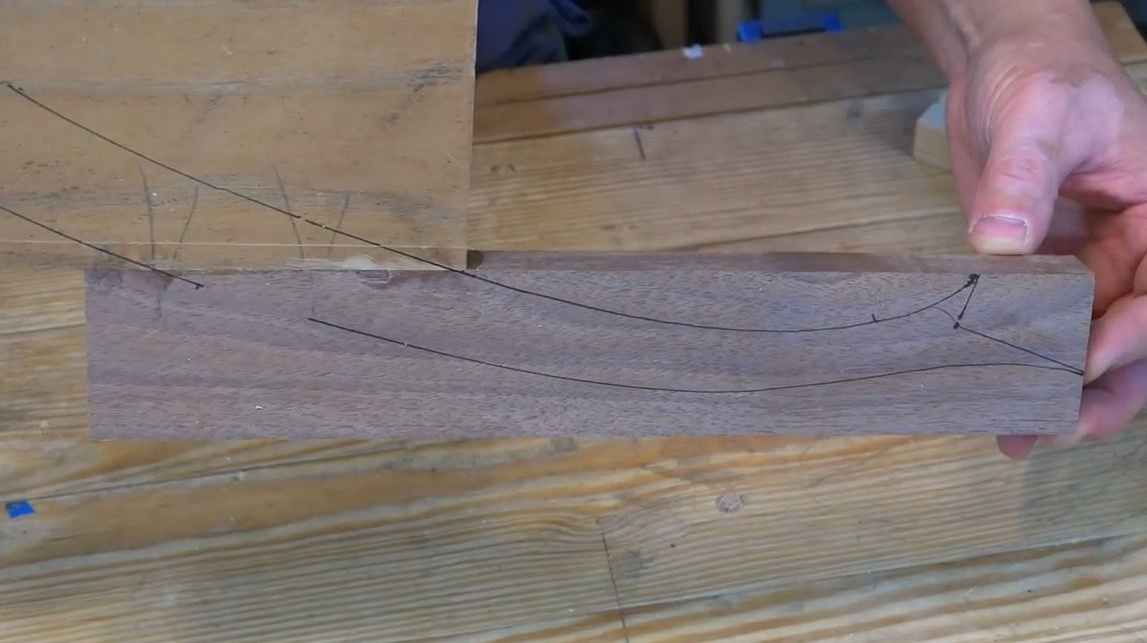
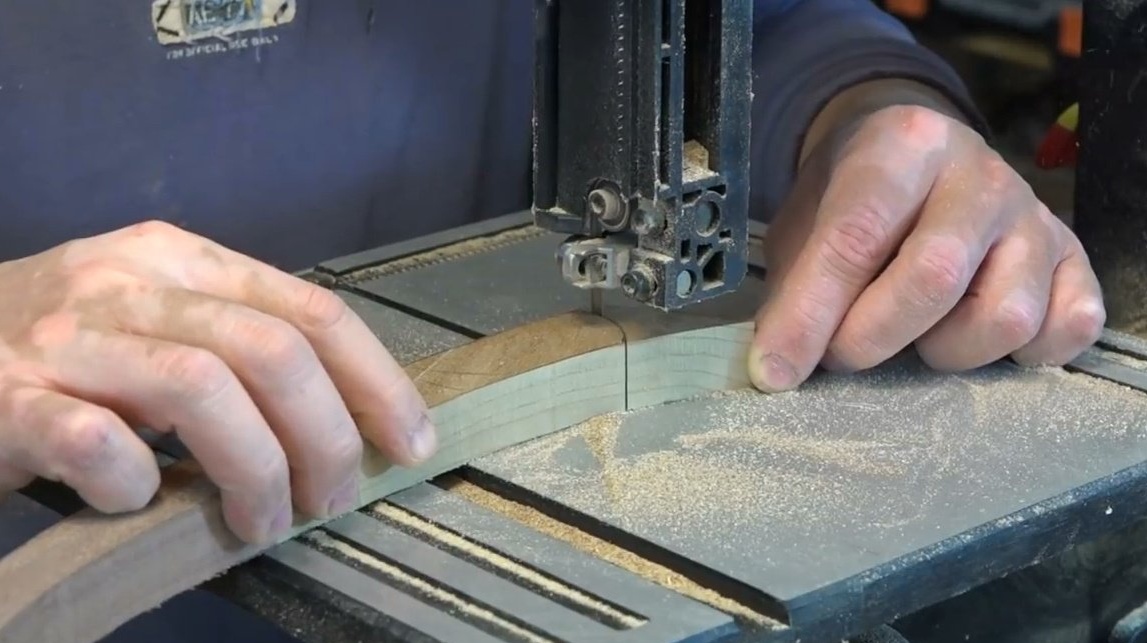
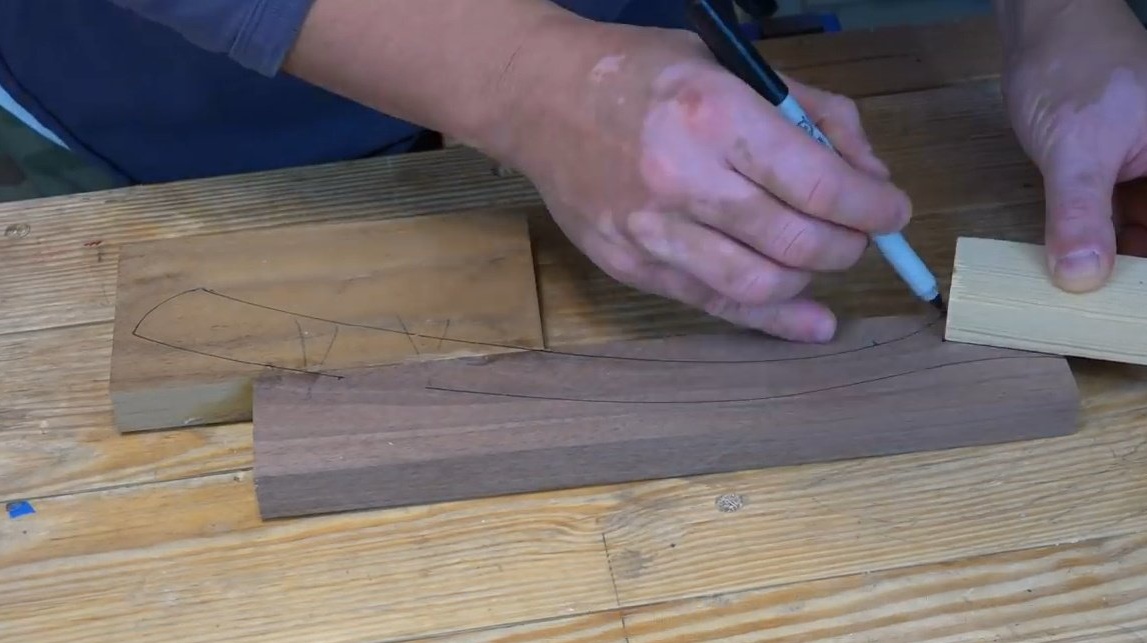
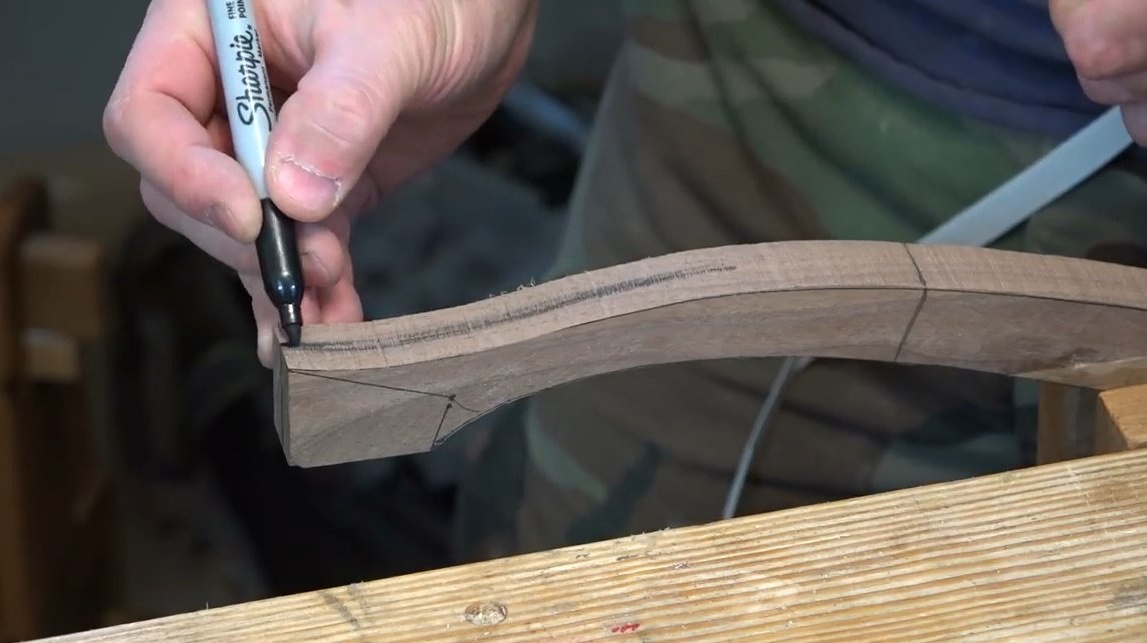
Now the master makes a wedge-shaped form for attaching the blade. To mark it, he first finds the center, and then draws a line from the center to the place where the bend ends.

Cutting out these handle elements can be a little complicated for you. The author suggests starting with cutting two wedge-shaped lines, but not cutting them with continuous movement, but making one, then the other in turn. Moreover, the author does not completely make the cuts.
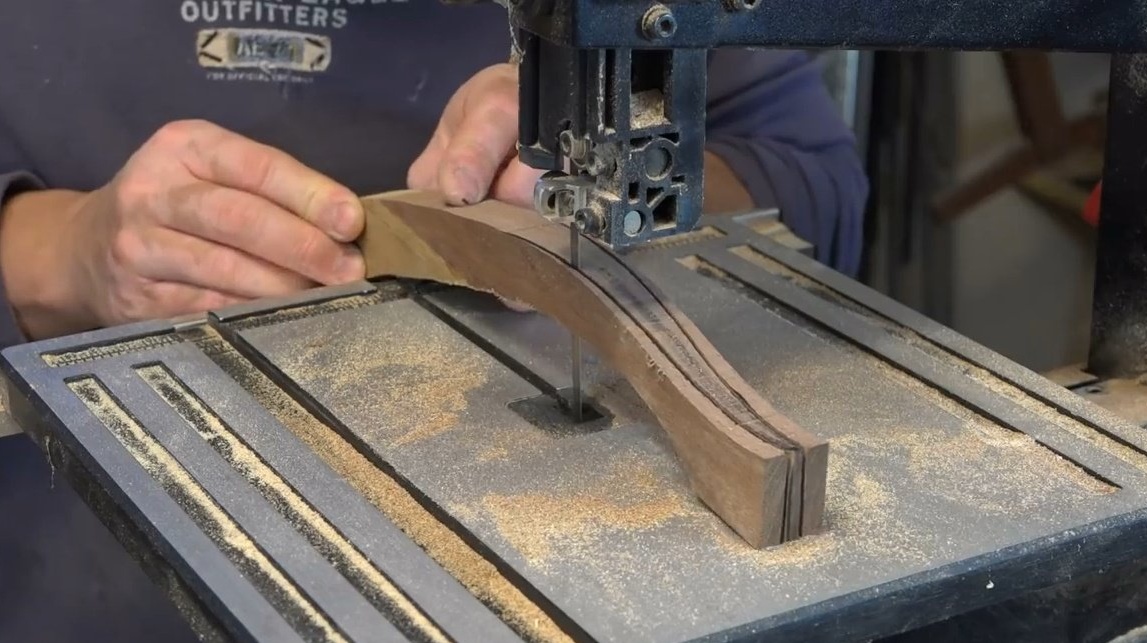
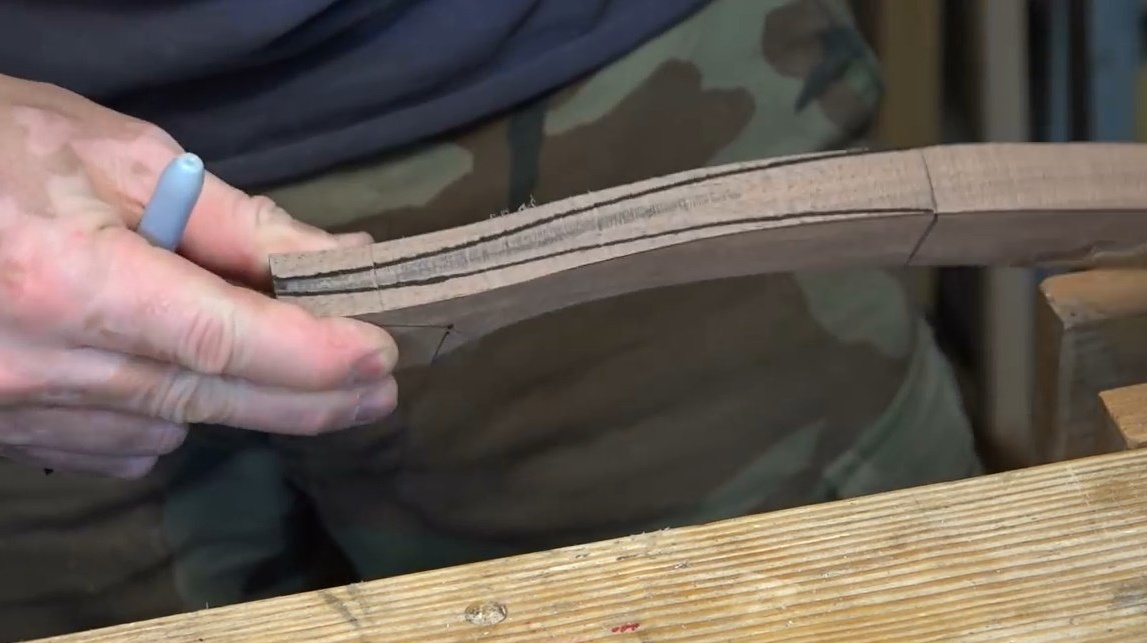
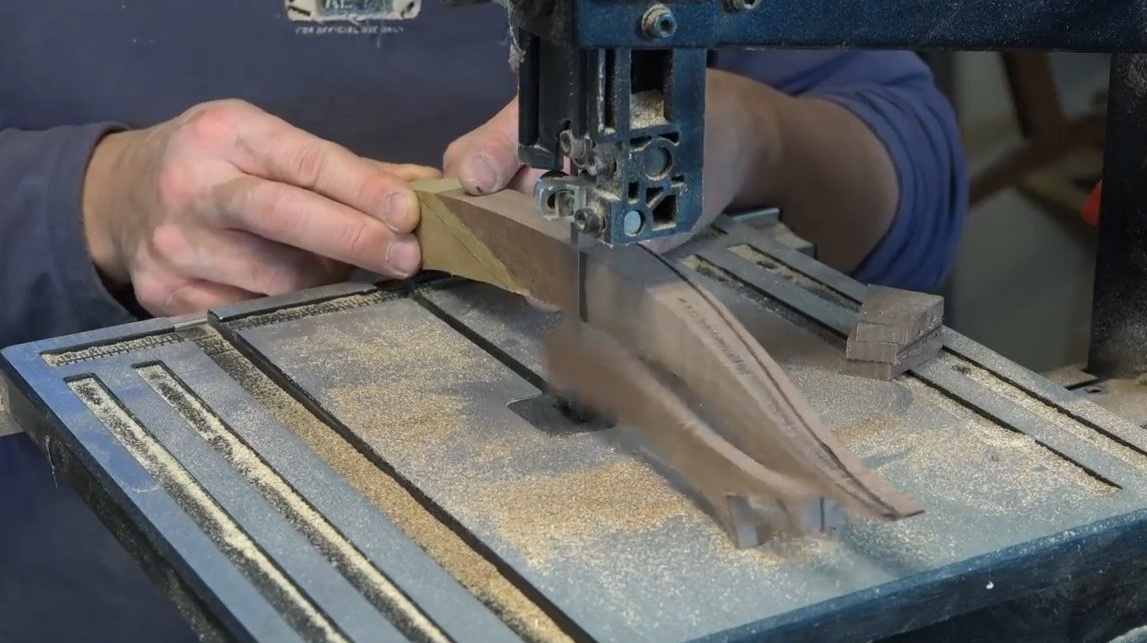
Then cuts a small recess at the end.
And only then cut the sides. The resulting wedges are not thrown away, they are still useful.
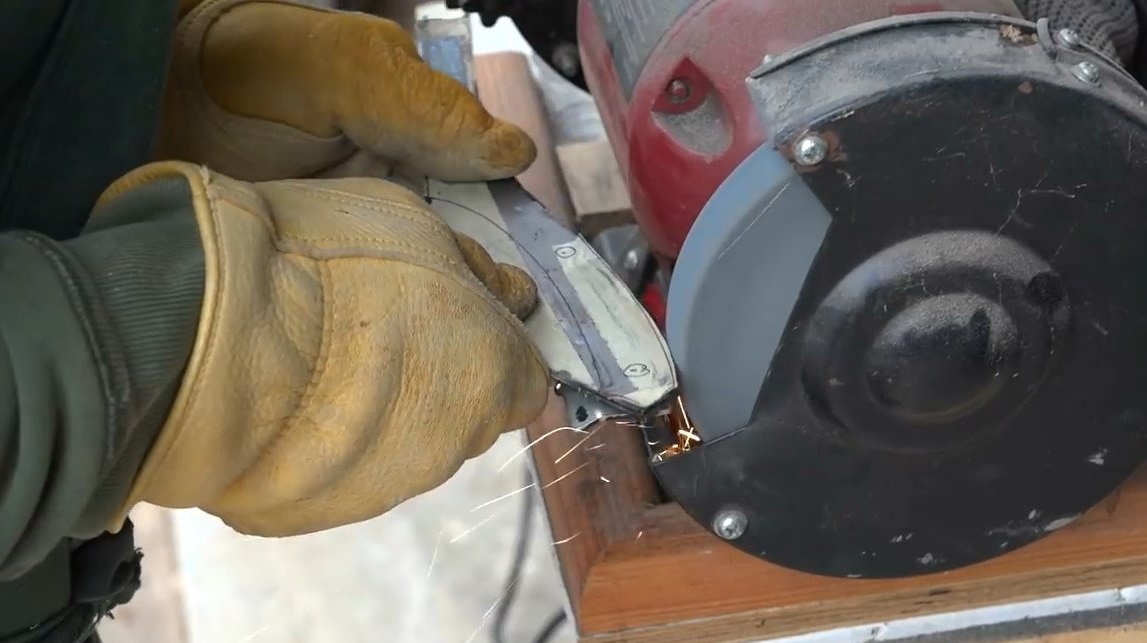
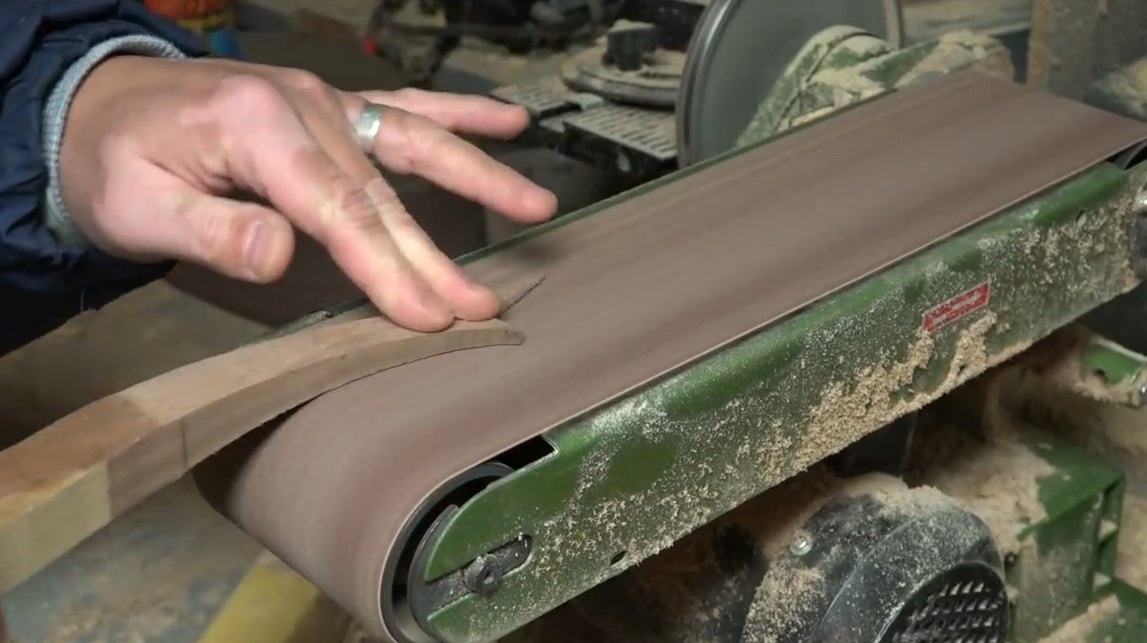
The author cleans the resulting workpiece on a belt grinder to a pointed shape, nullifying the edge of the wedge.
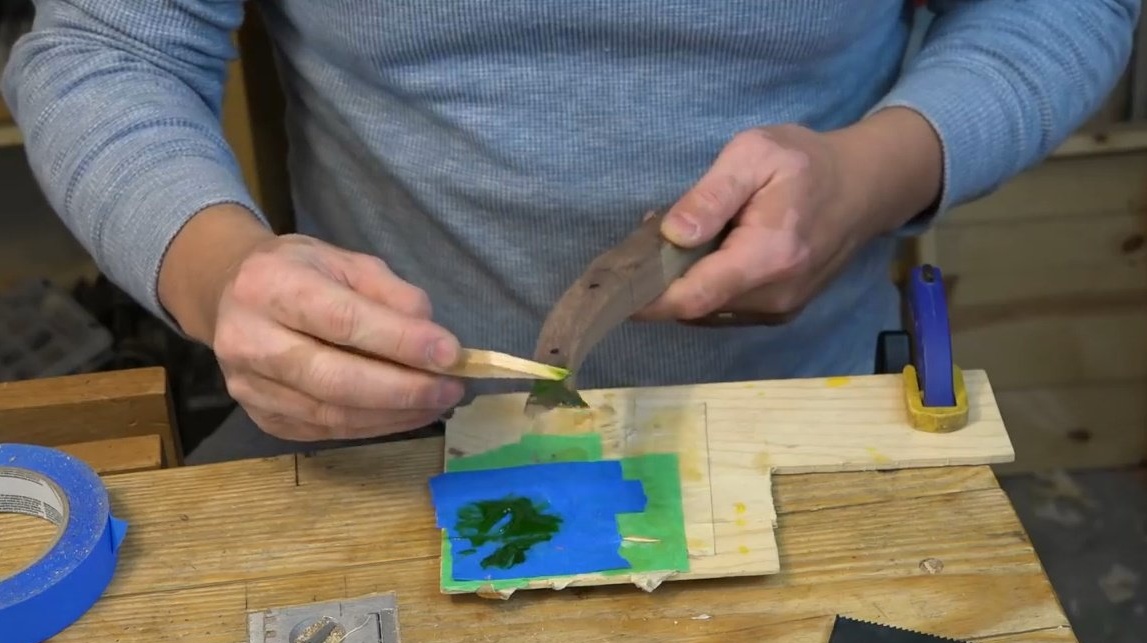
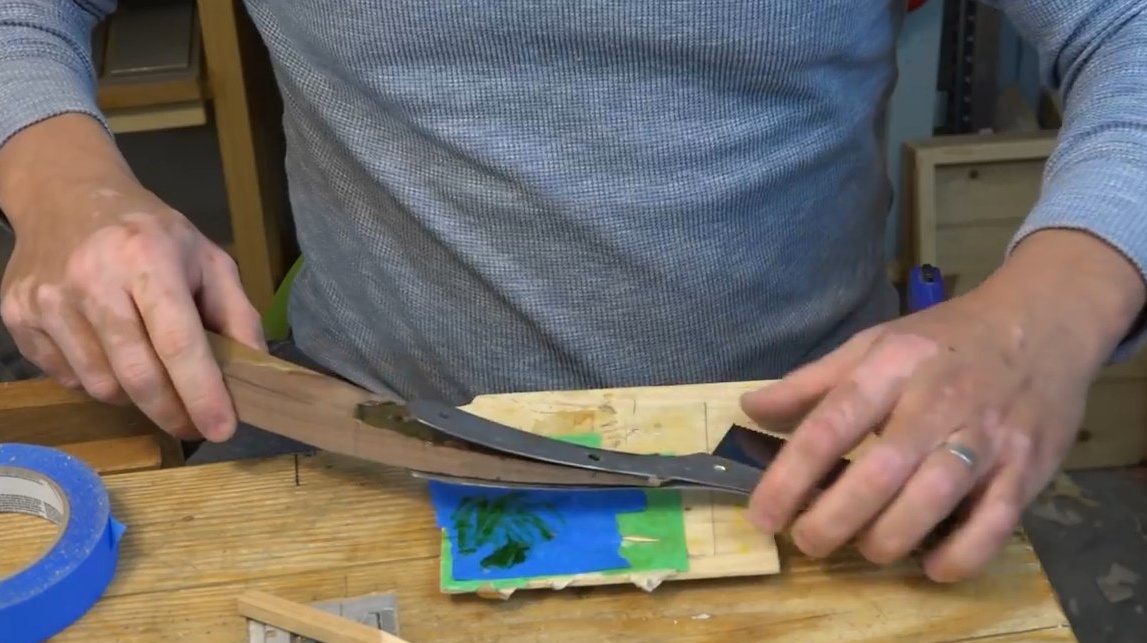
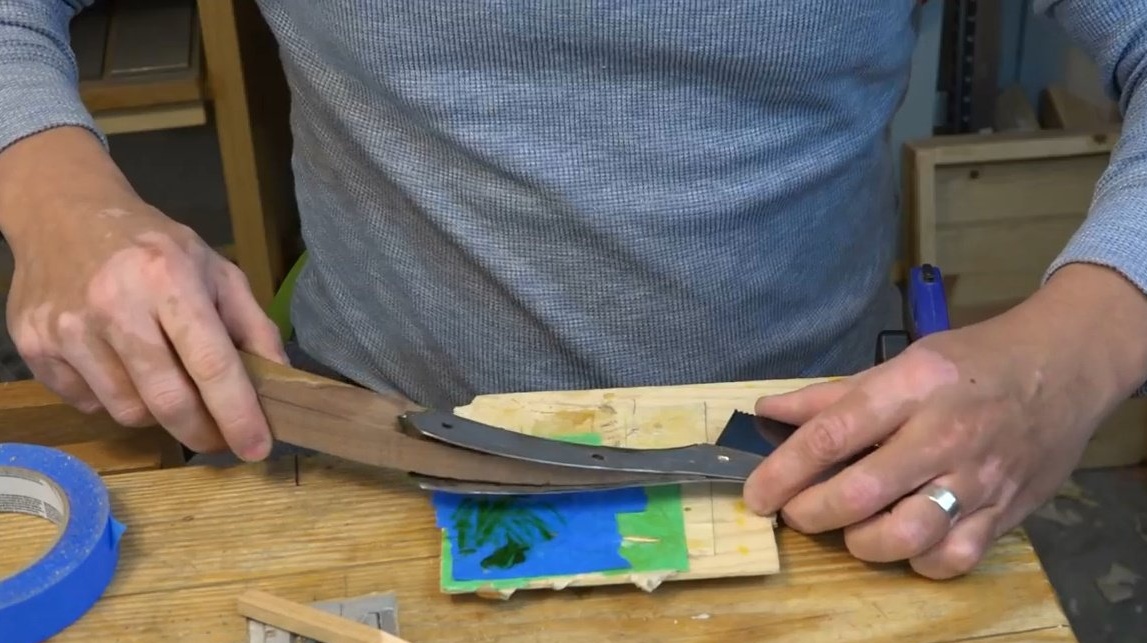
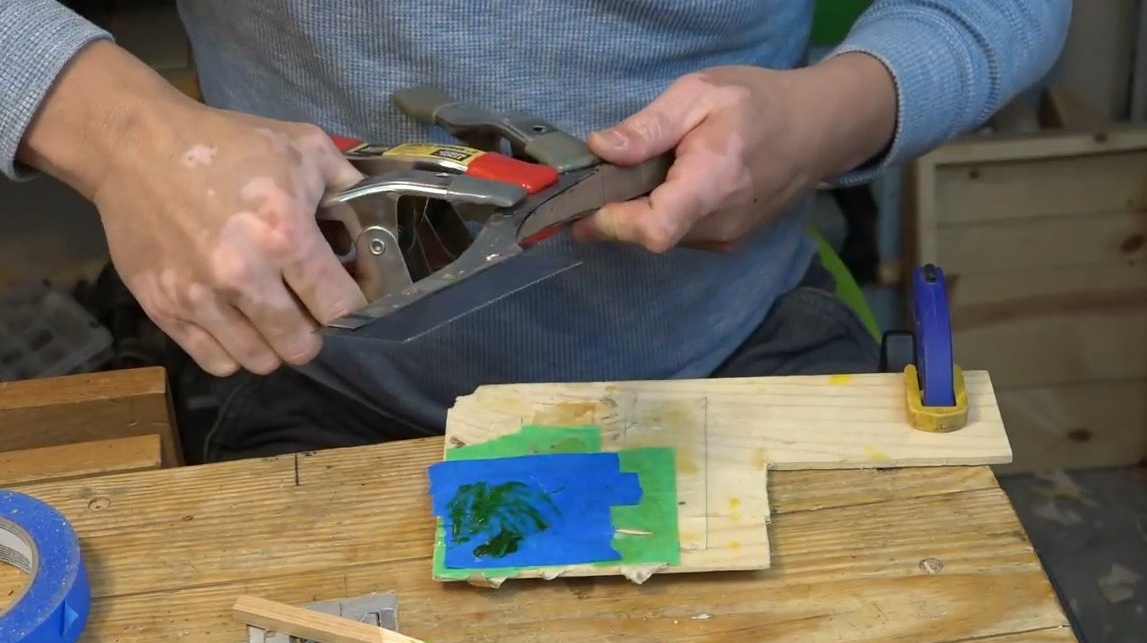
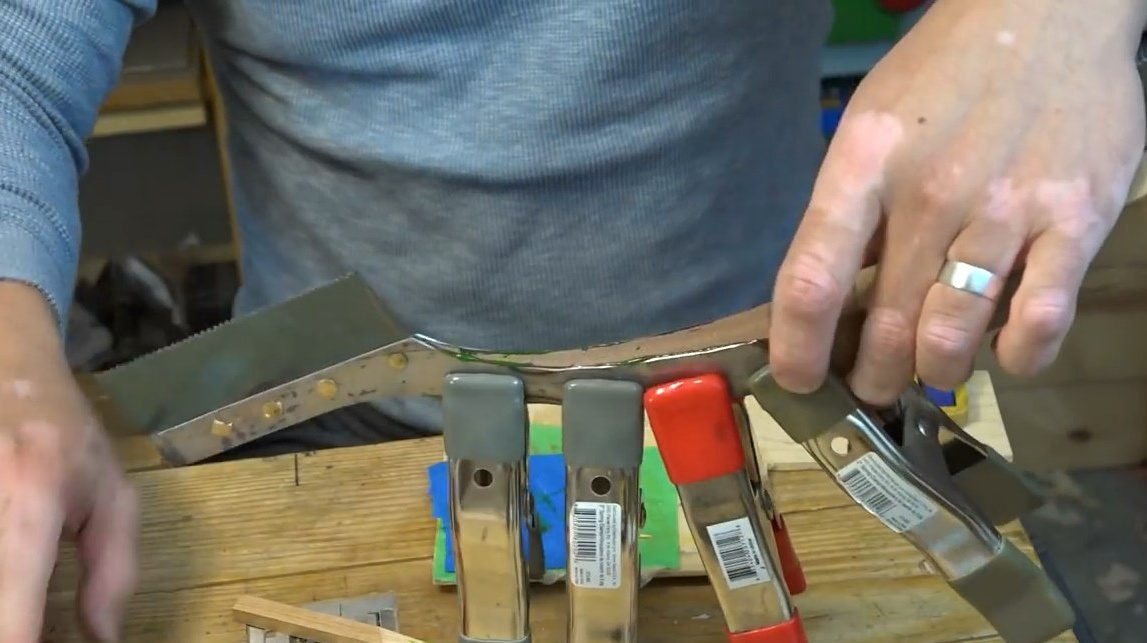
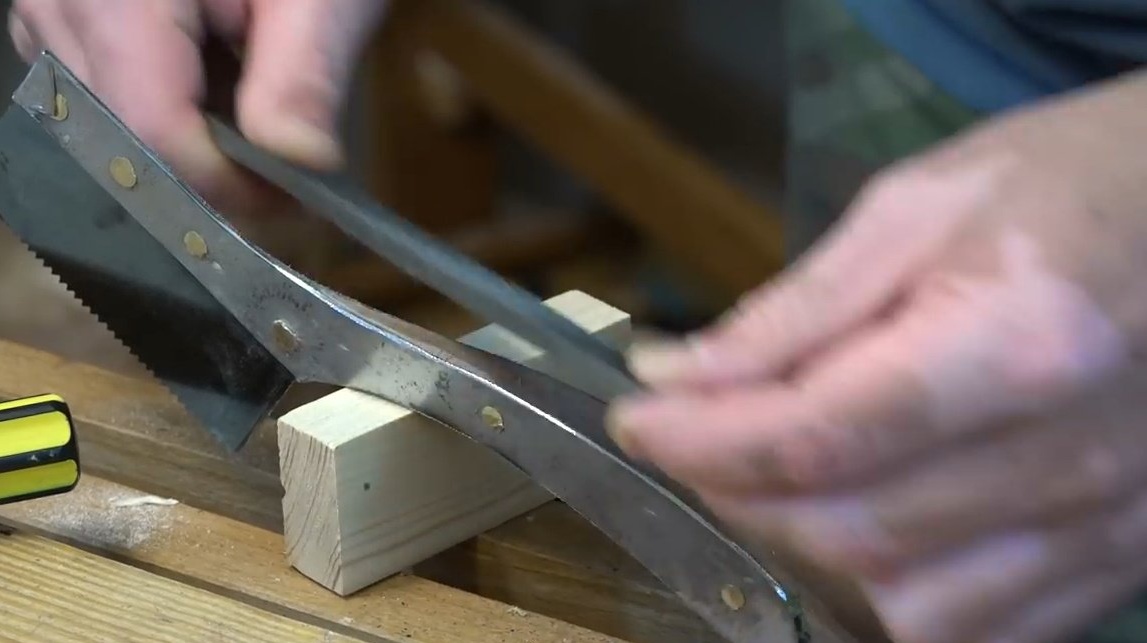
After he tried on the metal and wood parts to each other, John spreads epoxy to glue the handle and steel part of the saw. Fixes with clamps.
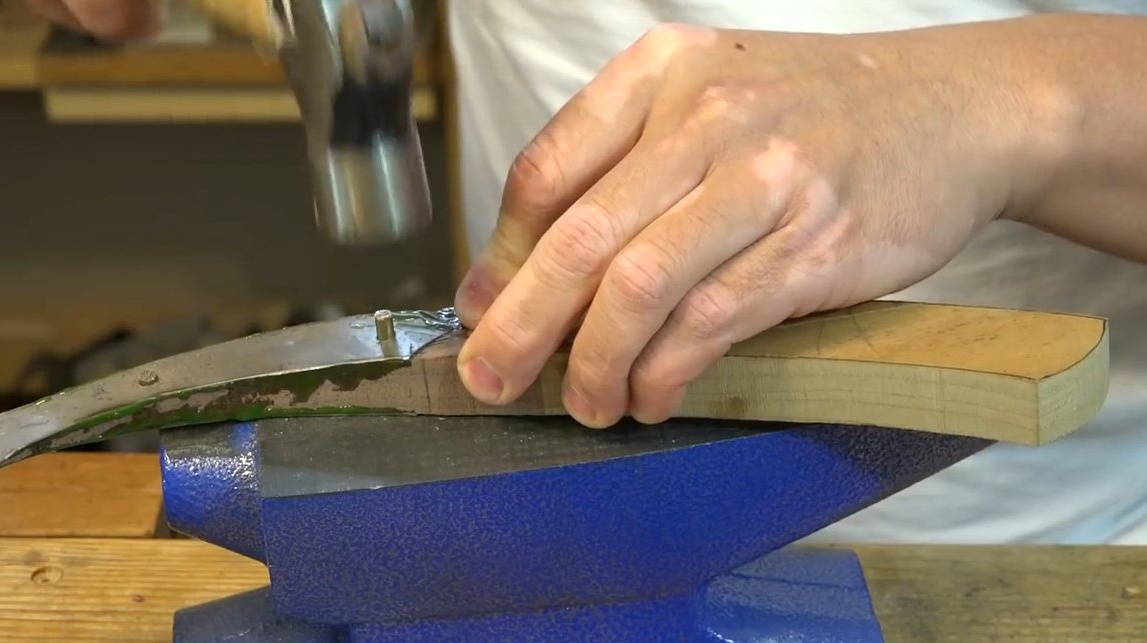
When the resin is frozen, he drills rivet holes on the handle. This is where this small wedge-shaped segment came in handy.
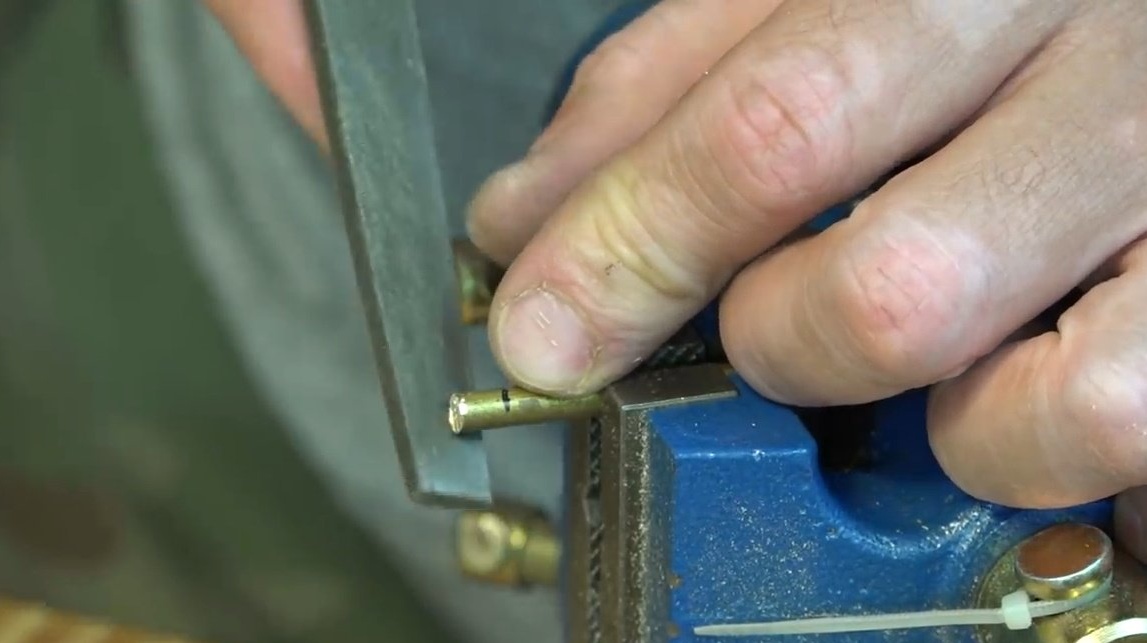
Now it inserts brass rivets and rivets them, additionally fixing the handle and holder to each other.
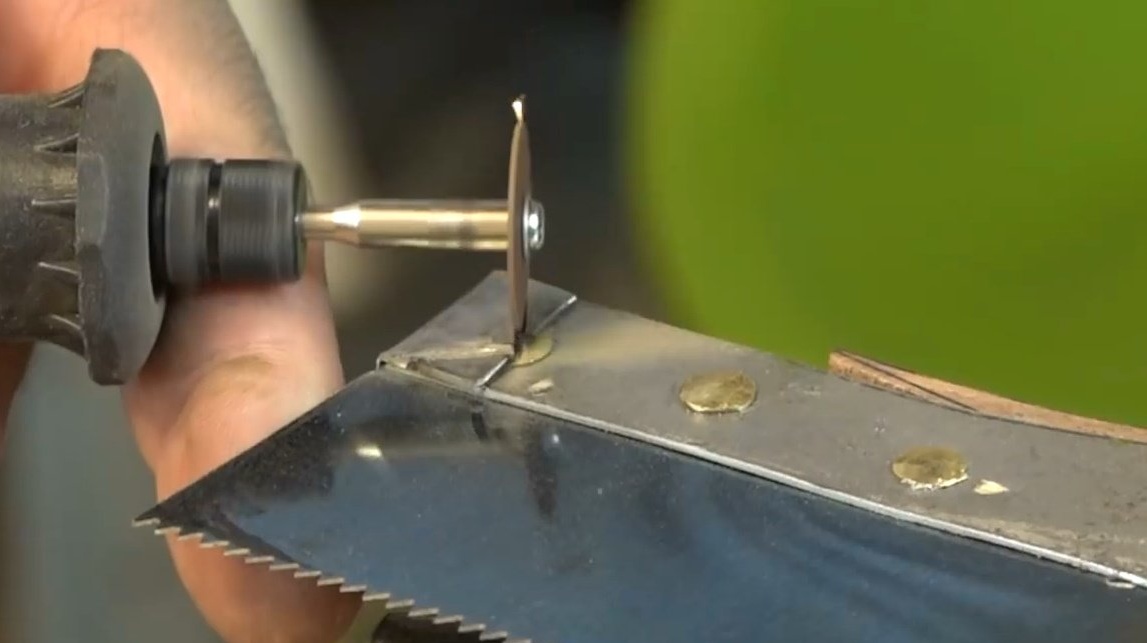
At this point, work on the project is almost complete. There are a few minor points to adjust and design the saw: sawing sharp corners, grouting surfaces, removing excess material on rivets.
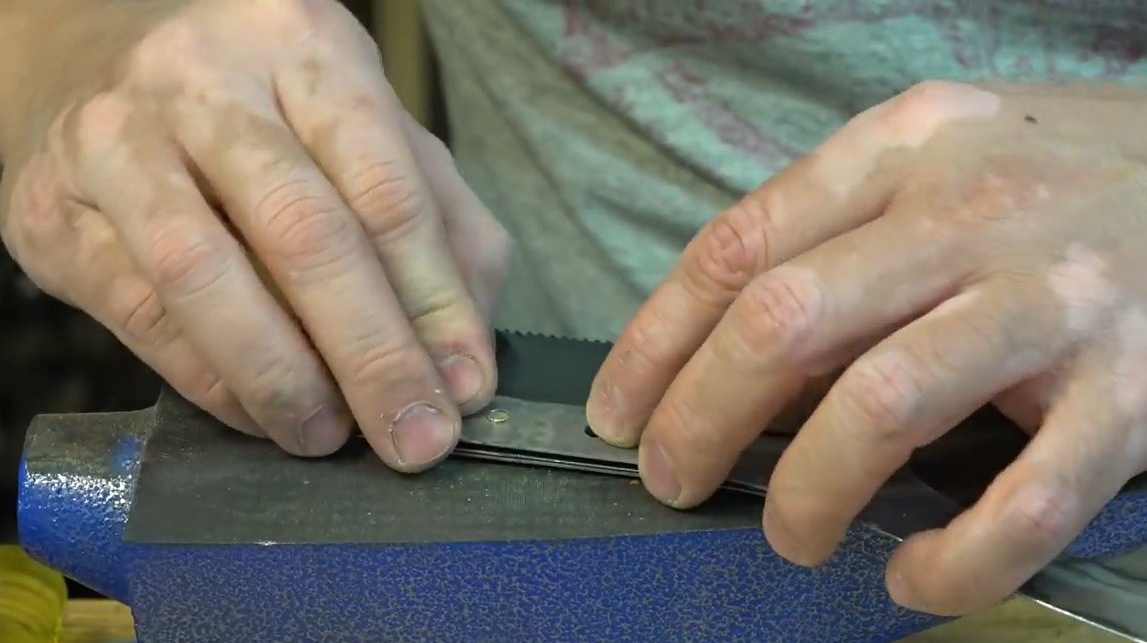
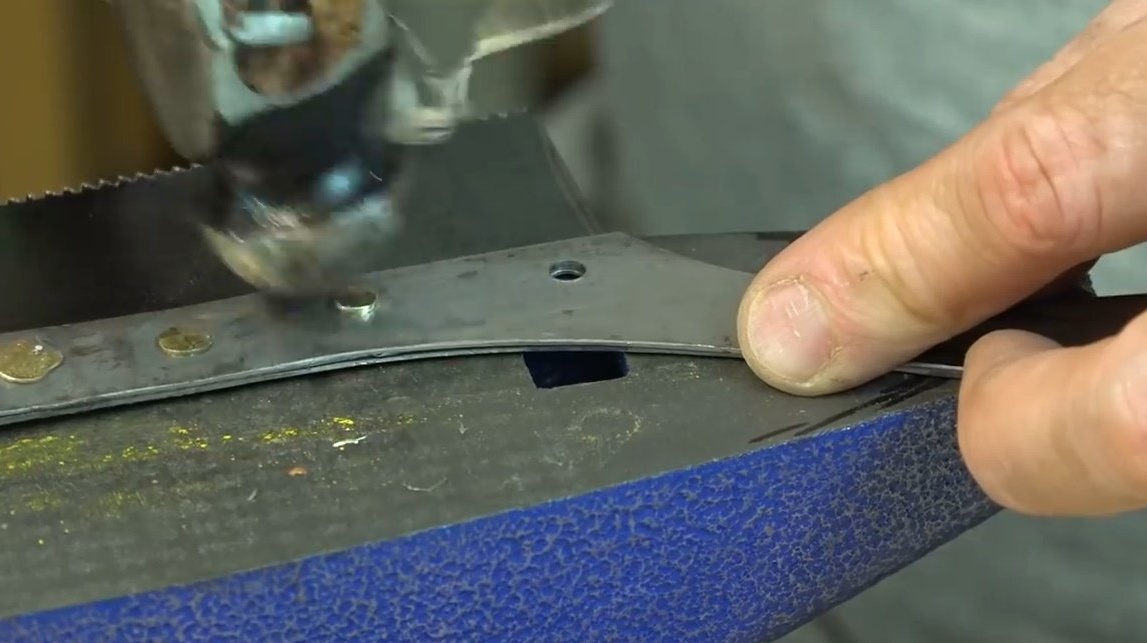
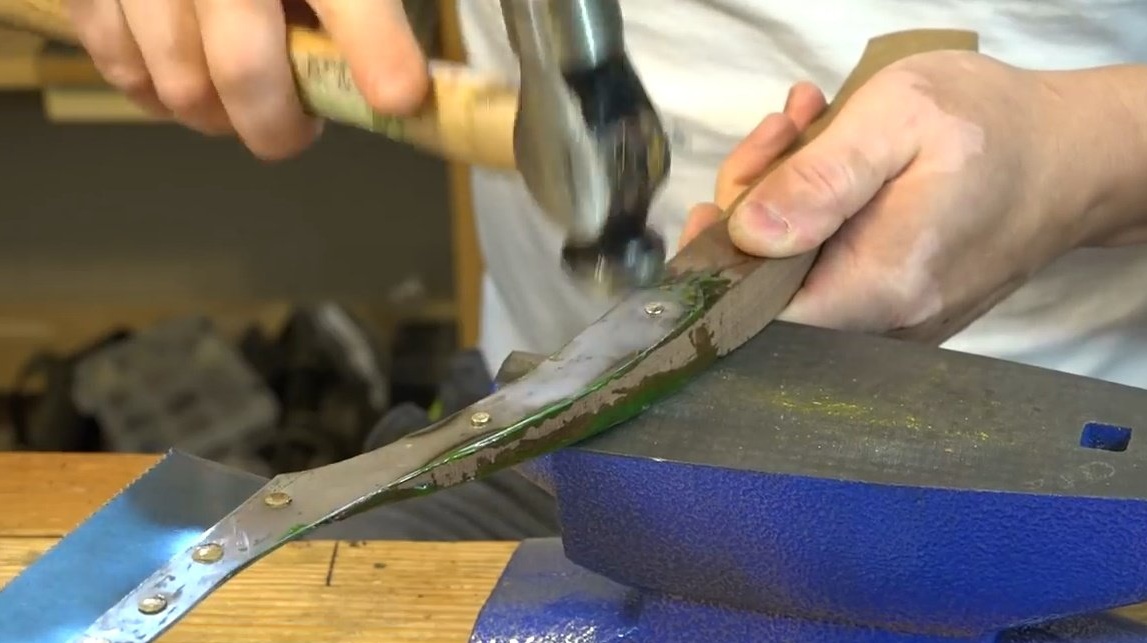
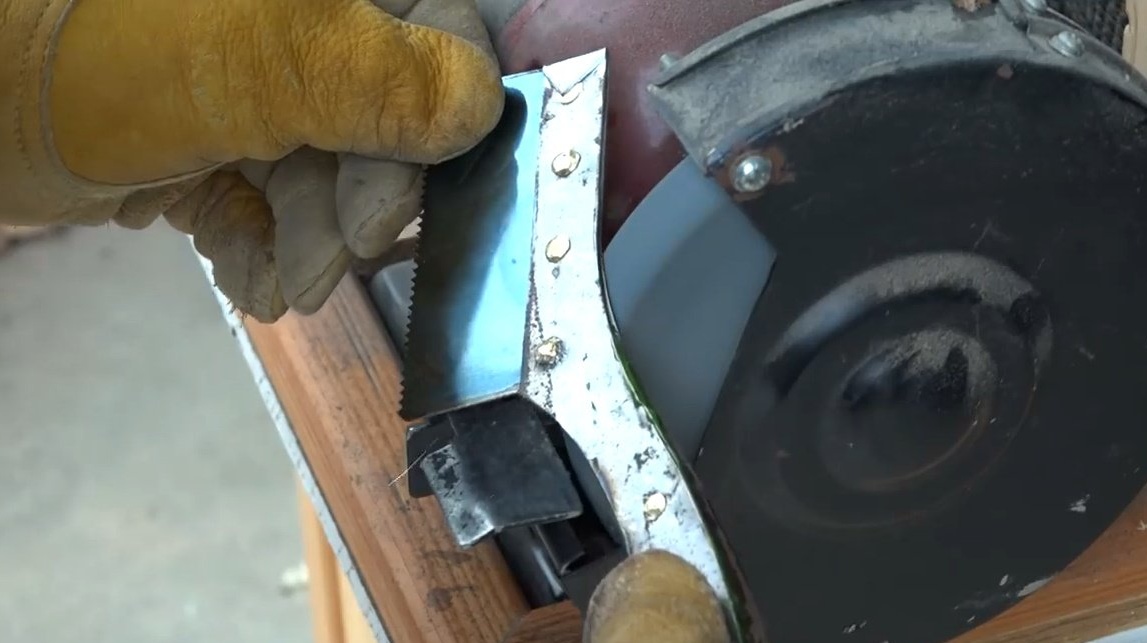
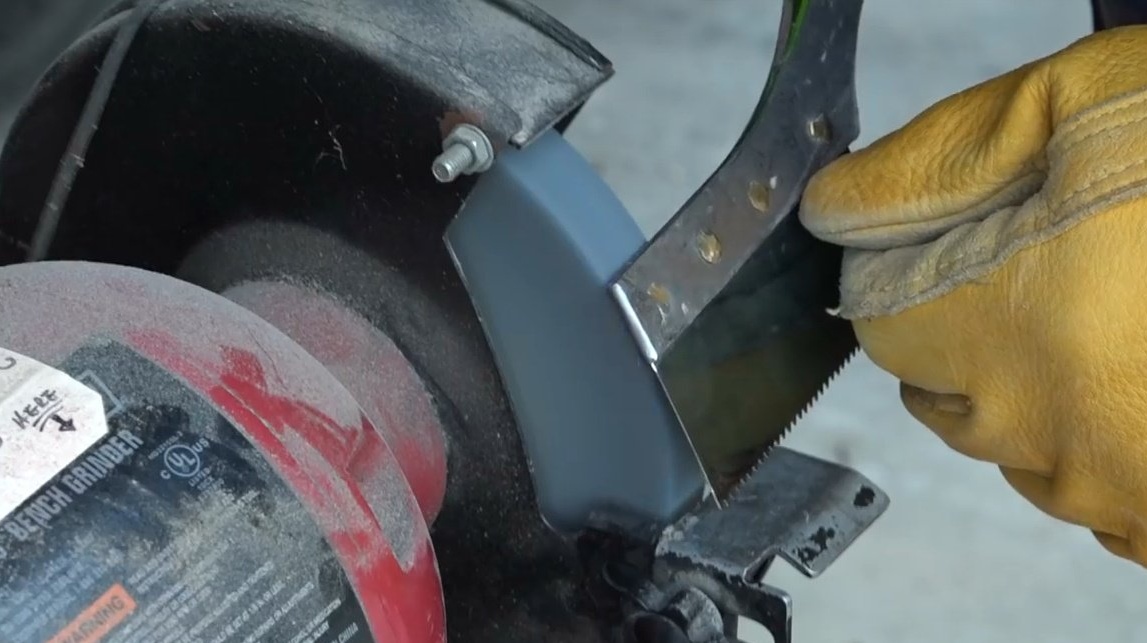
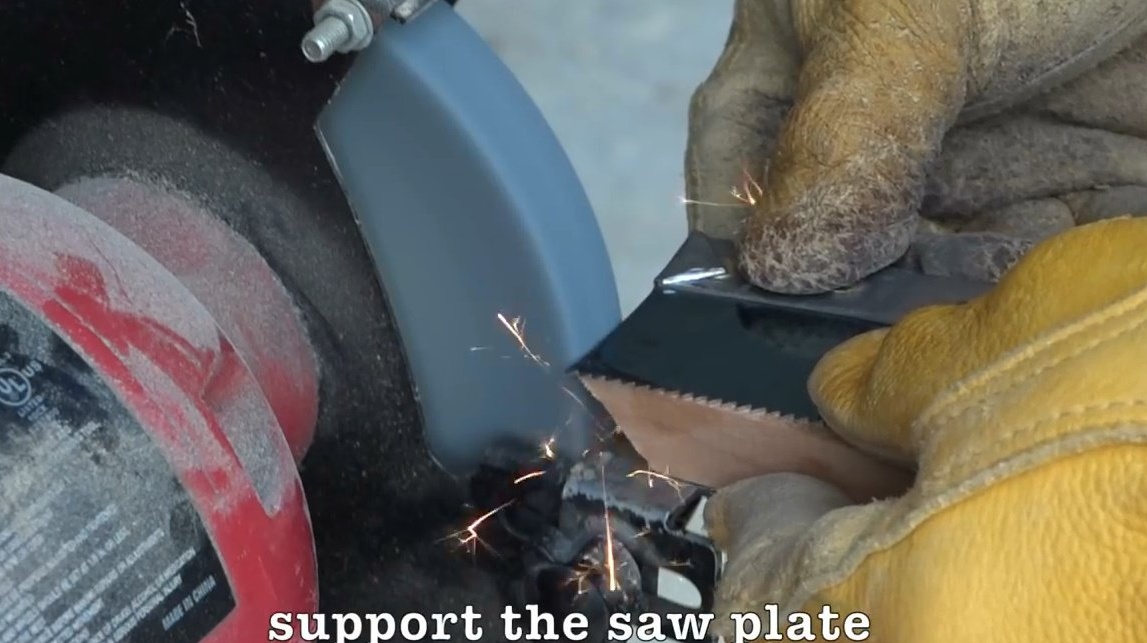
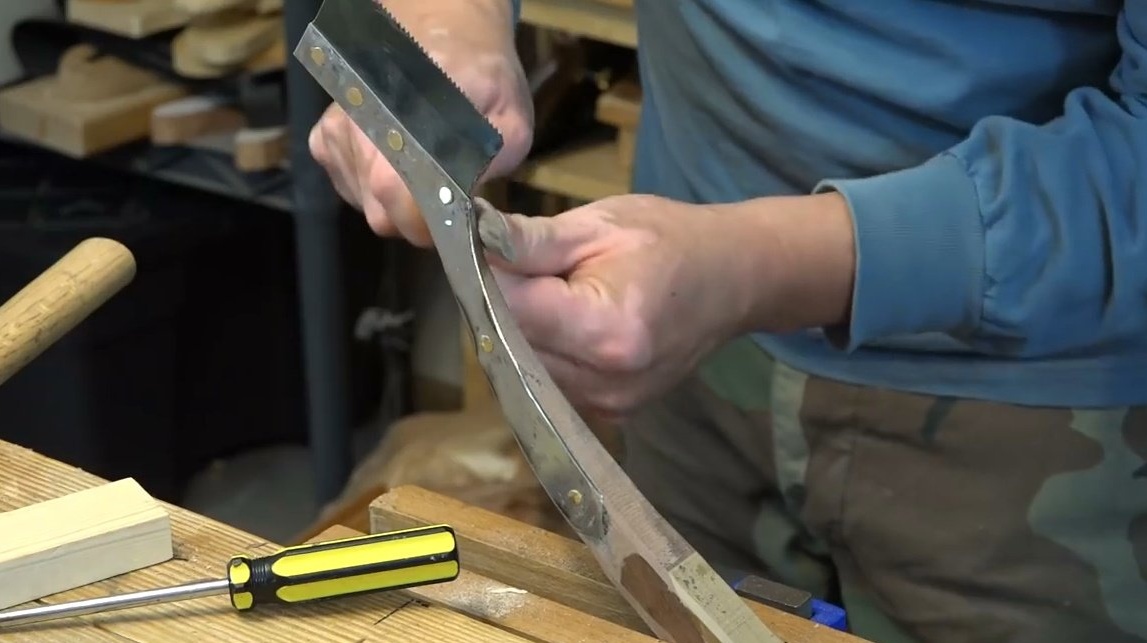
Trim excess blades and mounts. Then he processes the edge with a file, and bends the edge of the mount.
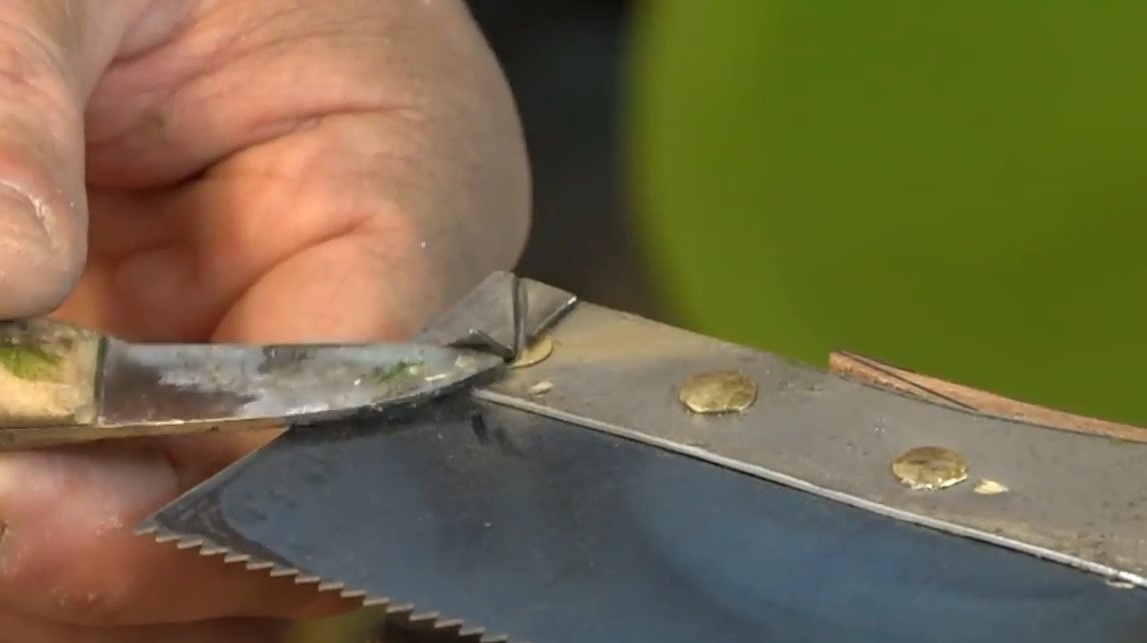
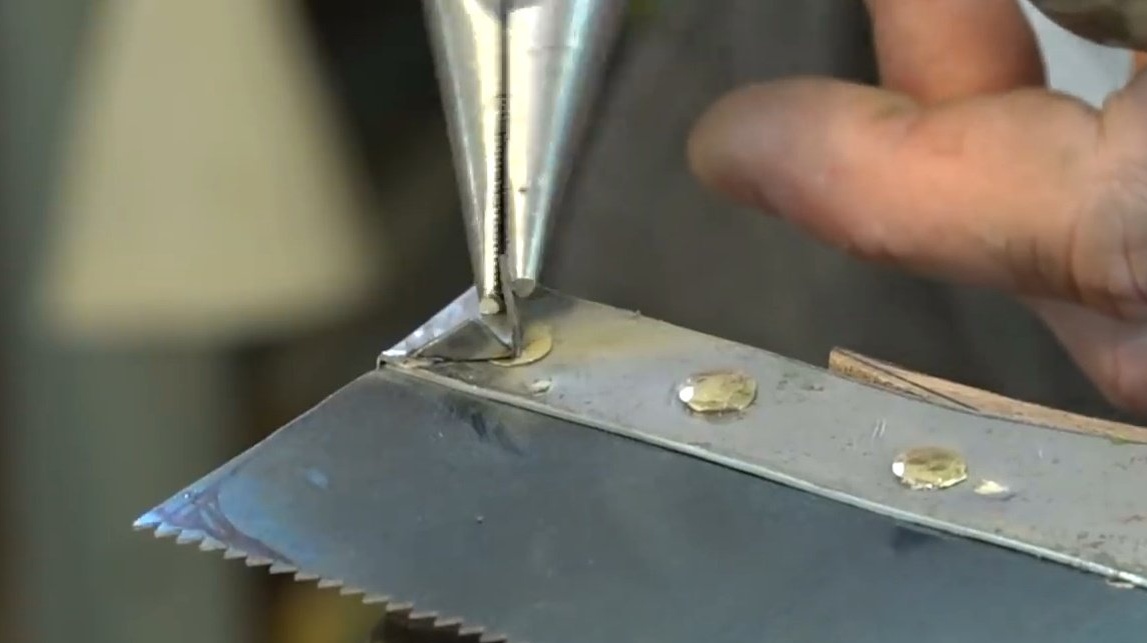
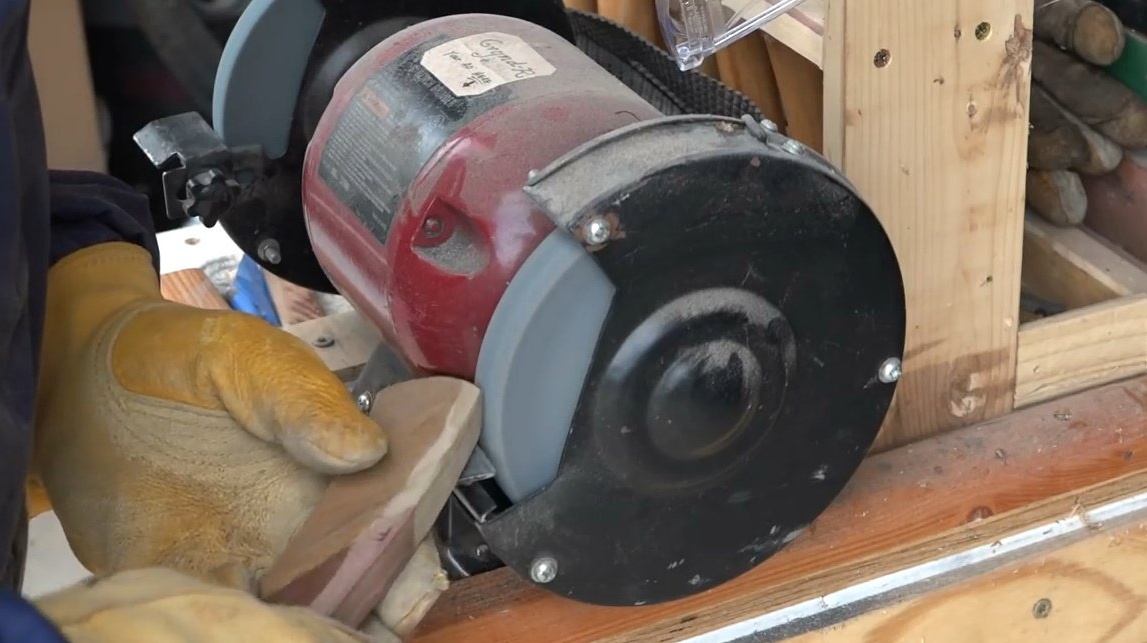
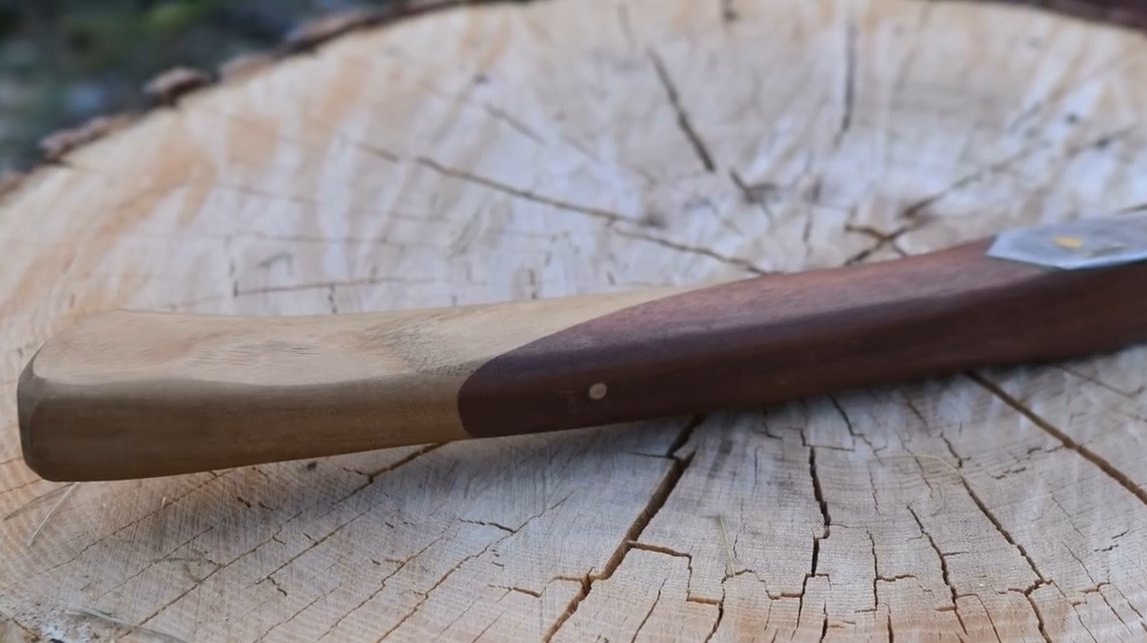
Stitches sharp corners, rounds the edges of the handle on a grinder.

A few final touches with a file.
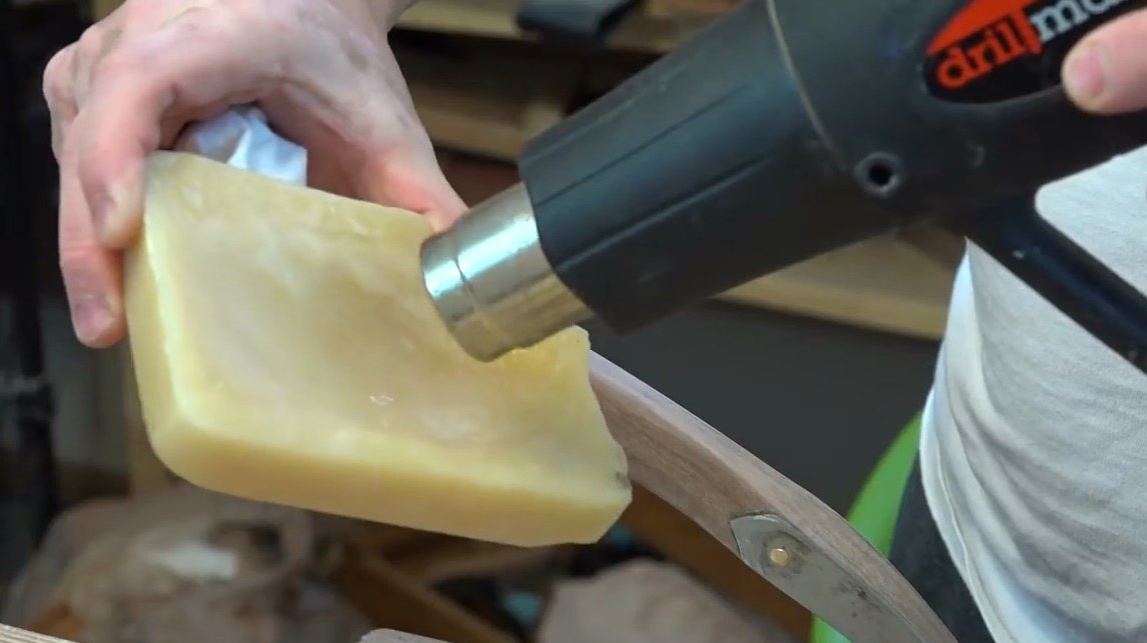
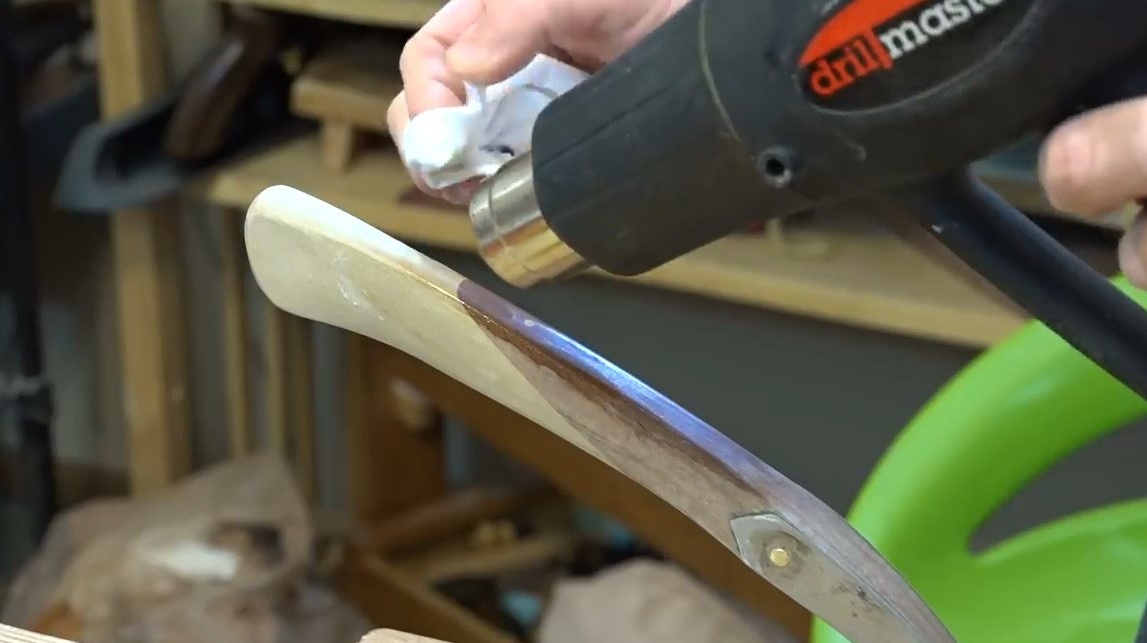
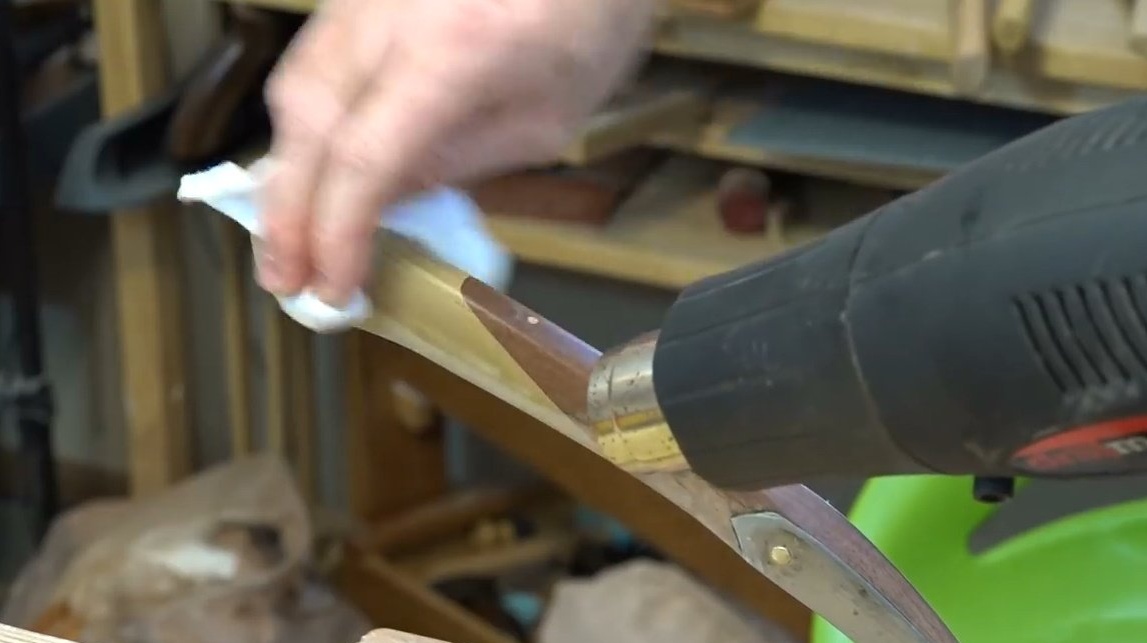
In the end, the author applies beeswax, rubbing the hilt with it, and then just warming it with a hairdryer. Wax impregnates the wood, making it beautiful and smooth. Also, wax protects it from dampness and cracking.
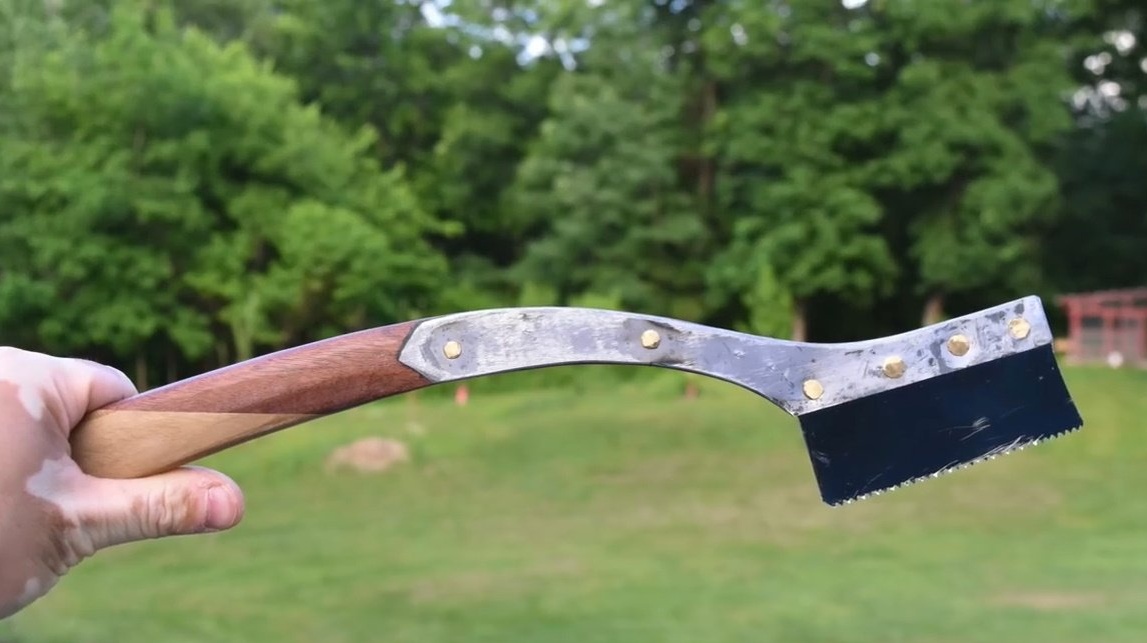
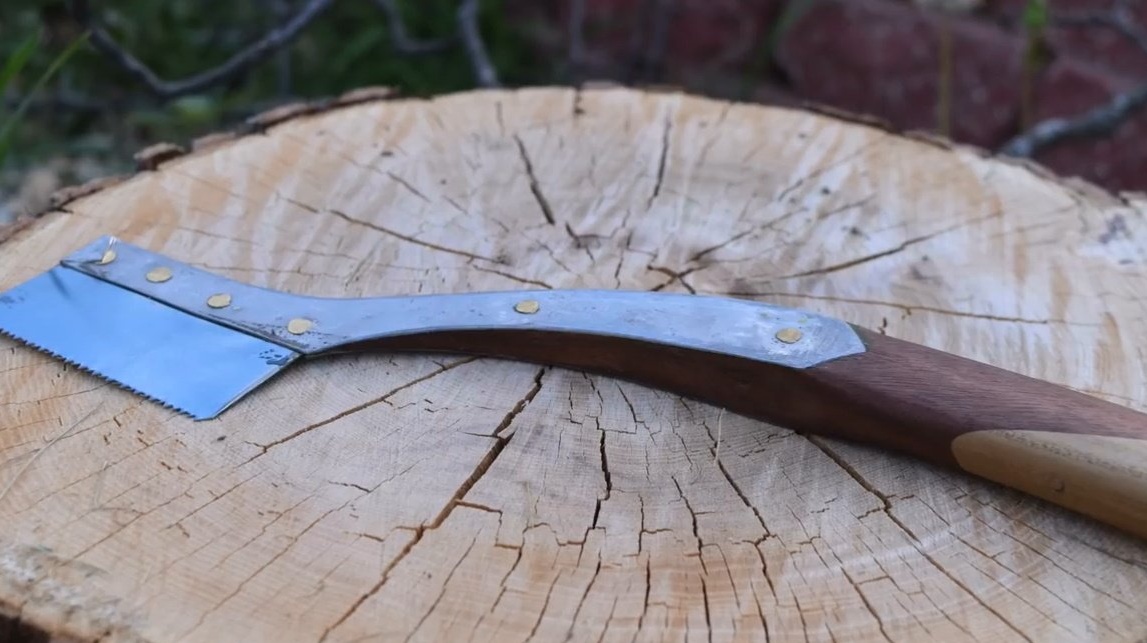
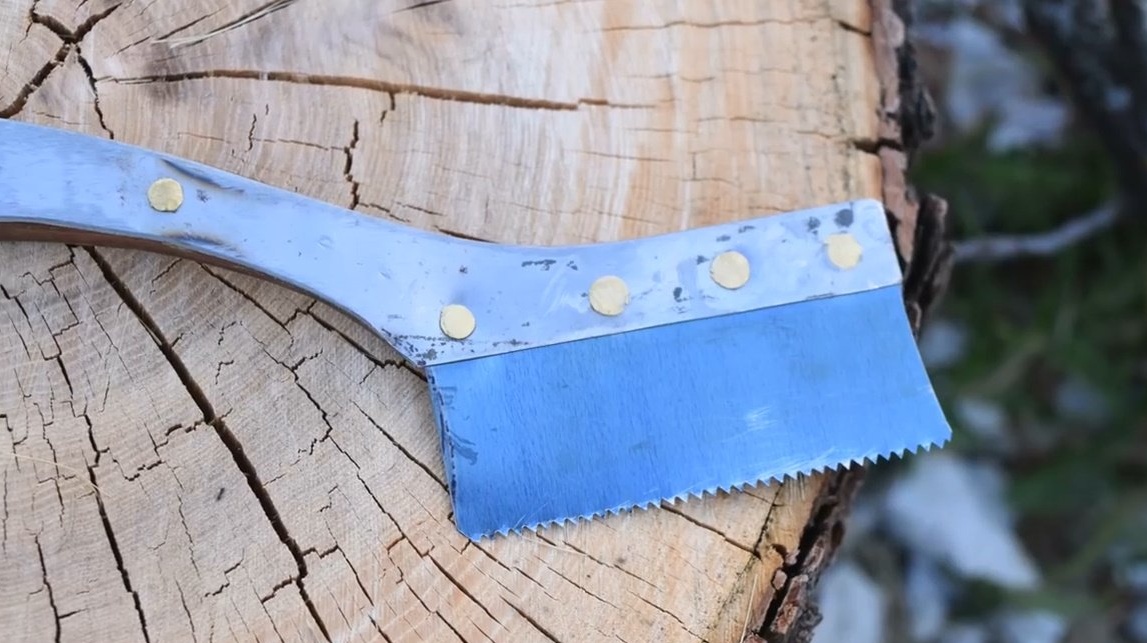
Here is such an interesting and stylish tool turned out by John. Even the rivets and fasteners are specially made a little sloppy.
Thanks to John for an interesting workshop on manufacturing saws.
Good mood and good luck to everyone!