If you have an old hard drive from a computer, do not rush to throw it away, you can make a small convenient emery out of it! Motors in such devices almost never break, and we will not need other details. These brushless motors, they develop high speeds, withstand heavy loads and are durable.
Interesting homemade the fact that with the help of a special one you can control the engine speed. This is very convenient if you need to handle something very small. The author pasted both disks on both sides with sandpaper, so that they should be enough for a long time. If the project interests you, I propose to familiarize yourself with it in more detail.
Materials and tools used by the author:
Material List:
- old hard drive;
- sandpaper;
- ;
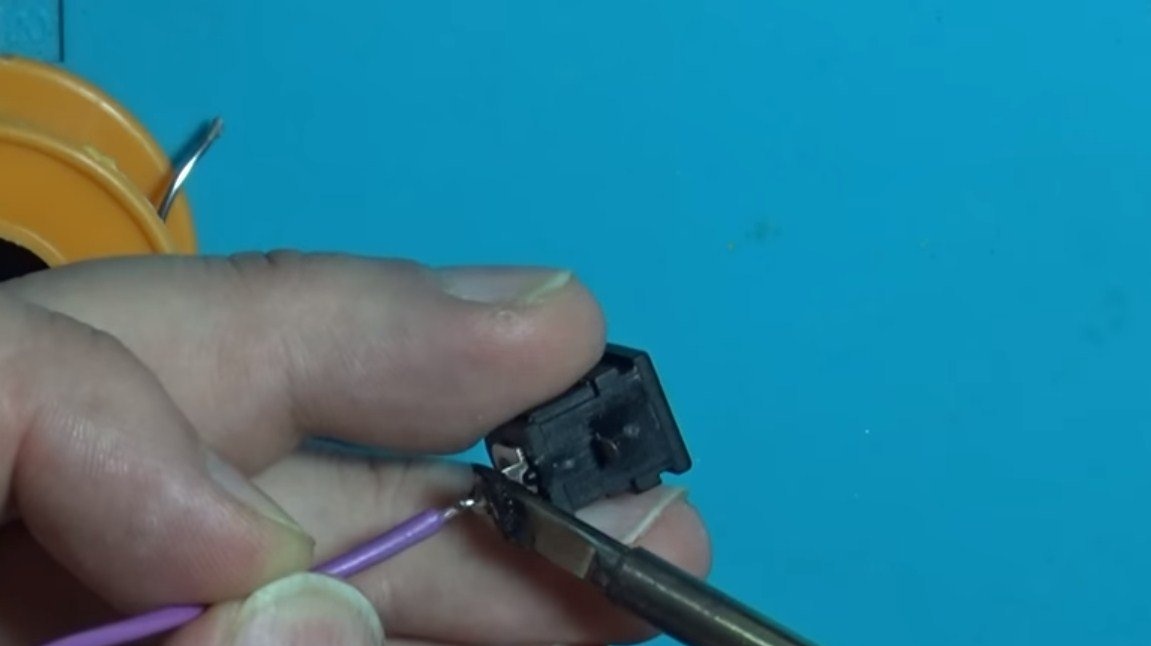
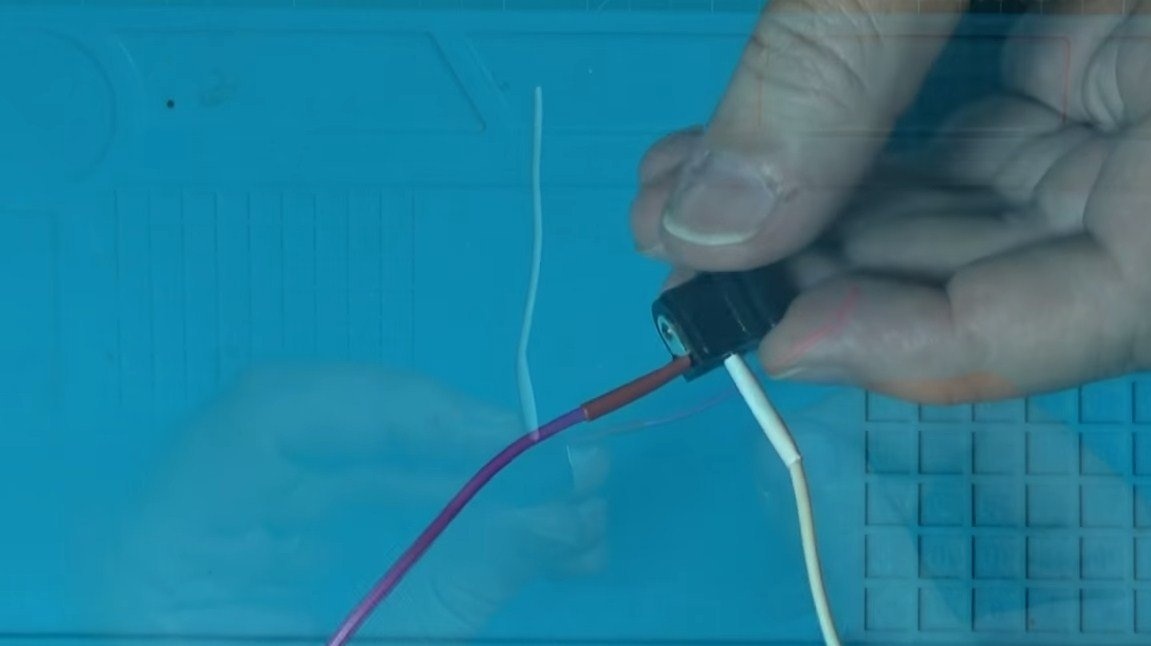
- connector for connecting the power supply;
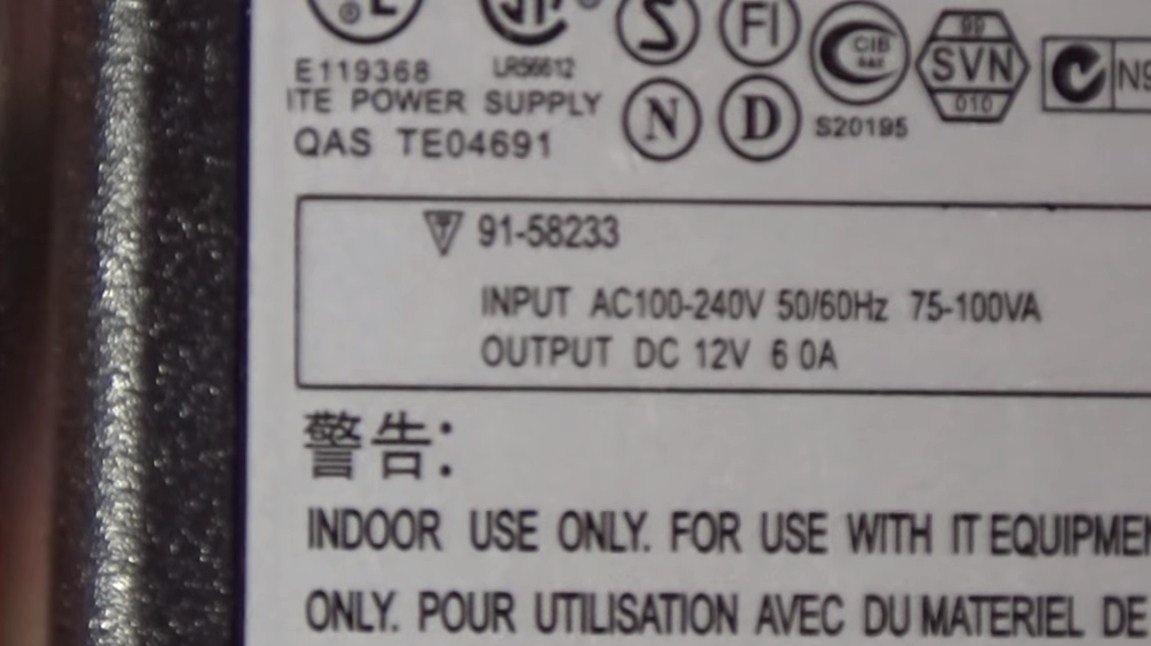
- power supply for 12v / 6A;
- wires;
- materials for the body.
Tool List:
- a screwdriver for unwinding the hard drive;
- soldering iron;
- 3D printer;
- glue.
Emery making process:
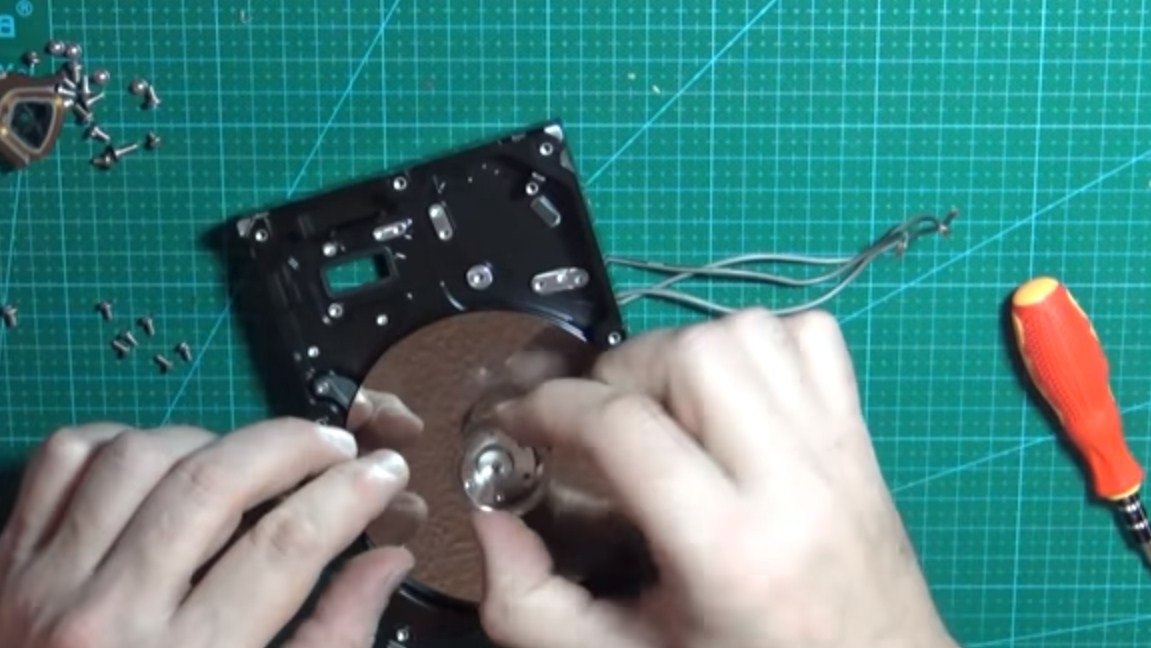
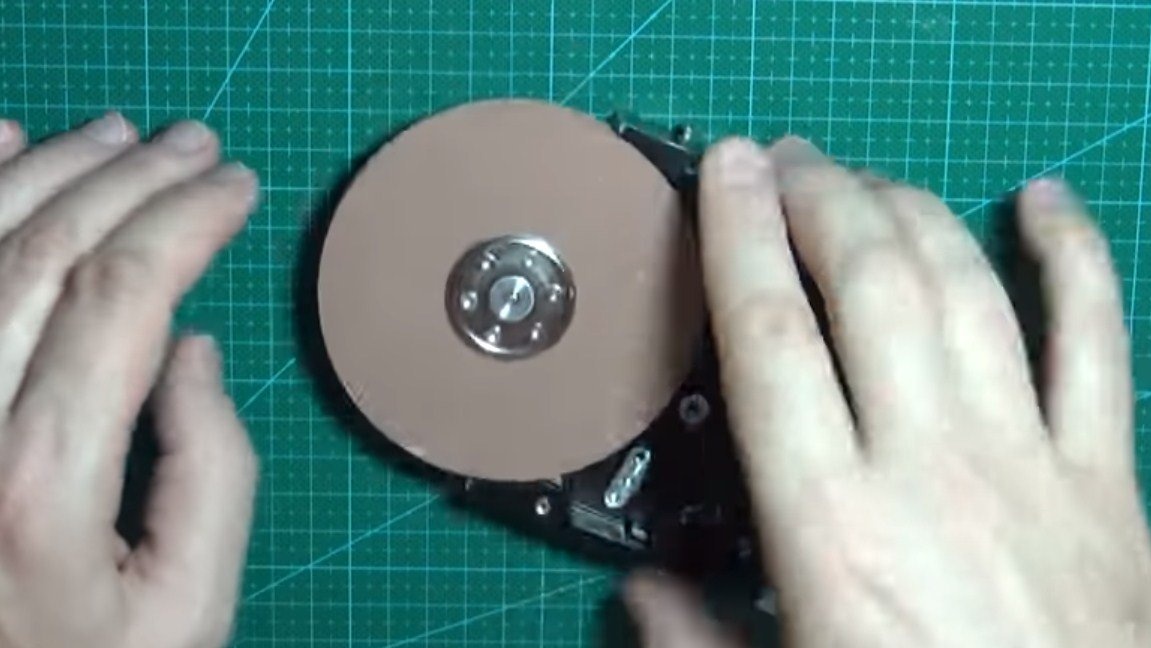
Step one. Disassemble the hard drive
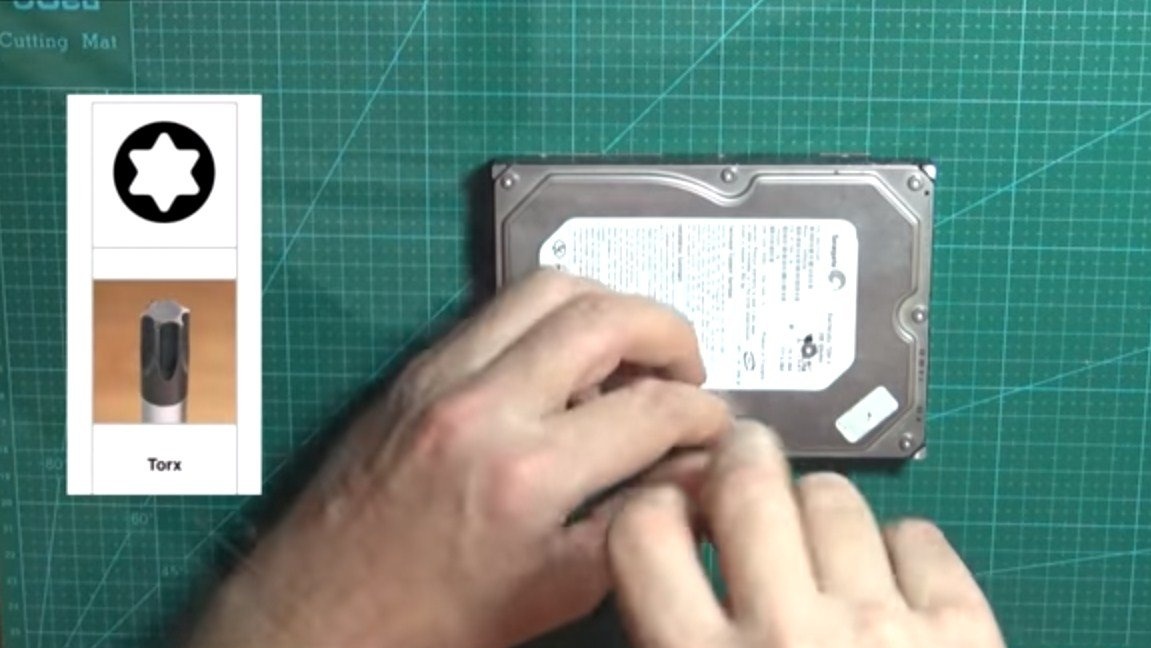
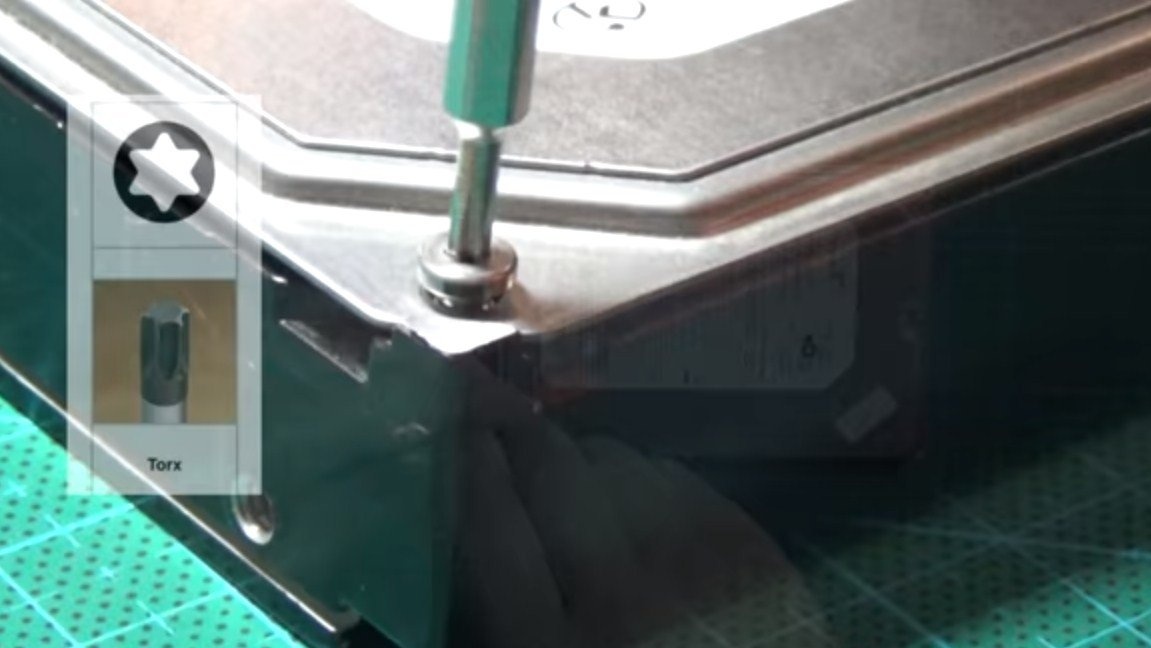
First you will need to disassemble the hard drive. The cover is in most cases fastened with screws under the head in the form of a hexagon. And on older versions, there may be ordinary screws for the cross. The screws can be tightened quite tight, so without a good screwdriver it can be difficult to unscrew them.
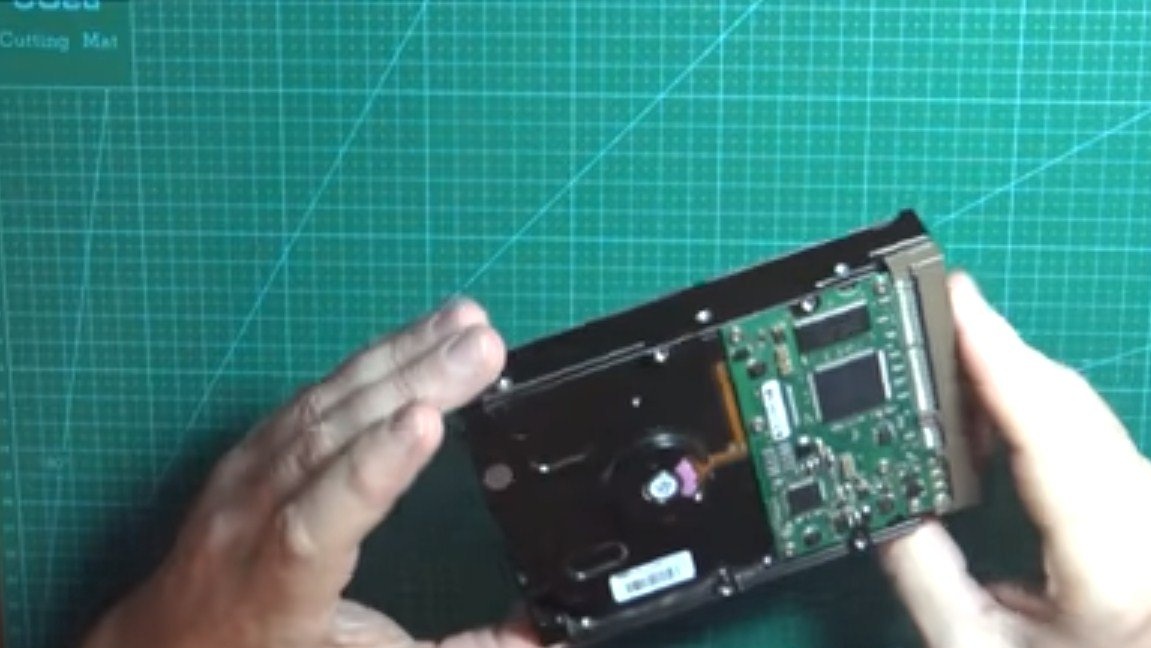

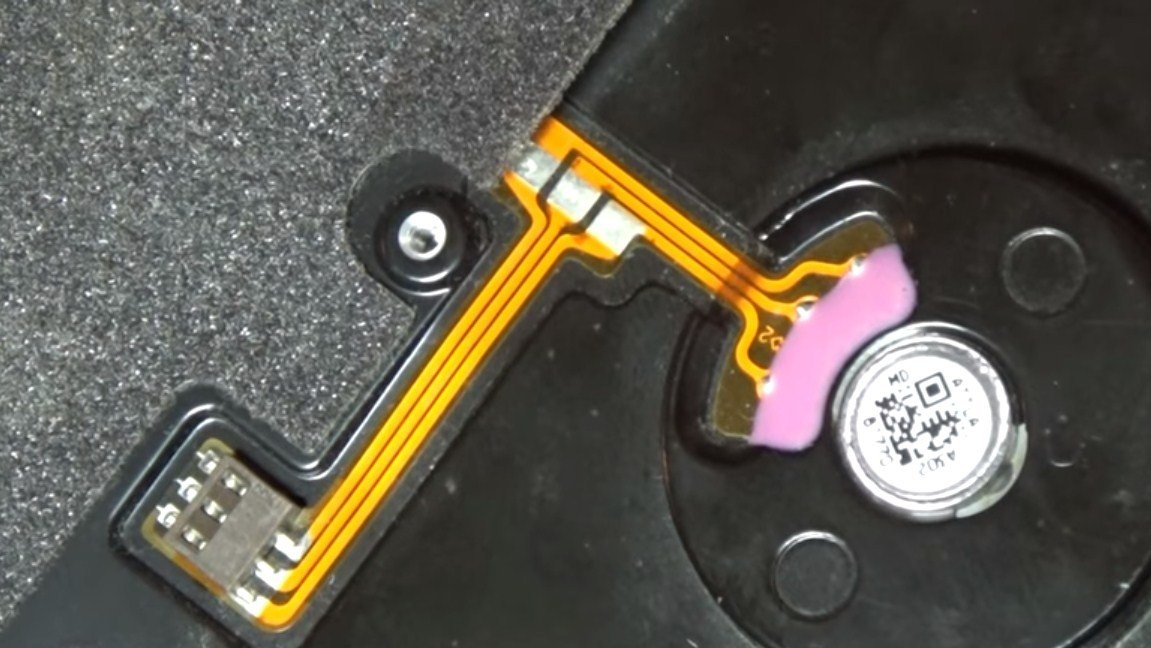
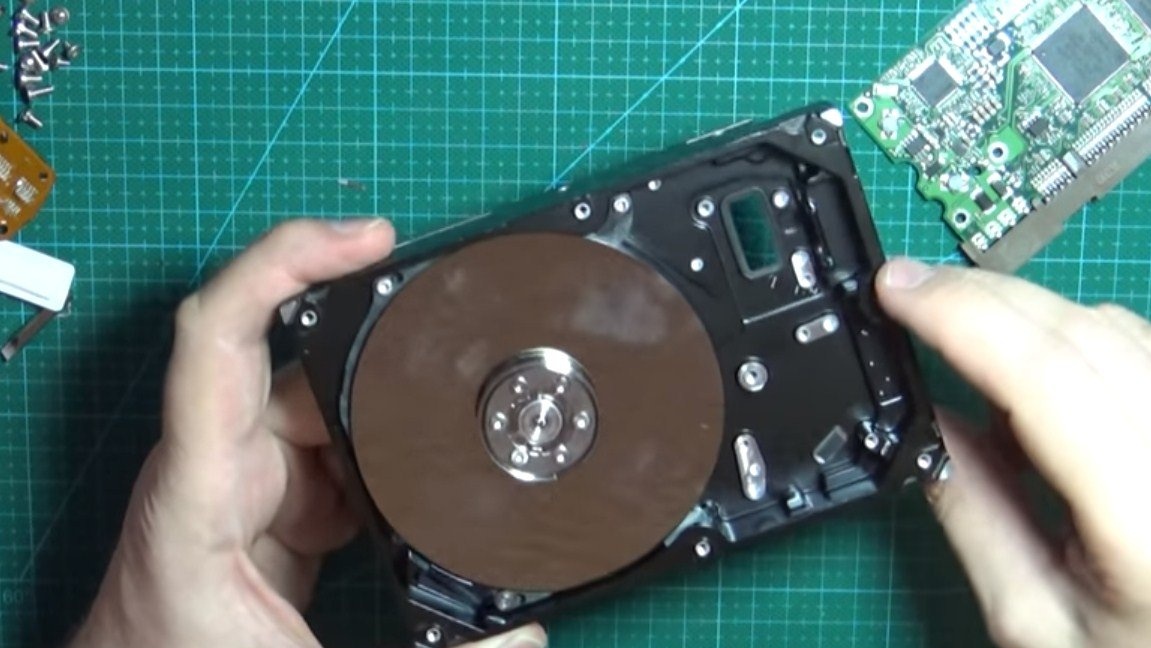
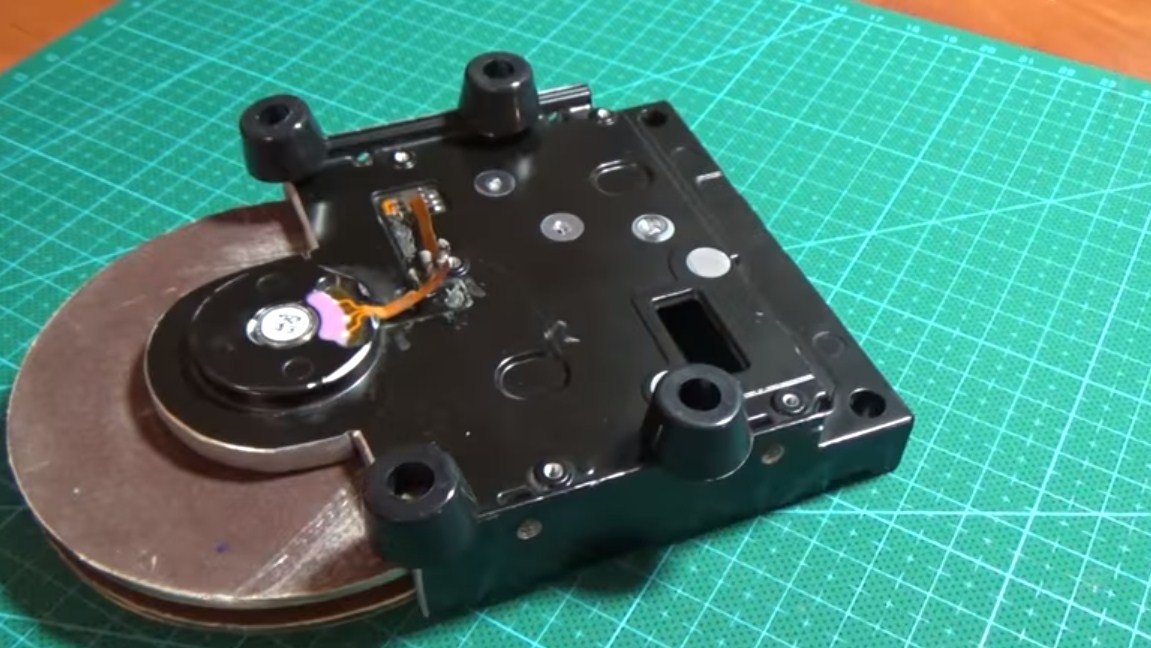
After removing the cover, remove the filter, this is such a white bag, it is designed to assemble the smallest dust particles. You also need to remove the recording / reading head of the hard drive. It is attached with one screw, and you will also need to remove two powerful neodymium magnets. We also shoot electronic a fee, we won’t need it, even if it’s working, it’s of little use. As a result, only the engine with disks should remain.
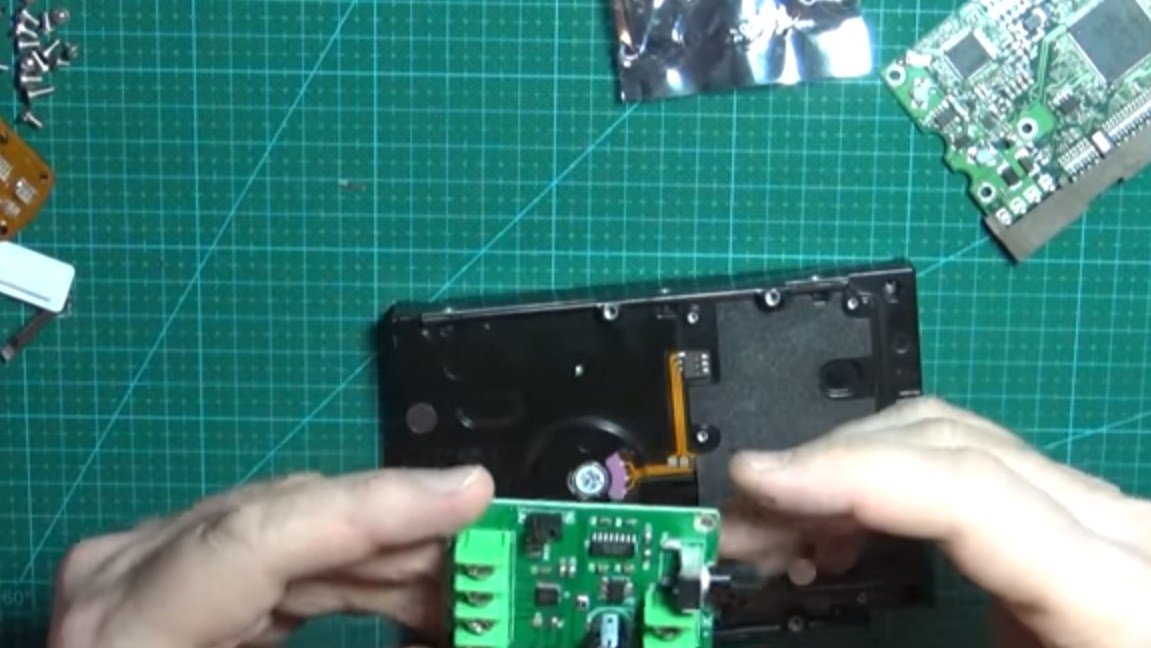
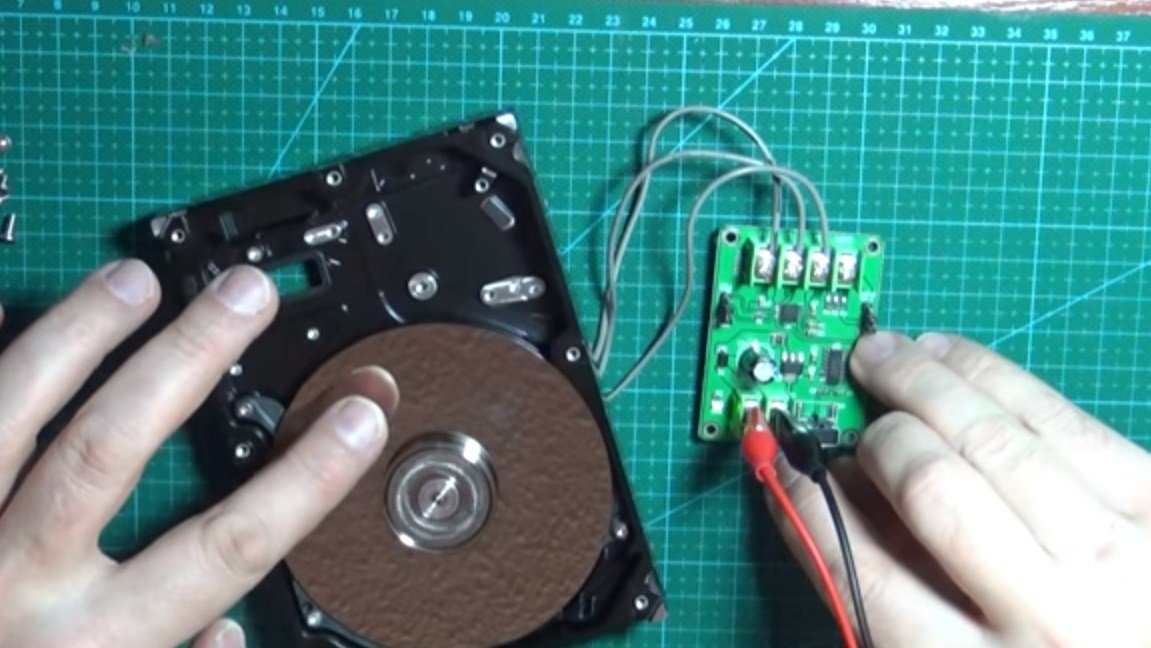
Step Two Test engine start
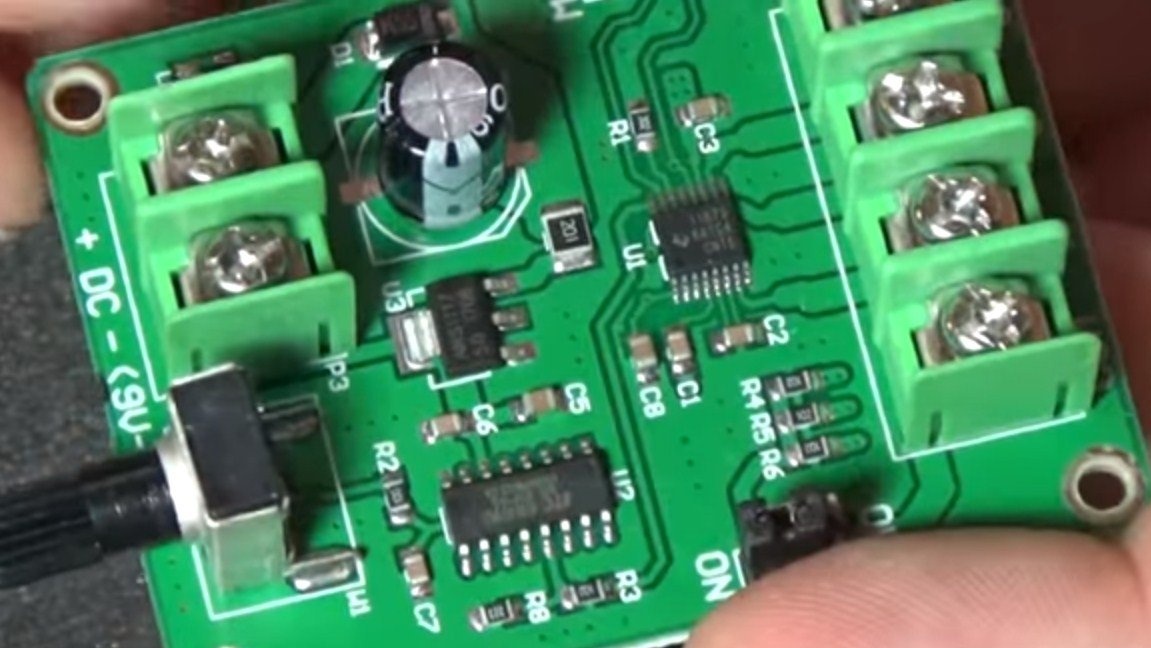
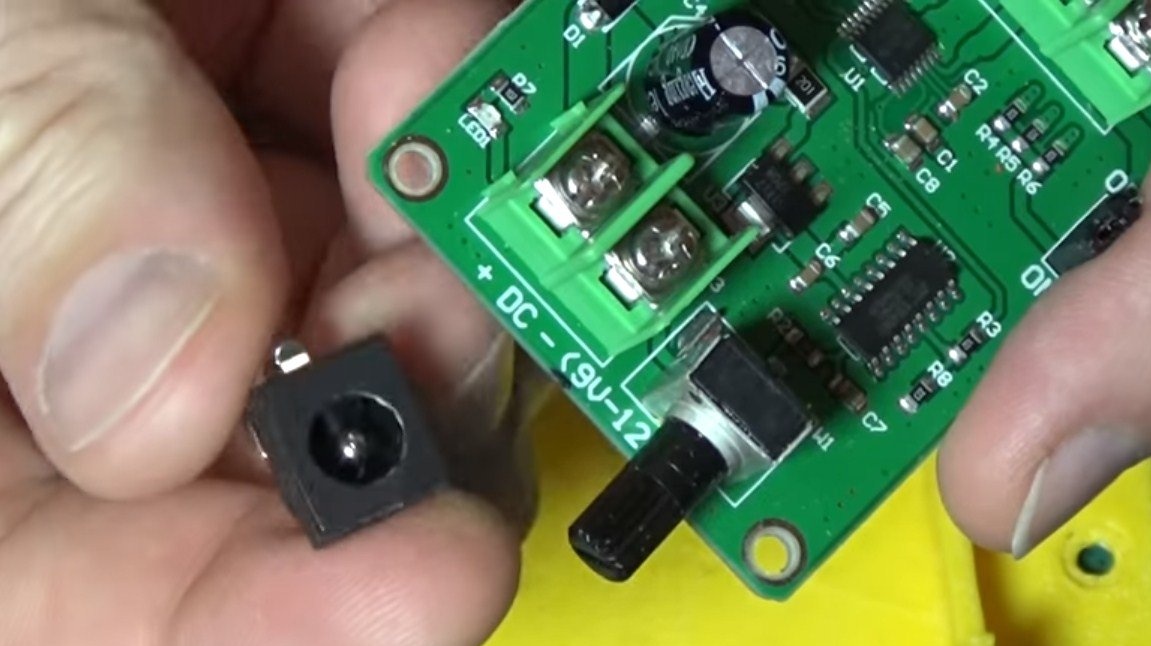
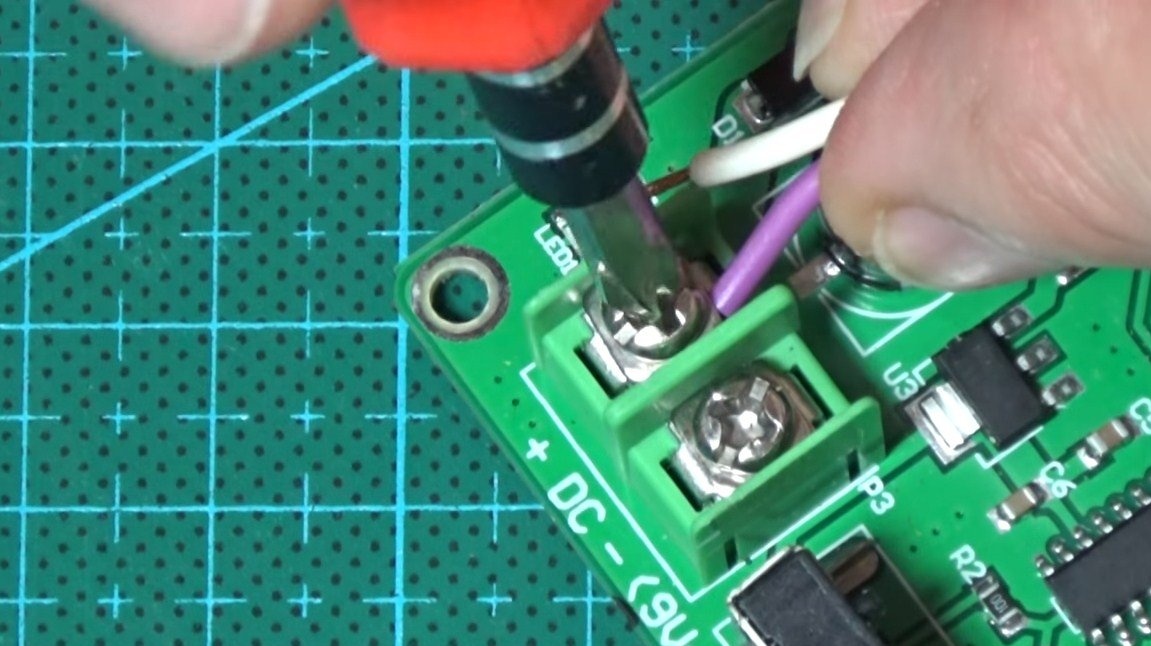
The motor is mounted on a brushless motor, which means that it will not work if a constant or alternating voltage is applied to its contacts. Here you will need a special controller that generates a voltage of a special frequency, and the engine runs from it. To start the engine you need to buy a controller, you can order it from China. The controller is convenient in that it has a speed adjustment function. The device can be powered from a voltage of 9V to 12V.
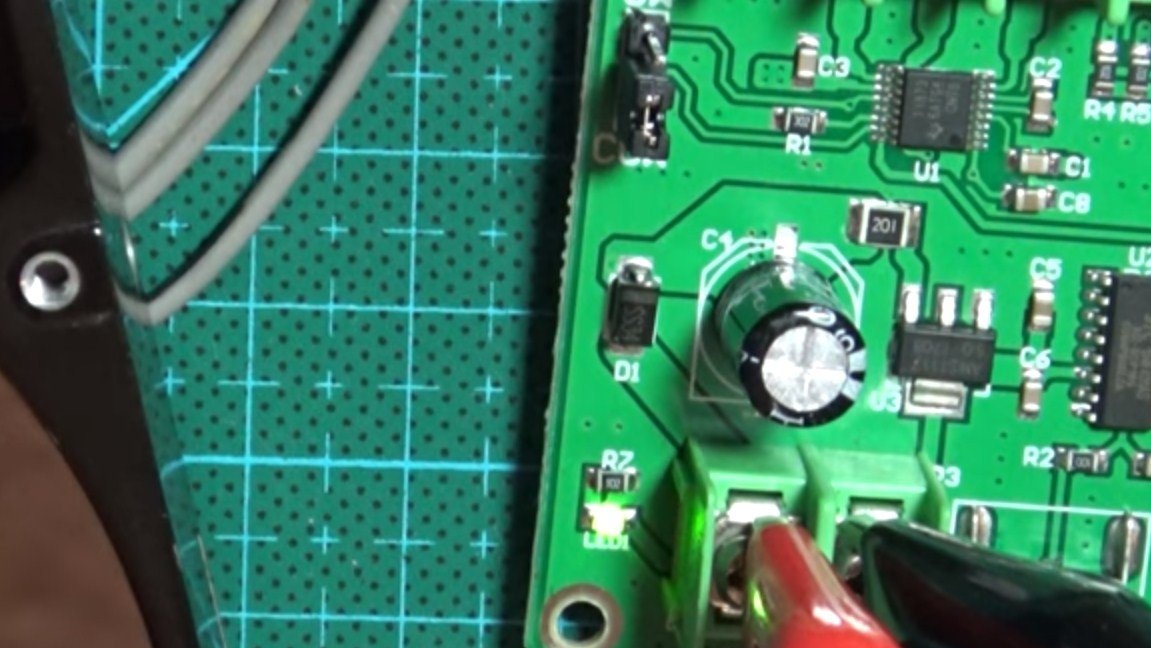
We supply power to the controller, the green LED should light up, which will indicate the controller is working. The disk rotates, everything is fine, move on.
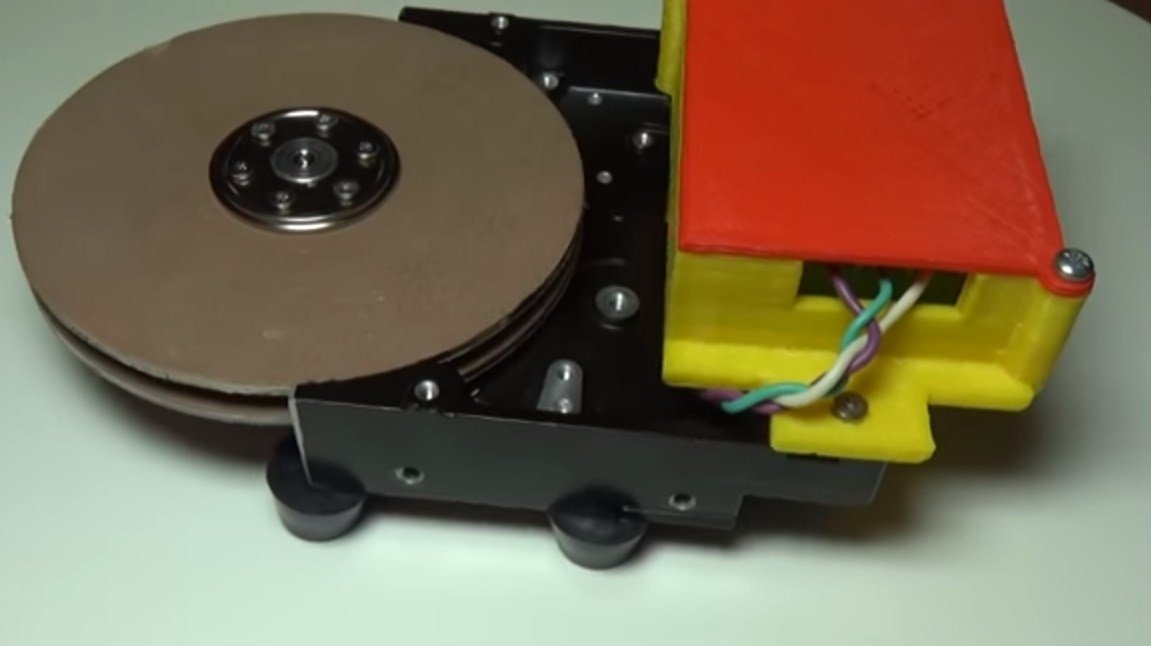
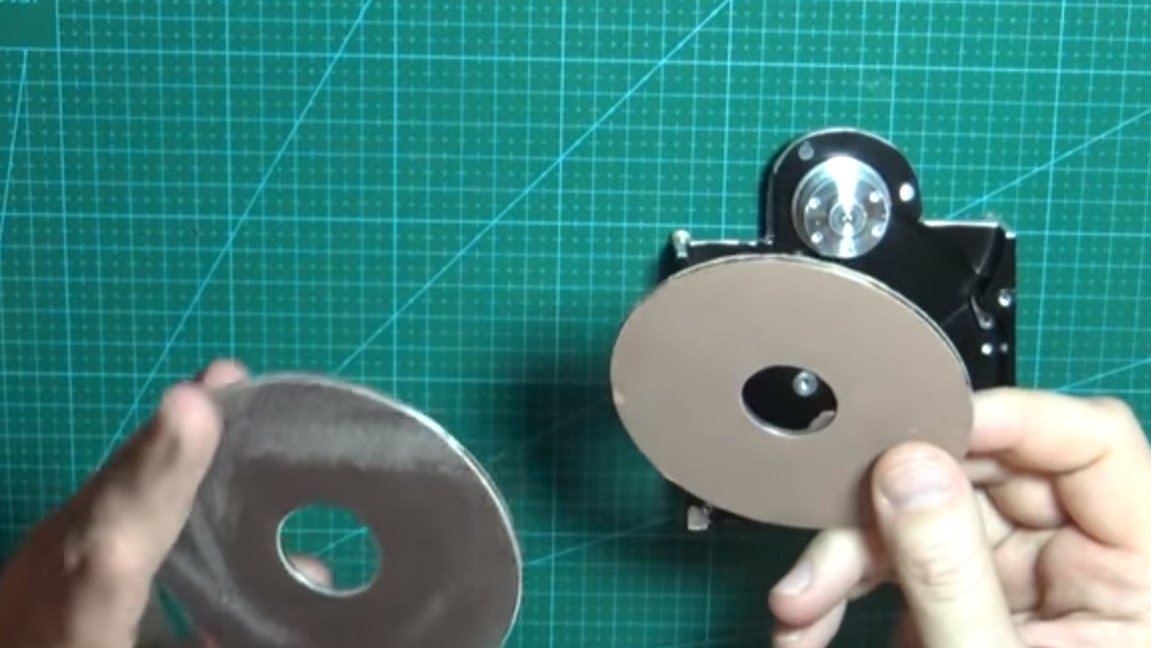
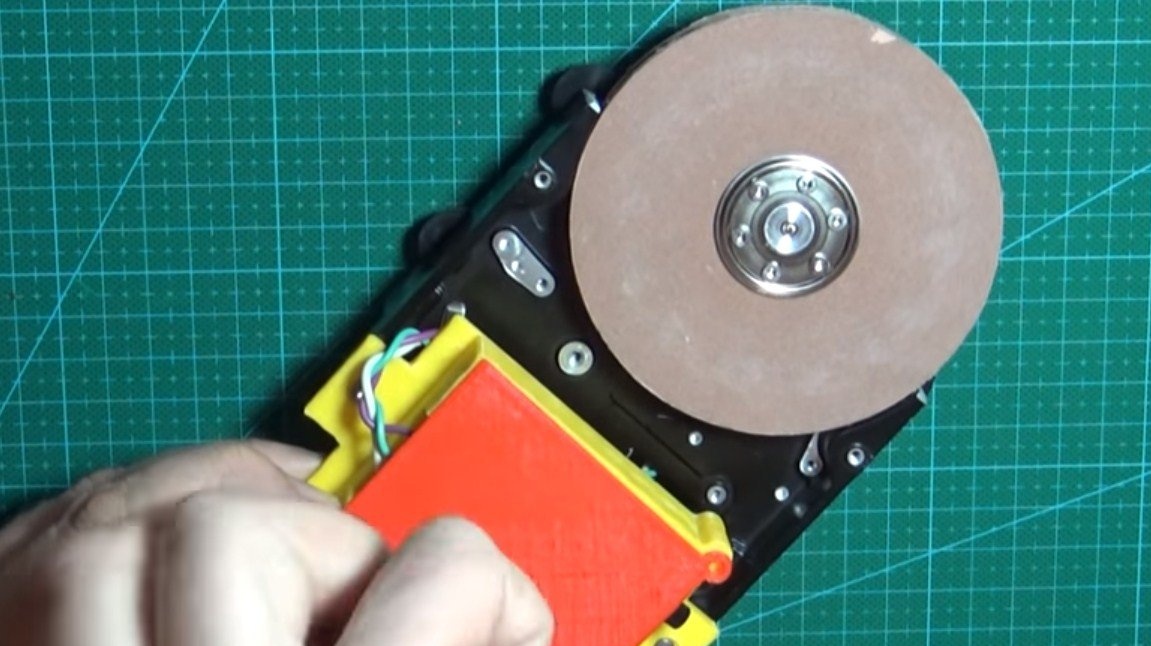
Step ThreeGlue the wheels
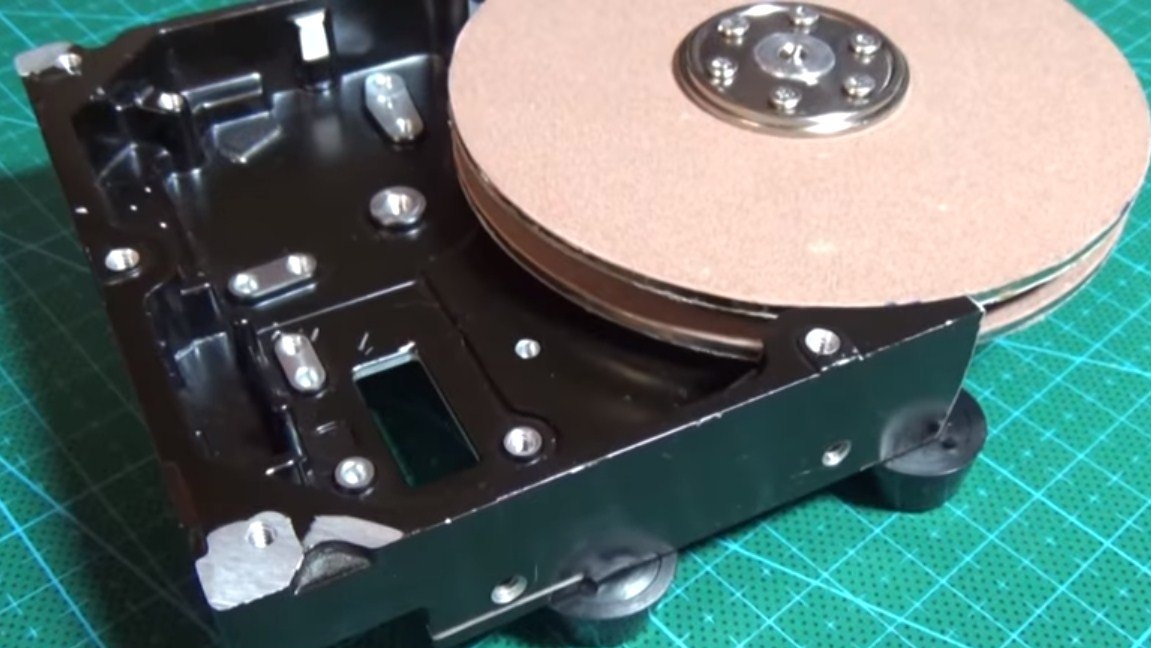
We remove the disks, in most cases they are aluminum, and there are also glass ones. To them, the author glues sandpaper. You can glue the discs on both sides, then you do not have to glue the paper often. You can simply rearrange or flip disks. As a result, we get 4 work planes. If necessary, you can stick paper of different grain sizes. And if you have more disks, you can make yourself a good supply of grinding disks.
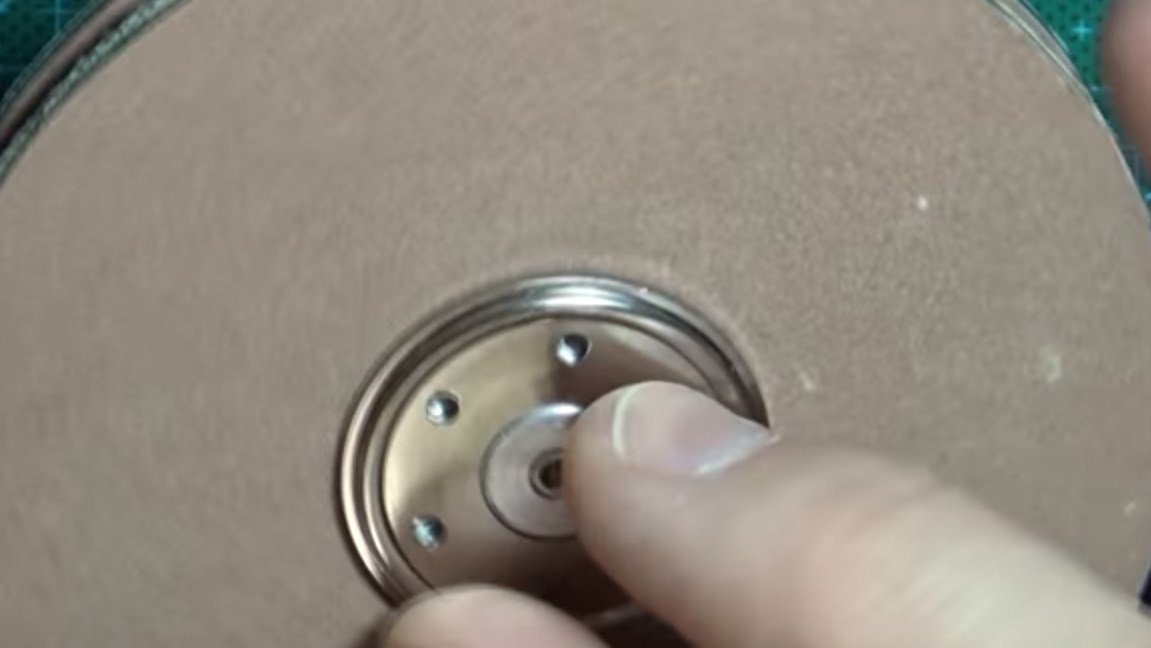
We install the disks back, it is not necessary to tighten all the screws, even 3 should hold normally, but for reliability it is better to wrap everything.

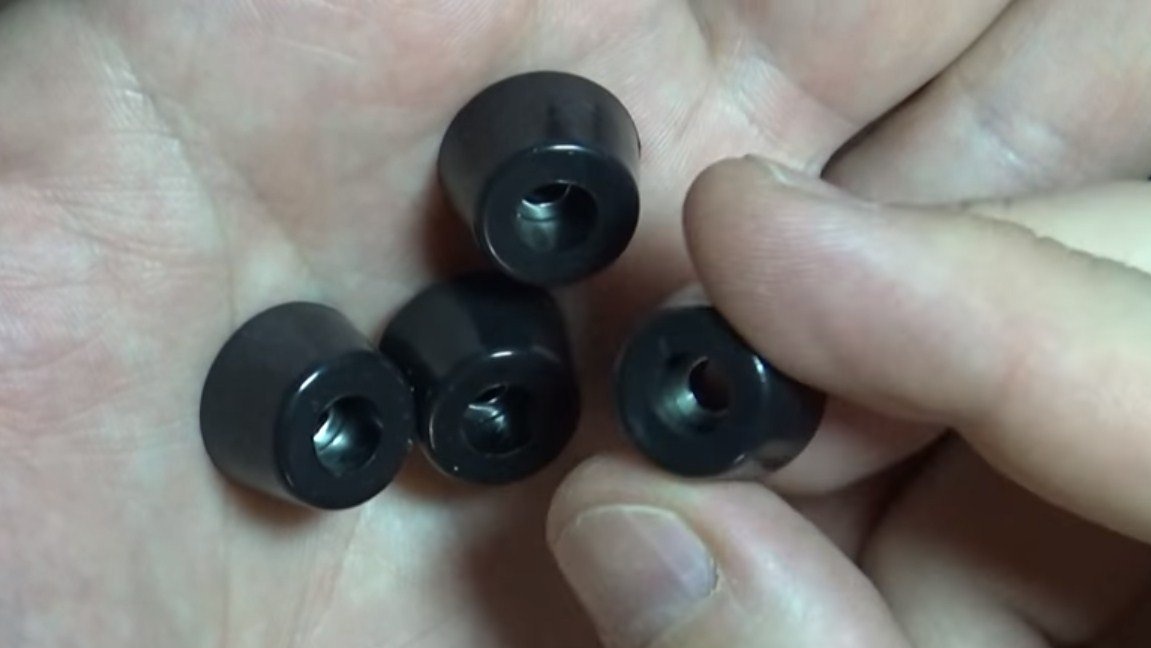
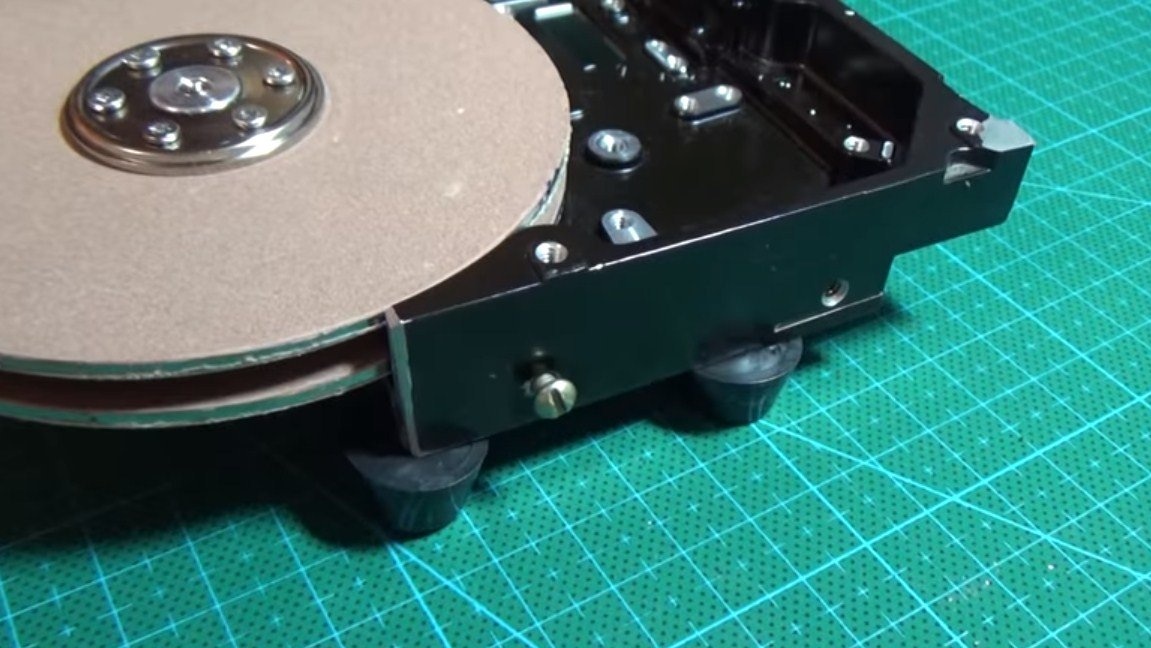
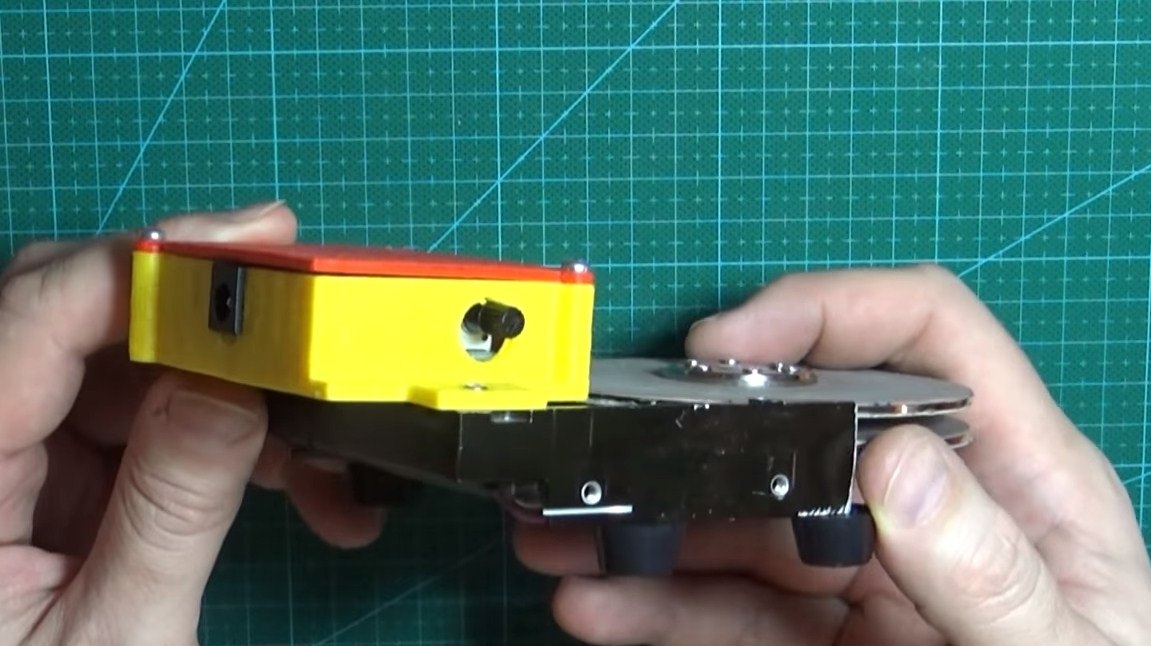
Step Four Foot installation
Our machine at high speeds will vibrate quite a lot and if nothing is done, the emery will ride on the table. To solve this problem, the author fastens the rubber legs to the hard drive. They are quite common, you can order from China, but you can make it yourself from rubber and so on.
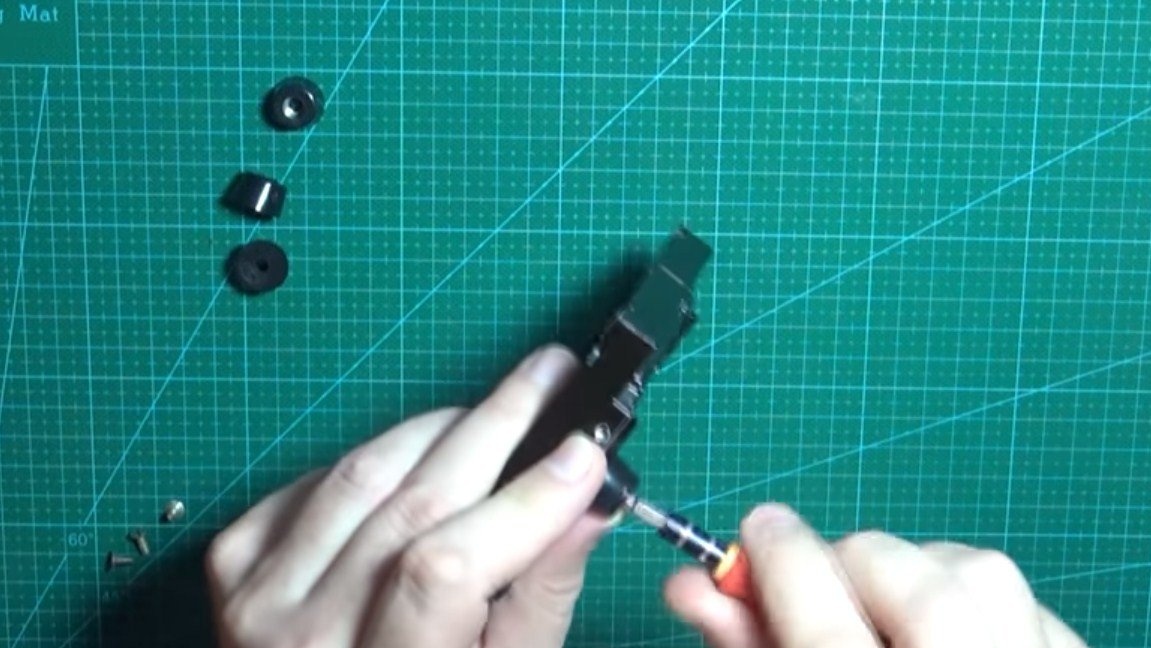
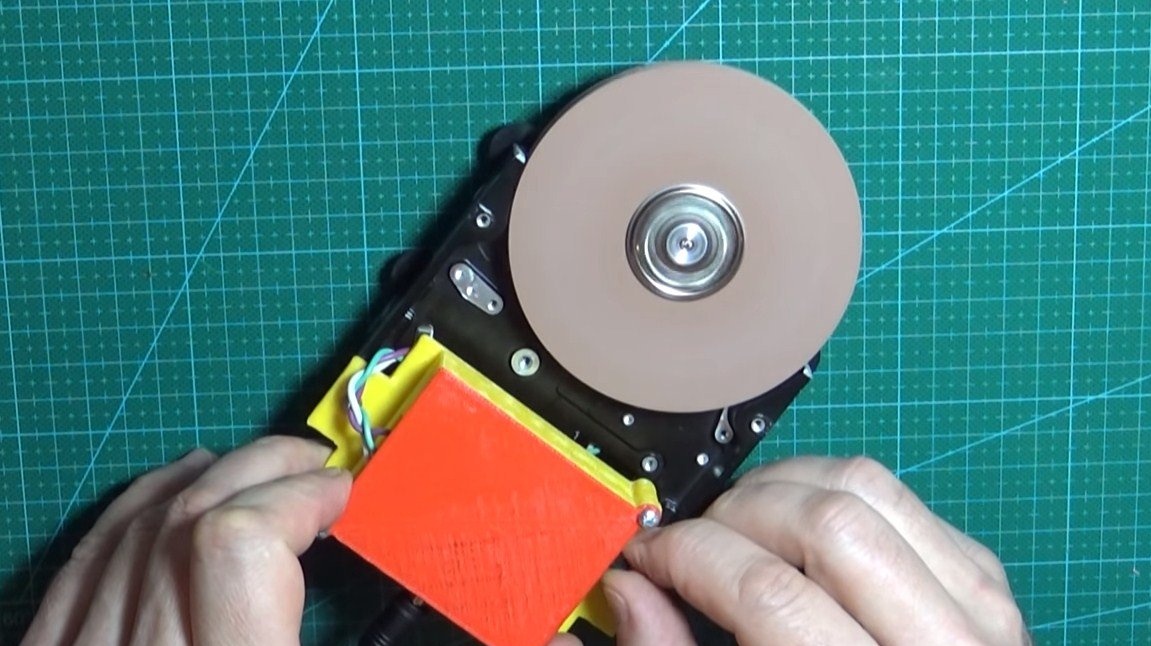
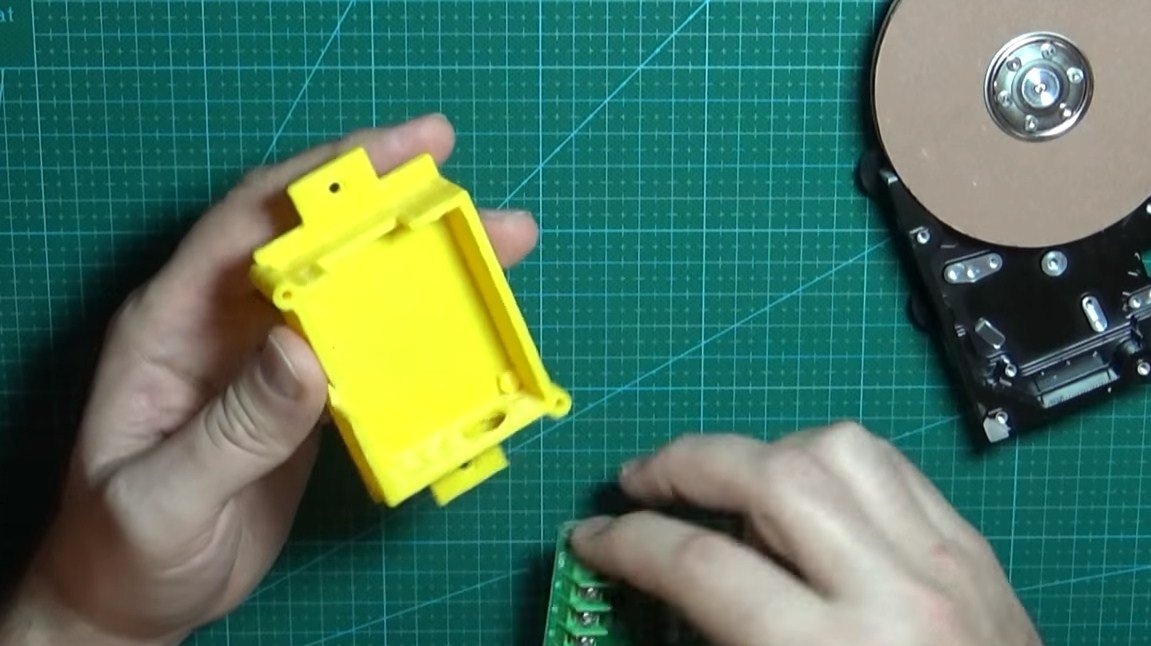
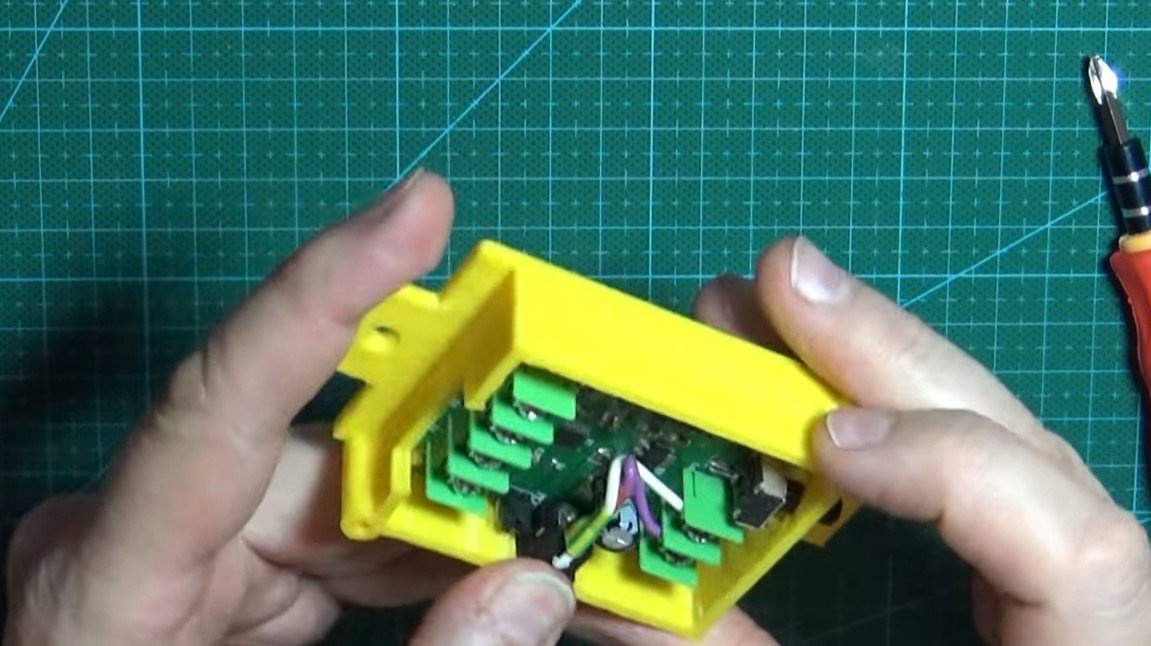
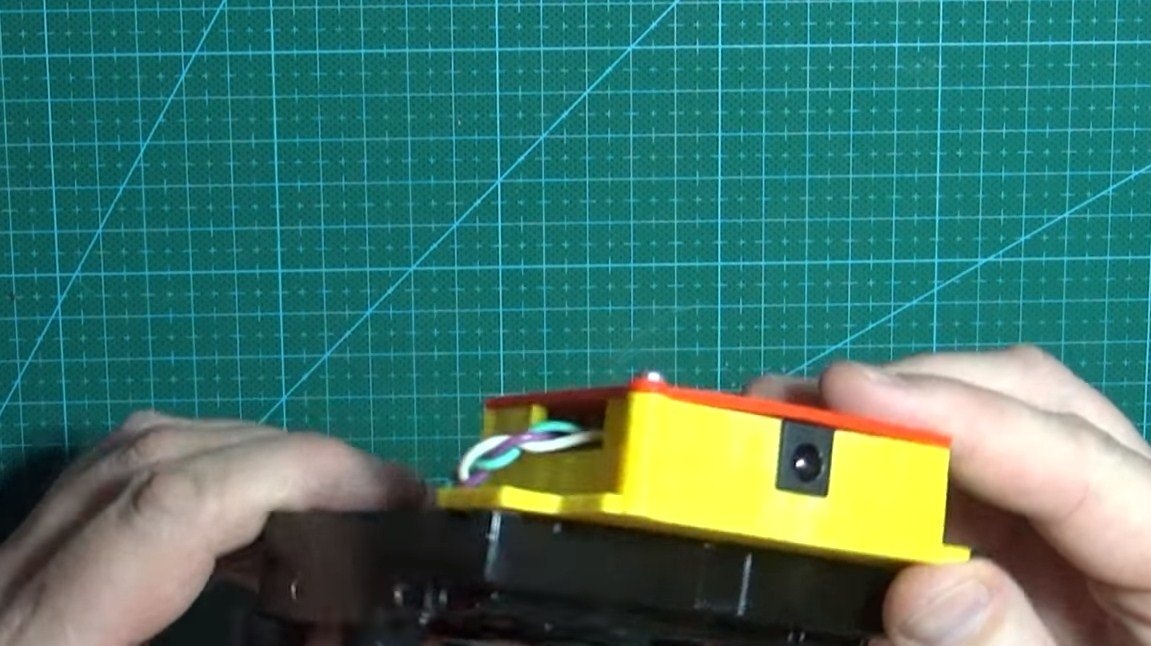
Step Five Case and device assembly
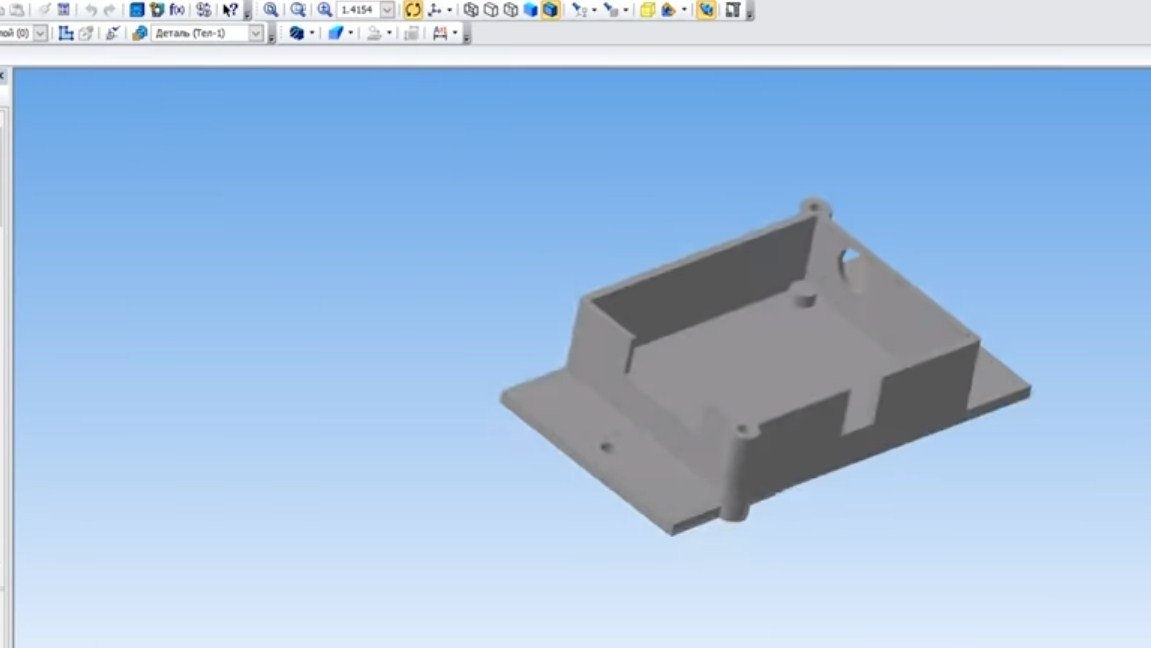
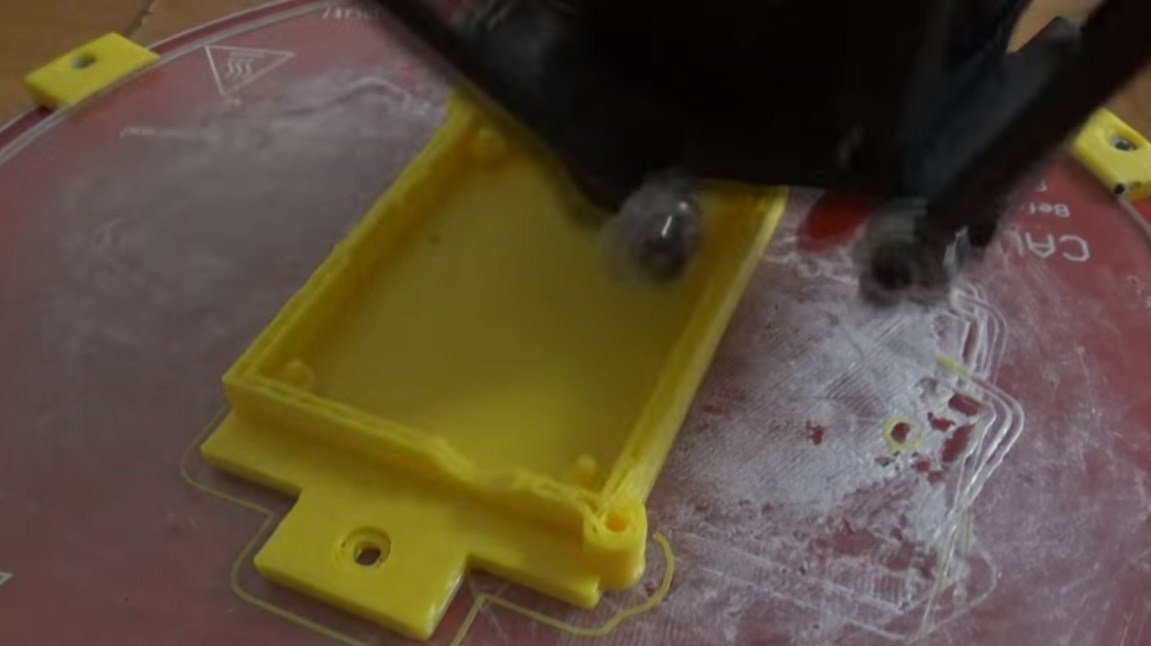
The author’s case is plastic, he printed it on a 3D printer. A controller is installed in the case, as well as a socket for connecting a power supply and a speed control knob. You can make such a case from plywood. Auto screws the case to the hard drive with native screws.

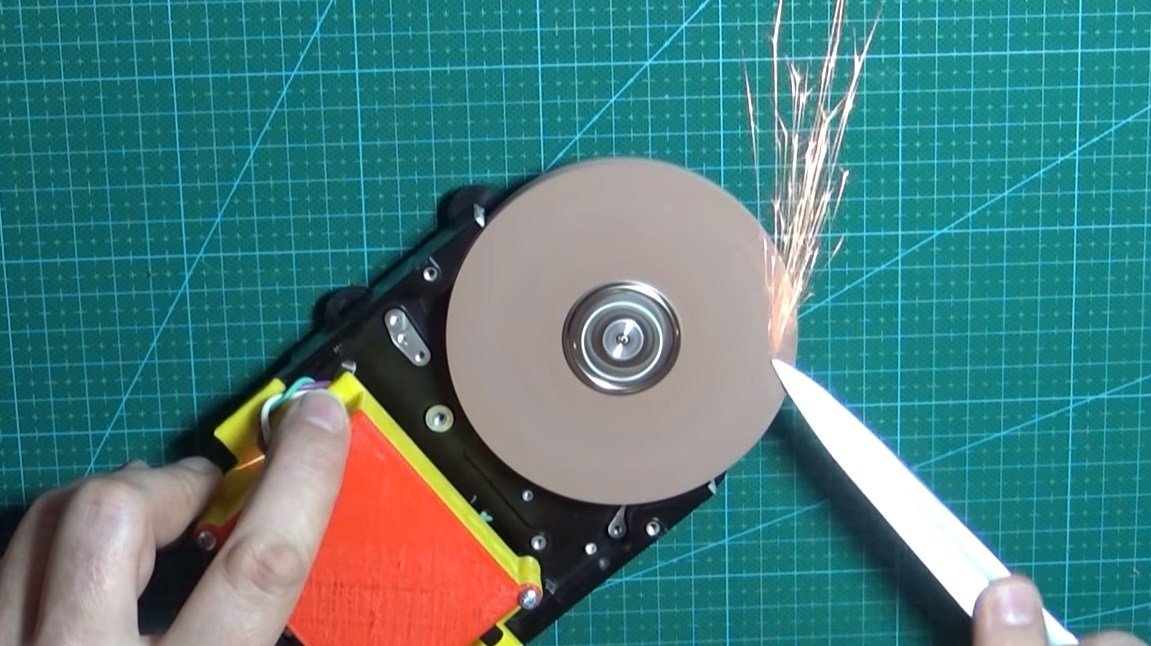
Step Six Testing
That's all, the homemade product is ready, you can test! The author emery easily sharpens a knife, while sparks even fly. The revolutions are conveniently adjustable, so it is not necessary to turn on the machine so that it works at the limit of its capabilities.
I hope you liked the homemade work, and now you will not throw away old hard drives. Good luck and creative inspiration, if you decide to repeat this, do not forget to share your ideas and homemade things with us!