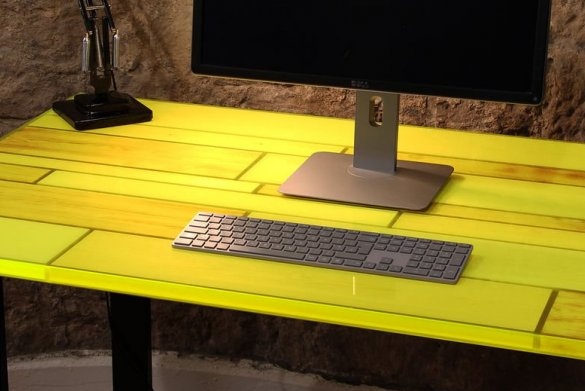
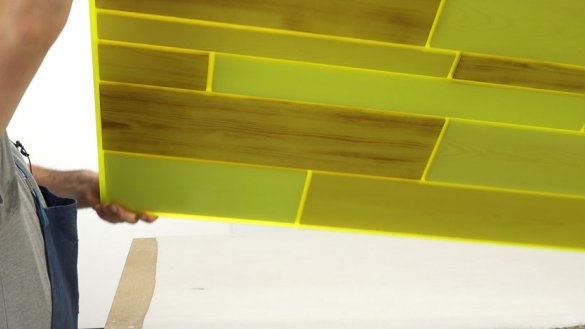
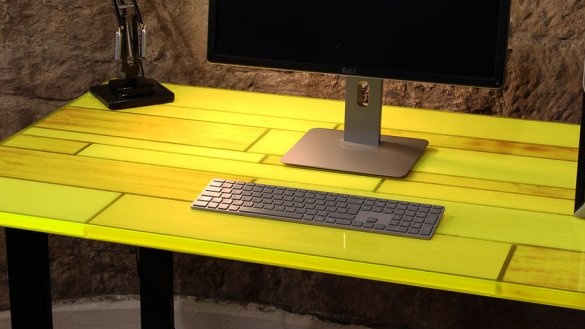
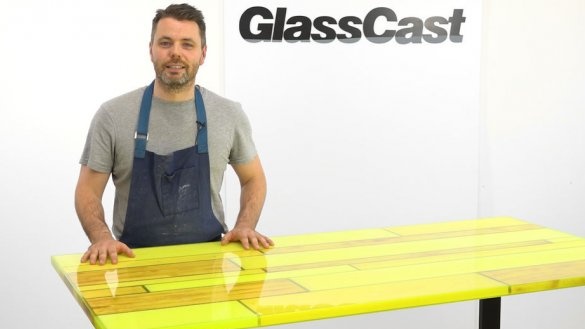
An interesting countertop was made by the Master. Choosing the right color scheme, the master made a stylish table that fits perfectly into any environment.
To make a table, the master needed the following
Tools and materials:
-Boards;
Epoxy resin;
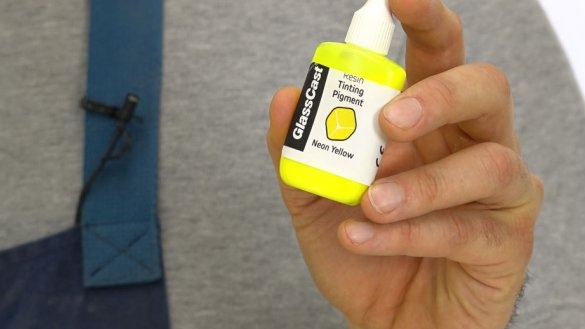
-Yellow pigment;
-Rail;
-Capacity;
-Scotch;
-Grinder;
-Burner;
-Foots for the table;
- Paint brush;
-Libra;
-Remedies;
-Fasteners;
-Screwdriver;
- Water-based dye;
-Drill;
-Rule;
- Crosses for tiles 8 mm;
-Acrylic sheet;
-Double sided tape.
Step One: Material Preparation
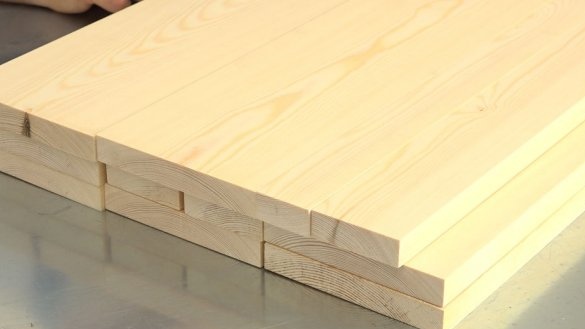
The master bought a board in a building goods store. It is important that the board is even and dry. The place of work must be dry without dust with an air temperature of at least 20 degrees. Epoxy must also have a temperature of at least 20 degrees. In order to achieve the desired effect, the countertop will be poured into four approaches.
Step Two: Boards
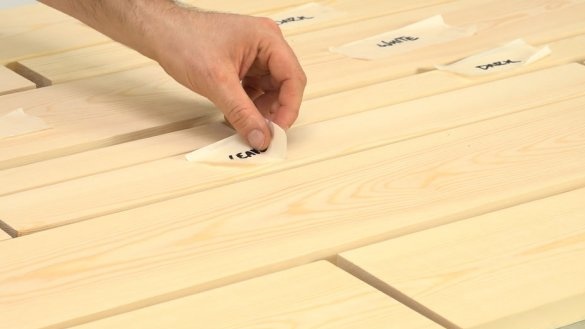
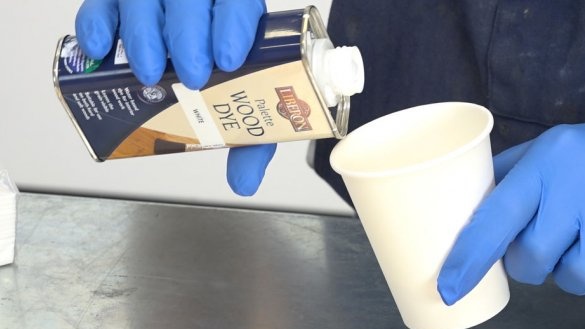
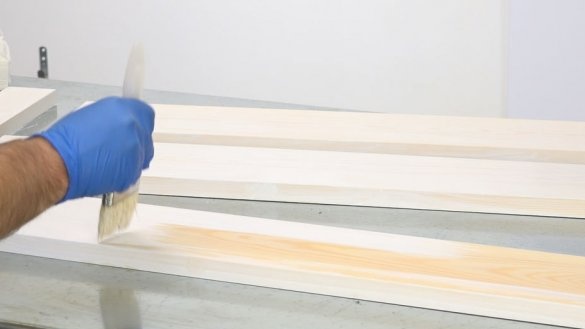
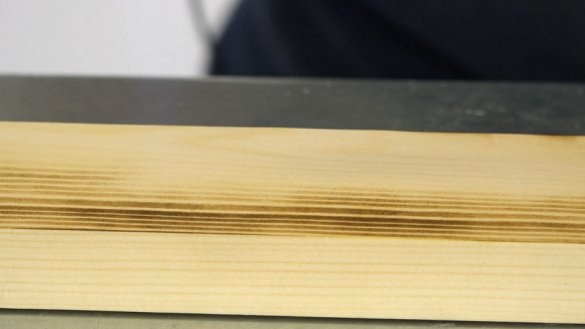
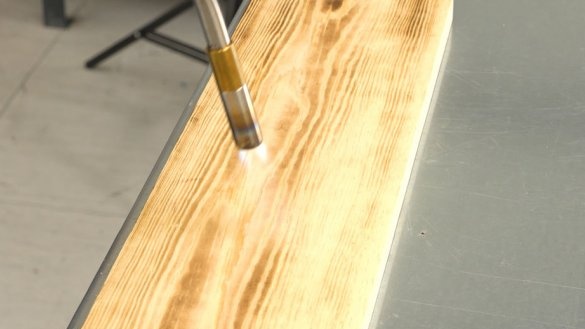
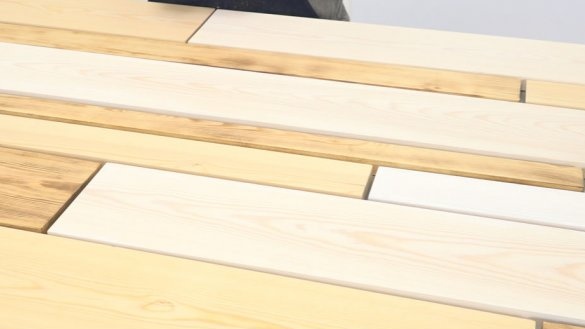
He puts the boards on the desktop in random order. The gap between the boards makes 8 mm. The gap between the boards and the frame is 12 mm. For contrast, some boards are coated with a water-based dye, others are slightly burned with a burner. Measures the size of the future countertops on laid out boards. Sticks a sticker on each board and removes it from the table.
Step Three: Prepare the fill spot
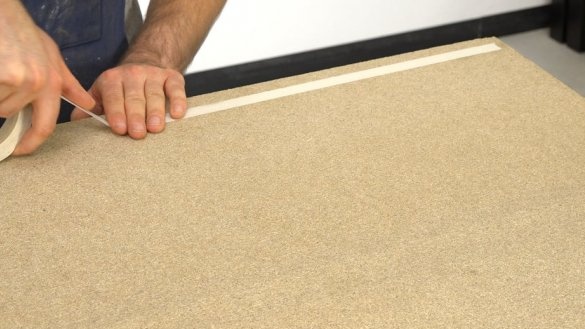
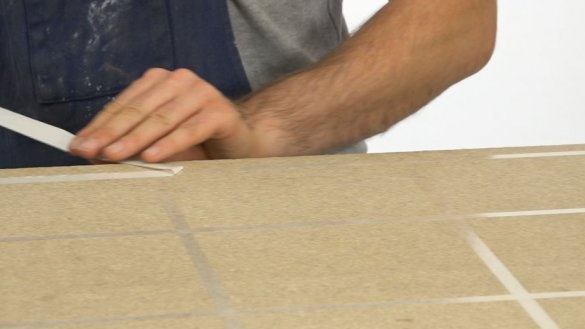
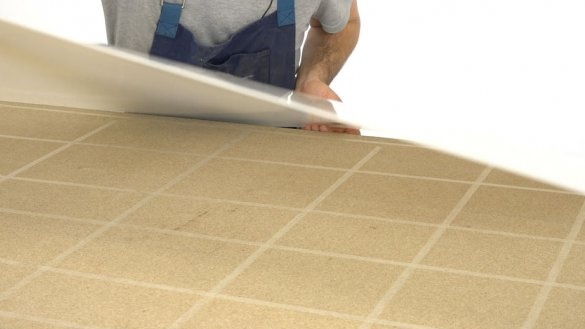
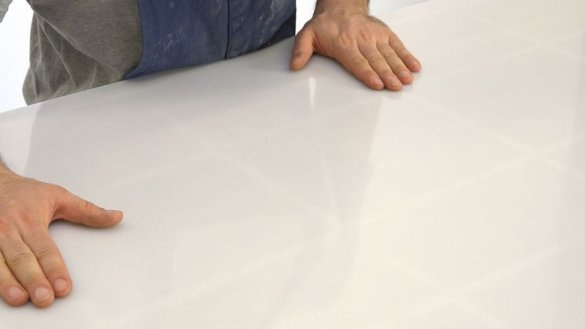
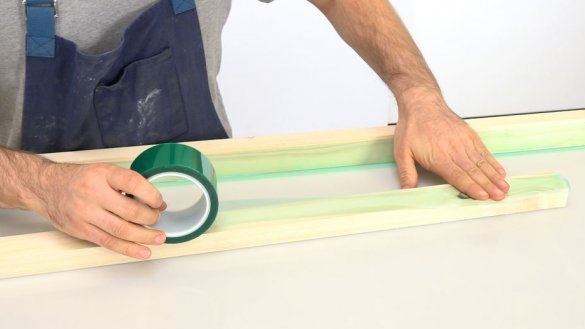
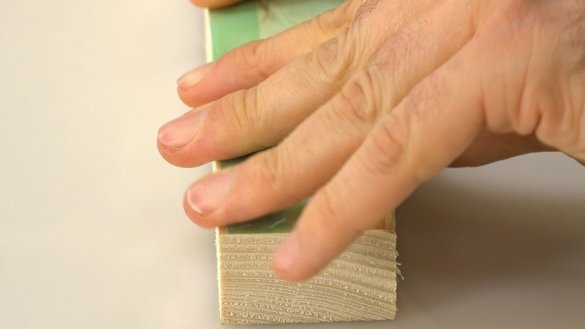
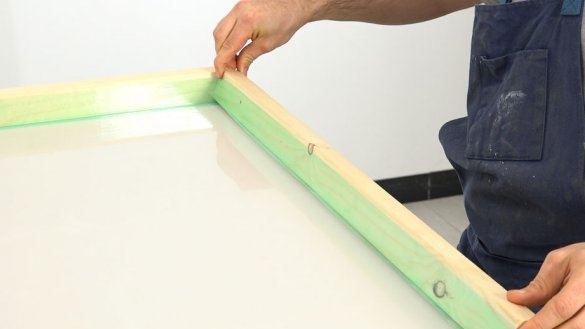
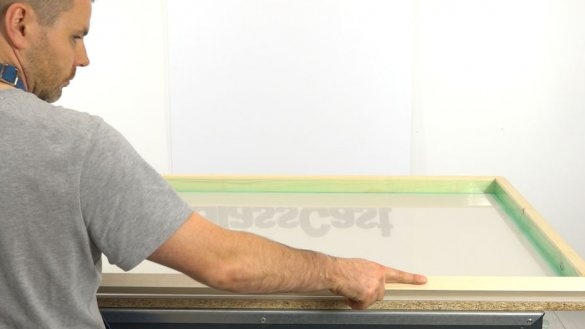
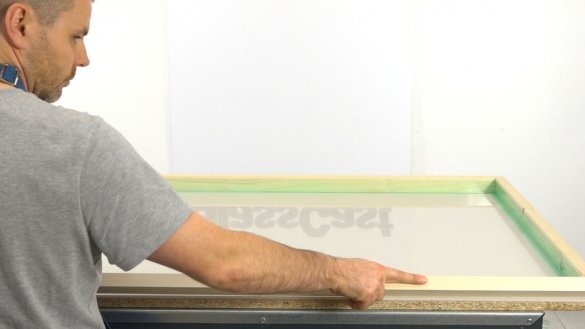
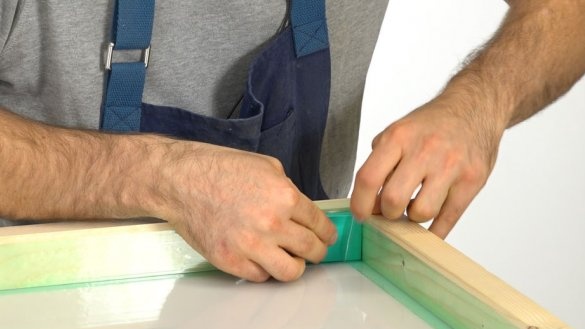
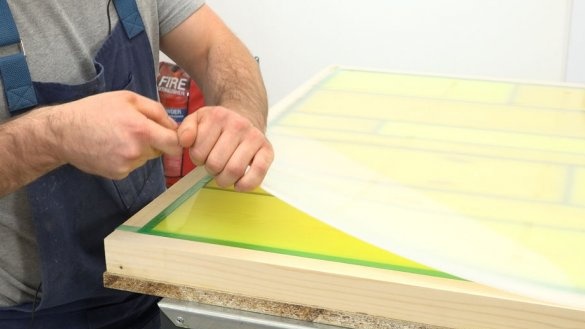
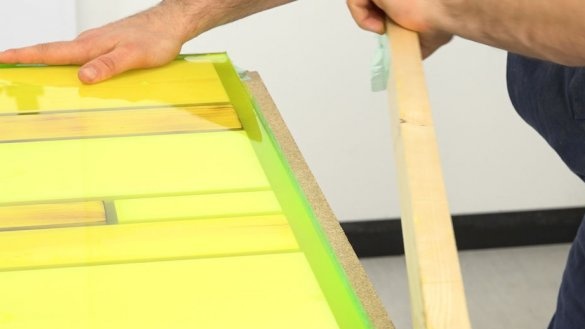
Double-sided tape glues on a flat desktop. On a sticky tape sticks a sheet of acrylic. Around acrylic makes a side of the plank. The choice of acrylic is due to its poor adhesion, and epoxy will not stick to it. Acrylic can be used several times.
Step Four: Epoxy Preparation
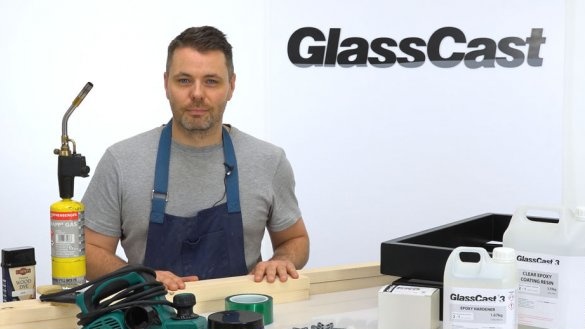
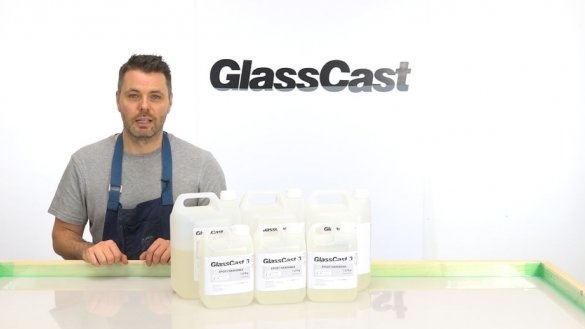
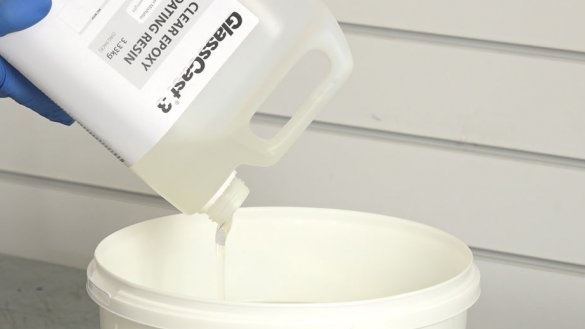
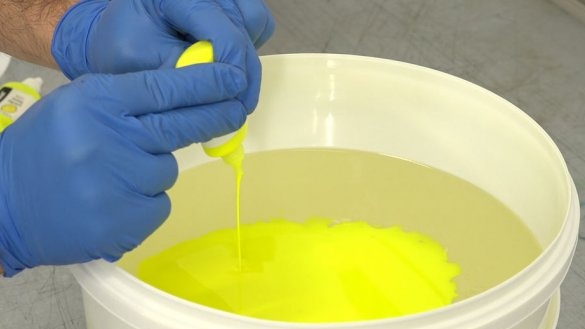
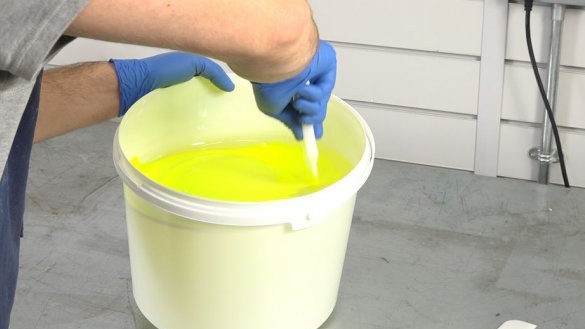
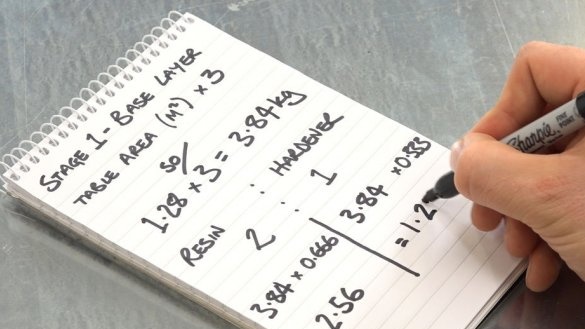
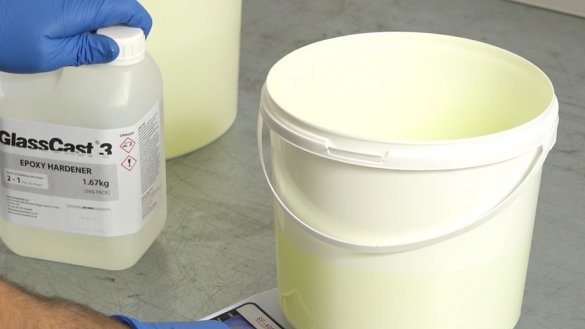
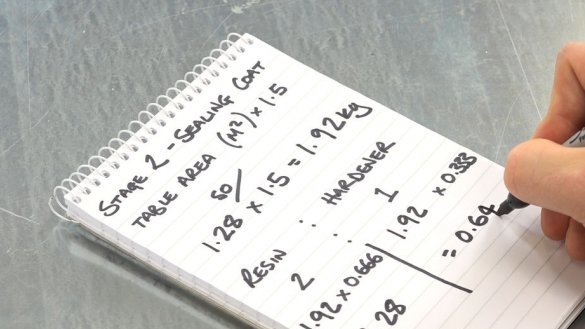
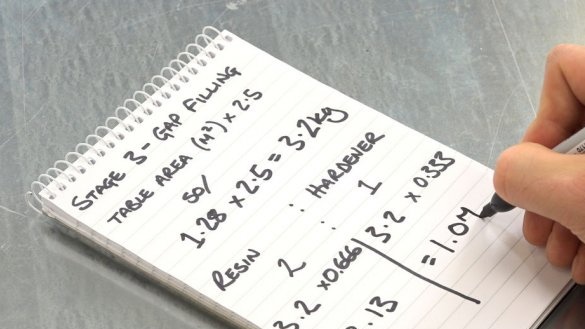
For his countertops, the master uses the proprietary GlassCast® 3 resin. Mix it with 2 parts of the resin with 1 part of the hardener. But first, the master makes the calculation of the required quantity. With a table area of 1.28 sq.m. about 13 kg of resin will be required. Next master on electronic the balance weighs the right amount of resin and adds color. Through an experiment, the master calculated that one kilogram of resin required 3.5 grams of pigment. In this case, the color is saturated and does not lose transparency. A total of 13 kg produces 45 grams of dye. The master adds dye to the resin (the resin has not yet been mixed with the hardener) and mixes thoroughly.
Step Five: First Layer
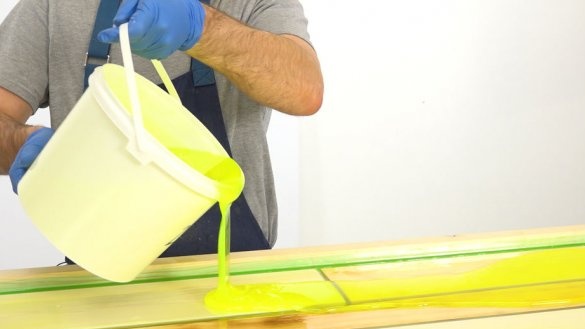
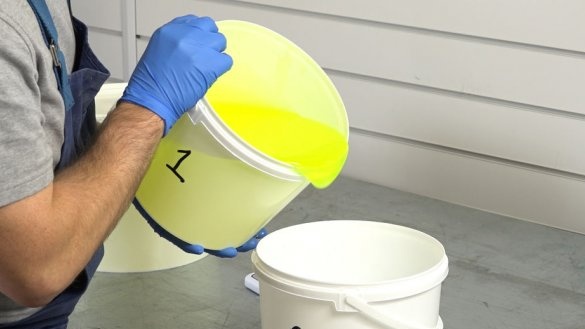
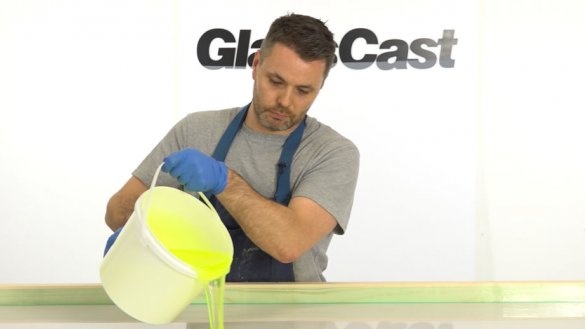
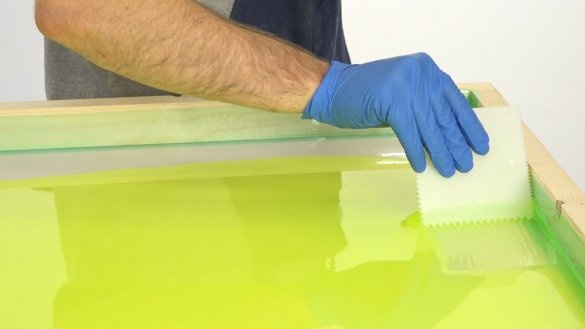
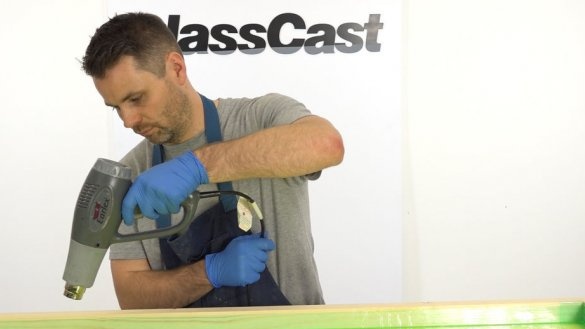
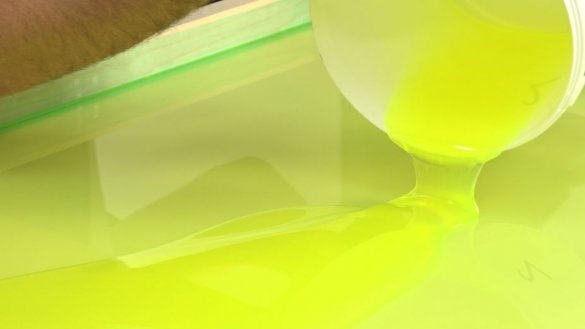
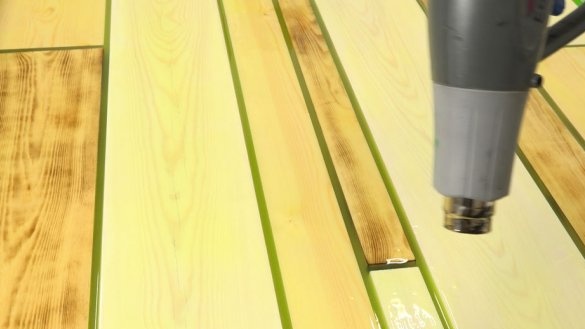
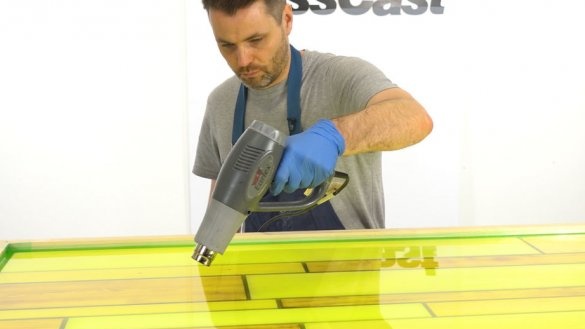
The first layer is 3 mm. Calculates the right amount of resin and hardener.In this case, it will be 2, 56 resin + 1, 28 hardener = 3.84 of the finished solution. The master kneads the resin for 3 minutes, then pours it into another container and kneads another 3 minutes. After mixing, pour out the resin and level. If necessary, warms up with a burner (this will help remove air bubbles).
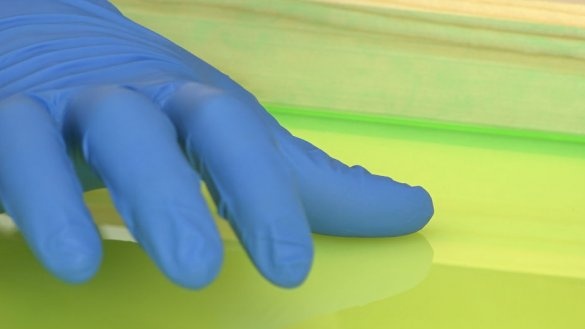
After about 12 hours, the resin will acquire stage "B", in which by pressing on the resin it is slightly pressed, but does not stick to the glove. It is at this moment that you need to fill the second layer.
Step Six: Second Layer
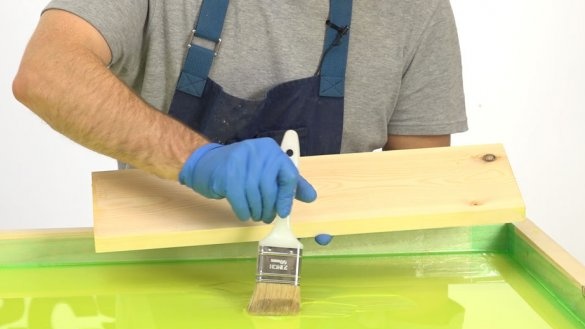
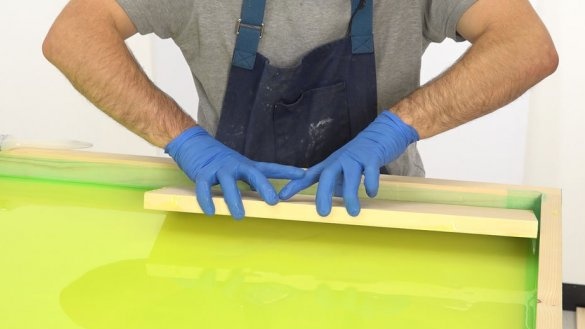
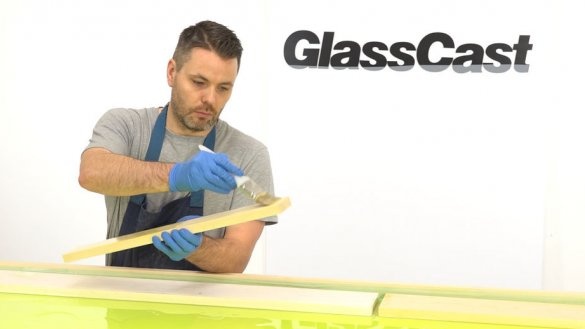
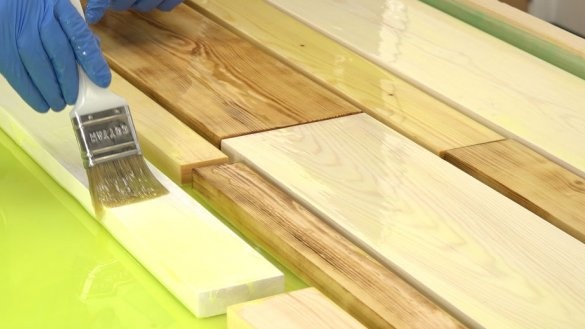
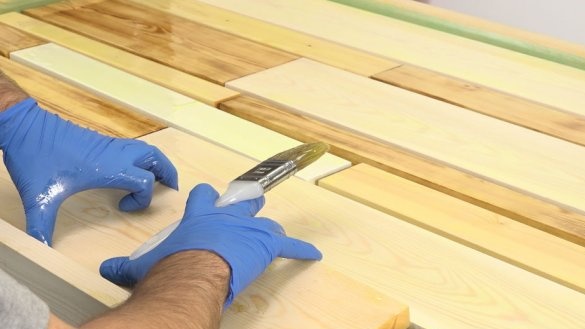
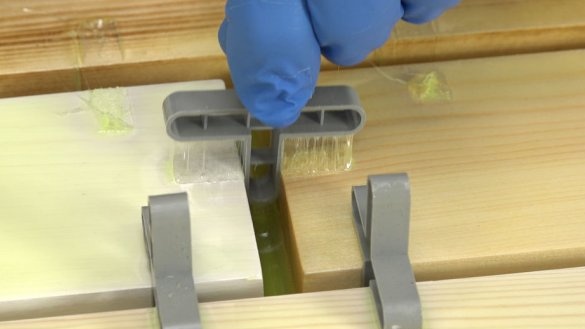
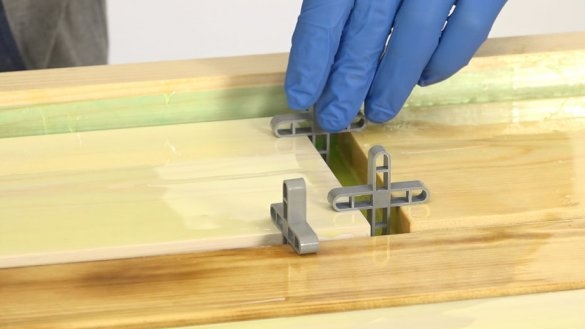
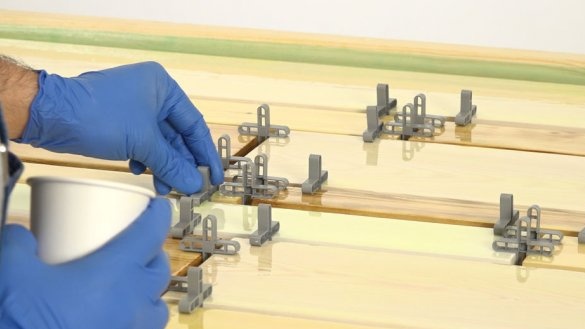
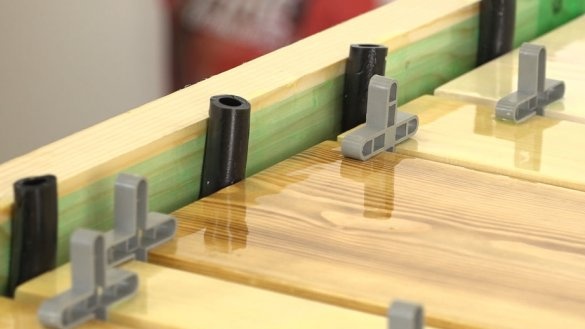
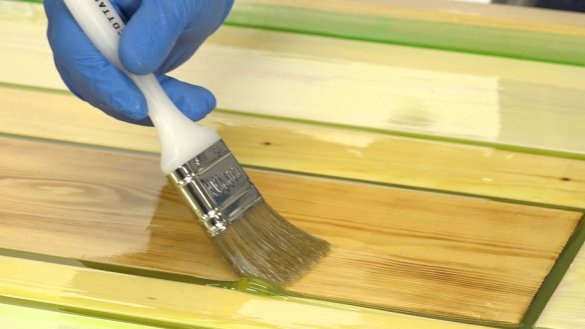
The second layer is 1.5 mm. Knead the right amount of resin. Pours part of it onto the previous layer. Spreads the bottom of the boards with resin and puts it on the table. It must be laid so that there are no air pockets under the boards. Lubricates the boards with resin on all remaining sides. Using crosses, aligns the gaps of 8 and 12 mm. Leaves for a few hours. Then it removes the crosses, and leaves the resin to solidify to stage “B”.
Step seven: layer three
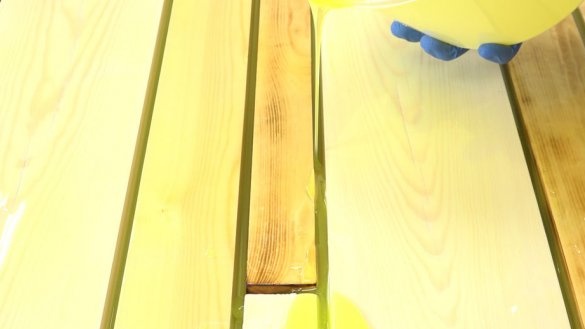
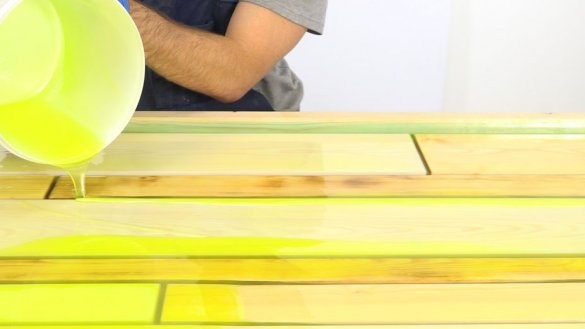
This resin will take the most resin. It will be necessary to fill in the resin between the boards and a little above the boards. Everything, as in the previous steps: calculation, mixing, filling. After pouring, the burner necessarily expels air bubbles. Well, it leaves to stage "B".
Step Eight: Fourth Layer
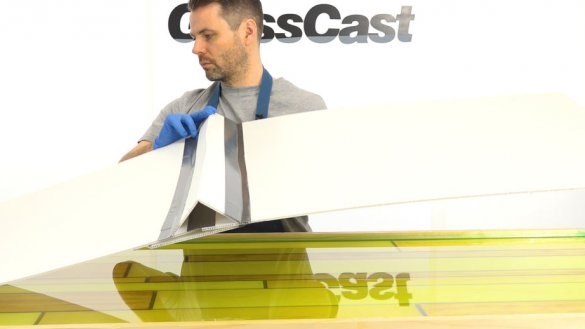
The fourth layer is the last and is 3 mm. When pouring, it is especially necessary to shed corners and adjacent surfaces. After pouring, the countertop should dry for at least a day, and ideally several. During drying, the master closes it with a lid. On a completely hardened resin, when you press the surface with a nail, no trace remains.
Step Nine: Grinding
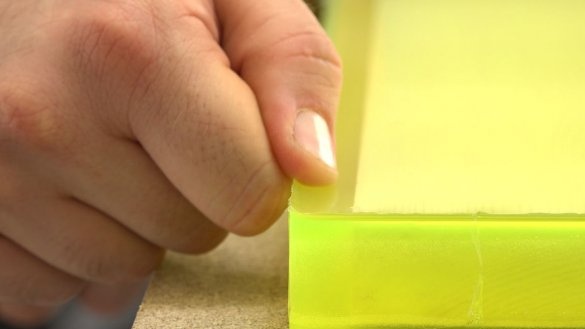
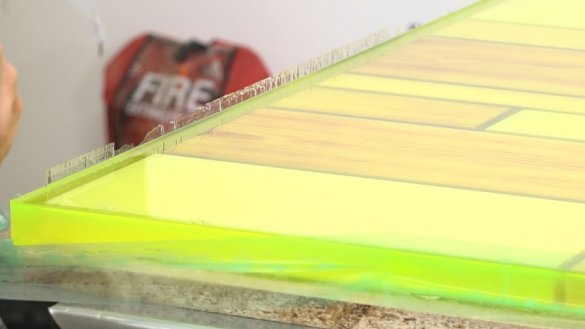
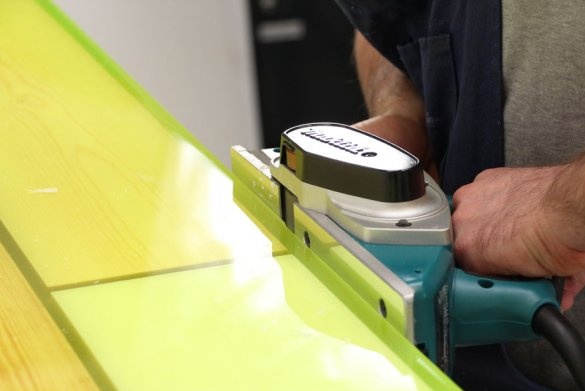
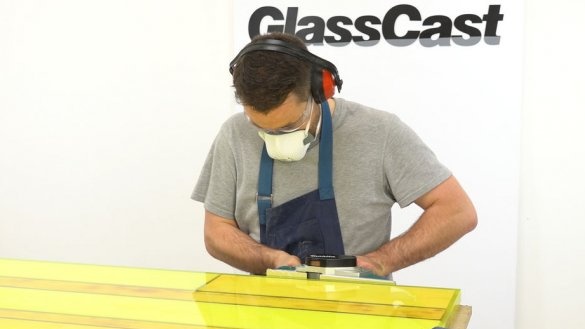
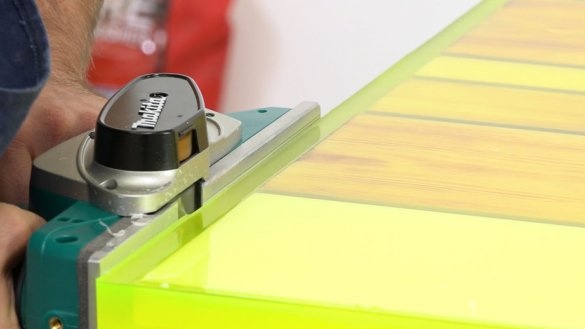
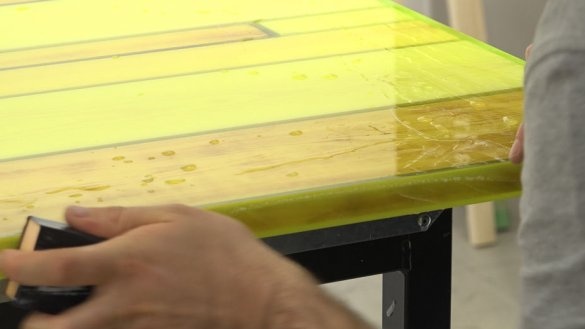
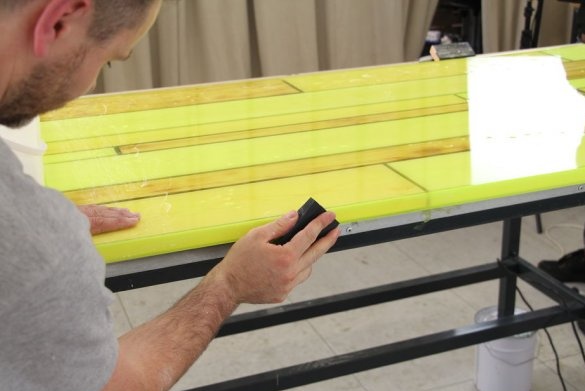
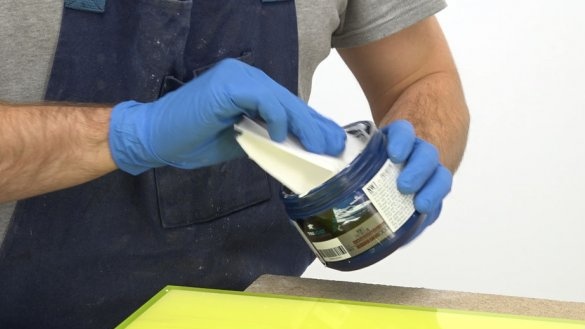
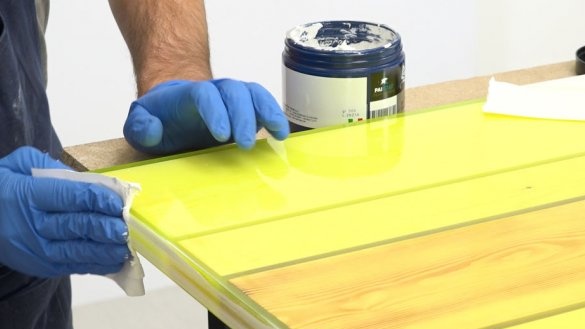
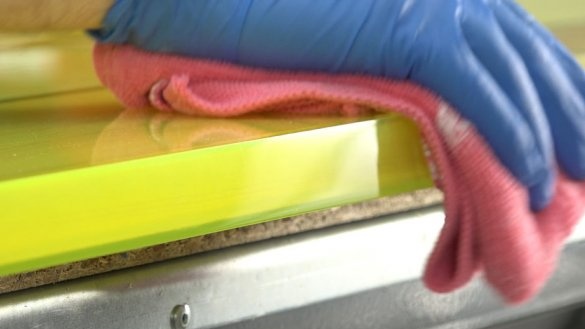
Deletes a side. Turns the countertop over and removes the acrylic sheet. Then polishes the end parts of the countertop. For sanding it uses sandpaper from 240 to 1200 with water. After polishing, it polishes the end parts.
Step Ten: Installing the Feet
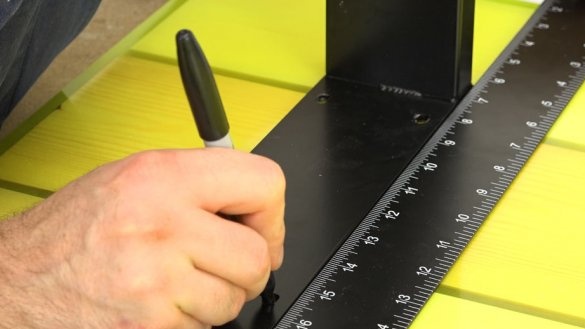
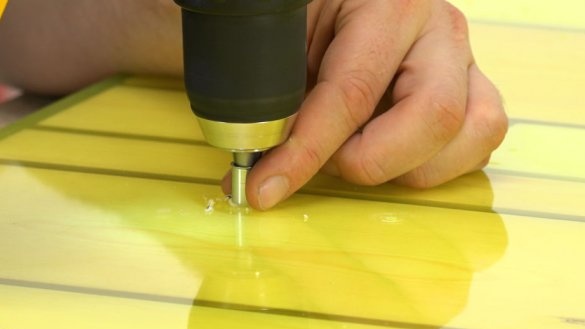
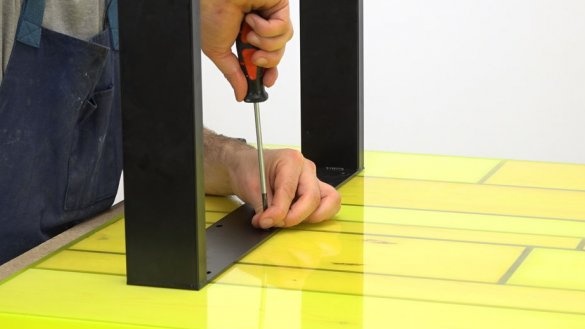
Marks the location of the legs. Drill mounting holes. Screws the table legs.
All is ready.
It’s not a sin to wash the successful completion of work.
By the link "source" at the bottom of the page a video is available with all the steps of making a table.

