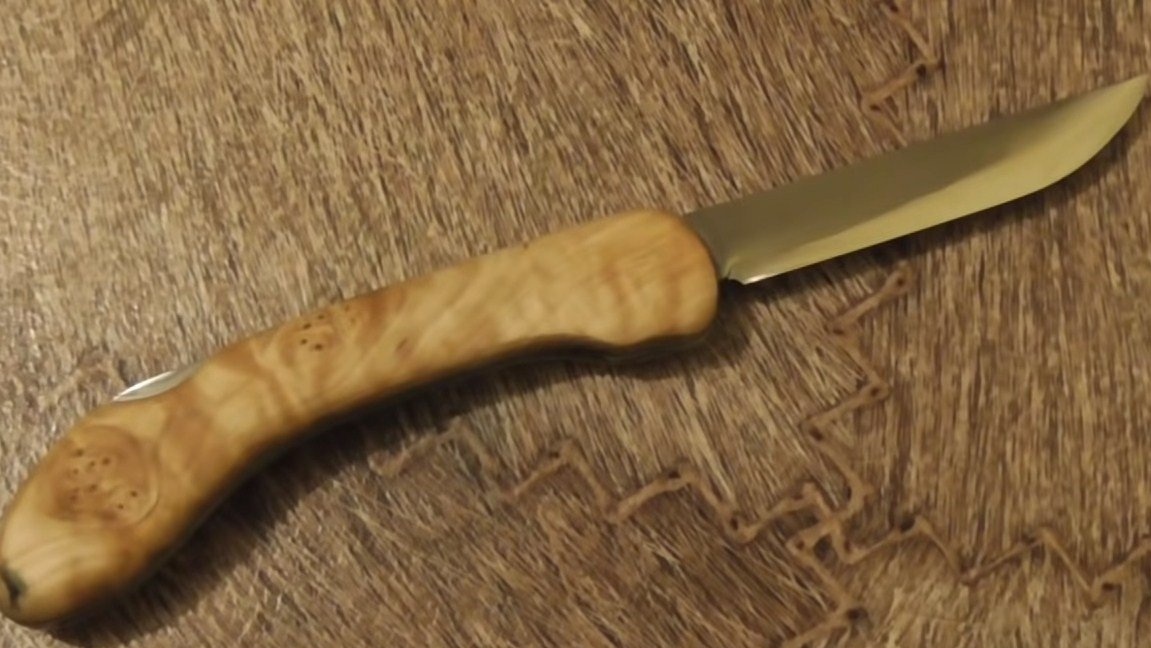
I welcome everyone, I suggest studying the instructions for making an interesting and strong folding knife. The blade of the knife is made of a bearing race, due to which it is strong and holds sharpening for a long time. The handle is also metal, and on top it is trimmed with interesting wood linings. The beam and spring are made of quality steel, so the knife should serve for many years.
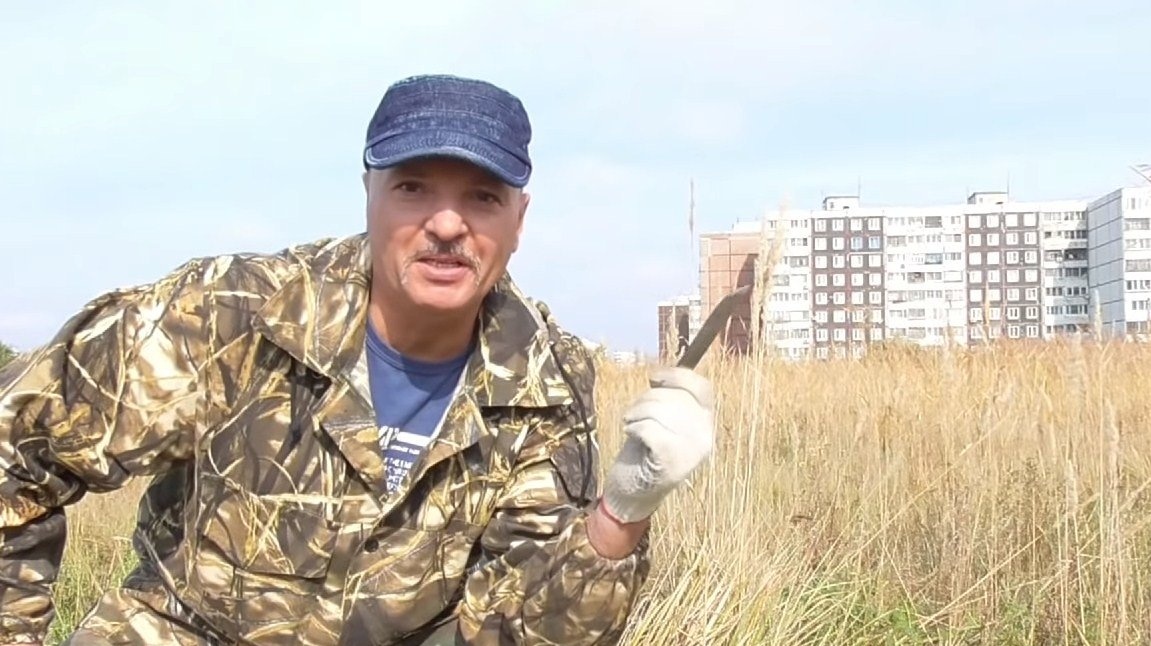
The author forged the blade in the field, and it takes no more than 10 minutes to align the clip. If the project interests you, I propose to familiarize yourself with it in more detail!
Materials and tools used by the author:
Material List:
- Bearing suitable sizes;
- a tree for overlays;
-screws;
- epoxy adhesive;
- sheet aluminum for the handle;
- linseed oil for wood impregnation.
Tool List:
- gas stove and gas burners;
- blacksmith's furnace or bonfire (plus blacksmithing accessories);
- drill;
- files, sandpaper, grindstones;
- clamps;
- vise;
- jigsaw;
- Bulgarian.
The process of making a knife:
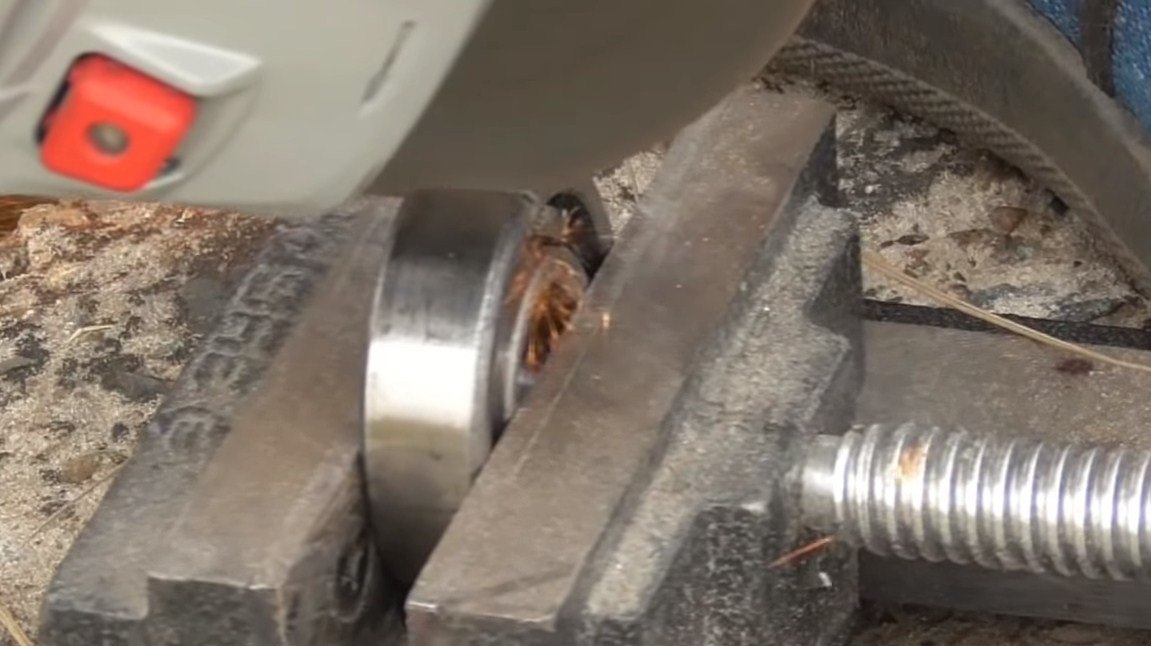
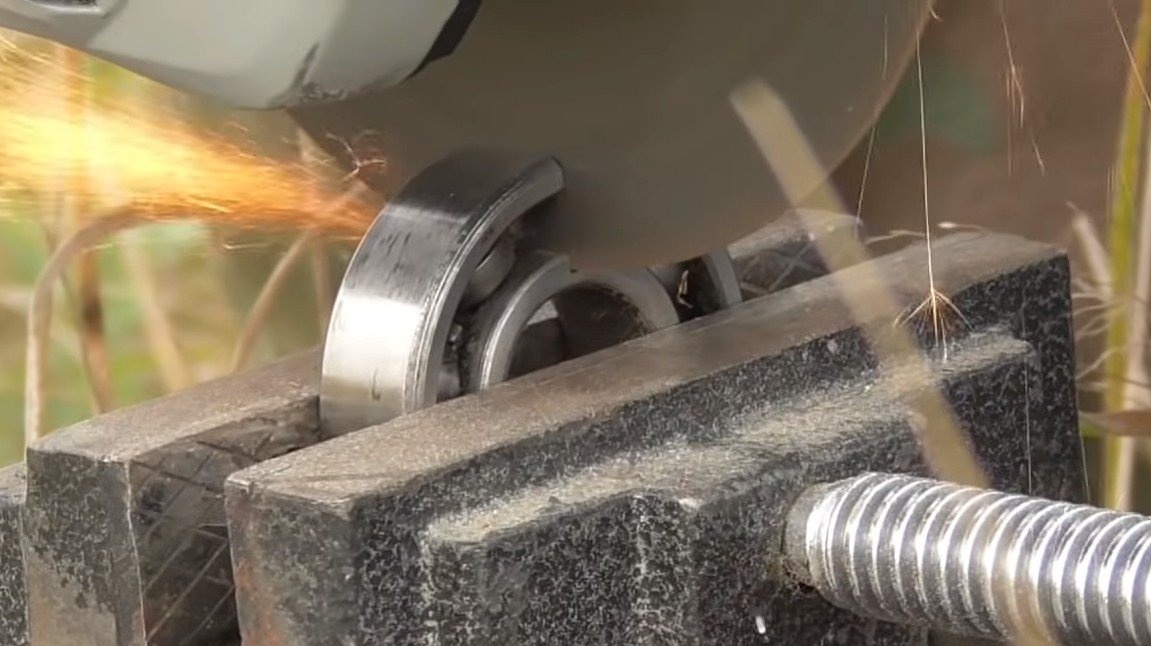
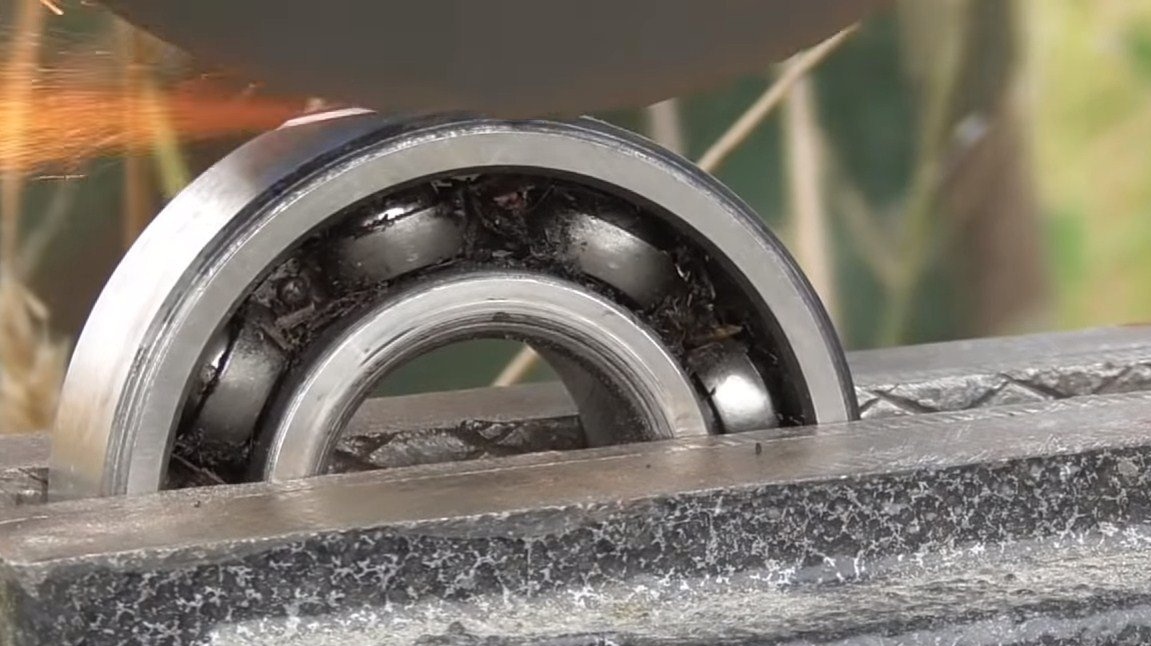
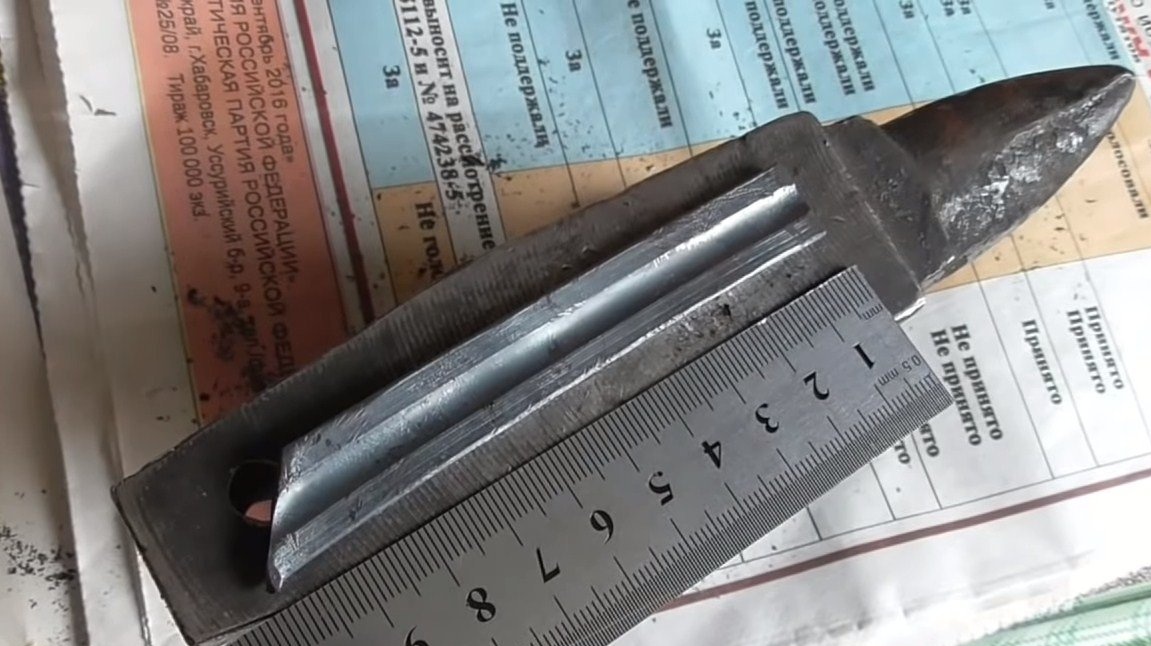
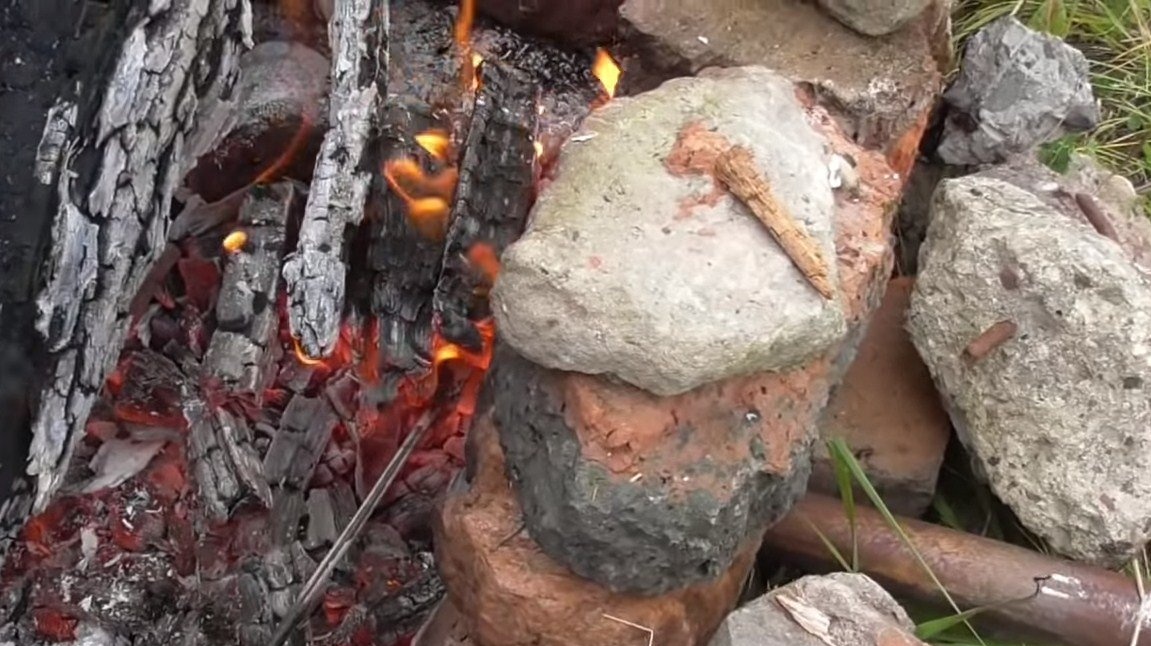
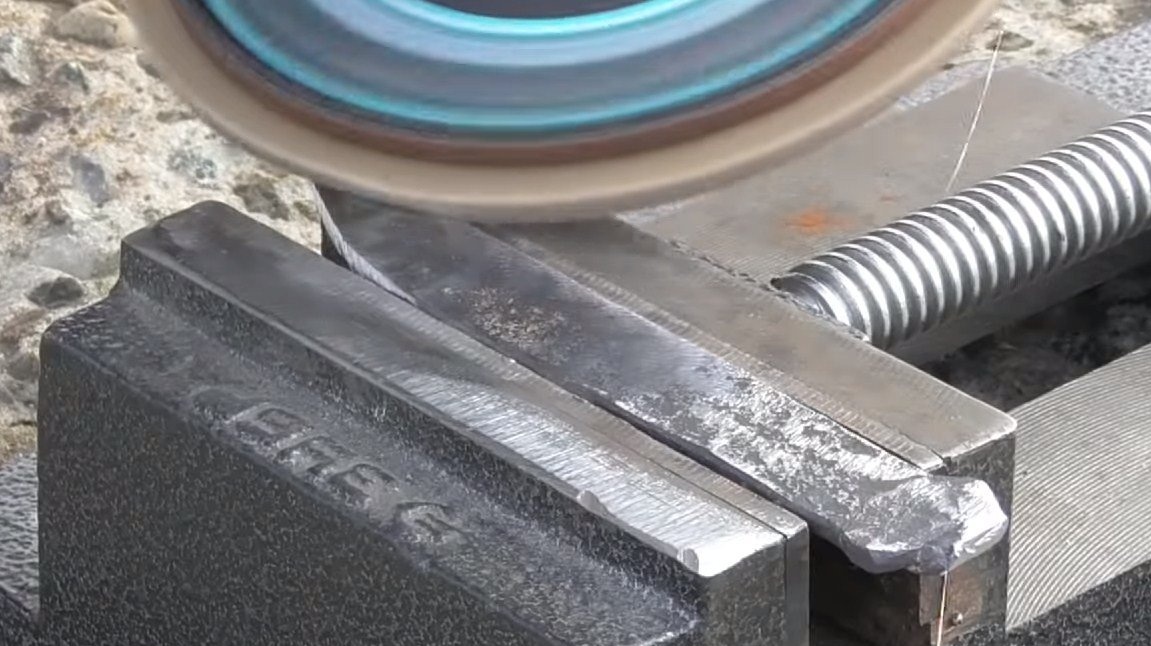
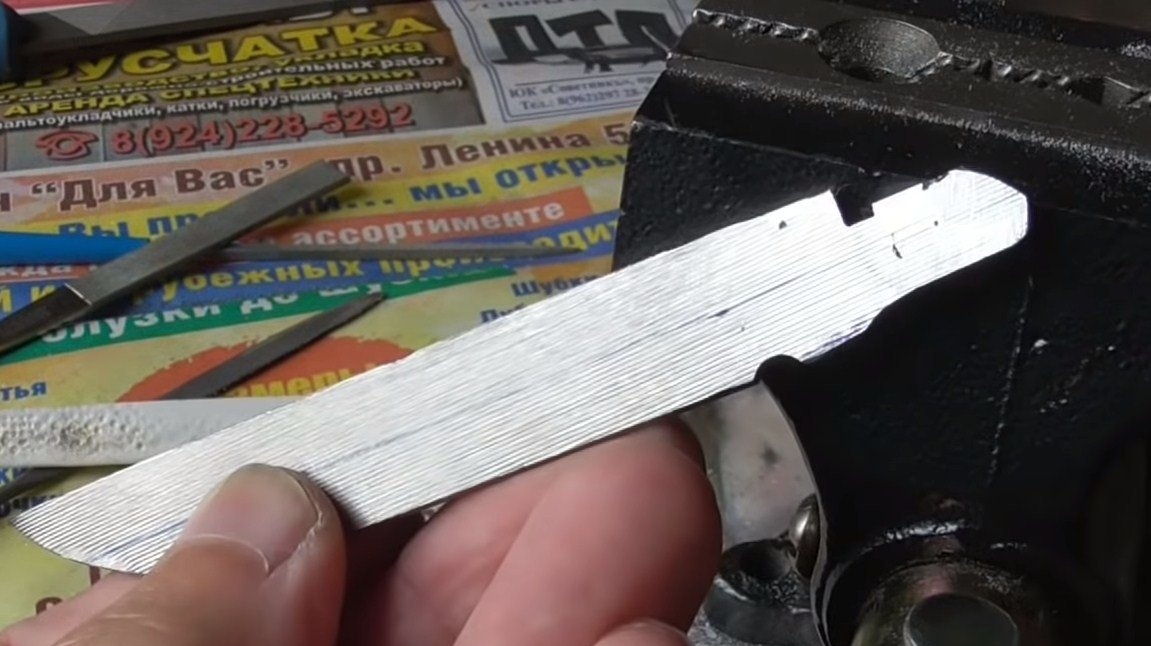
Step one. Material preparation
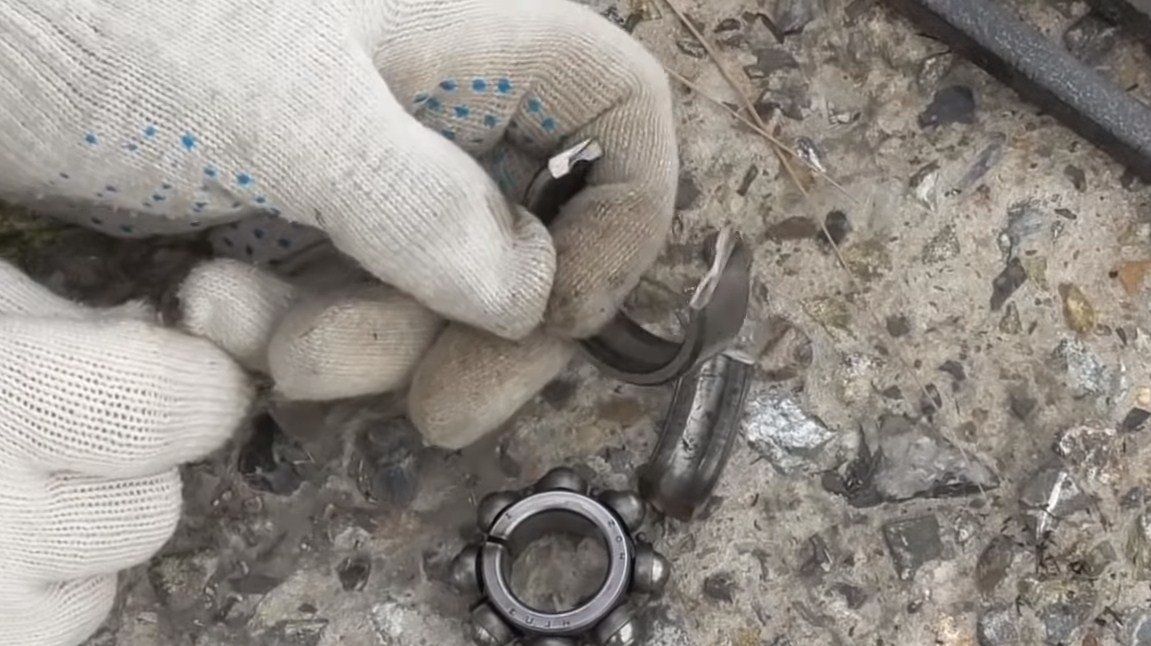
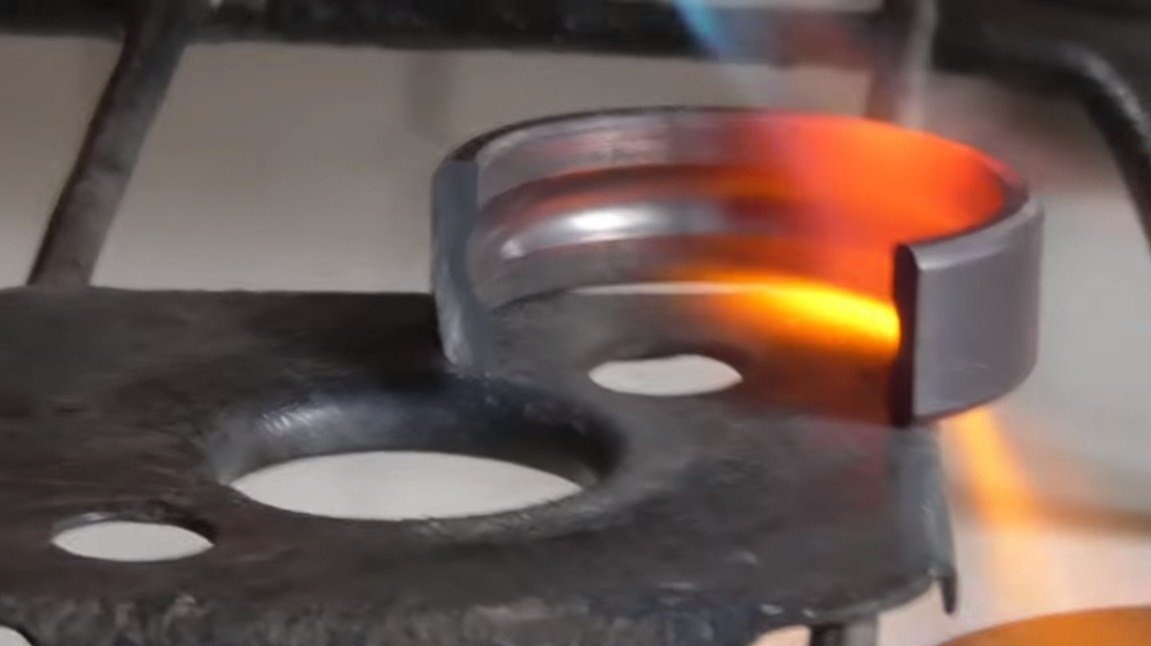
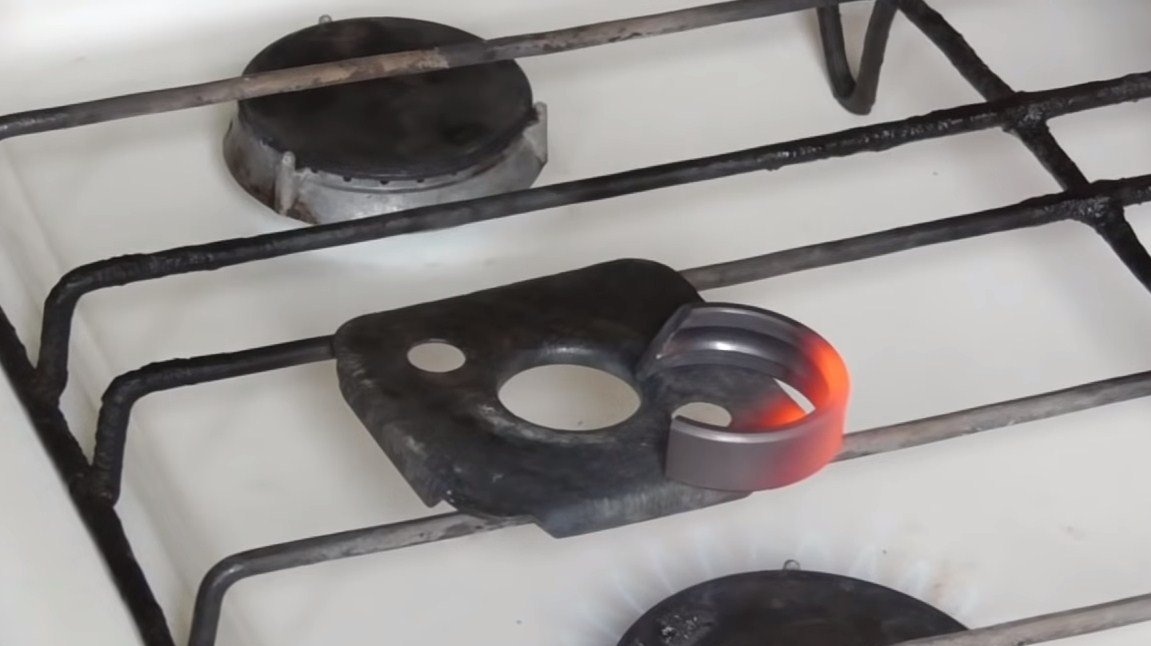
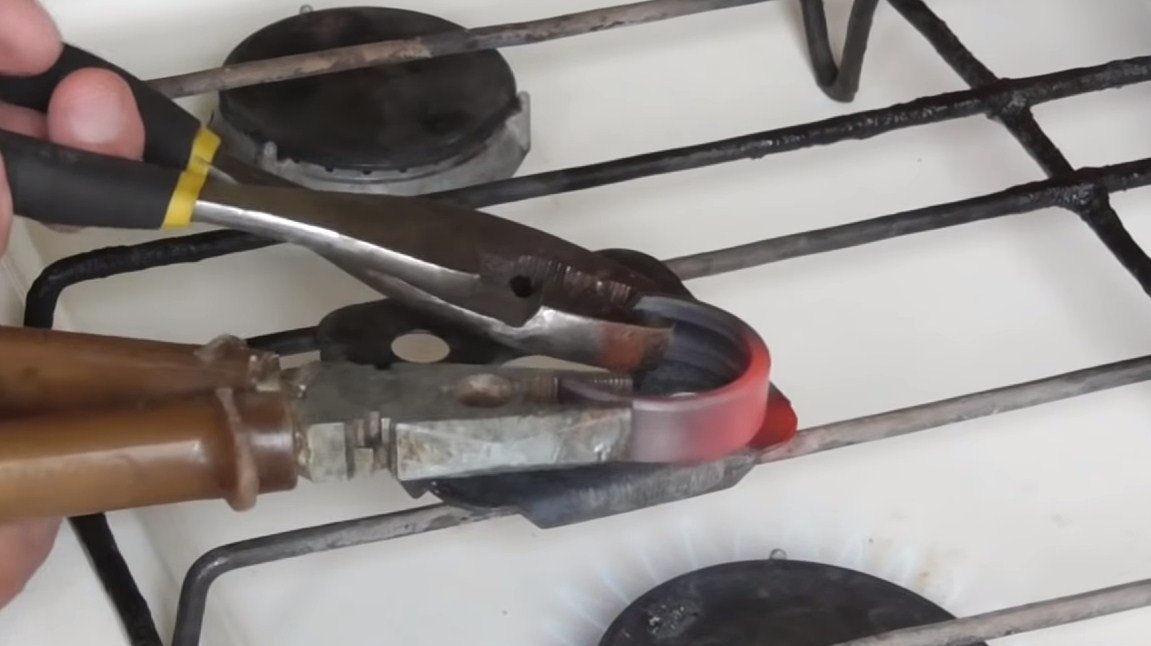
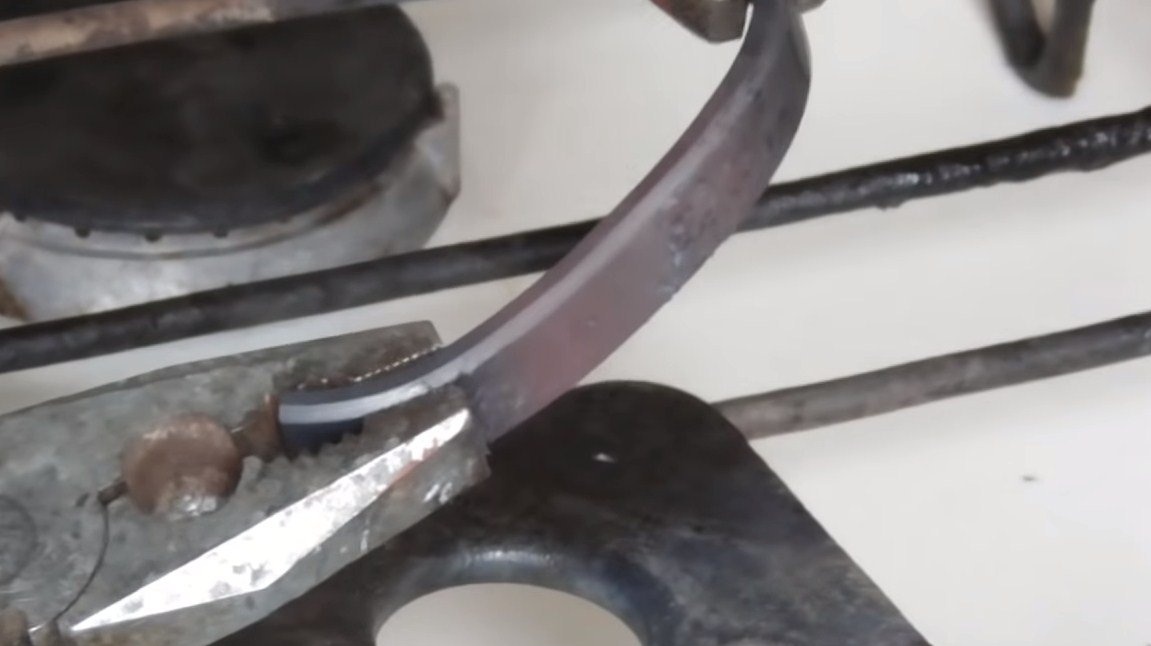
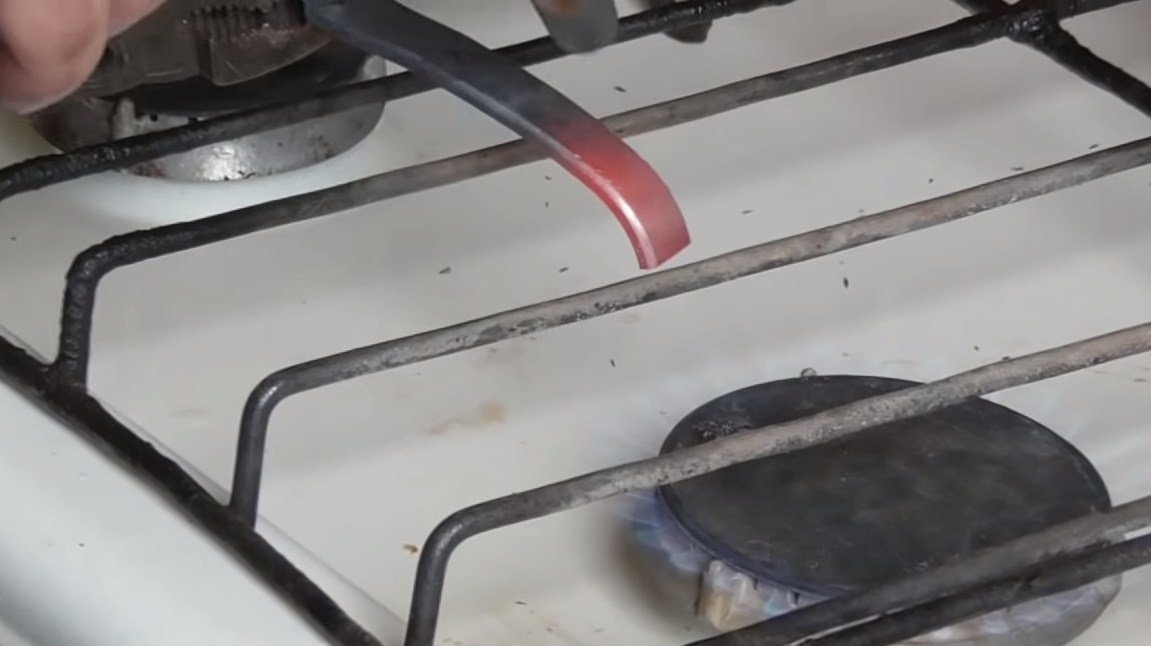
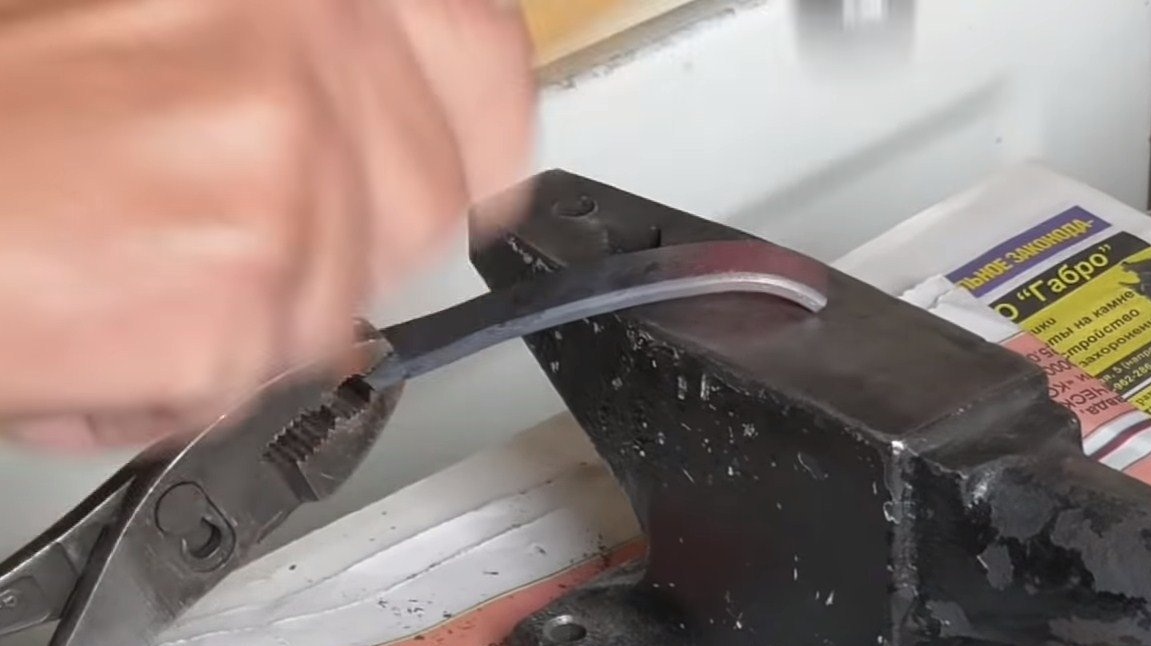
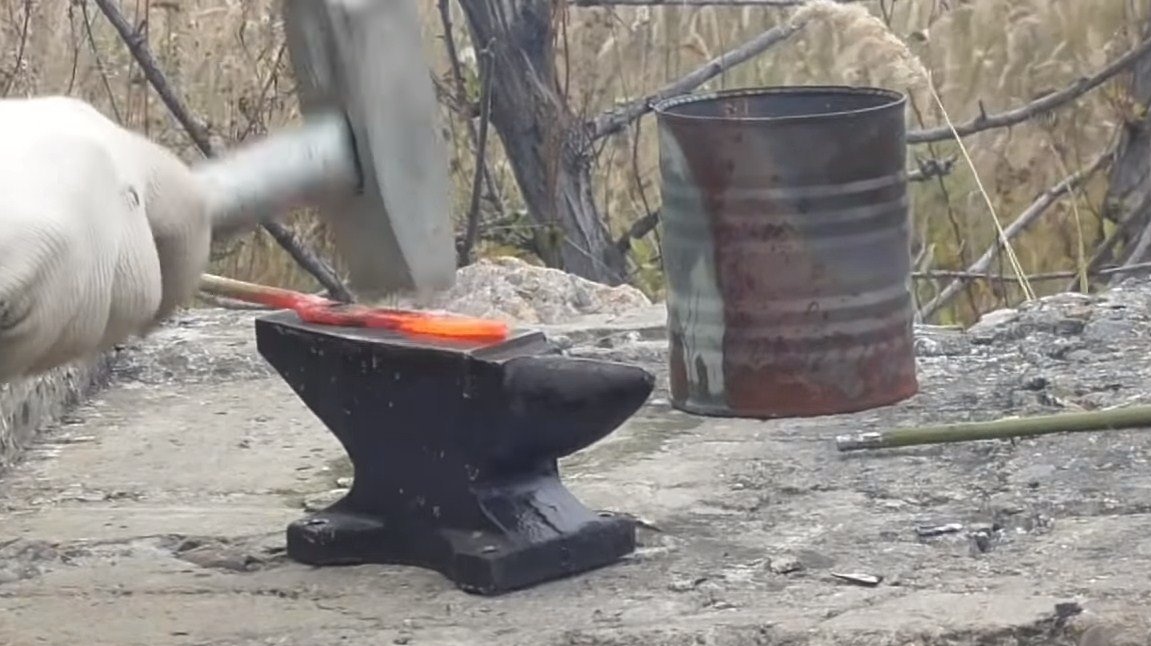
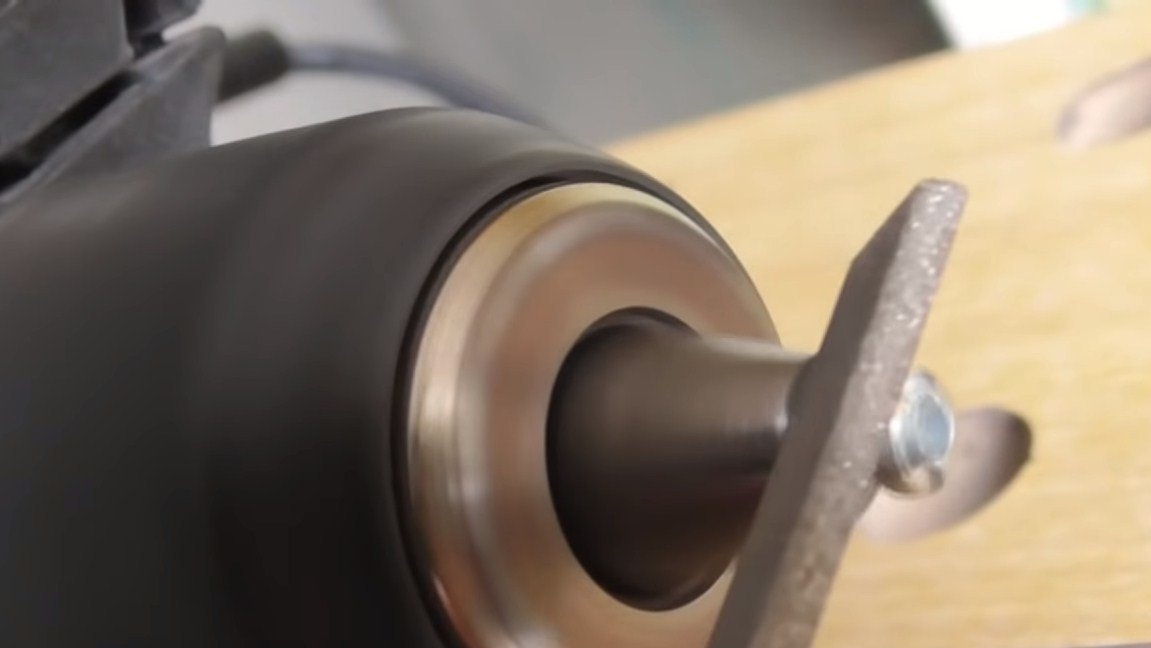
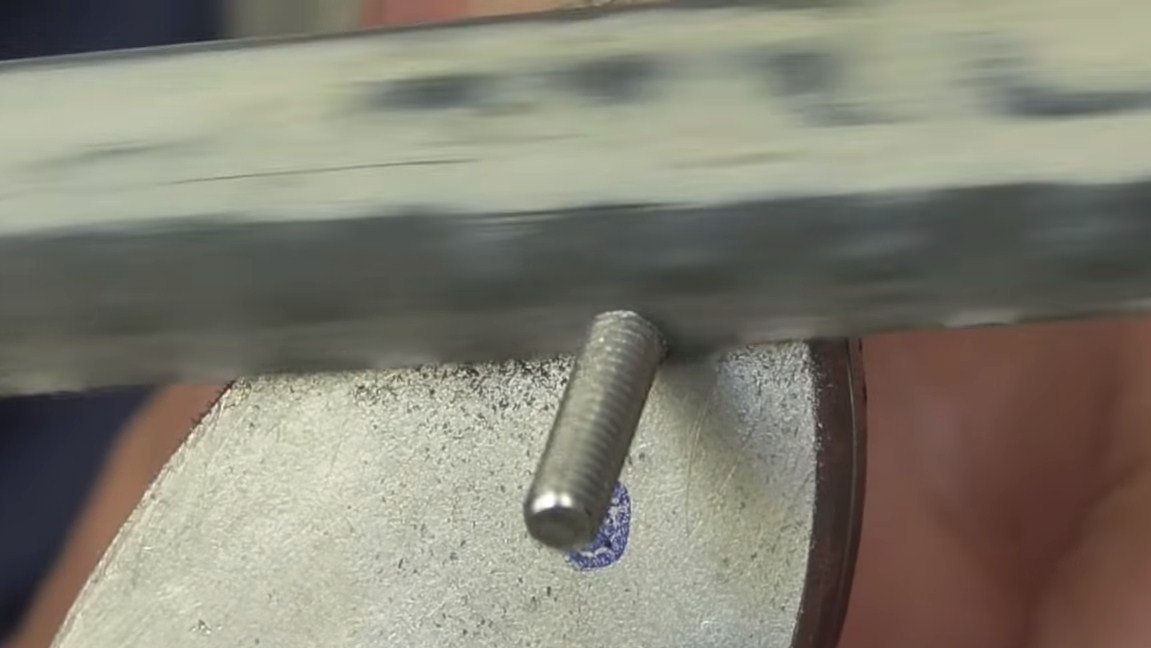
The starting material for the blade is the bearing race. The steel here is carbon, wear-resistant, which means that the blade will be strong, and the blade will remain sharp for a long time. First, cut the bearing to get the desired length of the workpiece. Now we need to align it. We heat the metal to a red glow with gas burners and unbend the clip with pliers. Well, then we refine the workpiece with a hammer and anvil.
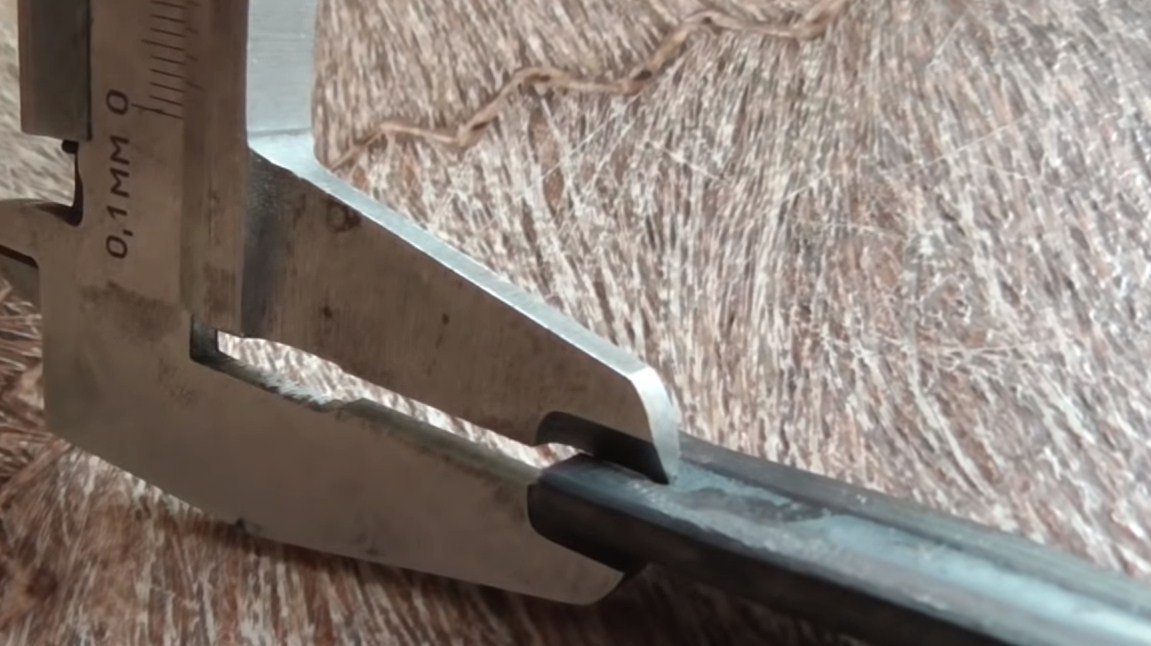
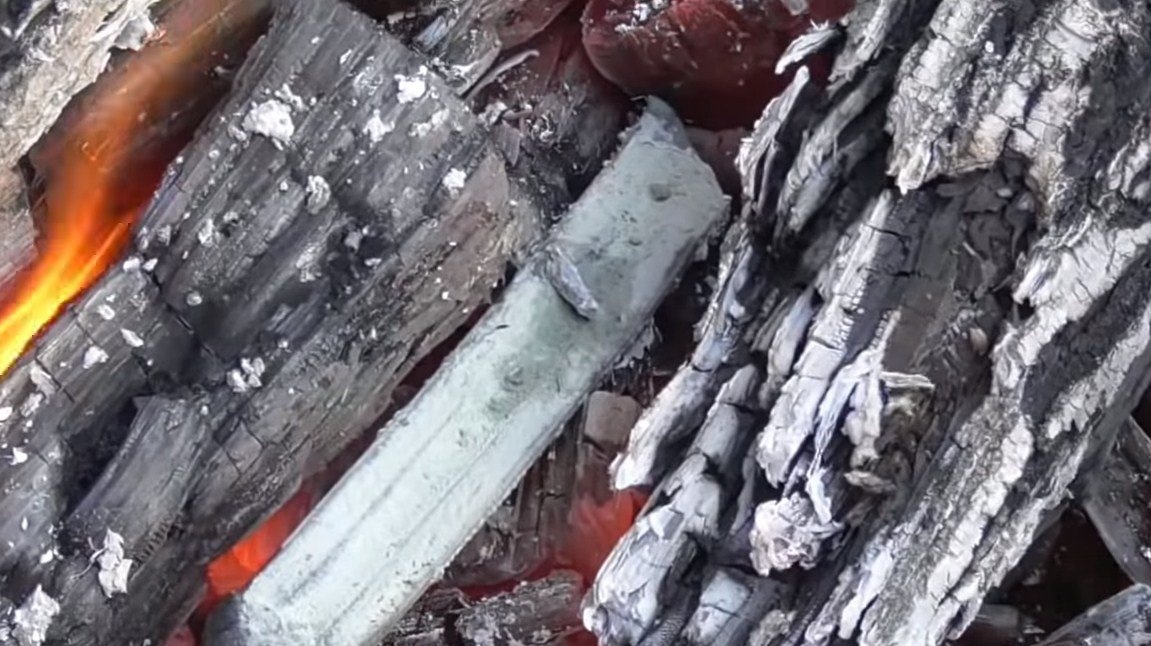
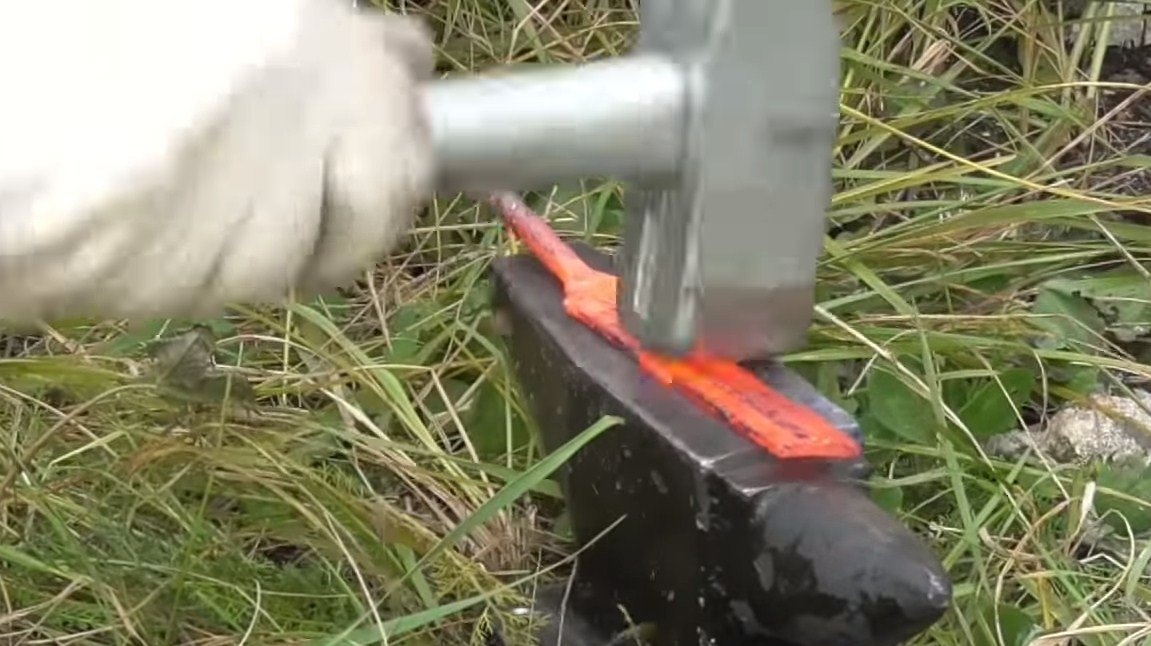
Step Two Blade making
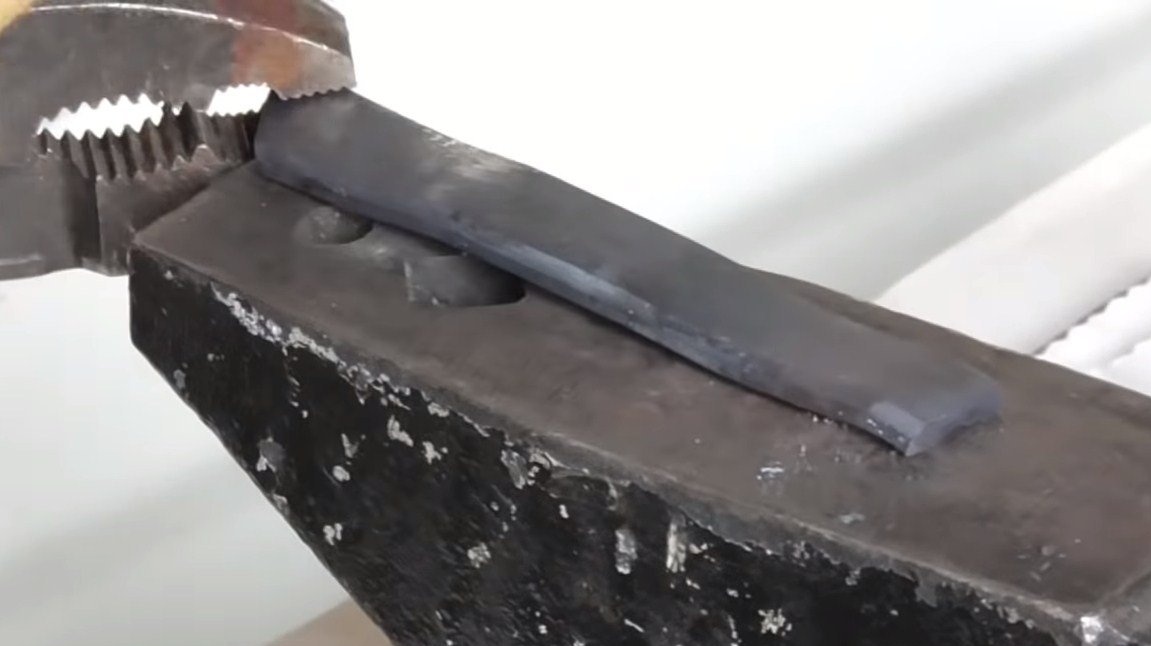
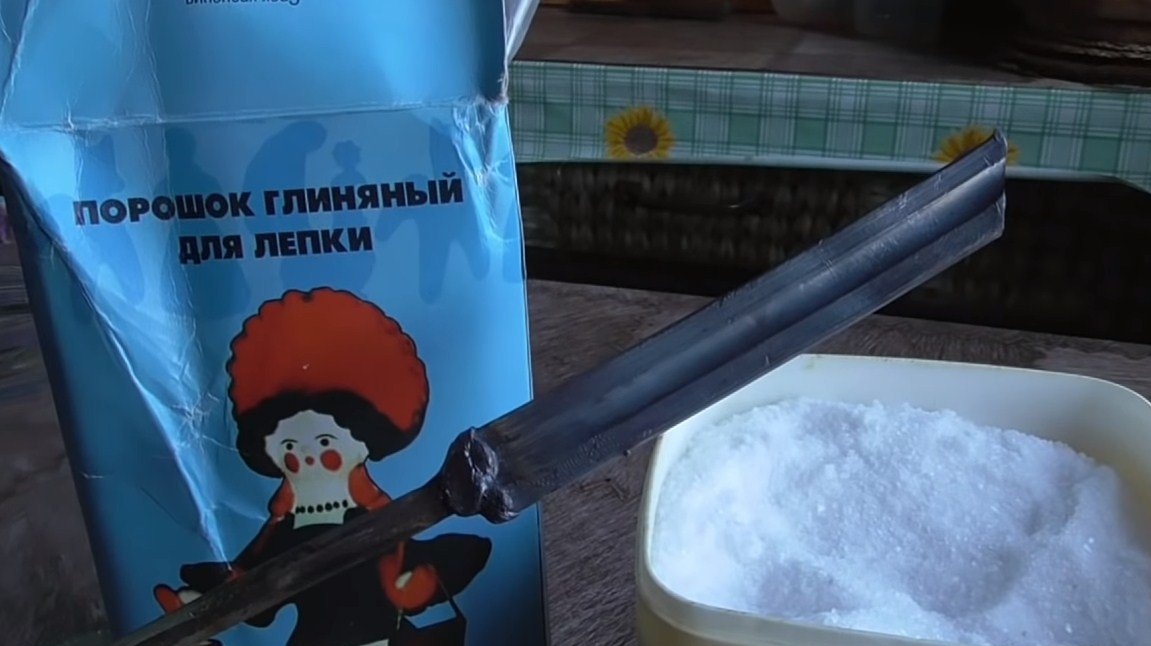
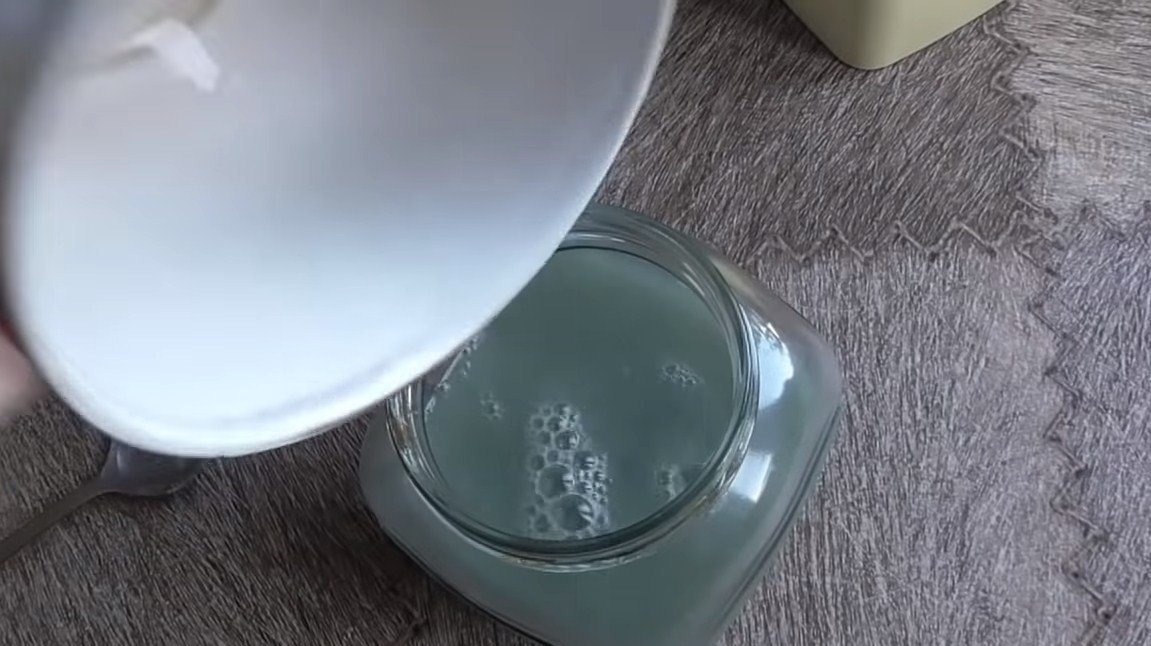
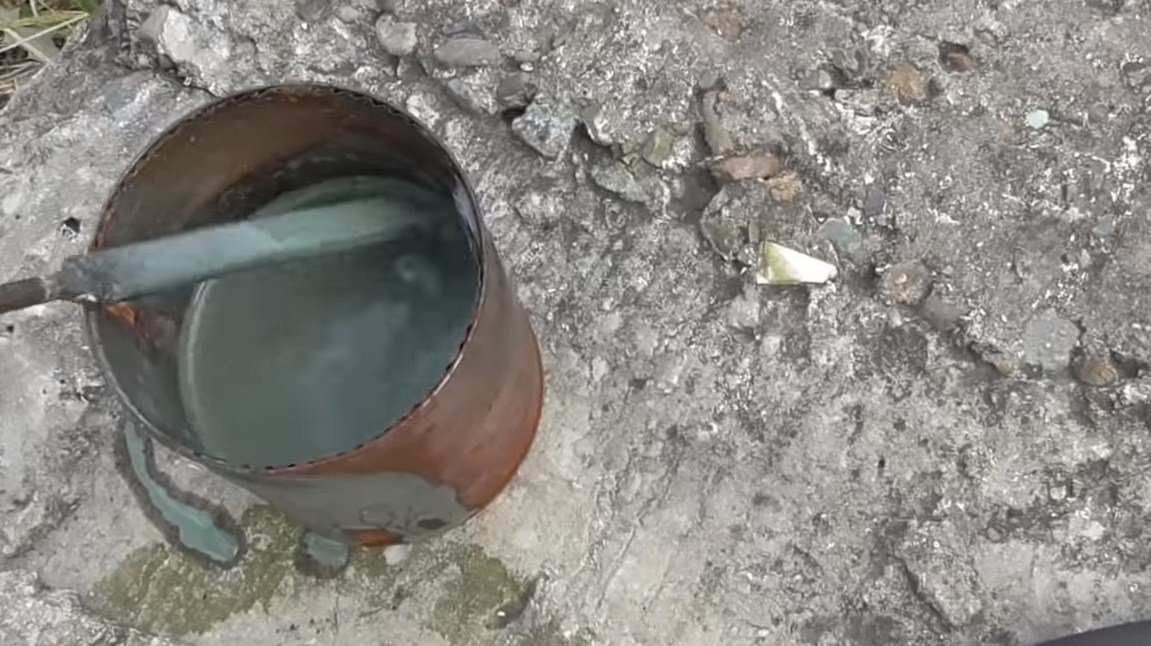
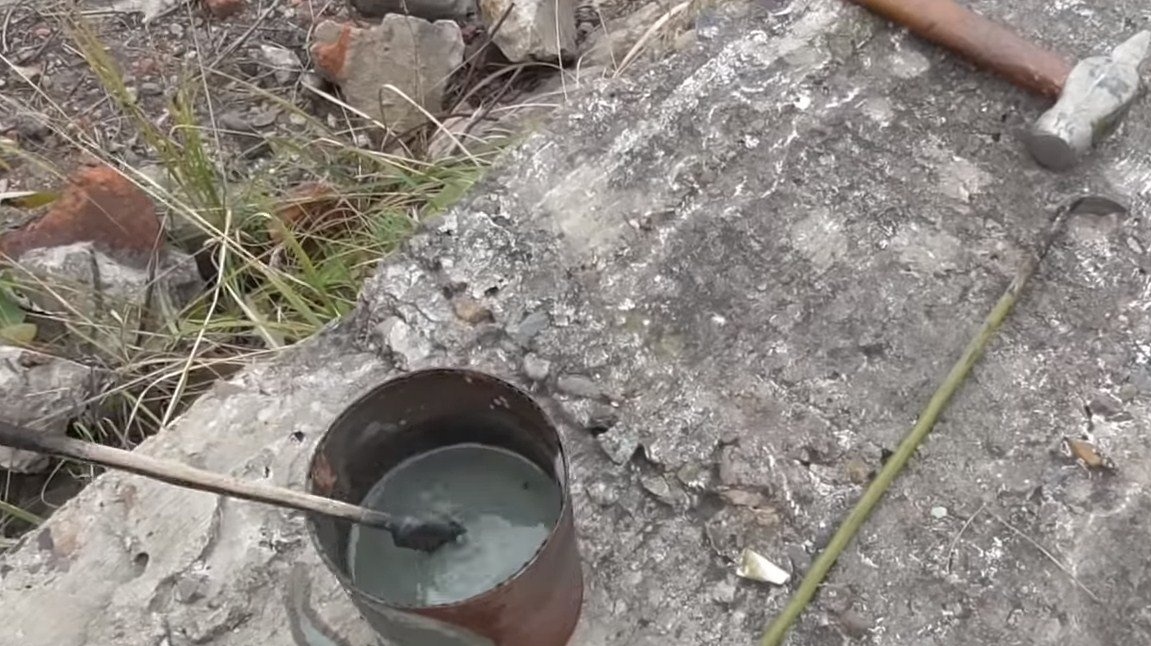
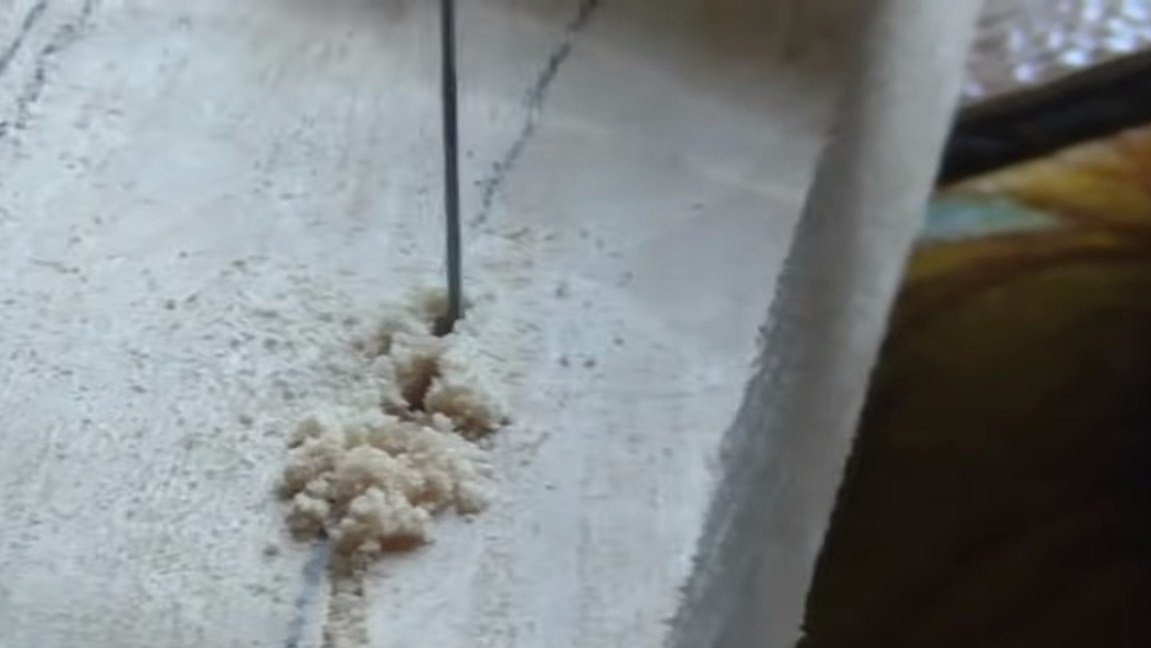
We need to make the metal thinner, and we do not need a recess along the workpiece. In addition, forging will make the metal more suitable for the manufacture of a blade. The author forges without a furnace, in nature, fanning a fire. A little effort and now we get an excellent workpiece. To prevent scale formation during forging on metal, the author dips the blade in a solution of salt and clay before each heating. The result is a coating that does not allow oxygen to pass through and prevents the metal from oxidizing.
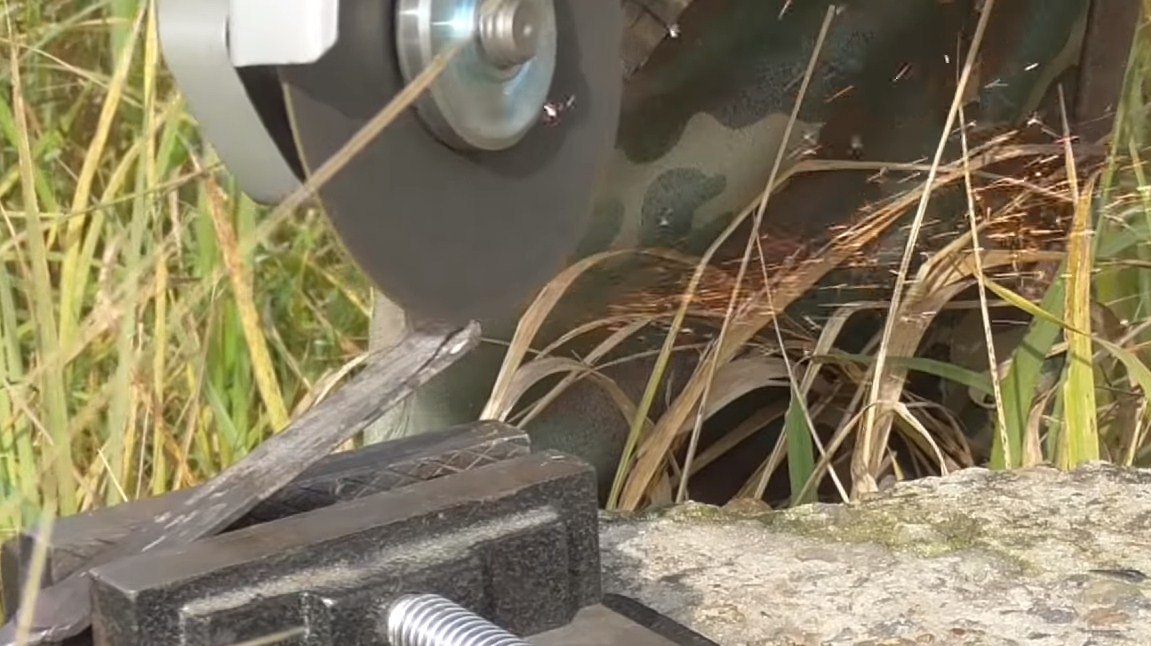
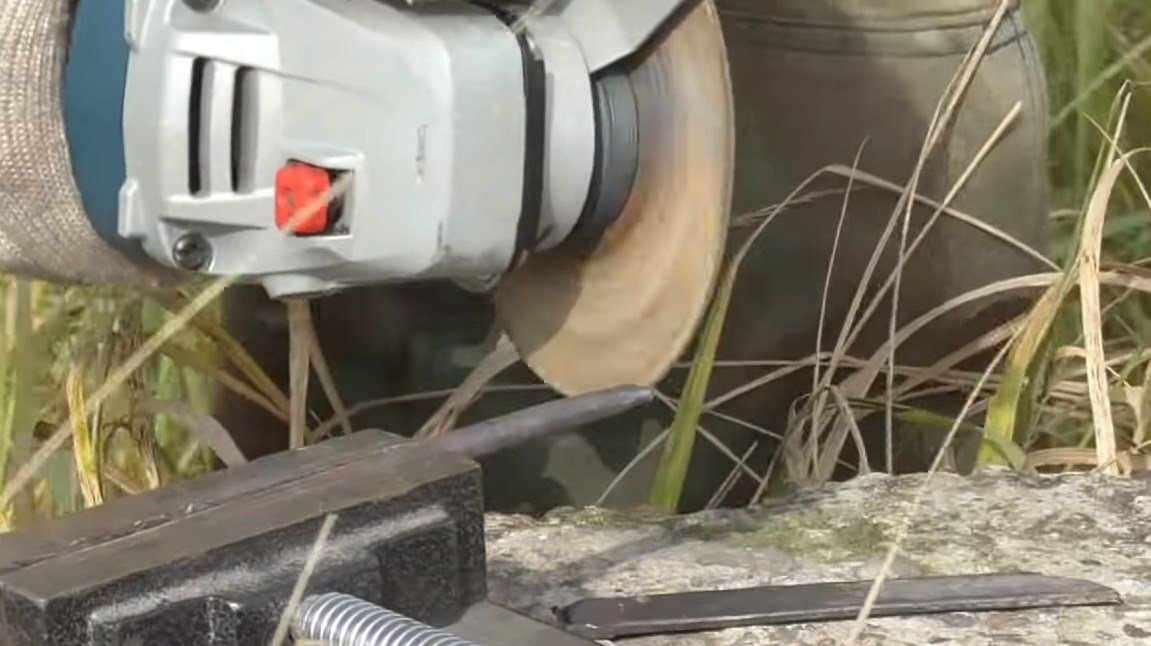
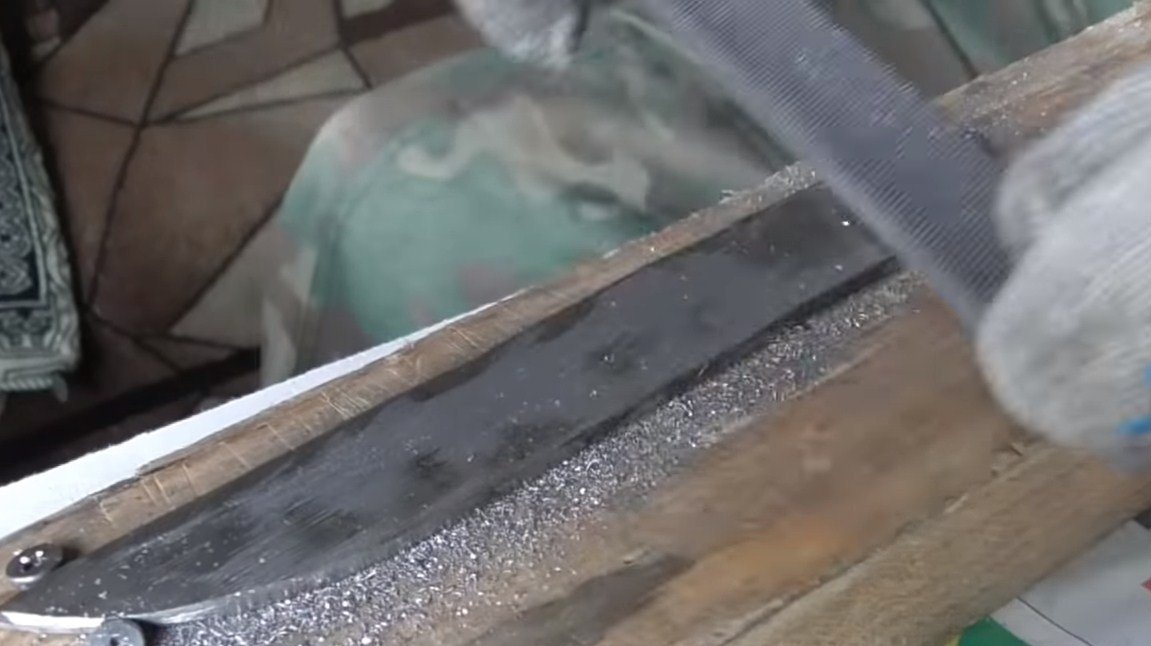
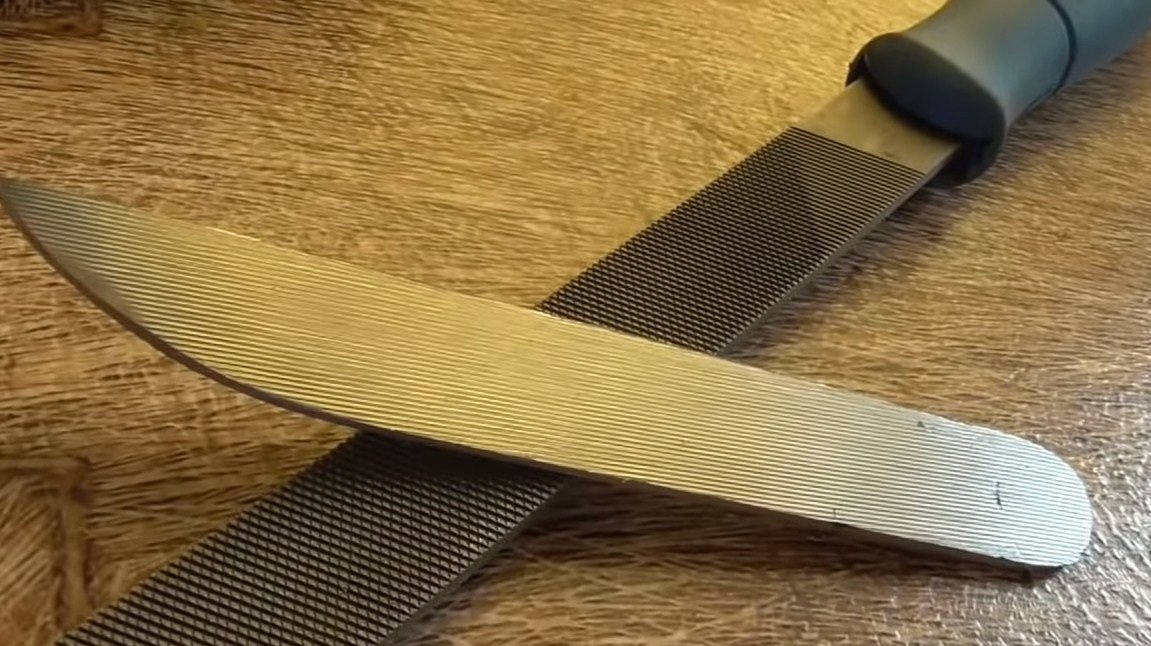
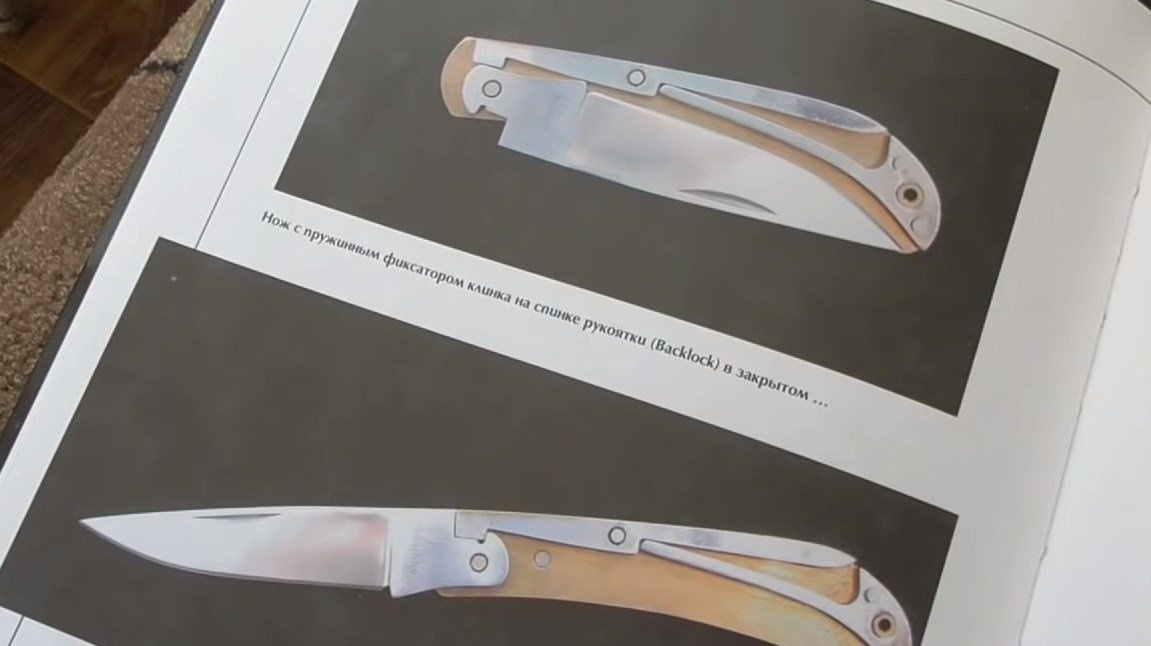
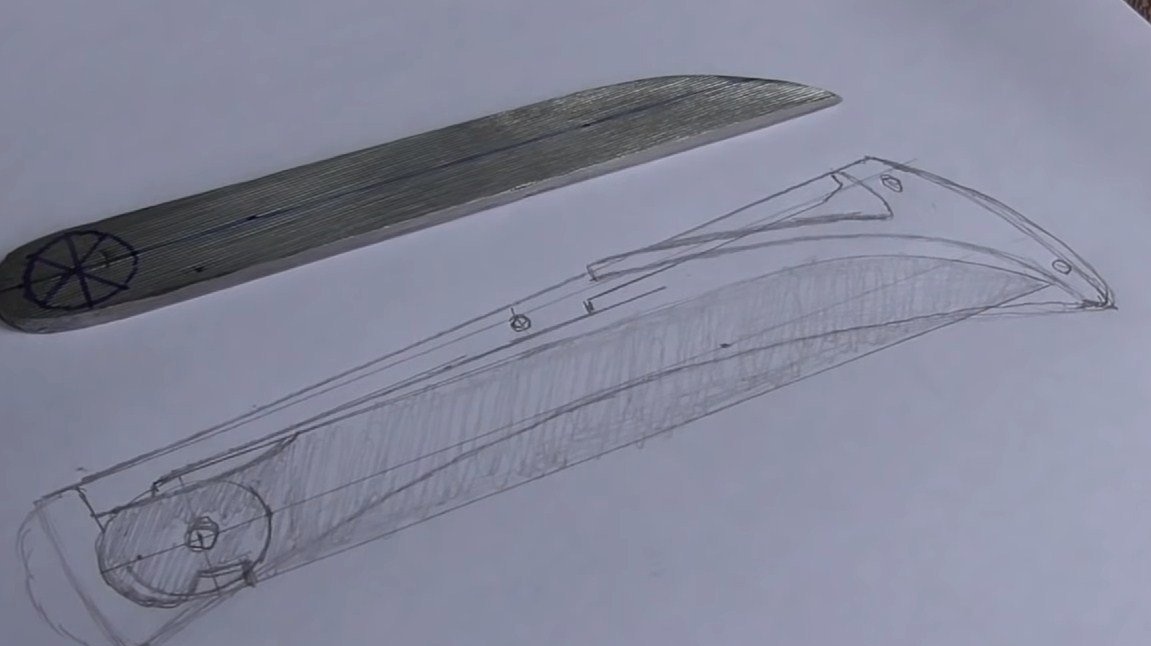
After forging, we cut off the excess and perform rough grinding with a grinder. Now you can sharpen the blade of the desired shape. The author made an example from a book and made a blade using files. We also grind the plane of the blade with files and an emery cloth.

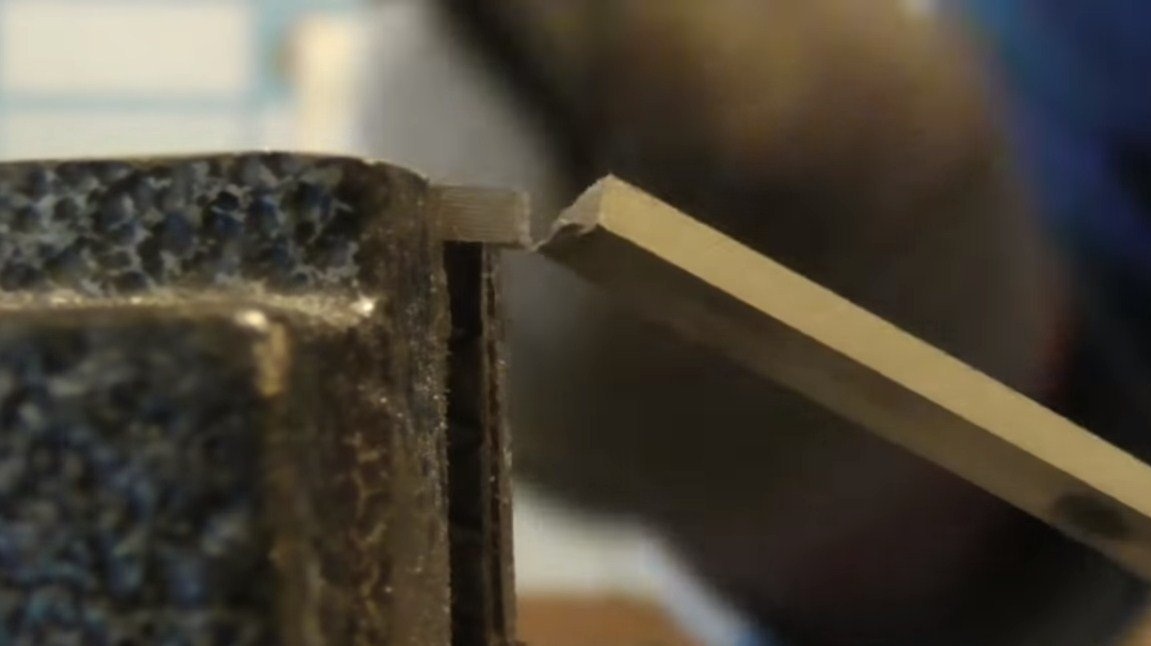
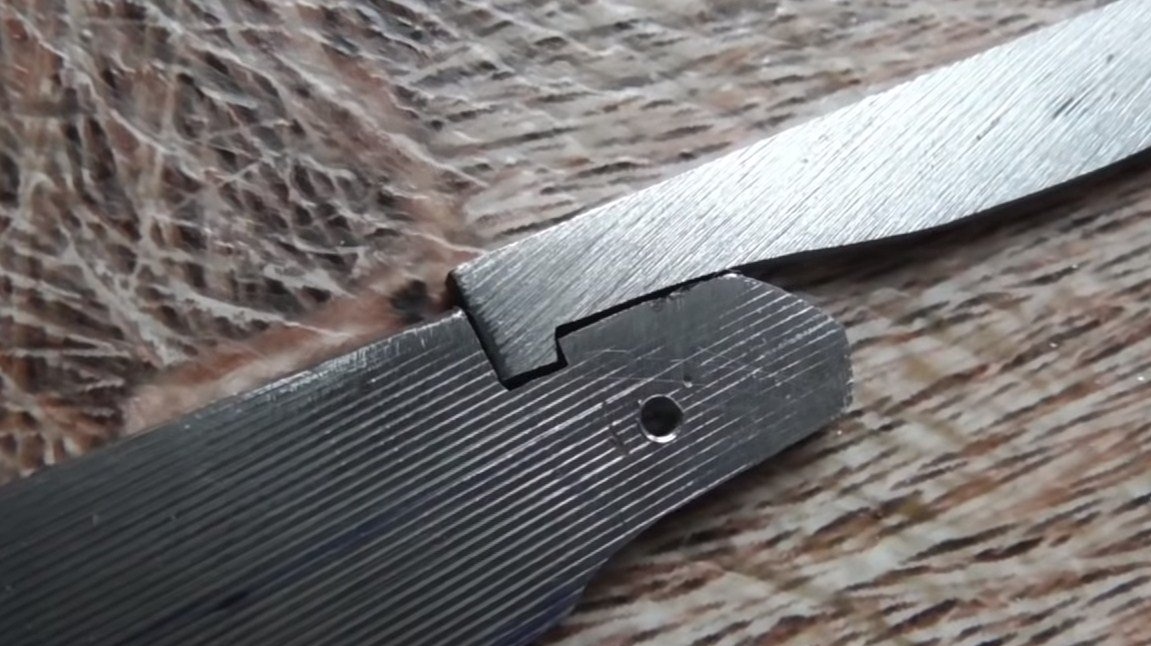
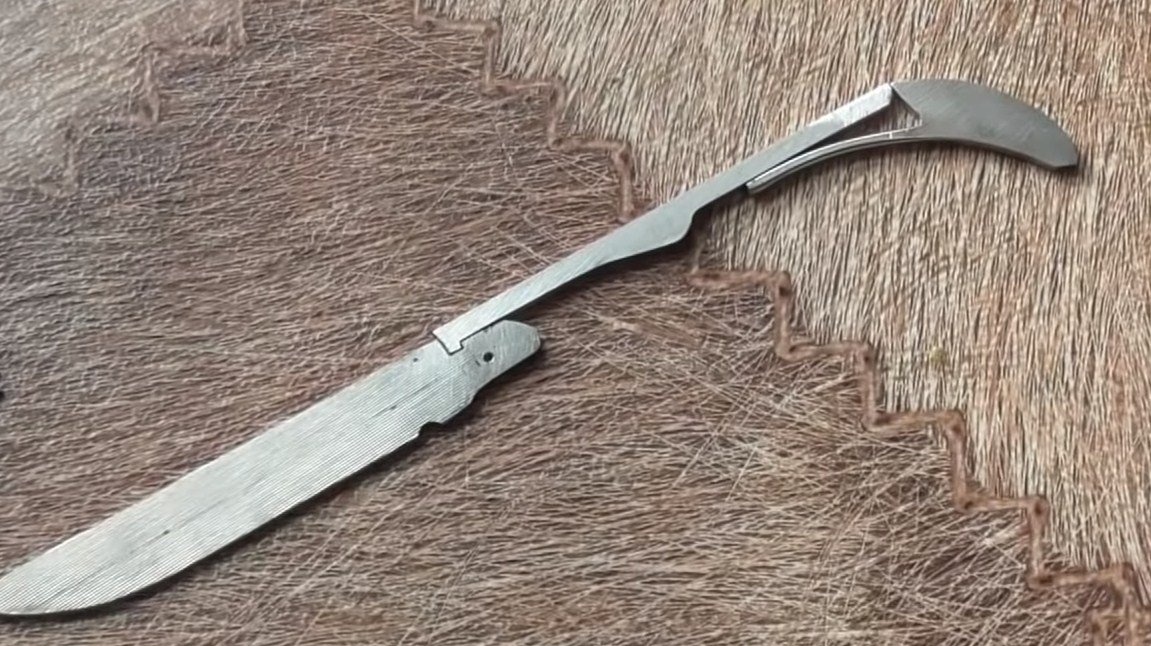
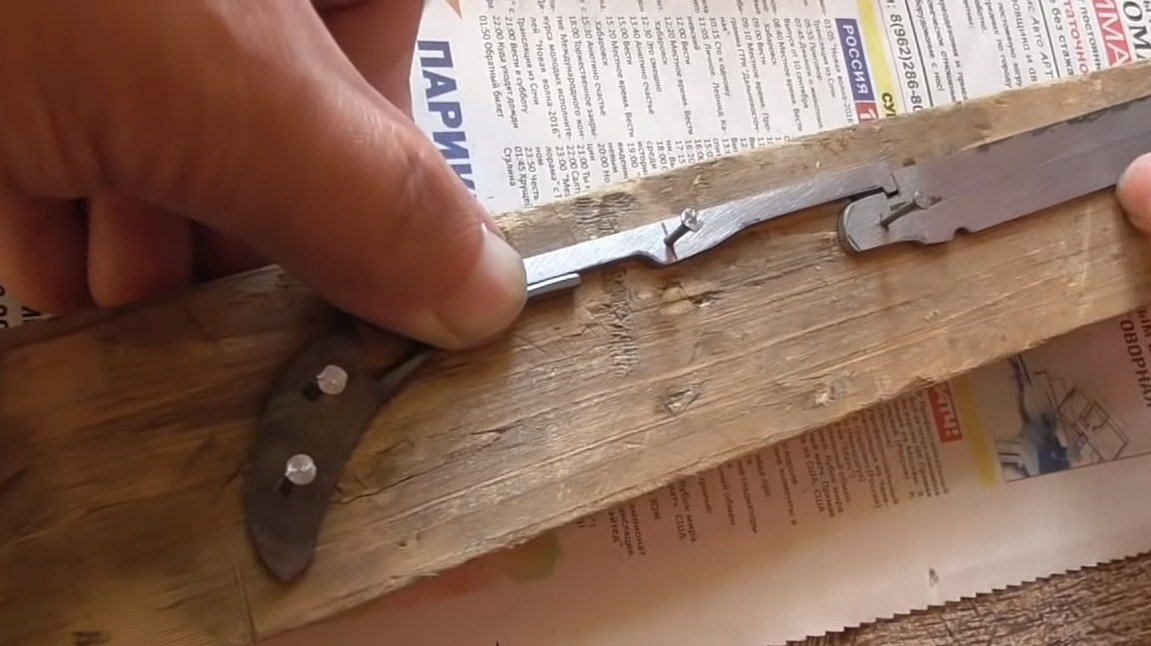
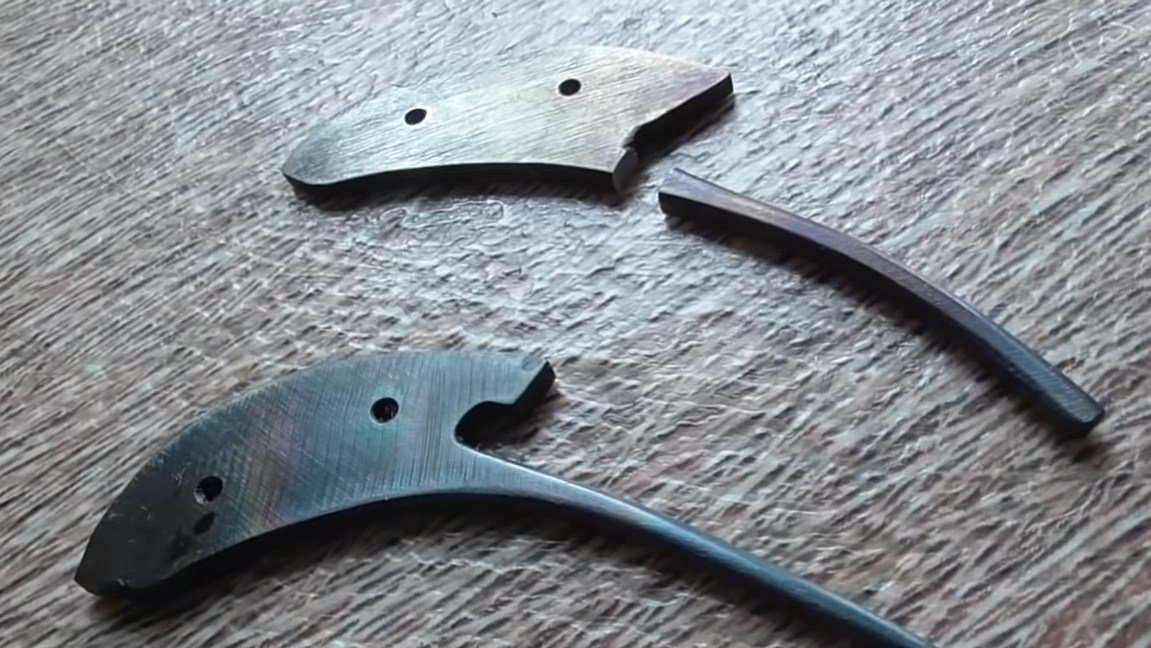
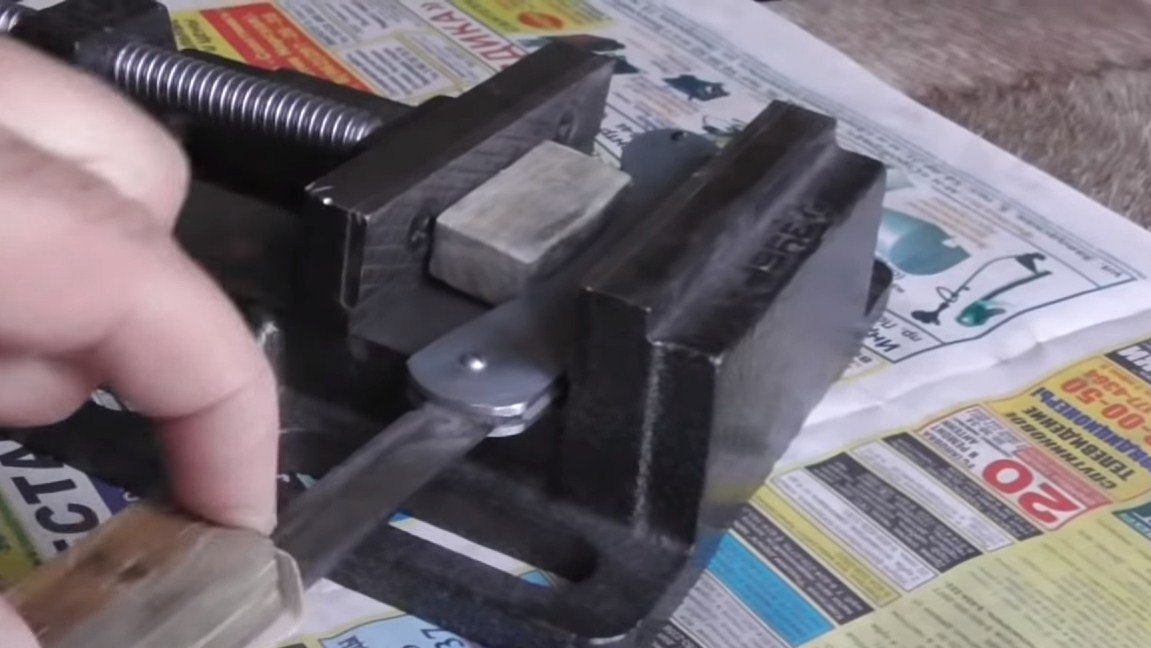
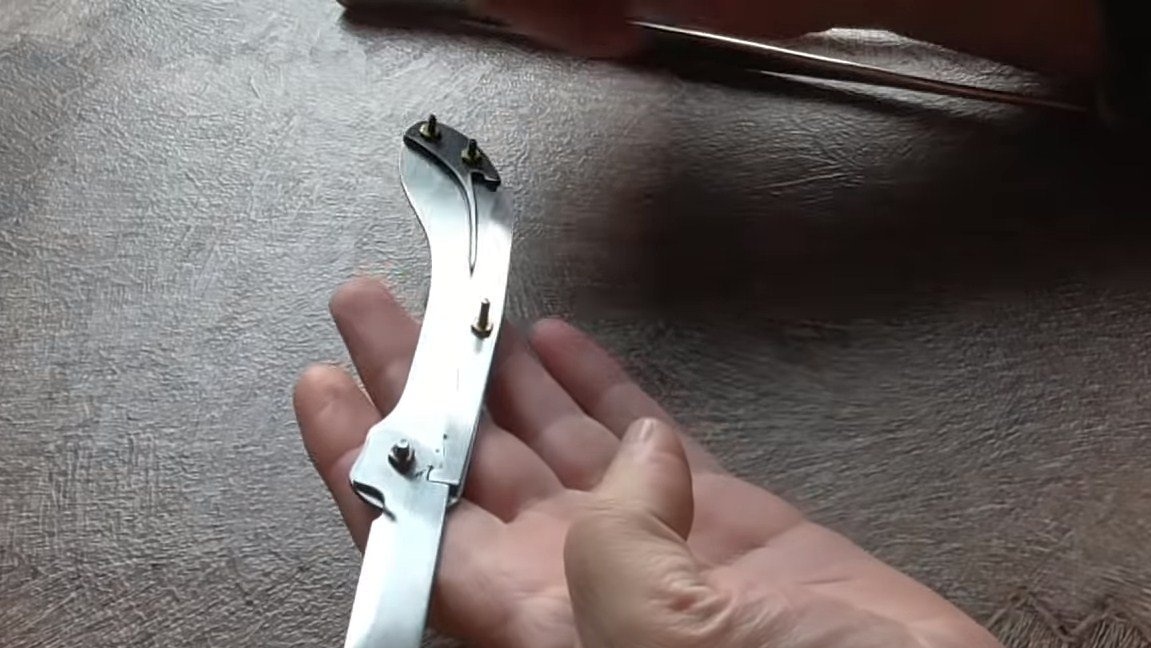
Step Three Spring and retainer
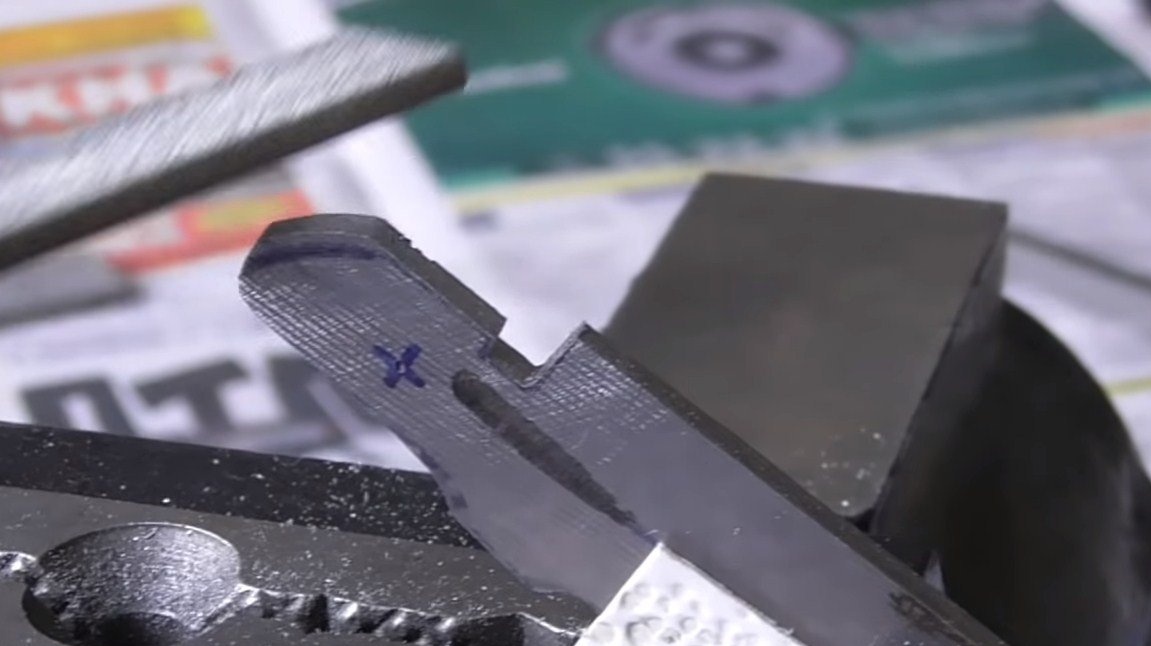
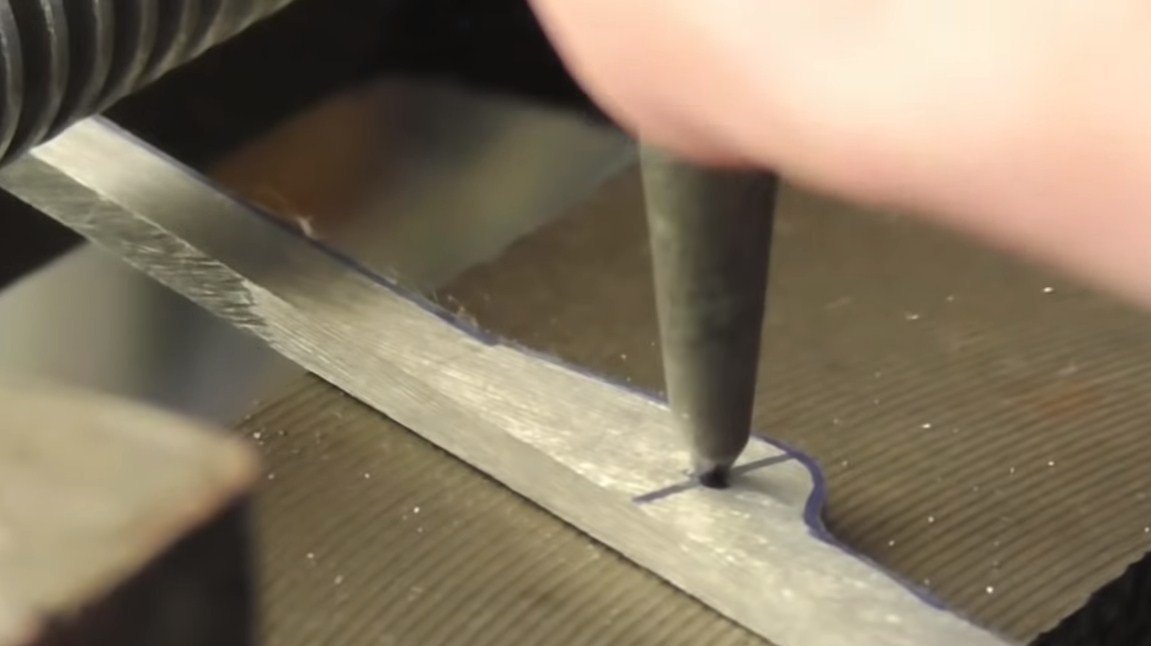
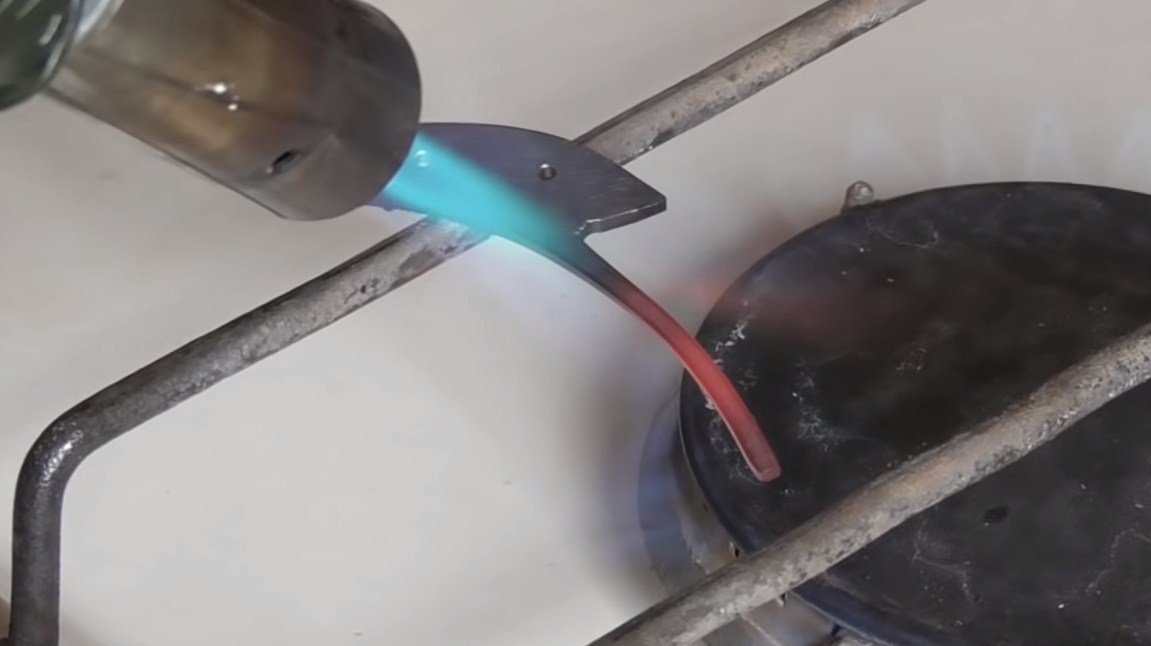
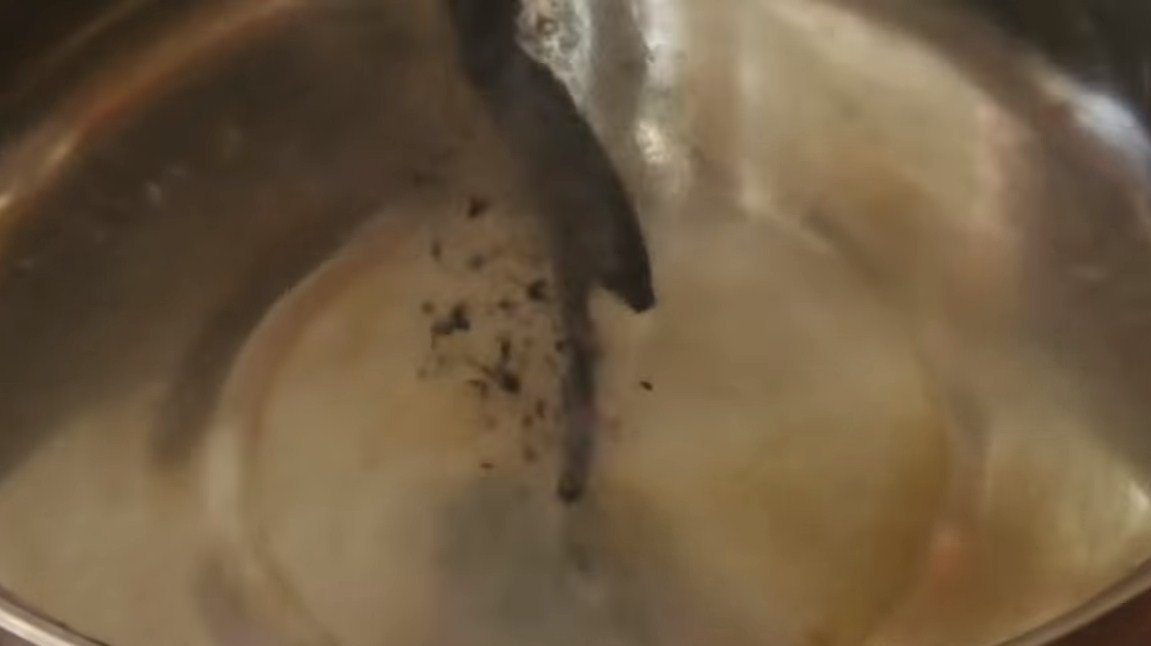
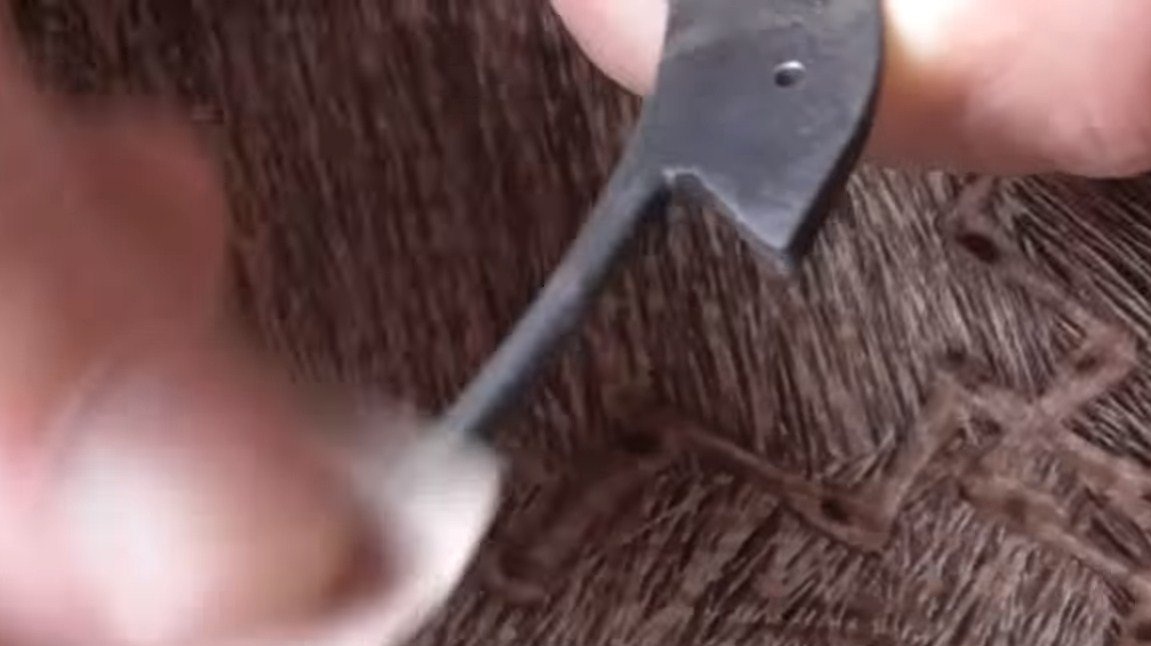
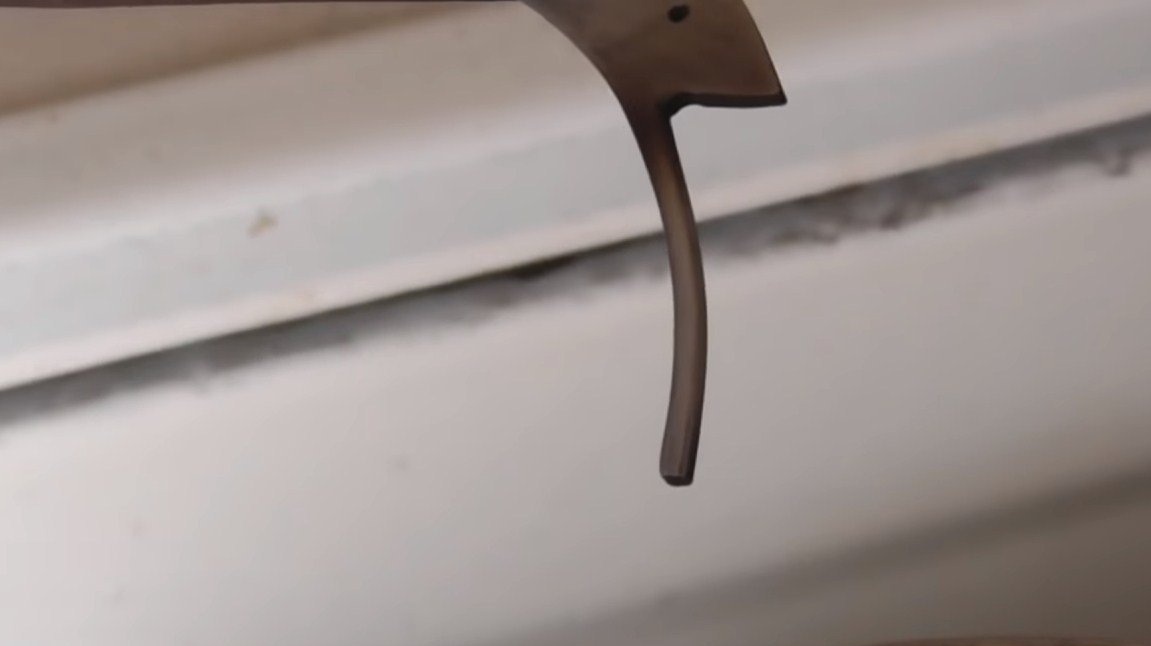
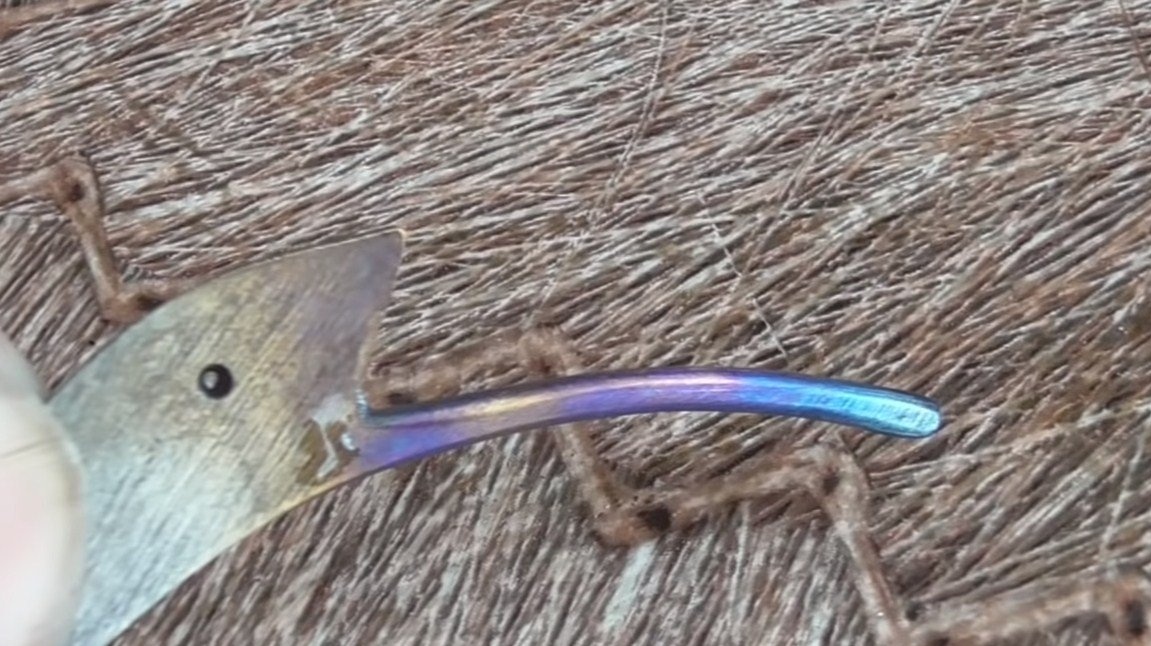
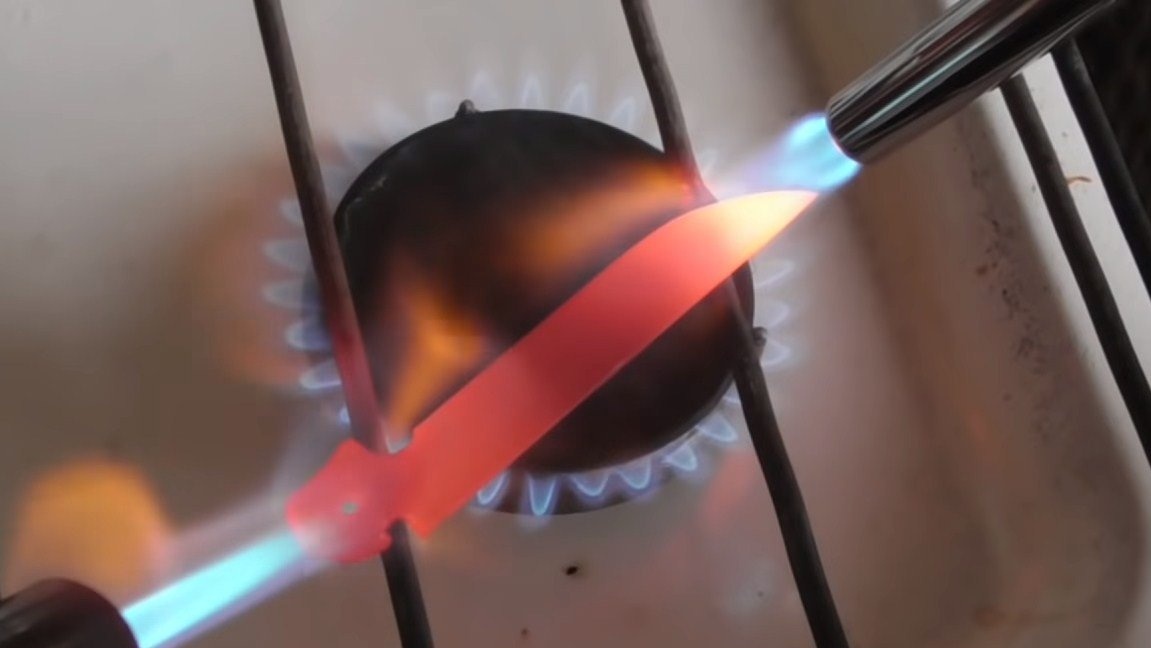
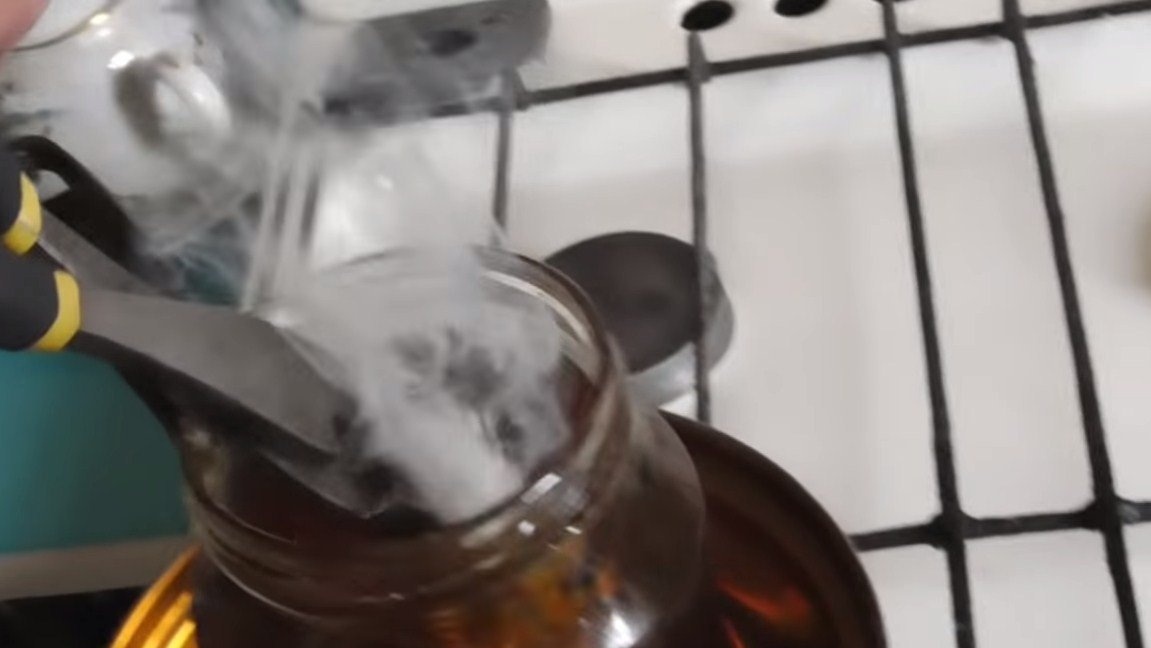
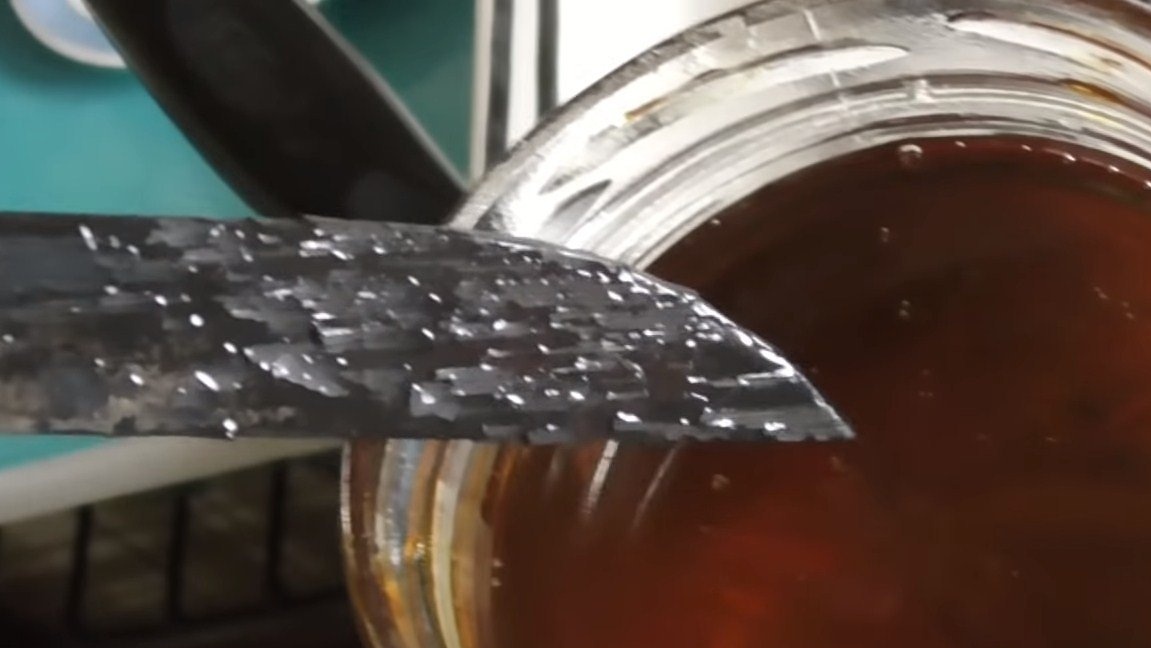
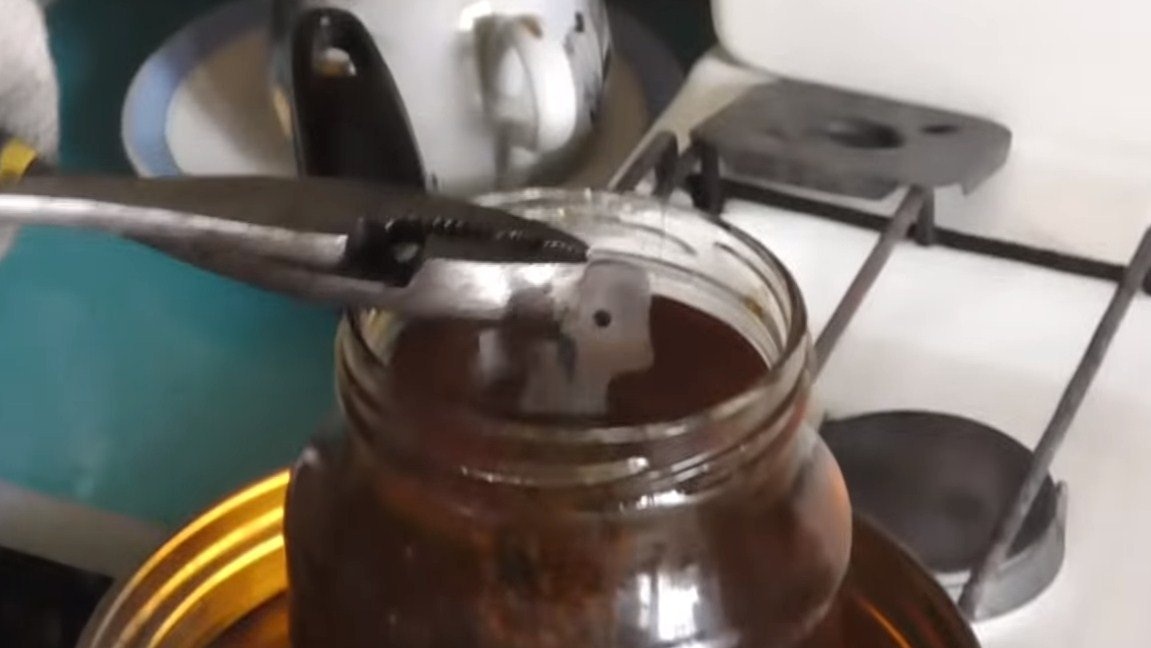
The latch is a beam that is fixed on one axis. The spring is machined from carbon metal, as is the beam.To give steel spring properties, it must be hardened and released. First, we temper, heat the workpiece to a yellowish glow and lower it into oil or water.

And for the holidays we need to heat up the metal until it turns blue, at this moment we lower the spring into the water. In theory, the steel should then begin to spring. If you let go of steel badly, the metal will be brittle and the spring will break, this is the first time the author has. And with too much vacation, the metal will be ductile, so you need to find a middle ground.
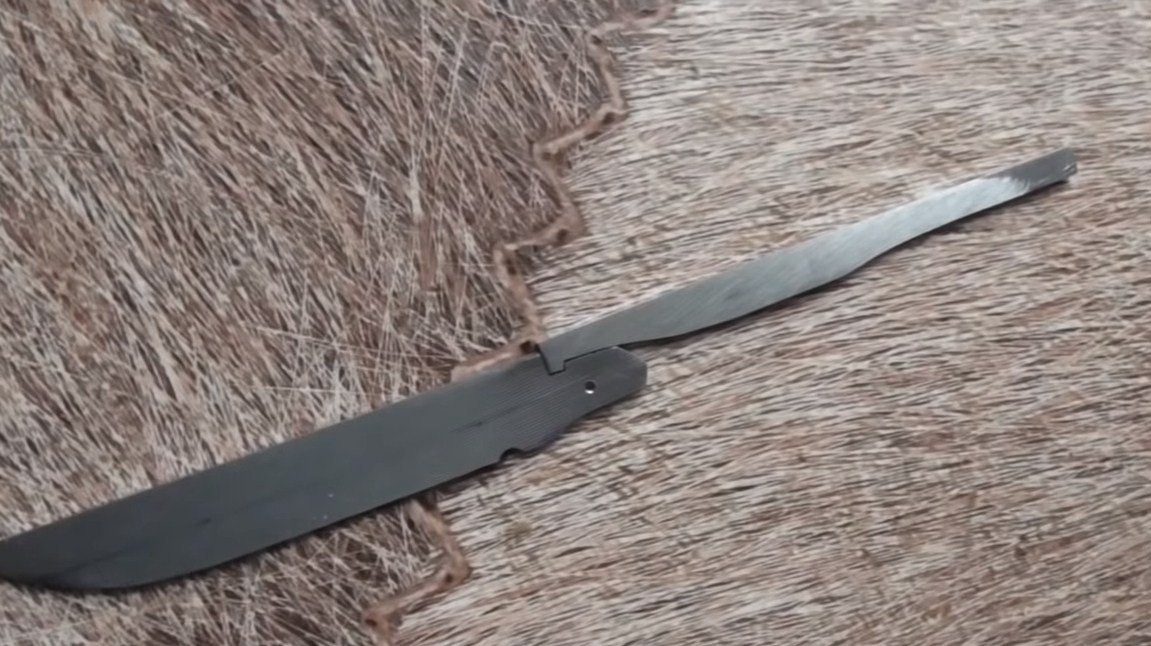
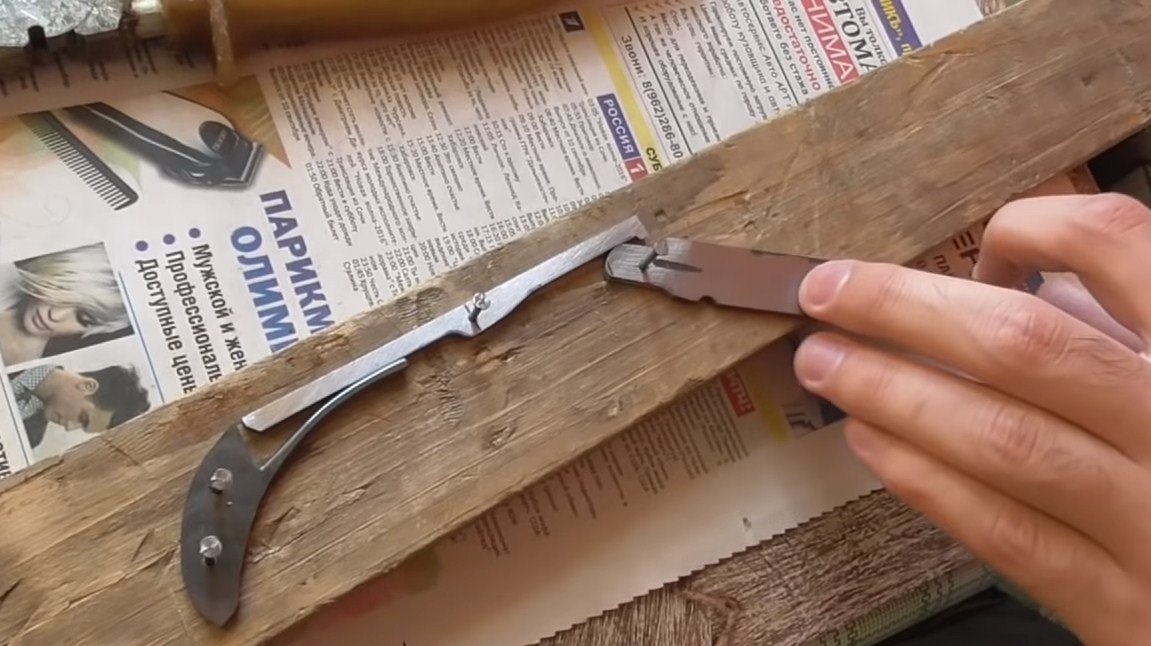
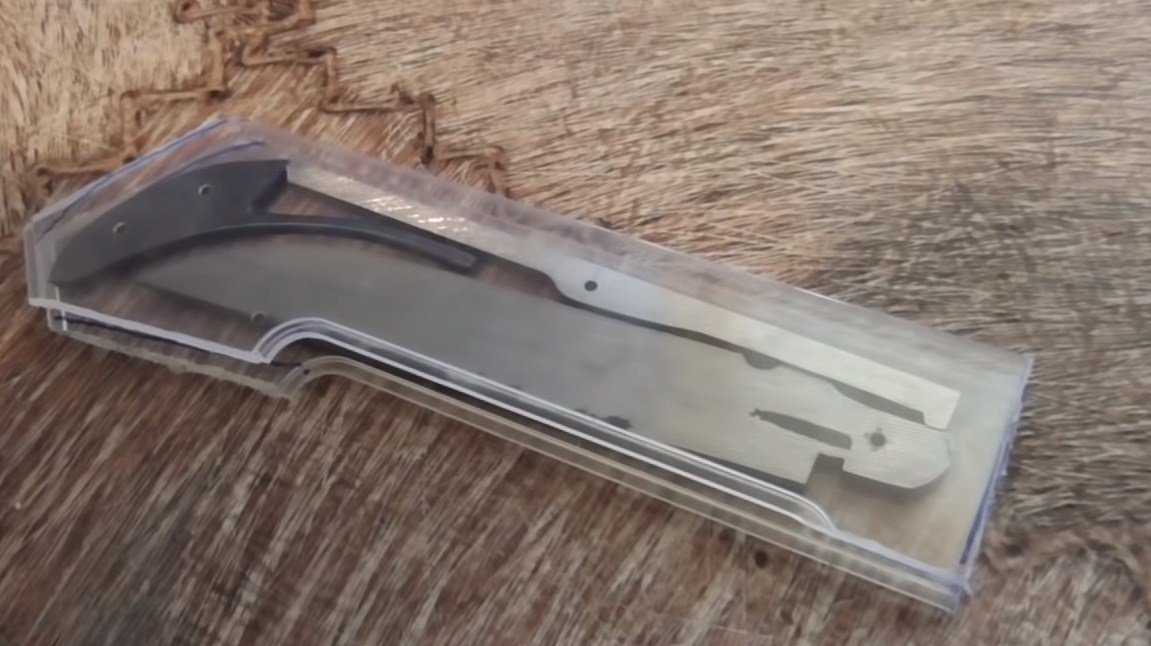
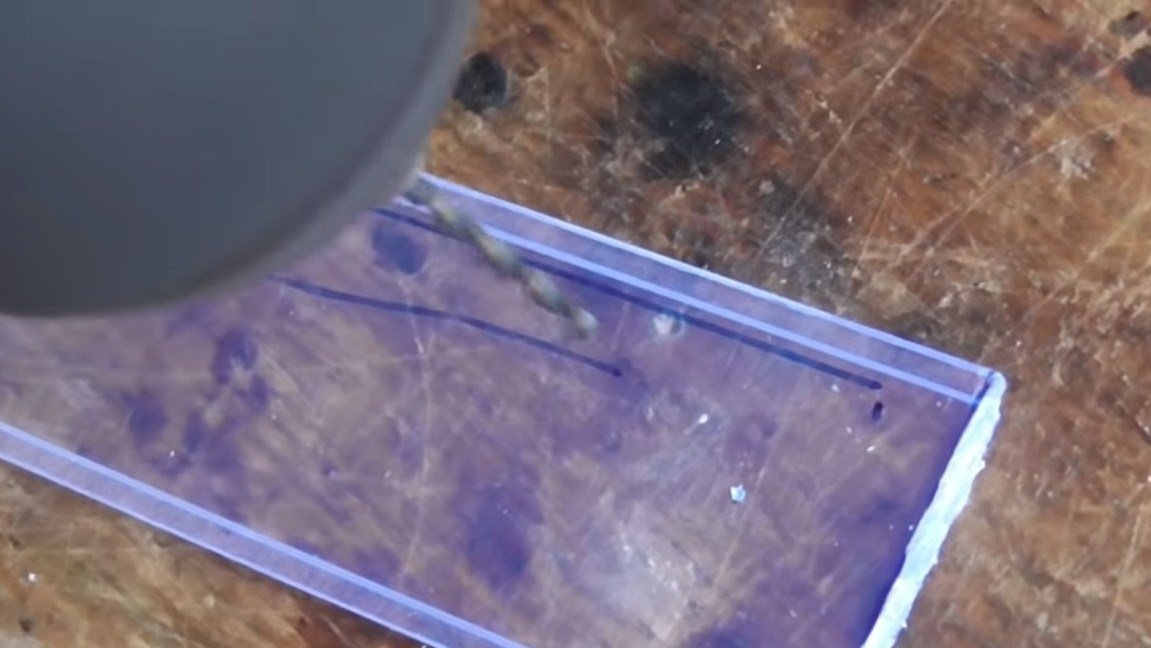
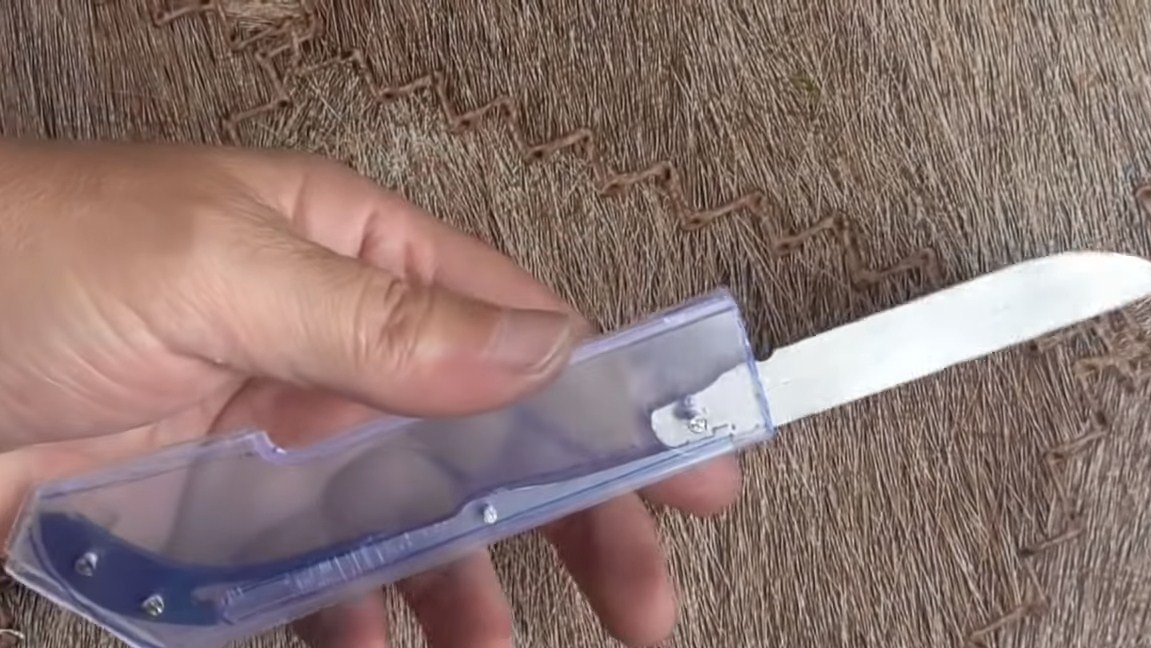
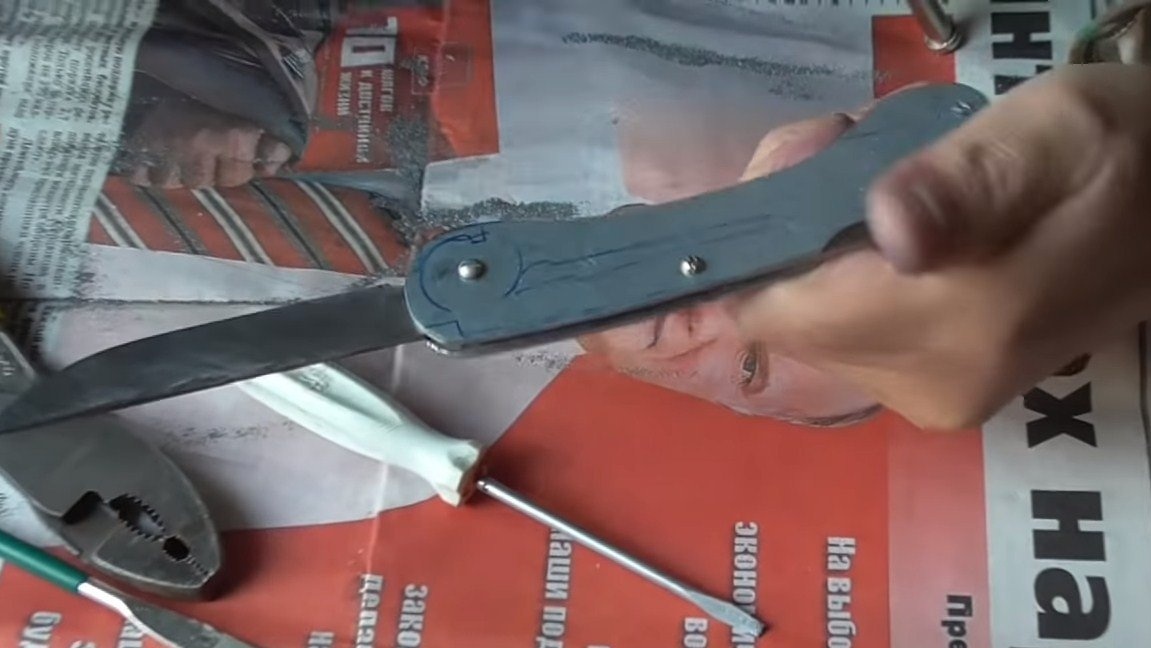
The author carried out the first tests of the knife, collecting a plastic handle for him. But this design could not withstand the load and broke. Then aluminum handles were made, now the knife began to work perfectly.


Step Four Blade hardening
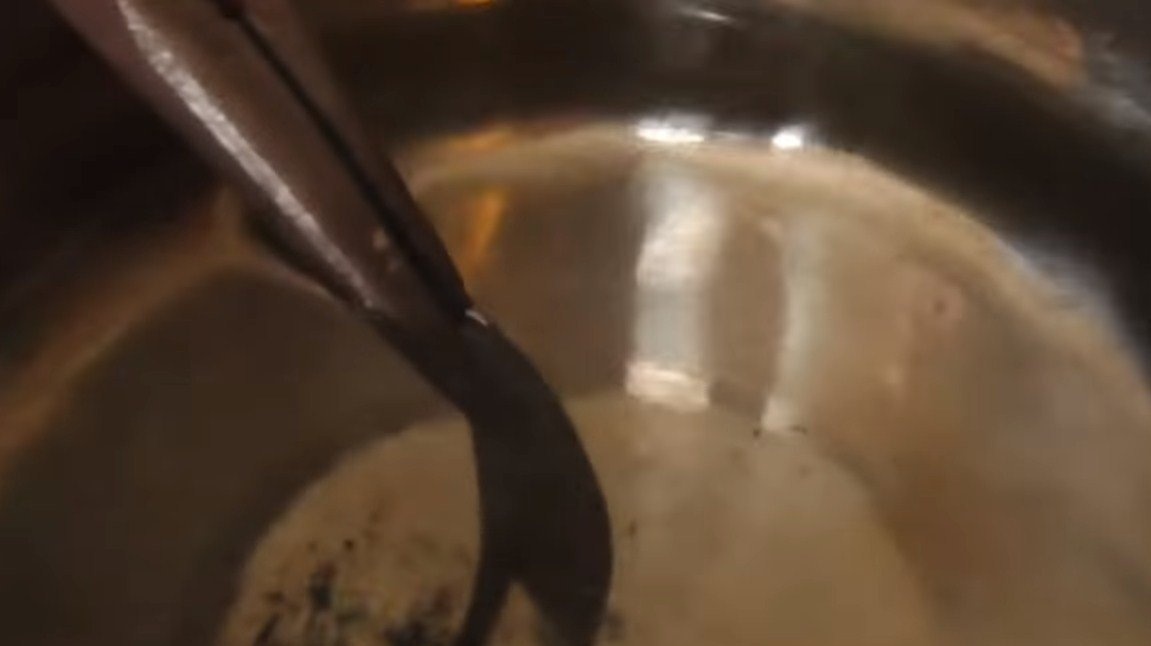
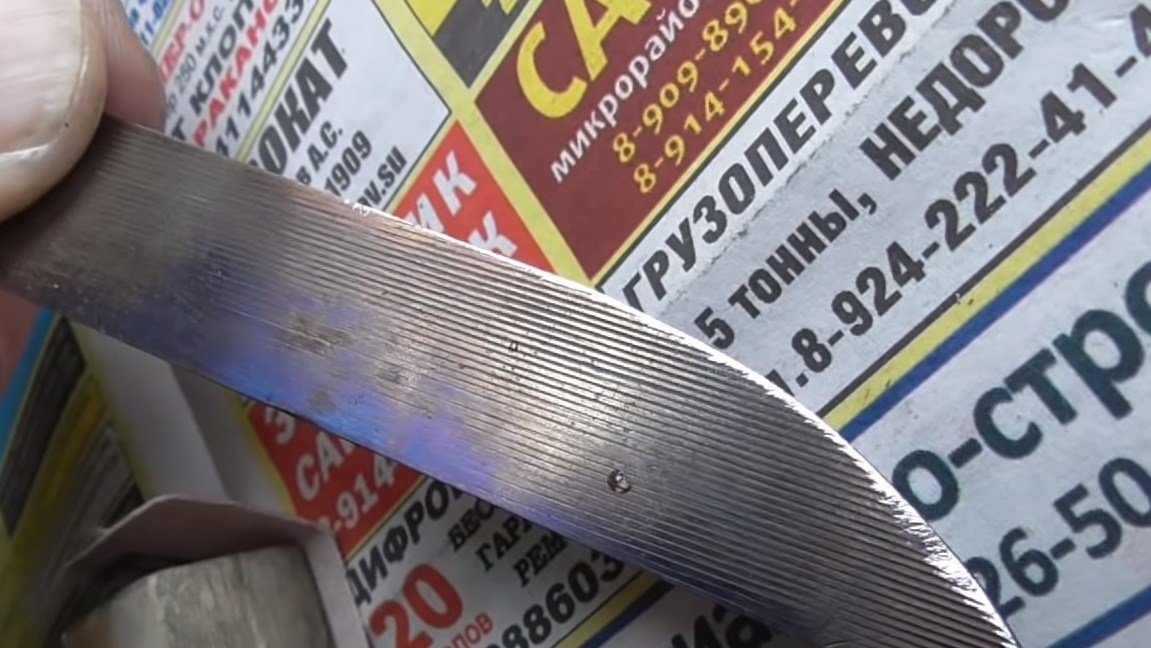
The blade needs to be hardened, because after forging it has lost its former hardness. We heat the blade to a yellowish glow and dip in oil.
We also definitely need to leave the blade so that it is not fragile and can spring. We heat the blade with the burners until a blue coating forms and lower it into the water. That's all, now the blade is perfectly hardened.

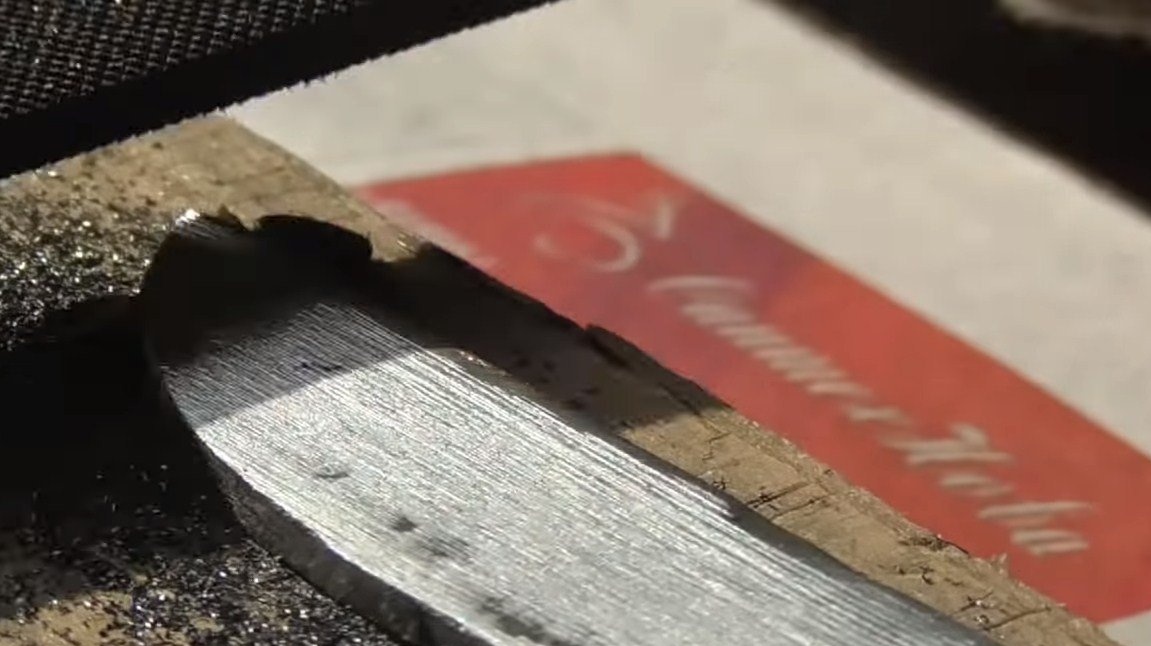
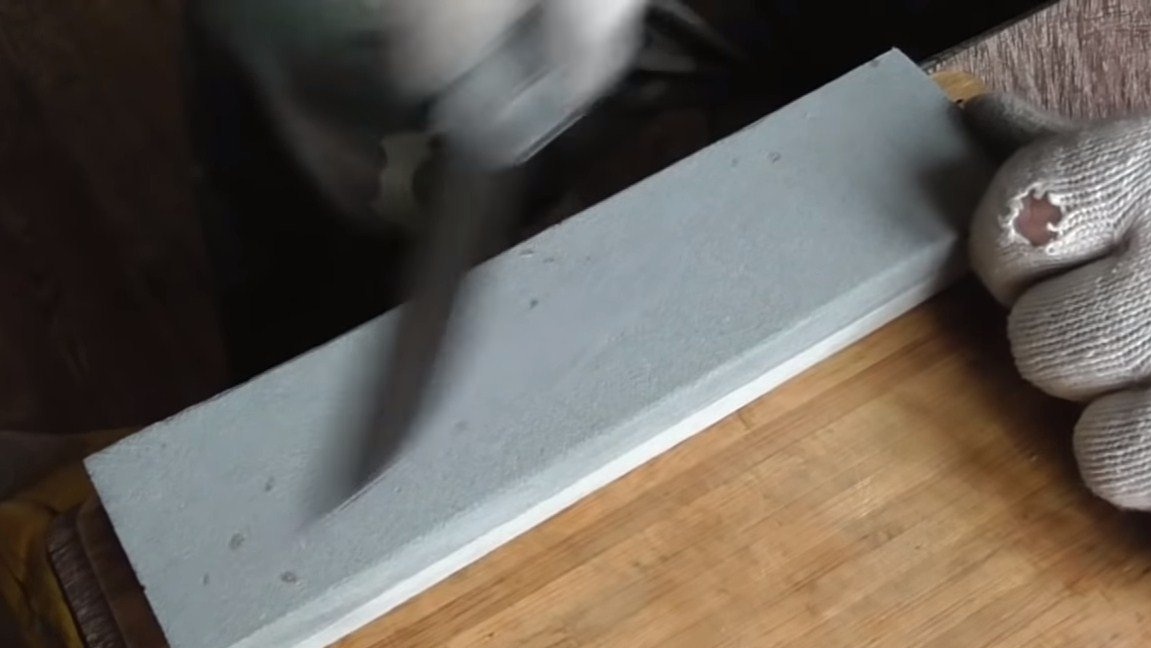
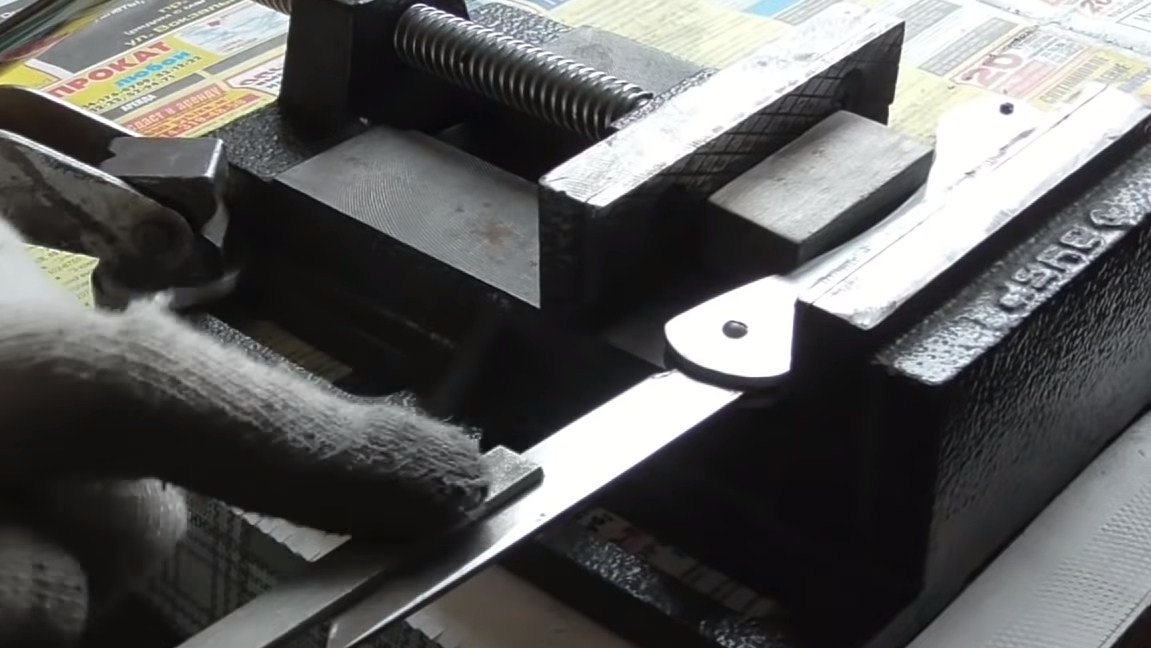
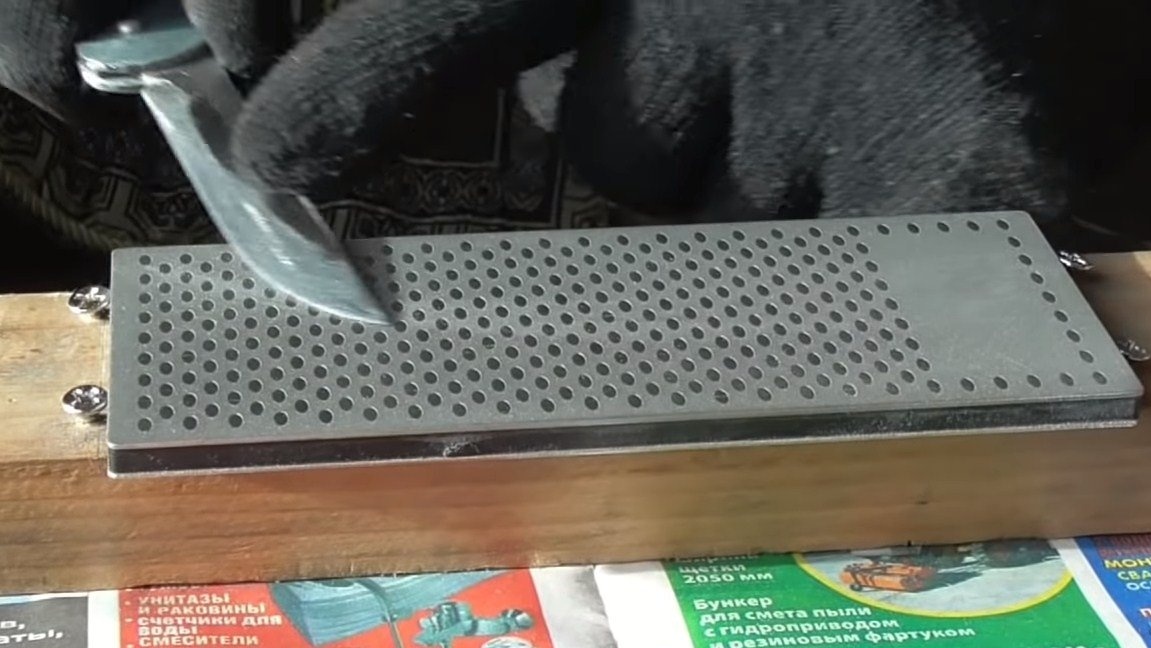
Step Five Grinding
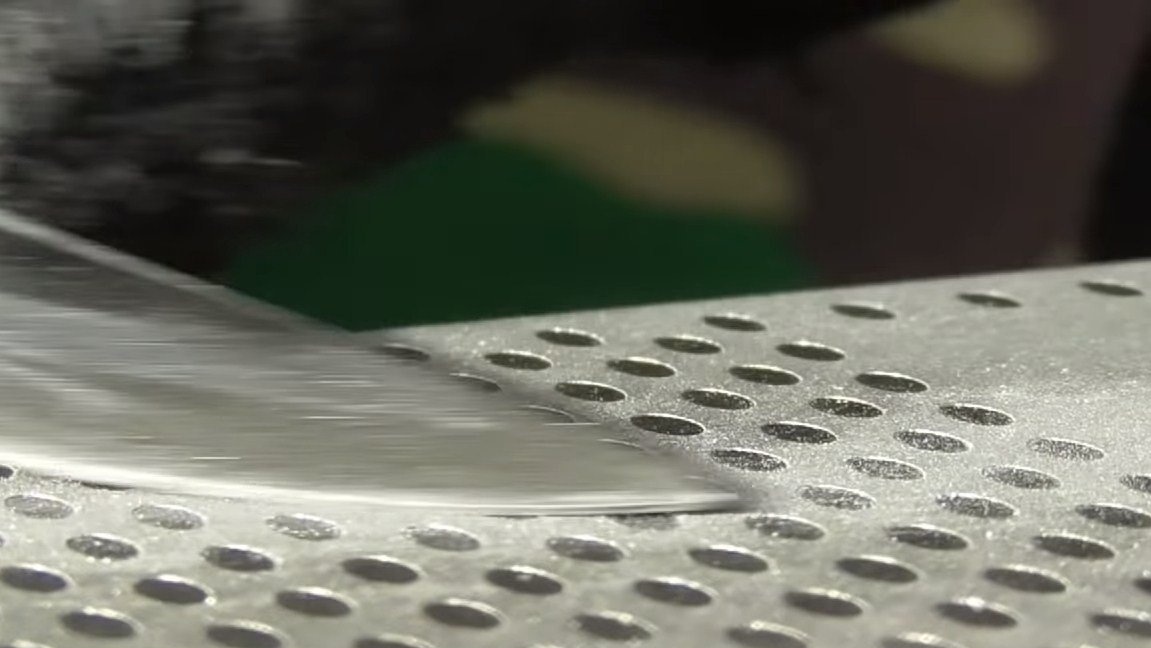
After hardening, we grind the blade, we need to get a mirror shine. To begin with, we work with various grindstones and other rough tools. Then we turn to sandpaper, gradually reducing the grain size. As a result, the blade can be polished and it will receive a mirror shine.


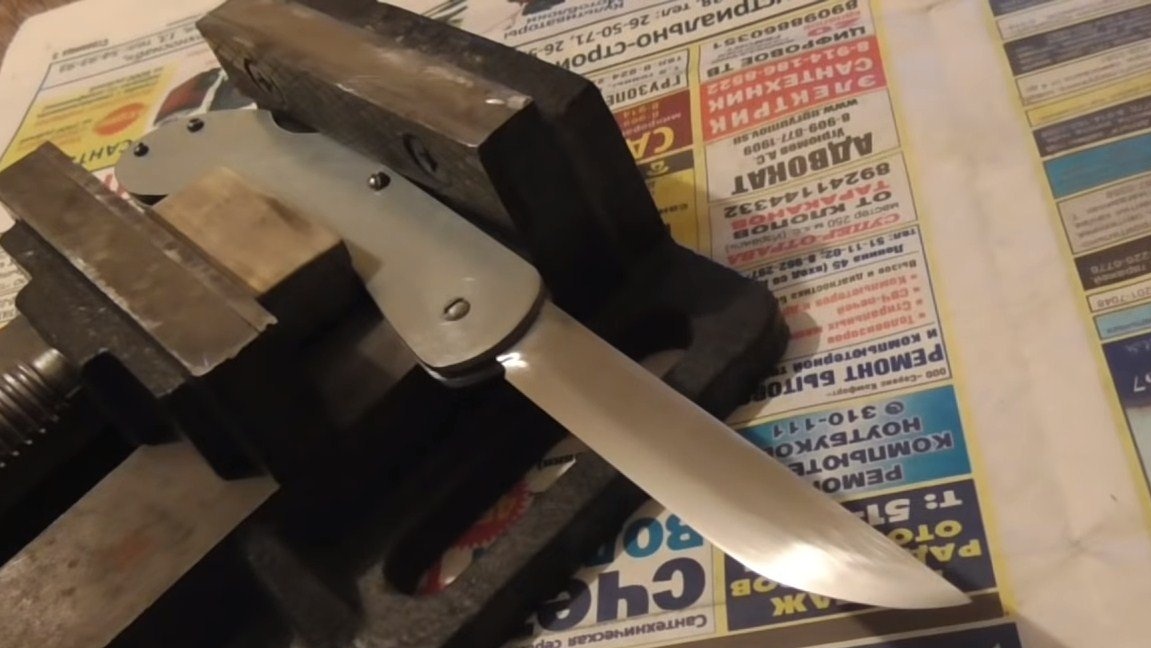
Step Six Pen assembly
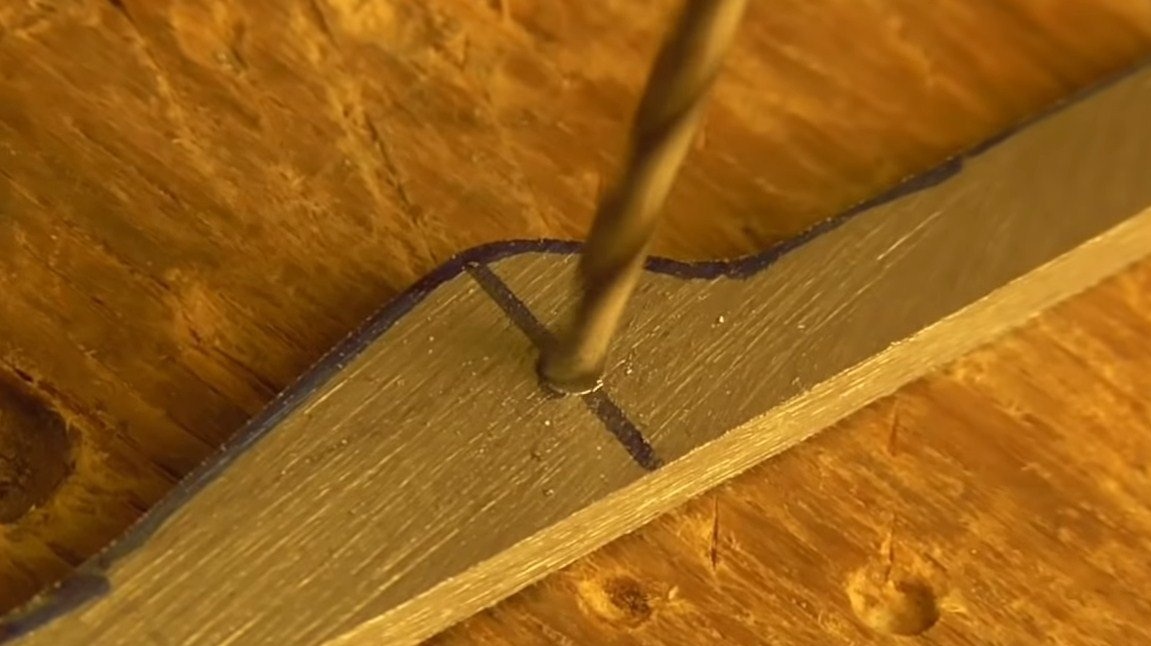
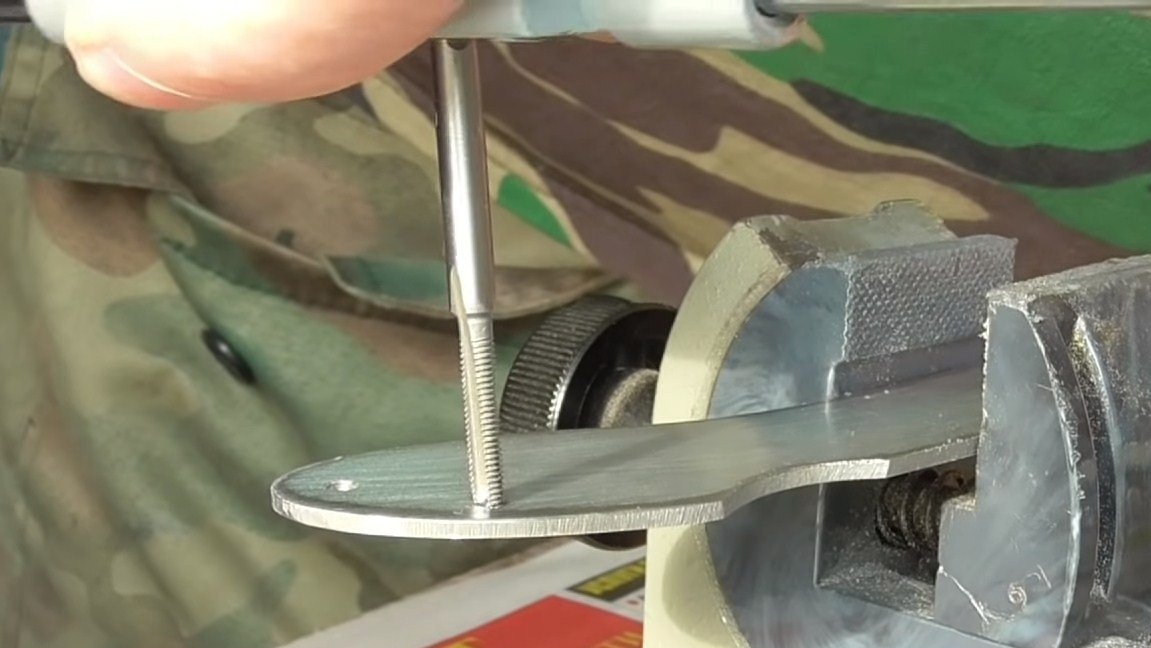
We assemble the handle, we do not forget to grease the fixing mechanism with grease. The handle is assembled on screws, and so that their hats do not stick out above the surface, the author, using a drill, gives them a conical shape. We cut the thread in the handle, wrap the screws and cut off the excess.
If all the parts have already been processed properly, you can proceed to the manufacture of linings.
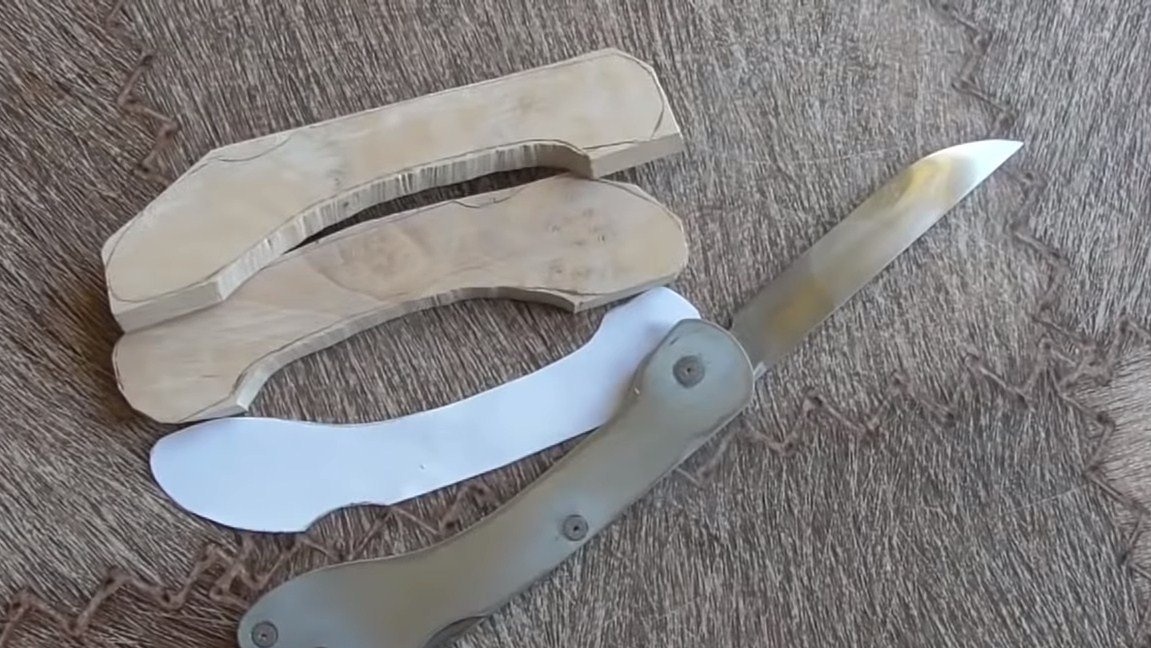
Seventh step. Lining
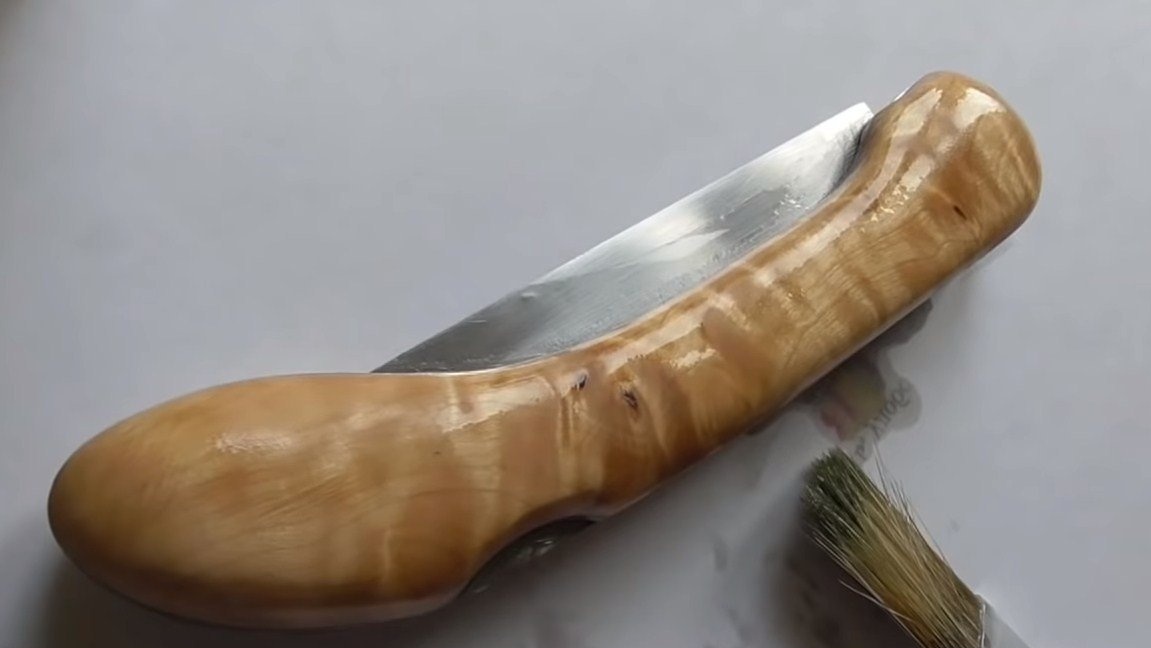
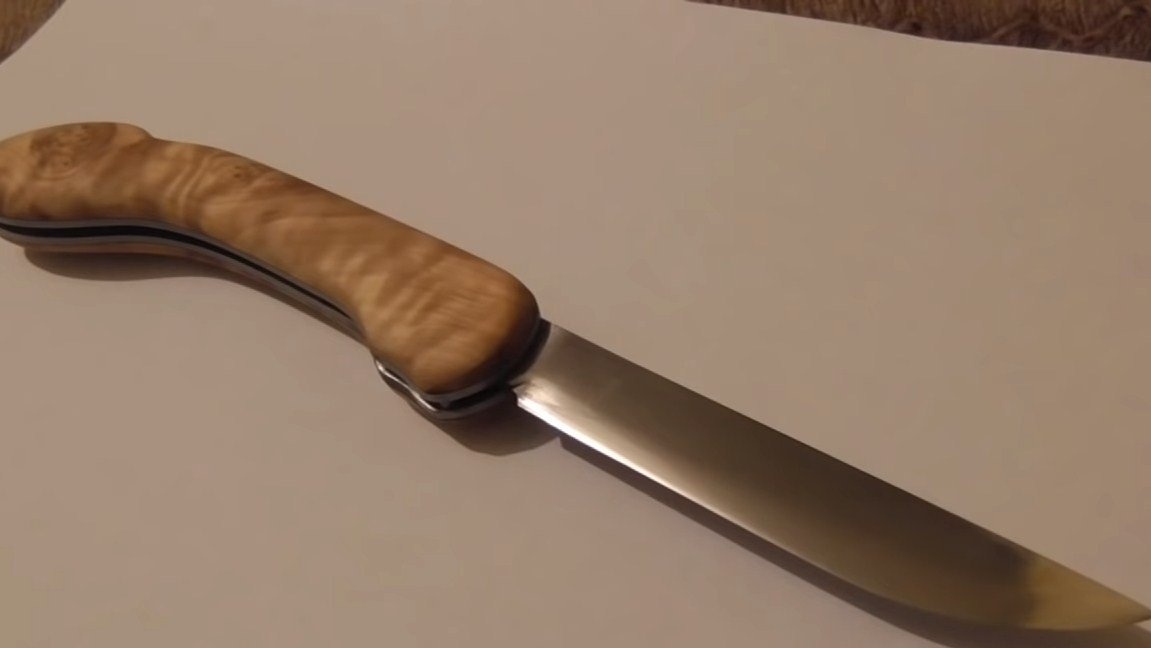
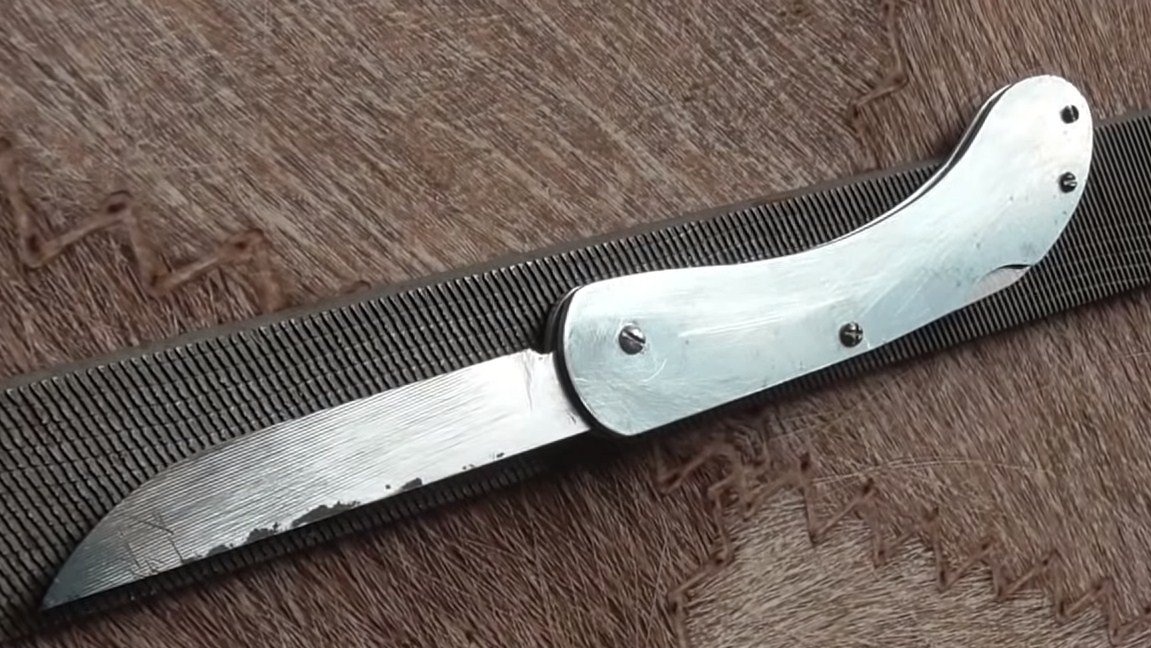
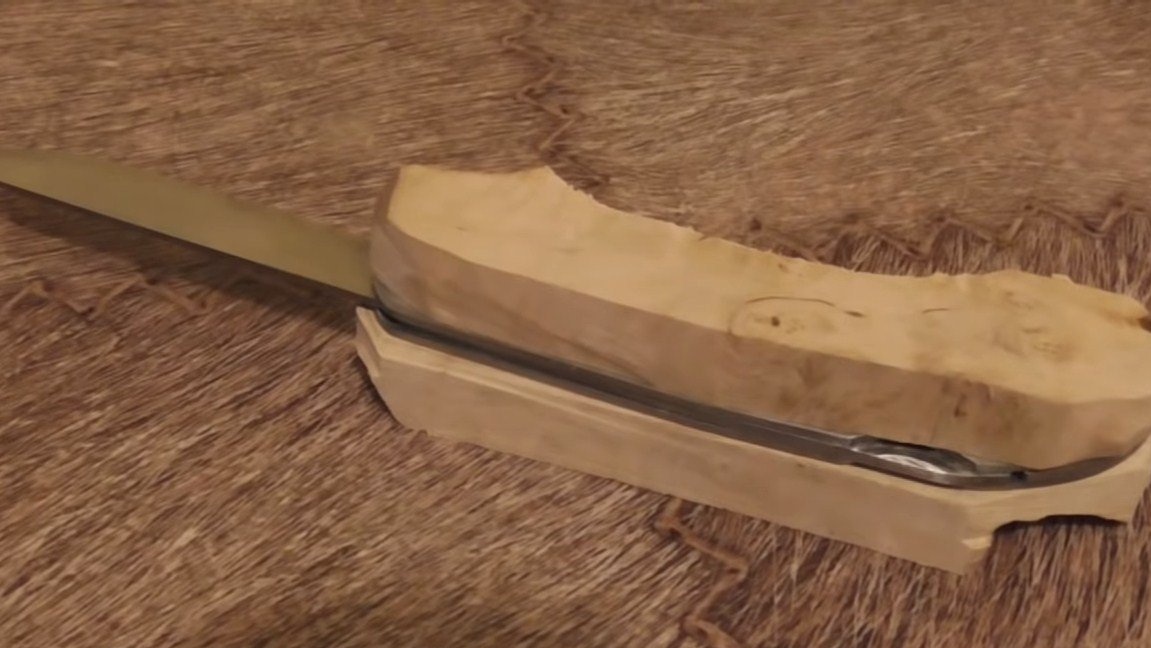
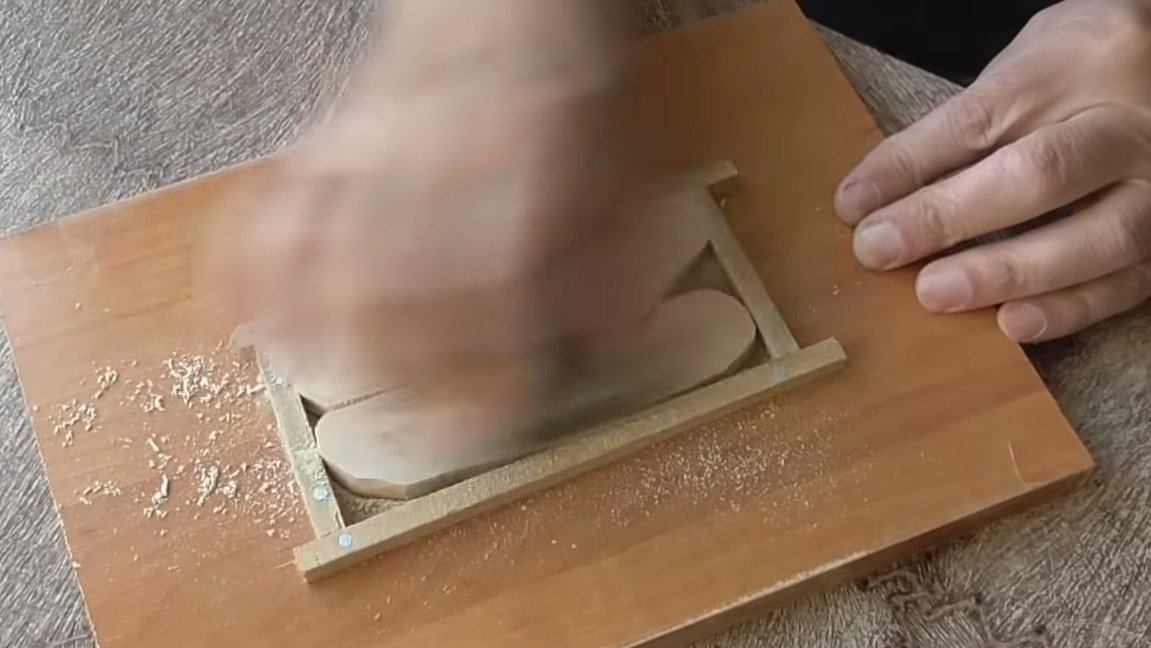
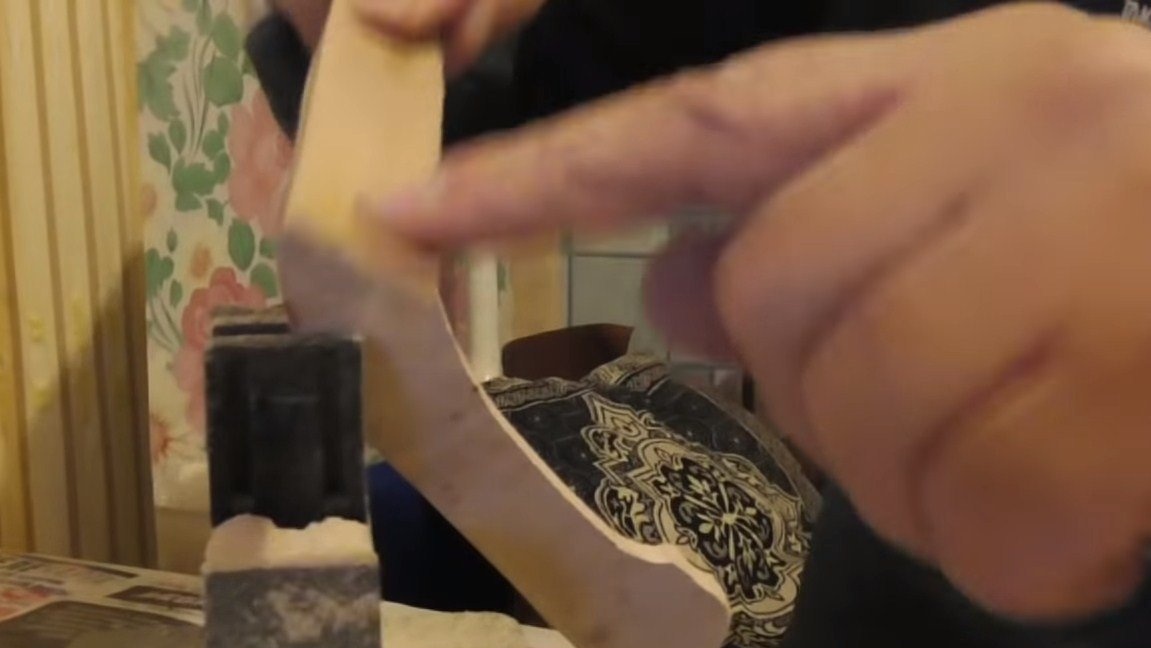
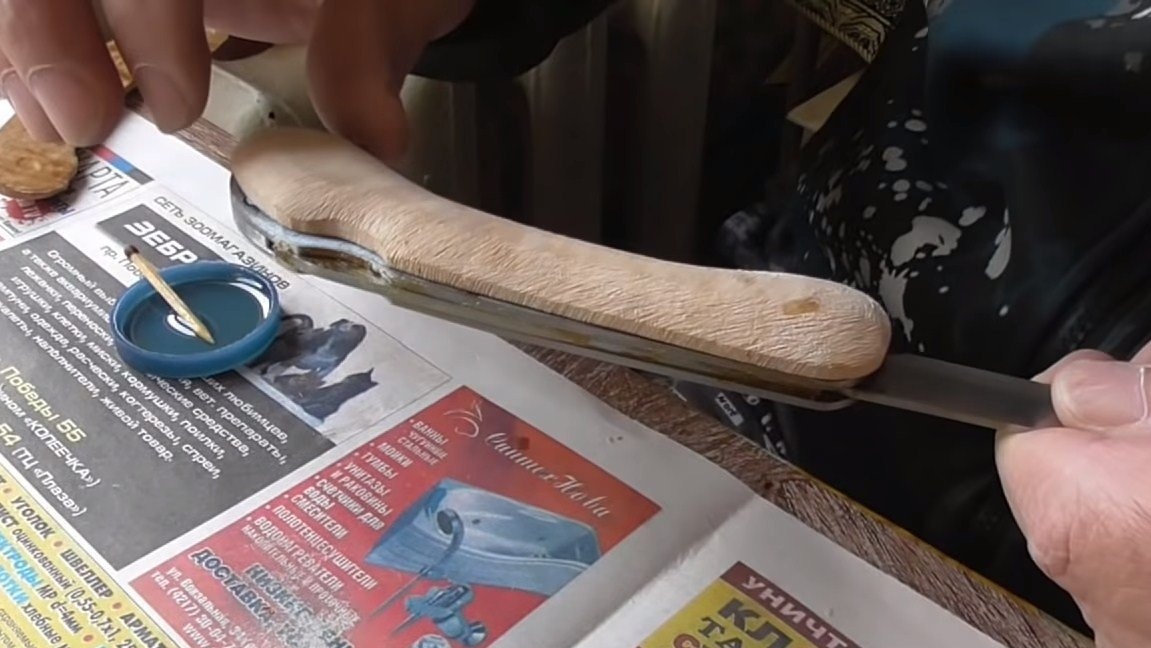
We’ll make pads for the knife, with them the knife will look very beautiful, it will lie well in the hand, and it will not be cold in the winter from metal. We select stitches from beautiful wood with a beautiful pattern and cut two pads with a jigsaw. We finish their basic form with files and sandpaper. Carefully align the planes that will fit on the handle.
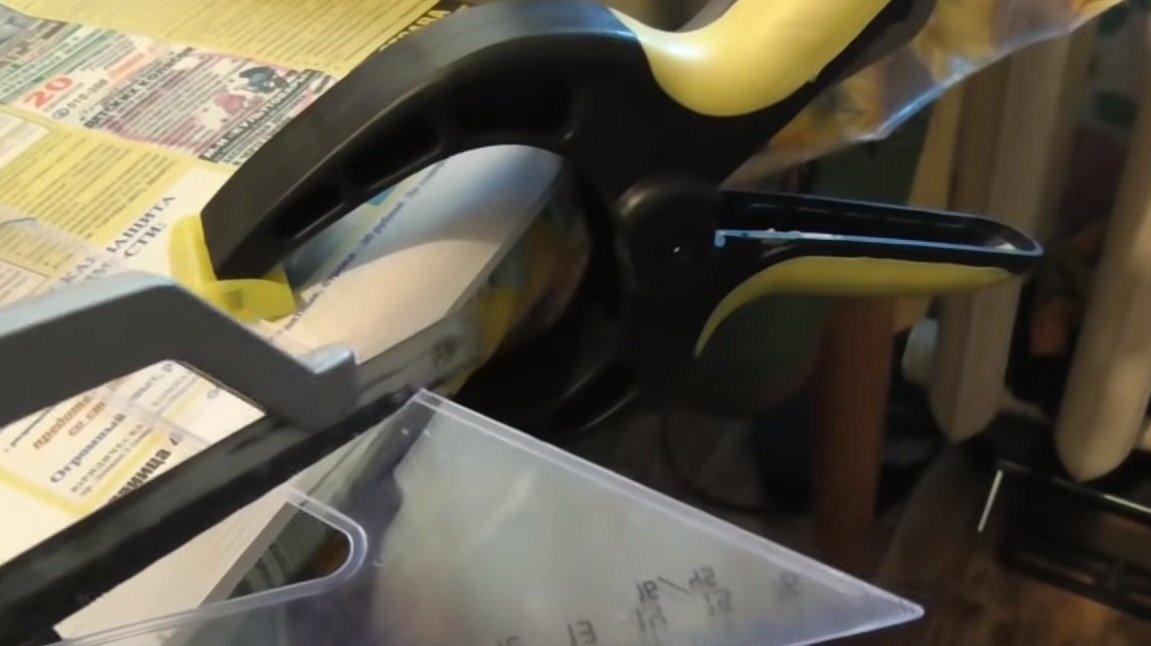
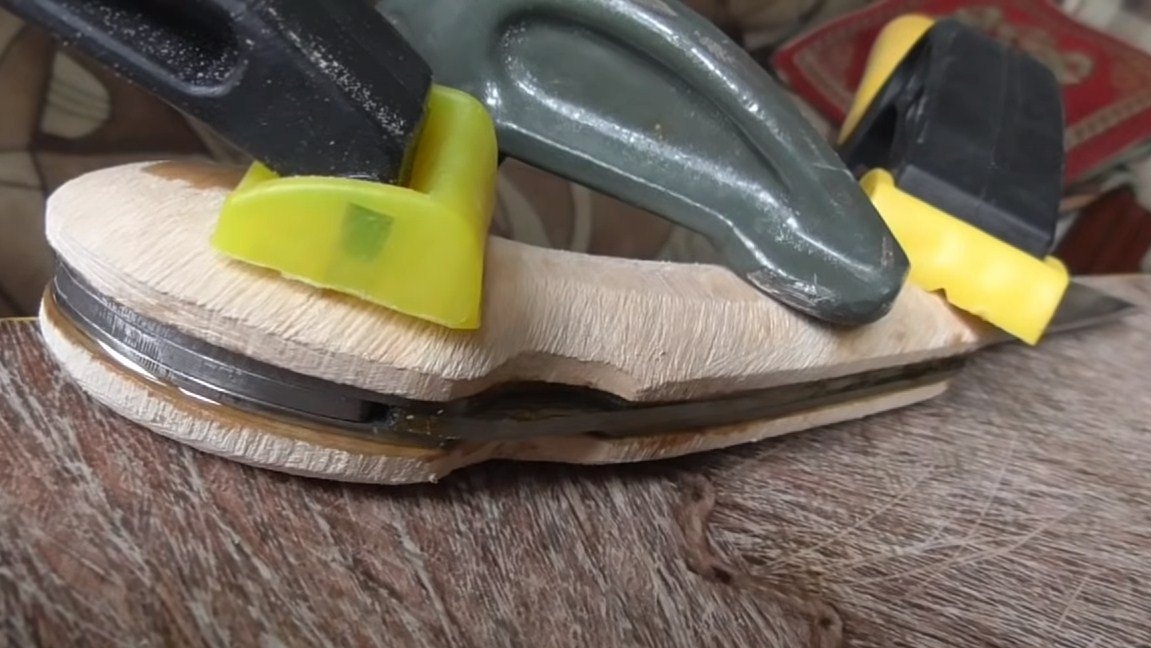
The author glues the pads to the handle using epoxy glue. The metal must be cleaned well, if there is fat, epoxy glue does not stick. Clamp the handle with clamps and let the glue dry for a day.
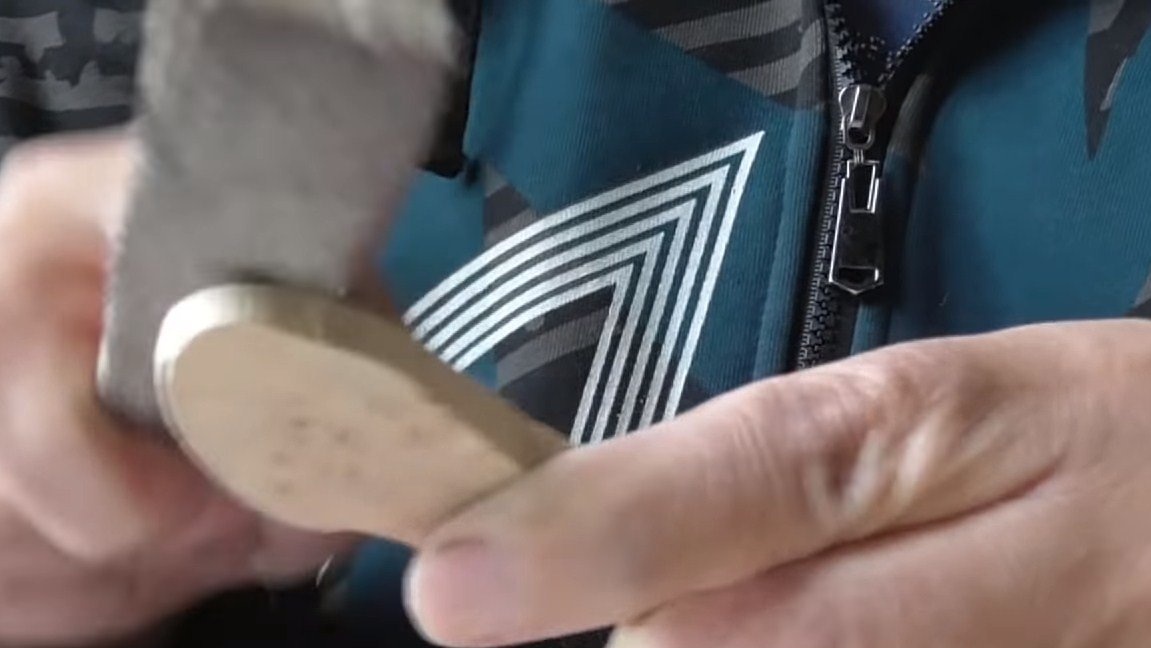
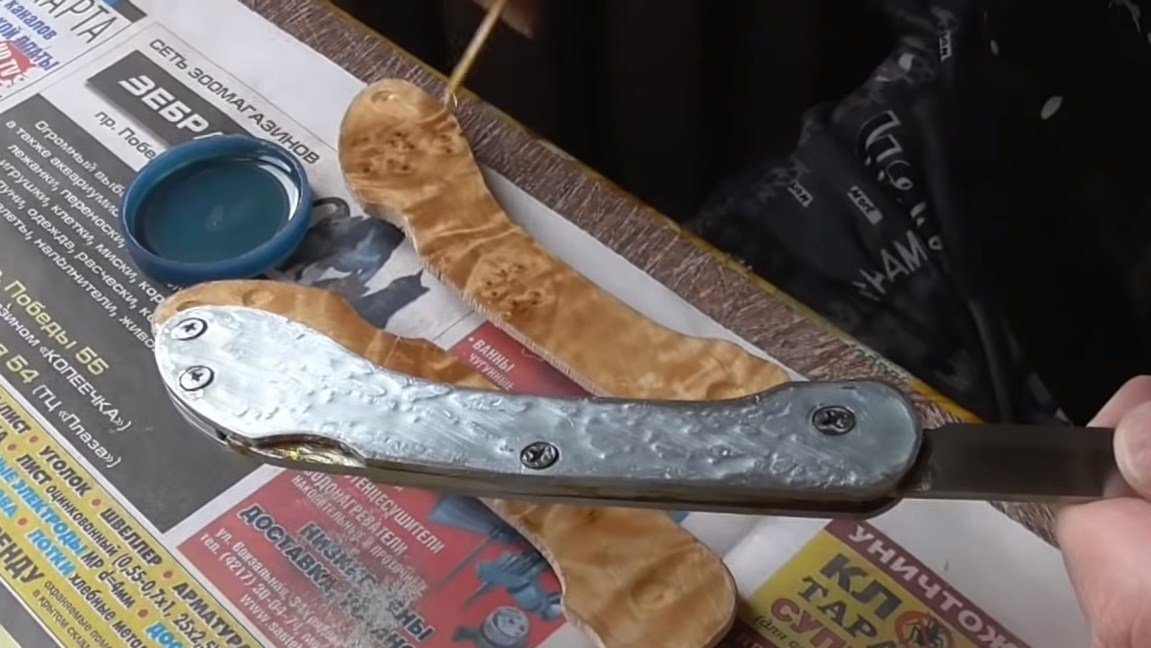

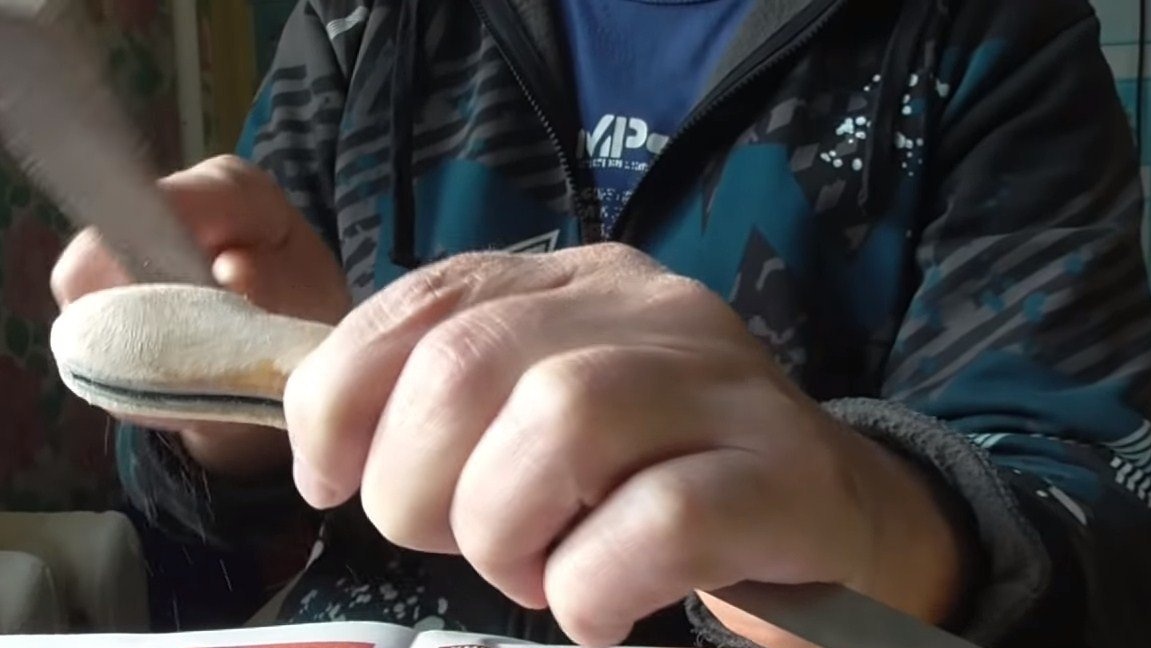
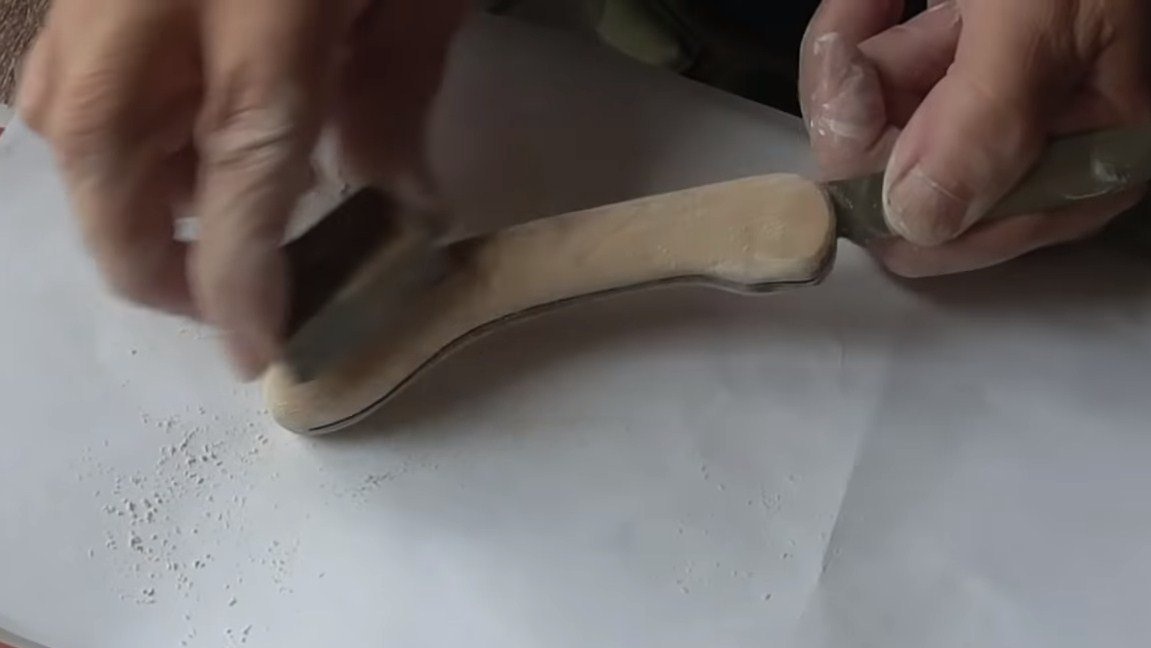
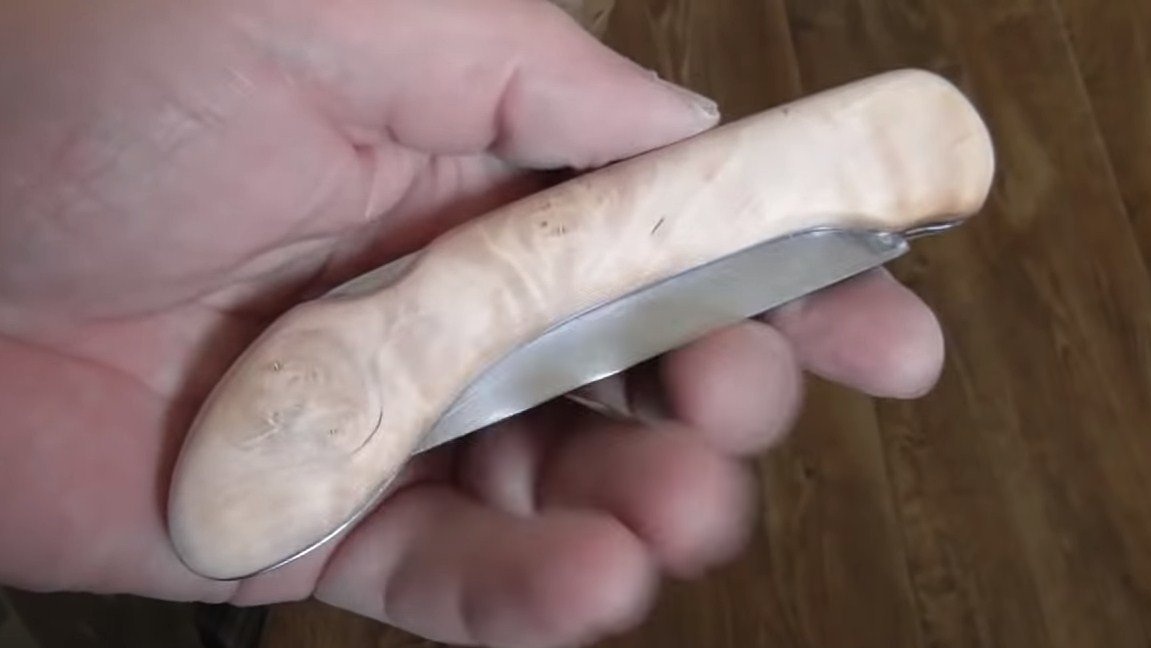
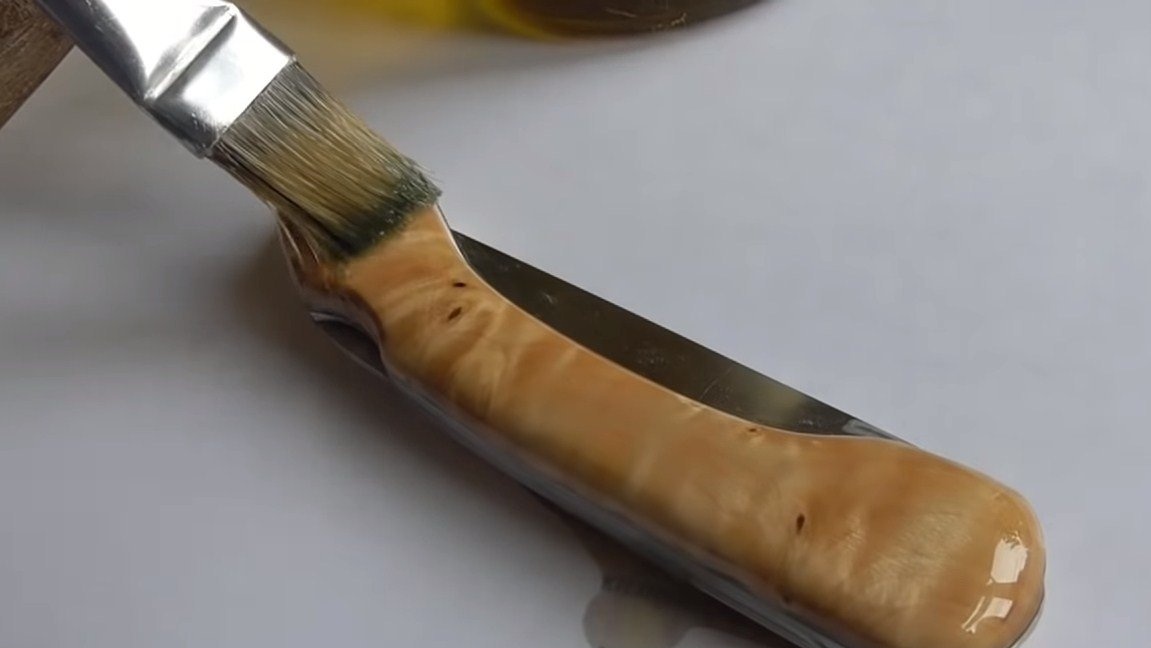
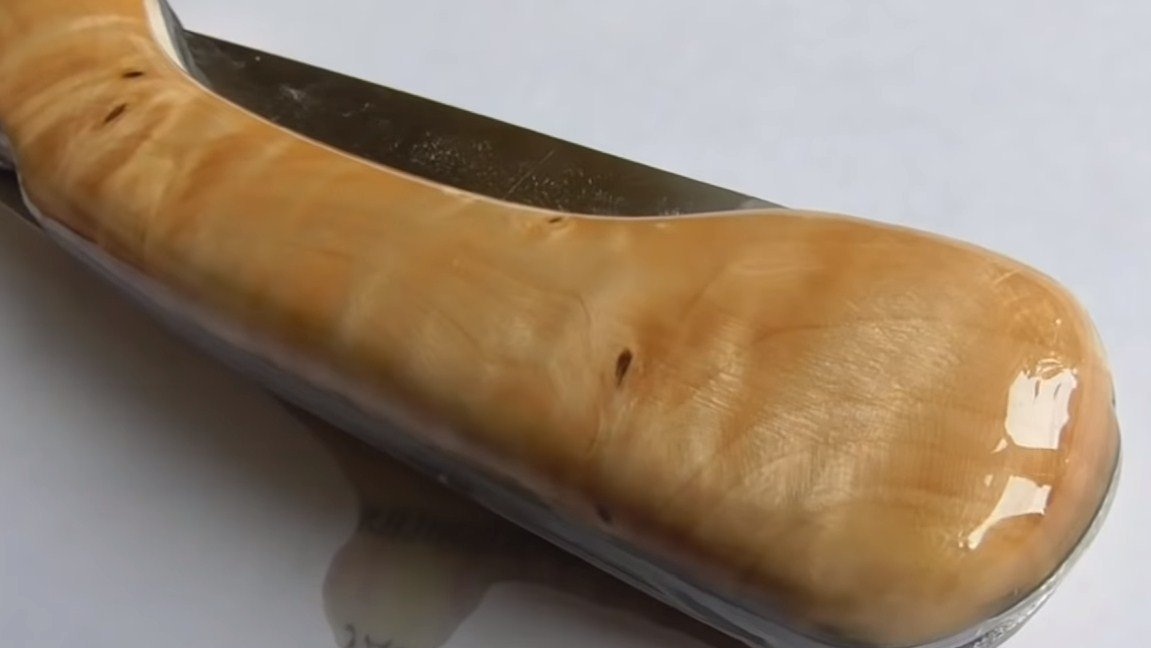
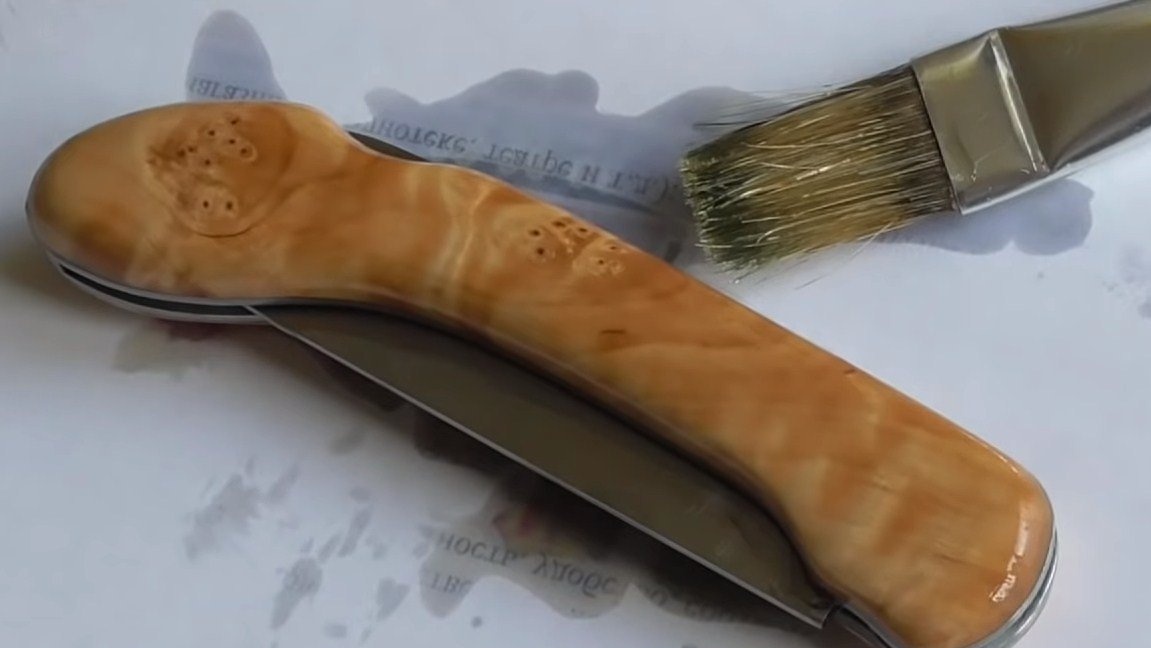
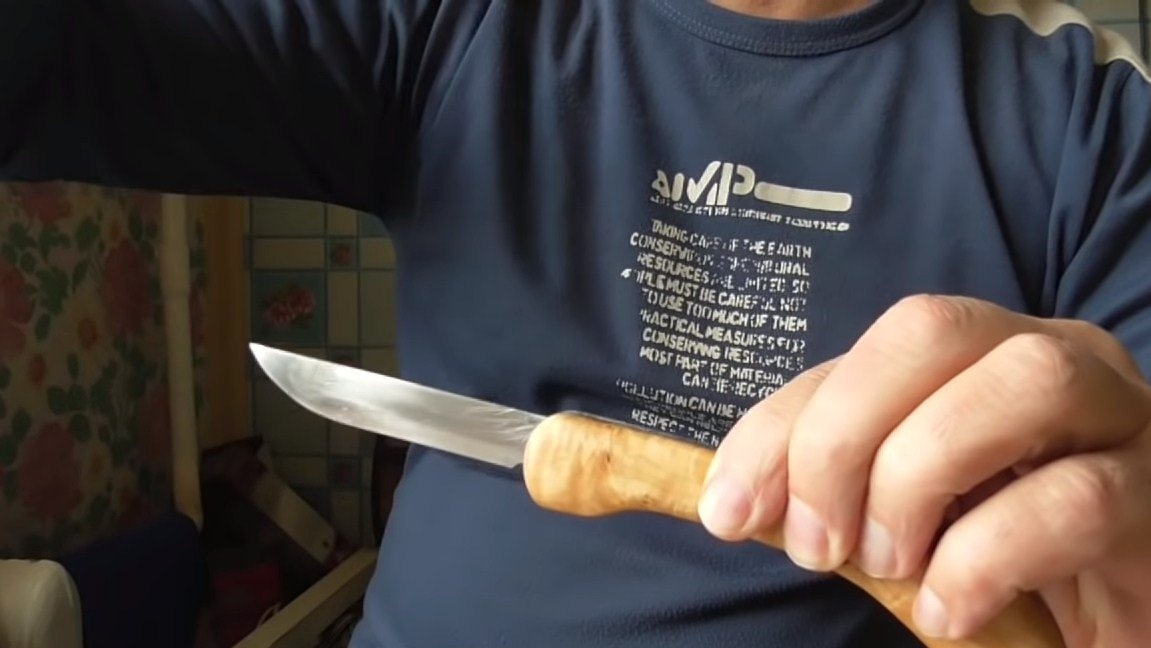
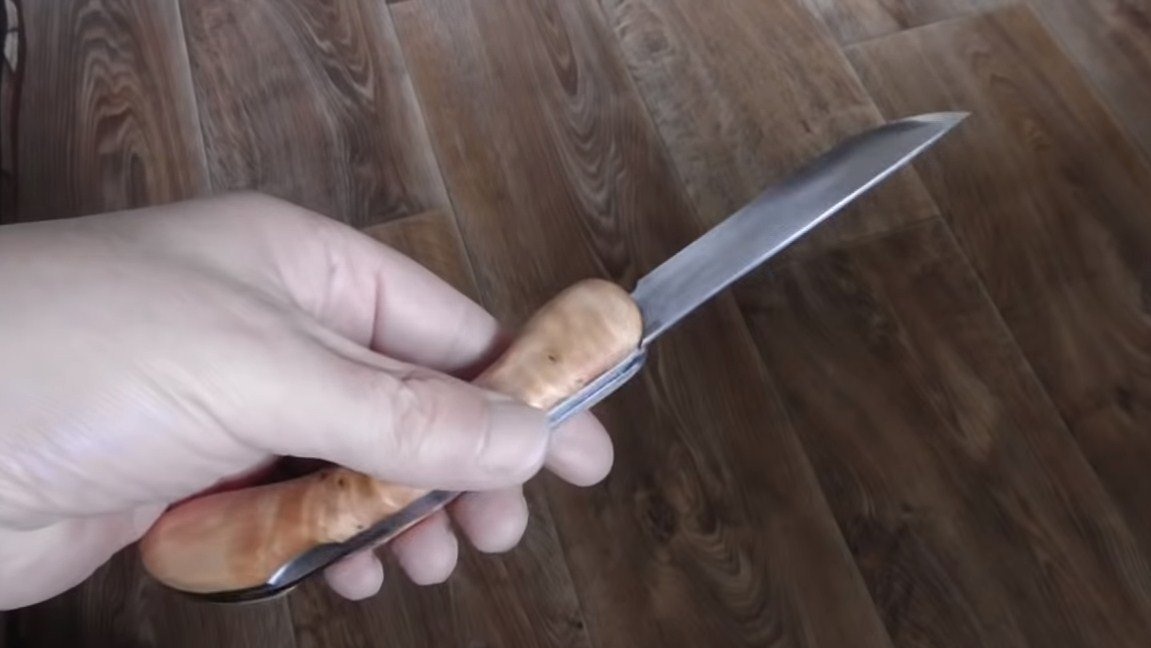
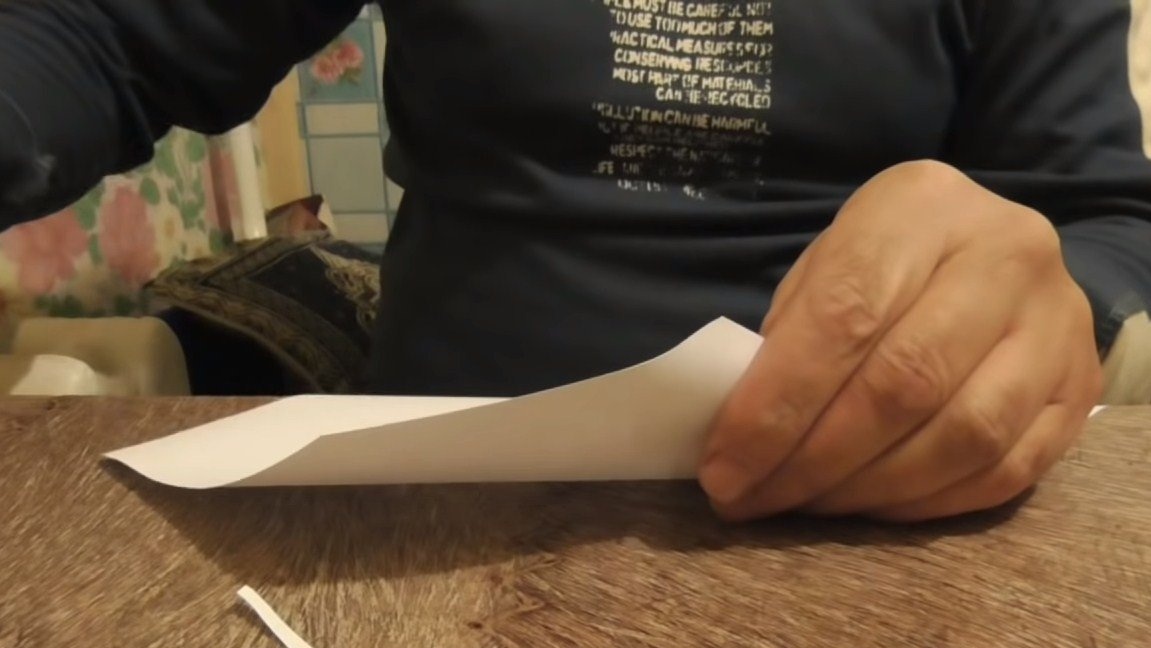
In the end, when the glue dries, we fine-grind the handle to a perfectly smooth state with sandpaper. The final touch will be covering the tree with linseed oil. Oil protects the tree from water, and also emphasizes the beauty of wood. That's all, the knife is ready, the author has sharpened it to the state of a razor. The knife looks beautiful, I hope homemade you liked it!