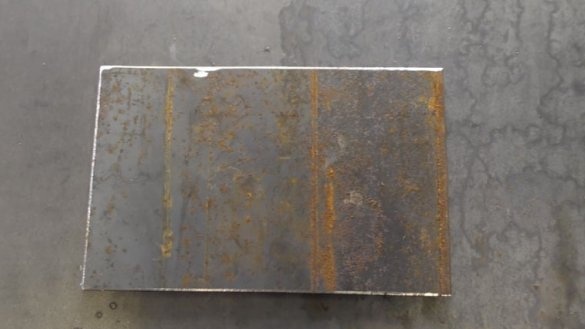
In order not to complicate the description of the process, we simply consider the formation of a weld bead on the surface of a sheet of metal 2 mm thick. If you learn to work with metal of such thickness, then welding of a thicker one will not cause any difficulties.
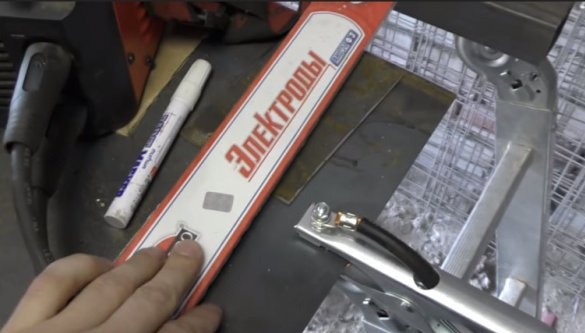
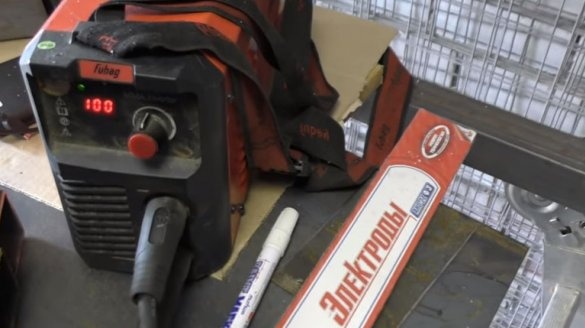
We will cook, for example, with the marking electrode ANO 21,
the current strength on the welding machine is set to 100A.
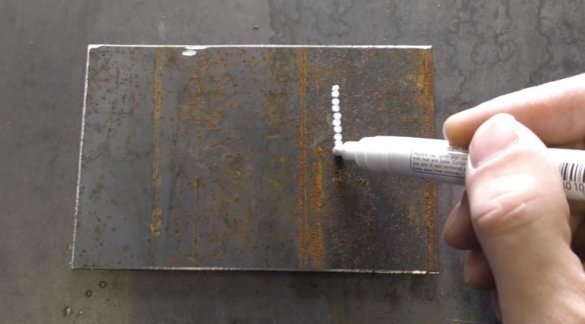
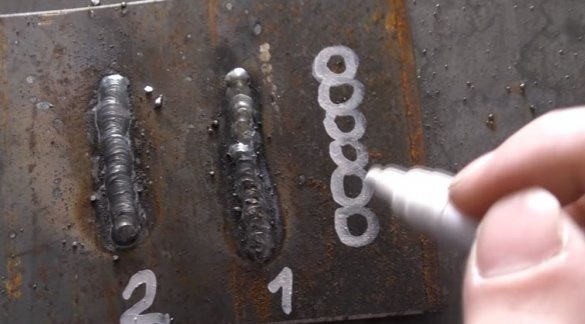
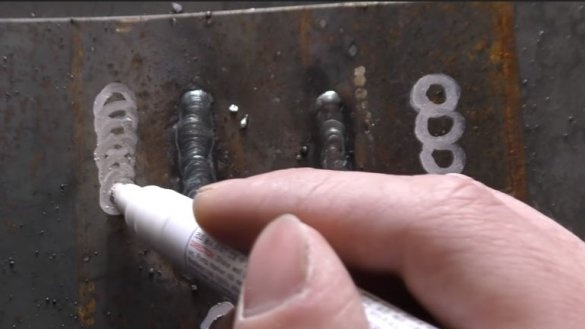
To begin with, with a chalk or a thick white marker, dots mark the line of the future weld on the metal. The line should be exactly white, otherwise it will not be visible through dark goggles or the glass of the shield.
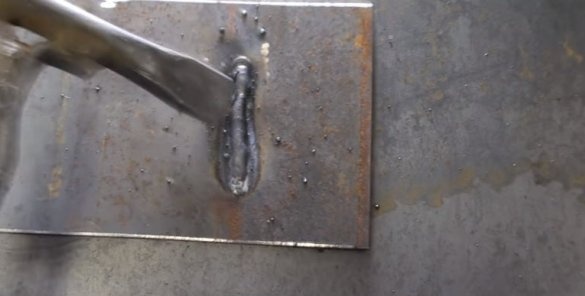
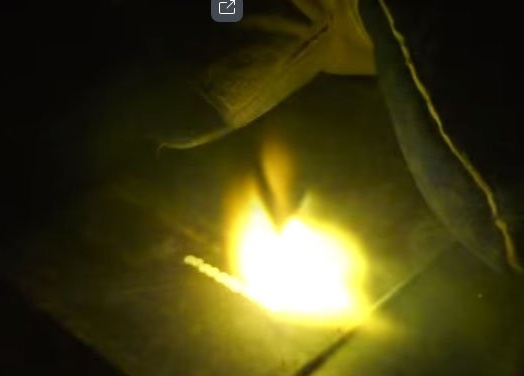
The welding seam is driven by moving the electrode along this line sequentially from point to point and not holding it for a long time in one place, so as not to burn metal. However, the main thing with electric welding is not to rush and try to maintain the distance between the metal and the electric arc unchanged.
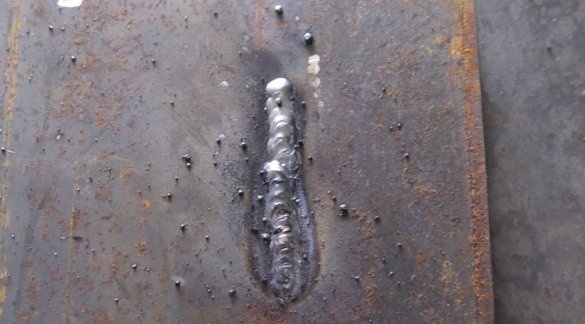
During hasty work, the welding seam is scaly, uneven and, after it is cleaned of scale,
looks like this:
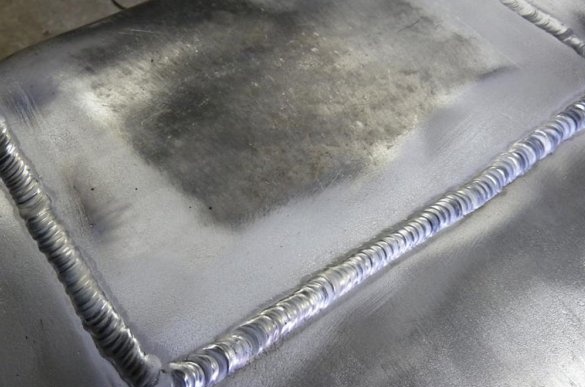
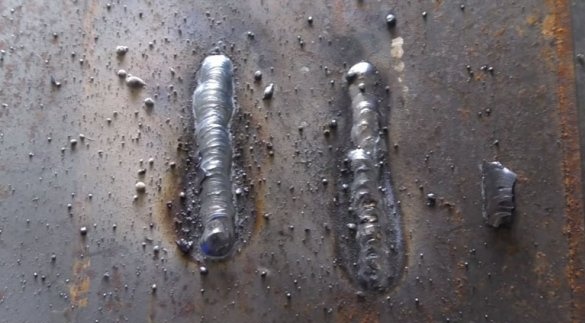
With the right welding speed, the seam turns out to be smooth, even and neat, and noticeably differs from the hastily made seam. After cooling and descaling, it looks like this (on the left in the photo):
It is in the optimal speed of the electrode along the marking, not too fast and not very slow, that the secret to the formation of an even and beautiful welding seam lies. In practice, achieving such an electrode speed is not difficult at all, you just need to practice. This is done as follows.
If we arbitrarily mark the points on the seam marking line in the form of small circles, it turns out that during hasty work, the welder moves the point electrode to the point, starting from the edge of the previous one.
For optimal electrode driving speed, it is recommended that each subsequent point of the weld start not from the edge, but, as it were, from the center of the previous one. But, of course, without holding it in one place for a long time, so as not to overheat the metal and make a hole in it. This is the trick of forming a reliable and externally aesthetic welded joint.
As a result, the seam turns out to be even and smooth, and the connection itself is of high quality. Of course, in order to learn how to make such welds, training is necessary, but it’s better to pre-train and “get your hand” on some “waste” piece of metal than to hurry up and hastily ruin the appearance of the desired product.
Explanatory video on the formation of an aesthetic, smooth and beautiful weld

