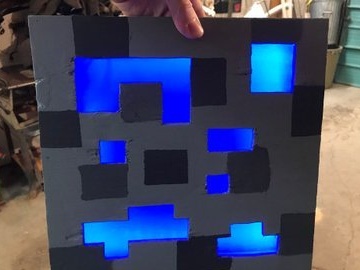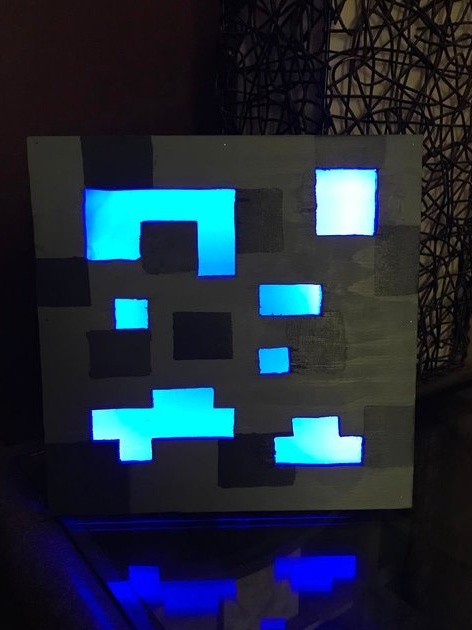
Today I will tell you how the Master made the lamp in the form of a block from the game.
Step 1: Getting Ready
Materials we need:
1. Various pieces of wood and plywood
2. A sheet of plastic (can be transparent or colored)
3. LED strip
4. switch
Instruments:
1. Table saw
2. Drill
3. Jigsaw
4. Soldering kit
5. Nails / screws
6. Hot glue
7. Brush
Step 2: Cutting the wood for assembly
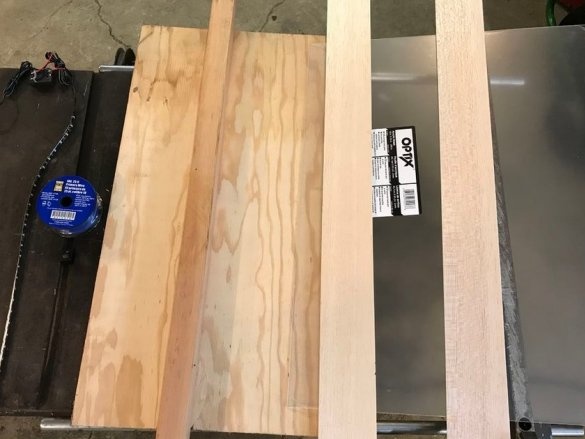
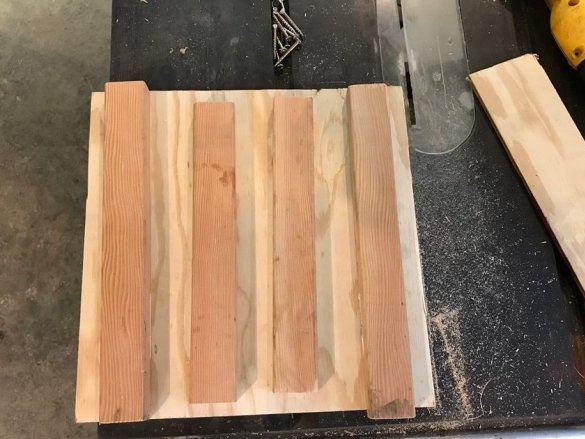
The author cuts pieces of wood to make a box. We need 4 sides to build a frame to which we attach plastic. Also cut the plastic and plywood to the same size as the frame. The author made the size "12x12".
[bStep 3: Starting the build [/ b]
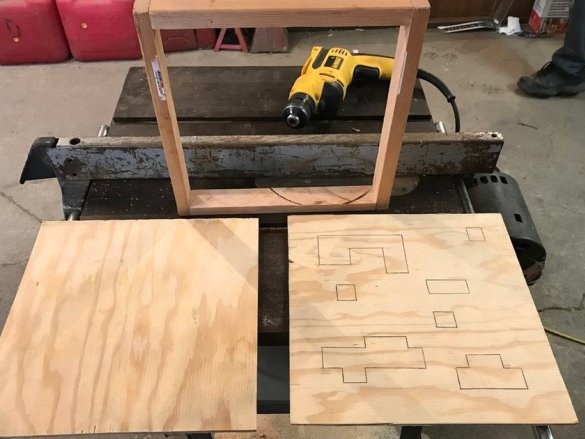
Next, the author pulled the frame with screws and painted on the plywood figures that need to be cut.
Step 4: Cutting Shapes
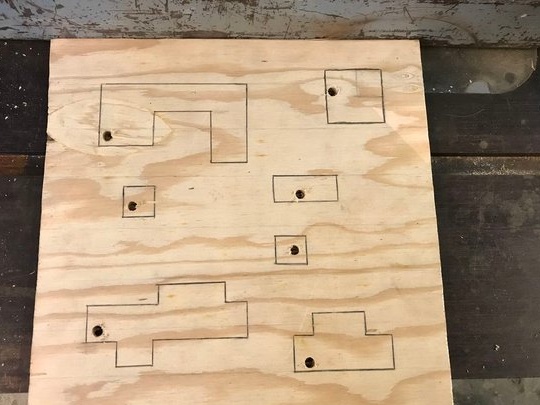
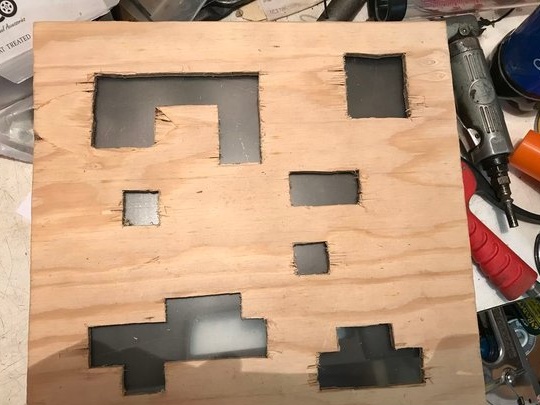
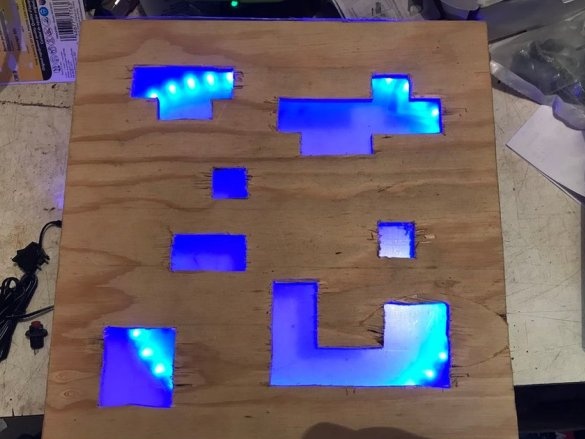
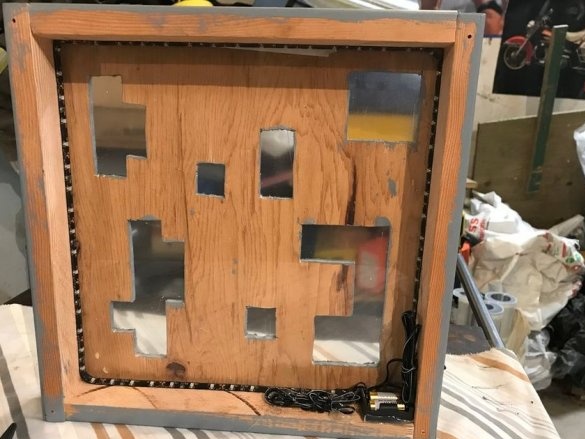
Using a jigsaw, cut out the shapes that you drew.
The author drilled the corners of the figures to begin to cut, then he aligned all the burrs with a file.
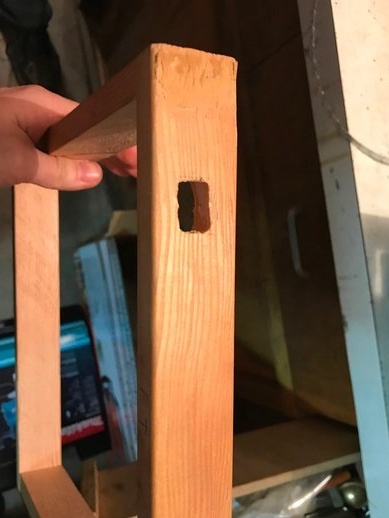
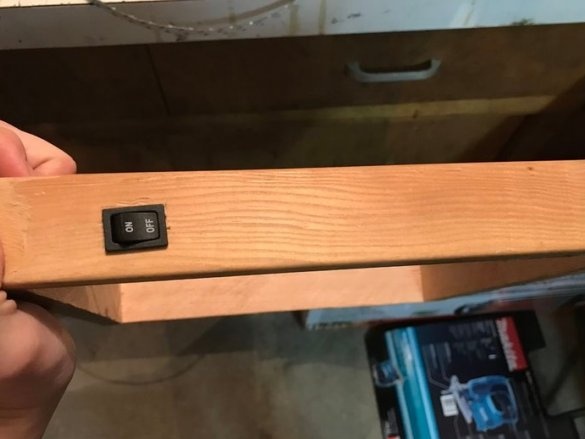
Step 5: made a hole for the button
The author used dremel to cut holes
Step 6: Test Build
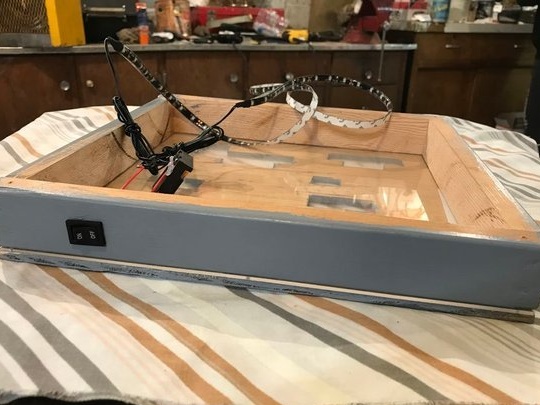
The author collected everything before painting by installing an LED strip in the block.
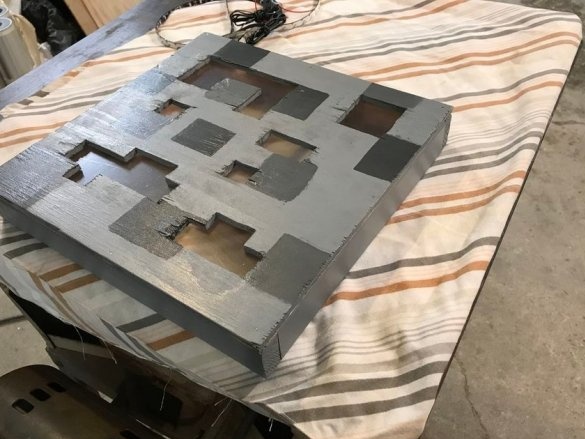
Step 7: Painting
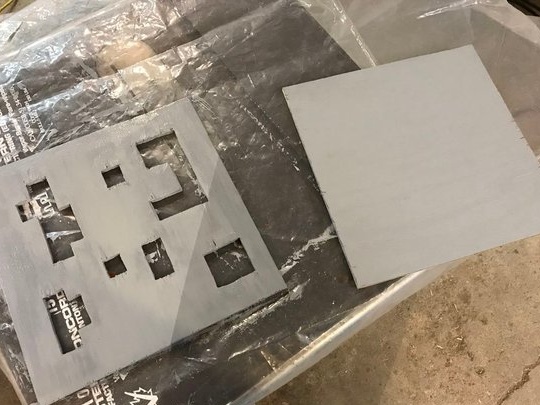
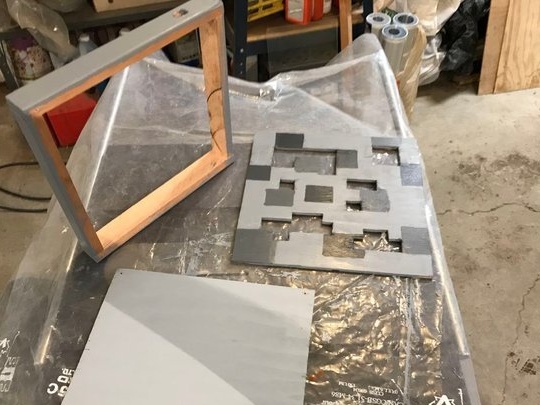
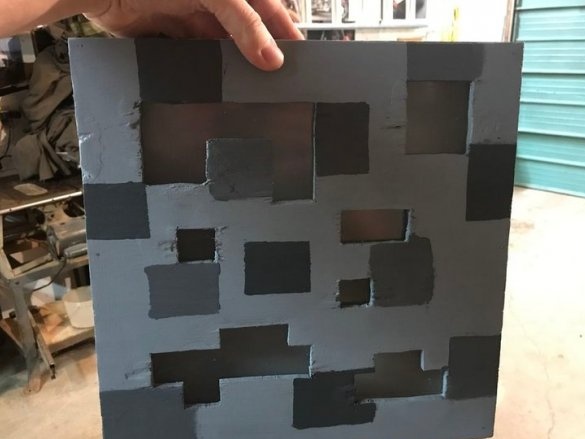
Painting in gray with the addition of a shade of black.
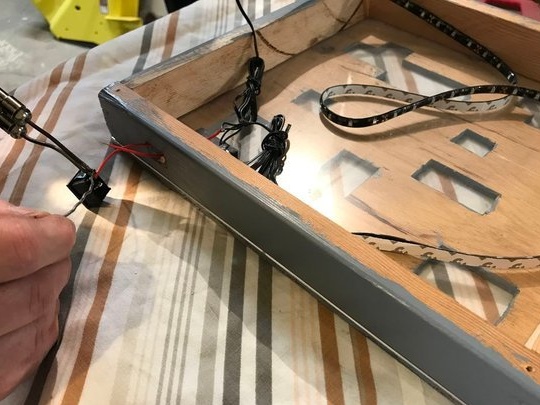
Step 8: Install Electronics and Complete Assembly
The author laid the LED strip at the edges and connected to the switch
Step 9: complete the build
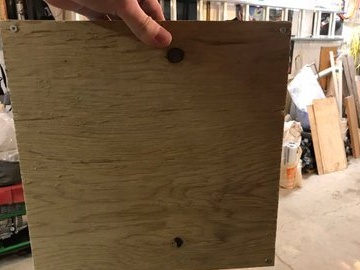
The author twisted everything with screws so that in the detailed it was possible to disassemble to repair or replace the batteries.
And this is what we got.

