
The author of Instructables under the nickname SimonRob uses a Canon camera with replaceable 7.2-volt batteries. You can charge one battery in the charger, and use the other at this time, then swap them. You can pre-charge several batteries, and then, during a long walk, change them one by one as they discharge, and charge everything at home again. And the proposed voltmeter with a scale of LEDs helps the master quickly distinguish between charged and discharged batteries. No need to put the battery on the camera and wait for it to load. Very comfortably.
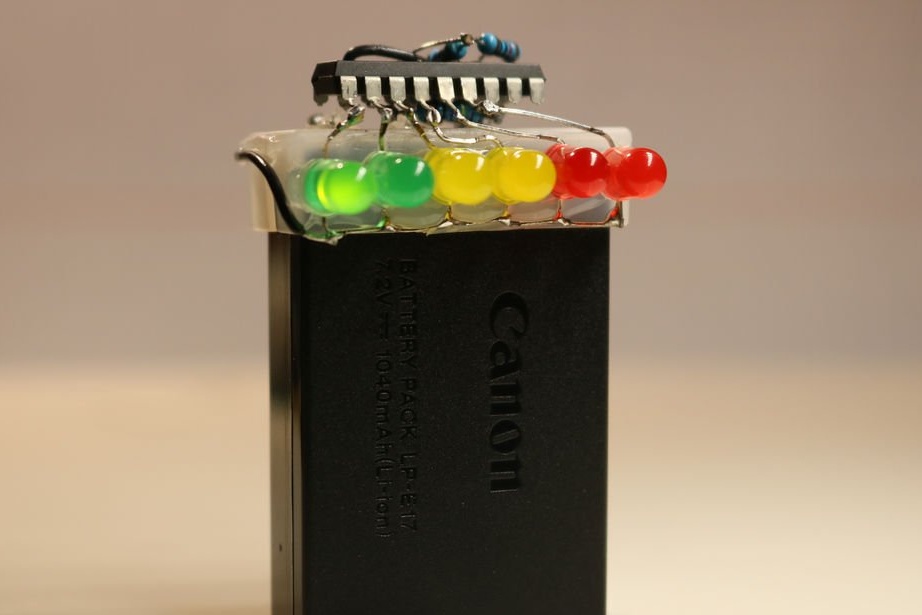
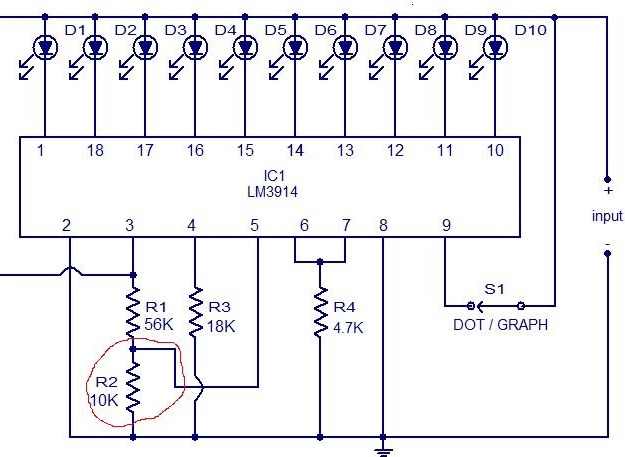
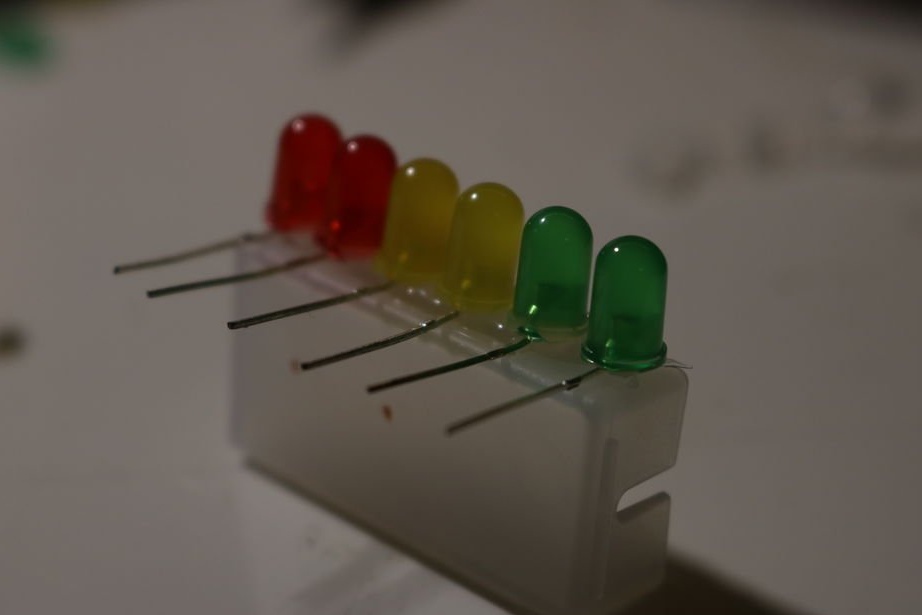
A voltmeter is mounted on the protective cover from the kit of the old, worn-out battery, which is no longer used. You can’t take the lid from the worn-out battery that is still used, because you can only store and carry it with you when the lid is on. As a converter of the analog voltage value to the position code, the LM3914 chip is used. It allows you to control ten LEDs, but the master connected only six to it, since four of them will not be used anyway. You will also need constant resistors of 4.7, 56 and 18 kOhm and a variable of 10 kOhm, which is needed only for tuning, then it must be removed.
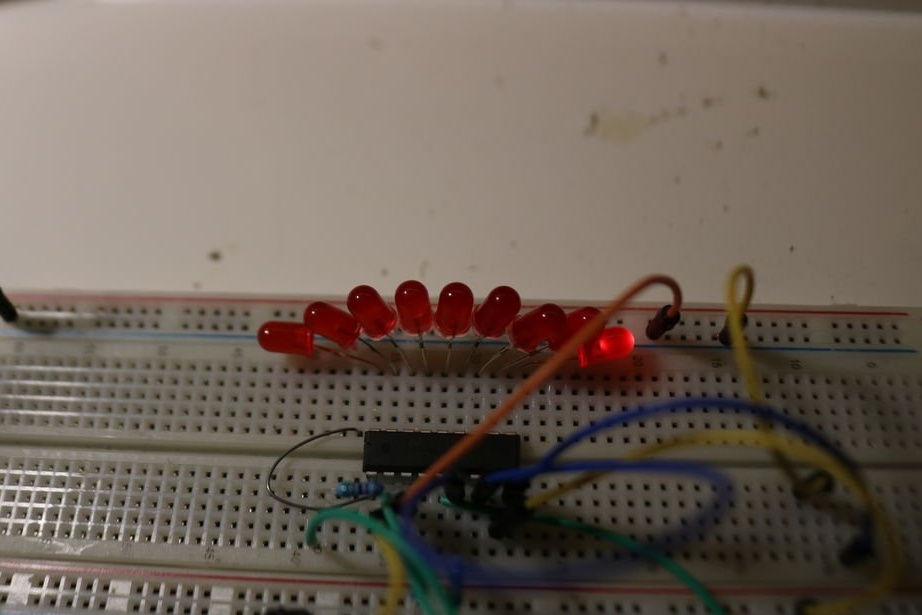
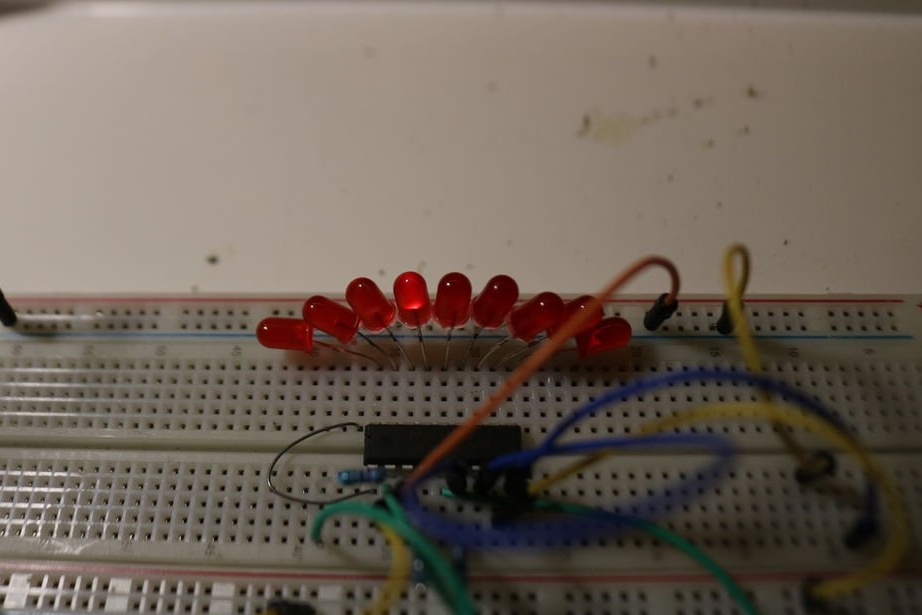
At first, SimonRob assembled a circuit on a breadboard type breadboard in a variant with a variable resistor:
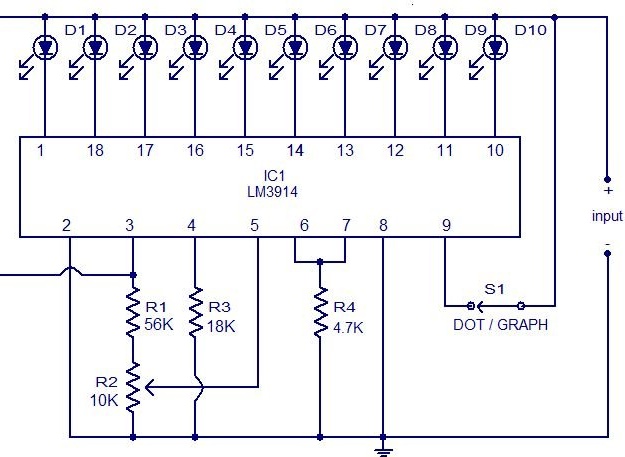
Having connected a charged battery to the circuit, he set the variable resistor so that the tenth LED on the tenth pin (in the moving point mode) or all ten LEDs (in the scale mode of varying lengths) burned. Then he connected the discharged battery and noted that, in the same position of the variable resistor, the fifth LED on the fifteenth pin in the first mode, or five LEDs from the first to the fifth in the second mode, respectively, is on. Since in both cases the state of the first four LEDs does not change, he decided not to put them after moving parts from the breadboard to the finished product.
In the original copy, the deviation when the battery was charged to the full scale turned out when the variable resistor was completely twisted out by 10 kΩ, so it was replaced by a constant one with the same resistance. The scheme has become like this:
Here the master begins to rearrange the components from the breadboard to the finished design, assembled by volume mounting:
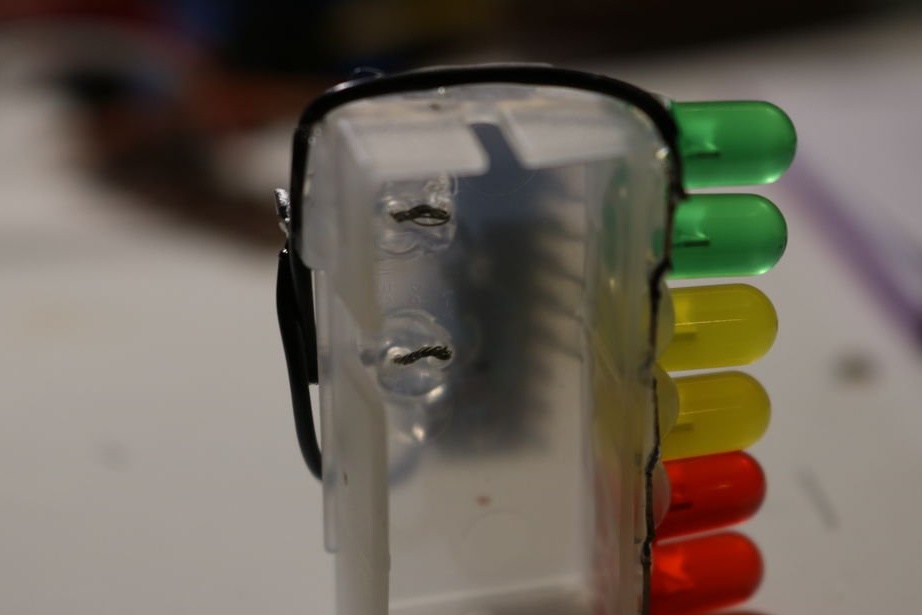
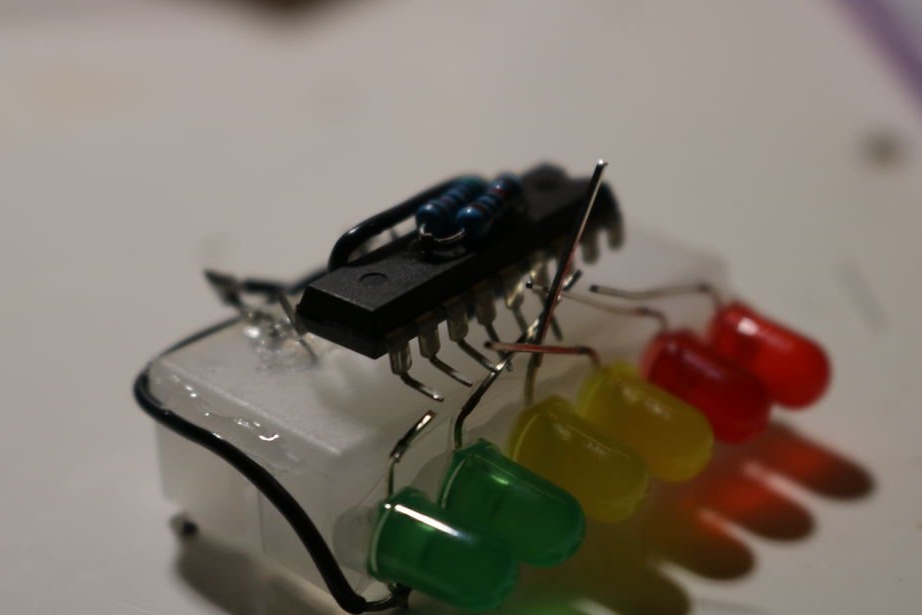
And finally, gets what is on the KDPV. Pay attention to how the pressure contacts are made in the middle photo. Their position coincides with the position of the corresponding pads on the battery. It is important not to confuse the polarity and assemble the circuit so that during mechanical influences on it a short circuit is completely eliminated. You need to carry the voltmeter with you in a hard box, or provide a housing for it. Measure briefly so that the battery does not run out. Having disconnected the battery from the camera or voltmeter, immediately put the cover on it. Do not carry batteries with keys, coins, or other conductive objects. Instead of jumper S1, you can put a switch to quickly select the mode of the moving point or line, changing the length. In the second case, the load is a little more, so you can check whether the change in load affects the voltage, if it does, it is a sign of some deterioration of the battery, at which its internal resistance increases.