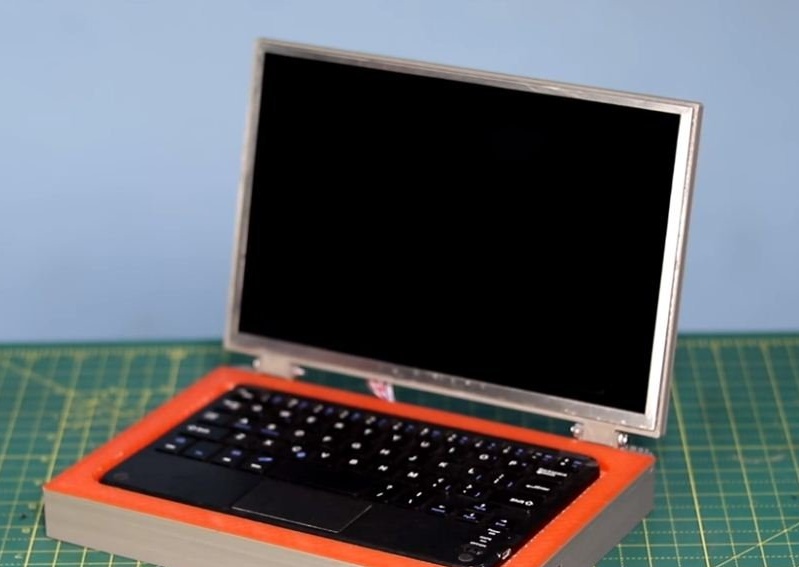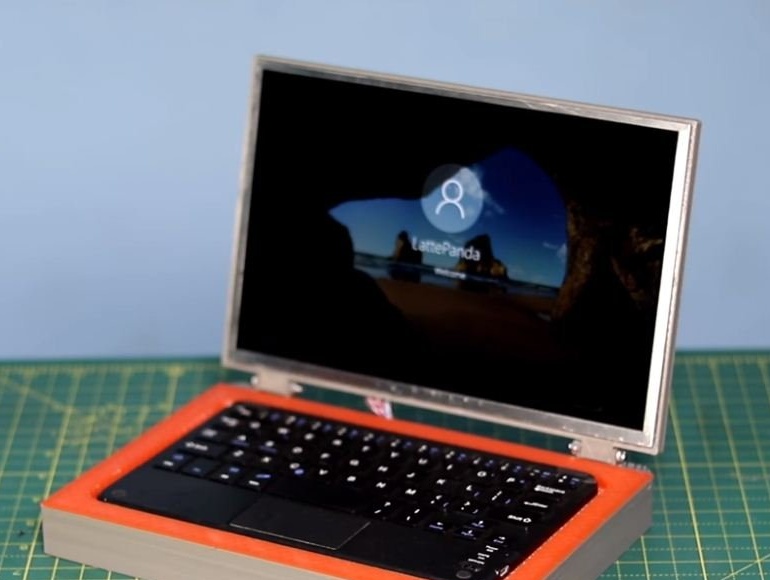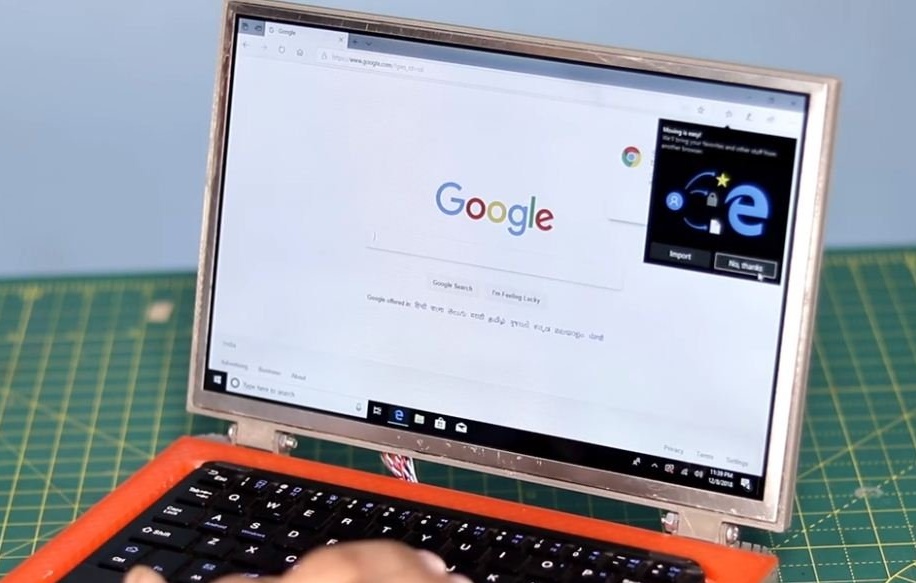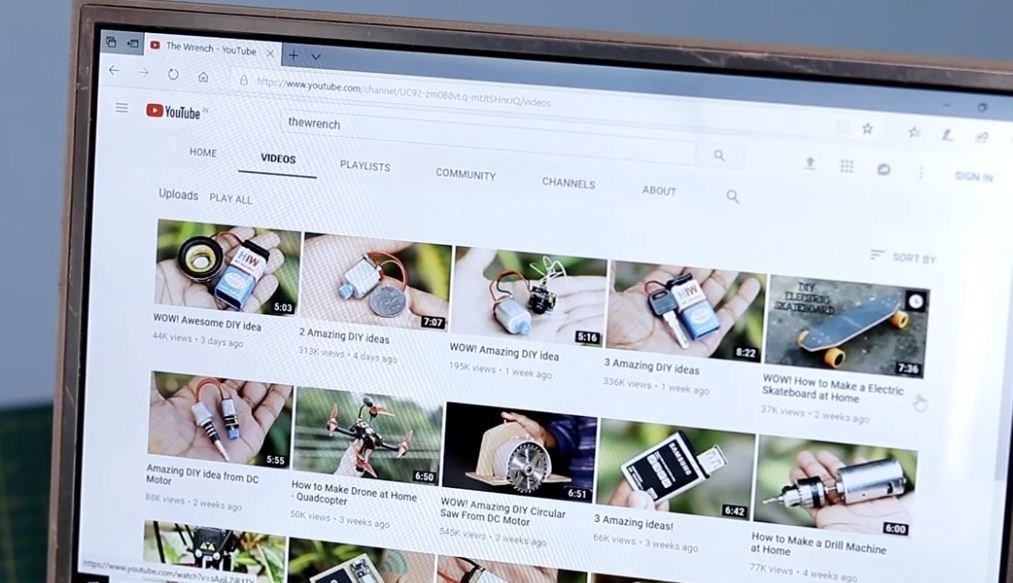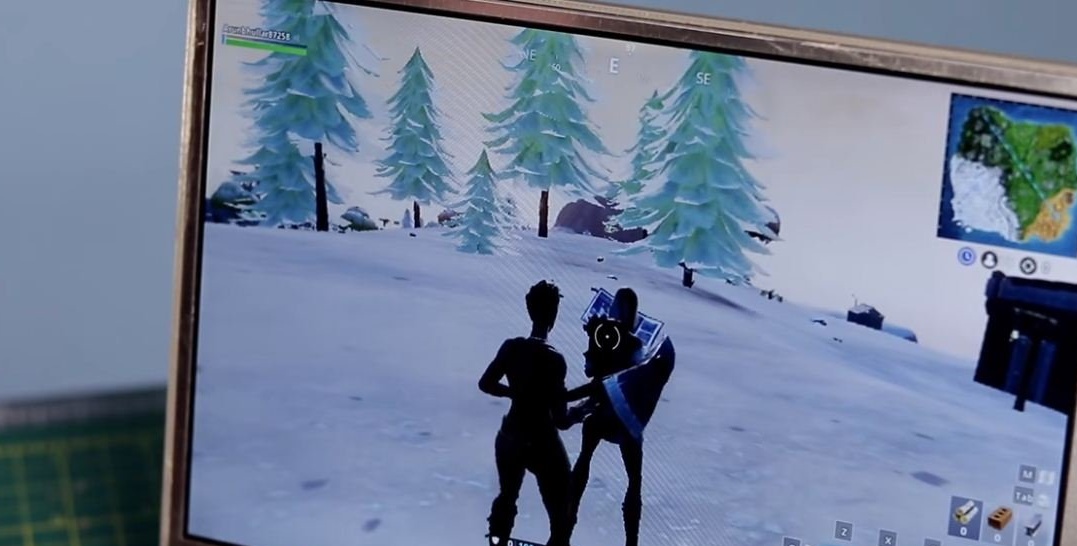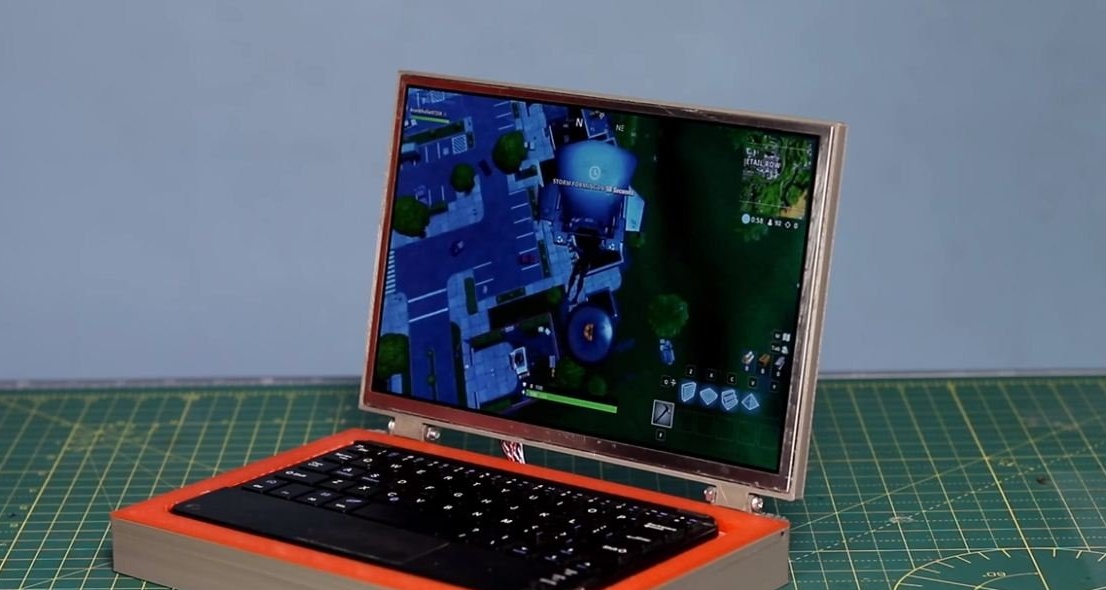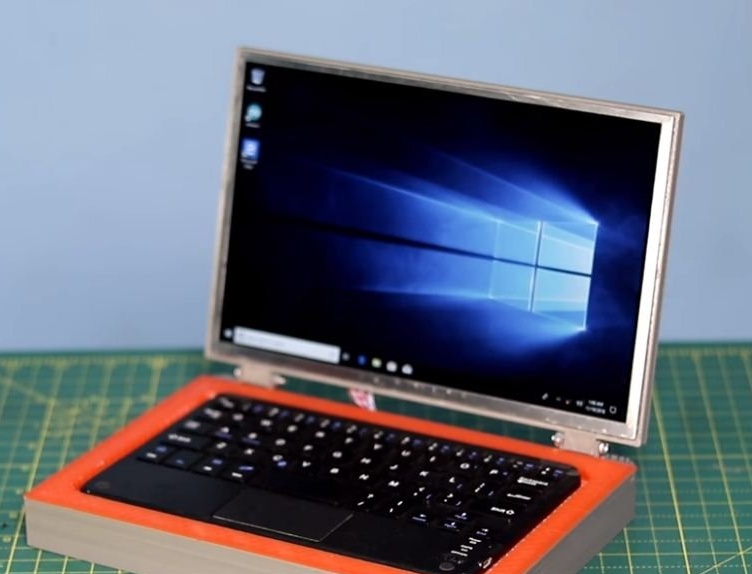
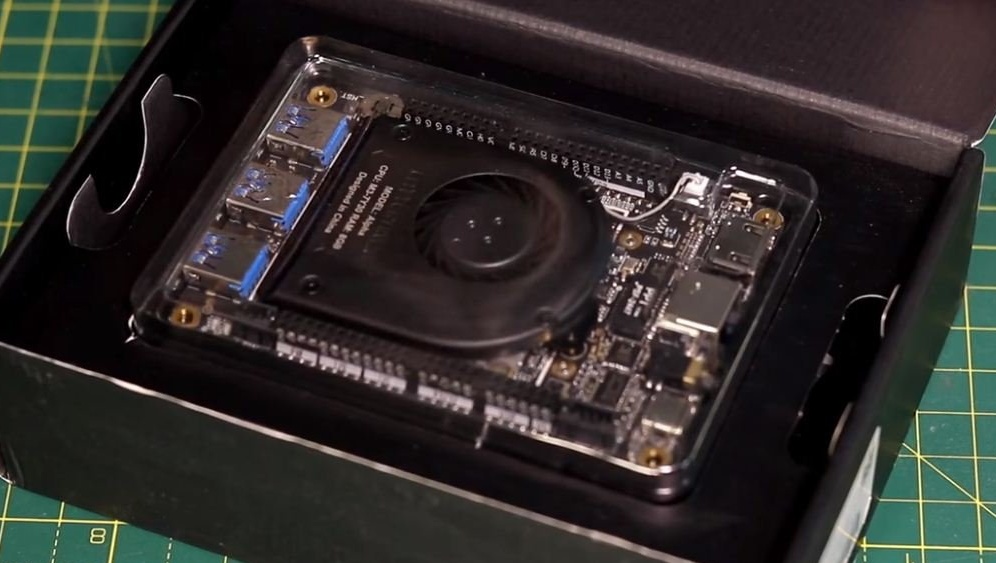
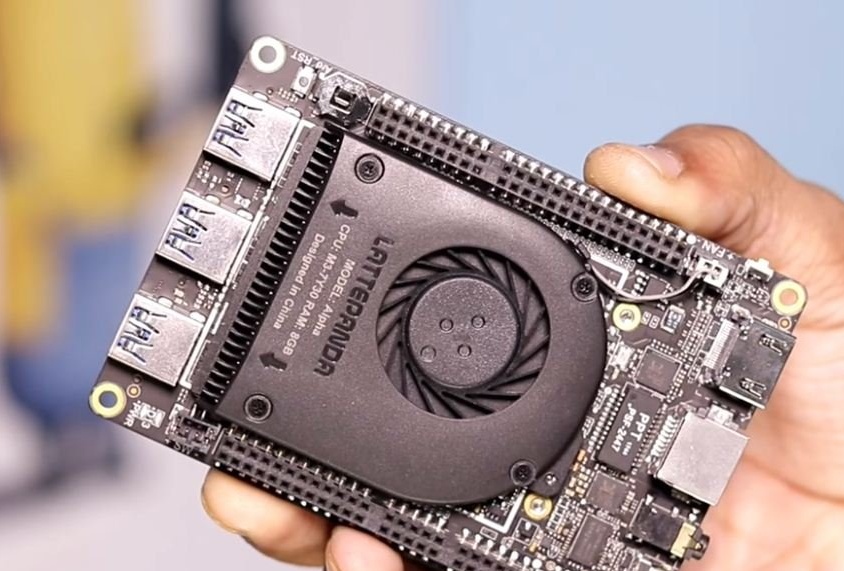
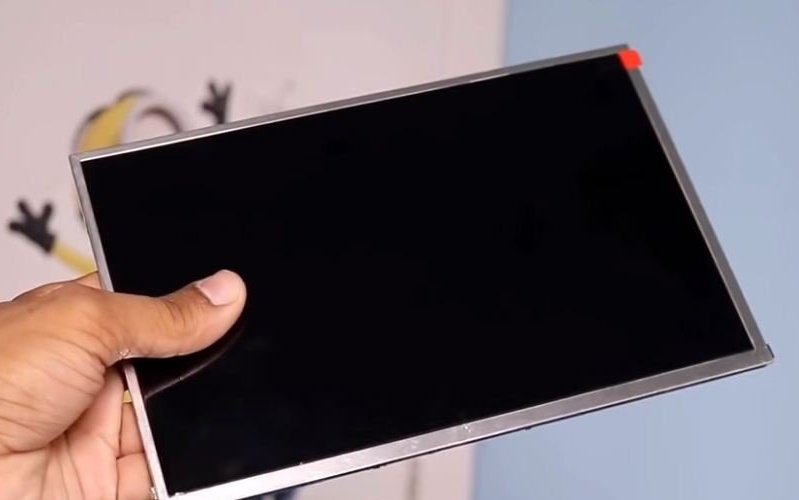
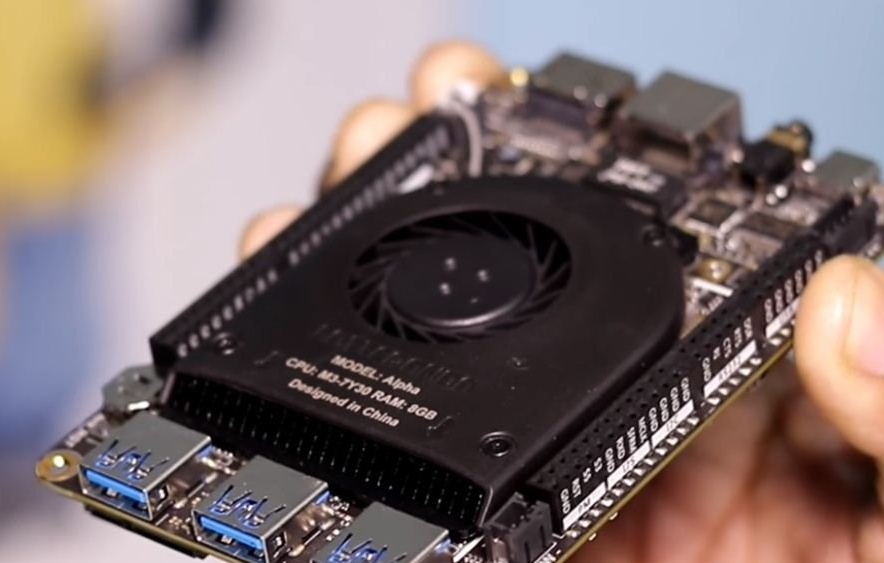
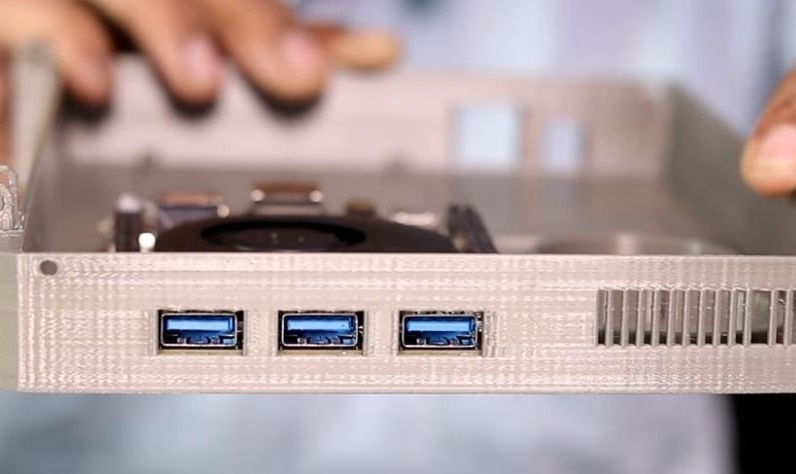
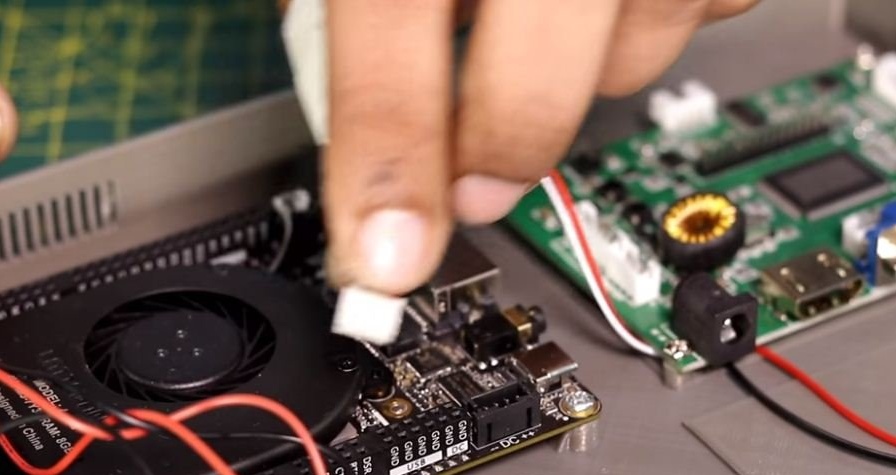
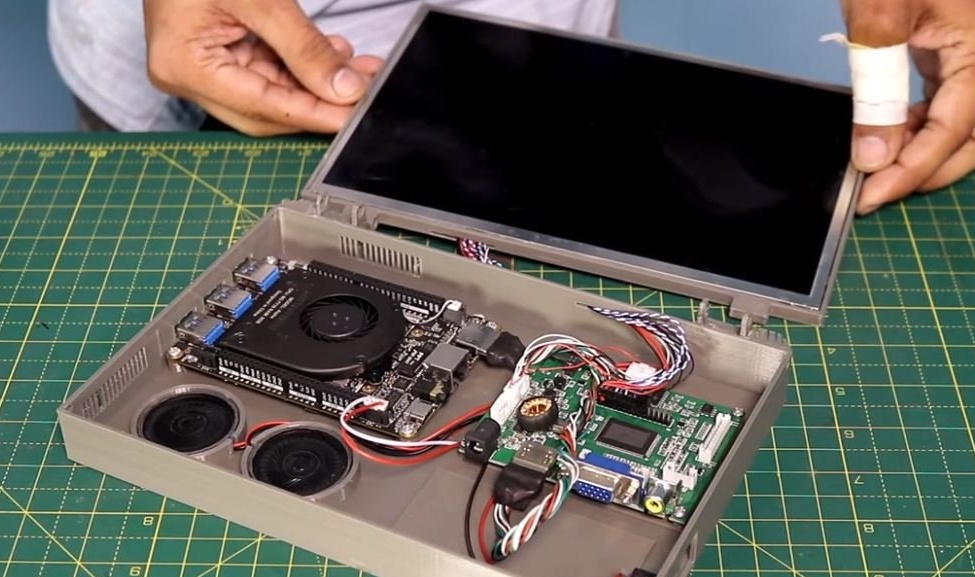
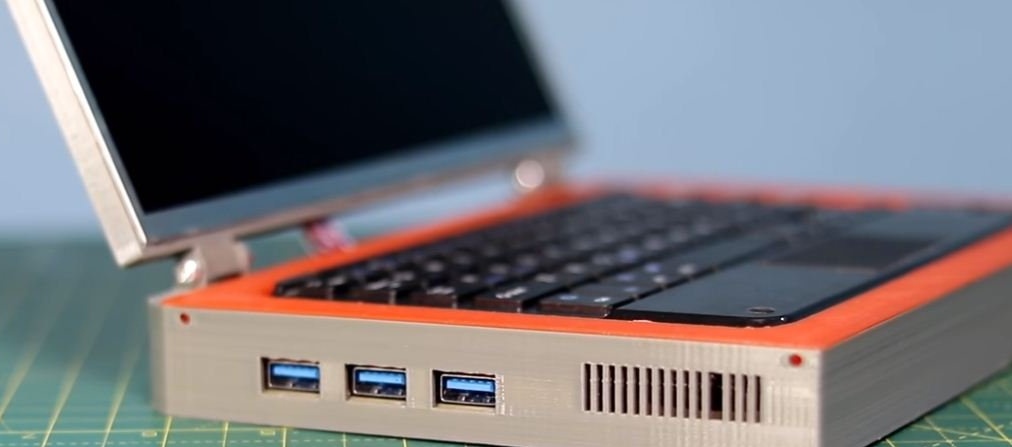
Hello friends, now The Wrench will show you how to make a mini laptop using LattePanda Alpha. This board is very powerful. It has 8 GB of RAM, 64 GB of internal memory and an Intel M3-7Y30 processor with a frequency of 2.6 GHz. The integrated chip Intel HD Graphics 615 is responsible for processing the graphics. The operating system of this mini-computer is Windows 10. The case for this device was made on a 3D printer, but it can be made from plywood. This device works just like a regular PC or laptop. To display the picture, a 10.1-inch display that displays 1280x800 pixels is used. Links to all components of this homemade there is below. On this computer, you can do programming, surf the Internet or play undemanding computer games. This homemade product can be modified by making a 12V power bank. Since this mini laptop consumes less power than a regular laptop, its battery life will be much longer.
To assemble this device will need about $ 250
Video of this homemade:
To build this device we need:
1. LattePanda Alpha (single board computer)
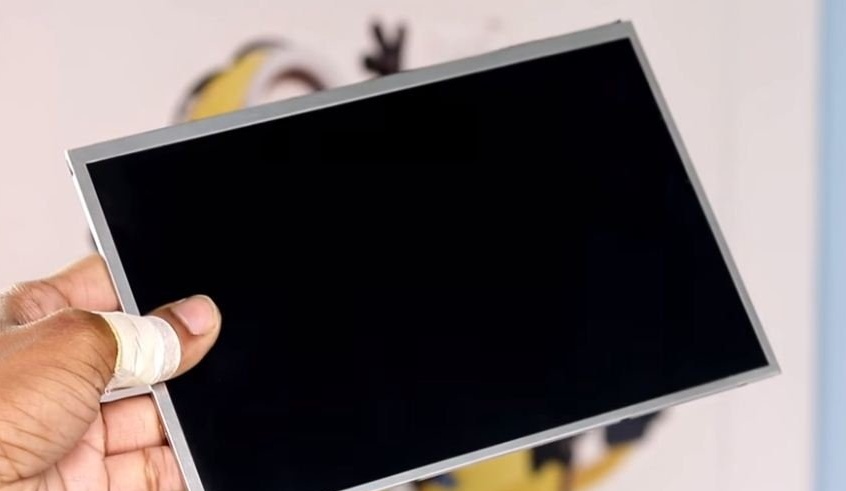
2. 10 inch display and board for it or
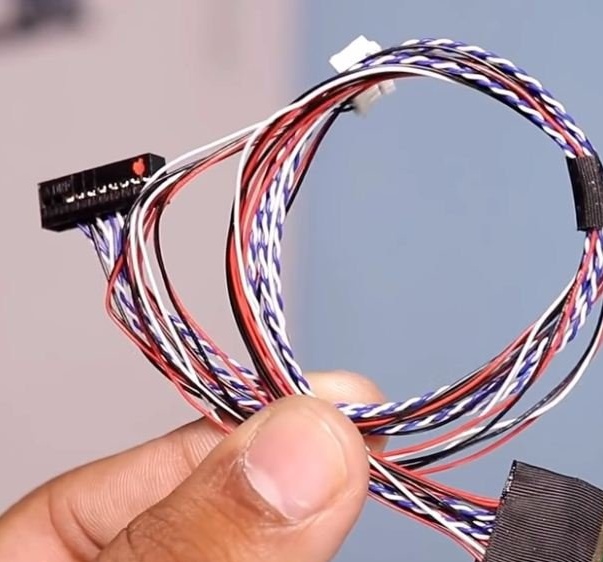
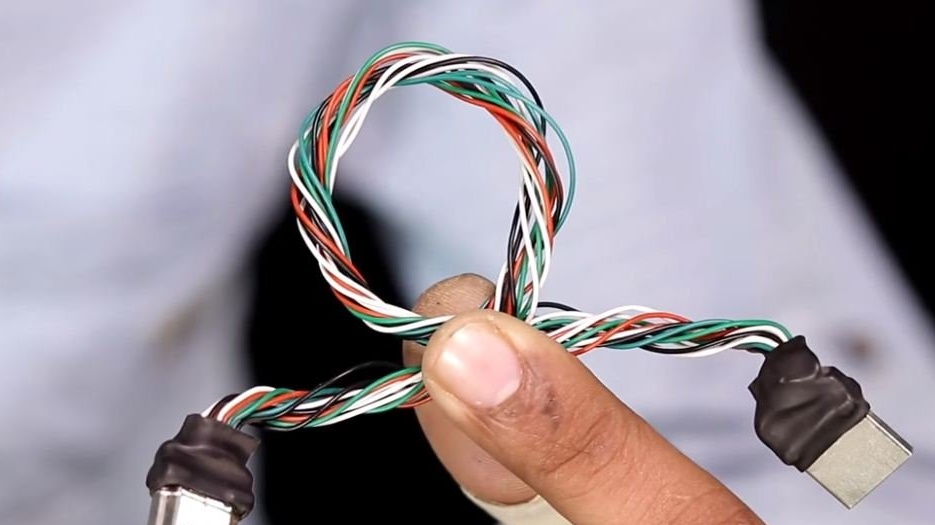
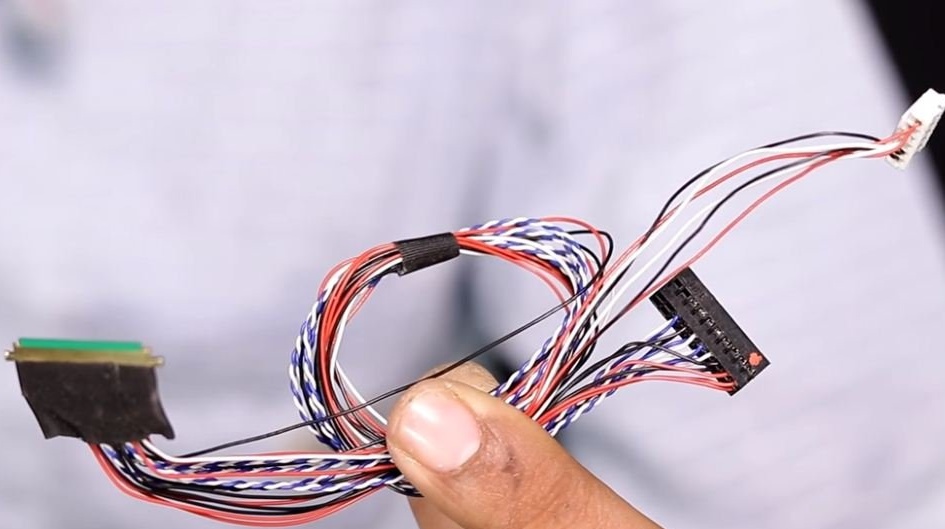
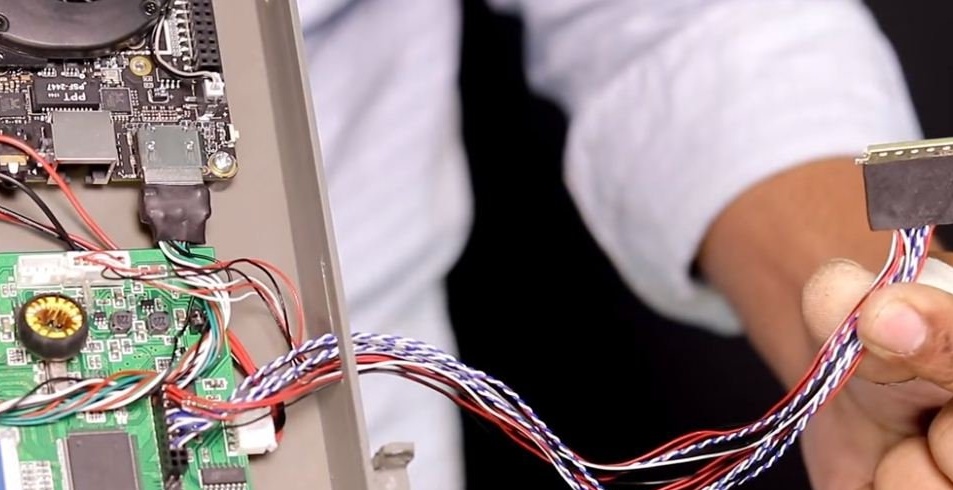
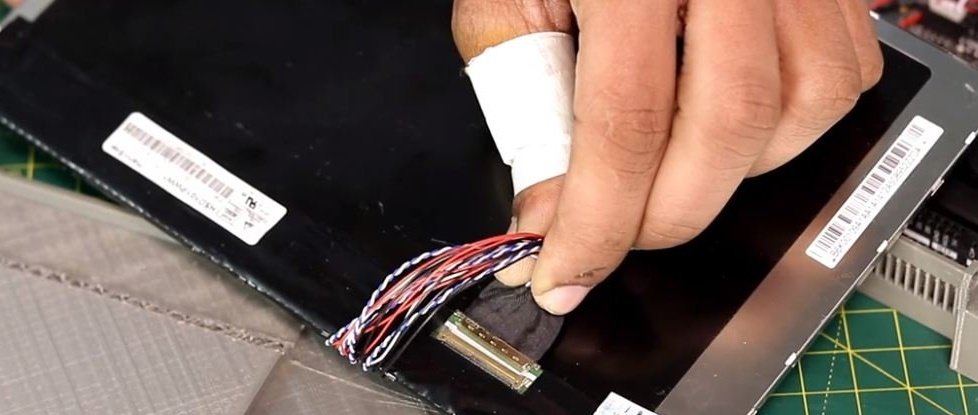
3. Cord for connecting the display
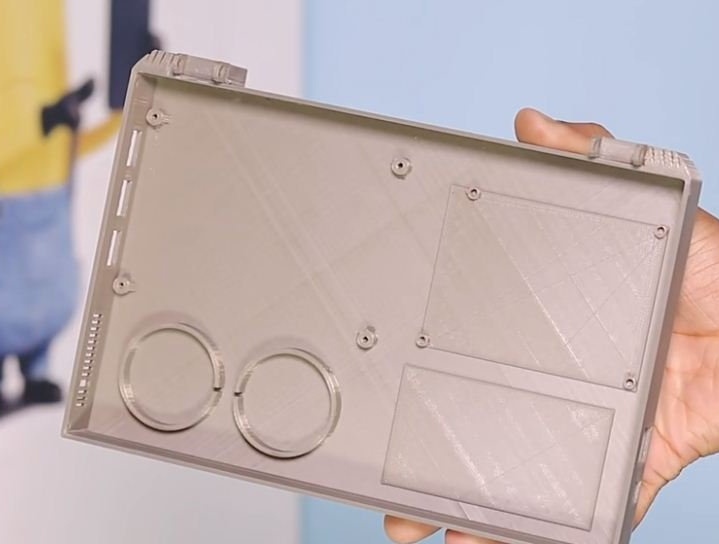
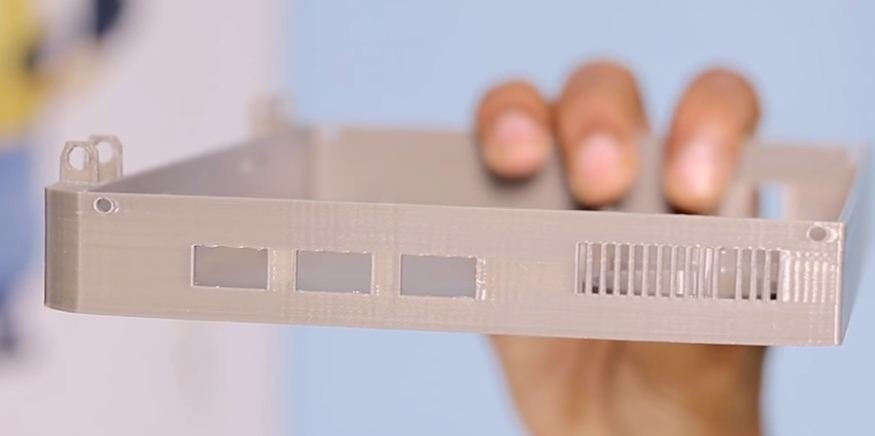
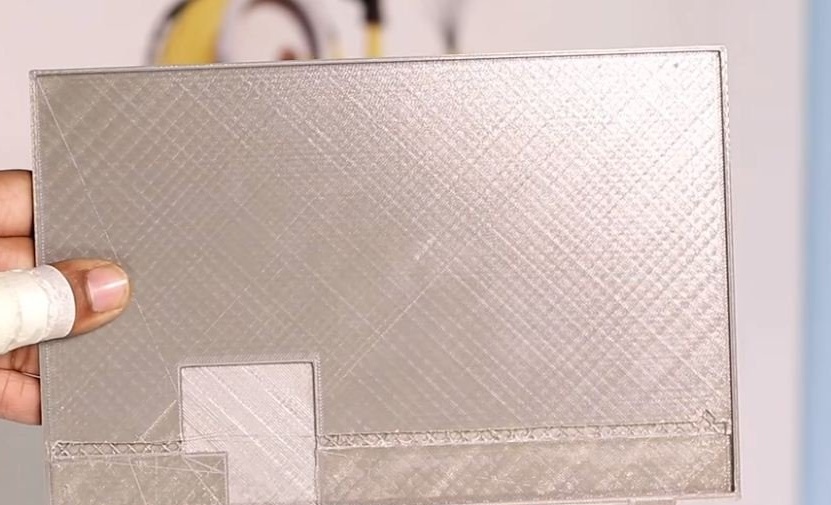
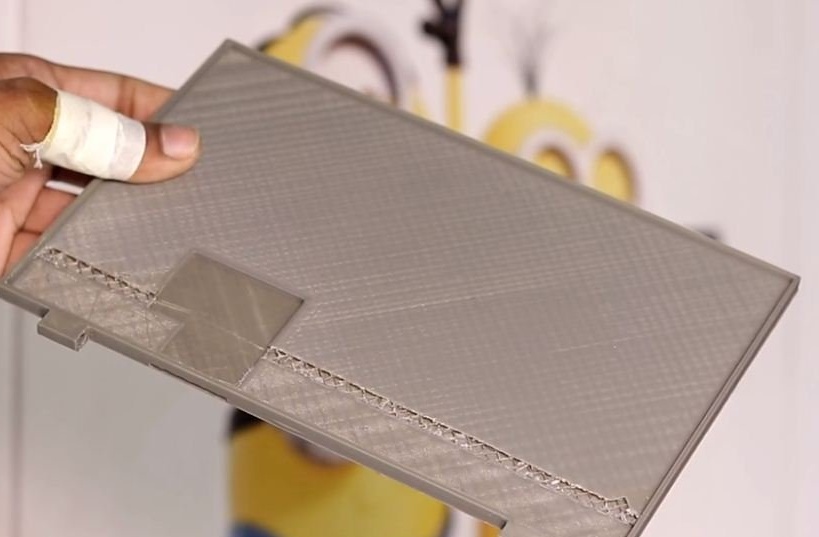
4. The case for the laptop ()
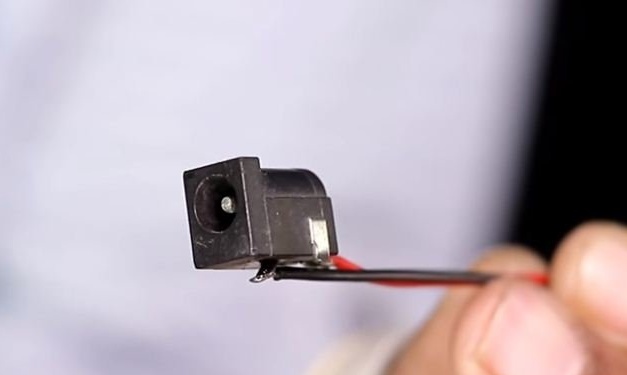
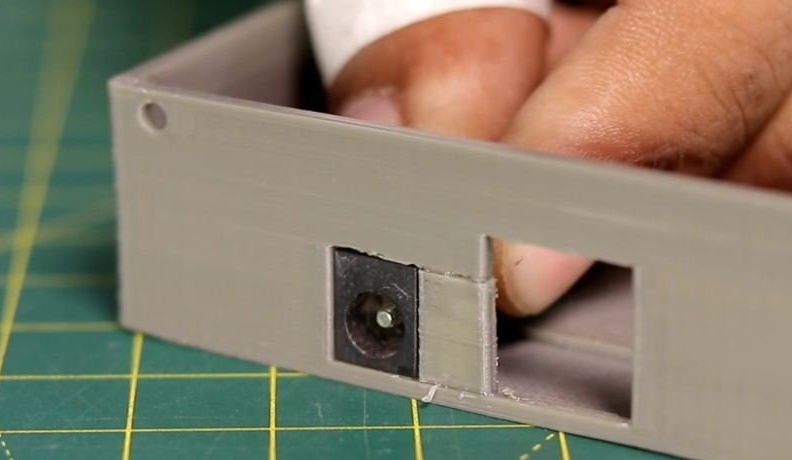
5. Power Connector
6. Wire
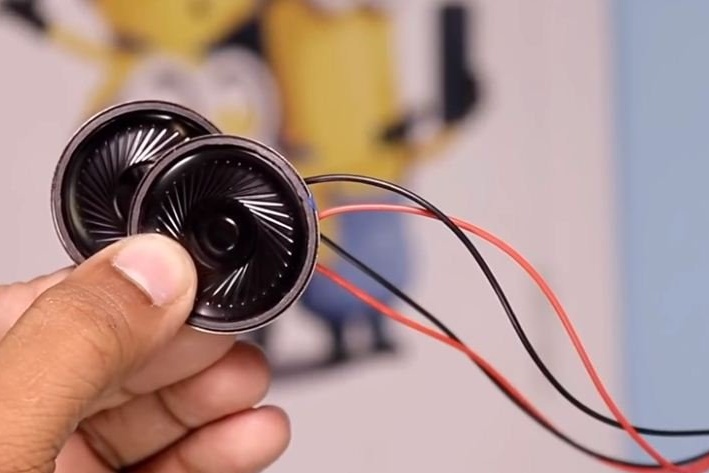
7. Speakers
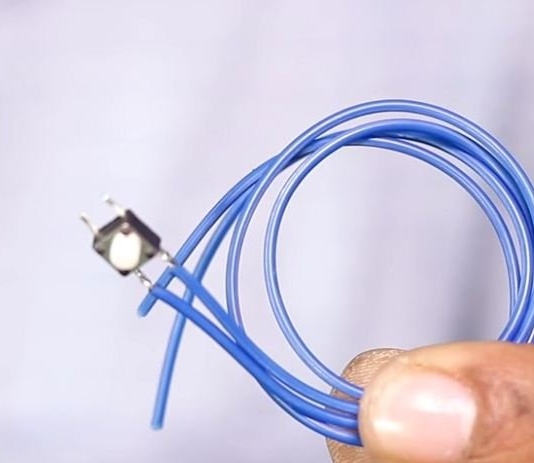
8. Button (to turn on the PC without fixing)
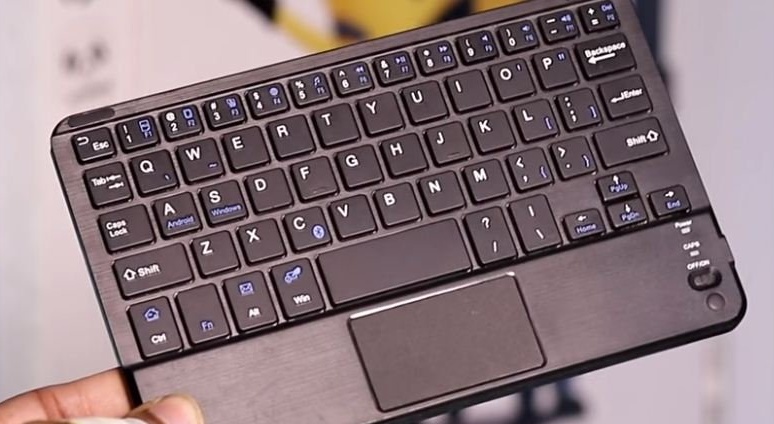
9. Bluetooth keyboard


Let's start the assembly!
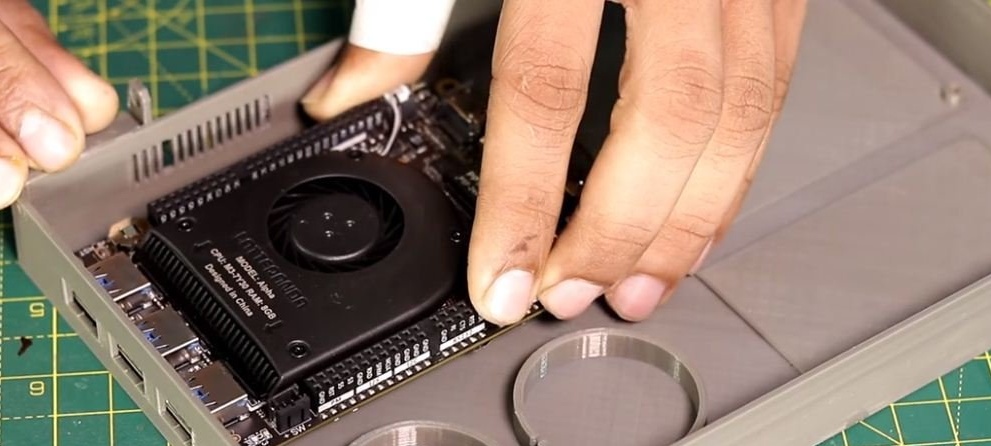
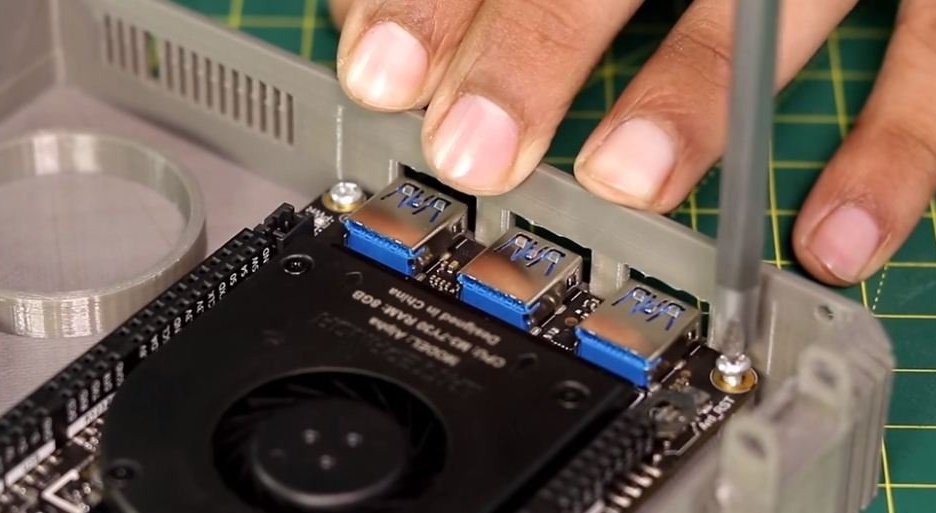
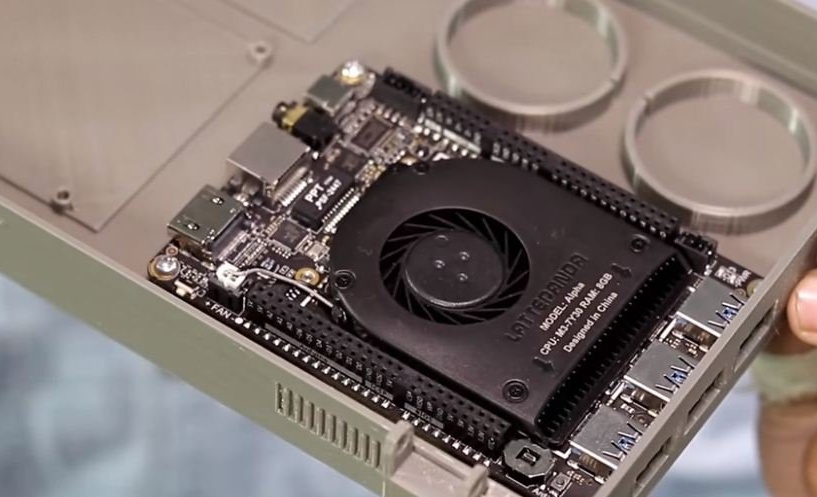
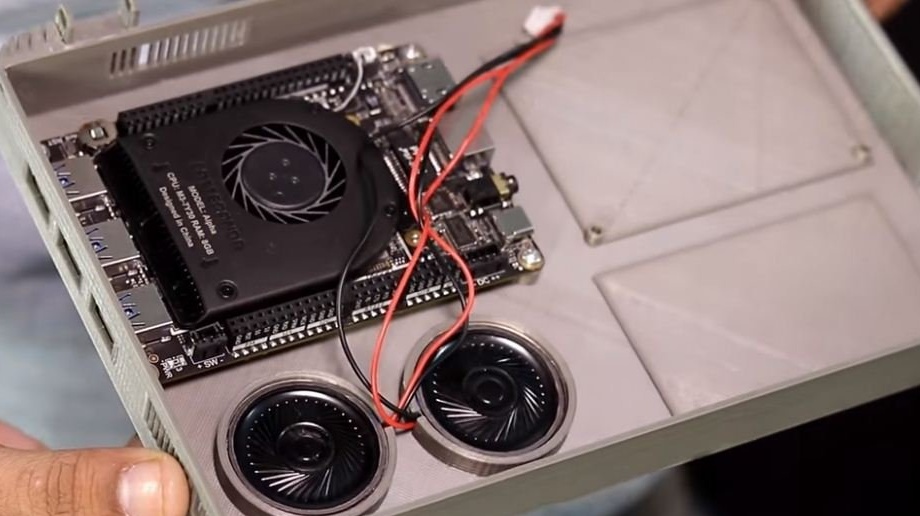
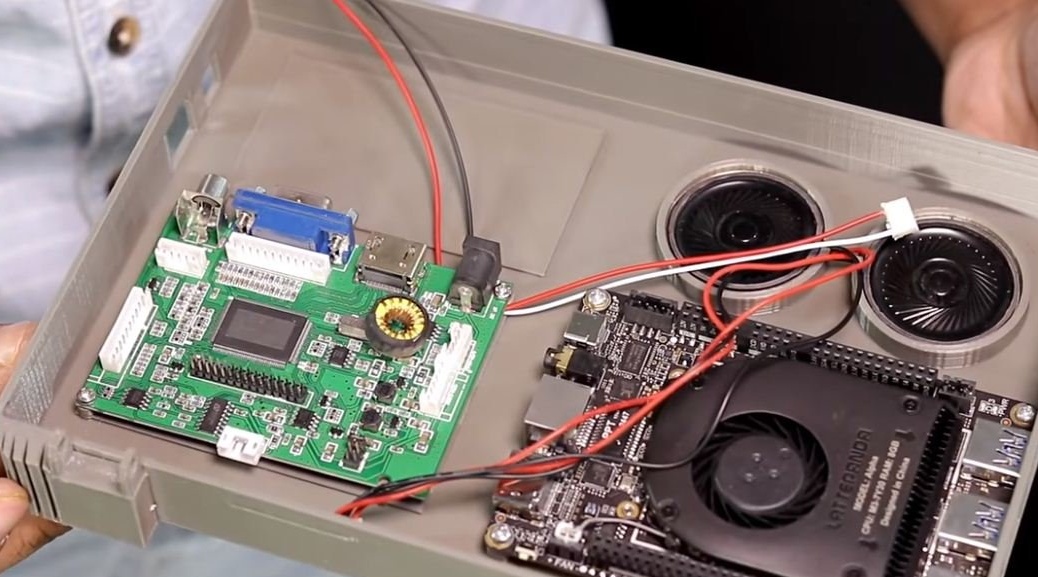
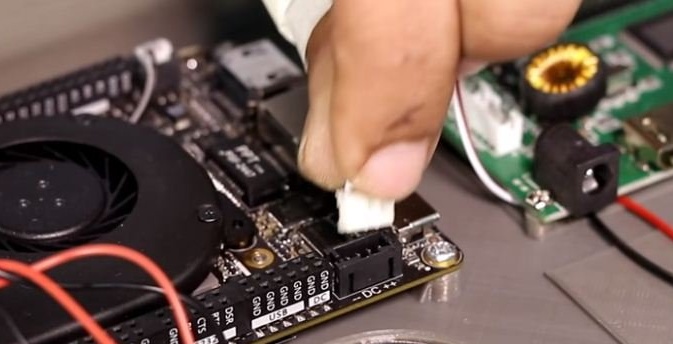
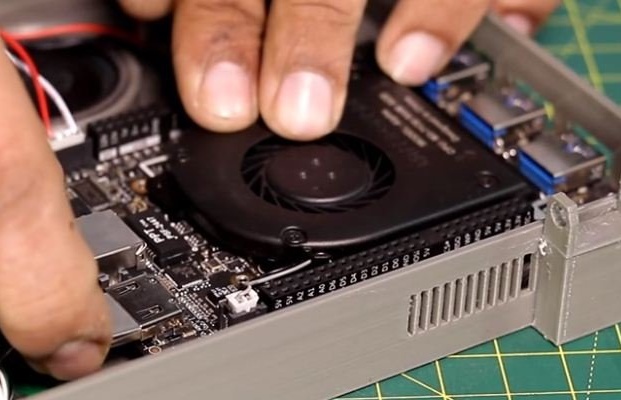
1. We place the main board in the case and fasten it to the screws.


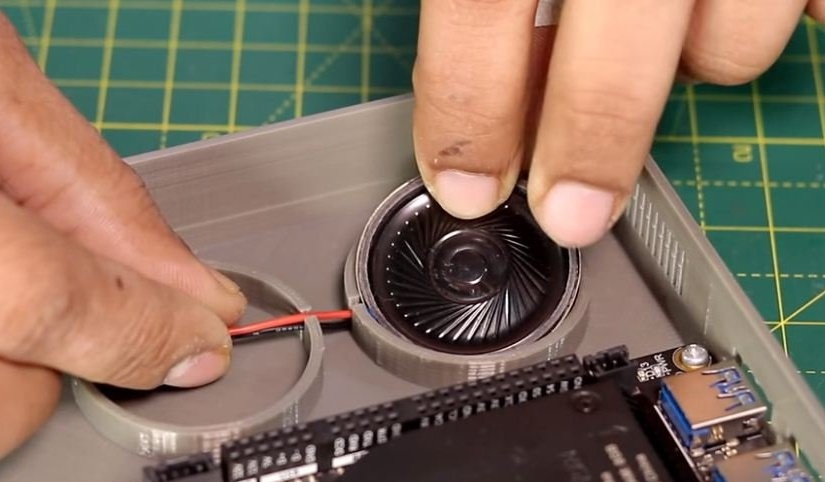
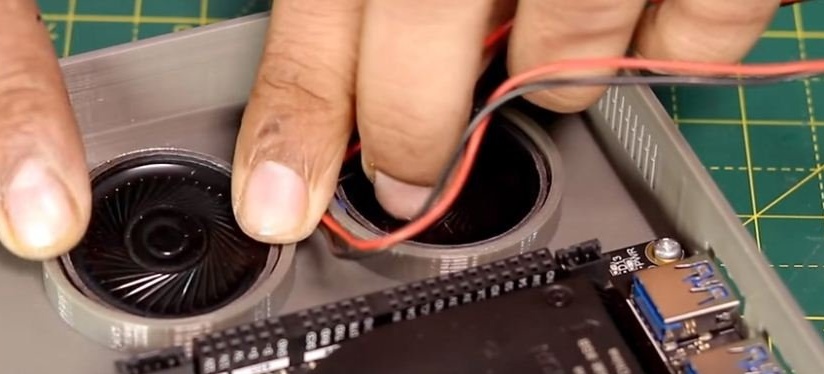
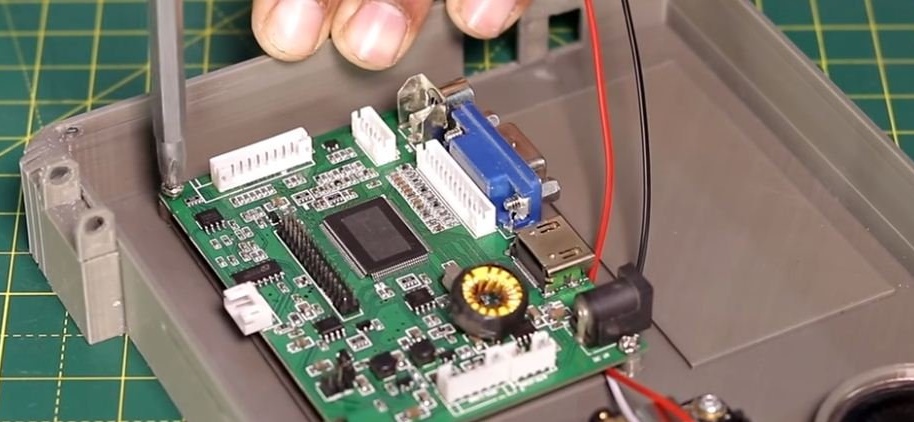
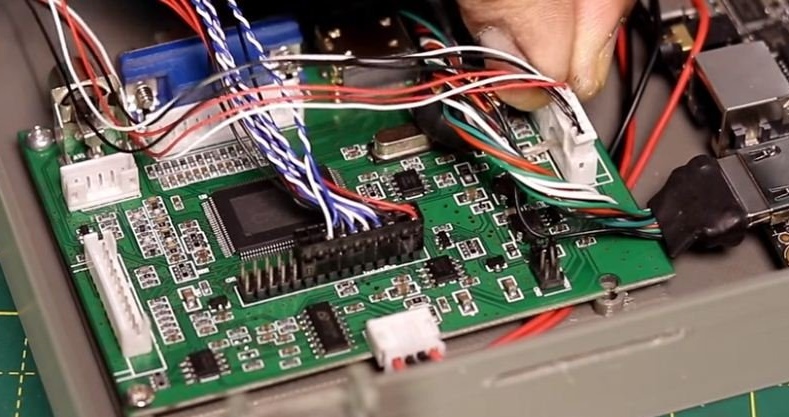
2. We fix the board for the display and two speakers in the case.
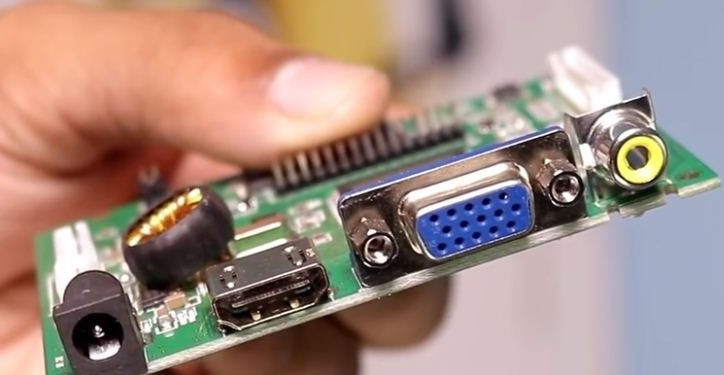
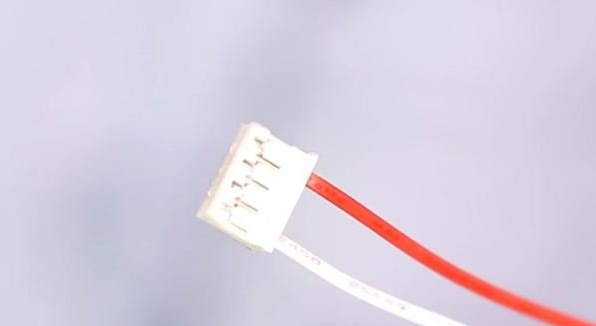
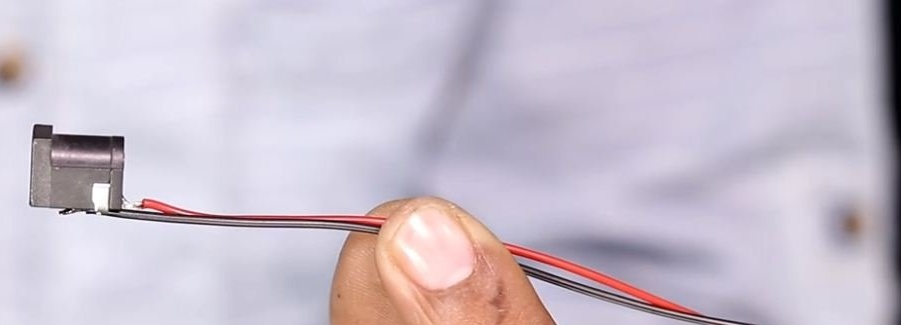
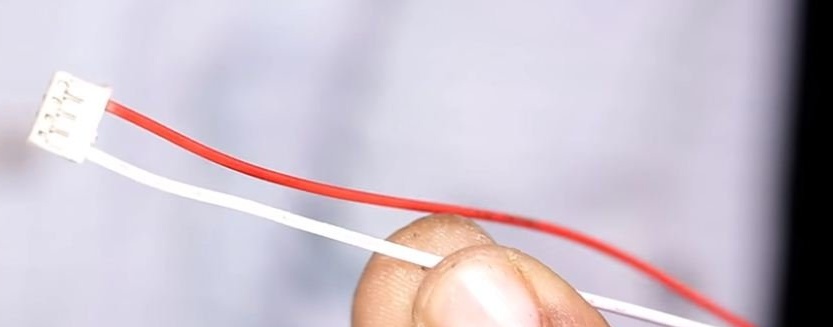
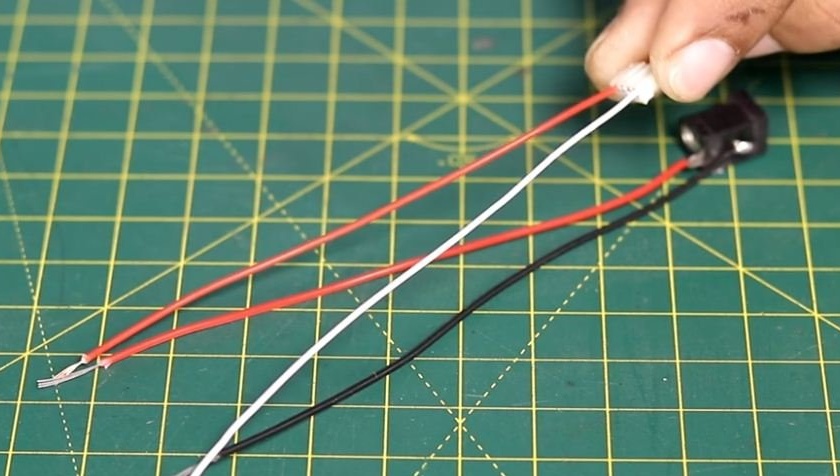
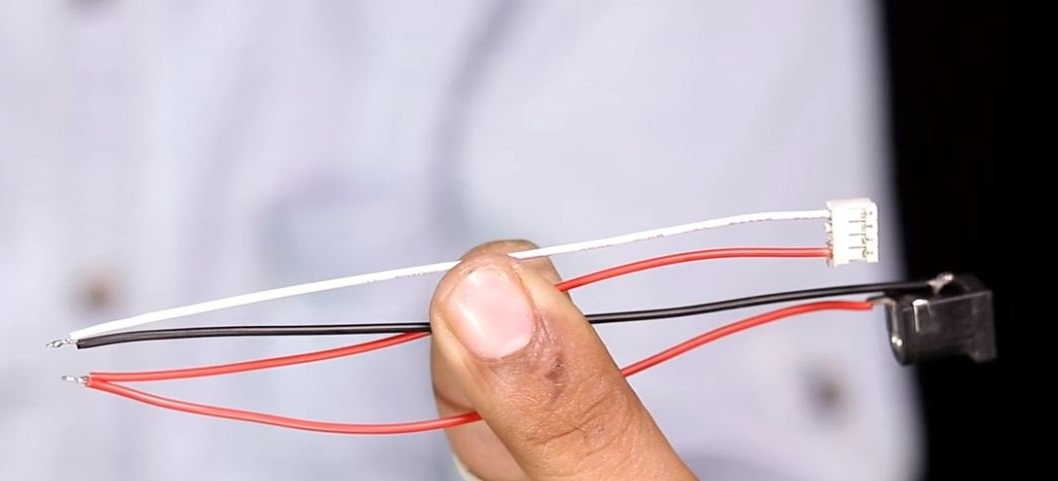
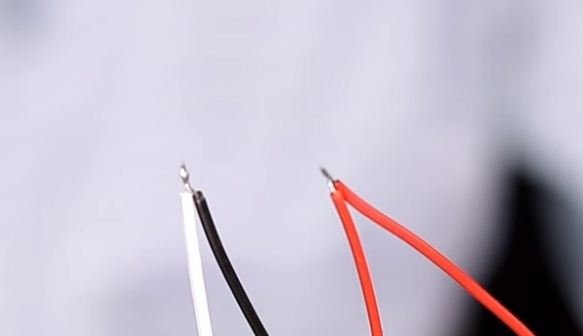
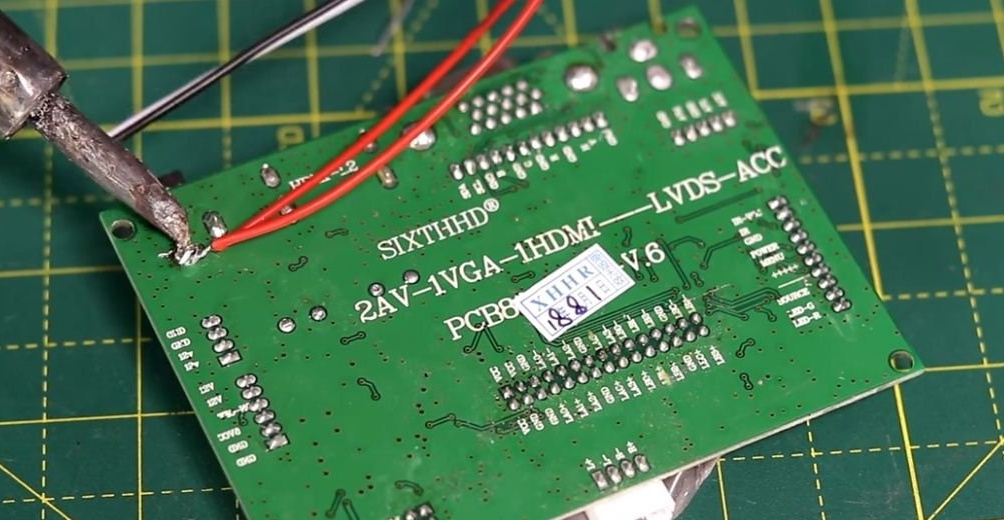
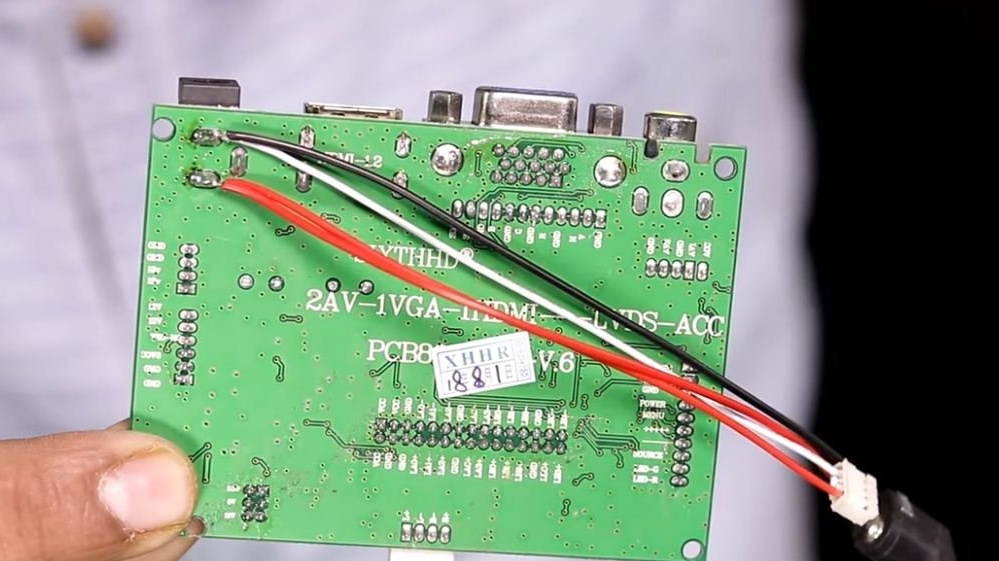
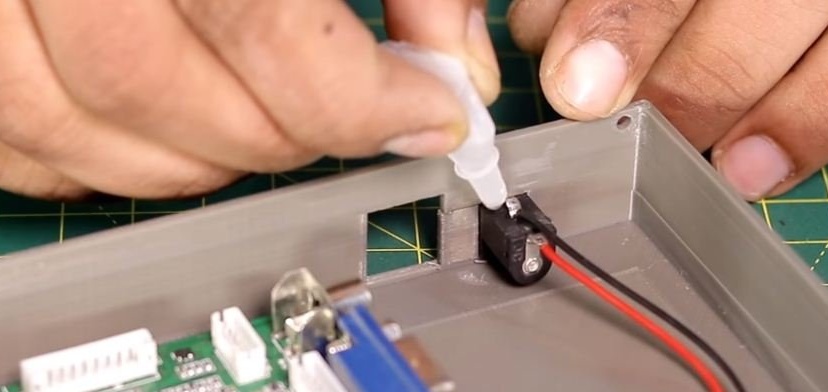
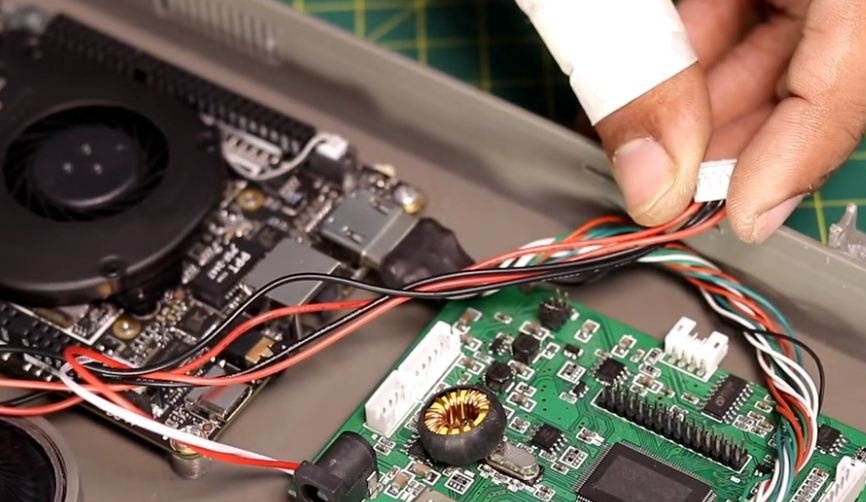
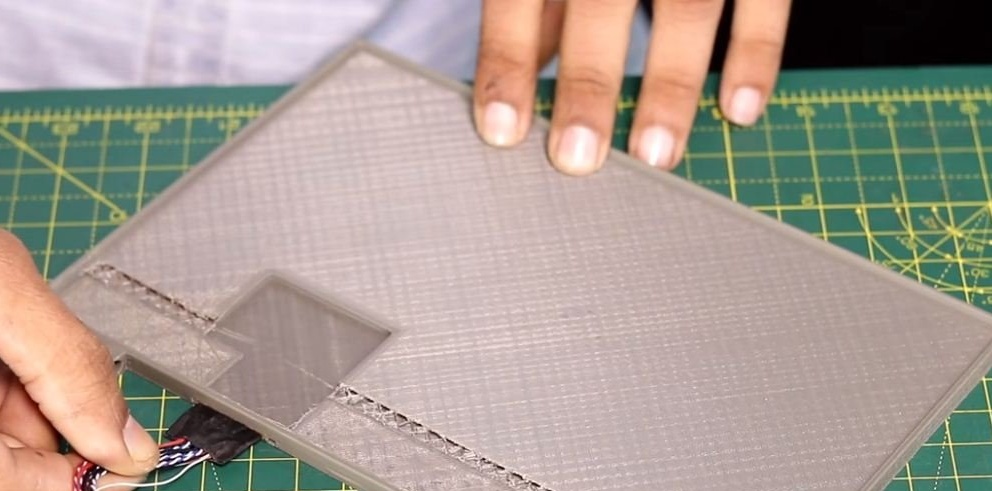
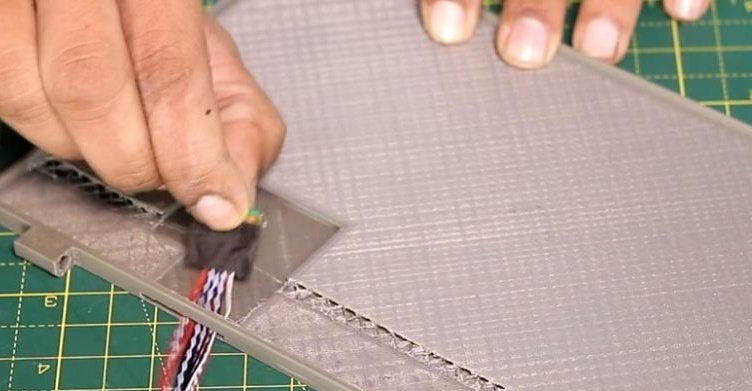
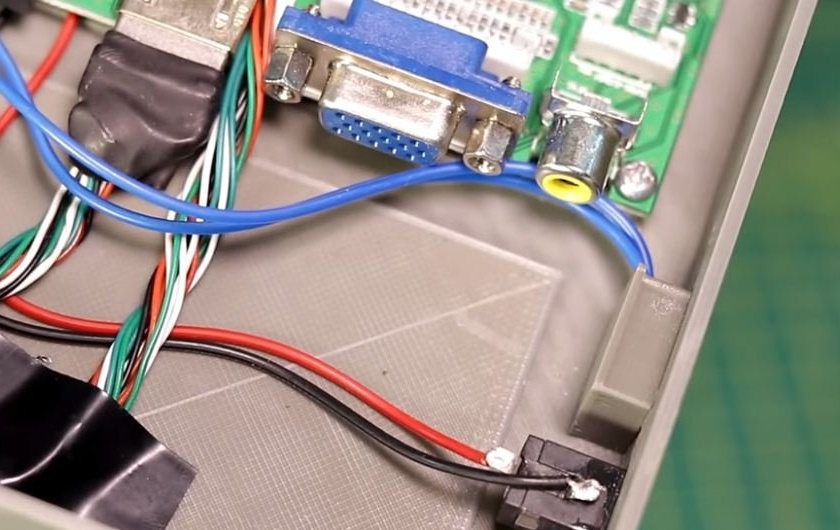
3. Solder the power connector and the 4pin connector together. After we solder them to the display board.


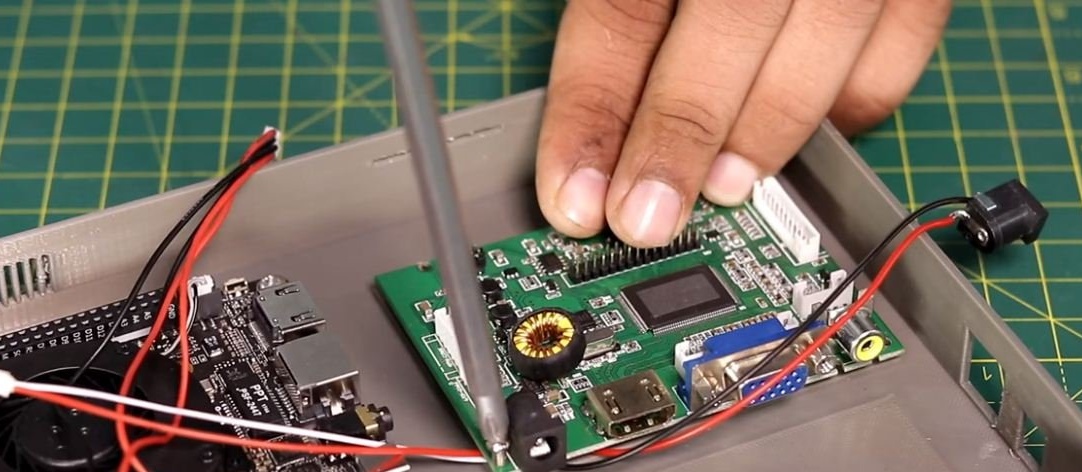
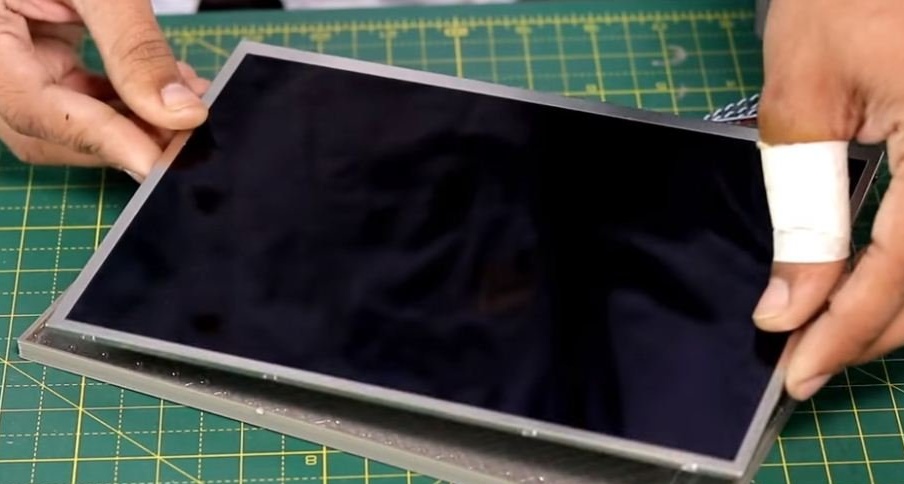
4. Fasten the display board in the case.
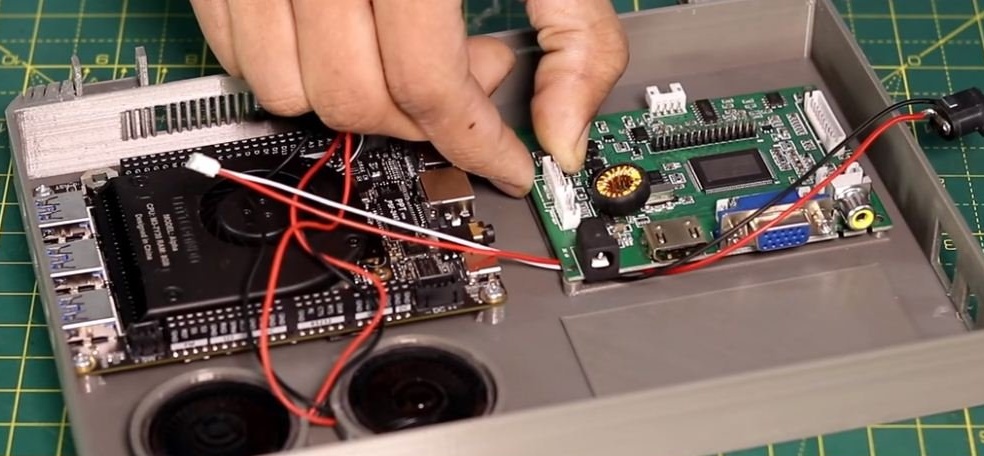
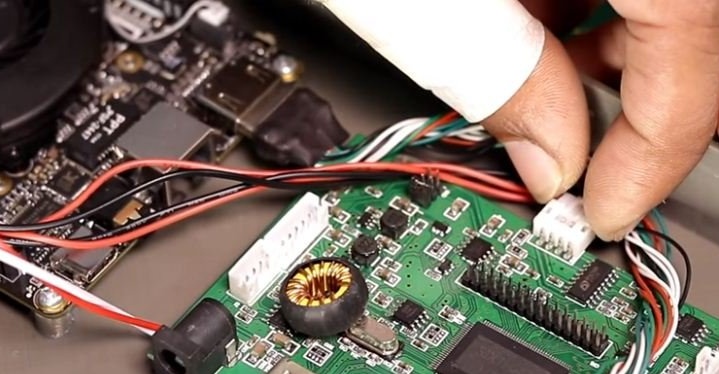
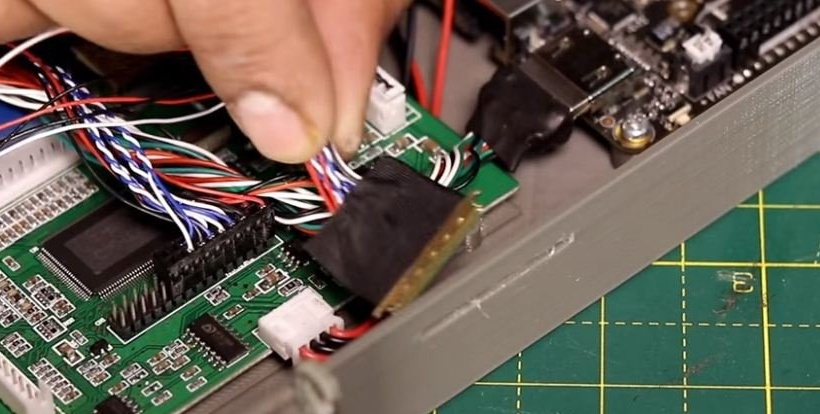
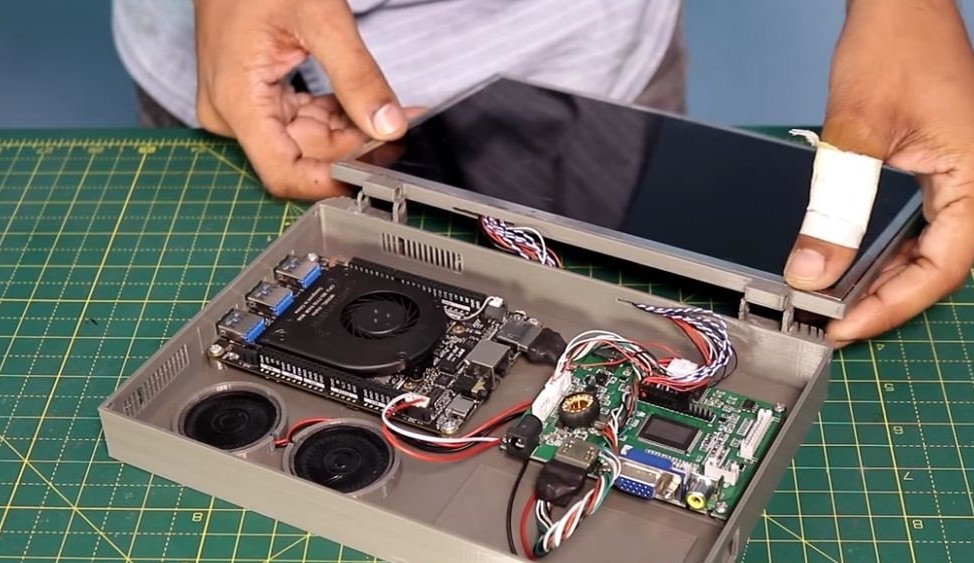
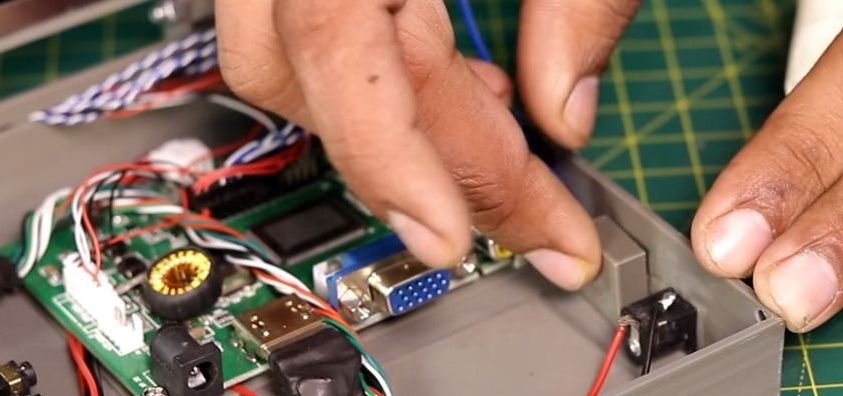
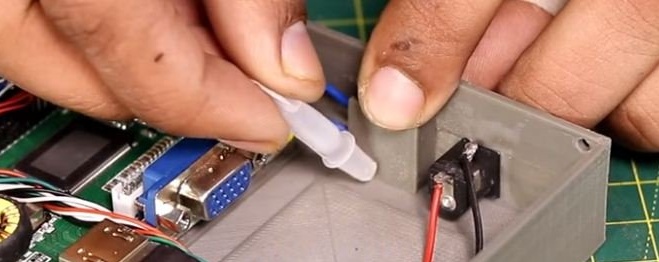
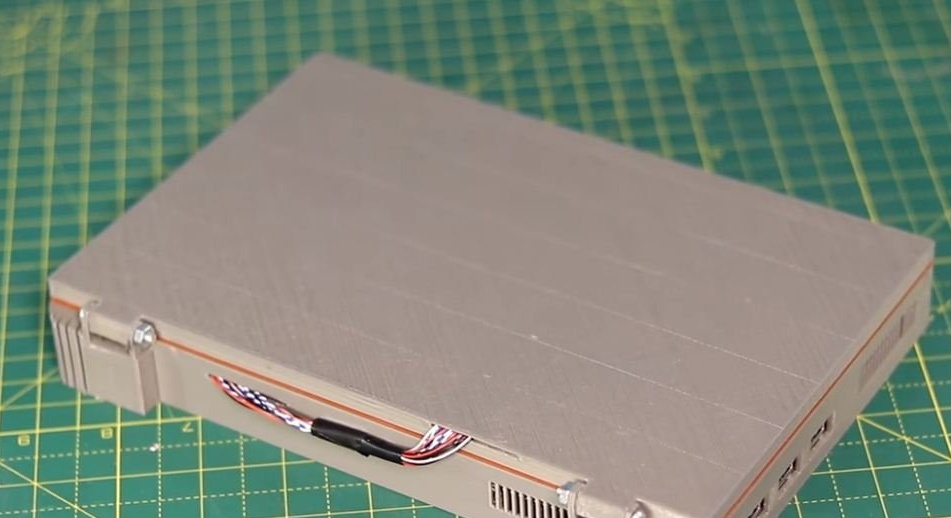
5. Using glue we fix the power connector. We connect power to the main board using a 4 pin cord.
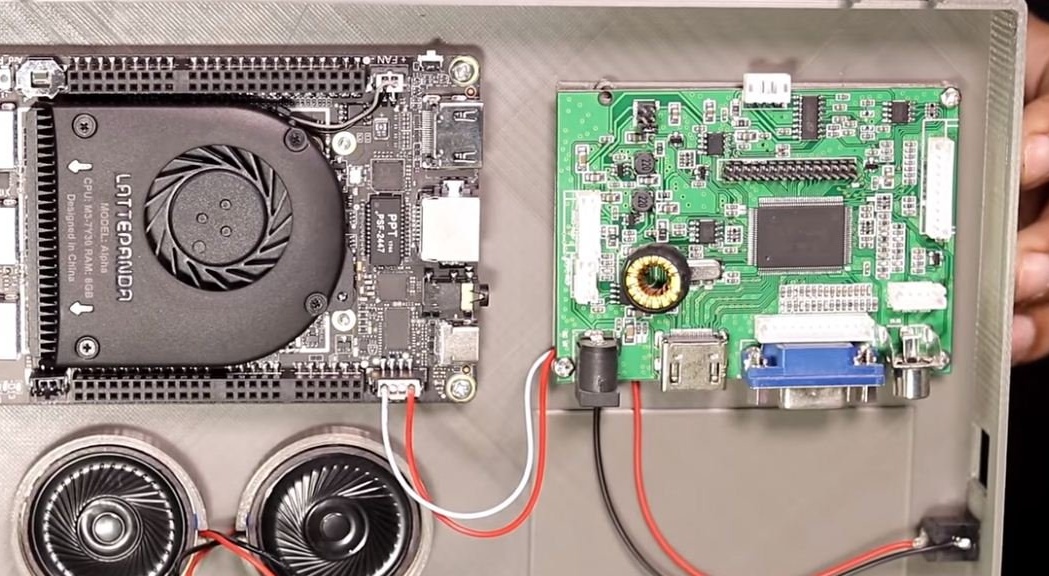

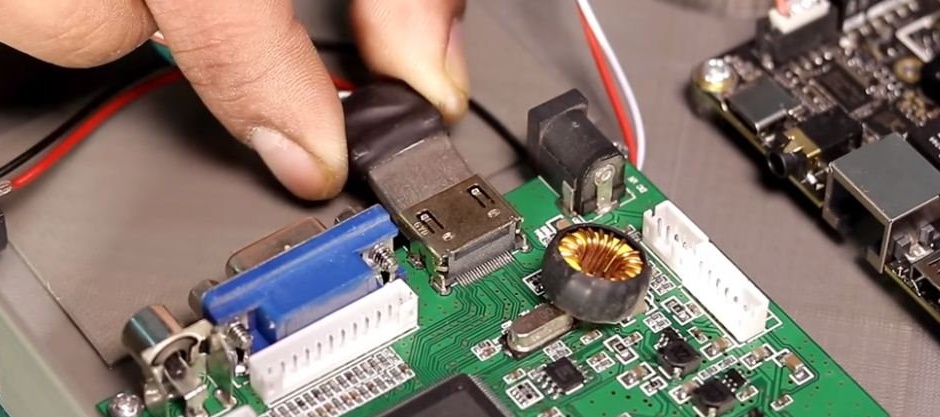
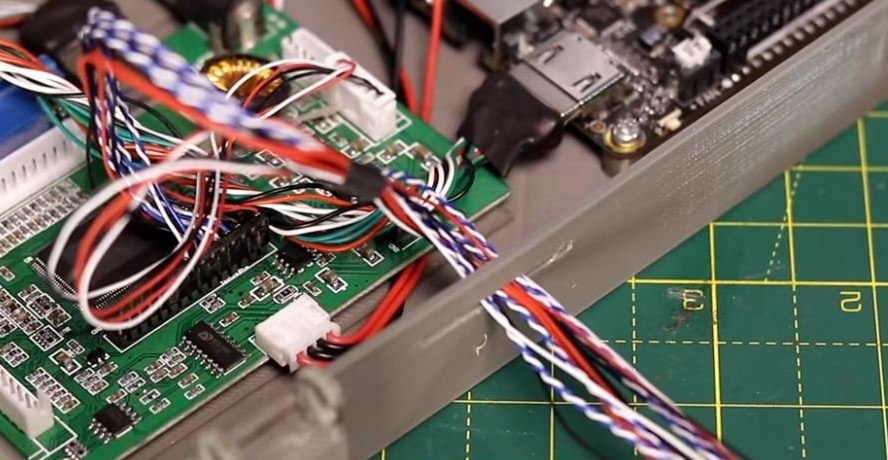
6. We take the HDMI cable and connect the two boards.
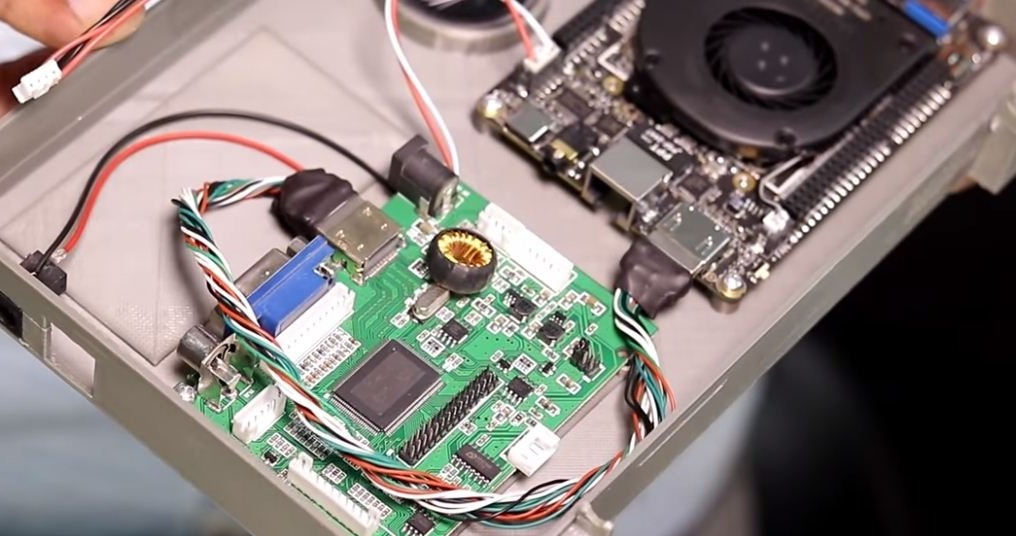
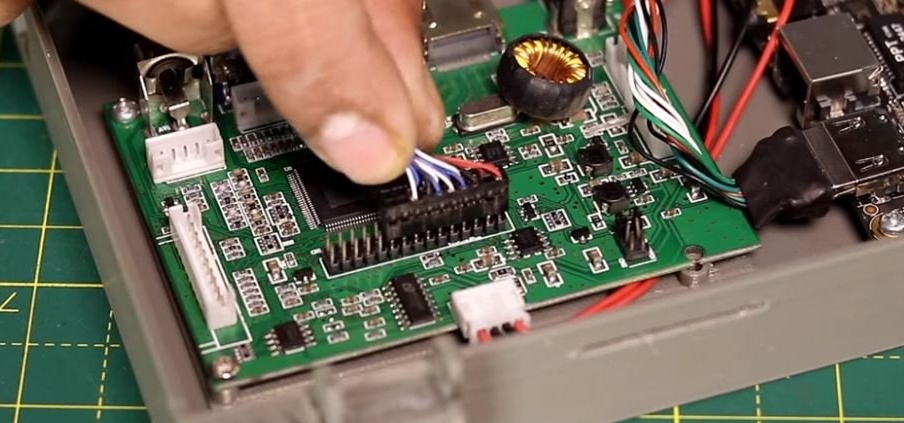
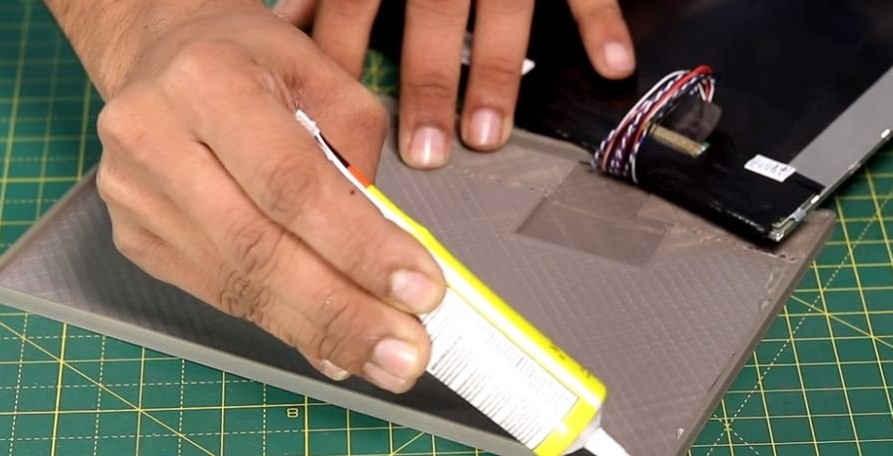
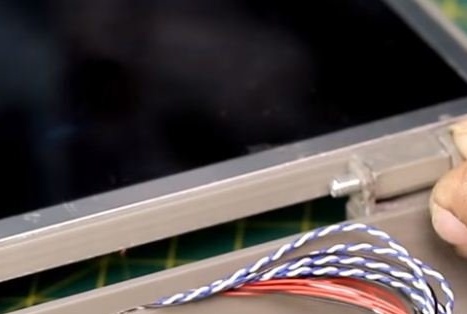
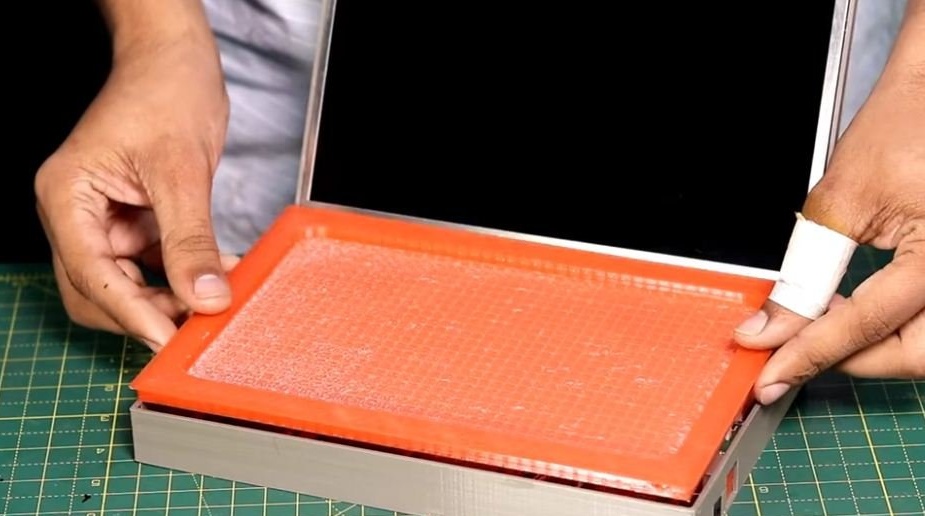
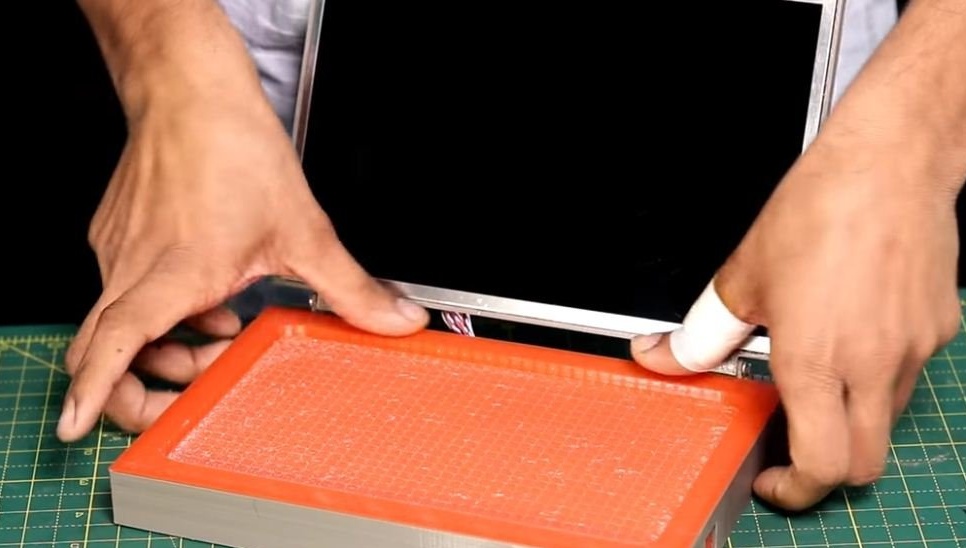
7. We conduct a wire for the display and connect the display. We fix the display with glue on the cover from the case.

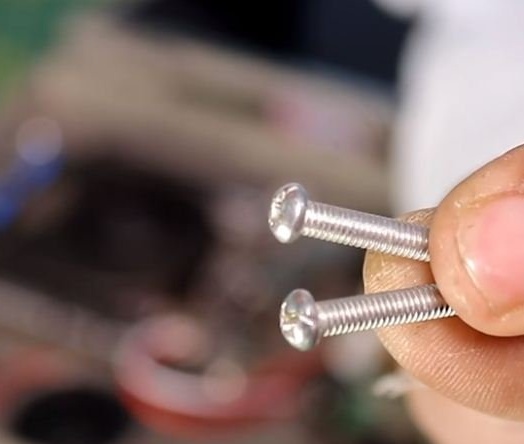
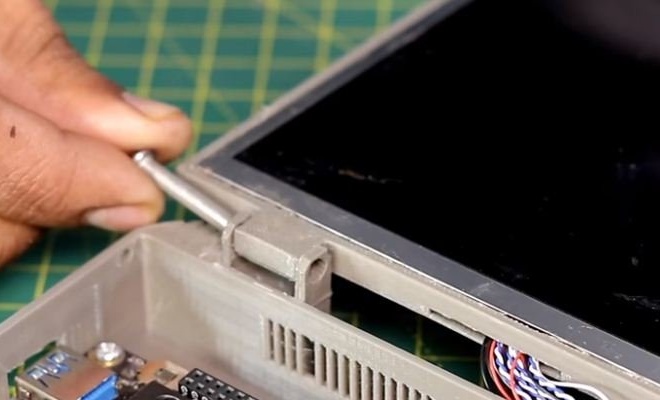
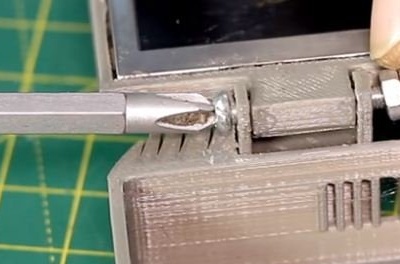
8. Take two bolts and two nuts. We connect the case and the cover.

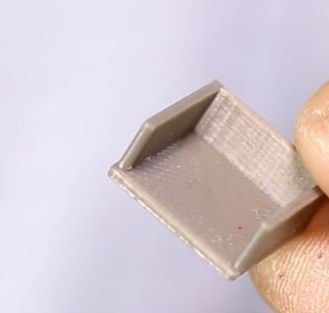
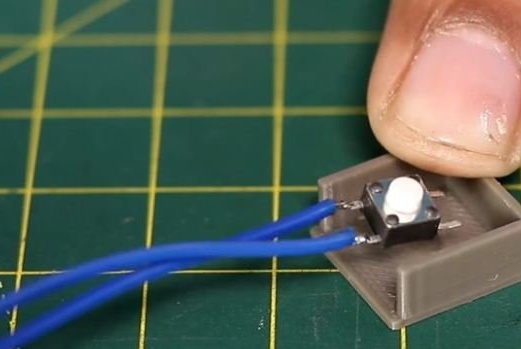
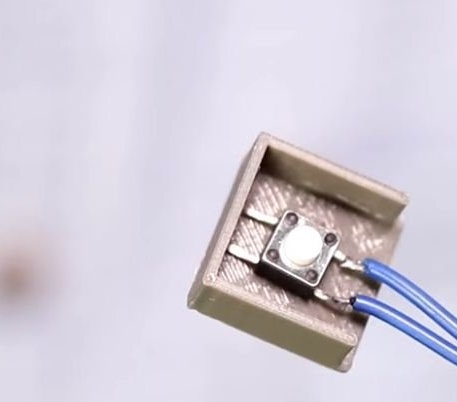
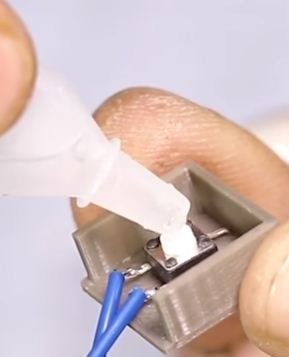
9. We solder the button to the wires and make a large button from plastic. We fasten the button in the case. This button will be used to turn on the laptop.


10. Check the connection of all cords and the reliability of soldering. We close the boards and place the keyboard.


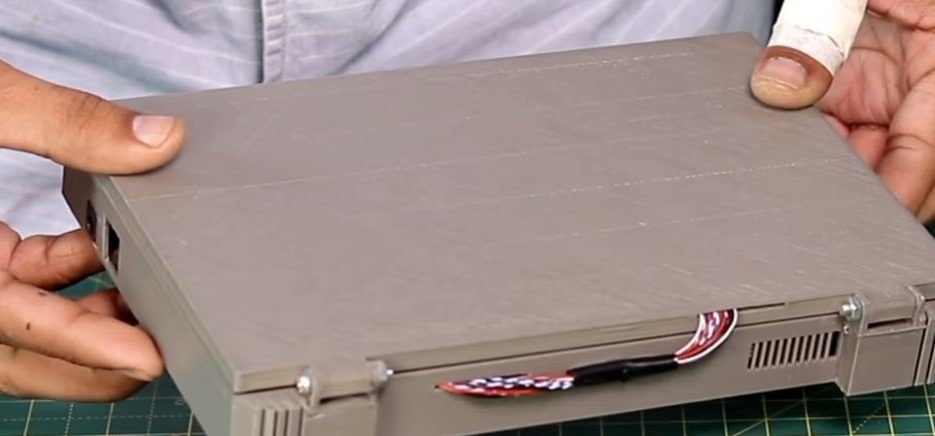
DONE!
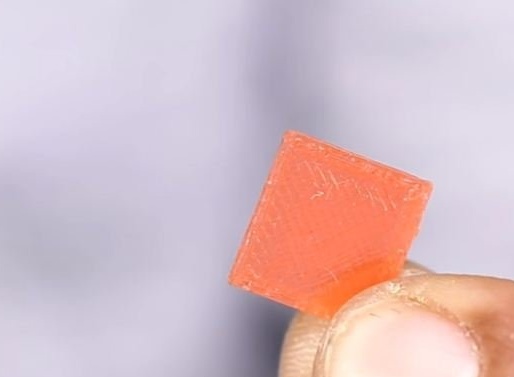
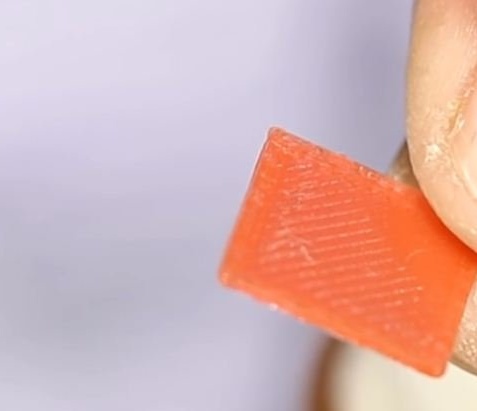
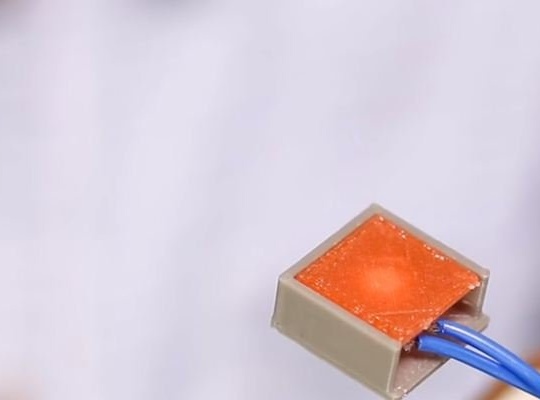
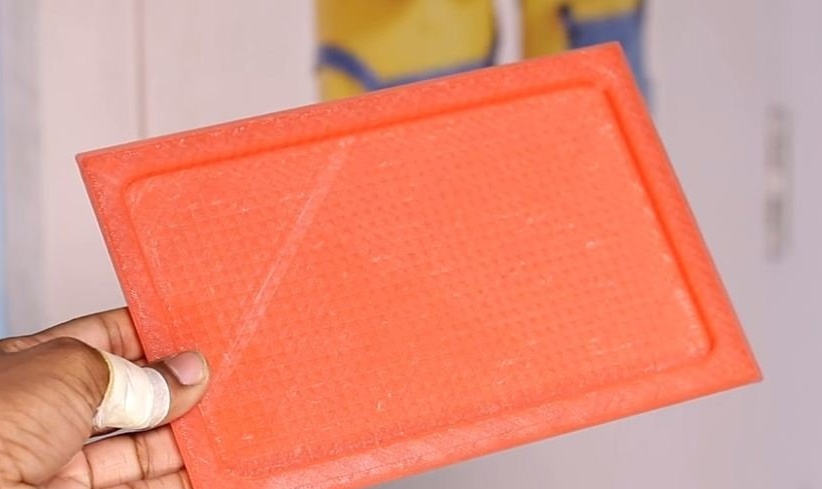
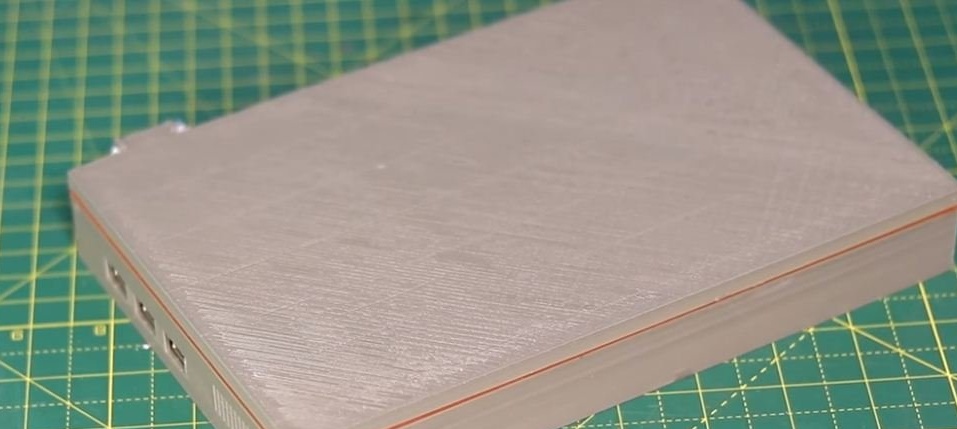
We are trying to run.After a successful start, you can finally glue the (orange) cover to the body.