
Greetings the inhabitants of our site!
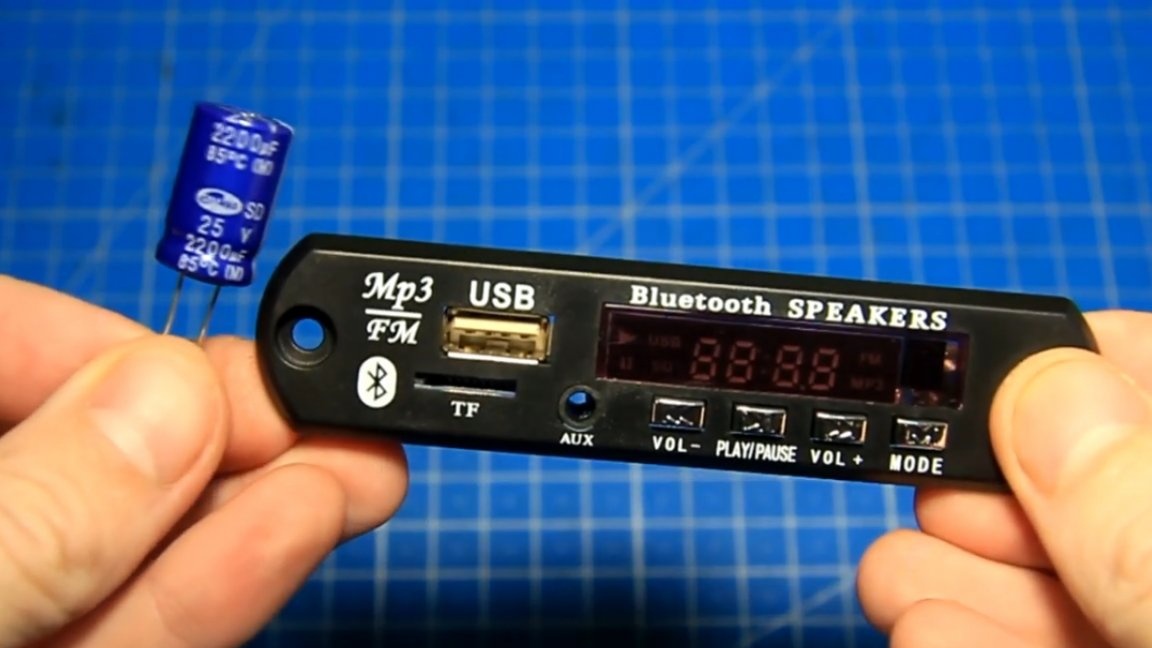
In this article, we will talk about the mortise audio bluetooth module, and more specifically about how to eliminate whistling or interference during its operation.
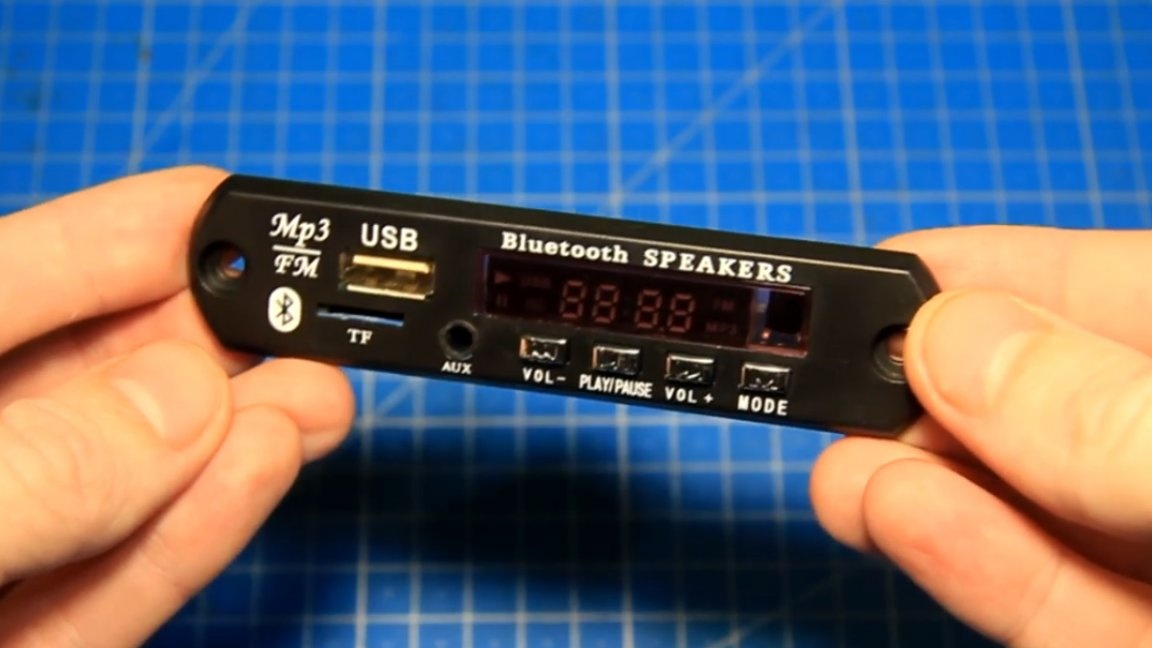
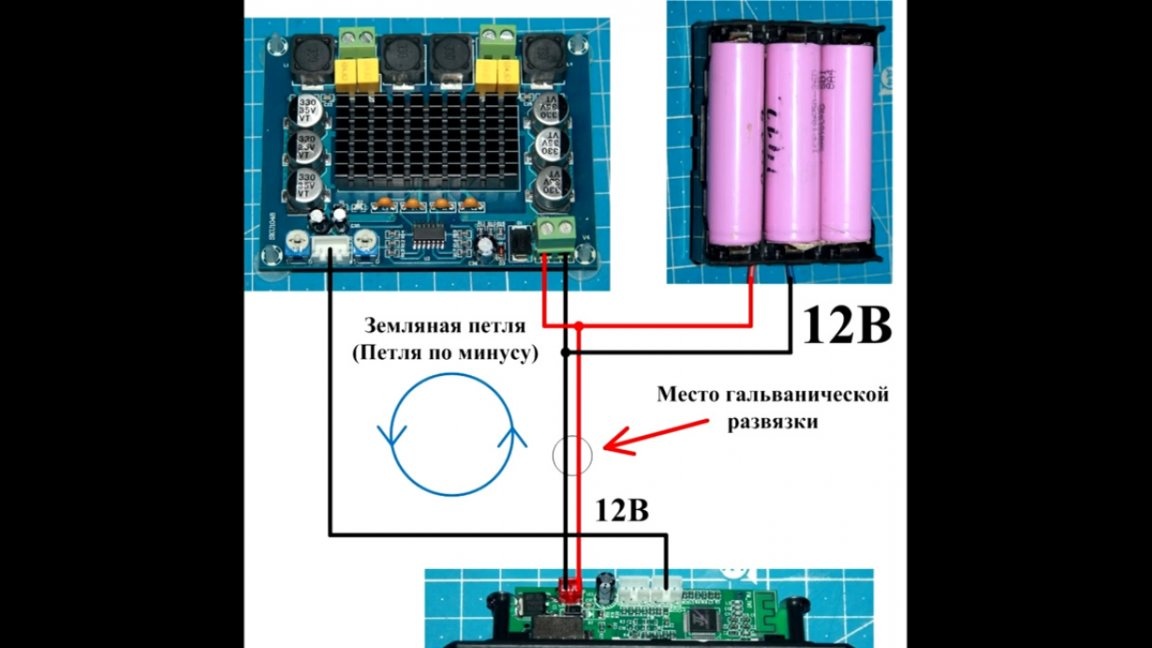
Many people are faced with this problem and try to solve it in various ways, including the author of YouTube channel Radio-Lab who had such problems with noise and whistles on different modules and had to solve them too. And the thing is that when the bluetooth module and amplifier are powered from the same power source, an earth loop is formed, from which this unpleasant squeak appears. And to make it disappear, you need to break this loop. The author will show several different ways that will help you remove noise and whistling in the speakers while the bluetooth module is working.

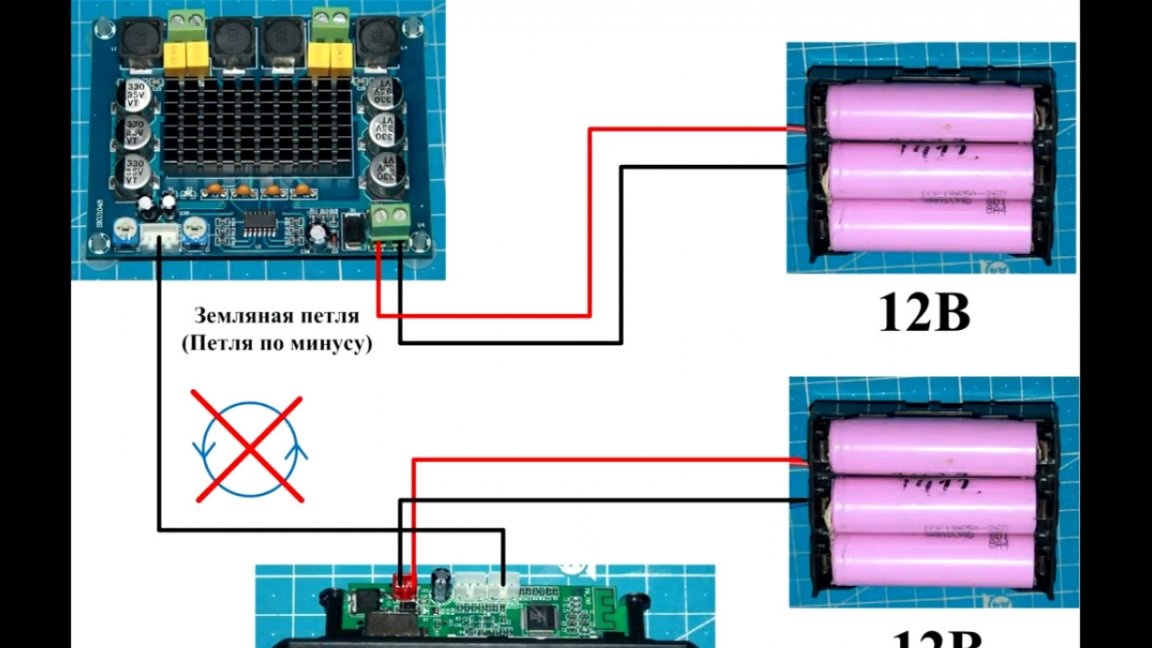
The easiest way is to power the bluetooth module from a separate power source (mains power supply or battery), thereby you will make galvanic isolation on the power supply, and exclude the appearance of an earth loop.
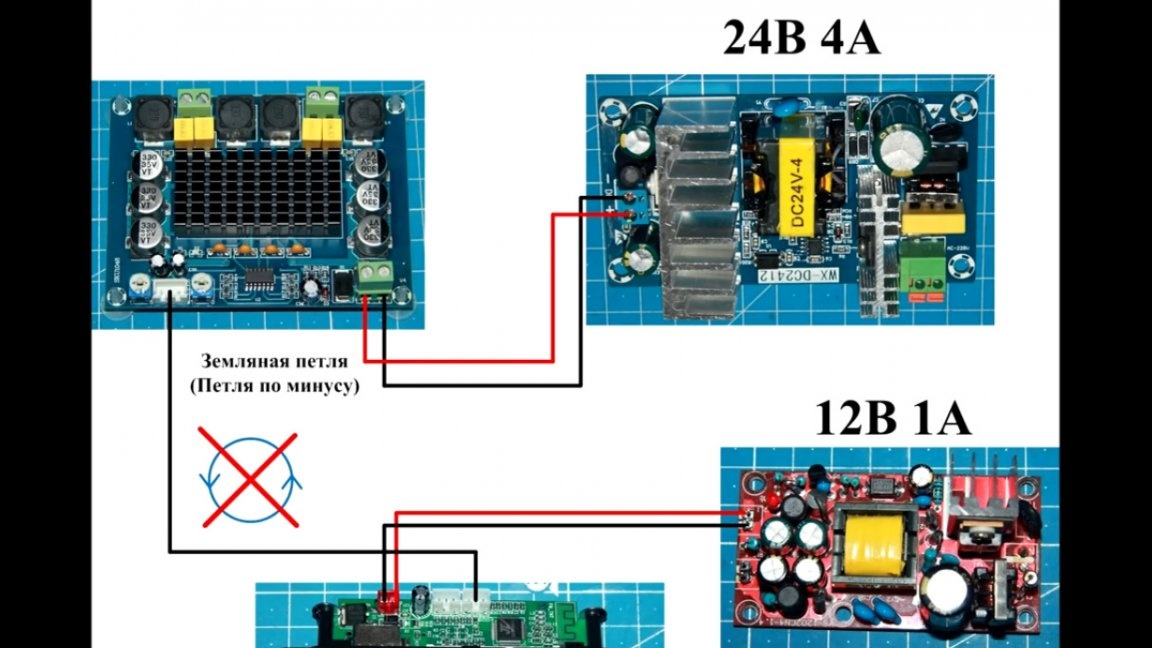
The advantage of the method is simplicity, but the minus is the need for another weaker power source for the bluetooth module. This method is well suited when the device is powered by a 220V network and adding another weak power supply for the bluetooth module is not a problem, but in the manufacture of portable speakers where there is one power battery and putting another battery to power the bluetooth module is, to put it mildly, not very convenient .
Therefore, there is the following way to remove interference, it is to break the earthen loop directly on the boards of the bluetooth modules.
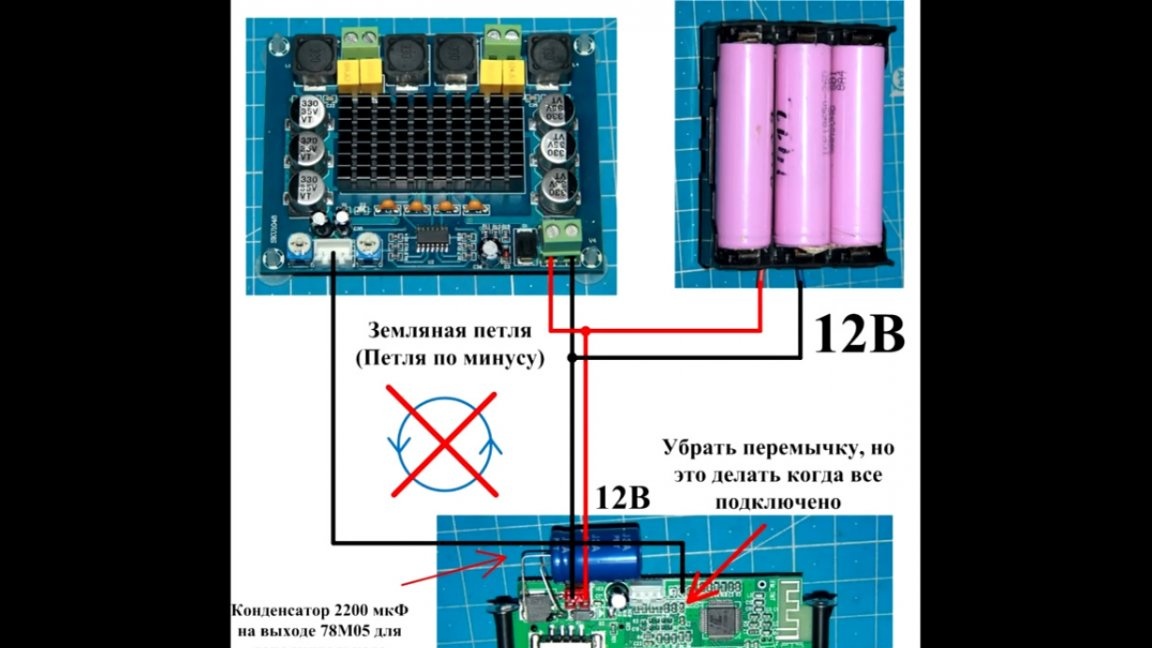
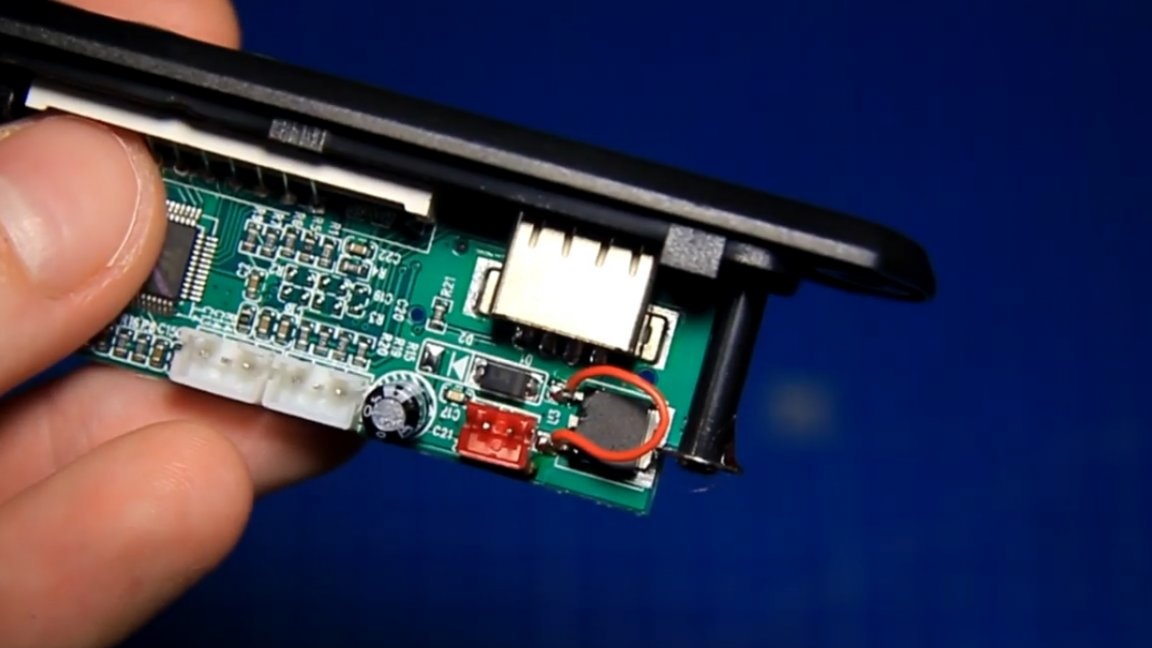
Often, the manufacturer SPECIALLY leaves a jumper that breaks the sound ground and minus the power, as if it divides the processor into 2 parts: sound and power. Sometimes the board even has the inscription agnd - audio ground, and there is just a jumper on this ground from the negative power supply.
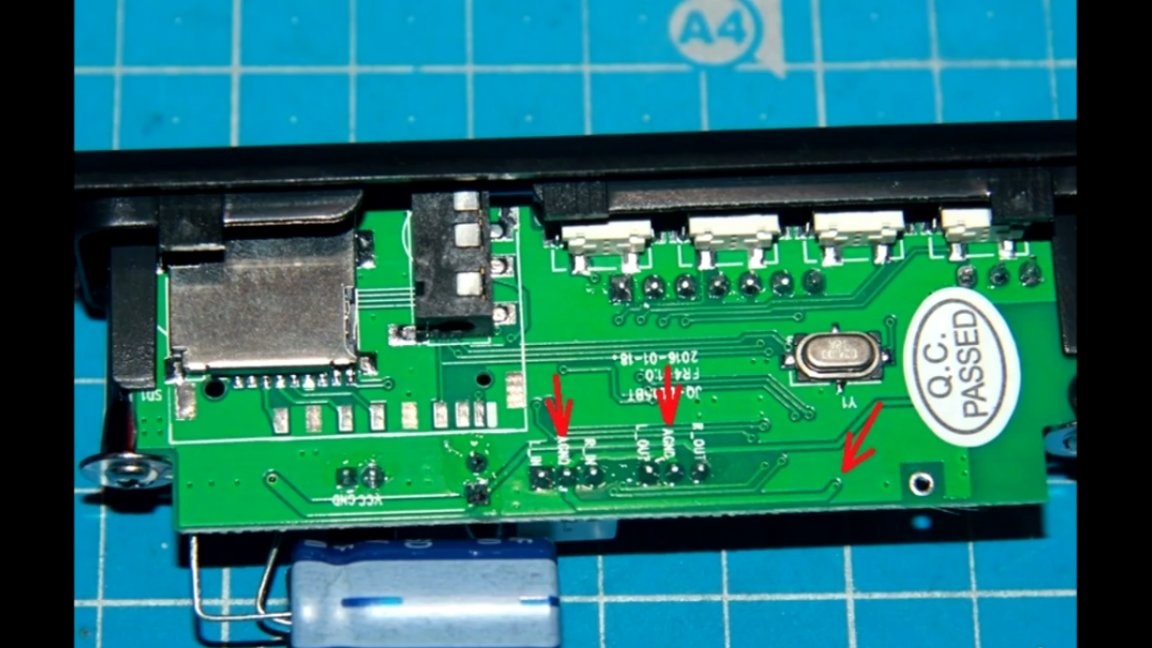
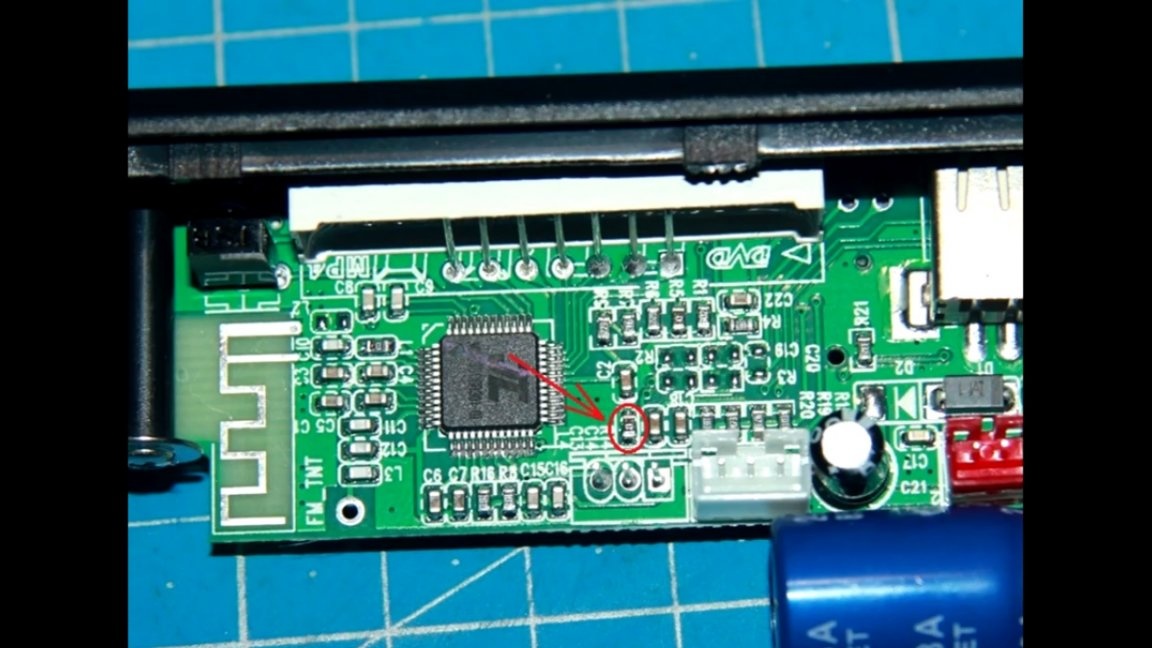
It would seem that they would have removed the whole business at the factory, but without this jumper, when the bluetooth module is not fully connected, it may fail or burn out altogether. Therefore, it is installed but only later, when the module is fully installed and the jumper can be removed and divided without damage to the earth, but this is at your own peril and risk.
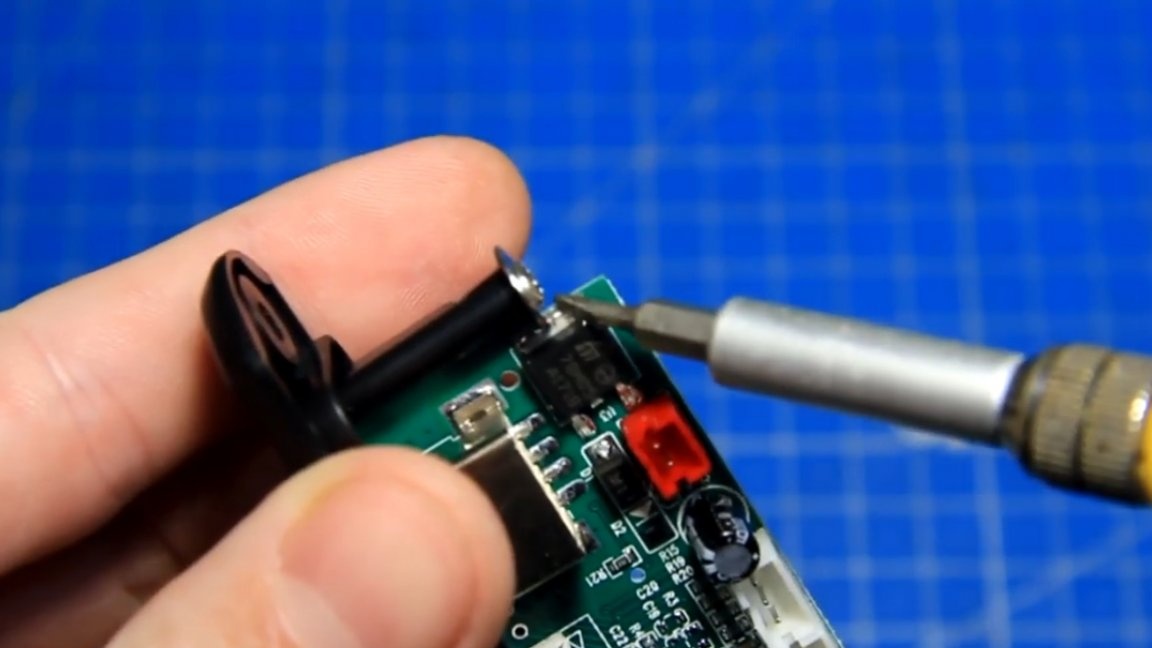
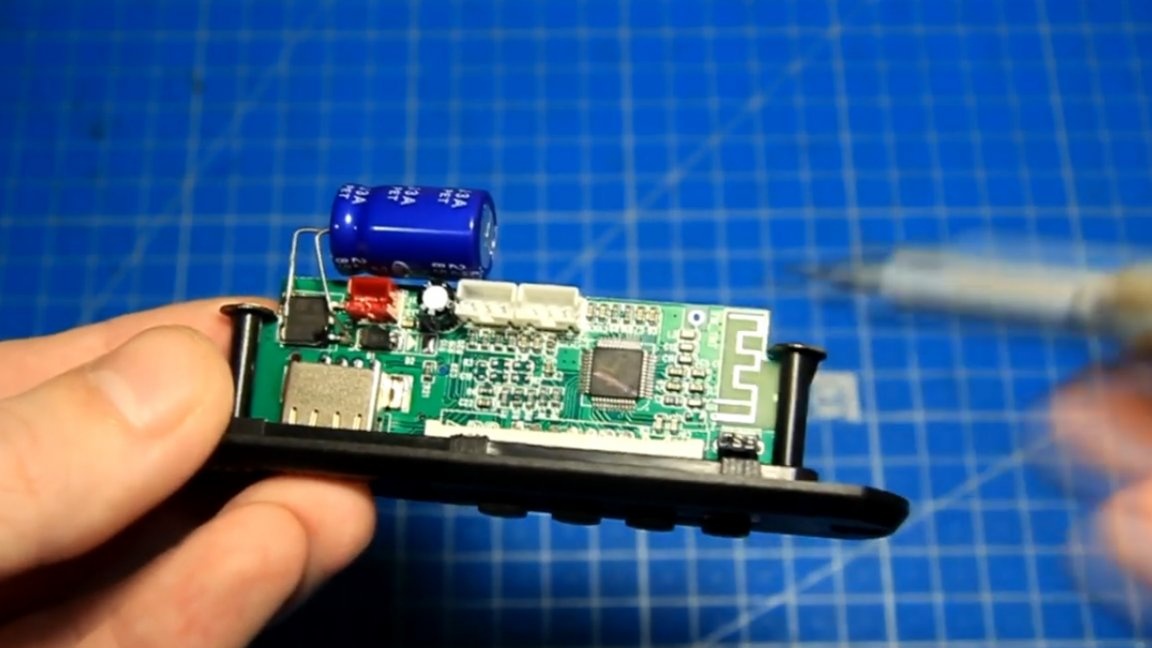
The method is quite simple: you need to connect the power wires to the bluetooth module and it is especially reliable to connect, or better solder, the line output wires from the module to the amplifier input.At the output of the 78M05 stabilizer chip, you need to install a 2200 uF filter capacitor and at least 10V, and only after that you can remove the jumper, it is also a zero resistor (the jumper is located in different places for different modules).
But we will collect an additional fee to remove the noise was as simple and convenient as possible, simply by connecting it to the gap in the power supply of the bluetooth module.
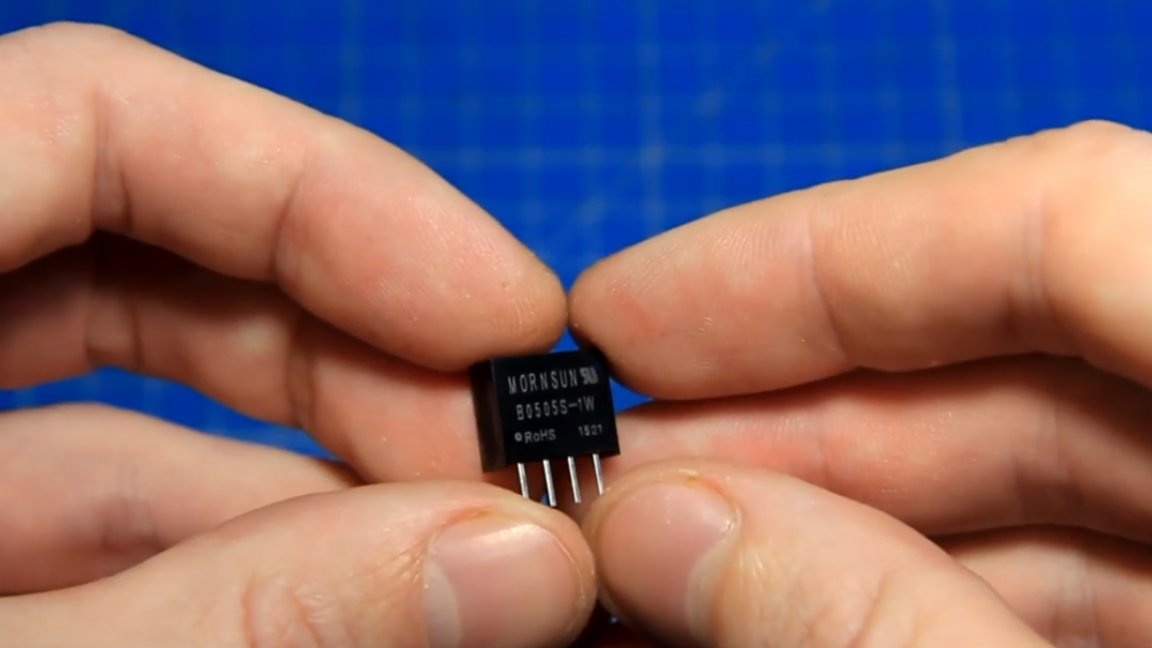
The basis for the future board was taken unipolar mini DC / DC power converter B0505S-1W with isolated ground, which will help break the ground loop. It’s like a mini converter from 5V to 5V, but in which the minuses and pluses are separated, and the energy is transmitted through a mini pulse transformer without electrical contact.
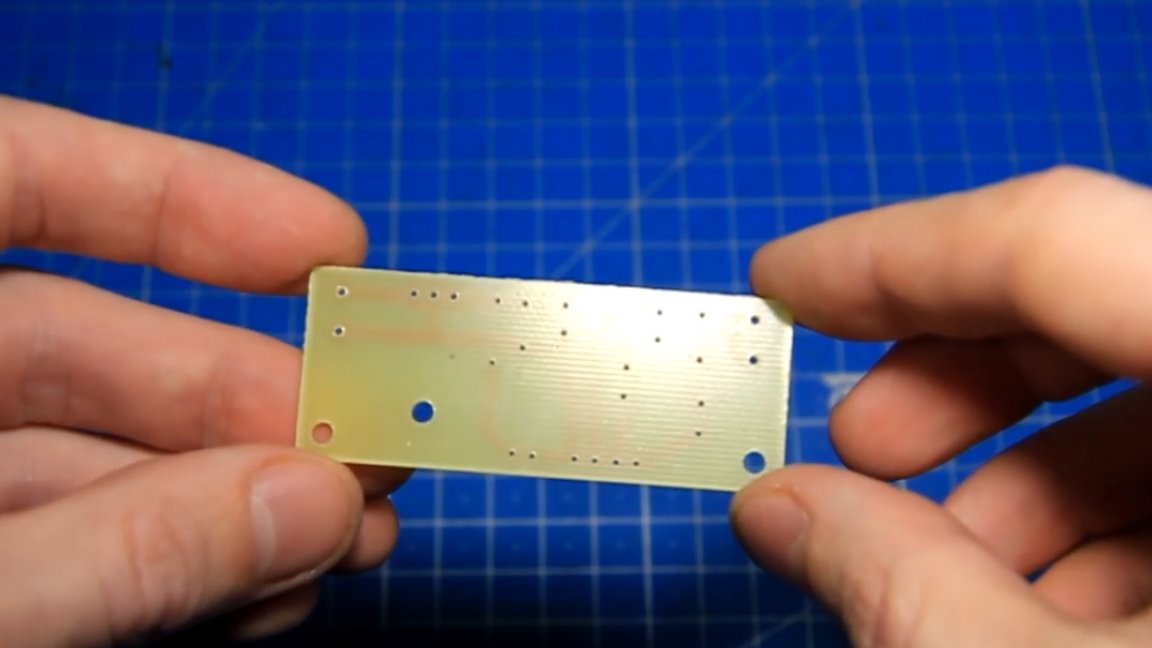
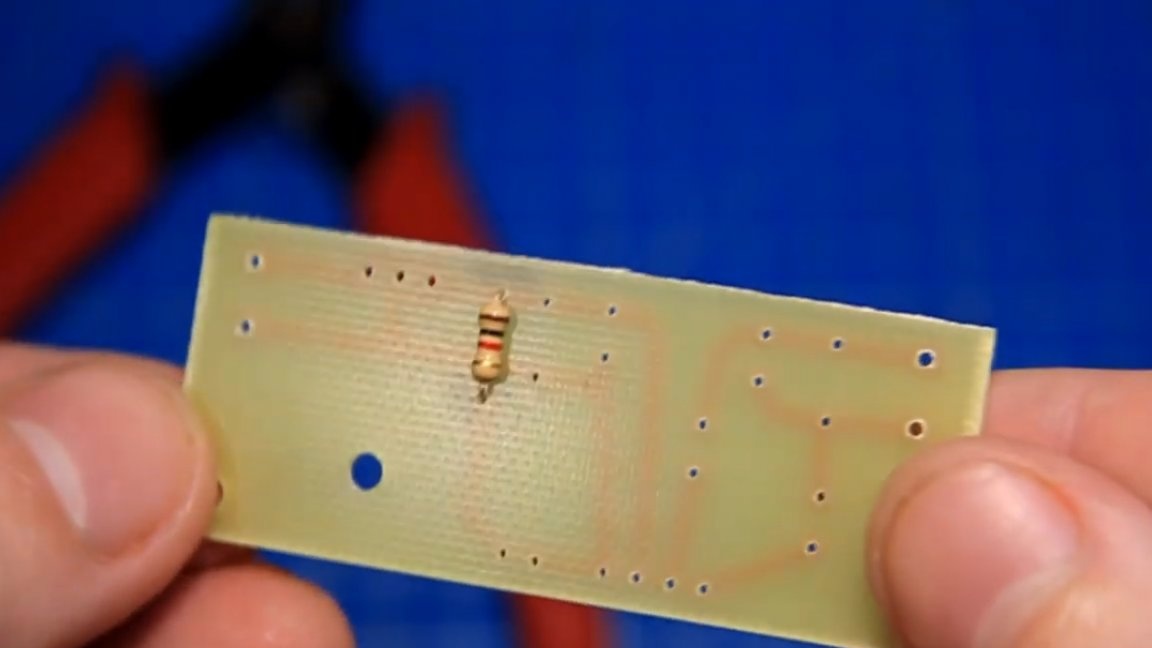
Here is the board:


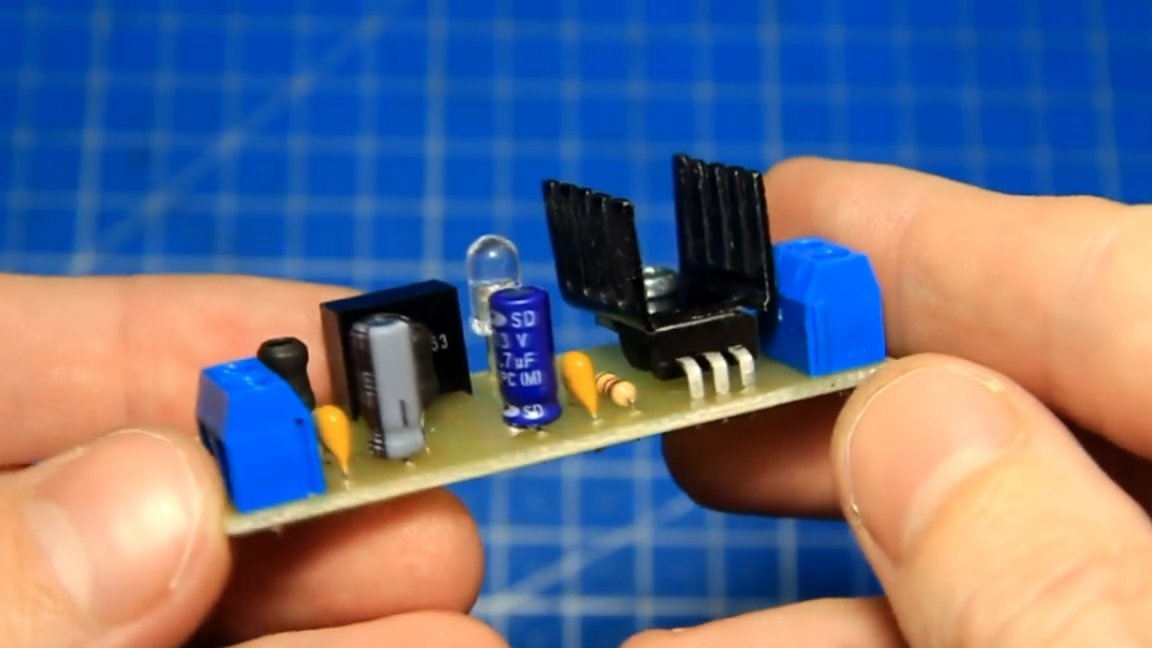
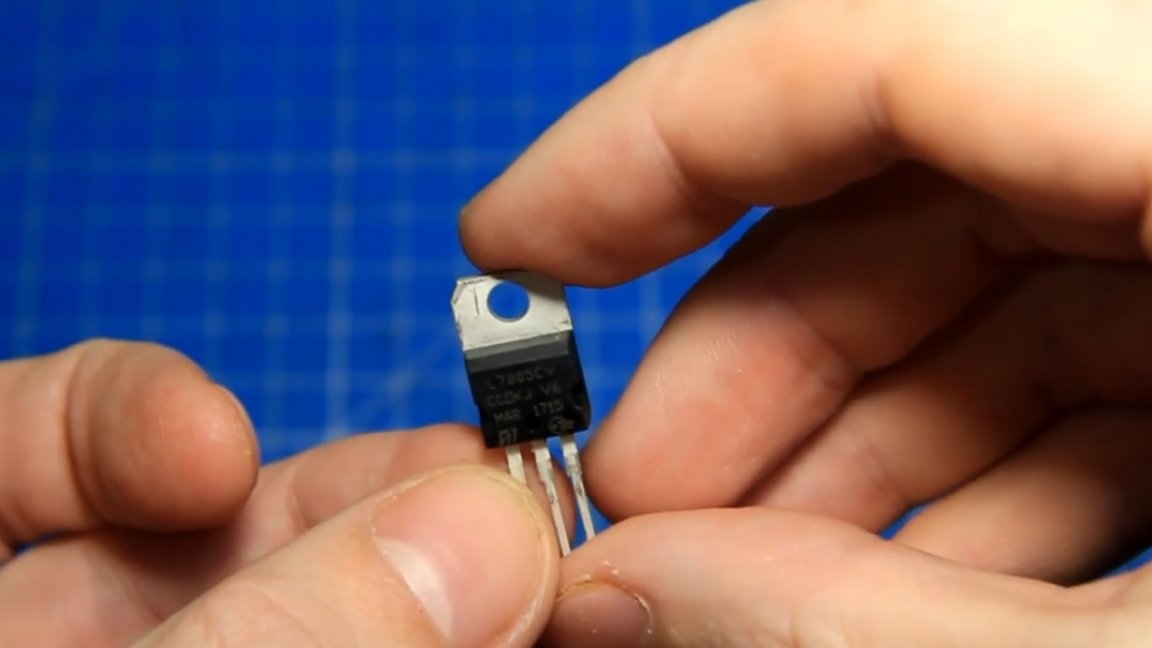
To power the DC / DC converter, the author added a L7805 linear step-down stabilizer in the TO-220 package, so that there is a current margin and a good variation in possible supply voltages.
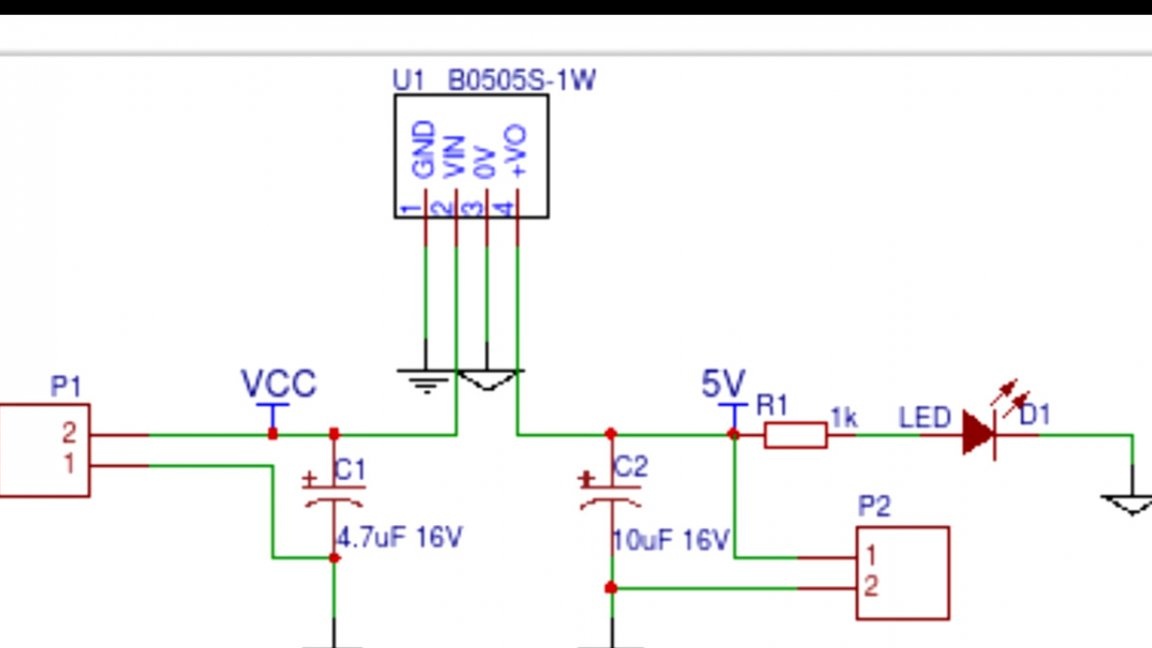
On the radio market, all the necessary details were purchased, there are not many of them (you will find links to the components used in the description under the author’s video (SOURCE link)). We begin to collect the fee. First, we put a 1kΩ permanent resistor to power the LED - an indicator of the availability of power to the galvanic isolation board. The power availability LED on the board is optional, but with it it is visually clearer whether the power comes to the board.
Next, we install 2 multilayer capacitors of 0.1 μF and be sure to observe the polarity of the electrolytic capacitors. Their values are 4.7 microfarads and 10 microfarads, the voltage is at least 25V.

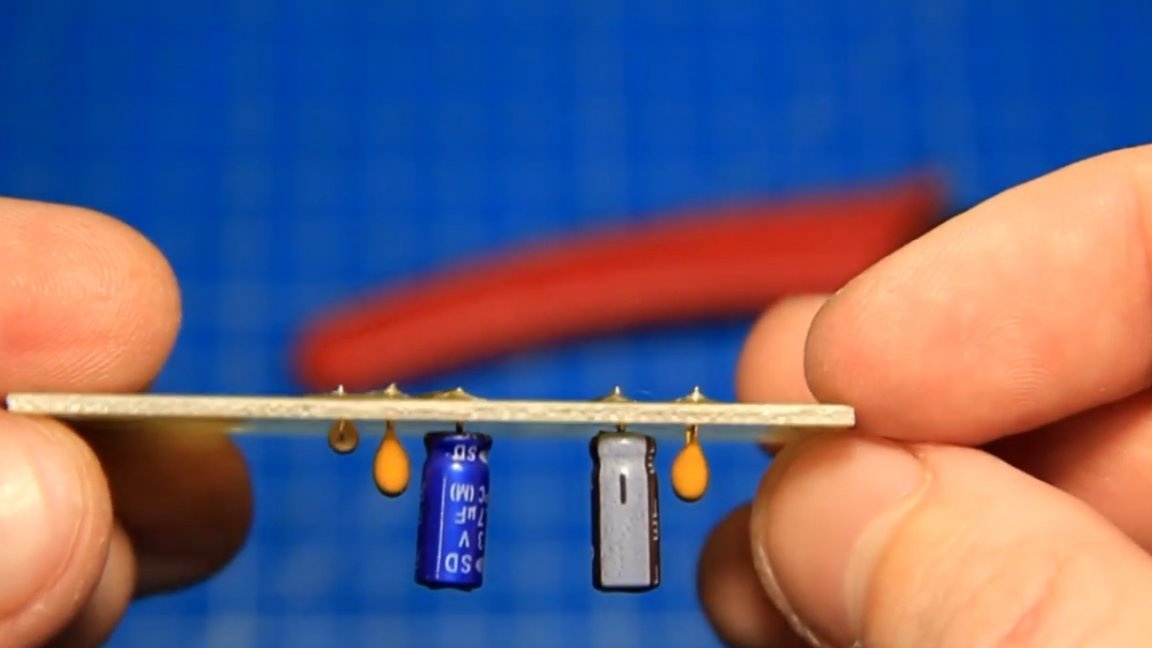
Then throttle 150 μH for additional filtering from interference. But if you don’t have them, then you can just wind small coils or even solder jumpers, it should also work.
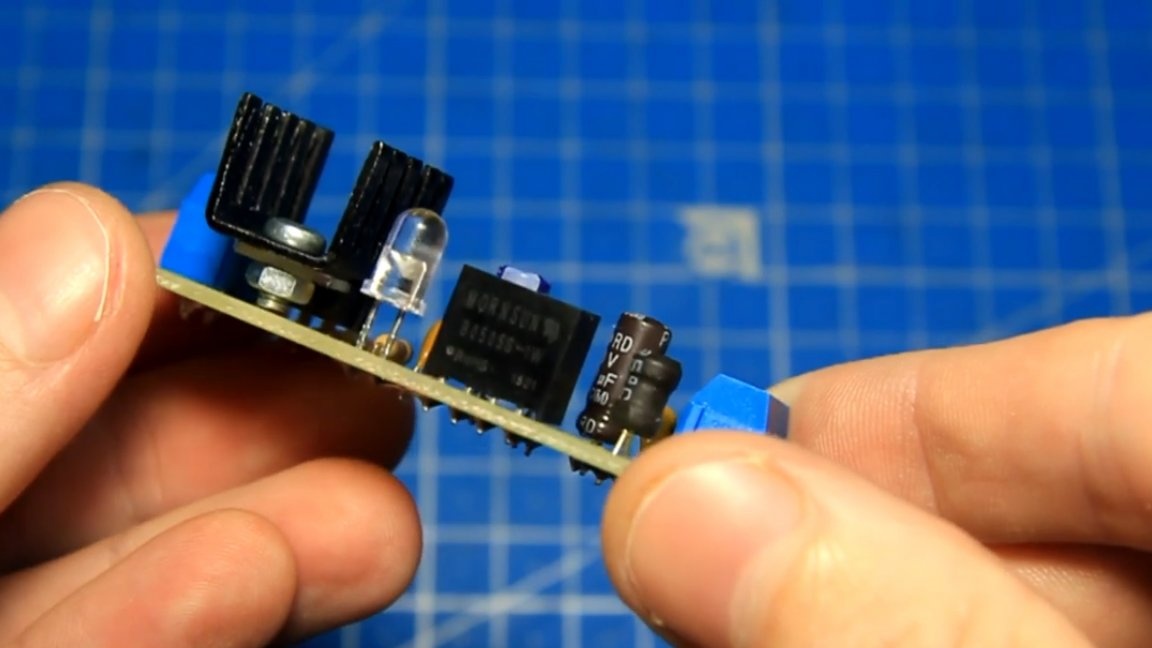
Next, install the L7805 step-down stabilizer with the radiator in its place. And now you can install the DC-DC converter B0505S-1W itself. Here, too, it is necessary to observe the correct installation in accordance with the marking of the legs.
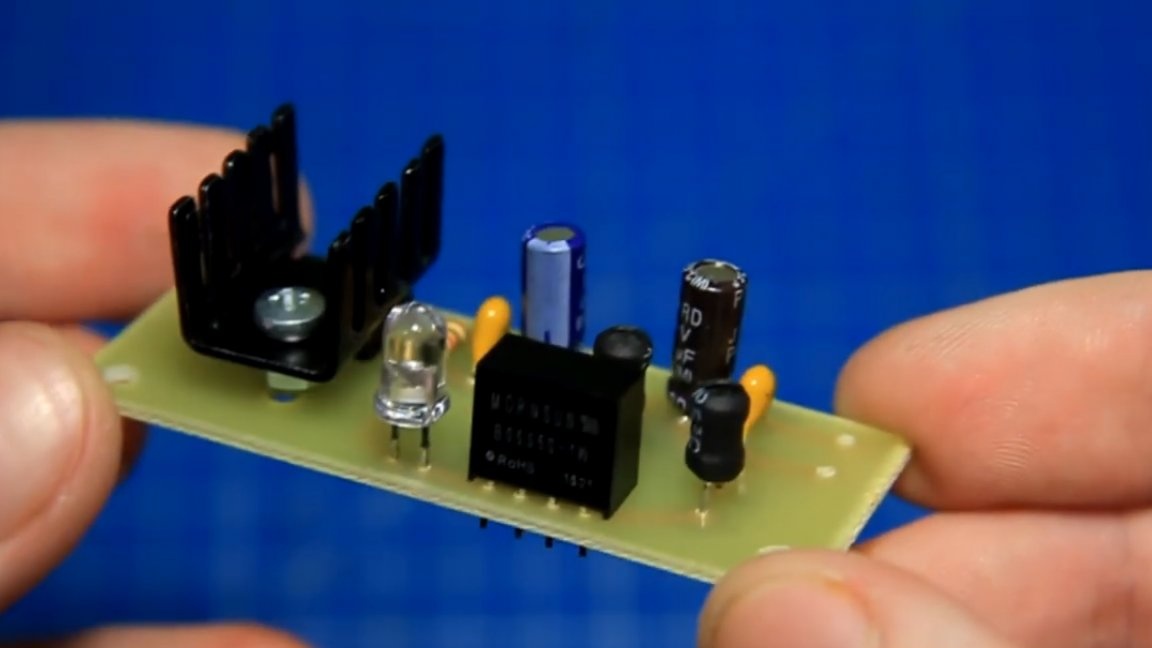
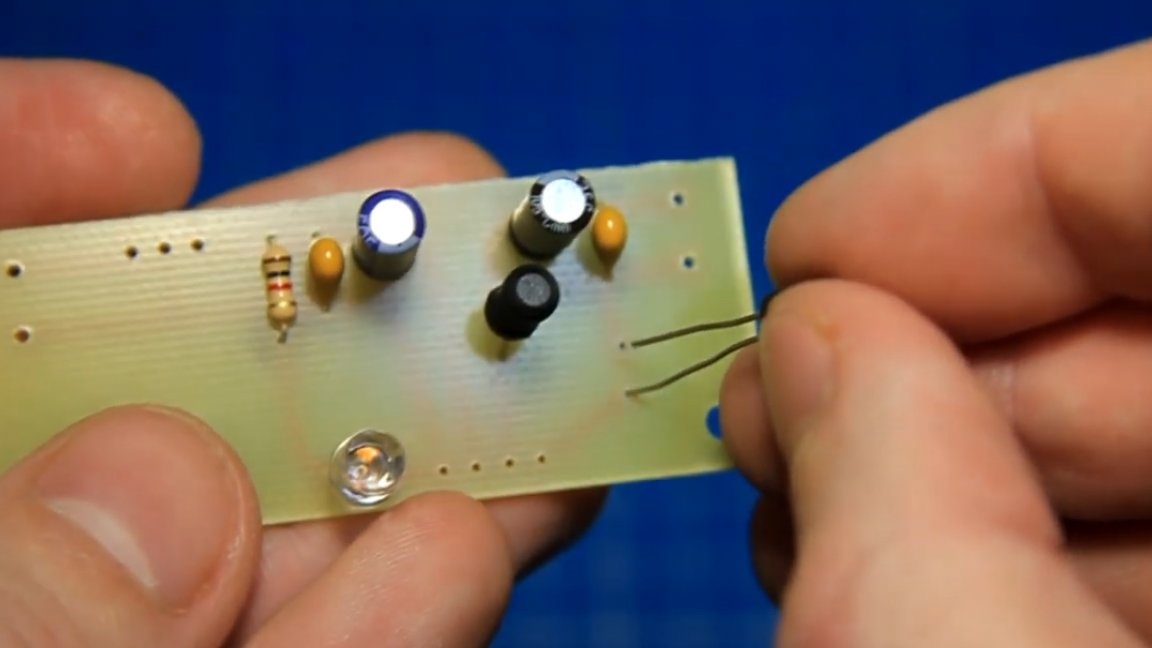
After the assembly process, we got such a small board for galvanic isolation for powering the bluetooth module.
In order not to confuse anything when connecting and not to burn the board, at the ends of the terminal blocks, the author additionally signed where is plus and where is minus. The fee is collected, but it still needs to be checked. To check, try to power it from a 12V battery.
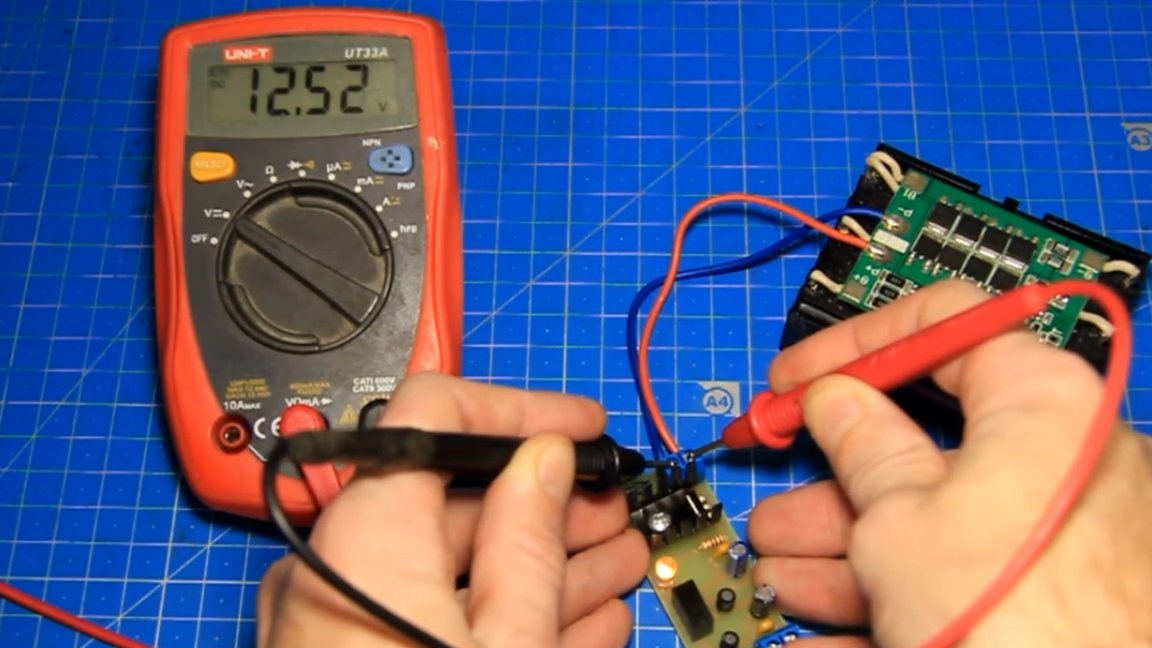
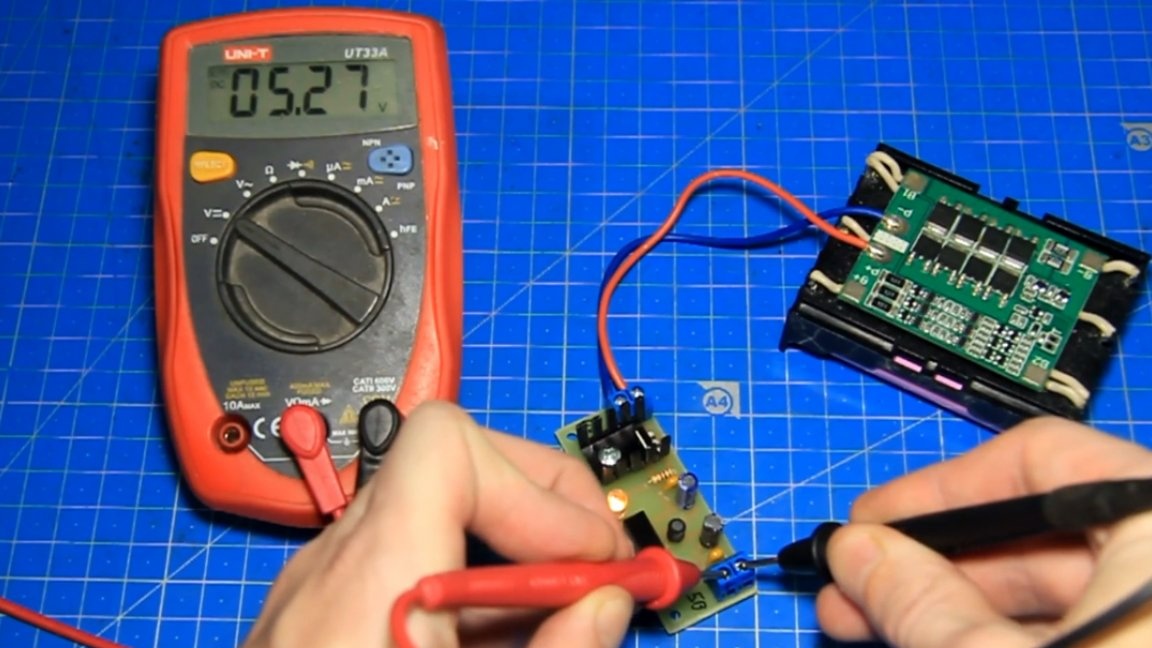
The LED lights up - power is coming to the board. Now, using a multimeter, you need to check whether the board is working. At the input of the board comes 12.5V, and at the output of the board there is 5V with a DC-DC converter. The board works, everything is fine.
The assembled output board provides the necessary 5V for powering the processor of the bluetooth module, and the power of the bluetooth module is 12V, but the processor essentially runs on 5V, to switch the bluetooth module board to 5V, you just need to short-circuit the input and output of the 78M05 stabilizer on the bluetooth module board.
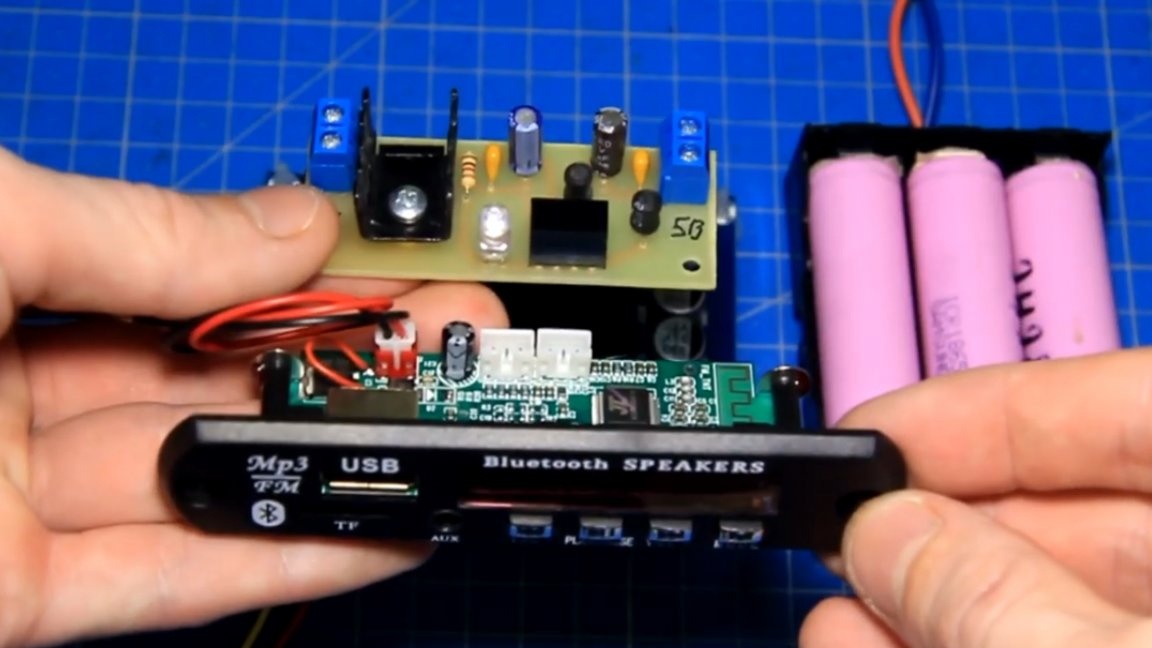
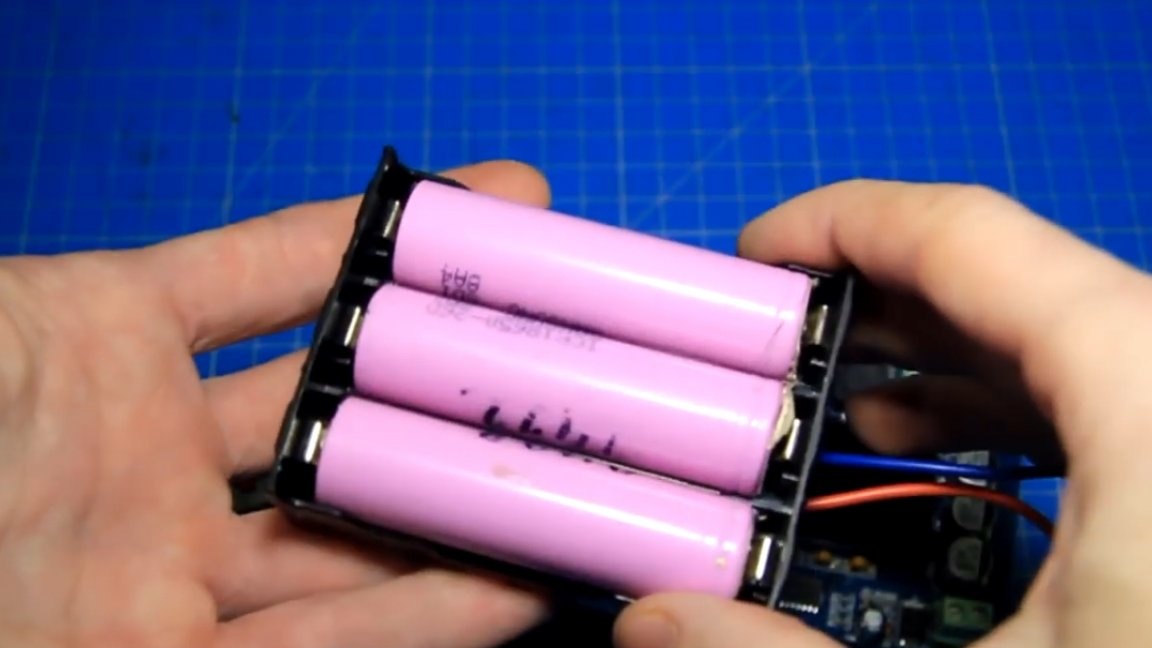
Stabilizers are installed simply to expand the range of supply voltages and protect the processor from voltage exceeding 6V. Everything is ready for the test, we will be powered by a 12V battery.
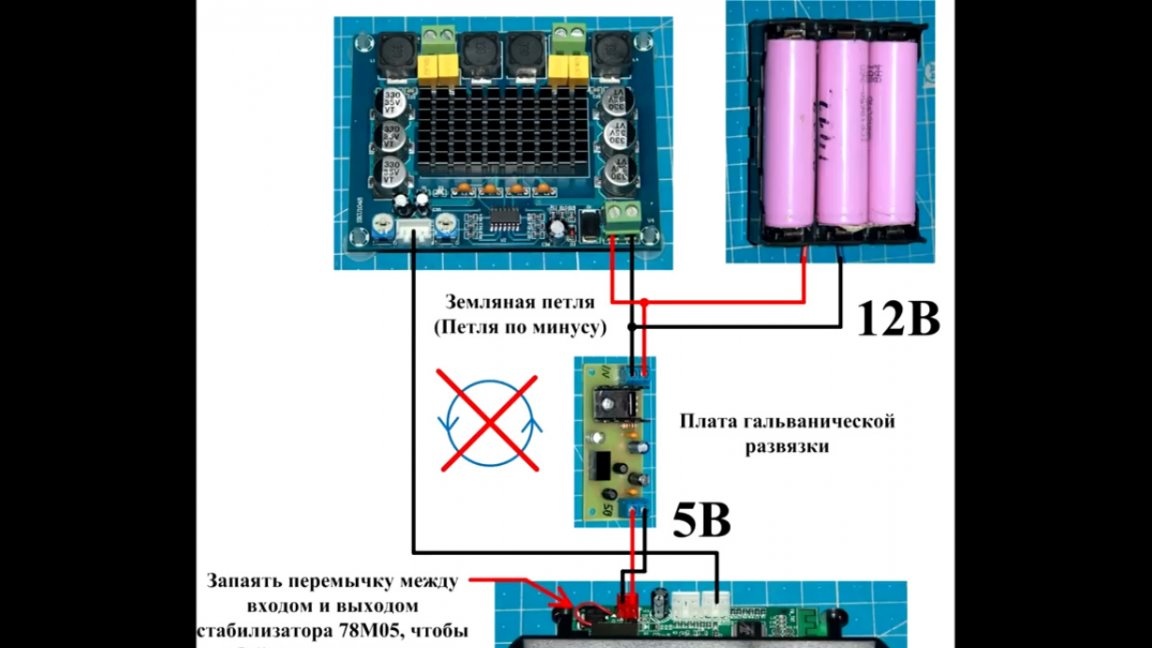
First, connect everything according to this scheme:
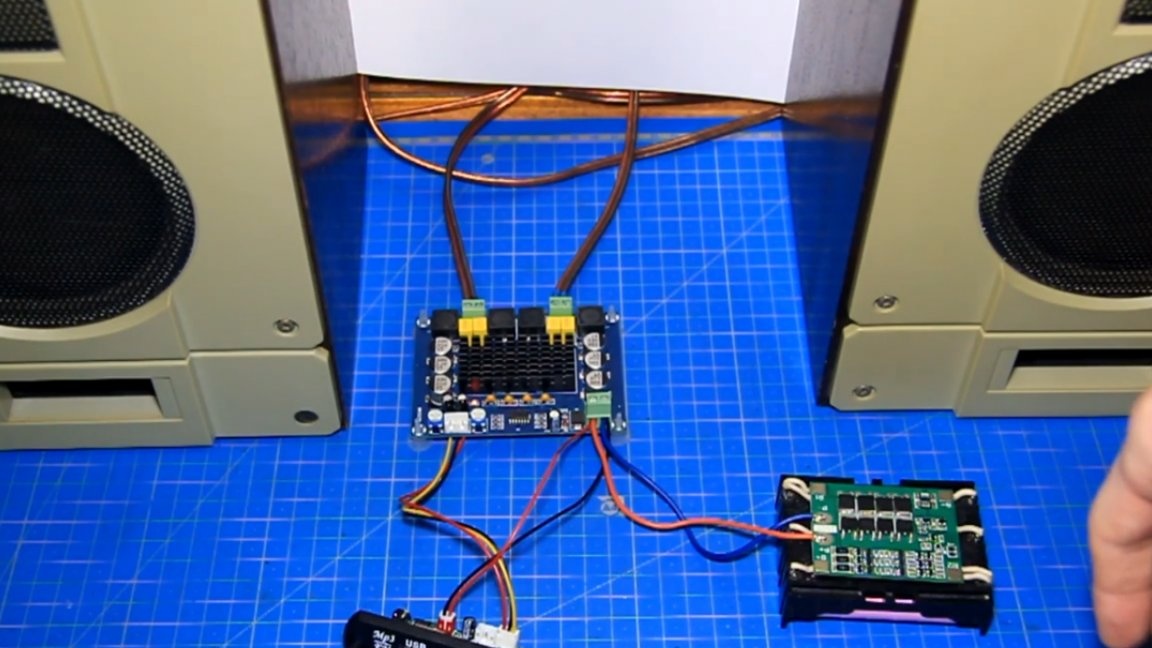
There is interference and can be heard well. As soon as the bluetooth operating mode - noise immediately appears. When the music is turned on not loudly, squeak well spoils the sound and does not cause slight discomfort.
This is clearly demonstrated in Author’s video:
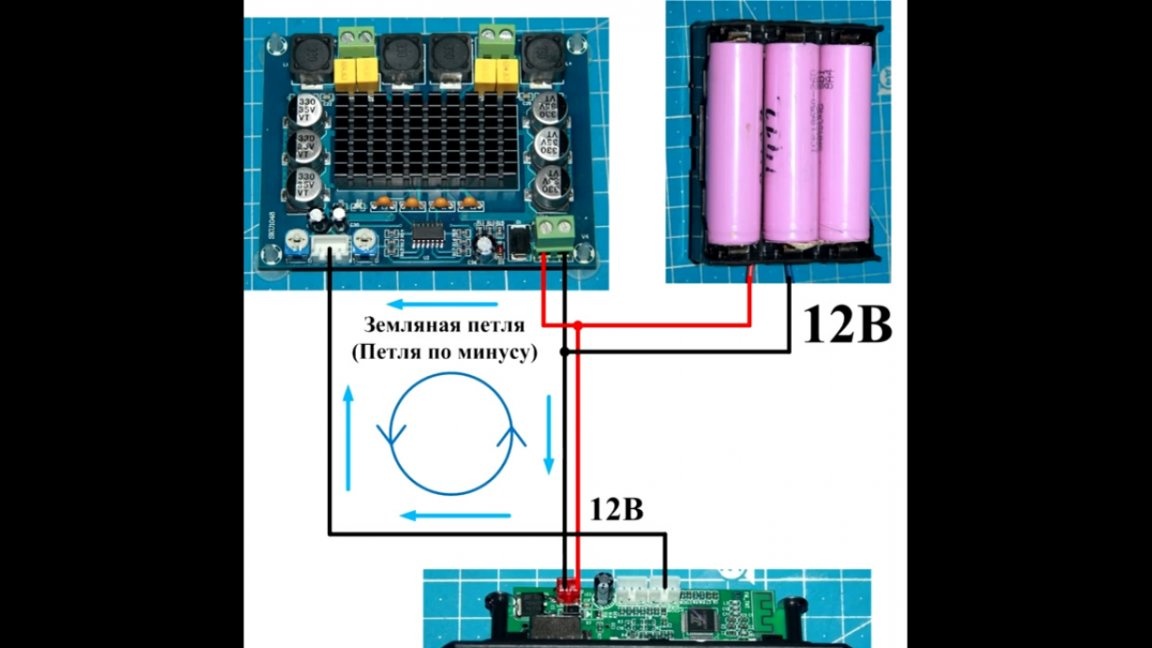
And now everything is the same, only with the galvanic isolation board connected. We connect everything already according to this scheme:

We serve food and look at the result.

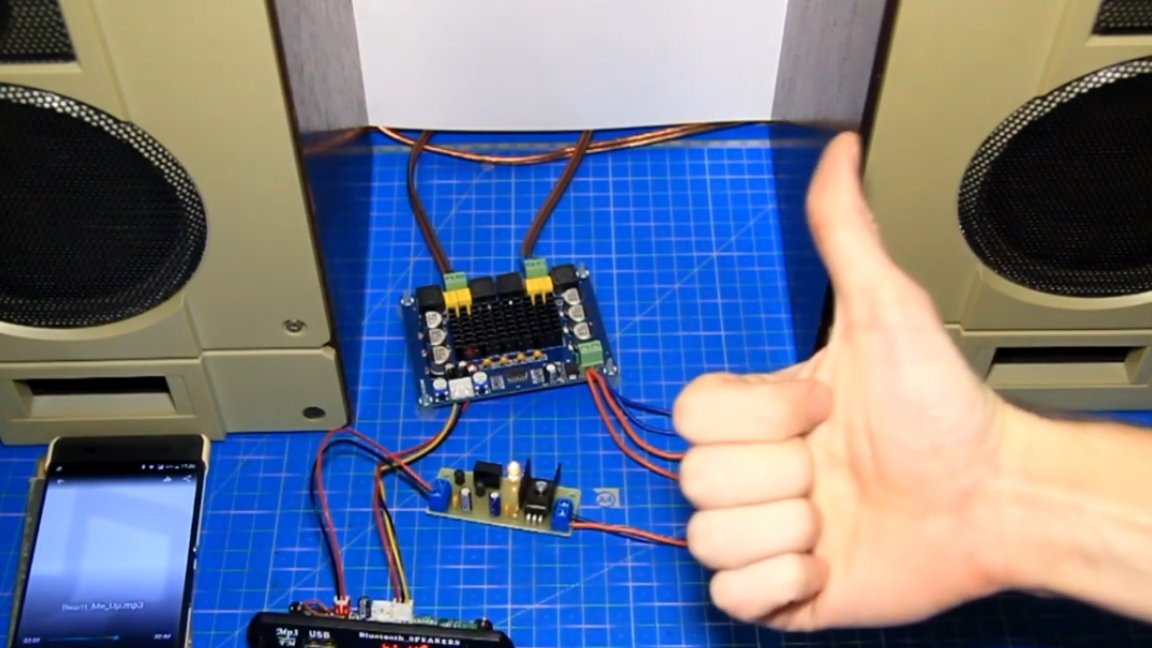
The noise is gone, now everything is quiet. There is no earthen loop - no annoying squeaking.
It is also possible to power the galvanic isolation board up to 25V. During operation, the L7805 stabilizer heats up and this is normal - this is his work, if it heats up very hard, you may need to increase the radiator. Well, here’s such a way to remove noise using an additional board, everything works fine, there is no noise, the assembled board works and successfully performs its task - it galvanically separates the earth and removes the earth loop.
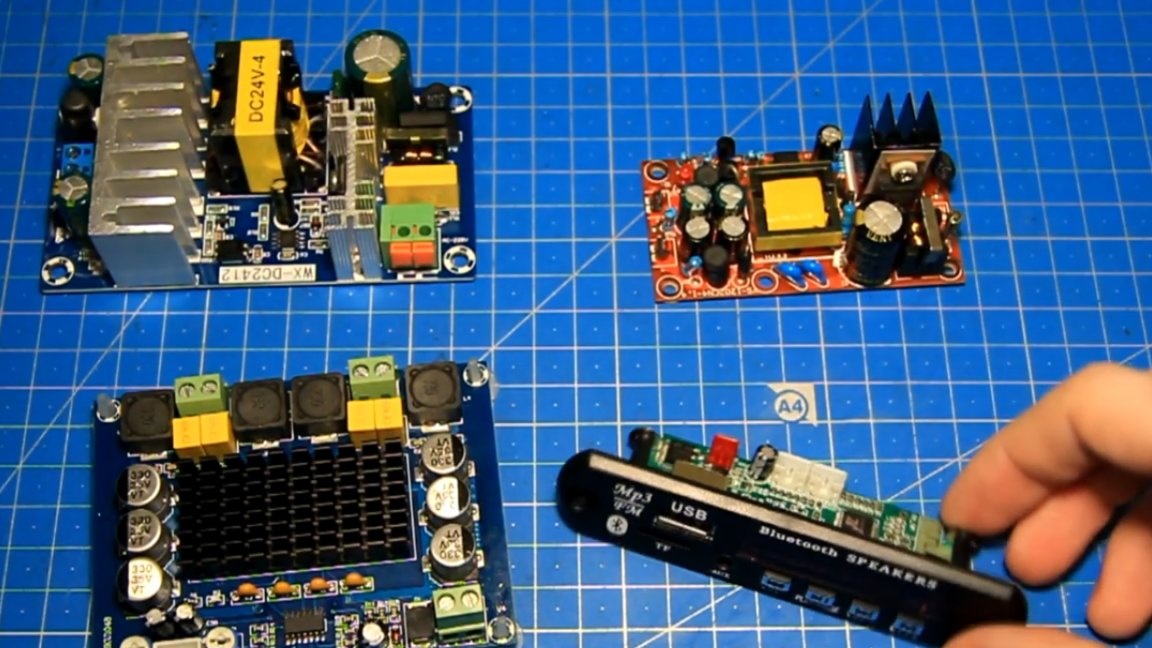
The author took the bluetooth module as an example, but tested it with different ones. And just boards only bluetooth modules and mortise modules - everything works well. If you wish, you can repeat, collect and try. Well, or you can choose a noise elimination method that suits you.If everything is done correctly, then all the shown methods remove the earth loop and remove interference during the operation of the bluetooth module.
Board drawing can be downloaded HERE.
Thank you for attention. See you soon!