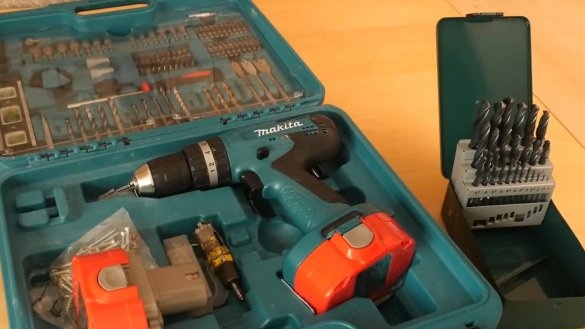
Here are a few tricks that allow you to expand the scope of the drill, as well as make working with it more convenient and cleaner.
Trick 1. An easy way to collect garbage when drilling
The process of drilling even small holes in the walls or ceiling is accompanied by the expansion of dust and small particles of the surface being drilled. So that after working with a drill in the room there is less debris, use the following trick.
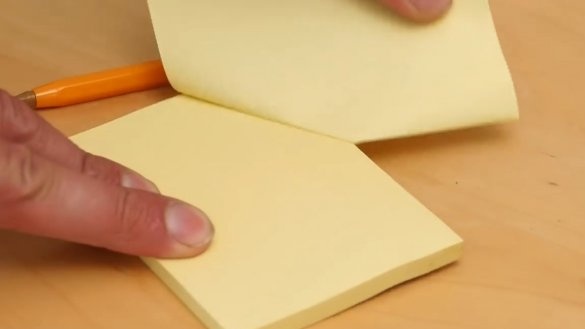
Before you drill a hole in the wall, take a piece of note paper with a glue edge.
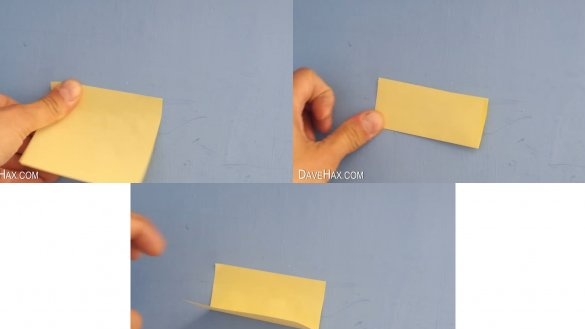
Stick it just below the place where the hole will be drilled, and then bend the bottom sheet part to the top - so that it turns out as in the photo.
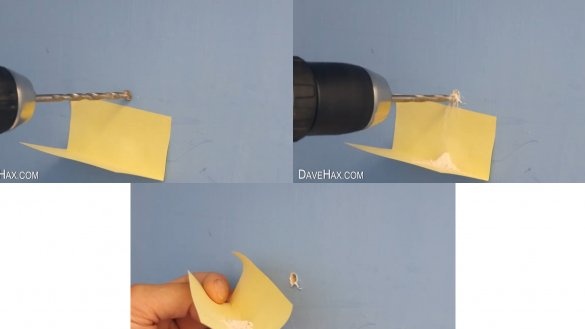
Now you can drill a hole. All rubbish from it (or at least most) will fall on a piece of paper, not on the floor.
This method will save you from excessive pollution of the room and will not require additional cleaning.
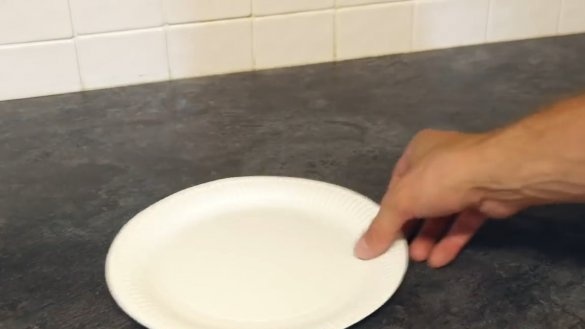
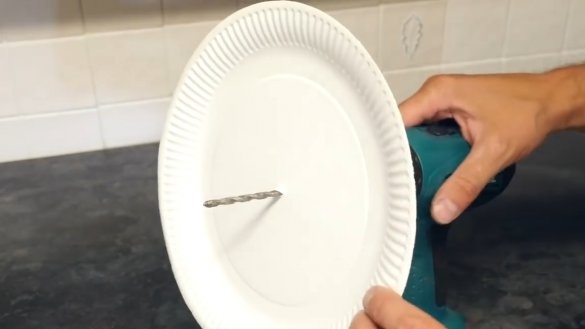
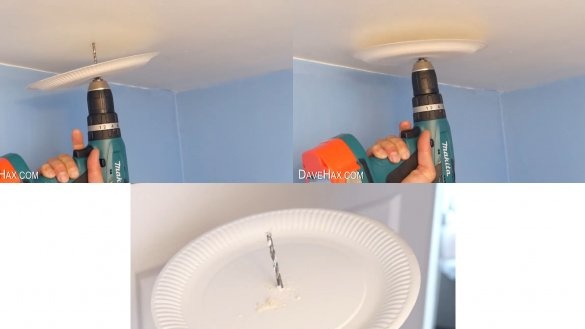
If you need to drill a hole in the ceiling, you can use a paper plate.
Mark the center in it, and then put it on the drill (by the way, you can even bend the edges of the plate to get sides that prevent dust from flying out).
Now all the debris from the hole in the ceiling will fall directly into the plate, and not into the eyes and the floor, flying around the room.
Trick 2. Limiter for drill
Drilling a hole of some precisely defined depth the first time is quite difficult. We have to check it several times, and then drill it, and at the same time constantly fear: if the drill went too deep.
The next little trick to let you make holes exactly the depth you need. And besides, the first time.
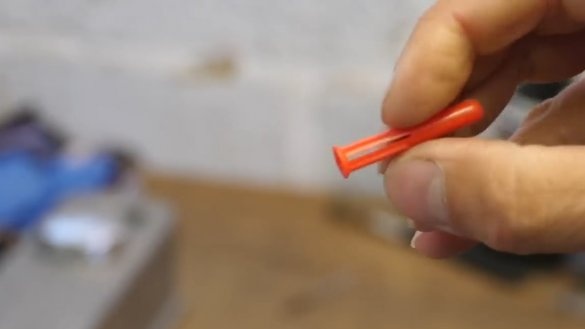
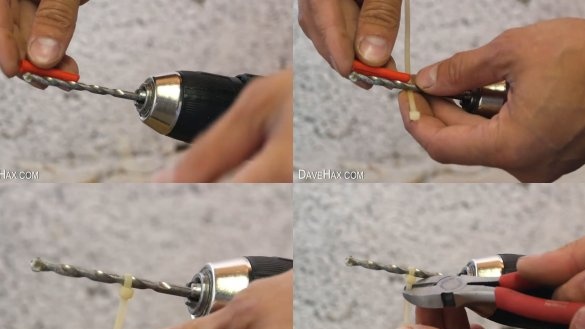
Let's say we need to make a hole for the dowel
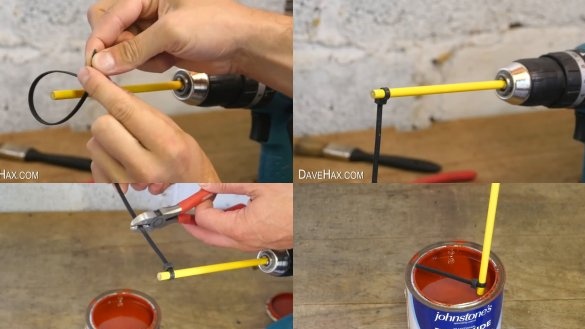
We attach it to the drill and measure its length, fixing a plastic screed at the end of this segment.Cut off the unnecessary tip with pliers.
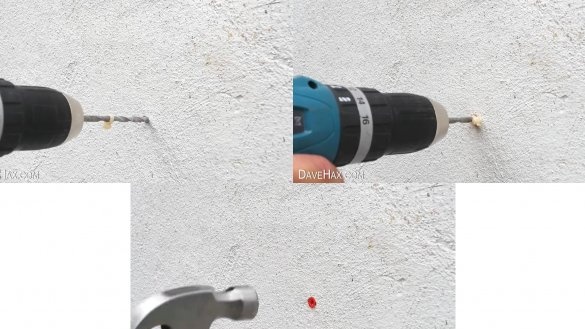
Now we know how much the drill should go into the wall. We begin to drill, and as soon as the screed abuts against the surface to be drilled, the necessary depth will be achieved. It remains only to insert the dowel into the hole and make sure that everything is done correctly.
Trick 3. Stir the paint
Before starting paint work, it is necessary to mix the paint thoroughly.
Of course, you can do it with any wand, but for "the inhabitants of our sites"It somehow turns out not technologically, and for a long time, and the hand gets tired.
In general, this is not our method.
We will go the other way.
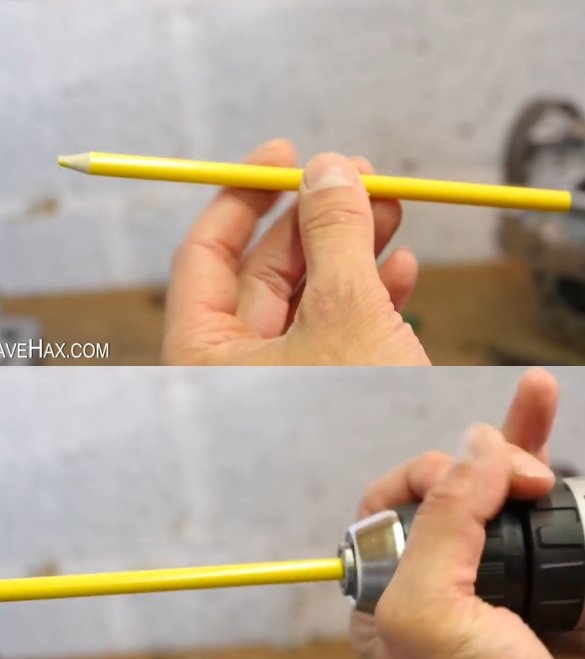
And a drill (or screwdriver) and a plastic screed, as well as some unnecessary pencil, will help us out in this again.
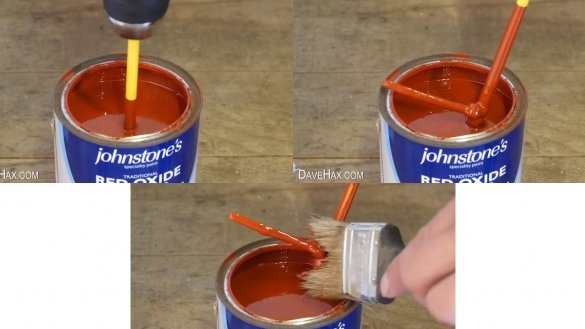
We take an unnecessary pencil, insert it into the drill chuck and clamp it.
Then, at the end of the pencil we fix the plastic screed. Its tip will need to be cut so that it is equal to the inner diameter of the can of paint.
We lower our improvised mixer into the paint and turn on the drill at low speeds. She very quickly cope with the task of mixing - and, moreover, without any efforts on our part. In order not to stain anything, after removing the stirrer, remove excess paint from it with a brush.
Trick 4. Twist the wires
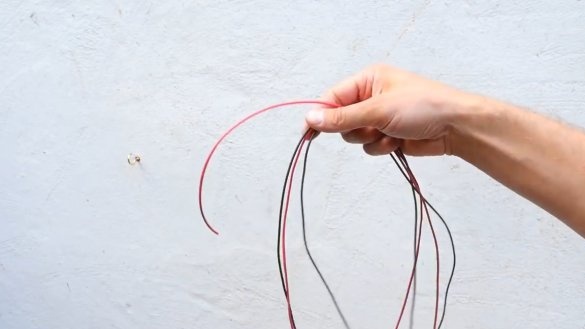
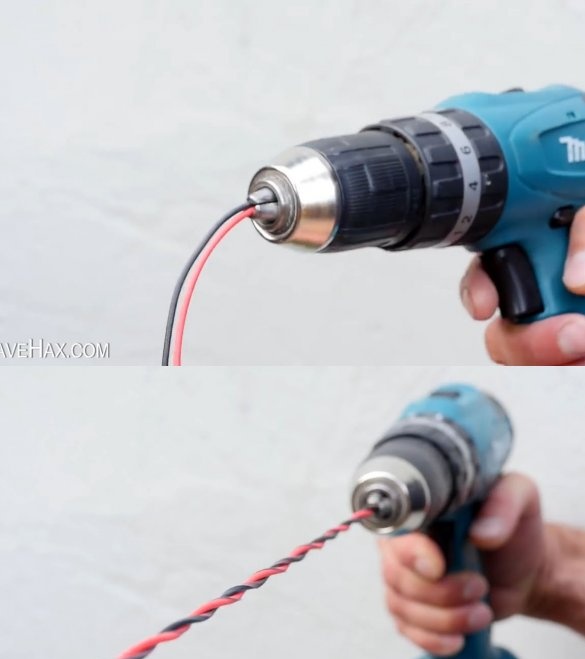
If you have wires that need to be woven together with an equal pitch of turns, then here a drill / screwdriver can come to the rescue (in addition, we need a stationery clip).
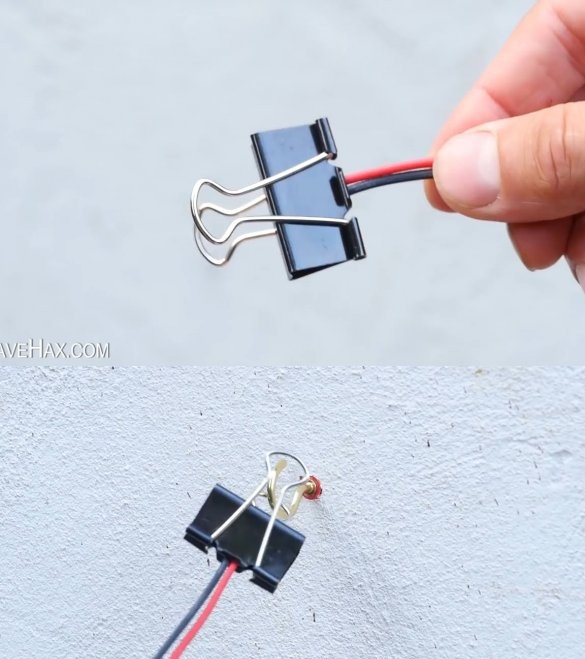
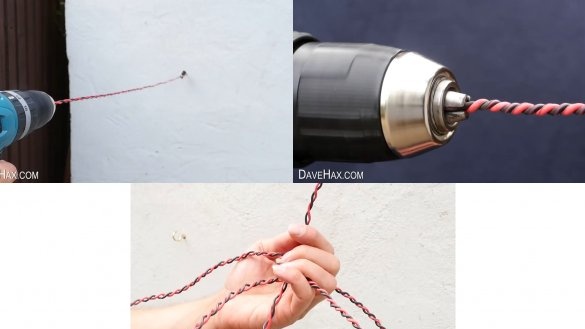
Align the wires relative to each other. We put the ends on one side into the clip and hang it on some solid hook.
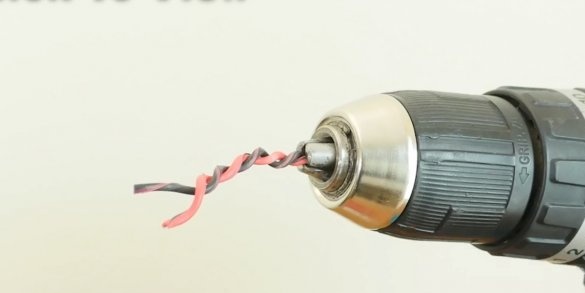
The ends of the wires on the other hand are inserted and fastened into a drill. Pull them a little, and turn on the drill at low speeds.
After a short time, you will get interwoven wires with an even pitch of turns.
The main thing is not to overdo it and not to allow them to break.
Thanks for reading the article! Perhaps the tricks described above will be able in the future to facilitate the solution of some economic problem or the implementation of repair work. Good luck to everyone and good mood!

