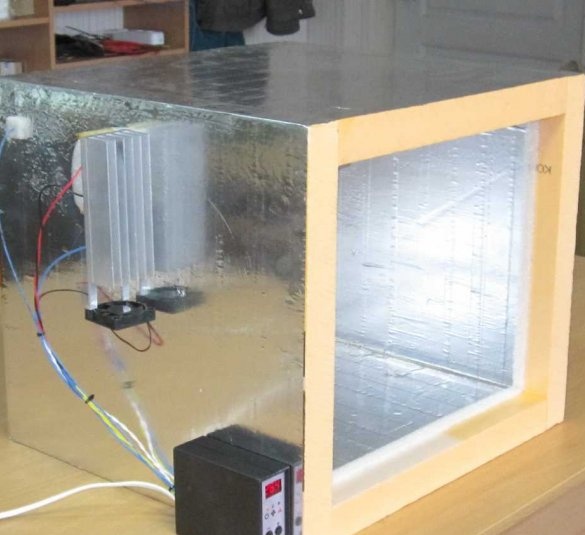
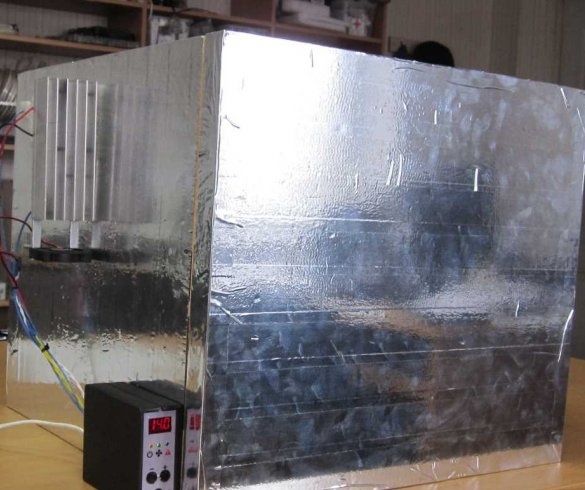
The master who built this refrigerator, is an electronic engineer with a diverse range of hobbies, from history to sports, from jurisprudence to travel. The last passion of the master of wine making in home conditions. And here his engineering knowledge came in handy. Not for making wine, for storing it.
The wine should be stored at low temperatures from 10 to 18 ° C maximum, and refrigerators for its proper storage of the road. Then the master decided to make such a refrigerator himself.
Tools and materials:
-Extruded polystyrene foam;
- Aluminum tape;
-Roulette;
-Glue;
-Knife;
-Pencil;
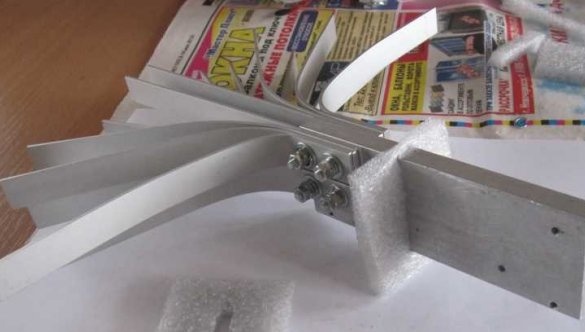
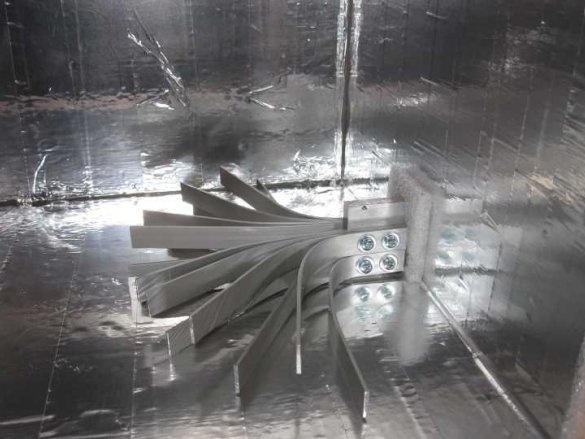
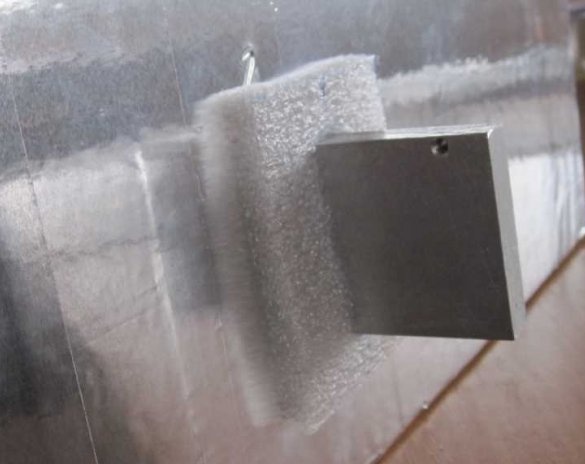
-Aluminum profiles;
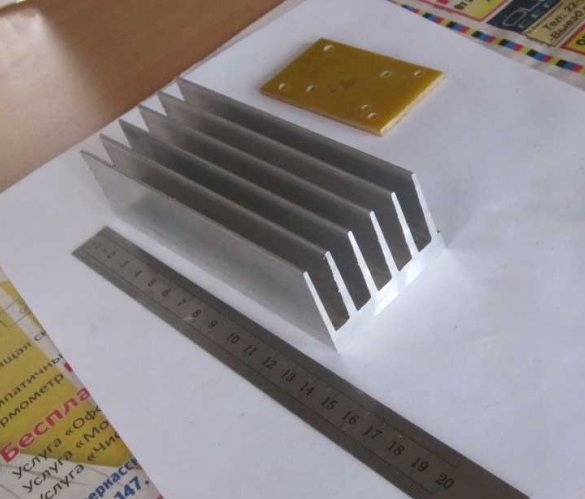
-Aluminum radiator;
-Fasteners;
-Drill;
-The Peltier element;
-Textolite;
-Fan;
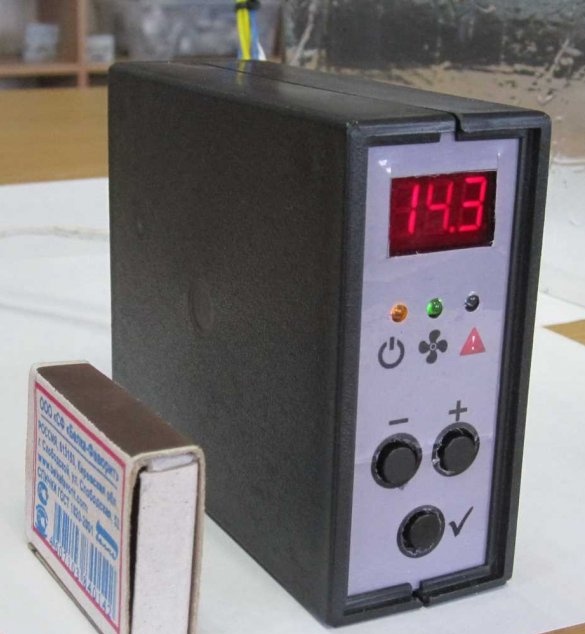
- Controller for powering the Peltier element;
Step One: Refrigerator Requirements
When designing, the master tried to take into account the following requirements:
- The temperature inside the chamber is not higher than 18 ° C
- Low power consumption of 15-20 W
-Work on the Peltier element
- The controller with a control system and control of the set temperature
Step Two: Housing Design
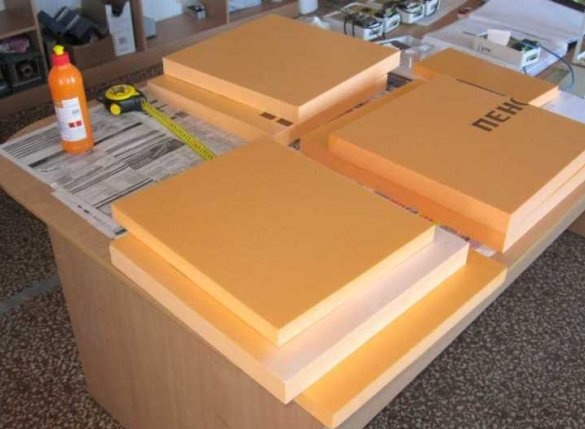
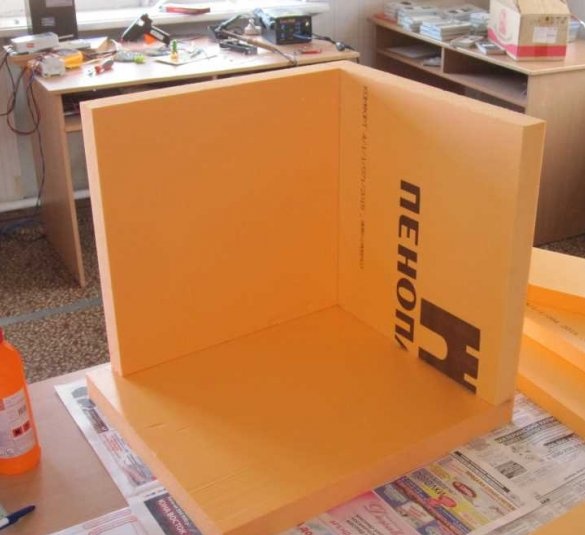
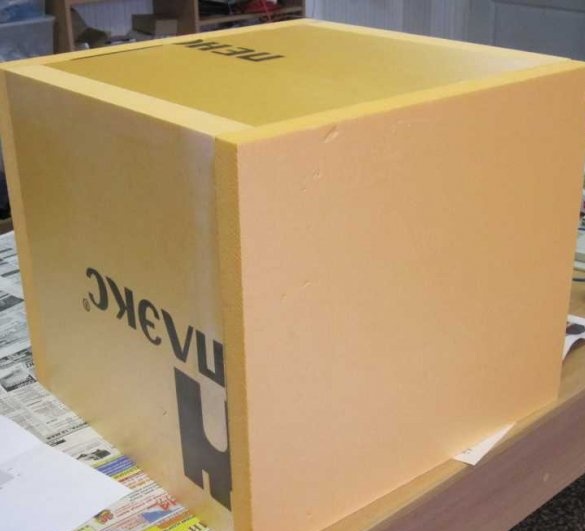
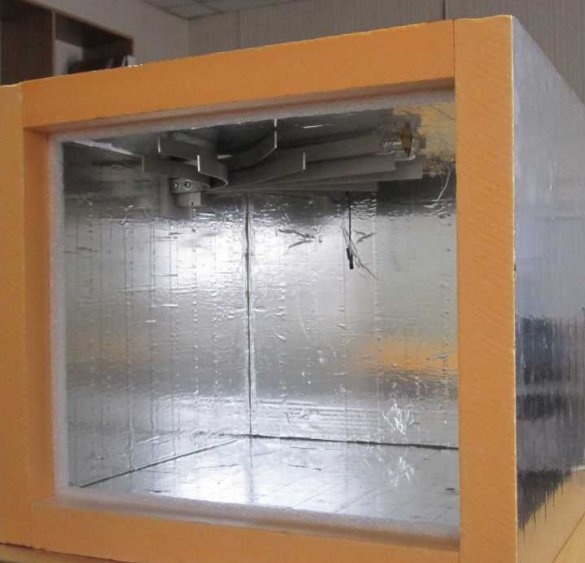
When posing the question of what to make the body of, the master settled on penoplex. The master explains his choice of material with its low thermal conductivity, moisture resistance, strength, ease of processing.
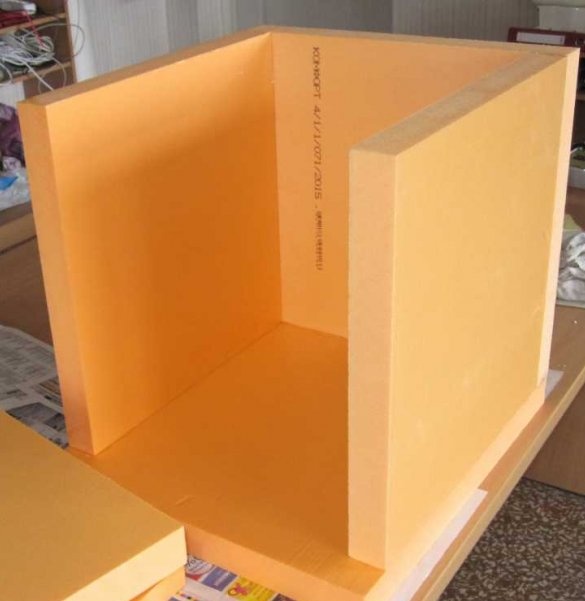
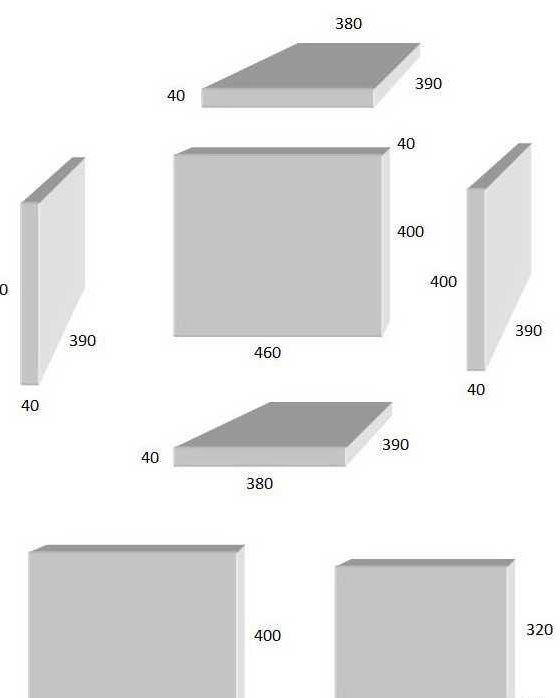
For the refrigerator, the master used plates 4 cm thick. The internal dimensions of the refrigerator are 380 x 360 x 320 mm. Four five liter wine bottles are placed in such a refrigerator.
Step Three: Camera Making
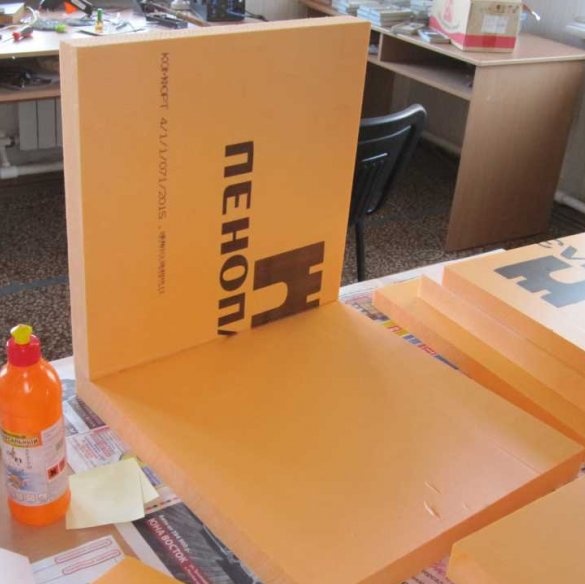
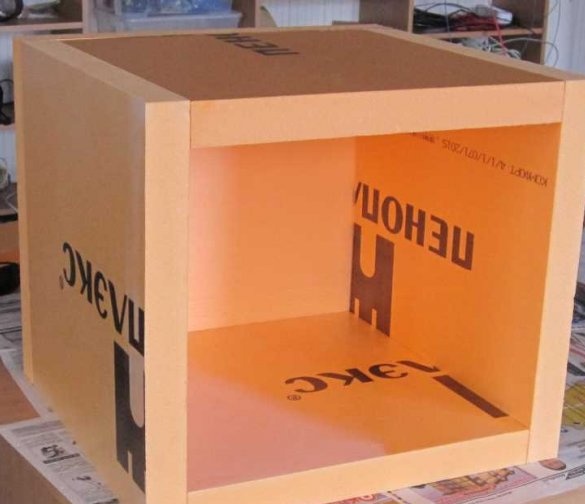
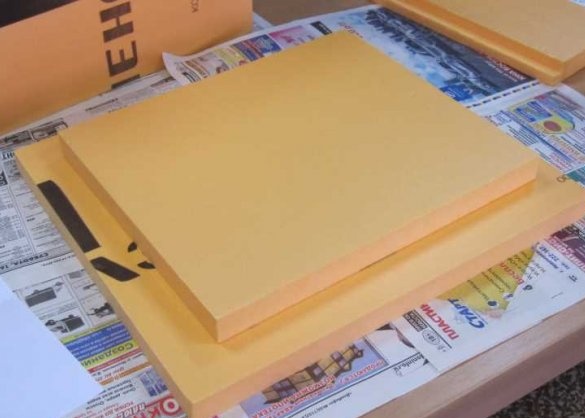
The master took the foam sheet to the furniture workshop and there it was cut to size. Assembling the camera with the master uses glue.
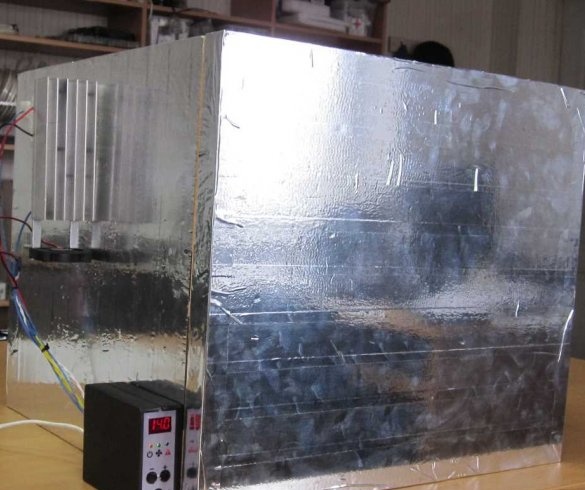
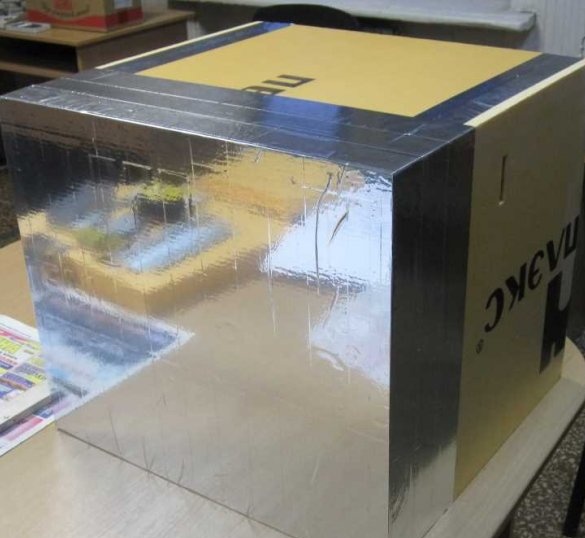
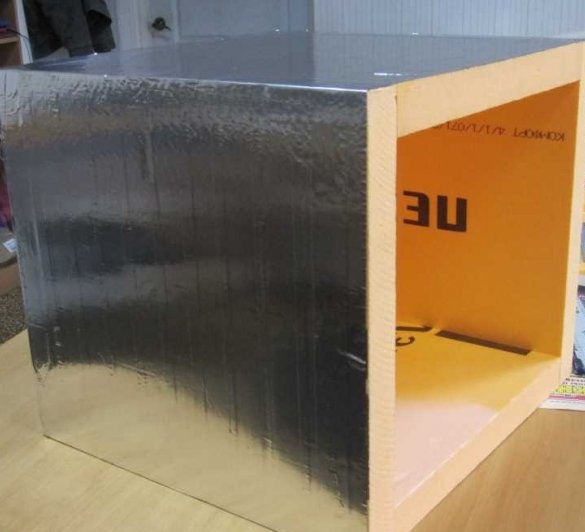
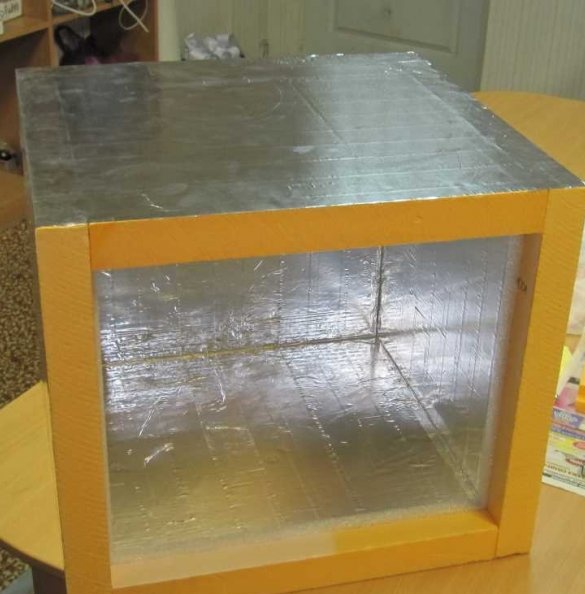
After assembling the camera, paste over it with aluminum tape.
Step Four: Cooling Unit
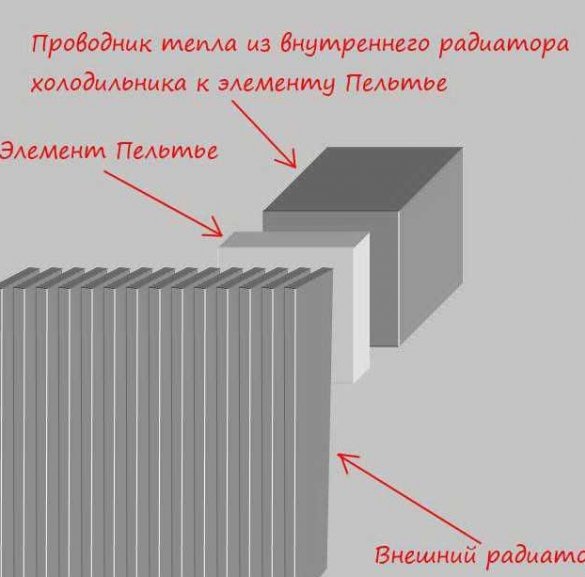
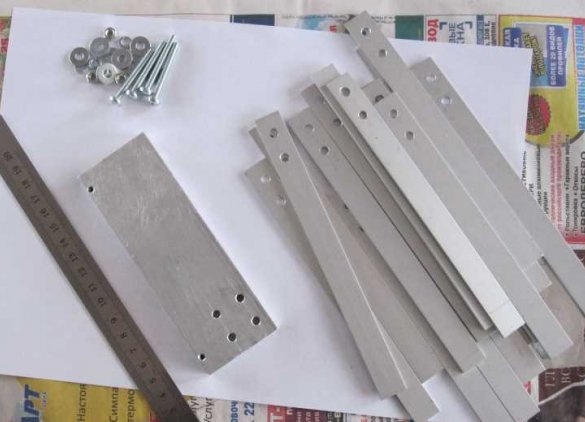
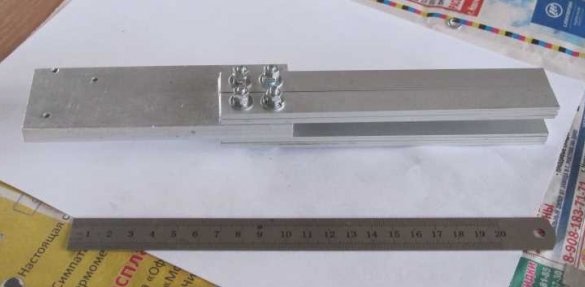
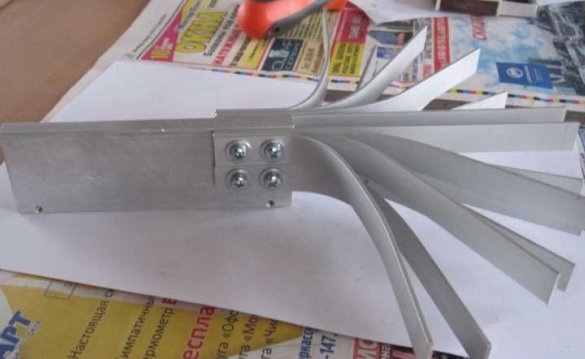
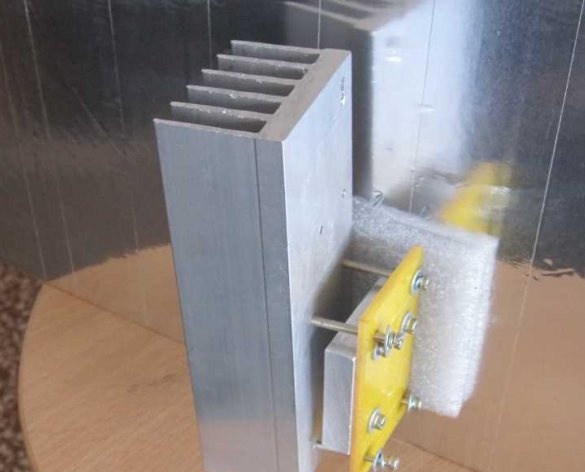
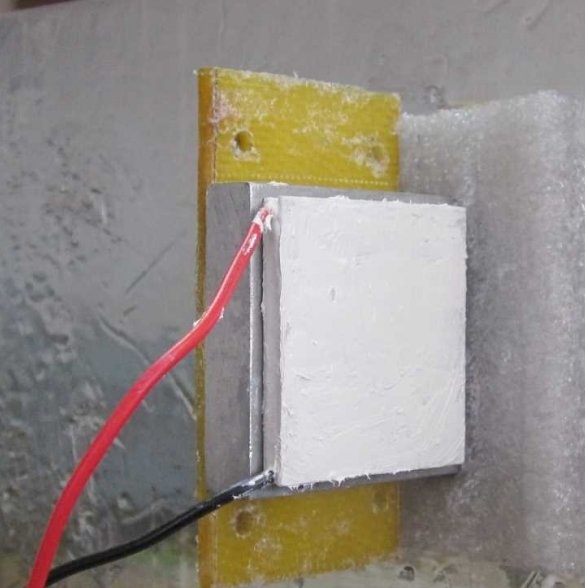
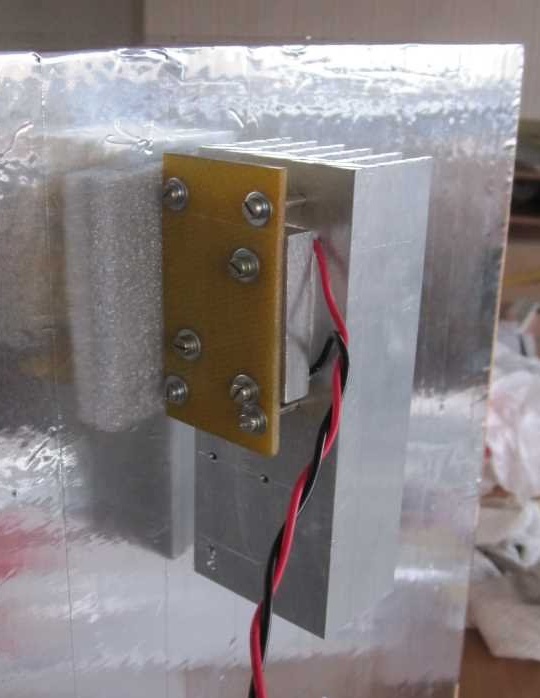
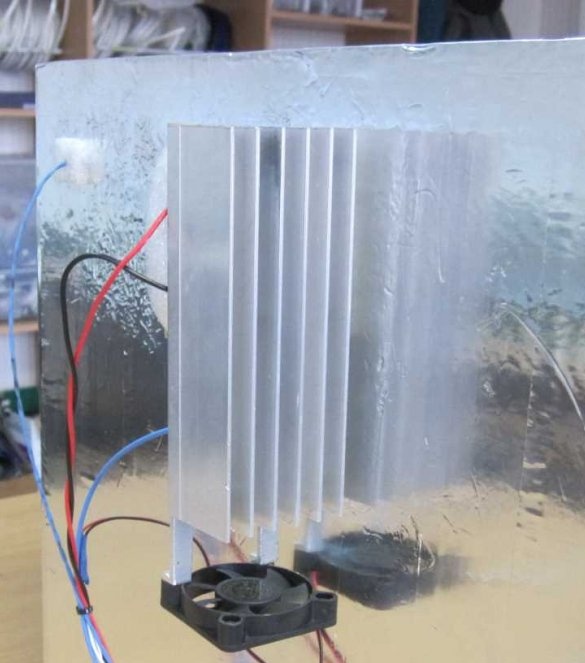
The design of the cooling unit is simple. As we know, when voltage is applied, one side of the Peltier element cools, the other heats up. Therefore, positioning the element inside the refrigerator is inefficient. The master places the element from the outside with the cold side to the internal radiator, and hot to the external.A fan is installed below the element. The design is visible in the photo.
The master installs the internal radiator at the top of the chamber, this is due to the lowering of cold air down.
Step Five: Controller
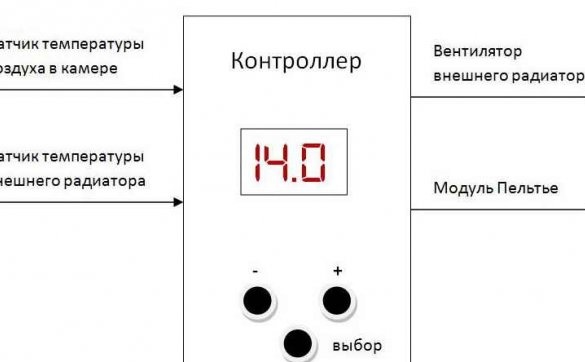
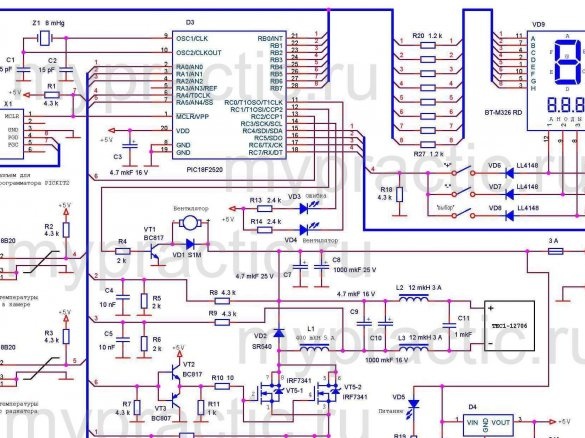
The controller has the following parameters: measuring and adjusting the temperature with an error of 0.1 degrees in the chamber, limiting the power consumption, monitoring the temperature of the external radiator and turning on the fan, continuous power to the Peltier element, smoothing the ripple and power surges.
The master emphasizes that the Peltier element works constantly, just with different power. Such a scheme will allow the element to work much longer. The controller diagram is located below, and you can get more information.
Tests of the refrigerator work masters quite satisfied. But he is not going to stop there, and according to him, he will continue to work on increasing the efficiency of his work.

