
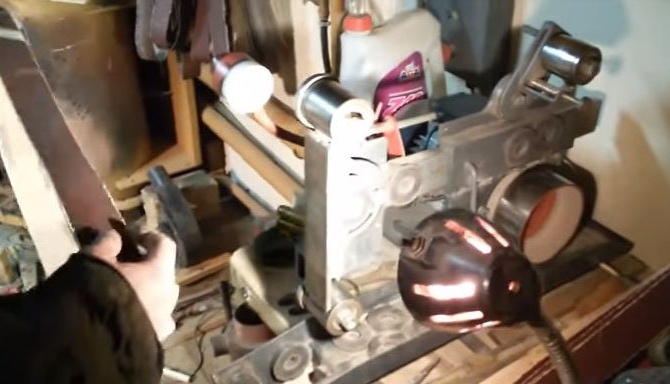
The abrasive belt of the grinding machine is a consumable material; it is necessary to change it quite often when using the grinder actively. If at hand there is a sheet of sandpaper of suitable grain size and length, and there is no desire to buy a new tape, then you can always glue it yourself. Consider how this can be done.
In order to glue the tape for the grinding machine you will need:
1. A long sheet of sandpaper.
2. A small vulcanizer, you can make it yourself.
3. Pencil, ruler and scissors.
4. Glue.
Glue it as follows:
Glue tape preparation
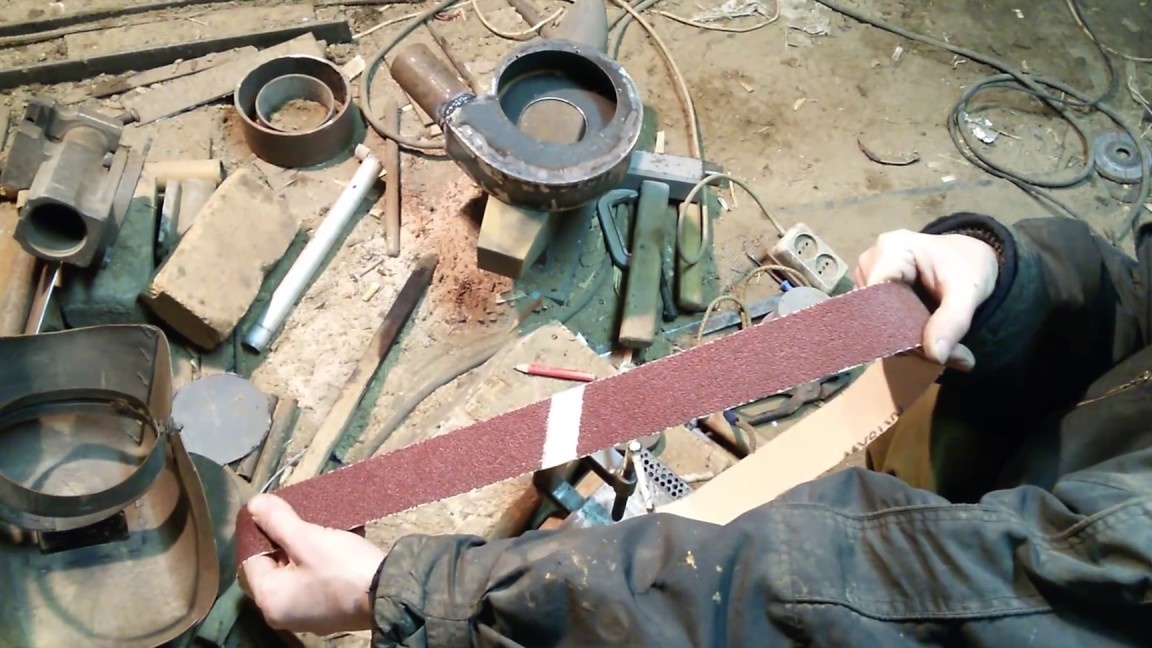
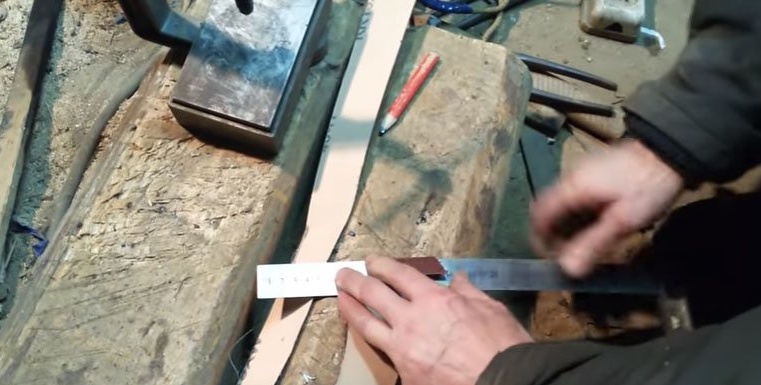
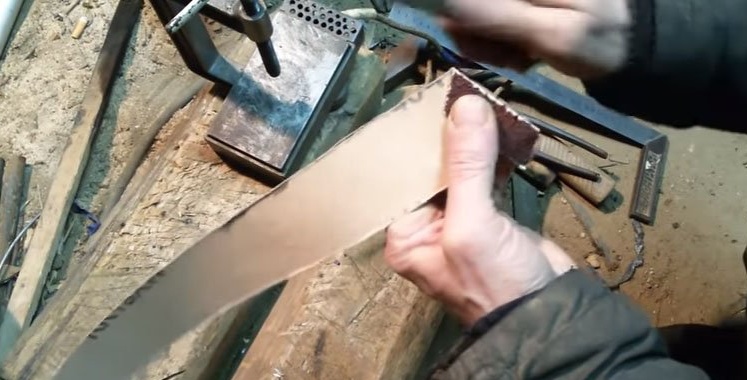
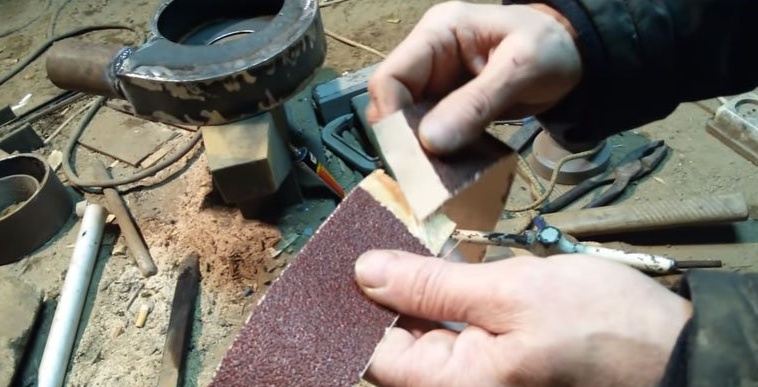
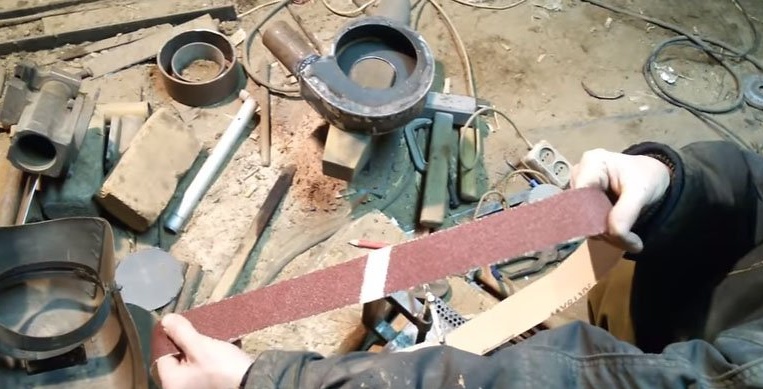
1. A tape of the desired length and width is torn off or cut from the sandpaper sheet.
2. At one of its ends, on the back, non-abrasive surface of the tape, a cut line is marked at an arbitrary angle to its side.
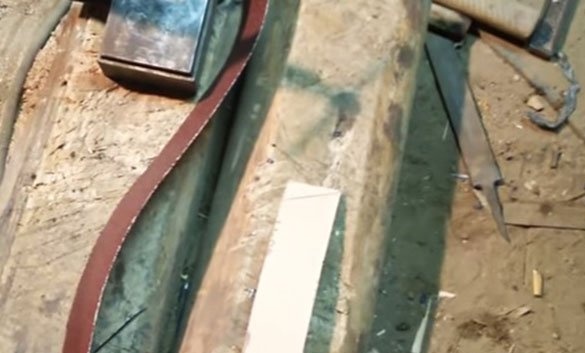
3. Cut the tape along this line.

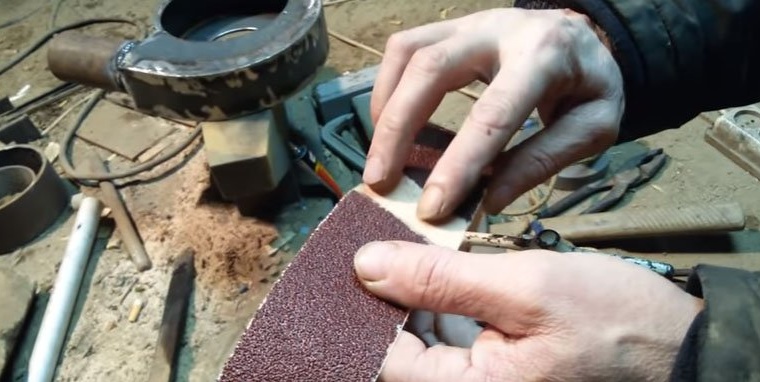
4. The ends of the tape are combined, twisting one of them at the same time by 180˚.
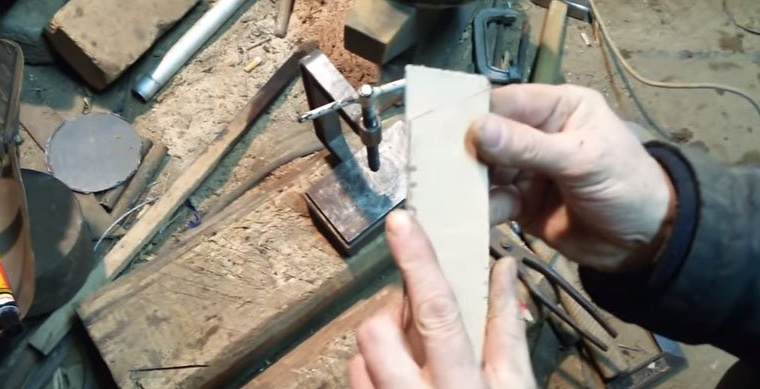
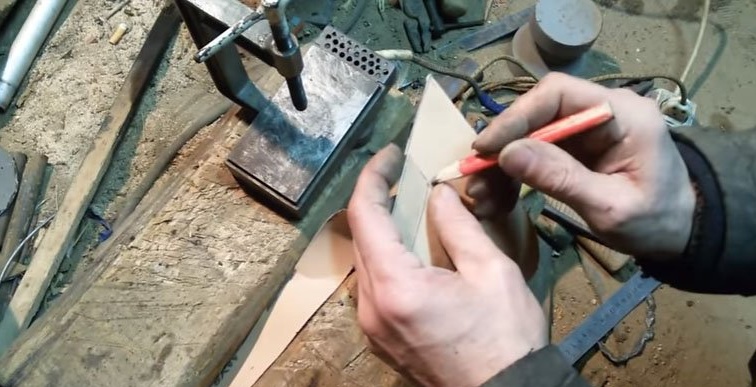
5. On the back side of the uncircumcised end, a cut line is also drawn, using the trimmed end as a ruler.
6. Cut along the drawn line the second end of the tape.
7. Be sure to check the accuracy of coincidence of the trimmed ends when they are closed in a single tape web.

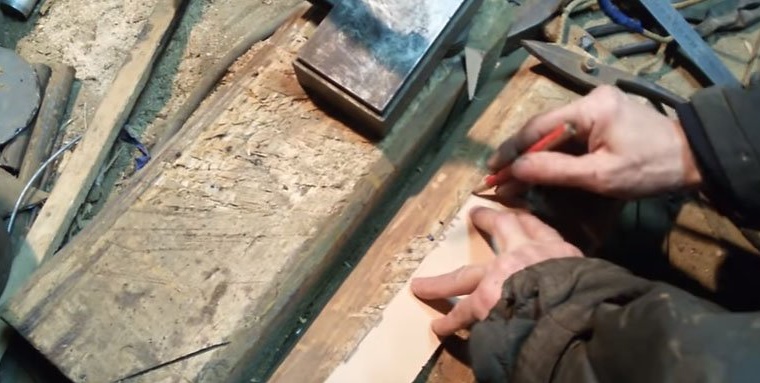
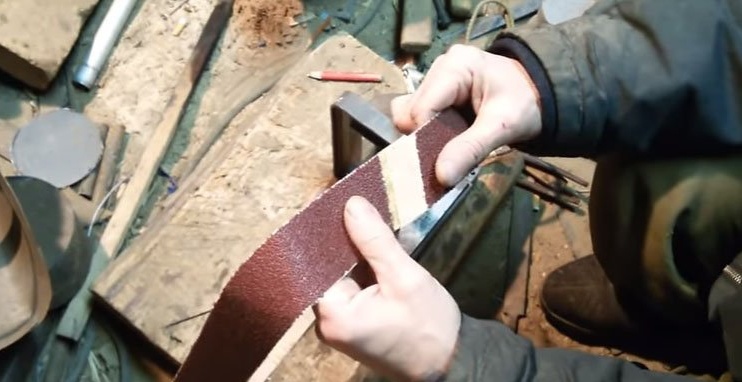
8. Spend at one end of the tape parallel to the cut line, the line of its inflection at an arbitrary distance from its edge.

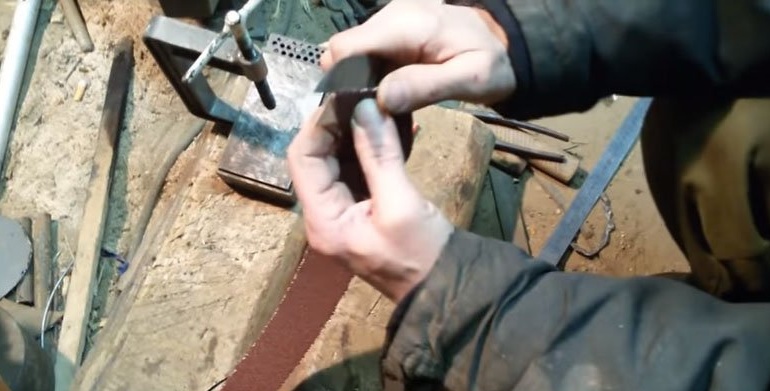
9. Tightly bend it along this line to the back surface of the tape.
10. Check the uniformity of the bend.
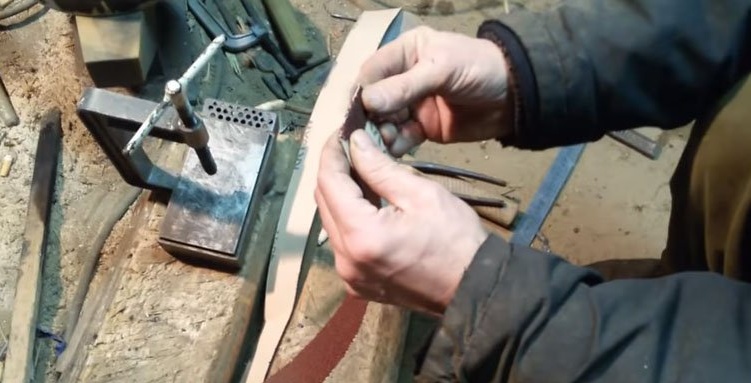
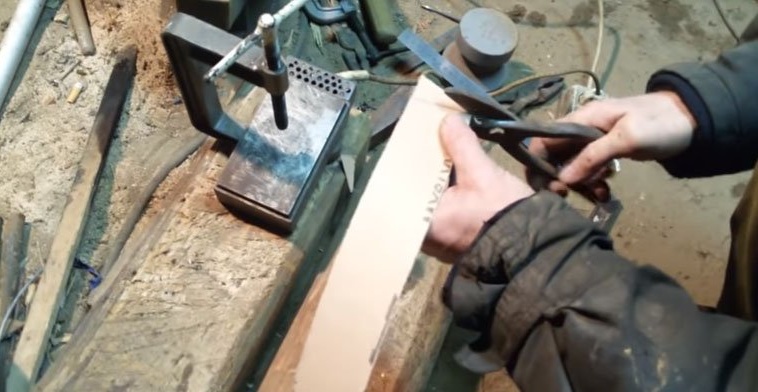
11. With a knife remove the abrasive grains from the fold surface of the tape.
This is necessary in order to make it more visible.

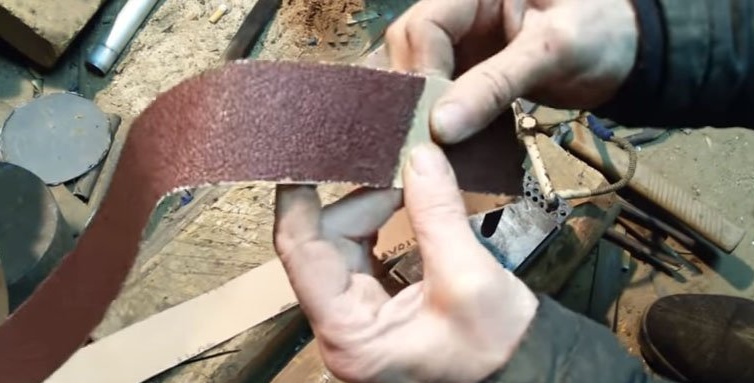
12. In the same way mark the fold line at the second end of the tape at the same distance from its edge as at the first,
bend it and remove the abrasive from the fold line.
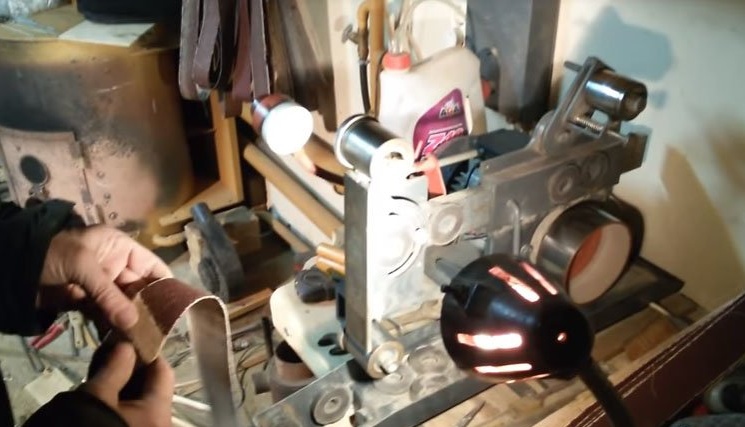
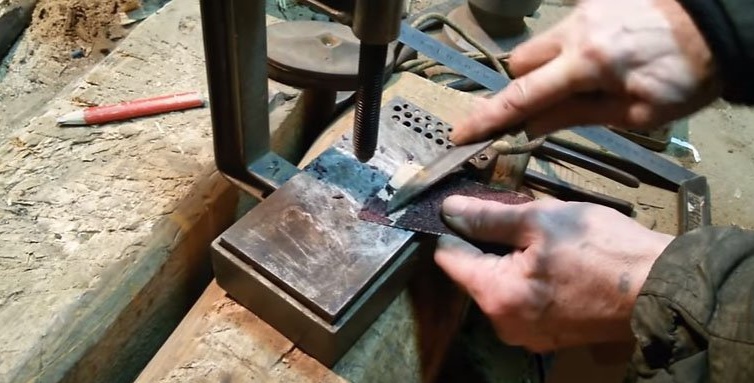
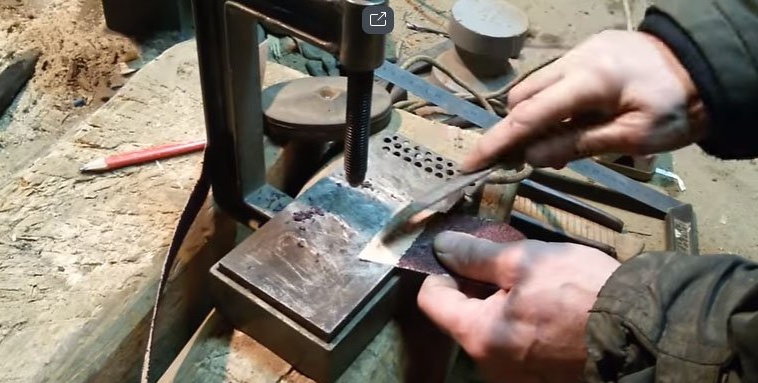
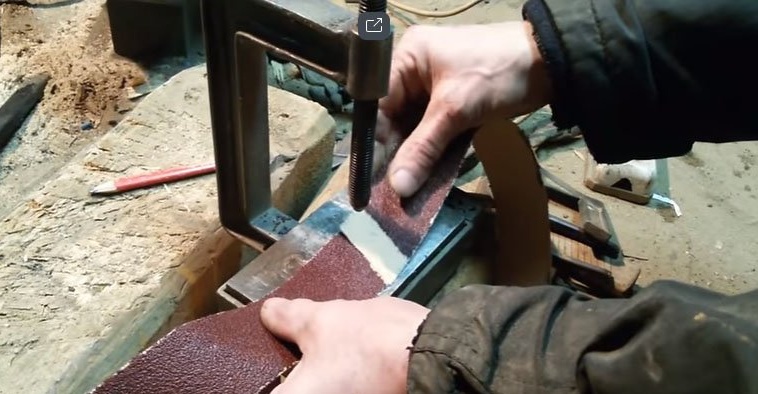
13. Straighten one of the bent ends of the tape and put it on the platform of the vulcanizer included in the network. The edge of the platform should coincide with the line of the former fold of the tape from which the abrasive was removed.
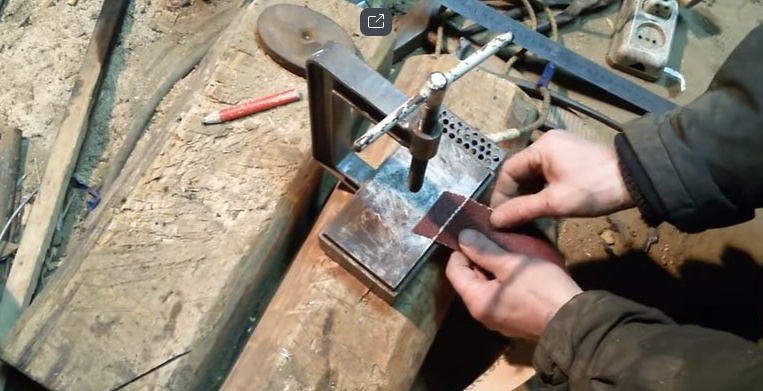
14. Press the end of the tape to the platform with some flat weight and wait until the glue that holds the abrasive grains on it loosens. The reference point is their slight blackening.
15. Scrape off the abrasive with a knife from the heated end of the tape.
16. The same operations are done with the second end,
then the vulcanizer is turned off and the connection between the ends of the overlap tape looks.
Gluing
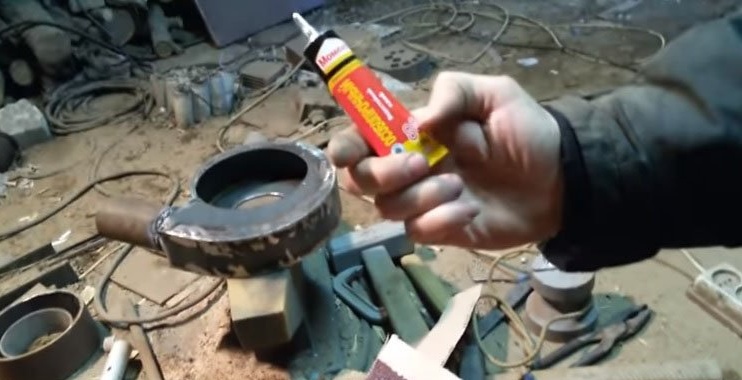
To glue the ends of the abrasive tape, it is recommended to use a particularly durable waterproof adhesive "Moment 88".
Glue it as follows:
1. Apply glue to the abrasive-free surface of one of the ends of the tape.
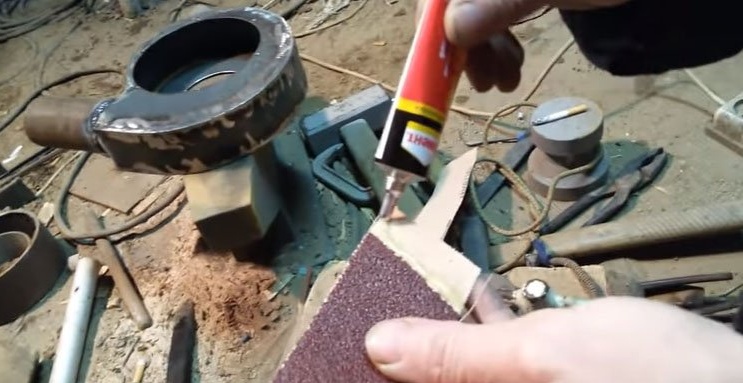
2. Distribute it on the surface with the other end of the tape, also cleaned from abrasive grains. As a result, the adhesive covers the surfaces of both ends prepared for gluing.
3. After five minutes, they attach to each other the “lapped” ends smeared with glue, compress them tightly,
and then check the quality of bonding.
4. If the glue does not “hold” yet and the ends of the tape “diverge” when tensioned, then the glue is again applied to the tape, waiting for it to “dry”, and then the ends are pressed together again. This is done as many times as needed to ensure that the ends of the tape when they are tightly held each other tightly. This multi-layer application of glue makes the tape in the place of bonding, where there are no abrasive grains, more rigid.
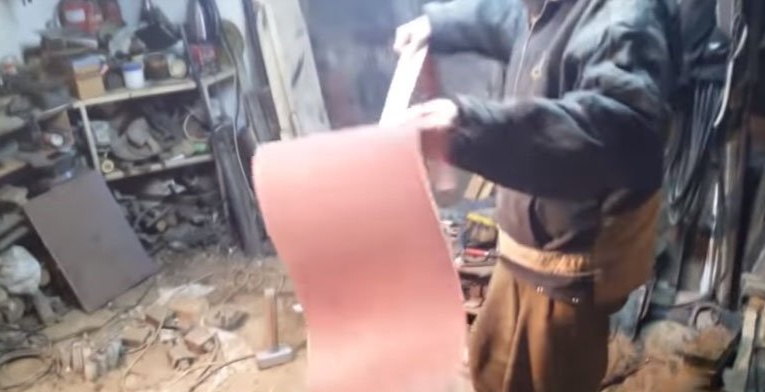
5. Reliably connecting the ends of the tape with glue, visually check the evenness of its canvas.
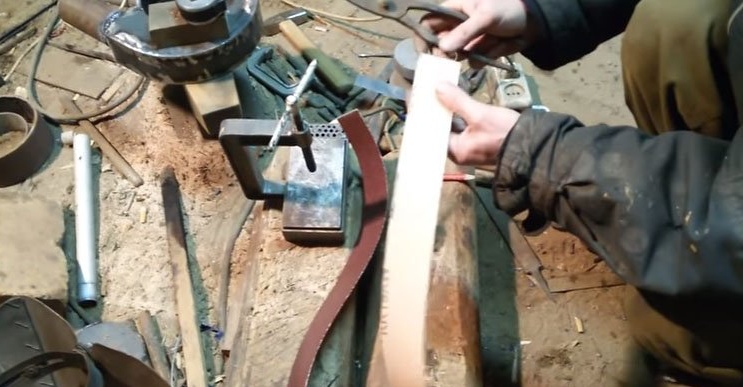
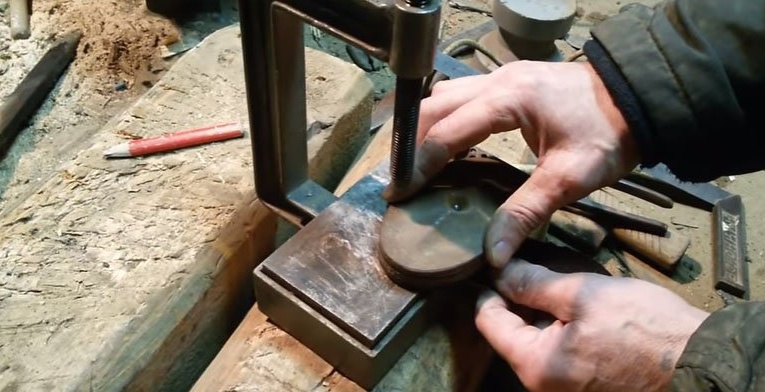
6. At the final stage, the tape is again put in place with a glued place on the platform of the vulcanizer, press it with a load and fix it with a clamp.
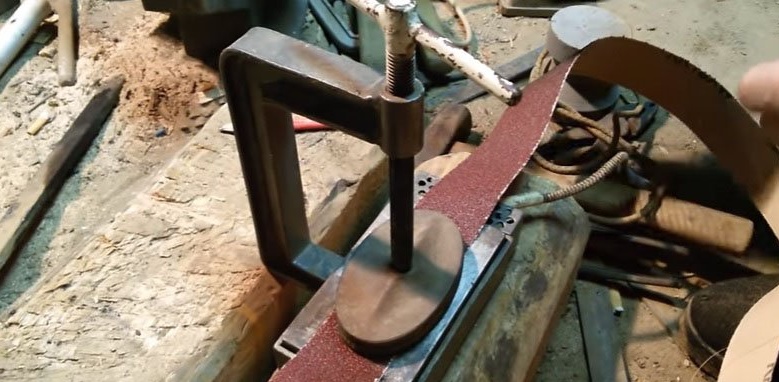
When this design is dismantled in a day, the abrasive tape is ready for use.
This method of bonding abrasive tape is very simple and easy to do. The only problem with its use is that it requires any vulcanizer, even a simple one.
How to glue abrasive tape explaining the video