
In this article, Dania Kraster, author of YouTube channel "SuperCrastan", will tell you how he made a cold fireplace.
Materials
And he will do it from the fact that he had a workshop overloaded, and not from some special materials, pure impromptu.
- Half a wooden barrel
- Remains of cast parts made of epoxy resin
- Arduino
- Yellow LED strip
- Power Supply
- Ultrasonic fog generator
- Acrylic paints
- Aerosol black paint
- Small plastic container
- Wires, solder.
Instruments, used by the author.
- Band-saw
- Screwdriver
- Drilling machine
- Orbital sander
- Airbrush with compressor
- Hammer, chisel
- Soldering iron.
Manufacturing process.
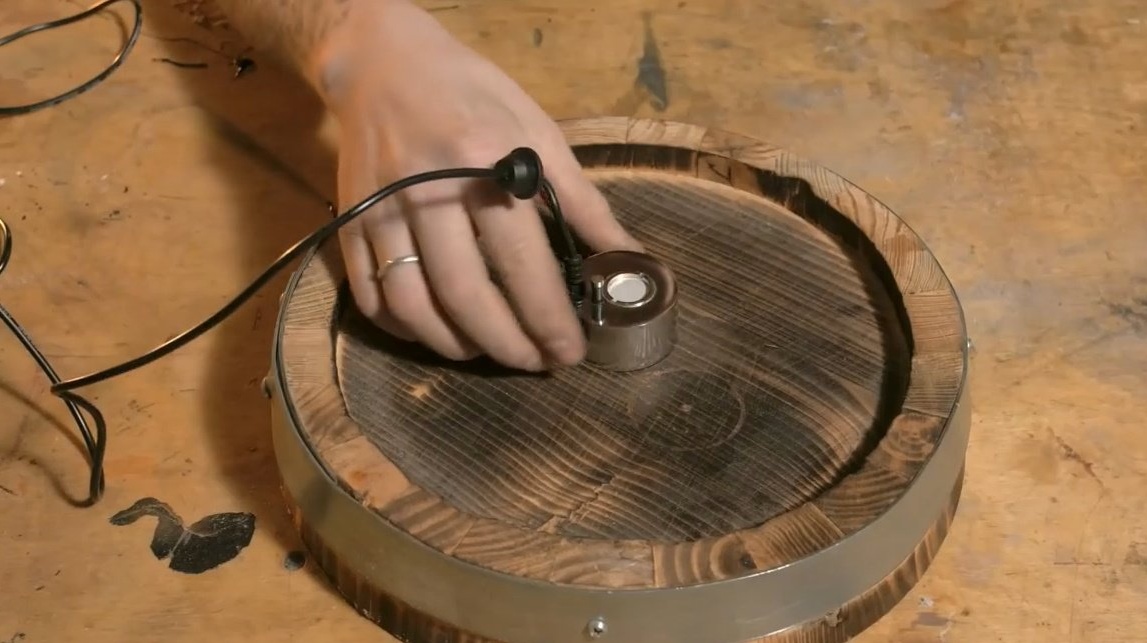
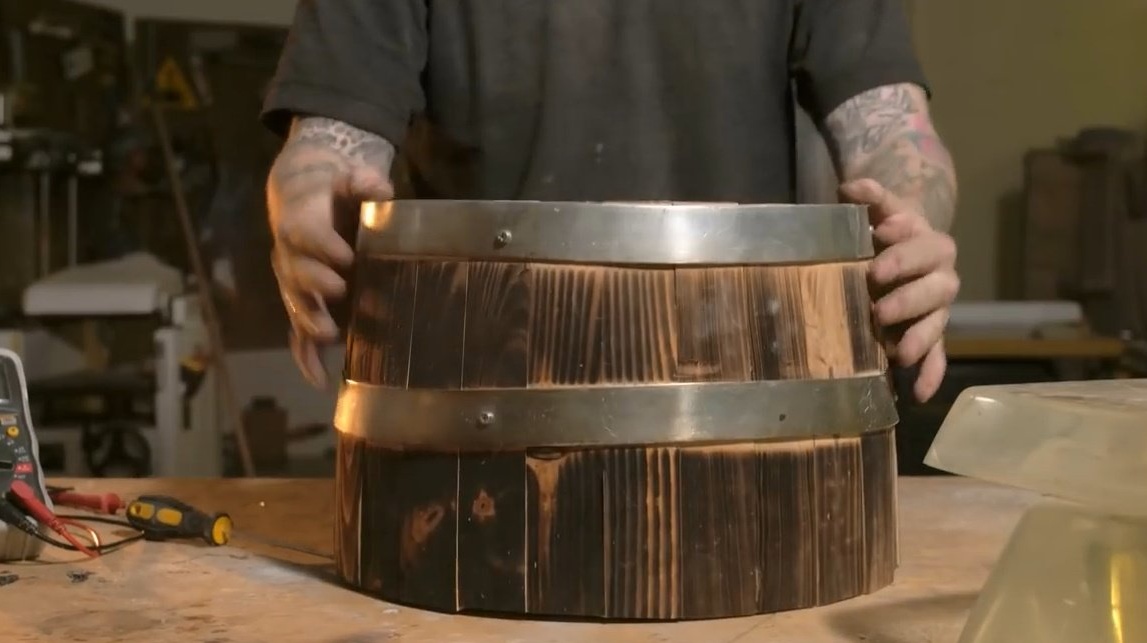
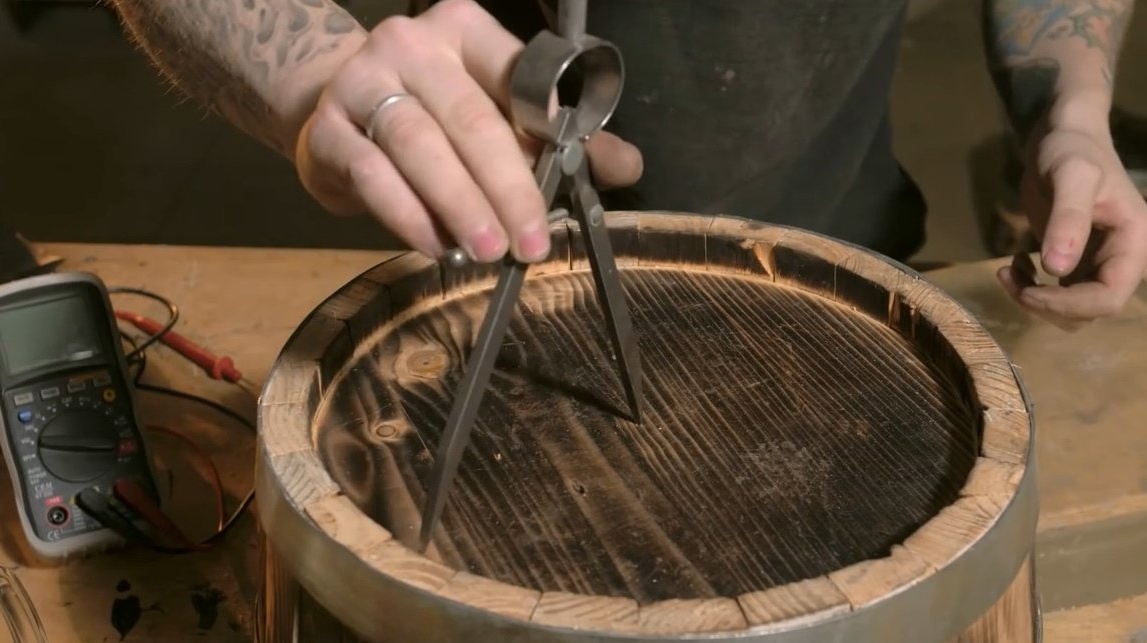
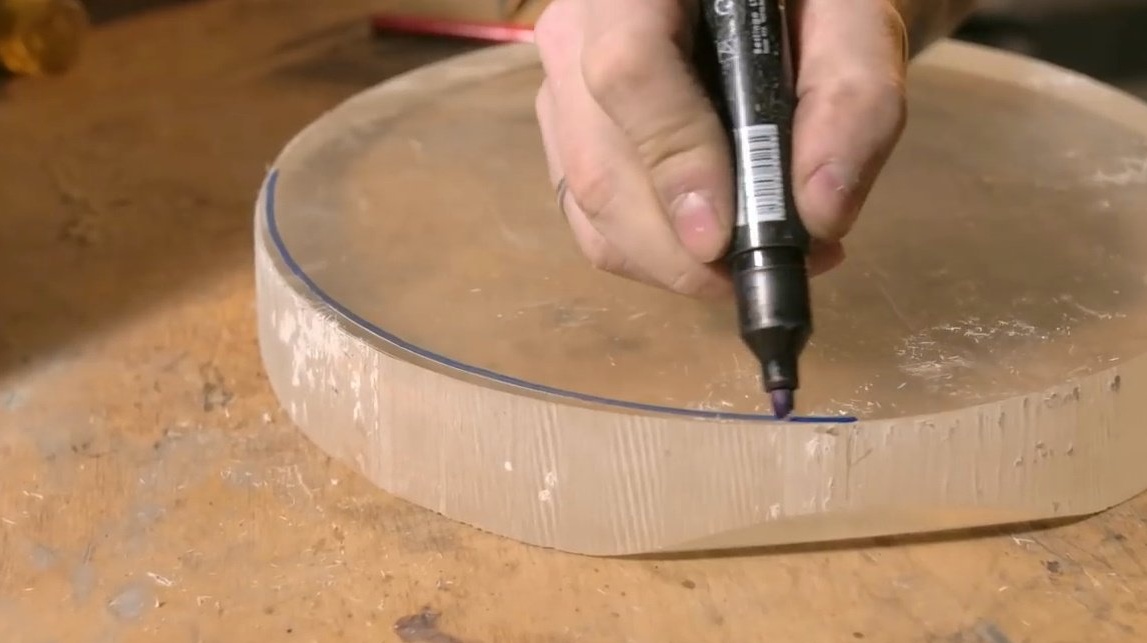
First you need to determine the height of the stand, Dani still has pieces of barrels after the construction of one of the projects.
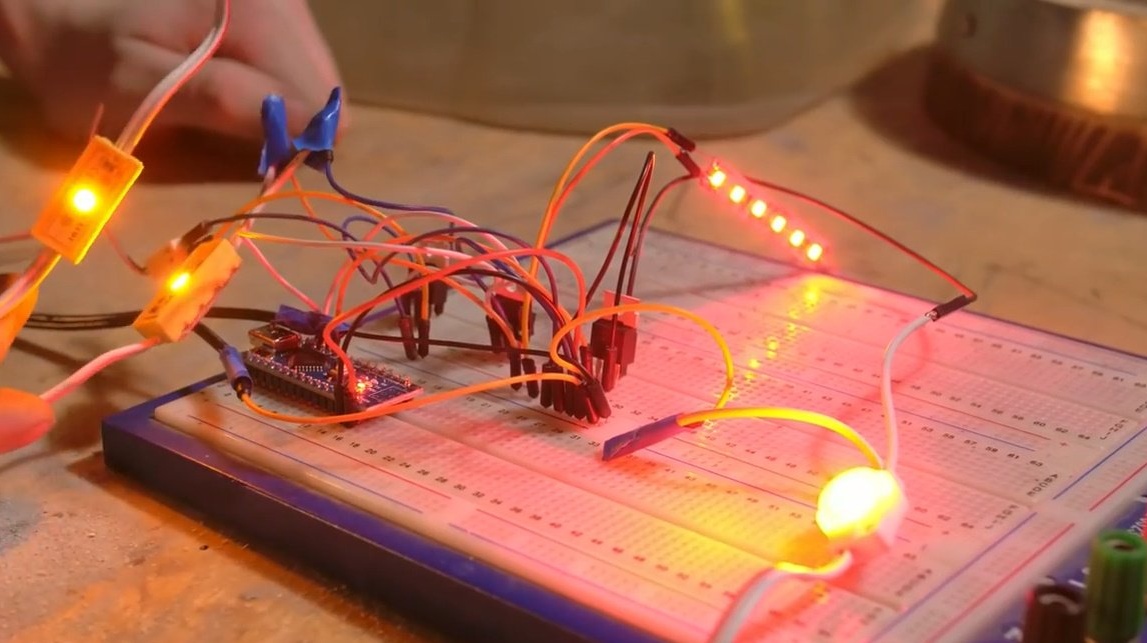
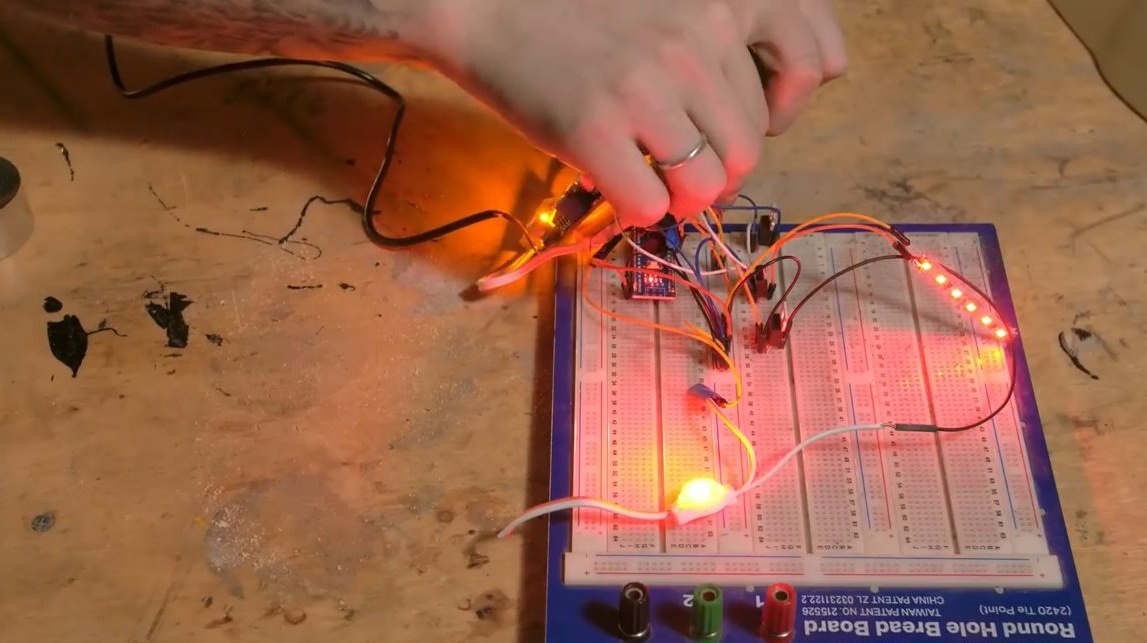
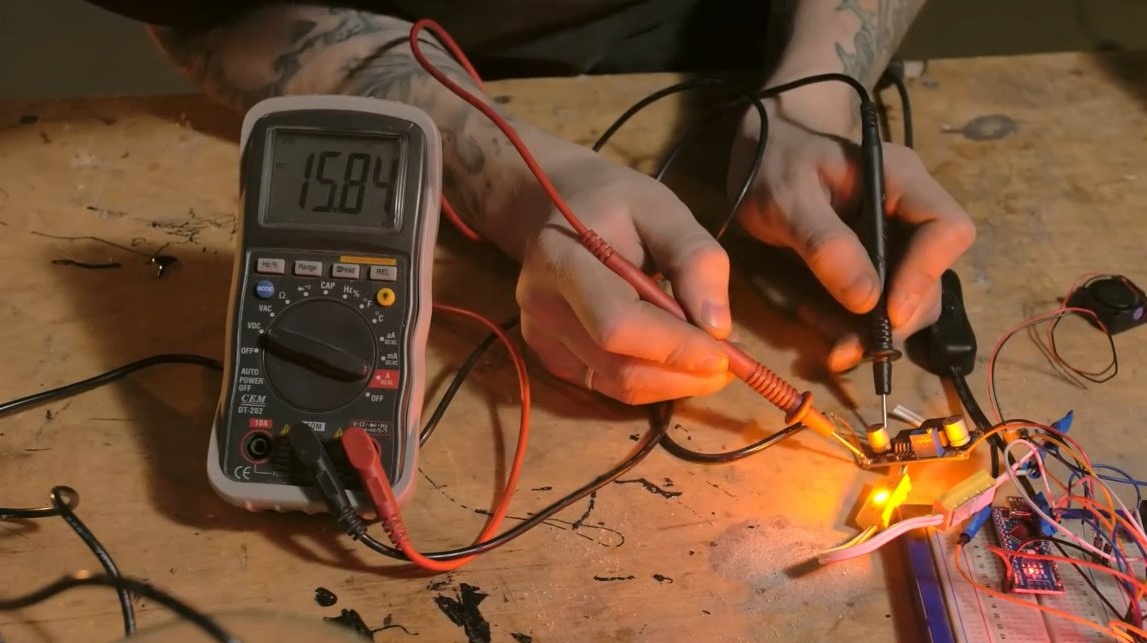
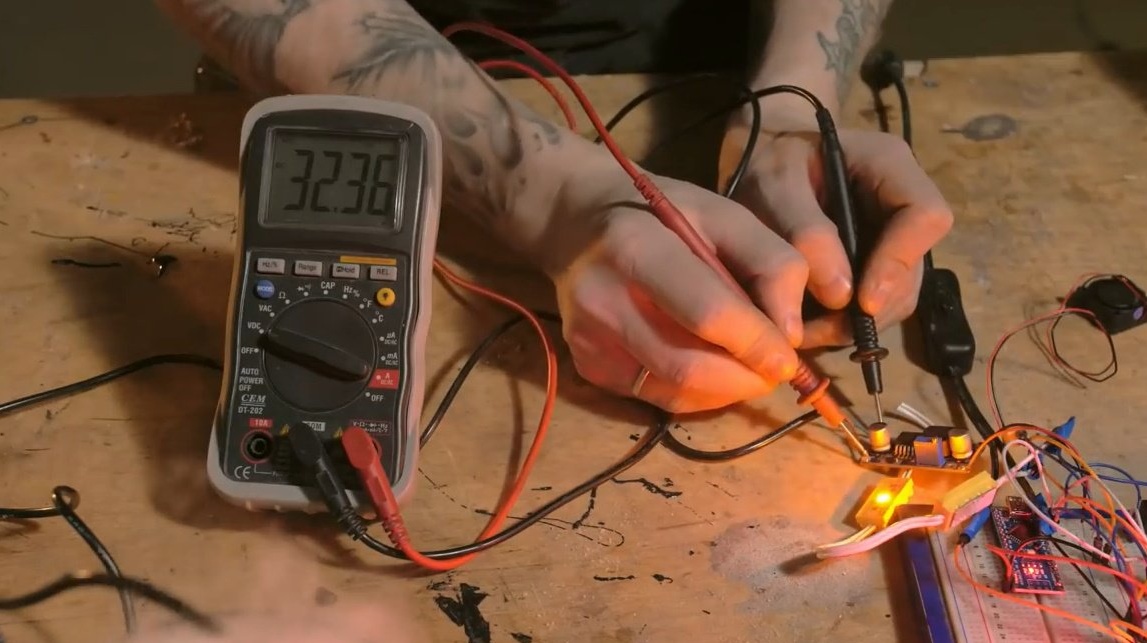
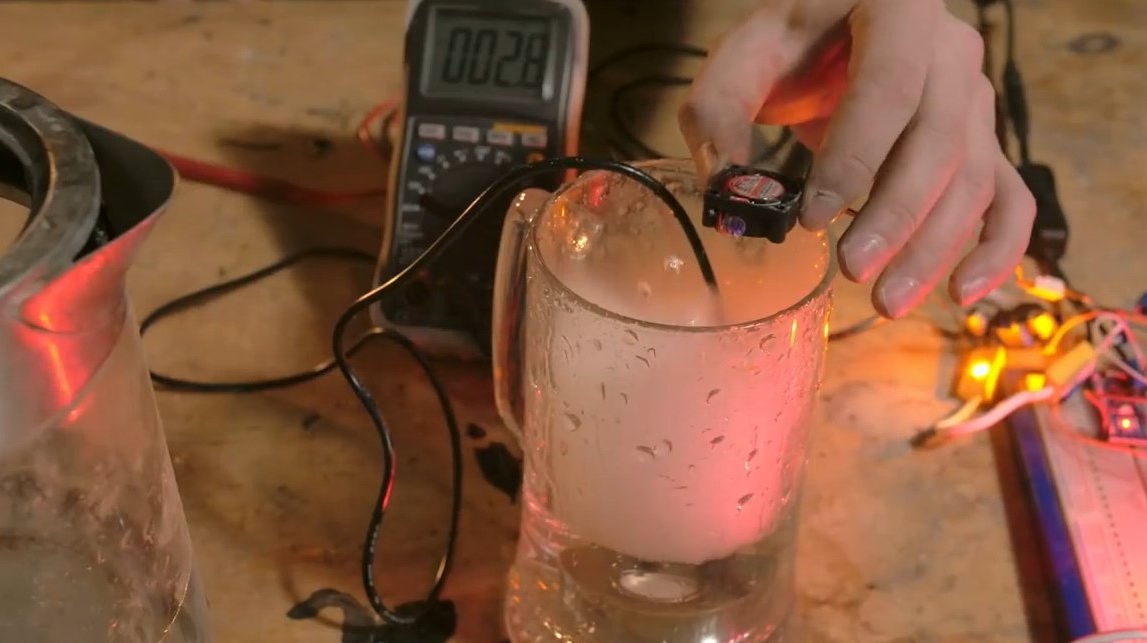
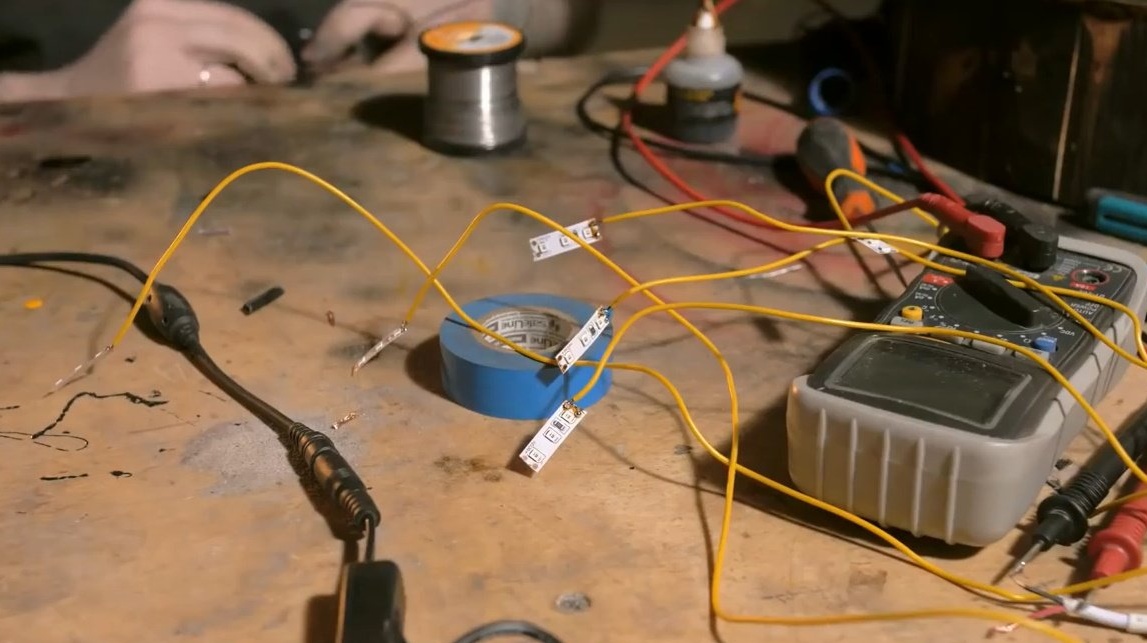
A part of the electronics that feeds the flashing LEDs through field-effect transistors has already been assembled on the breadboard, and the fog generator is also powered through the boost board.
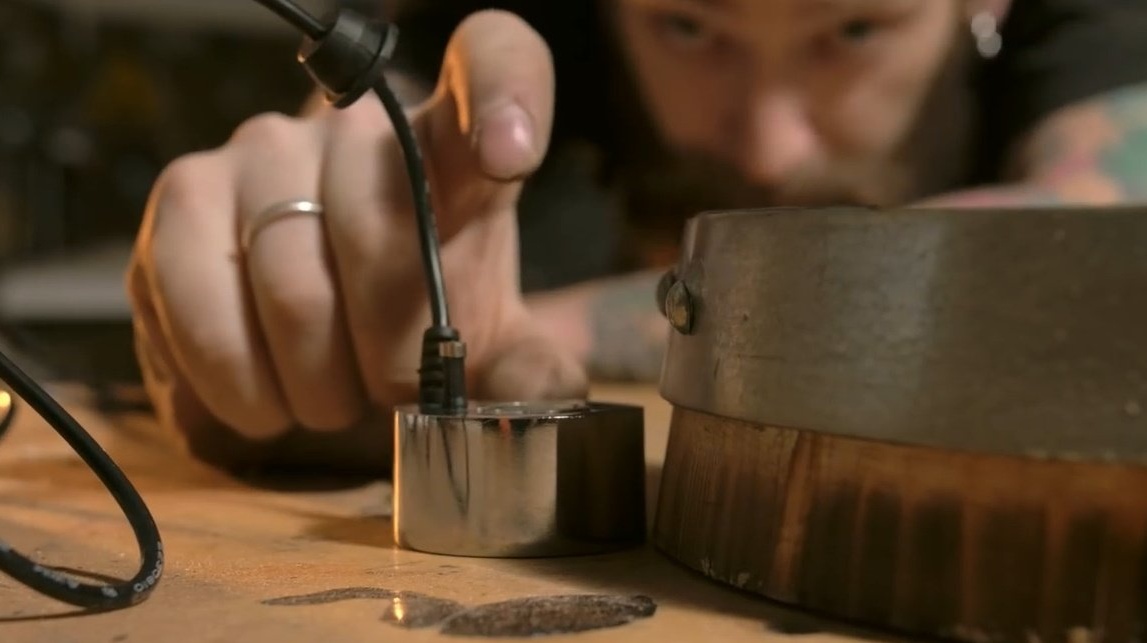
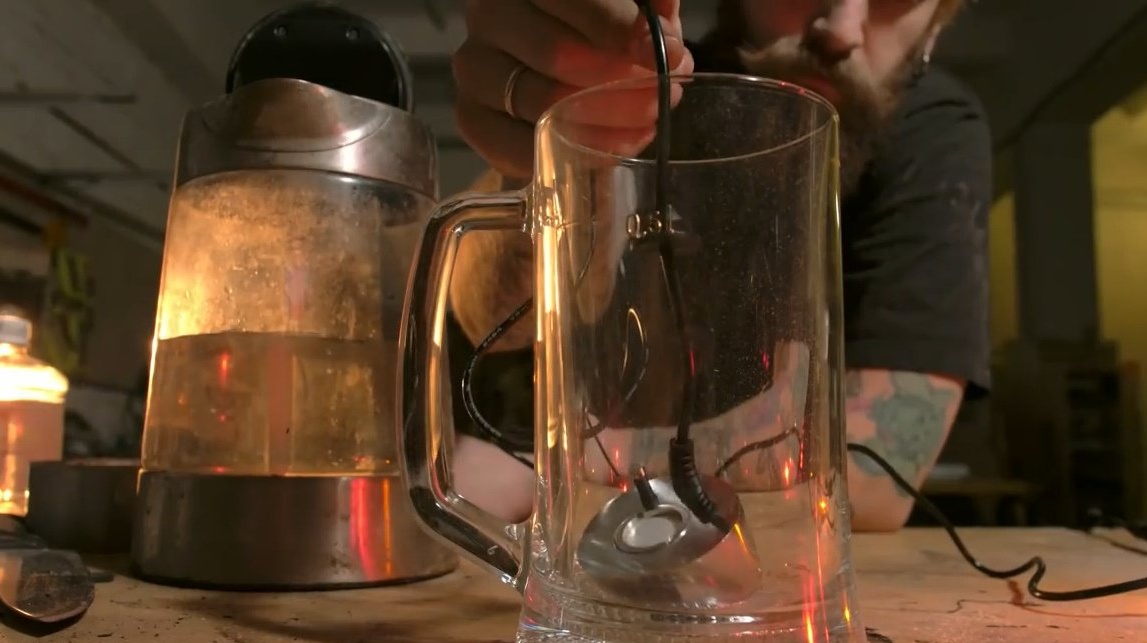
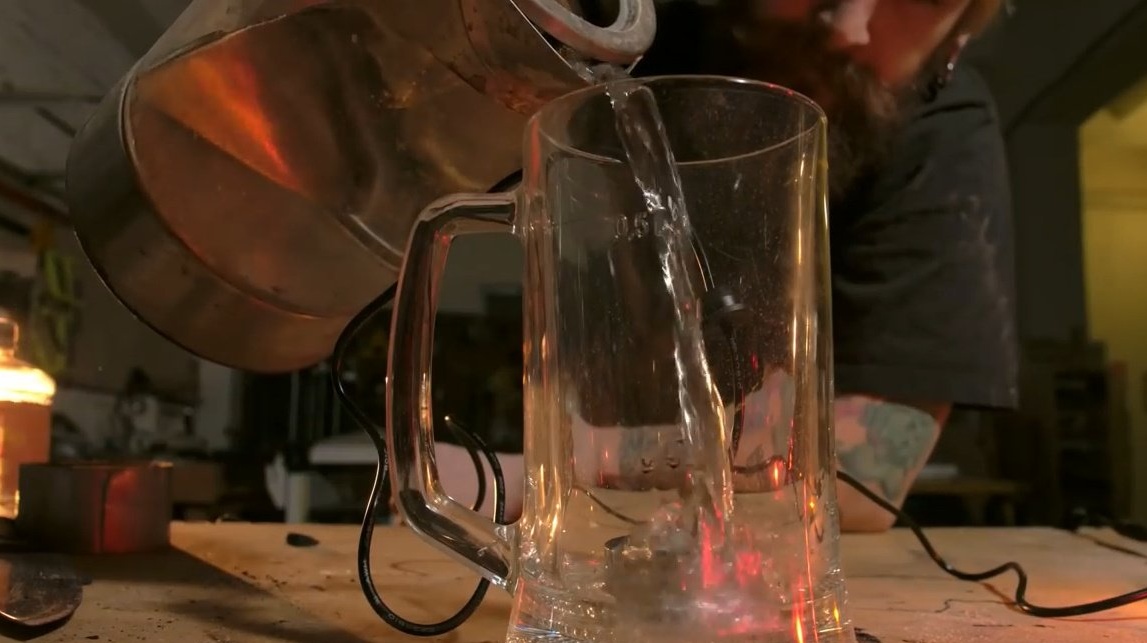
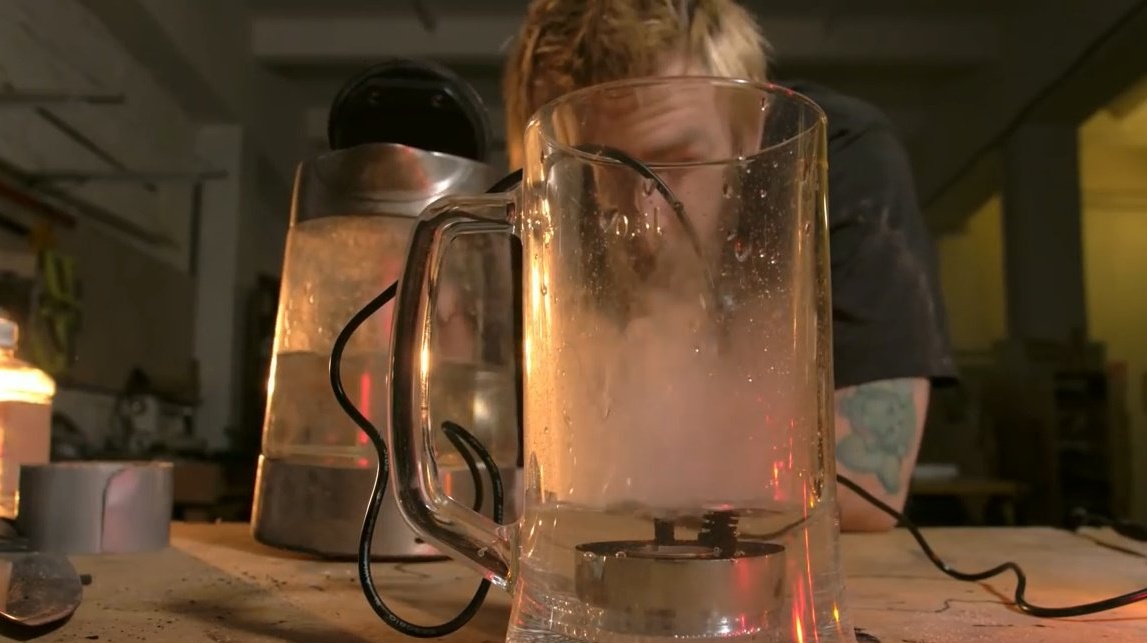
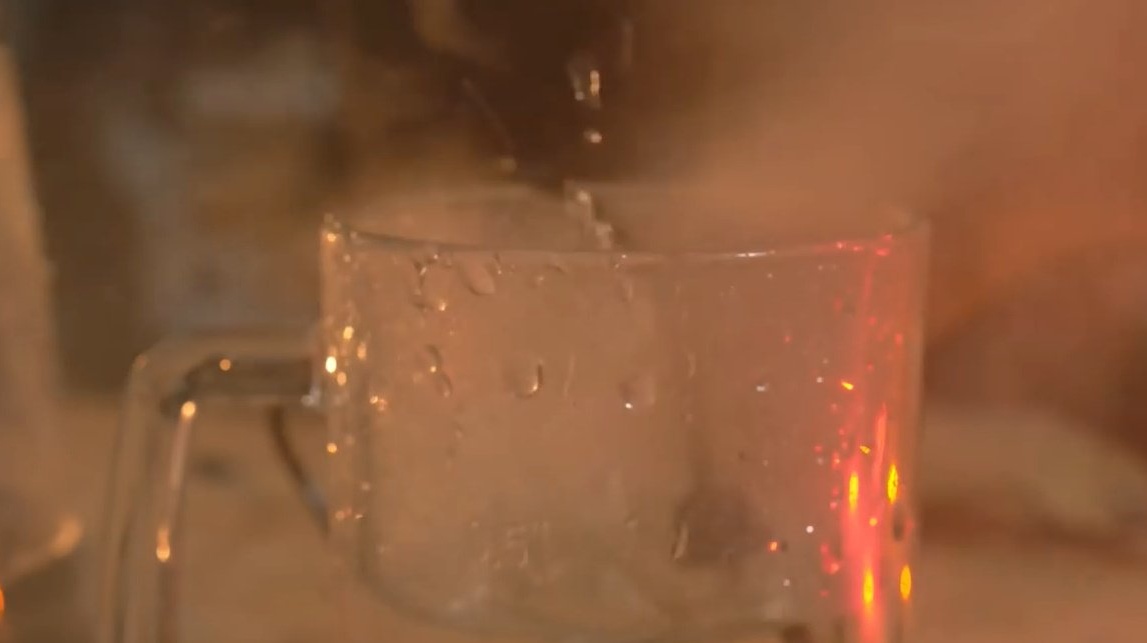
The generator has its own height, plus 3-4 centimeters of water should be above it, so that the fog is generated well. Let's put him in a mug and see how he will feel there. It boils over there.
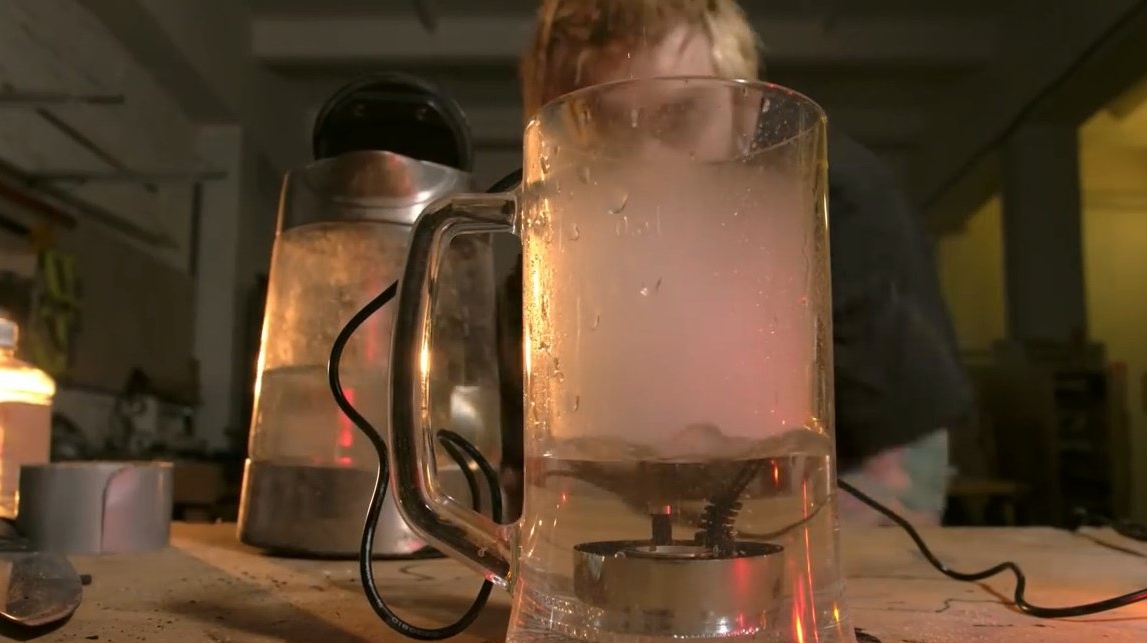
The power of the generator can be adjusted by a trimming resistor on a step-up dress. The main thing is not to overdo it, because it works from 24 volts. An ordinary cooler is also powered on the board, its power can also be regulated even with the same PWM through the field. At the beginning of the project, Dan offered it exactly as a smoke supply device, but more on that later. The steam can be highlighted with yellow or orange LEDs to create a flame effect.

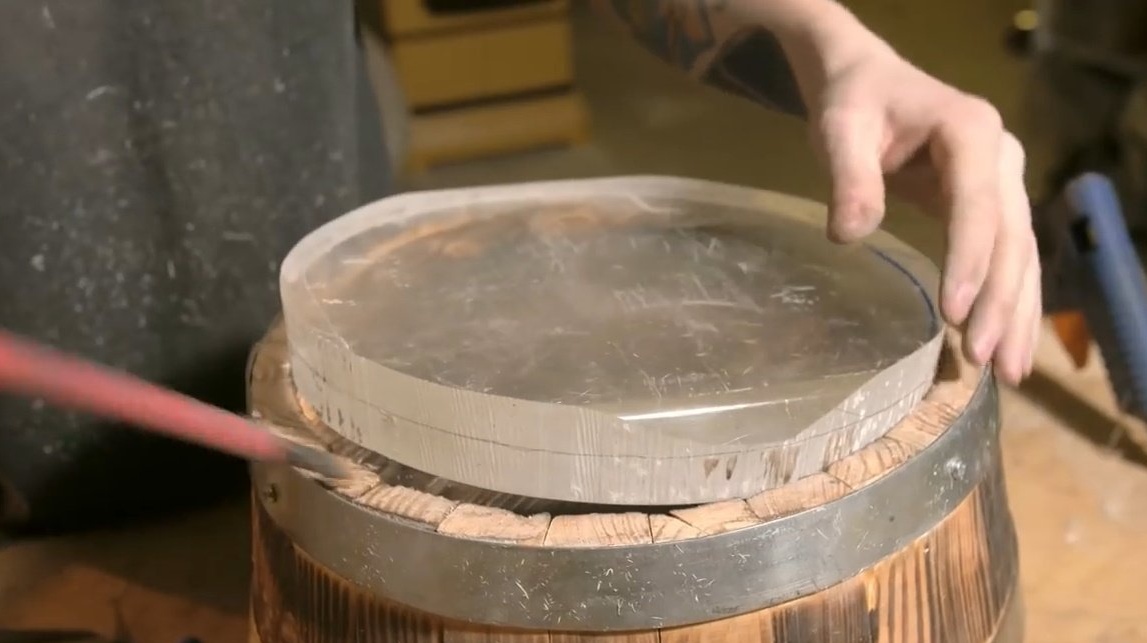
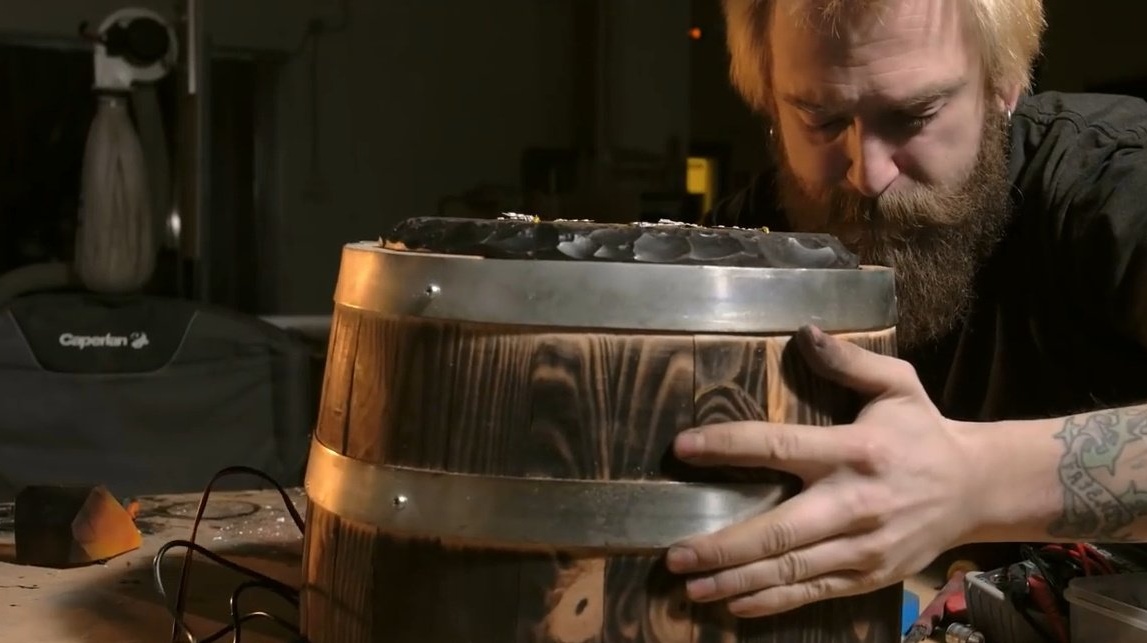
As a basis, the author will use this larger piece of barrel. He wants to close the top with a small layer of epoxy, create the feeling that the barrel is full of coal, and even sticks out a little from it. This epoxy has been on the shelf for a year, and now it’s useful for the project.
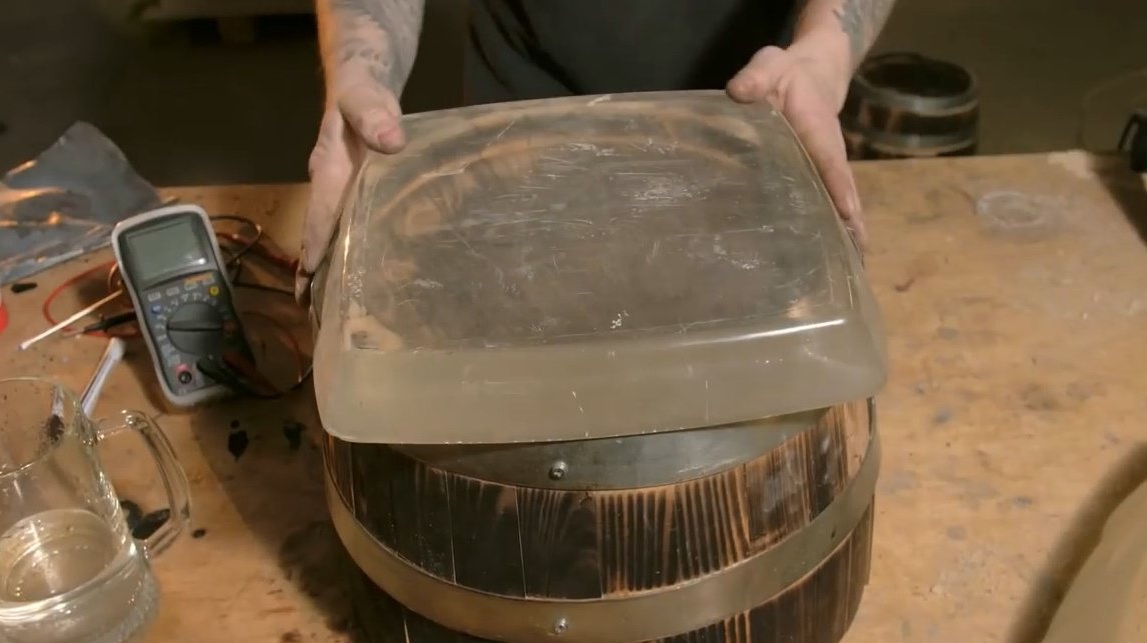
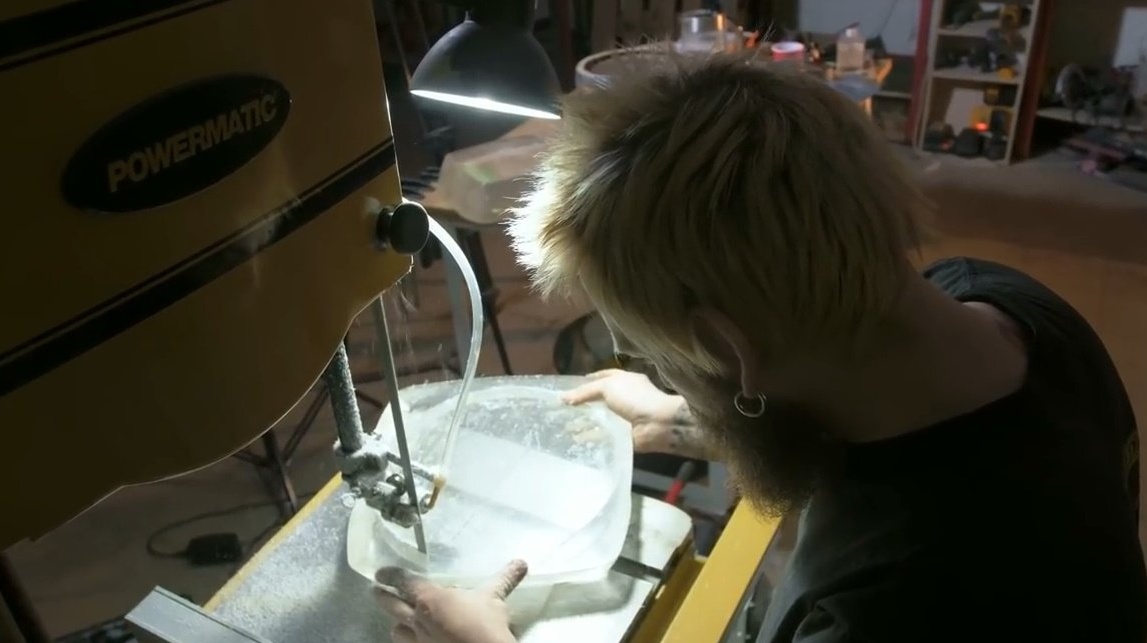
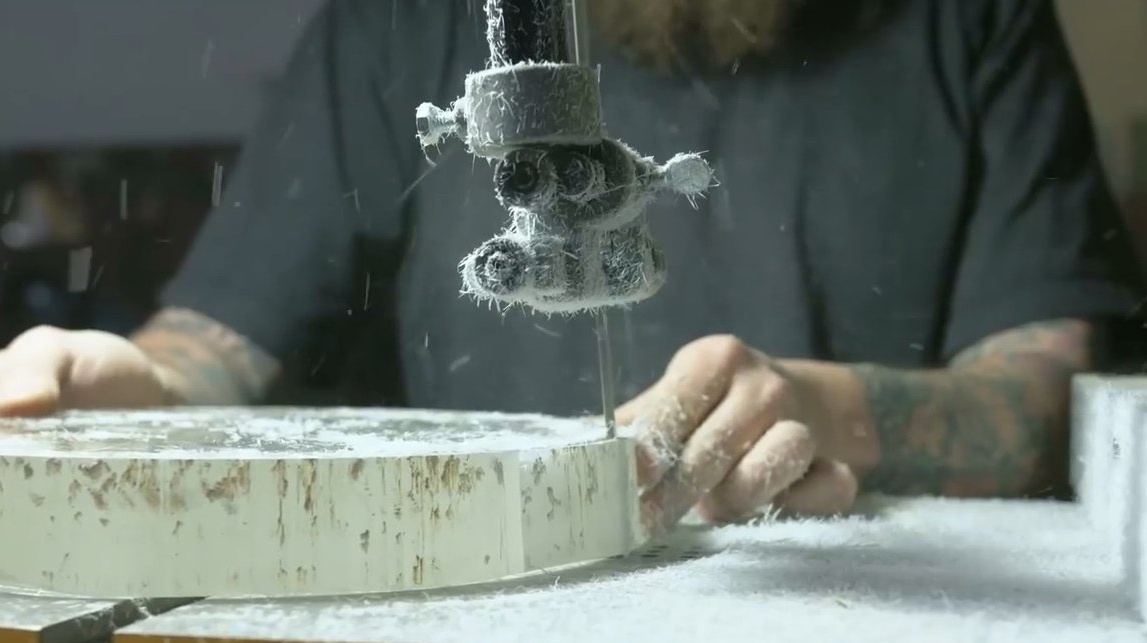
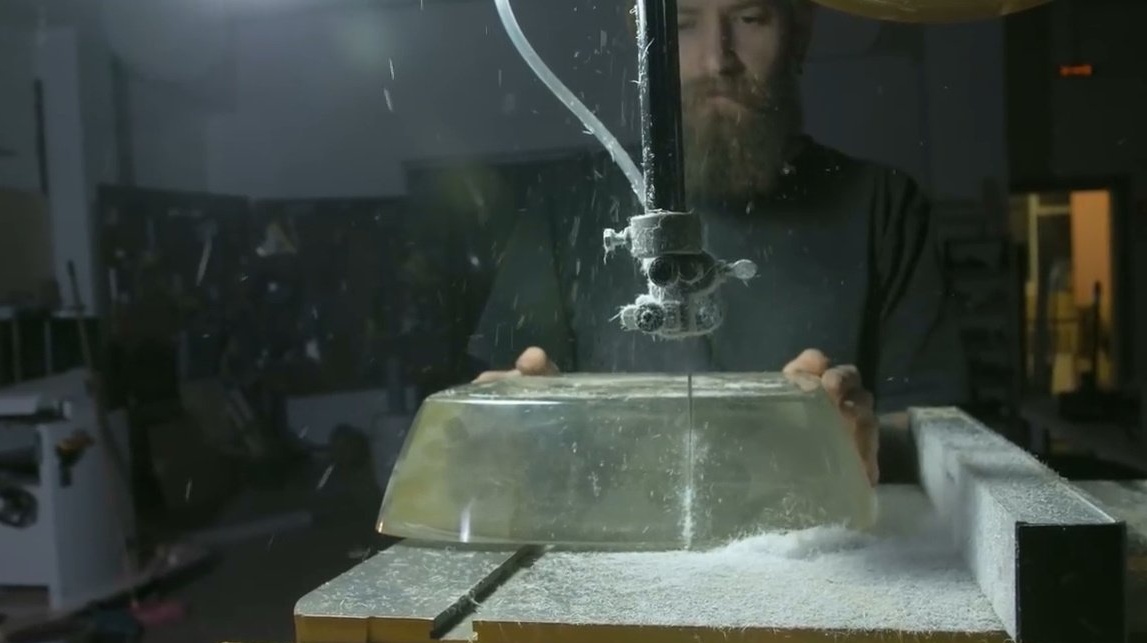
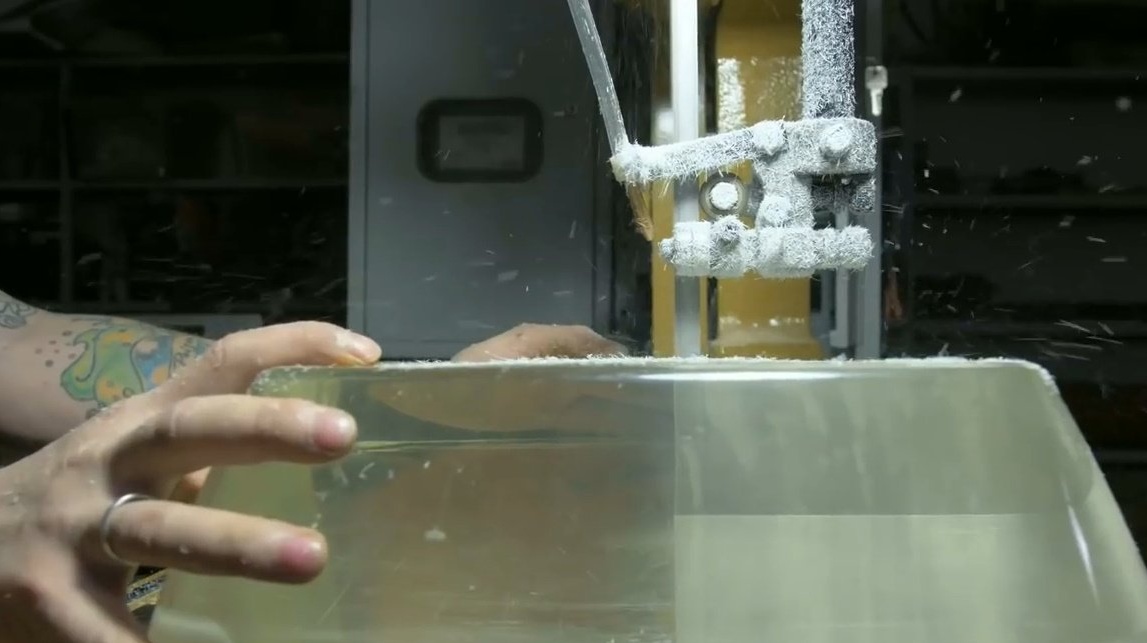
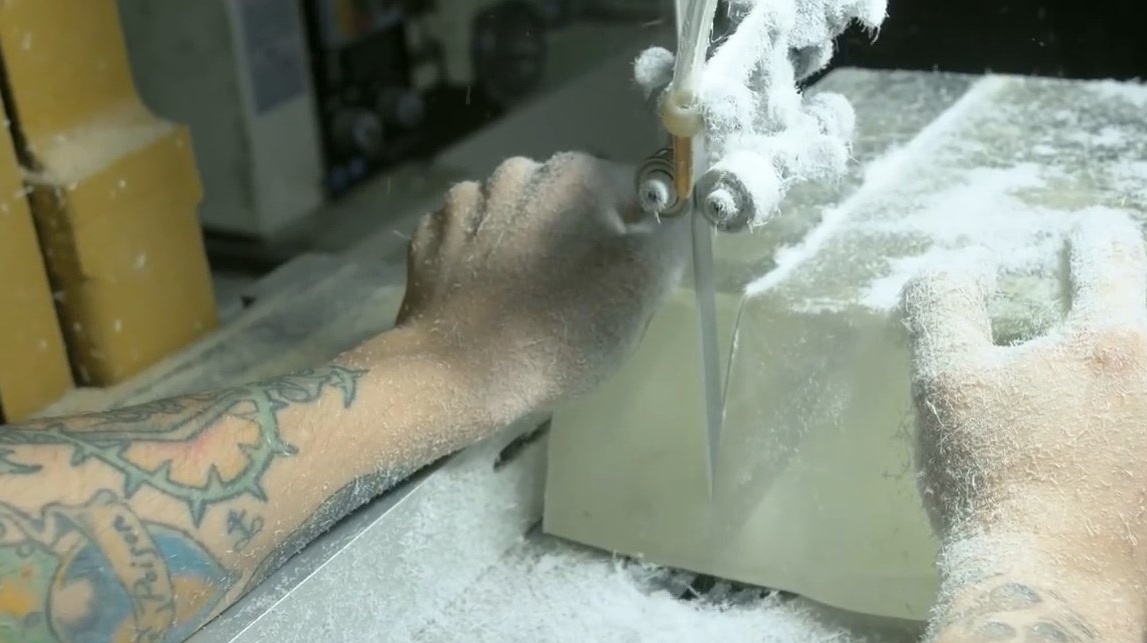
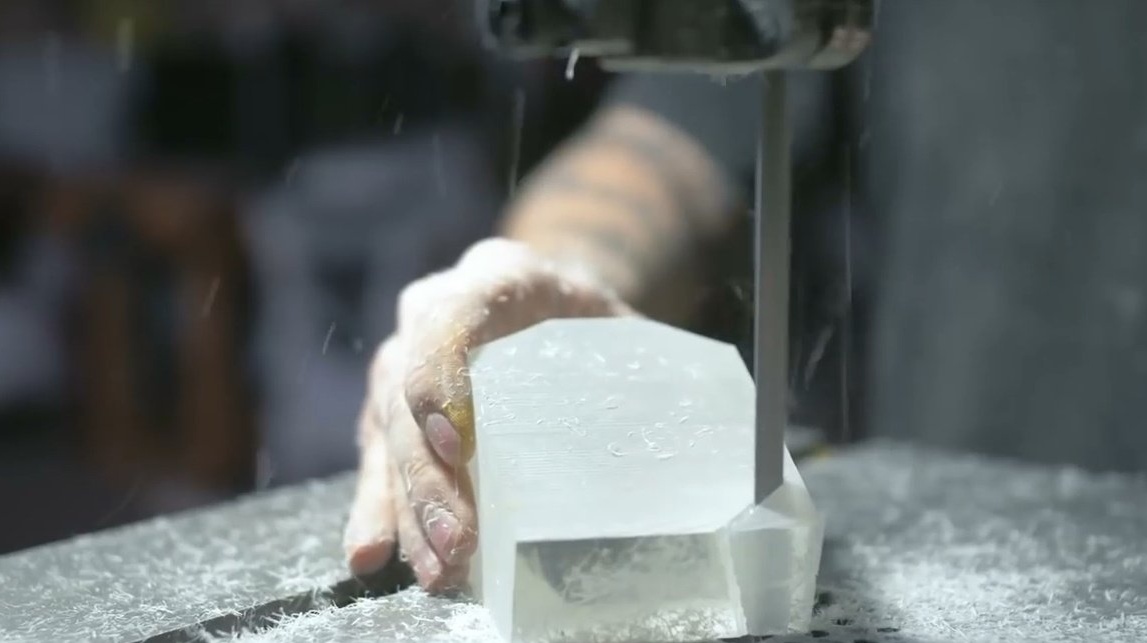
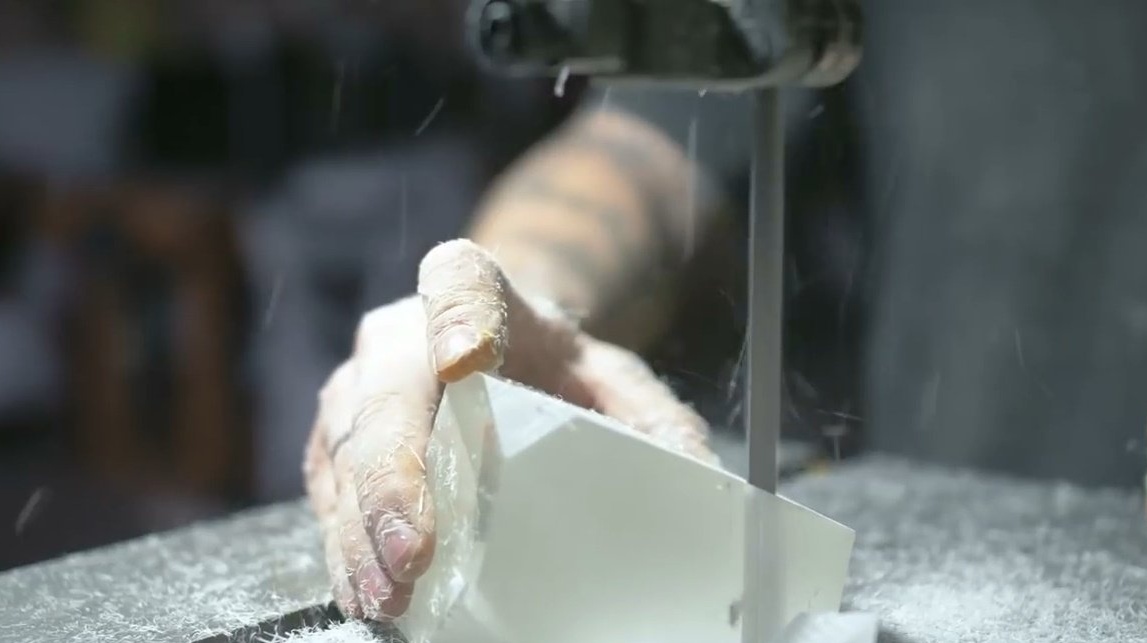
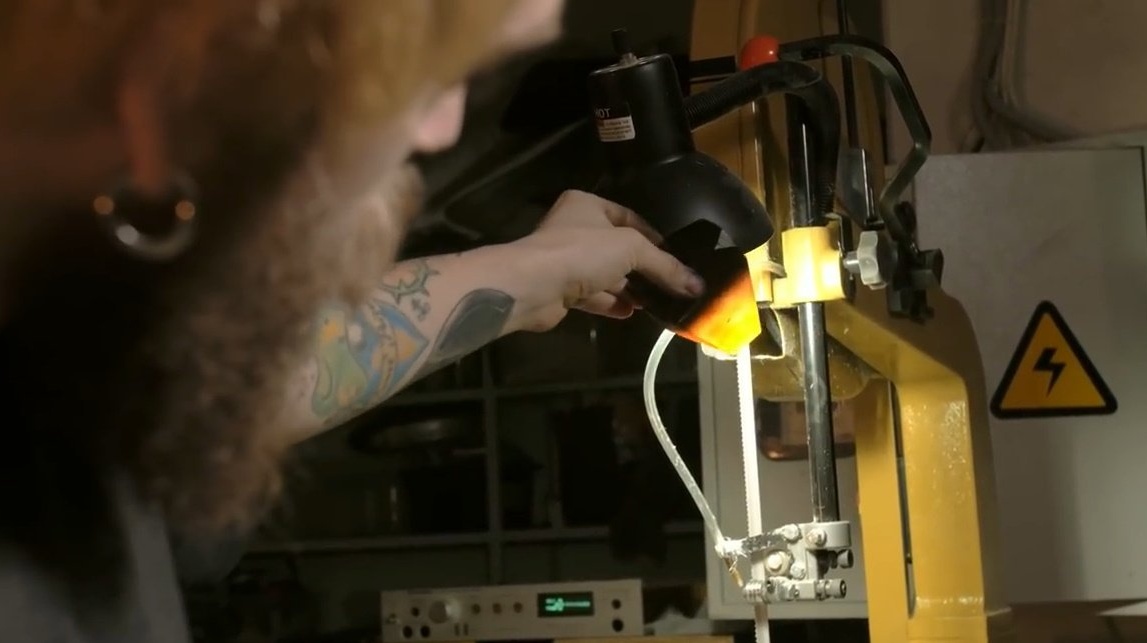
Saw the top of Dan will be on a band saw, putting the table at an angle. The epoxy is sawed well, but the shavings that are gaining static are a complete guard, they fly apart and stick to everything.
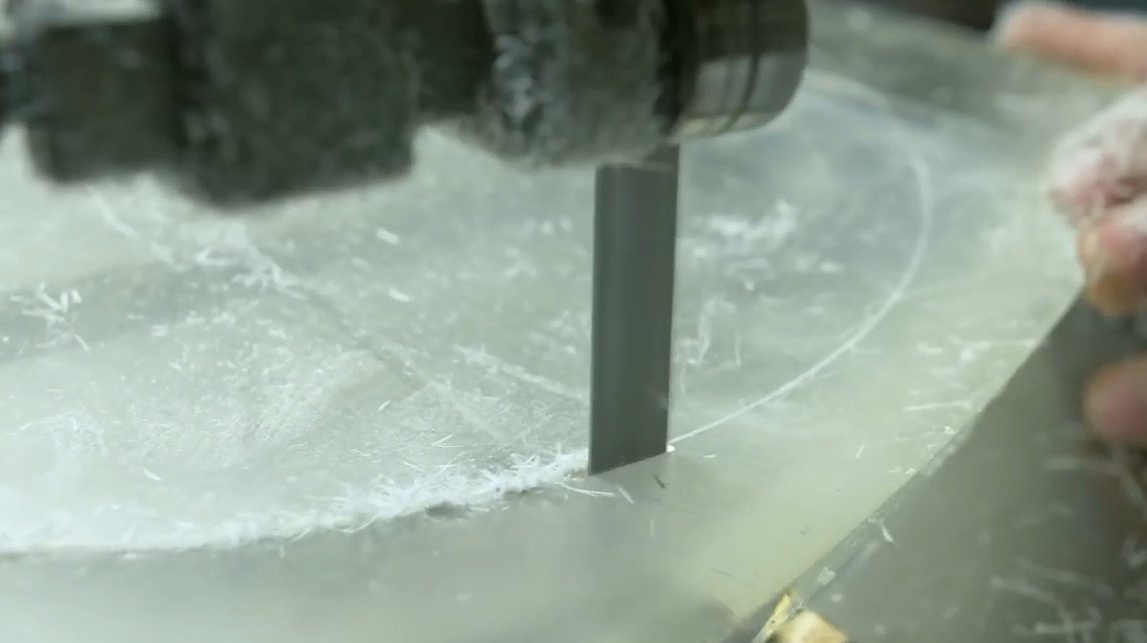
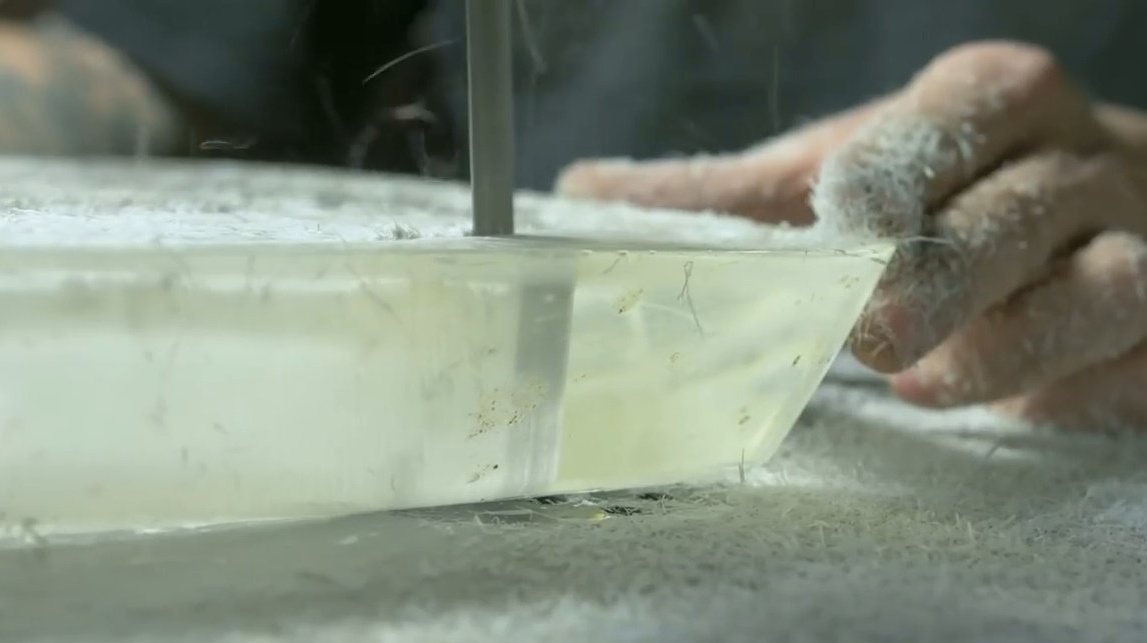

It does not fit in a bit, the barrel itself is a curve, therefore, it adjusts the workpiece, sawing off a little more.
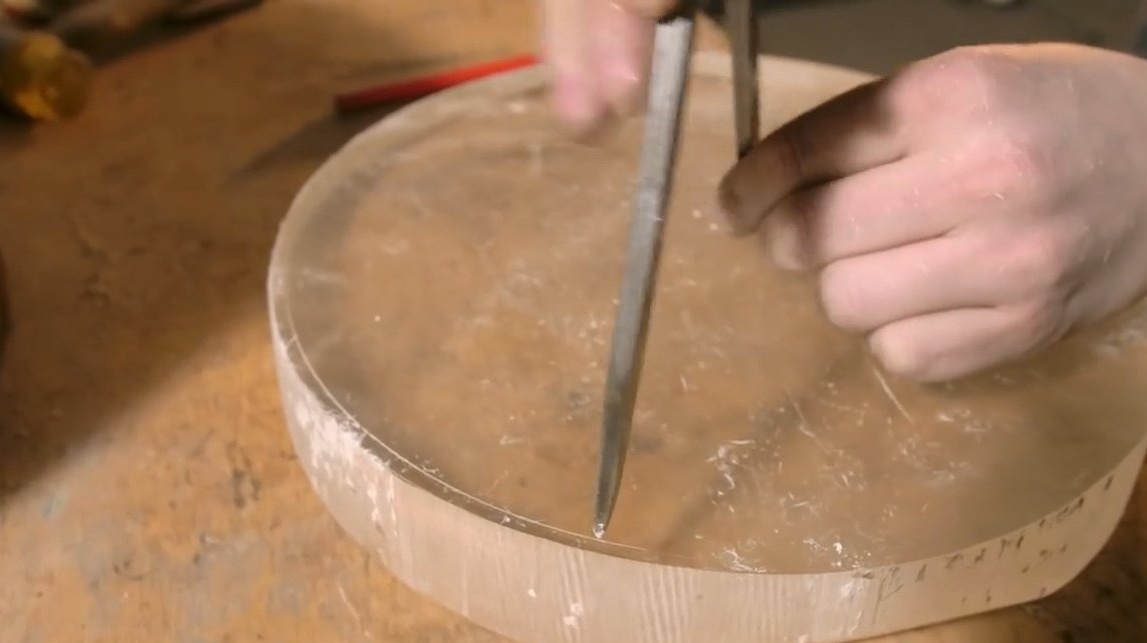
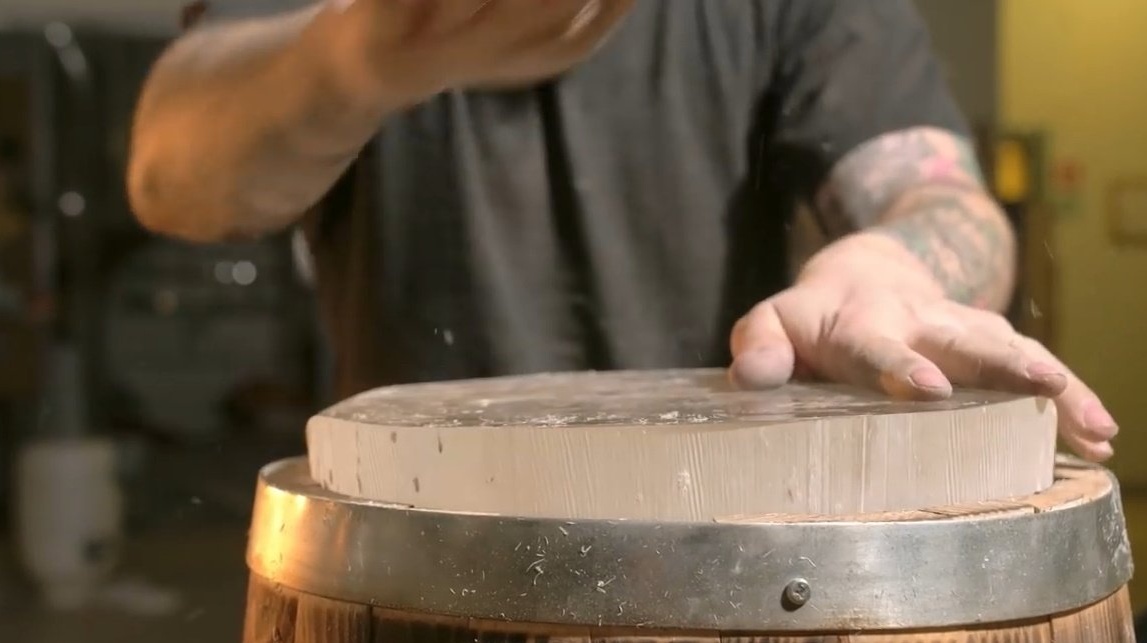
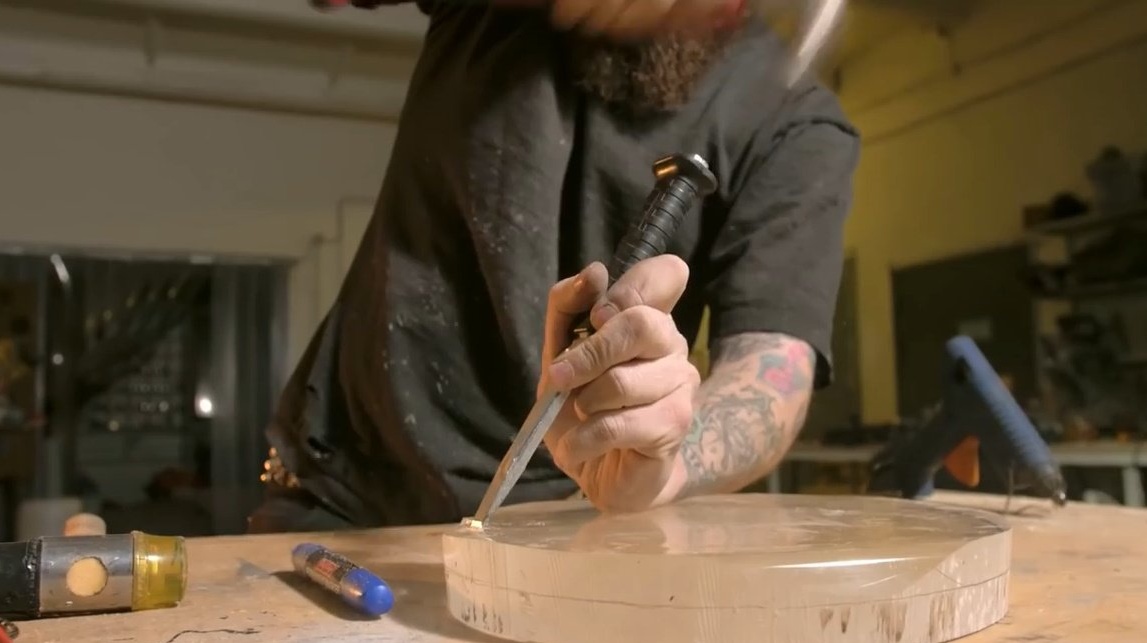
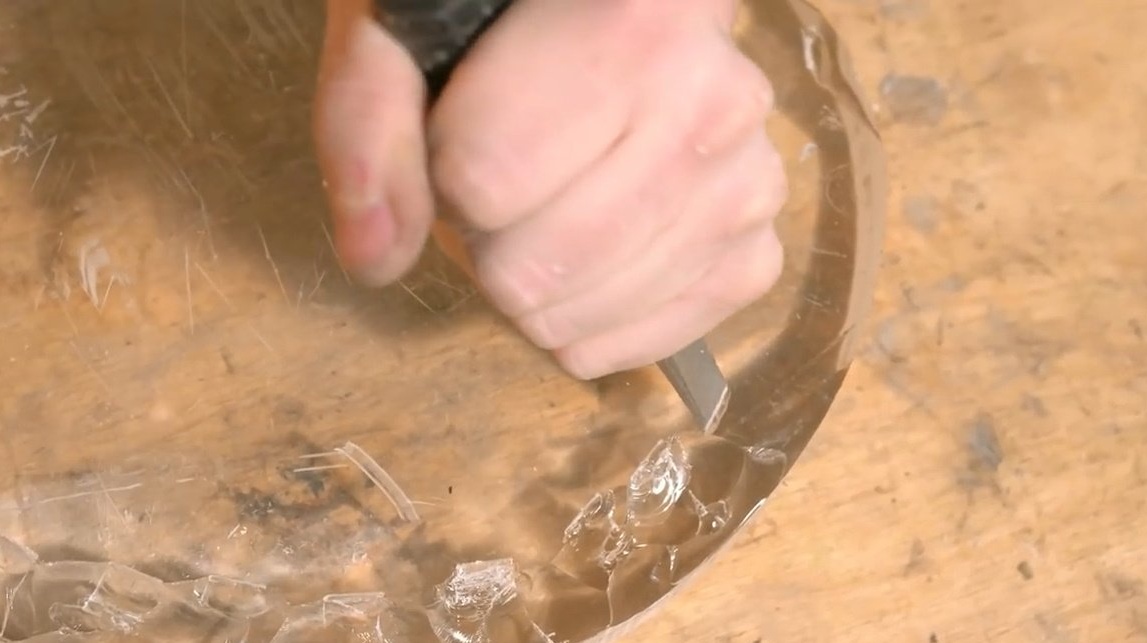
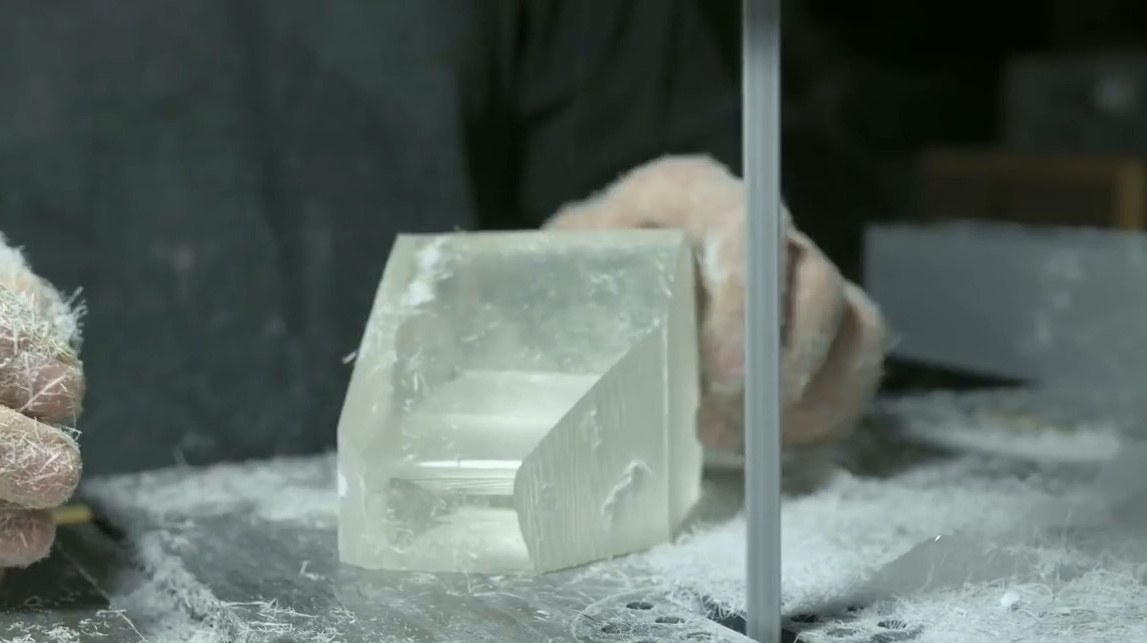
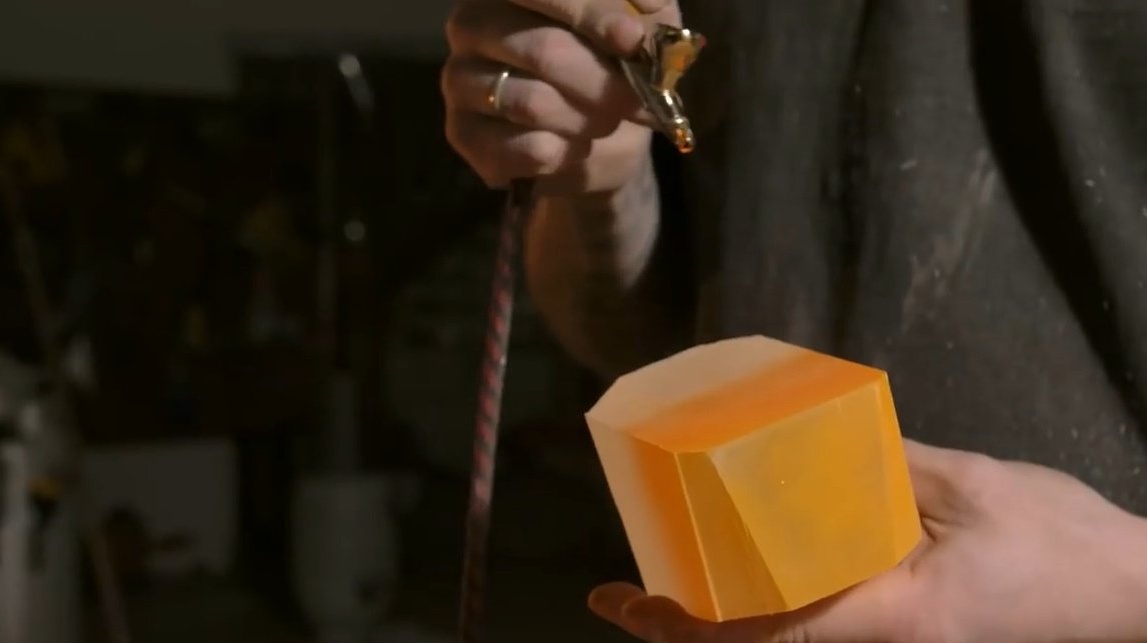
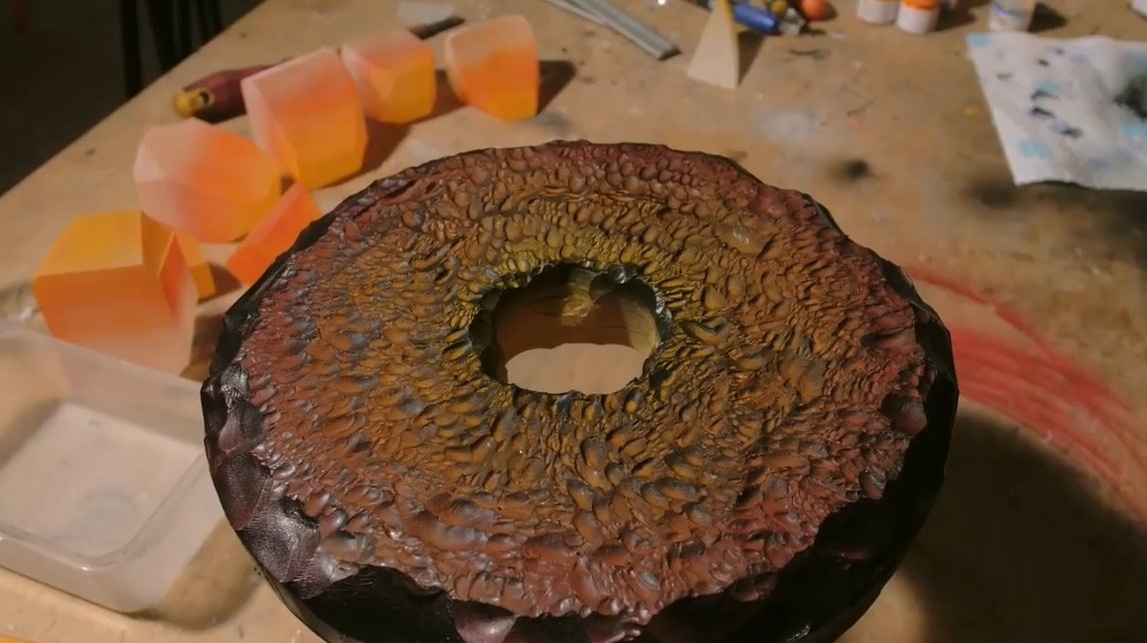
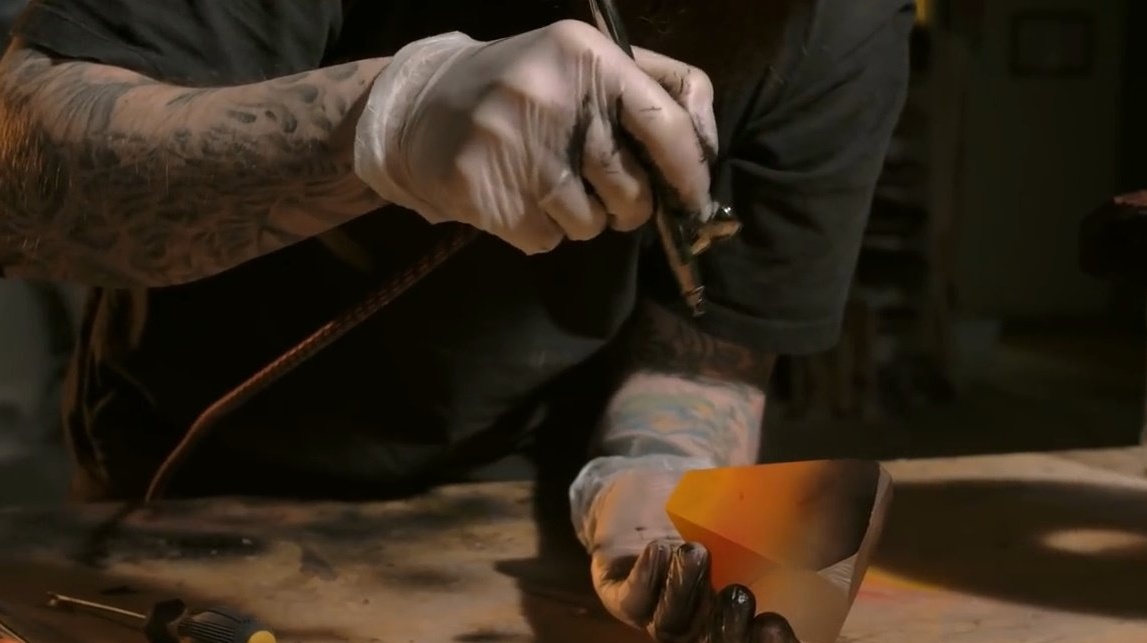
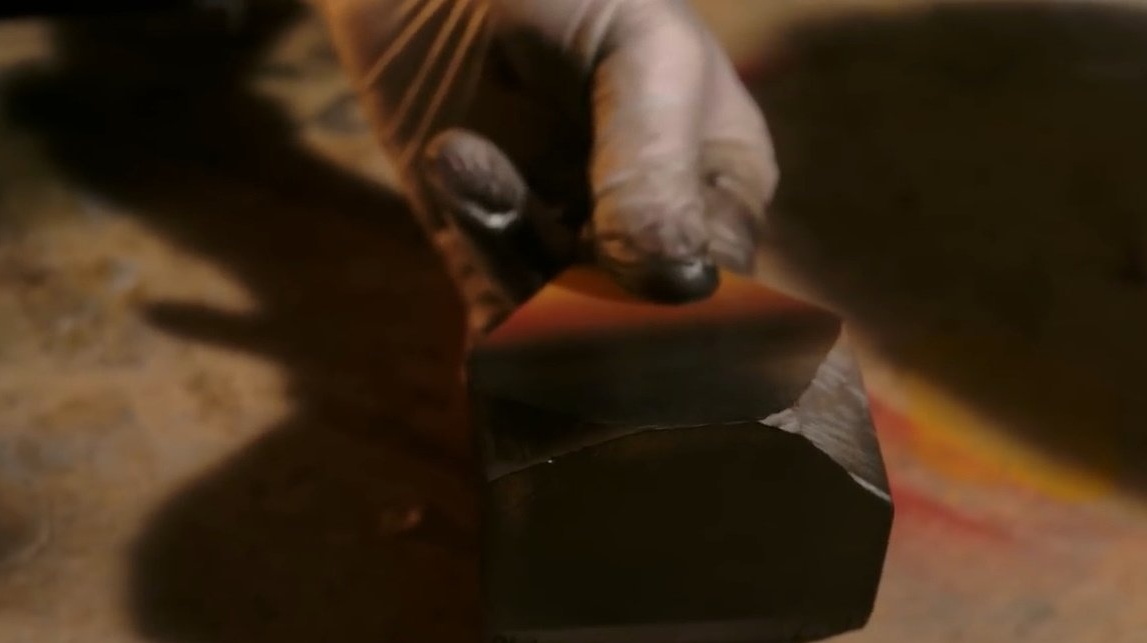
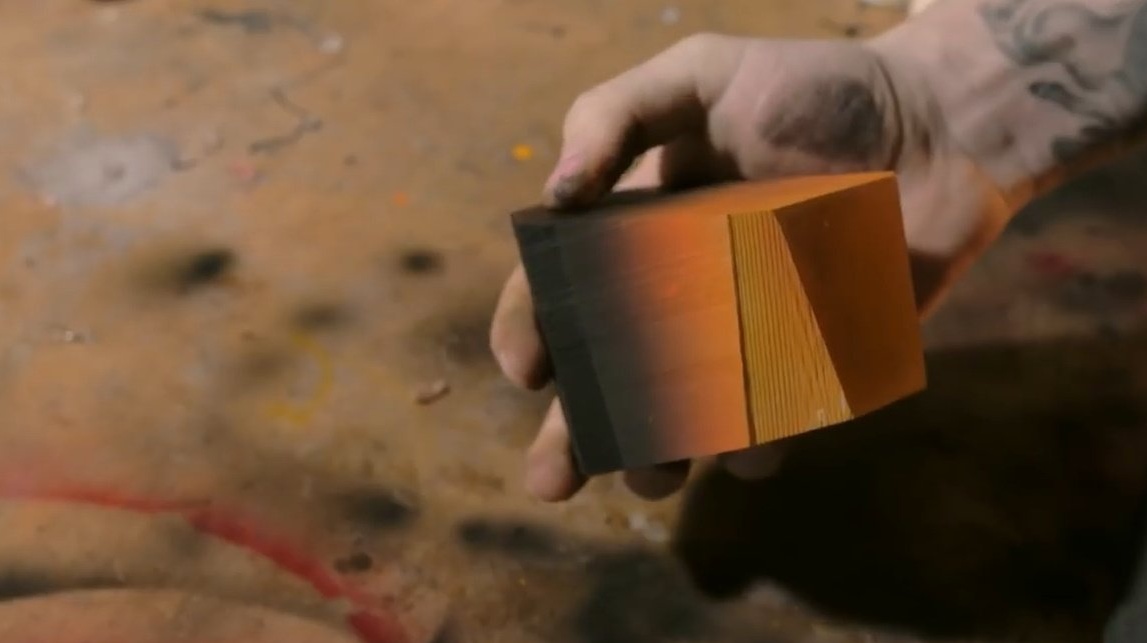
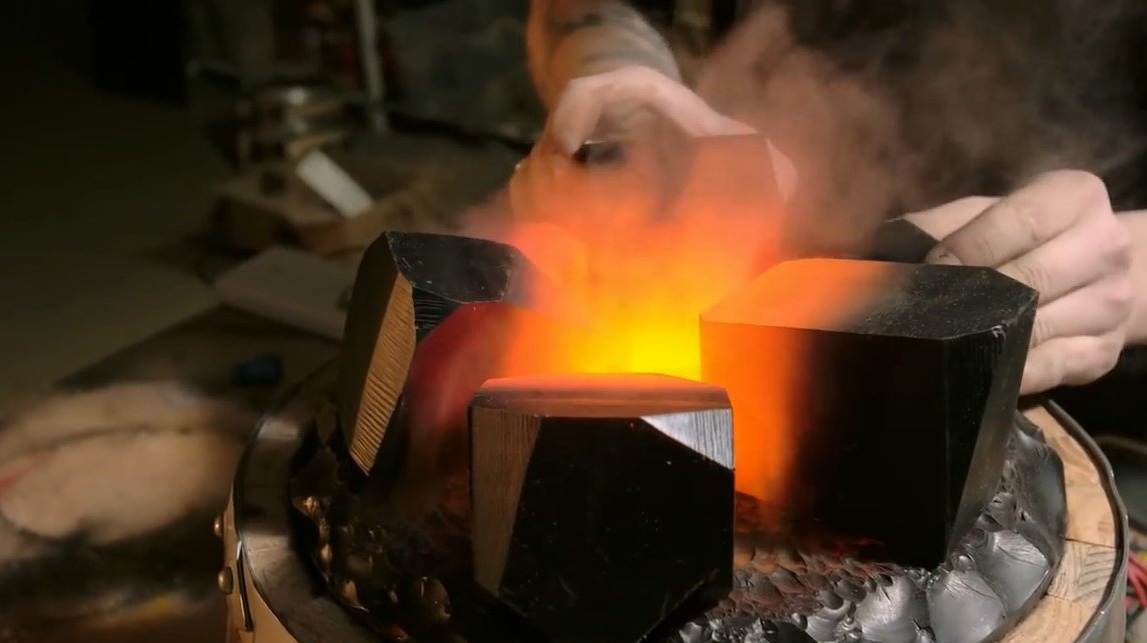
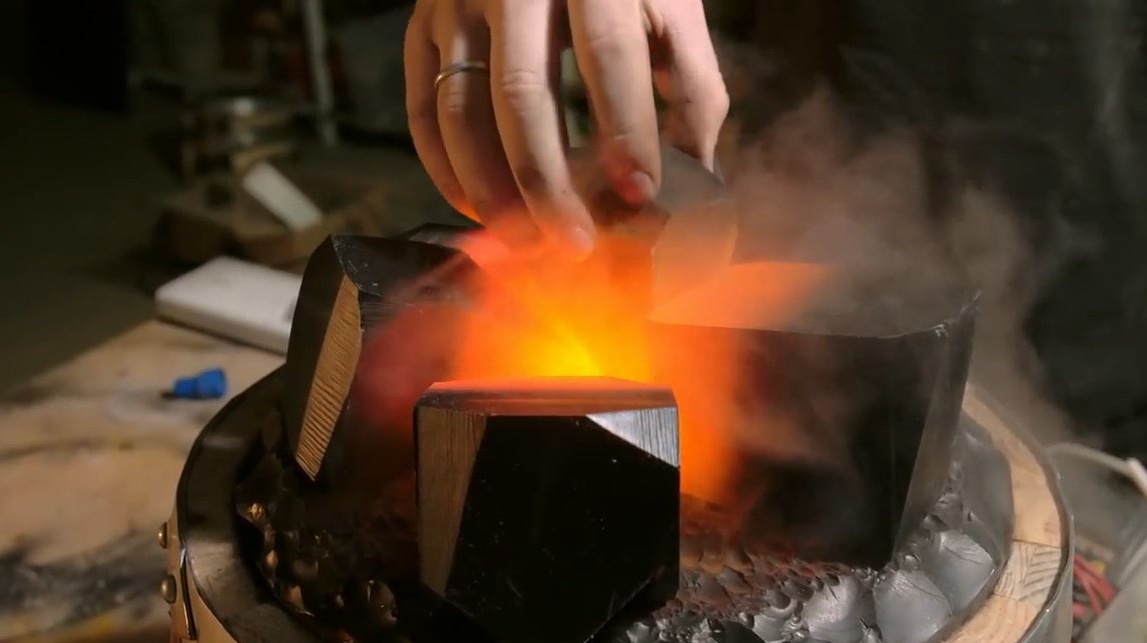
Now it comes up, takes it out, and now it will create the shape of a chopped breed.According to the idea, Dania wants to make a fireplace made of coal. Crystals will burn from above, and they will lie on this piece that needs to be tapped from all sides. The epoxy is homogeneous, and breaks off surprisingly easily and supple. That is, the size of the chip can be controlled by tilting the tool. Chips with a sharp chisel.
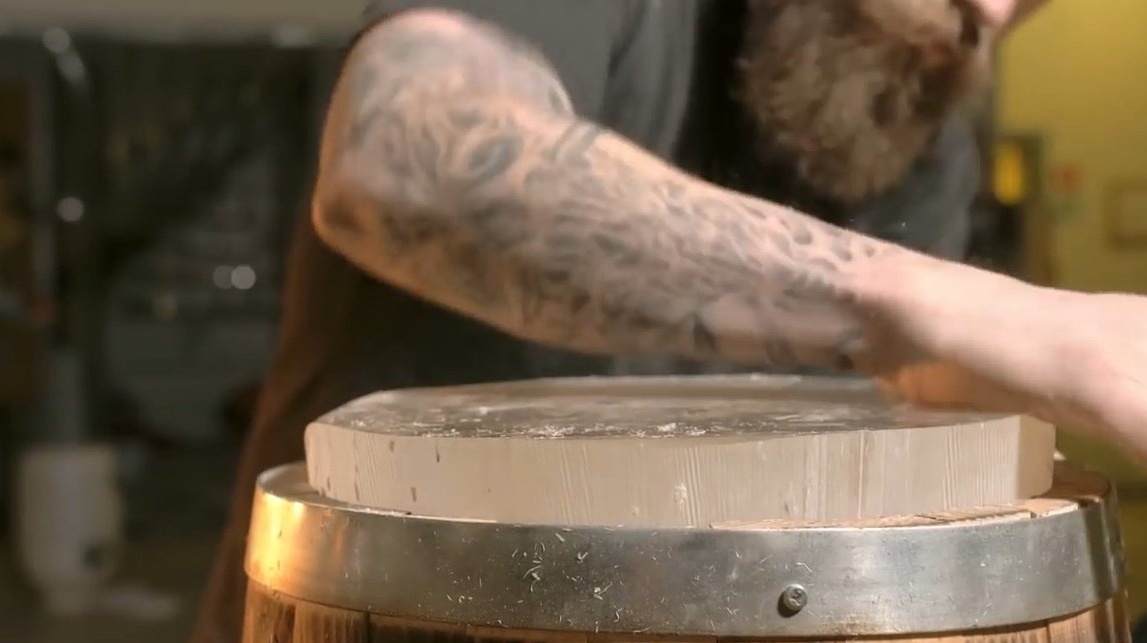

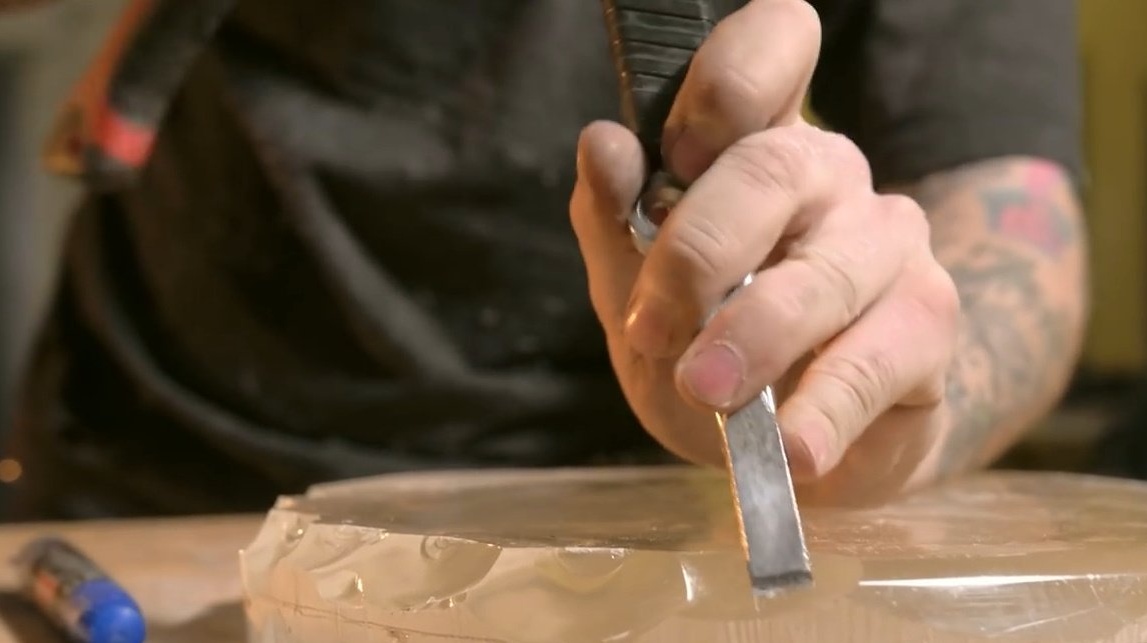
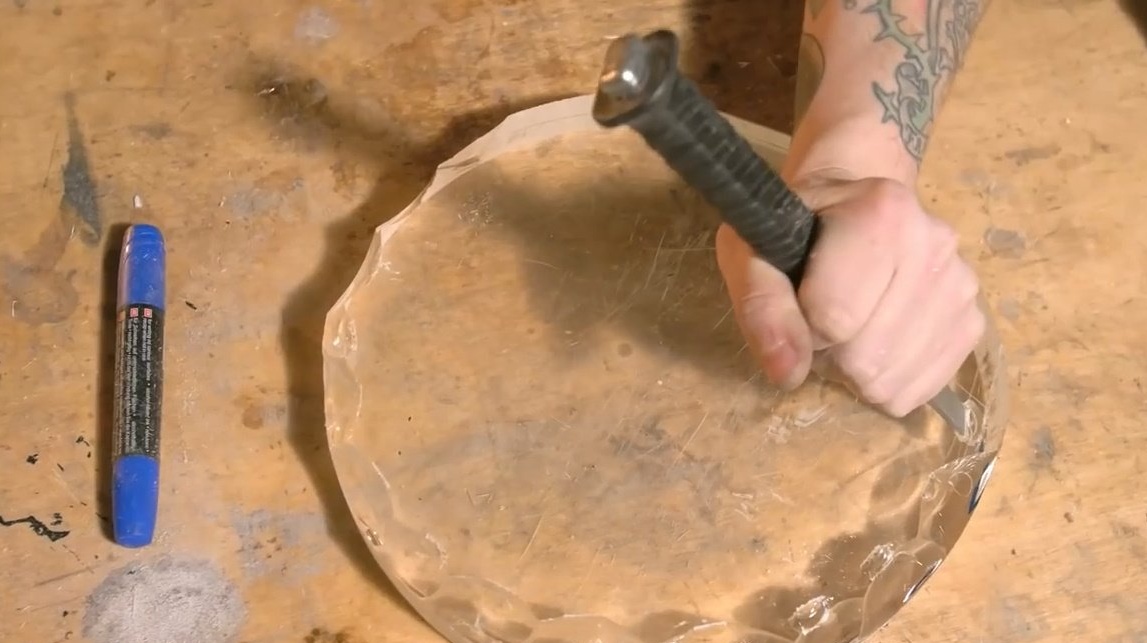
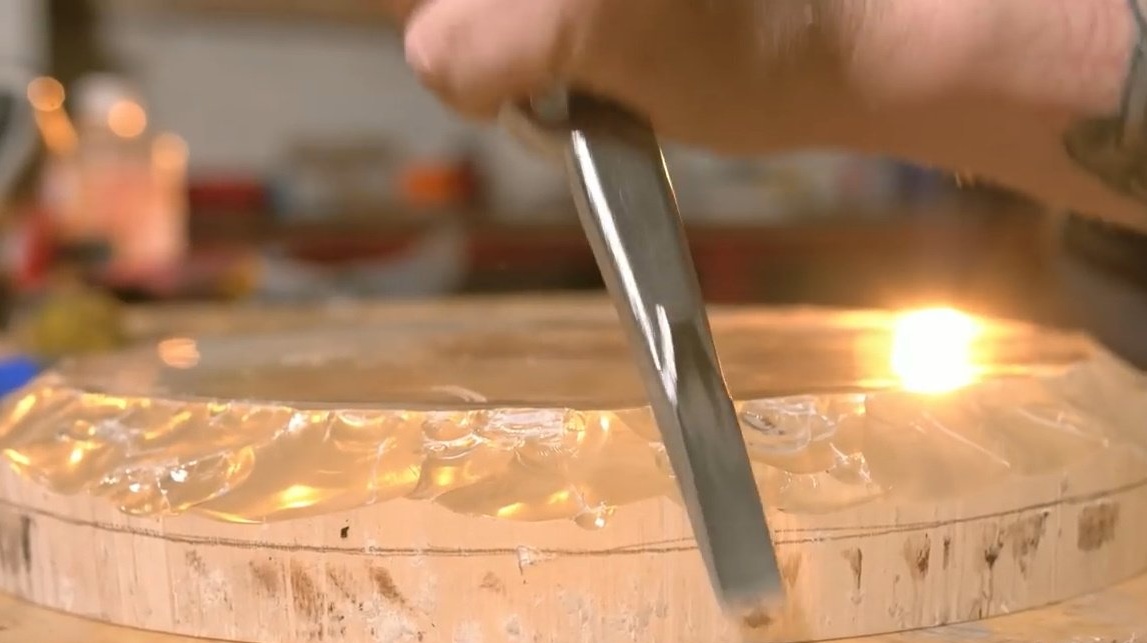
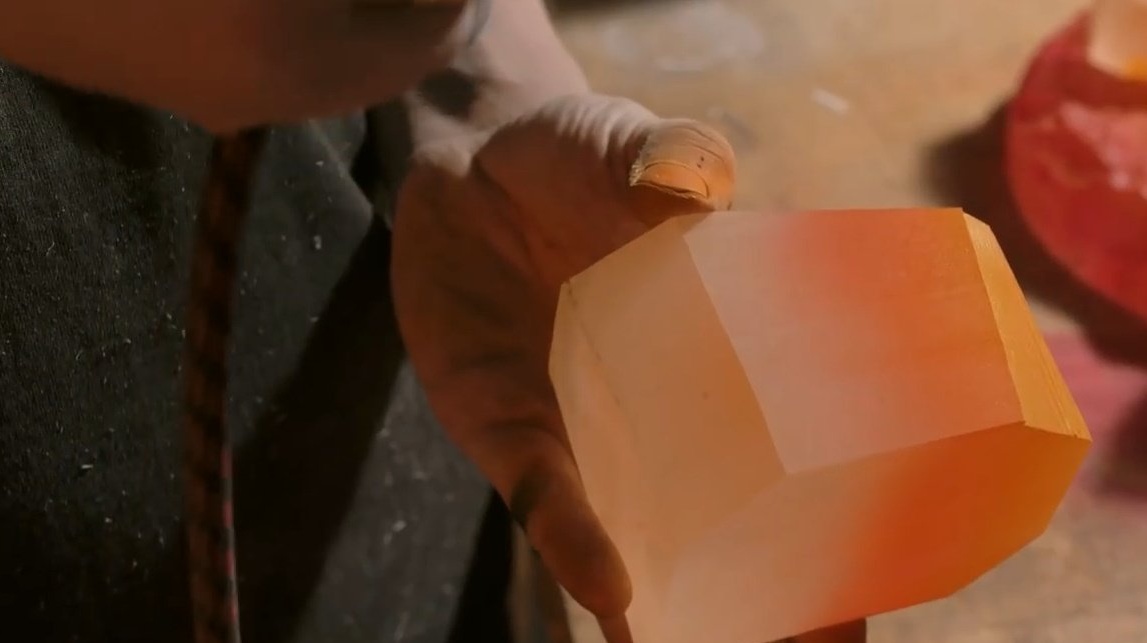
As a result, he chopped off all the ribs, from which such scraps are formed. They can also be used later as an imitation of glass or in some other art project. Now you need to process the plane makes a smaller angle, and passes over the entire surface. The result is something like obsidian, well, it looks cool.

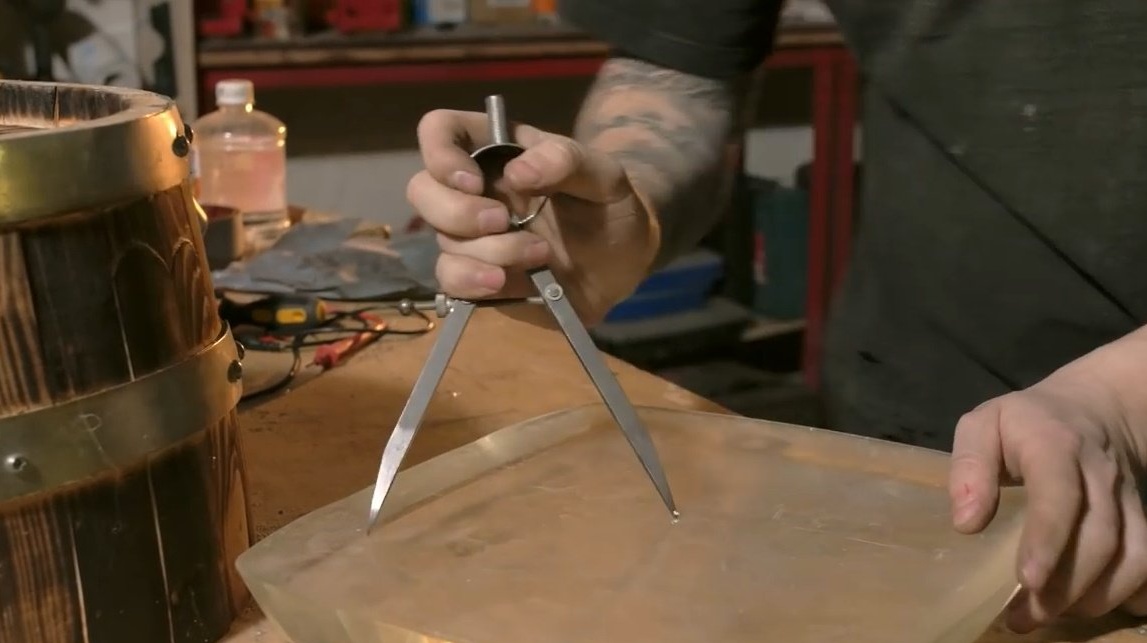
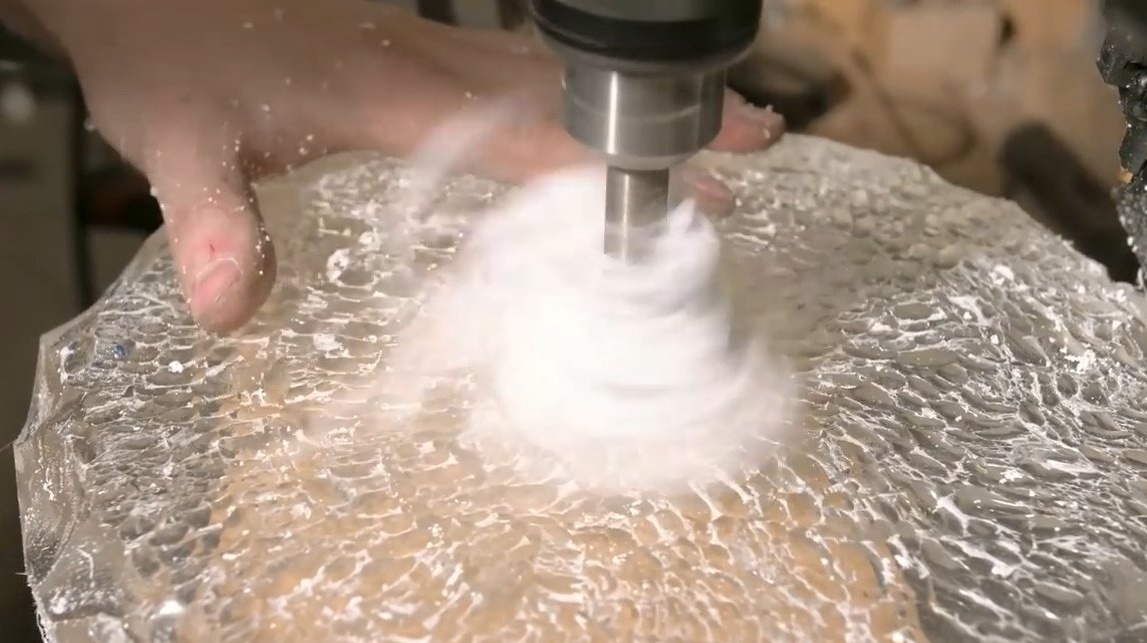
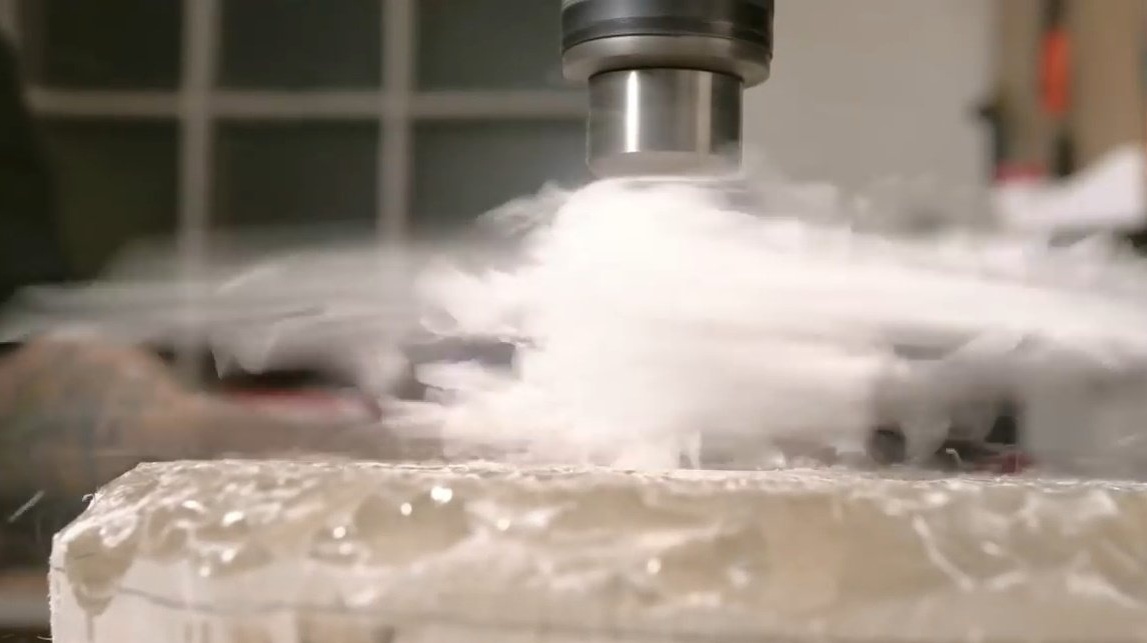
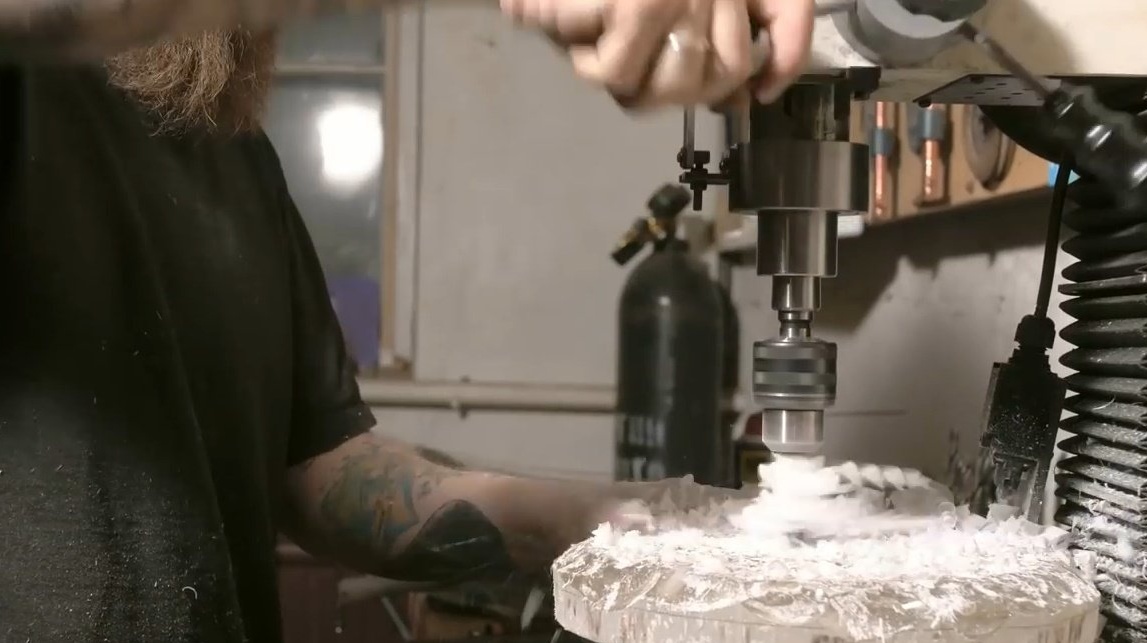
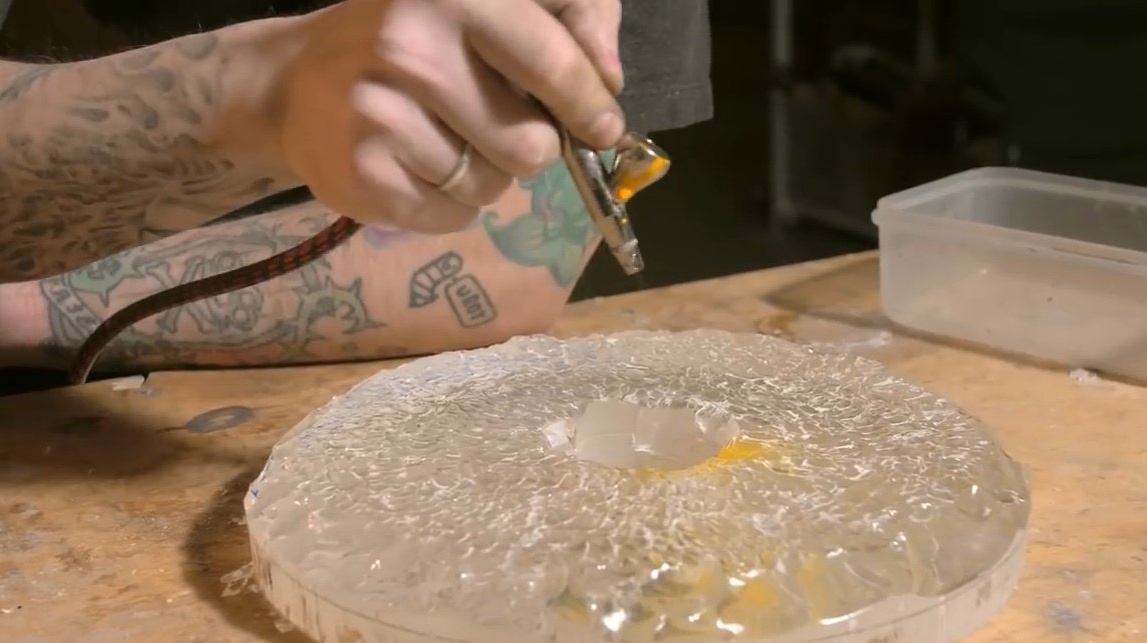
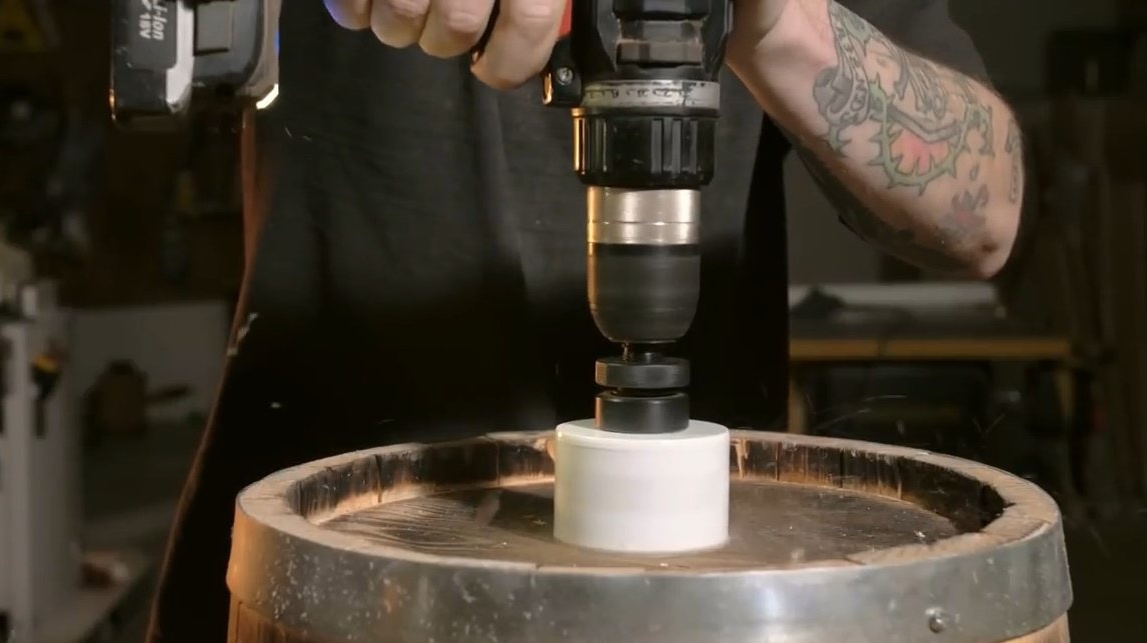
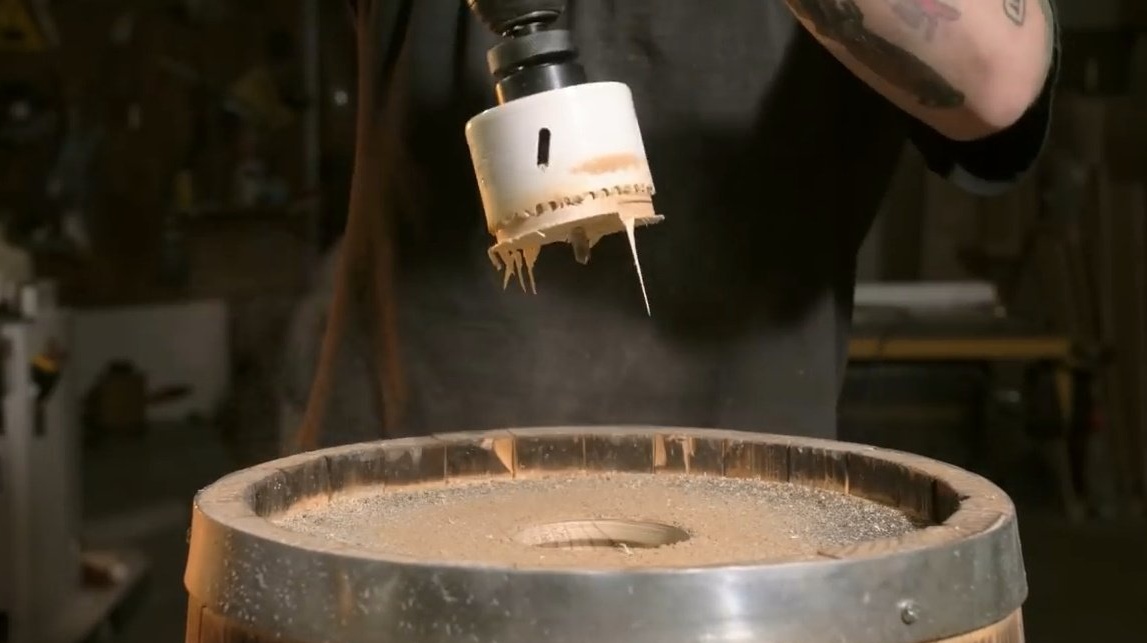
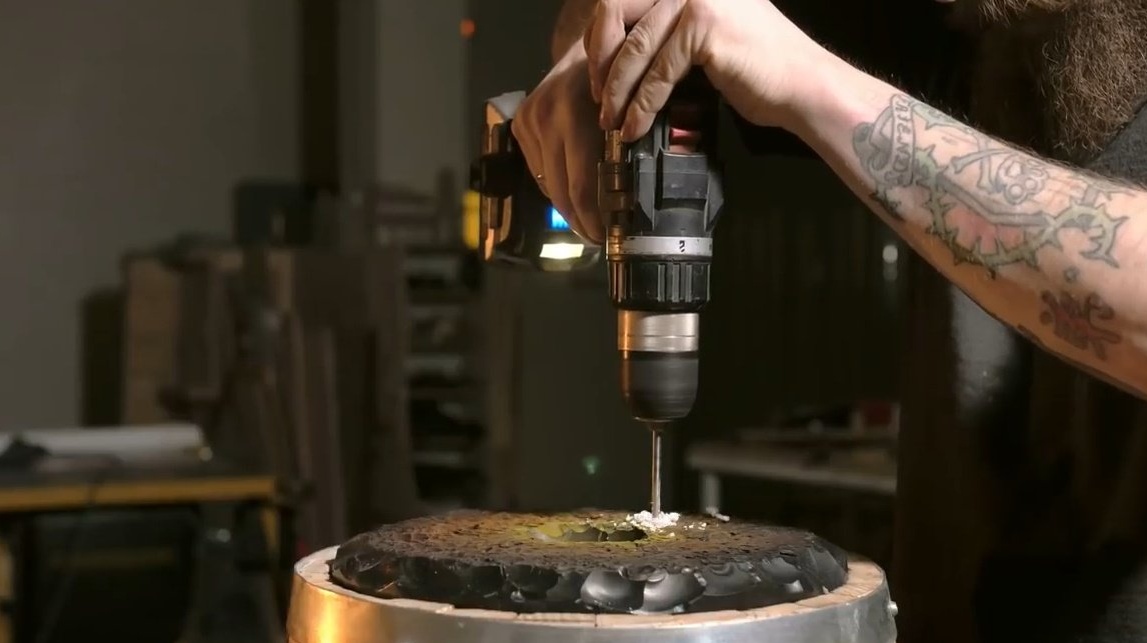
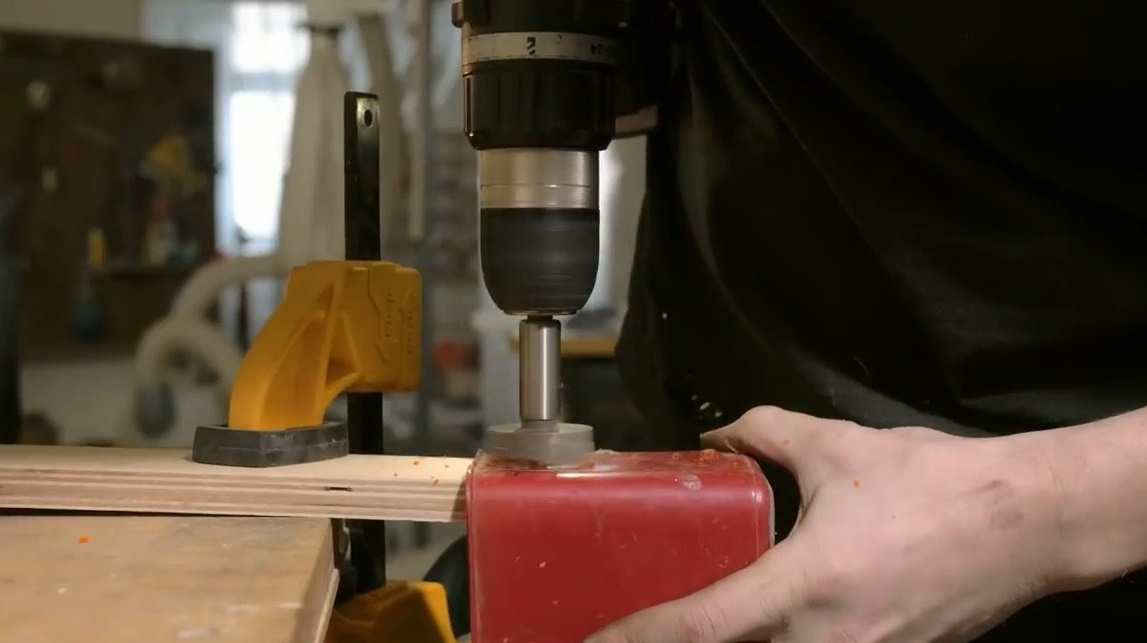
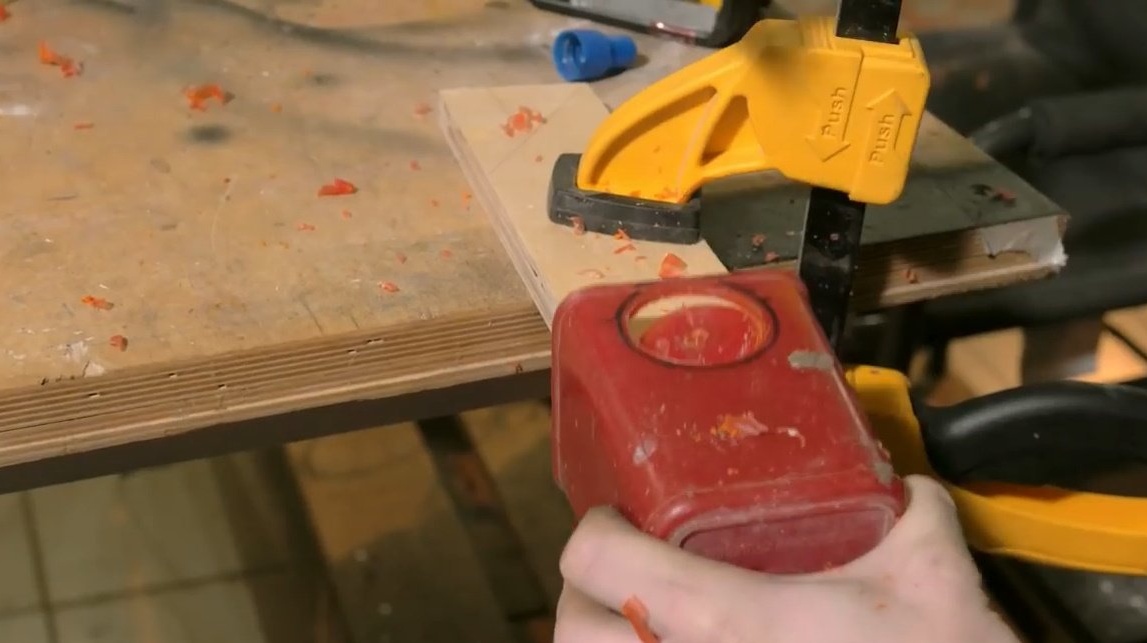
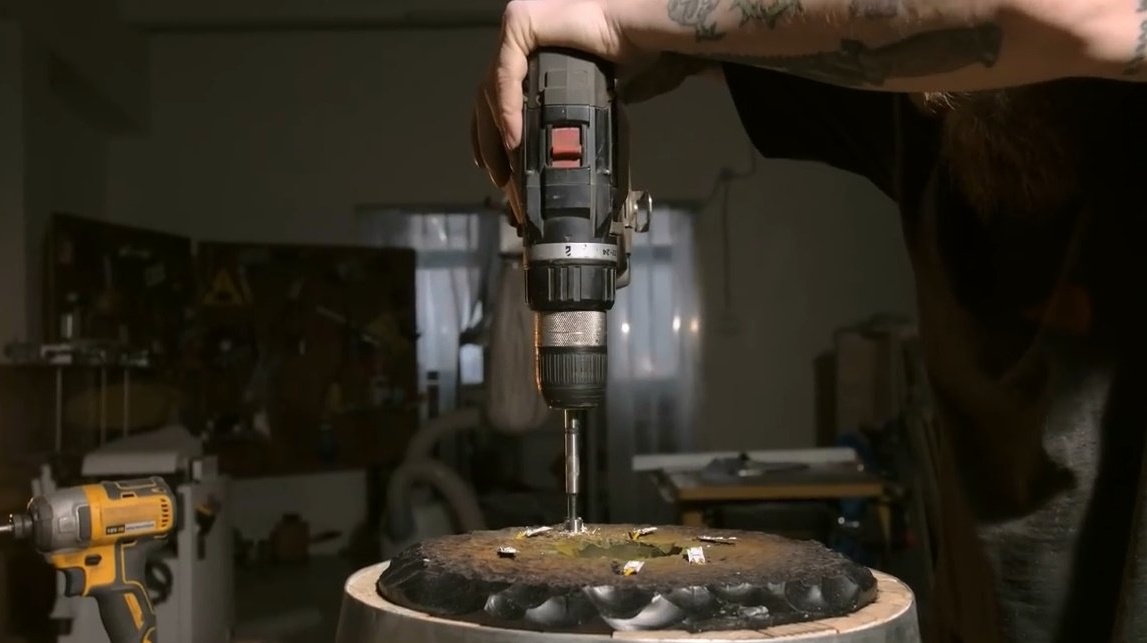
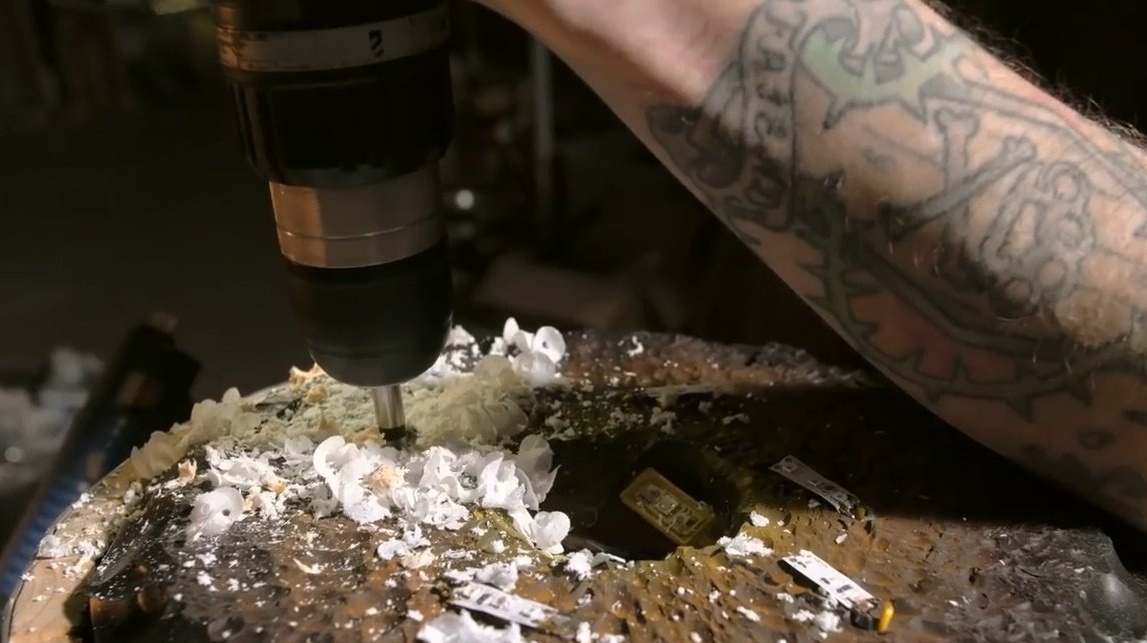
Now you need to drill with a Forstner drill the maximum diameter that Dani has. It would be better, of course, with a crown, so as not to unwind the thickness of the epoxy on all surfaces. It is necessary to choose the material in the middle of the workpiece, steam will escape through this place.


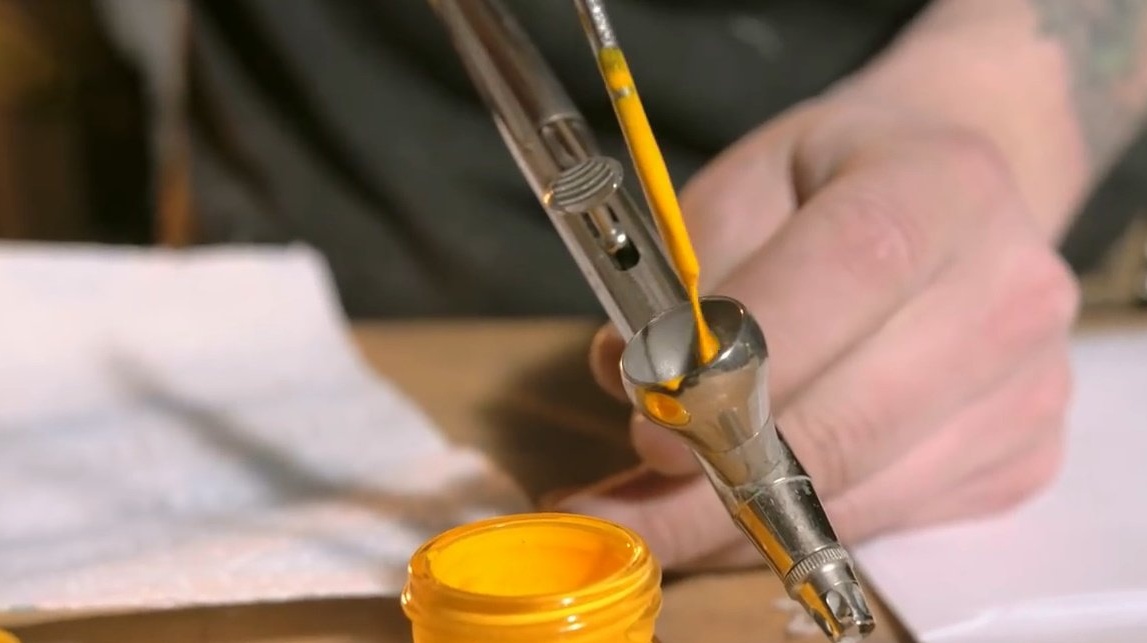
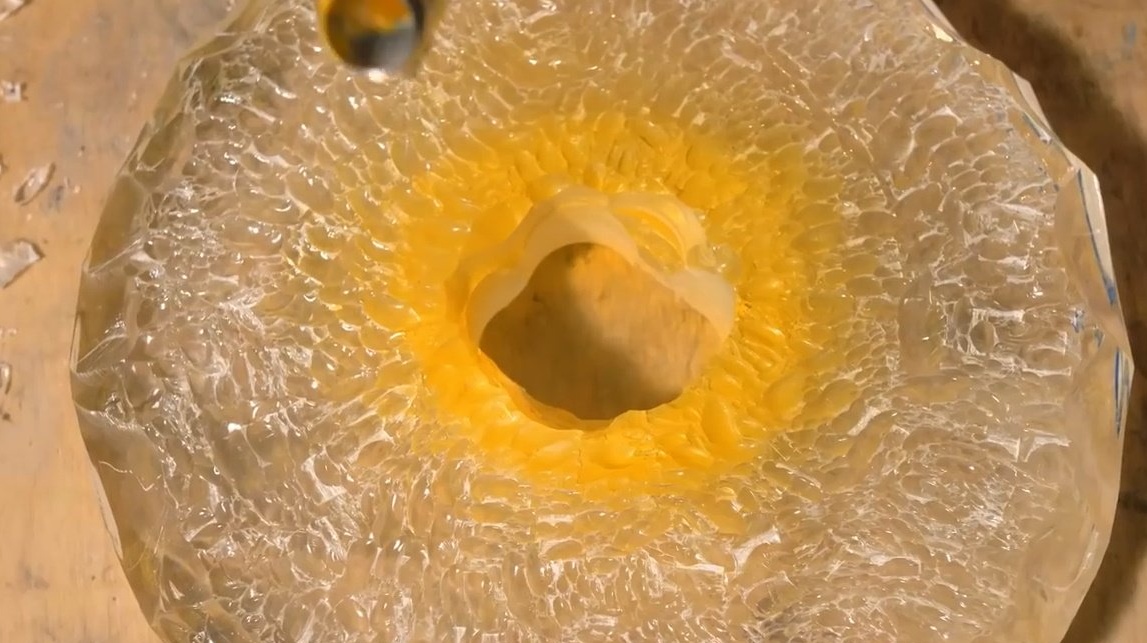
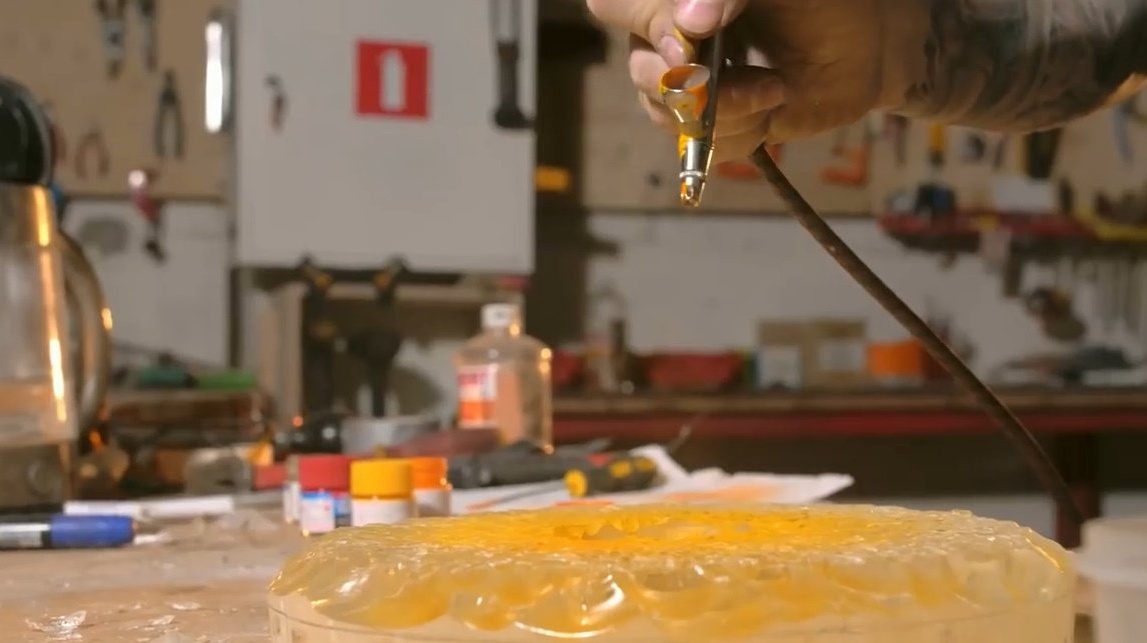
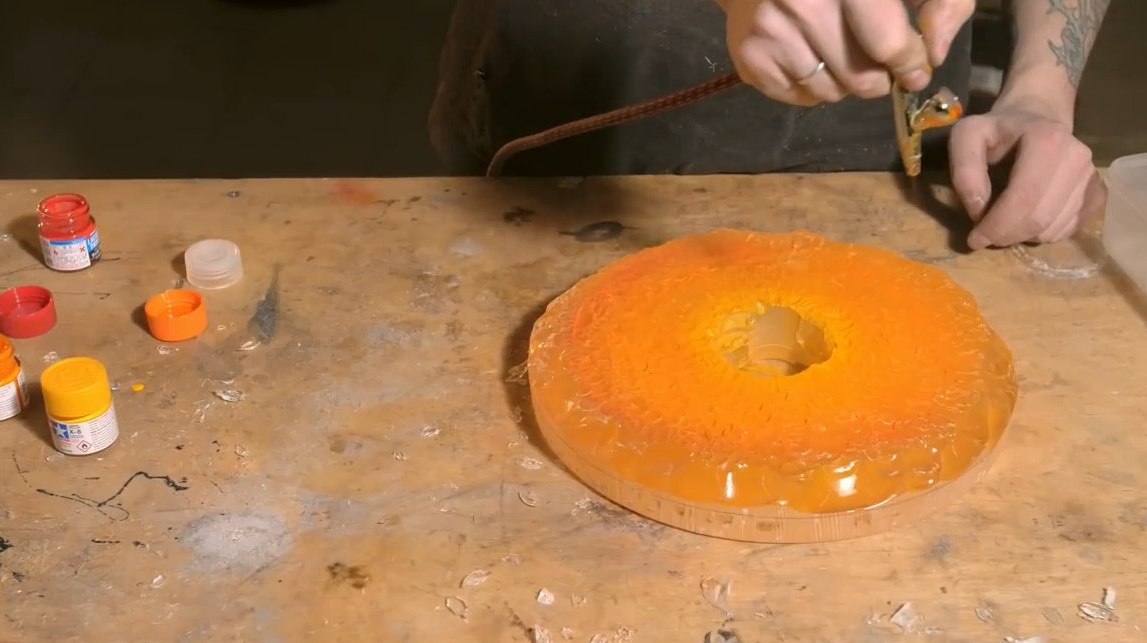
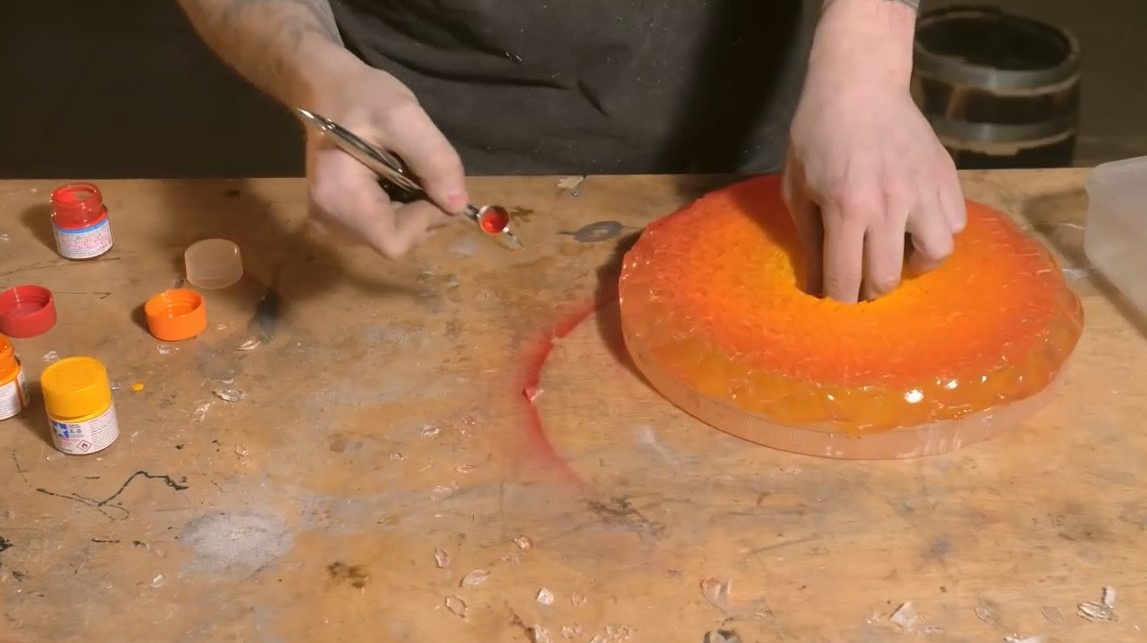
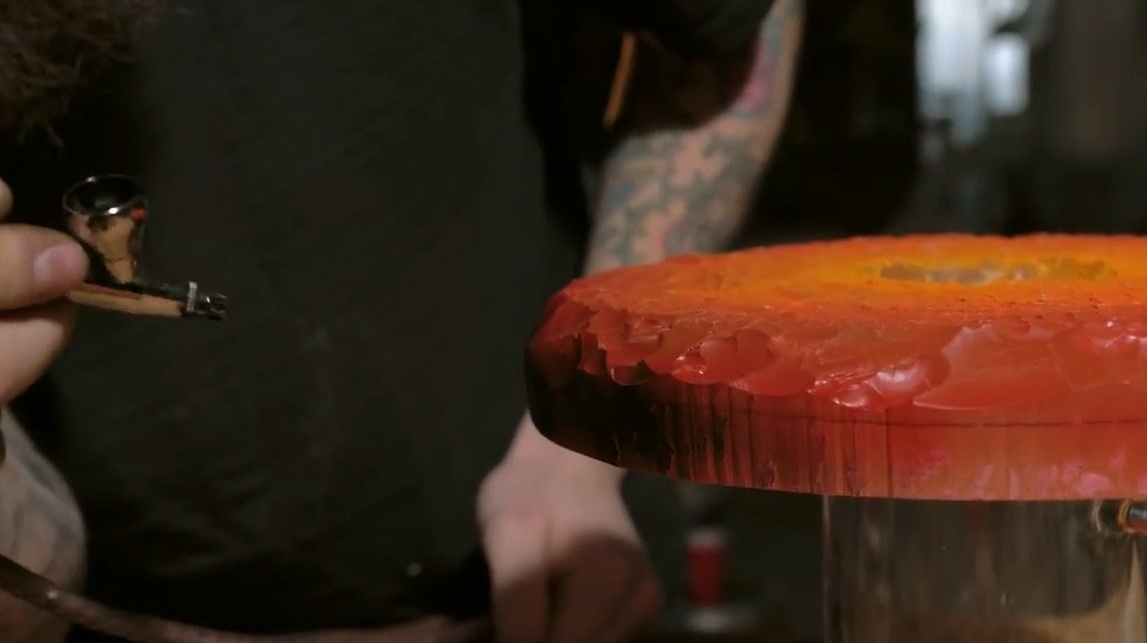
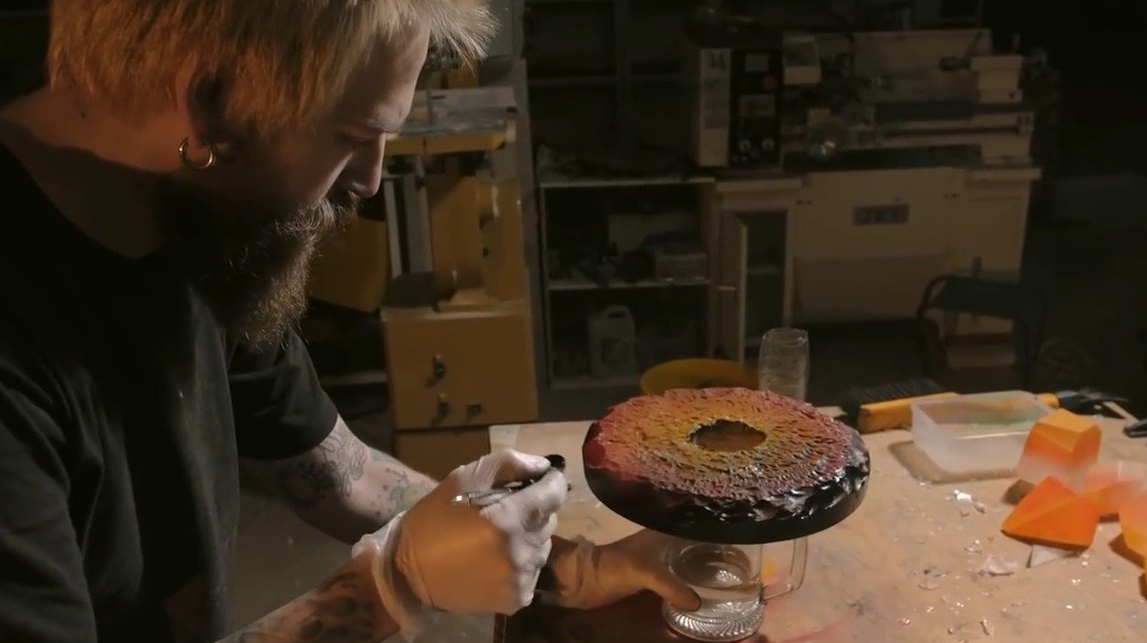
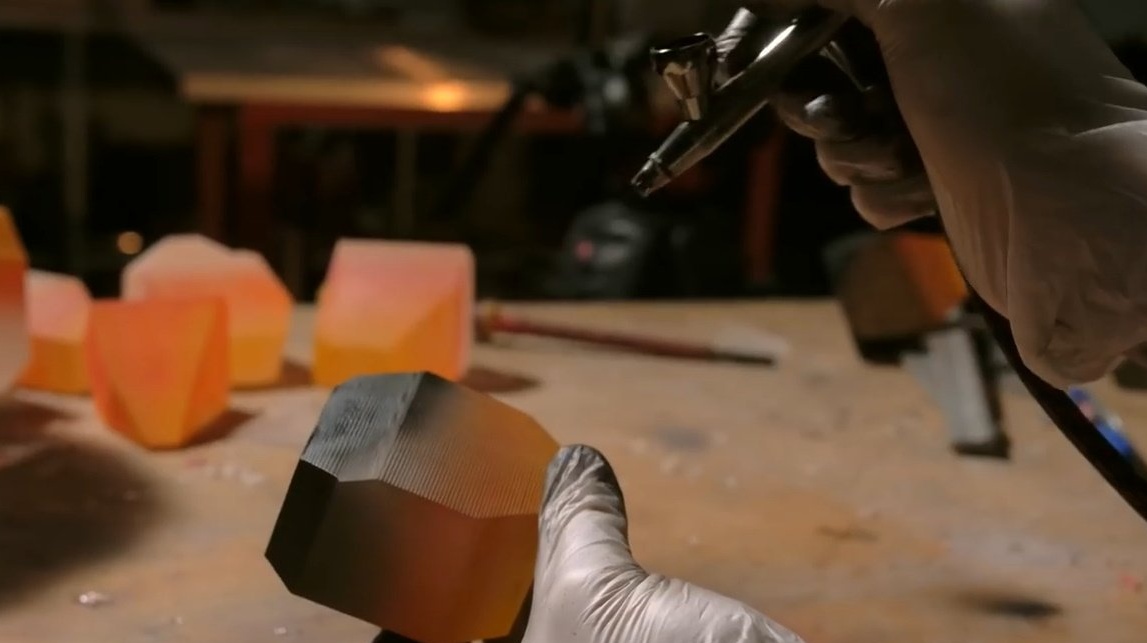
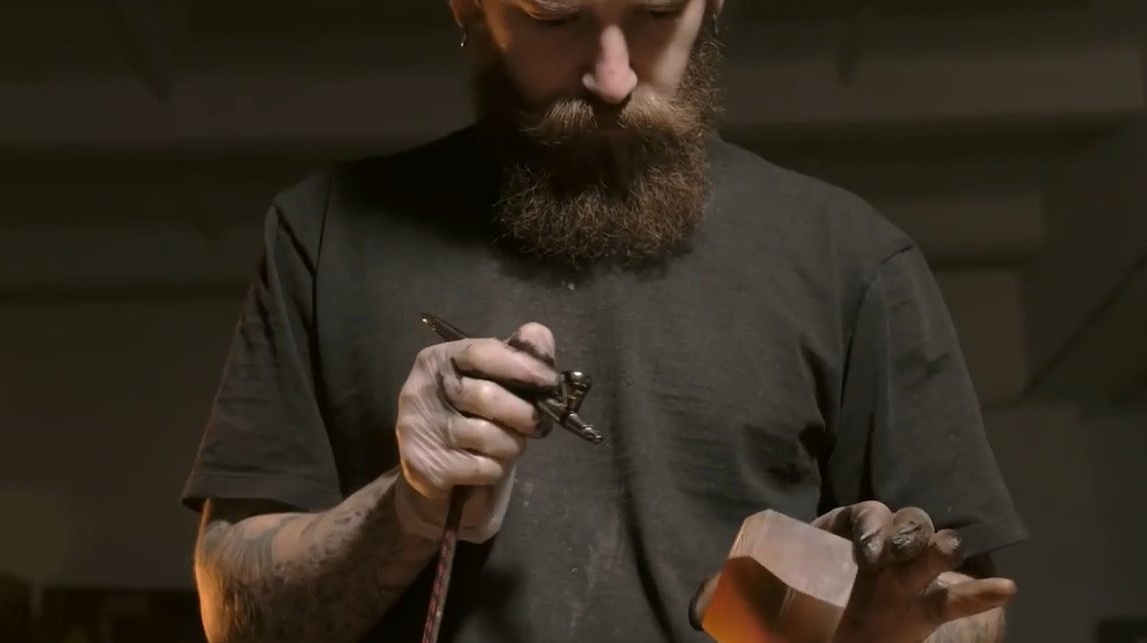
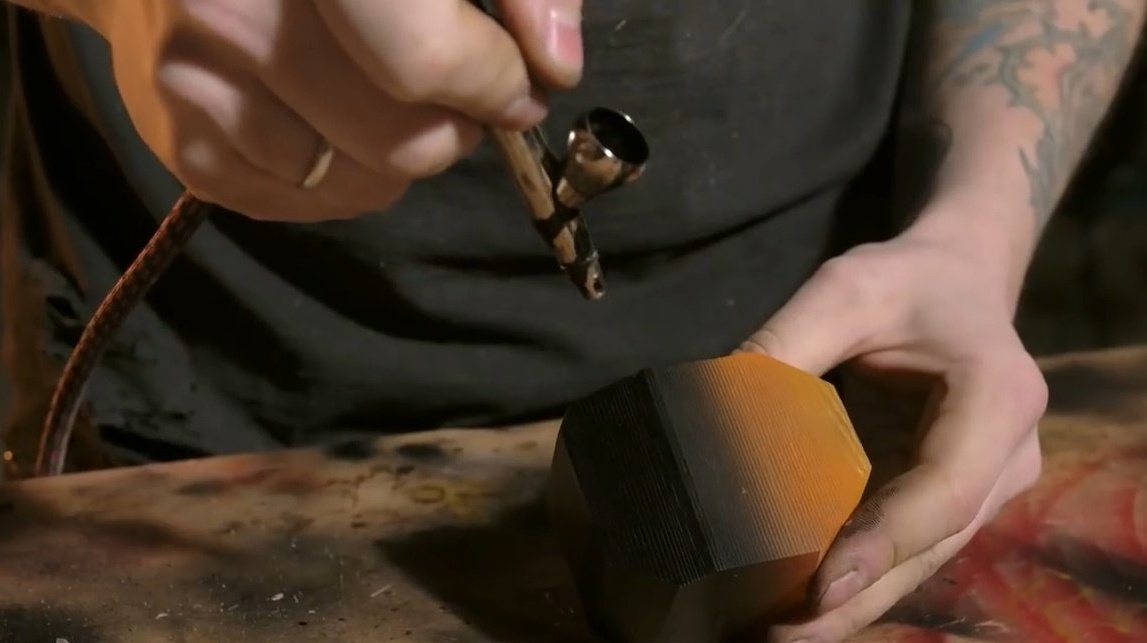
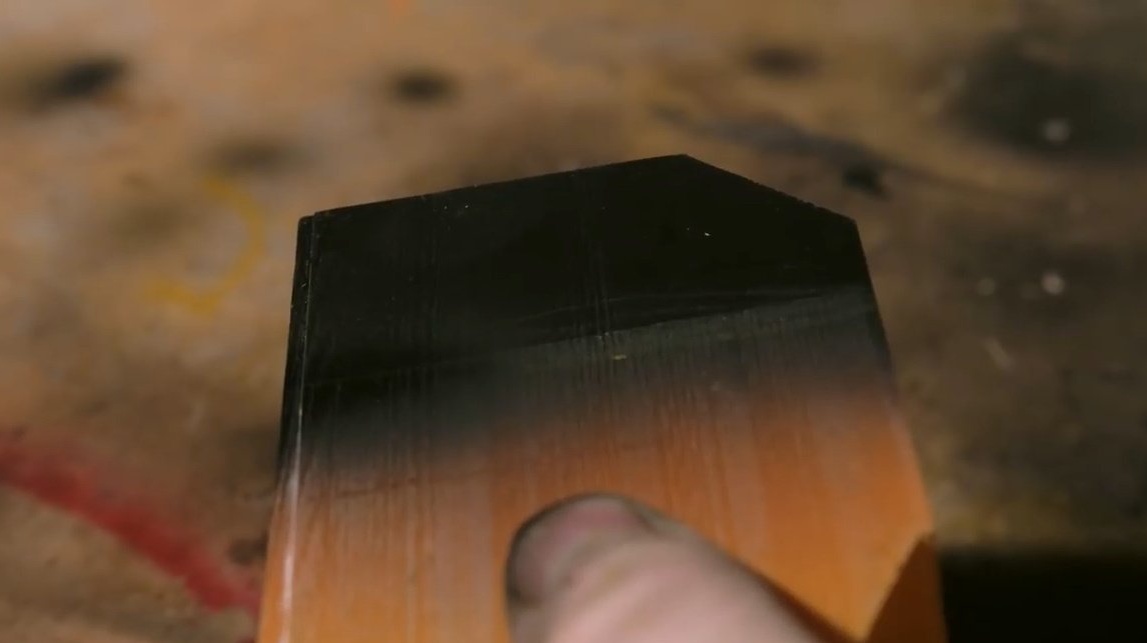
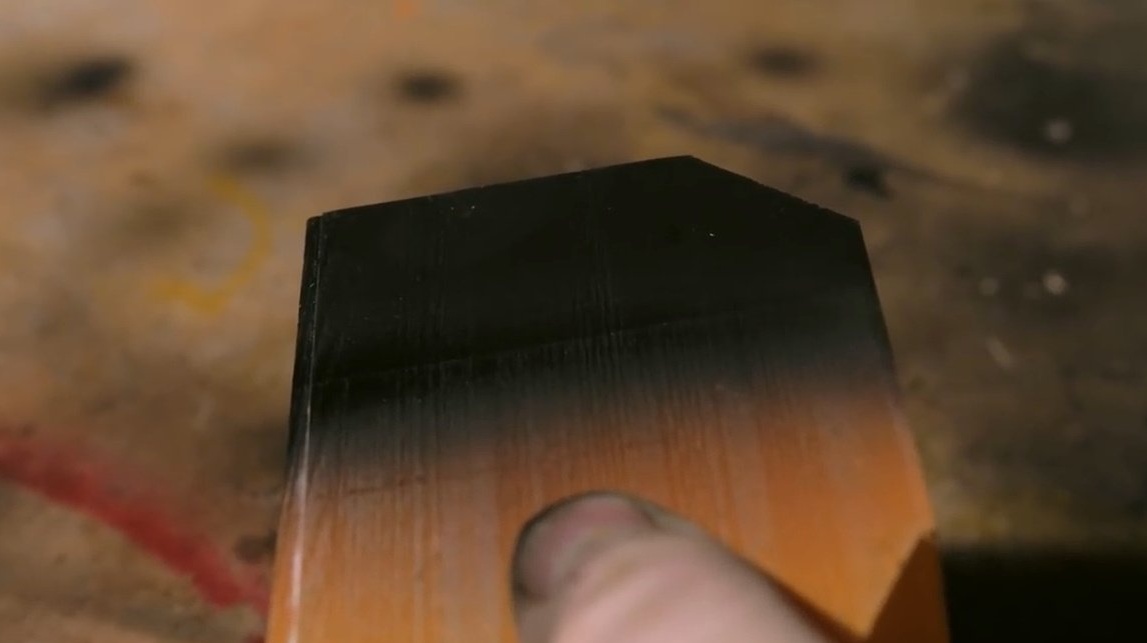
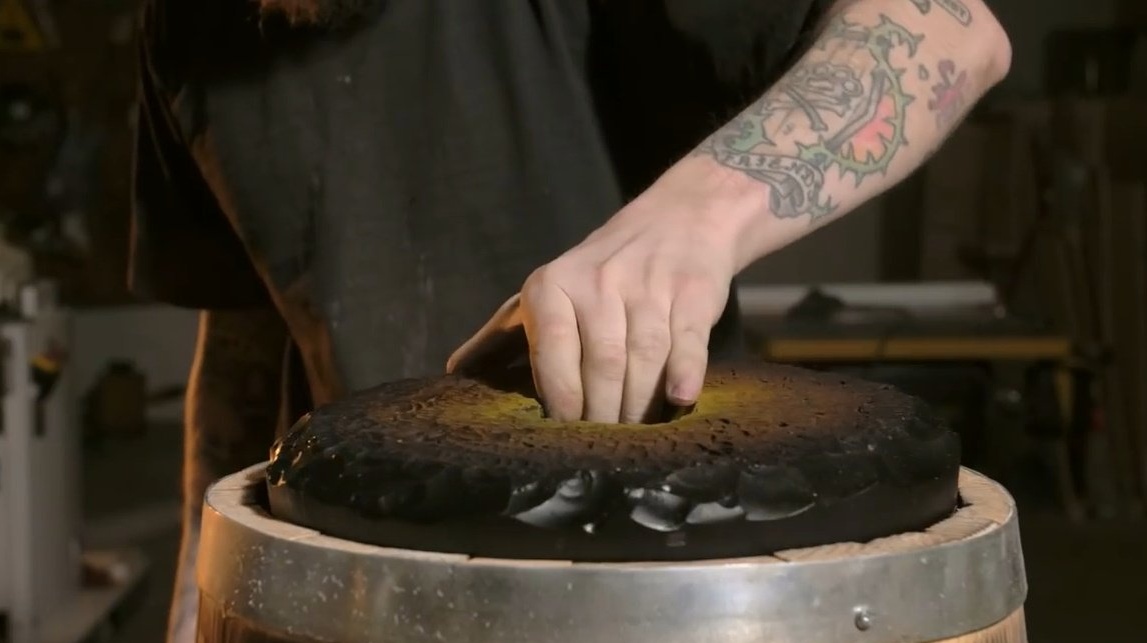
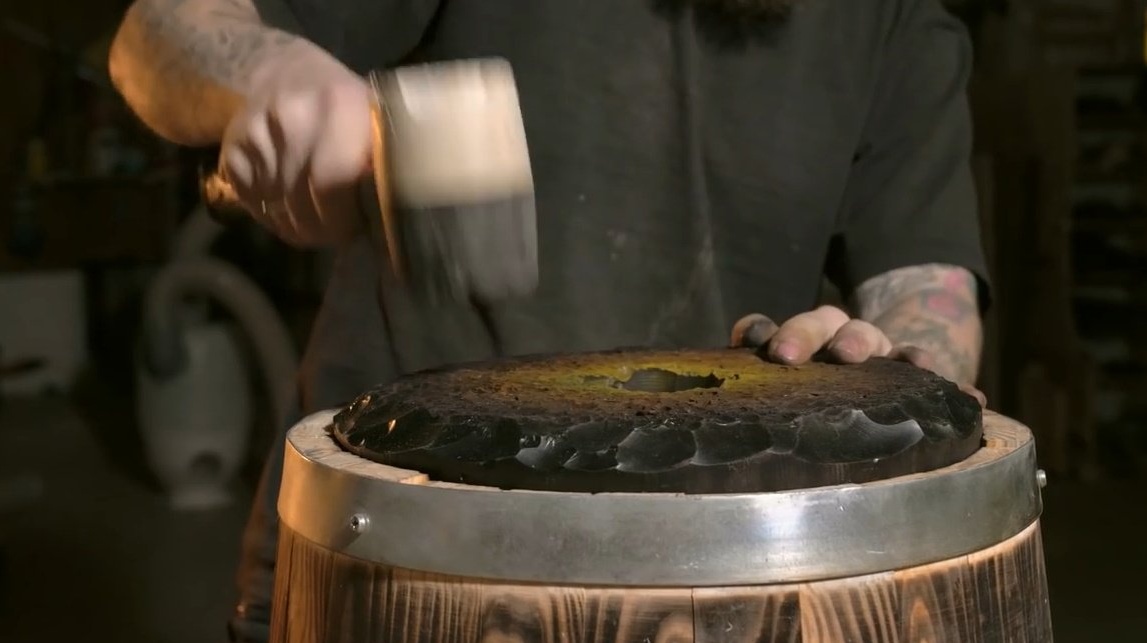
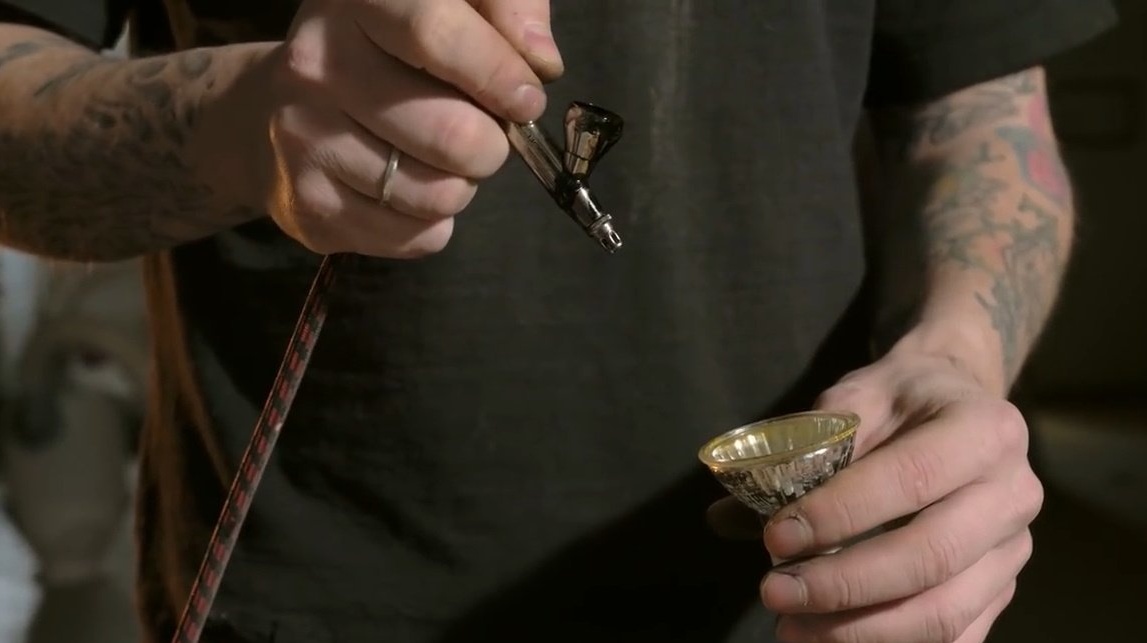
We turn to painting - this is probably the most voluminous part of the work in this project. Dania will paint over first yellow closer to the center, then orange, and then red. This is done to simulate a deep-hot stand. As a result, he decided not to highlight the base itself, but nothing prevents her from looking cool when the unit is not turned on. Paints from a distance by softly spraying, and trying to create a gradient.
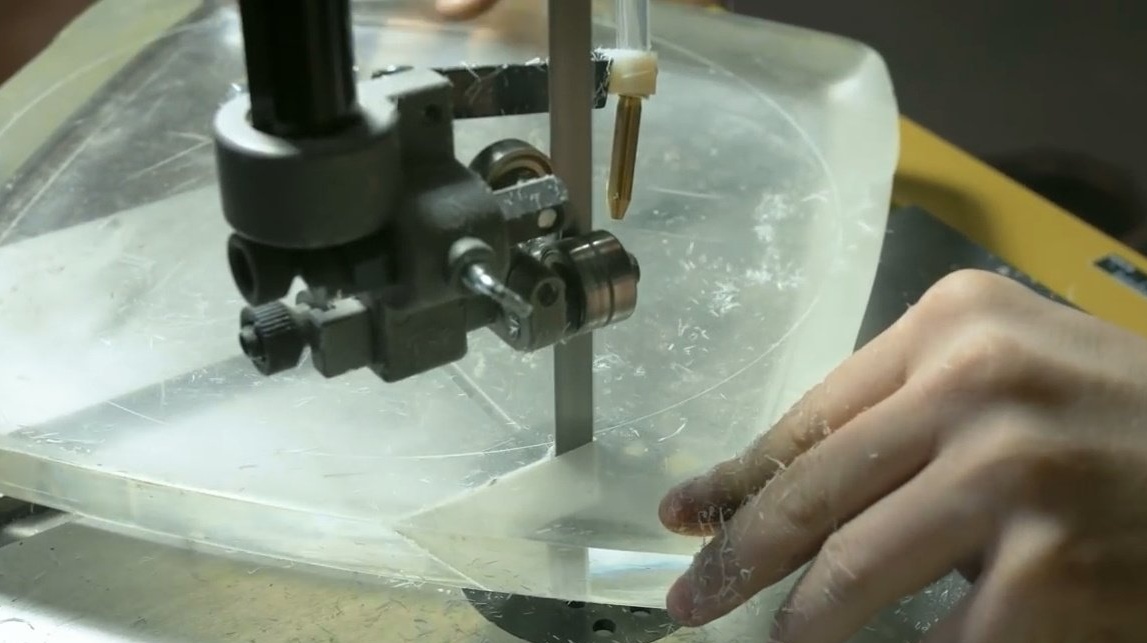
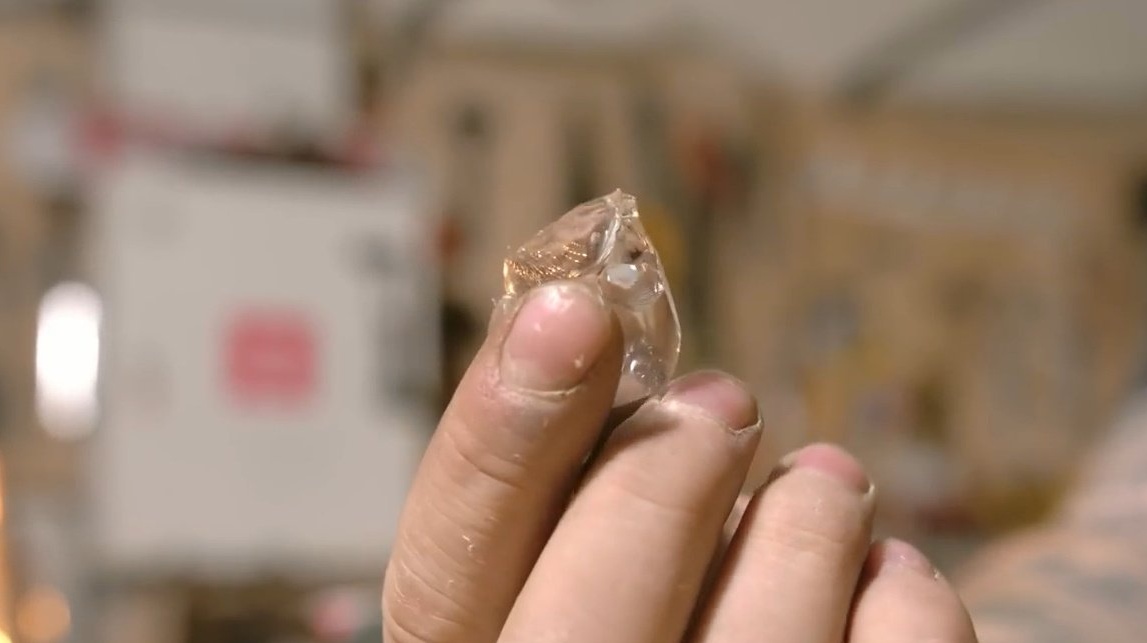
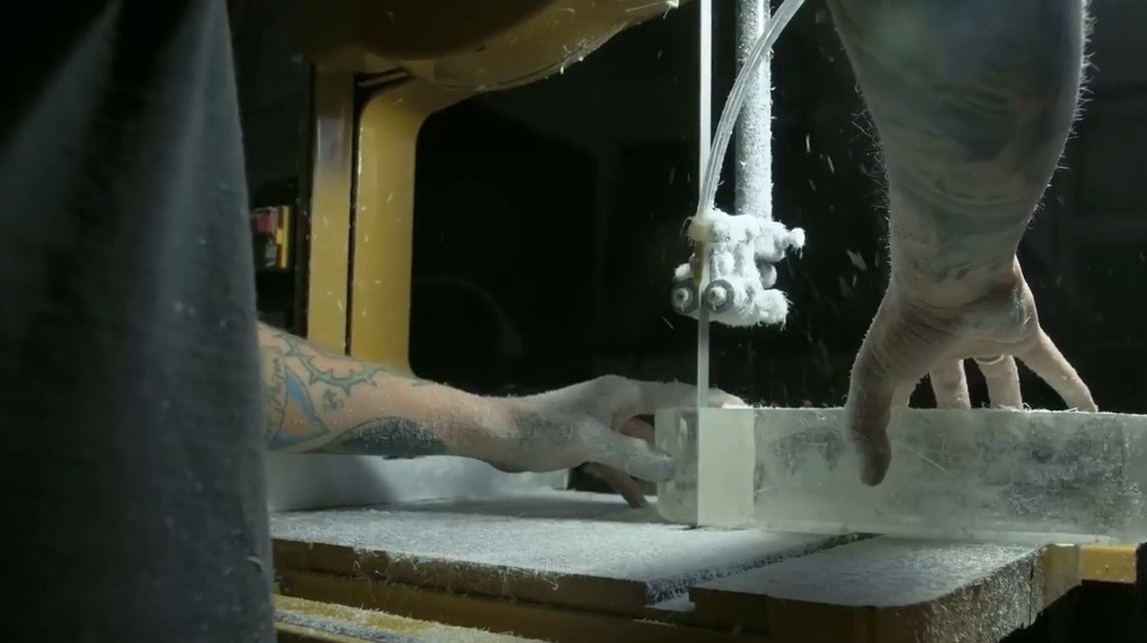
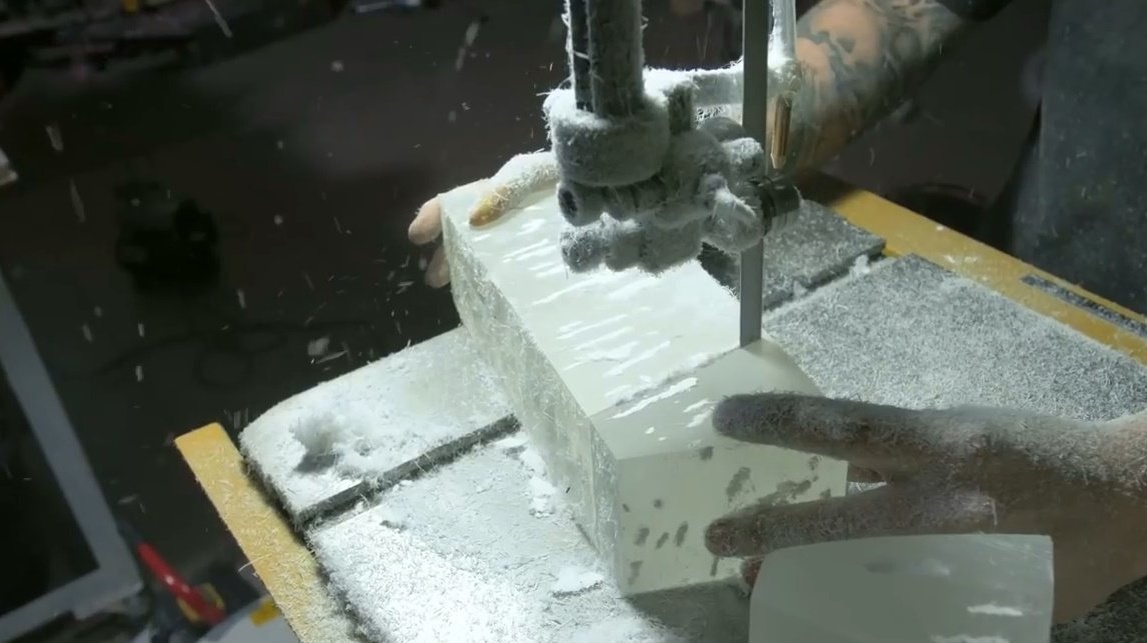
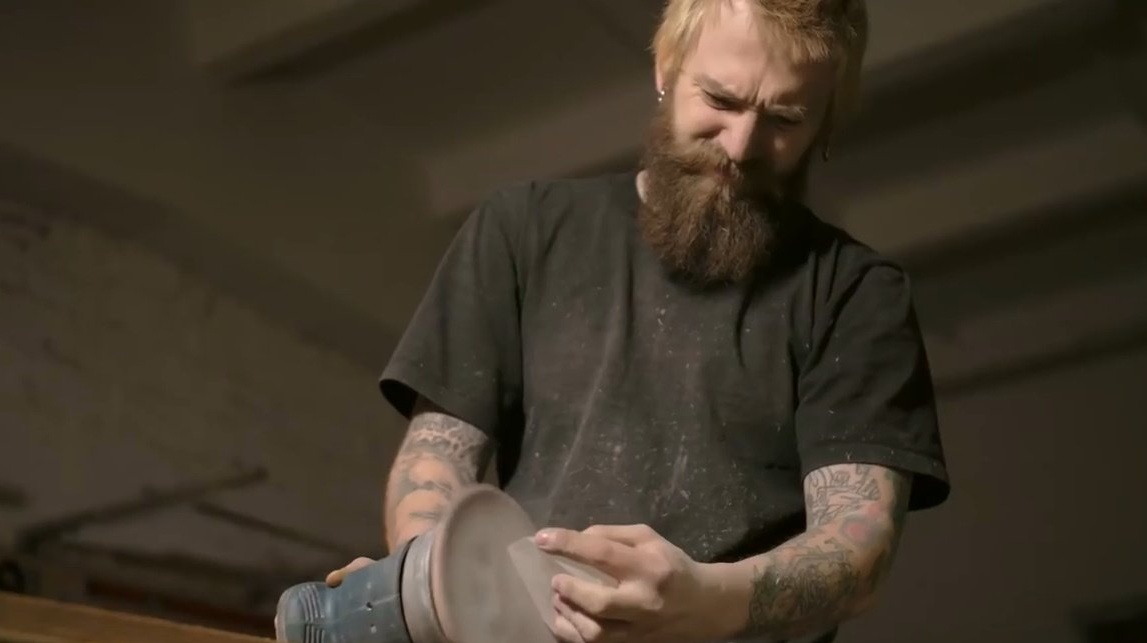
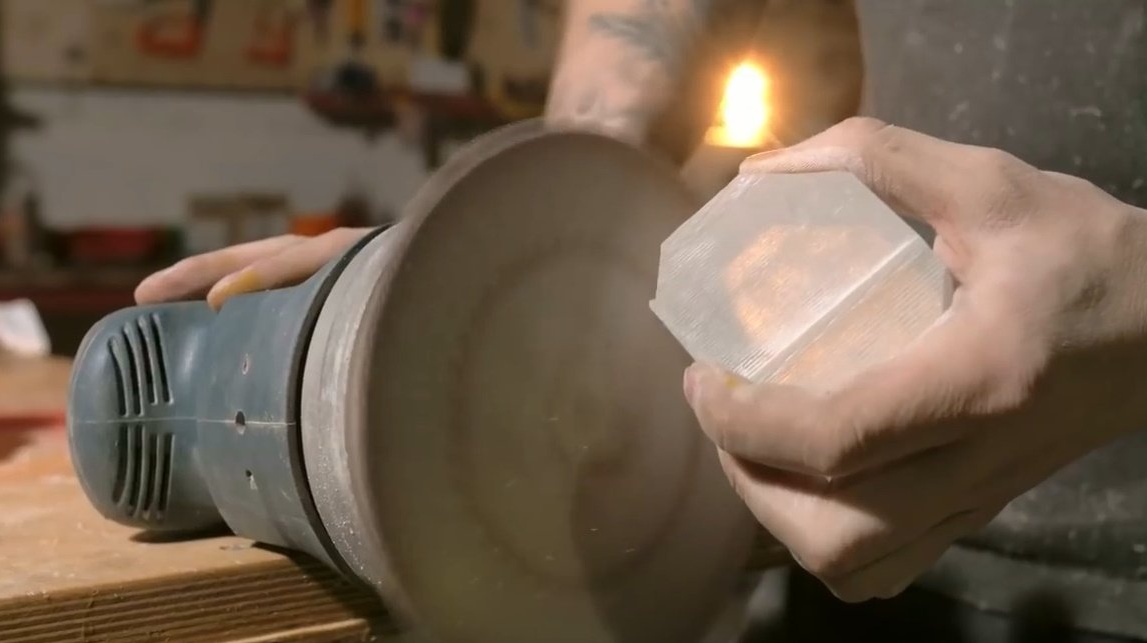
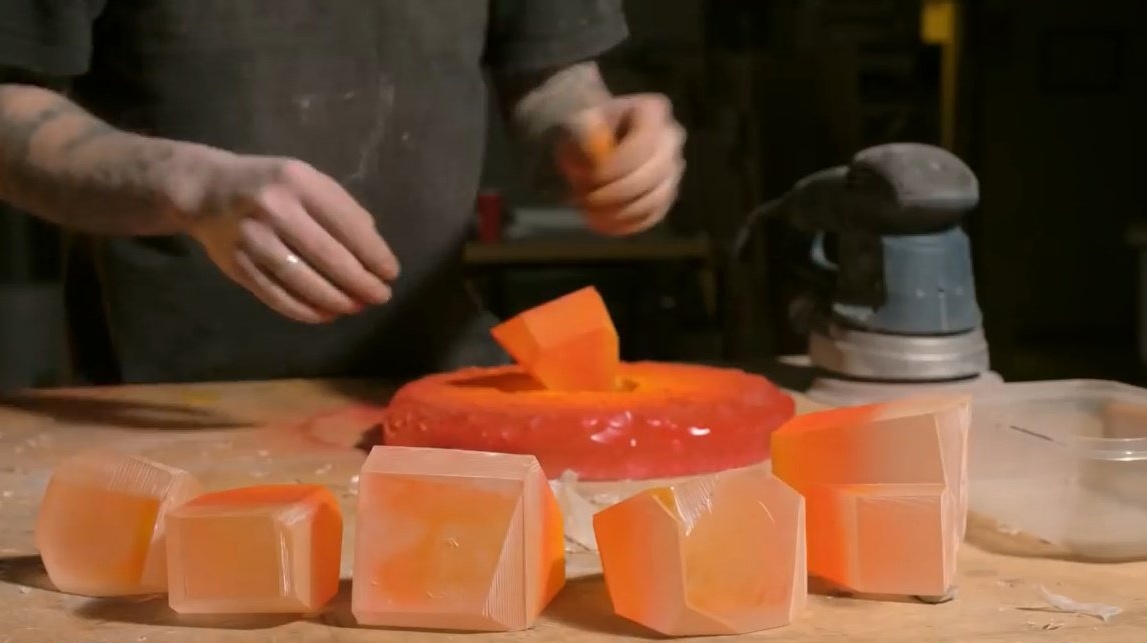
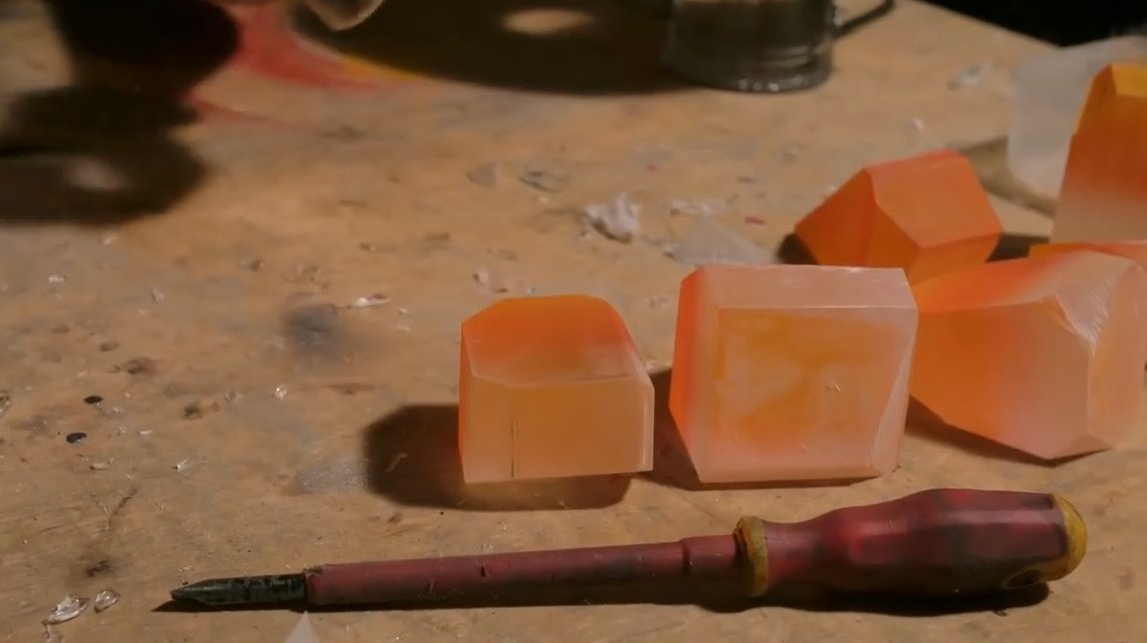
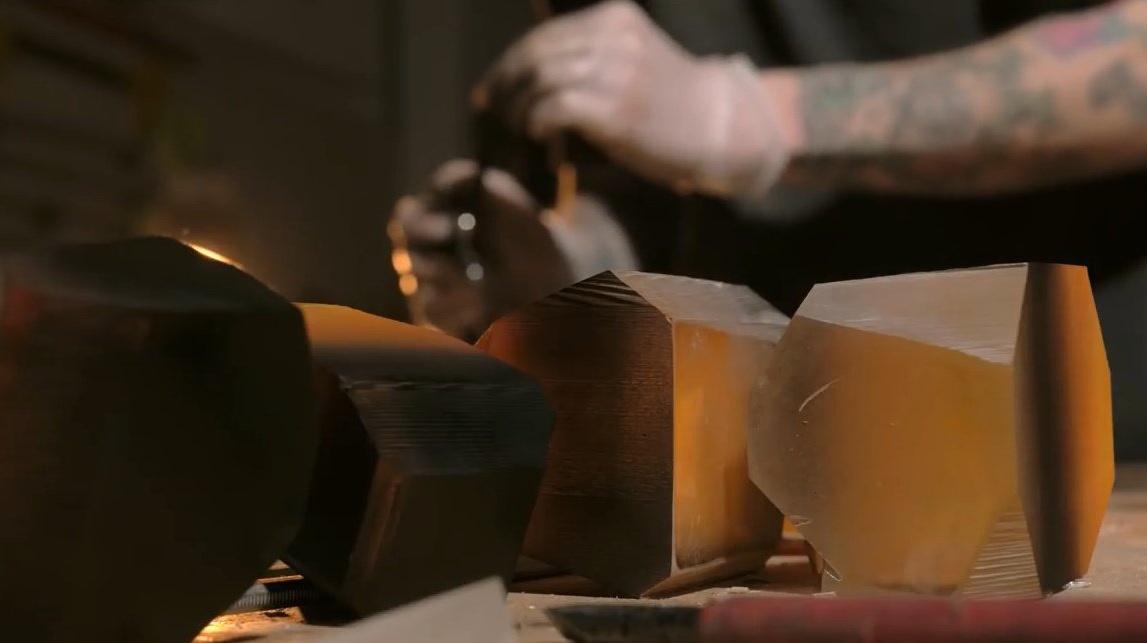
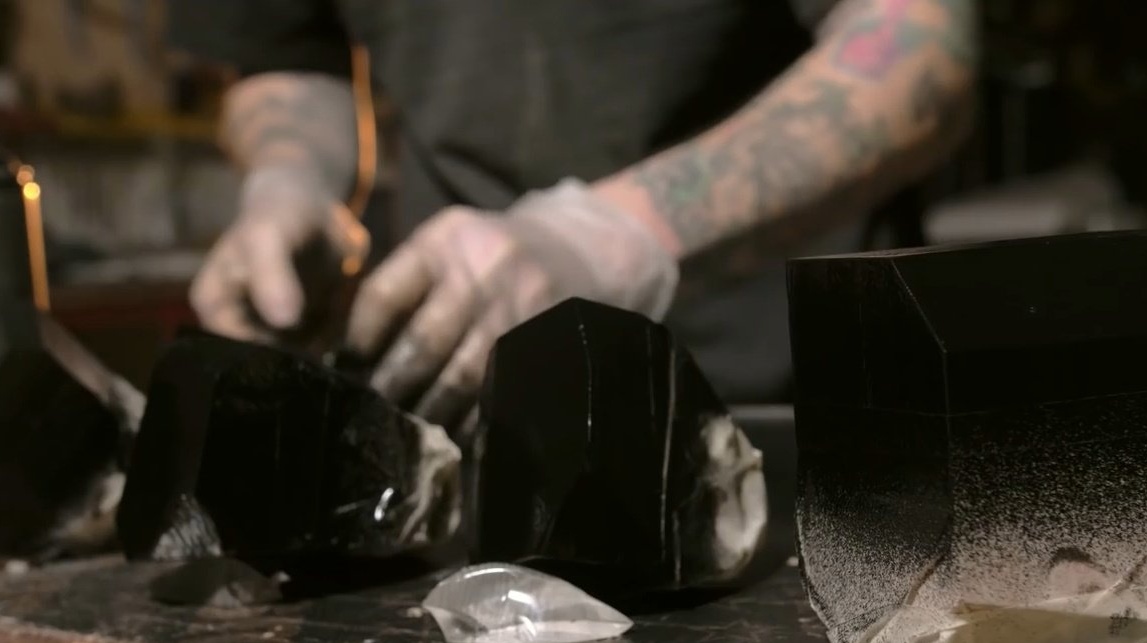
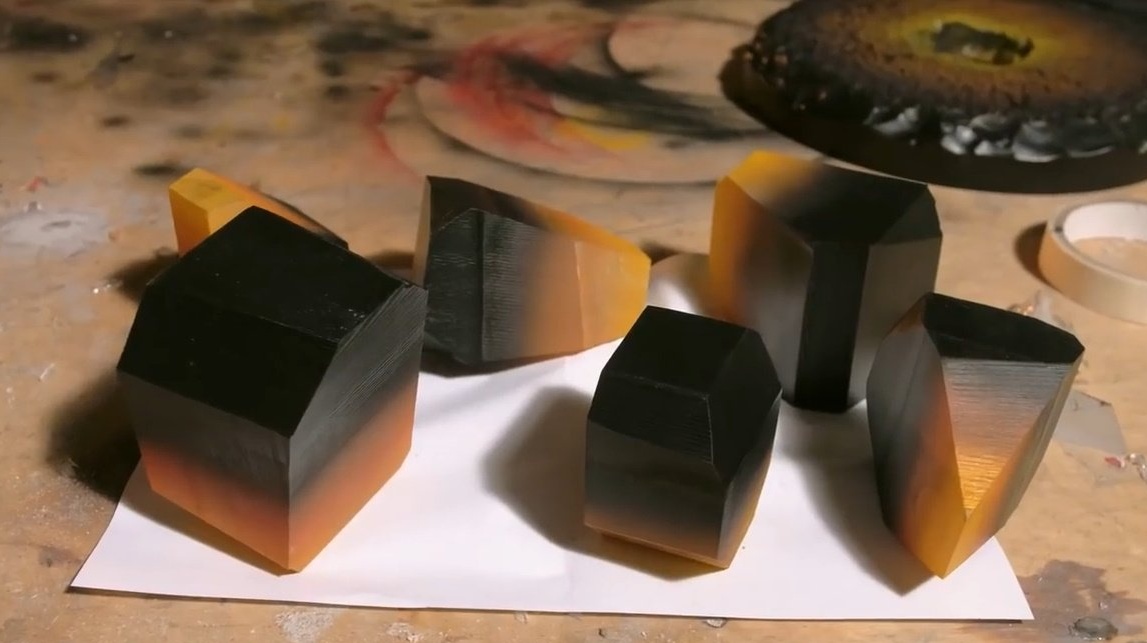
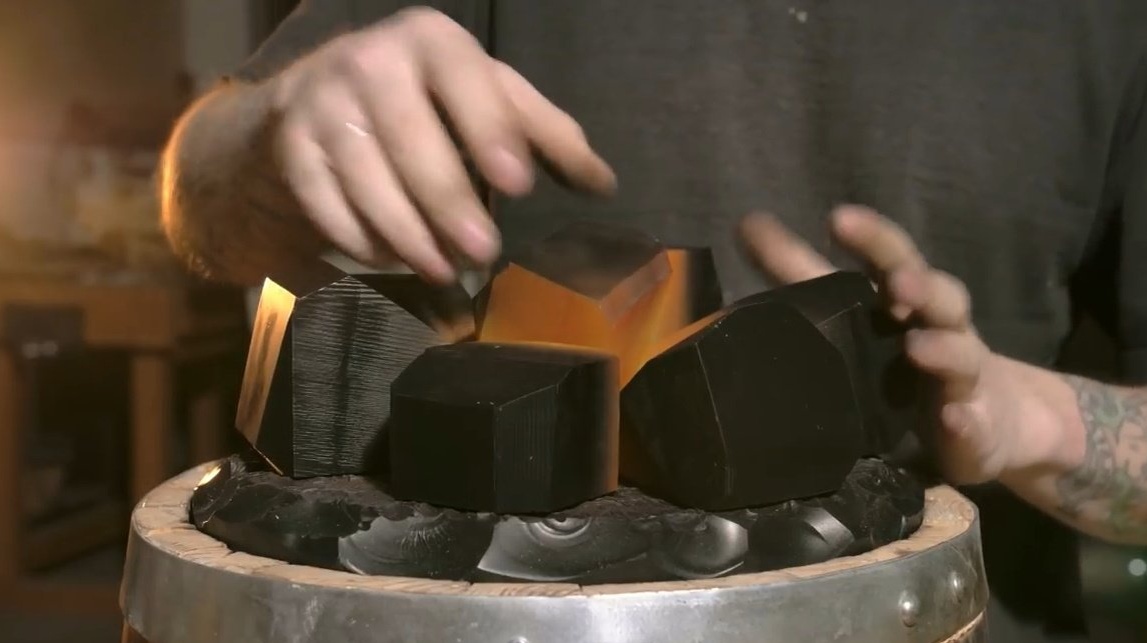
After painting the stand, it proceeds to sawing stones. A piece of epoxy is bigger, and clouds of sawdust are everywhere. It dissolves into briquettes, and cuts out polygons of irregular shape, from which it is now possible to cut corners to add faces, and make them more like minerals. Magic bonfire will be with magical glowing crystals.
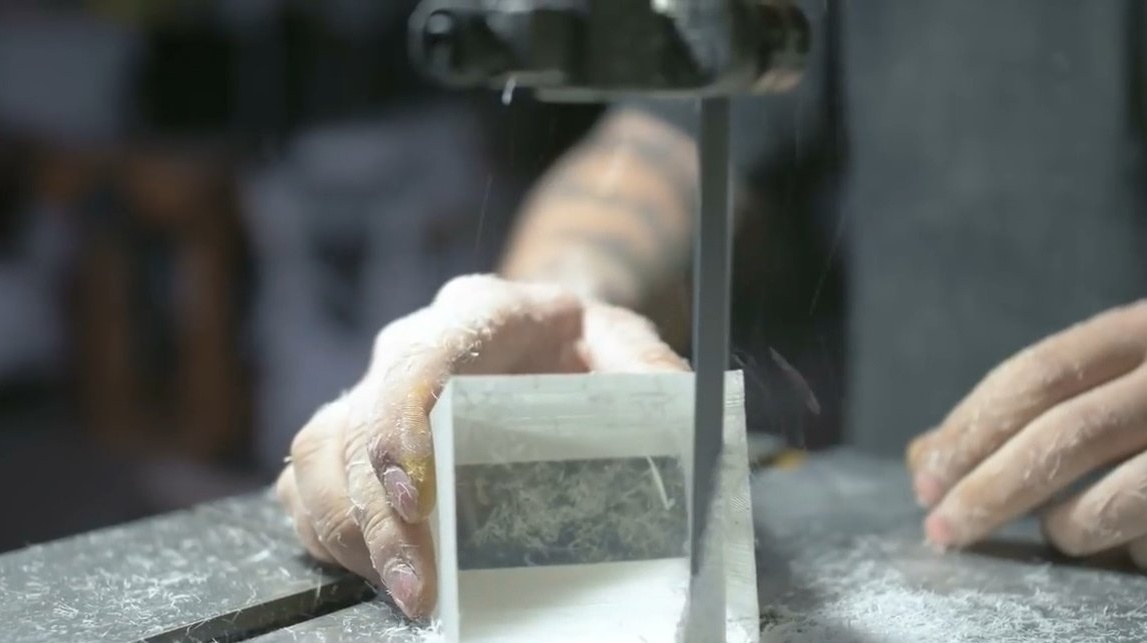

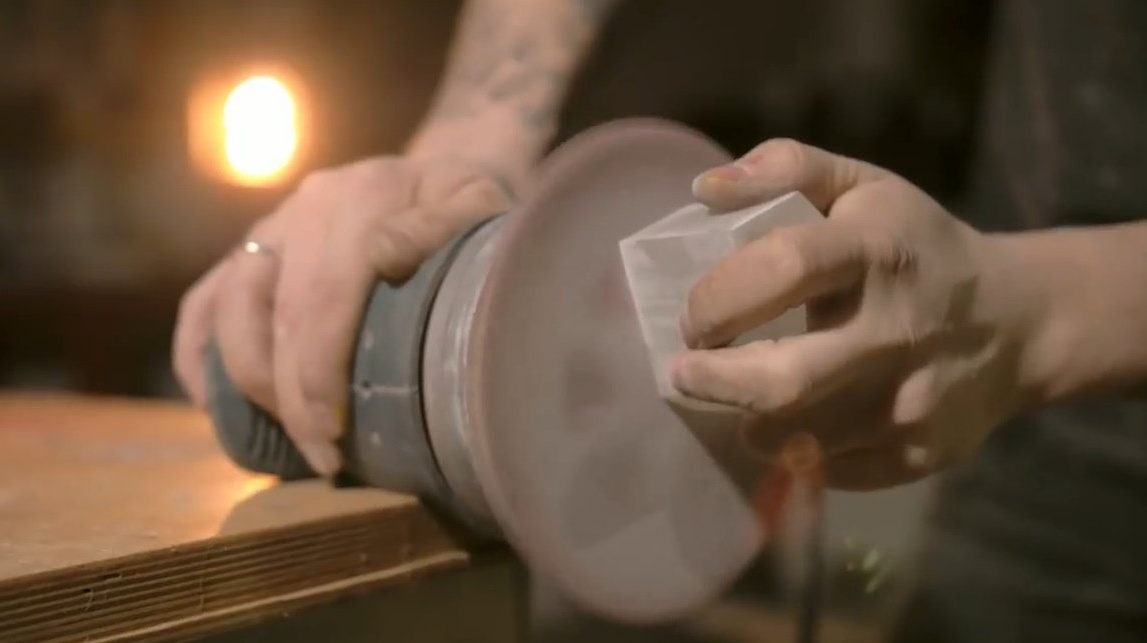
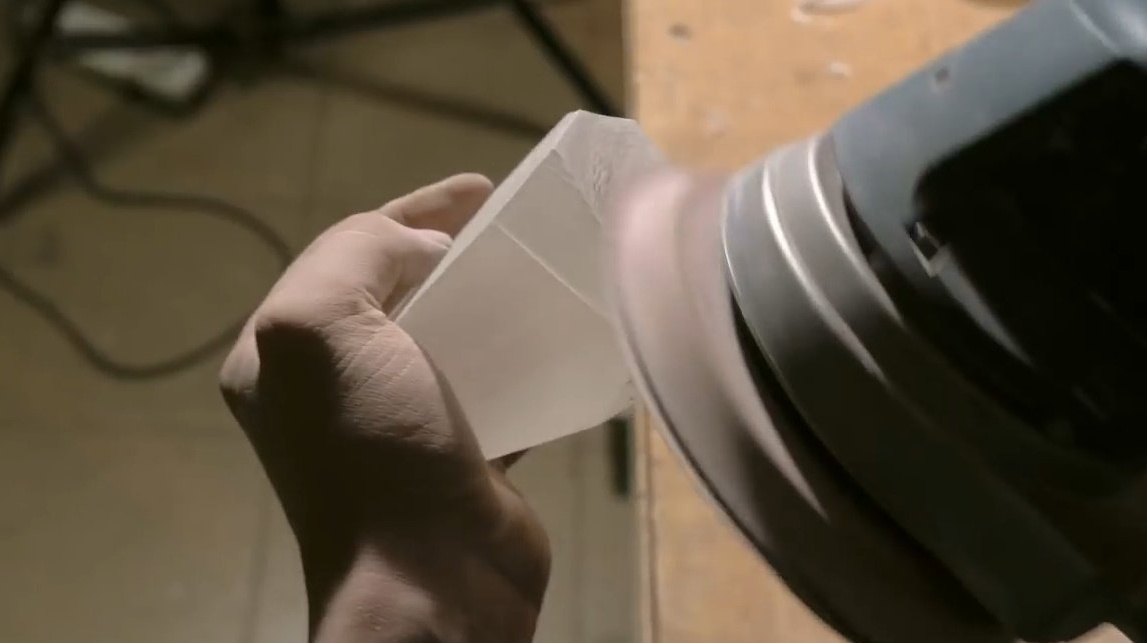
Then you can polish the edges to a flat matte surface, but the author leaves marks from the saw, this will add texture, why not?
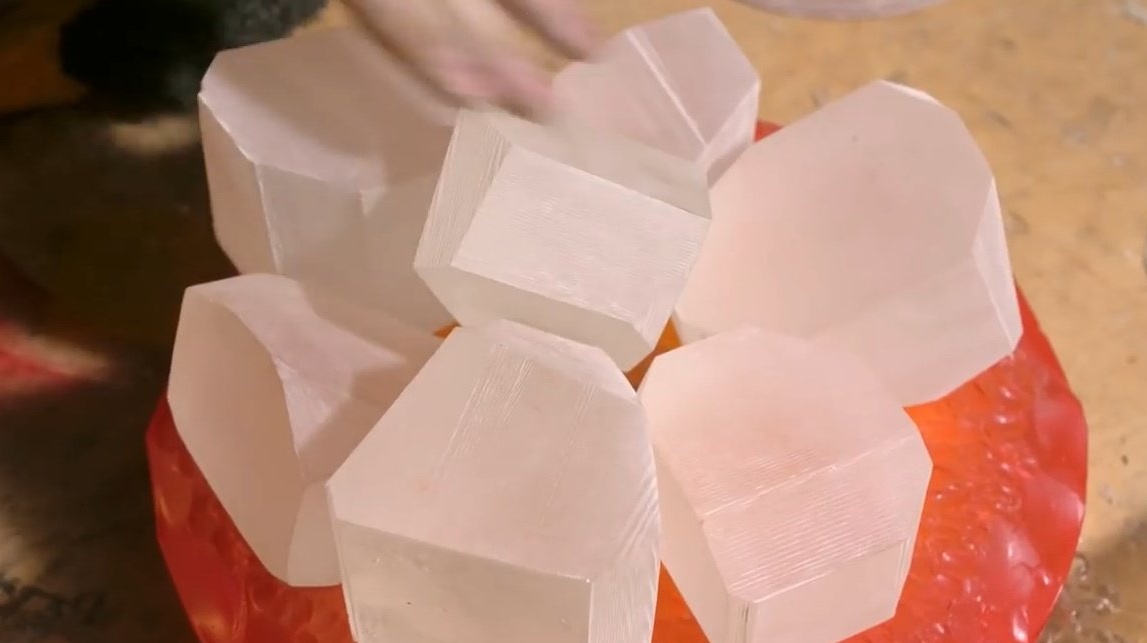
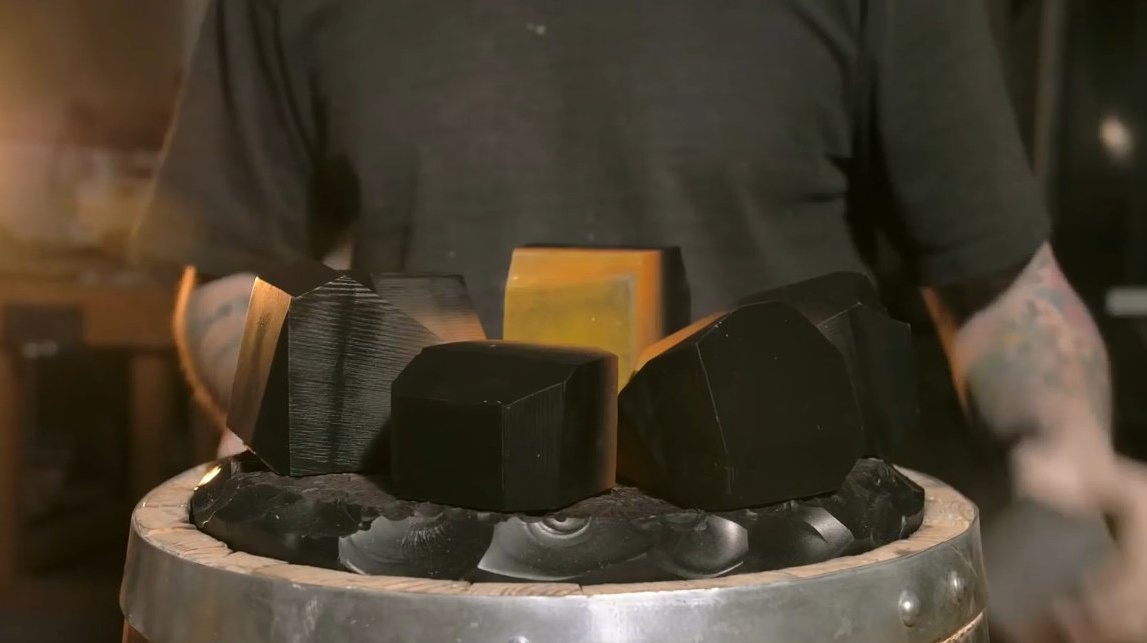
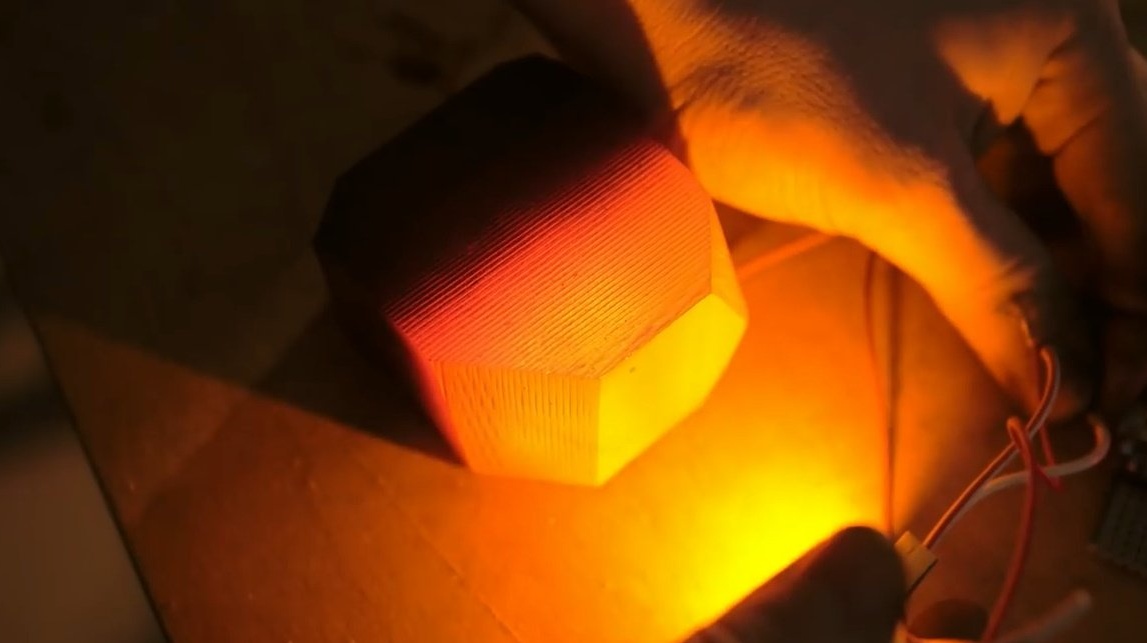
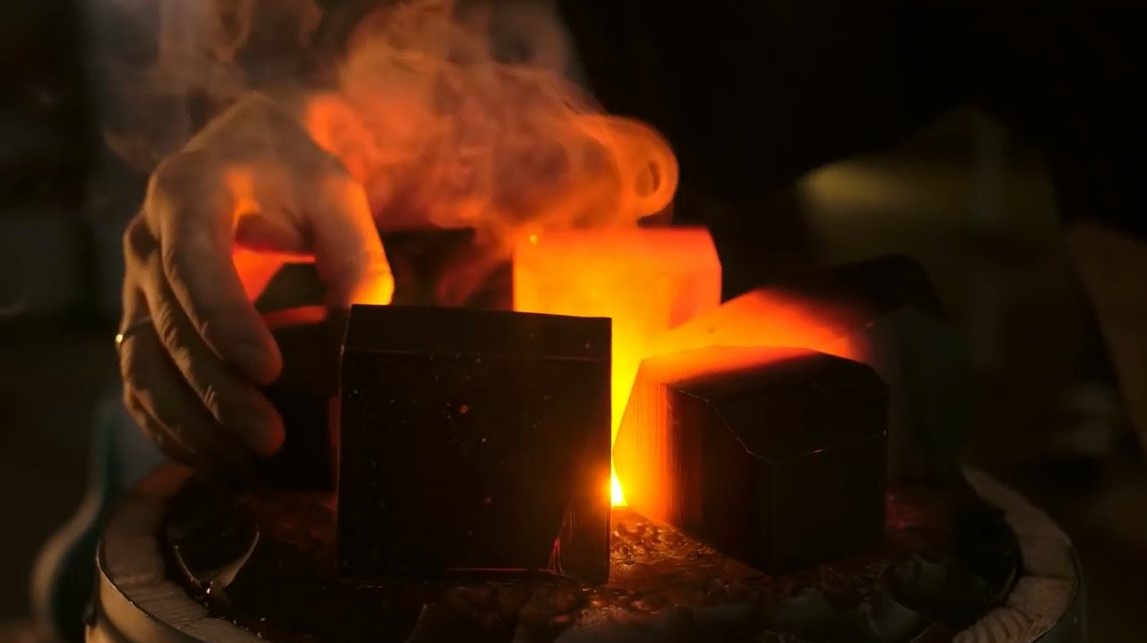
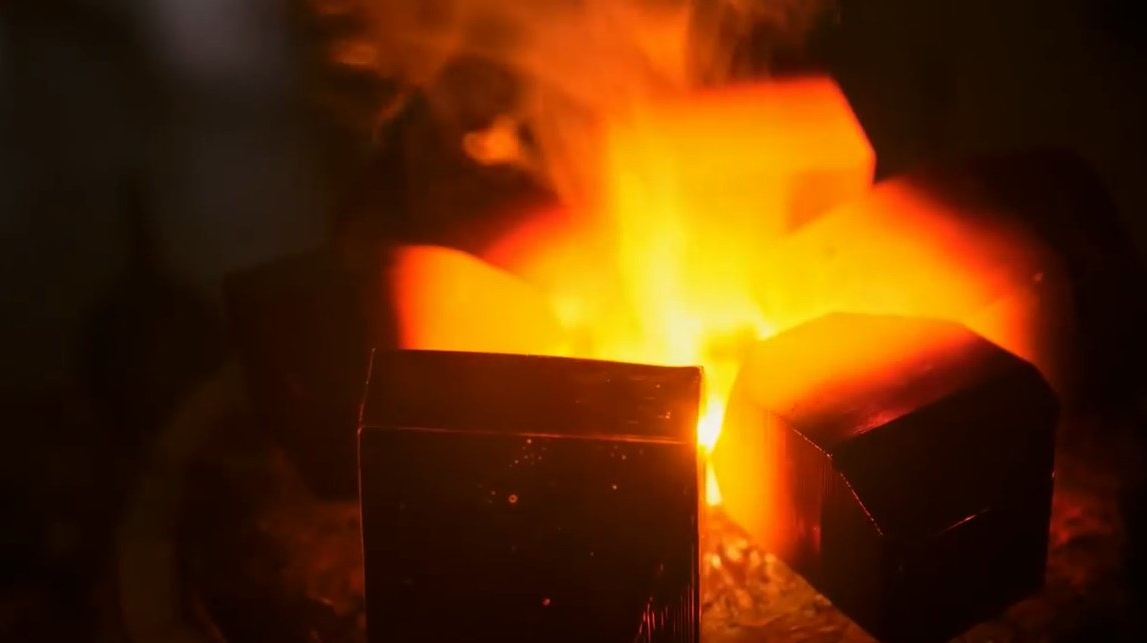
Something like this now it looks. At this stage, you can stop, insert a backlight and a transparent epoxy nightlight, you can make it burn in any color. But the author will make stones, so each stone must be painted according to the colors of red-hot. In the middle is yellow, then orange and red.
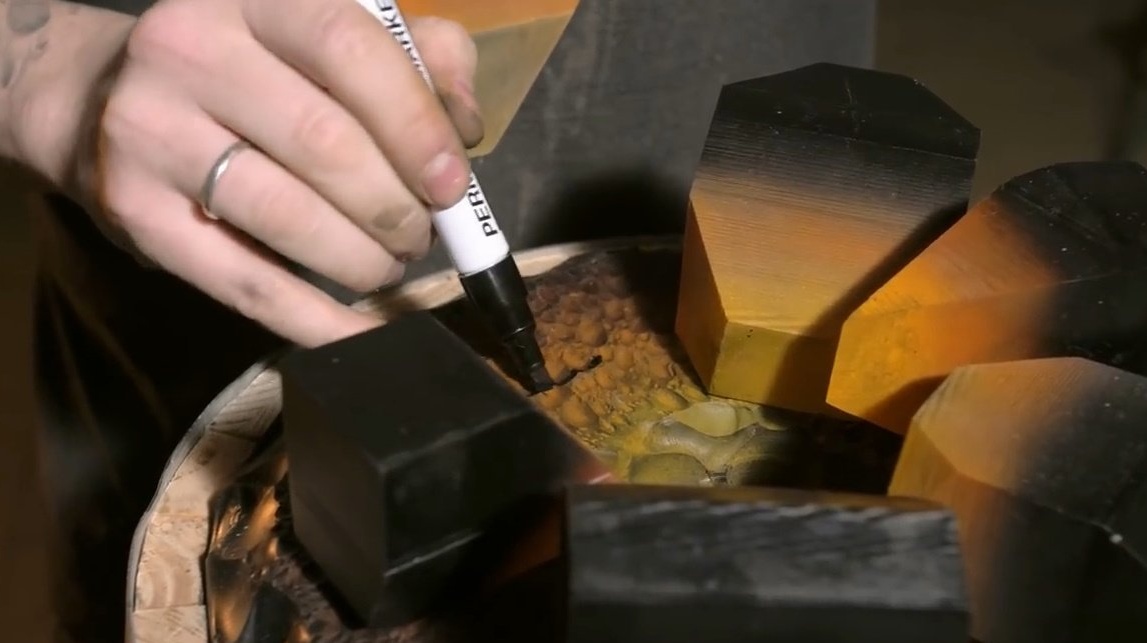
Then, each stone will be filled with dense black color, they should not glow outside, otherwise there will be no sensation of incandescence in the center.
The stones are stained with the necessary colors, now we turn to black. The stand on the sides will also be black, because the fire burns only in the center. Here the author did not calculate the supply of paint, the black color in the center is not needed, since it can be quickly removed.
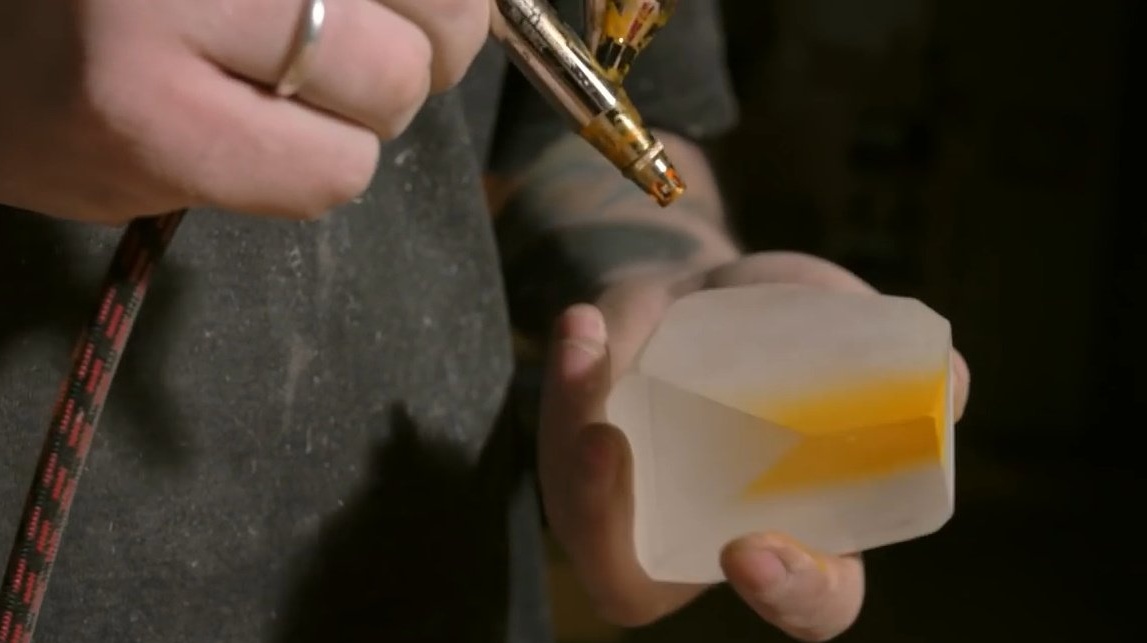
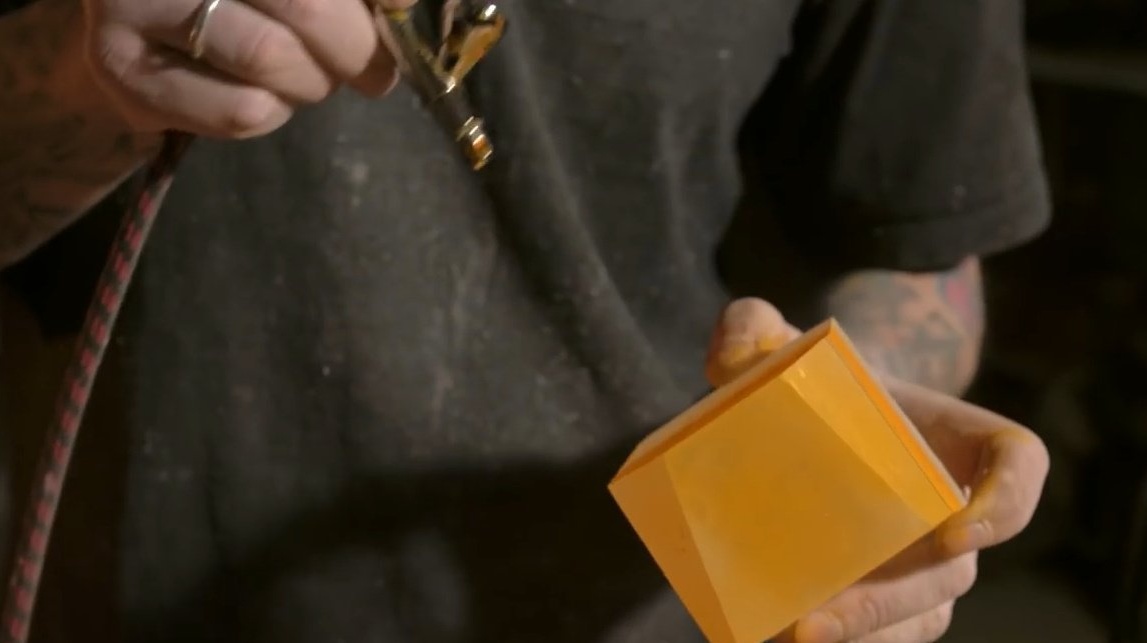
Now you need to color the crystals themselves, creating smooth transitions from red to black.

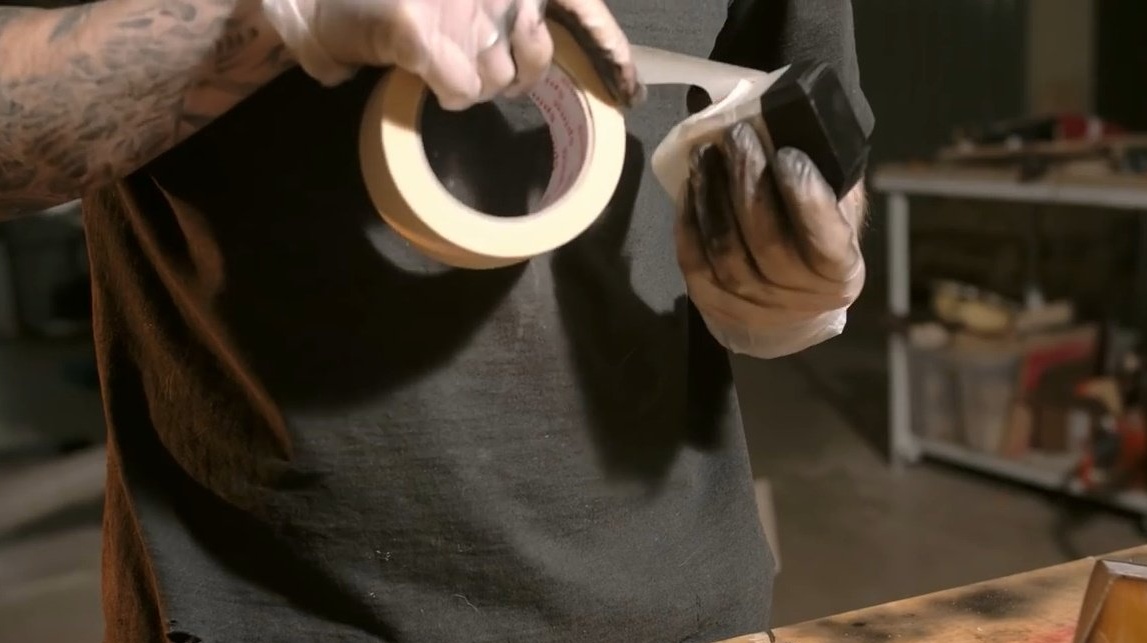
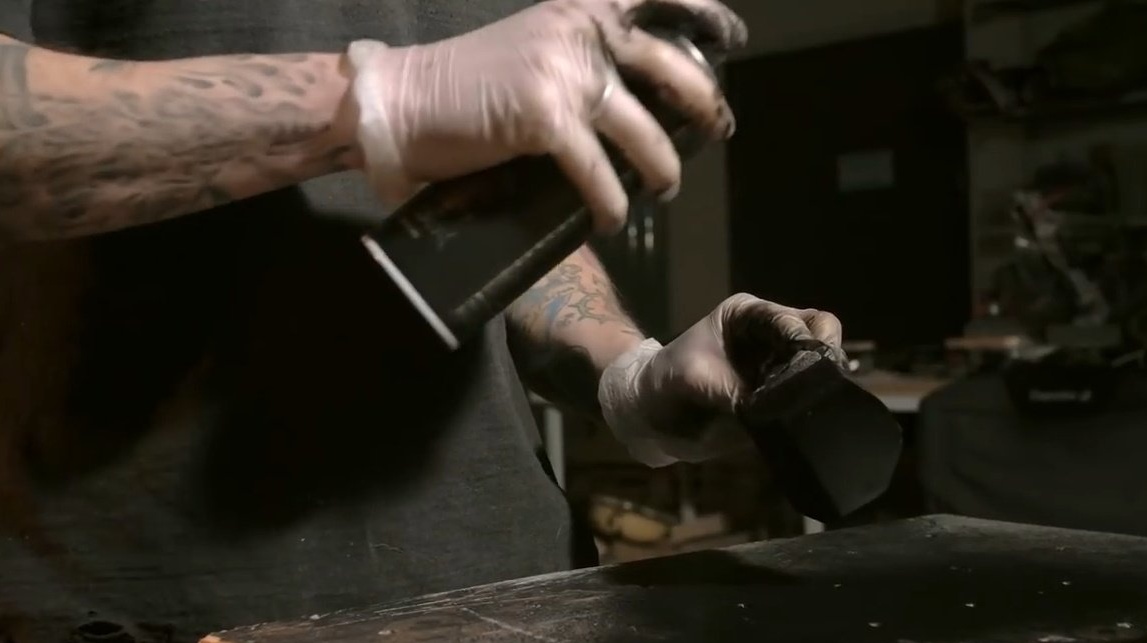
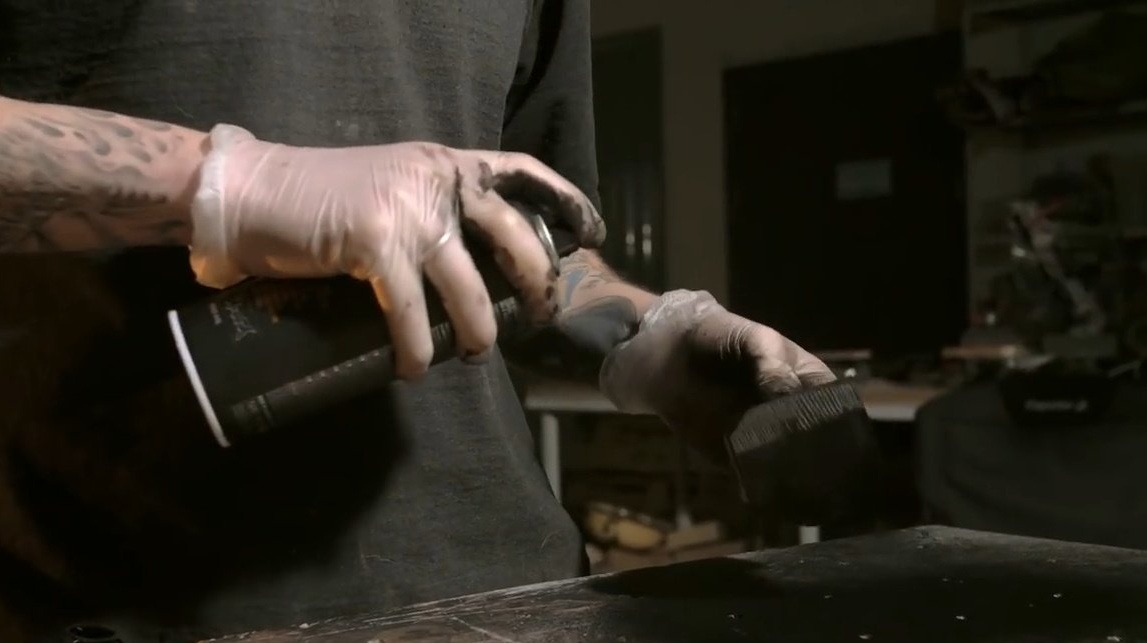
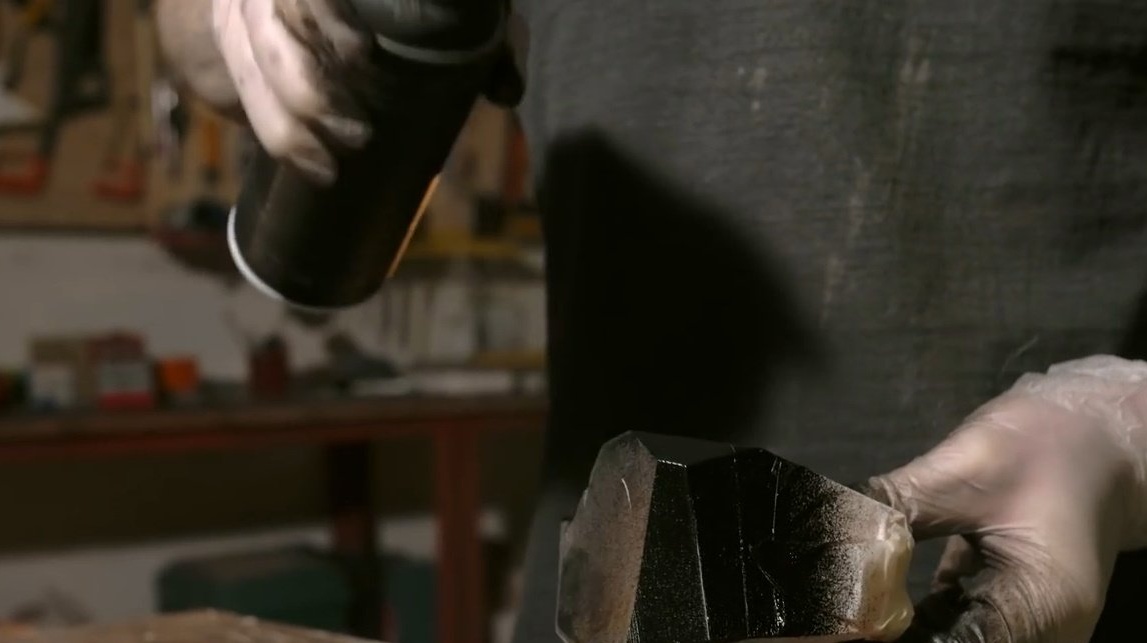
It seems to the author that the layer from the airbrush will let light through, so now you can cover up the stones with masking tape, and go through the usual spray paint in several layers.

It waits until it dries, and you can remove the paint brush.
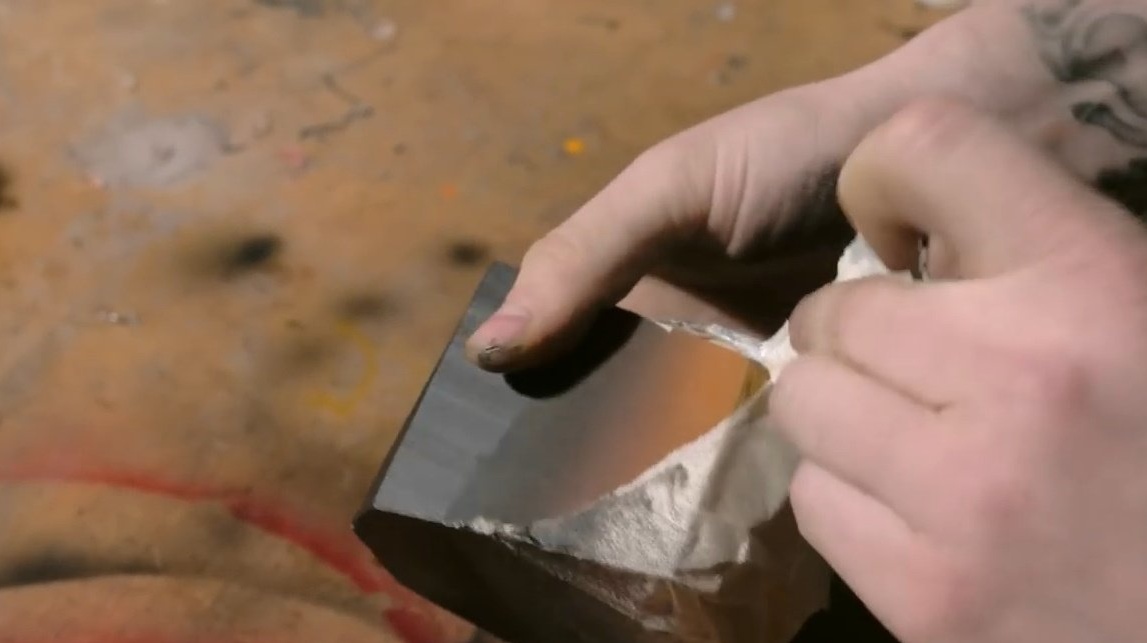
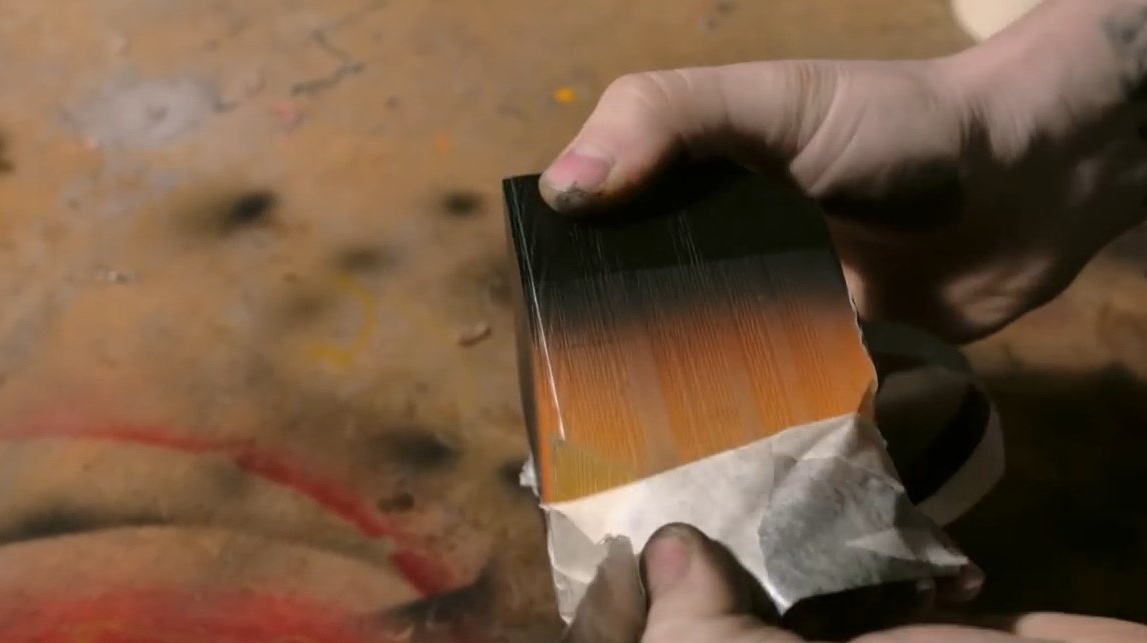
Tight borders of colors formed, this thing can be eliminated with an airbrush, creating some kind of gradient.
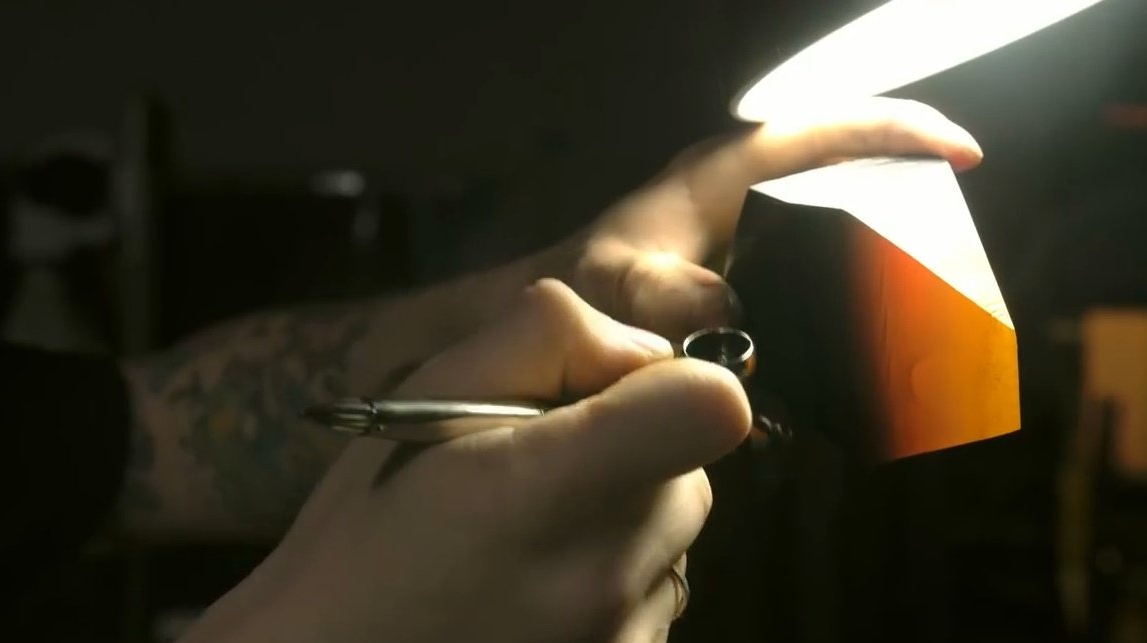
At this stage, it is good to check each stone for clearance. The colors change a lot and in general it is very clear how black behaves.
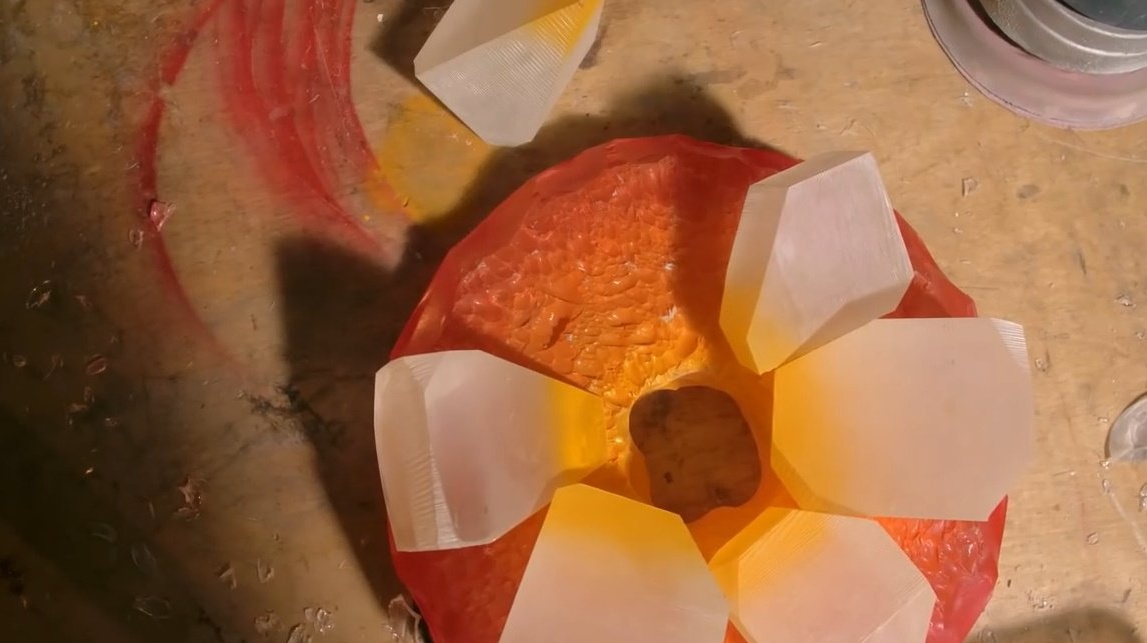
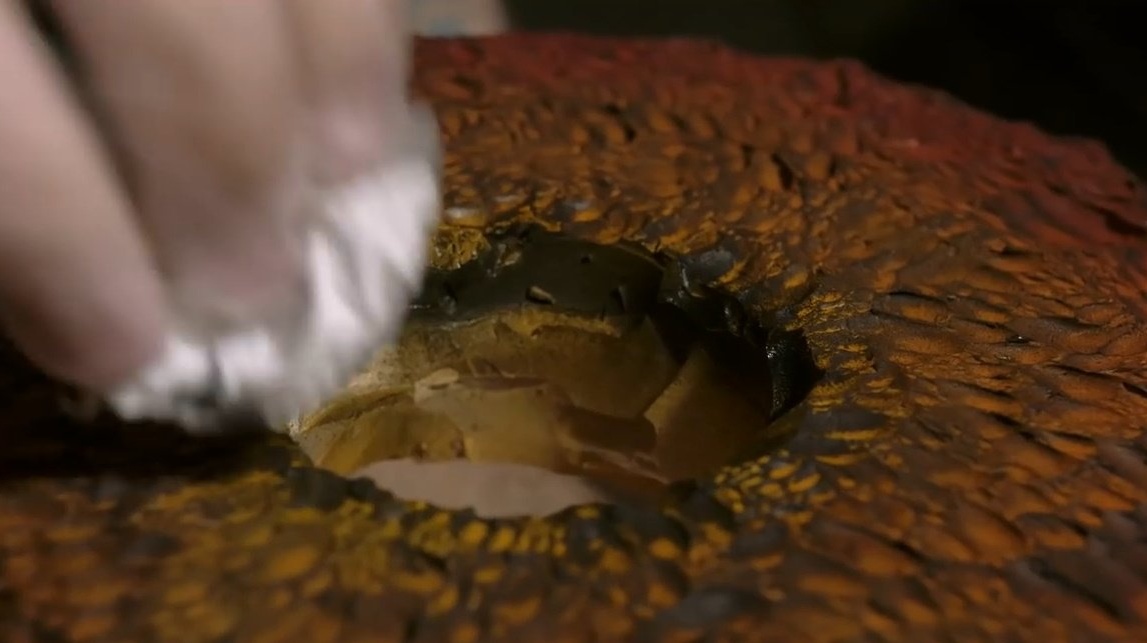
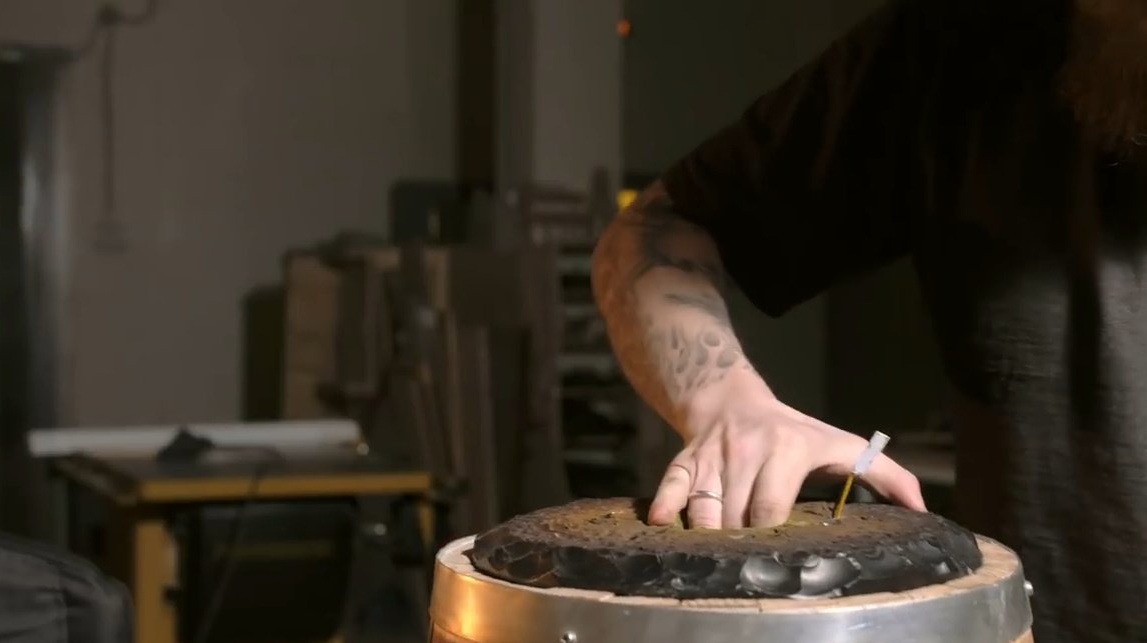
He drills the barrel, boils the top layer, and spreads the stones.
He wanted to add a central stone, but steam was not going well past him, and in the end he refused.

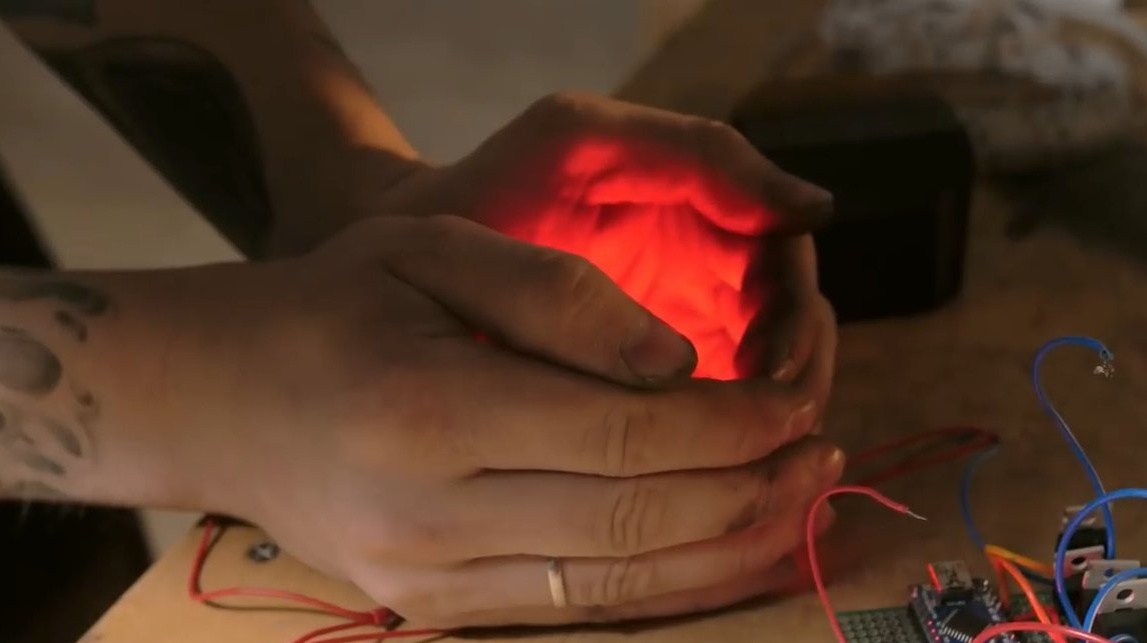
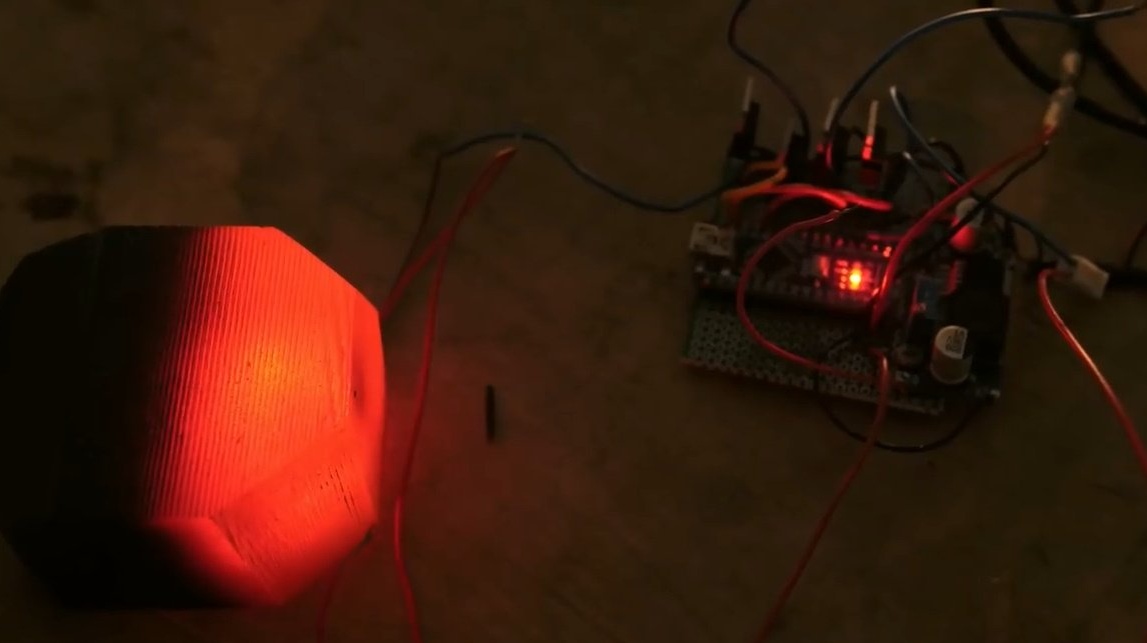
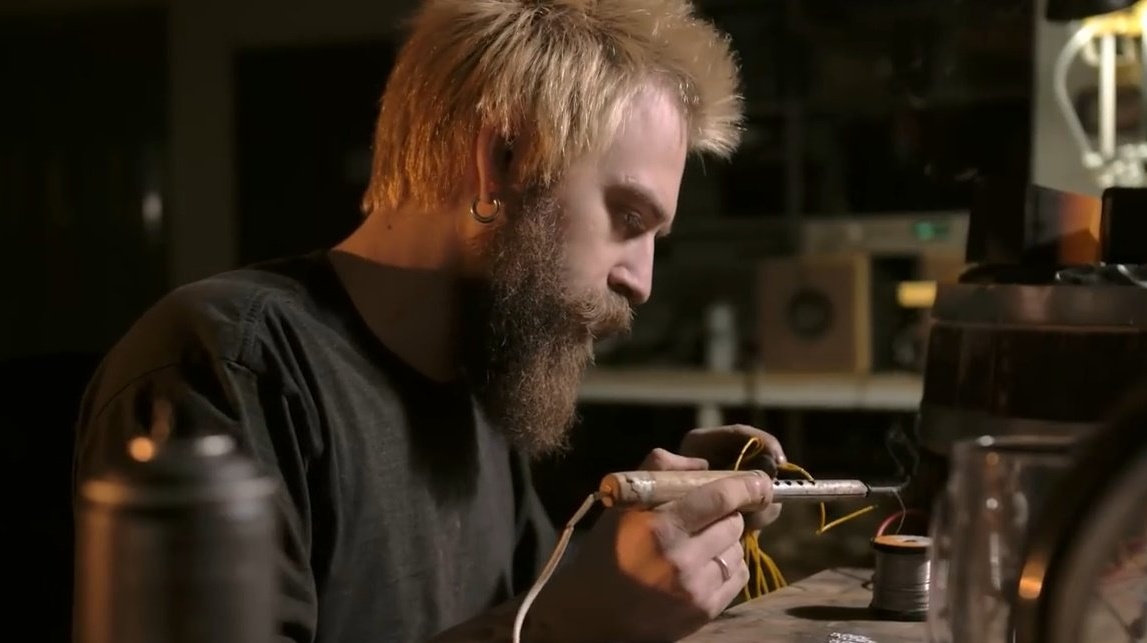
So the LED flickers, it is given random values. Some fireplaces use special fireplace lights, but arduino from any LED can make a cool flickering filling.
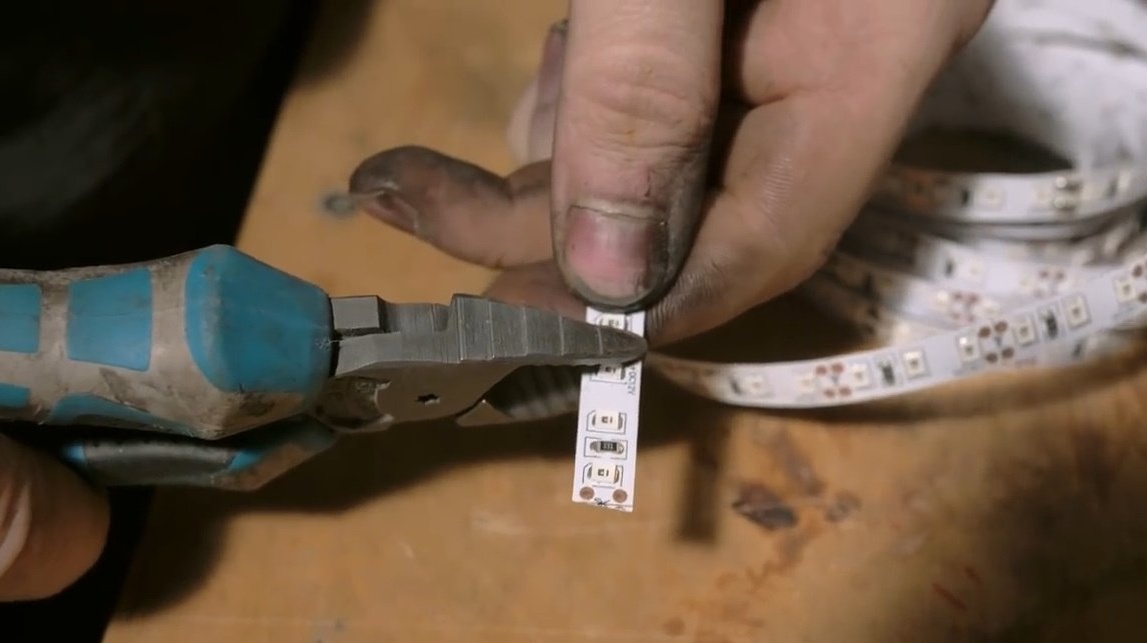
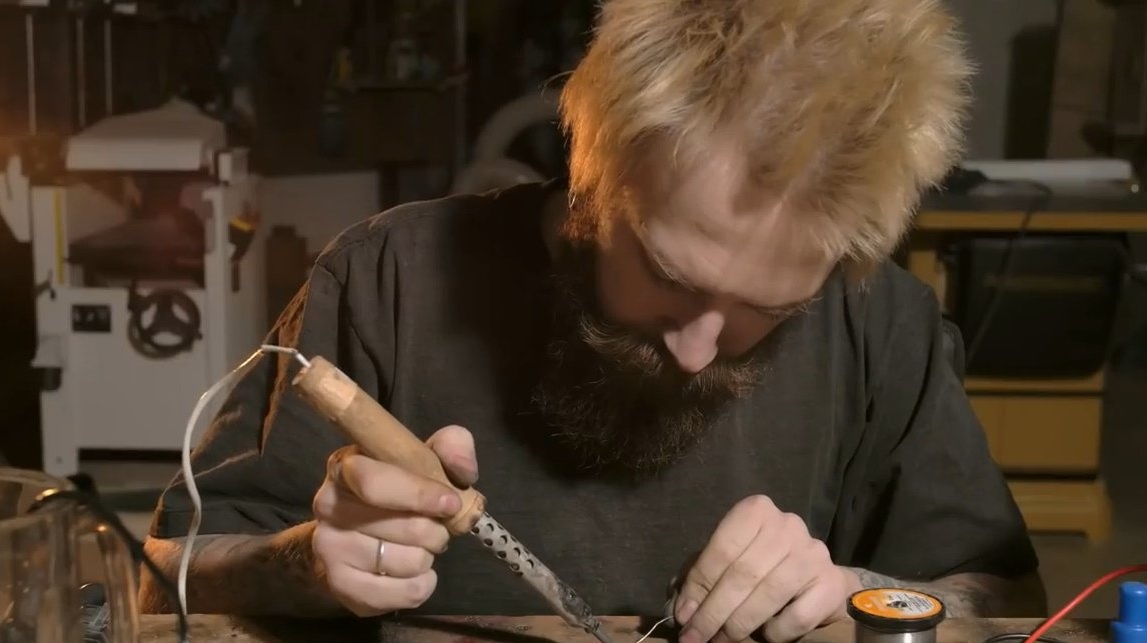
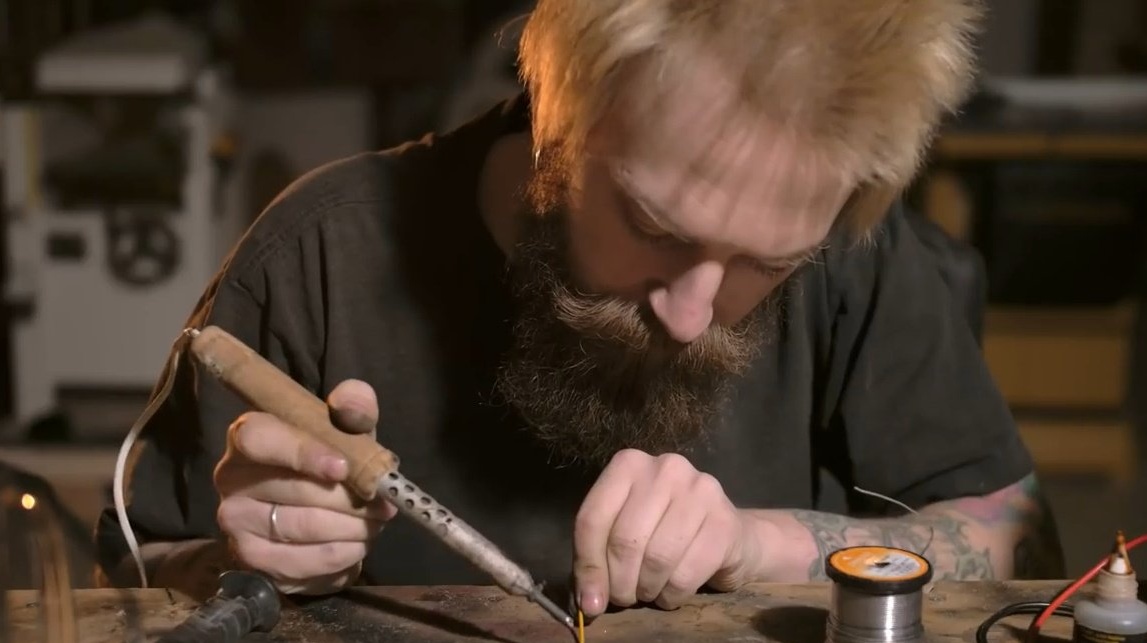
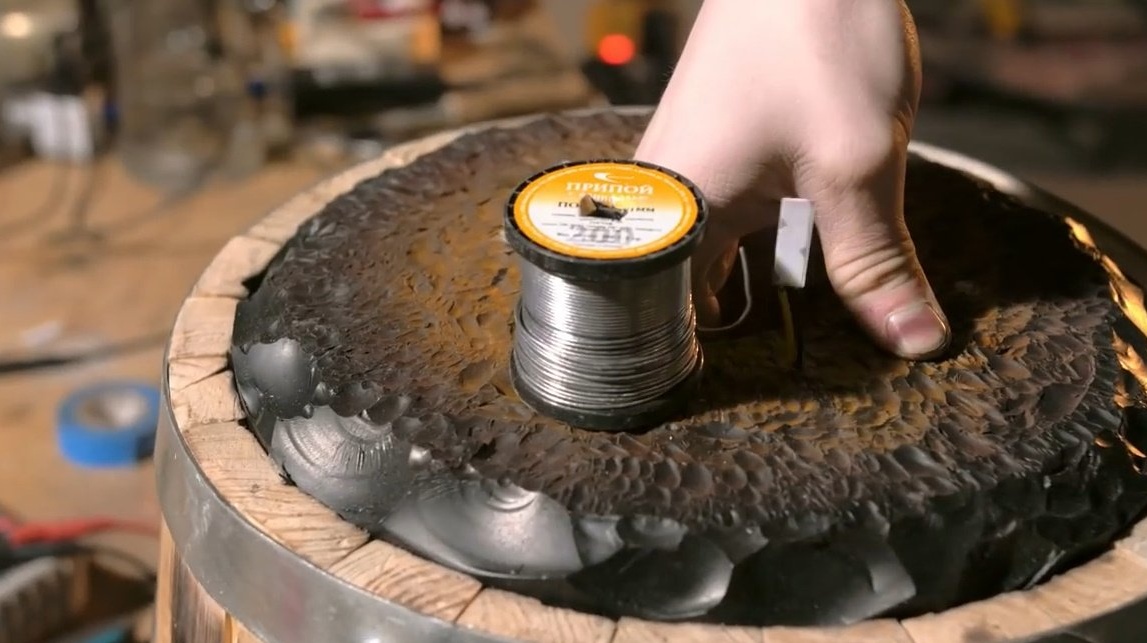
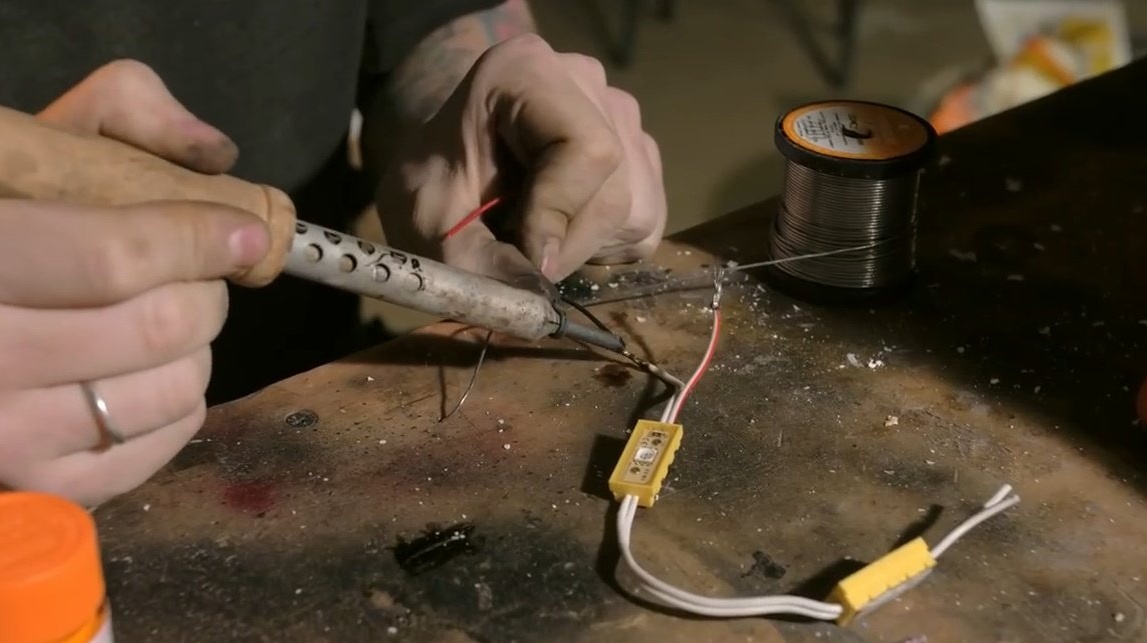
Slices sections of LED strip by three LEDs, guided by the symbol of scissors. Then solder the wires.

Marks and drills holes for wires in the cover, leads them inside.
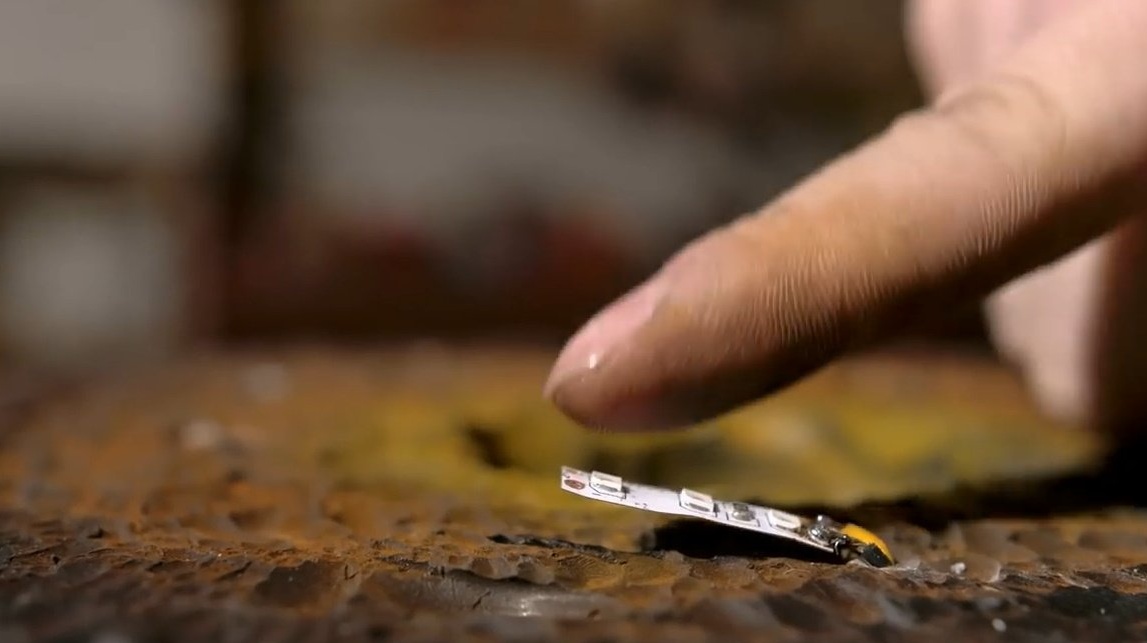
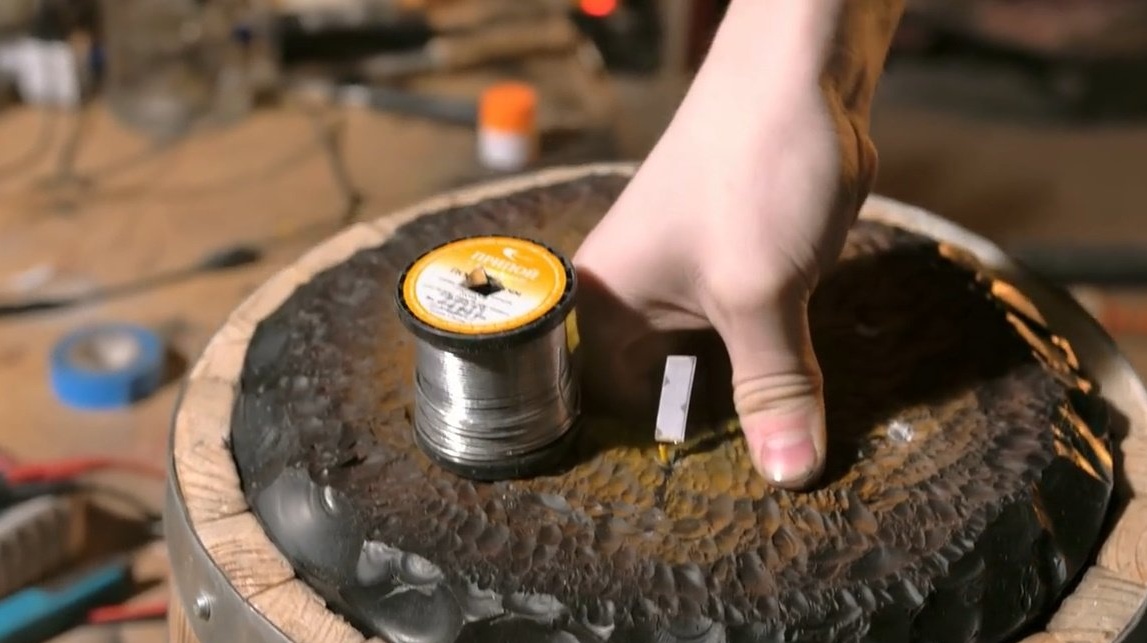
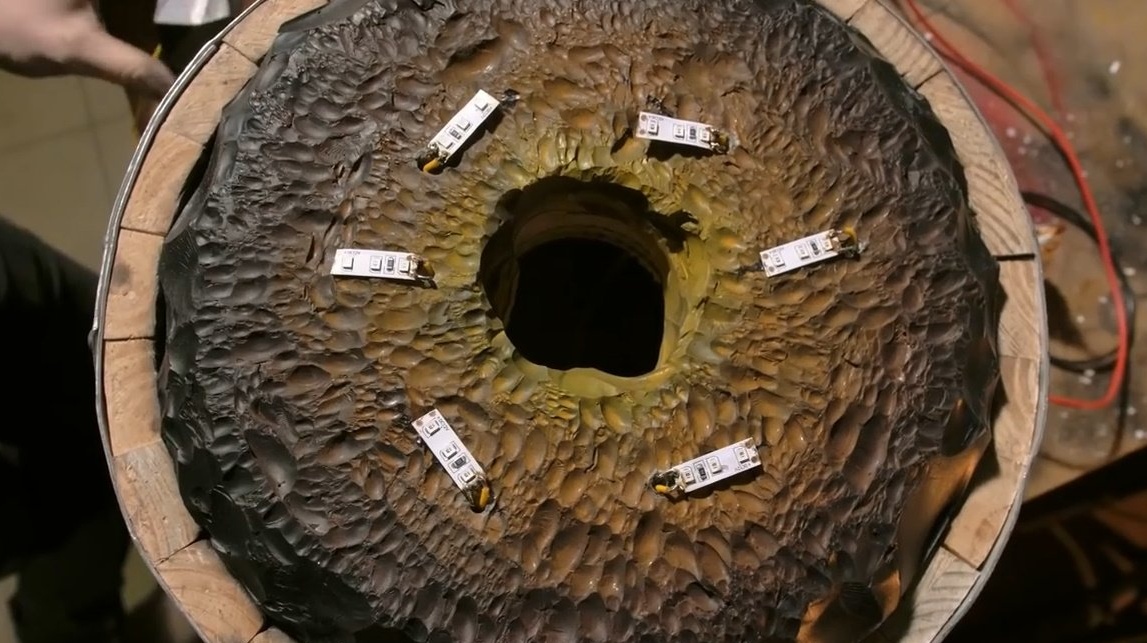
Installs waterproof LED assemblies in the central hole, it will be very humid there.
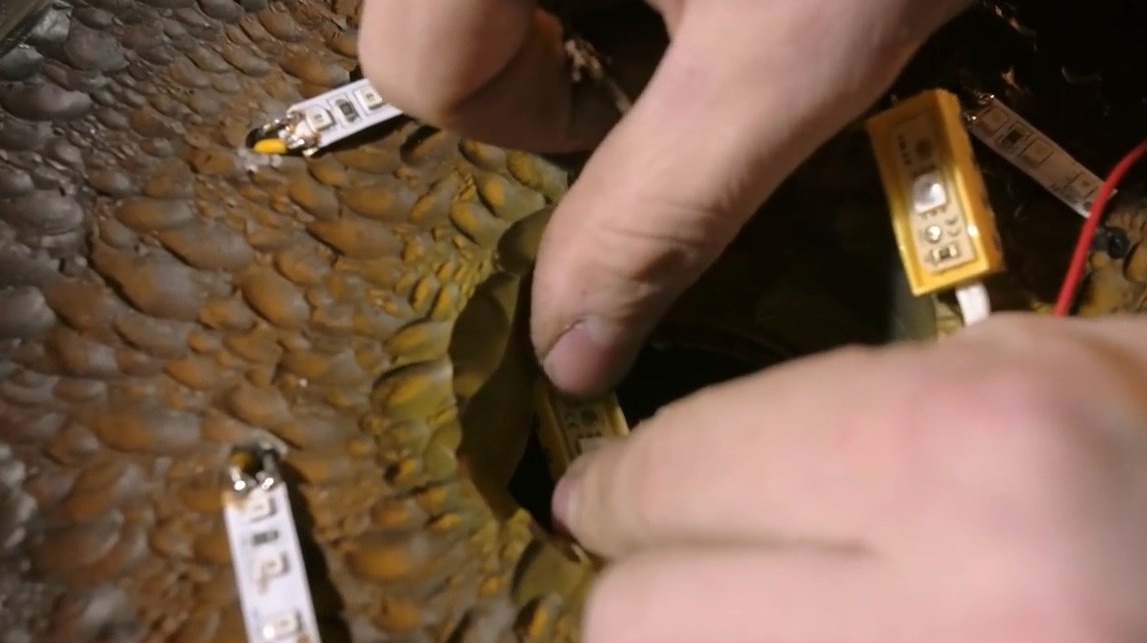
LEDs connect to different arduino outputs through transistors.
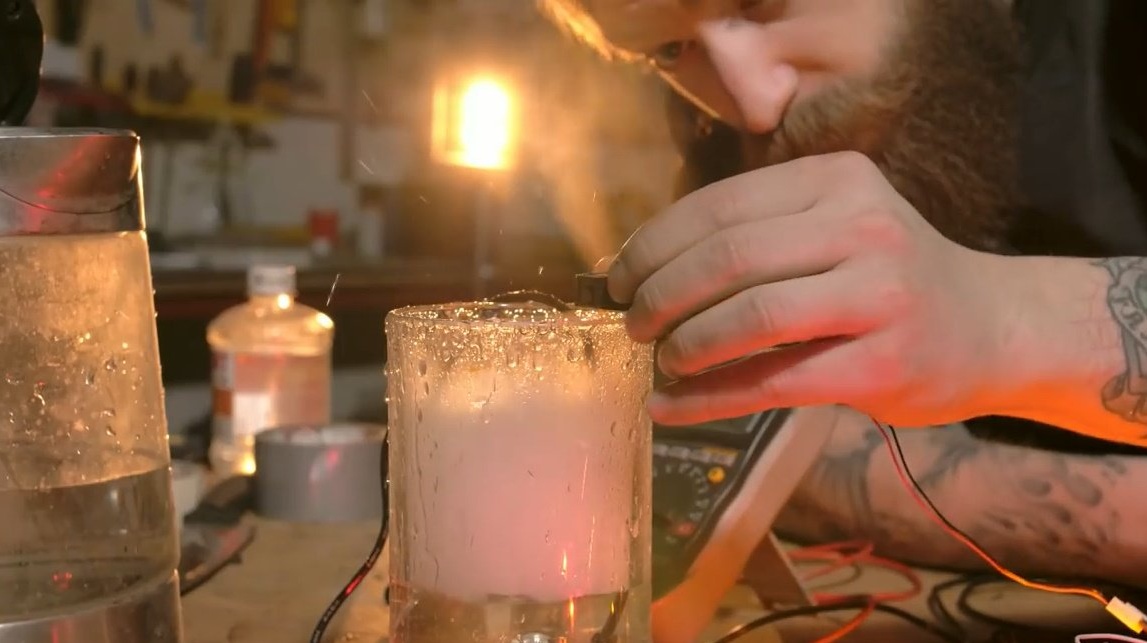
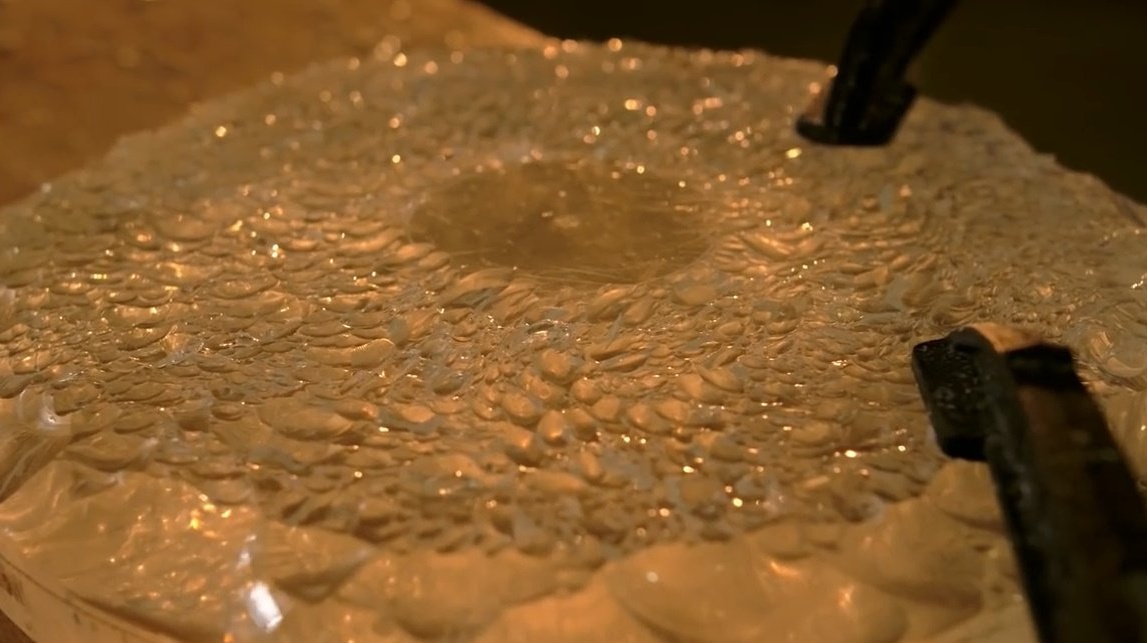
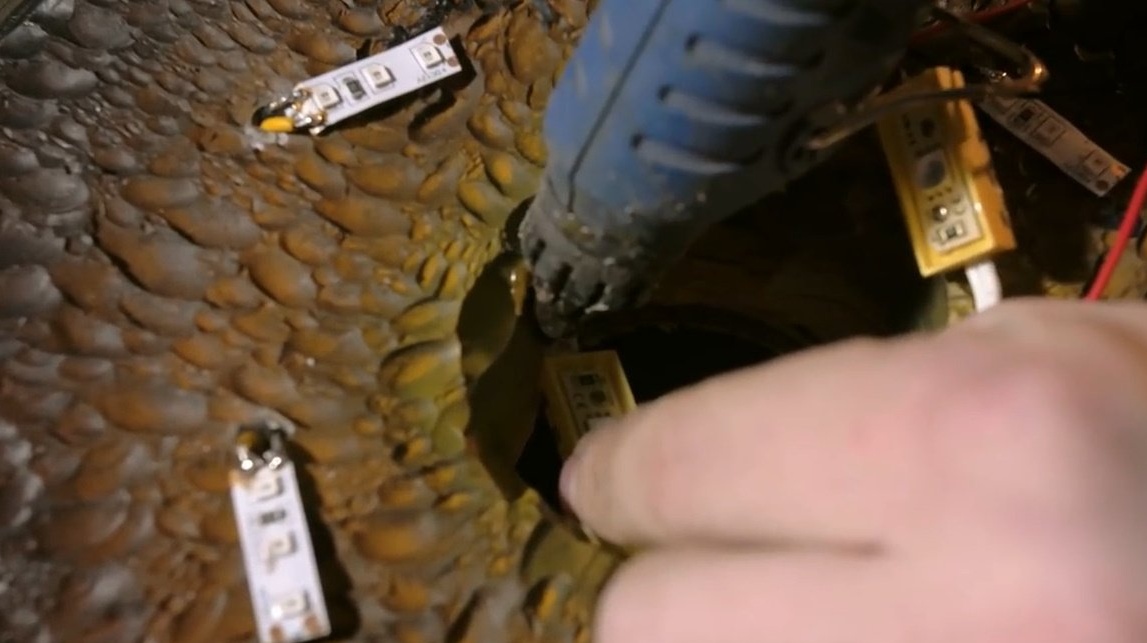
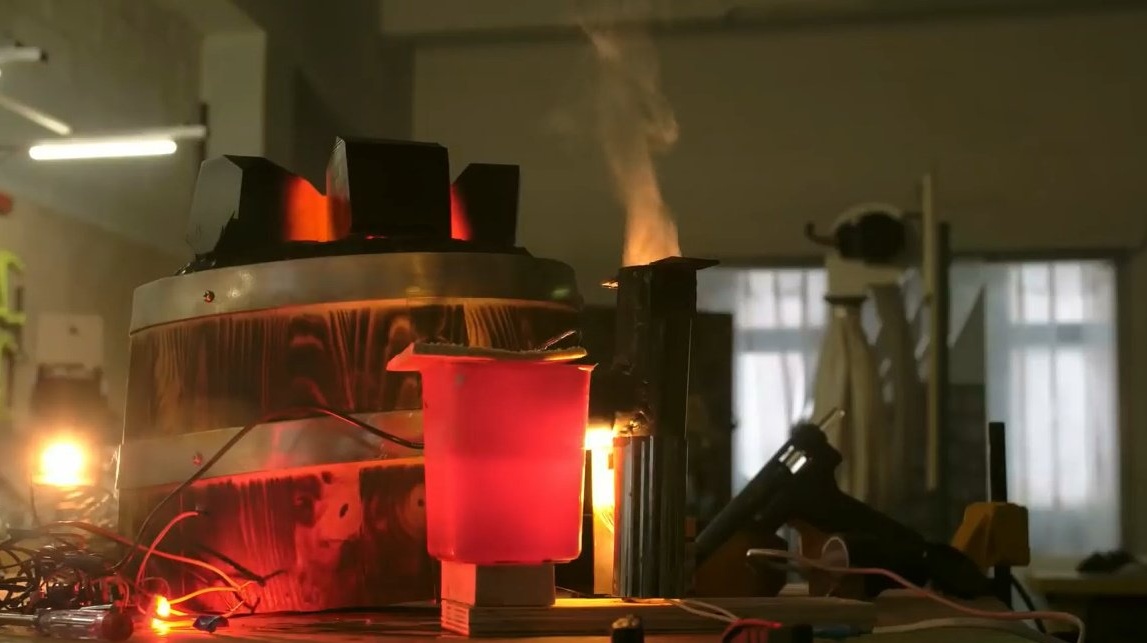
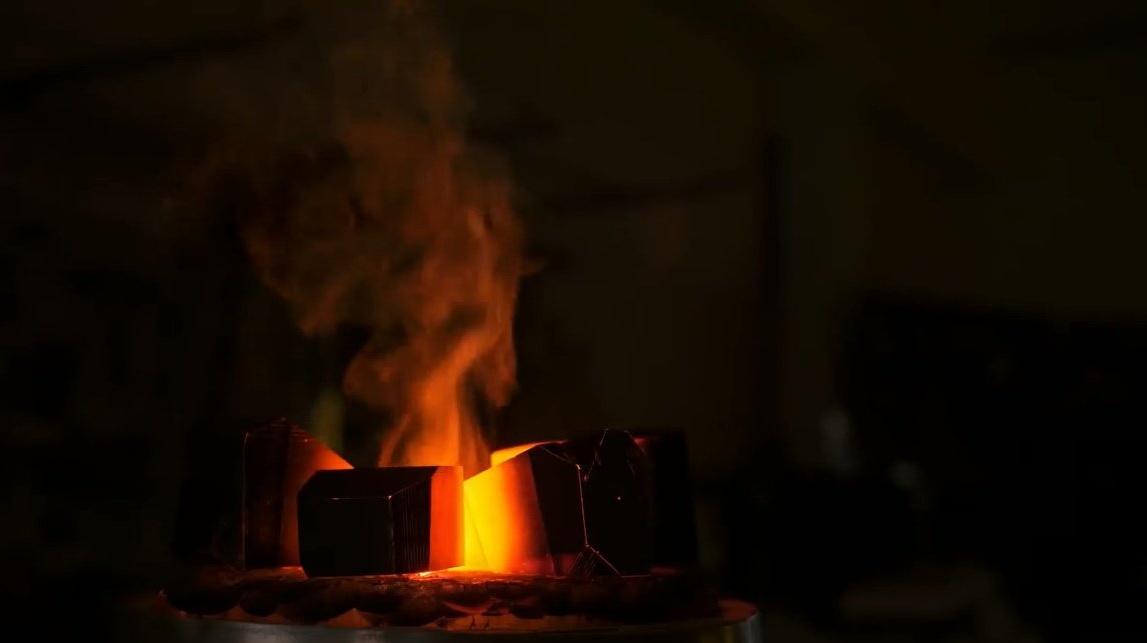
Installs a fog generator and covers it with a body. With a fan, the effect of a wet fire is obtained.
This is not exactly what you need. No flame effect.
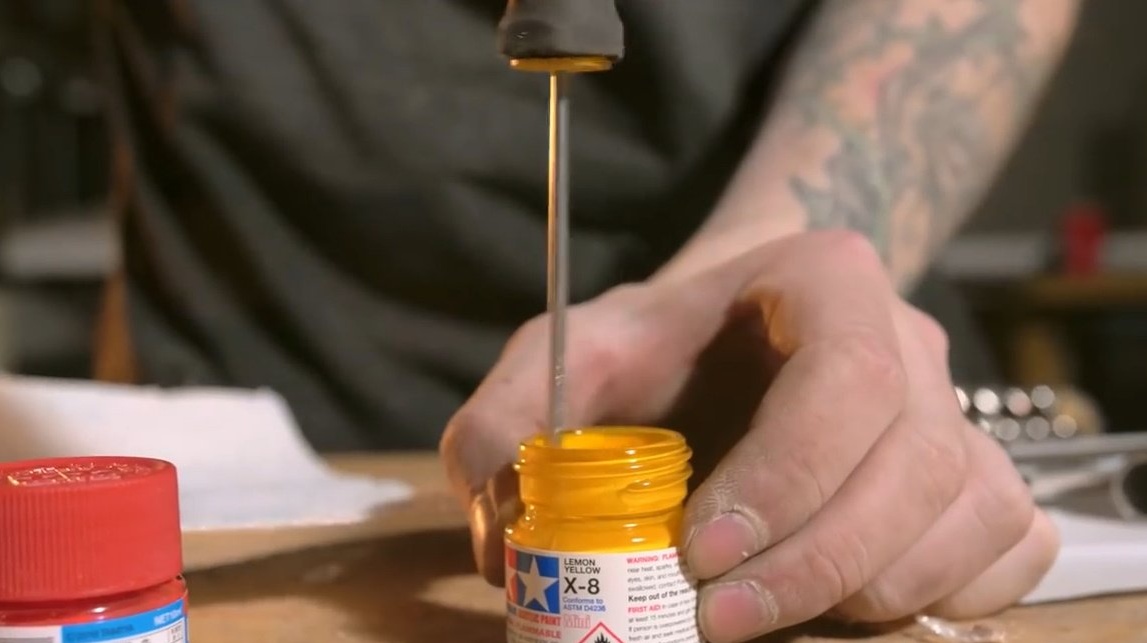
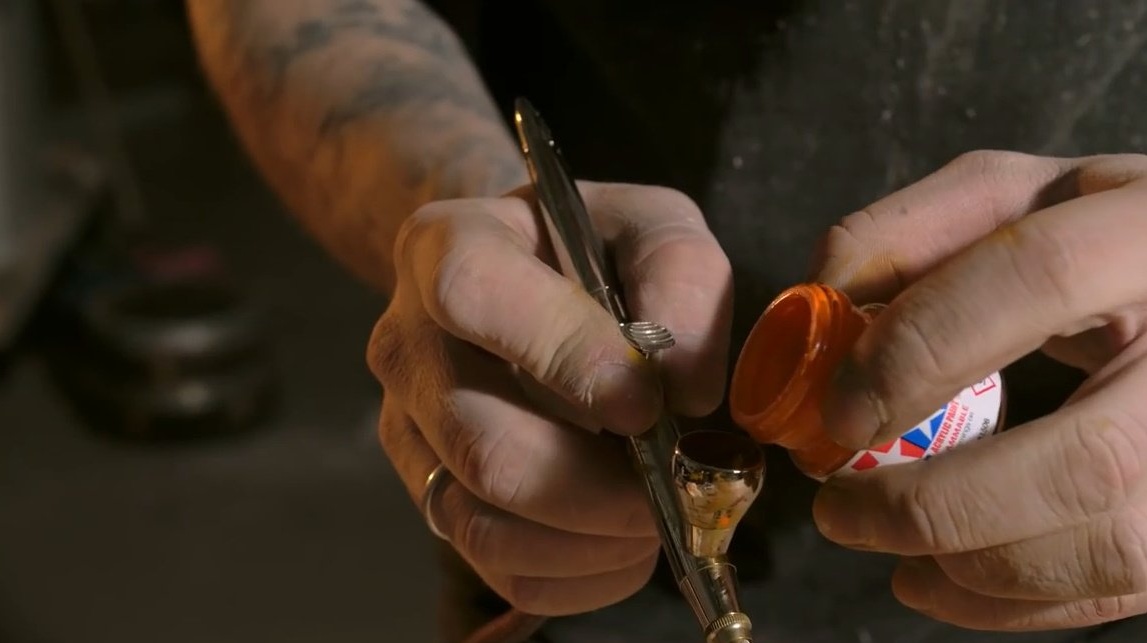
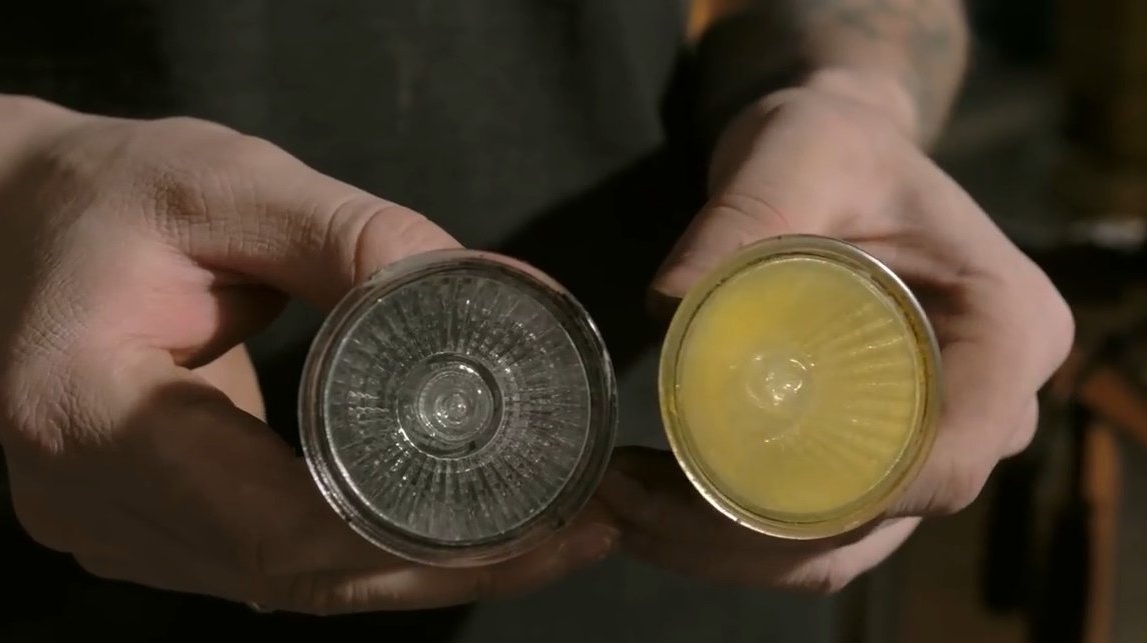
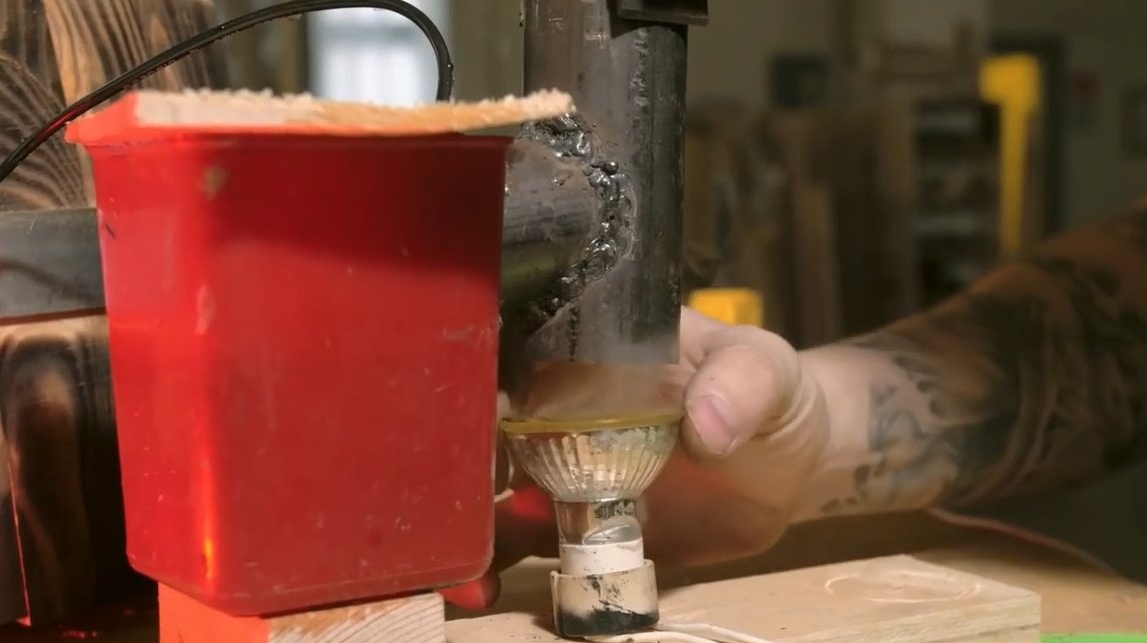
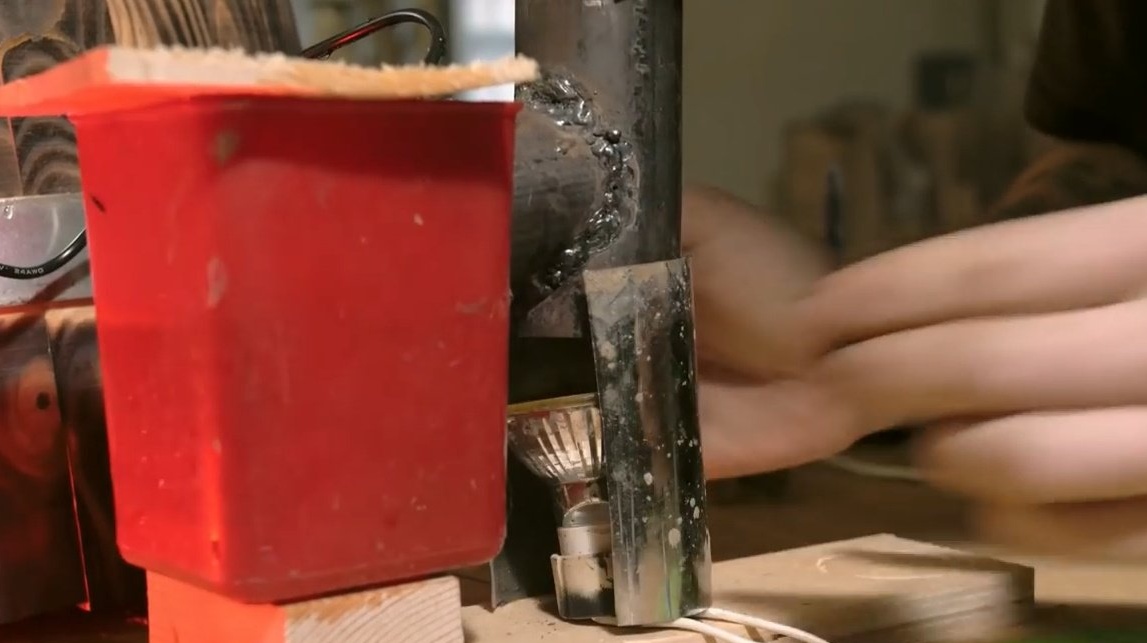
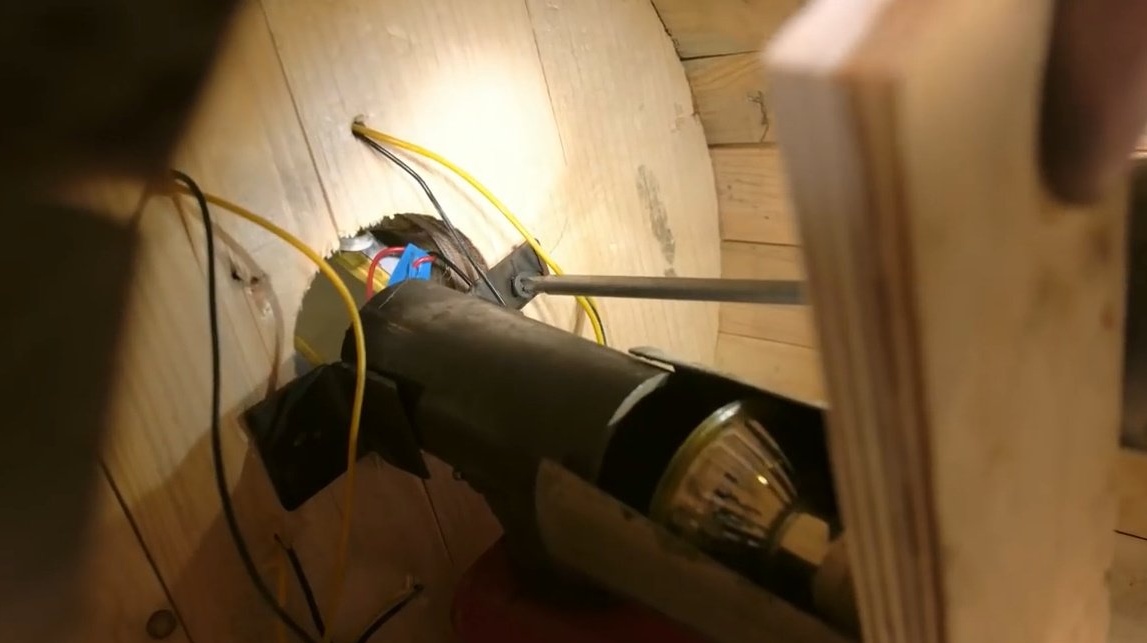
That's why Dania refused the fan, he creates a turbulent flow, which no matter how the backlight does not look like a slow hot flame. To make a flame a flame, we will raise steam with an upward flow of hot air, at the same time and highlight it. To do this, you need a halogen lamp with a yellow filter. Danya simply painted it with yellow paint.
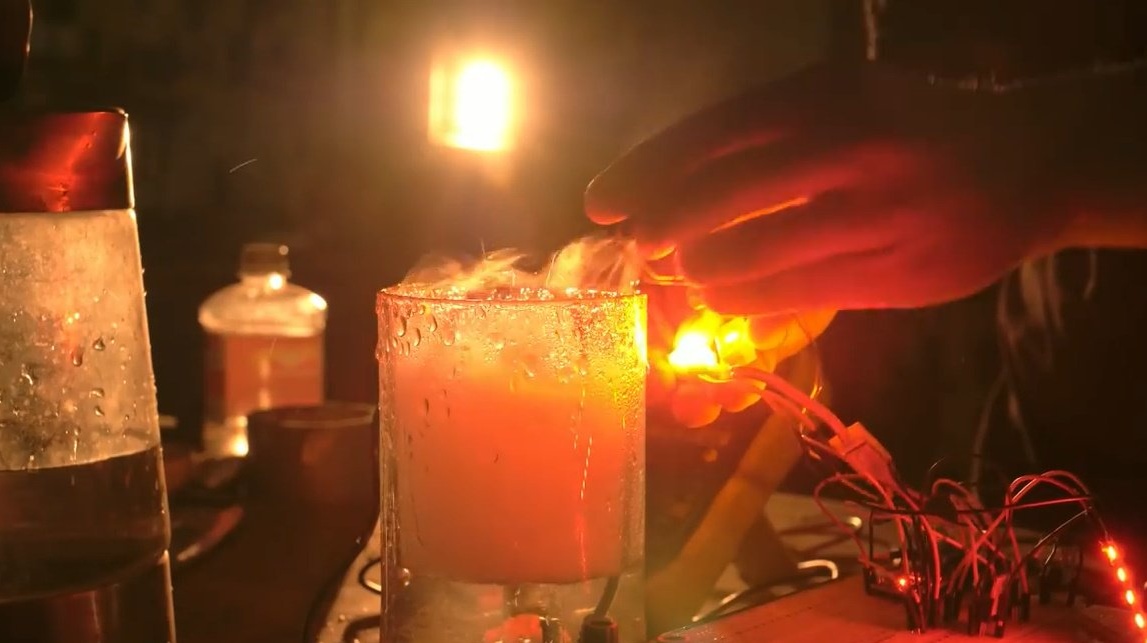
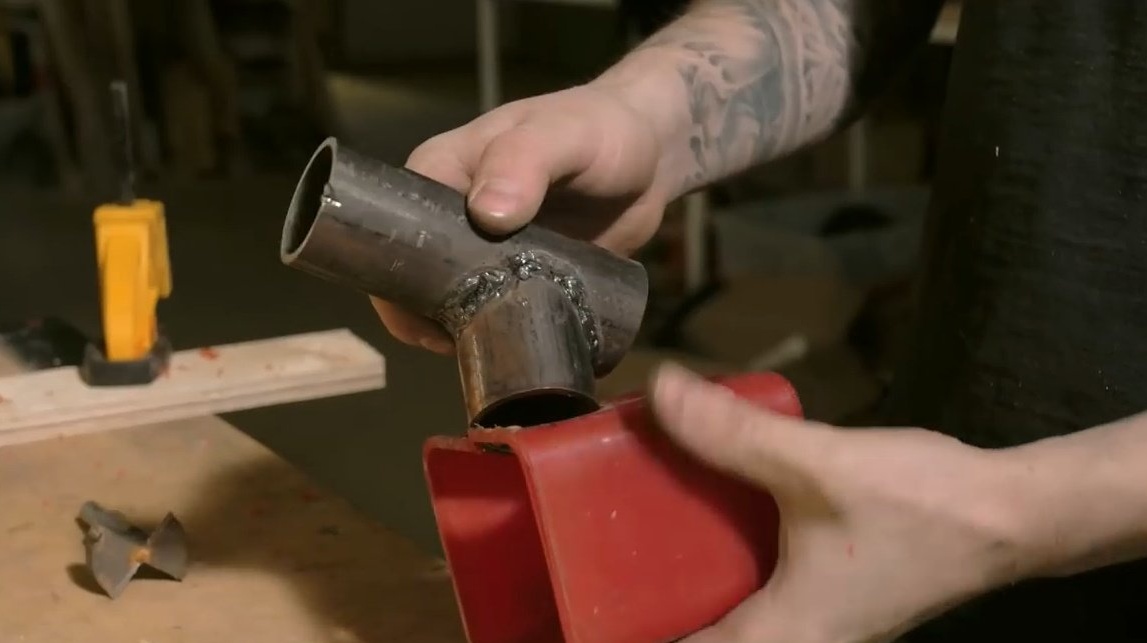
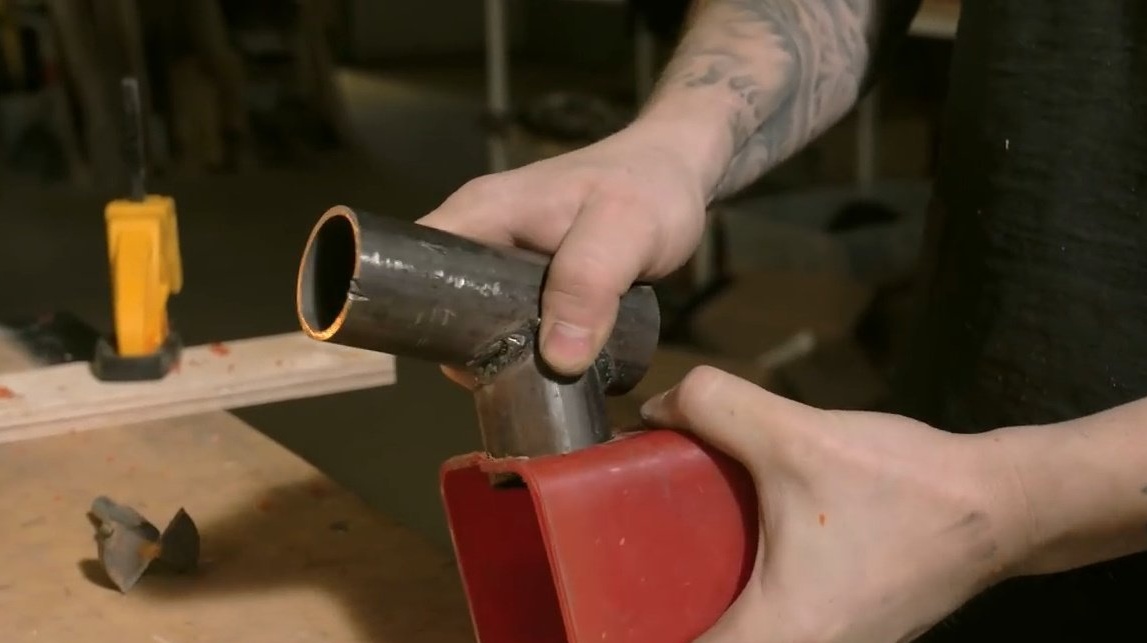
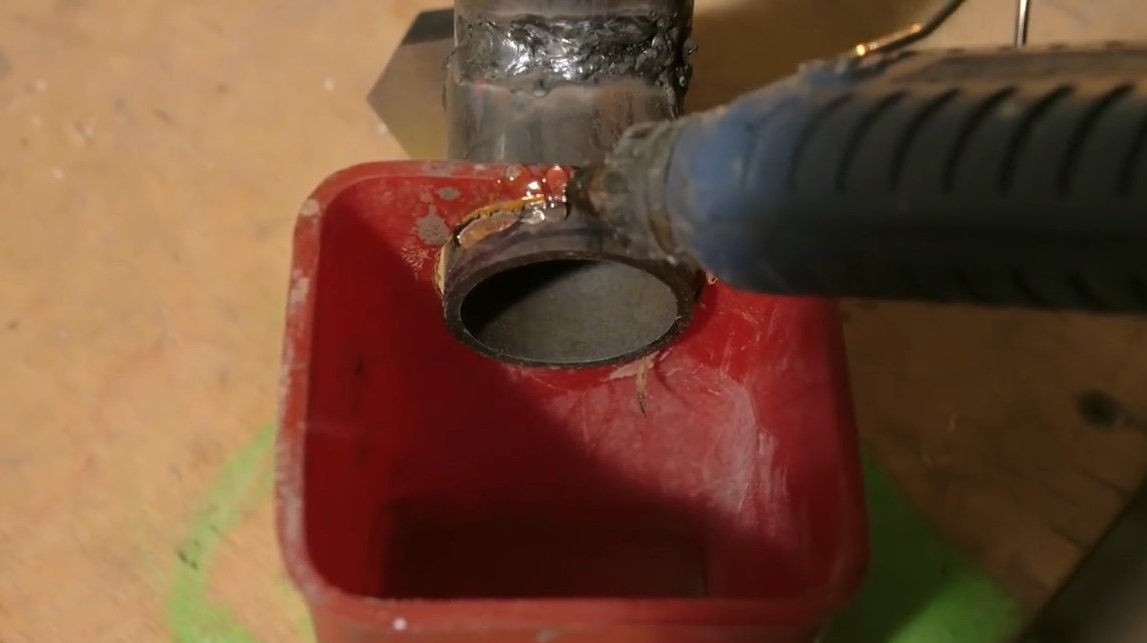
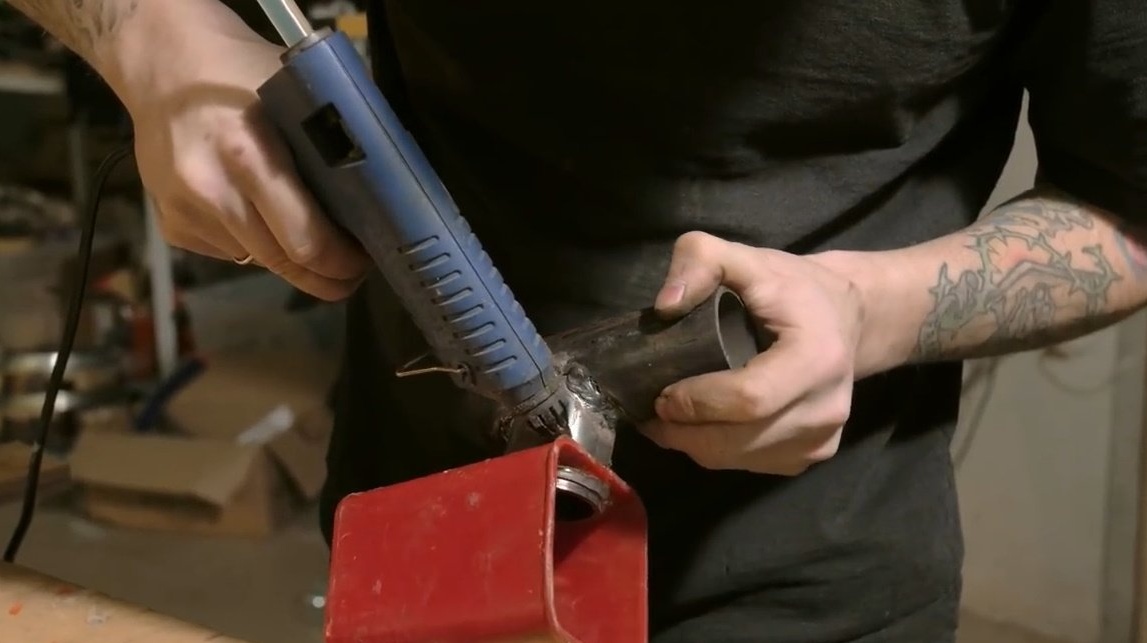
I drilled a hole in the fluid container and installed just such a pipe with a tap. Then glued with hot glue.
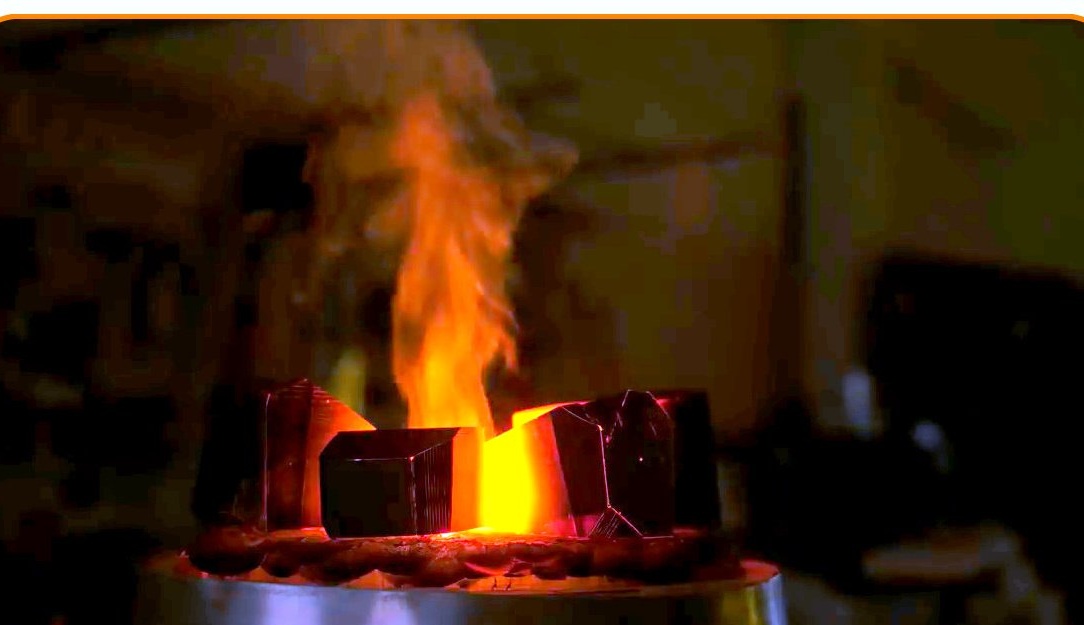
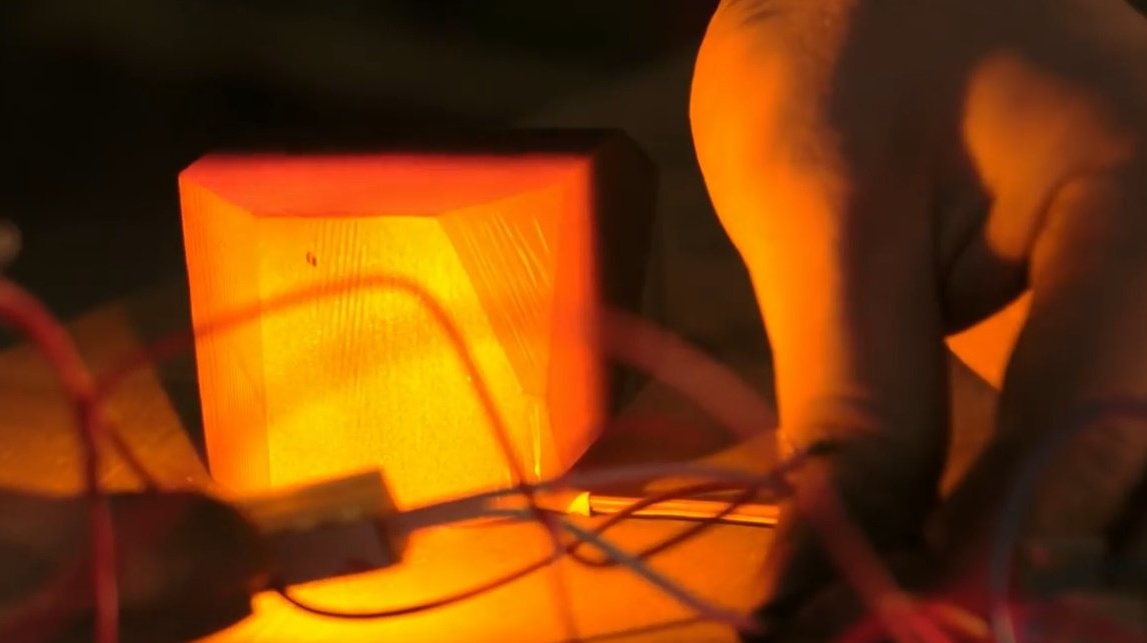
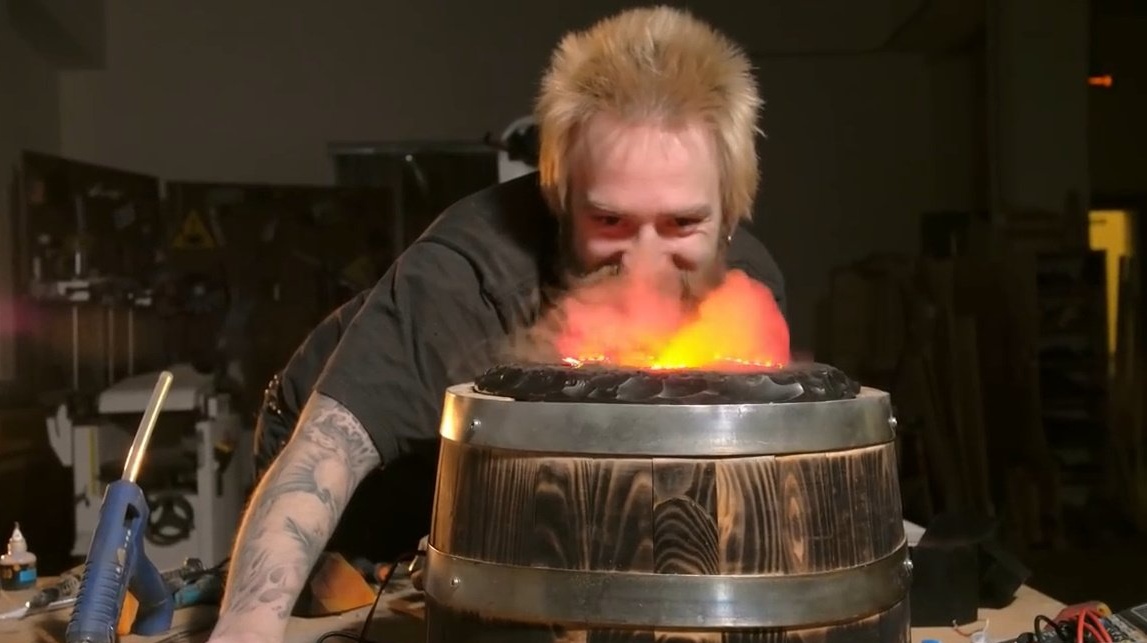
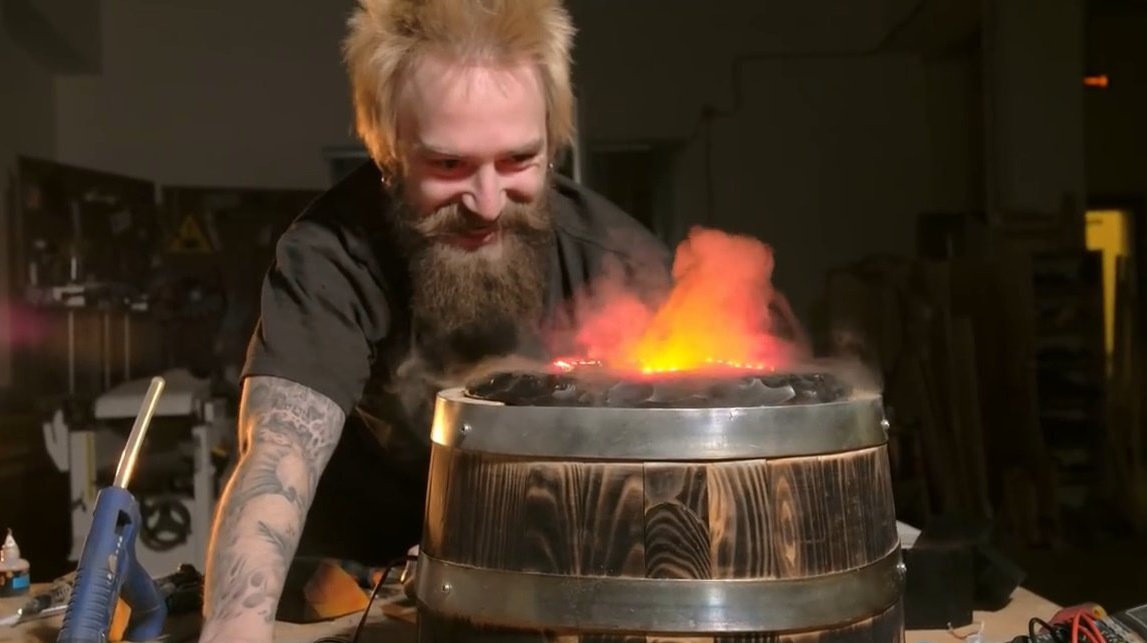
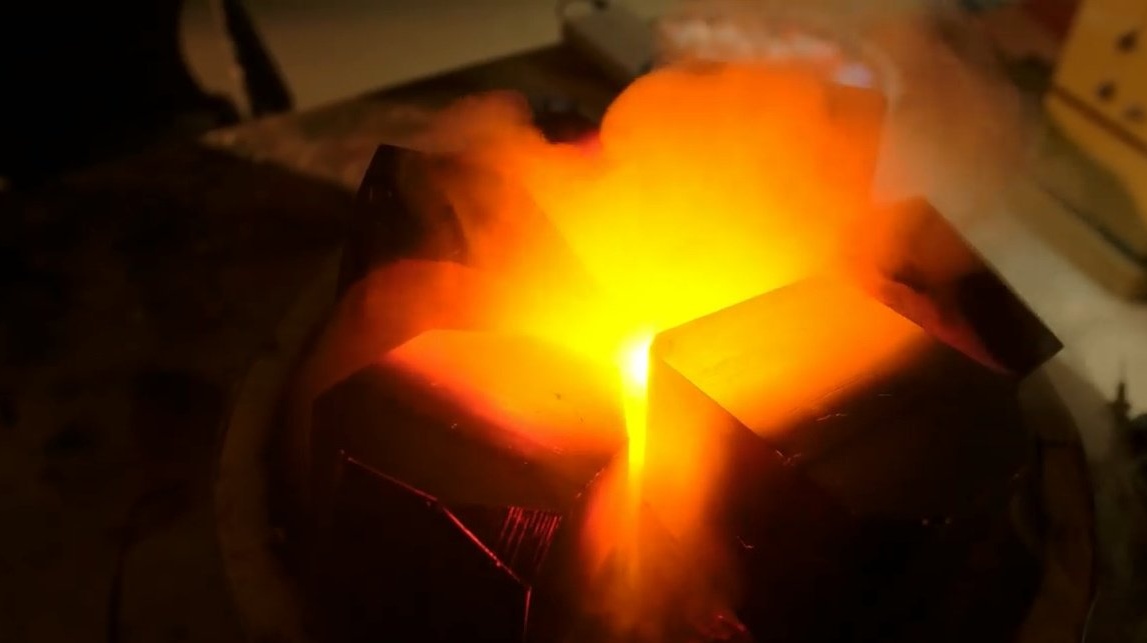
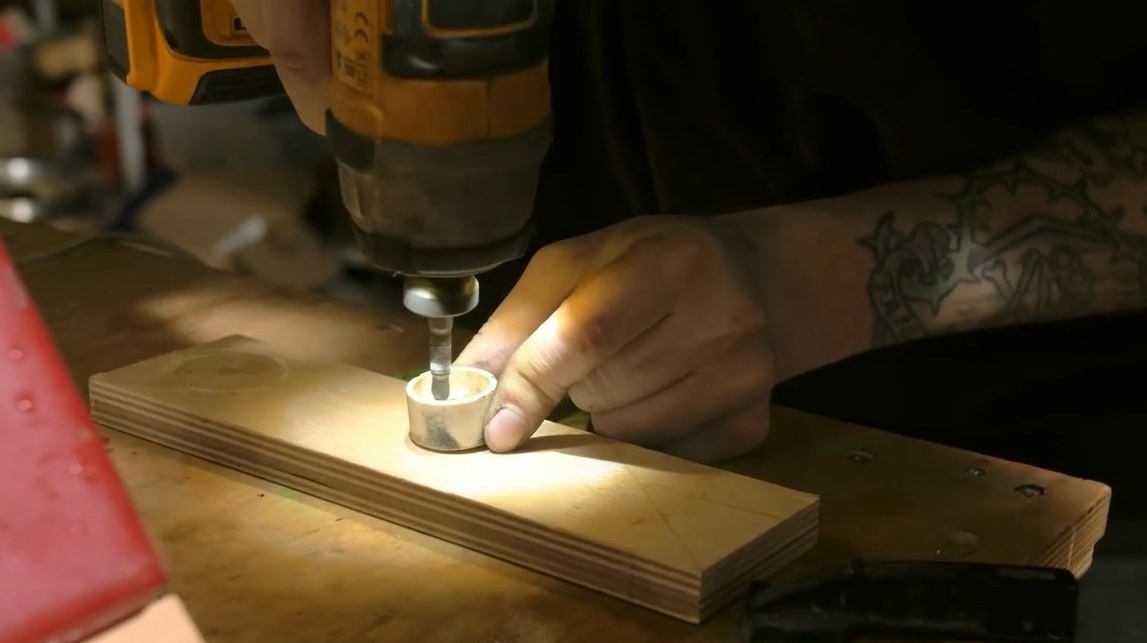
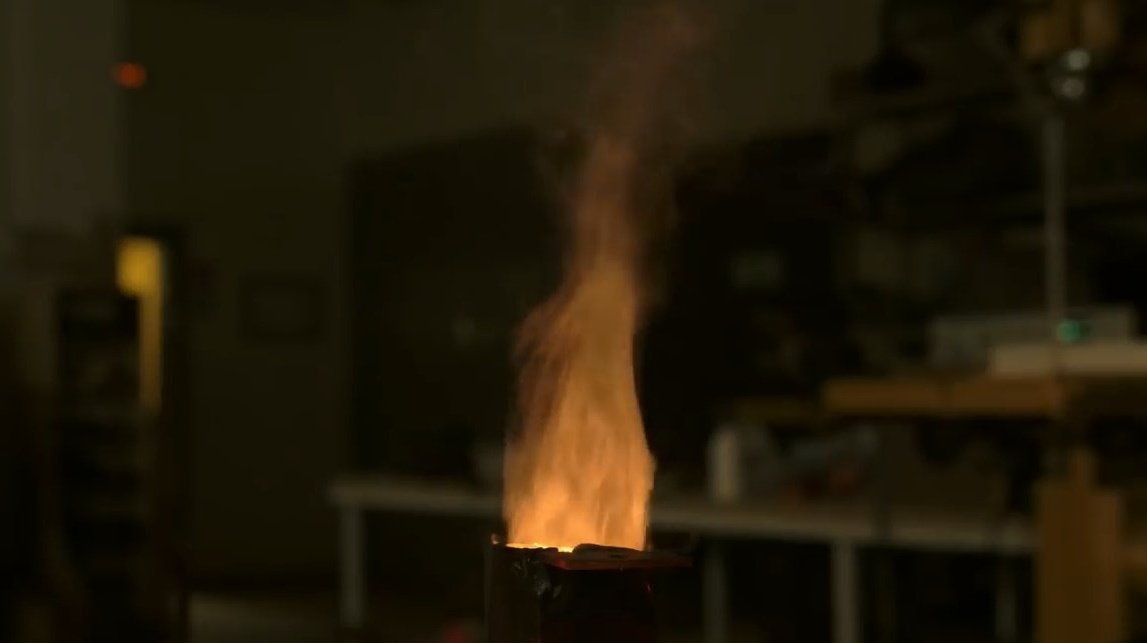
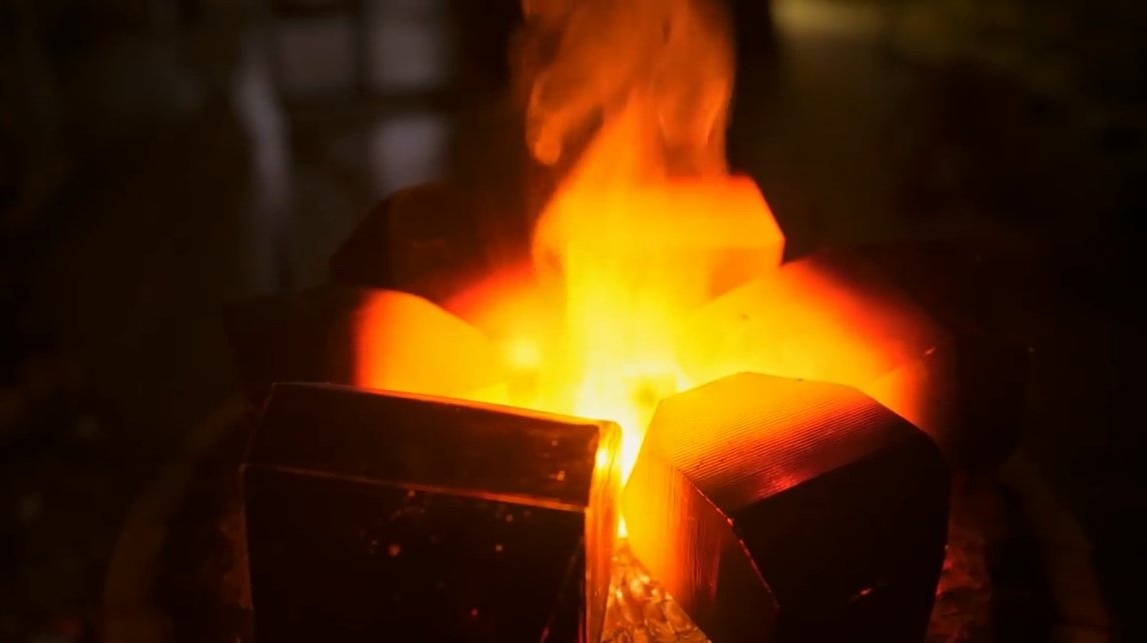
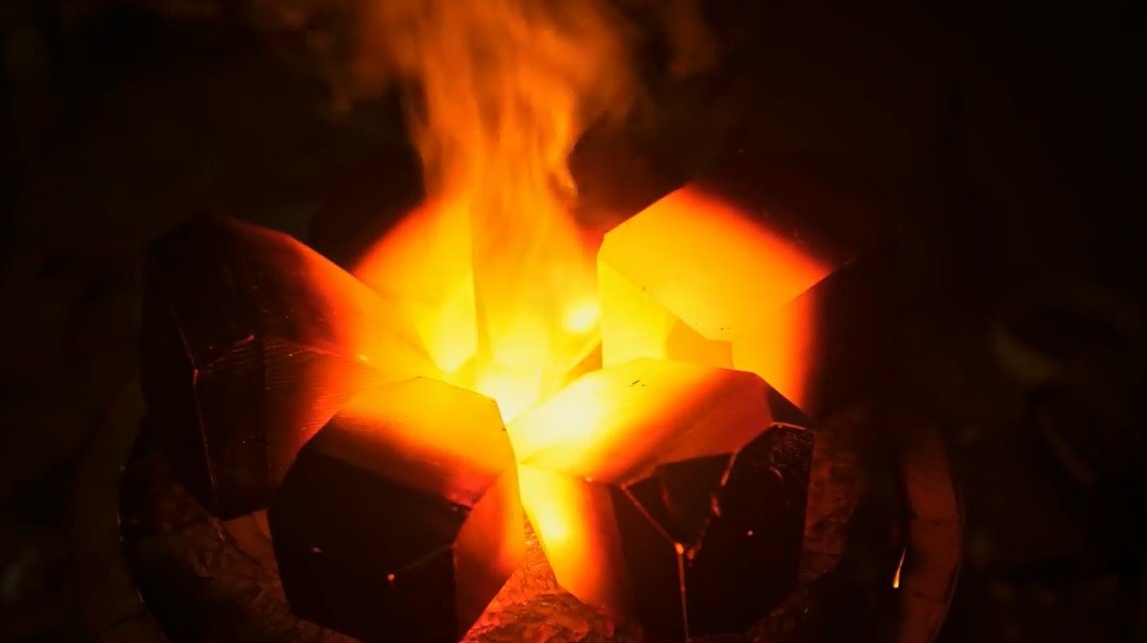
I screwed the halogen base, connected it. As the lamp warmed up, the flux increased and the steam became like a flame.

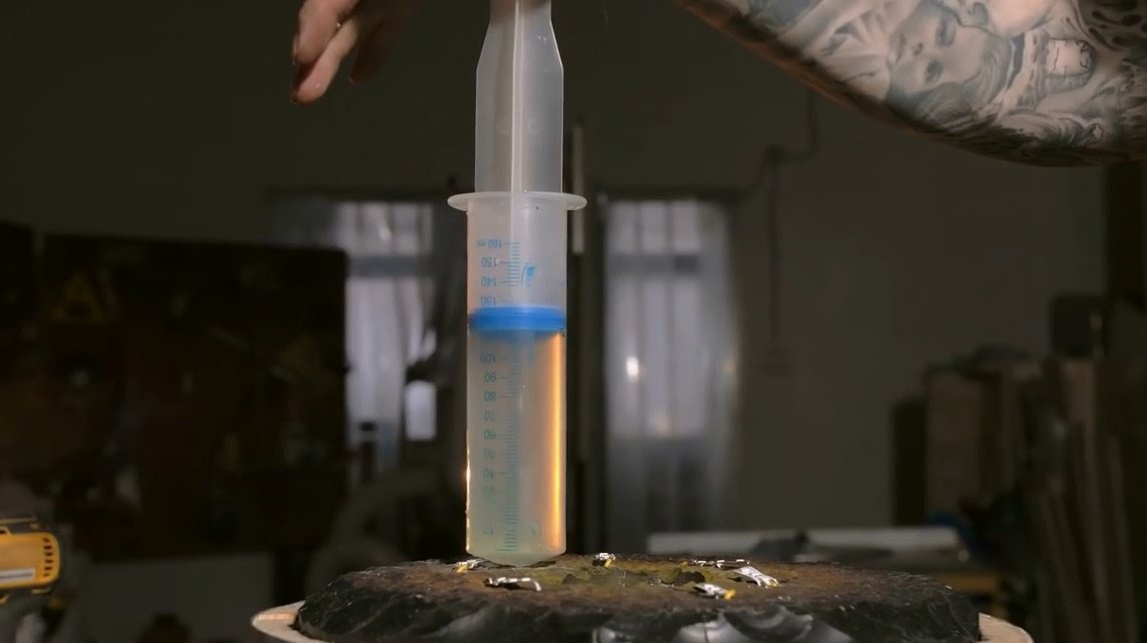
I assembled the entire structure, drilled a hole for refueling with water.
And here is the finished result!
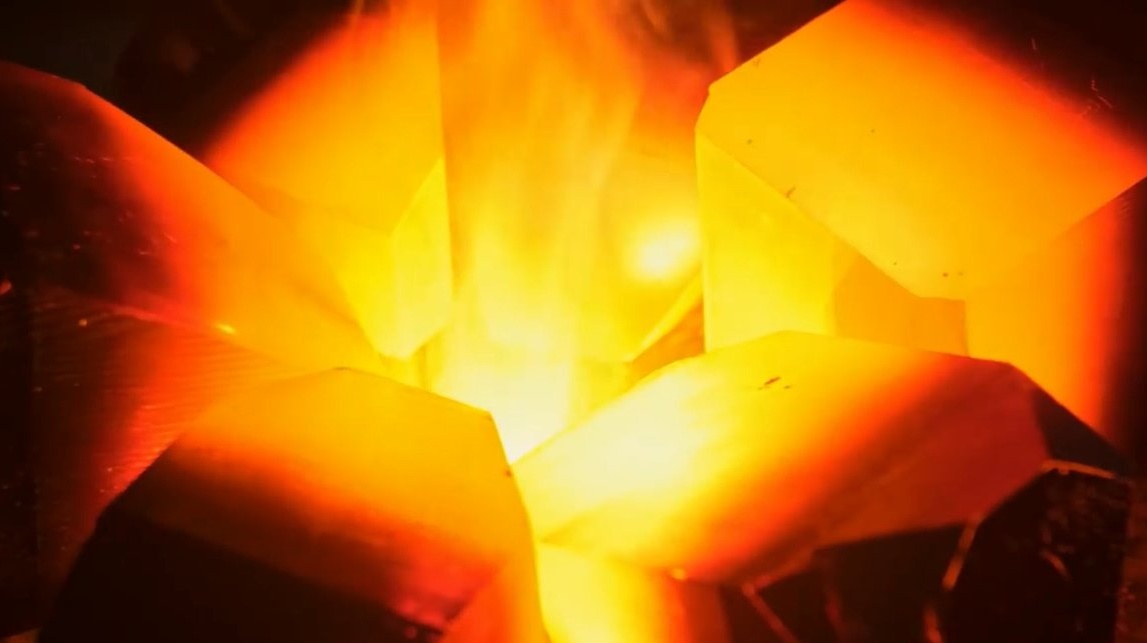
Thanks to Dana for an interesting project!
Sources for building a fireplace!
Good luck to everyone and good mood!