
Inserting a pipe into an existing pipeline is not an easy task, but any complex work can be done well if you try and know some secrets of its implementation. Consider how you can embed one pipe at a right angle into another having a larger diameter, while ensuring the quality and aesthetic appearance of the joint. For clarity, we will join a piece of pipe not with a solid pipe, but with the same piece.

Pipe marking and preparation for tapping
Work begins with marking the pipe to be cut in and preparing it for insertion. For this:
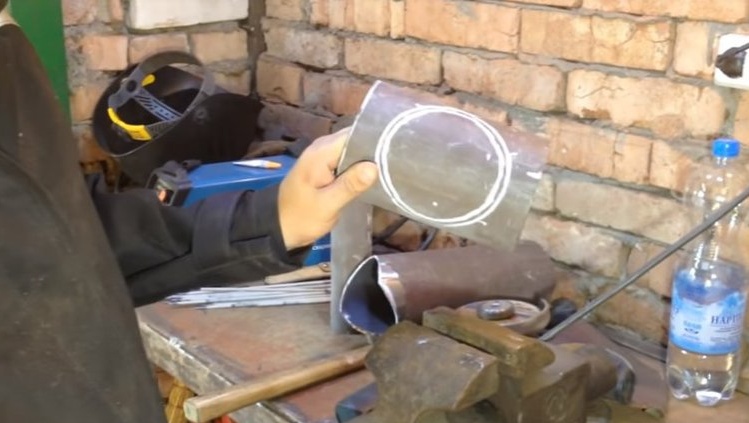
1. Mark on the pipe 4 marks corresponding to the axes of its diameter. You can do this “by eye”, but the marks of each axis should be located strictly opposite each other.
2. On the pipe into which they cut in, mark its central axis (where the hole will be) and apply the pipe to be cut into it so that two opposite marks made on it are on this axis.
3. On the pipe into which they cut in, make a mark a little away from the point of contact with it of the side of the pipe to cut in and measure this distance.
4. Make two marks on the cut-in pipe at a distance equal to the measured one, opposite two opposite points of the axes of its diameter.
5. Drawing on the pipe, connect the two remaining points of the axes of its diameter with two smooth arc lines with the vertices at the marks made.
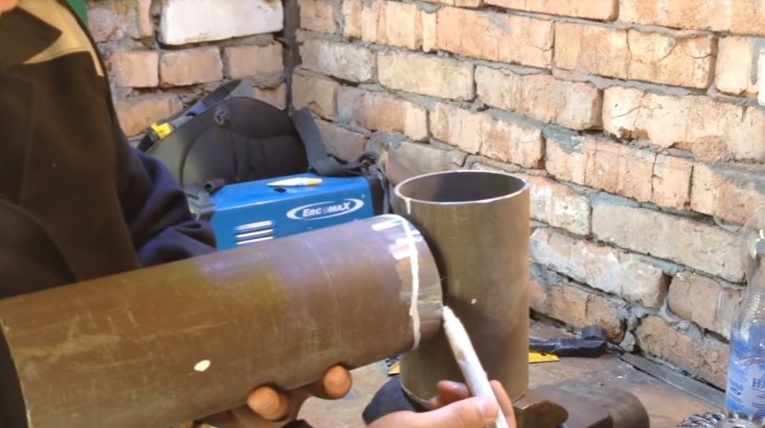
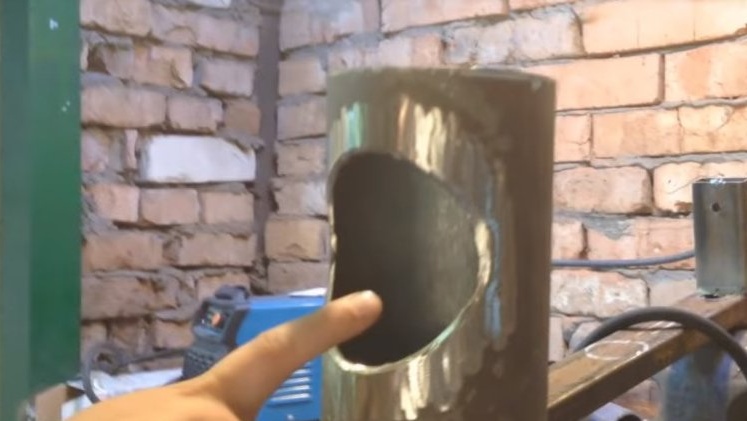
6. On the drawn arcs cut from the end of the pipe "excess",
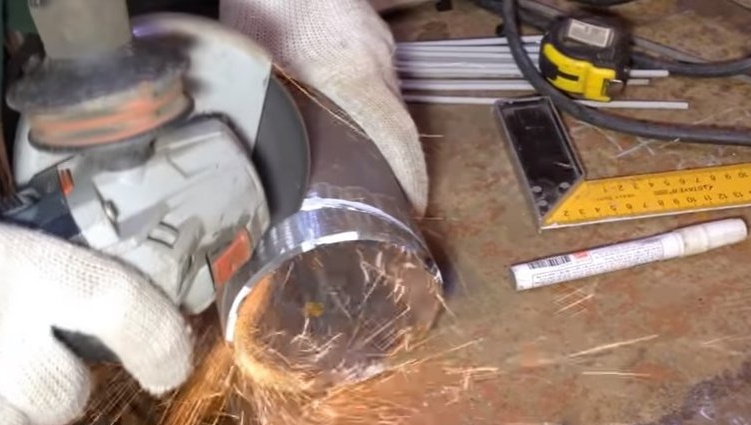
as a result, it takes the following form:
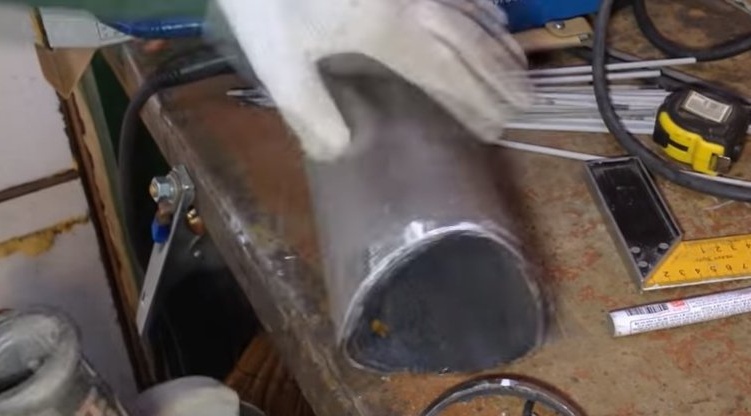
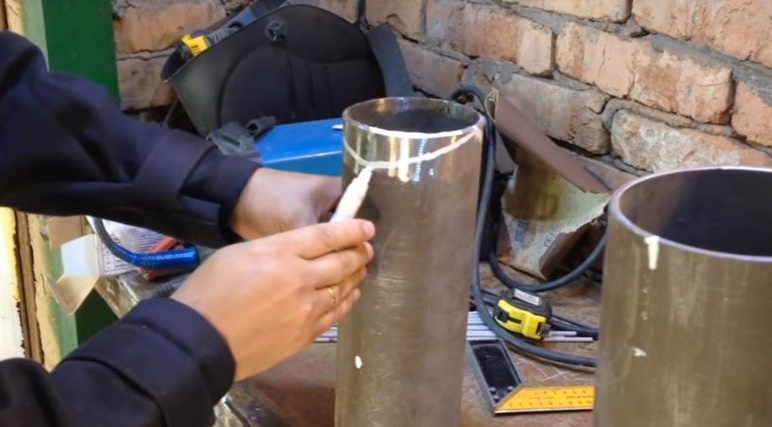
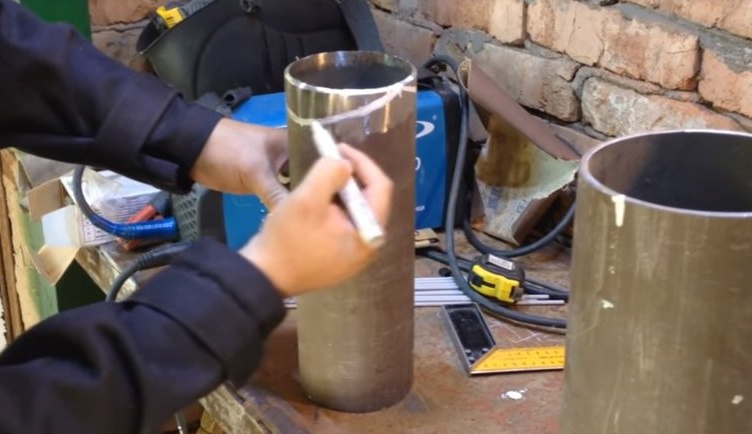
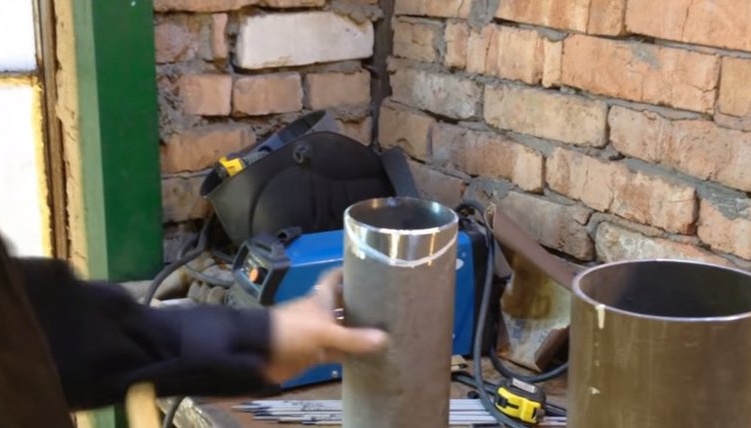
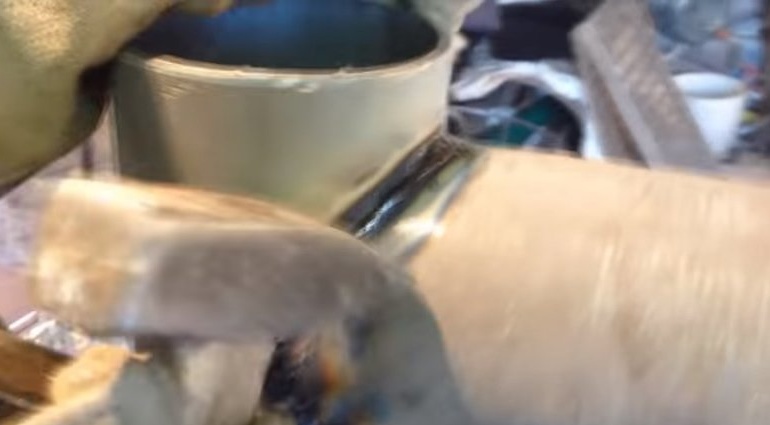
7. Achieve close contact of the end of the cut-in pipe with the surface of the pipe into which they cut, treating its edges with a grinder.

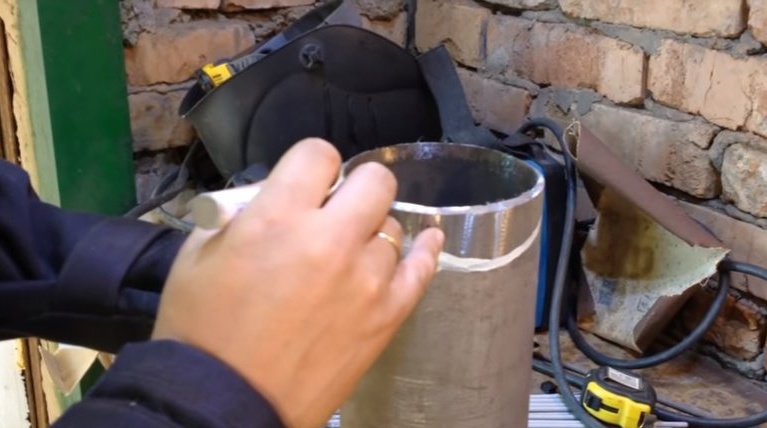
At the next stage of work, a larger diameter pipe is marked and prepared for insertion. For this:
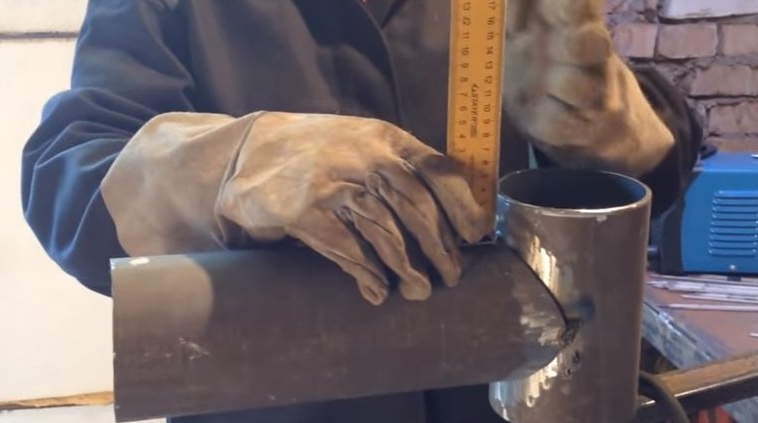
1. Apply to it in the place where there will be a hole, the prepared end of the insert pipe.
2. Marker outline its contour.
3. Draw another same line inside the contour, stepping back from it a distance equal to the thickness of the metal of the inserted pipe.
4. Cut a hole in the pipe along this line with a grinder.
Infusion brewing
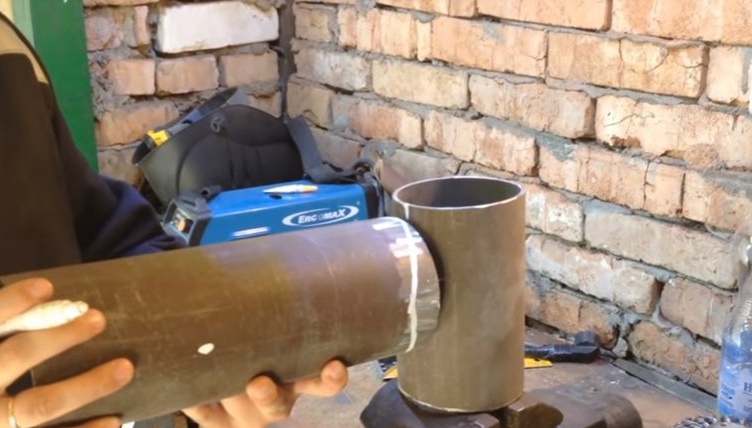
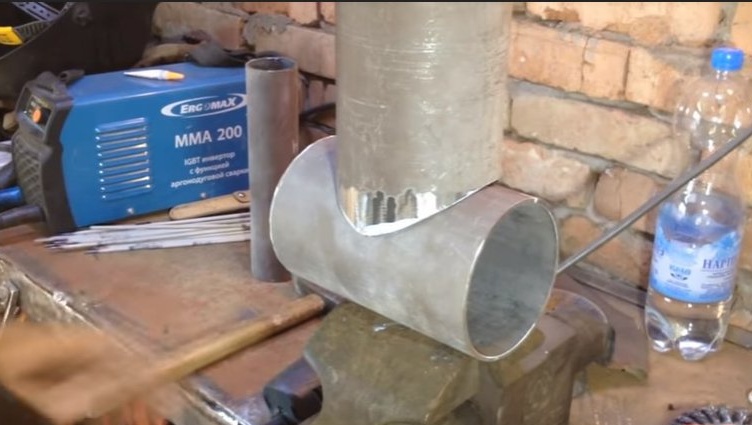
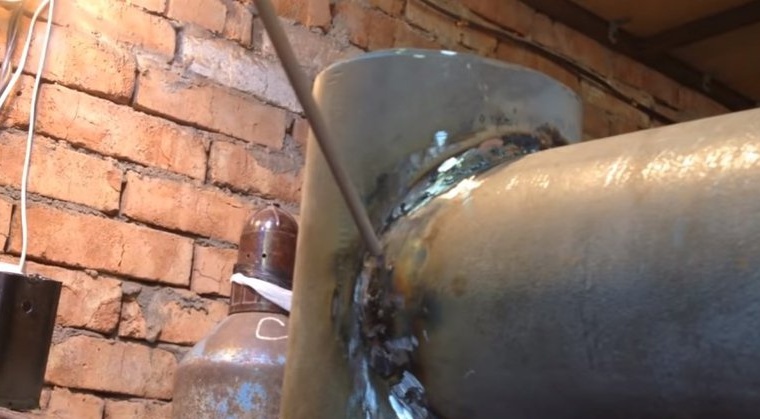
Insert the prepared pipe into the pipe with the hole as follows:
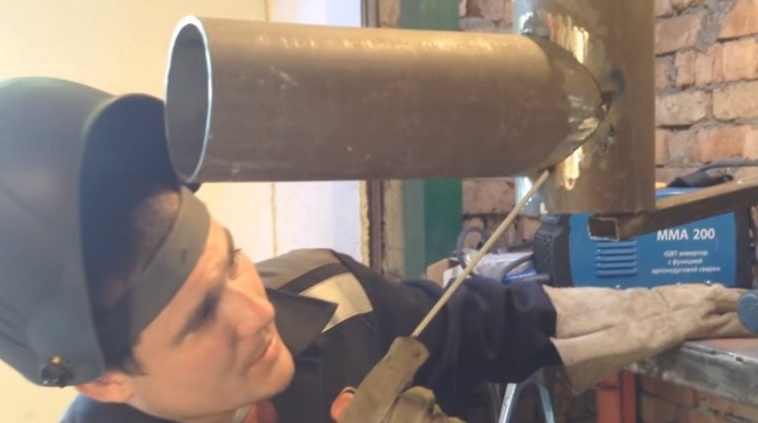
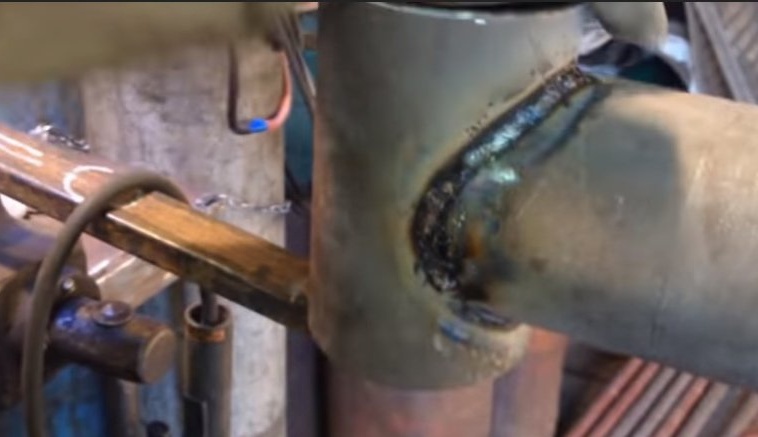
1. The cut-in pipe is applied to the hole of a pipe of a larger diameter and is “tacked” by spot welding to its surface at four points located at the vertices and on the sides of the contact line. At the same time, using a square, they control that the angle between the pipes is straight.
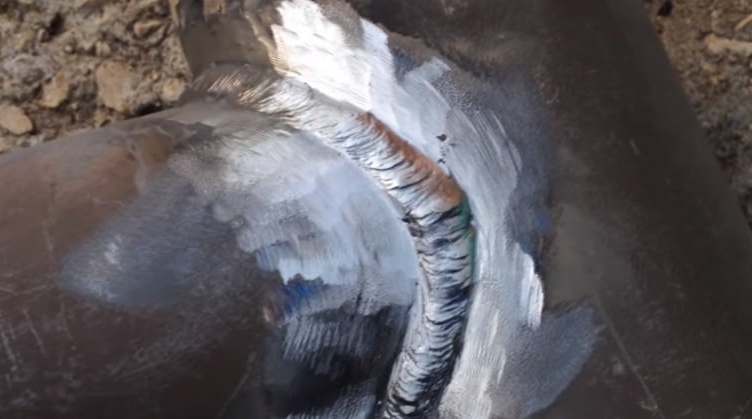
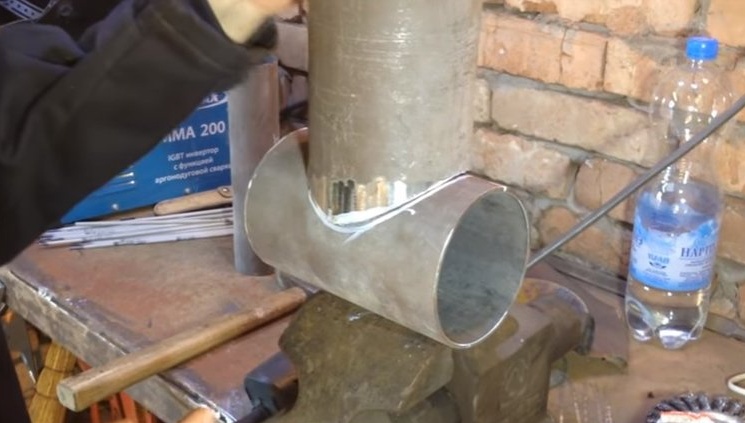
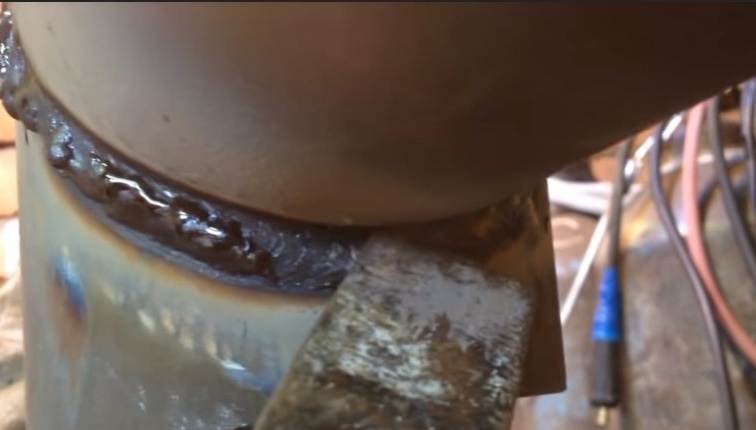
2. Welding of pipes is carried out by two seams - the main and, on top of it, facing.The current strength on the welding machine is set such that the arc was approximately 70-80A. It is recommended to work with electrodes of marking UONI 13/55. The main seam is made of thread in two passes, slowly and smoothly moving the electrode along the line of contact of the pipes, starting from its lower point. First, the half of the contact line is boiled, moving the electrode from the lower “tack” clockwise, and then the second half, moving it in the opposite direction.
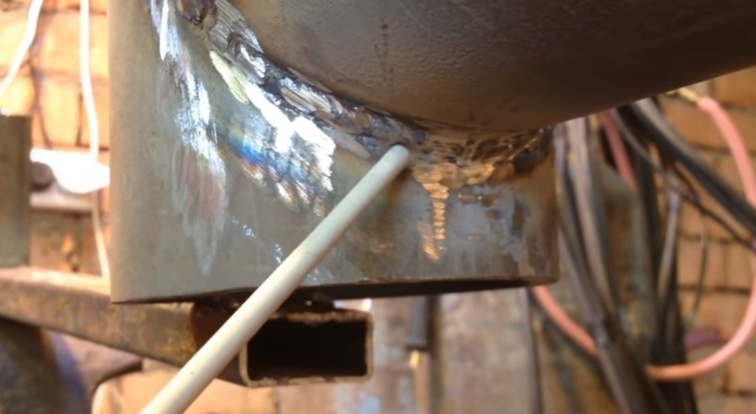
3. Use a hammer to clean the main welding seam from scale.
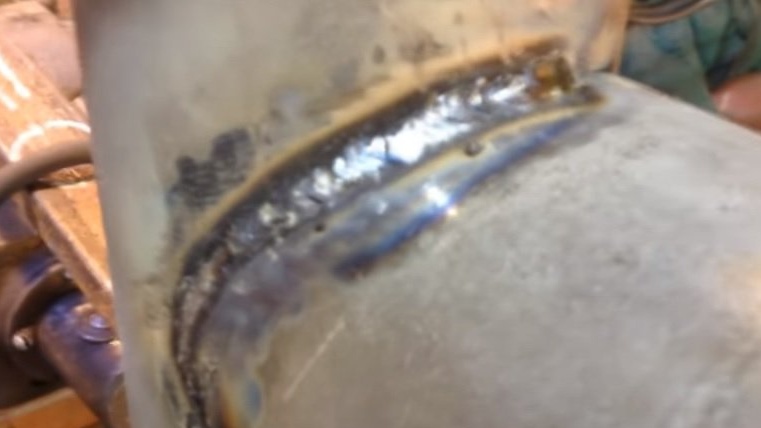
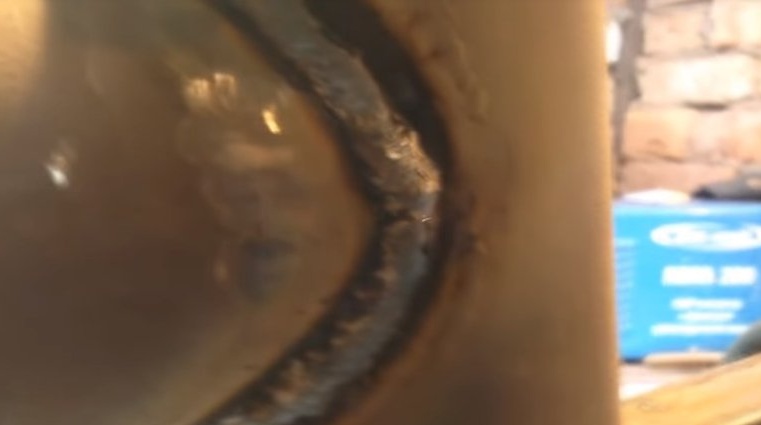
4. Facing welding seam is cooked over the main one. Work also begins with the lower “tack”, moving the electrode from it upward, first along the “herringbone” path,
and along the top of the seam in circular motions.
5. Having boiled half of the facing weld, it is cleaned of scale and the second half is boiled in the same way, also starting to move from the point of the lower “tack”.
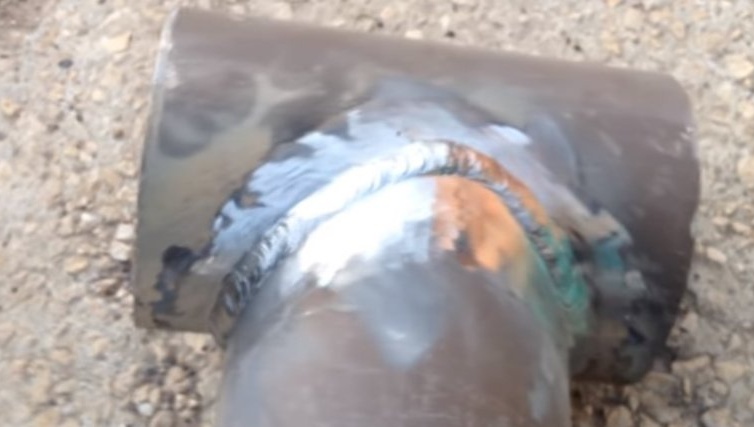
6. After completing the maintenance of the facing weld, it is again cleaned of scale and further treated with a grinder.
The finished welding seam looks even and beautiful, and the pipe insert turns out to be high-quality and aesthetically pleasing.
Detailed video version of the method of brewing a pipe insert.