
Hello everyone, today I will tell you how a master with the nickname medanilevin made a table for his son.
His son is 4 years old and he still cannot sit at an adult table.
Instruments:
1. Drill
2. Clips
3. Glue
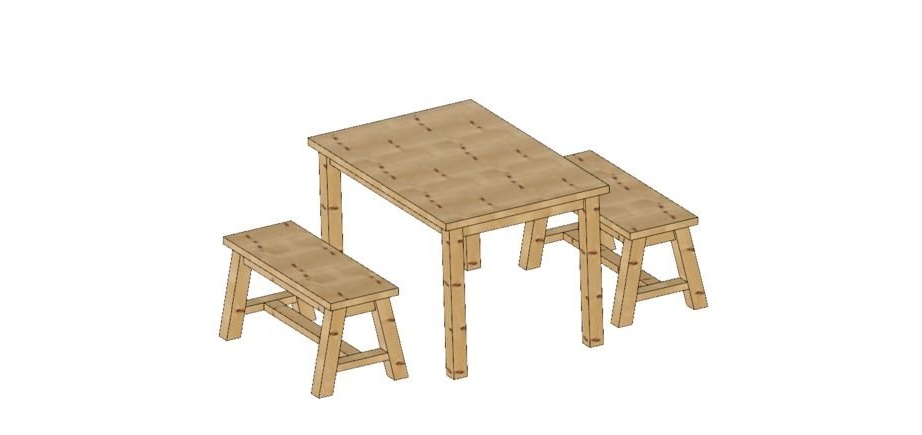
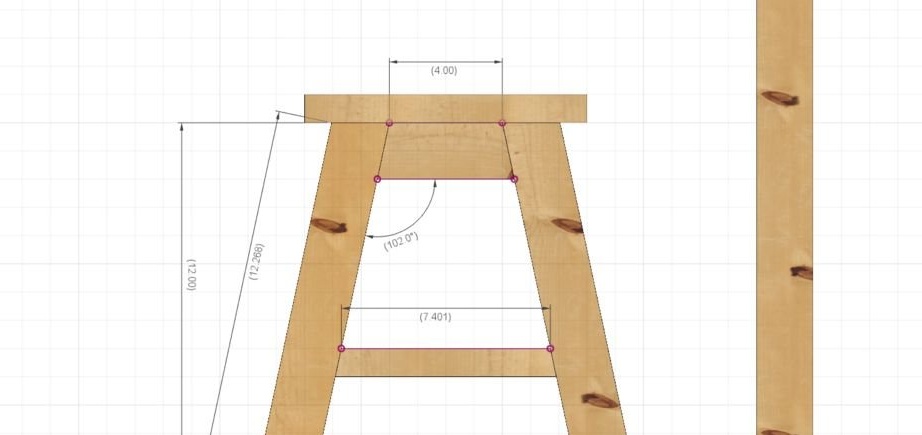
1. The author modeled a table in the Fusion360 program, this allowed me to experiment with several design options.
Dimensions:
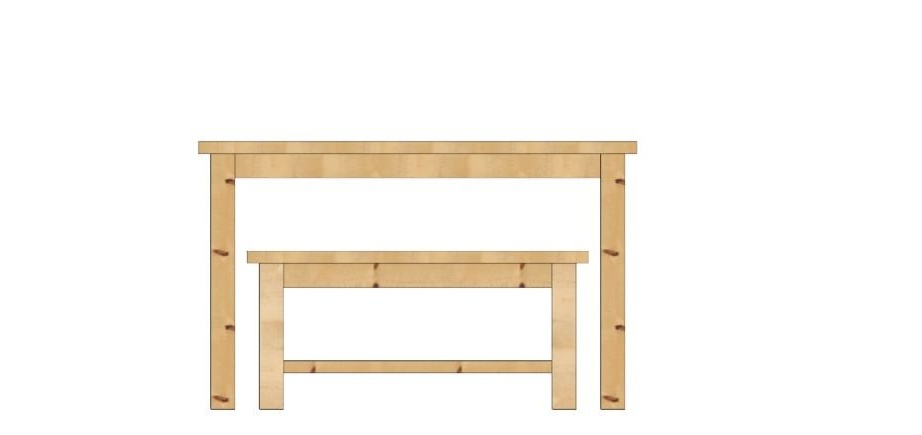
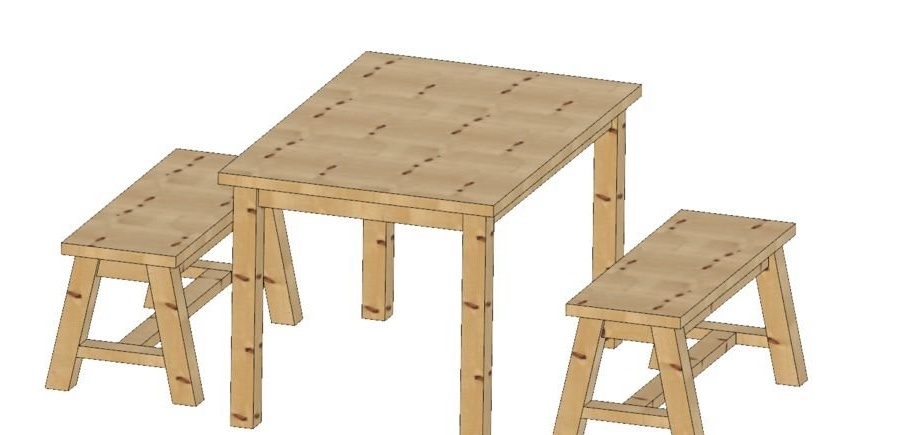
Table 24 "by 36" and 22 "in height.
Benches 28 "by 10" and 13 "in height.
The author wanted a sturdy, compact and simple design.
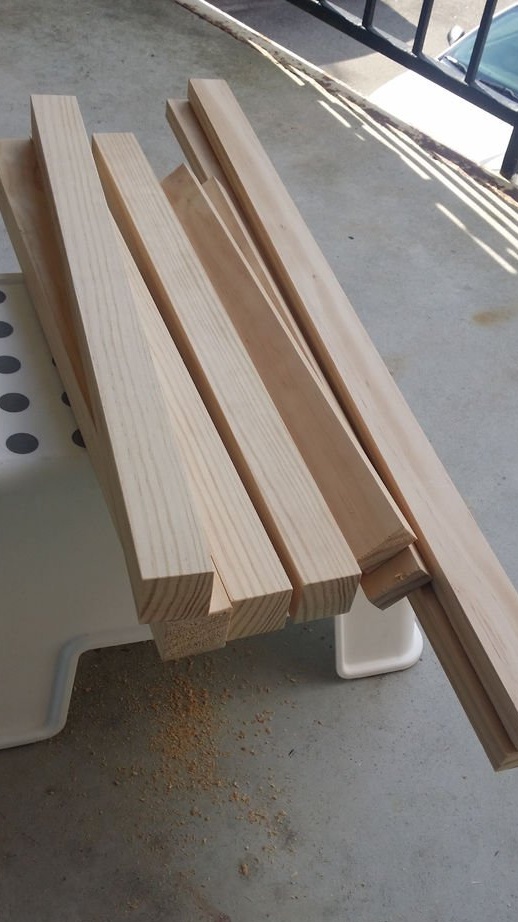
2. Next, the author bought all the wood.
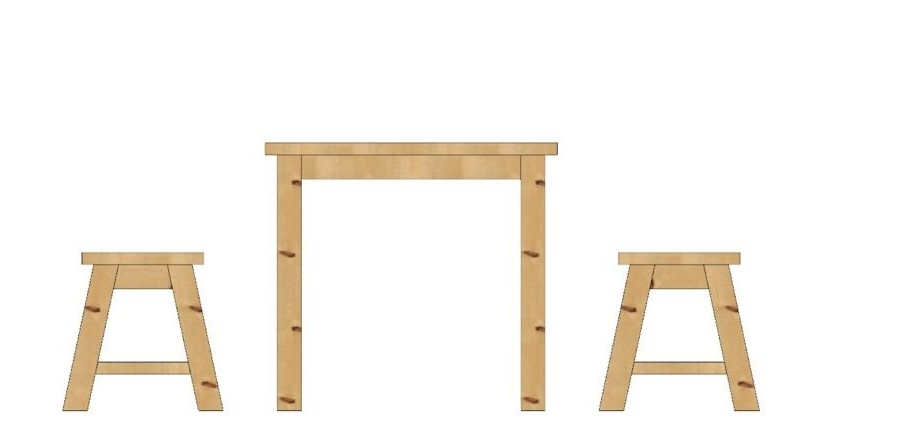
The author used exclusively pine. Wider plates were cut in the store, all other beams were cut with a miter saw.
Note: A miter saw is useful especially for benches, it needs 12-degree cuts.

3. The author mentioned earlier that the miter saw is really useful for such work.
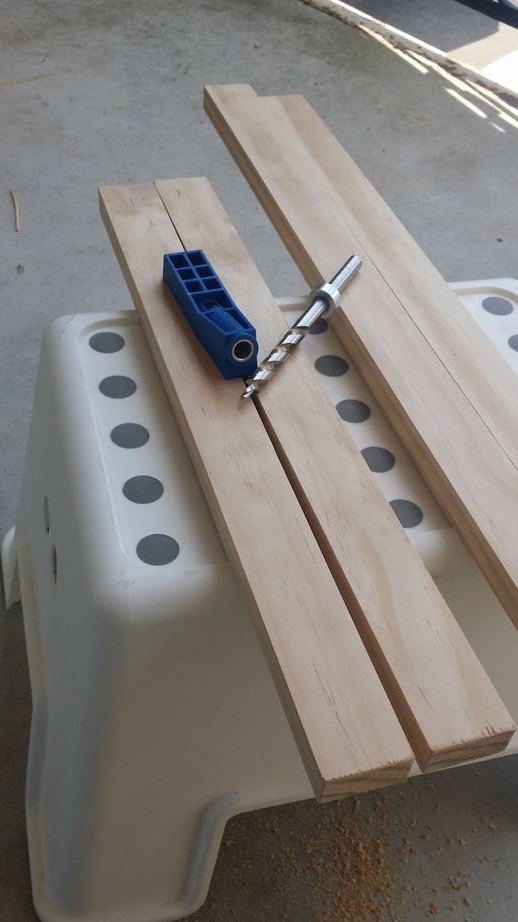
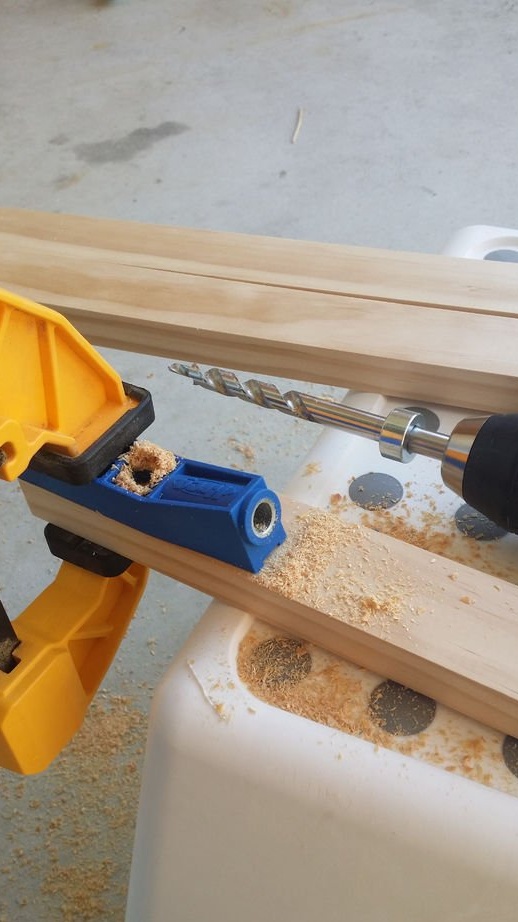
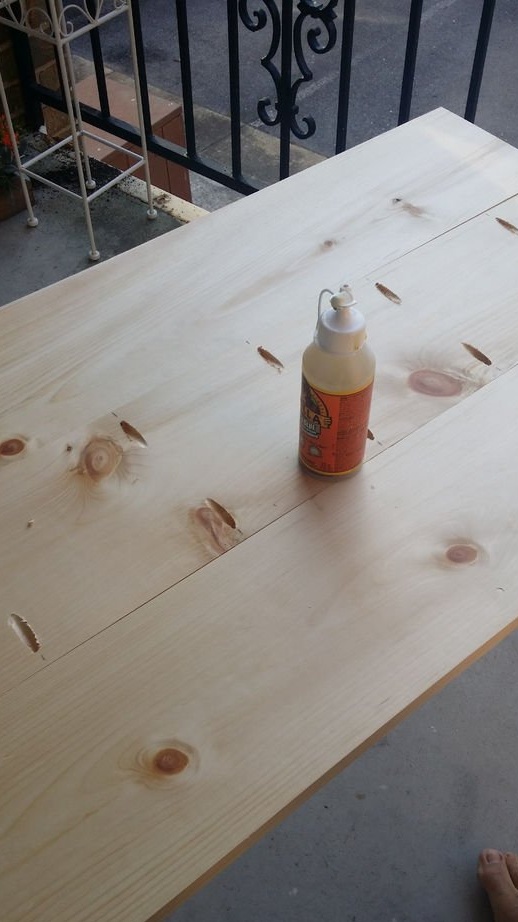
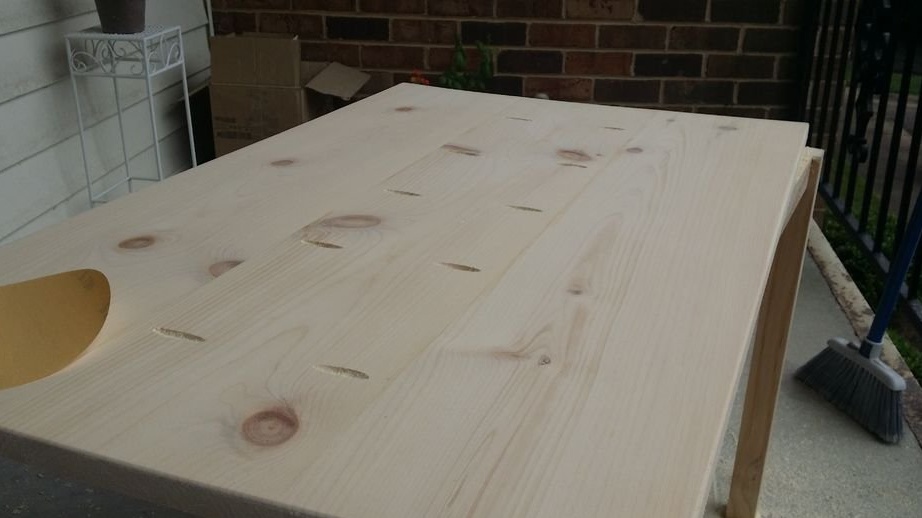
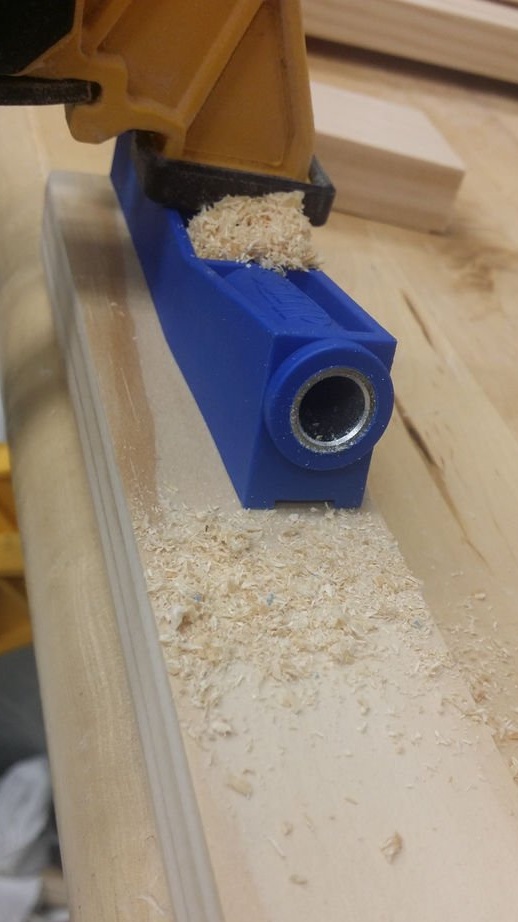
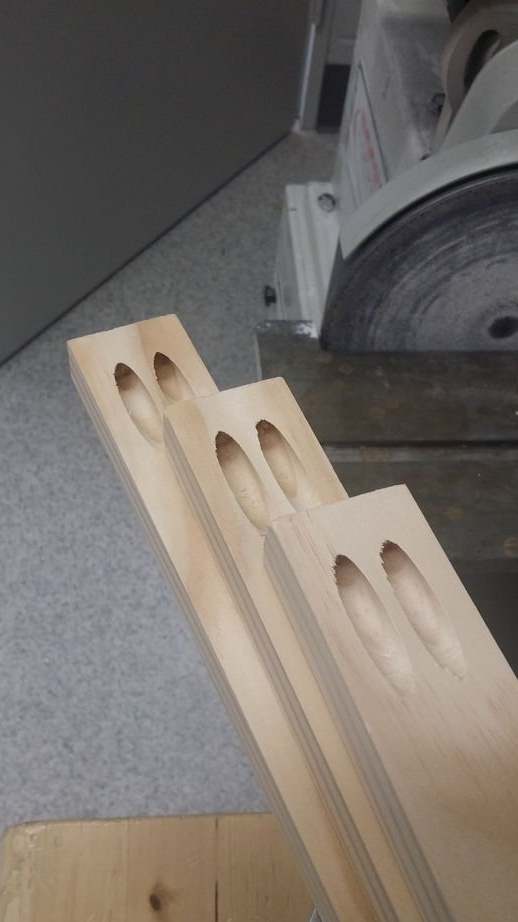
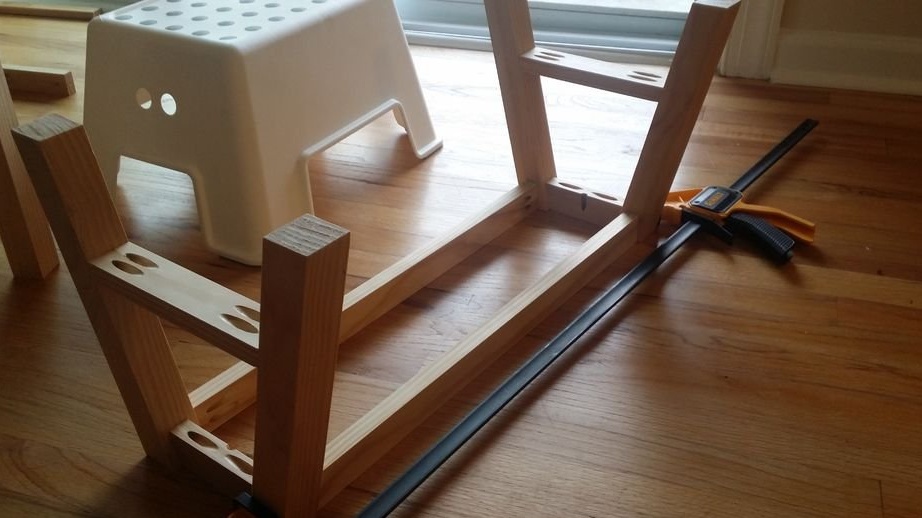
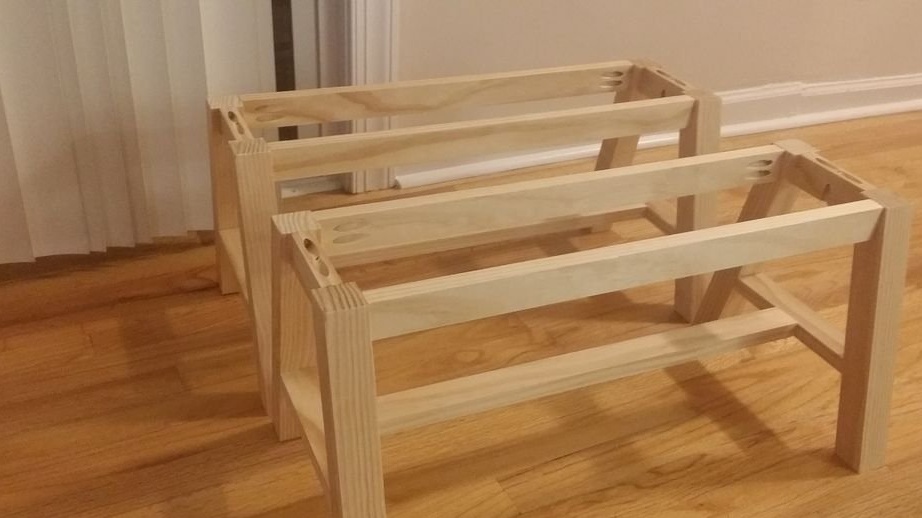
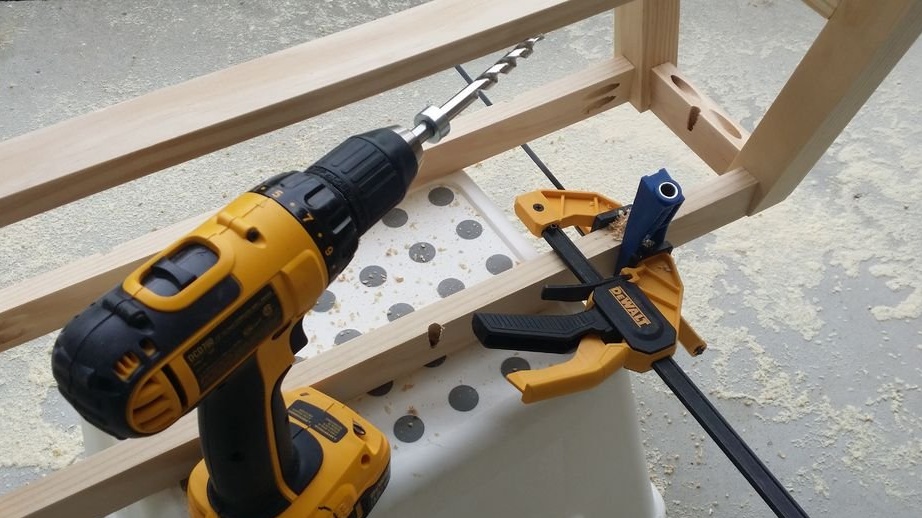
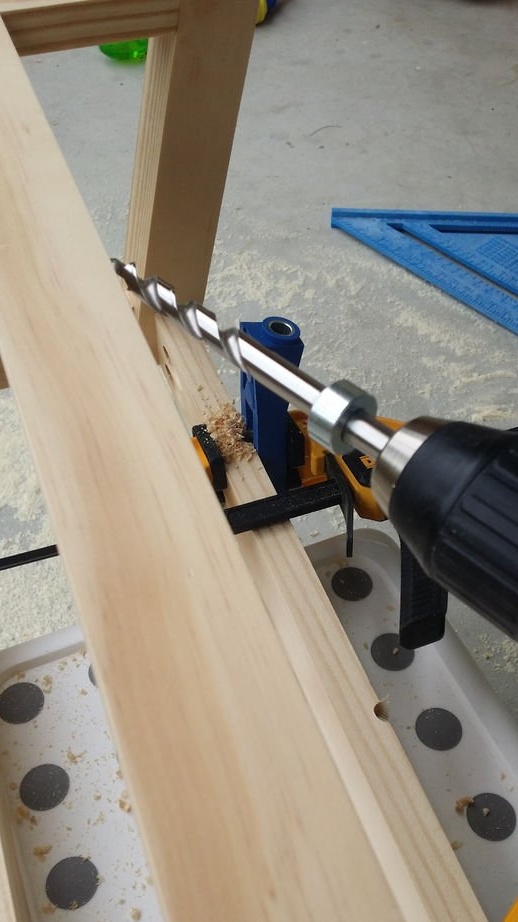
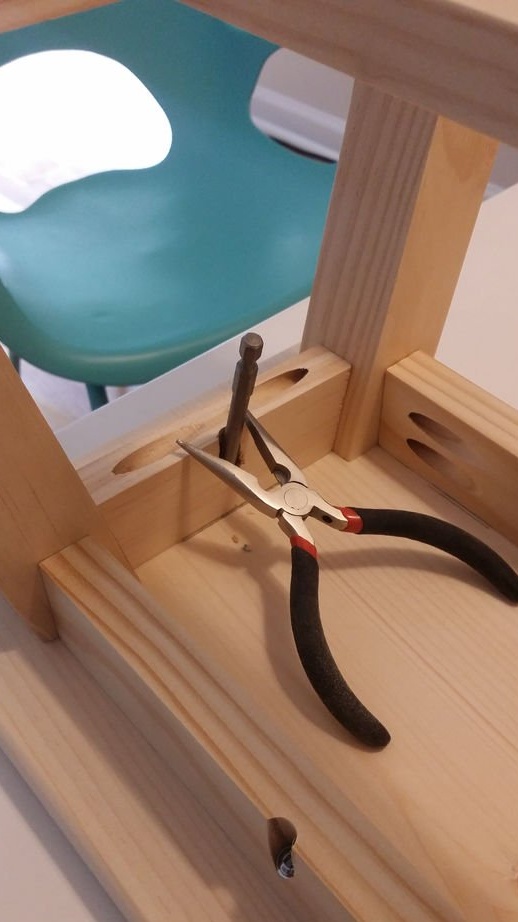
4. After all parts are cut, you can start drilling.
The author drilled everything from the inside so that they were not visible after everything was assembled.
Watch the direction brought together so that you do not accidentally drill it from the other side.
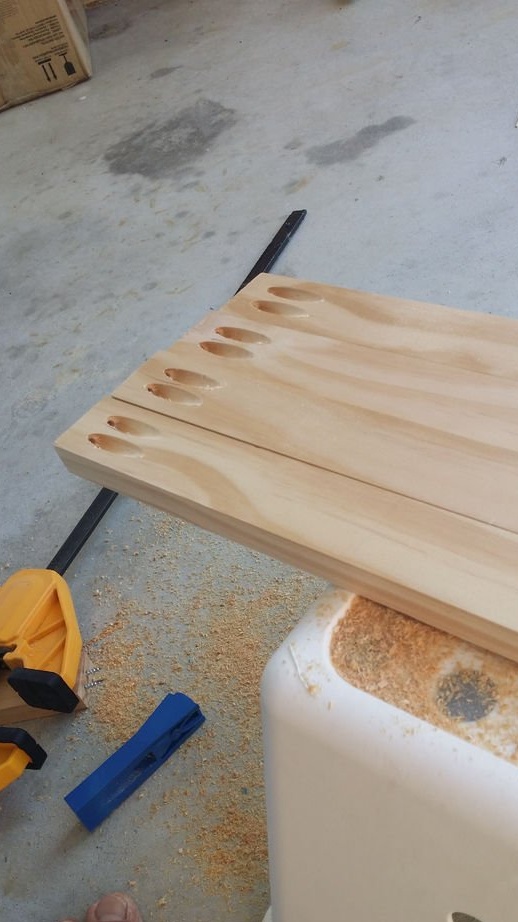
As soon as all the holes drilled can be assembled, the author smeared the joints with adhesive for reliability.
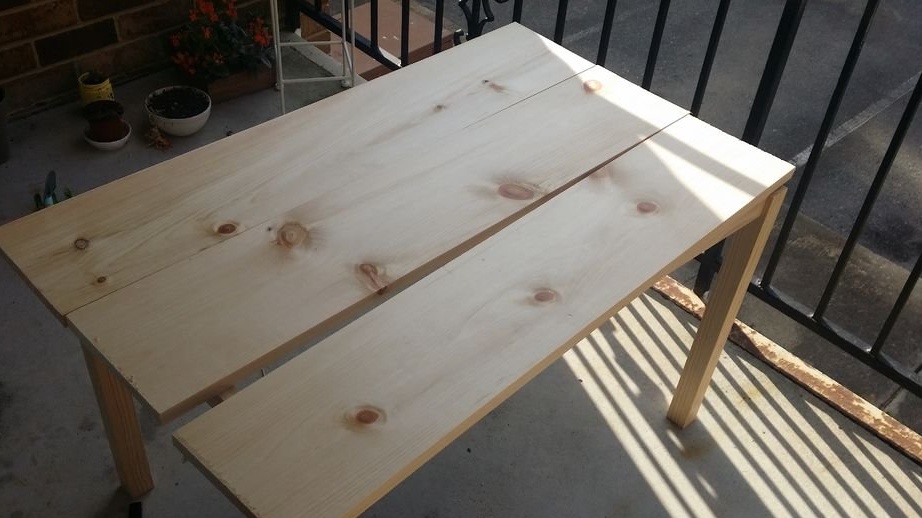
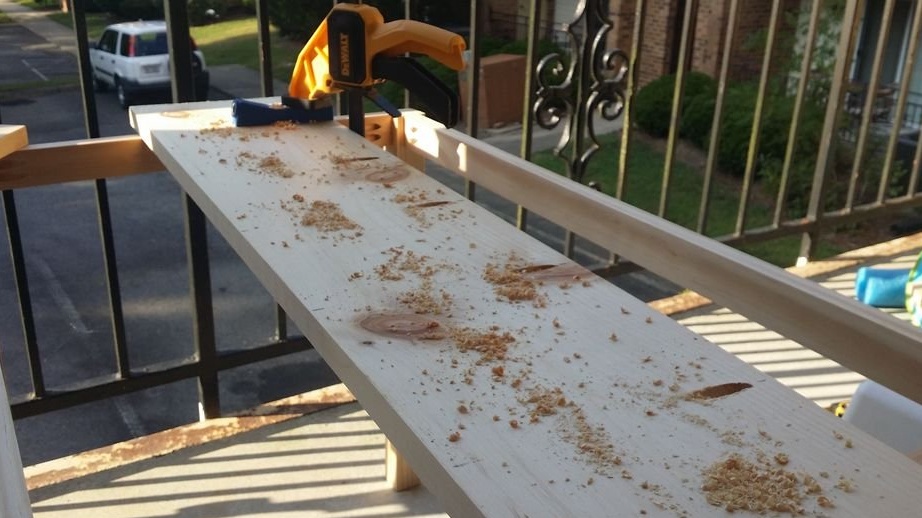
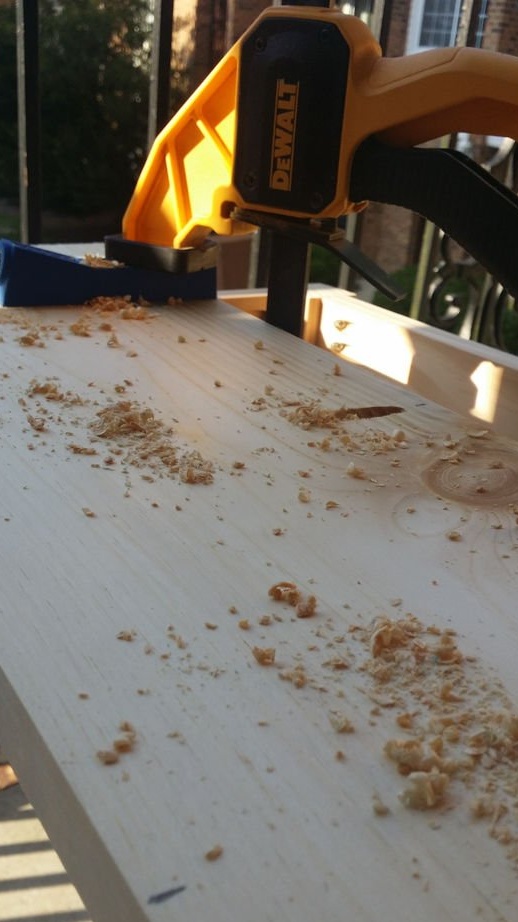
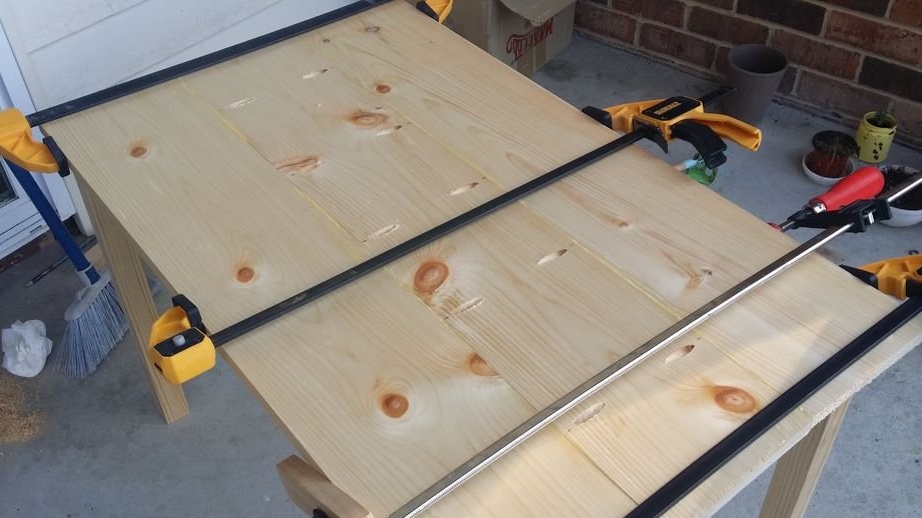
5. In order for the countertop to be without gaps, the author cut the cut of the boards to a level condition with a saw, then glued the countertop.
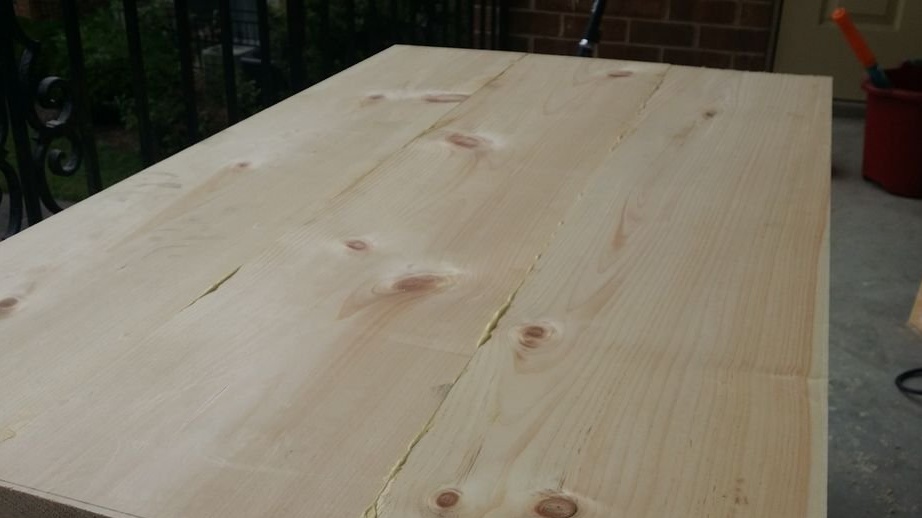
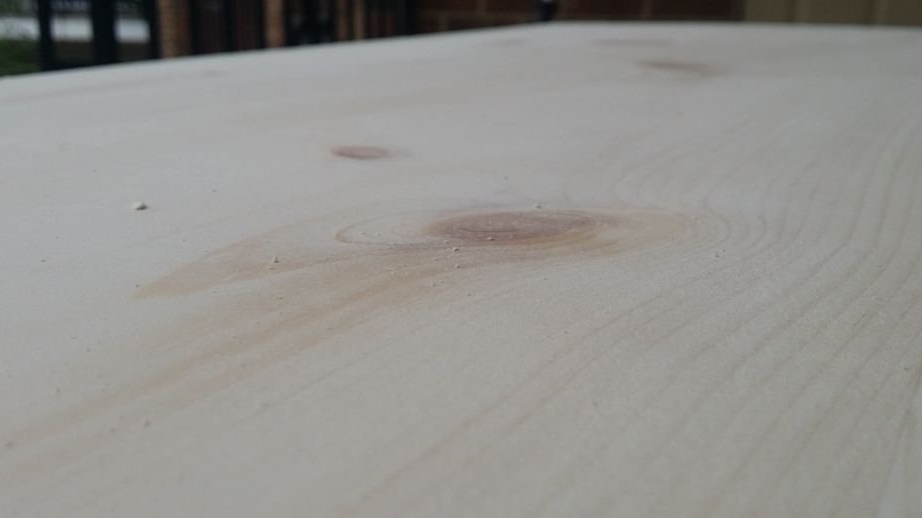
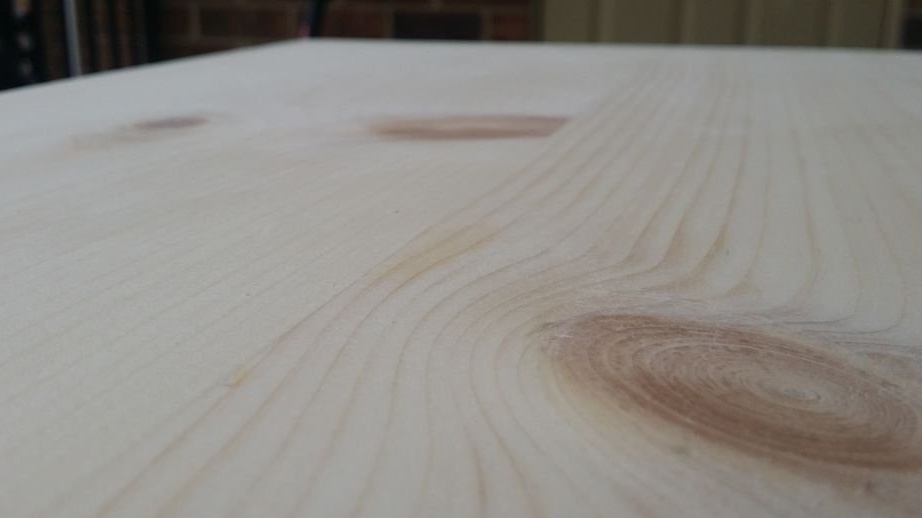
6. Once the glue has dried, the author polished the countertop in the photograph you can see before and after, the seam is almost invisible.
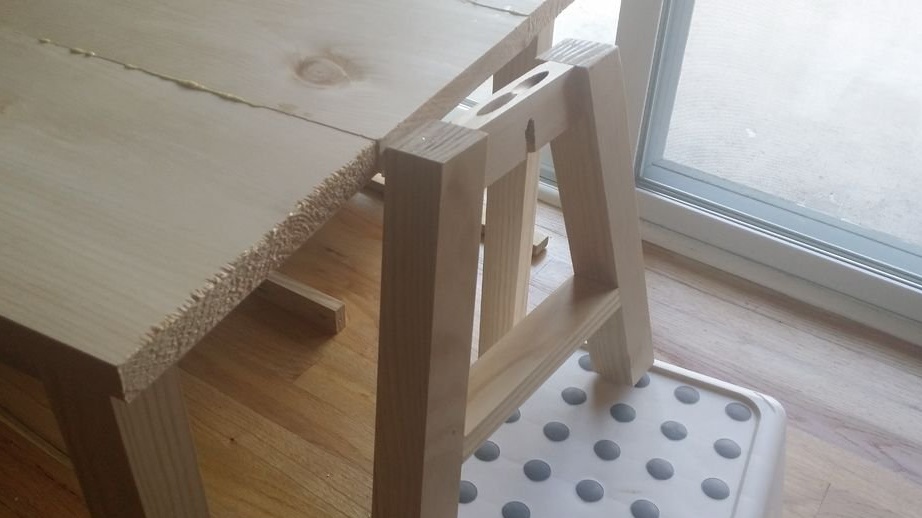
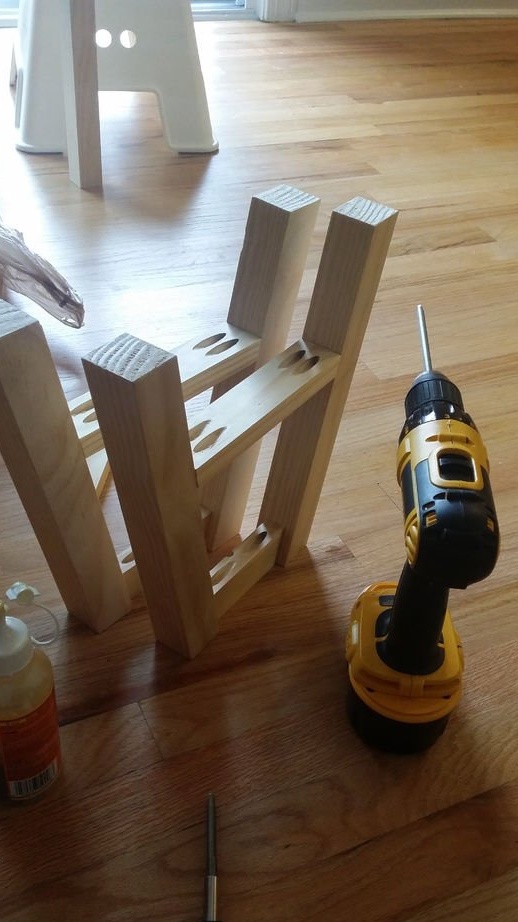
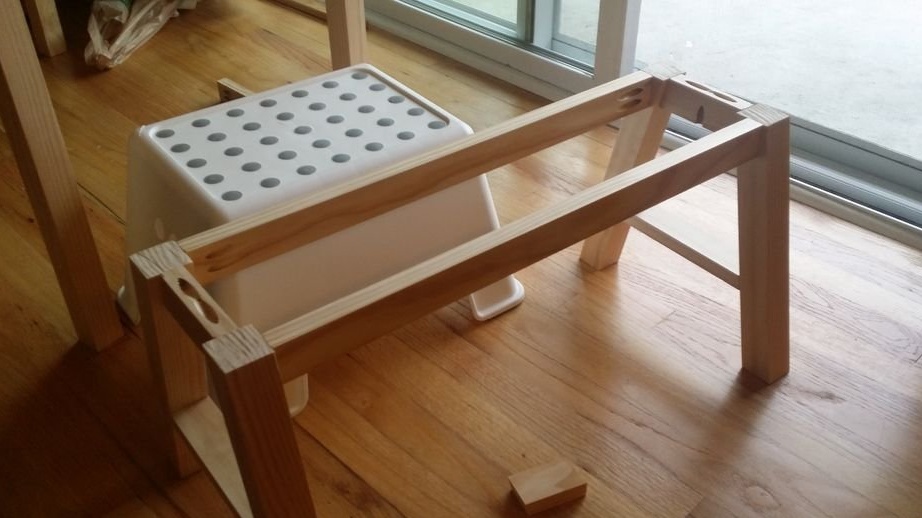
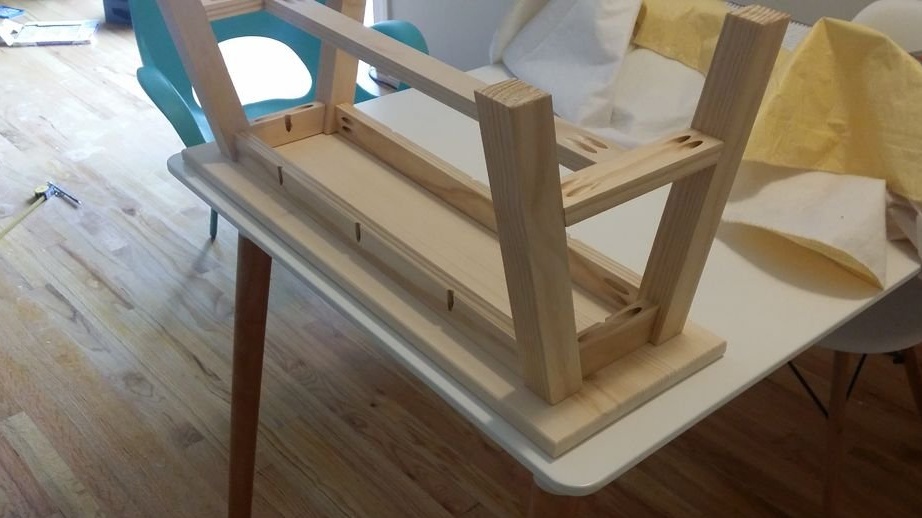
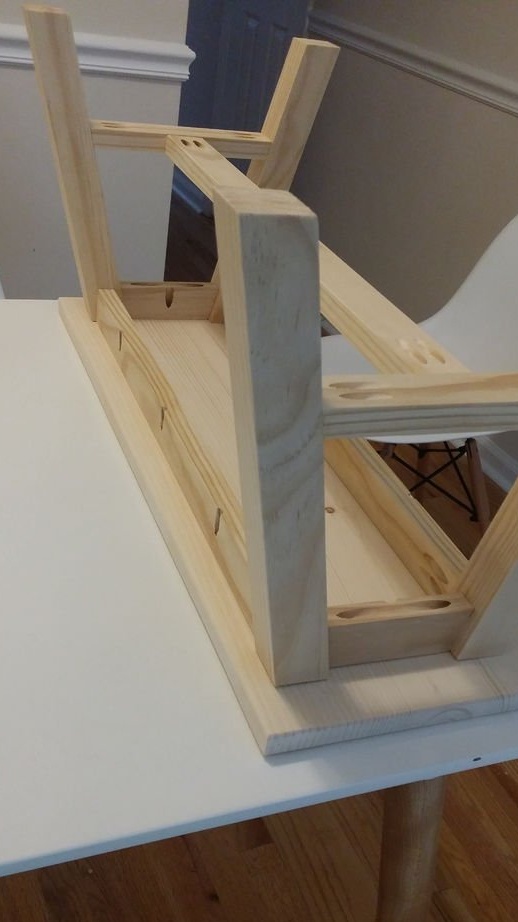
7. Arrange all wooden parts as needed.
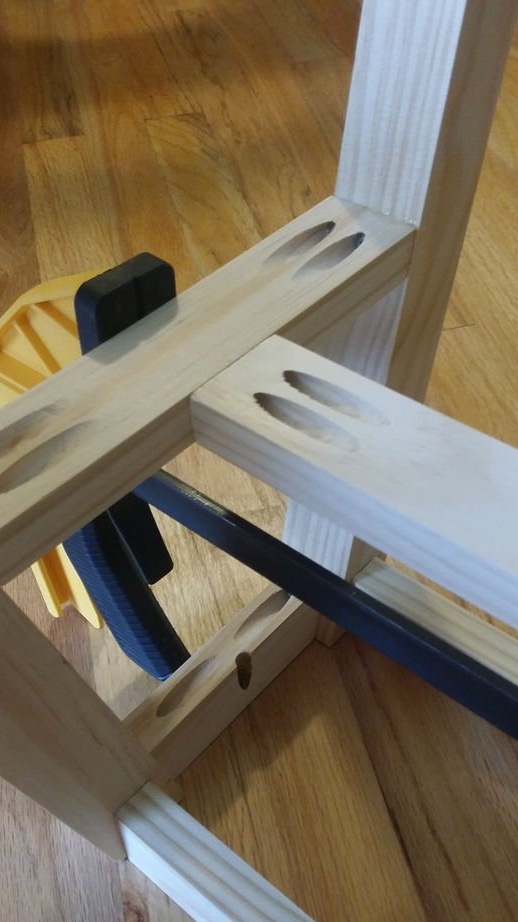
Also pay attention to the direction of the bolts. The author tried to make the majority on the "insides" so that it was not visible at the end.
Due to poor access in some places, it was necessary to tighten the bolts with a hand tool, especially on these lateral trapezoidal parts.
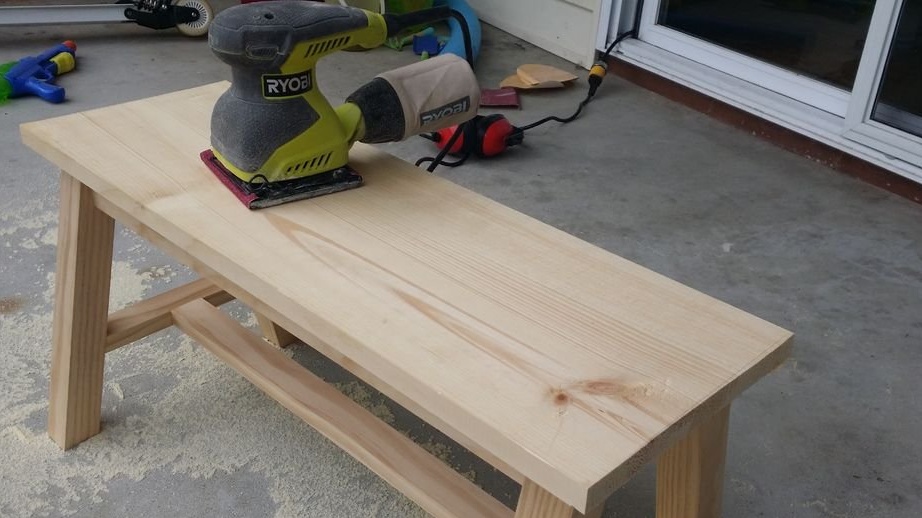


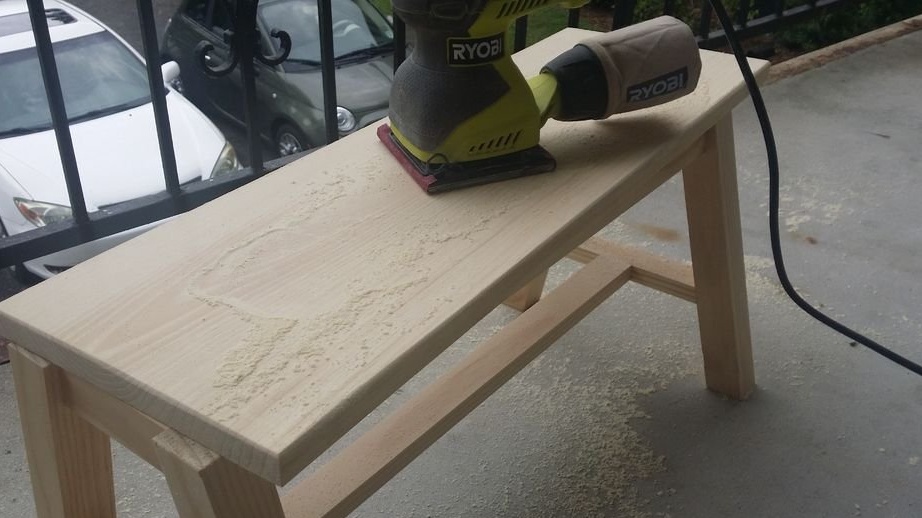
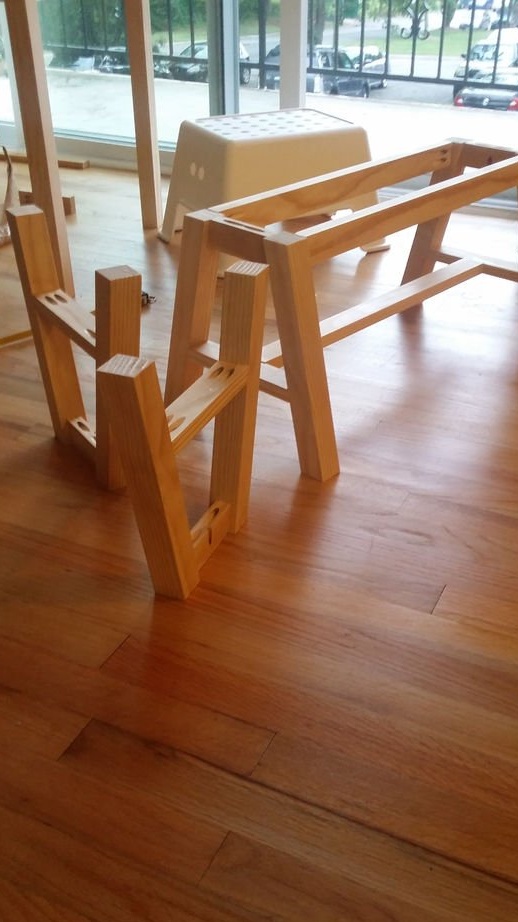
8. Feet ready to sand the benches.
Here, the work is simpler, both because of the smaller area, and because of the solid board (instead of three from the table).
Due to the lower cross member, the beam had to be drilled on the “outside” slightly visible, although not so badly.
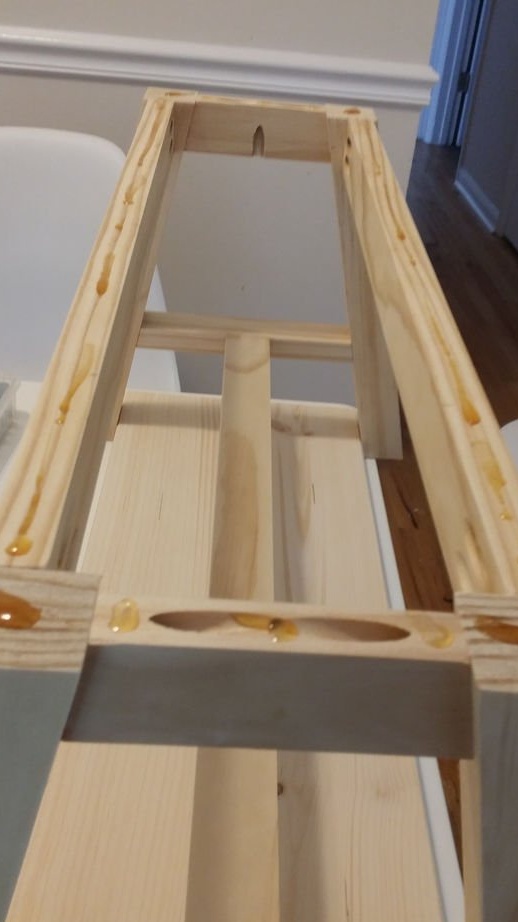
Align the top and legs, apply glue and bolt everything together.
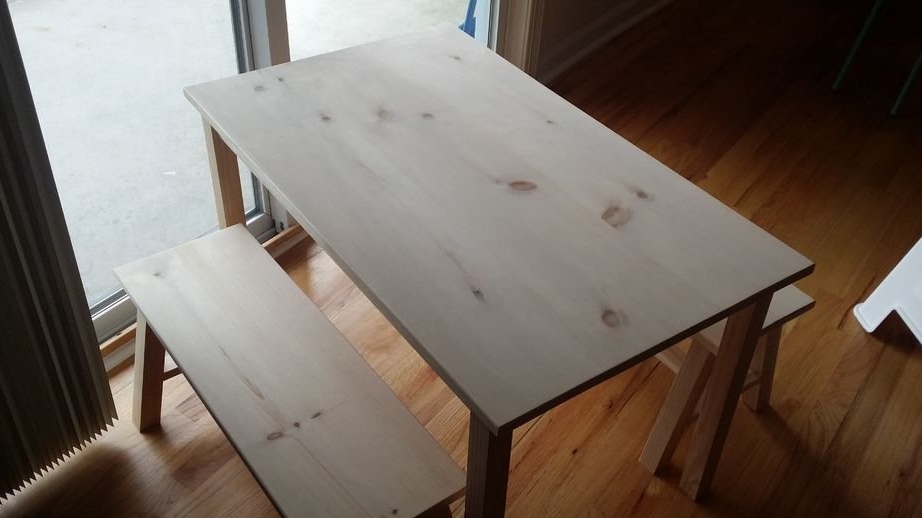
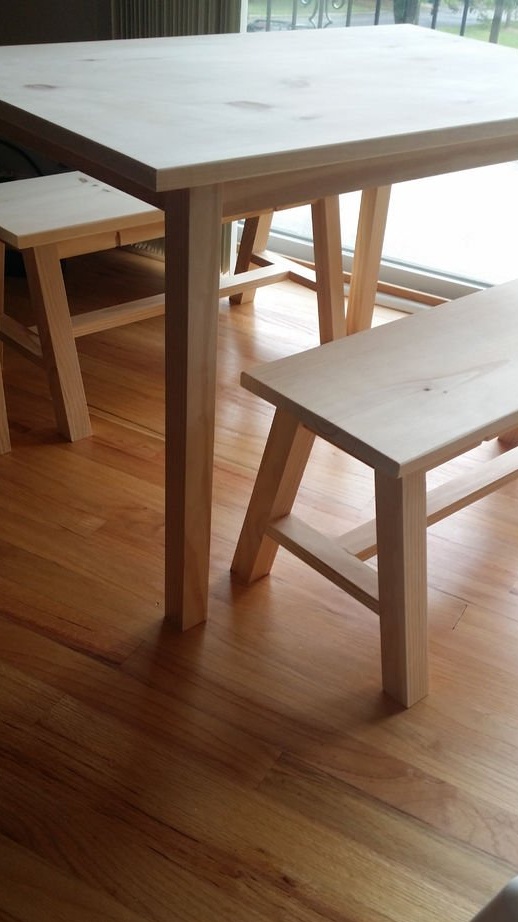
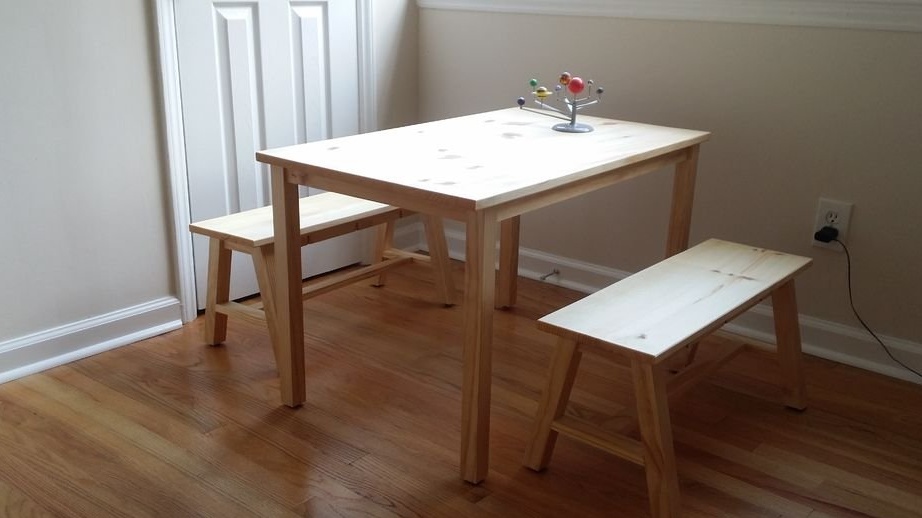
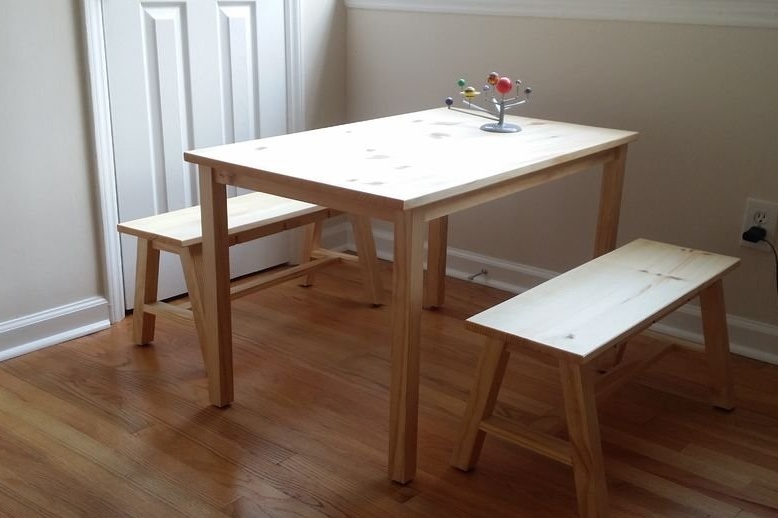
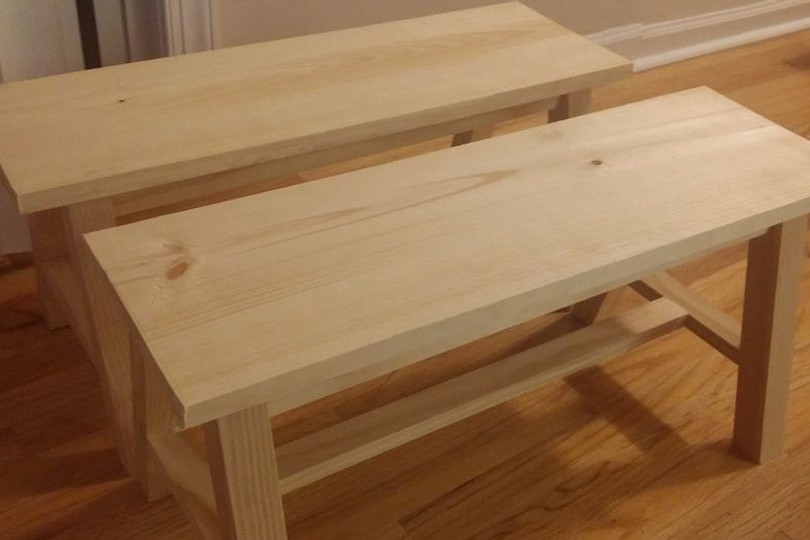
9. The table and benches are ready.
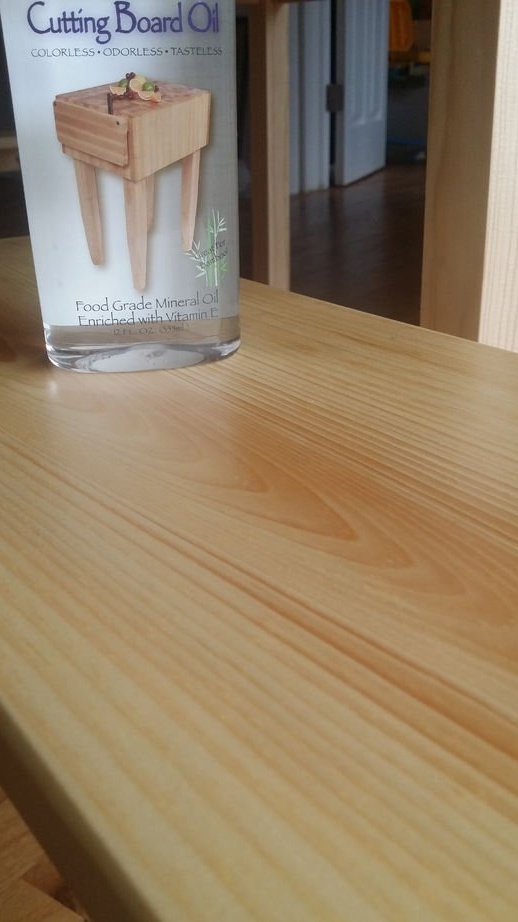
Now it's time to varnish the wood.