
In this article, John, the author of YouTube channel "John Heisz - I Build It" will tell you how he made a very unusual carpentry saw.
Materials
- Hardwood
- Canvas from an old saw
- A pair of M8 bolts
- Impregnation for wood
- Two-component epoxy resin.
Instruments, used by the author.
- Band-saw
- Miter saw
- Milling machine
- Drilling machine
- Forstner drills
- Hacksaw
- File, file
- Grinding machine
- A circular saw
- Bulgarian
- Clamps, chisel
- Sandpaper
- Vise.
Manufacturing process.
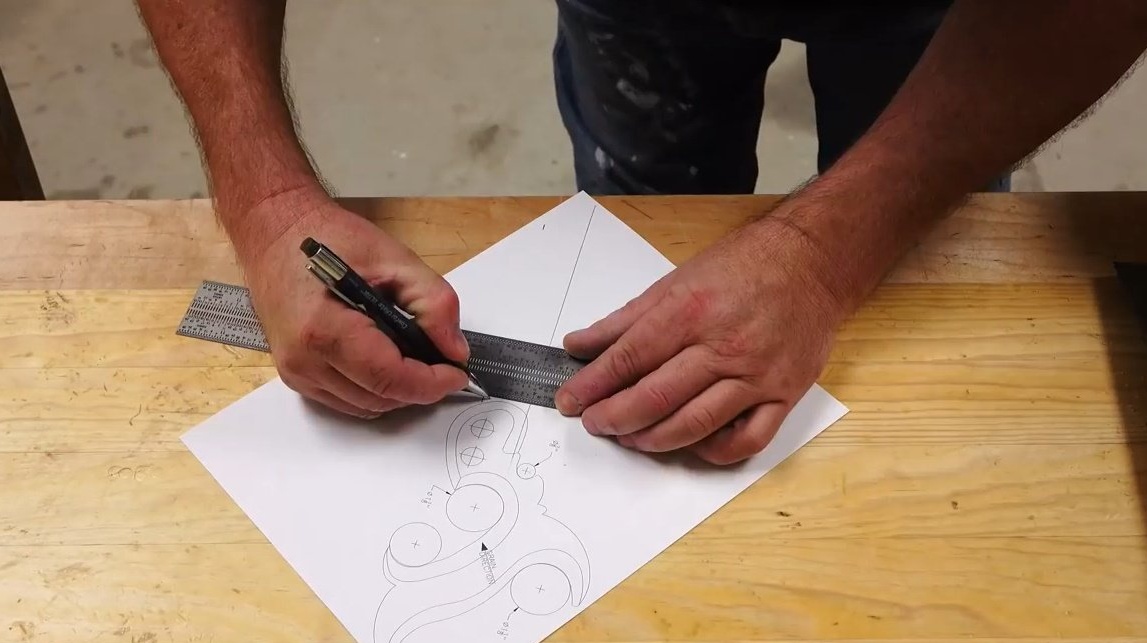
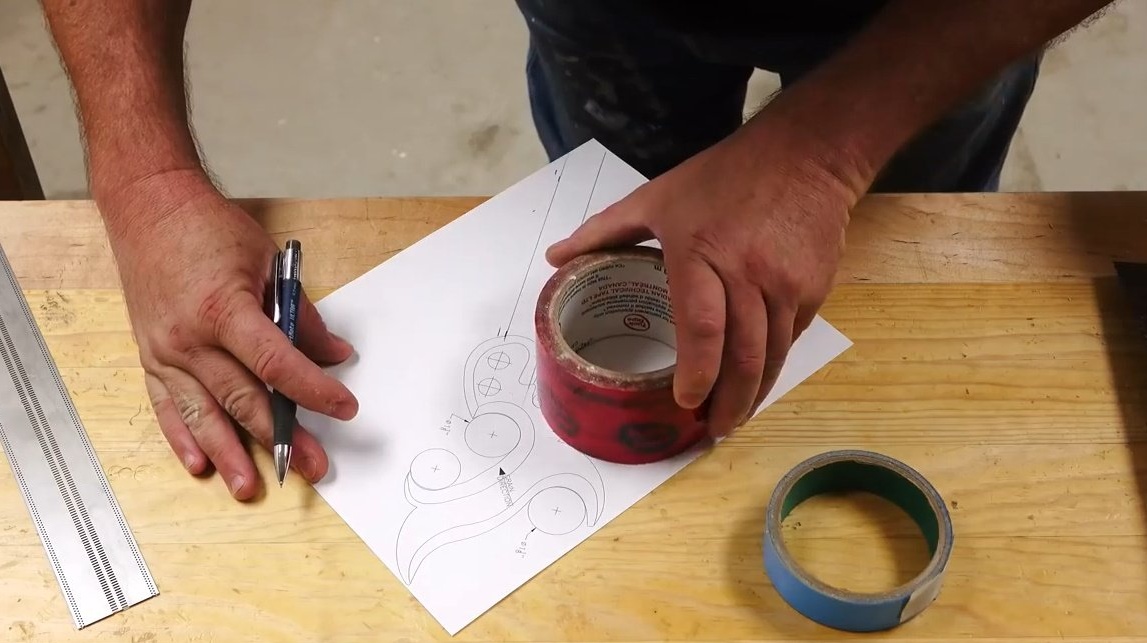
The author borrowed a template for a saw handle on the Internet, see. However, John made a few changes. Having got rid of some, from his point of view, superfluous elements (fanciful curlicues). He also strengthened the top of the handle.
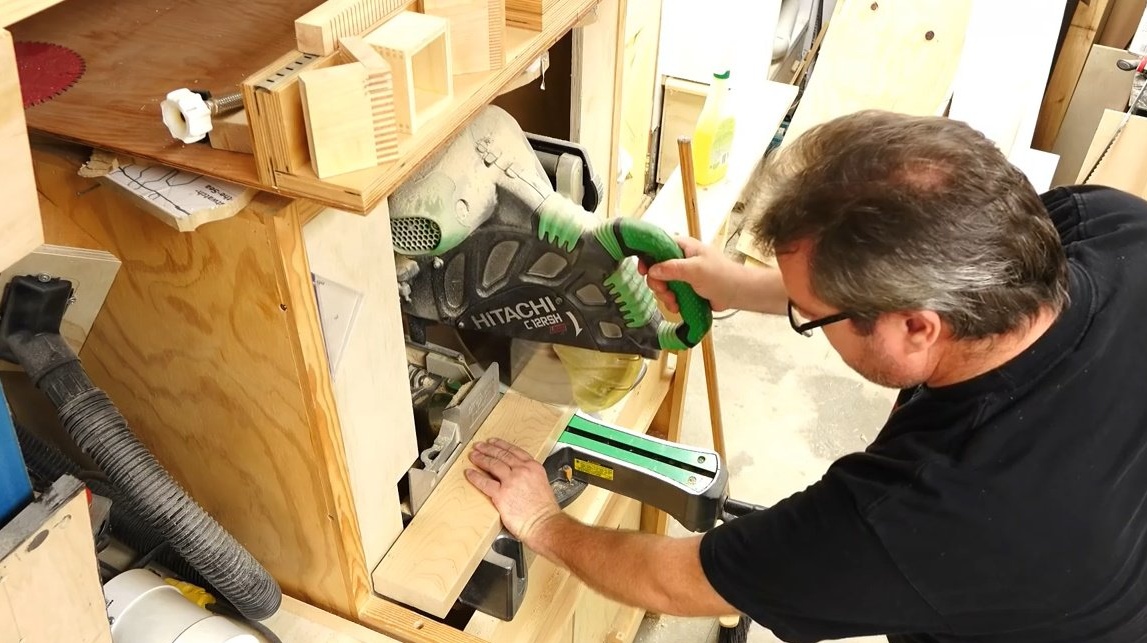
He selects a suitable wood material for the handle. In the master’s inventory, there are plenty of boards 3/4 inch thick and the right width, but in order to cut the saw handle out of them, the thickness of the board should be an inch more. It is not advisable to glue two wooden elements: this may affect the strength of the handle. Finally, the right board was found - it is quite thick and about 4 inches wide. The master cuts it to the desired length using a miter saw.
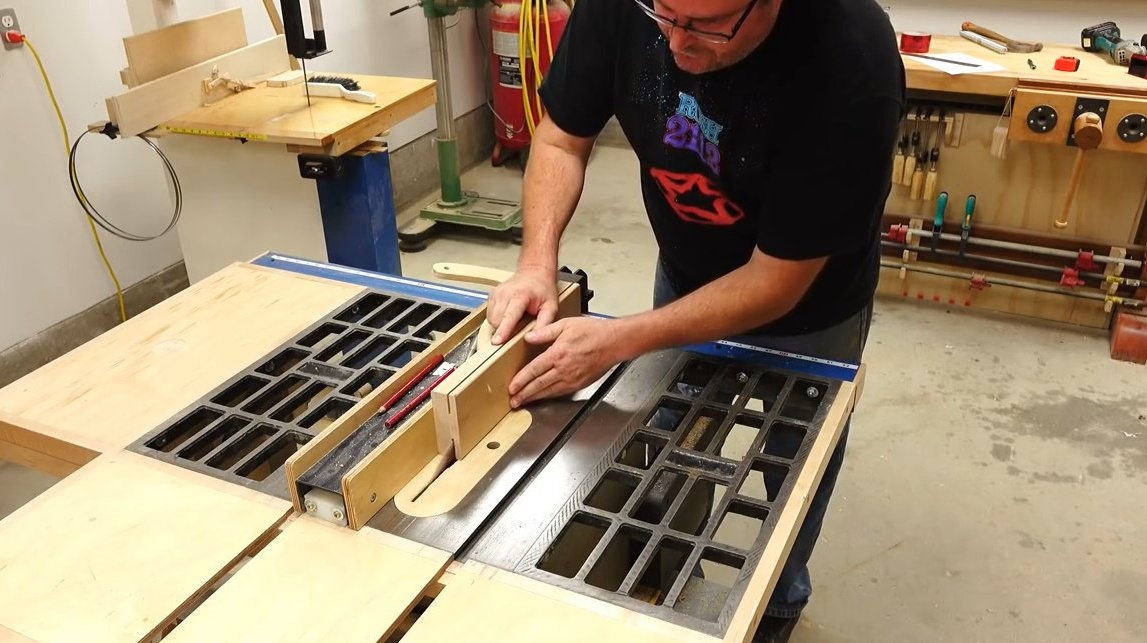
And then on a circular saw in several passes cuts it to a thickness of a little more than an inch.

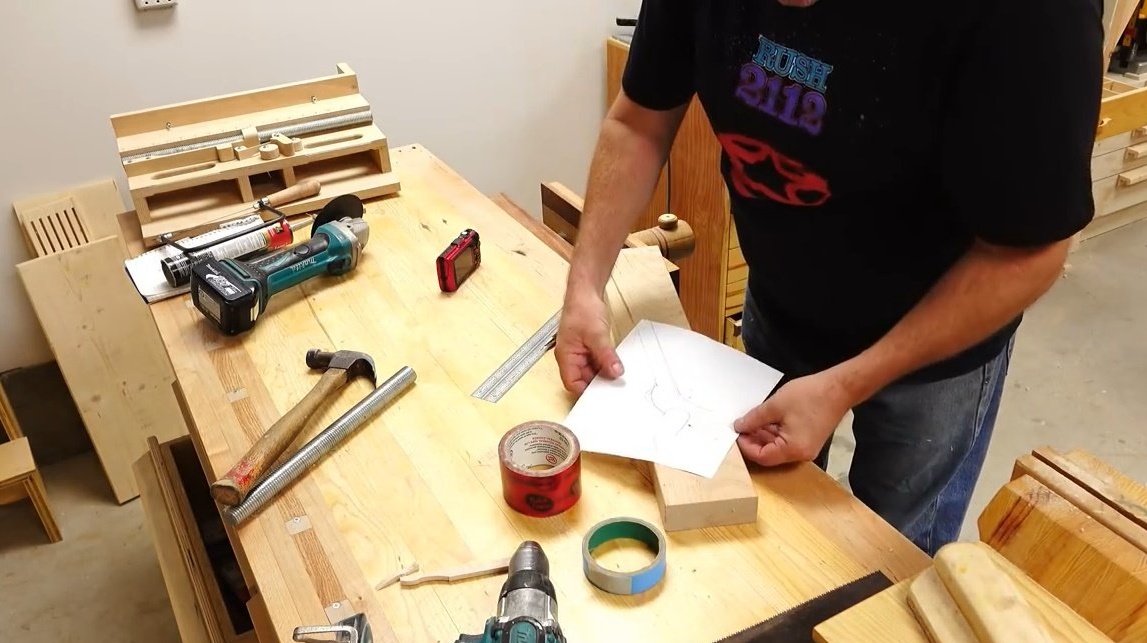
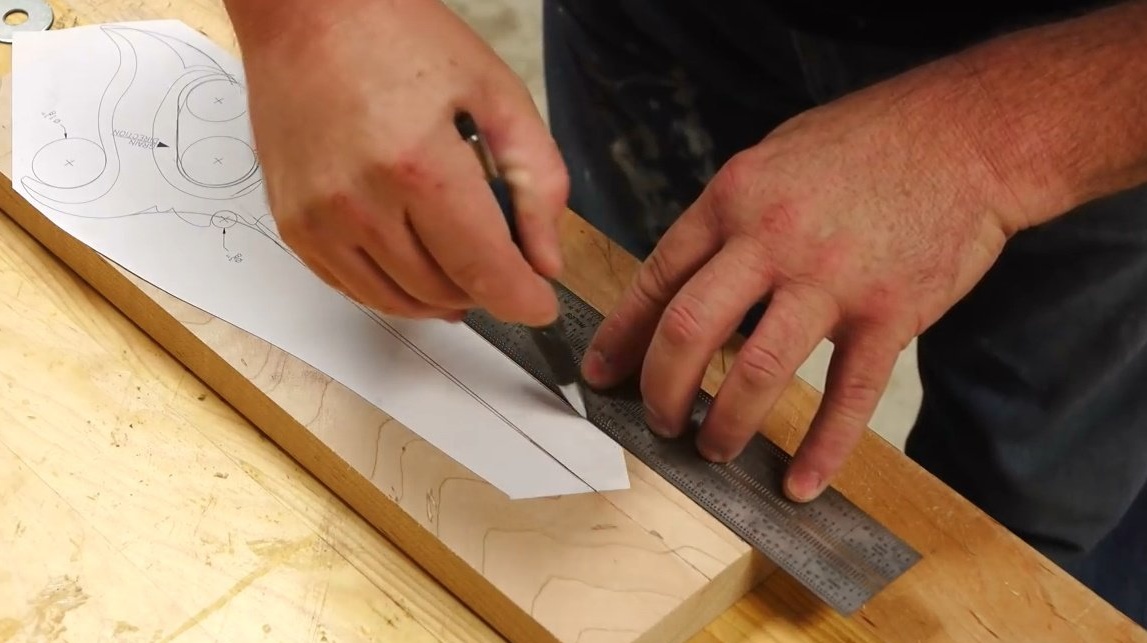
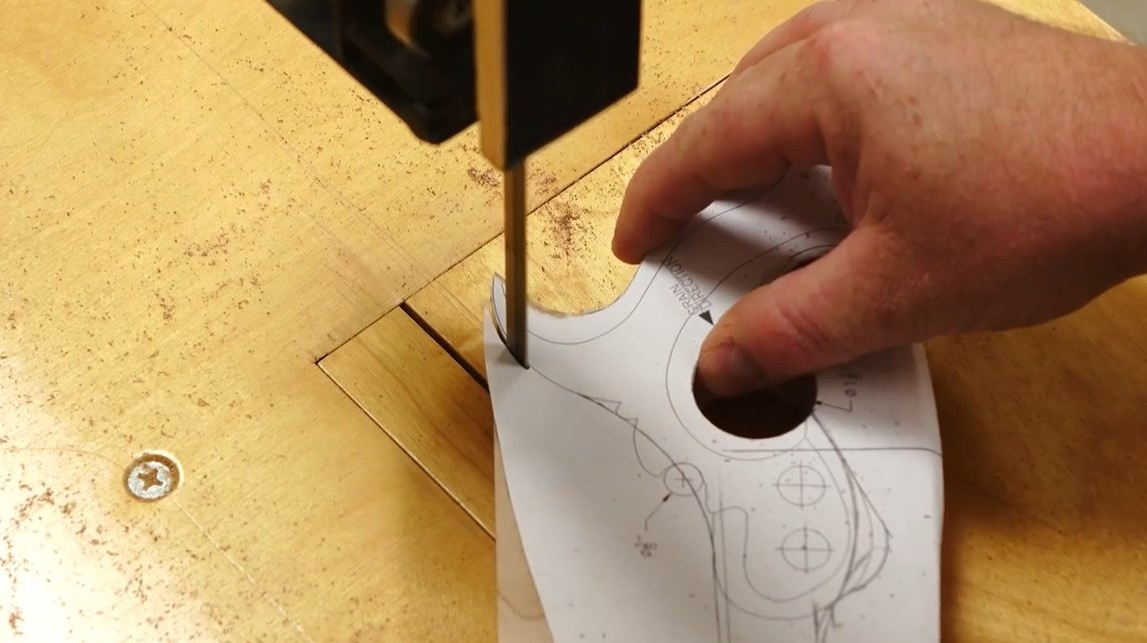
Now, he applies the finished template to the cut board, trying to evenly line the back of the future saw. At the same time, he intentionally positions the board so that the wood fibers pass along the length along the back of the saw.
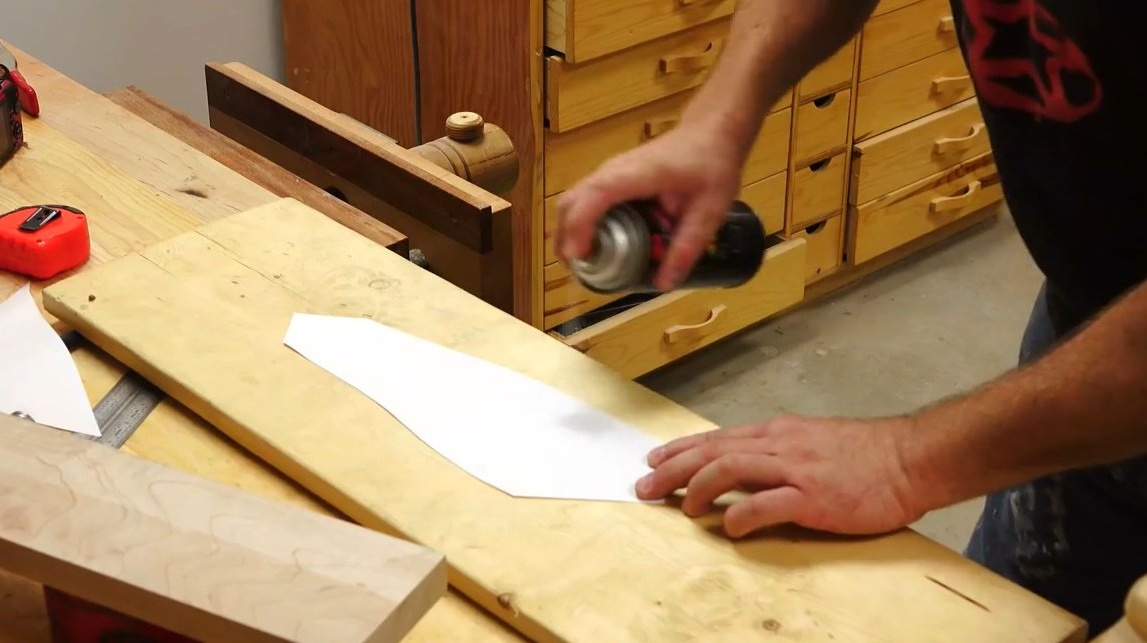
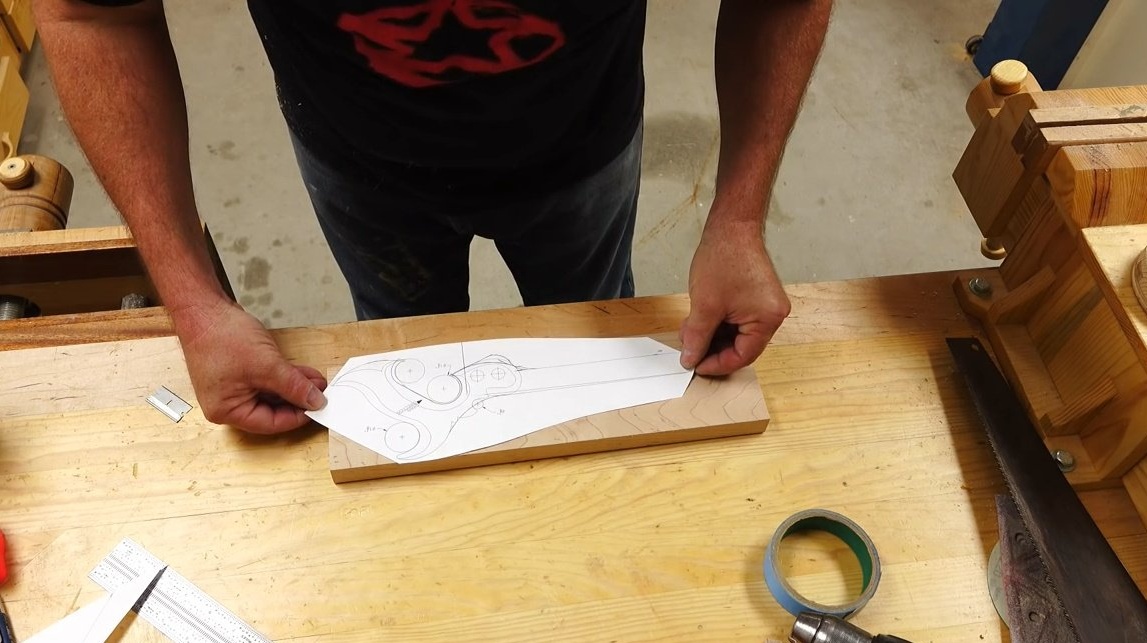
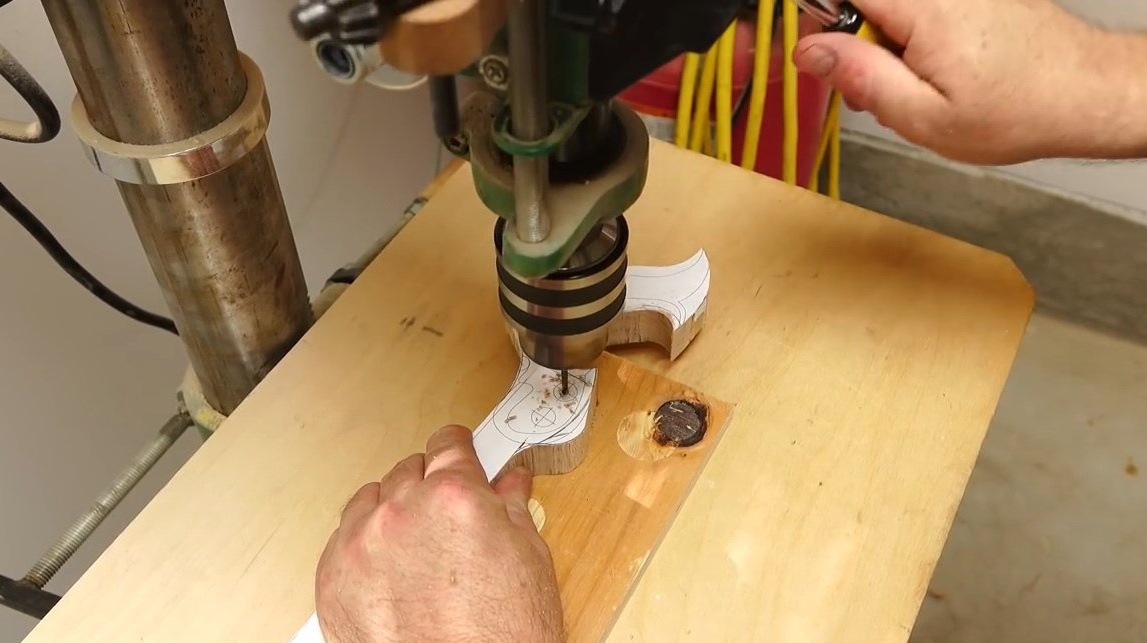
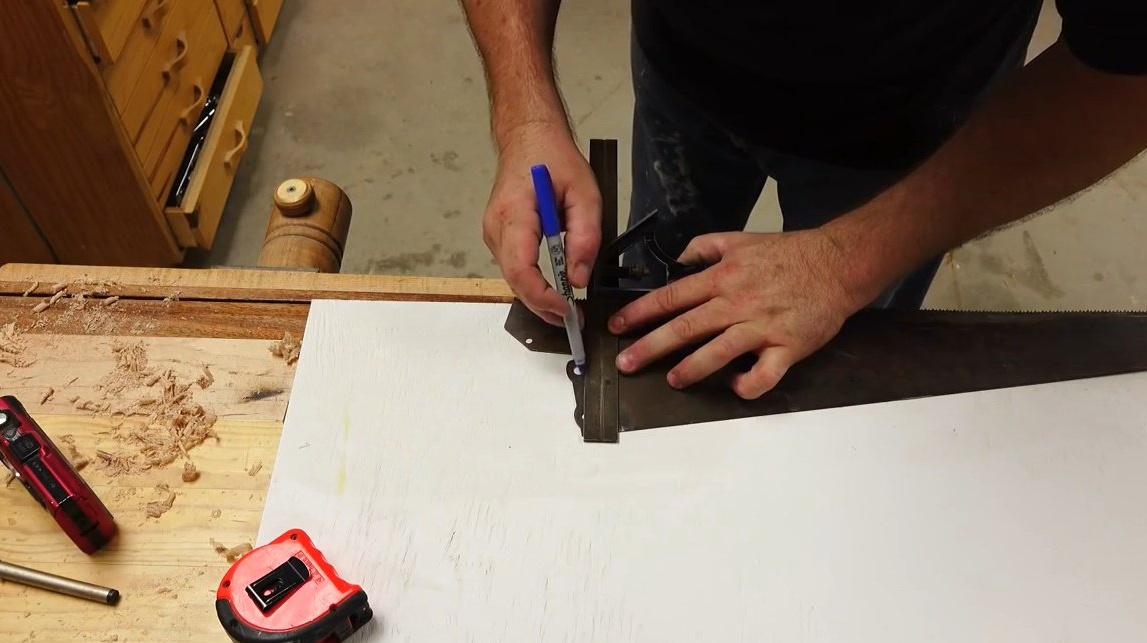
Next, the master applies a ruler and extends the template line on the workpiece, since there was not enough paper length to draw a saw in full size.
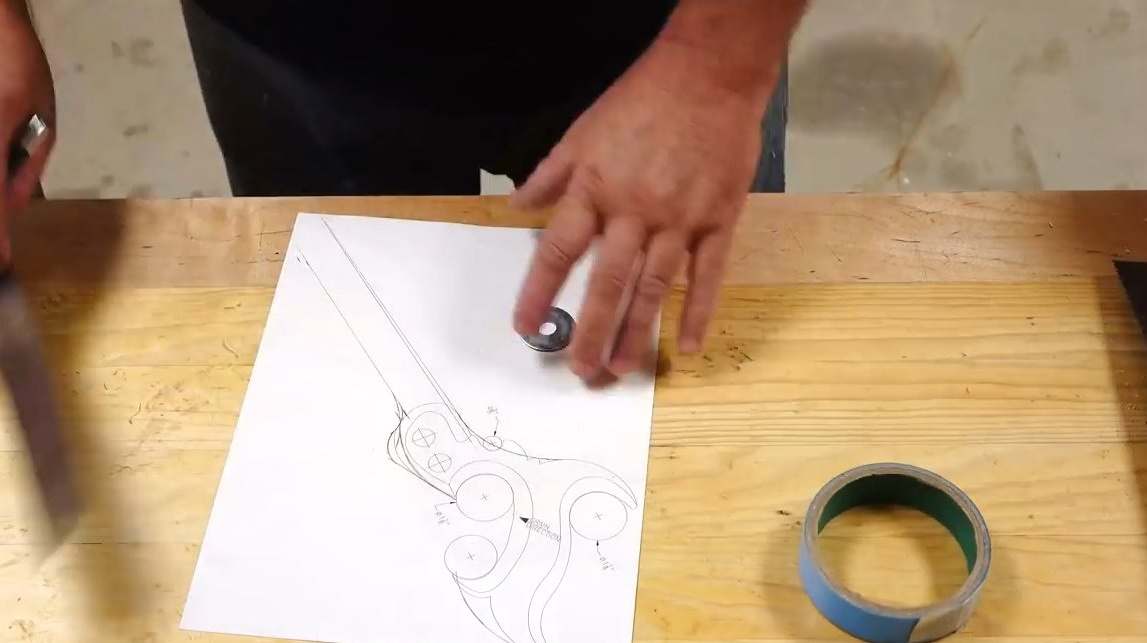
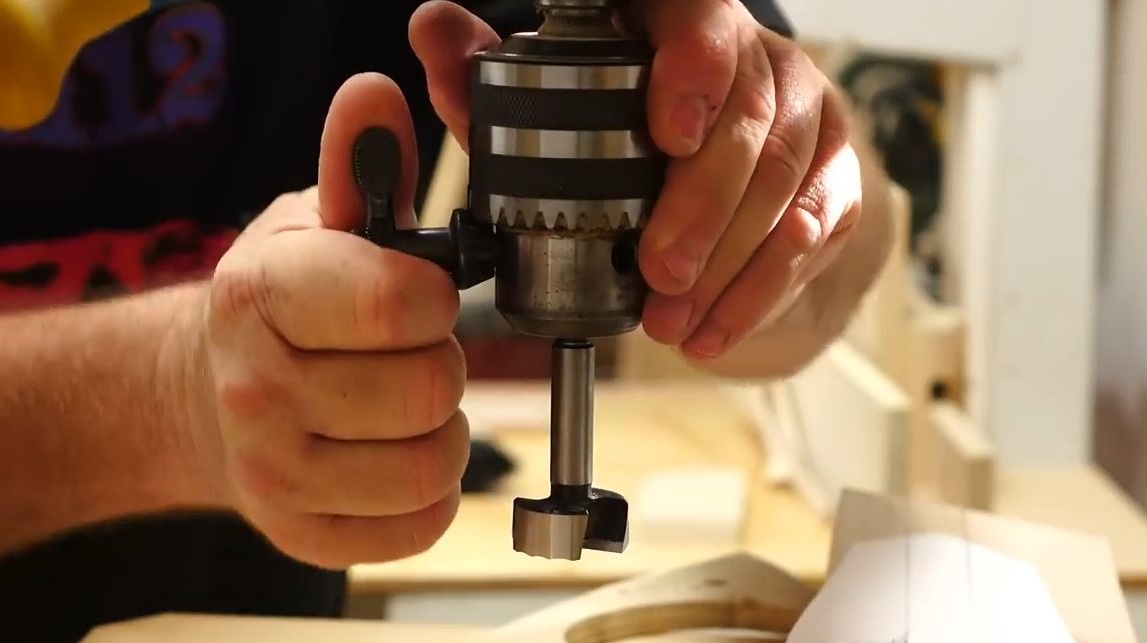
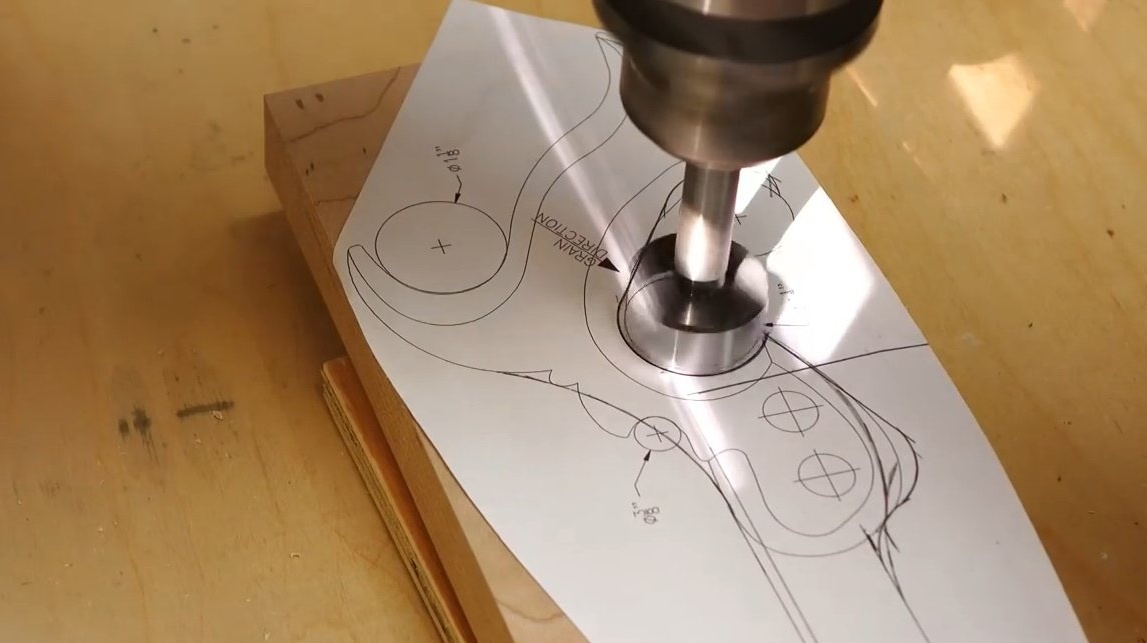
Two large holes turned out to be 1 and 1/4 inches, and the smaller one - 1 inch. The author drilled them using Forstner drills.
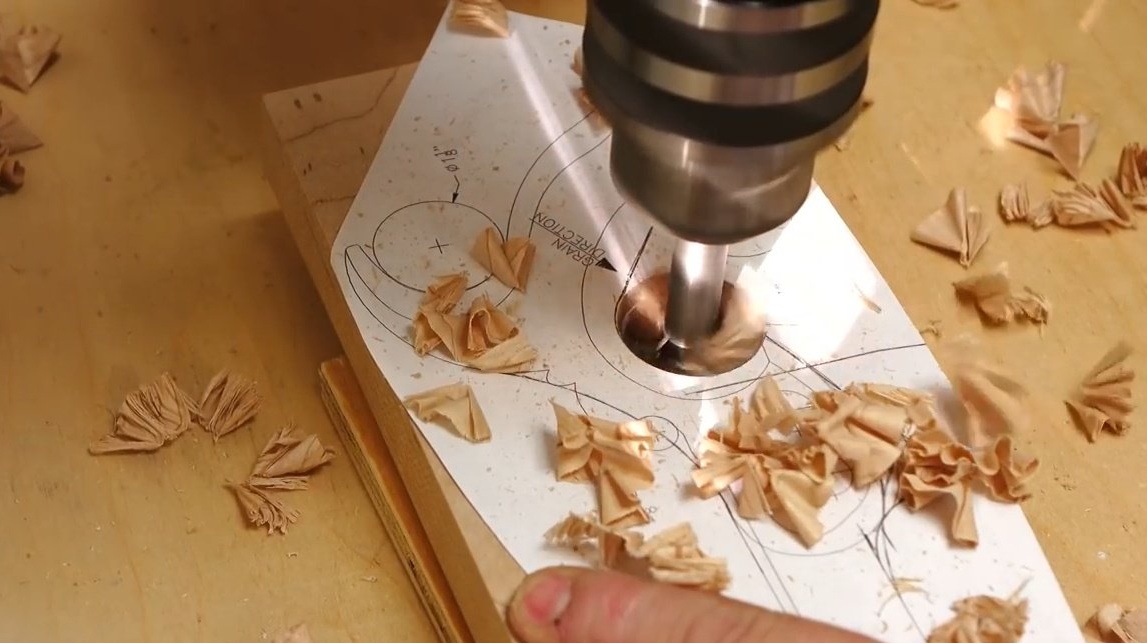
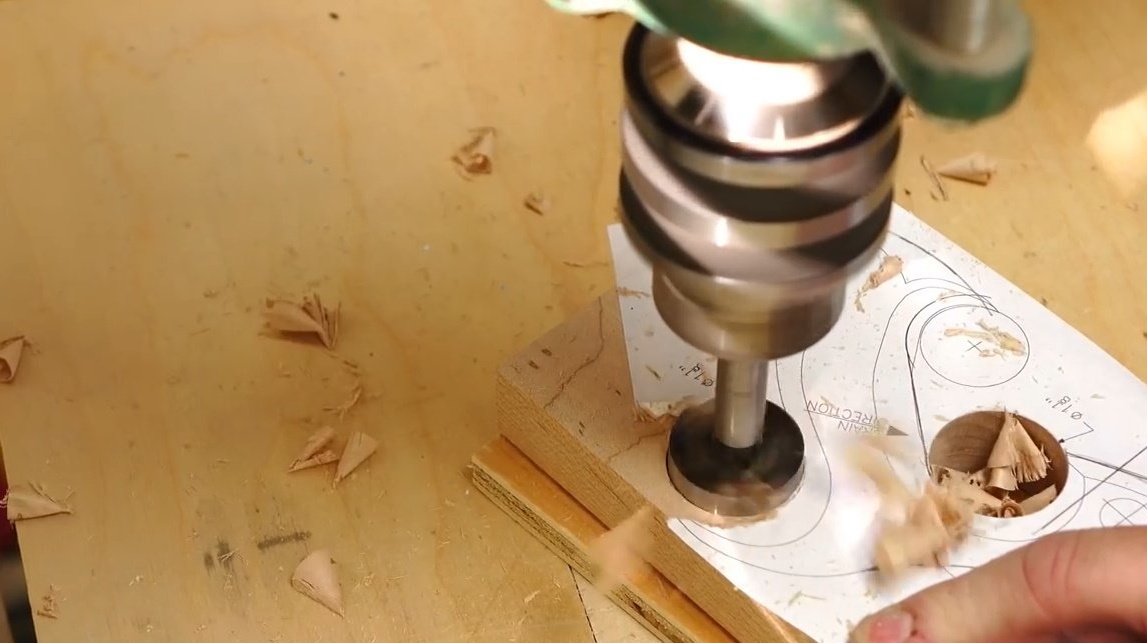
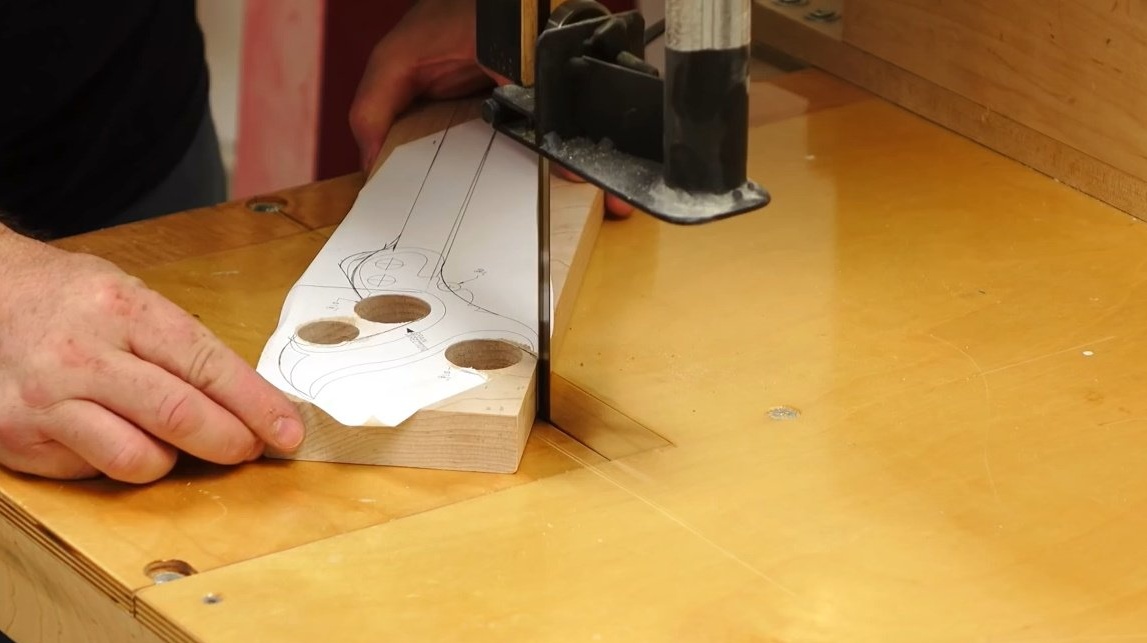
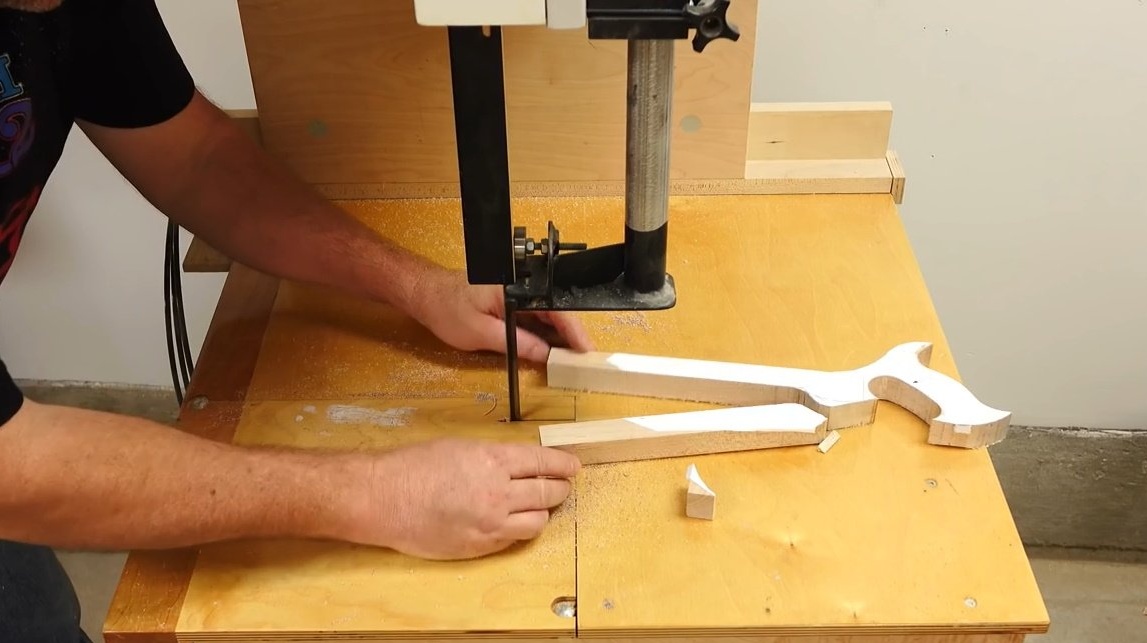
After the holes are drilled, you can start cutting out the shape of the handle on the band saw, trying to get as close to the line as possible.
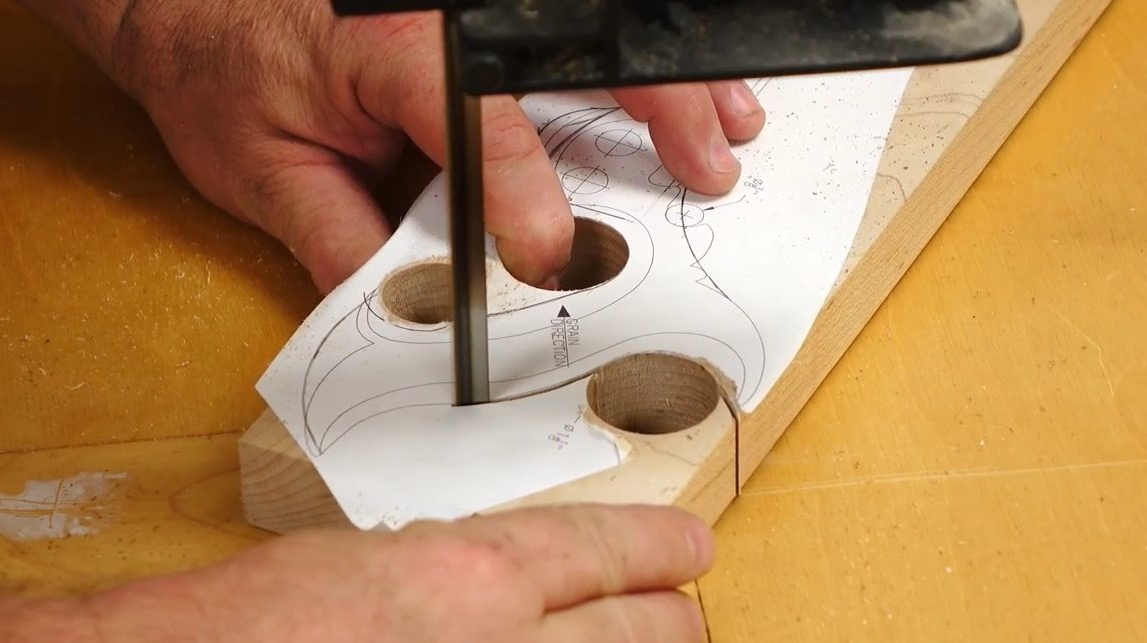
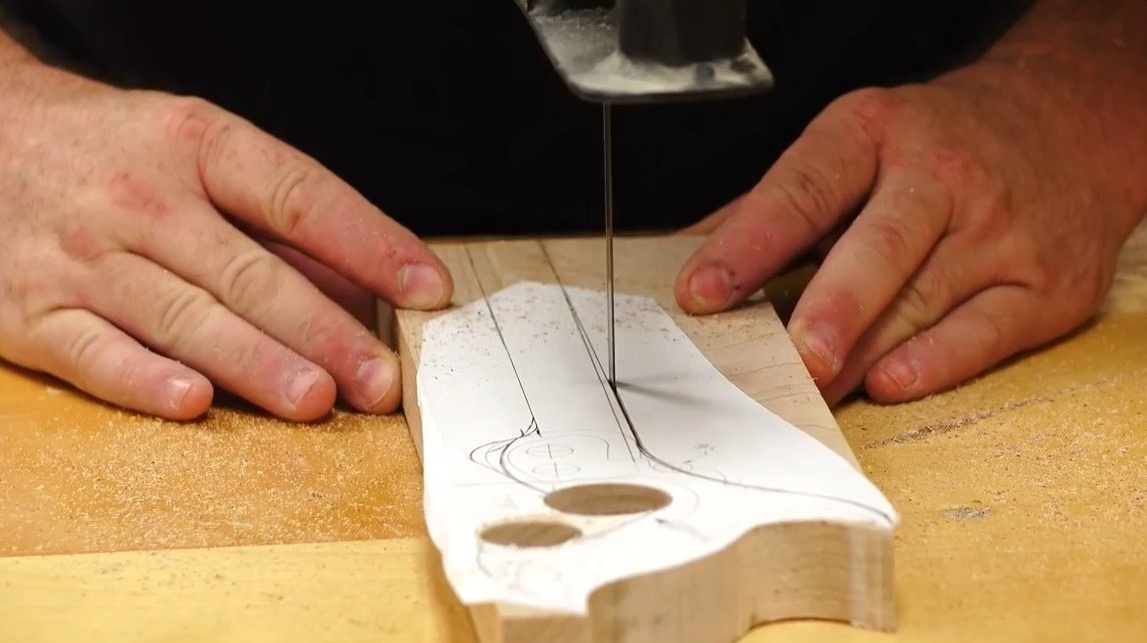

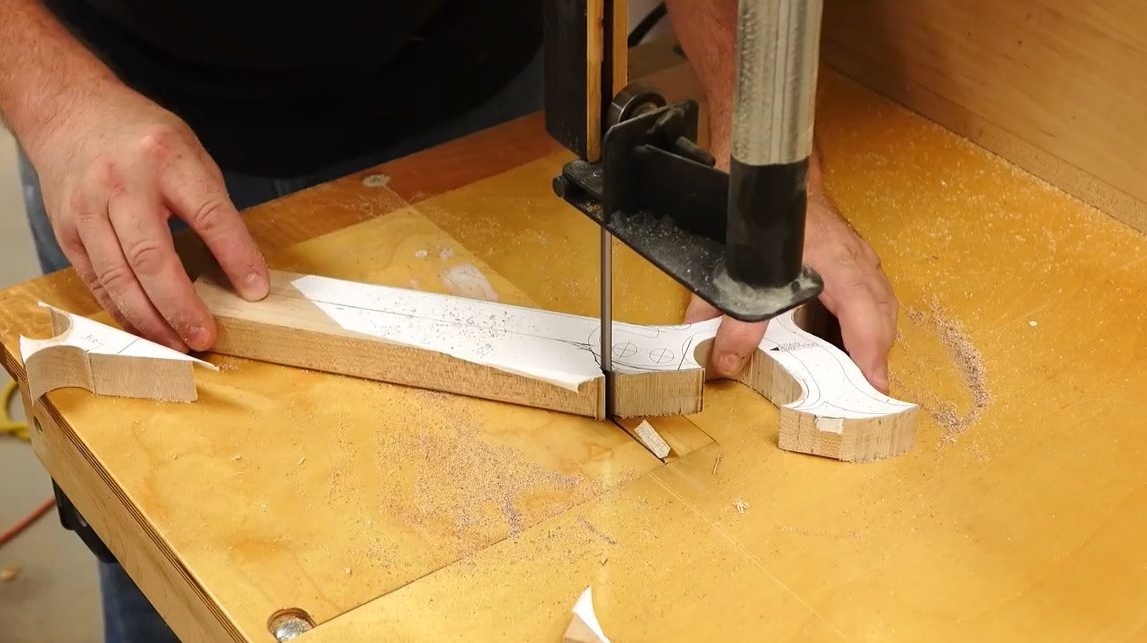
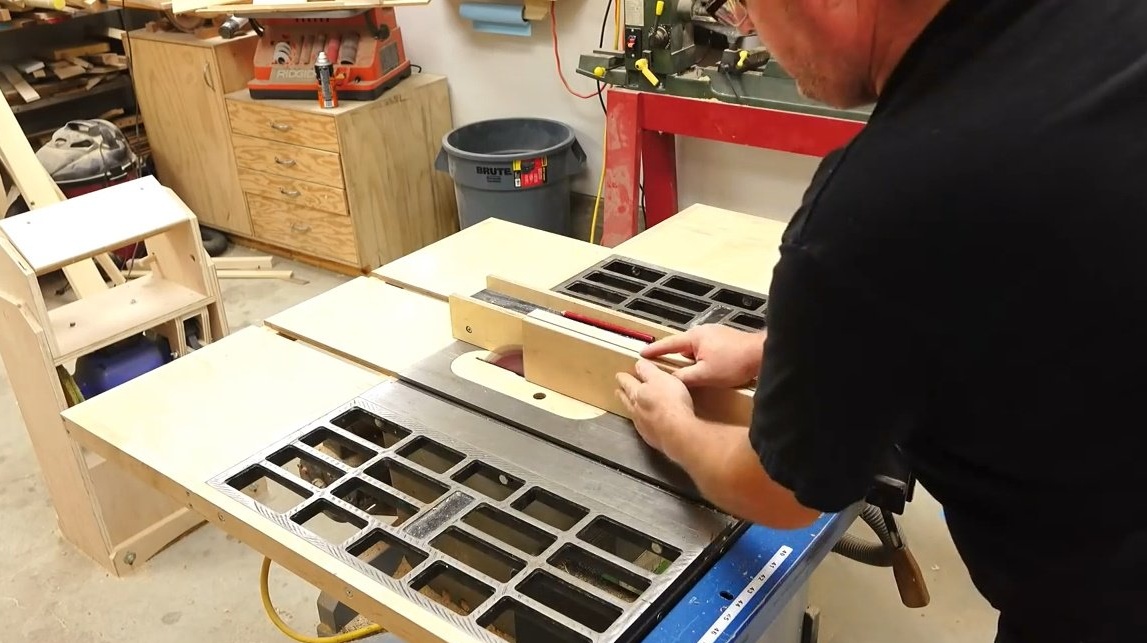
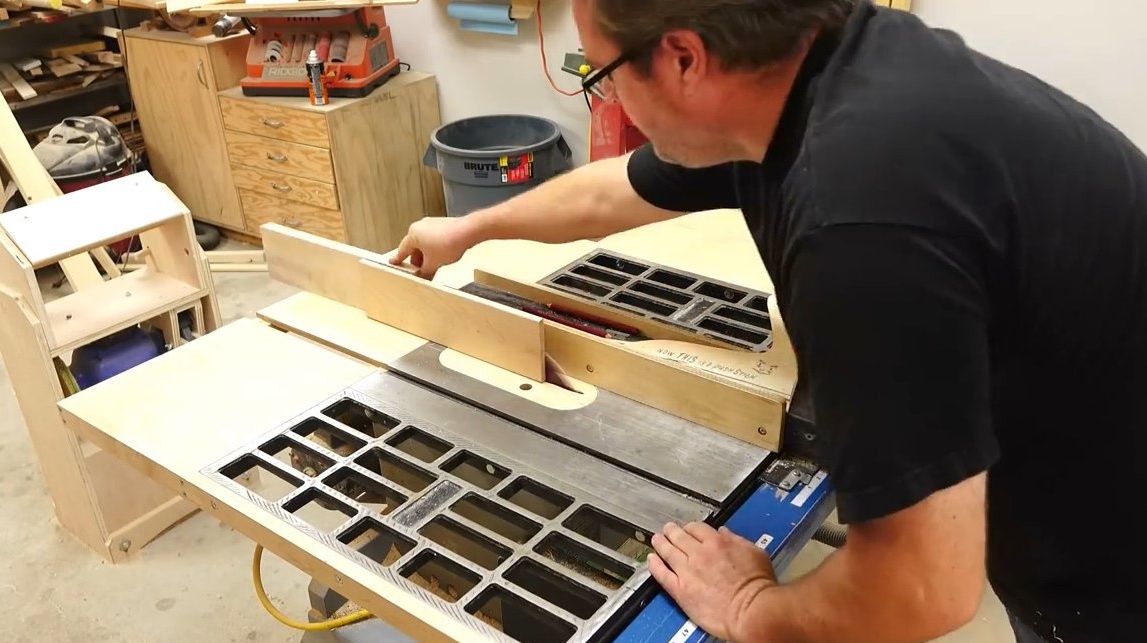
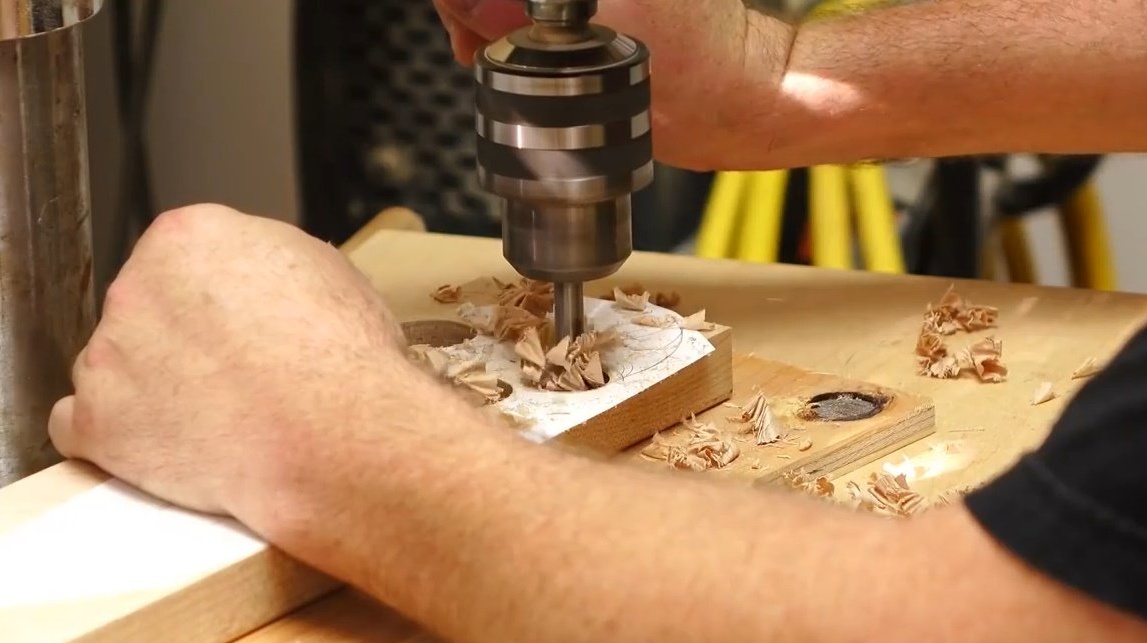
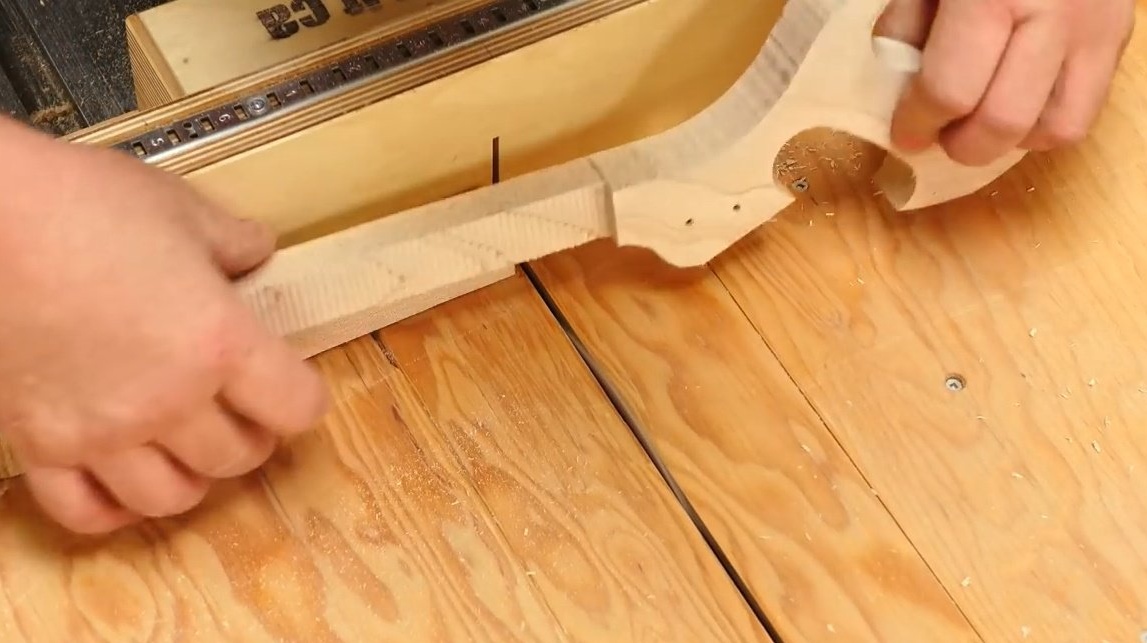
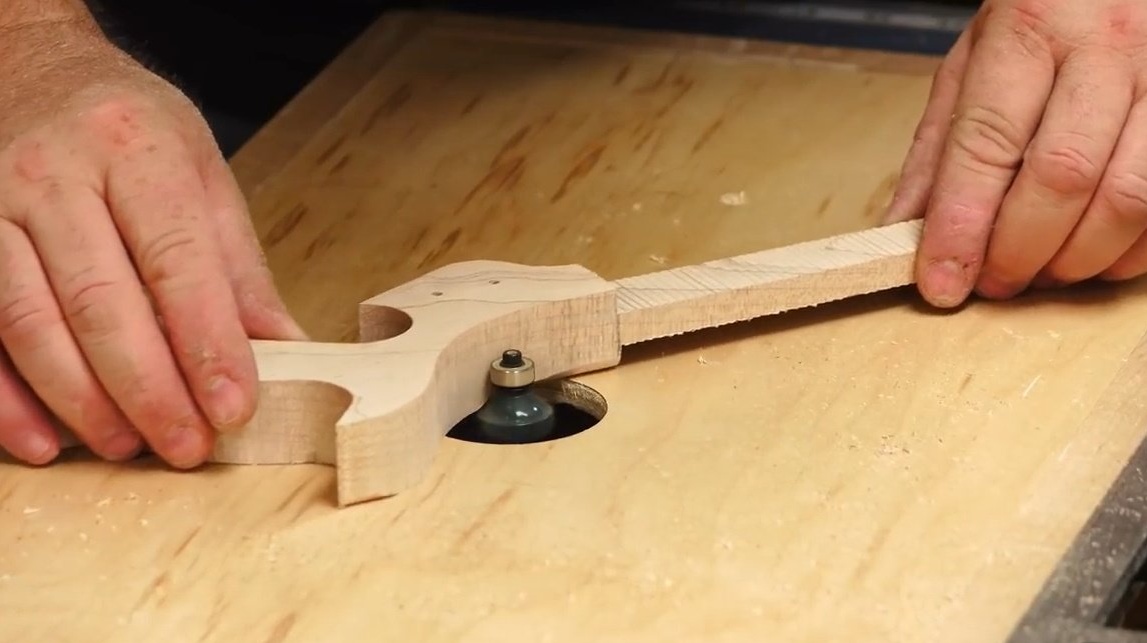
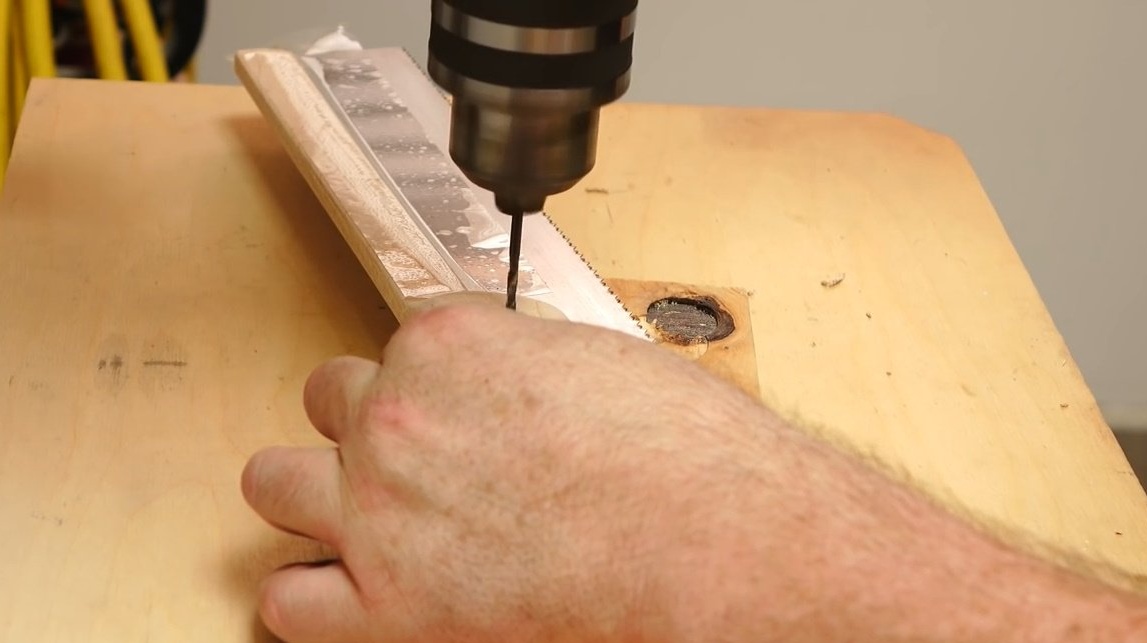
However, not all elements of the form can be cut on a band saw. And the author again moves to the drilling machine and drills two holes for the bolts that must go through to secure the saw blade in the handle.
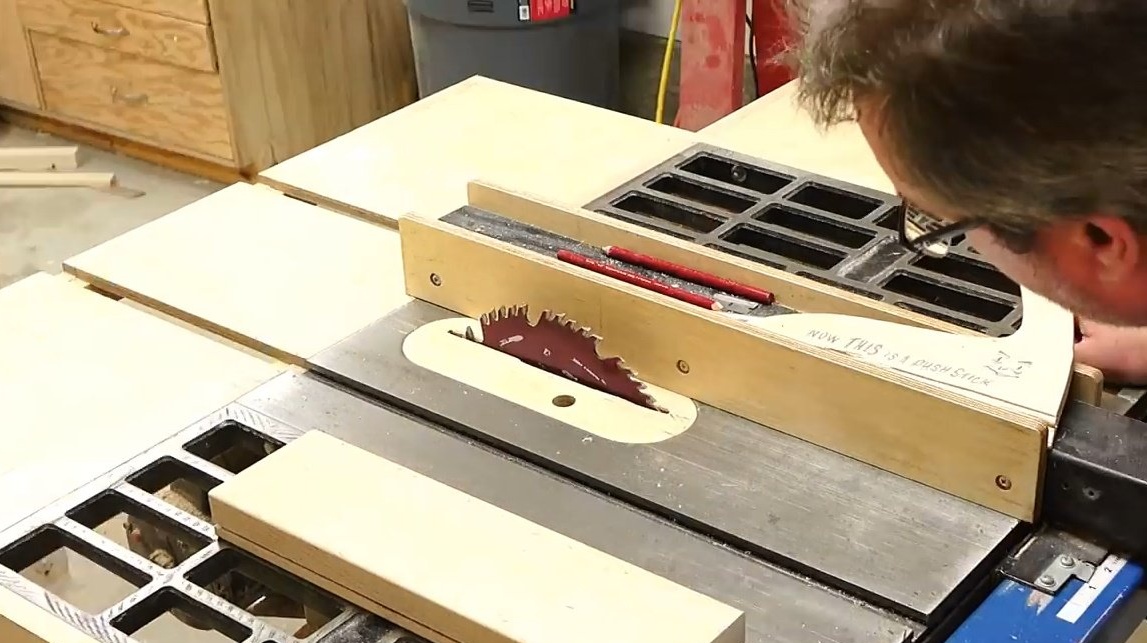
The next operation that the master does is to reduce the thickness of the bar / back of the saw to 3/8 inch. The craftsman leaves some material at the very end to support during sawing, as the rest of the material must be removed. So the back of 5/16 inch looms gradually. Next, the craftsman removes excess material in width. And here the back of the saw acquires the desired thickness.
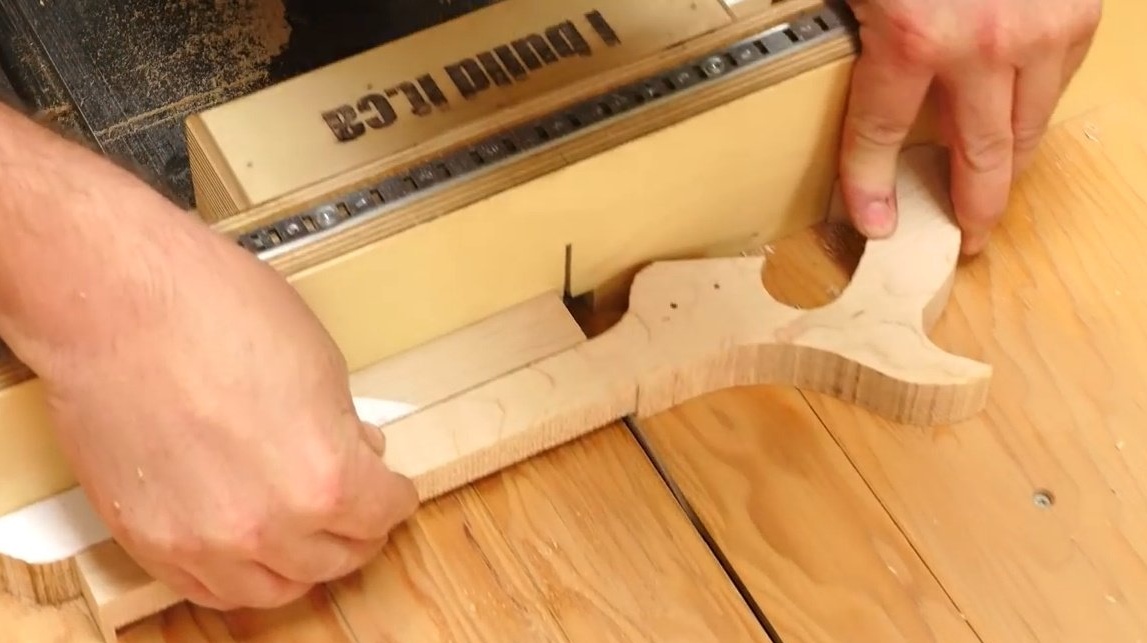
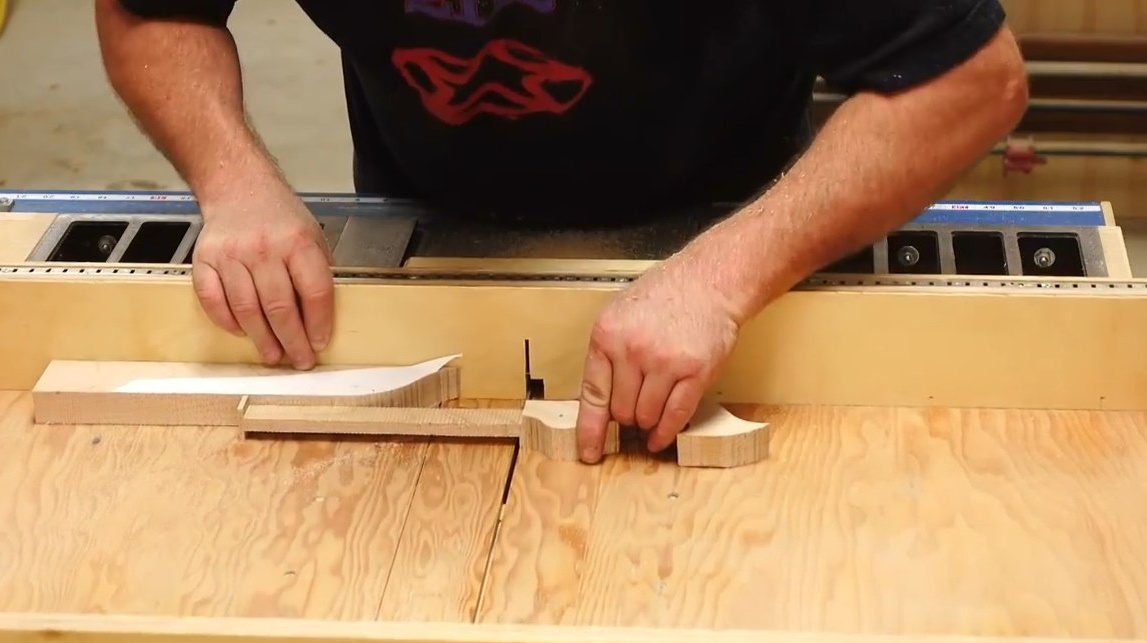
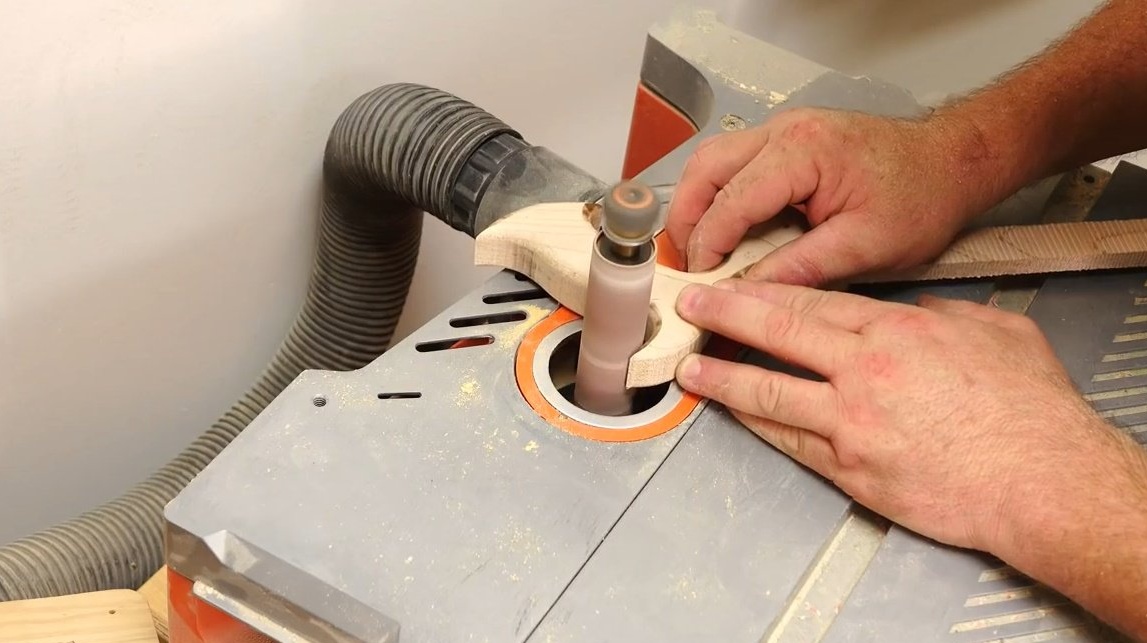
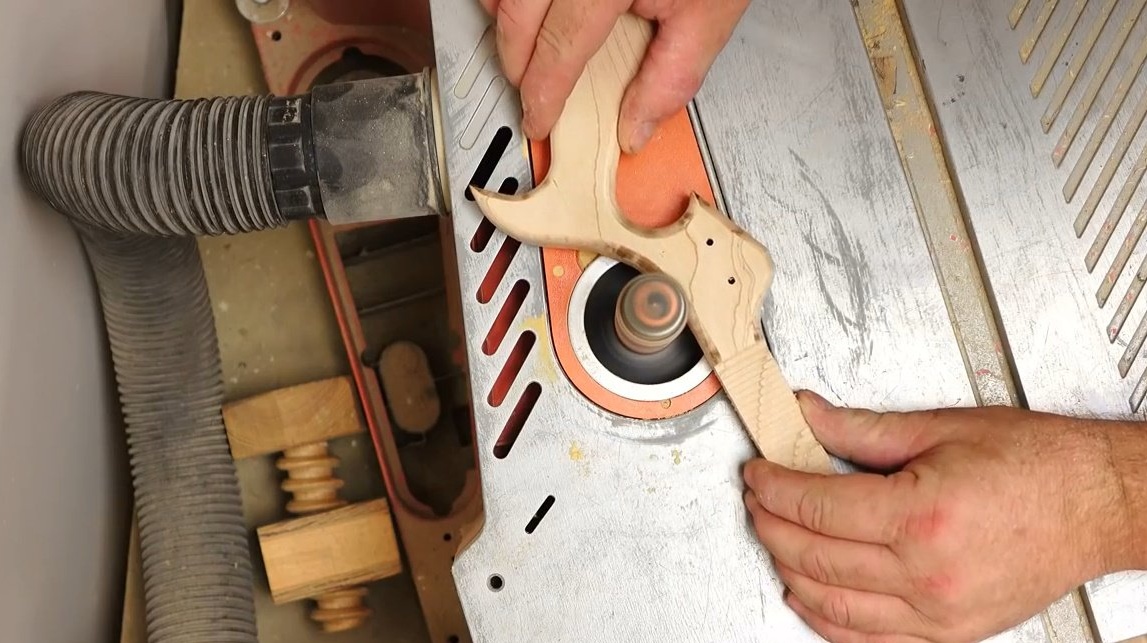
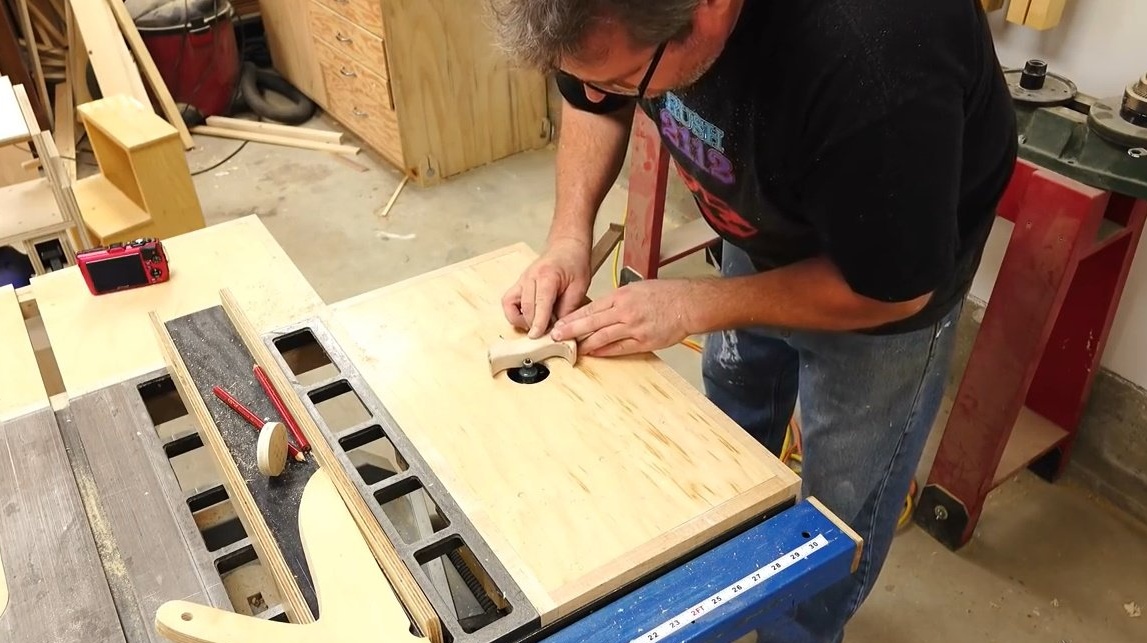
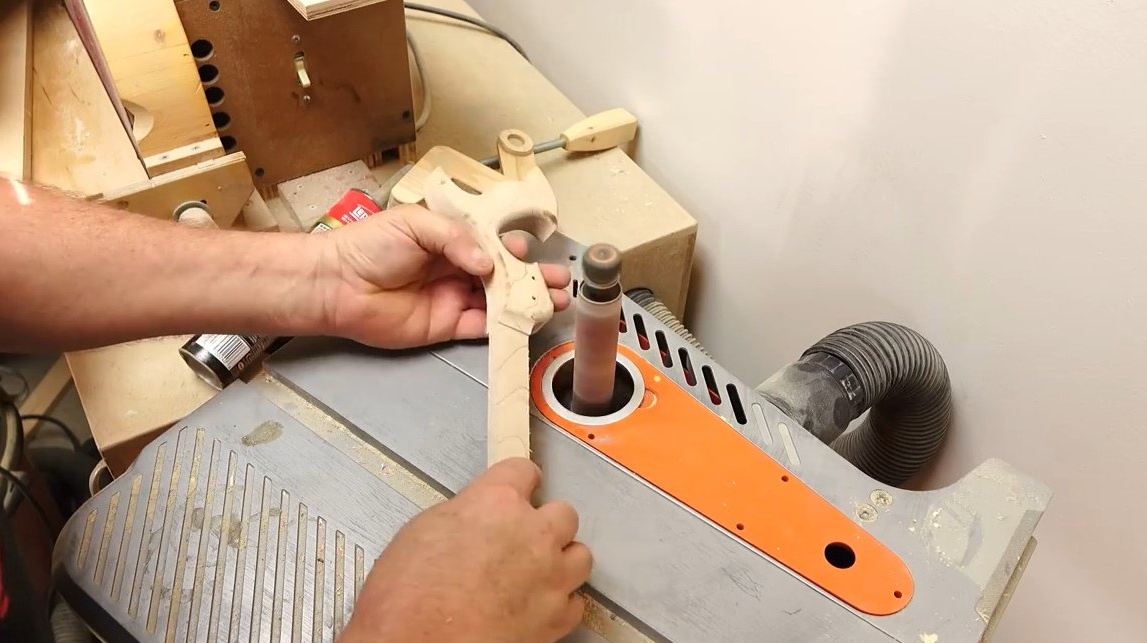
Now the author carries the workpiece to the milling machine and smooths the edges of the handle. This is the first approach.
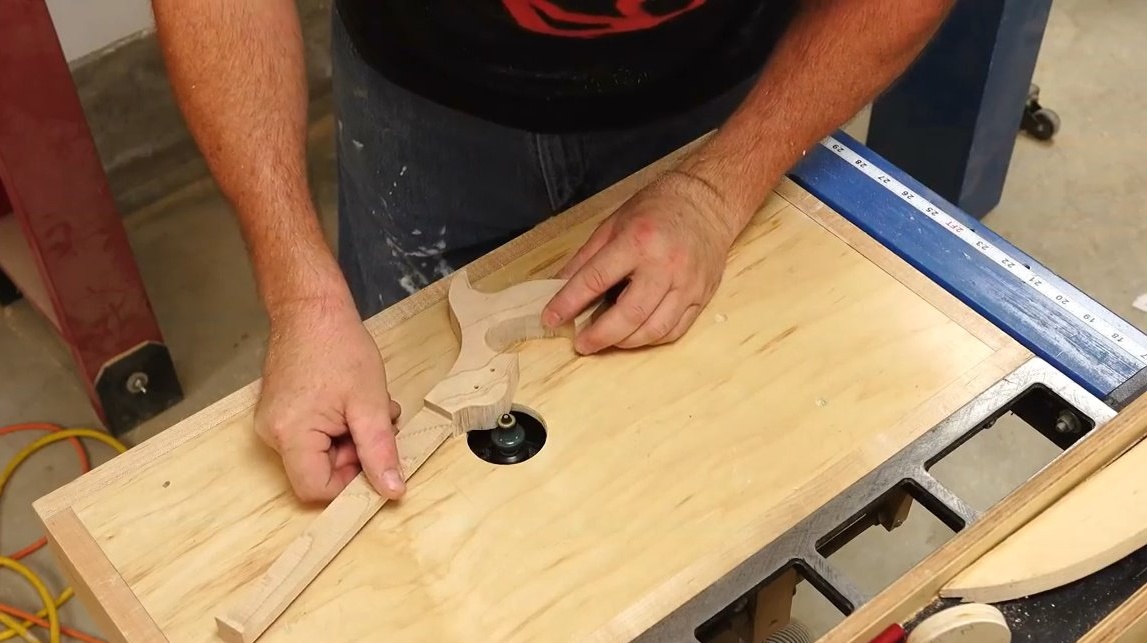

Then comes the grinding machine. Here is the final grout of all bends. And after that he returns to the router again, and passes all rounding again.
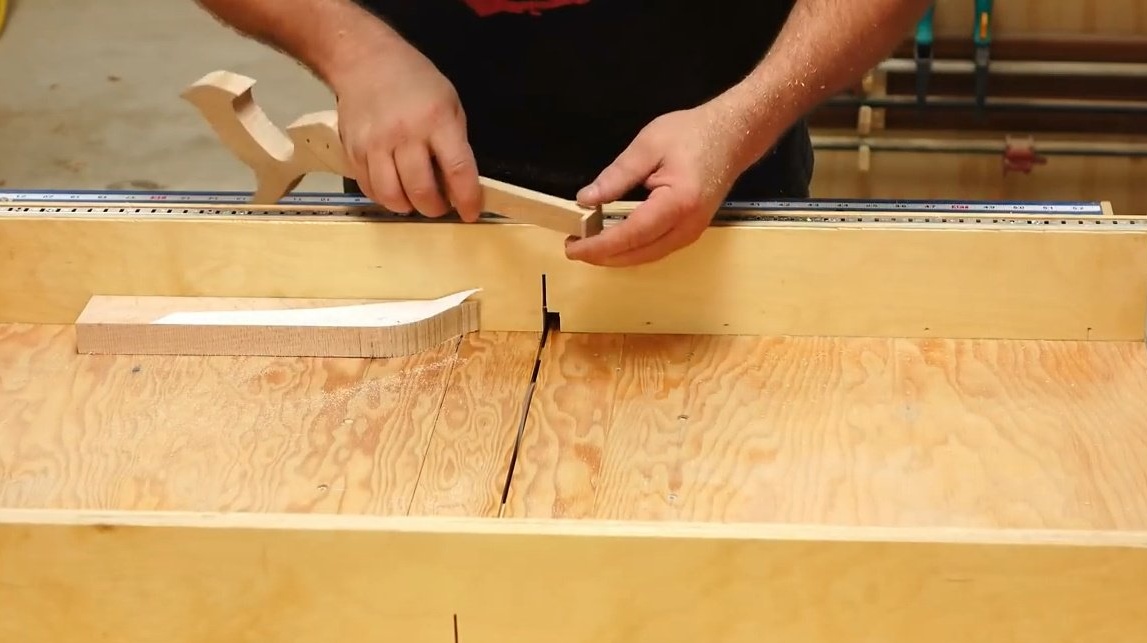
After the main work on giving the handle the desired shape is completed, the author tries to hold the tool in his hand to assess how convenient the grip is.
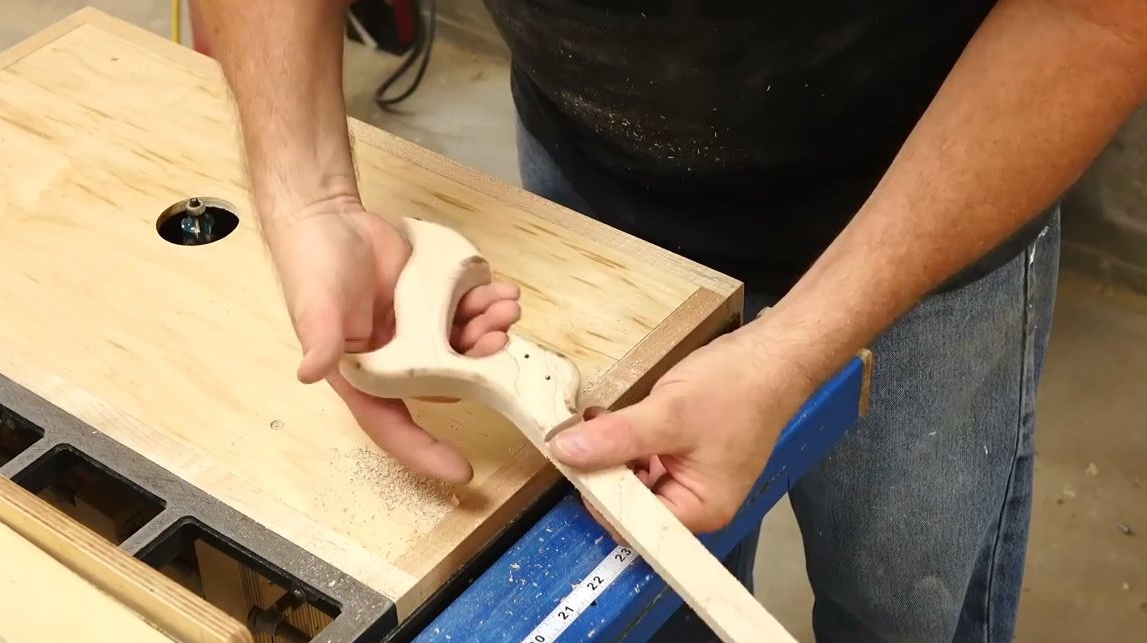
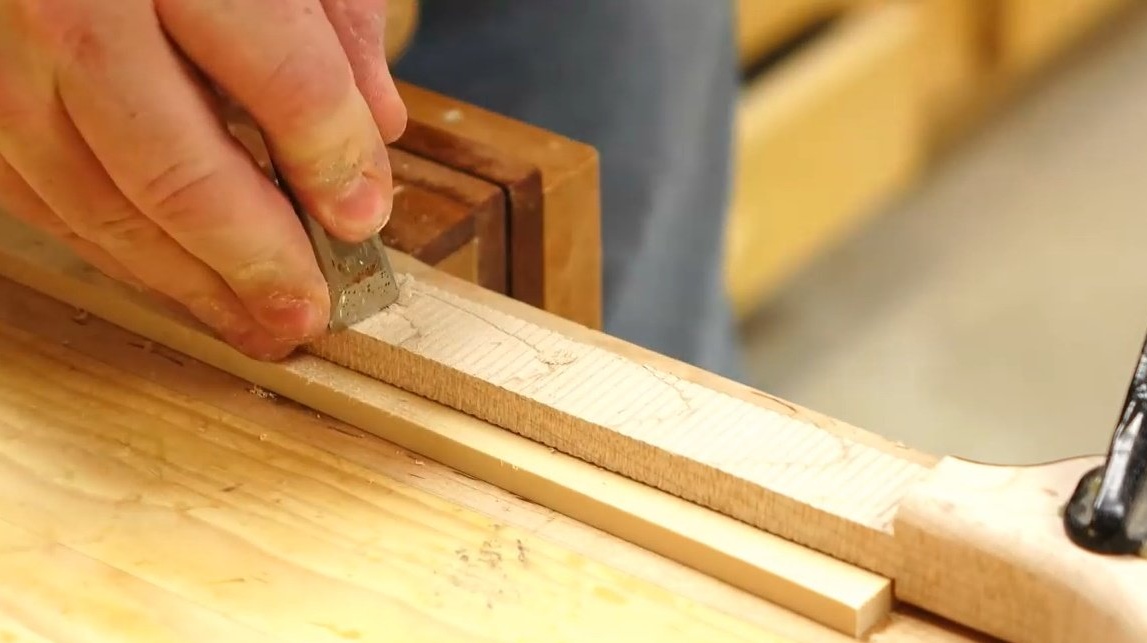
Then, with a 3/4 inch chisel, he removes excess material at the end and secures the handle with clamps on the workbench. From below, he lays a supporting block of the same thickness as the material itself, which he removed.
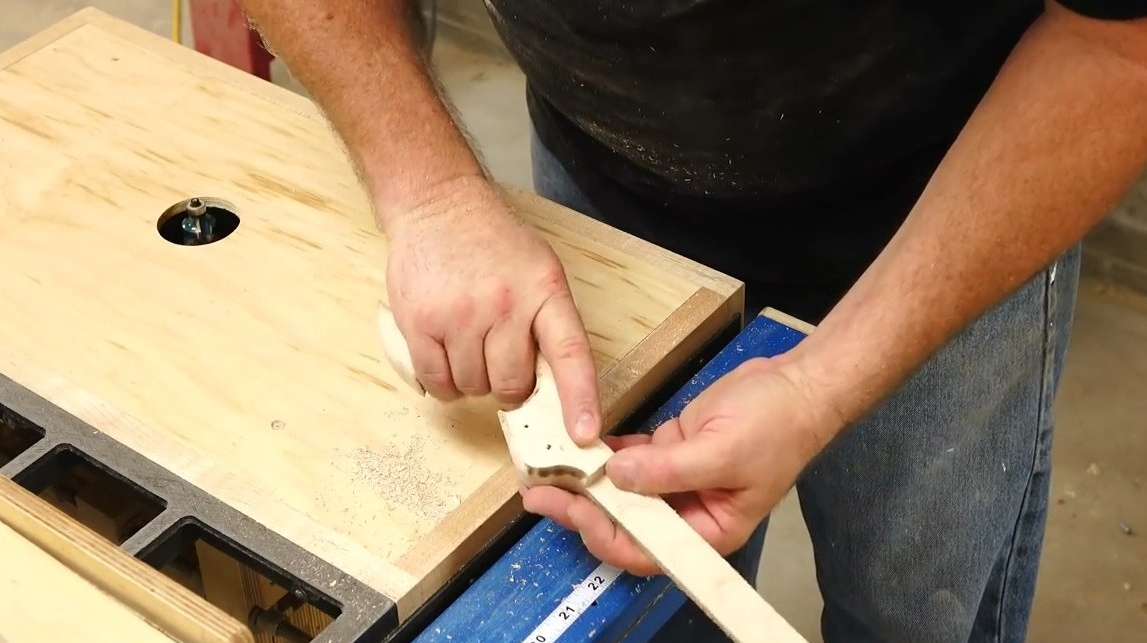
Further, with a 3/4 inch chisel, he tries to smooth out the surface as much as possible, using the tool as a scraper. at the same time, he holds the chisel at a slight angle so that it does not fall into the grooves left by the saw. Thus, he tries to remove most of the material at the transition from the handle to the back.


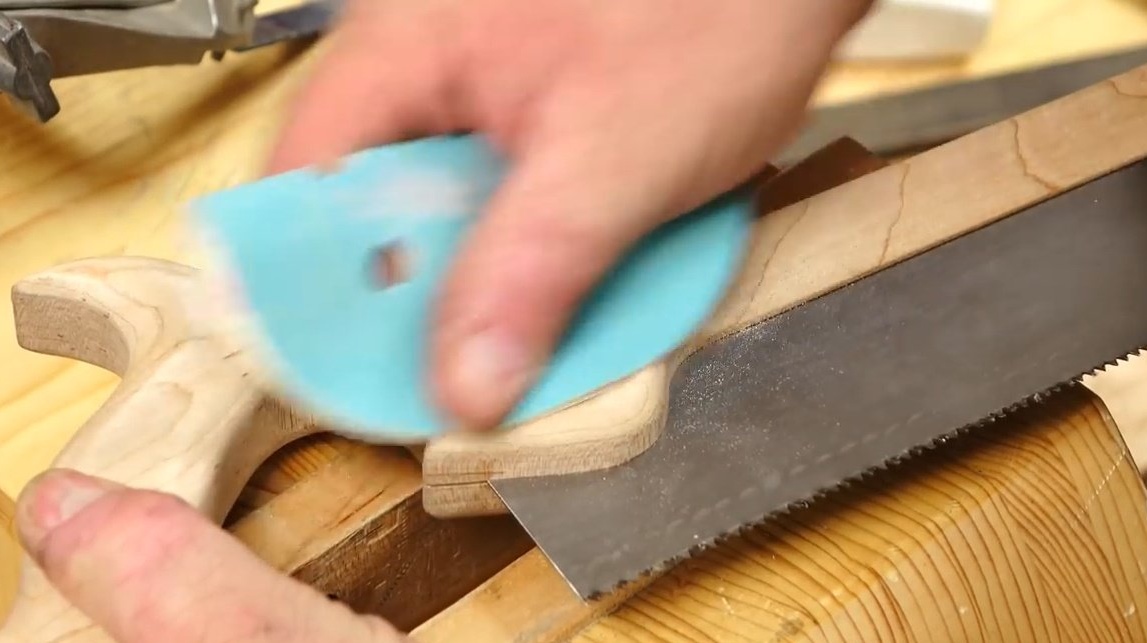
Having completed the molding on the transitional segment, the author removes the remaining material on the grinding machine. However, here you can also use a file with rounded edges. Or a stalk wrapped in sandpaper. And so the master will overwrite the edges and fillets until he brings them to perfection.

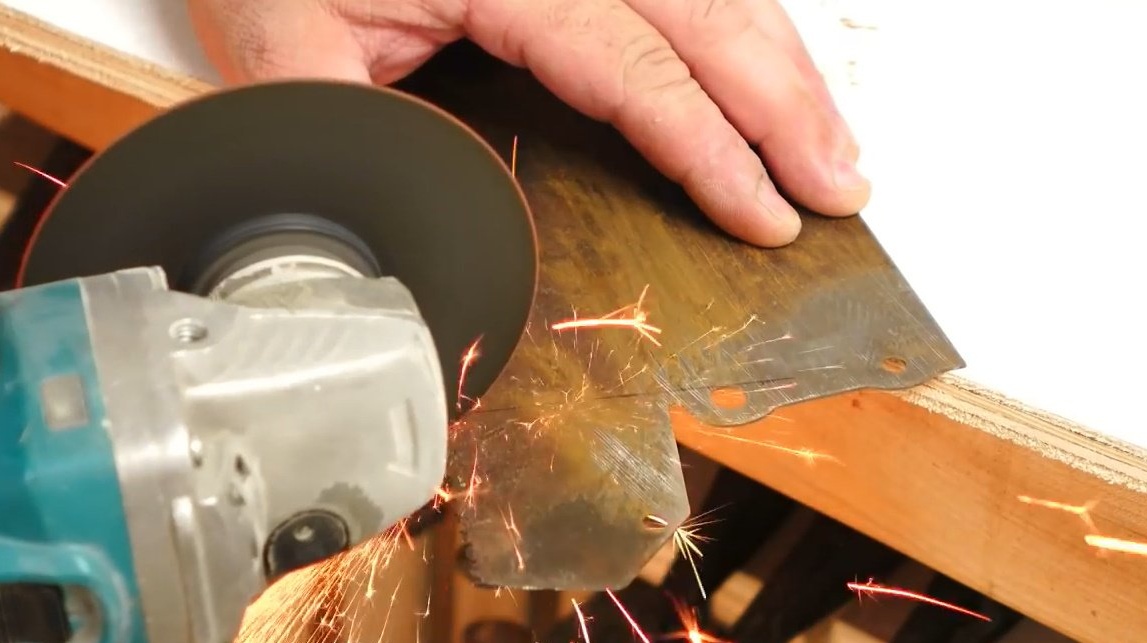
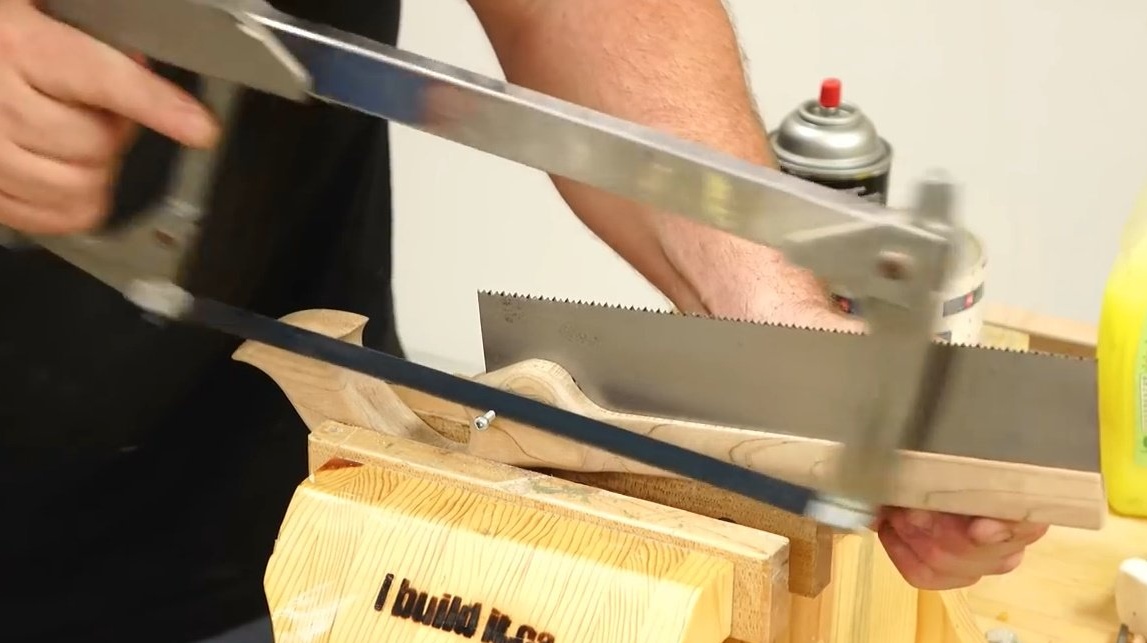
Before you is an old hand saw. The author is going to use her blade. True, there is a certain flaw on it, a notch. But John is sure that he will have enough of what is, without defects. The first thing the master is going to do is to file the saw teeth a bit so that they are flush with the surface of the blade. This is necessary so that the grooves on the teeth do not tear sandpaper when John begins to remove rust from the canvas.
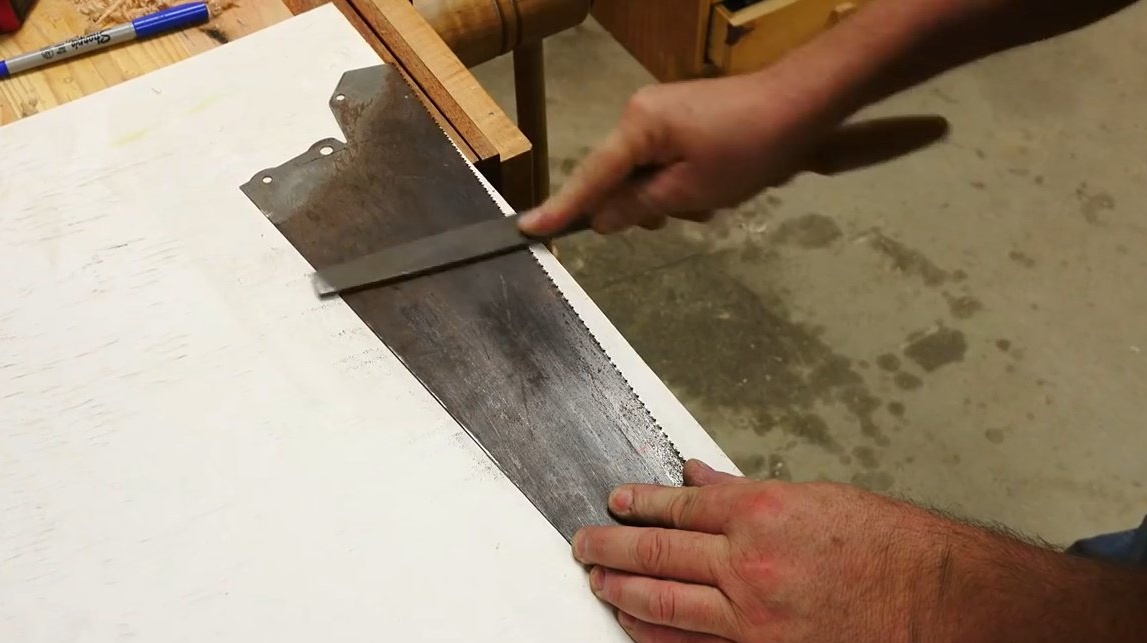
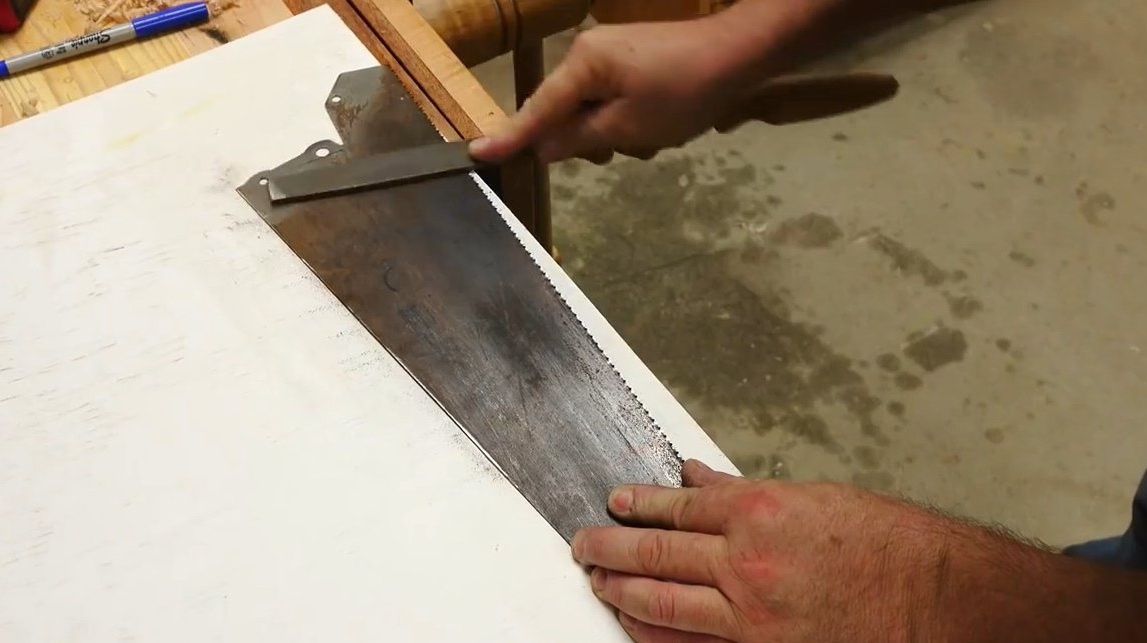
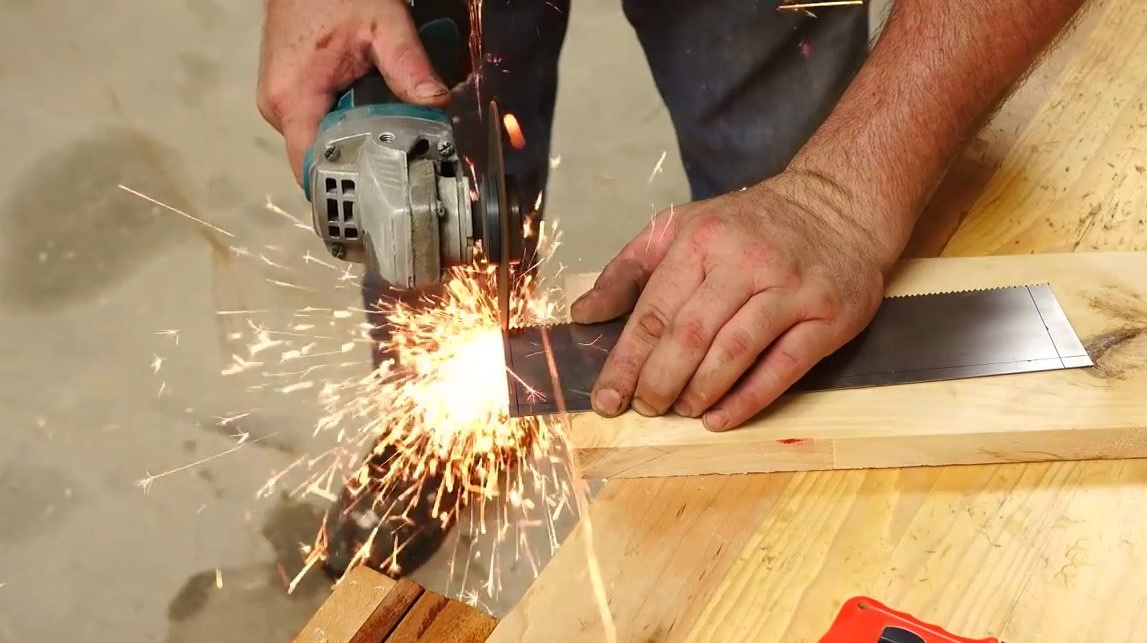
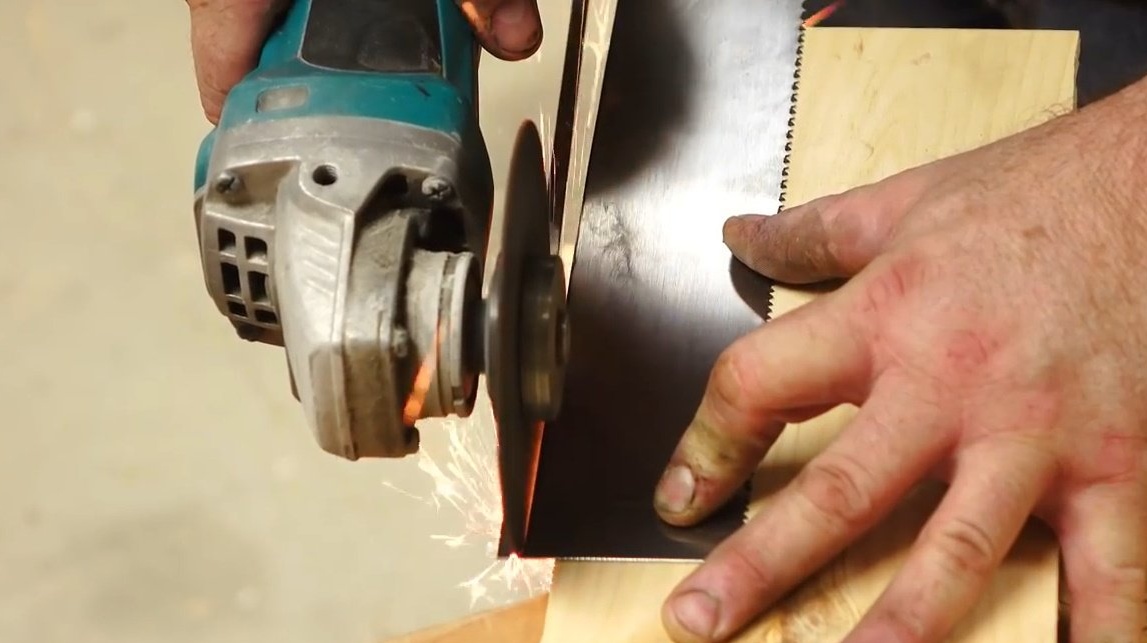
Now, with the help of a grinder, he will cut the saw blade to the desired size.
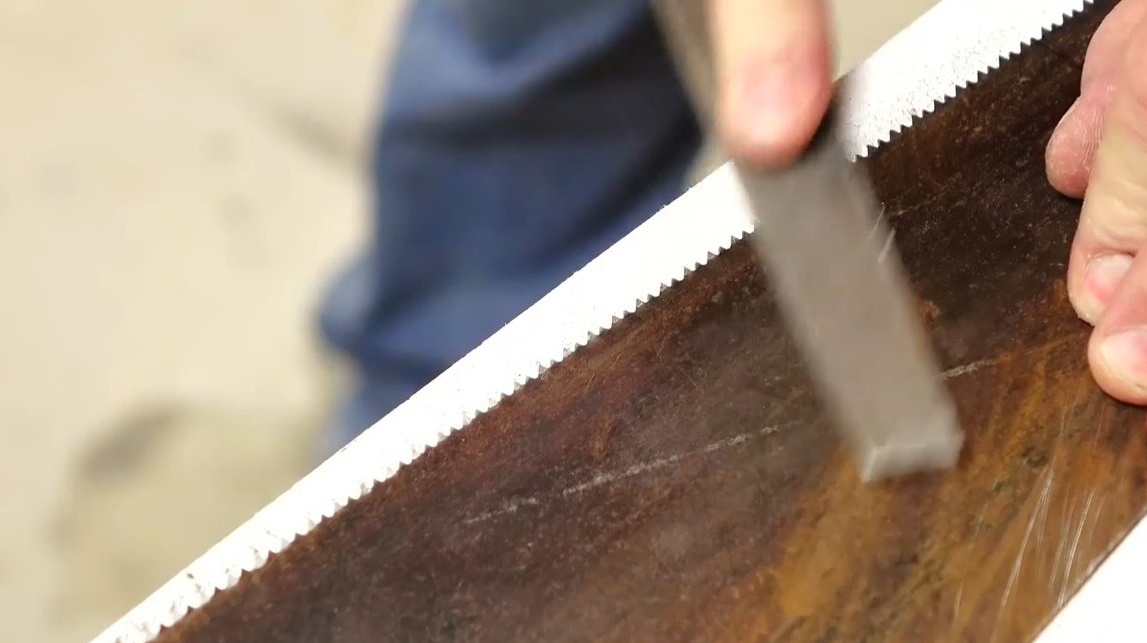
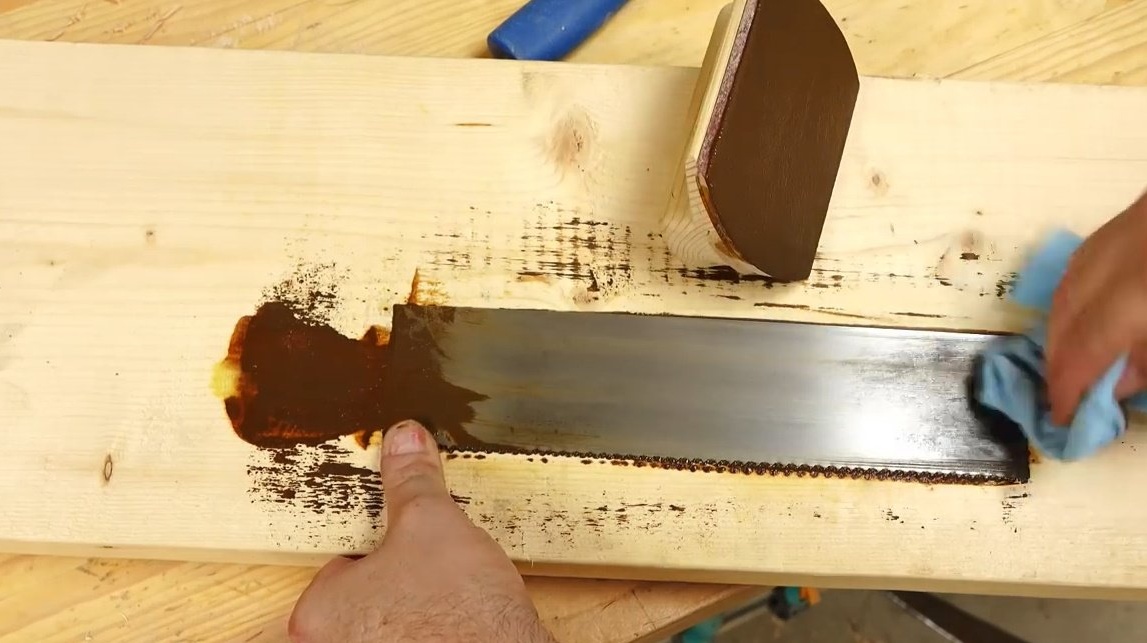
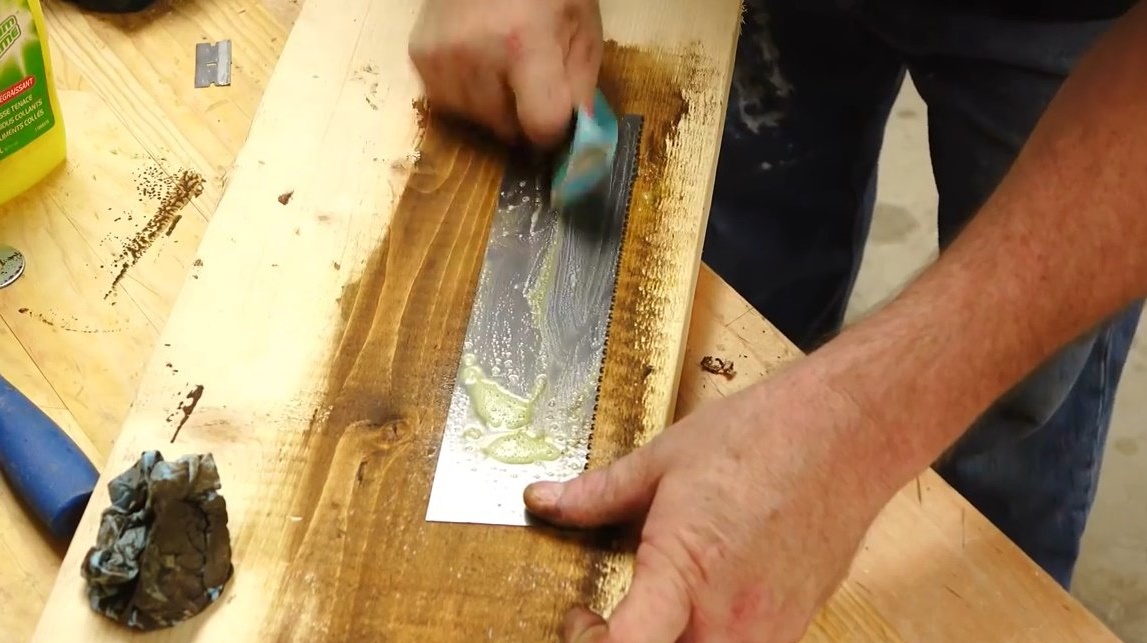
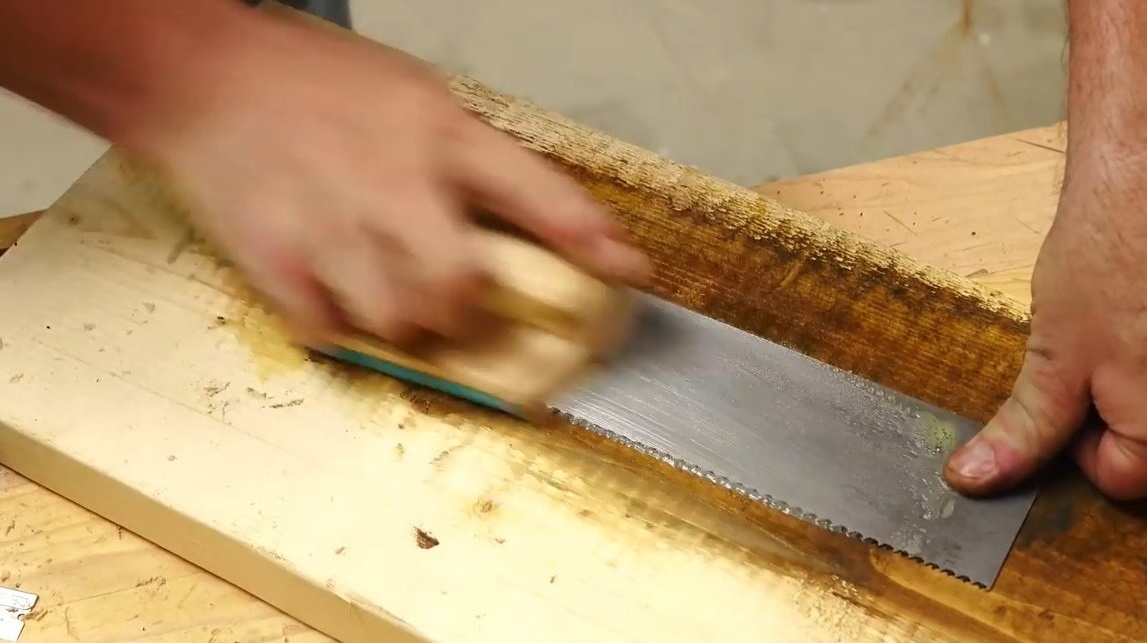
The blade must be completely cleaned of rust. This is done with fairly aggressive methods - hundredth grit sandpaper and an aerosol cleaner as a lubricant
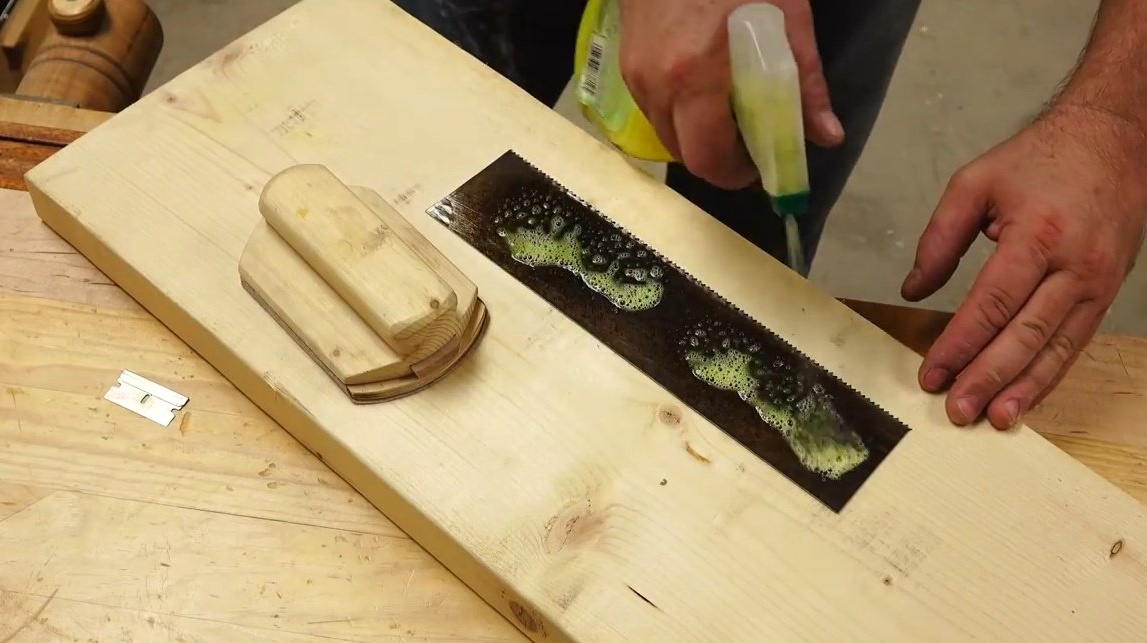
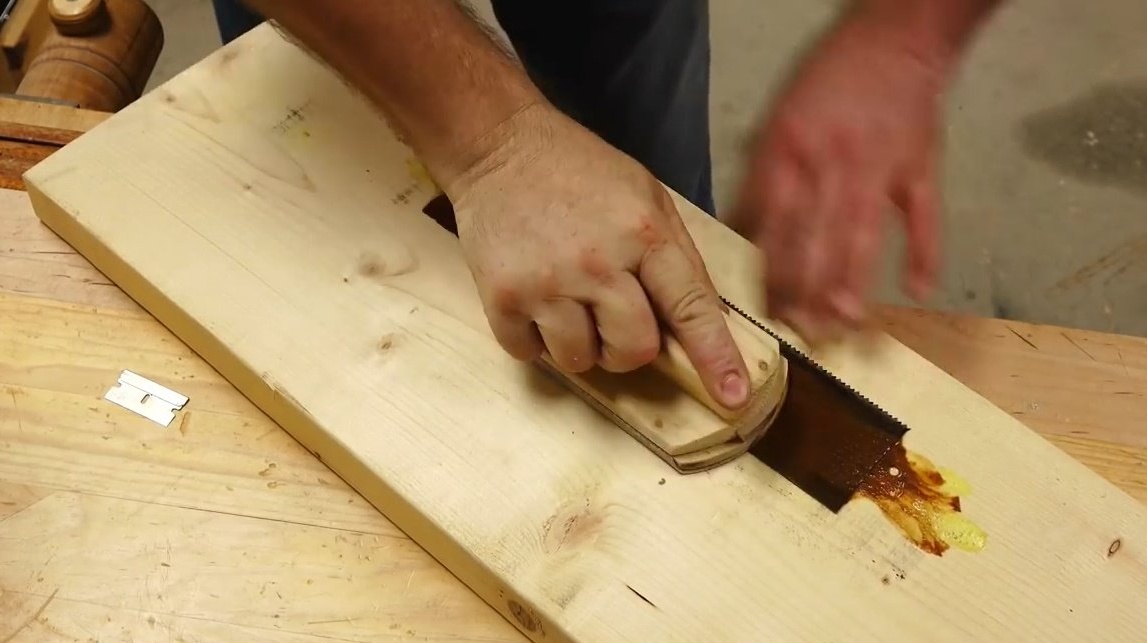
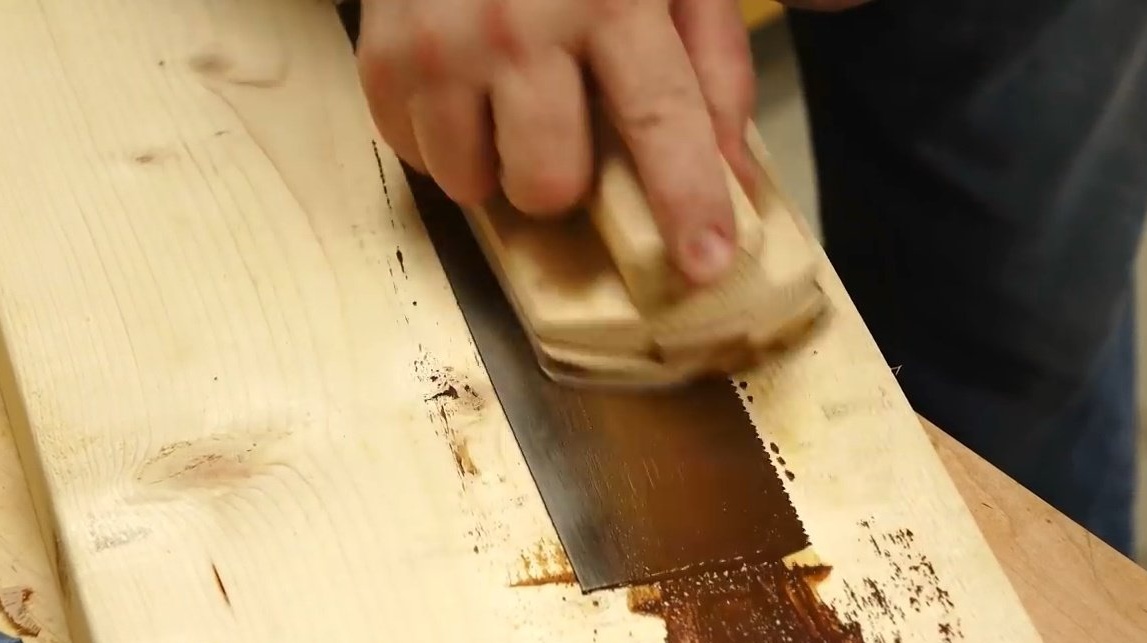
Now that the main layer of rust has been removed, the author switches to finer-grained paper and works with it until he is completely satisfied with its appearance.
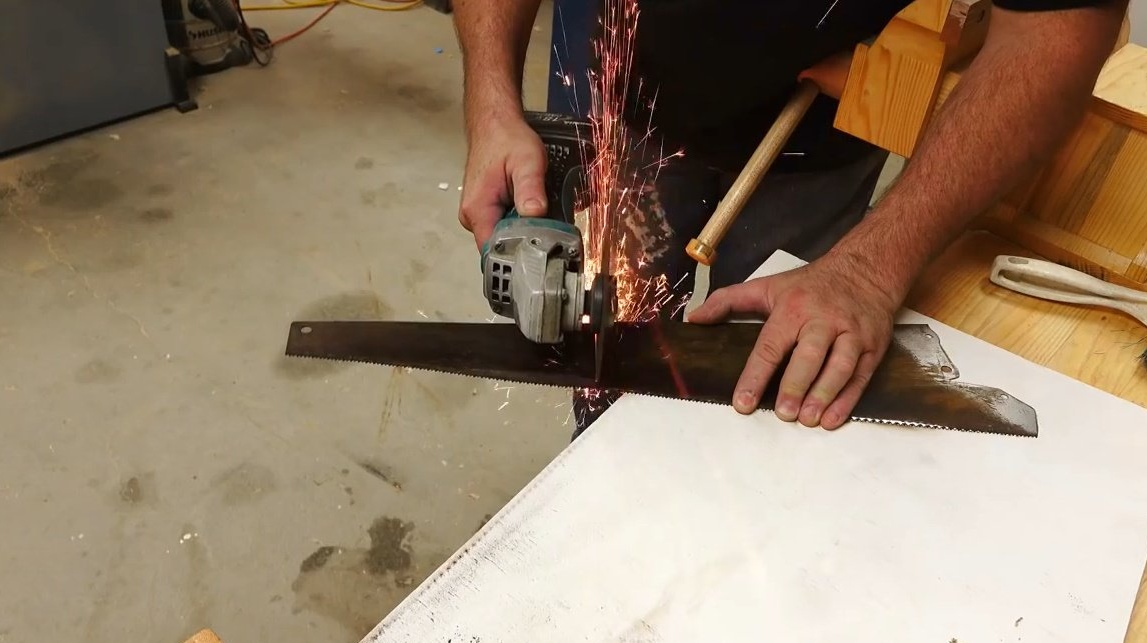
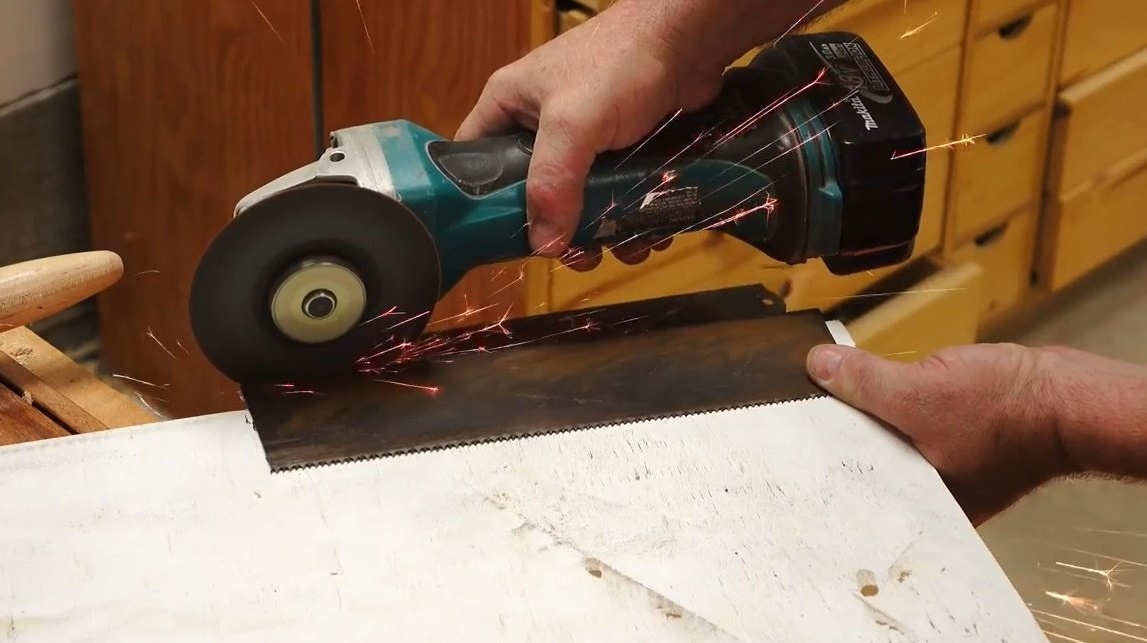
After the blade is completely cleaned, John cuts it to its final size.
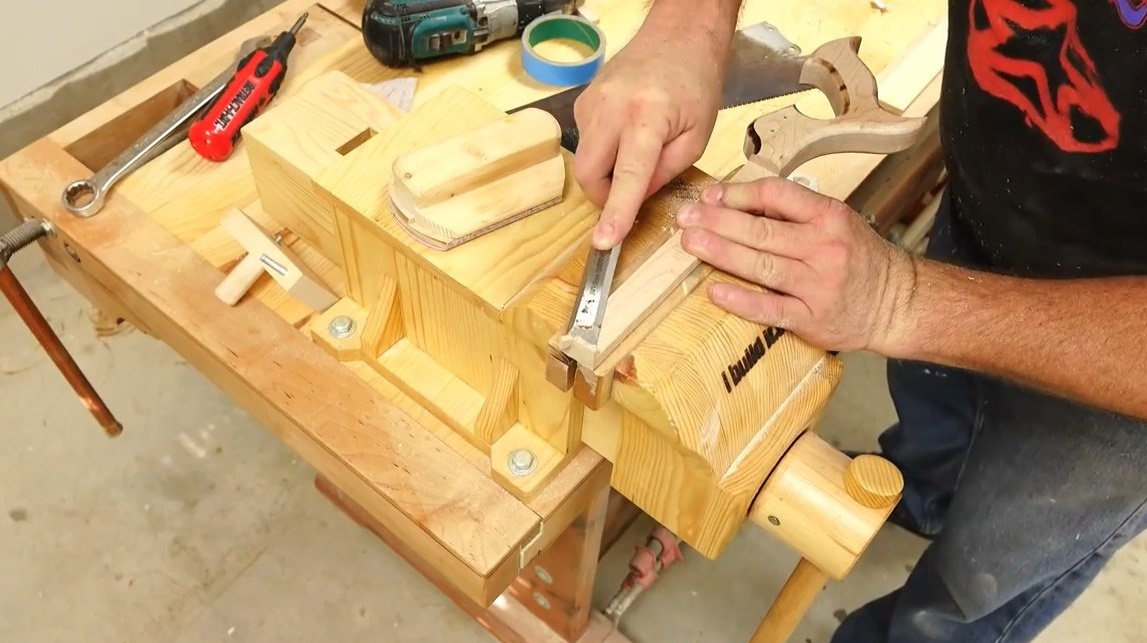
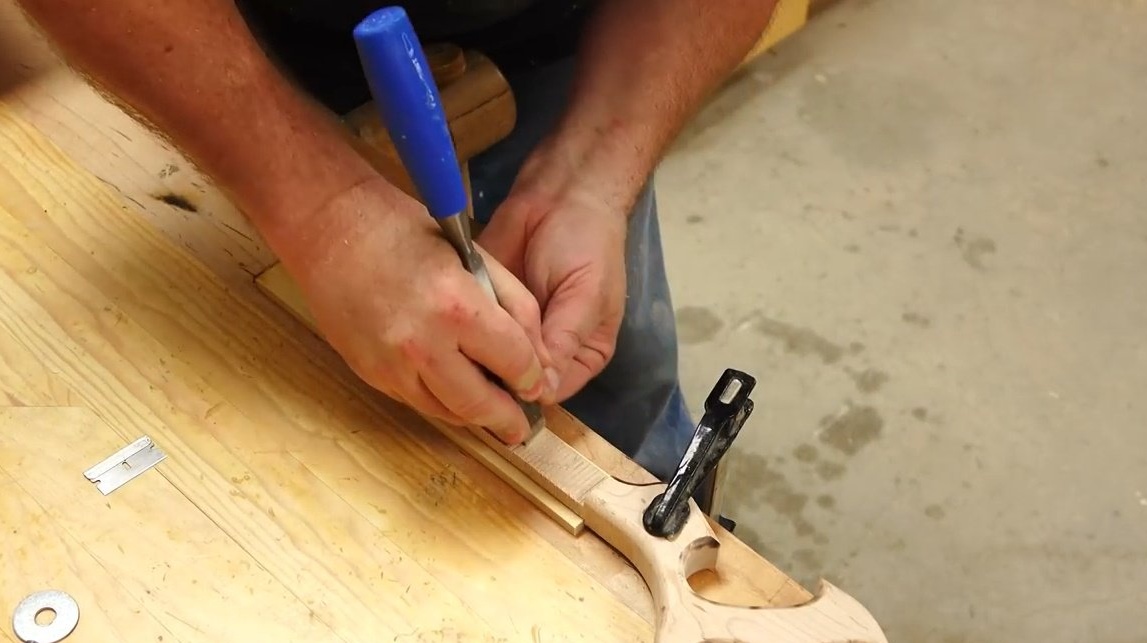
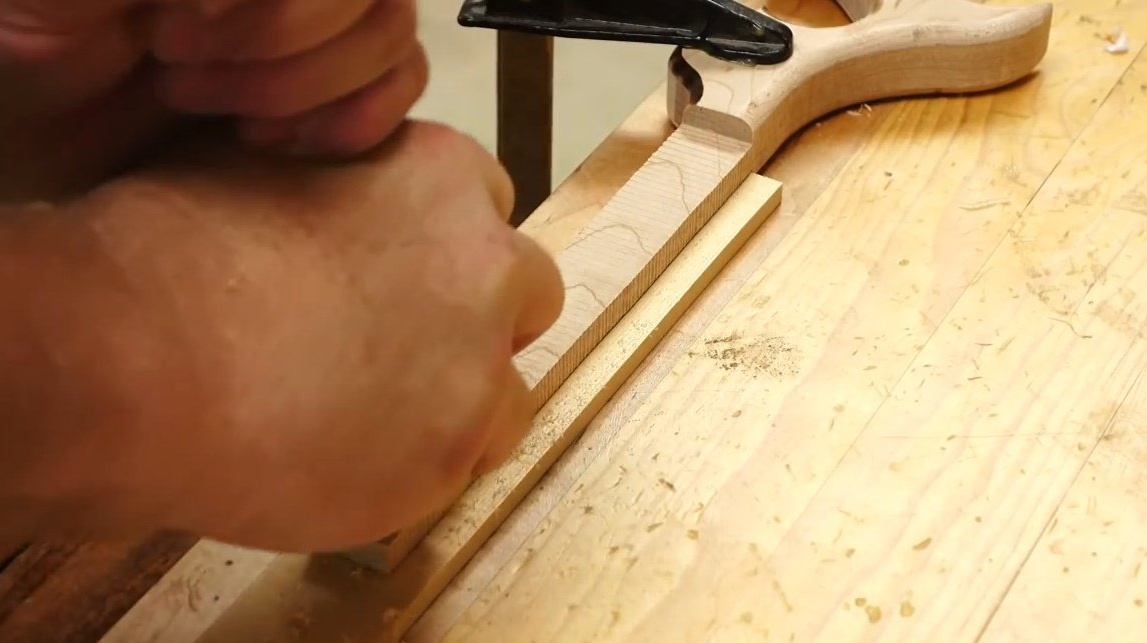
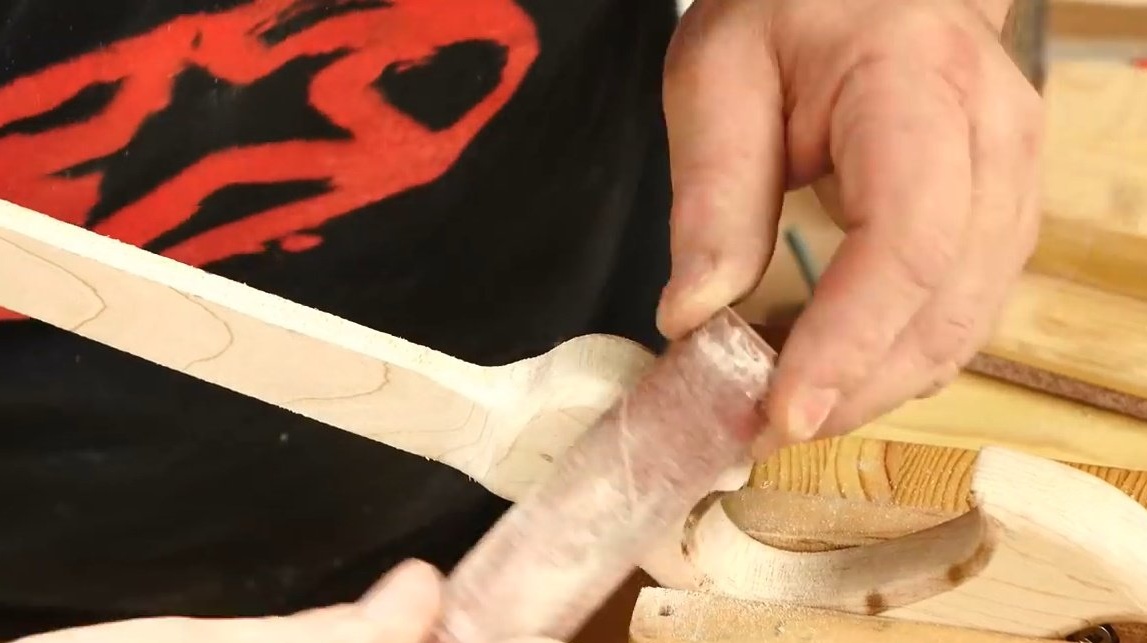
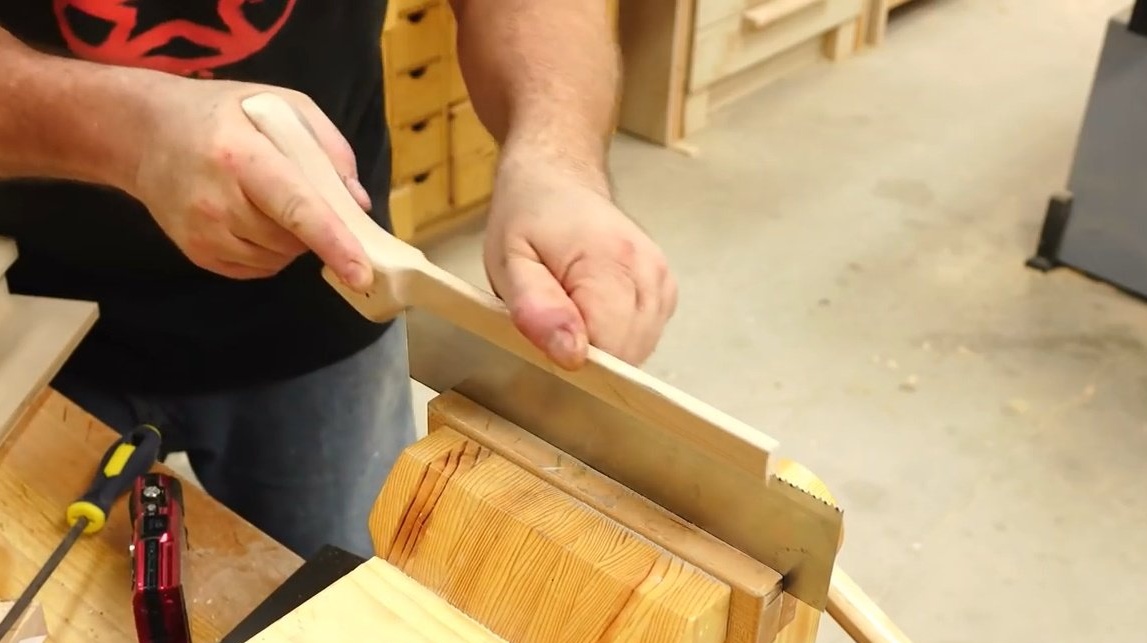
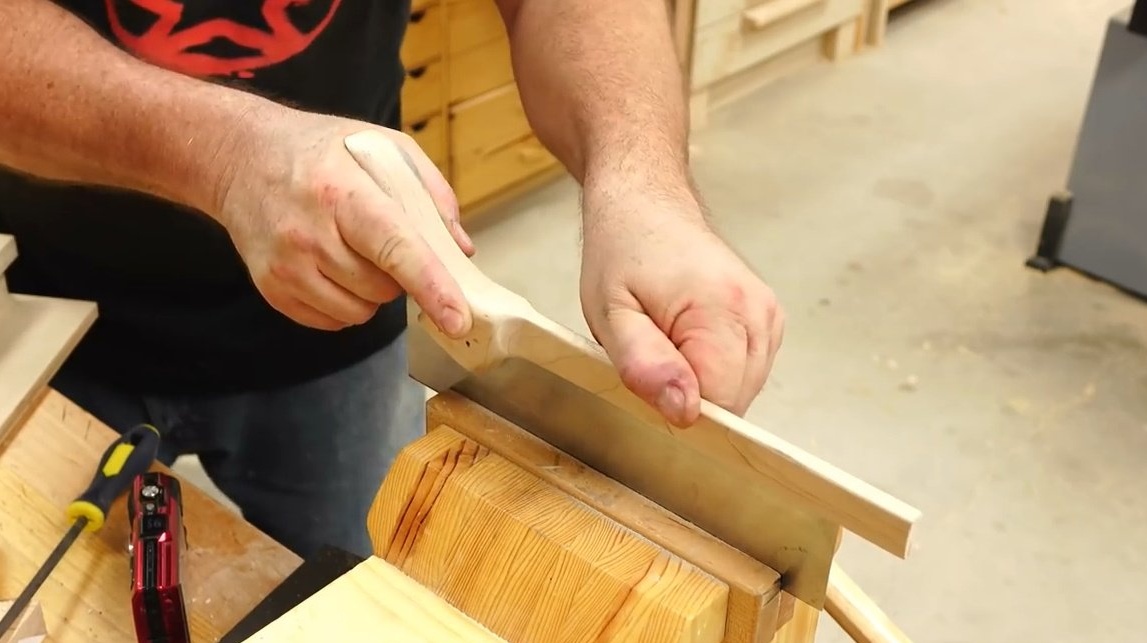
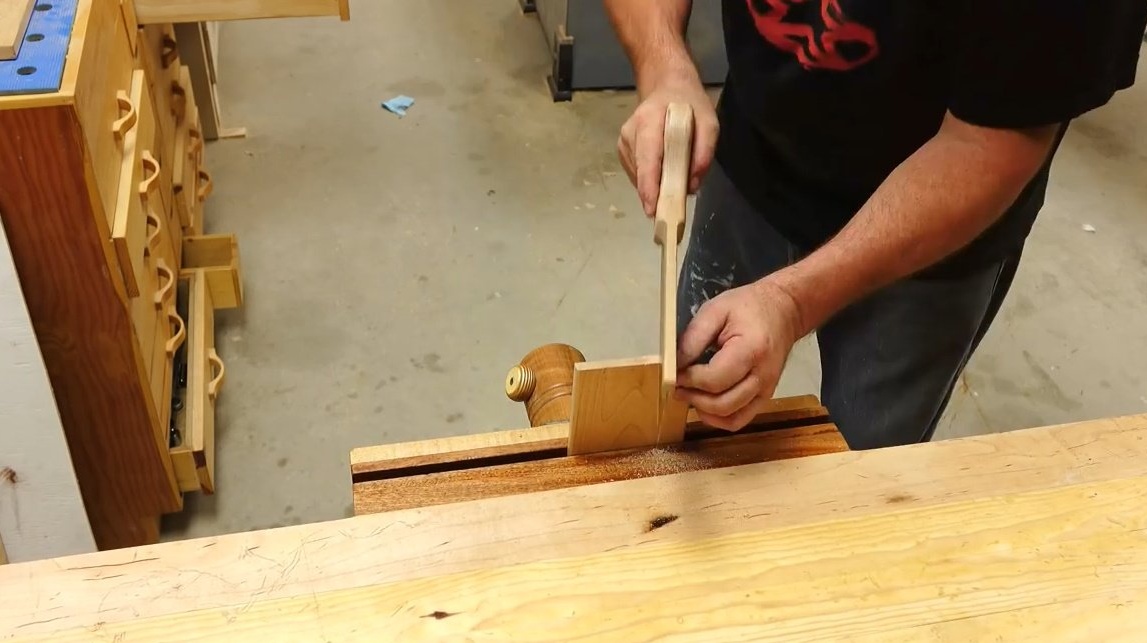
Then, very carefully and gradually, the groove begins to cut through the center of the back and handle of the future saw. According to his calculations, the half-inch plywood from the Baltic birch just has the right thickness to support the blade. And here, extreme accuracy and accuracy are important until the master reaches the point where it is time to remove the product from fixtures.
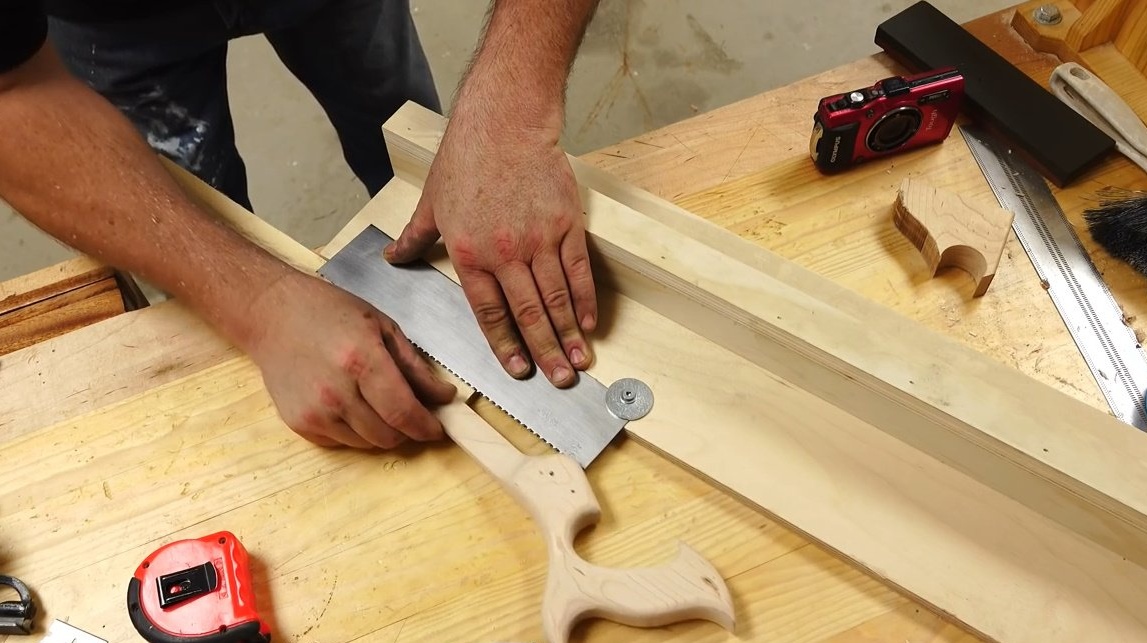
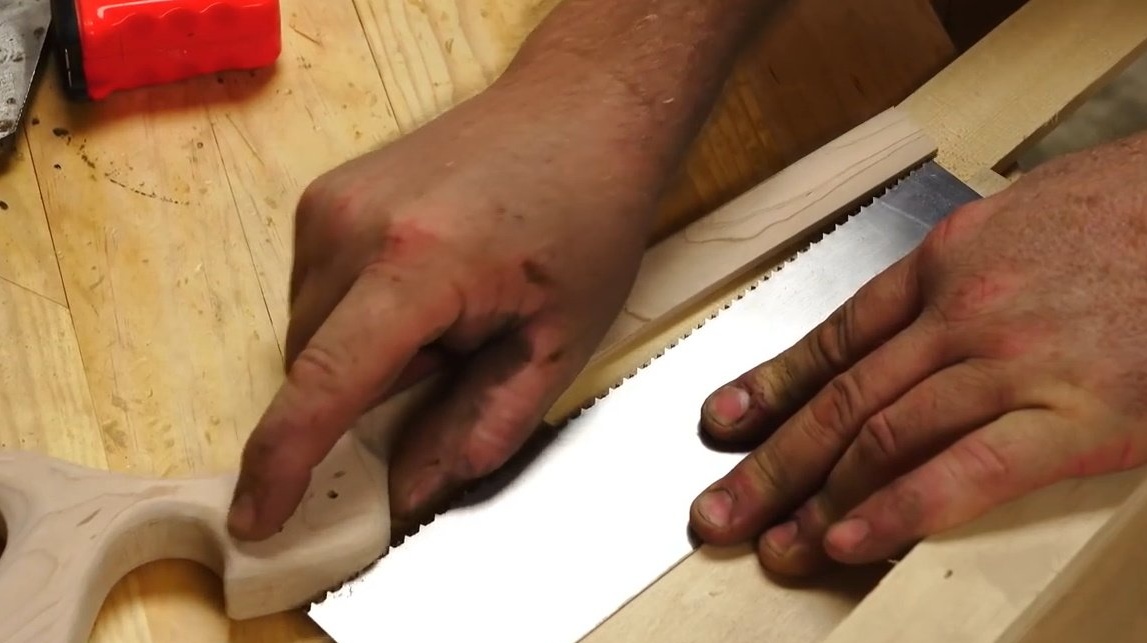
Then the author clamps the blade in a vise and completes the slot. Now the blade just does not slip to the side. The author tried to plunge the blade into the back, having passed a little more than half of its depth in order to provide the blade with maximum support.
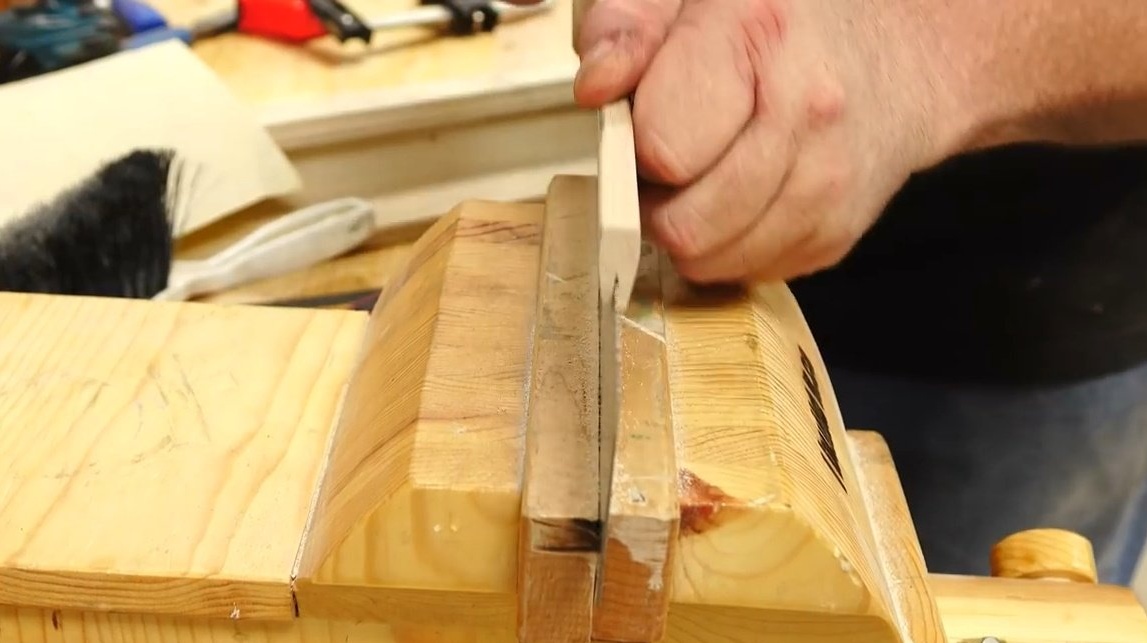
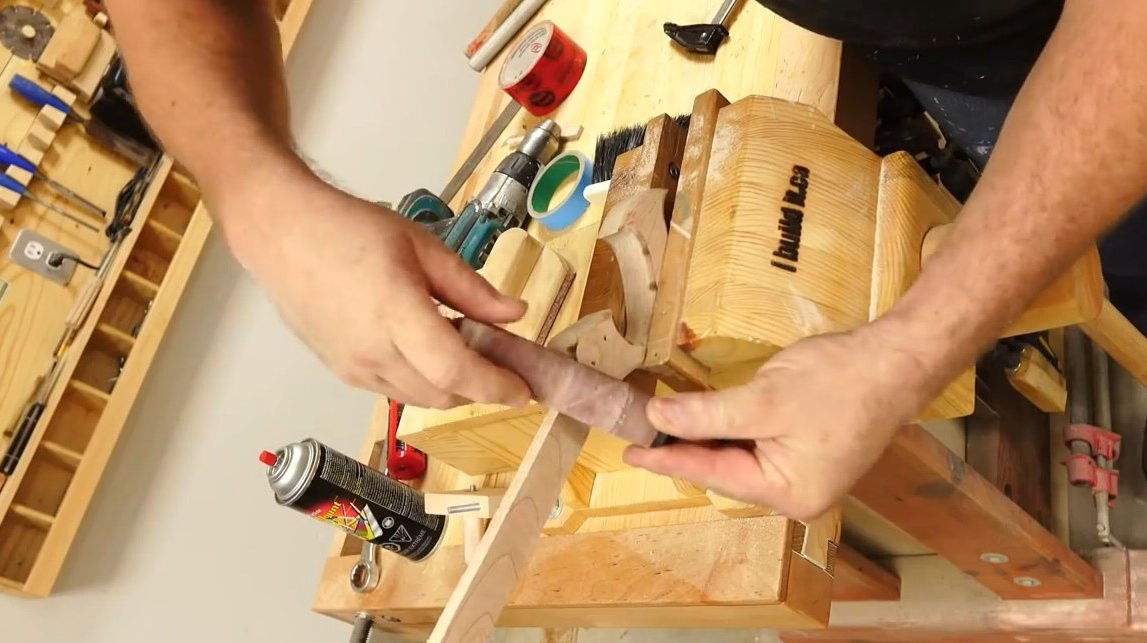
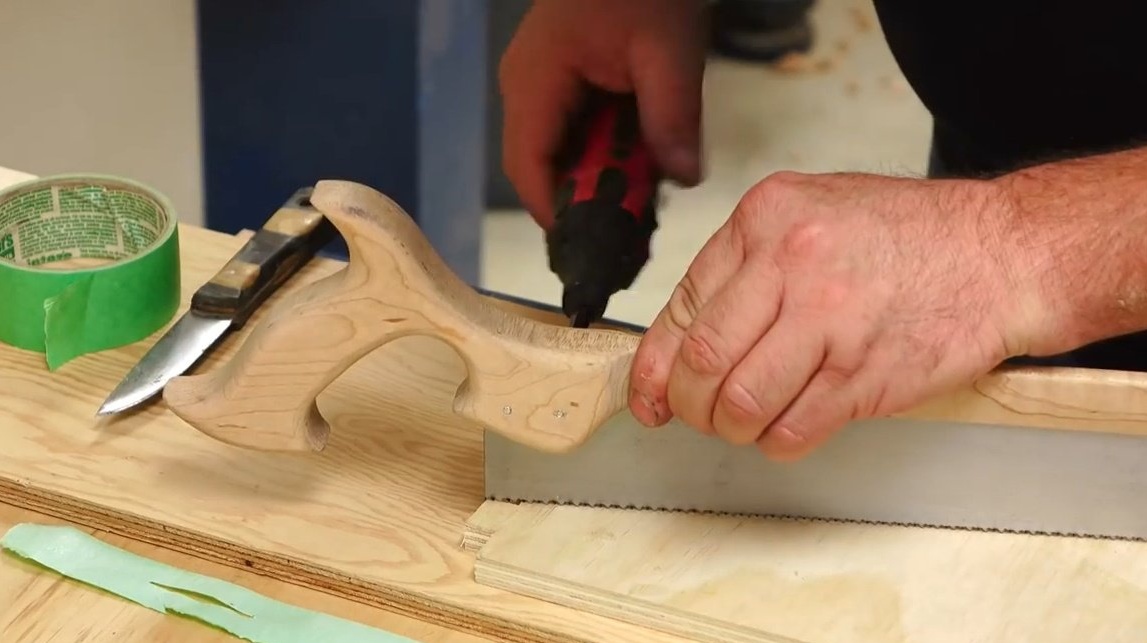
Further, the author glues a couple of strips of adhesive tape on the blade so that it does not slide back and forth while he begins to mark the holes that will have to be drilled in the blade for its final fixation.
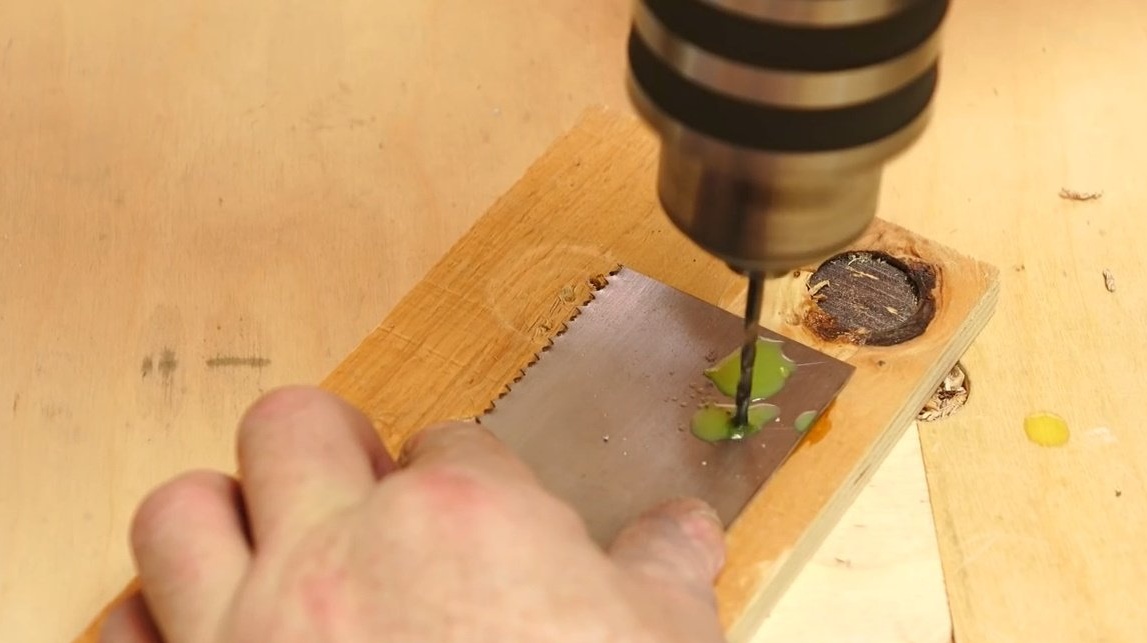
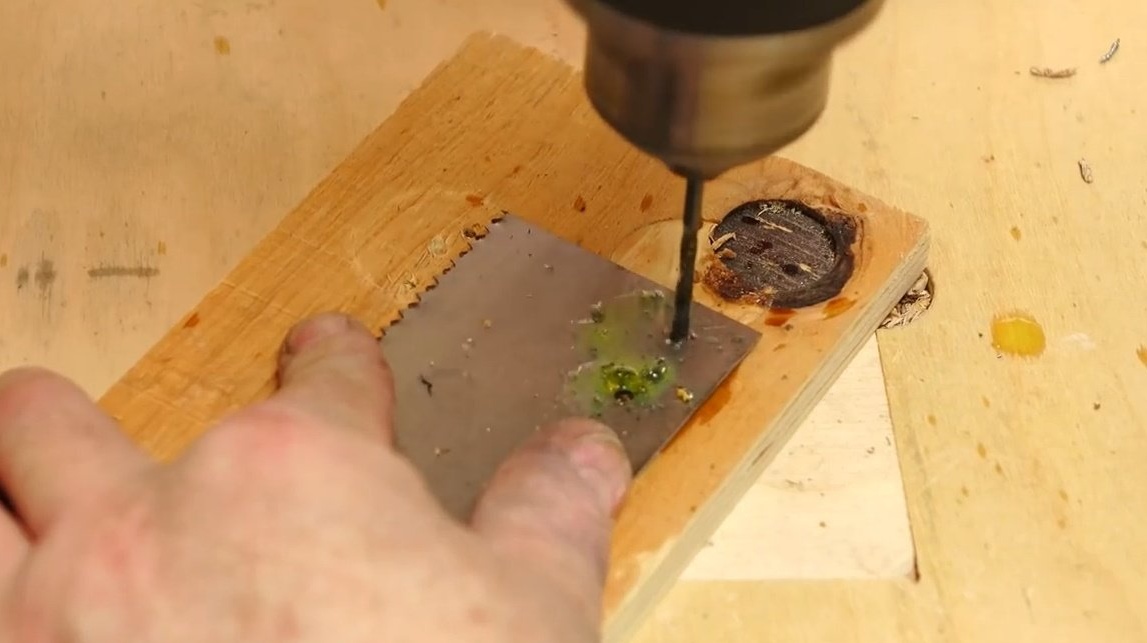
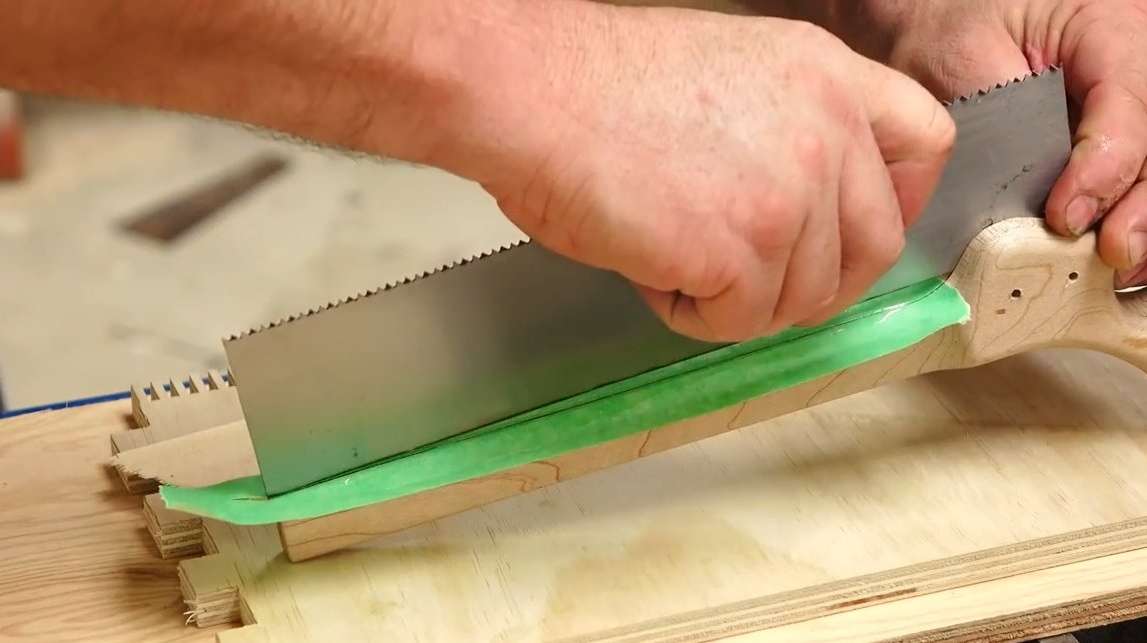
Since the blade is never planned to be pulled out, the master sees no reason why not to put it on the glue. He wraps the edge of the back with duct tape, cuts it in the center and pours a little epoxy into the slot.
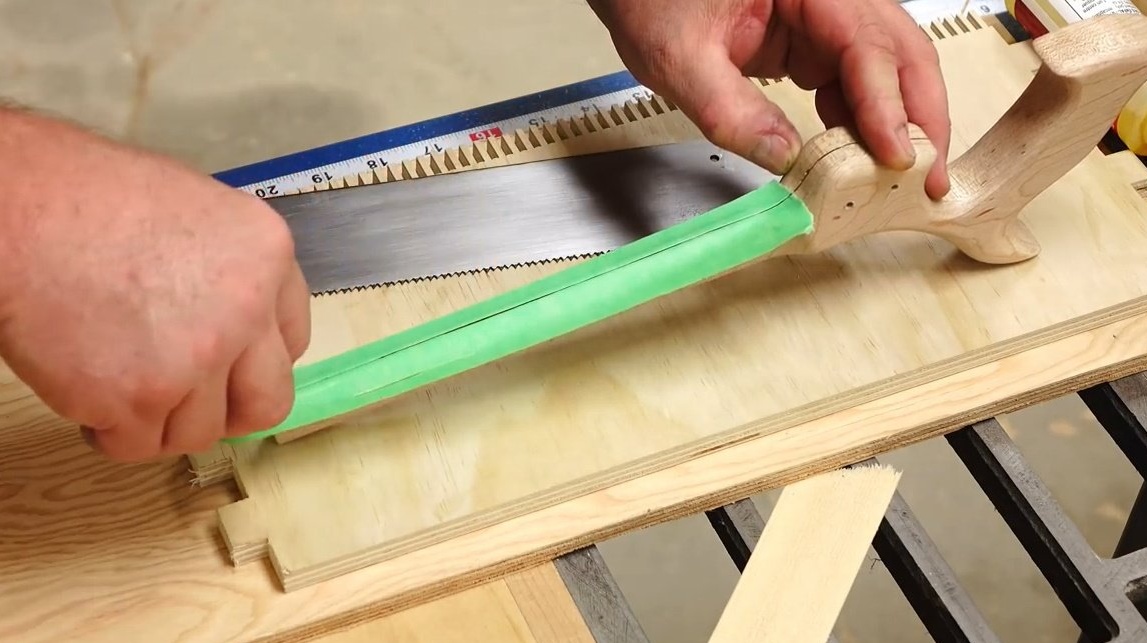
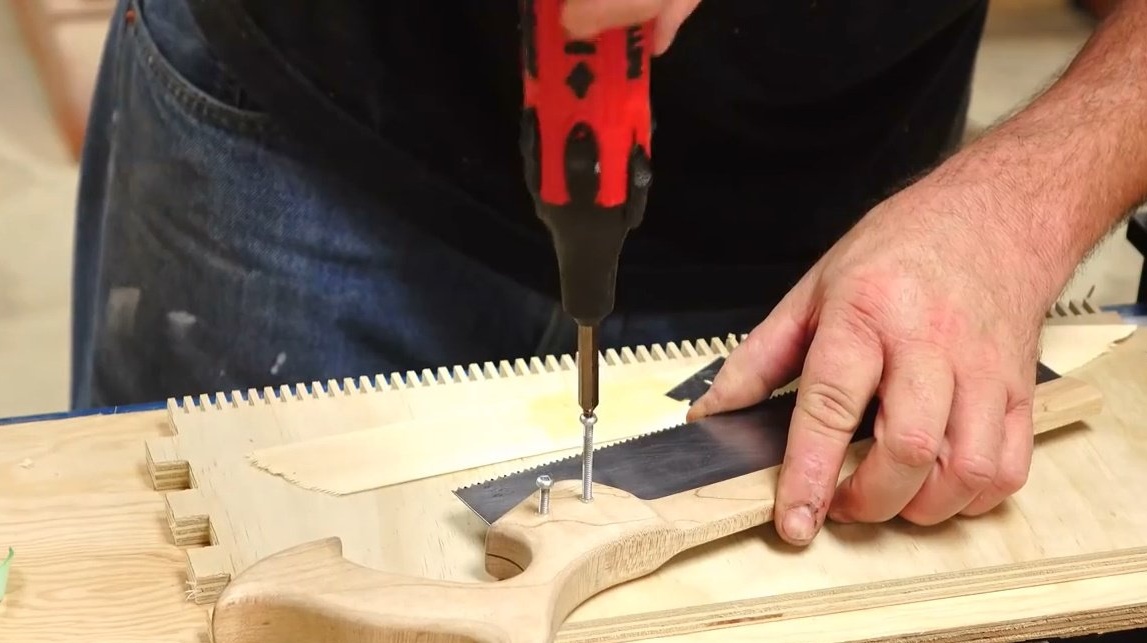
Then he inserts the canvas into the back, and tightens the bolts. These are the M8 fixing screws, which he screws there, having previously lubricated them with epoxy.
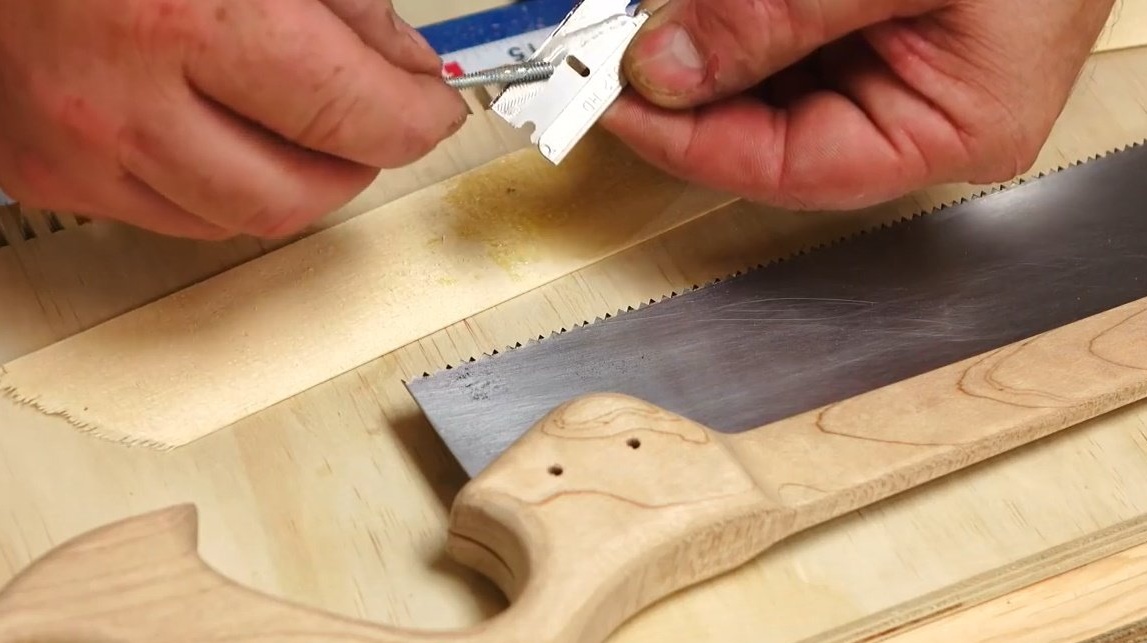
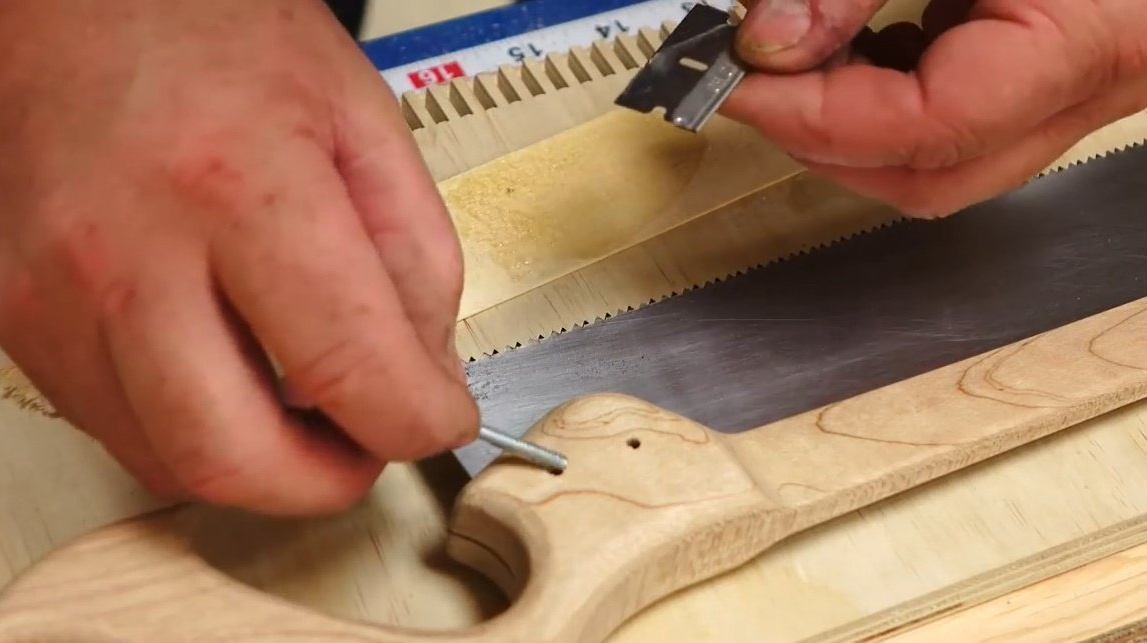
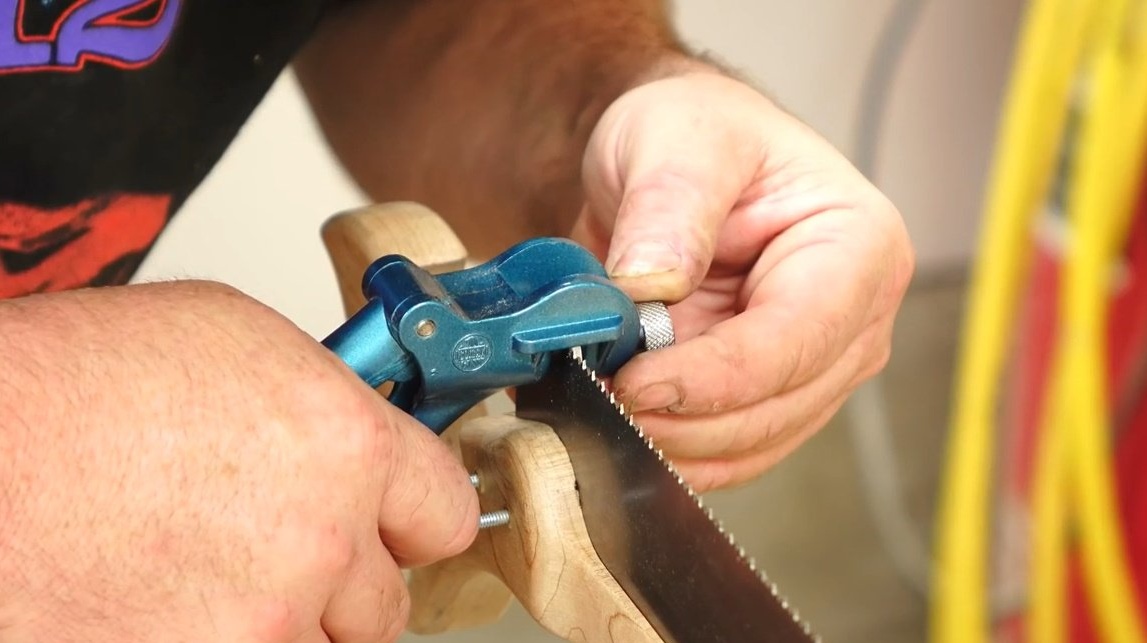
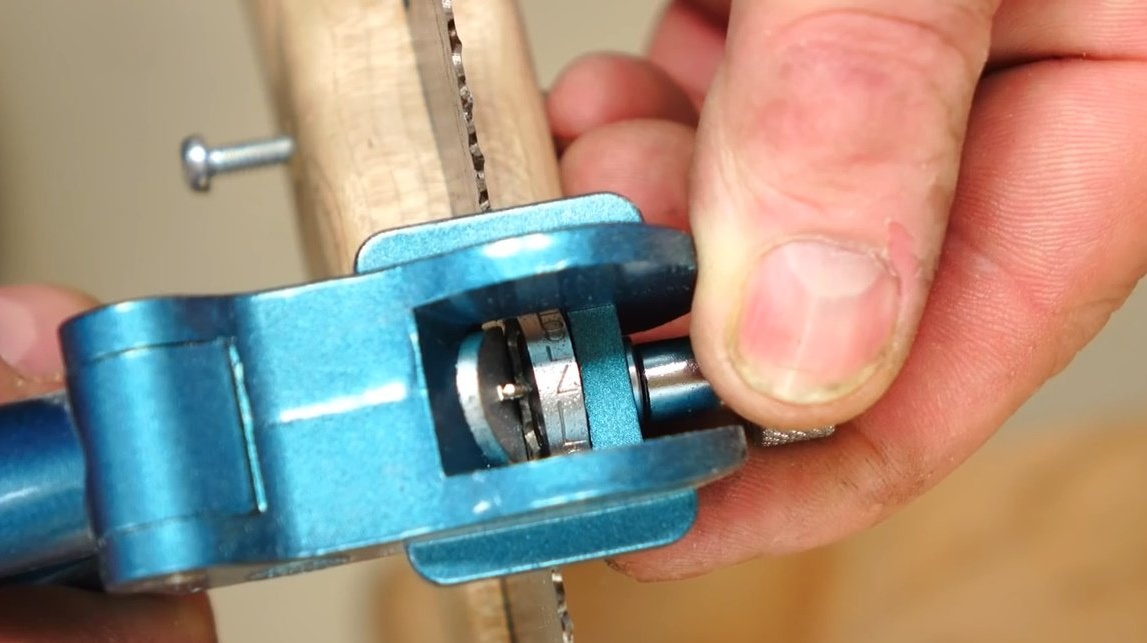
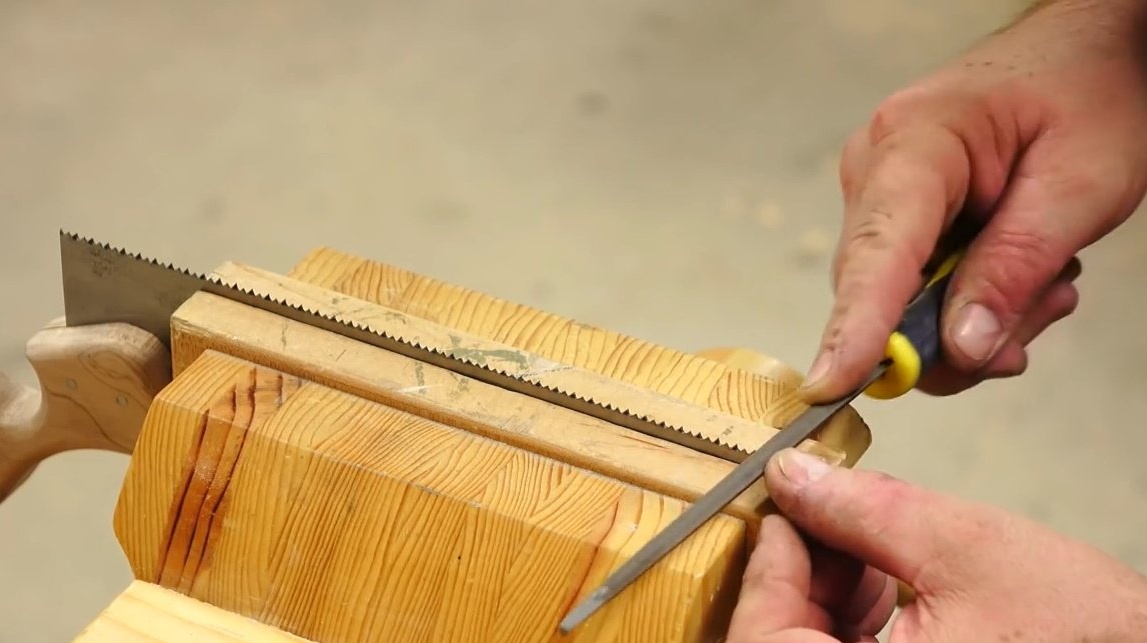
After waiting a while until the resin hardens, the master unbends the teeth on the blade.
Then he cuts the flush bolts, processes the file, and then with sandpaper.
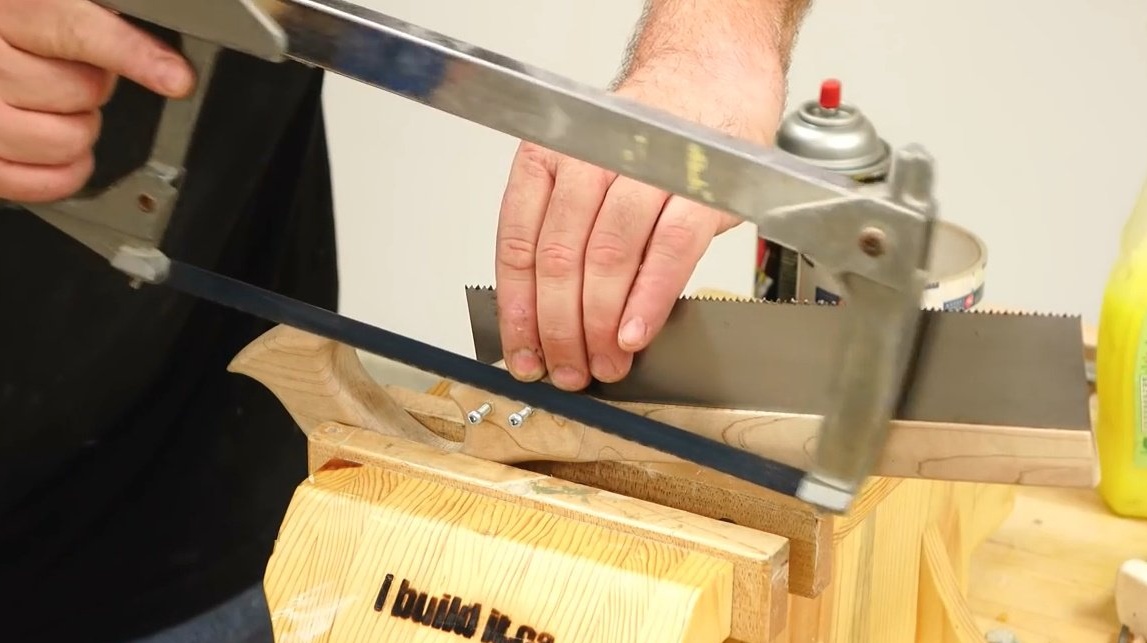

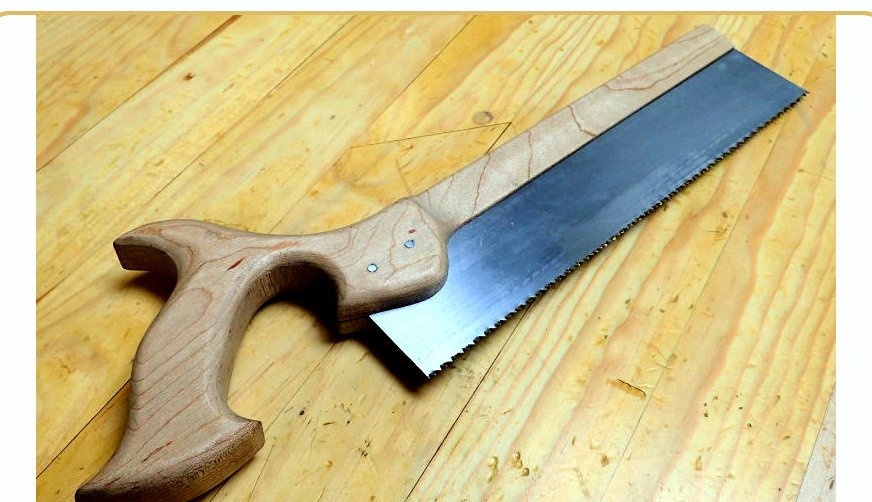
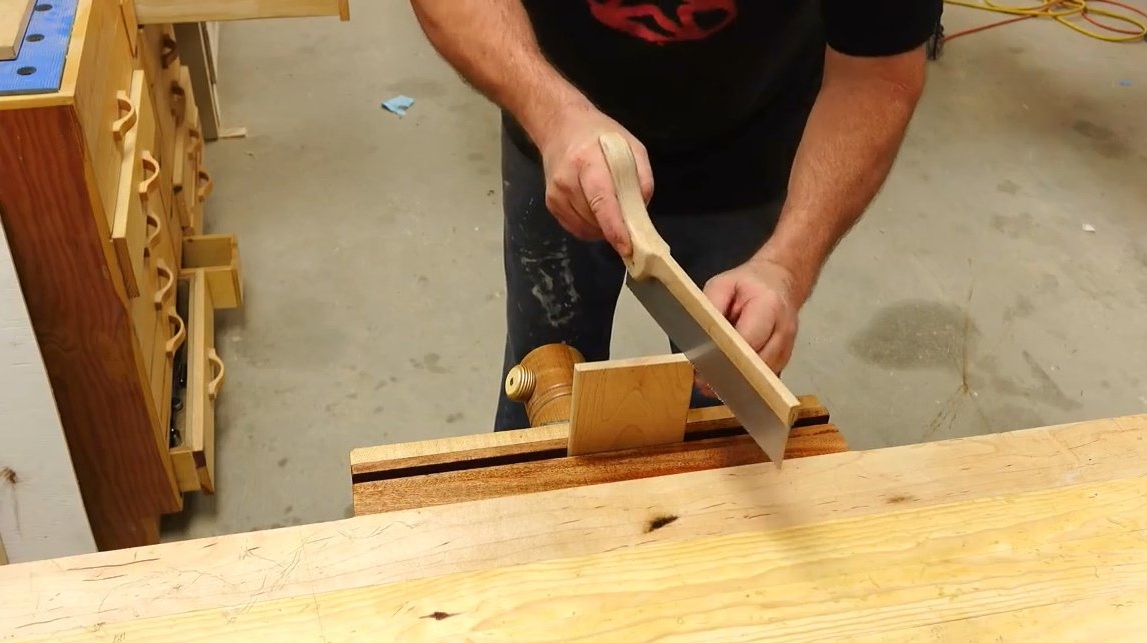
After all, the author finishes sharpening the blade, and the saw is ready to use!
John puts a couple of layers of polyurethane on the handle to make it look smoother and protected from moisture coming from the hand. Some readers are interested in how long this project took. Answer: the author began at 8.00 in the morning and finished the process at 18.30 in the evening, part of the time was spent on polymerisation of the resin.
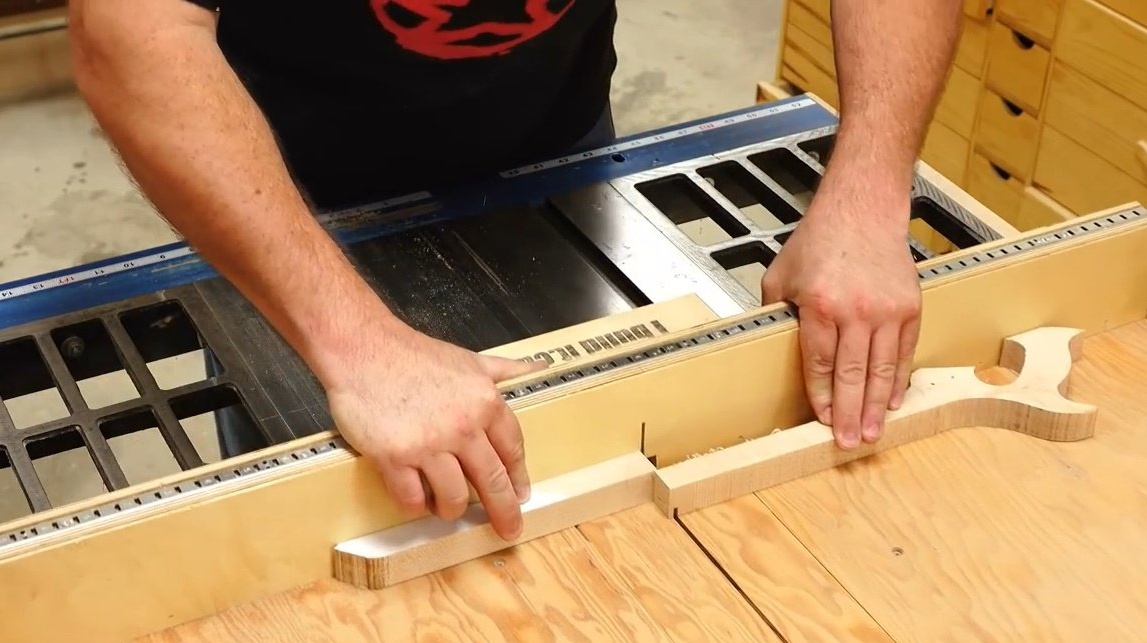
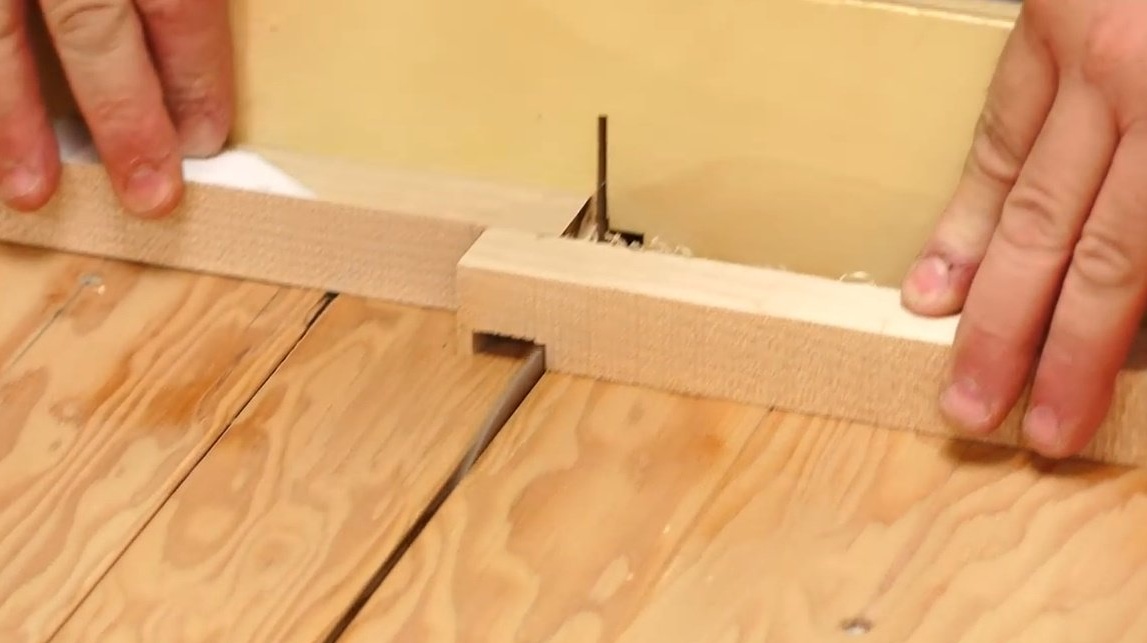
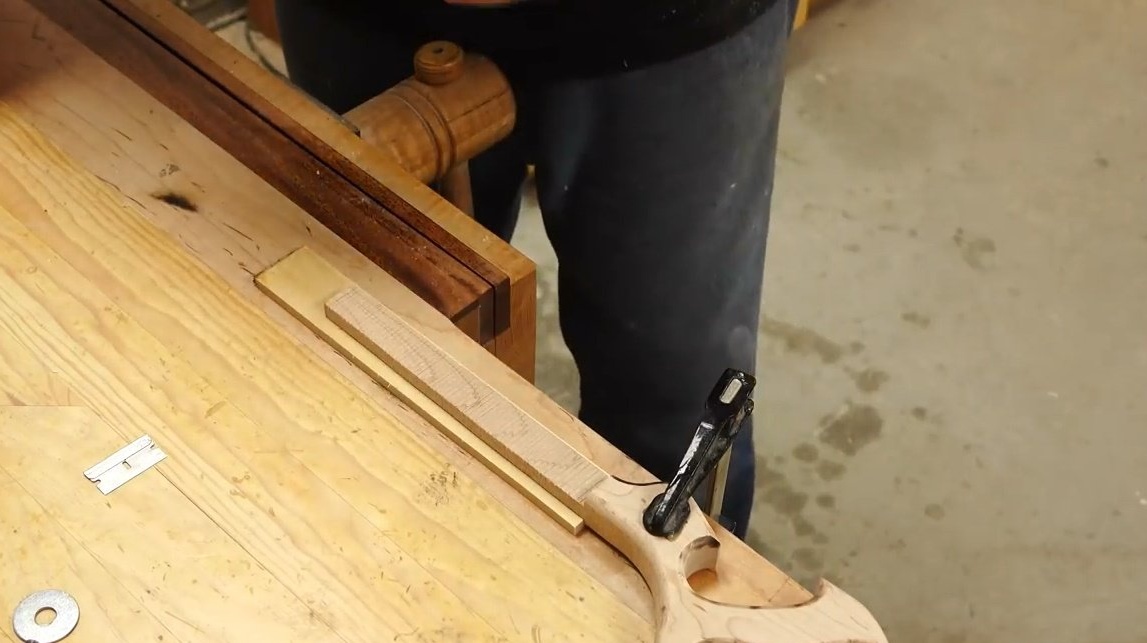
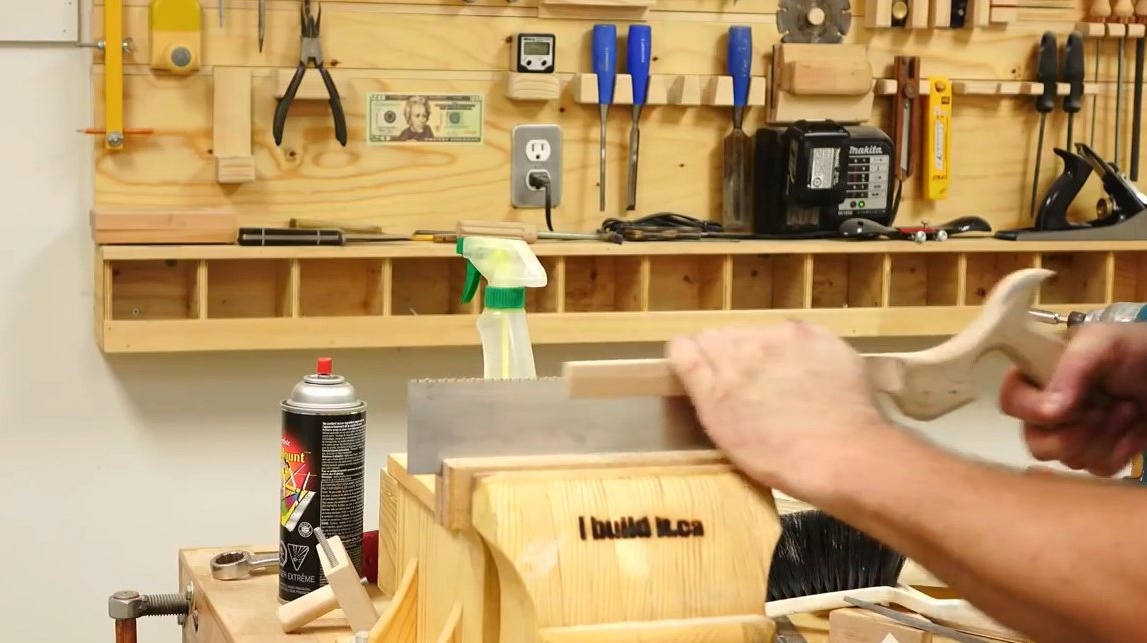
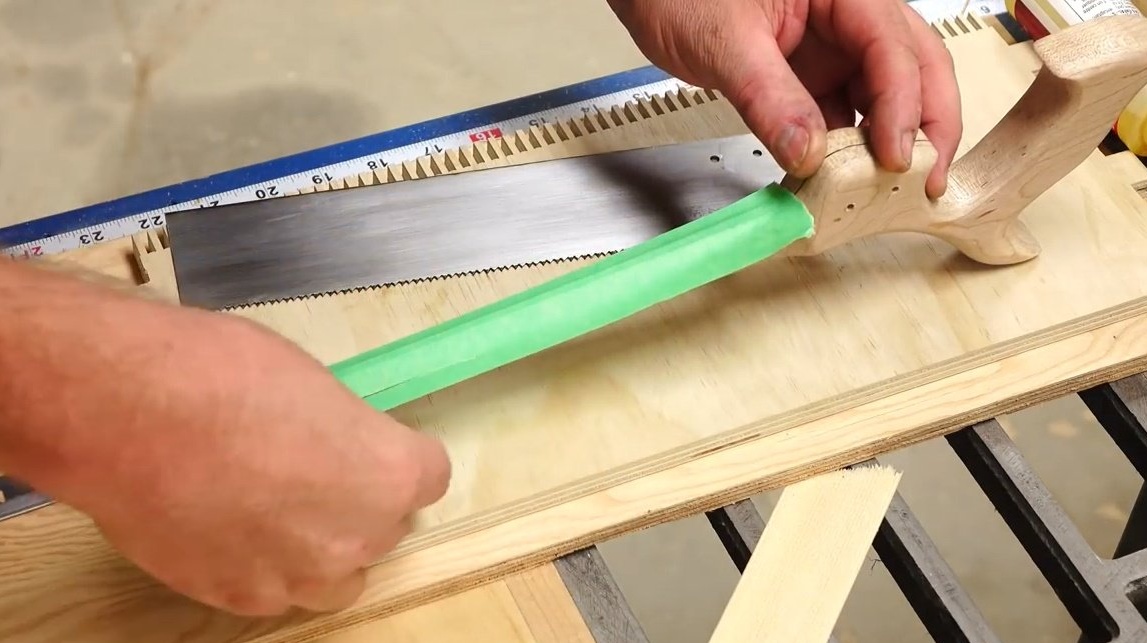
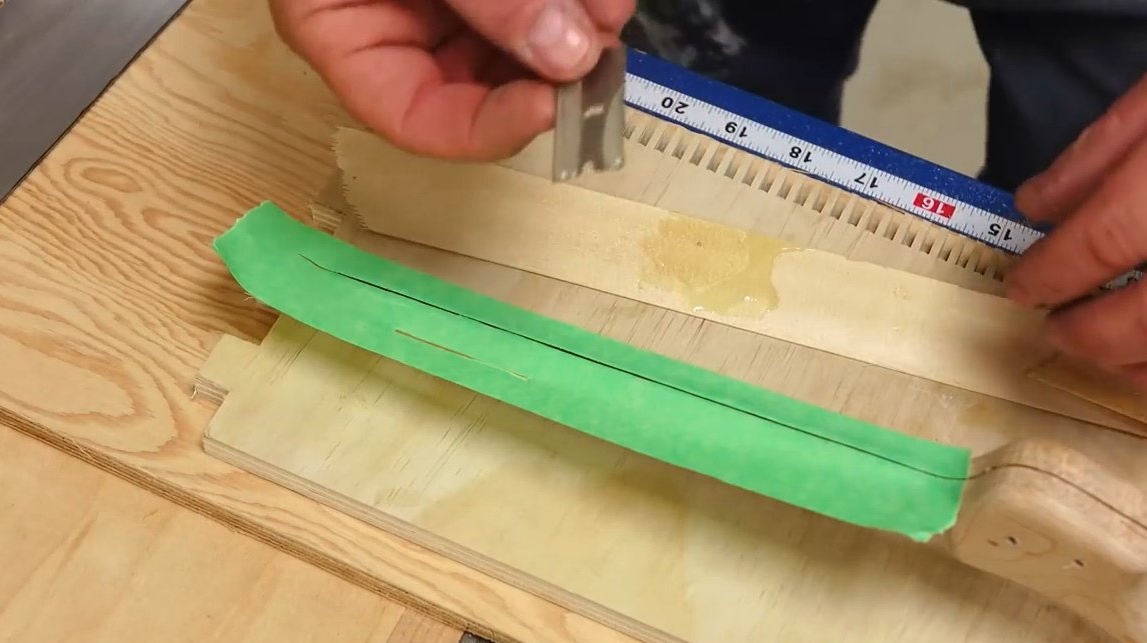
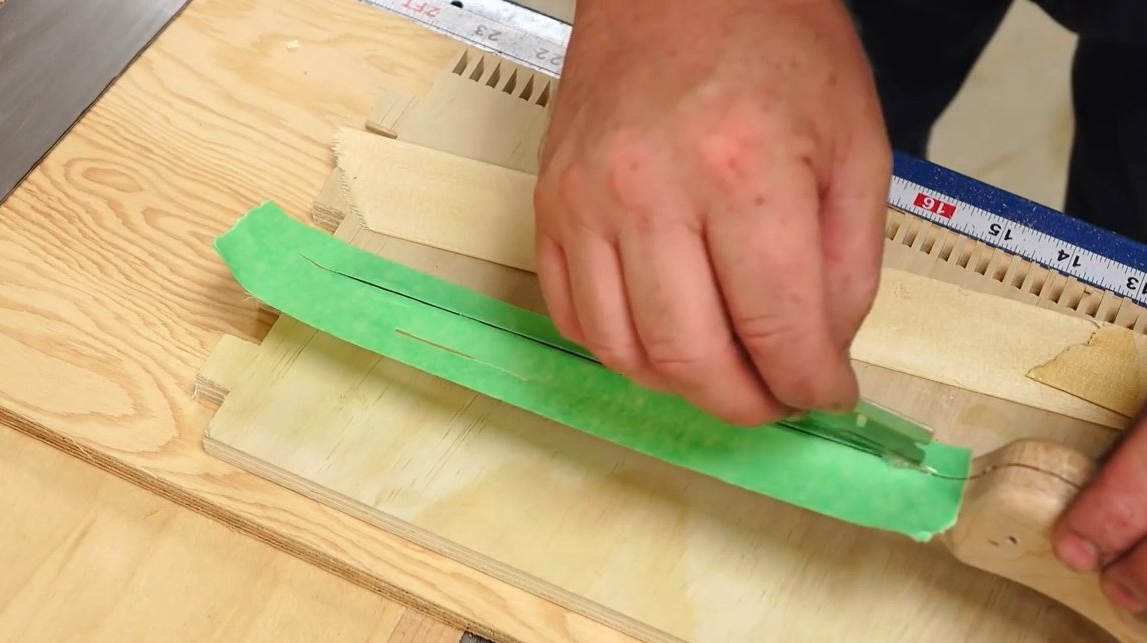
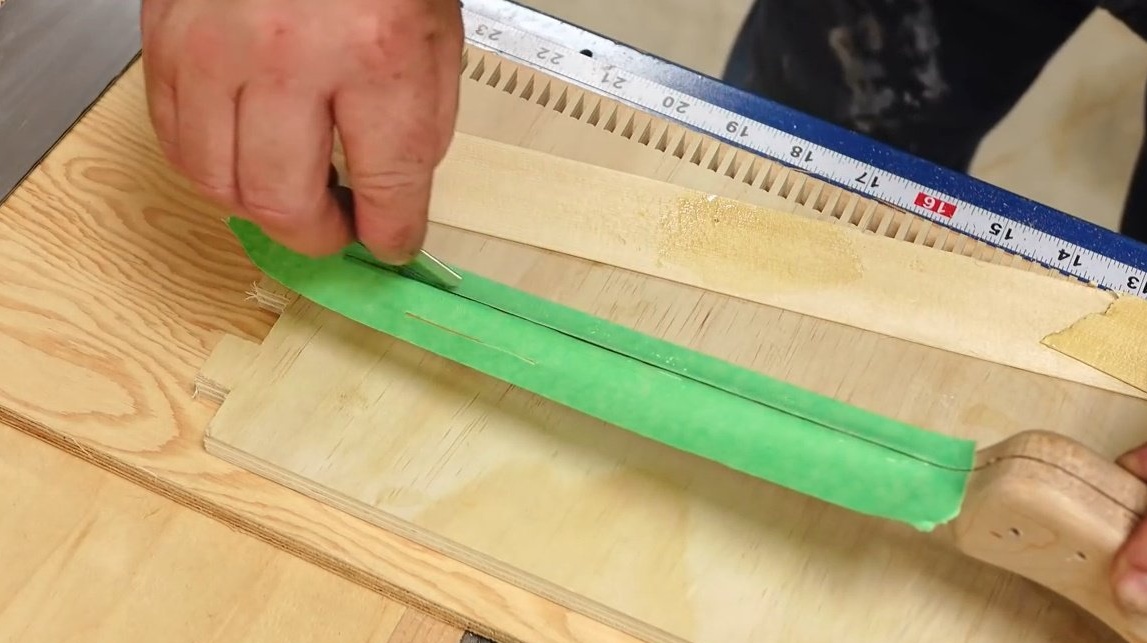
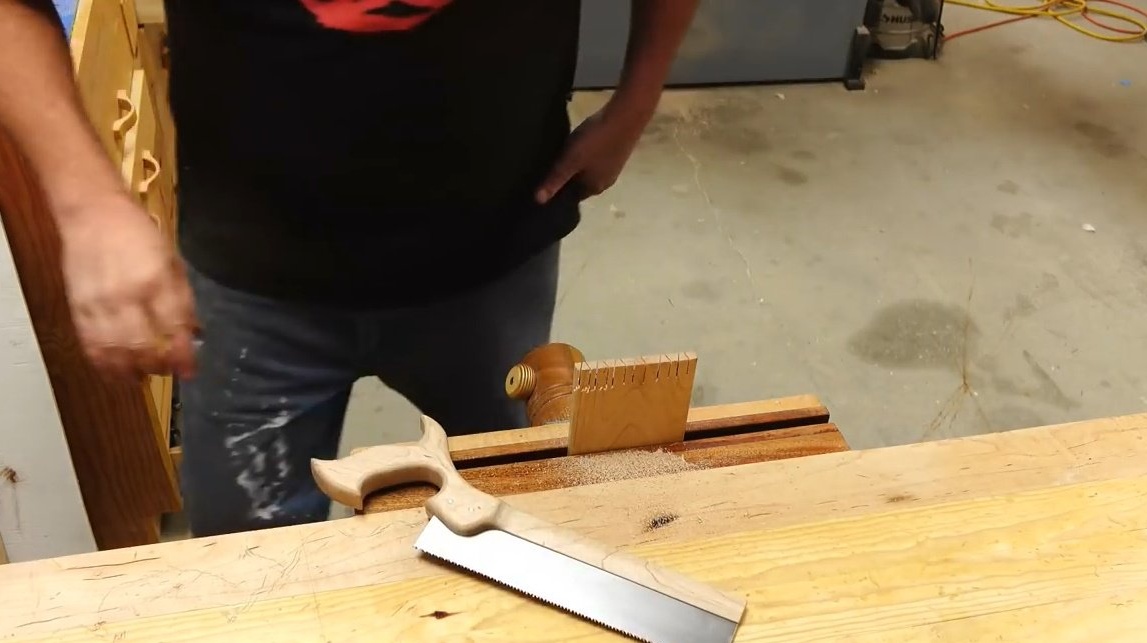
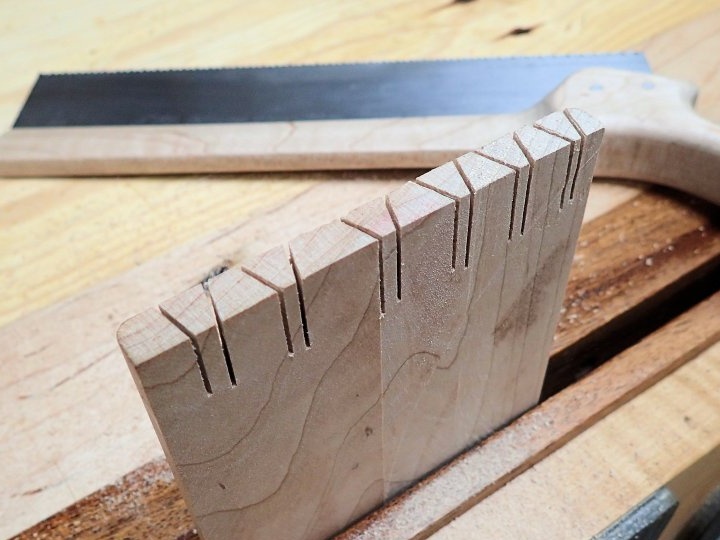
A few test cuts of the end face of the board under the dovetail spike.
Thanks to John for the detailed master class!
Good mood and good luck in your projects!