
In this article, Jack, the author of YouTube channel "Jack Houweling", will tell you how he made a moisture meter from a tree! This is a very unusual homemade product that can be repeated by almost any craftsman with wood processing skills. Yes, this solution is very unexpected, and does not require batteries, like modern digital devices. And it will just be a great decoration for the interior.
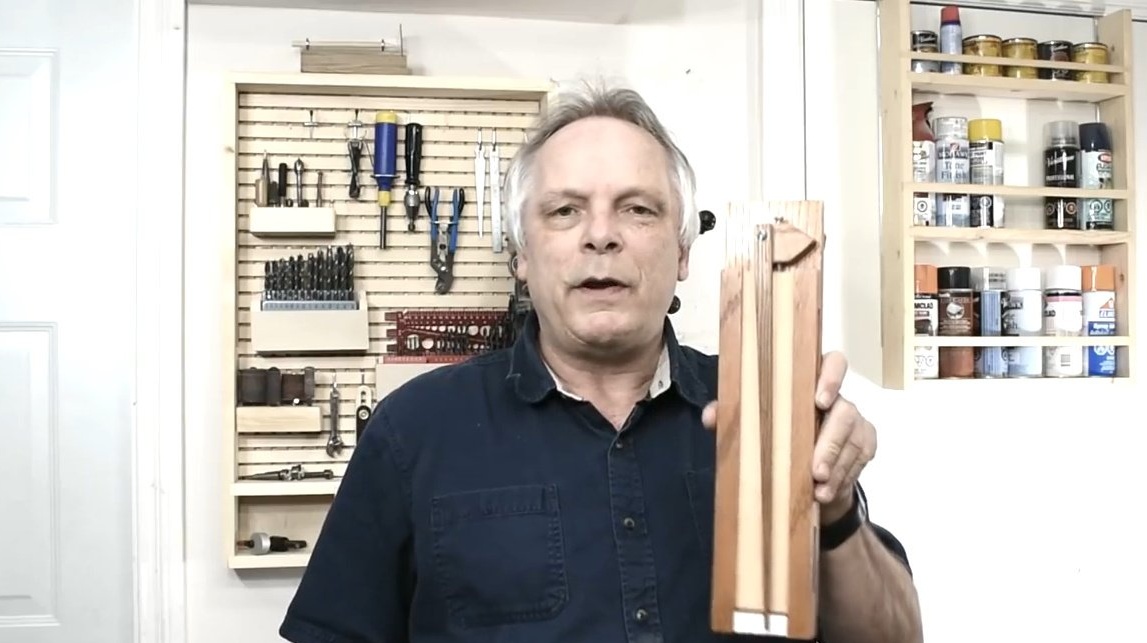
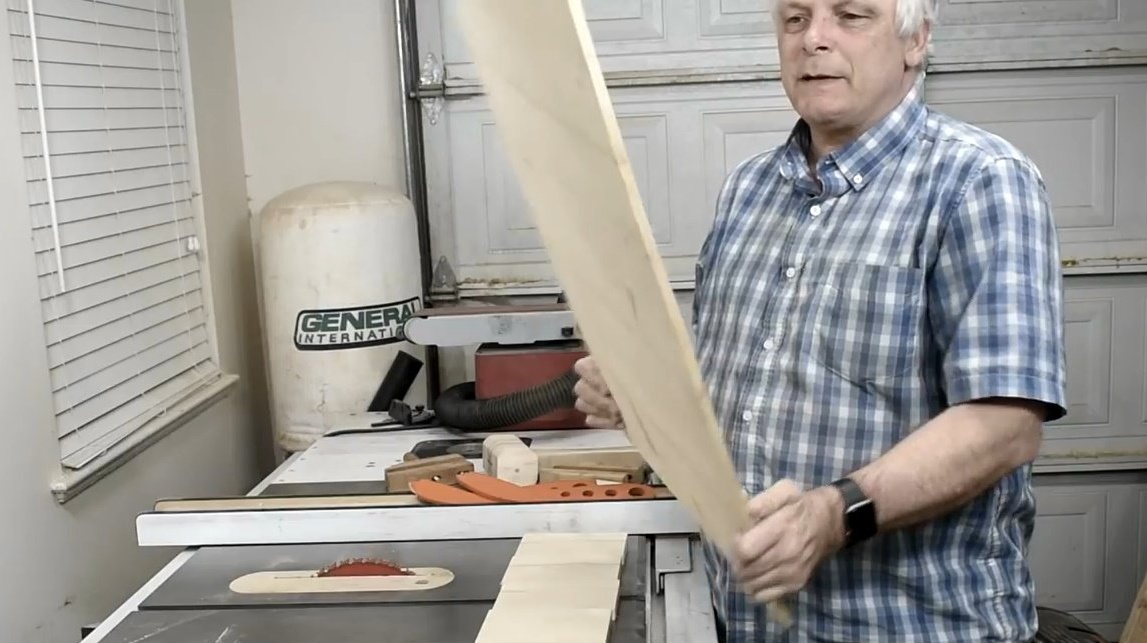
Here is a homemade hygrometer. He hangs all the time in Jack's workshop behind him. For demonstration purposes, the author is going to make an exact copy of it, only larger. For the manufacture of a hygrometer, he uses a blank with a transverse bedding of wood fibers cross grain piece ?? This is spruce wood.
This freely moving and unrestrained piece of spruce wood, a thin board, like plywood. Any wood can expand and contract depending on changes in humidity in the room. Oh, how joiners "love" this effect ... That is why the wood has to be impregnated and covered with protective coatings, such as wax or varnish. Jack will use this effect by making a special sensor from raw wood, and he will set the pointer arrow in motion.
Materials
- Spruce wood
- Joiner's glue
- Impregnation for wood, wax.
- M6 bolt, nut, wood screws.
Instruments, used by the author.
- A circular saw
- Band-saw
- Drilling machine
- Screwdriver
- Hammer
- Screwdriver, clamps.
Manufacturing process.
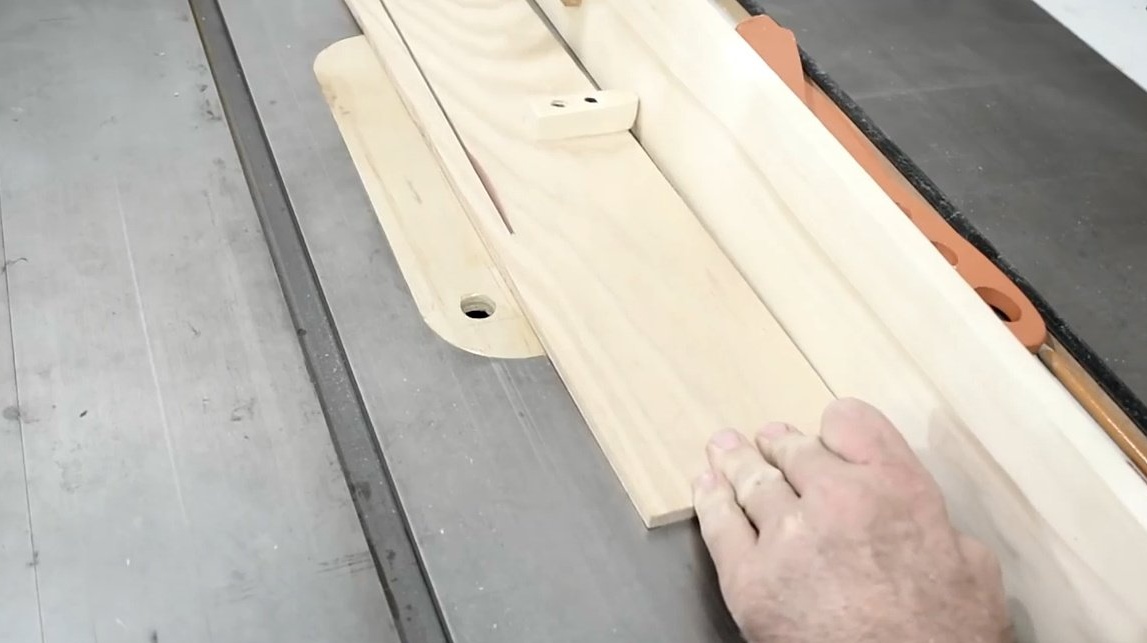
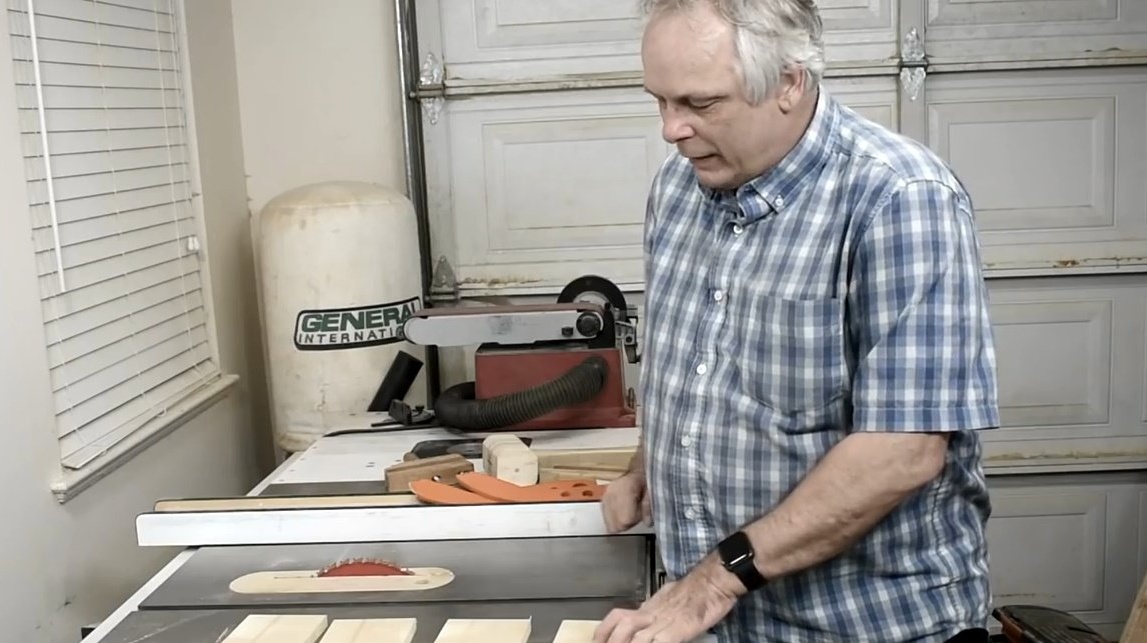
The first step: creating a device case. Jack begins by cutting the back of the case. A very important point is the direction of the wood fibers. They should be parallel to the length of the workpiece.
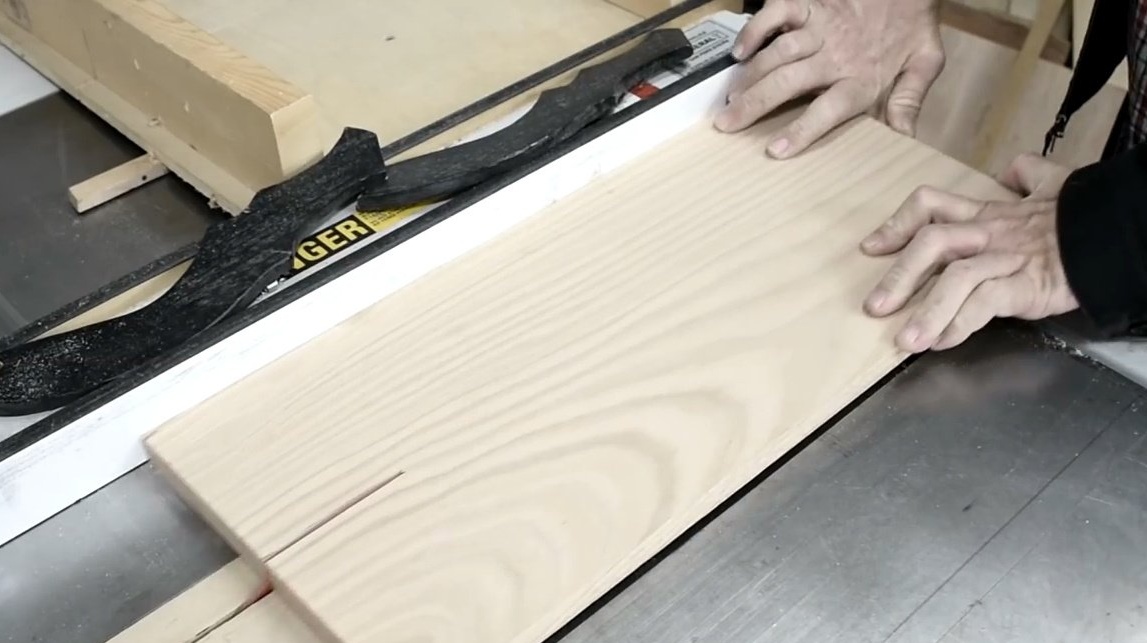

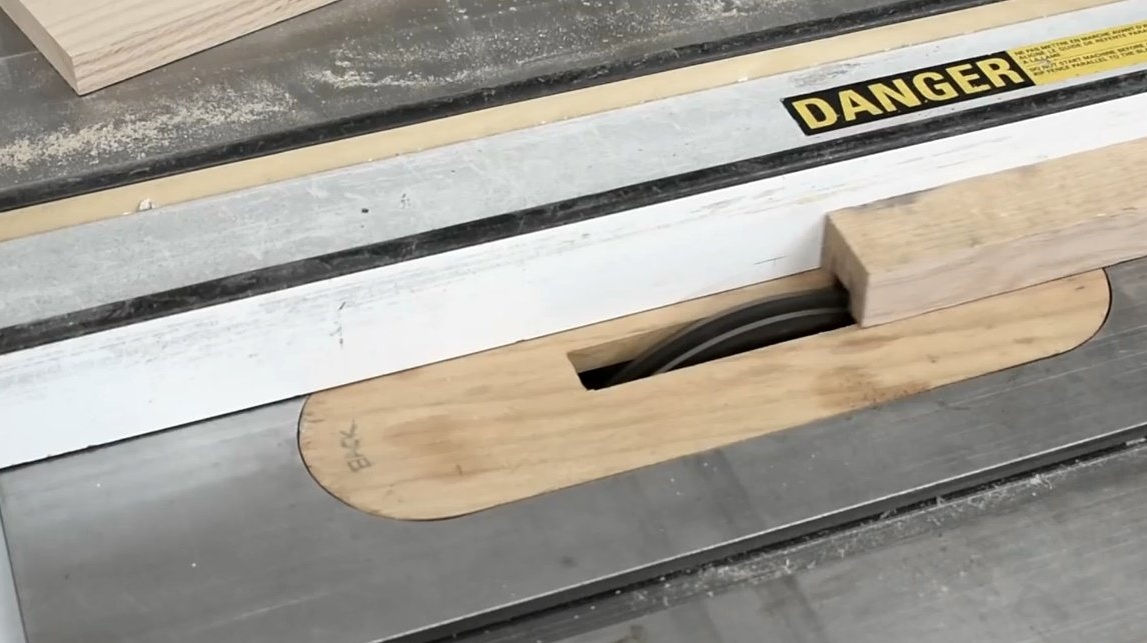
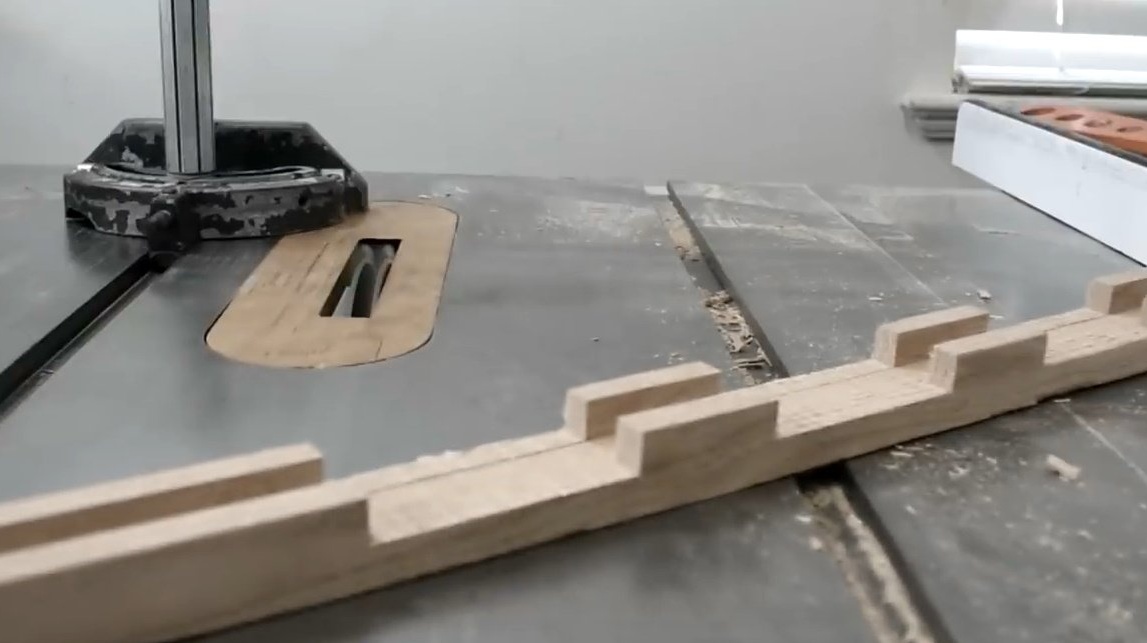
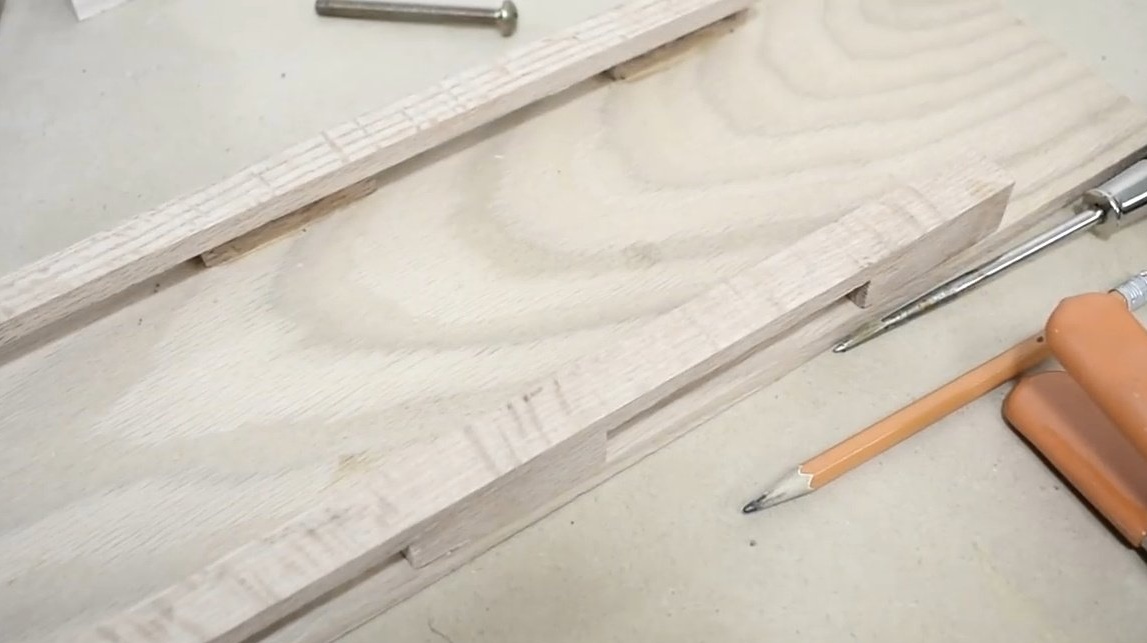
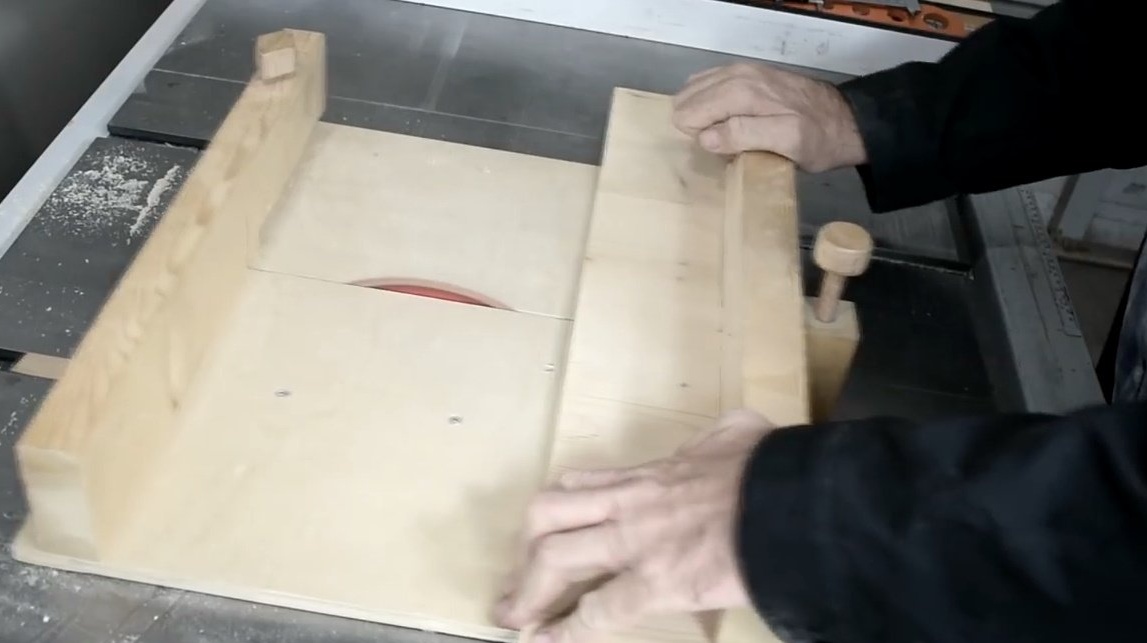
Now you can make the sides with grooves for better ventilation. To do this, Jack uses this block, which he drives through a wide circular saw blade. Later, the resulting part will be cut in half. The first groove is designed to fix the wooden plate - the "sensor".
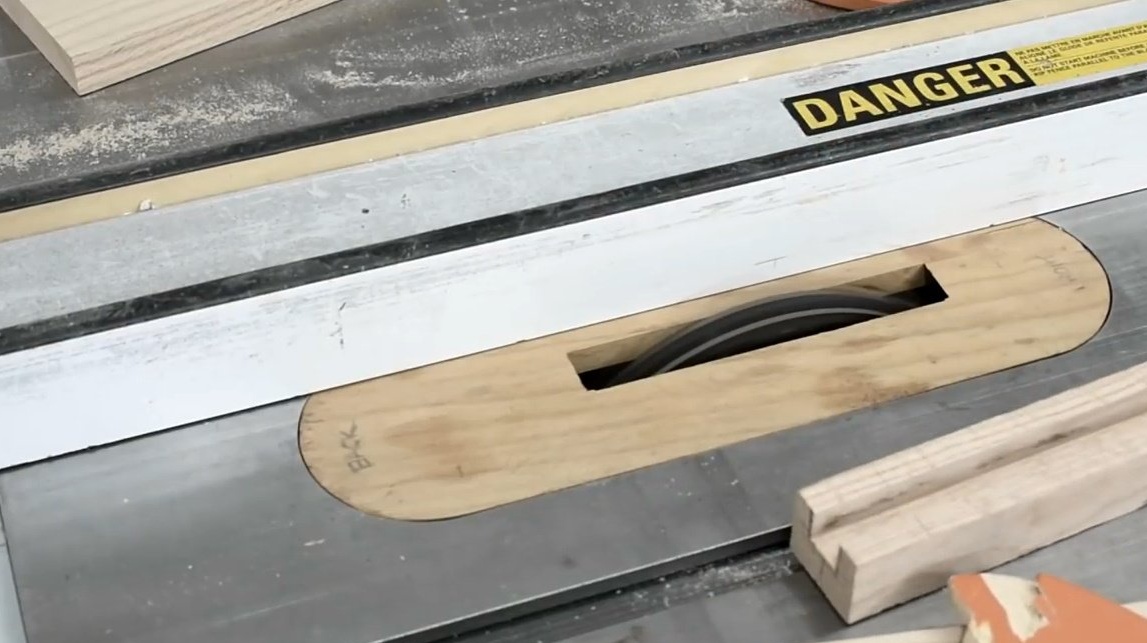
With the same disc, he grinds side grooves in both workpieces.
Here is a tricky look procurement.
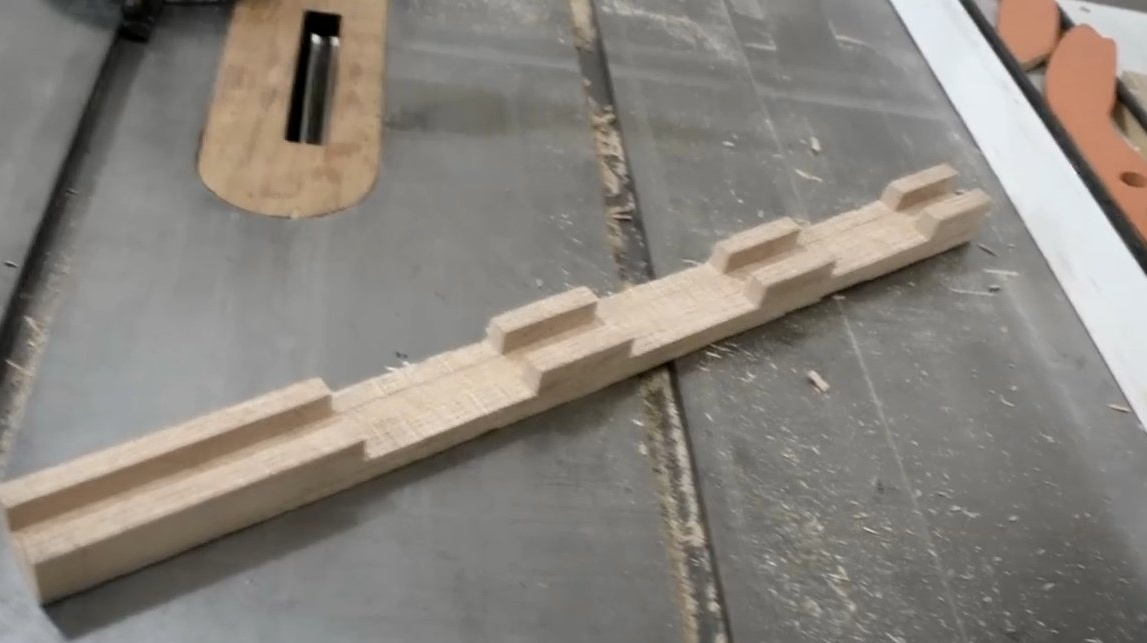
Later, the resulting part is cut in half along two equal parts.
The sides are coated with glue.
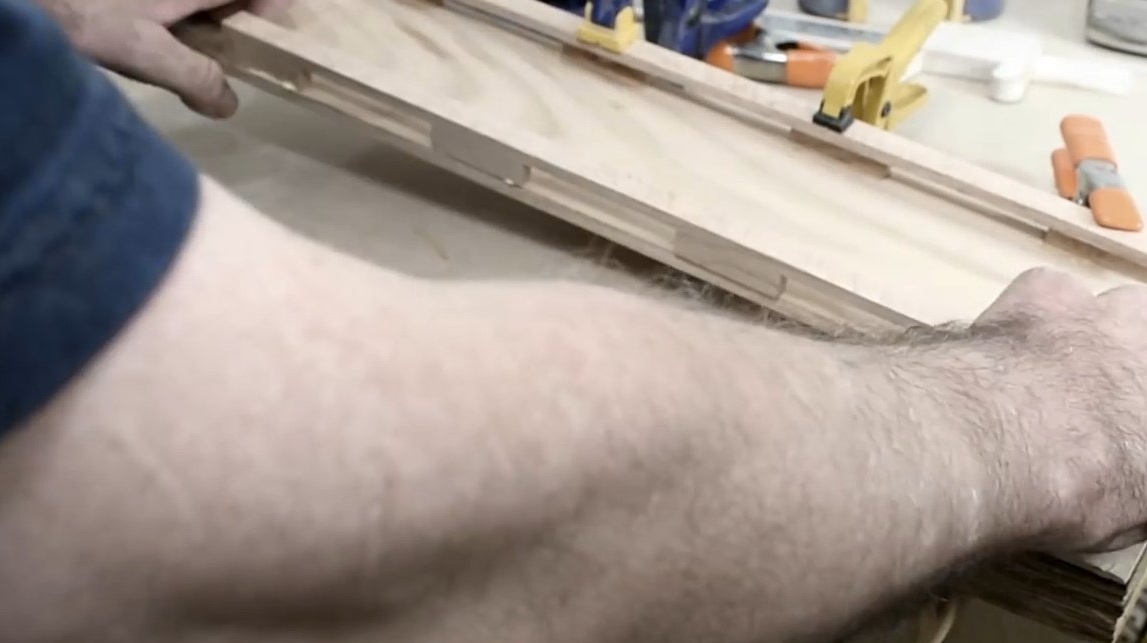
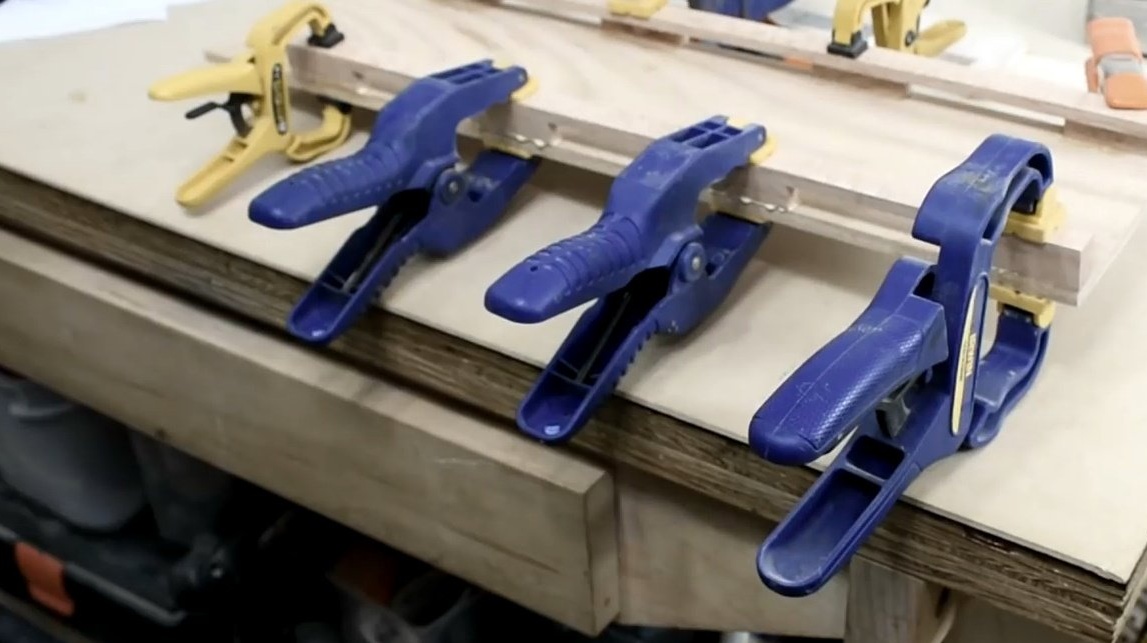
Now the workpieces are glued and attracted by clamps to the back wall - the base.
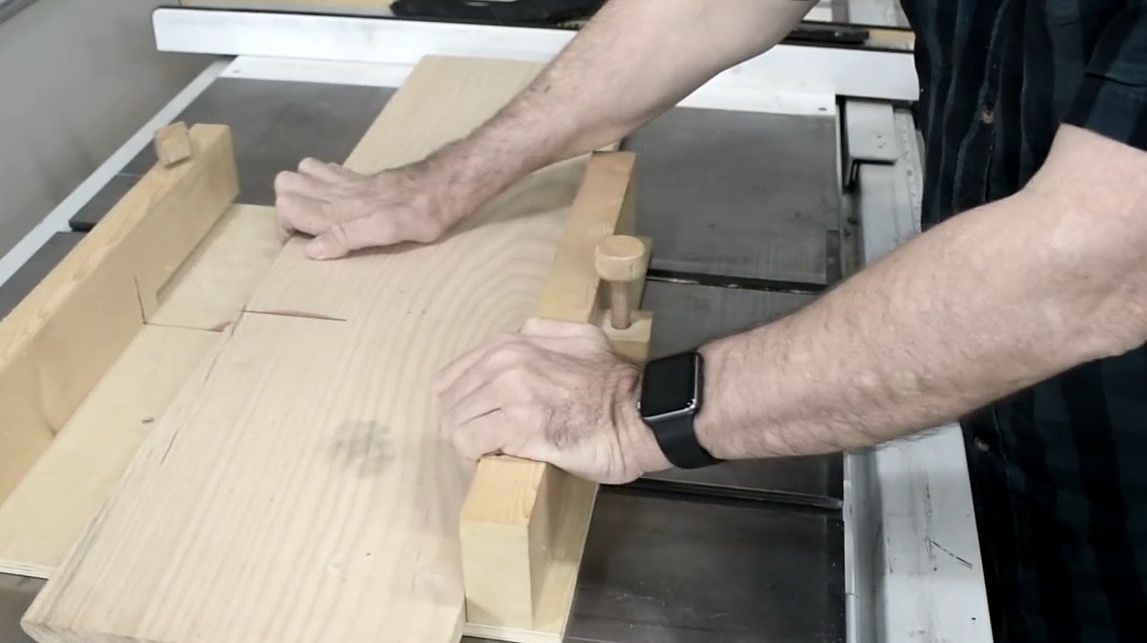
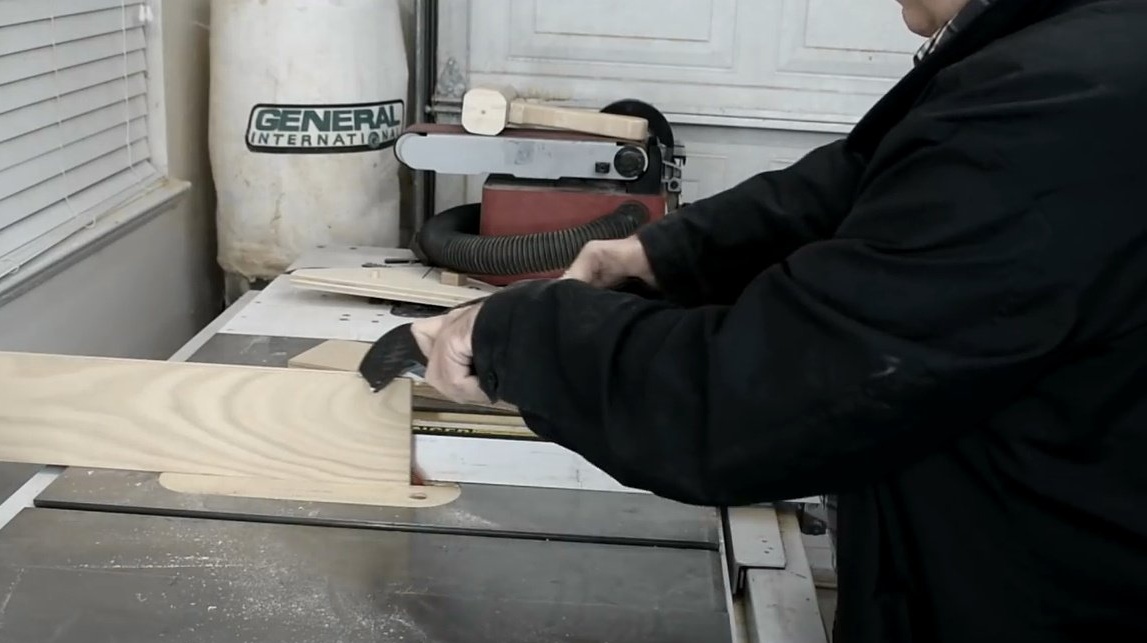
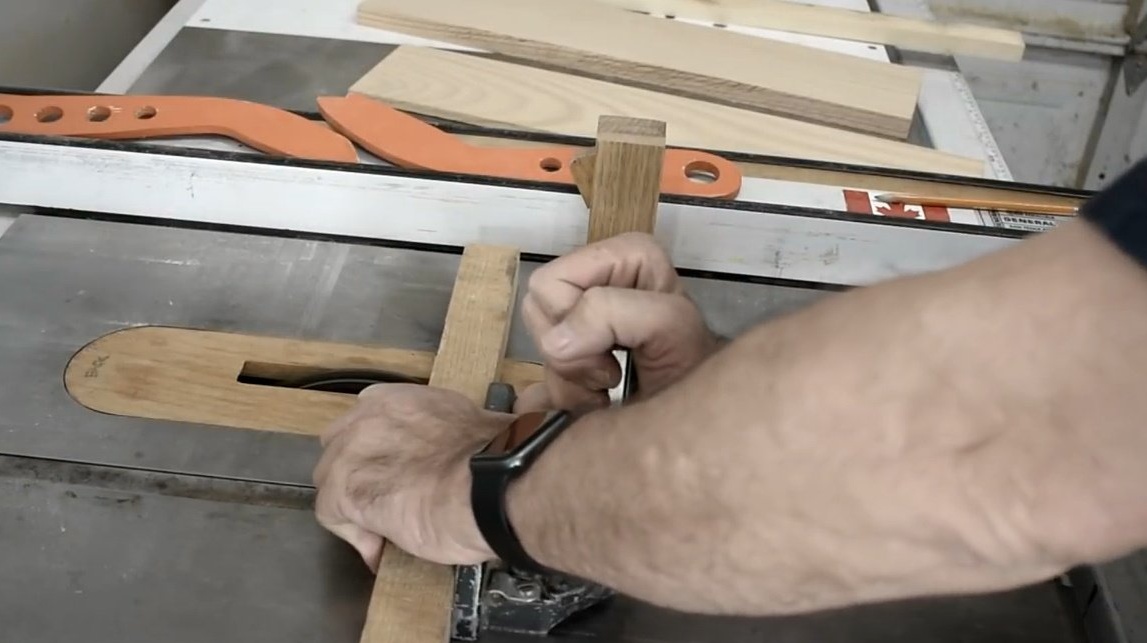
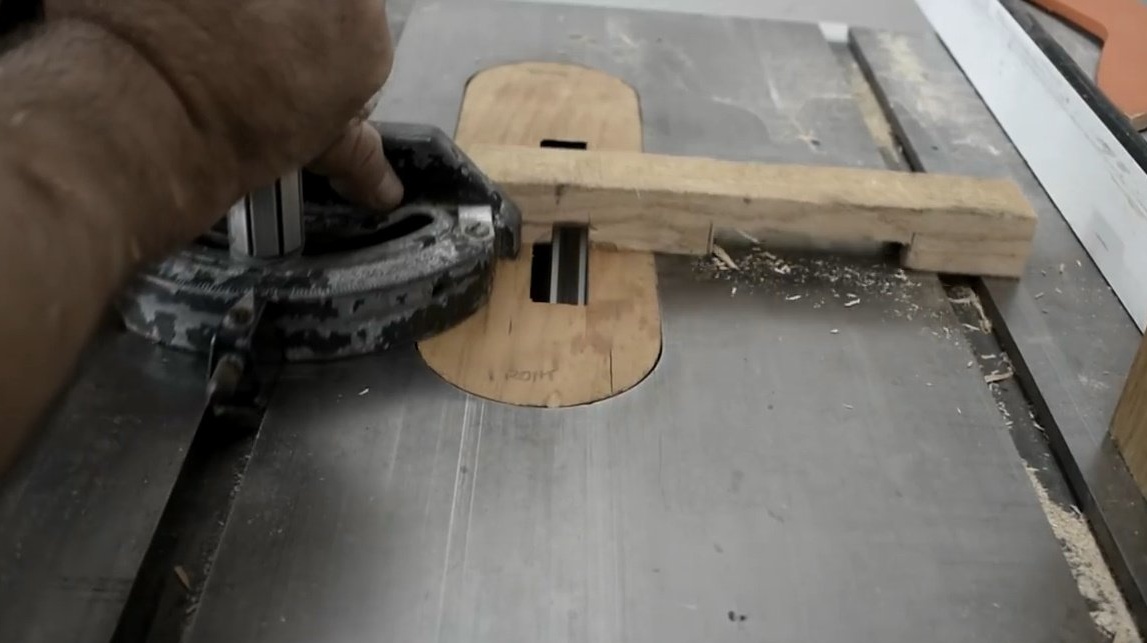
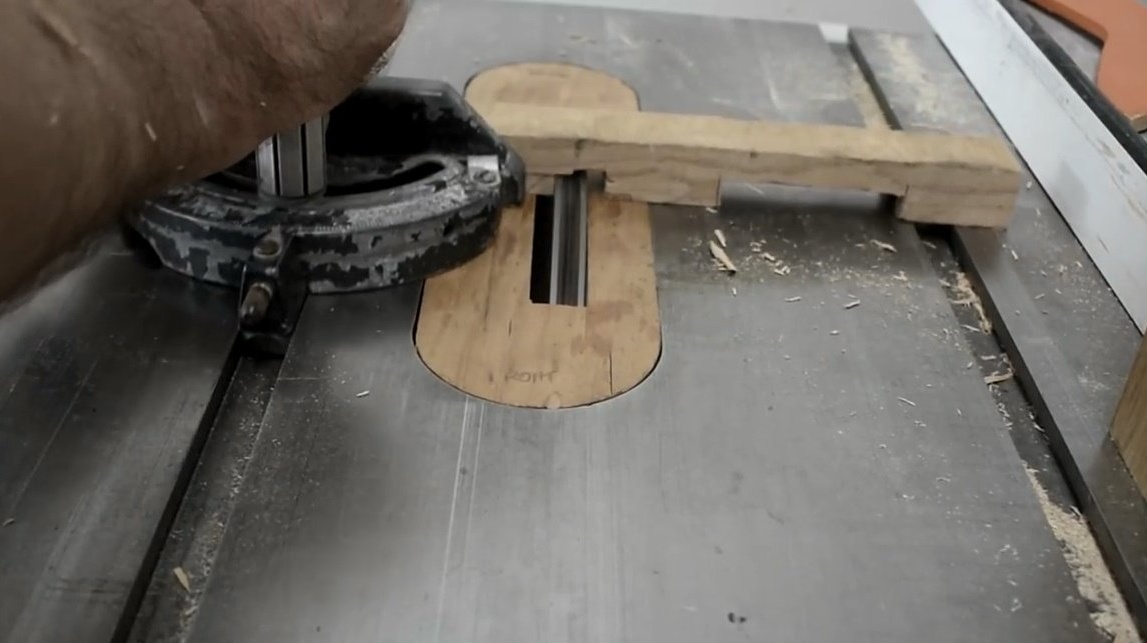
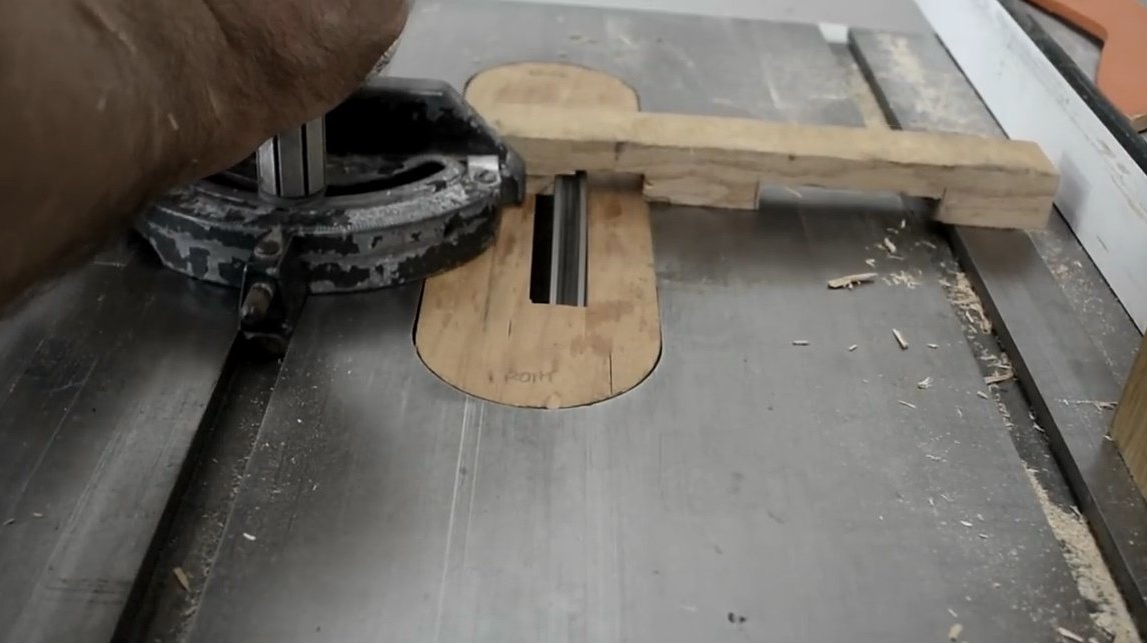
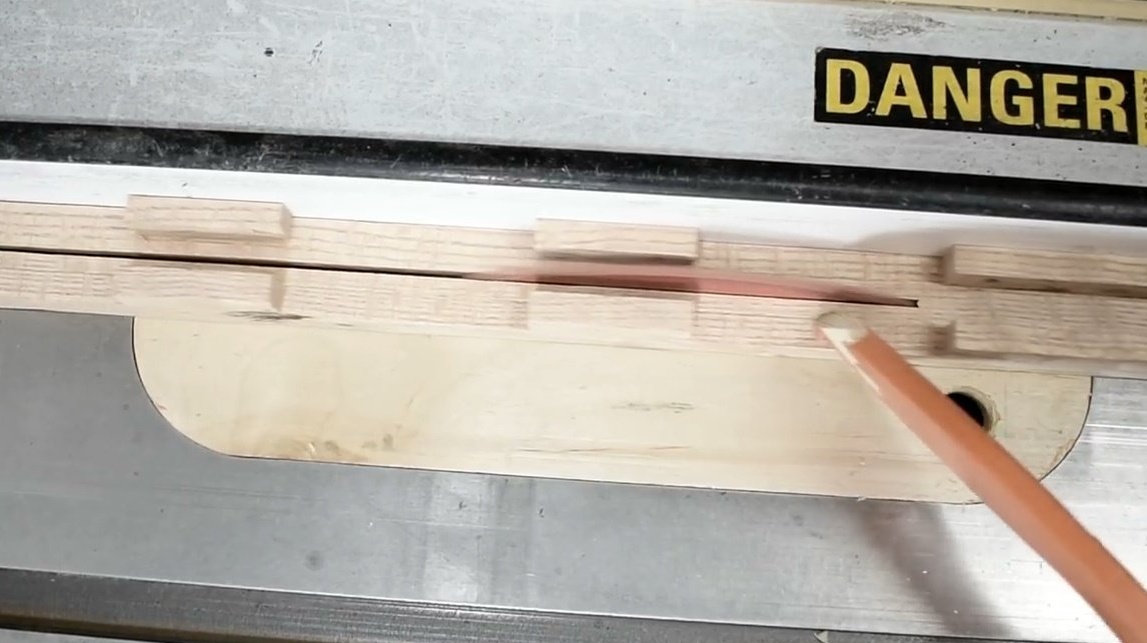
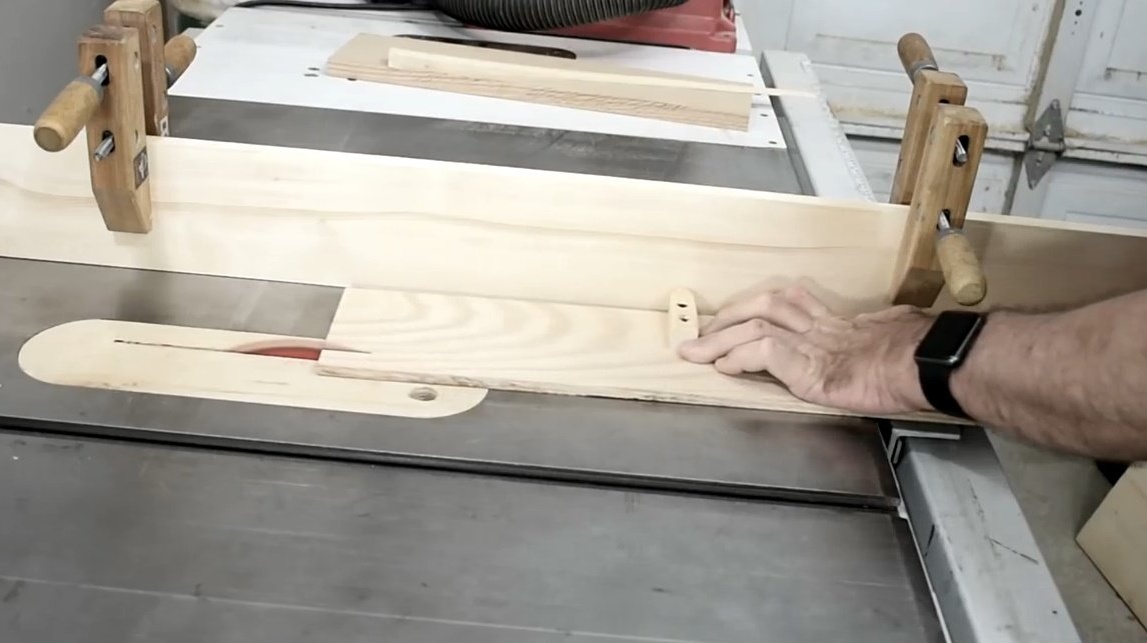
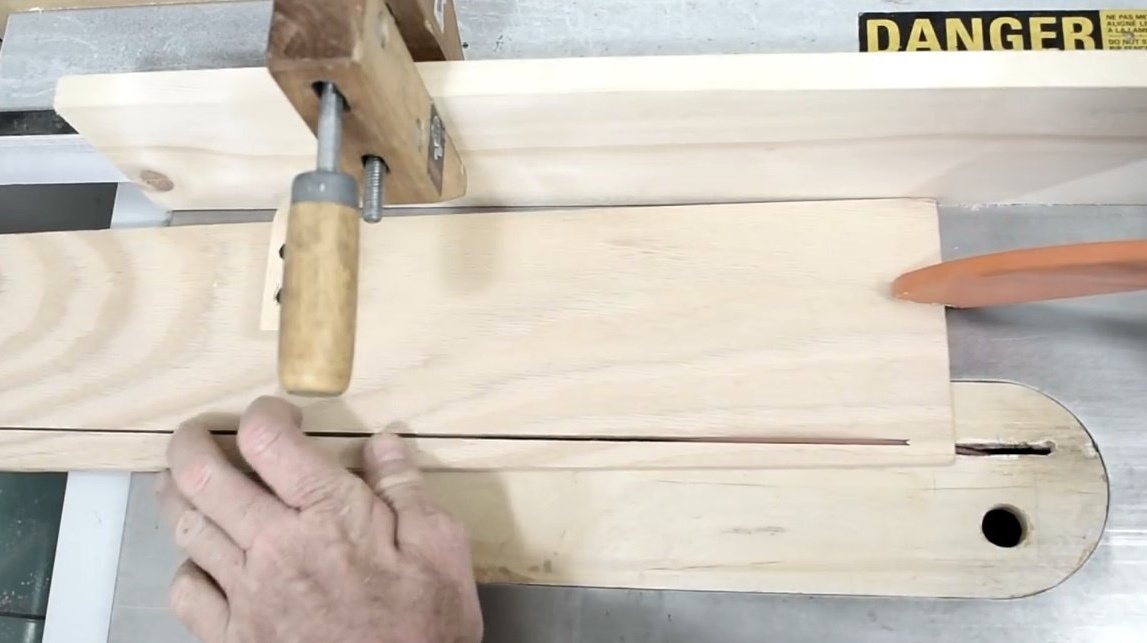
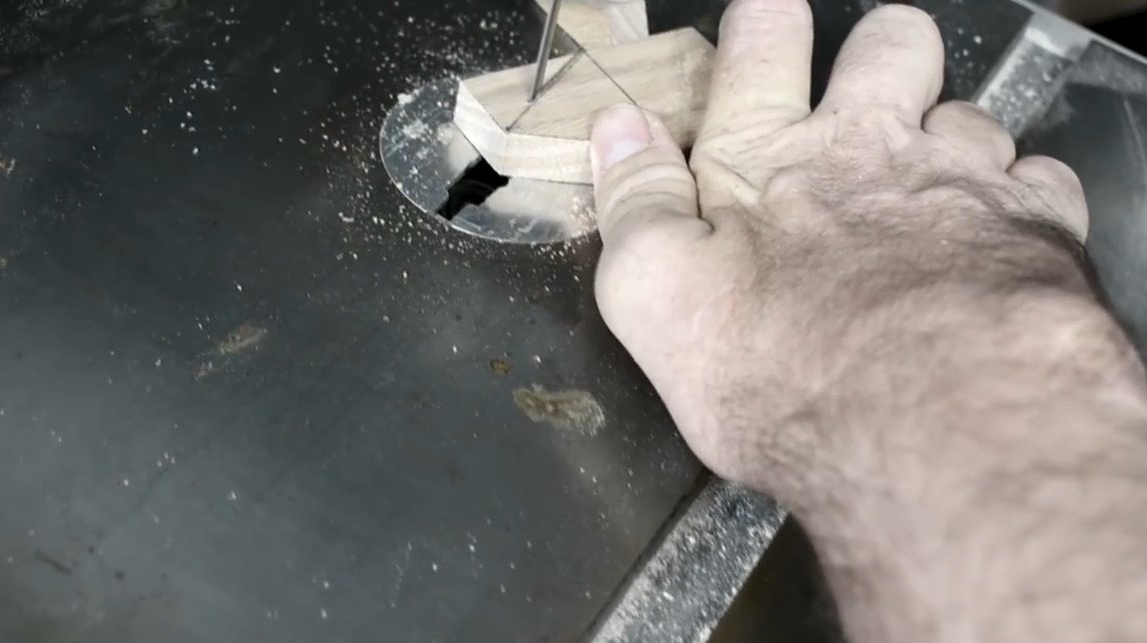
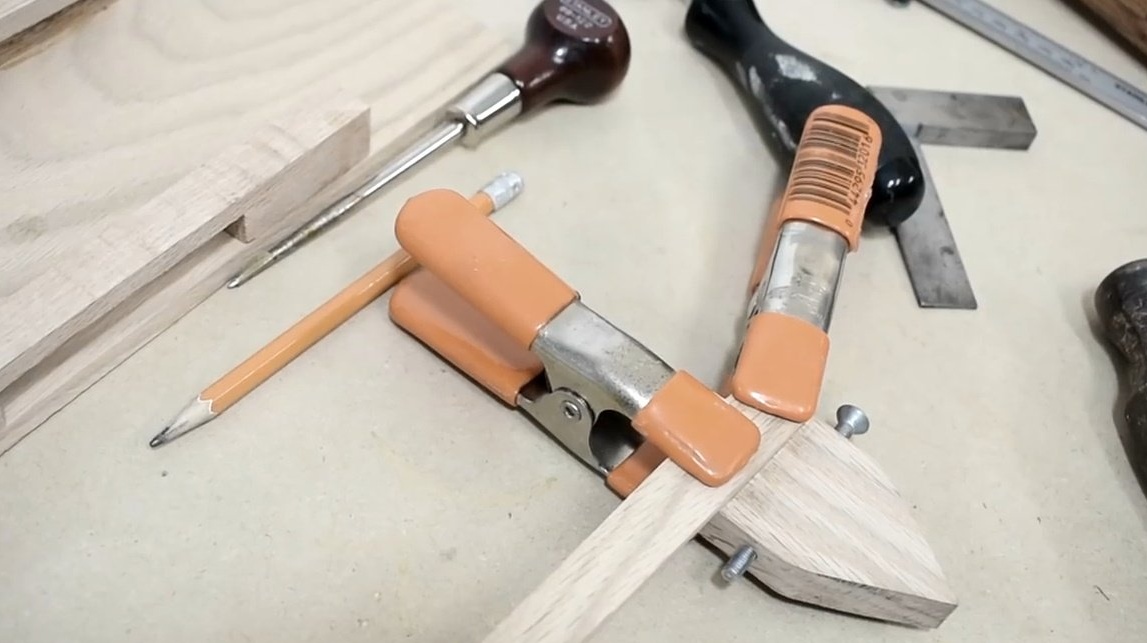
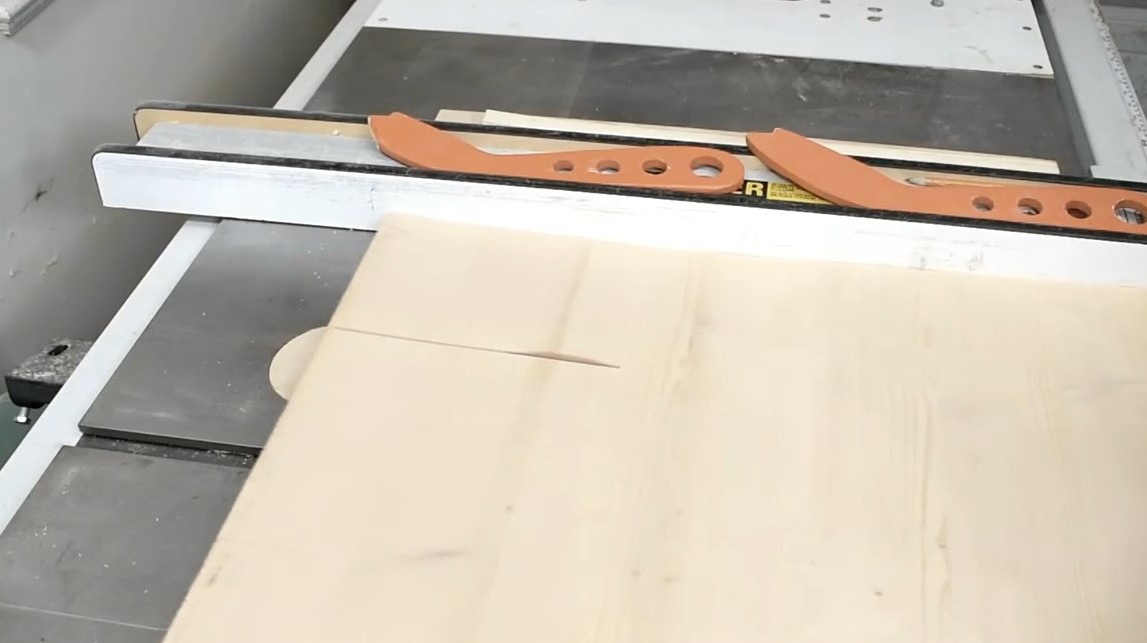
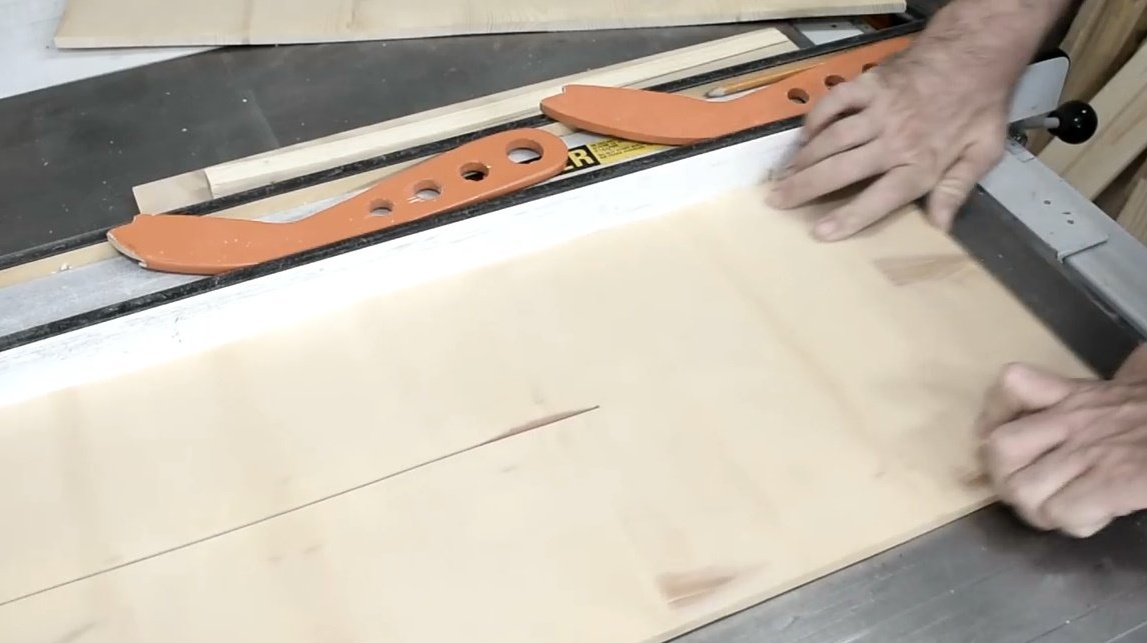
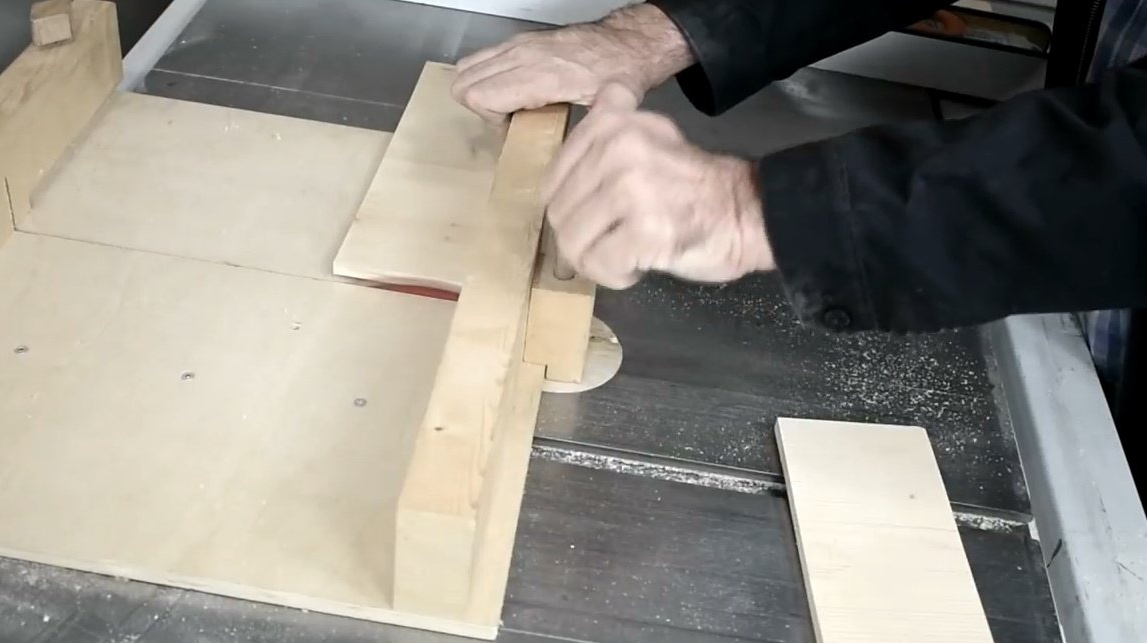
Next came the turn of the arrow - pointer. The craftsman put a small wooden block on the wood panel, so that the cut will go at an angle when the part passes along the stop of the circular saw.
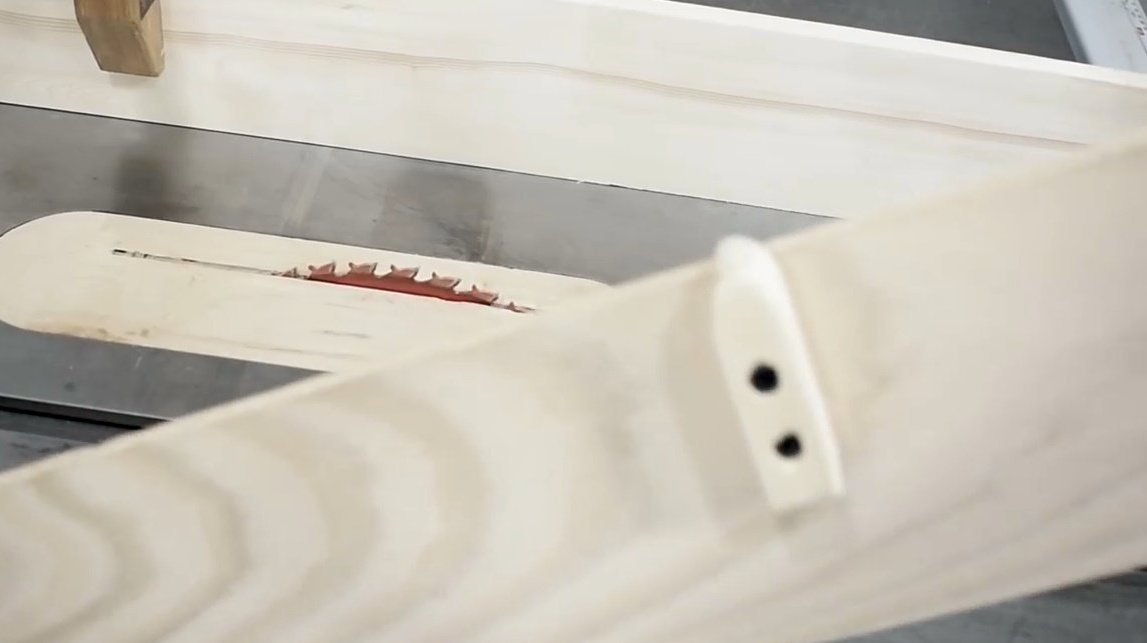
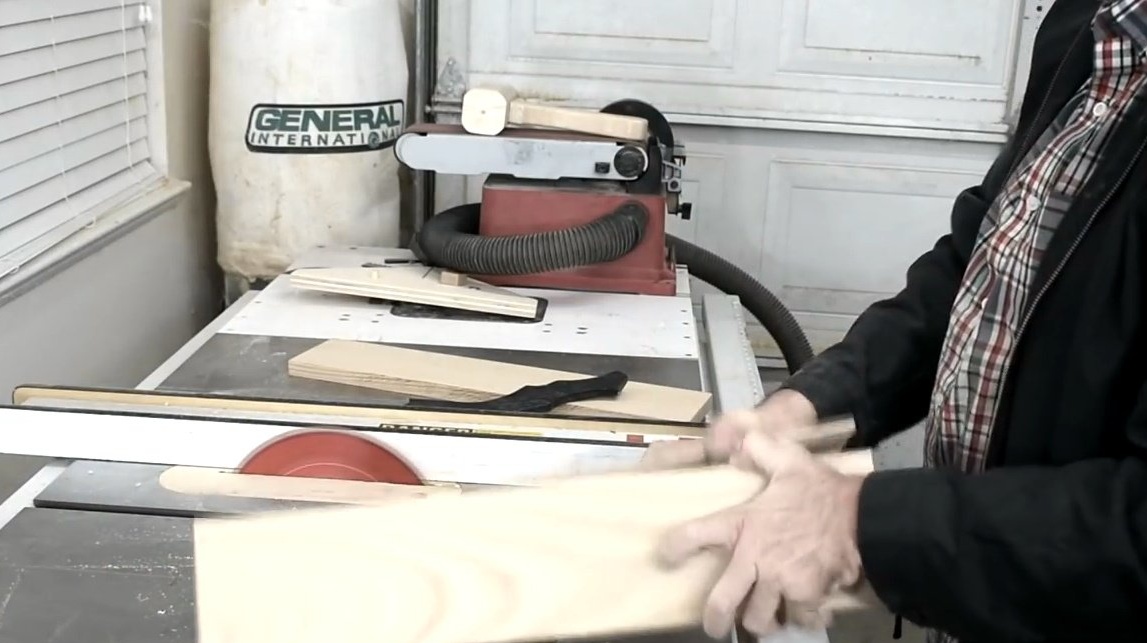
Then the author makes this part of the index.
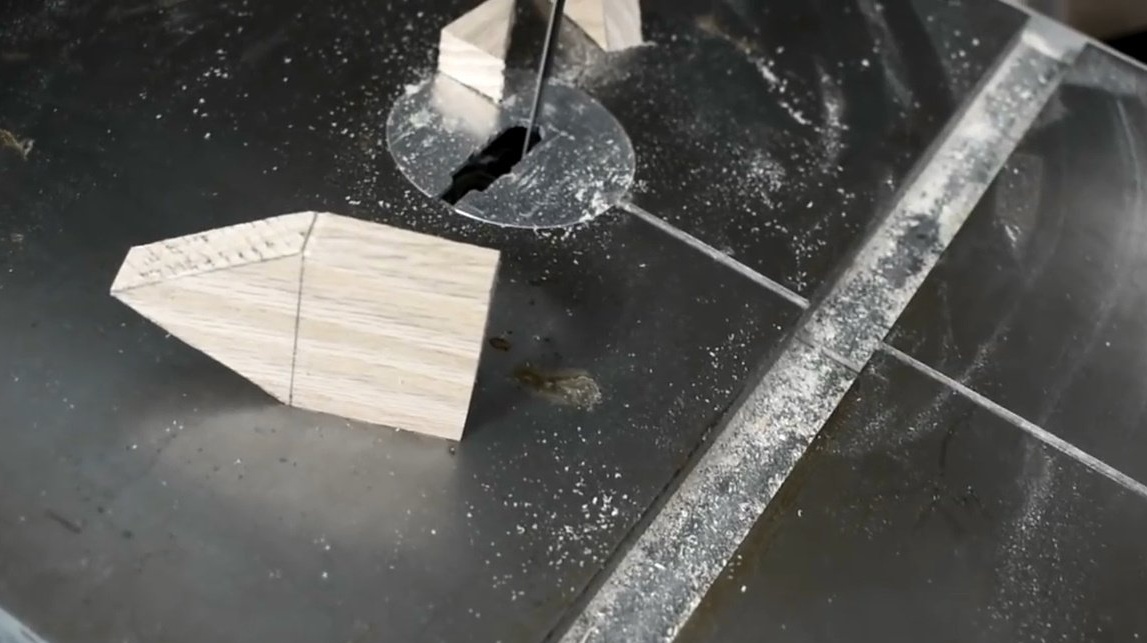
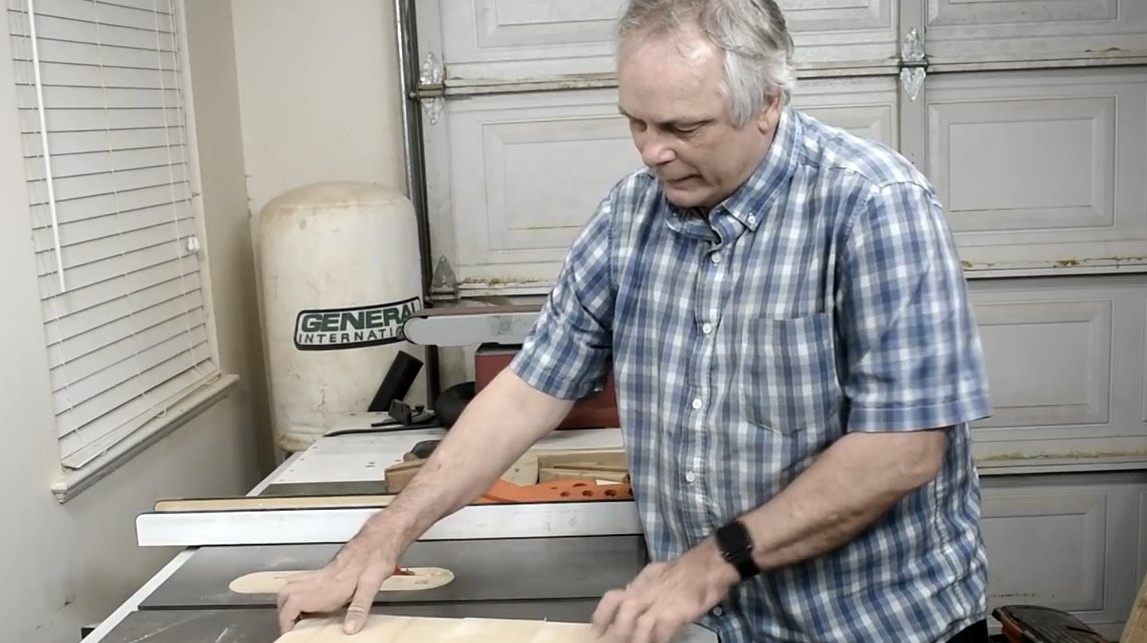
First, a base on a band saw is cut from a piece of board.
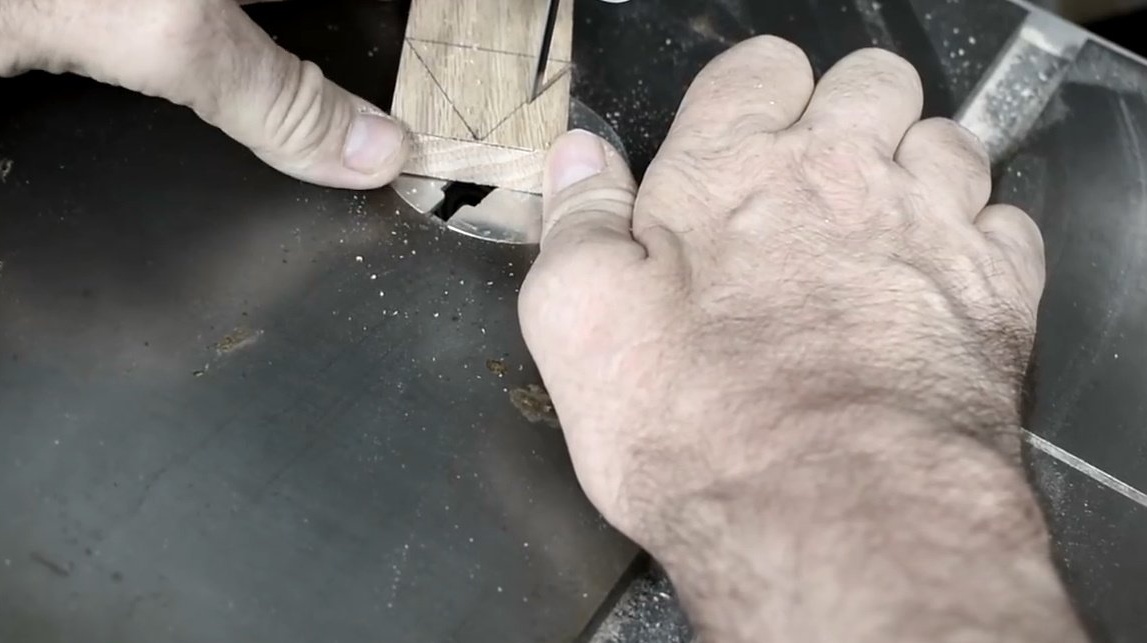
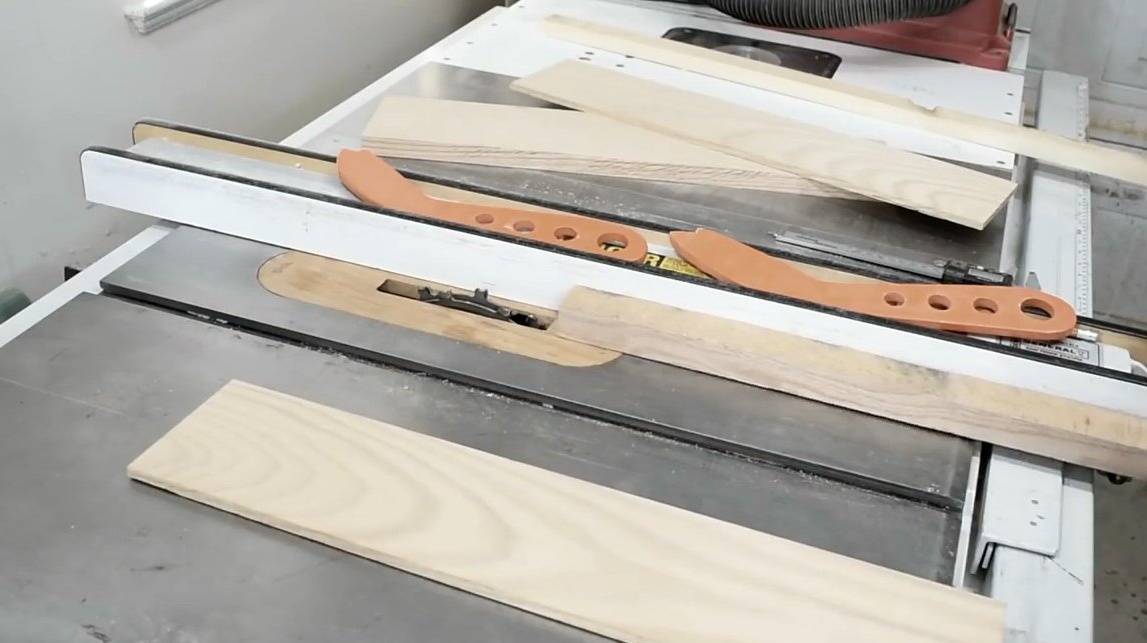
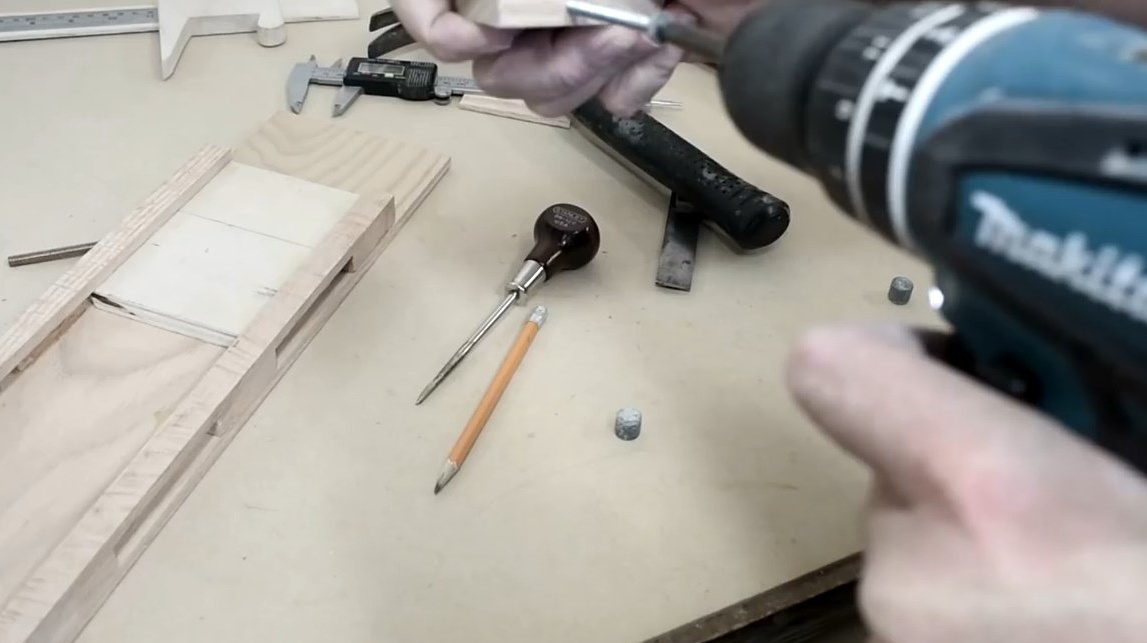
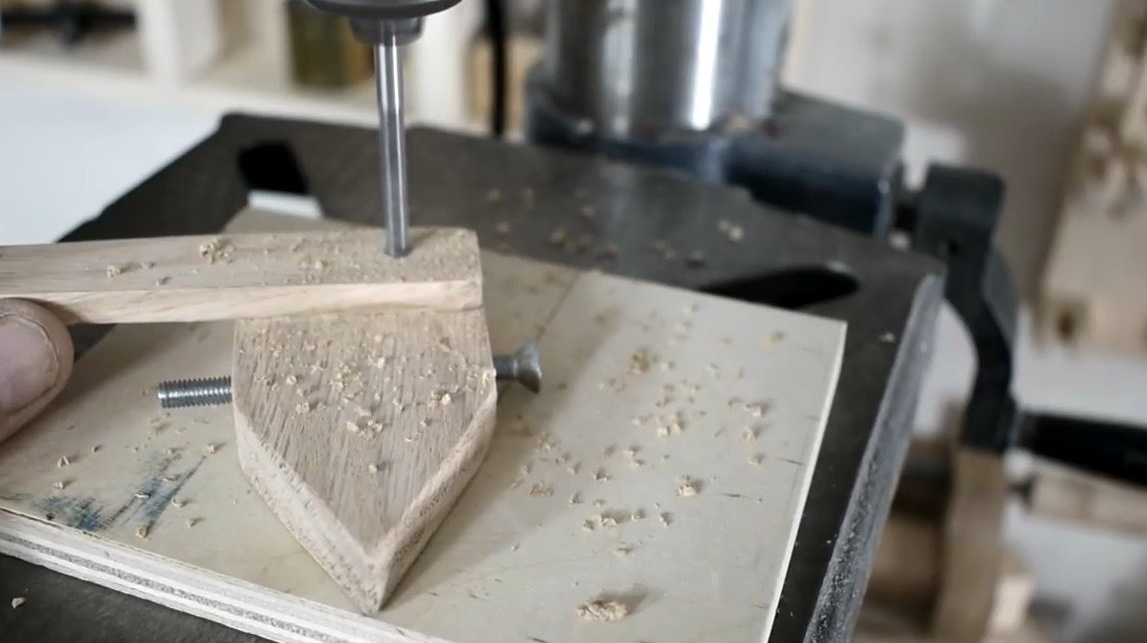
Then he drills a hole for an adjusting screw on a drilling machine.
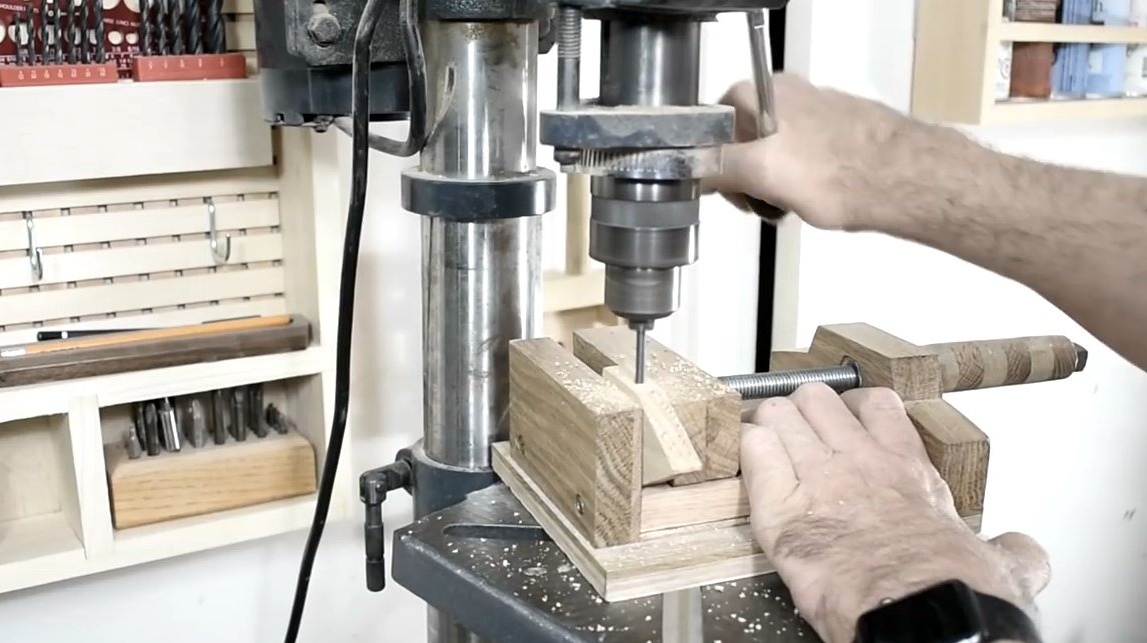
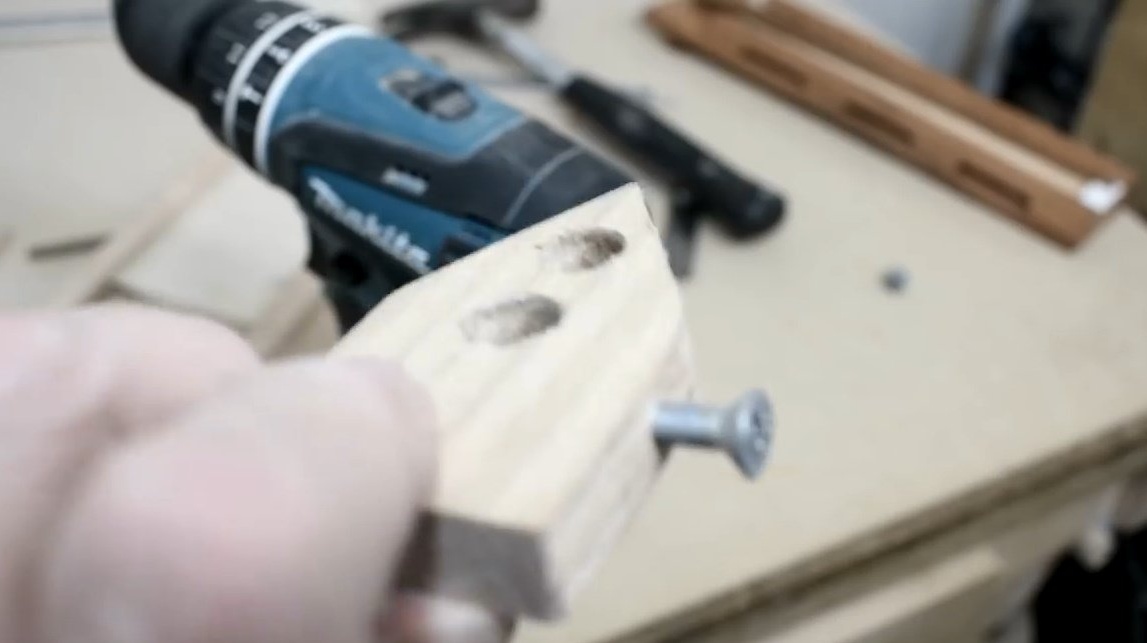
Now a couple of holes for weights.

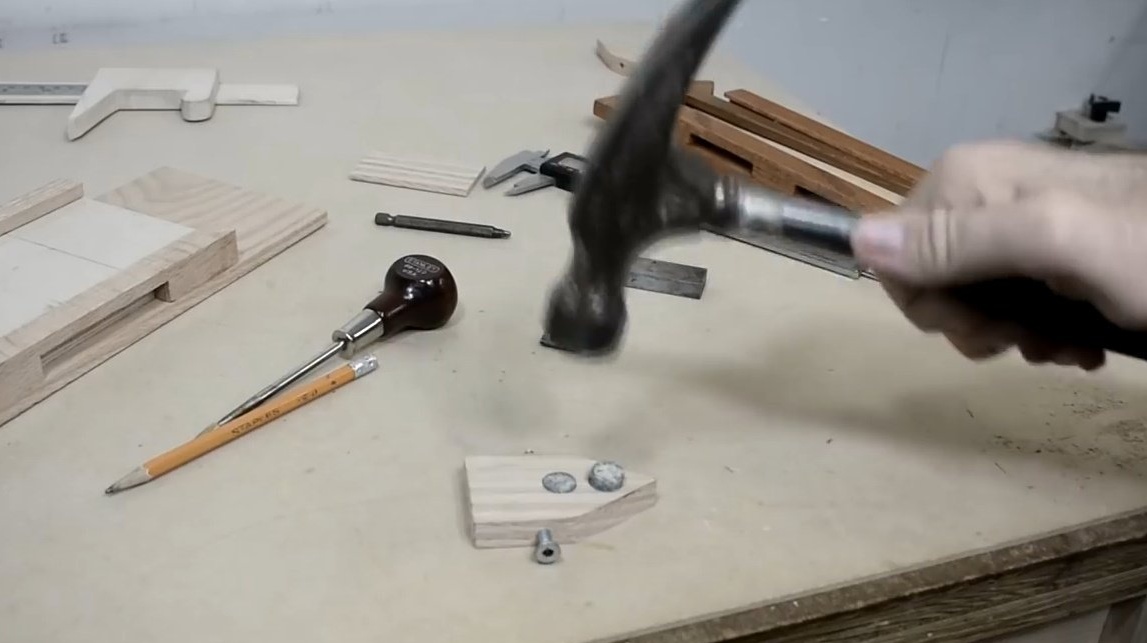
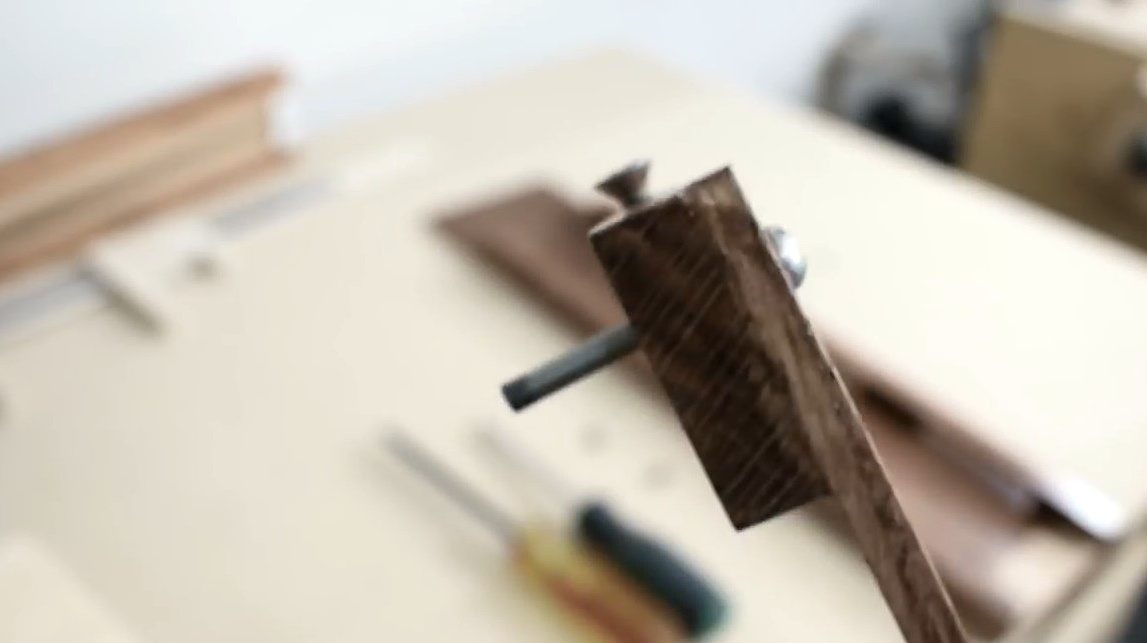
Jack installs the adjusting screw in the base.
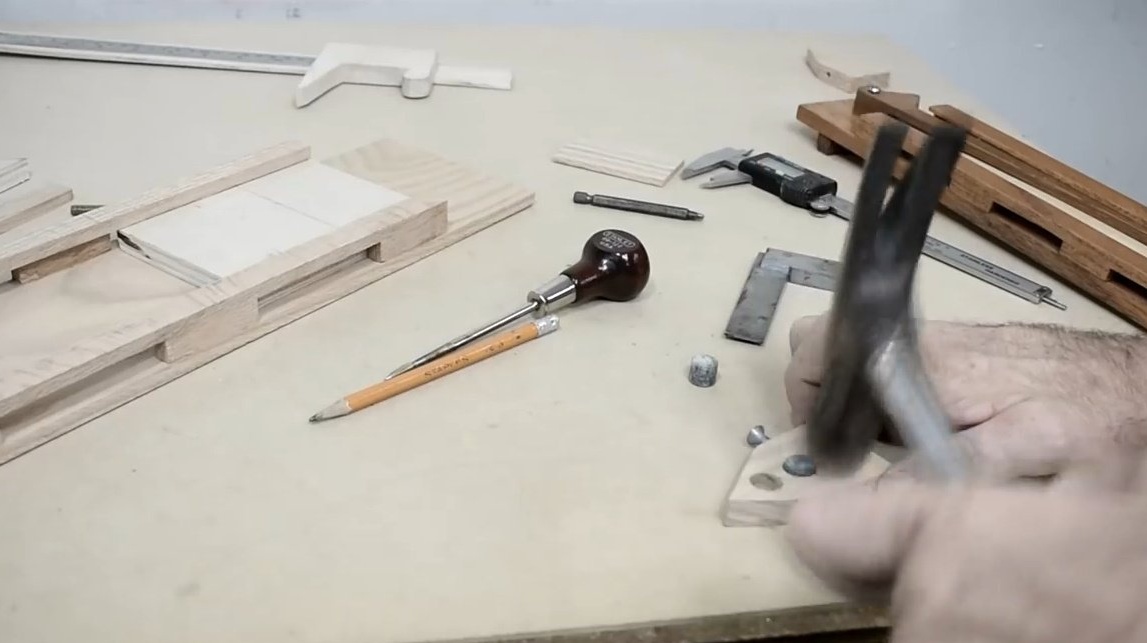
Now you can embed a pair of weights in the recesses. Jack made them out of steel round timber, and simply hammered them into the grooves.
Then he glues these two elements (the arrow with the base) together and allows the glue to dry.
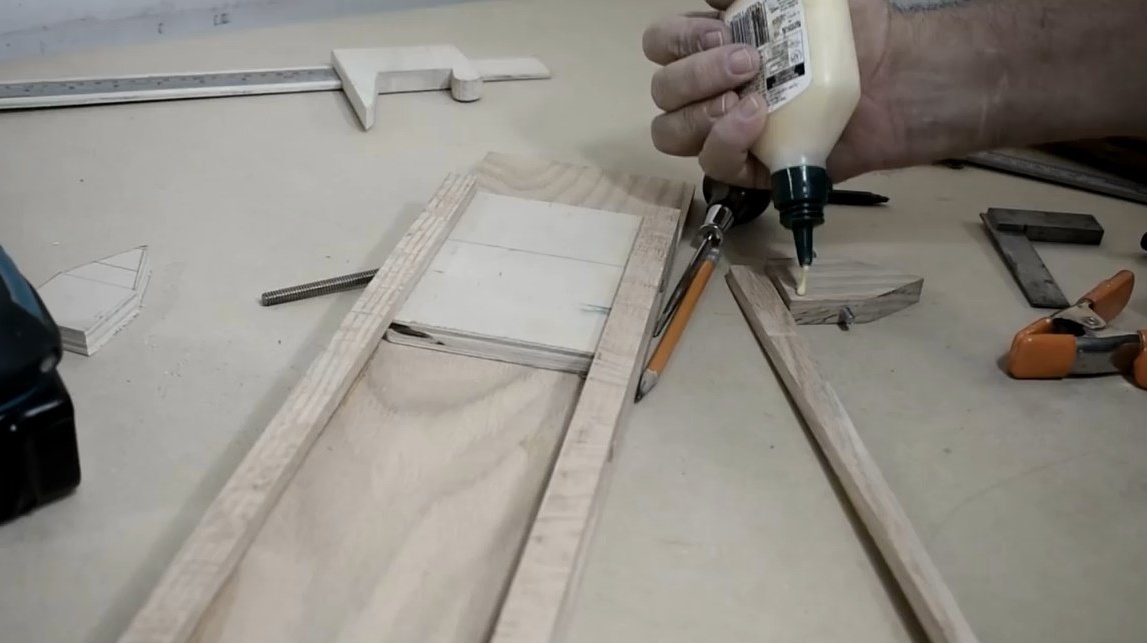
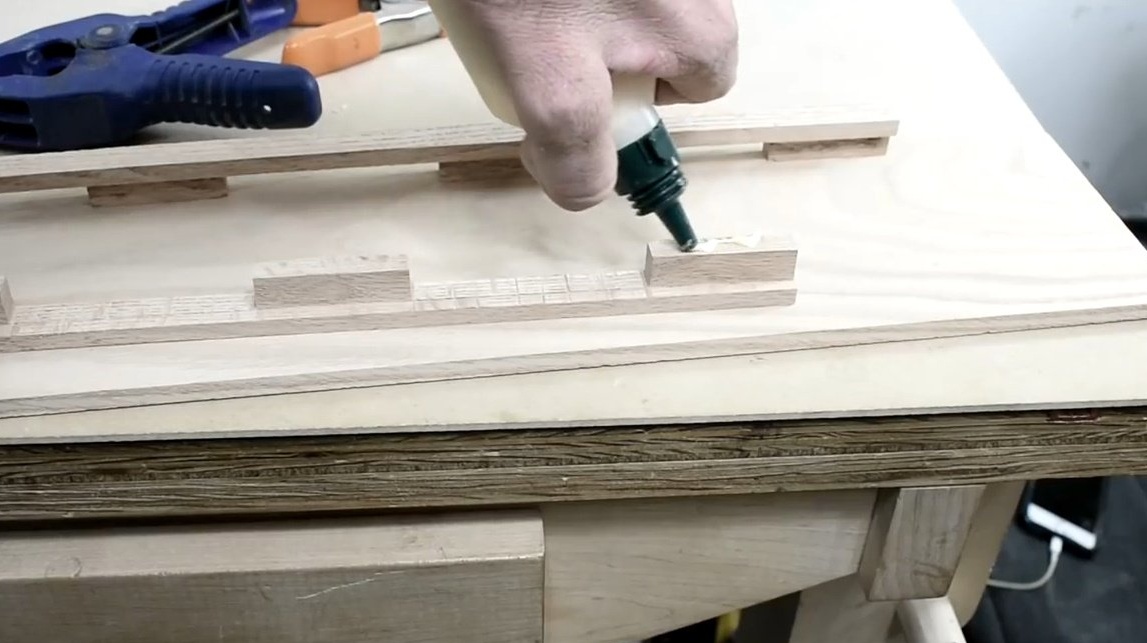
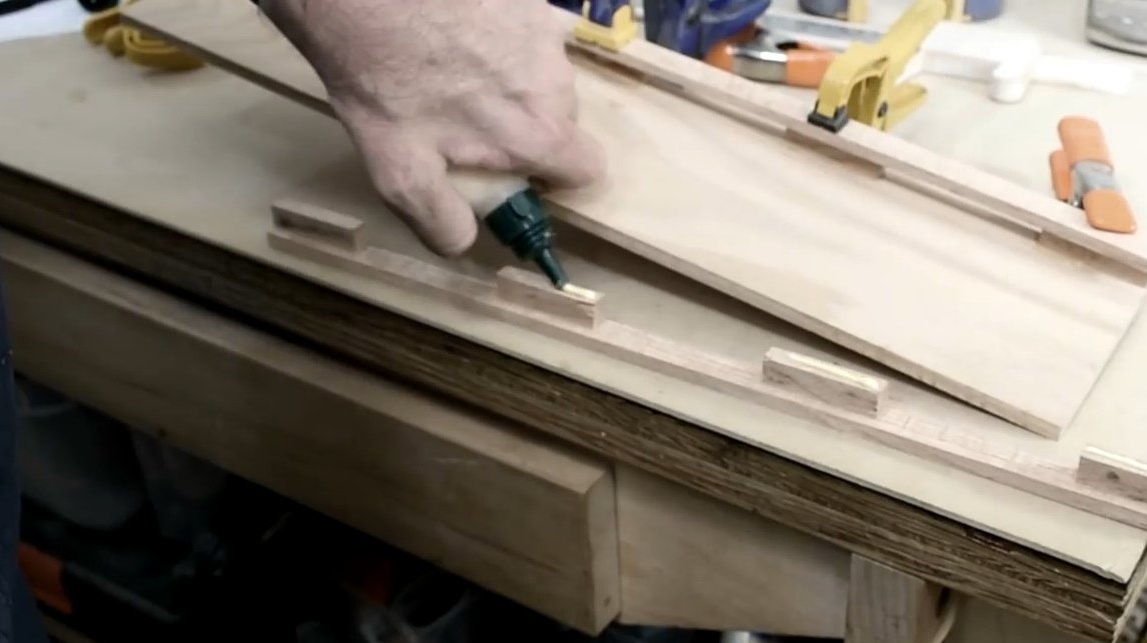
While everything dries, John tries on spruce planks to the body. To do this, he first cuts a few elements and then glues them together in this way. Fibers should be located perpendicular to the length of the "sensor", and the rear wall of the device. So the effect of the expansion of wood will be manifested as much as possible.
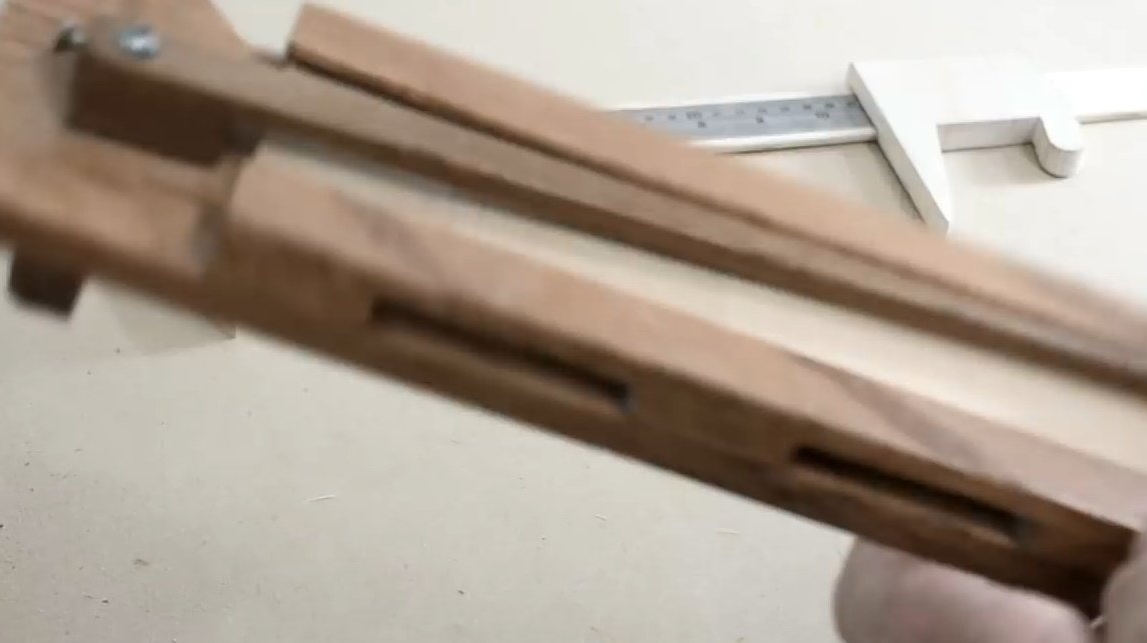
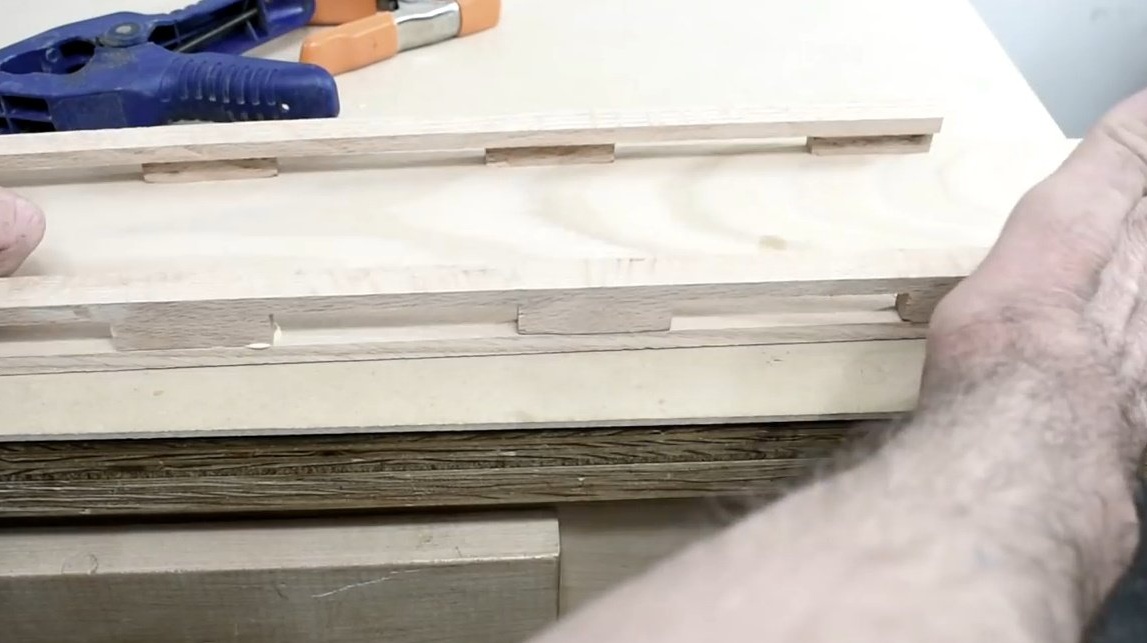
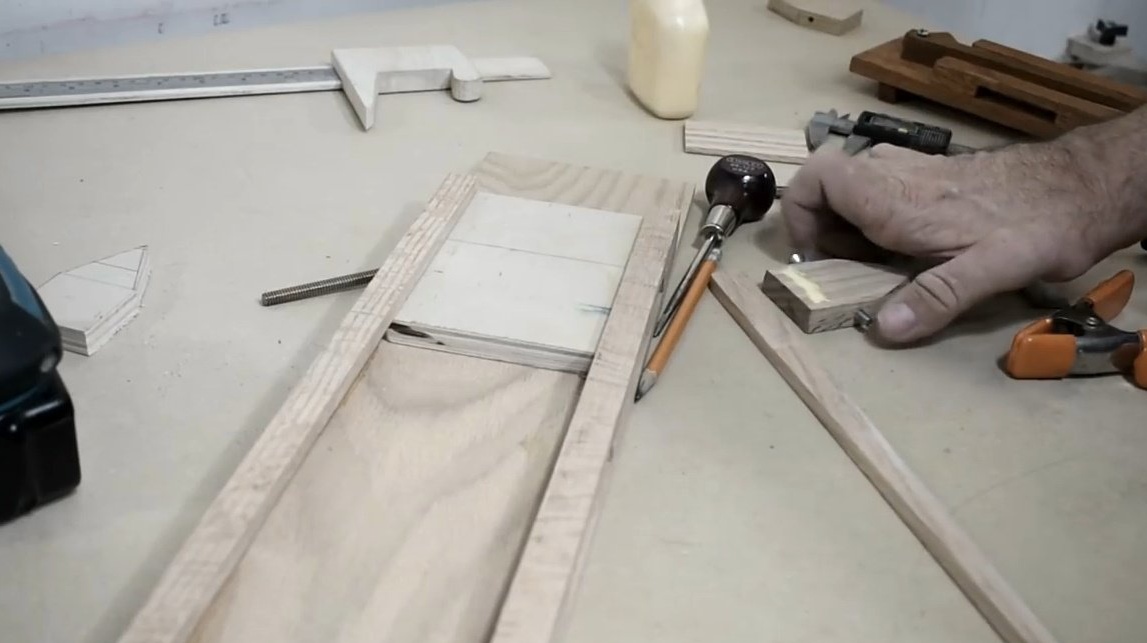
But Jack already had the finished thing. He chose a sufficiently thin and well-dried board, then sawed out a fragment from it, which in thickness just coincides with the dimensions of the grooves of the body.
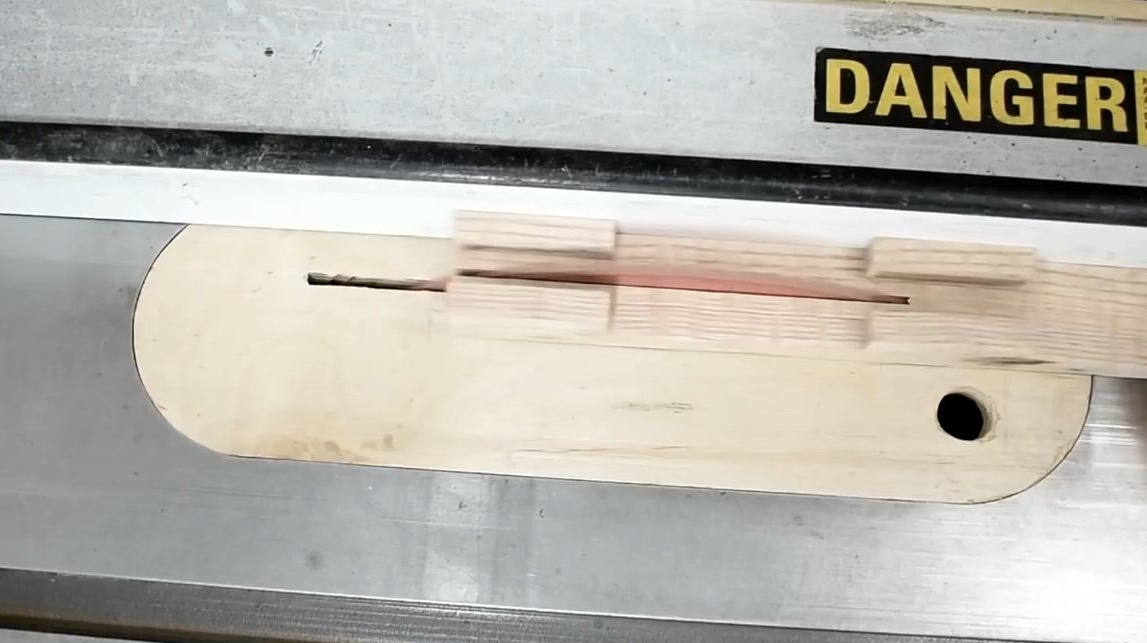
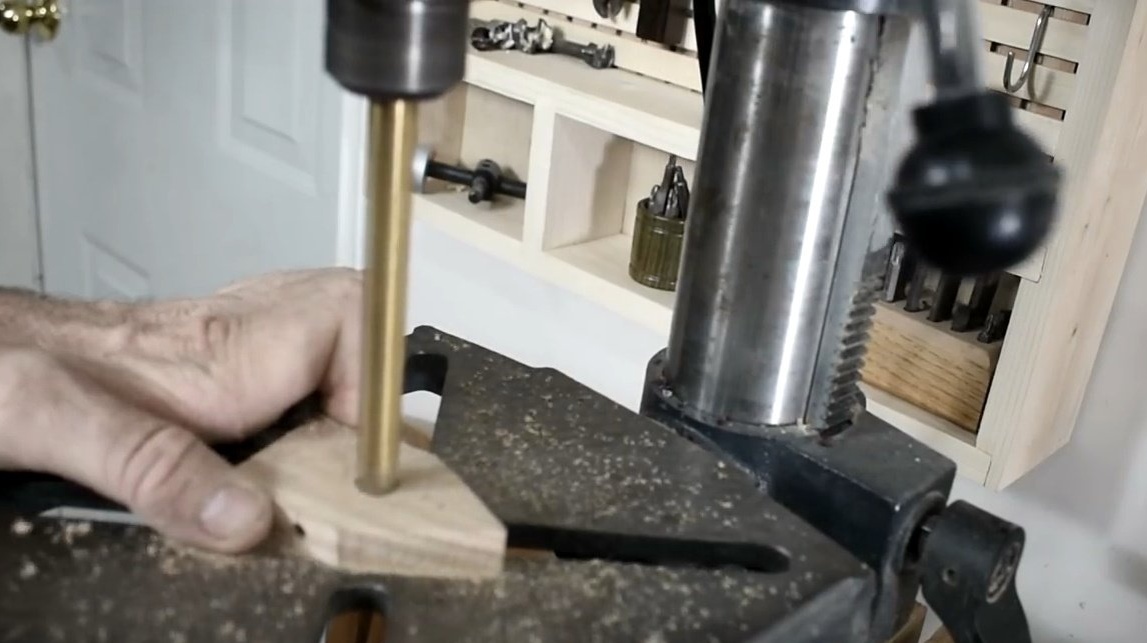
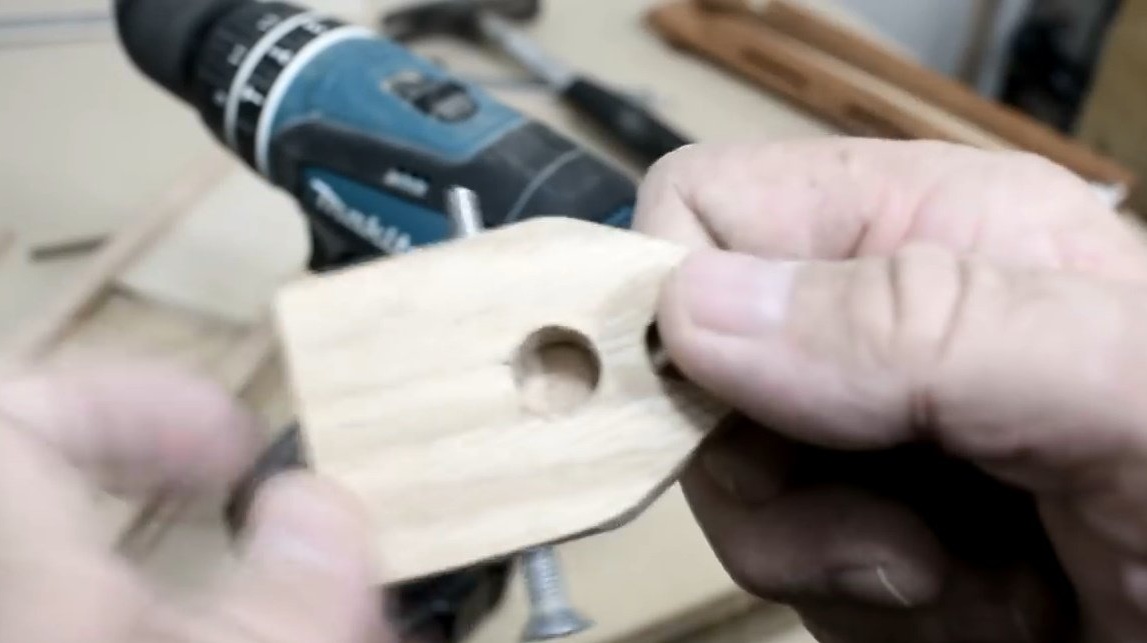
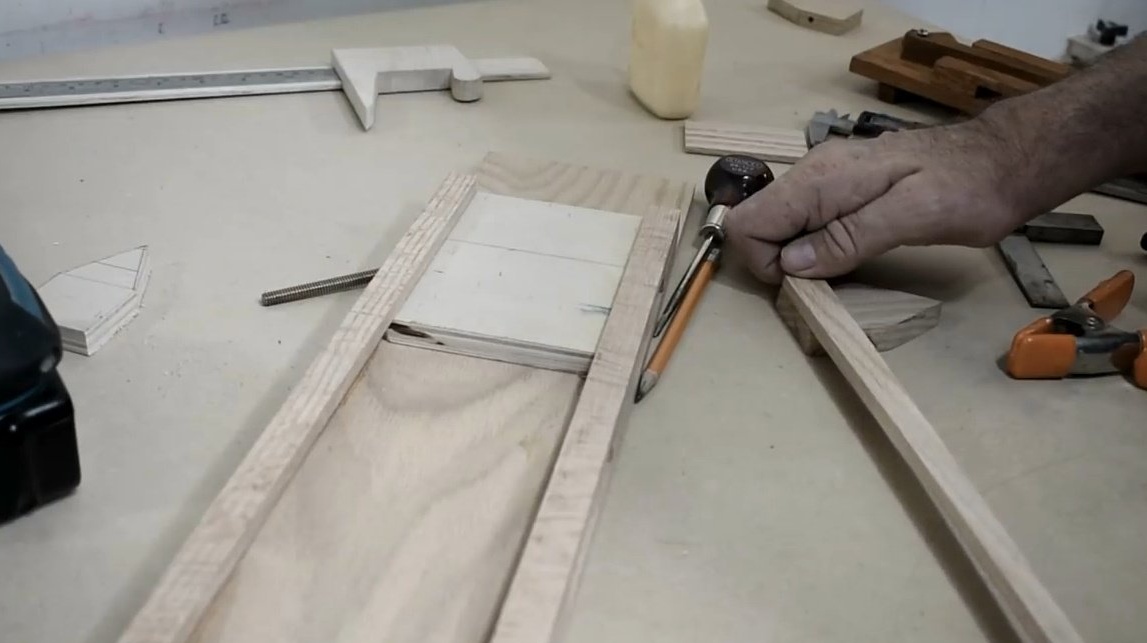
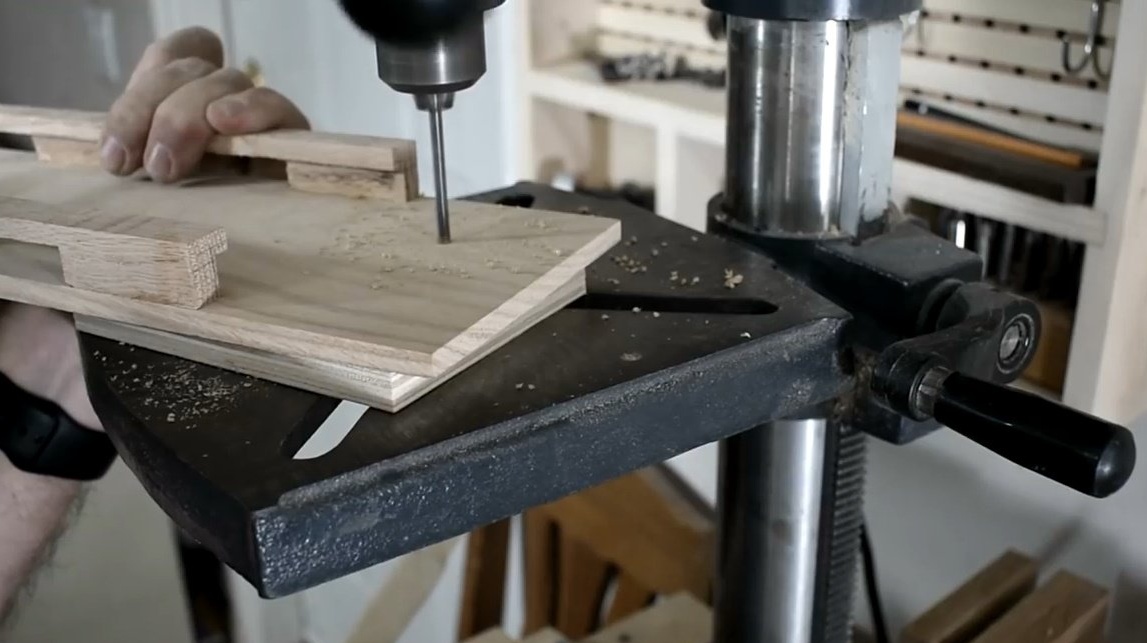
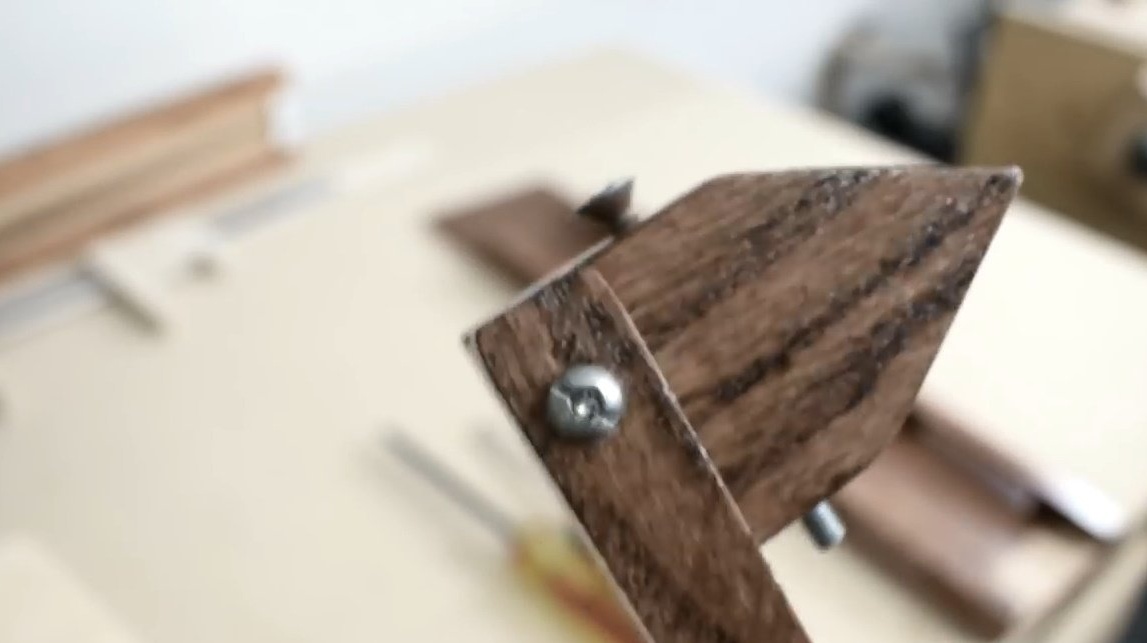
The arrow and base are glued together; Jack drills a through hole at the beginning of the arrow to set the axis.
Also in the upper part of the rear wall of the device makes a hole.
Jack covers all the parts with a stain, then thoroughly dries it, and saturates the surface with wax, now you can assemble the device.

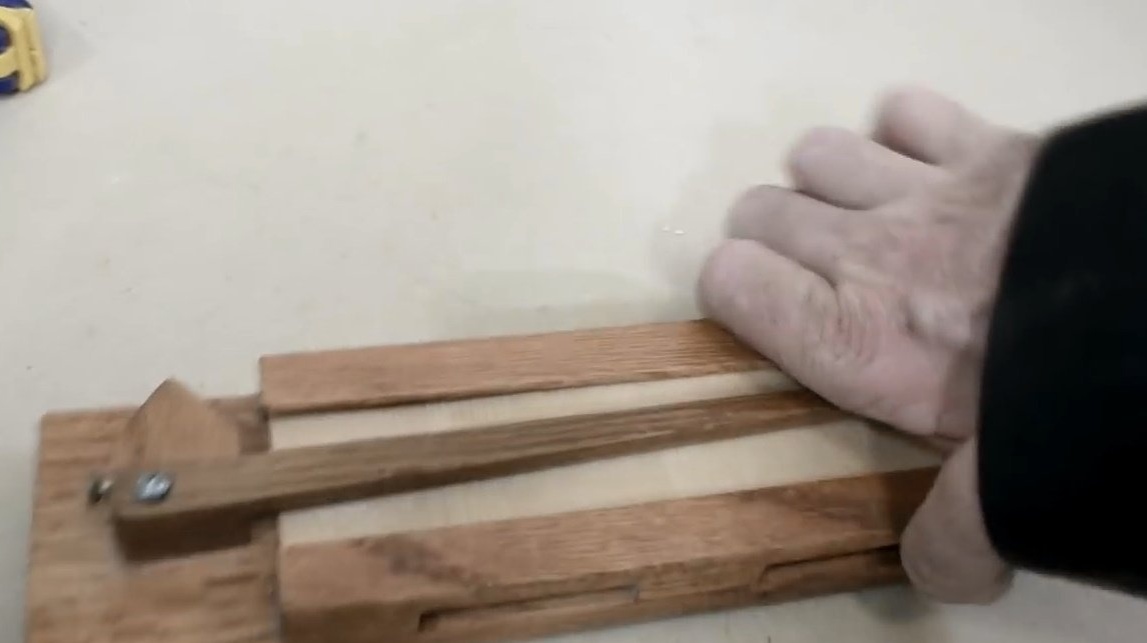
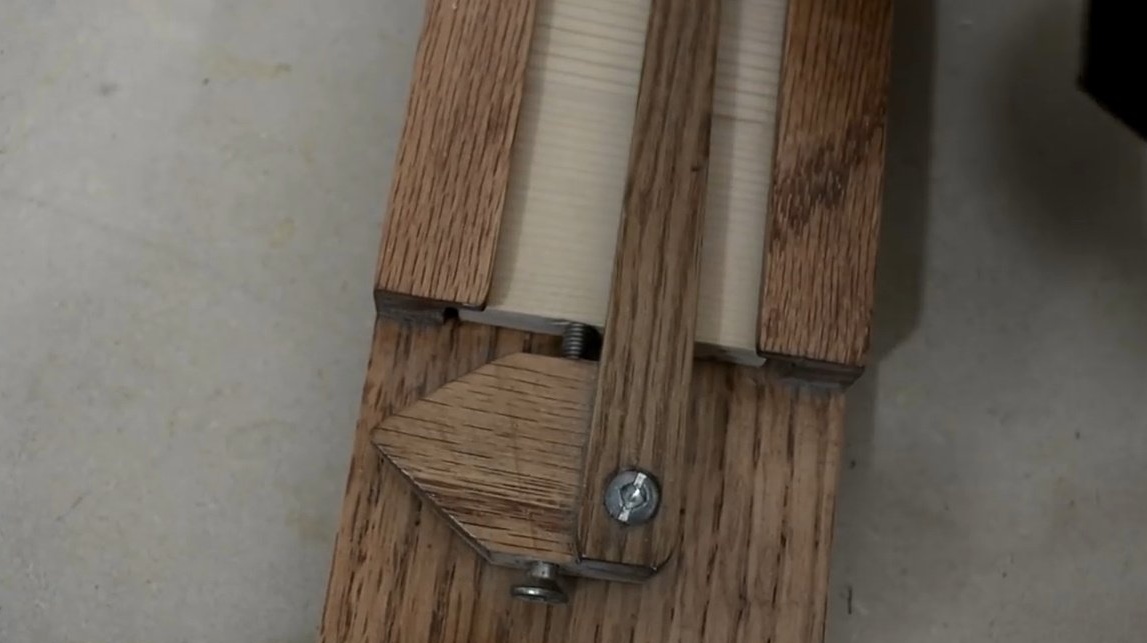
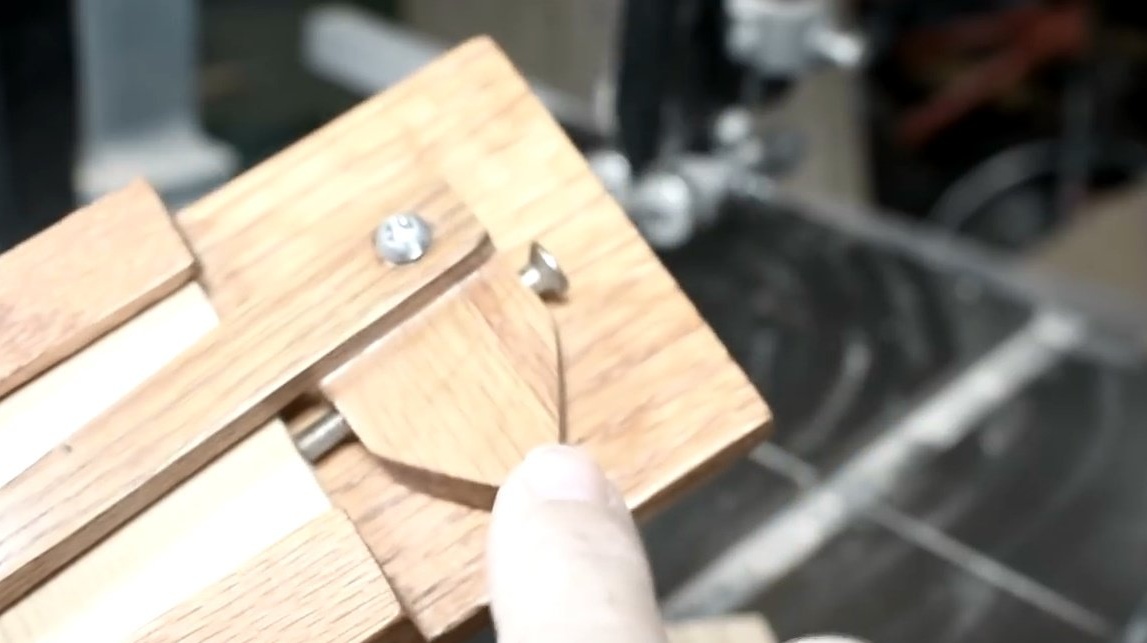
Here you see the weights built into the index, the adjusting bolt and the axis. This is the most important element of a hygrometer.
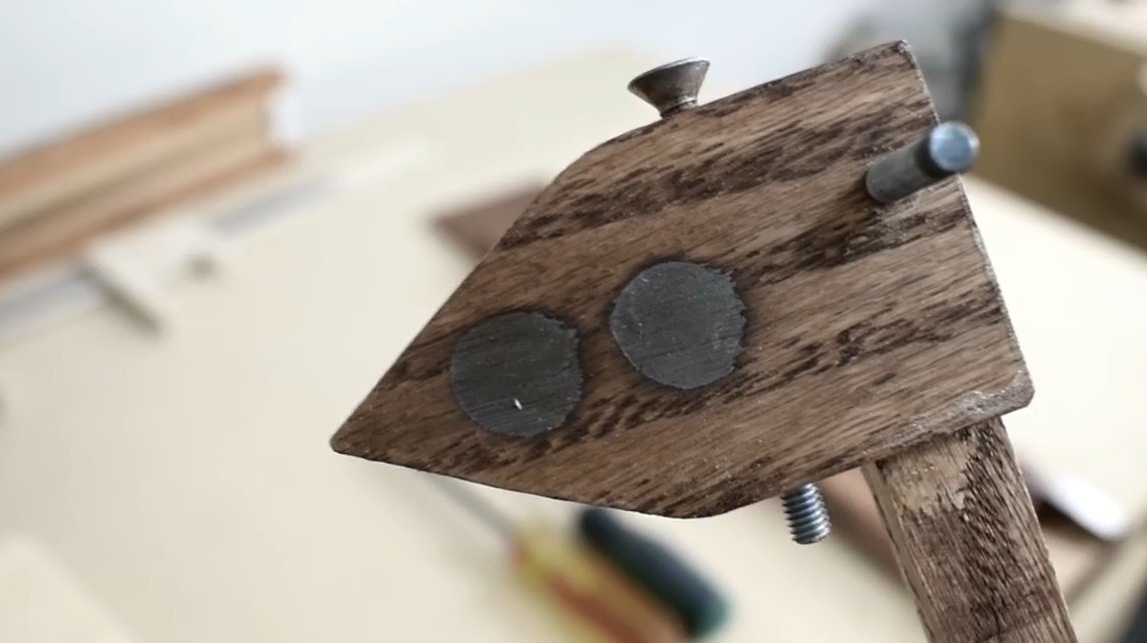
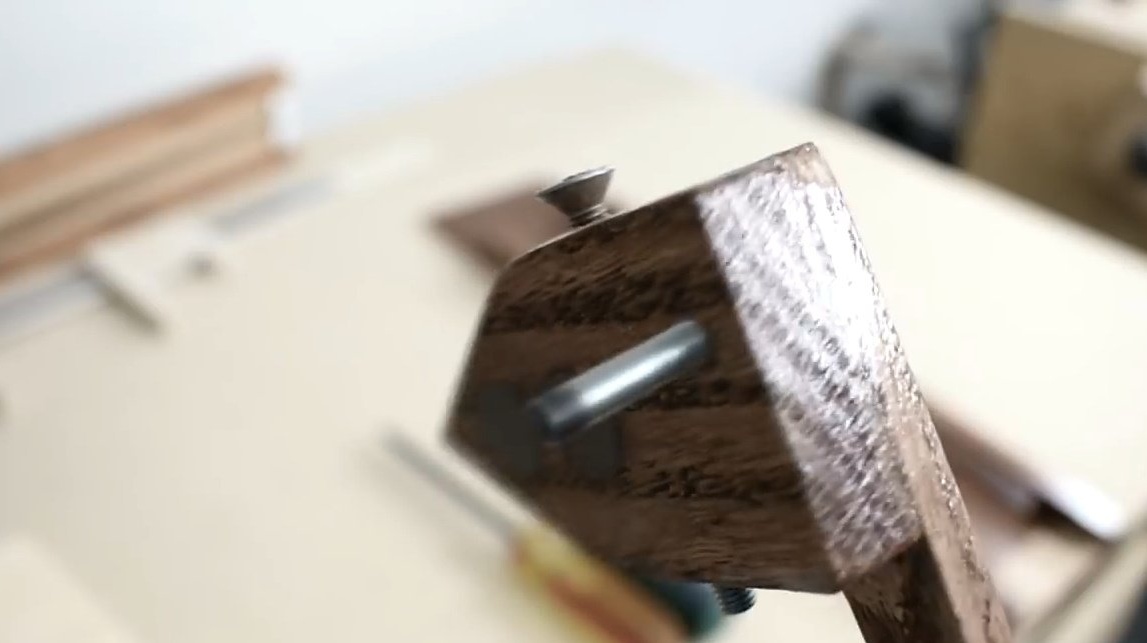
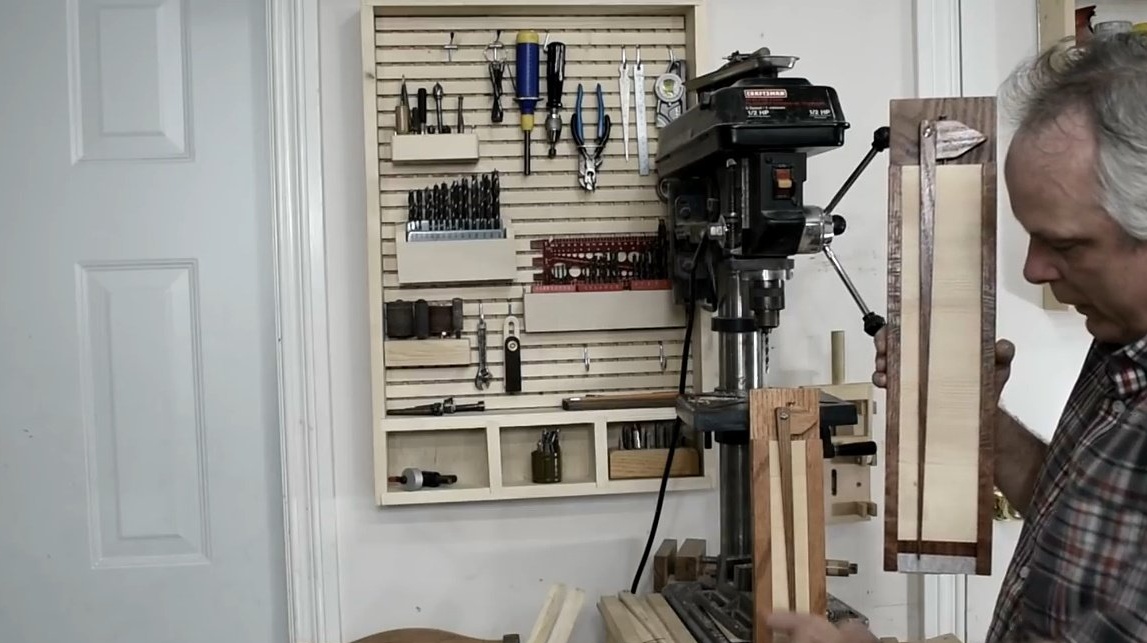
This bolt will go into the hole in the upper part of the rear wall, and will be fixed with a small nut and washer for good mobility. It is advisable to lubricate the bolt with soap or wax to reduce friction.
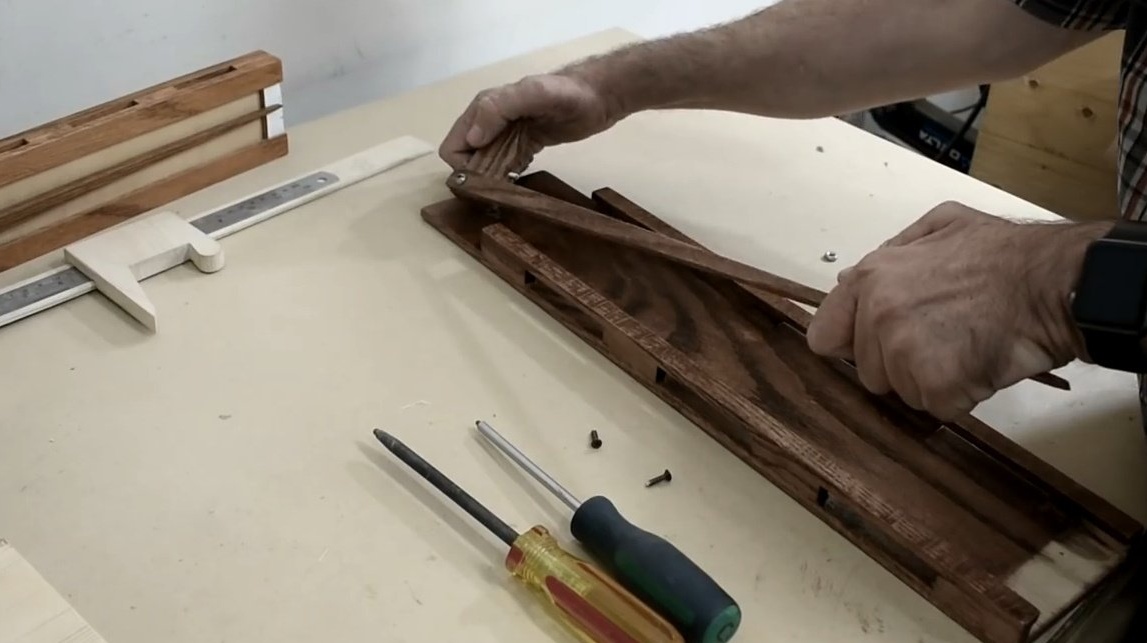
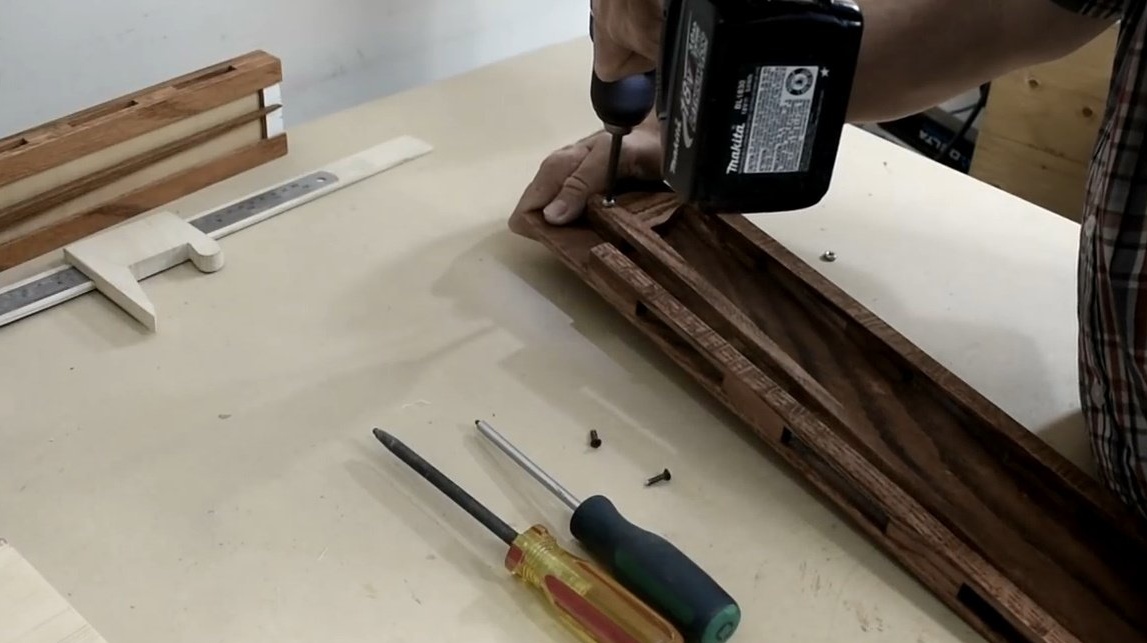
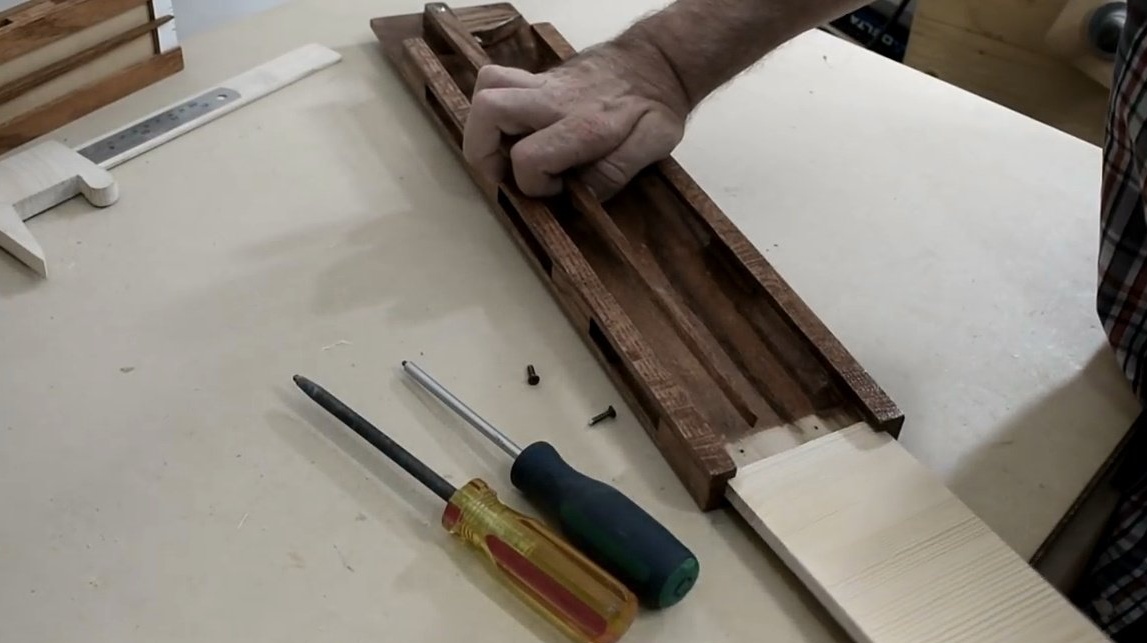
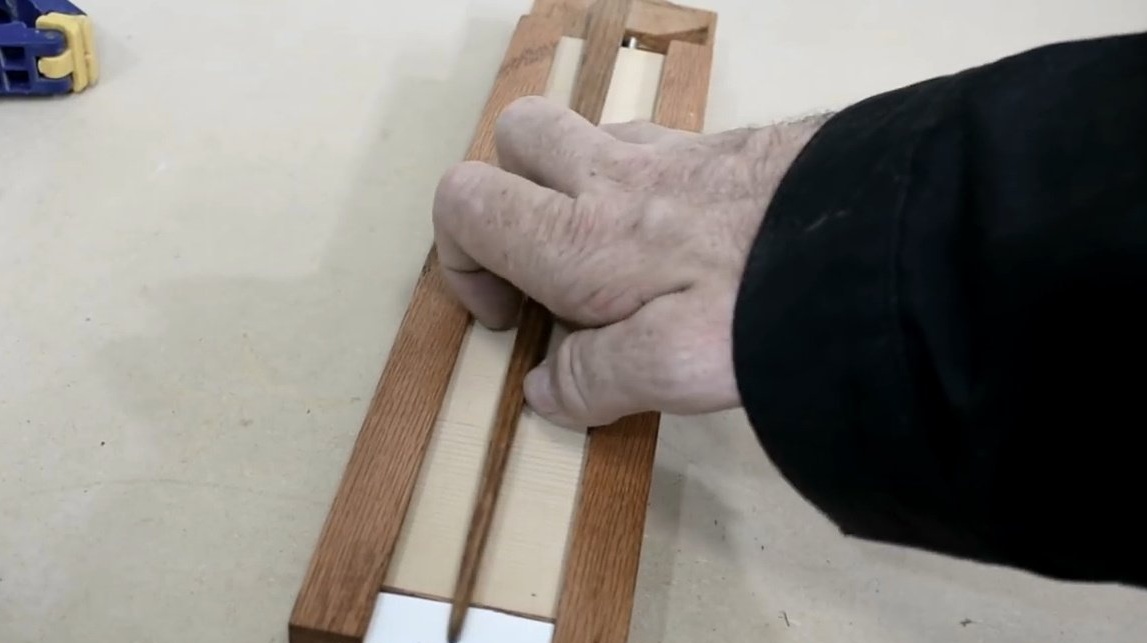
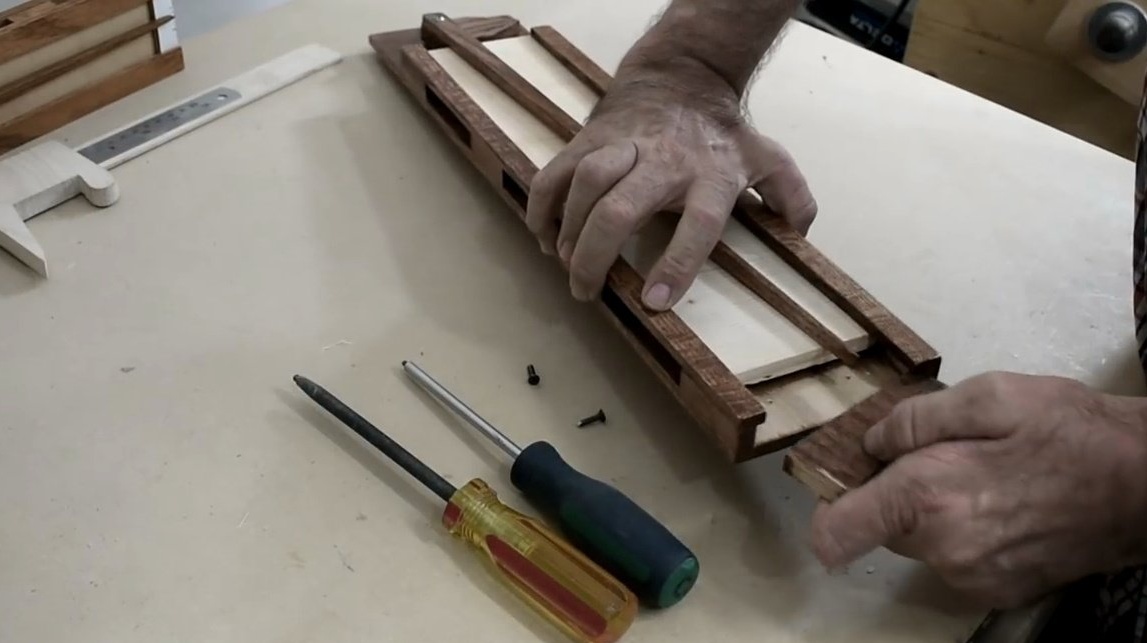
Next, the author inserts a spruce board - a sensor in the grooves of the case.

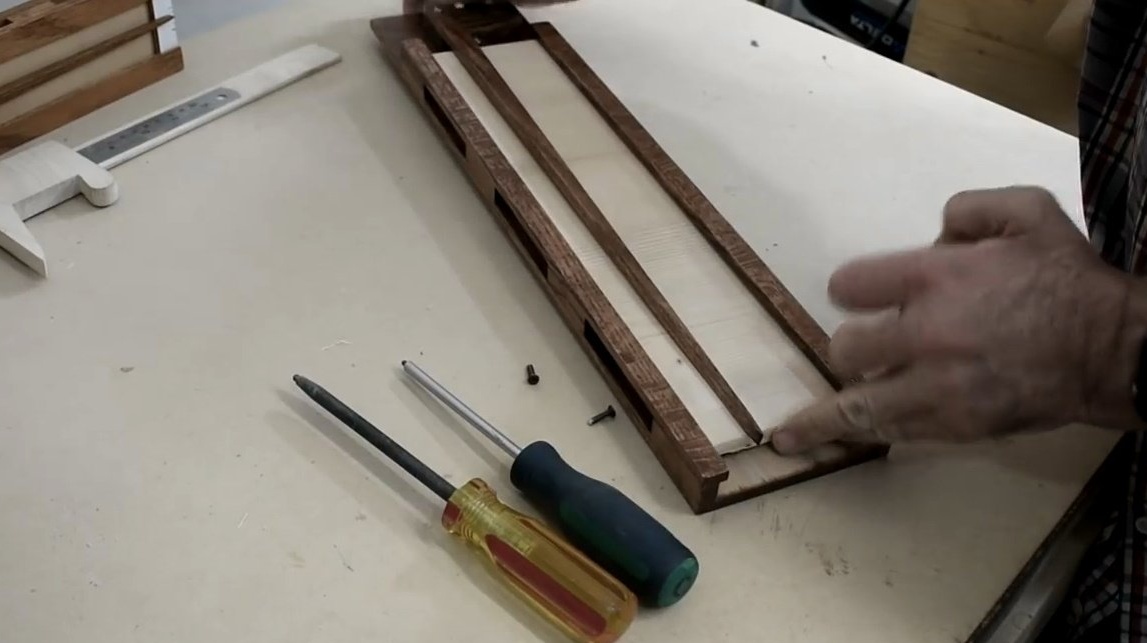
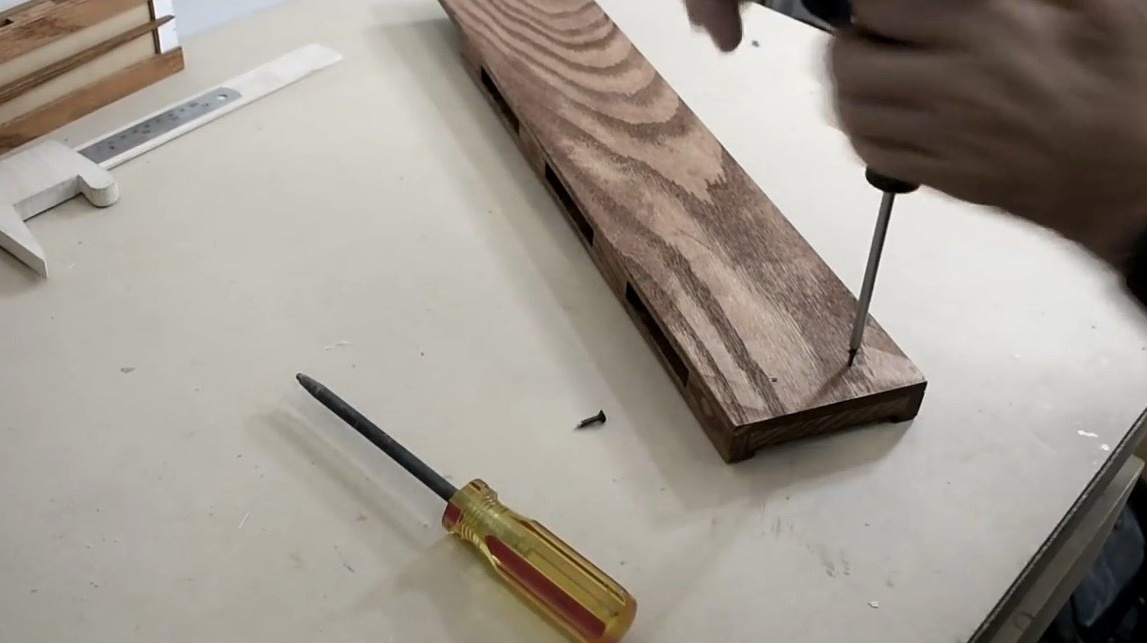
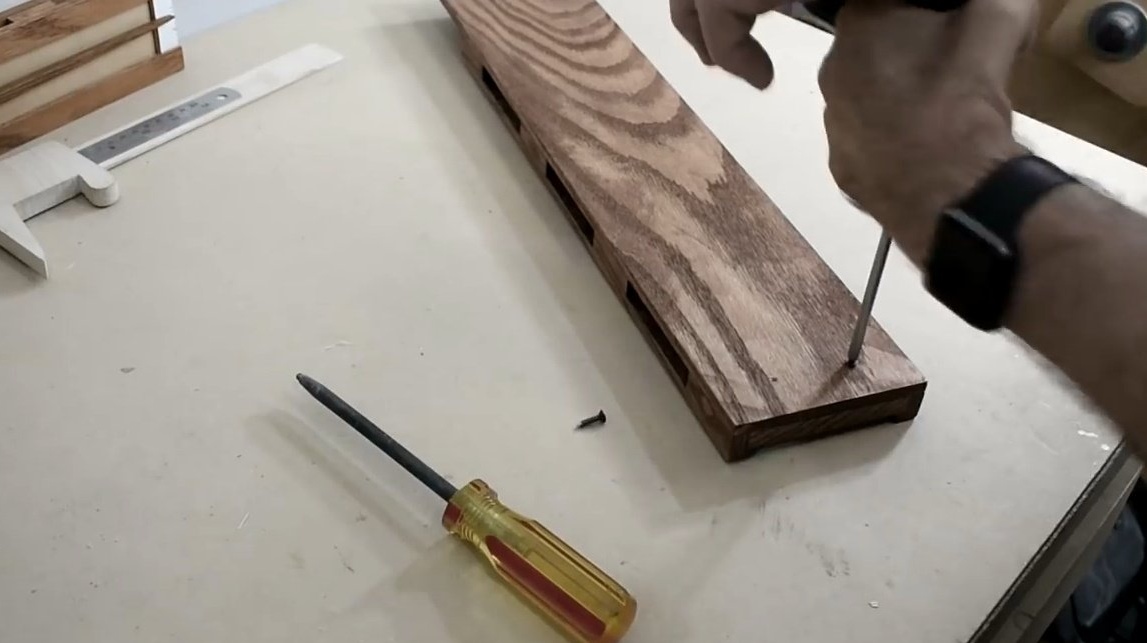
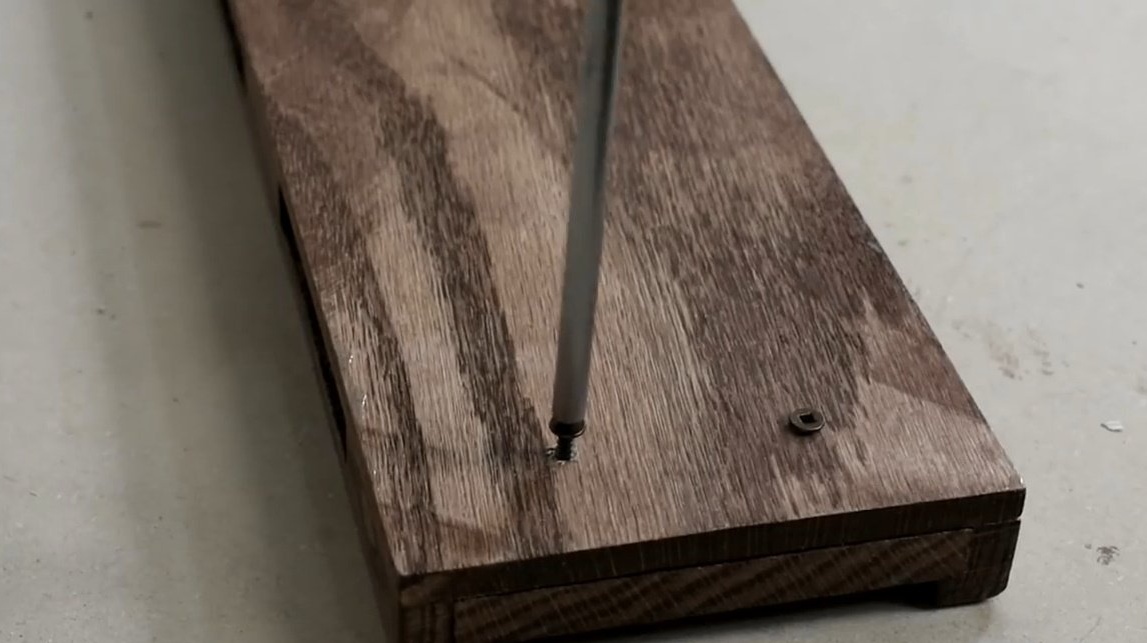
And this element will serve as a stop - limiter. Jack plans to test different types of wood for the sensor, identifying the most sensitive variety. By unscrewing the limiter, it will be easy to replace the sensor. Jack secures it for reliability with a pair of screws from the back of the device.
Hygrometer is ready!
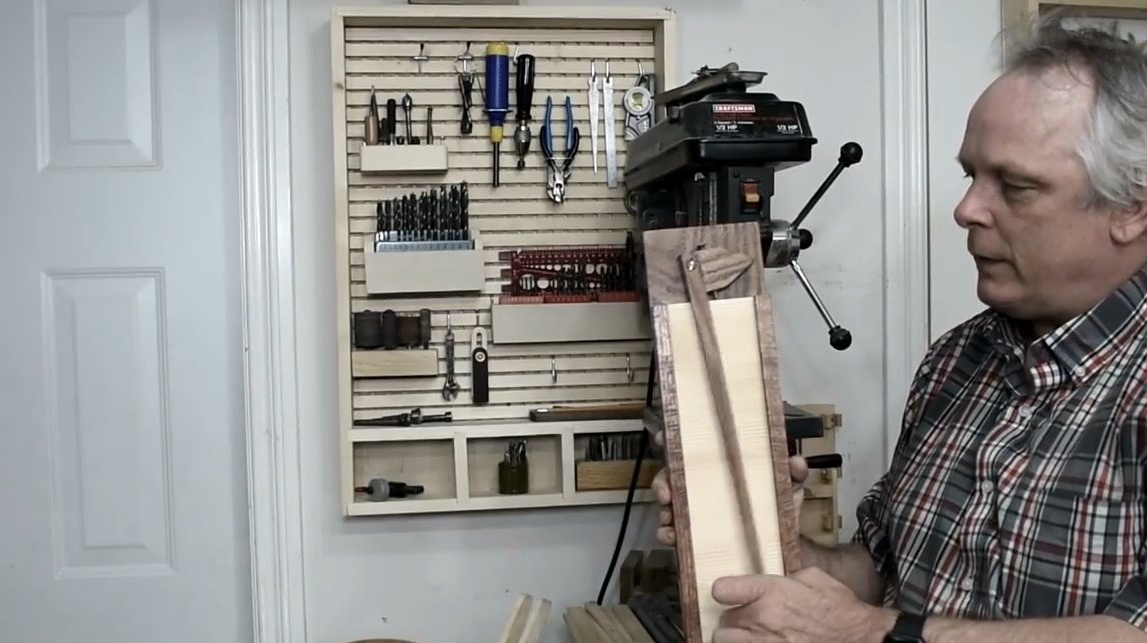

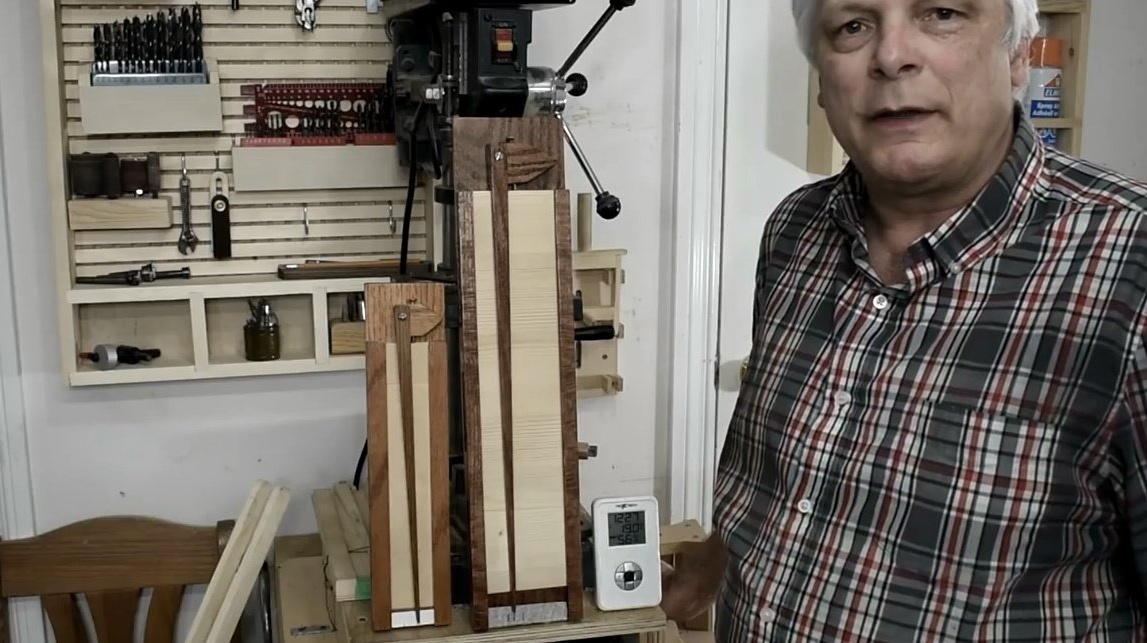
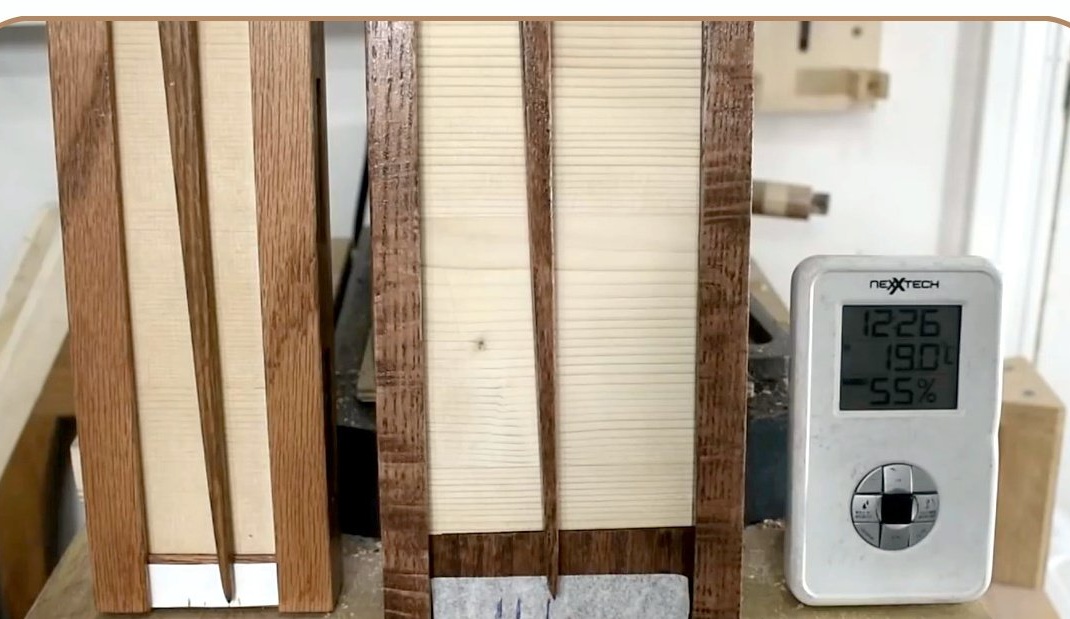
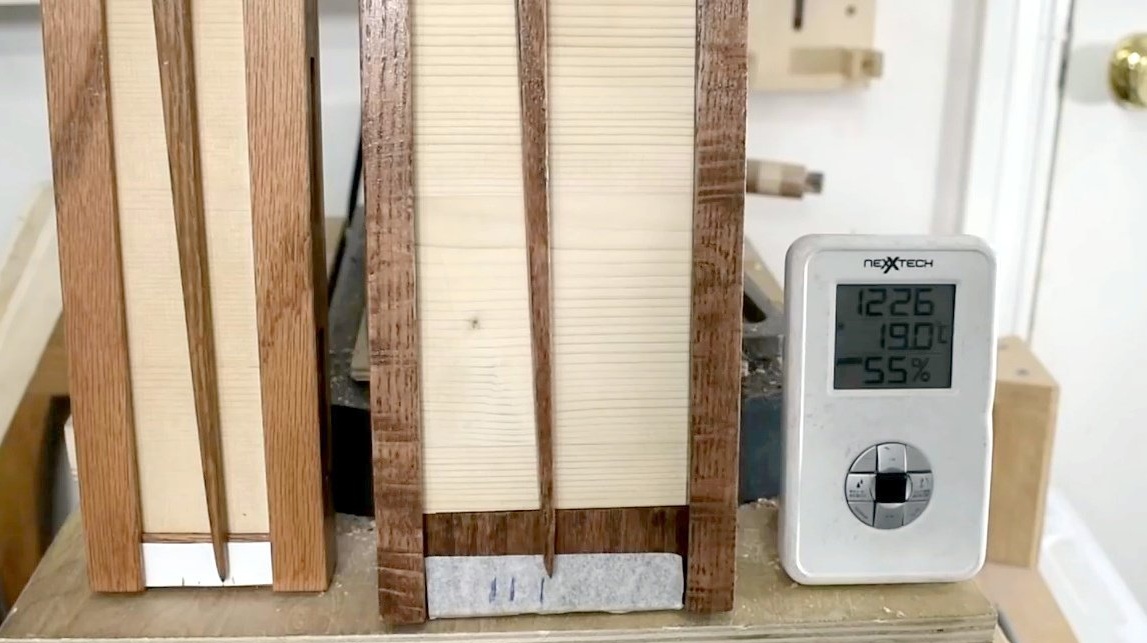
The author took measurements in three different environments: in the workshop, at home, and on the street. And every time the testimony was different. Even during the day, the arrow sometimes shifts to one point, then to another, which indicates unstable humidity in the room. Jack really liked his meters, and he had already made more than one such device. The only thing you have to do is calibrate the device using a digital humidity sensor. Normal, comfortable humidity in the room is 45-55%.
Useful thing turned out! Especially for some professions where it is necessary to control the humidity in the room.
Thanks to Jack for the great idea of an analog humidity sensor!
Good luck to everyone and good mood!