
Greetings the inhabitants of our site!
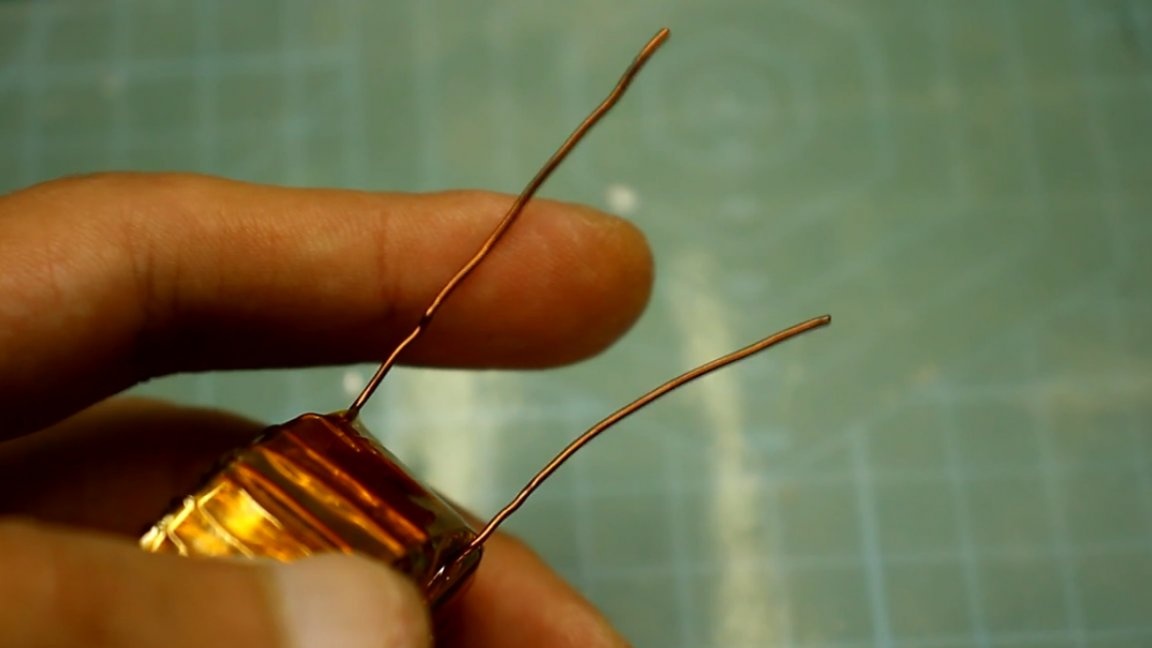
Very often, creating certain power sources, radio amateurs have to wind the transformer, and varnished insulation wires are used to wind them.
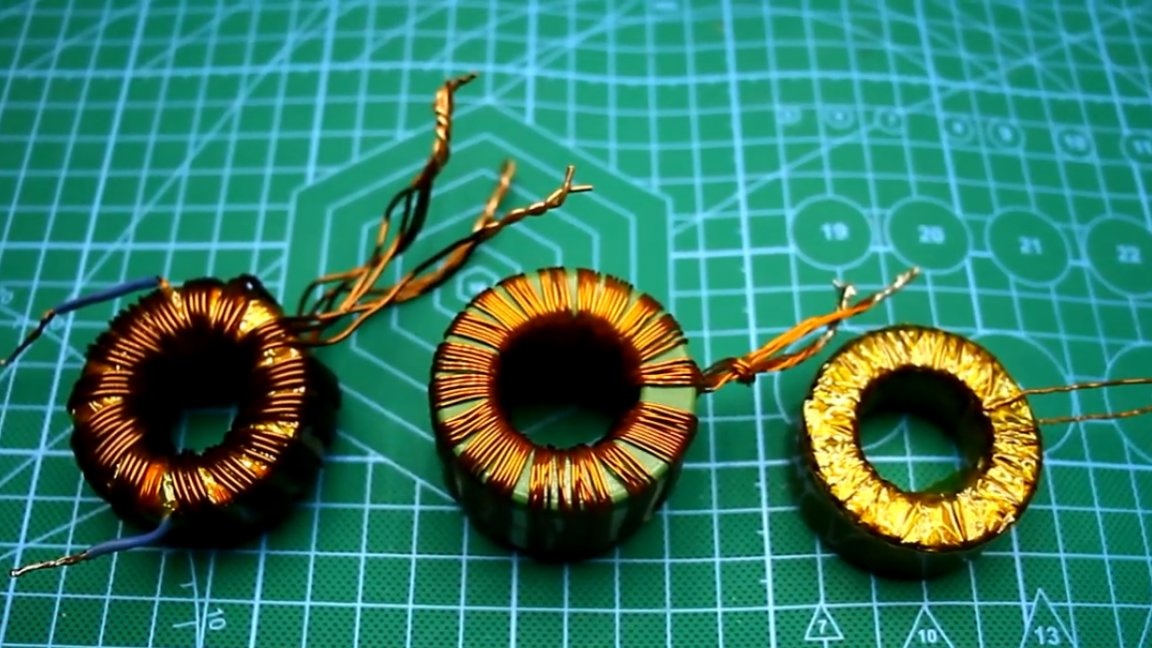
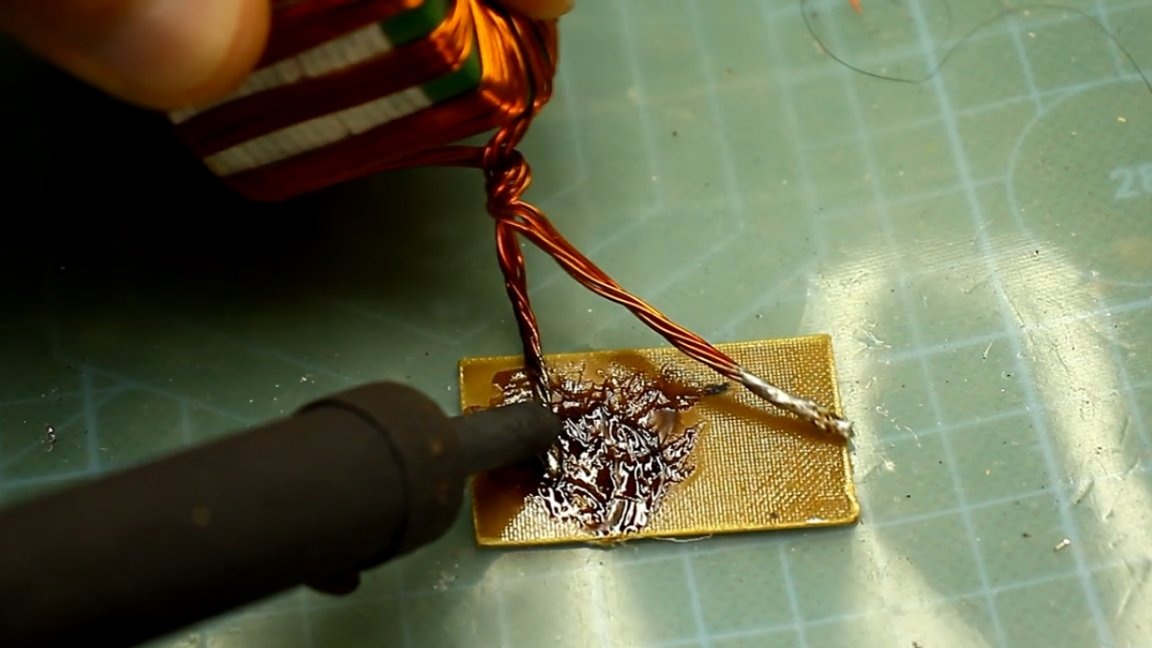
Upon completion of the winding of the next transformer, it is necessary to clean the winding leads from varnish for subsequent tinning of the wires. This lesson became a real headache and everyone has their own method of cleaning. The first and perhaps the most common method is tinning using a powerful soldering iron heated to a maximum temperature.
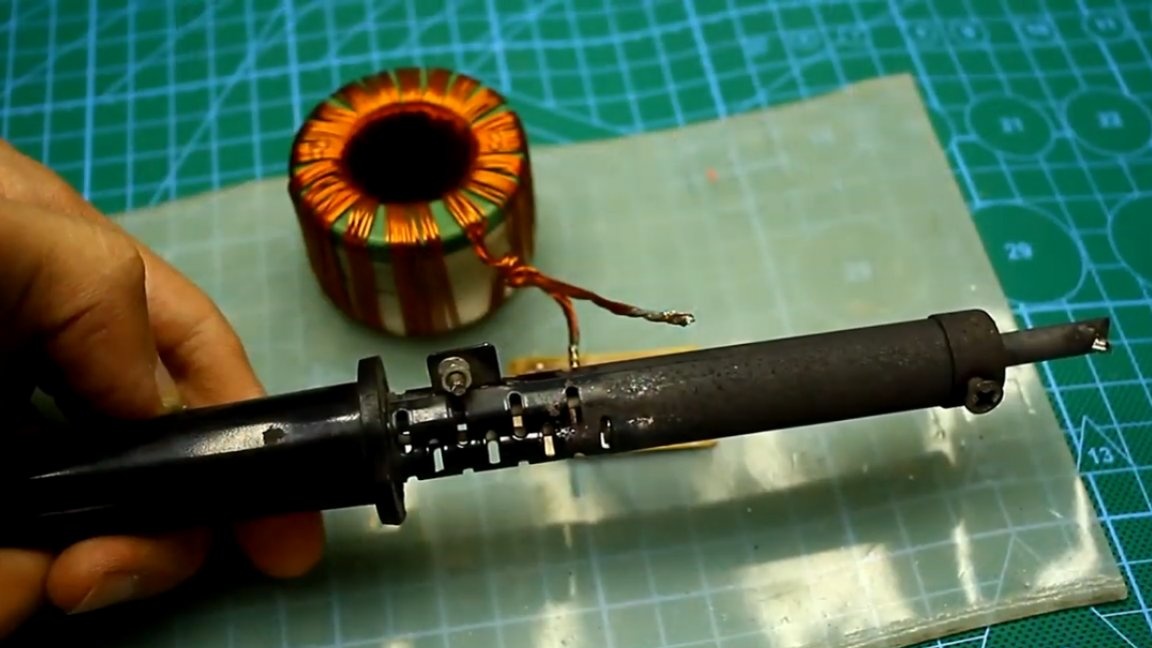
During this process, the varnish burns out and copper is covered with a layer of solder, but this process is quite painstaking and long. And if at hand there is no powerful soldering iron, then you have to tin the wires separately. One of the main disadvantages of this method is the release of large amounts of smoke. But if the operation is carried out under the hood or in clean air, then everything is more or less tolerant.
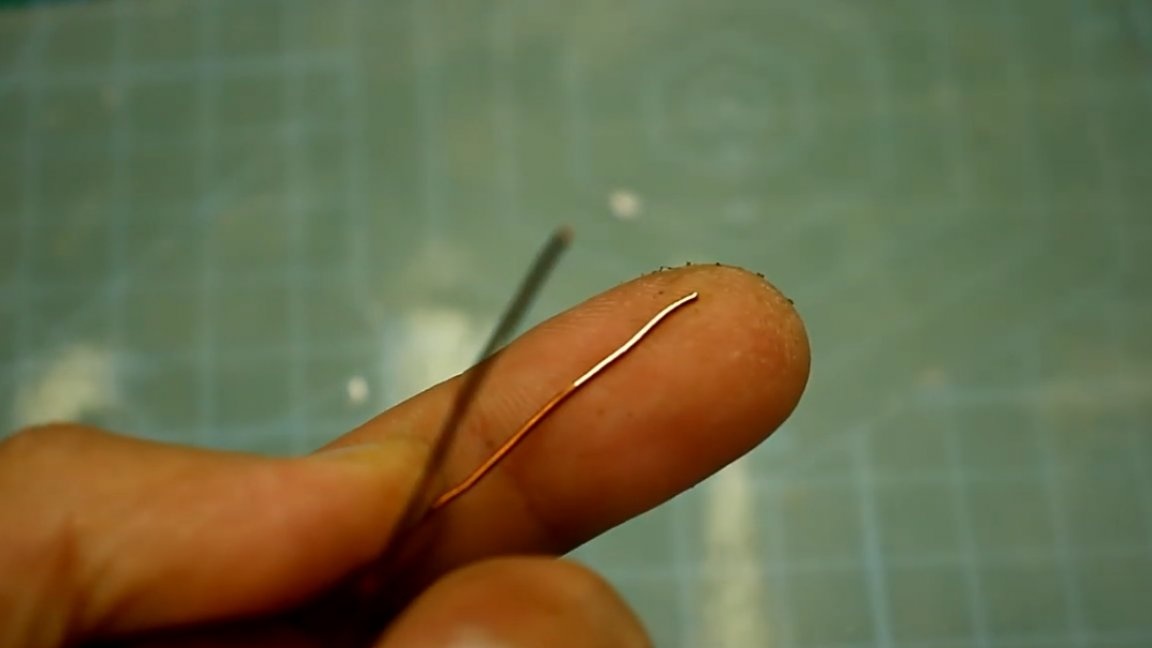
The second way to clean the varnish of wires is mechanical, and then only tin. To clean the varnish, as a rule, sandpaper, a clerical knife blade or other more exotic methods are used.
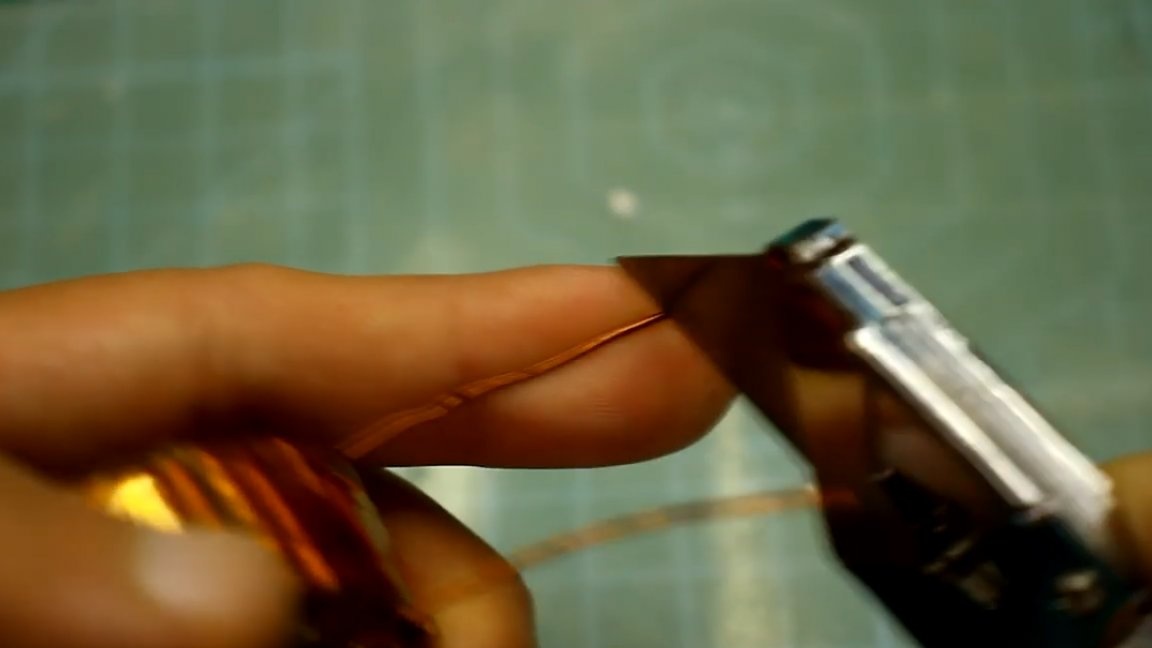
This method is more time-consuming than the first, but caustic smoke is no longer emitted, since a clean treated copper wire is blown.
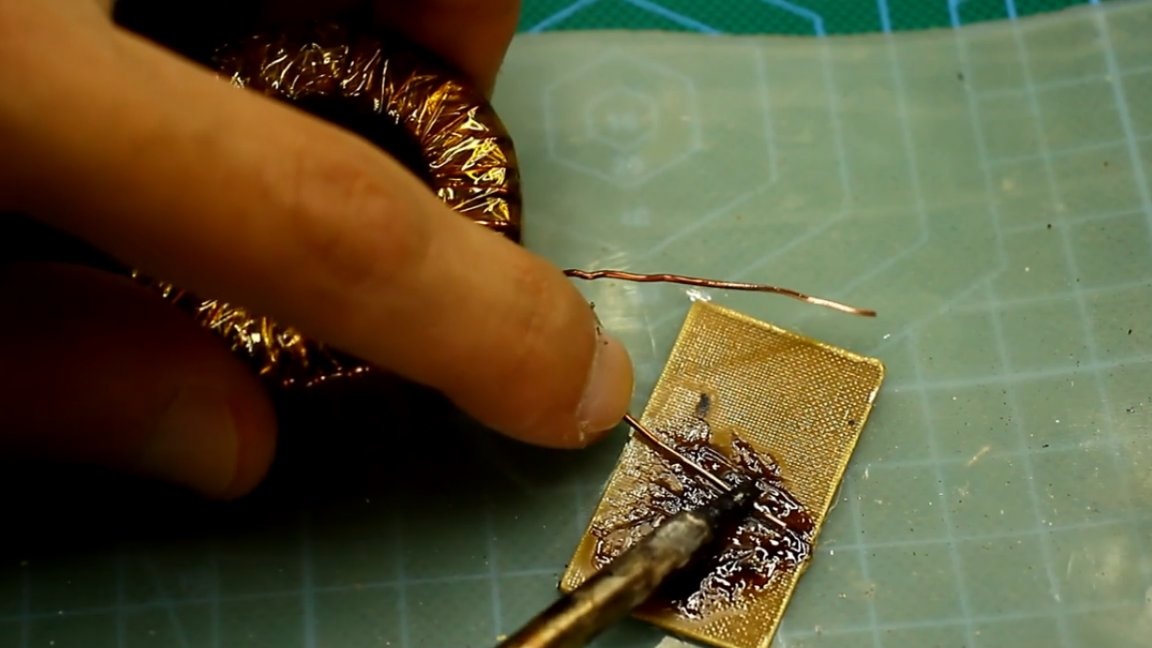
The third way is a tin bath.

This method is used in industry as the fastest option. There is a small metal vessel in which the solder is located. The vessel is heated to the melting point of the solder, then the wire that needs to be cleaned and tinned is immersed in it. After some time, the varnish burns out, and the wire is covered with a layer of solder. No extra effort is required. The disadvantage of this method is again the emission of a large amount of smoke, but if everything is done under the hood or in the yard, it is not scary.

Such baths can be bought in any online store, it costs so-so, inexpensively - not cheap, but pay for what you can do at home do it yourself with minimal cost, I think it makes no sense, so let's get to work.
The author of this homemade product is AKA KASYAN. For a long time, the author was littered with shells from fake lithium-ion batteries, which were clogged with sand. One of these sleeves will be used as a bathtub.
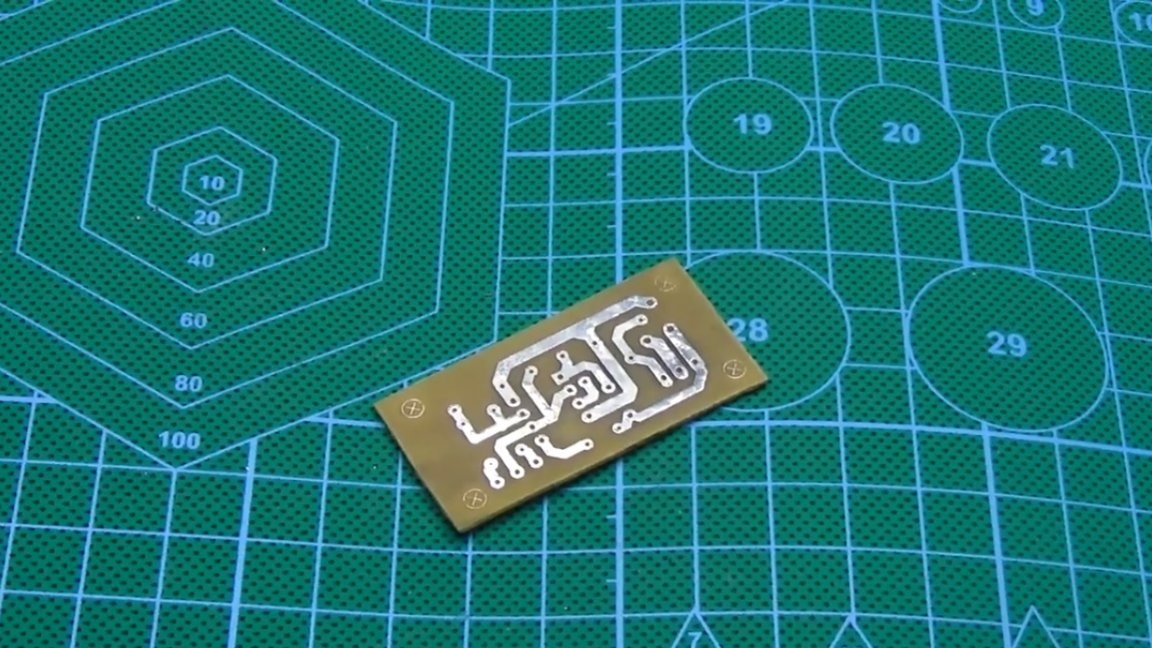
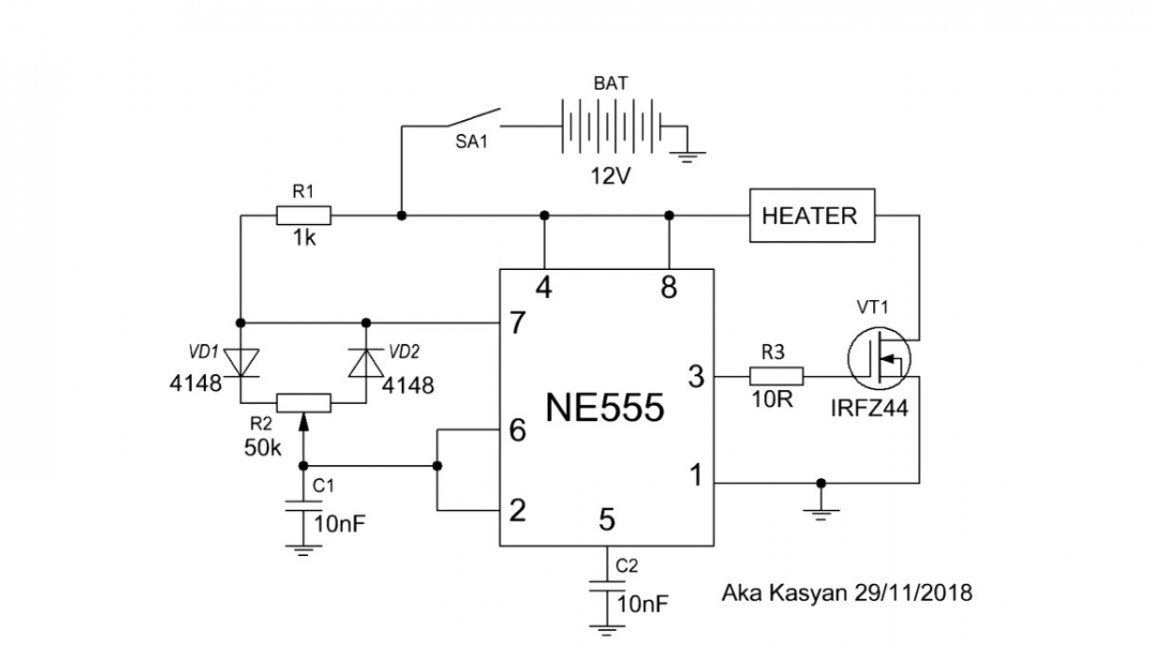
The design is extremely simple - a heating element supplemented by a power regulator.
We will use a PWM controller. You can download the archive with the printed circuit board by following or, as always, all the links can be found in the description under the author’s video (SOURCE link).
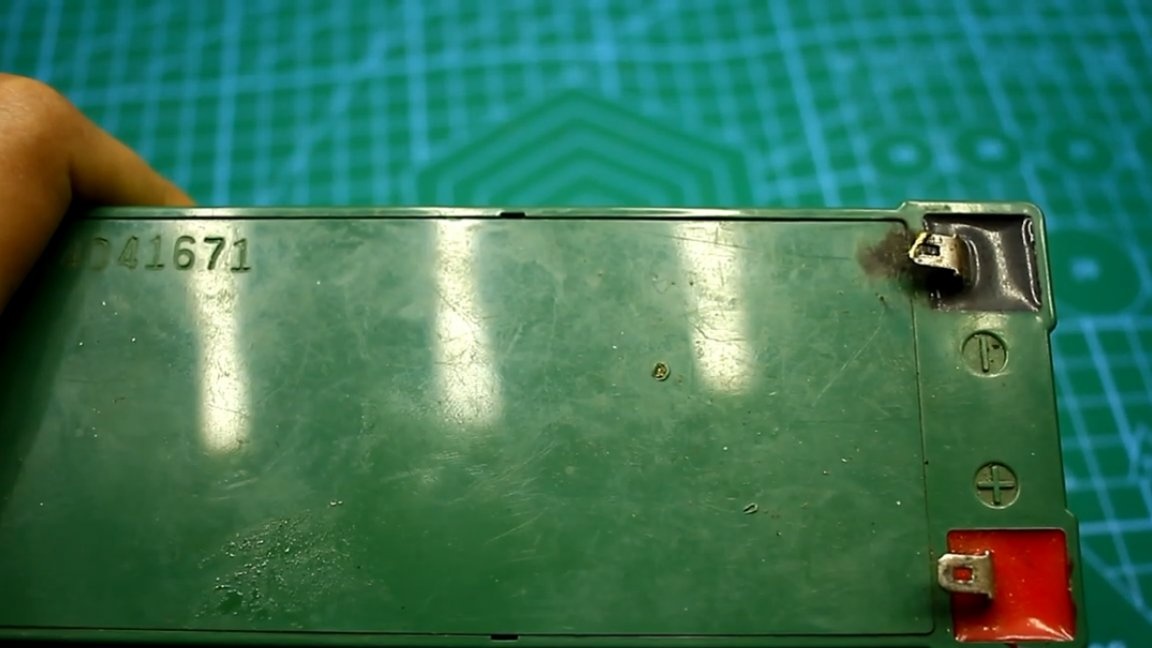
Industrial devices of this kind work, as a rule, directly from the network. We’ll try to make a bath with low-voltage power supply for security, so we need a power source, and in this case it will be a battery from an uninterruptible power supply of 12V.
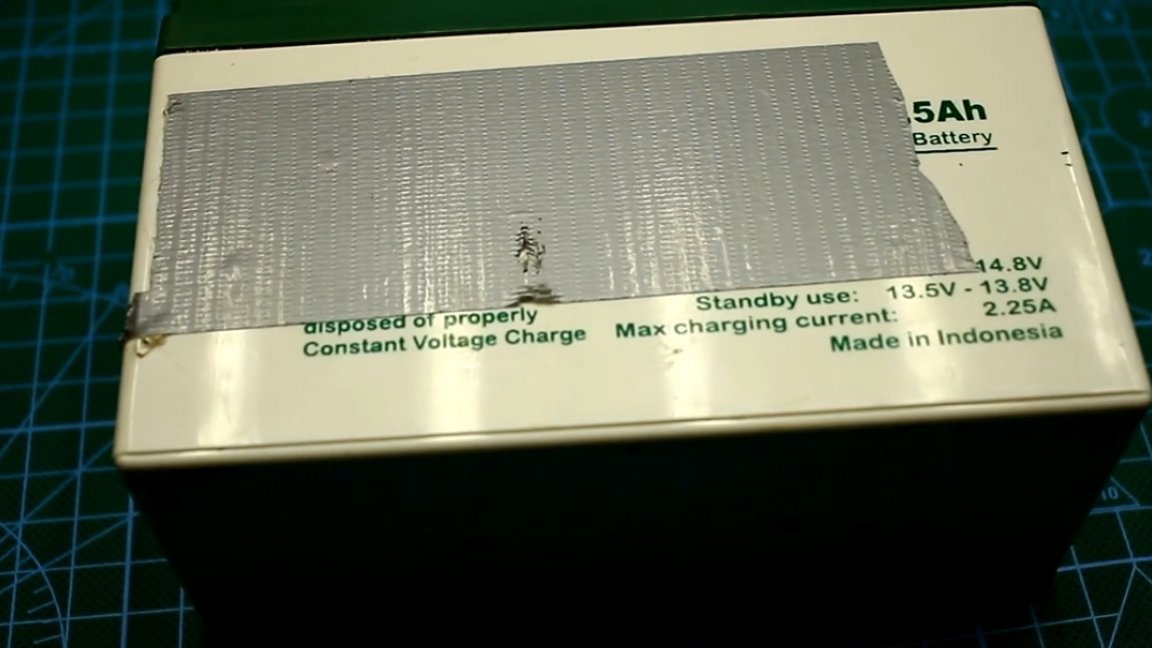
The main advantage of using the battery is that we get a portable device that can be easily taken out into the yard and there to do all the operations. It is convenient and fast. And so you can find any other power source with a voltage of 10-15V, the corresponding power and make the device stationary, it all depends on your needs.
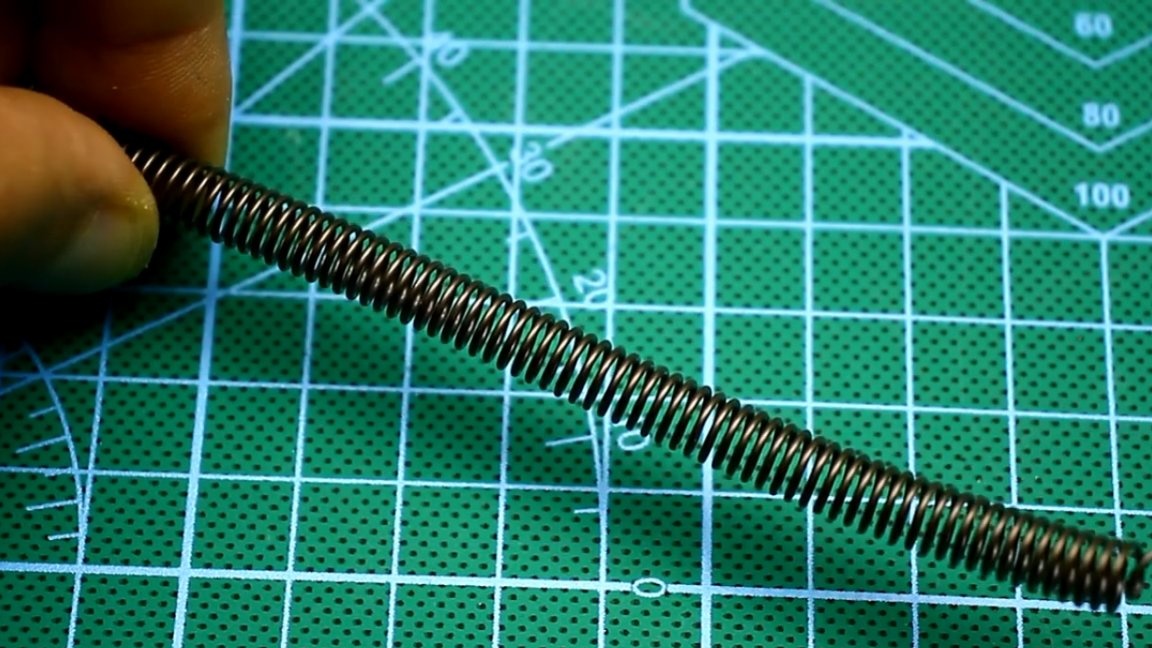
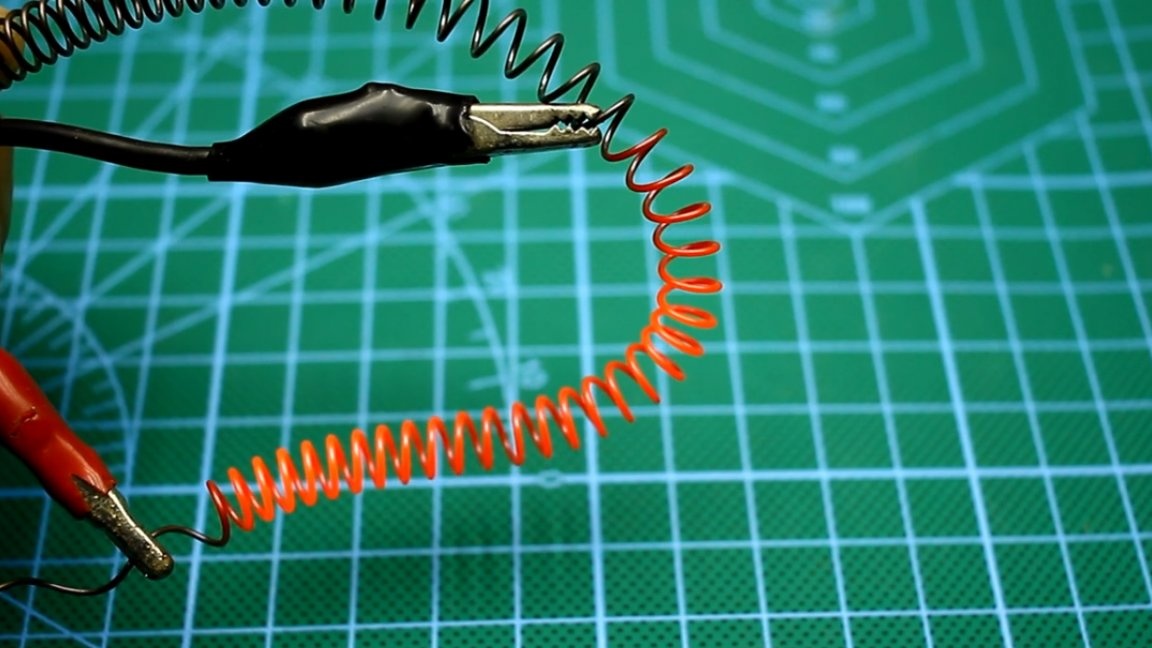
As for the heating element. It will be made of a nichrome spiral, as the most affordable option.
The author plans to make a 100W heater. Immediately it is worth saying that for such a bath it is a lot. But the author intends to supplement the design with a PWM power regulator. By adjusting the power, we essentially regulate the temperature, everything is simple.
Calculation of the heating element. First we need to understand what the resistance of the heater should be. In this matter, as always, grandfather Ohm will help.
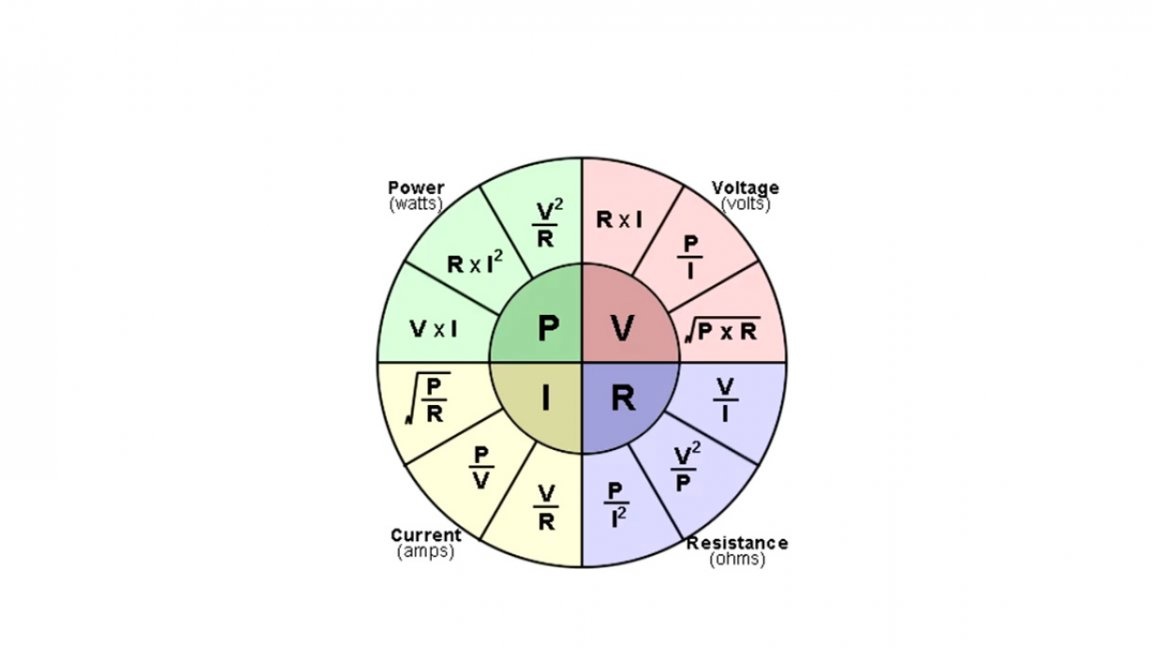
We know the heater supply voltage (12V) and the approximate power (100W). Knowing these parameters, it is easy to calculate the resistance of the heating element. In our case, it is about 1.44 Ohm, rounded to 1.4.
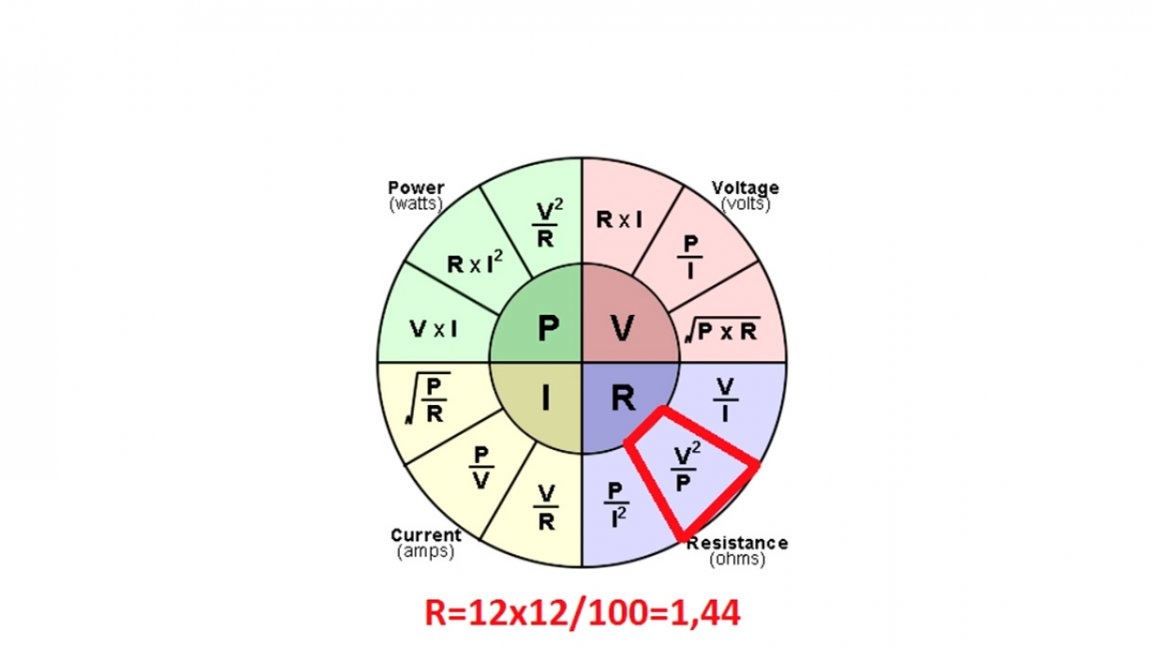

The data obtained as a result will slightly deviate from the ideal ones, since with heating the resistance of the heater will change. But these deviations are not so significant.
The wire for the heater is nichrome, purchased at the nearest hardware store. The wire diameter is 0.75mm.
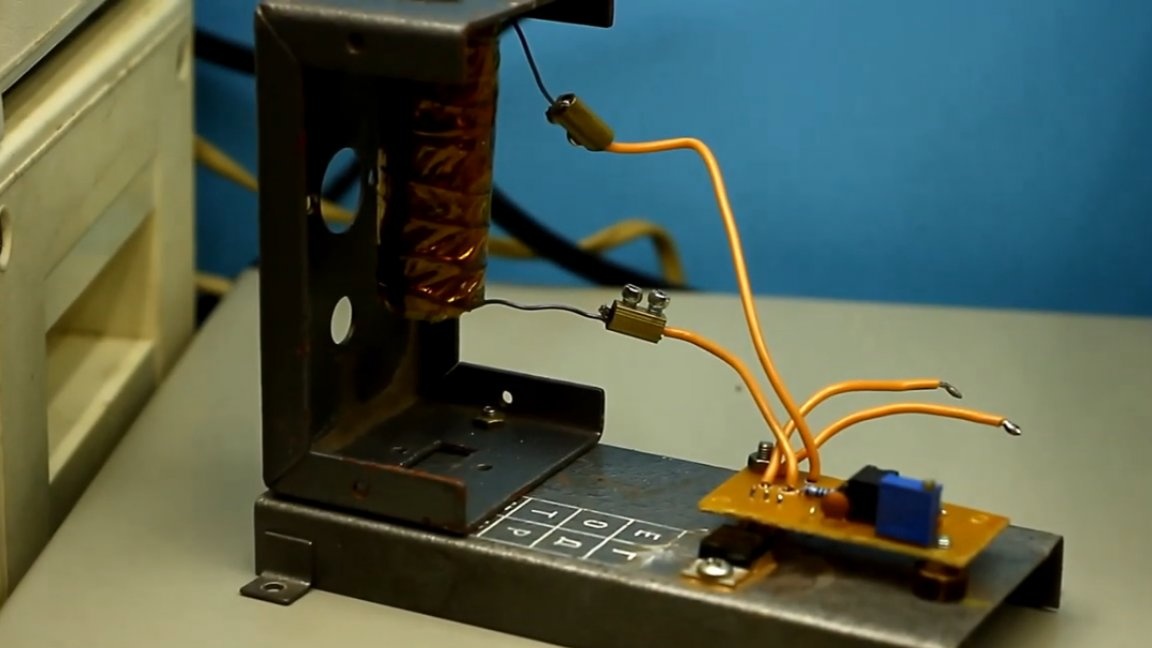
The heater is red-hot. Next, we wind the insulator on the sleeve. It is better to use fiberglass, but the author has at hand only heat-resistant adhesive tape, but he is able to withstand temperatures up to 350 degrees and even more. Insulate the sleeve in 2 layers, no longer needed.
Then we wind the heater, after straightening the wire. We wind it carefully, the turns should be at some distance from each other in order to exclude a short circuit.
Once again, we put insulation on top of the winding, this time the number of layers can be increased. The bath is basically ready.
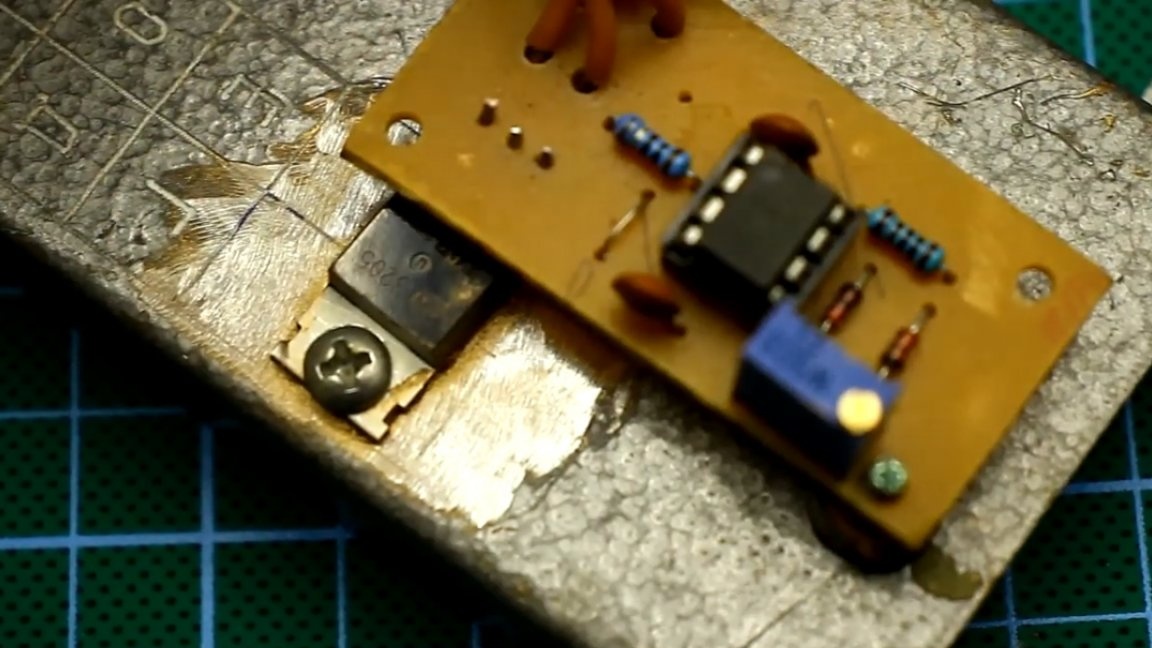
Regulator.
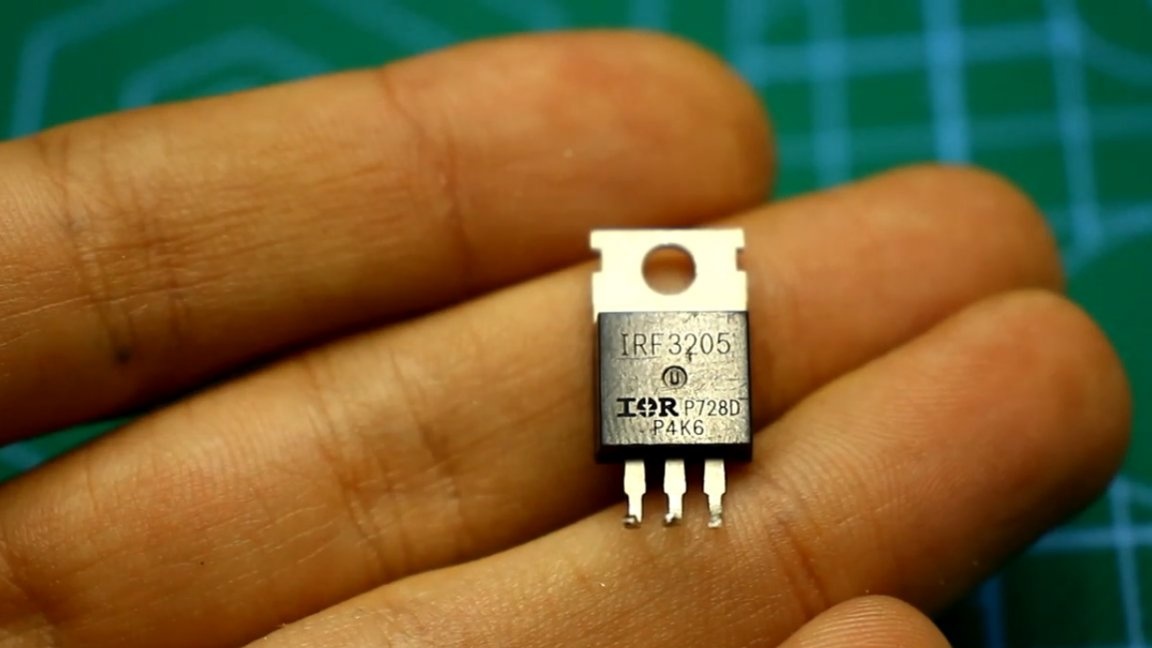
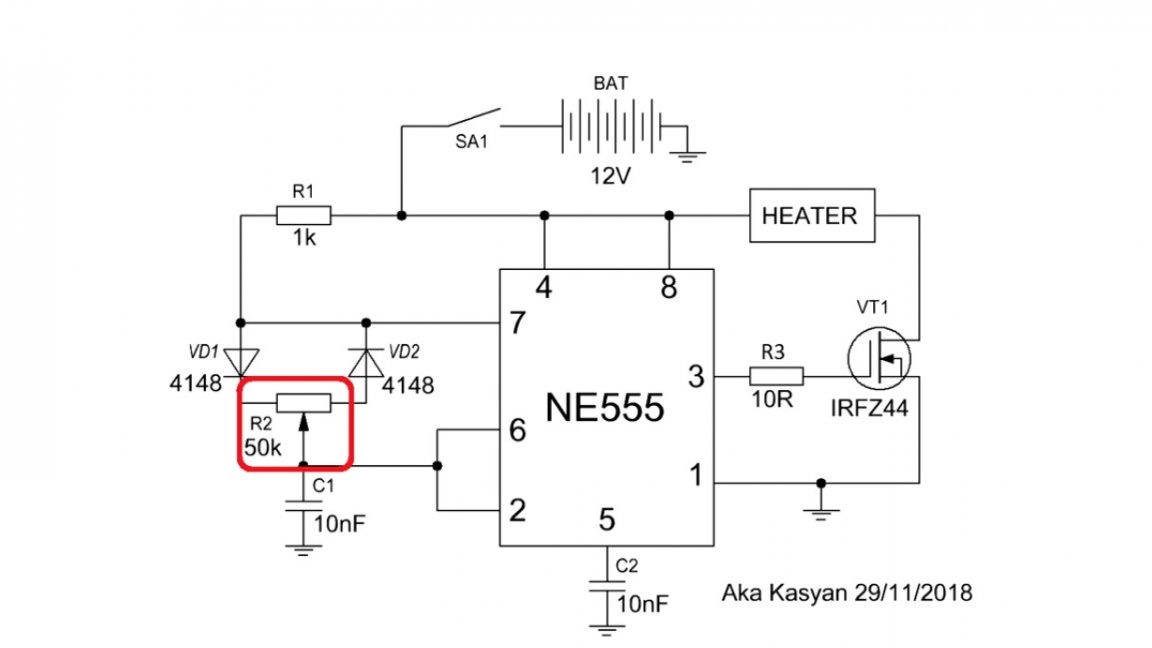
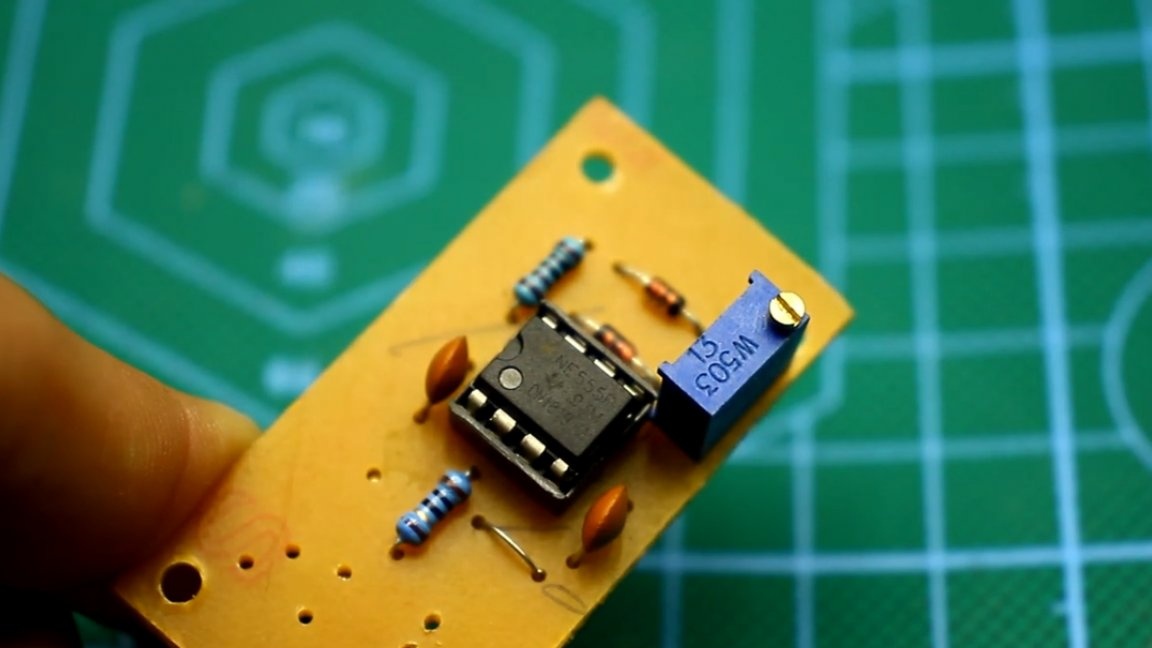
This is a regular PWM power controller based on the ne555 timer and a field effect transistor. Nothing tricky. The field key is installed on the heat sink. Any powerful n-channel field effect transistors with a drain-source voltage of 20V and a current of preferably more than 30A are suitable here.
Power adjustment is carried out by rotating the tuning resistor by 50k, a place for it is provided on the board.
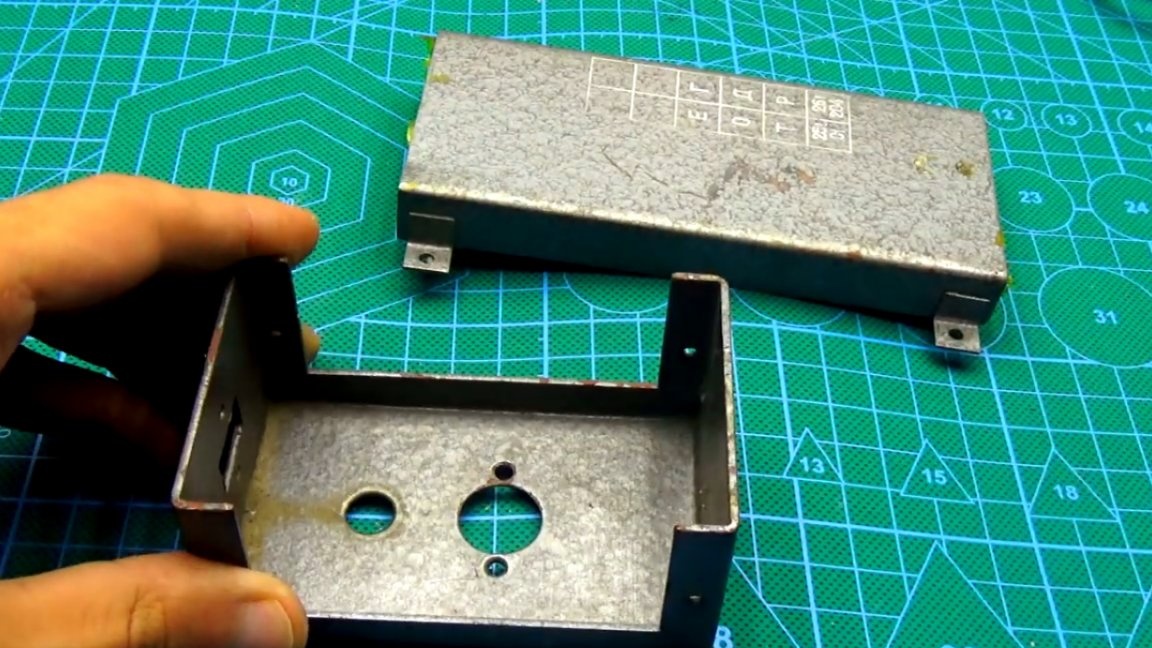
The chassis was made from improvised materials. The transistor is screwed to the base of the frame, preferably using thermal paste.
The connecting wires are soft, stranded, in heat-resistant silicone insulation.
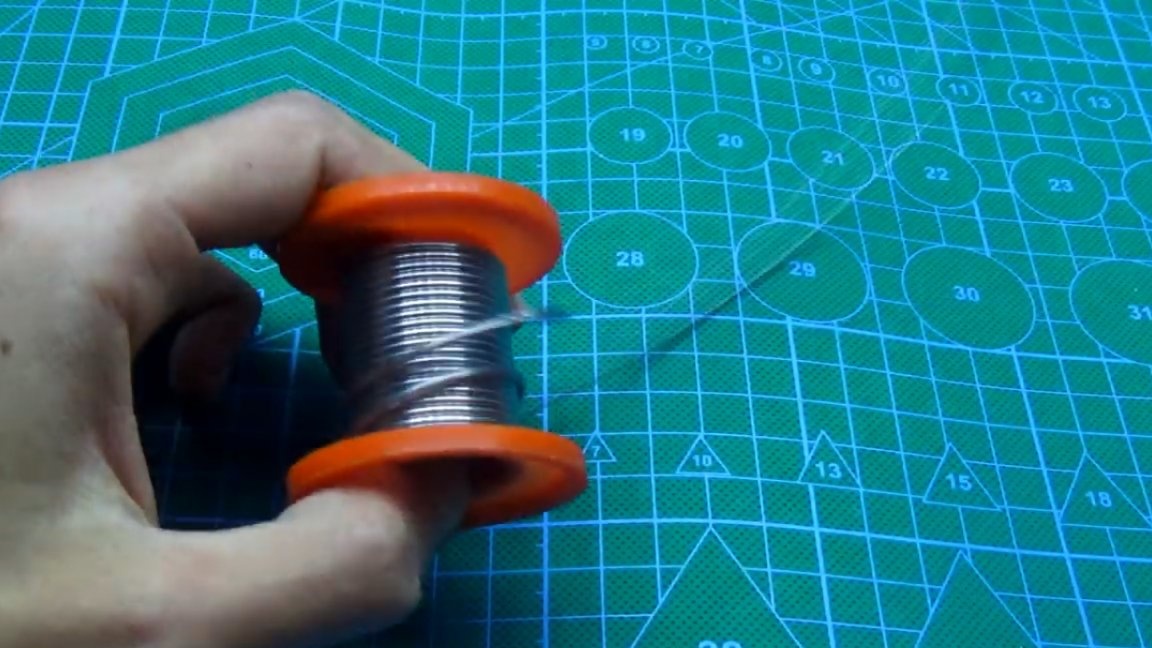
Next, we take the worst solder that can be found, put it in the bath and turn it on.
To begin with, the heater power is limited to 30W and wait a while. If the solder does not melt, increase the power to 50W and wait again for some time.
Thus, we identify the optimal power so that the temperature of the molten solder is in the region of 300 degrees Celsius. Temperature control can be carried out in a non-contact way using a pyrometer.
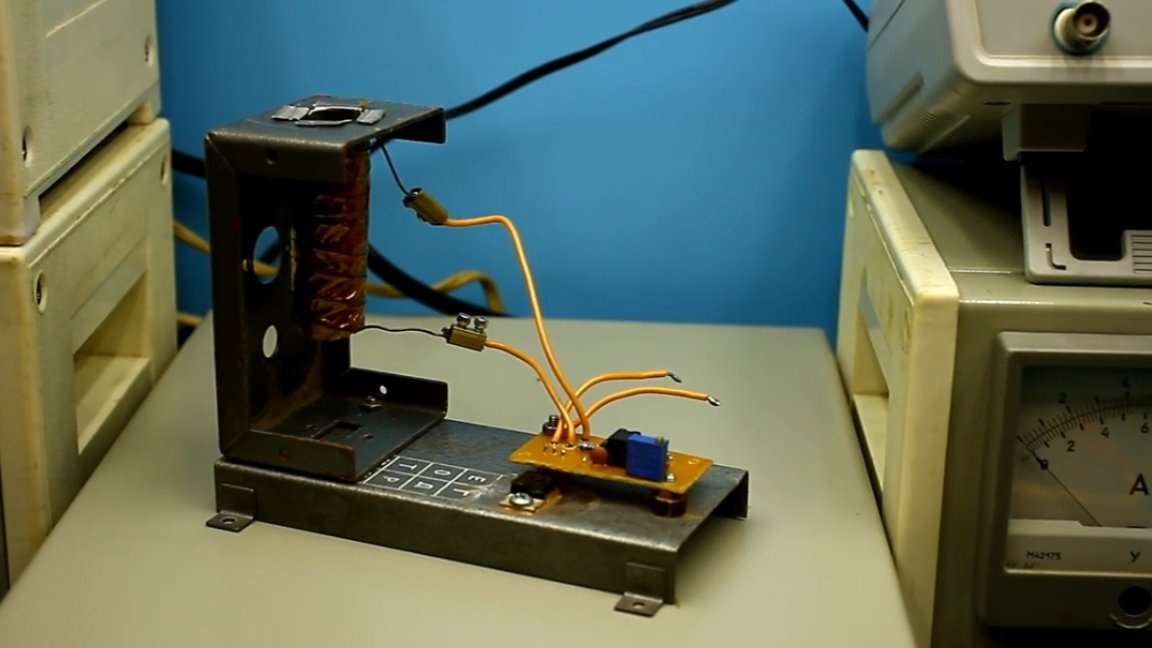
After setting up the bath, it remains only to check it.


As you can see, everything works fine.Naturally, from time to time you need to add solder, but I think this is clear. This design at times, or even dozens of times, will facilitate the process of removing varnish insulation and tinning of wires. Two in one, as they say, so use your health. Thank you for attention. See you soon!
Video: