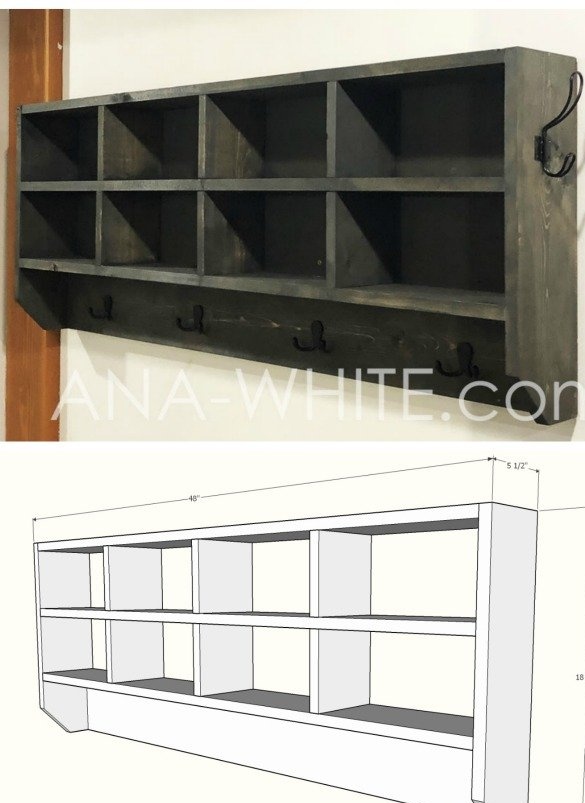
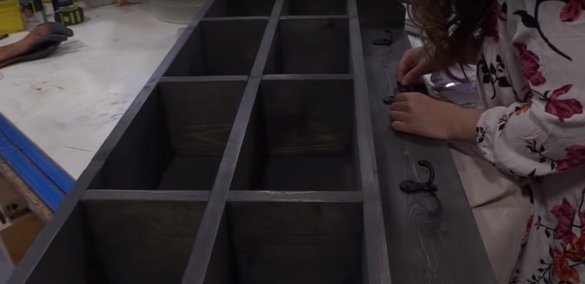
Shelf for the hallway will always come in handy if you have a large family or often have guests. Such a wooden shelf with a hanger for outerwear can be made do it yourself. You will need some suitable boards and a sheet of plywood.
In addition to this, you will also need:
Materials:
- wooden boards with a thickness of 15-20 mm;
- plywood or particleboard (particleboard);
- stain or paint for wood;
- self-tapping screws (furniture screws), small nails;
- hinges for hanging shelves;
- metal hooks for outerwear.
Instruments:
- screwdriver;
- electric drill;
- a conductor for drilling holes at an angle;
- pneumatic nail gun or hammer;
- miter saw or hacksaw;
- manual circular;
- building level;
- square;
- a pencil.
Step one: drawing and preparing materials
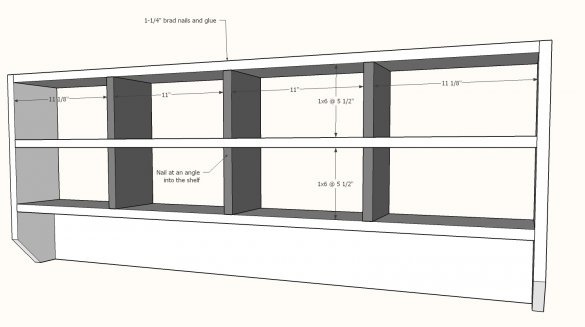
Determine the dimensions of your future shelf-hanger and prepare a drawing. You can also use drawings from the master class.
Choose the appropriate width and thickness of the board. They must be planed and pre-sanded.
Saw the boards into parts, prepare the back wall of the shelf. Use plywood to make it. If necessary, it can be replaced with a more budget option - chipboard and even fiberboard.
Use a conductor for drilling. It will come in handy if you need to drill holes for the screws at an angle to fasten the hanger parts "in the blind."
Step Two: Hanger Assembly
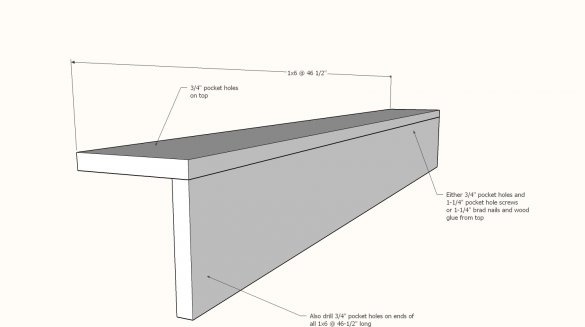
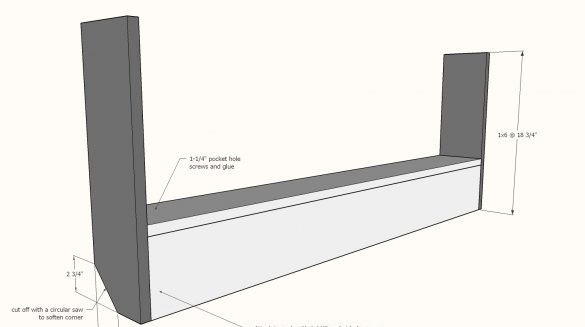
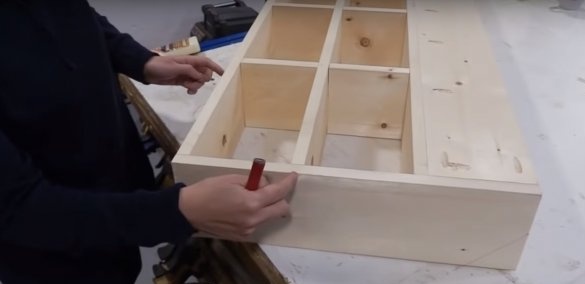
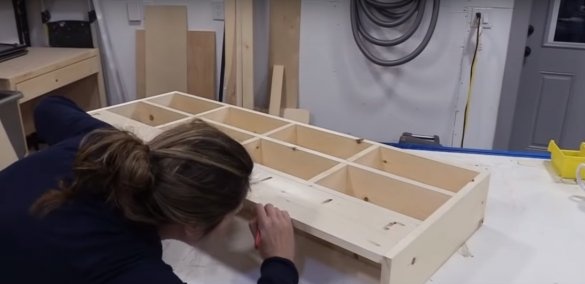
Assemble the frame. To do this, connect the two sidewalls with the backrest part. Despite the fact that the back wall is made of plywood, the board will serve as a kind of stiffener and add strength design. Screw the bottom shelf at right angles. To simplify the task, use a square.
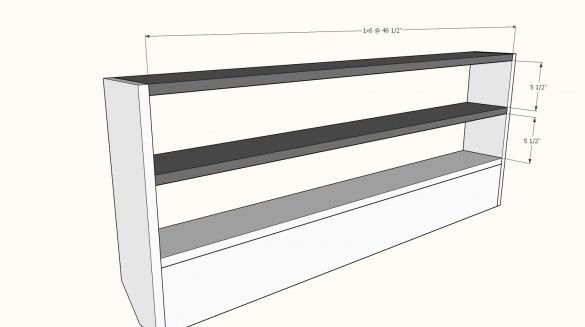
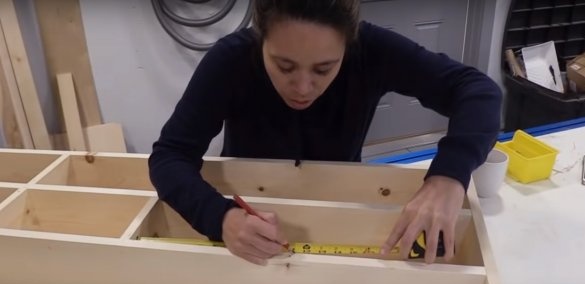
Lock the next shelf. In order for the distance between the shelves to be the same, the author uses trimmed boards of the required length. Place the "pattern" between the shelves, fix the part. Repeat the same on the reverse side.
Screw the top of the shelf with self-tapping screws, after drilling the holes.
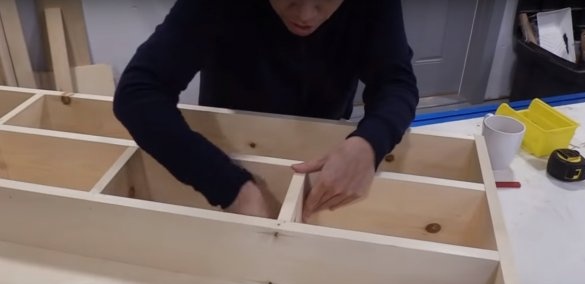
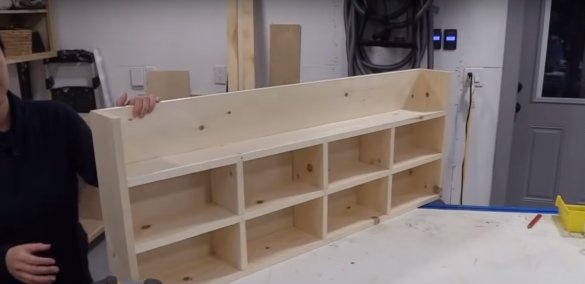
Take up the partitions. Make marks at the attachment points.In the upper section, the partitions are fixed on both sides, while in the lower - only from the bottom. If the details are fitted, this will be enough to prevent the sections from “playing”.
Fasten the back wall. Use wood glue. Press a sheet of plywood and fix it with nails.
Step Three: Decoration
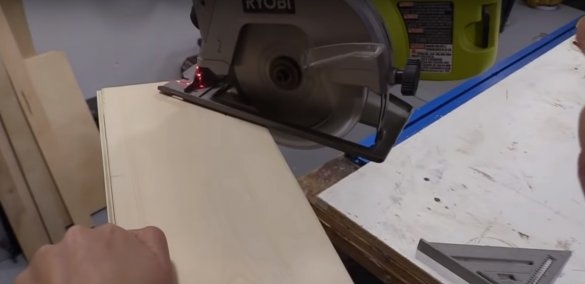
The lower corners of the hanger are beveled. The author used a hand circular to cut them.
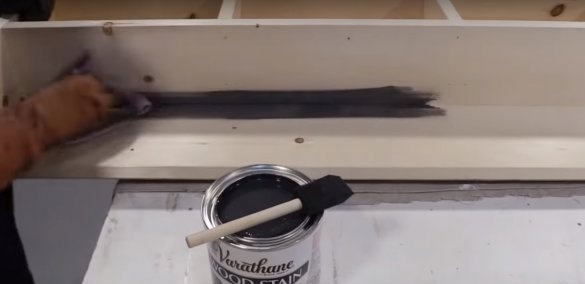
The hanger is covered with a rust-gray stain from Rust Oleum. When using this oil stain, from the range of oil, other finishing coatings are not required in most cases. Such decorative finish lends itself well to wet cleaning, as the wood acquires water-repellent properties.
To apply this product, use a brush to work in hard to reach places, as well as a cloth or kitchen sponge to distribute stains on the surface of the tree. The oil stain dries in 1-2 hours at room temperature. Therefore, without waiting for drying, be sure to remove excess stain with a dry cloth.
This tone is very dense and usually one layer is enough to achieve the desired shade. However, repeated application of the product is allowed at your request.
Allow the hanger to dry as it should and proceed to fasten the hooks. Mark the attachment points and fix the hooks with self-tapping screws.
It remains to install the hanger in place using the construction level, and enjoy the result of the work done!


