


In this article, the author will tell us in detail how to make electronic creeping line device. The device runs on the popular Arduino platform and is easy to repeat.
So, for the manufacture of an electronic device will need the following
Materials and tools:
Milling cutter;
- Cordless drill;
-Electric jigsaw;
-Clips;
- Clamps;
- Jigsaw;
-Roulette;
-Knife;
-Rule;
-Glue gun;
-Multimeter;
-Soldering accessories;
-Nippers;
- "Third hand";
-Stripper;
- Plywood 6 mm;
-Screws;
- Joiner's glue;
-Oil;
Epoxy resin;
-Izolenta;
-Sandpaper;
-Silicone legs;
-Arduino Nano;
- LED matrix 8X8 - 2 pcs;
-Protected lithium-ion battery 18650;
-Battery holder;
-Switch;
-Bread board;
-Wire;
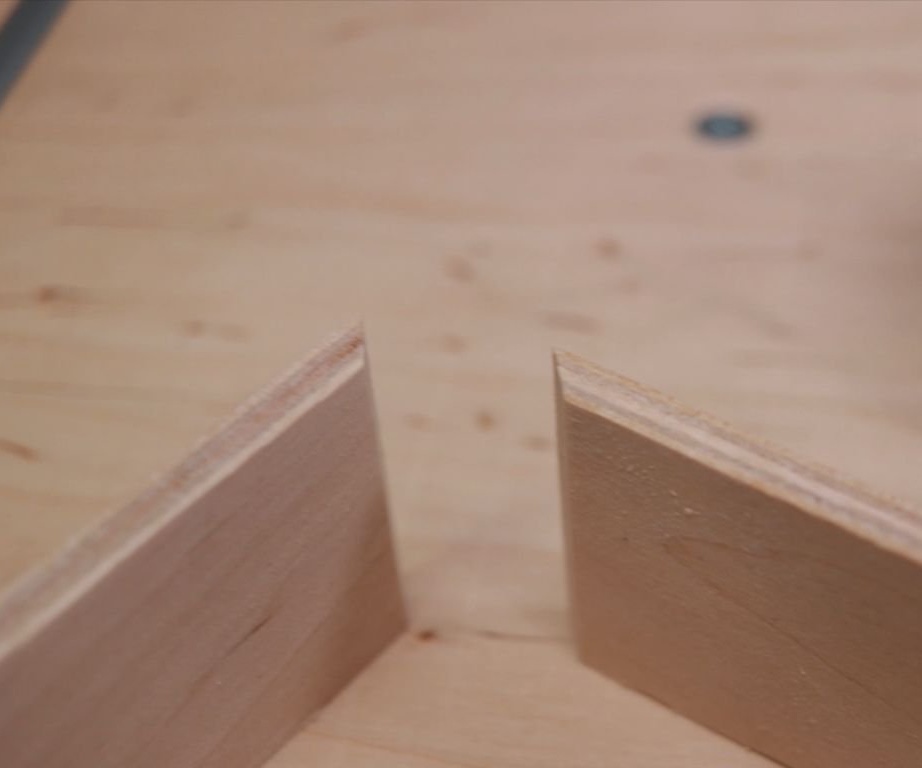
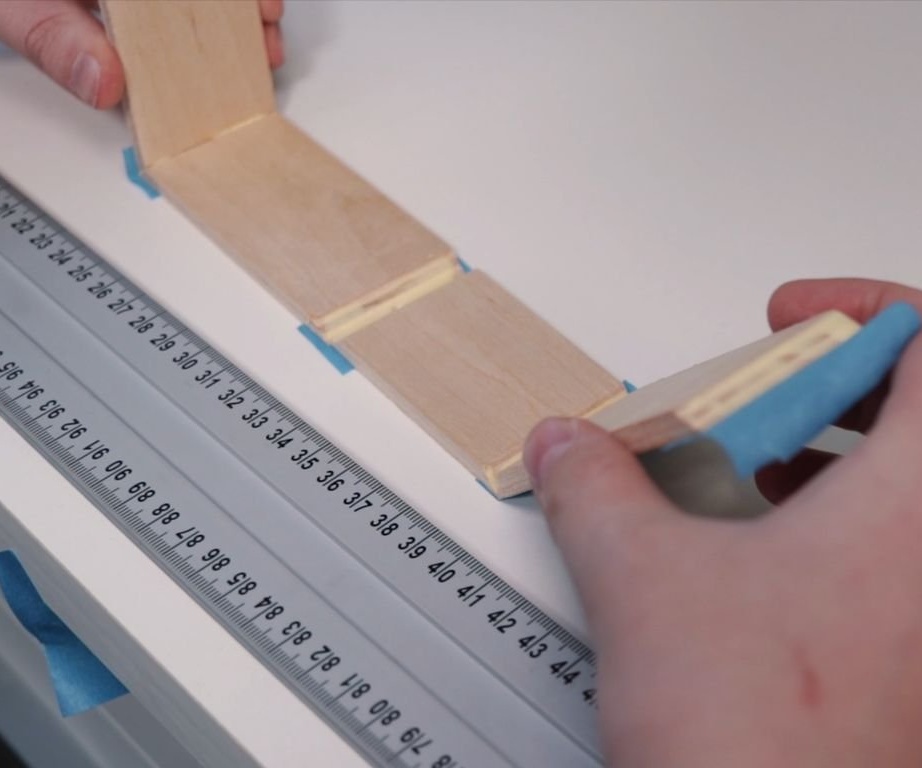
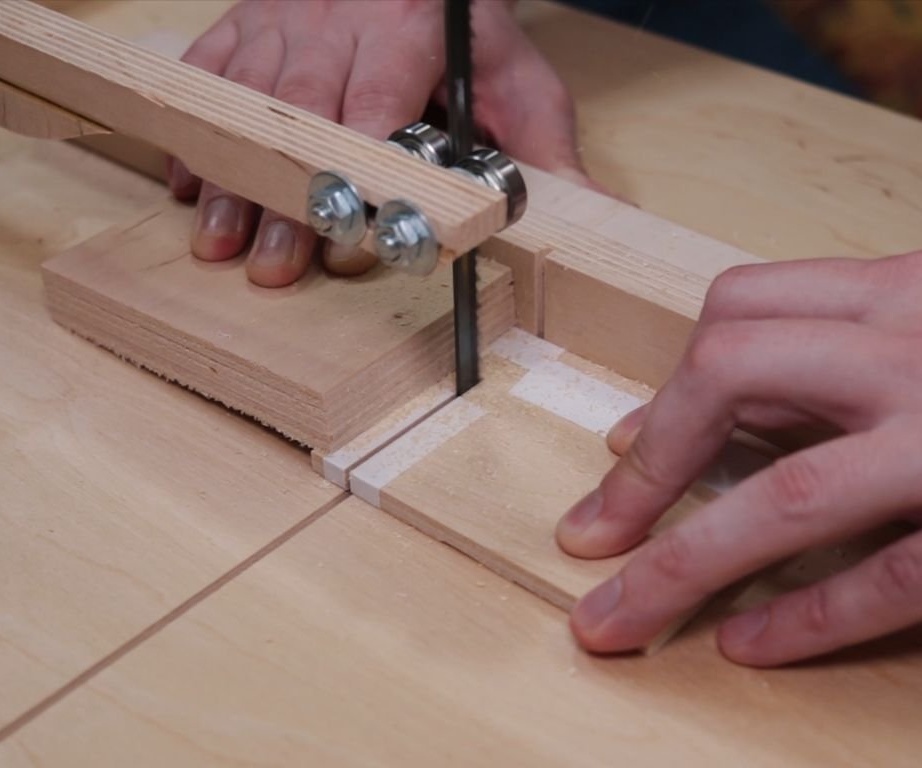
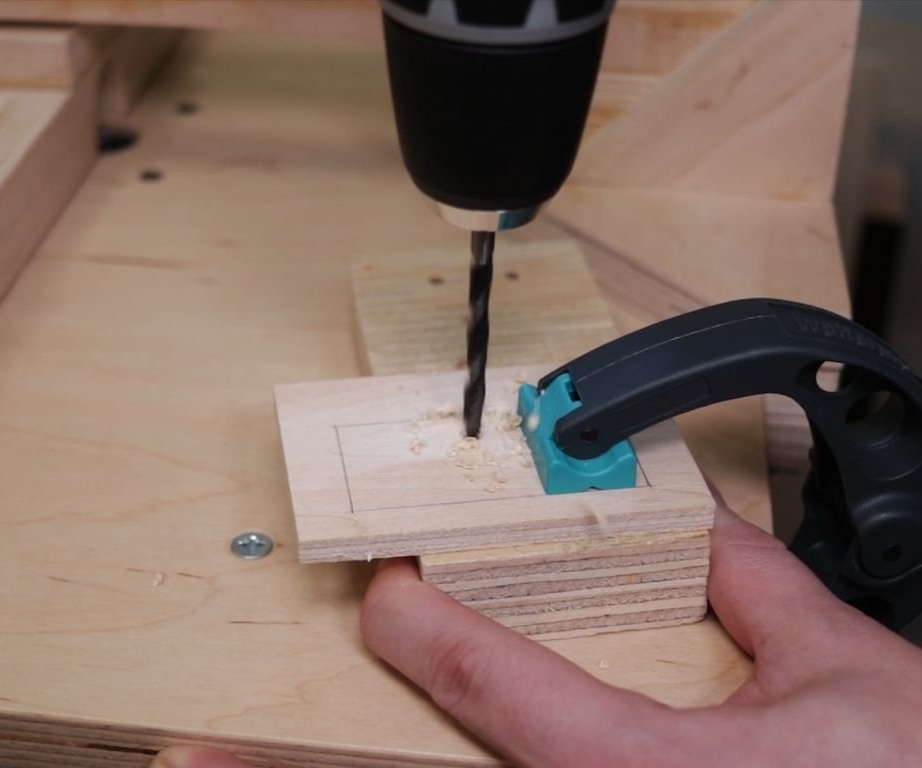
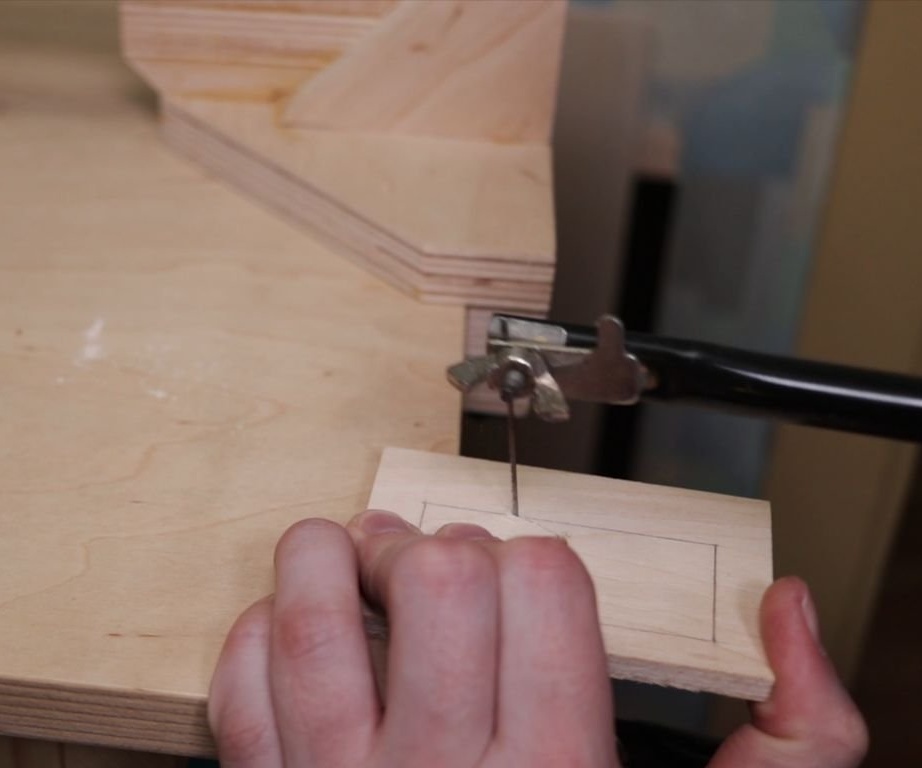
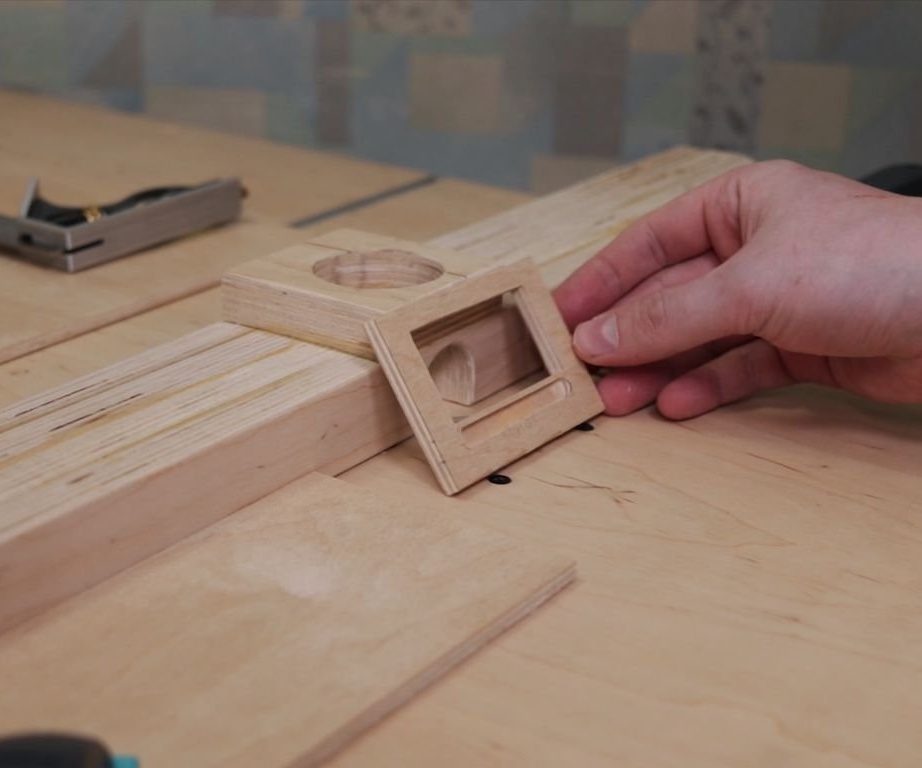
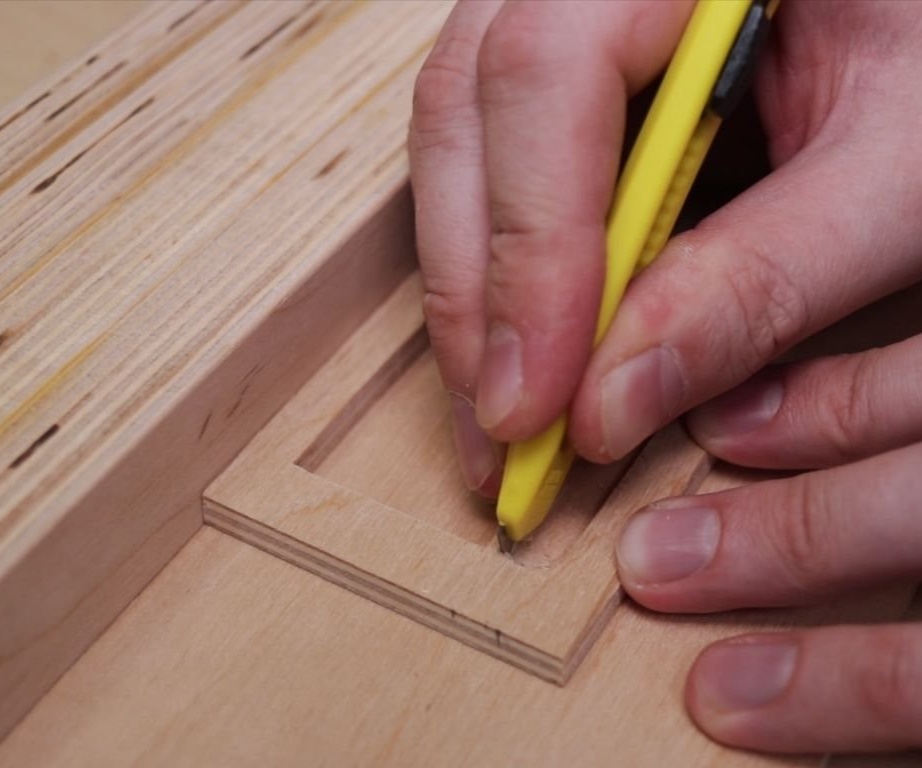
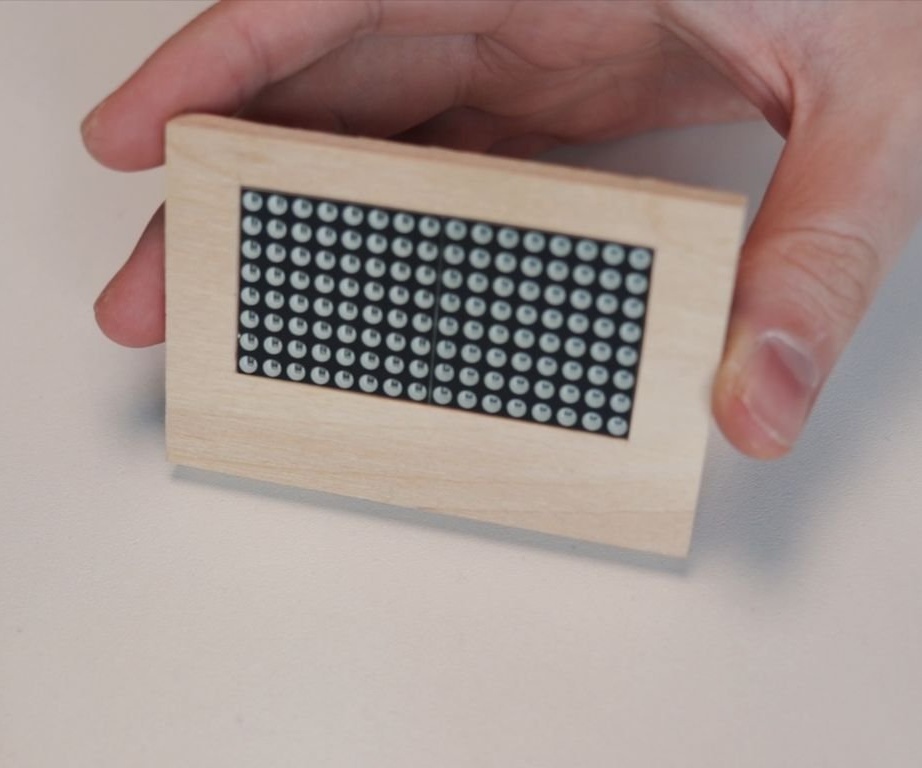
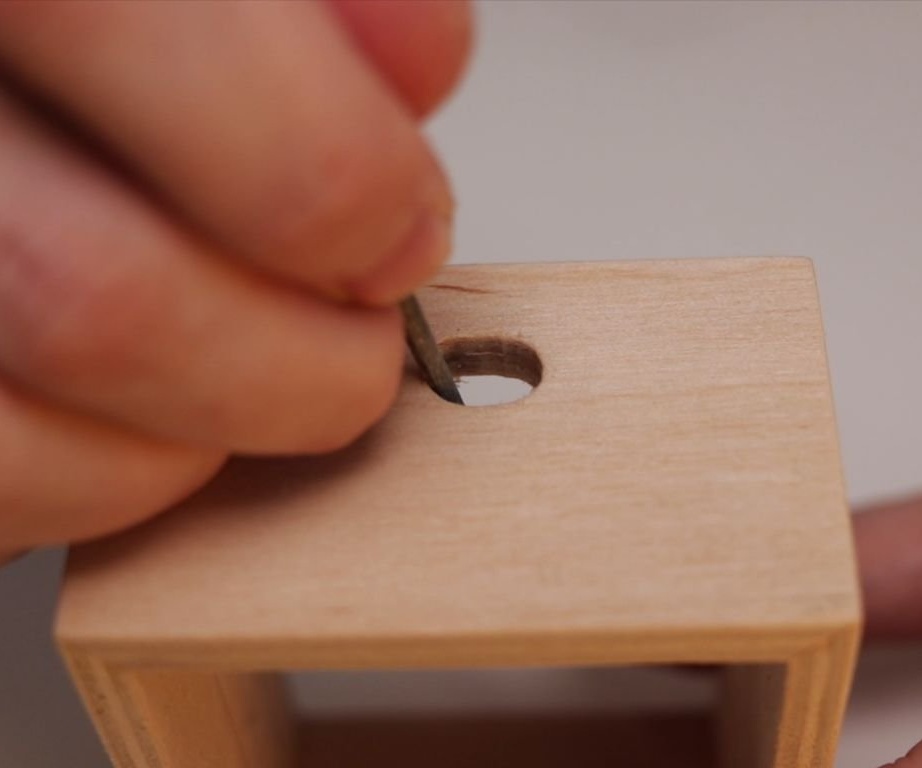
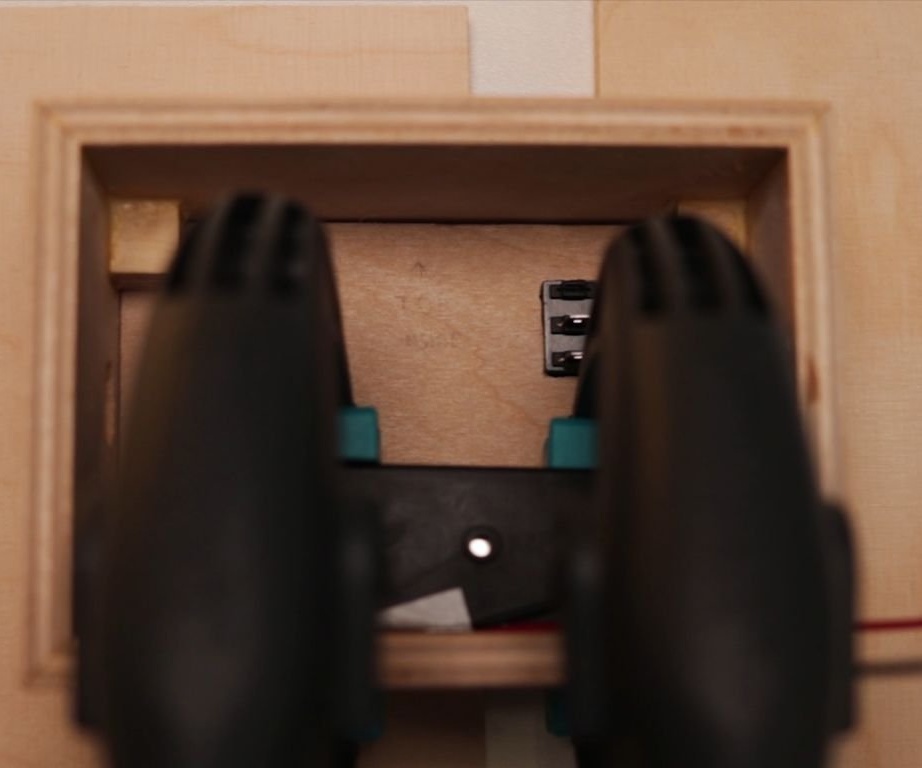
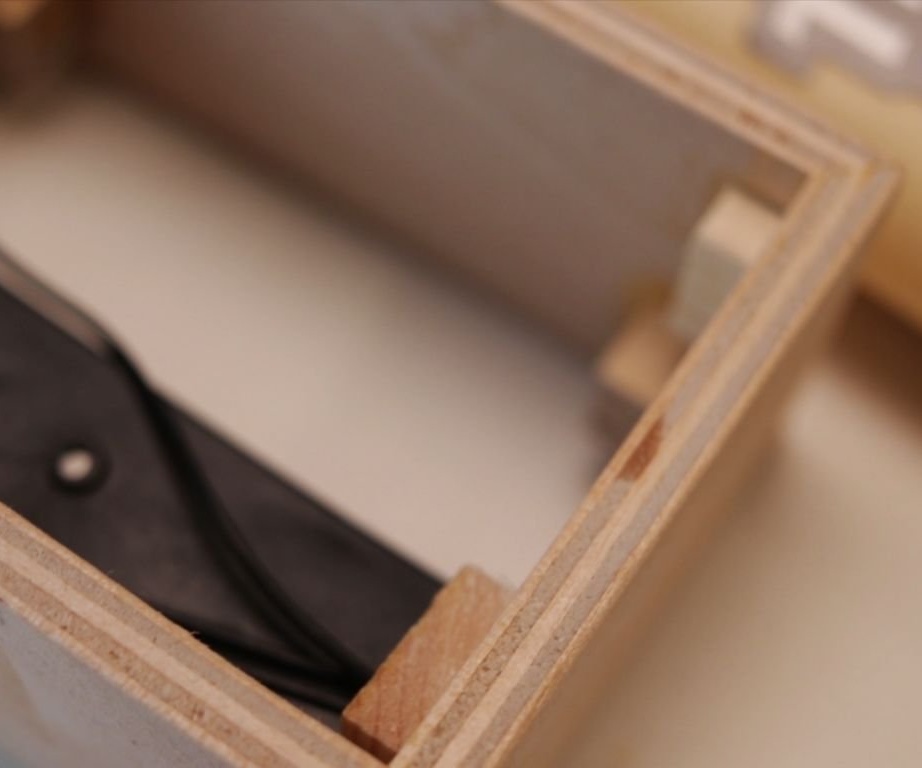
Step One: The Case
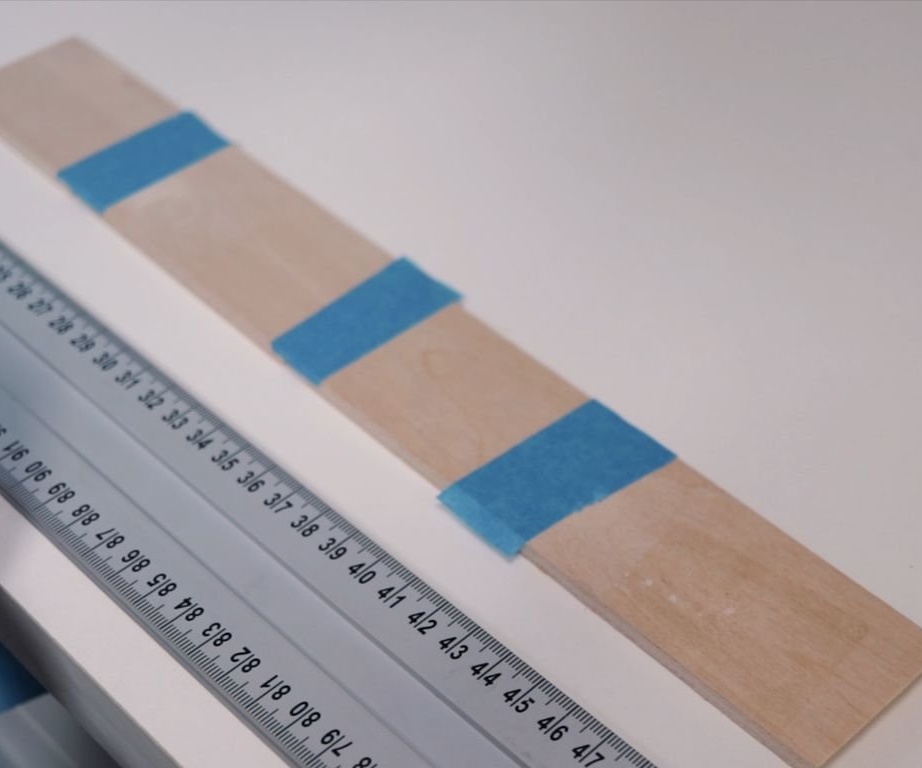
From plywood cuts the details of the body.
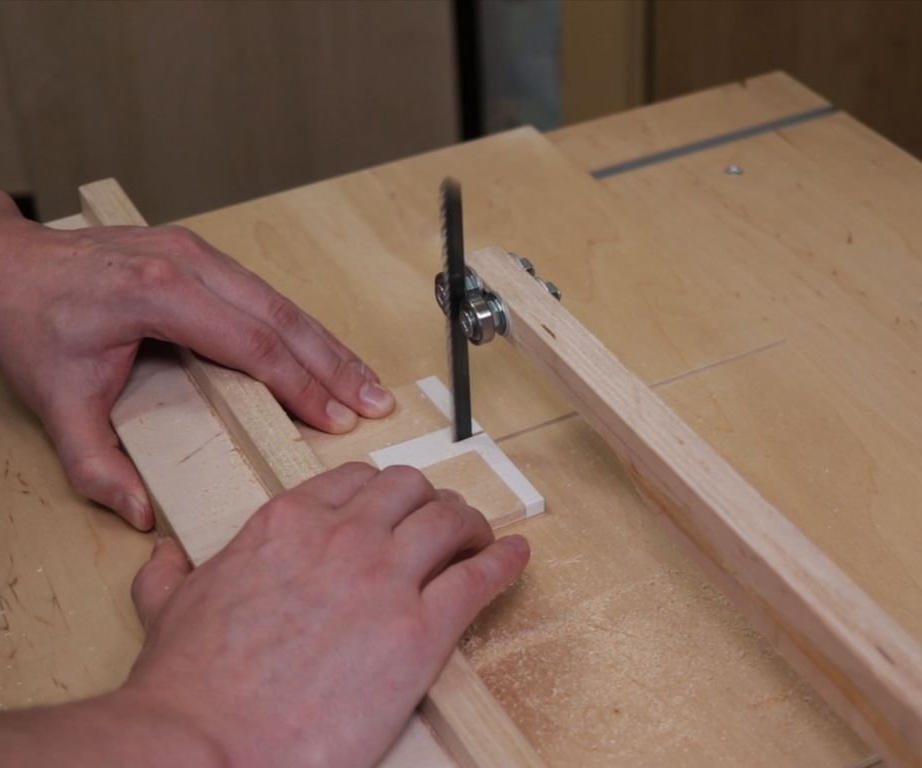
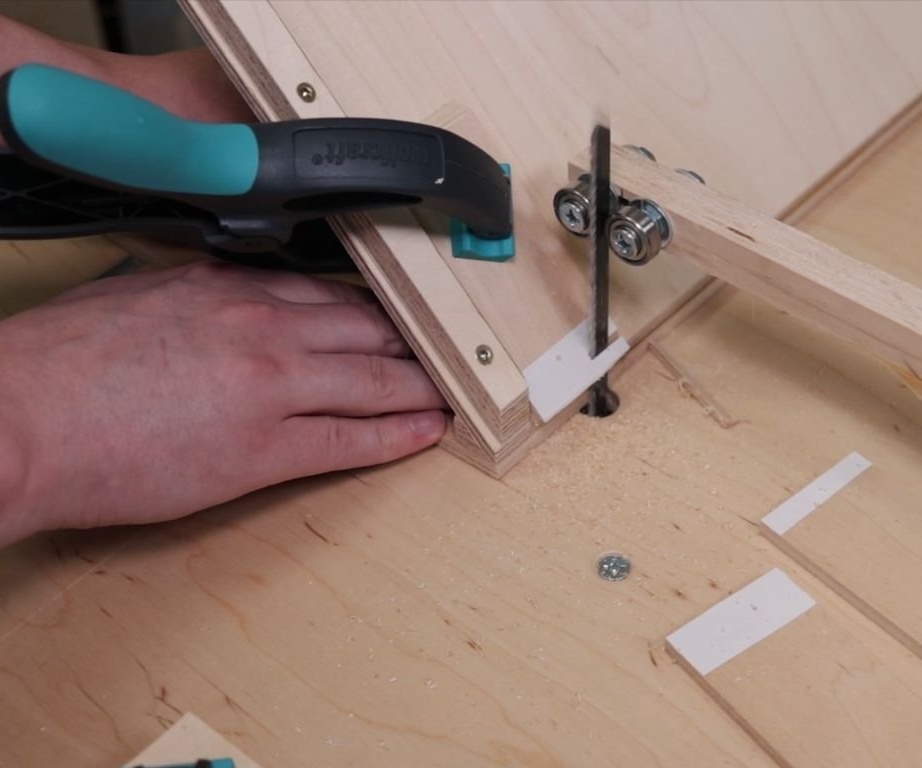
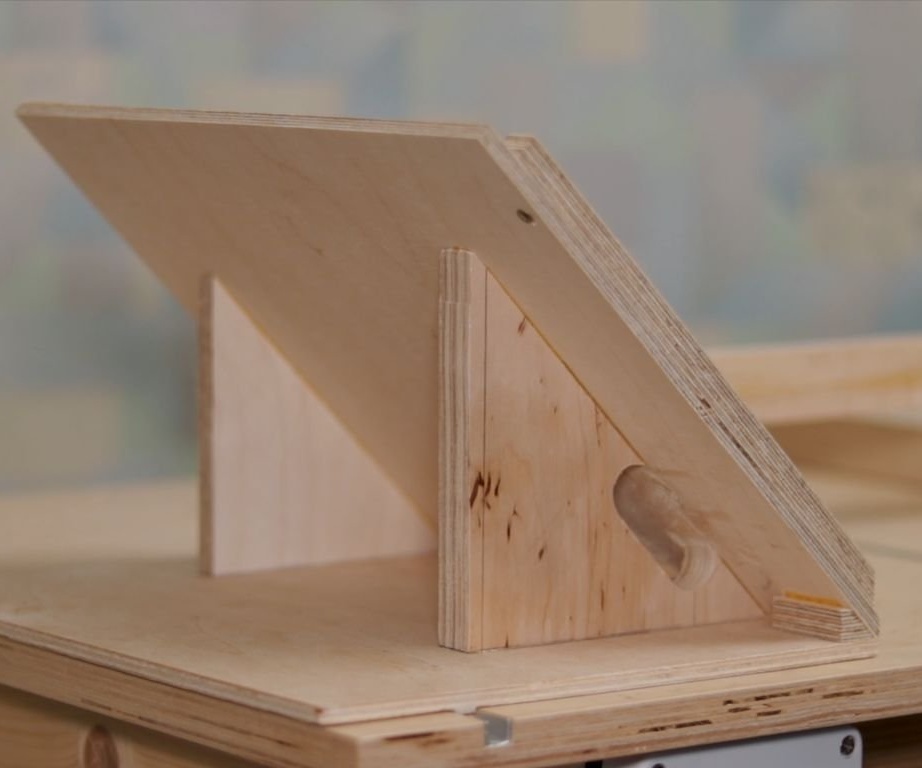
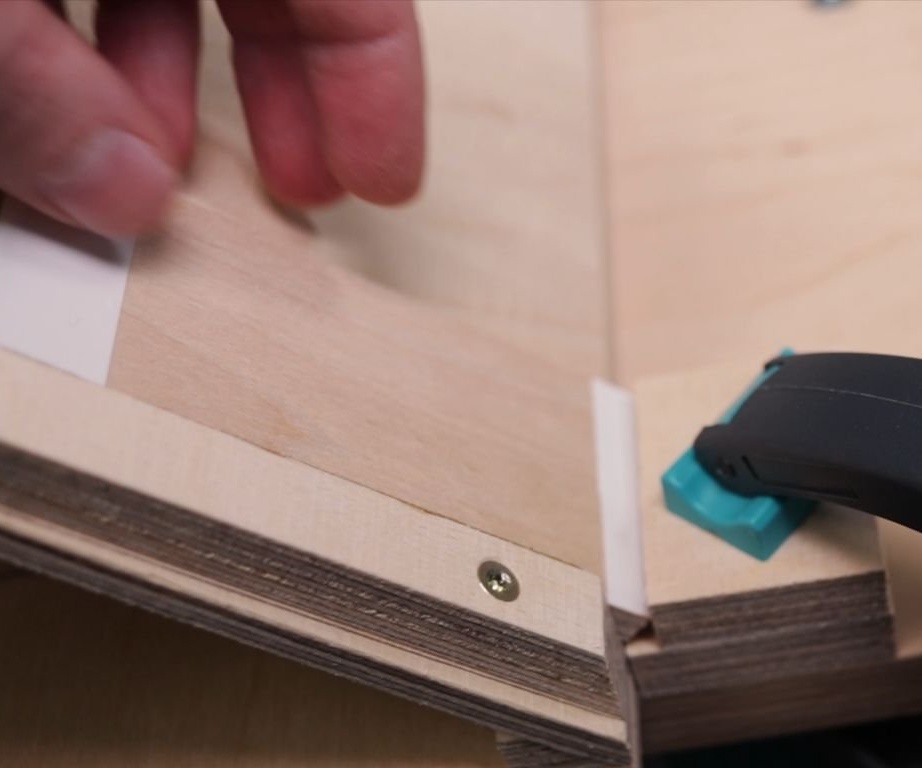
Glues parts.
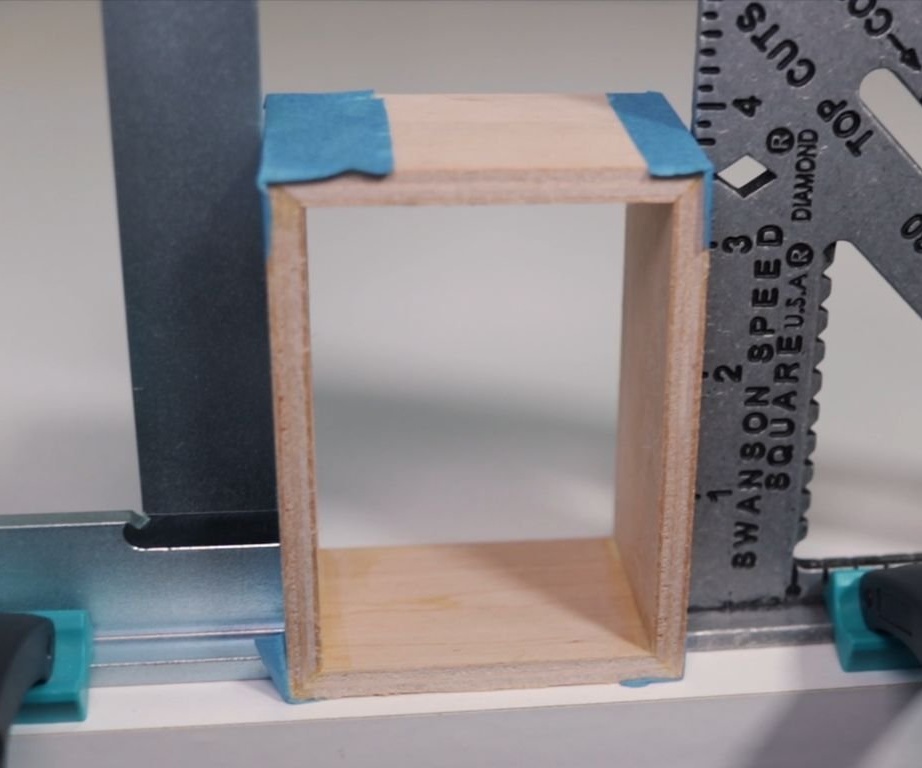
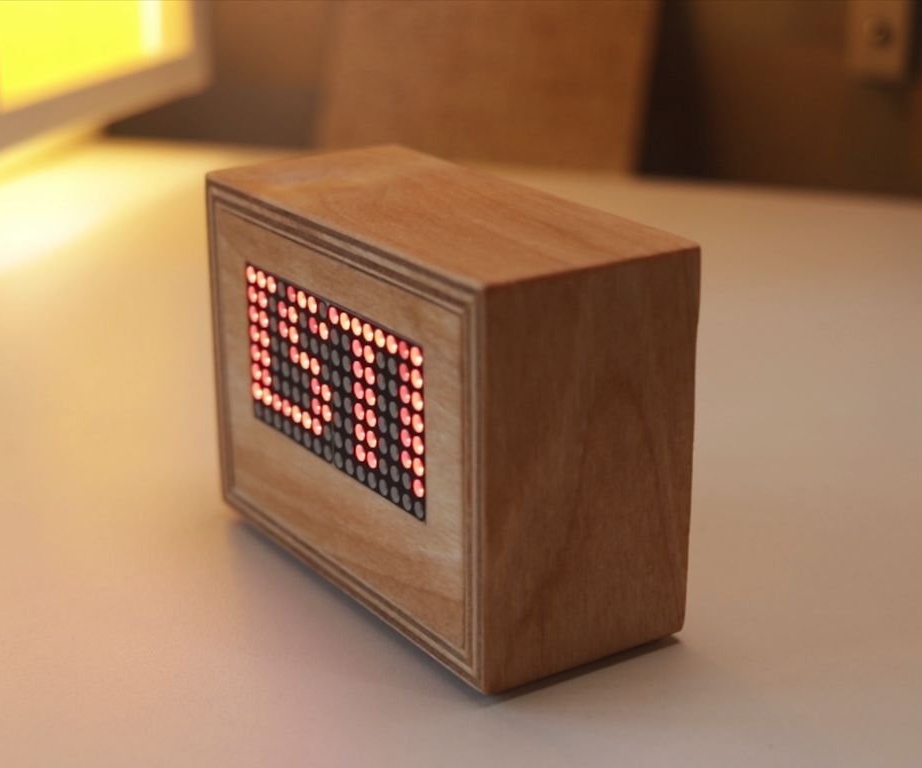
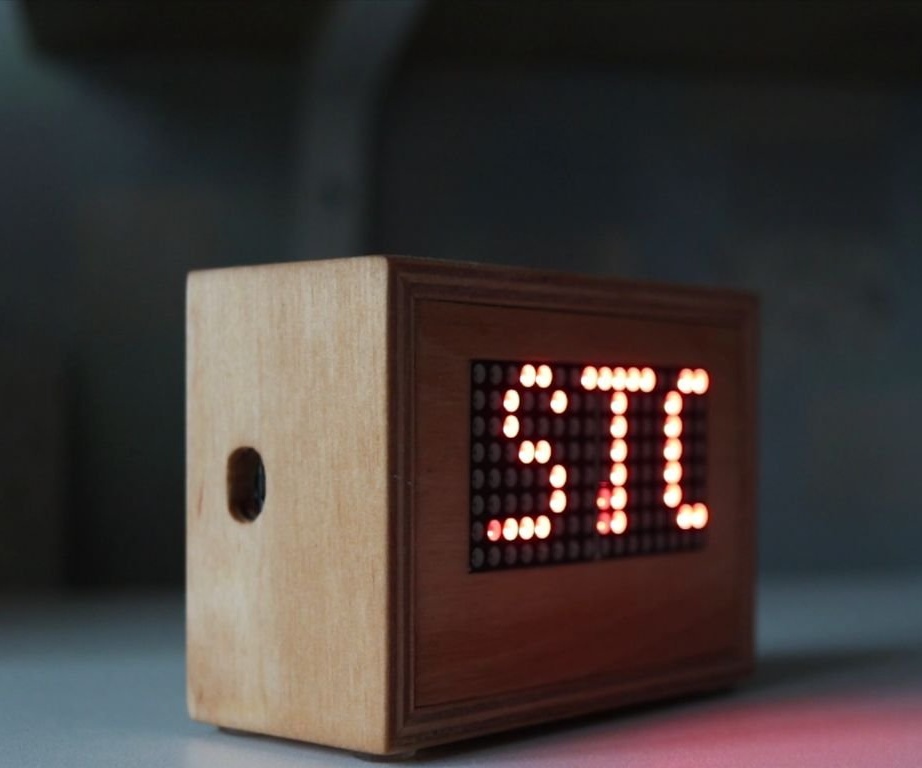
Cuts a window for a matrix.
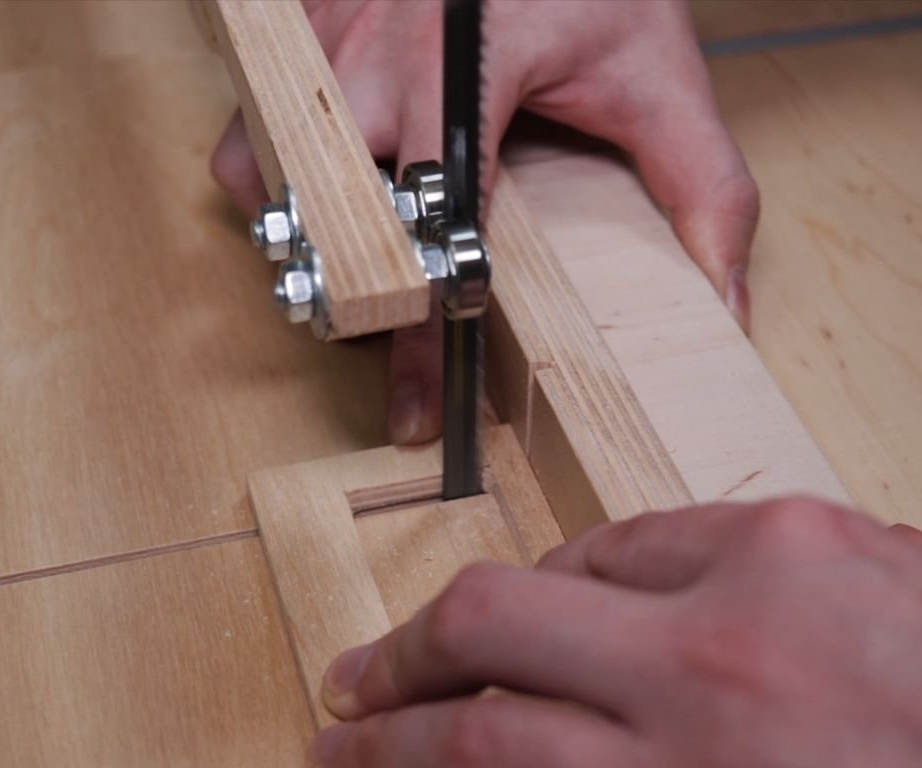
Fits to size.
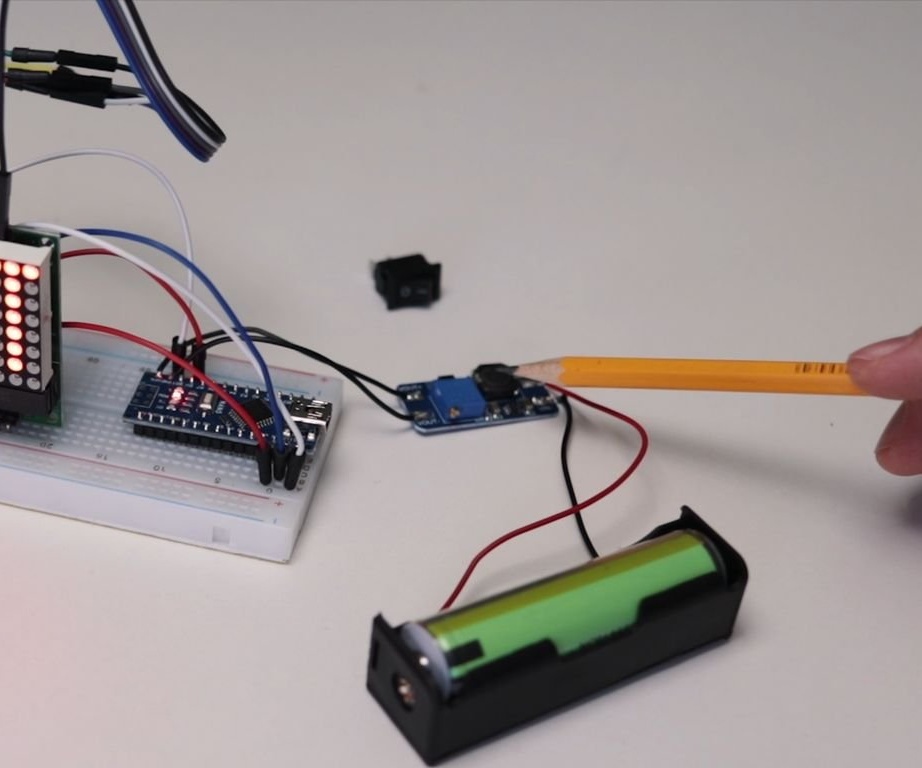
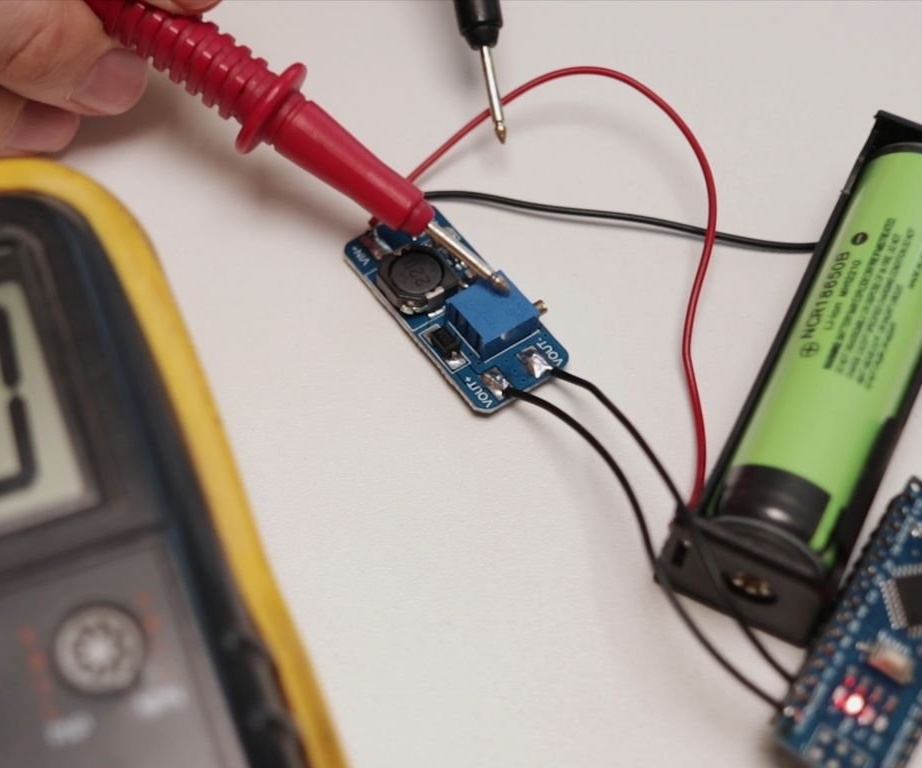
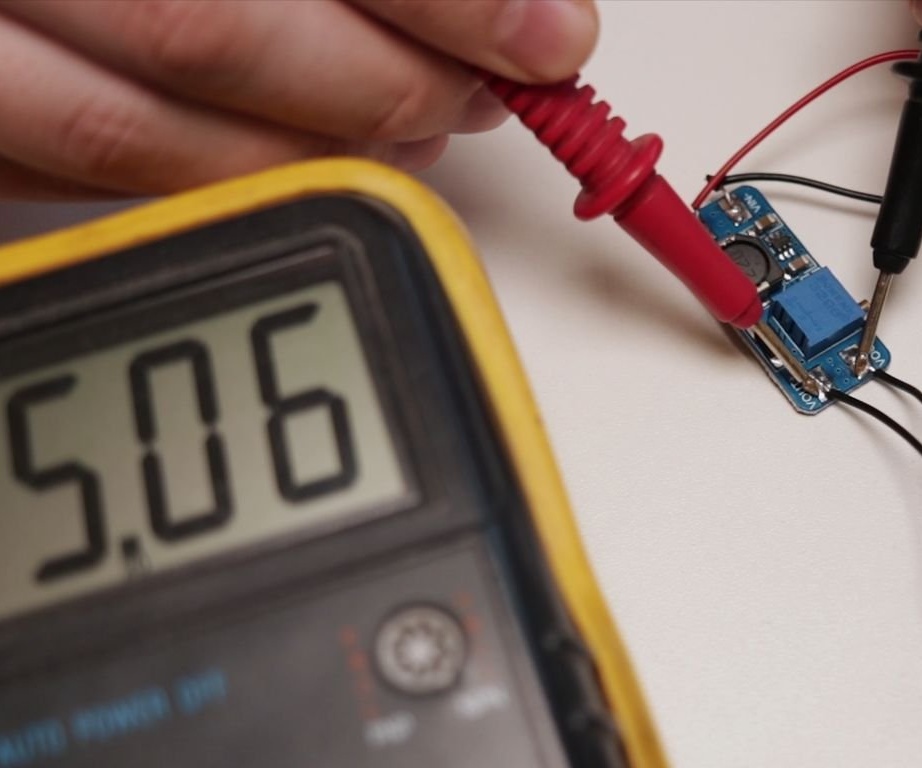
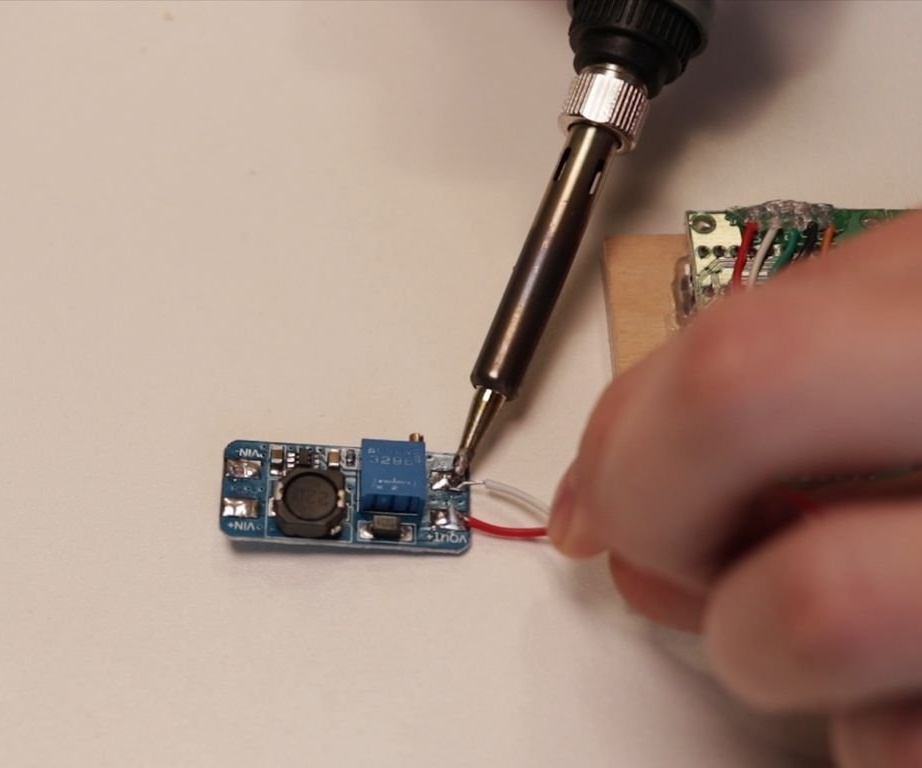
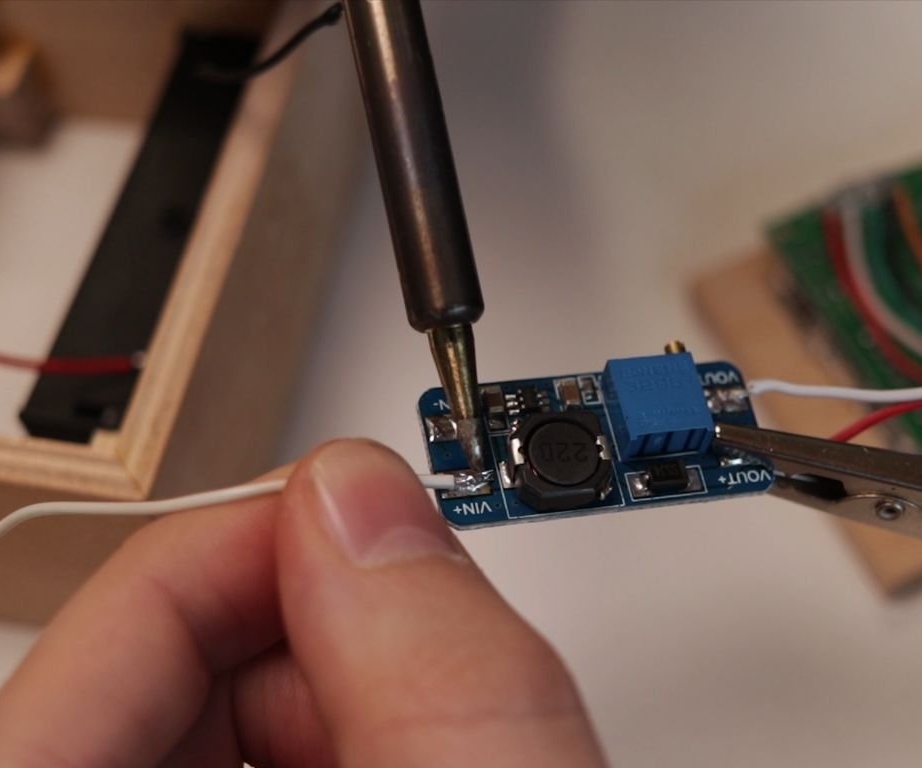
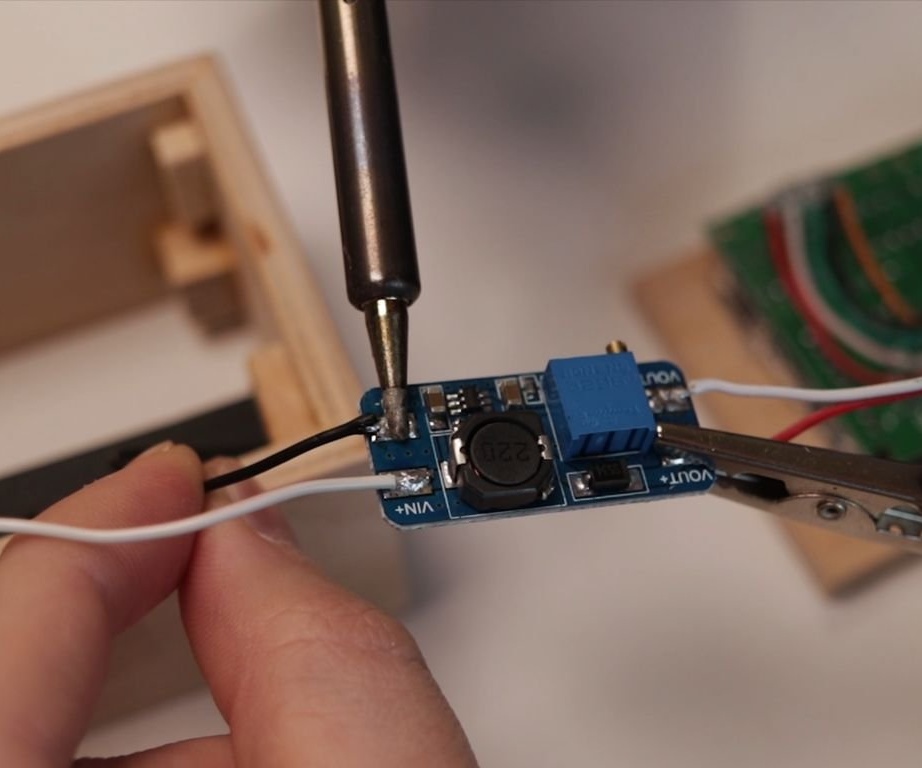
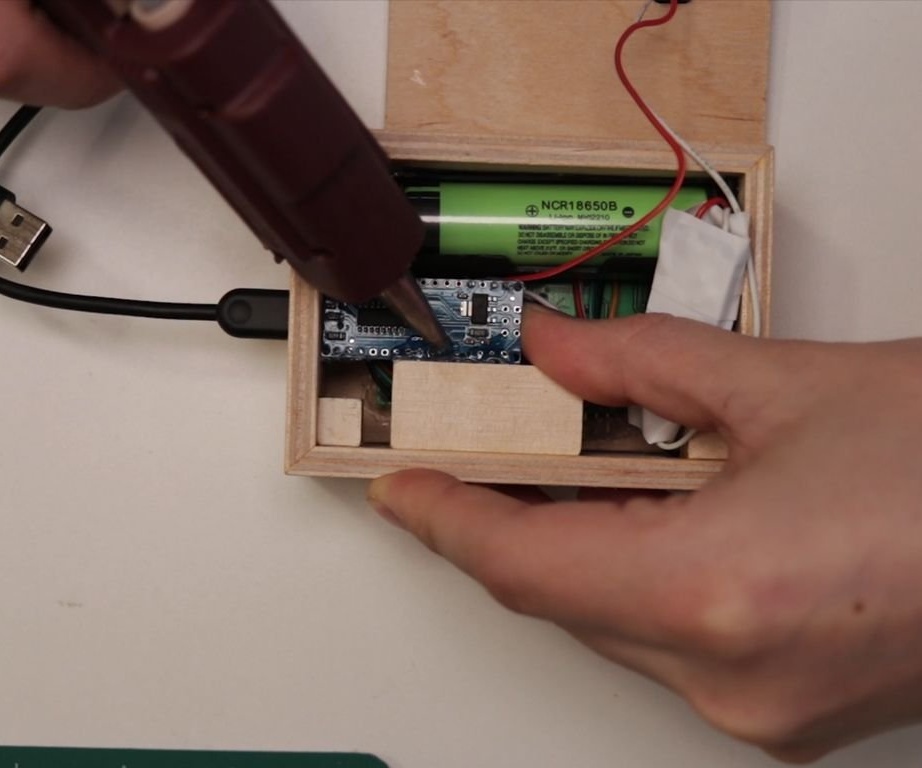
Step two: voltage adjustment
Pre-assembled device and regulates voltage board. The output voltage on the board should not be higher than 5 V.
Step Three: Software
Now moving on to the software. Loads it.
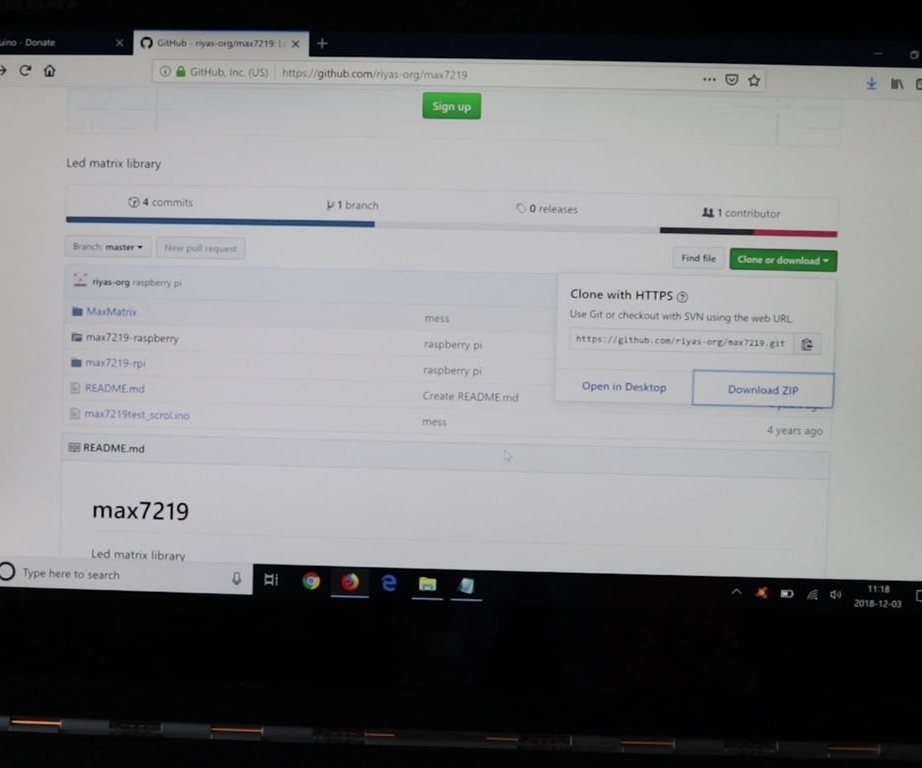
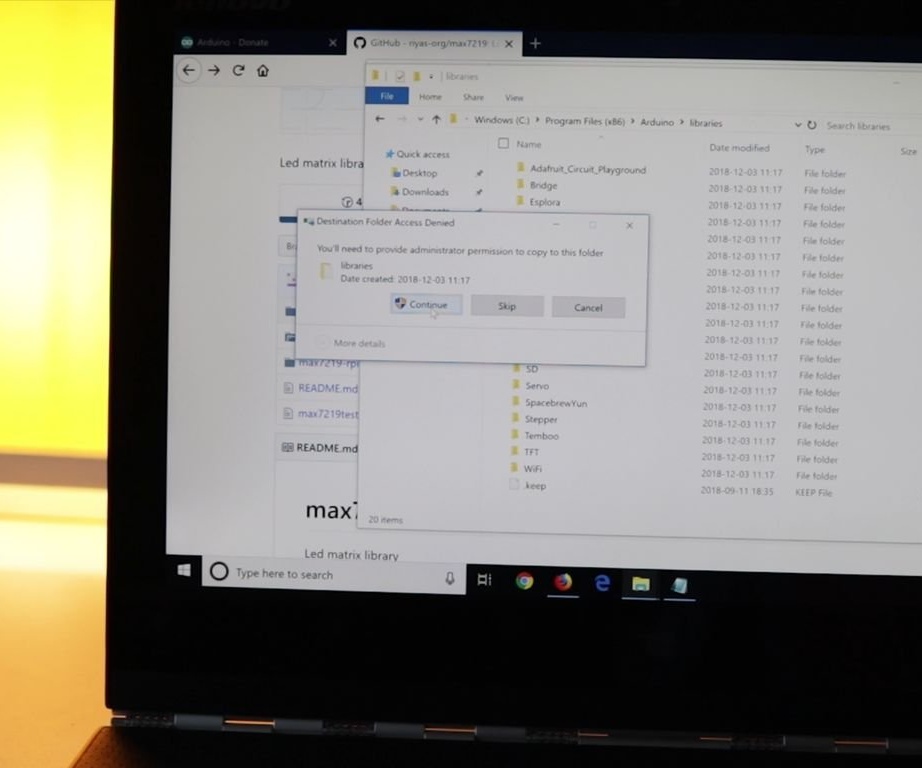
Arduino Software
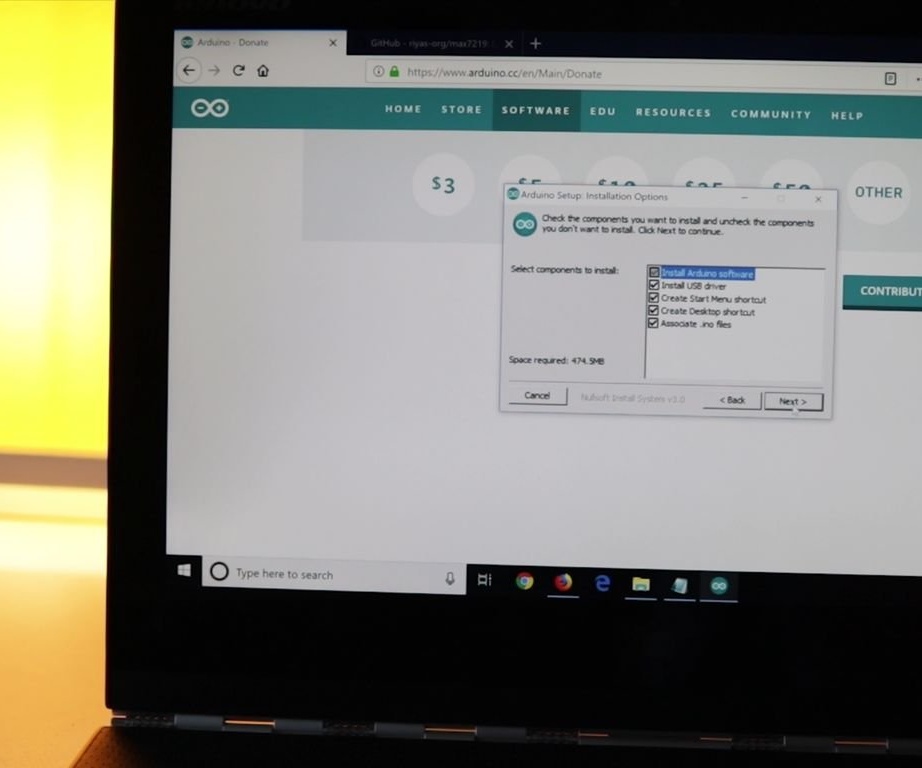

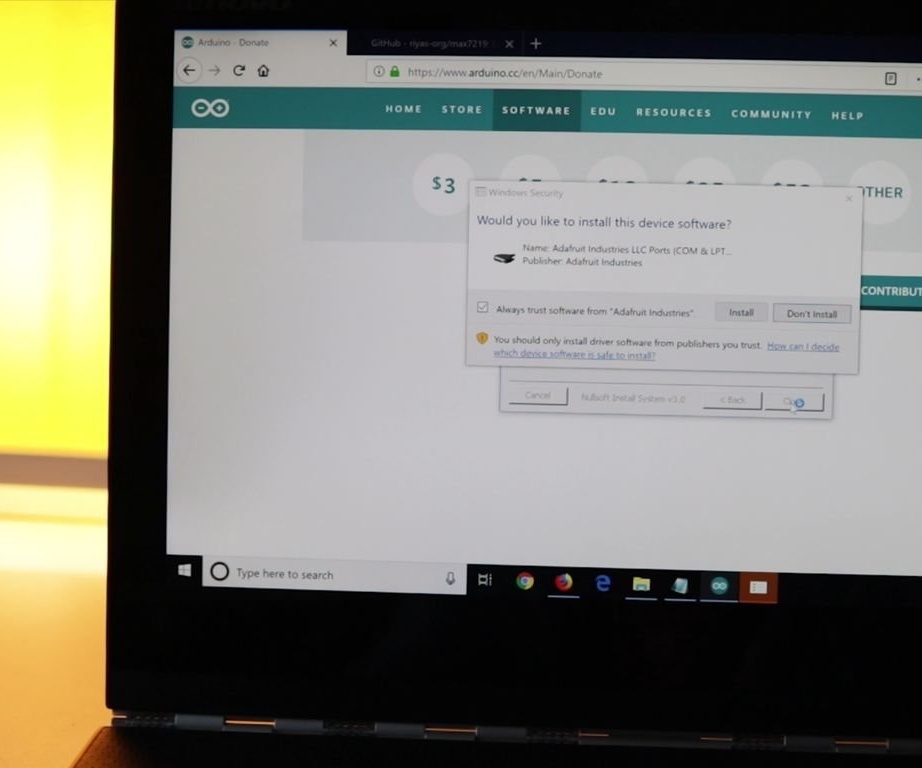
Download, unzip and load the code into the "MaxMatrix" subfolder of the "Library" folder.
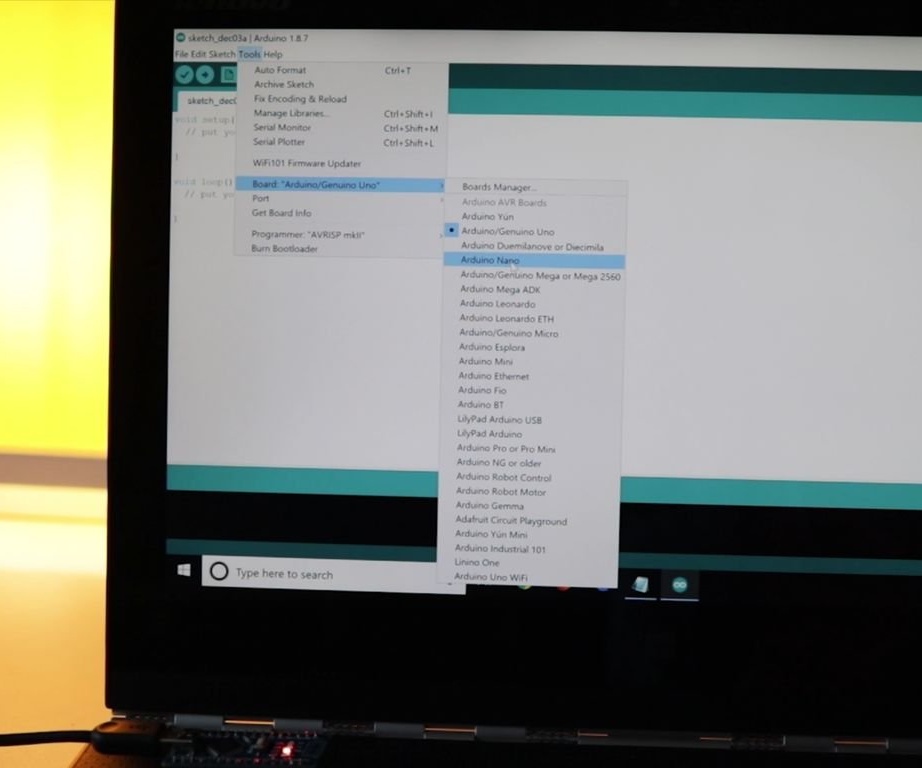
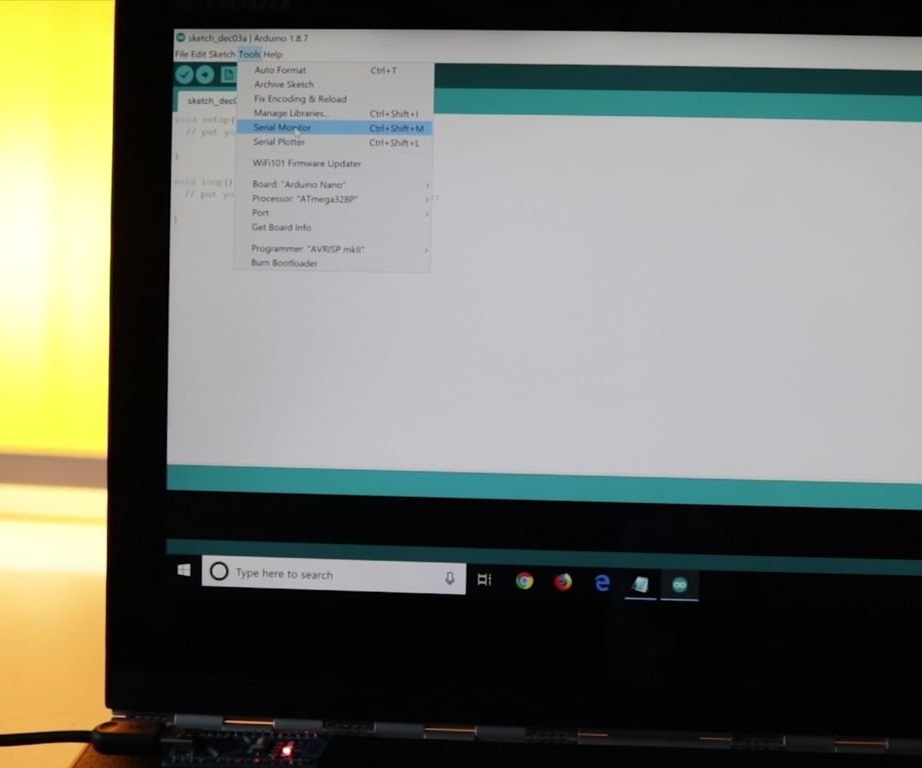
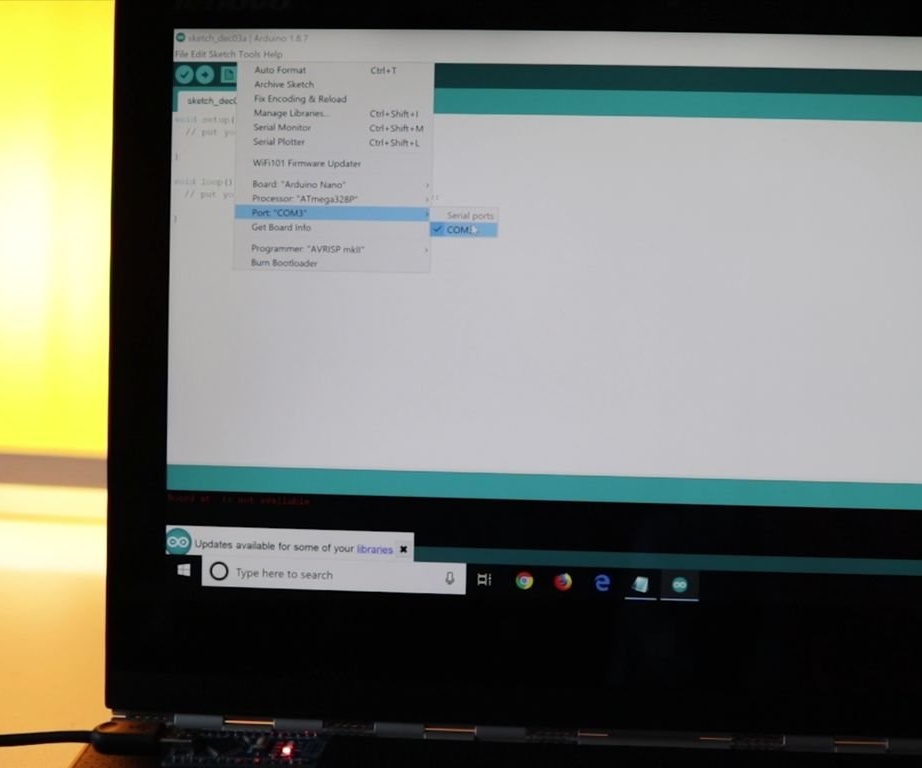
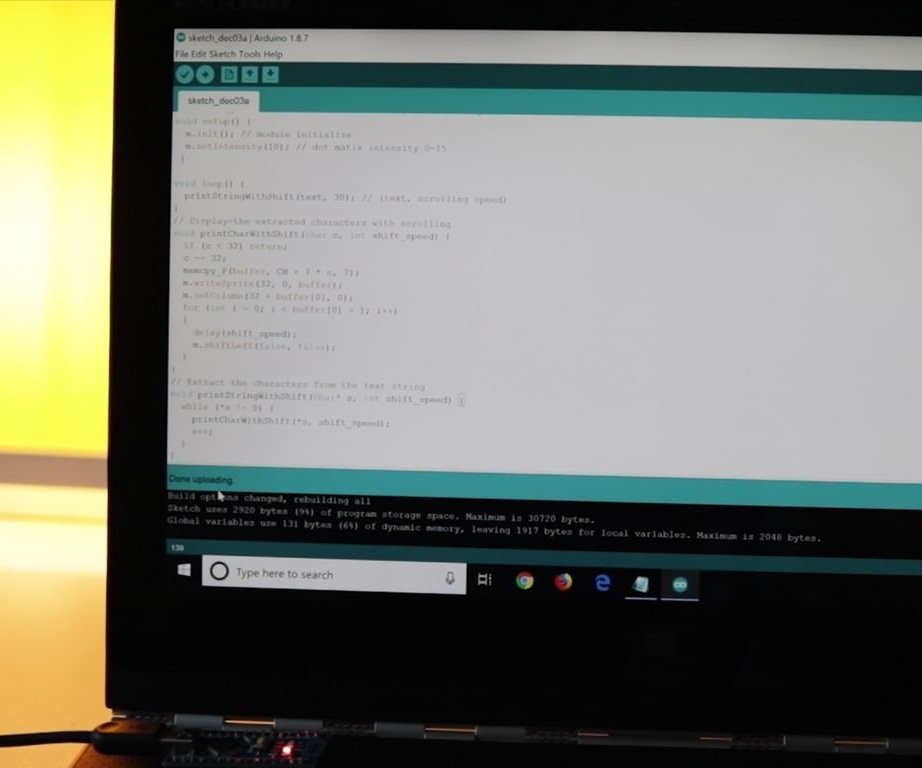
Further makes the setting. When you first start the software Arduino selects an Arduino type. In this case, this is Arduino Nano (1st photo). Then it opens the Serial Monitor window (2nd photo).
Selects the USB port that the Arduino is connected to.
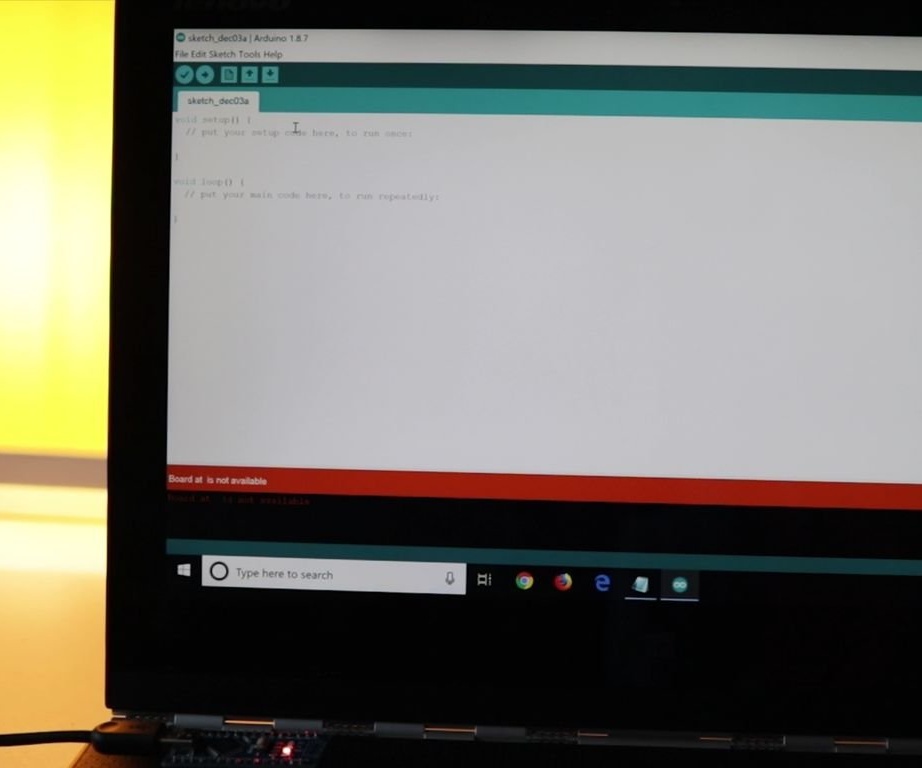
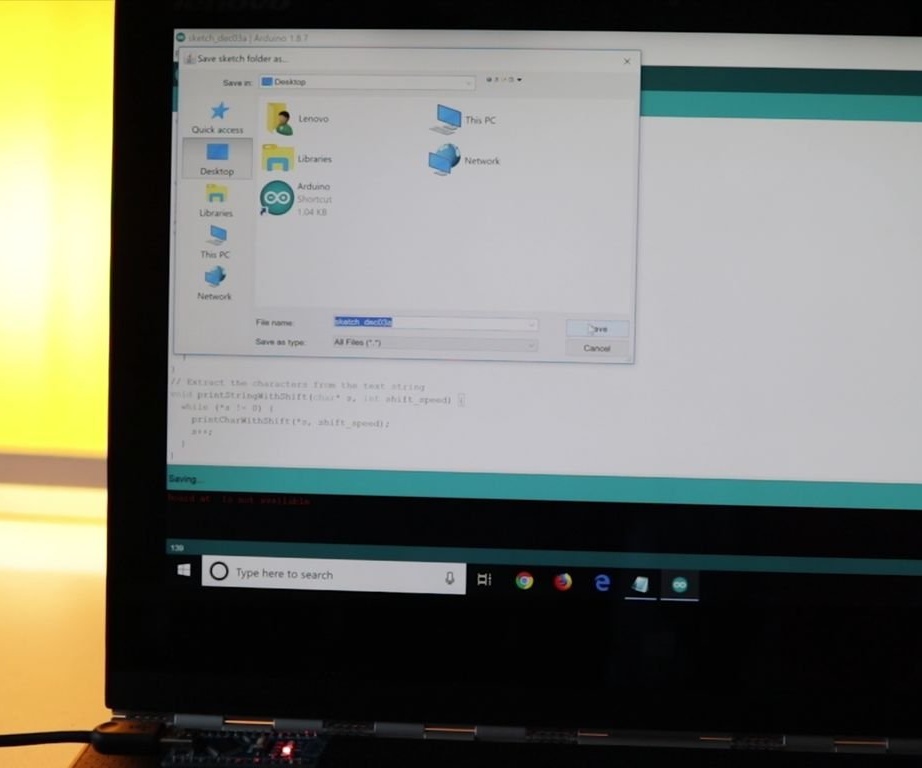
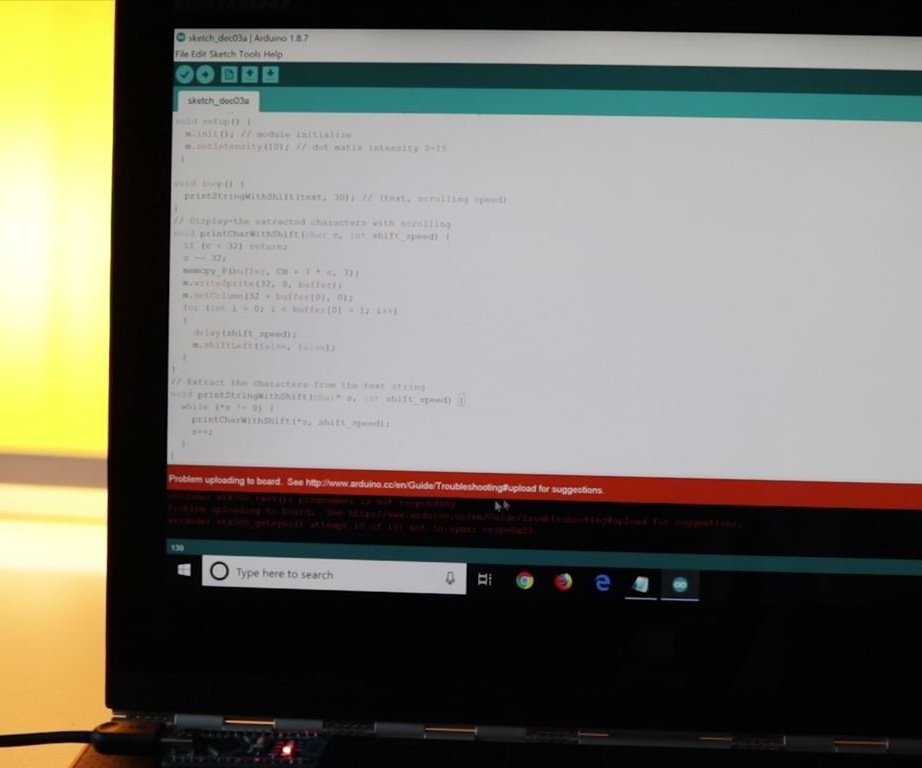
Now the code needs to generate the code. The photo shows the compilation steps. Paste the code and press the download button - the program starts compiling and downloading the code.


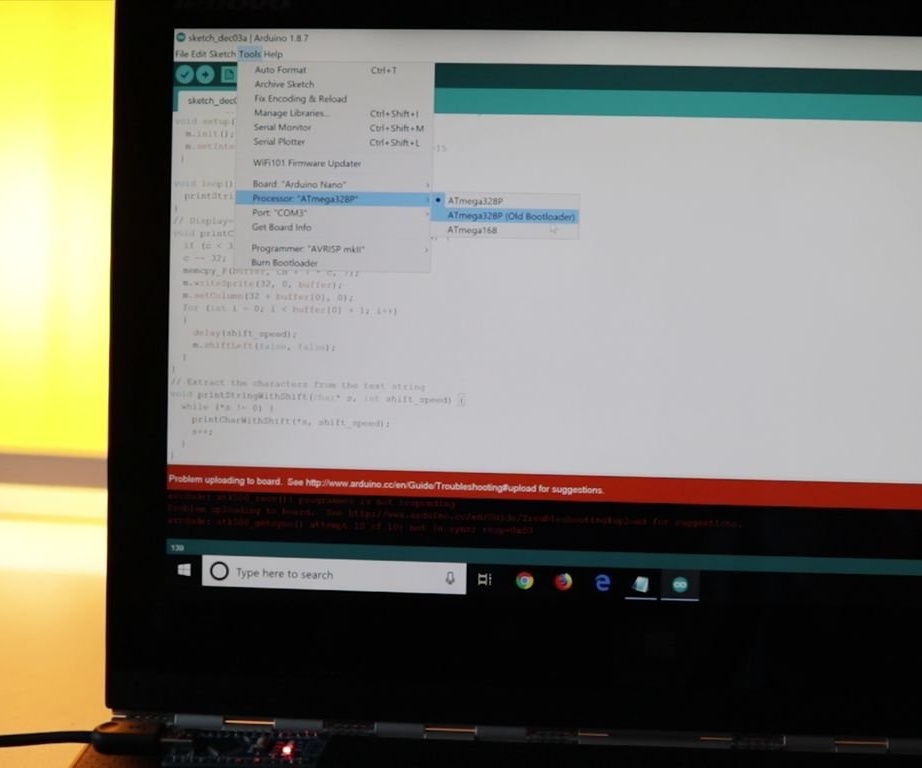
In case of an error, replace the Processor "ATmega328P" with "ATmega328P (Old bootloader)"
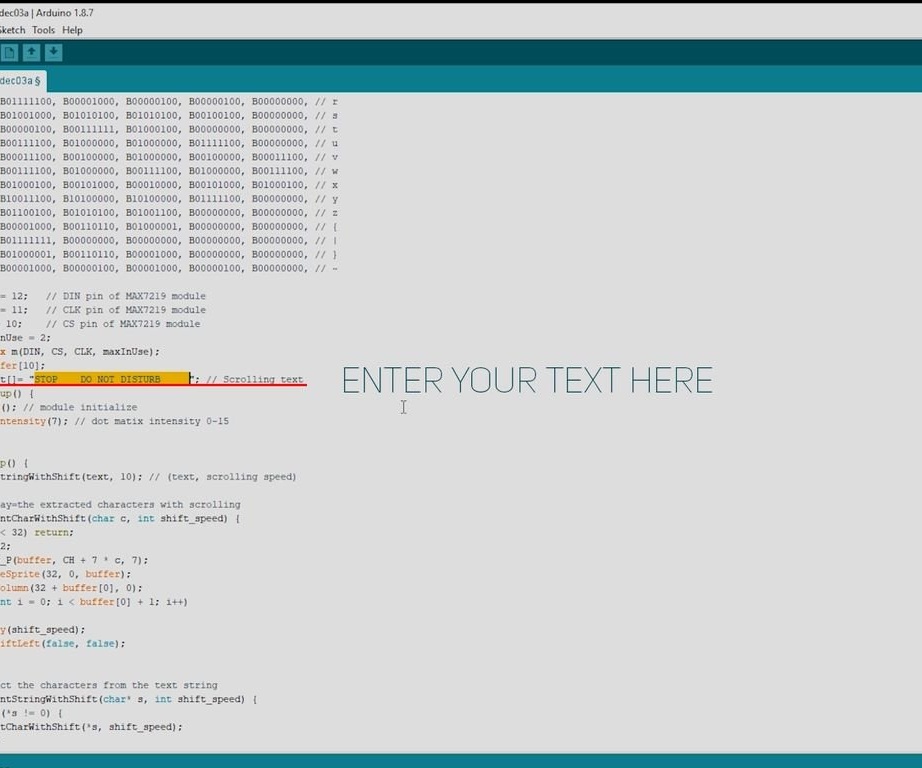
Between the brackets, marked in red, inserts the desired text.
Changes the scroll speed.

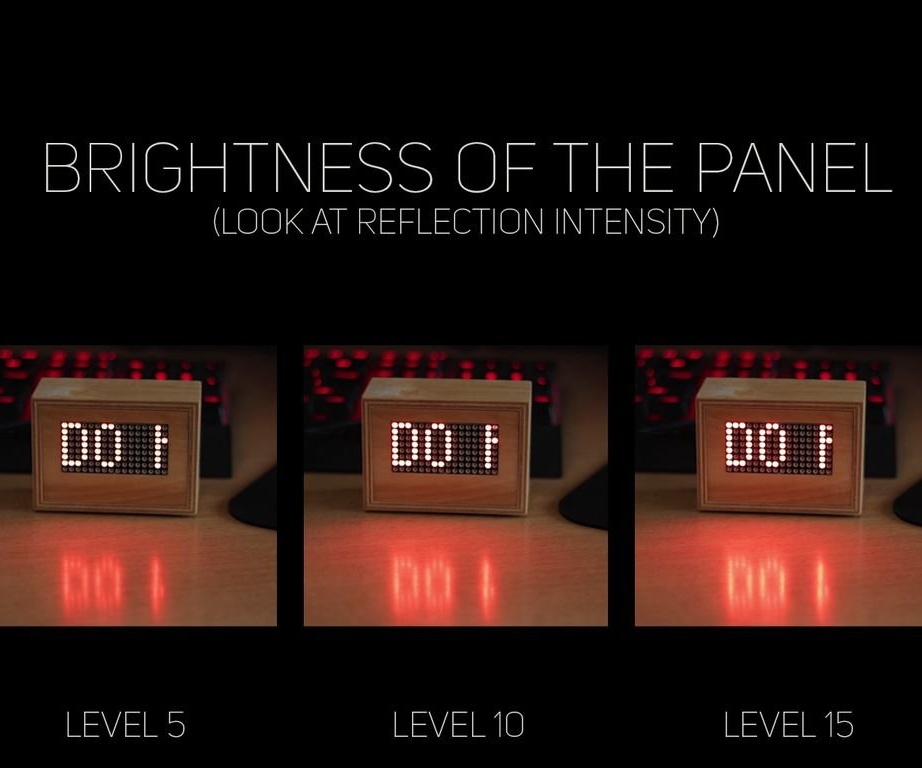
And brightness.
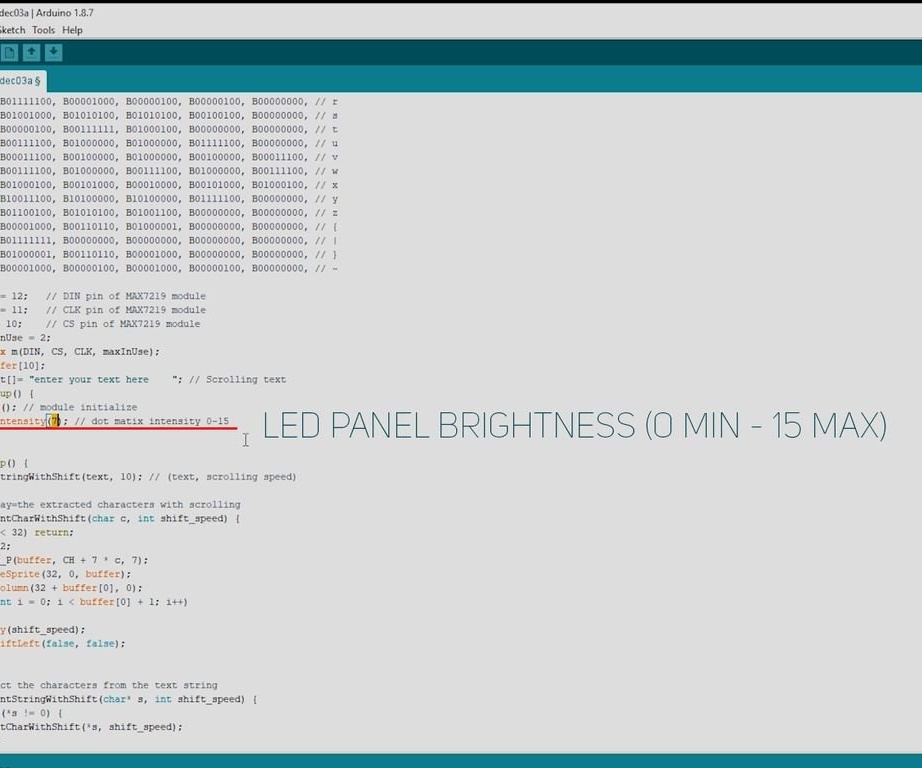
A battery with a capacity of 3000 mAh at a level of 5 brightness of the display should work for more than 20 hours, at 10 - more than 14 hours and at 15 - more than 12 hours. You can also turn it on from the power supply.
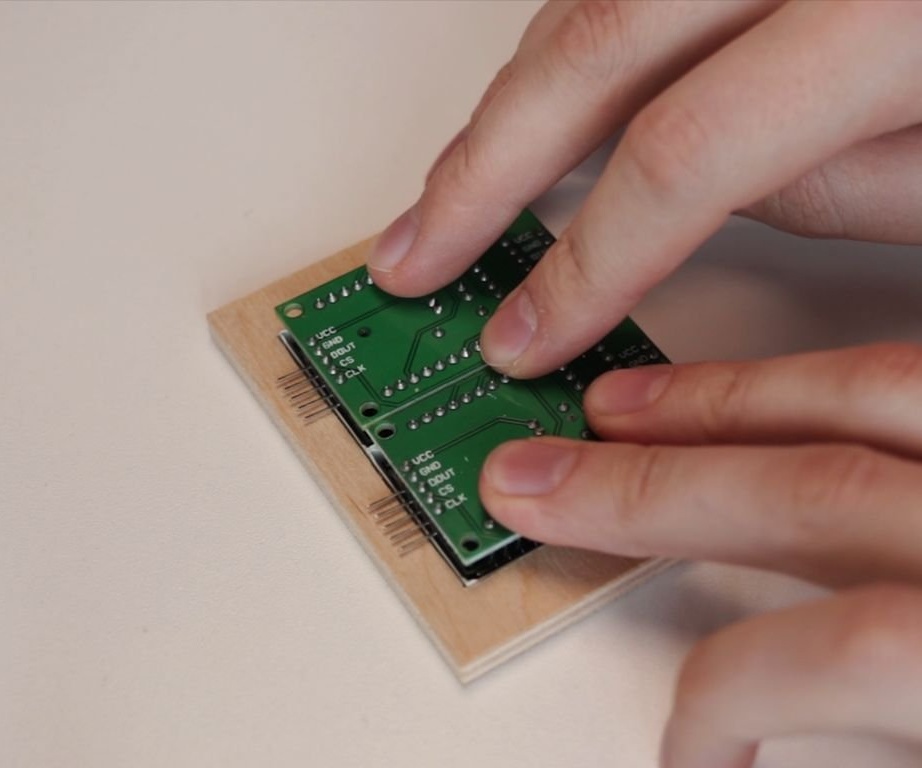
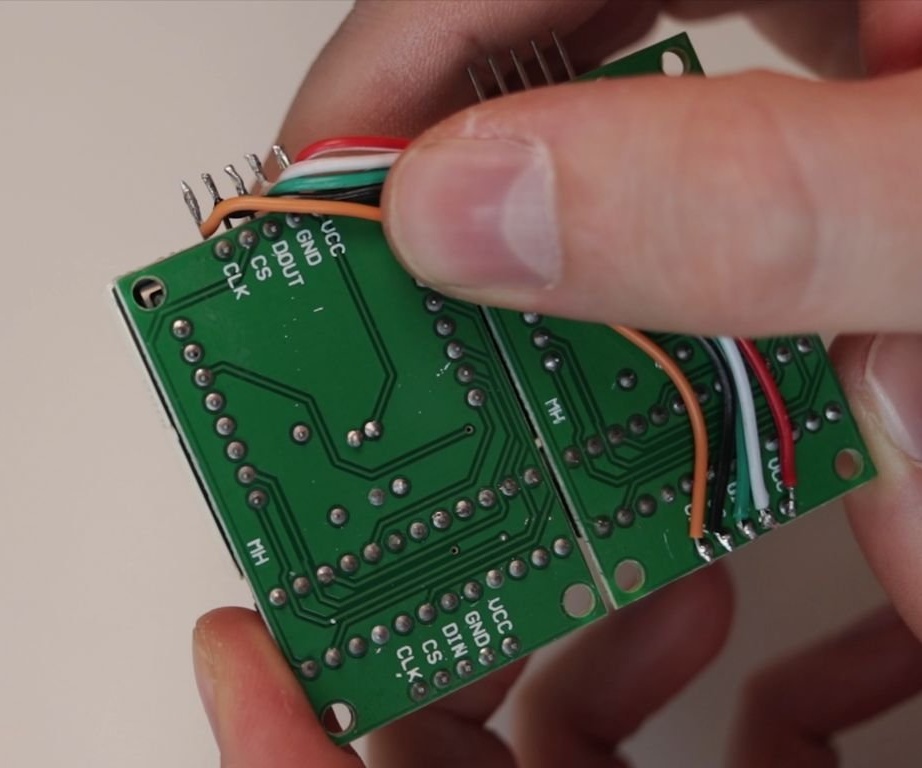
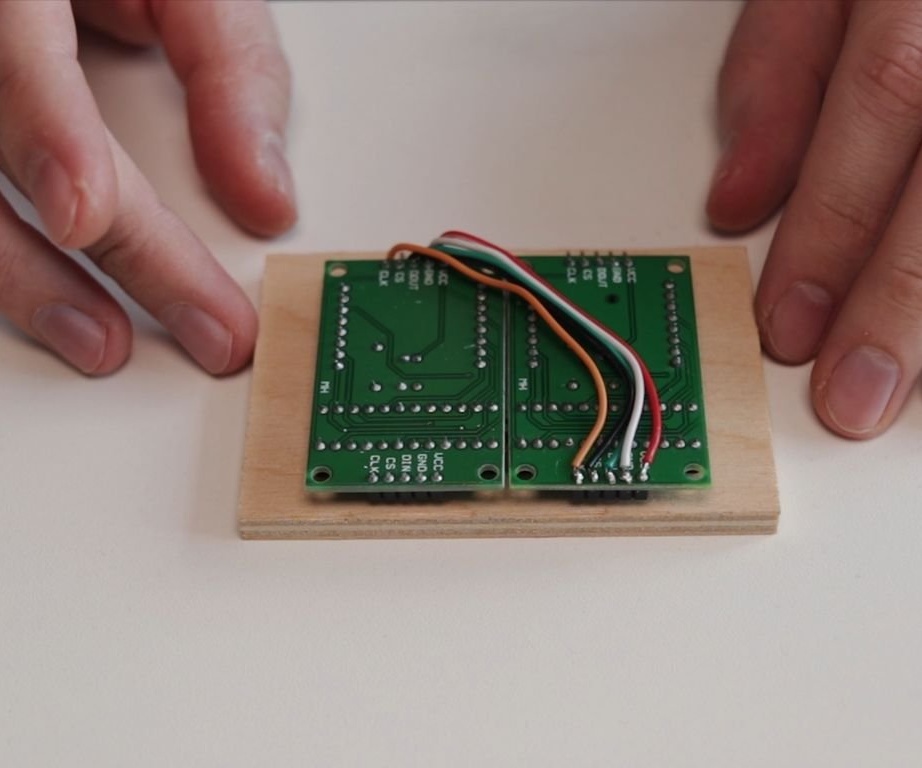
Step Four: Build
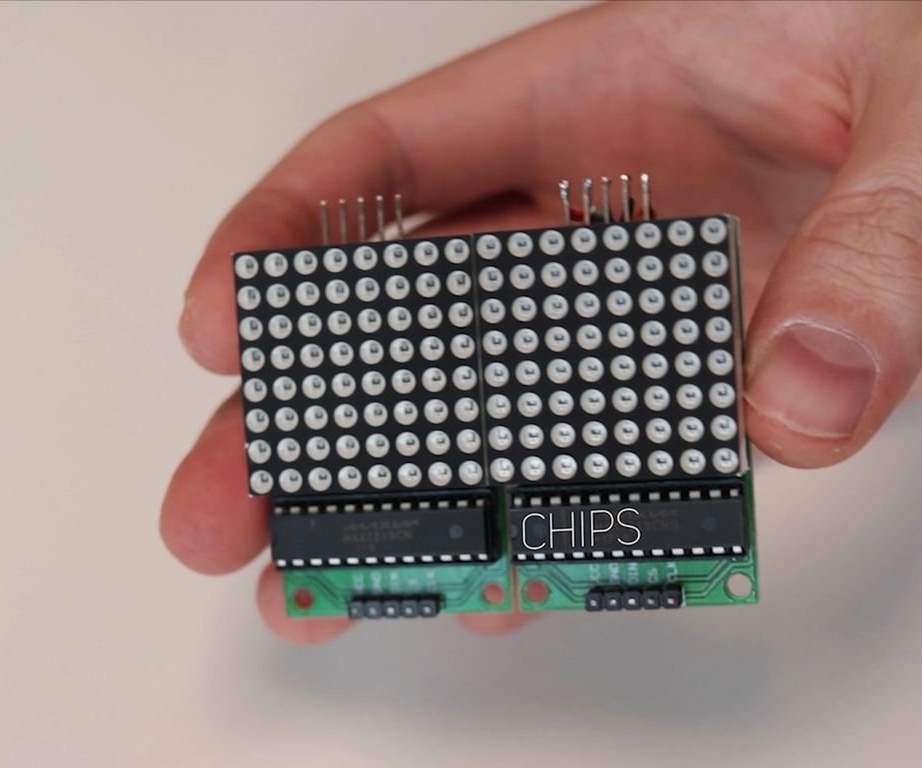
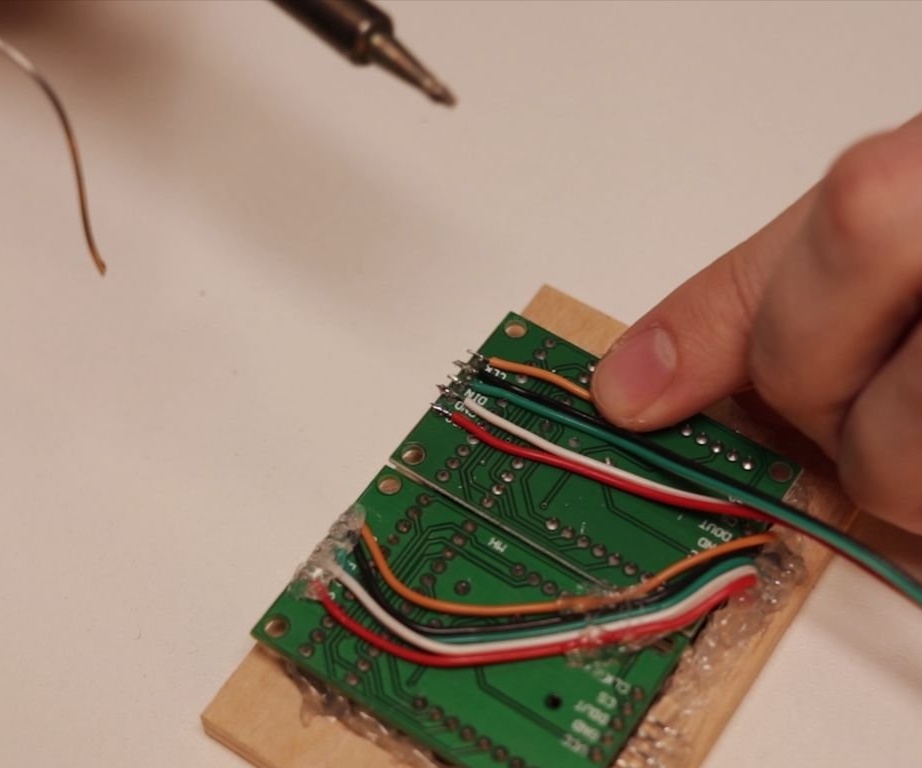
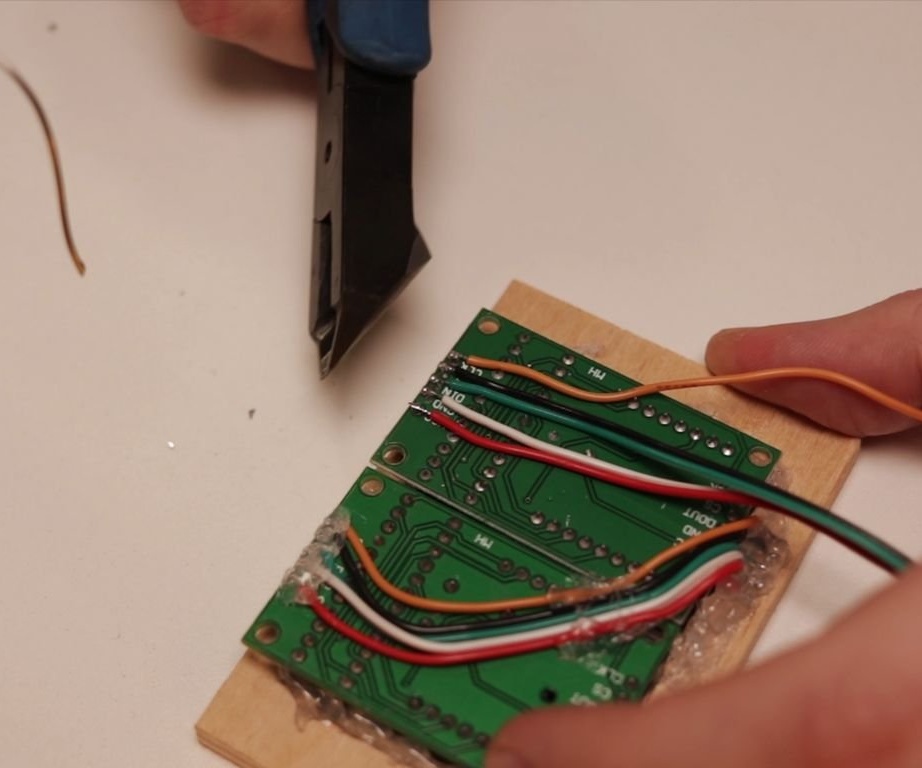
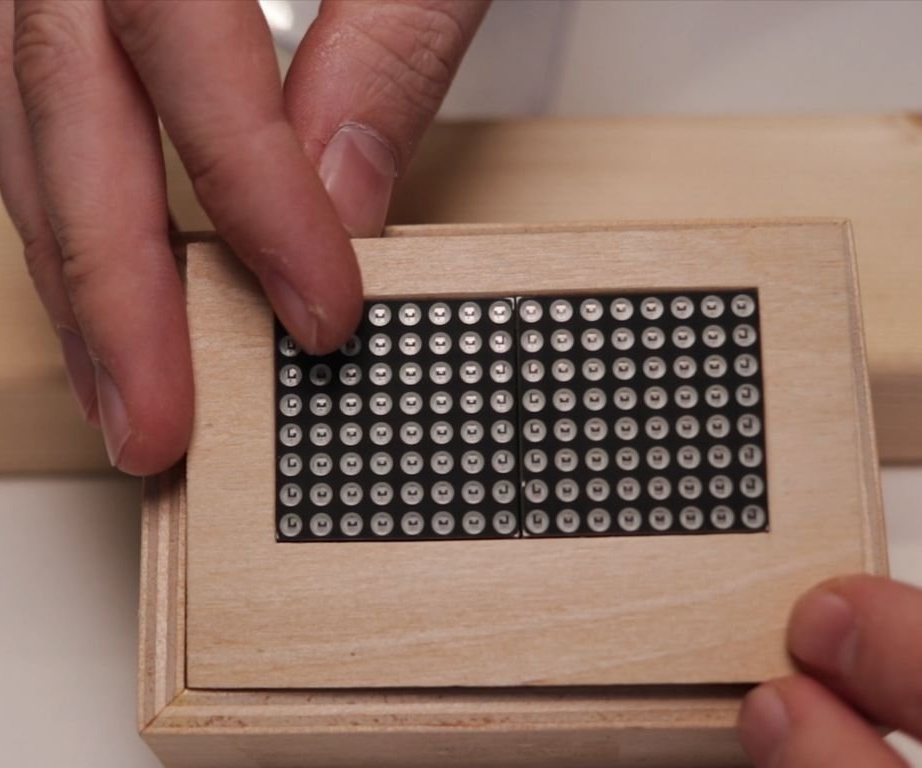
Now you need to connect the two LED matrix. The master cuts the contacts and solders the wires according to the following scheme:
First display top - second display bottom
VCC - VCC
GND before - GND
DOUT to - DIN
CS to - CS
CLK to - CLK
Hot glue sticks the matrix to the window.

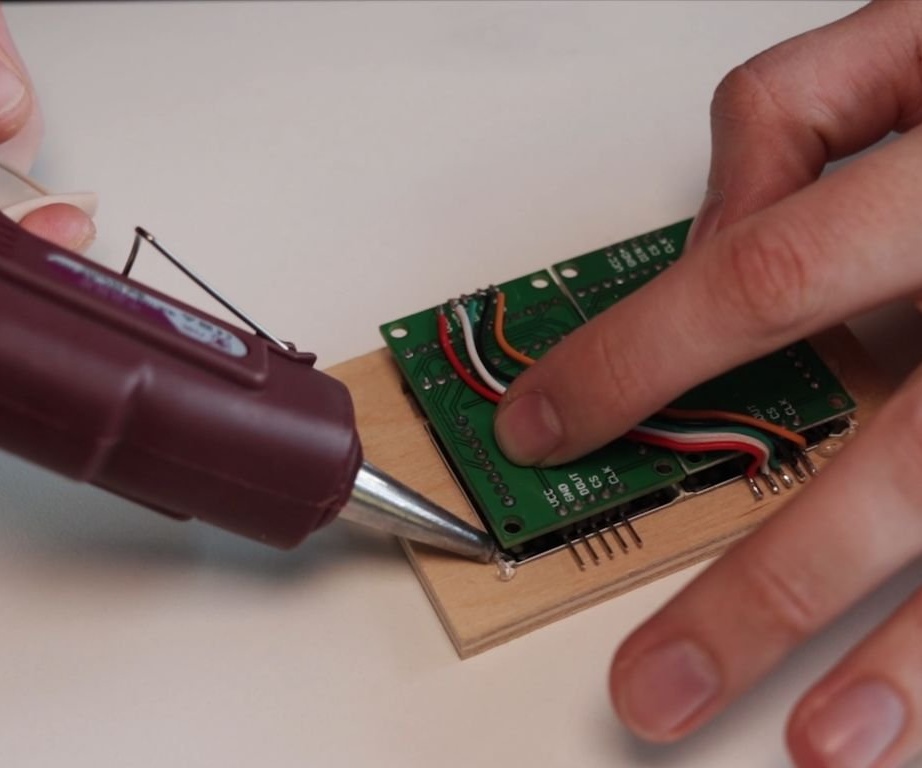
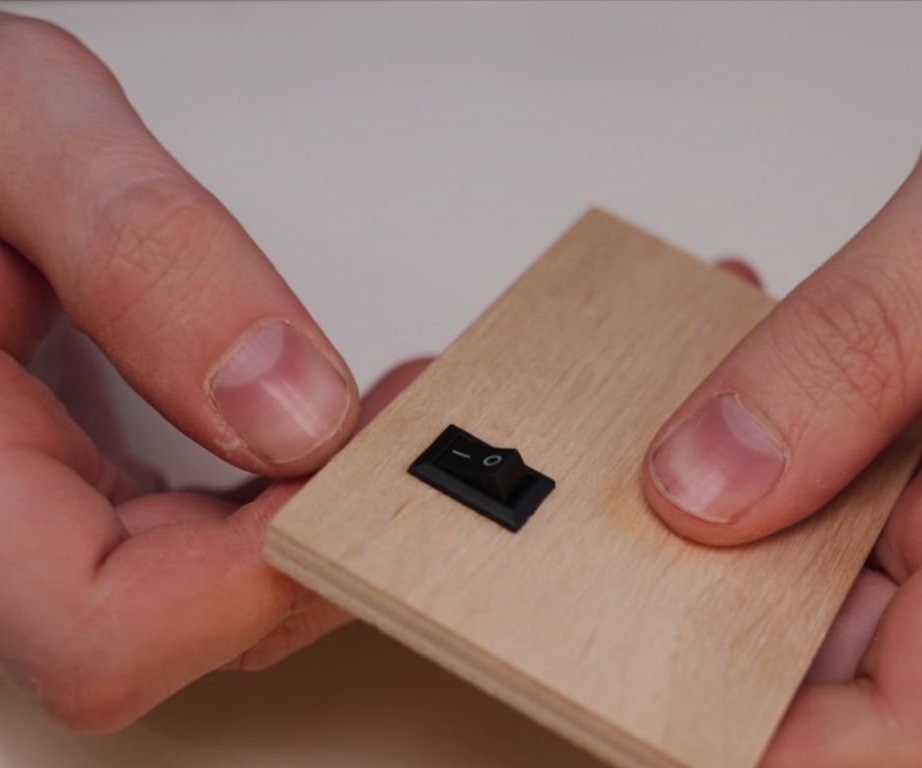
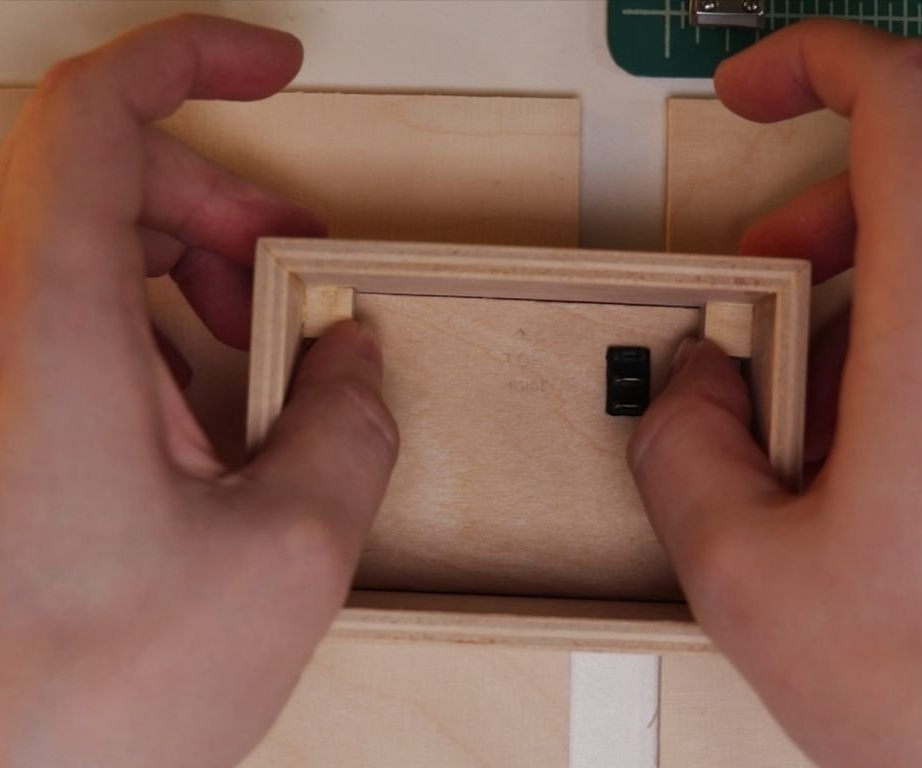
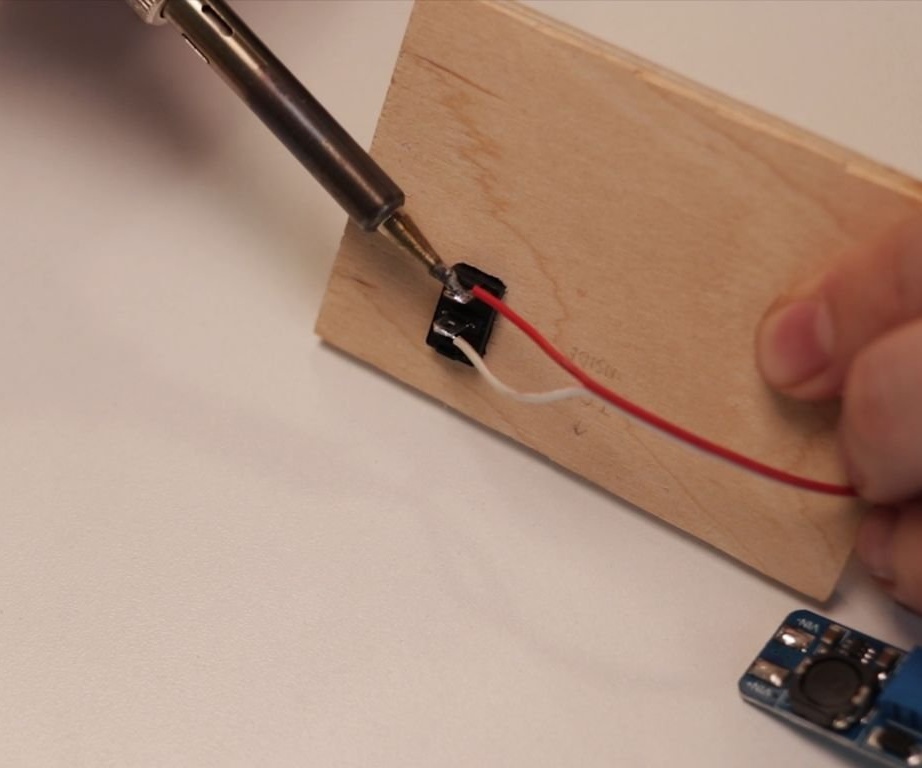
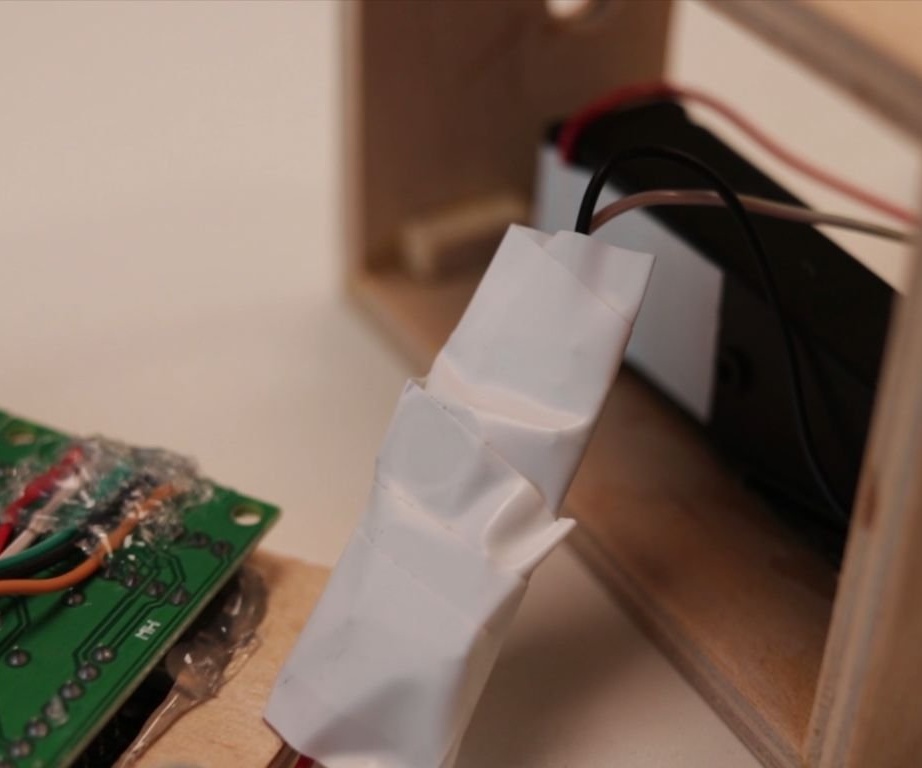
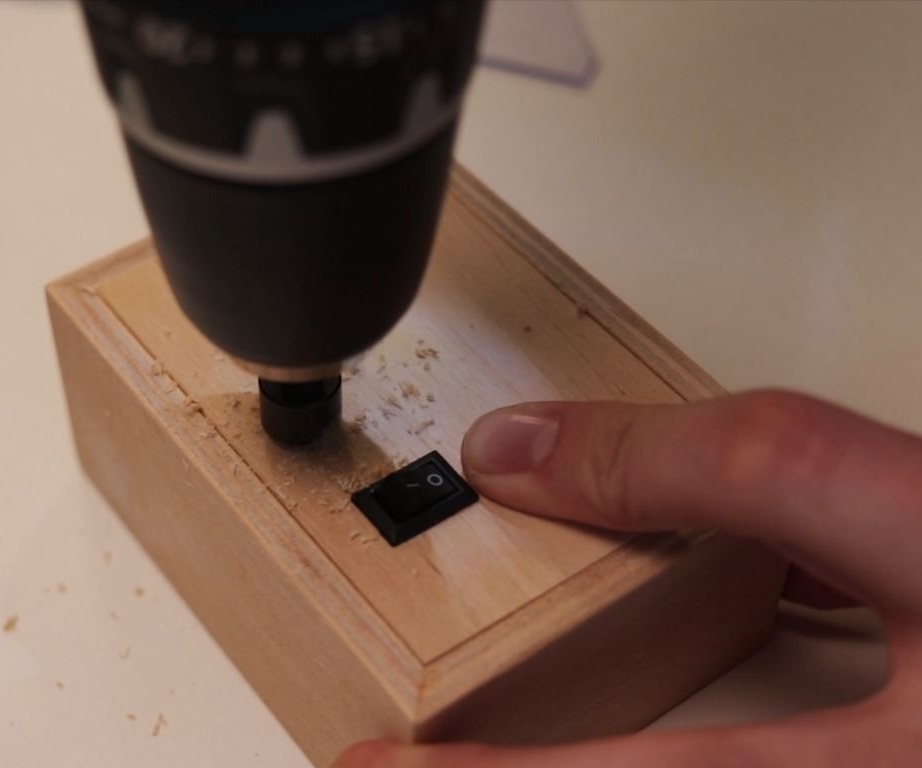
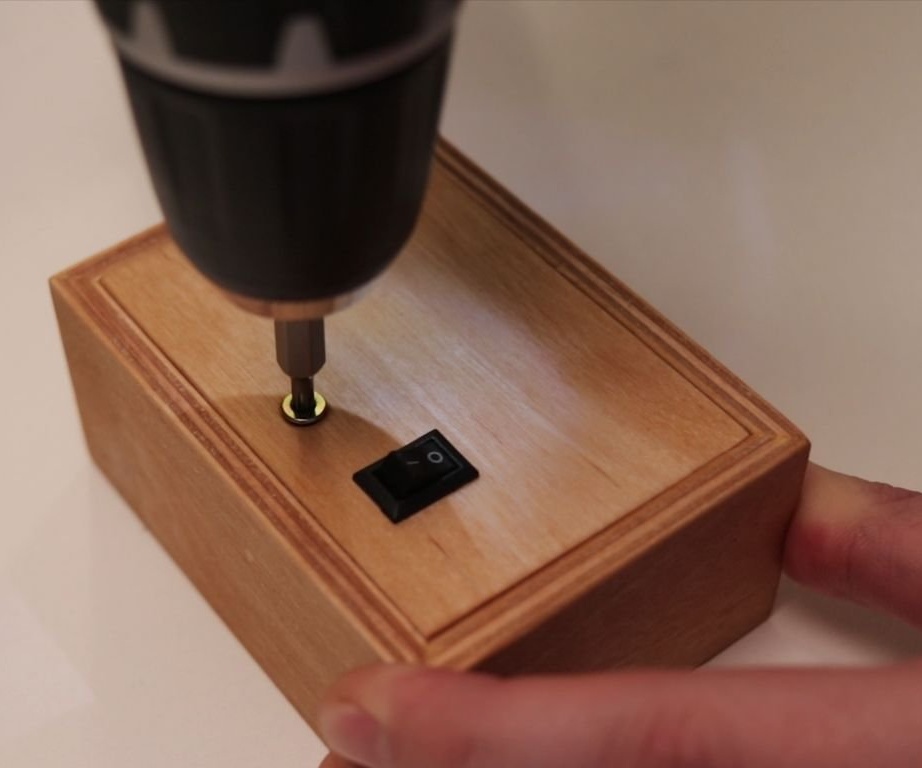
Drills holes and installs a switch and connector.

Installs the battery holder.
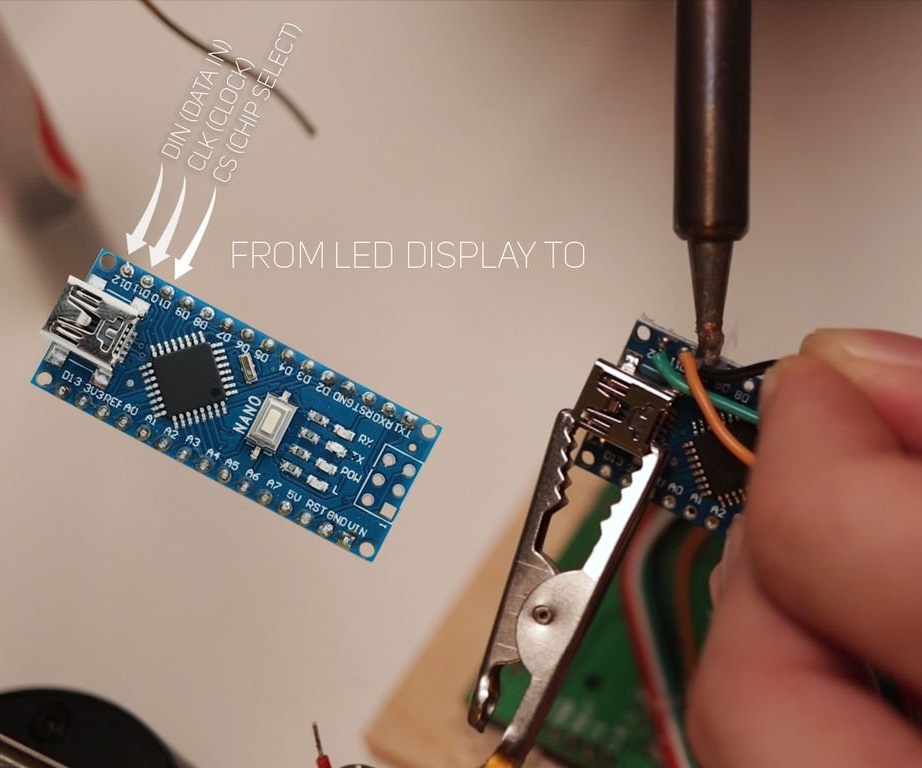
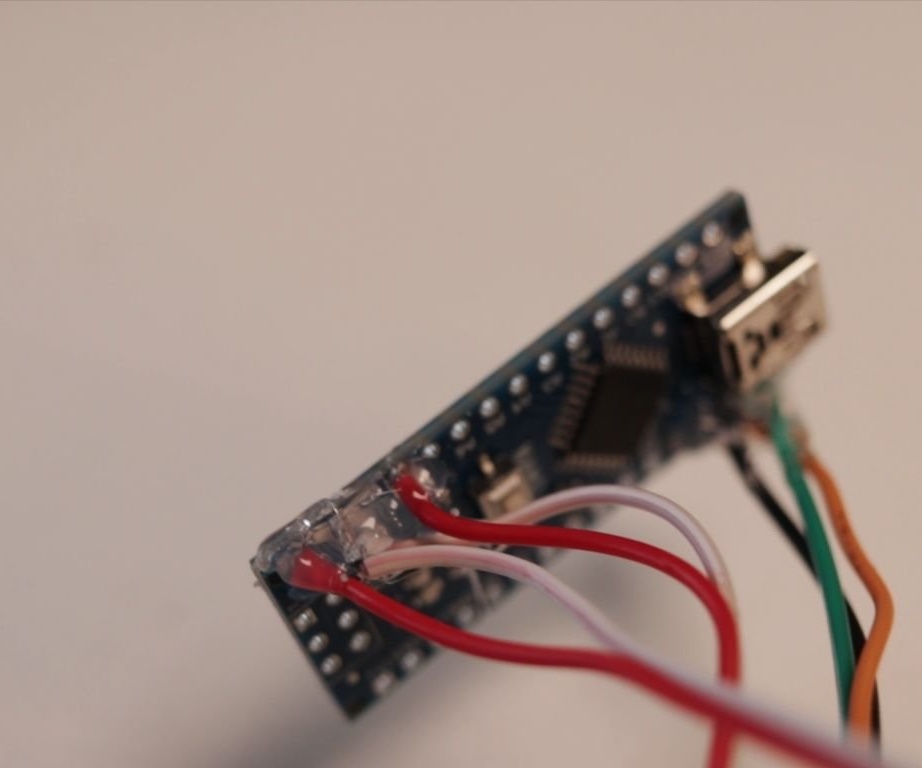
Solders to a matrix of wires and them to Arduino, according to the following scheme:
VCC - 5V
GND - GND
From DIN - D12
From CLK - D11
CS - D10
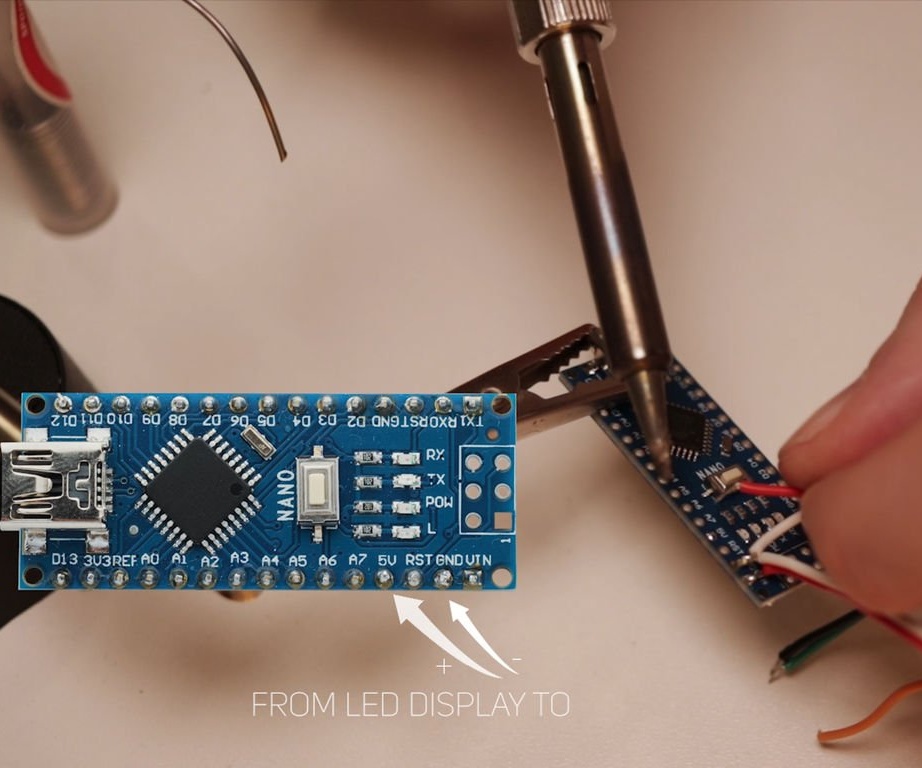
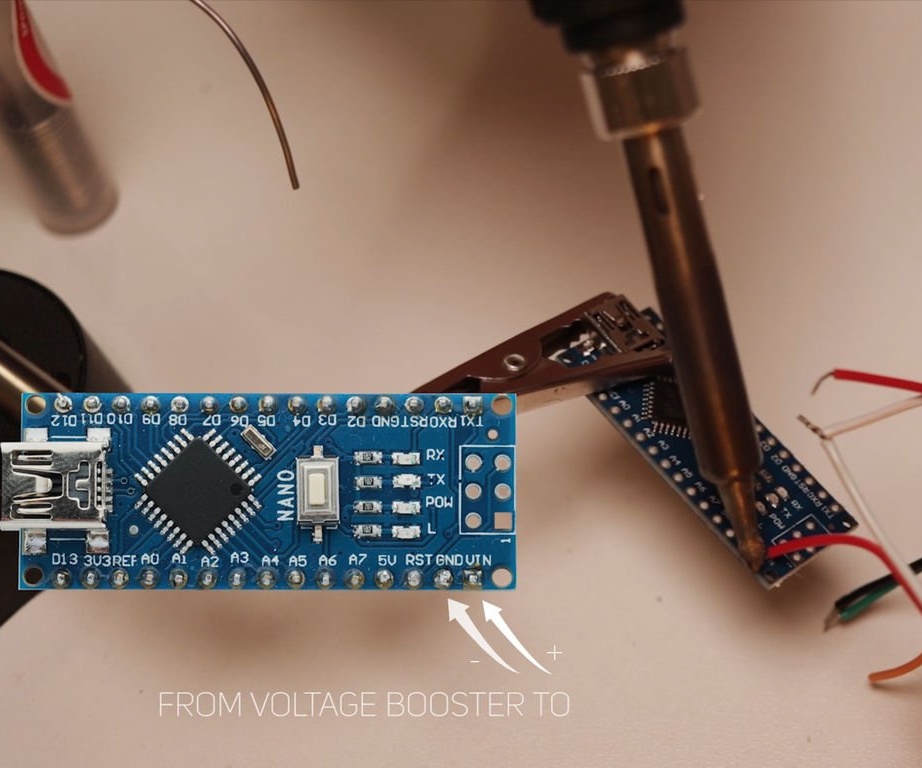
Solder wires from the voltage regulator to Arduino:
VOUT + - VIN
VOUT- - GND
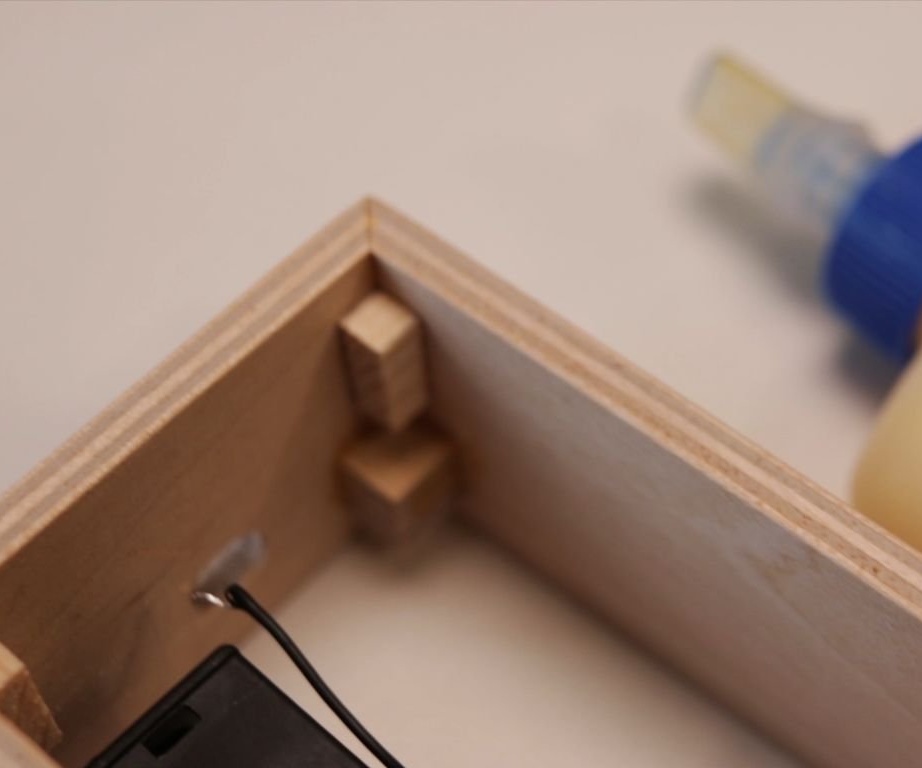
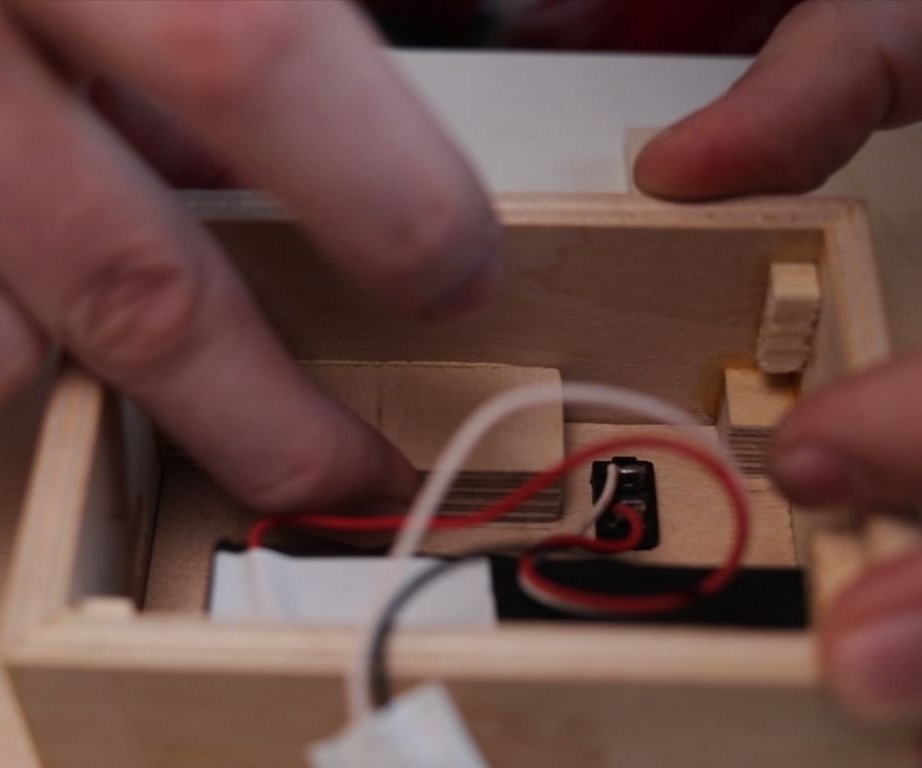
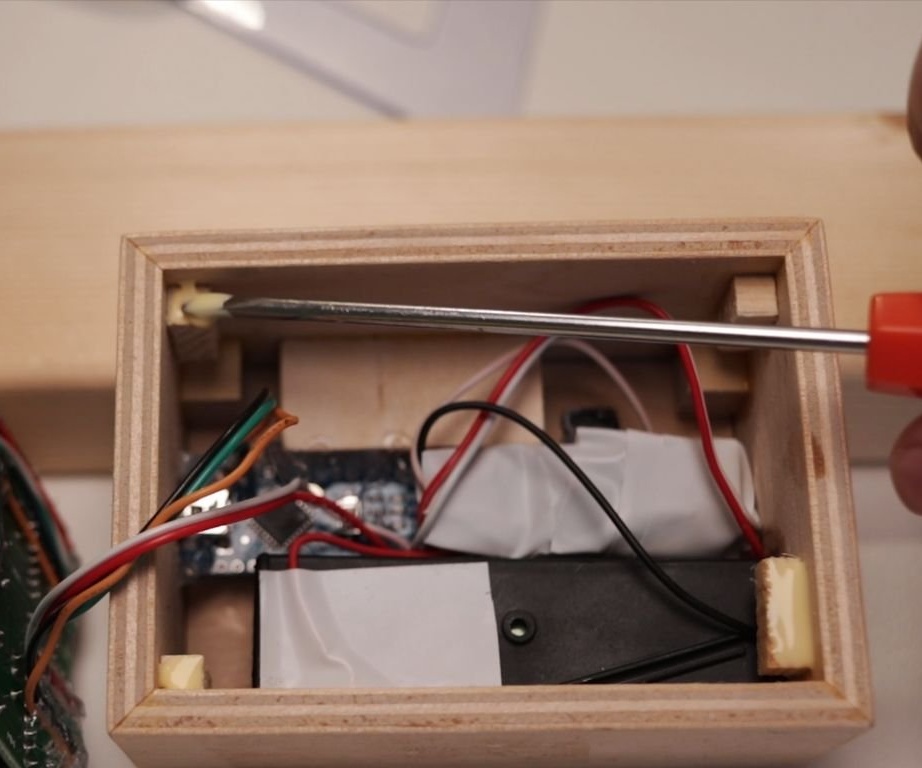
Glues small bars into the body. The front panel and the back cover will rest on them.
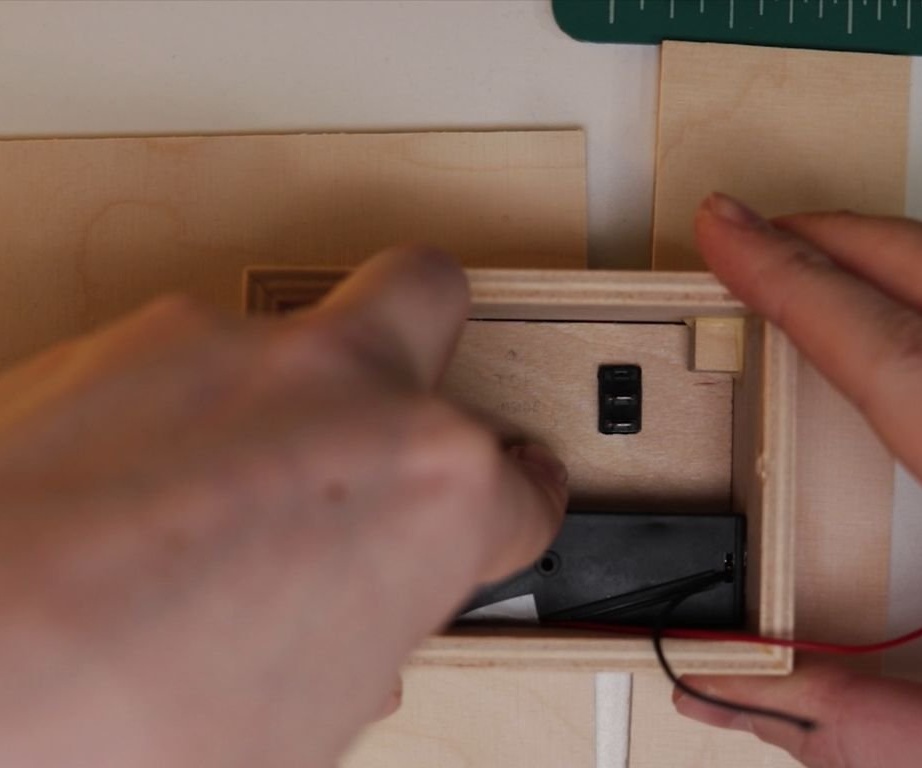
Solder the wires to the switch and battery holder.
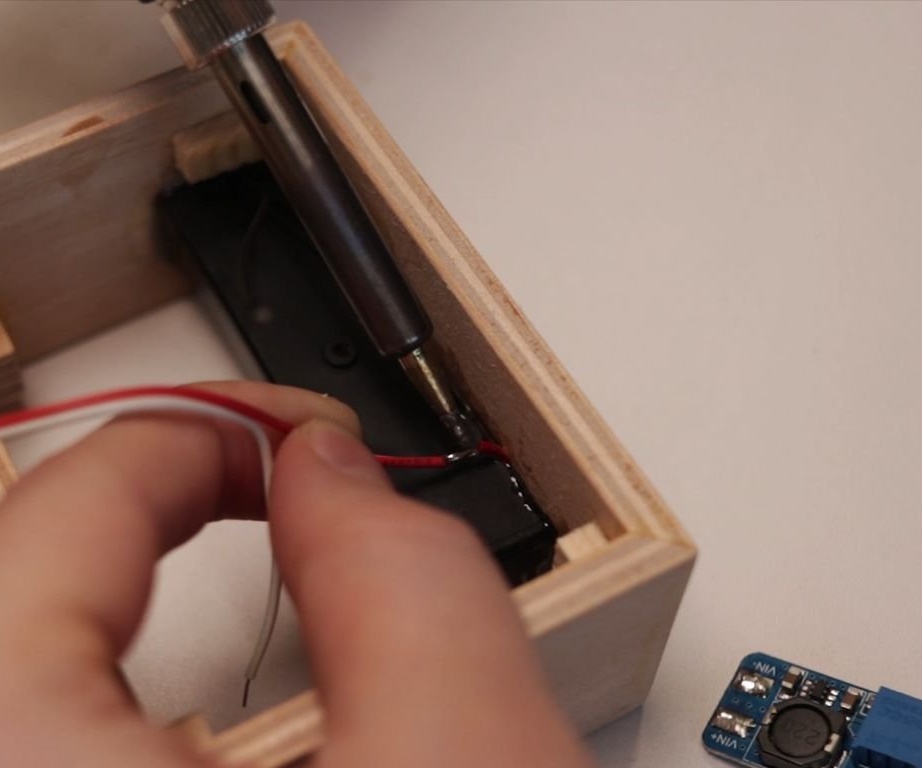
On a double-sided tape, glues the parts inside the case, inserts the battery into the compartment and checks the operation of the device.

Installs the front panel and back cover.

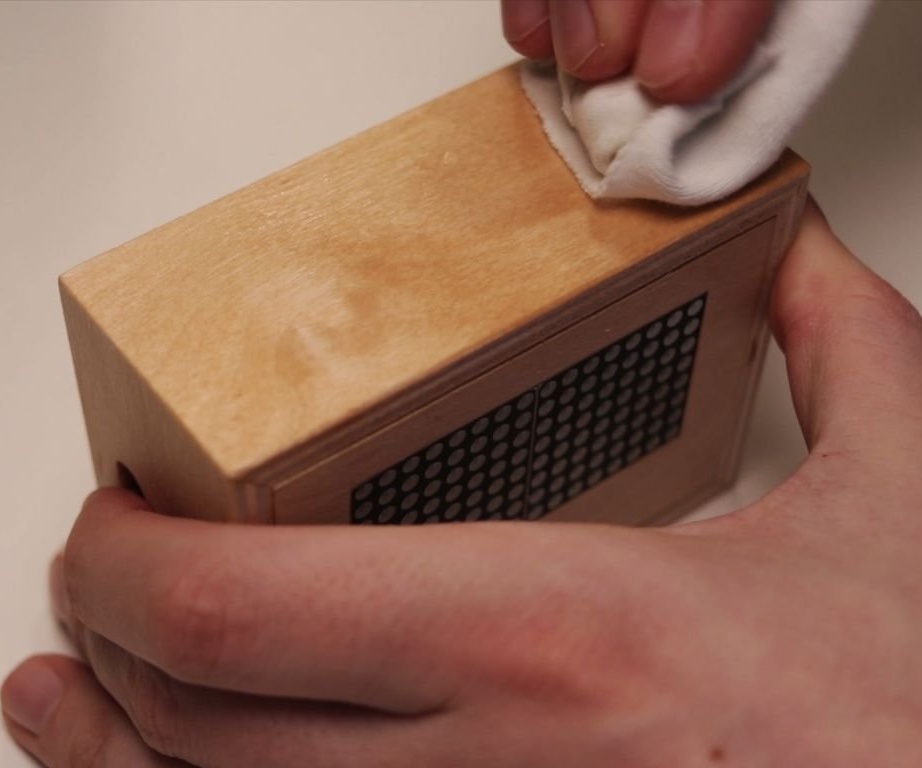
Covers the body with oil and glues the silicone legs.

All is ready.

The whole process of manufacturing an electronic device can be seen in the video.