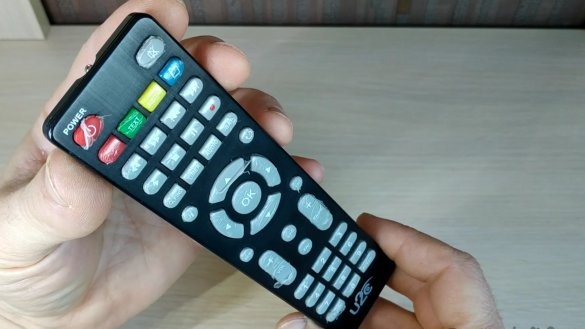
Greetings to you readers.
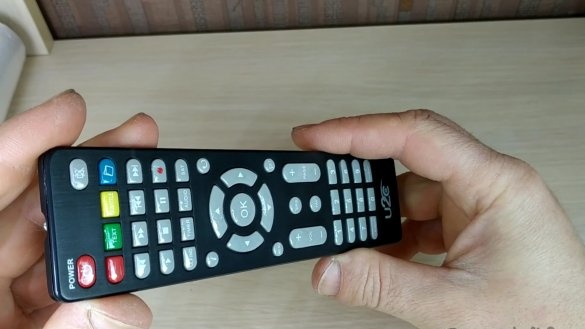
In this article I want to show how you can modify the remote control.
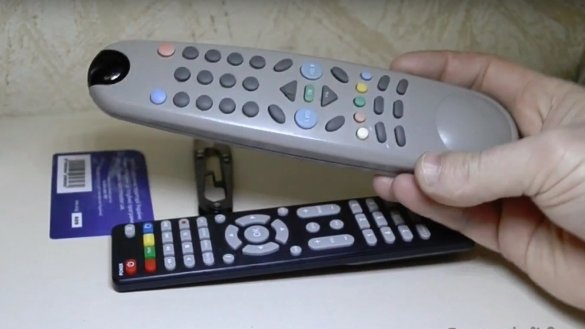
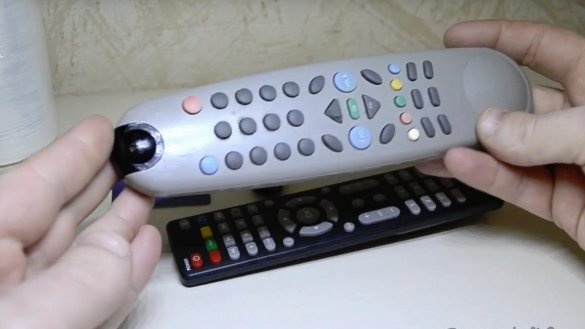
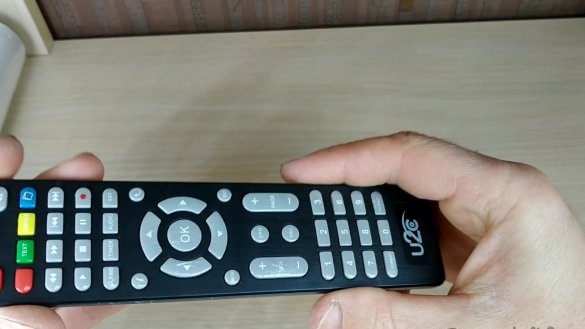
What will this revision be? As we know, after using the remote control for a long time, the paint on its buttons erases over time and finding the right button on such a remote control becomes a real adventure.
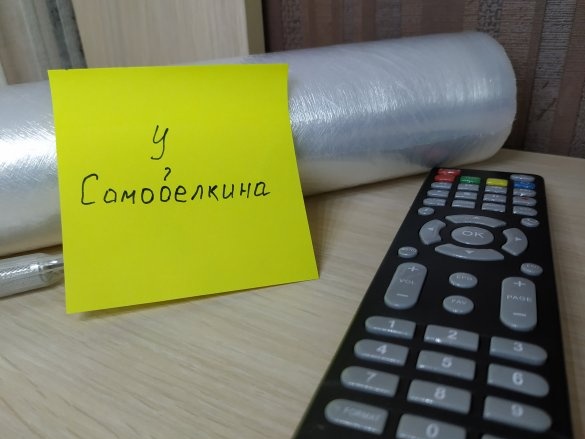
How do you like this picture ??
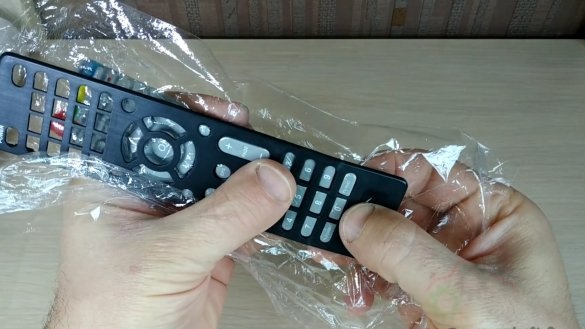
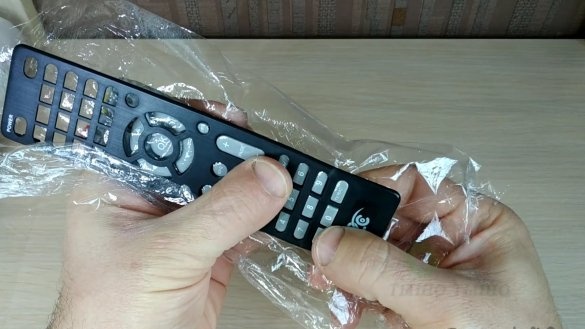
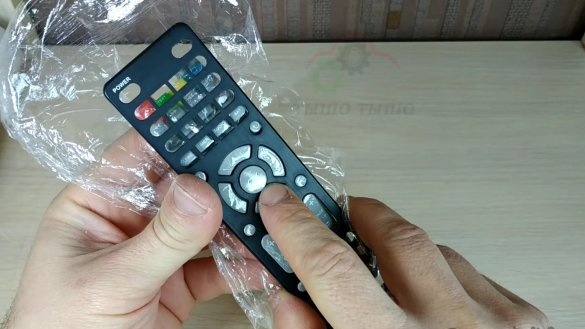
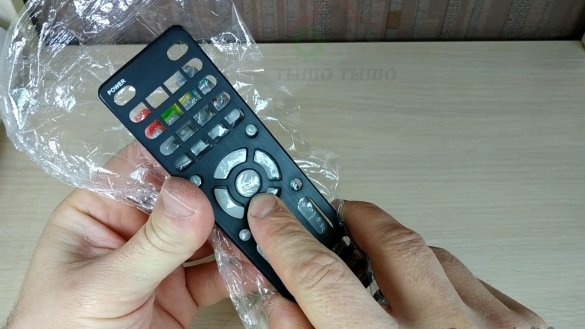
So, I propose to protect the paint on the buttons by coating it with food or packaging film. I already checked this method, it works, there is enough such protection for about a year of use, then the procedure needs to be repeated.
Well, well, let's start. For fans of the video I leave it.
Tools and materials:
- Screwdriver
- Stationery knife or scalpel
- Food or packaging film
- A plastic card
Revision process
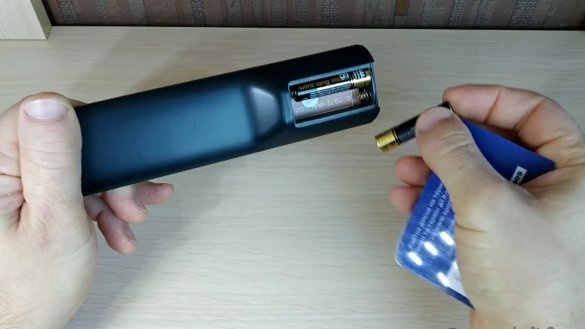
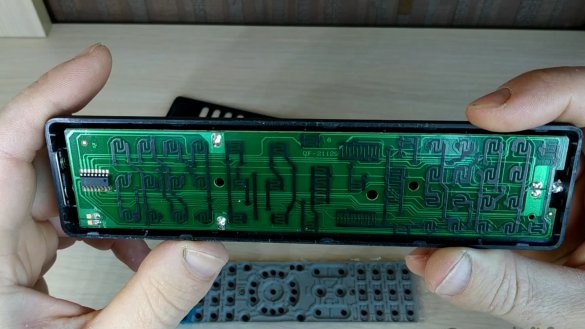
First of all, of course, you need to disassemble the remote control. To do this, remove the back cover and remove the batteries. In most models of remotes under the cover, a screw can be hidden that needs to be unscrewed. There are also remote control models in which screws can be hidden under the stickers. You should feel the sticker for the presence of screws under it so as not to break the remote during disassembly.
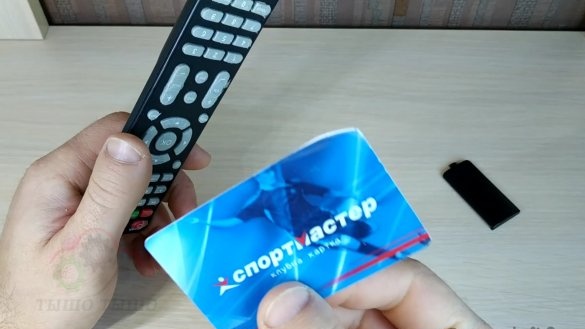
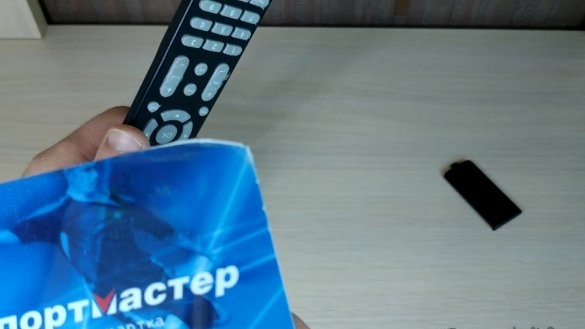
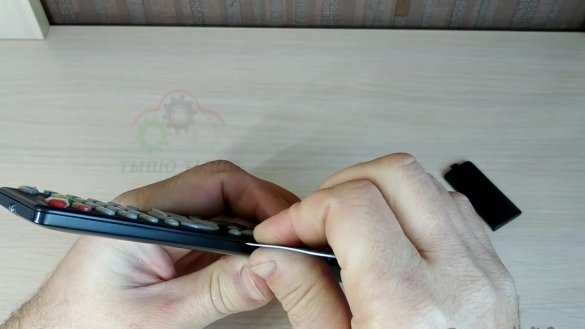
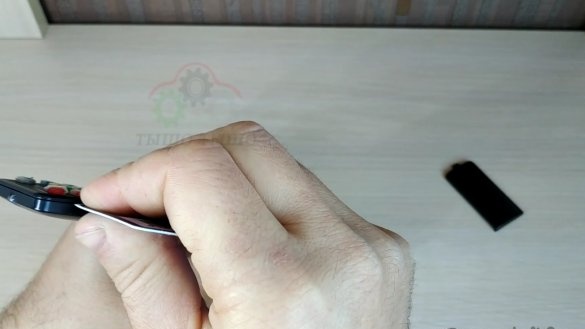
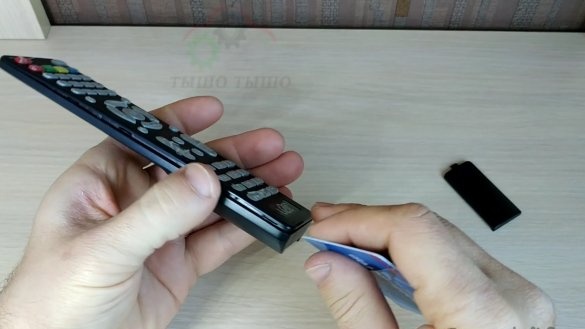
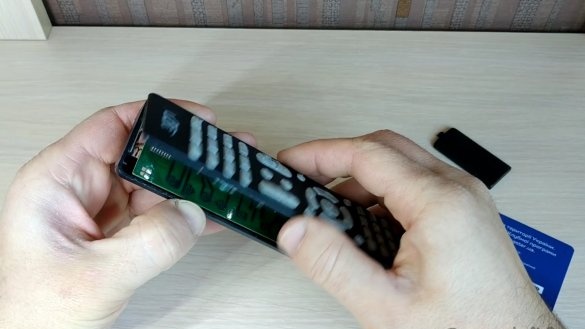
Next, you need to take a plastic card (preferably unnecessary), it is perfect for further disassembly of the remote control. I sharpened one edge of the map.
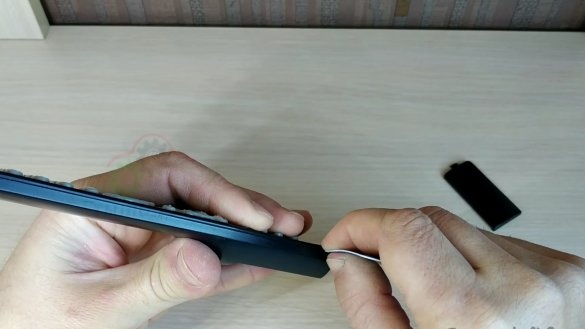
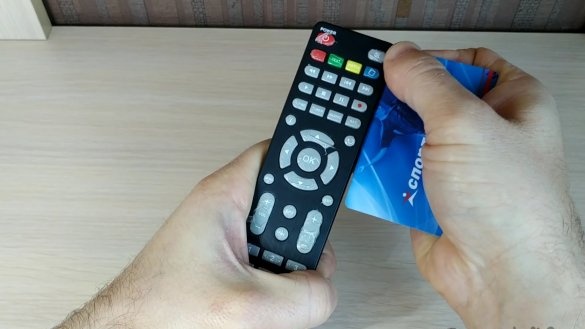
Enter the end of the card between the halves of the remote control and gently push it forward slightly swinging to snap the fasteners
At this stage, you must act extremely carefully so as not to break the fragile fasteners of the remote control.
Dismantled and did not break ?? Wonderful!!!
Taking advantage of the fact that the remote control has already been disassembled, you can at the same time clean the contacts on the board and buttons.
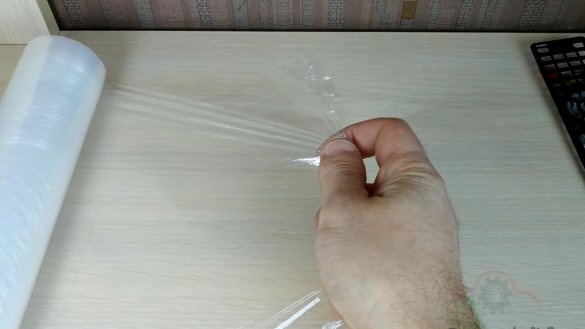
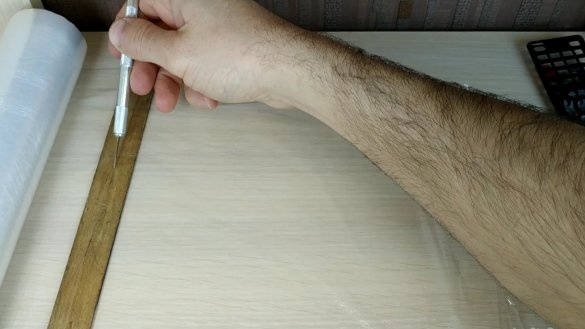
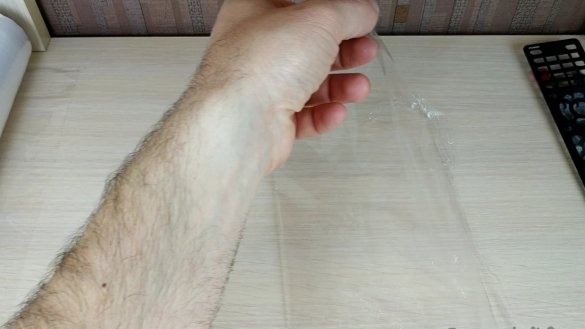
Now you need to cut off the cling film or packaging film so that it overlaps the panel in size with a margin and in width 2-3 times wider than the panel.
I must say right away that it is better to use food or packaging films, I tried many options for other films, but working with these is best.
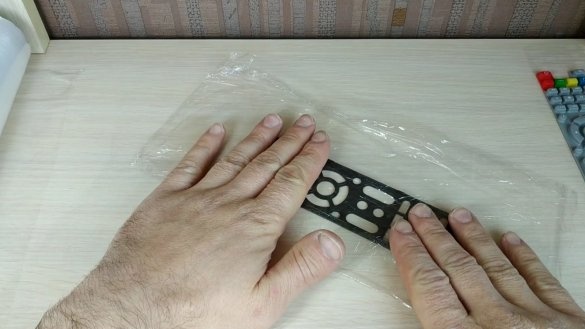
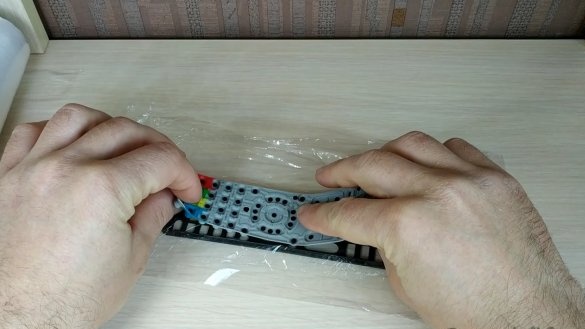
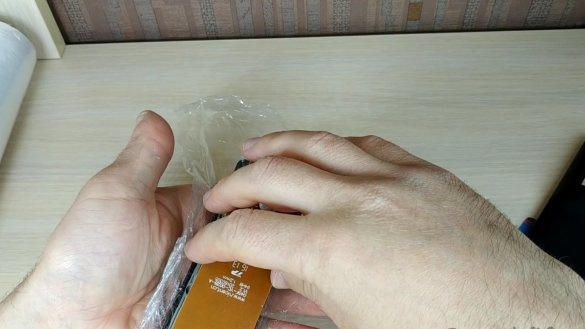
So let's continue, it is better to fold the cut piece in half, put it between the front of the remote control and the buttons.
Now the most painstaking process begins, the film needs to be shaped like all buttons. To do this, push each button on the back side, thereby stretching the film and giving it the shape of a button. You may need to go through each button several times.
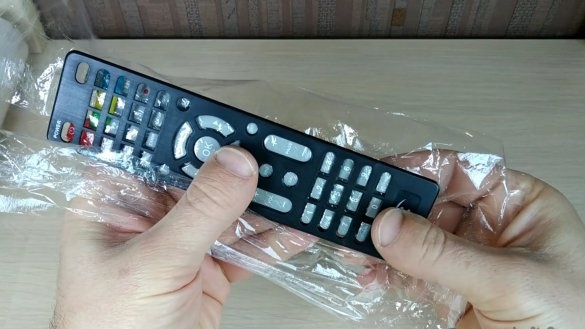
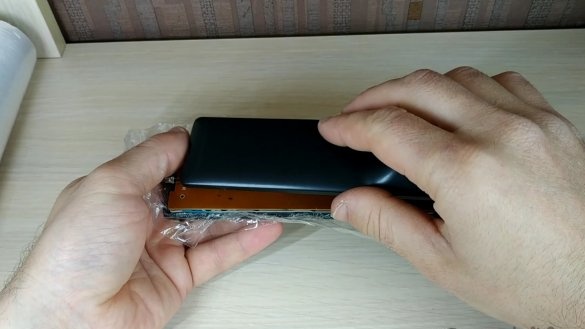
Well, everybody was pushing, it was the hardest part of the process. Putting the remote.
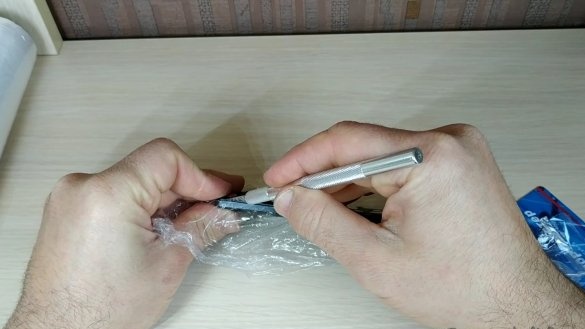
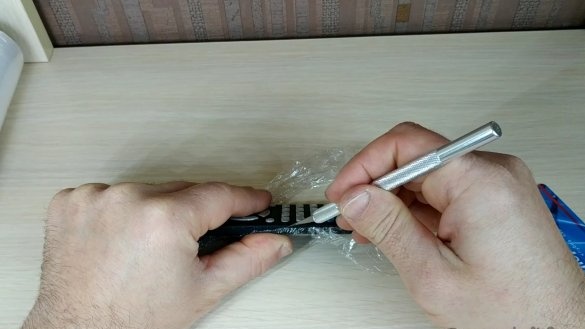
Once the remote control is clicked on, it remains only to cut off the excess film using an office knife or a scalpel.
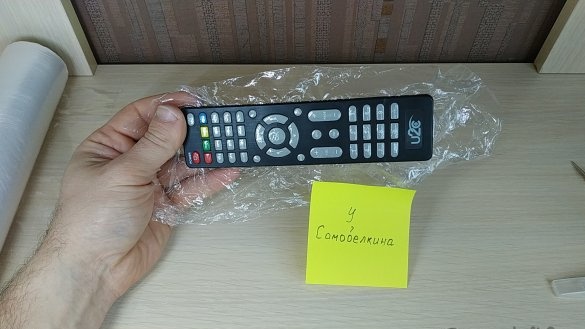
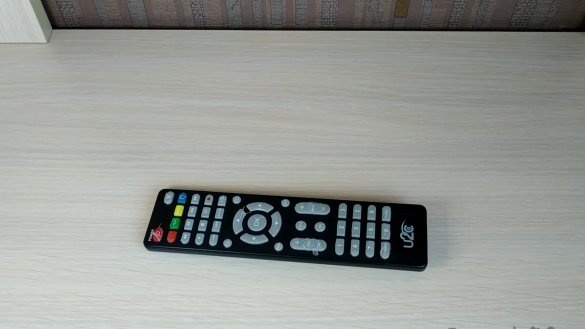
Well, that’s all, now the buttons will remain perfect, or rather the paint on them.
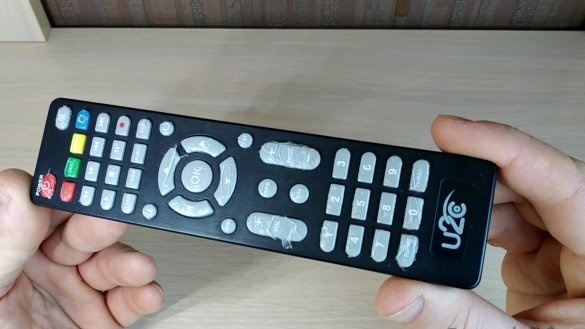
By the way, this is how the remote looked at me after a year of use. But there was one layer of film.
Thank you all, bye, bye !!


