
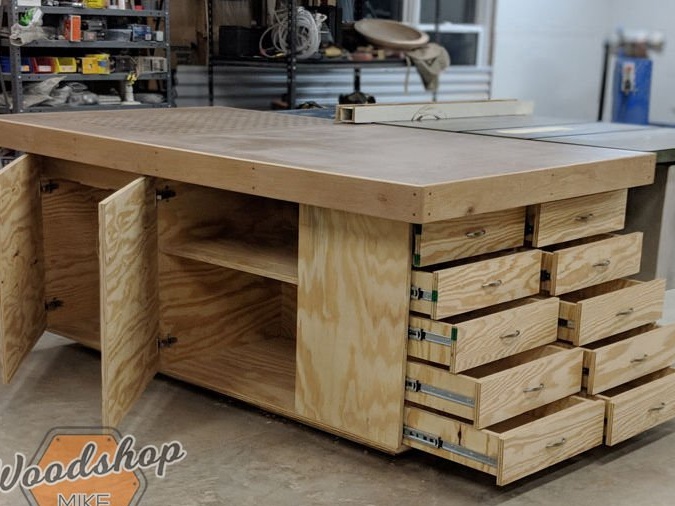
Hello everyone, today I will tell you how a master under the name Woodshop made a desktop.
Materials:
1. Plywood
2. Wood glue
3.Sealer
4. Grinding wheels
Instruments:
1.Desk saw
2. Face saw
3. Clips
4.Drill
5.Circular saw
6.Set of drills
1. Plywood
2. Wood glue
3.Sealer
4. Grinding wheels
Instruments:
1.Desk saw
2. Face saw
3. Clips
4.Drill
5.Circular saw
6.Set of drills
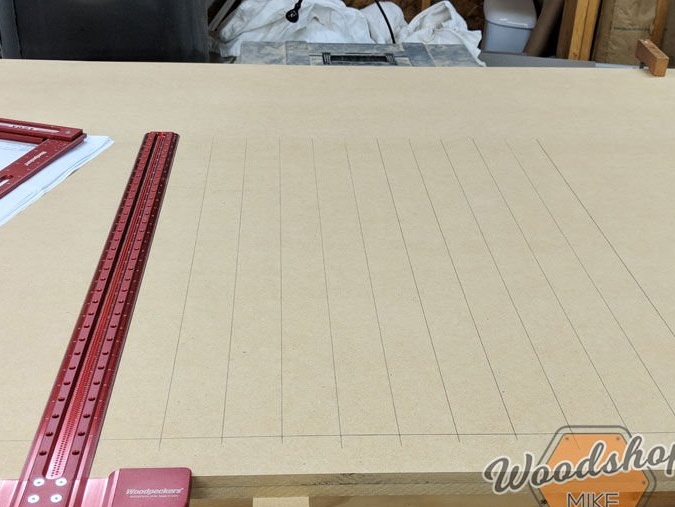
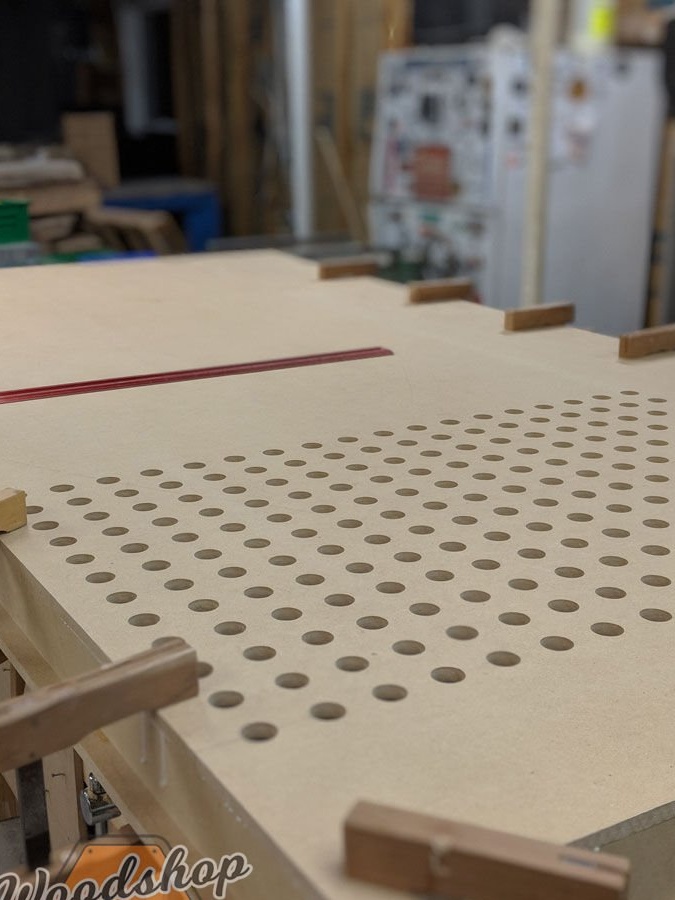
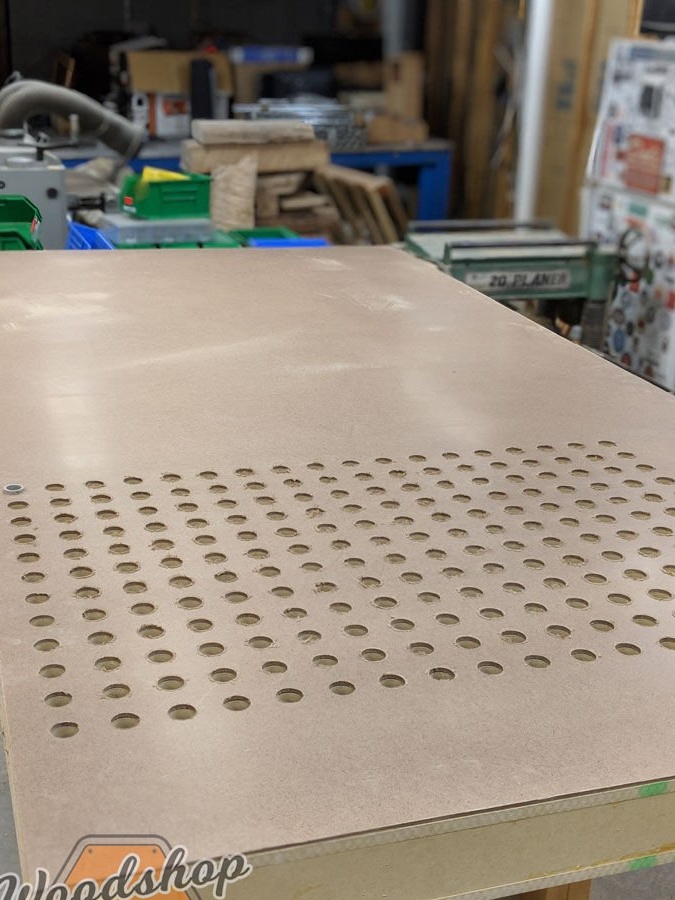
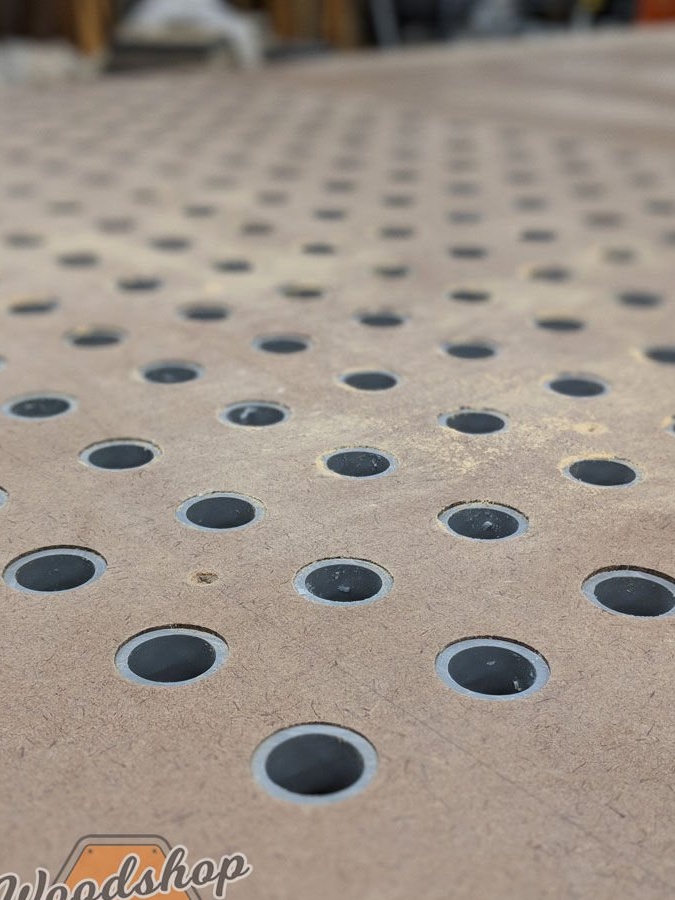
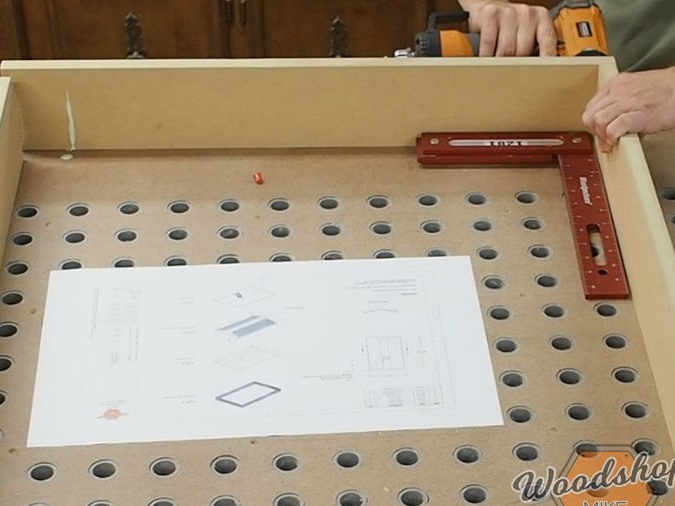
1. The author clamped two sheets of MDF 1/2 ″ together with one sheet of fiberboard between them.
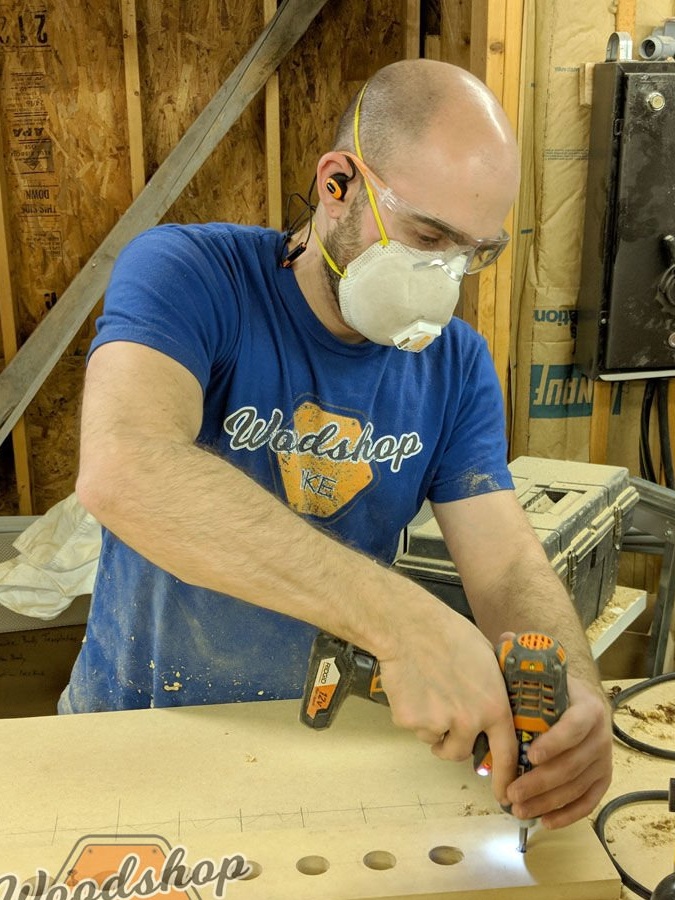
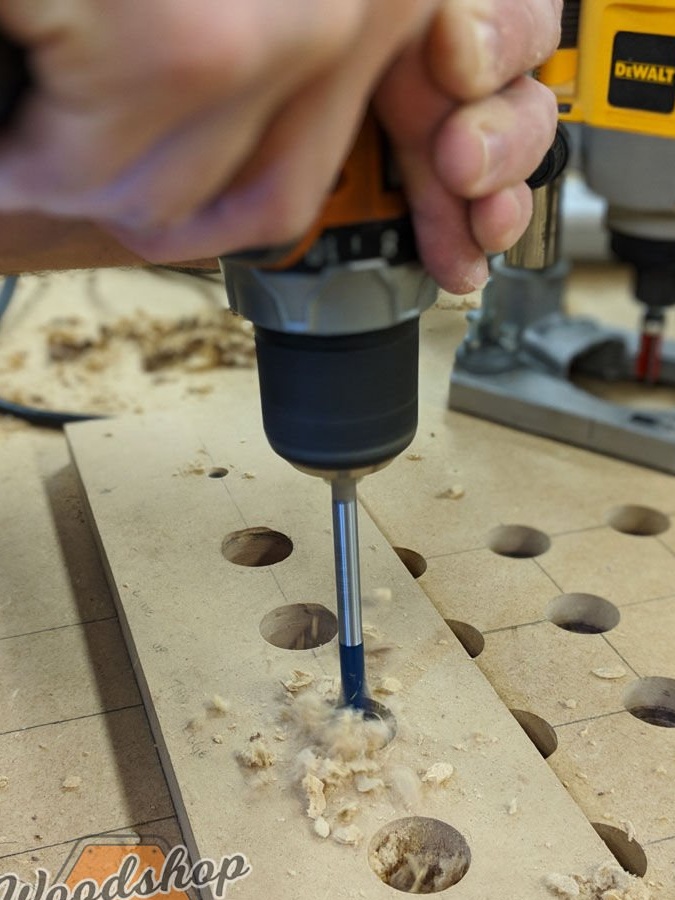
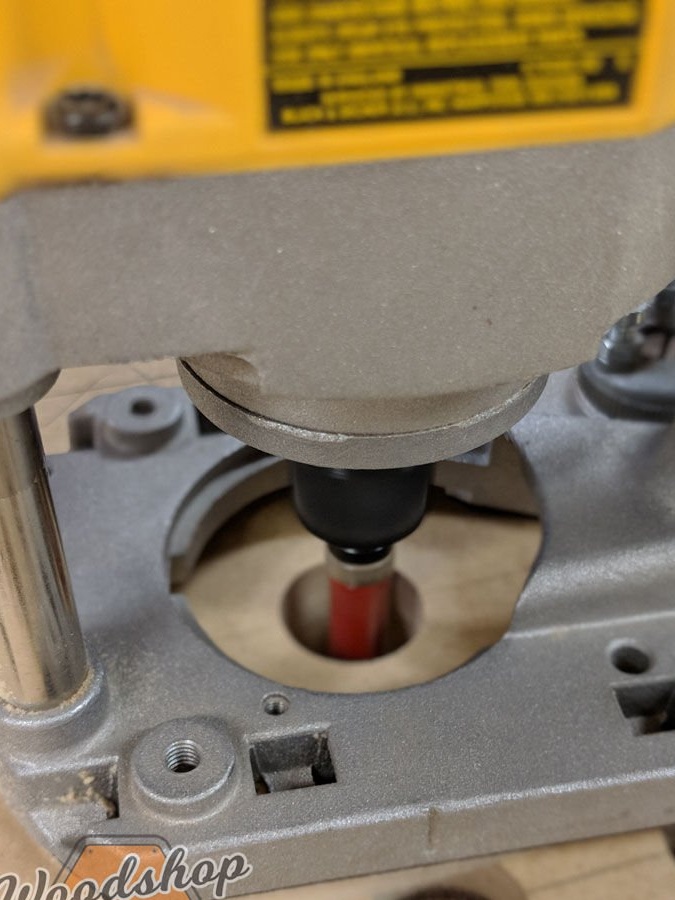
Since the exact location of these holes is important, the Author made a template on a drilling machine.
First, the author selects a grid for placing holes. The author drills the marked holes.
Since the exact location of these holes is important, the Author made a template on a drilling machine.
First, the author selects a grid for placing holes. The author drills the marked holes.

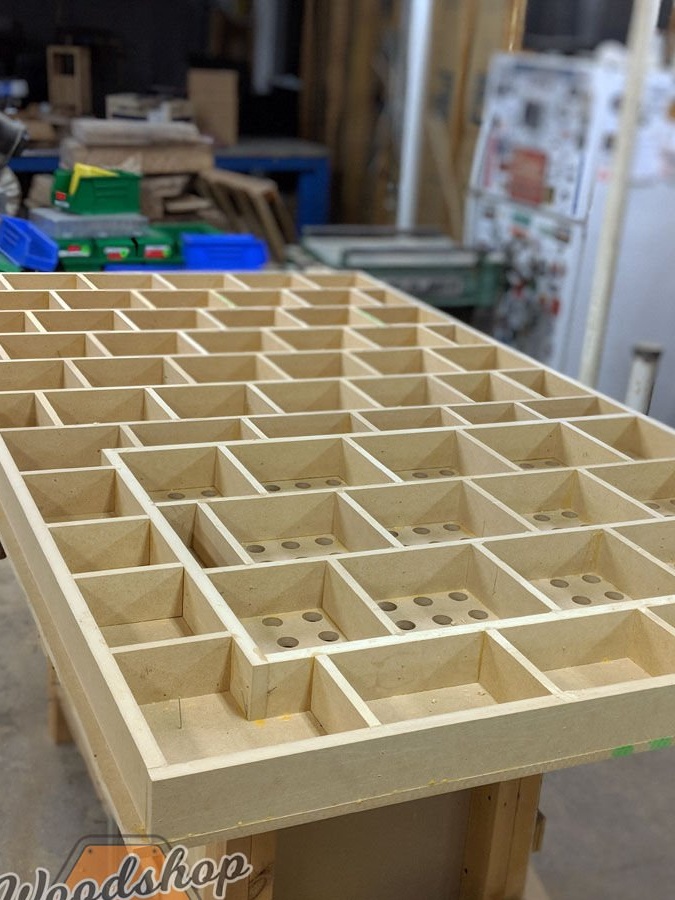
2. After all the parts have been cut, it is time to start assembling the internal mesh with glue and rods.
The author left one MDF sheet on the bench to use as a model when assembling the mesh around the hole pattern.
Starting from the angle closest to the array of holes, the author aligns one long side and one short side of the grid in accordance with the layout. The author clamps and glues these two parts together. The author follows this perimeter procedure and then clamps the parts in place to prevent the frame from moving when intermediate parts are added.
3.Check all connections in the grid and align. Now, draw the glue along the top of all parts of the grid and put the top sheet in place. Be sure to align the holes with the correct area of your mesh, and that no part of the mesh covers the holes.
Lock the top down in several places and use a large square to mark the position of the long inner parts of the mesh. The author left glue for 45 minutes before turning the assembly over.
Repeat the same alignment and gluing procedure for this side.
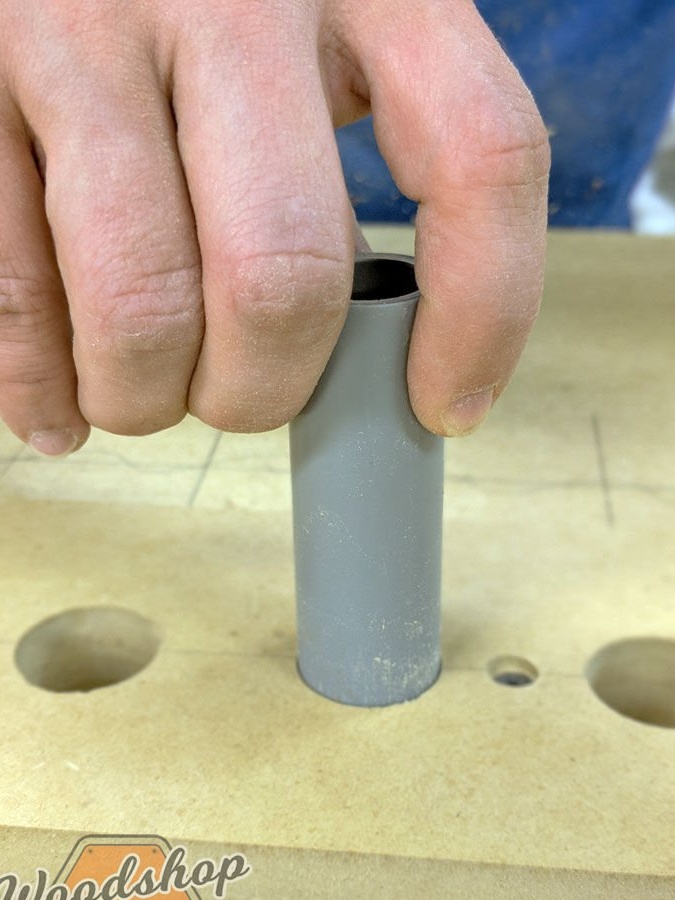
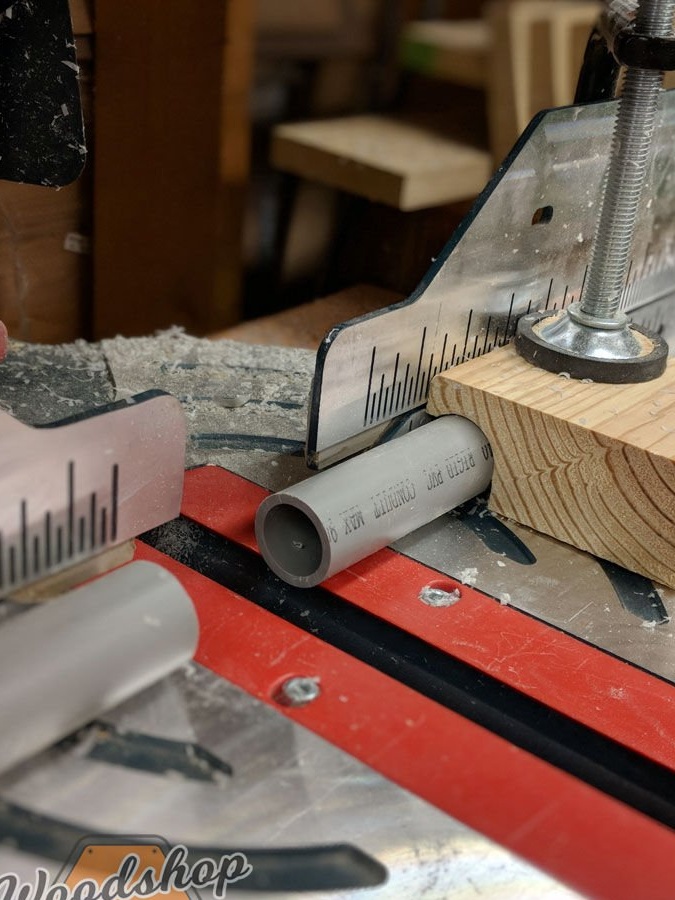
Once the next sheet is in place, use two pieces of PVC to align the top and bottom sheets.
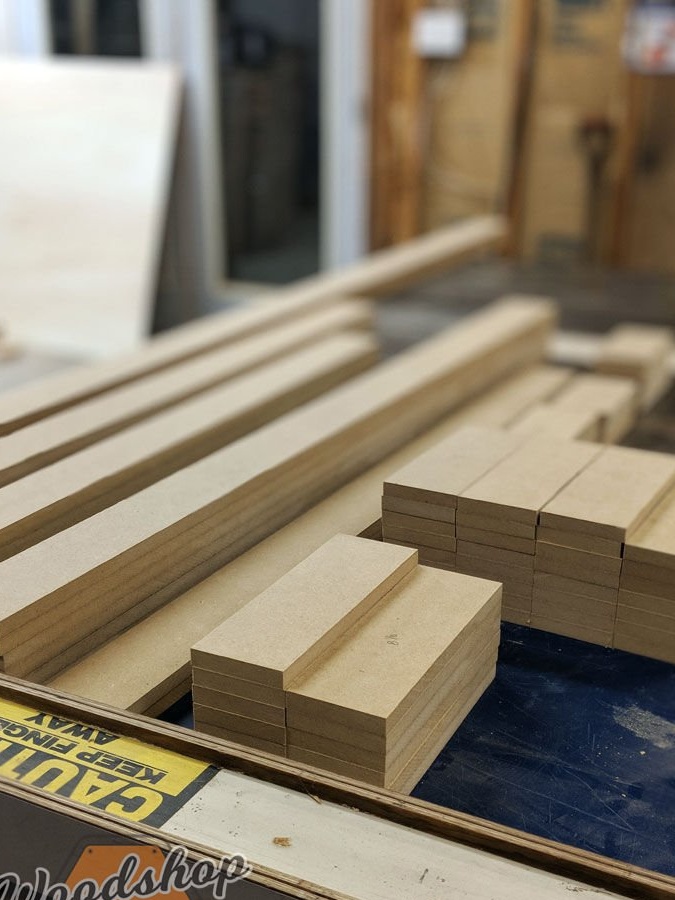
Further, the author cut off all unnecessary.
Lock the top down in several places and use a large square to mark the position of the long inner parts of the mesh. The author left glue for 45 minutes before turning the assembly over.
Repeat the same alignment and gluing procedure for this side.
Once the next sheet is in place, use two pieces of PVC to align the top and bottom sheets.
Further, the author cut off all unnecessary.
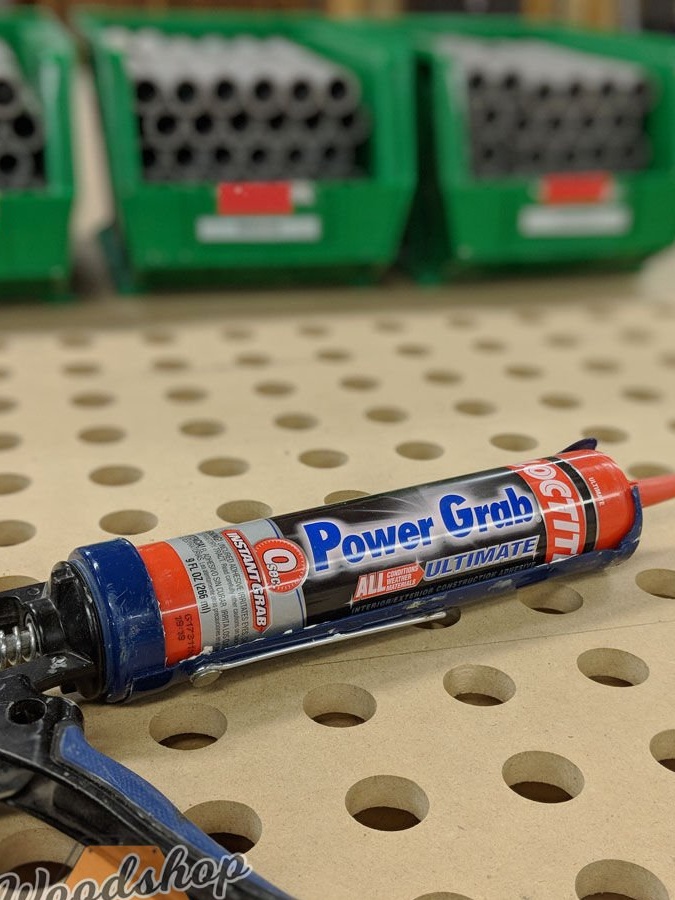
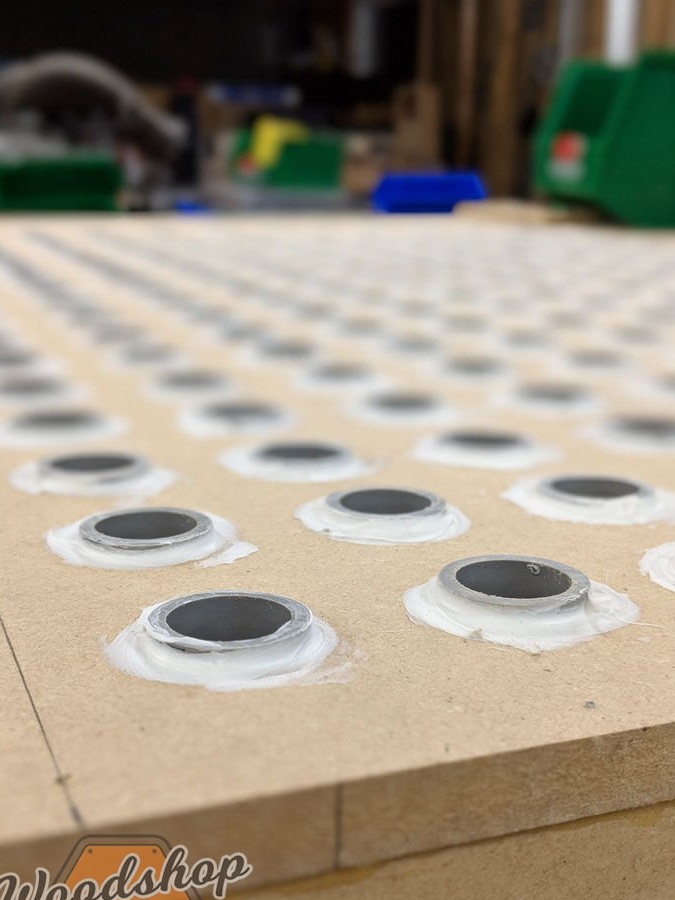
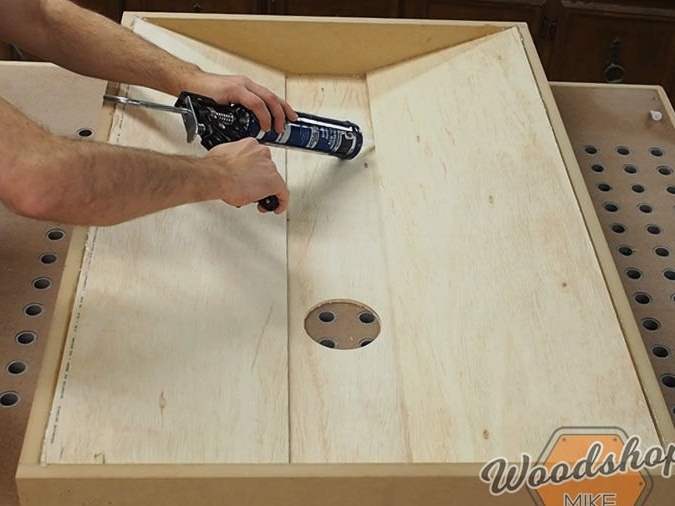
4. Next, the author inserted the tubes and affixed them with sealant.
5. This step is optional, but it will help increase the durability of your work surface.
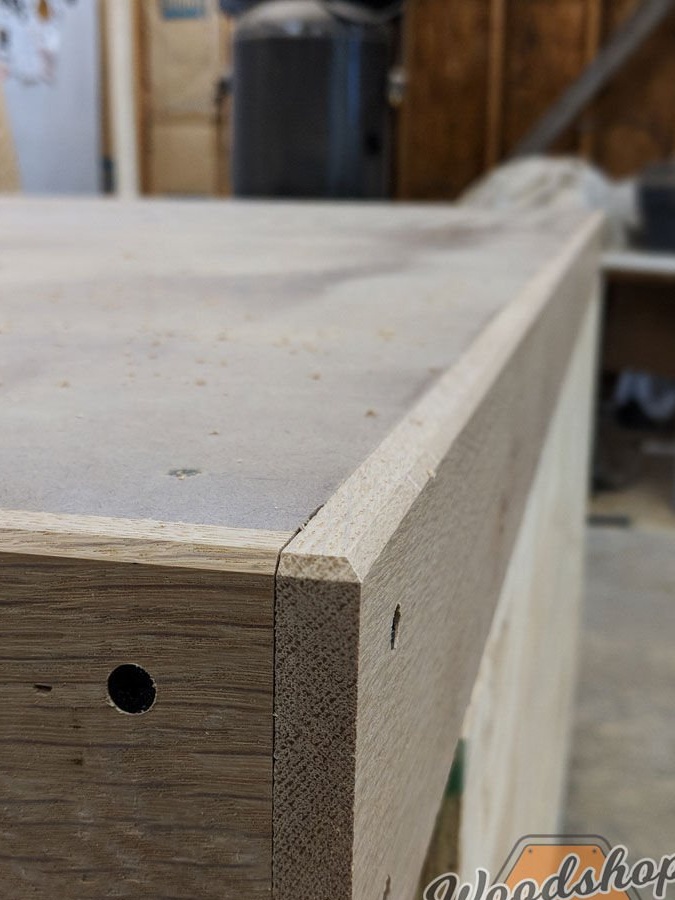
Cut the length of the staff and install it first on the short ends of the table. The author used glue to secure the rail in place, and then added screws to the recessed holes.
With short sides, you can cut and install a long rail then using the same method. Round the top edge and sand it.
Cut the length of the staff and install it first on the short ends of the table. The author used glue to secure the rail in place, and then added screws to the recessed holes.
With short sides, you can cut and install a long rail then using the same method. Round the top edge and sand it.
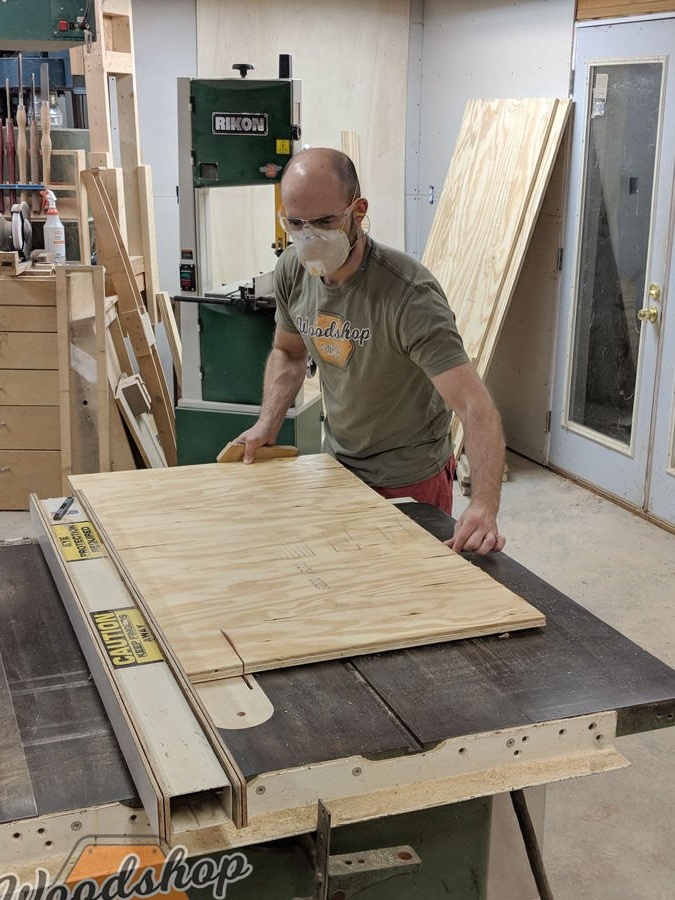
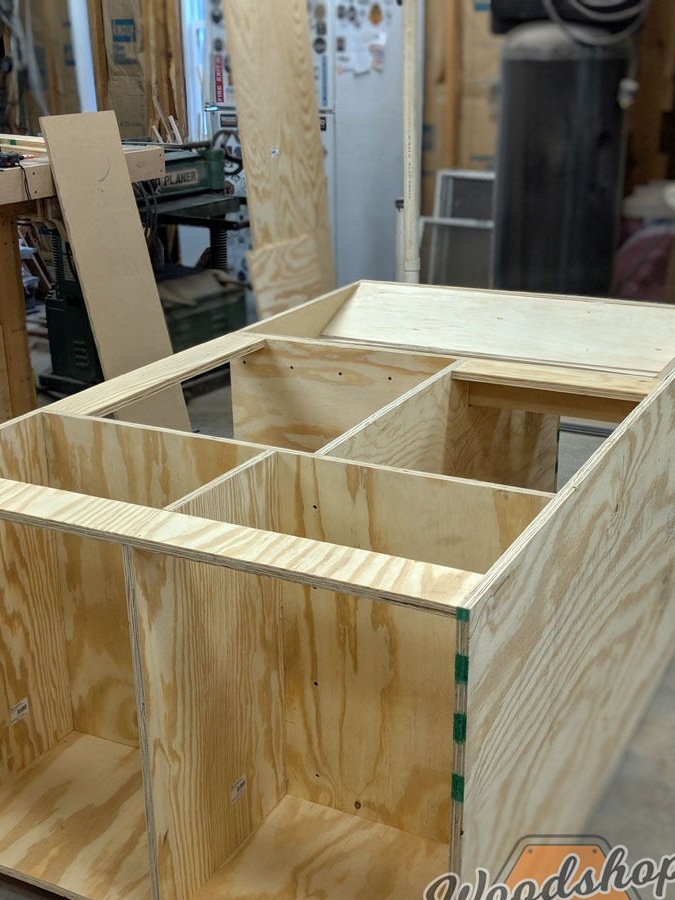
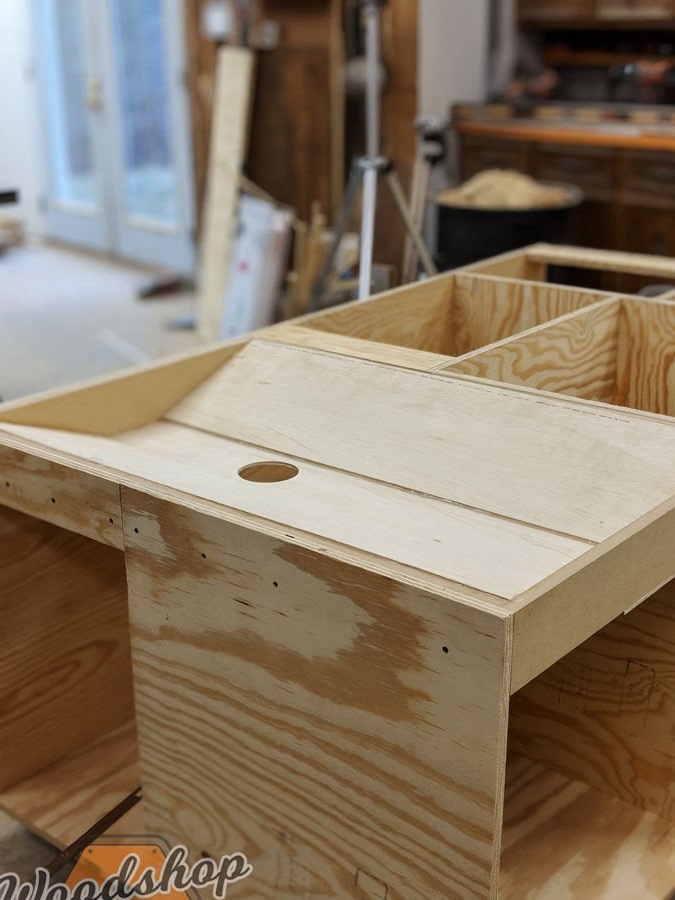
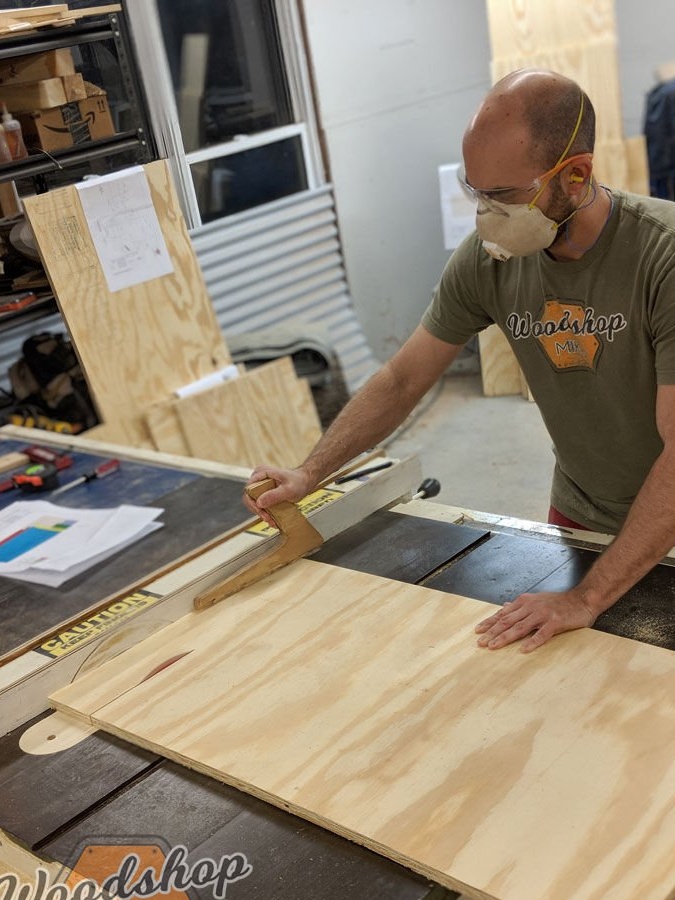
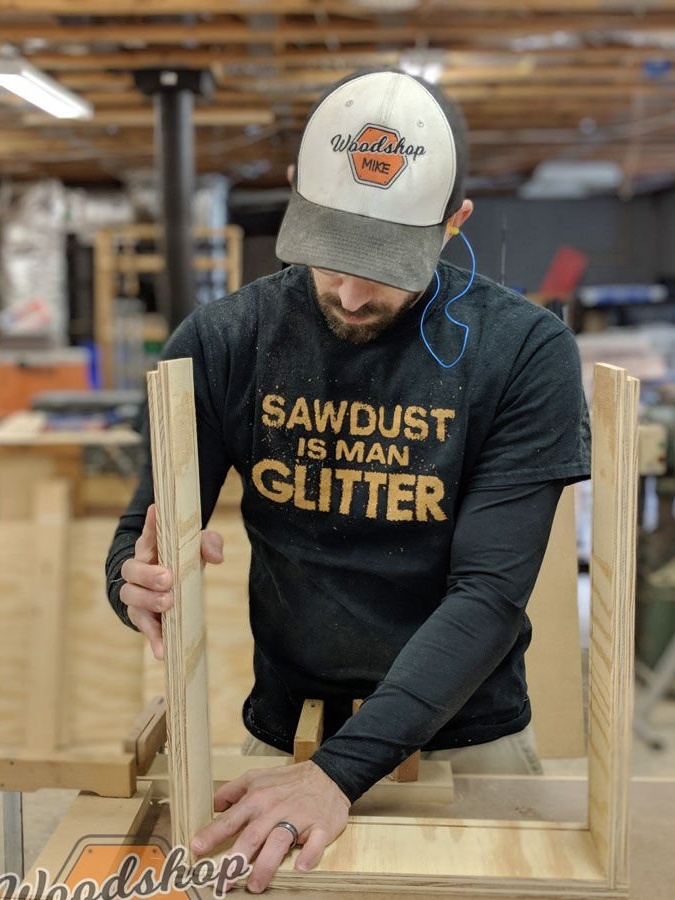
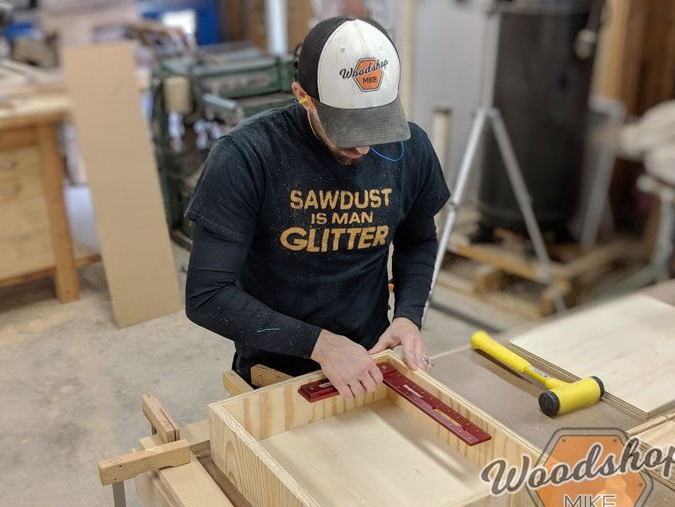
6. The author began by cutting out all the pieces of the cabinet from plywood using a circular saw, table saw and jigsaw. The next step was to lay out and trim all the joinery.
Using multiple clamps to hold things in place.
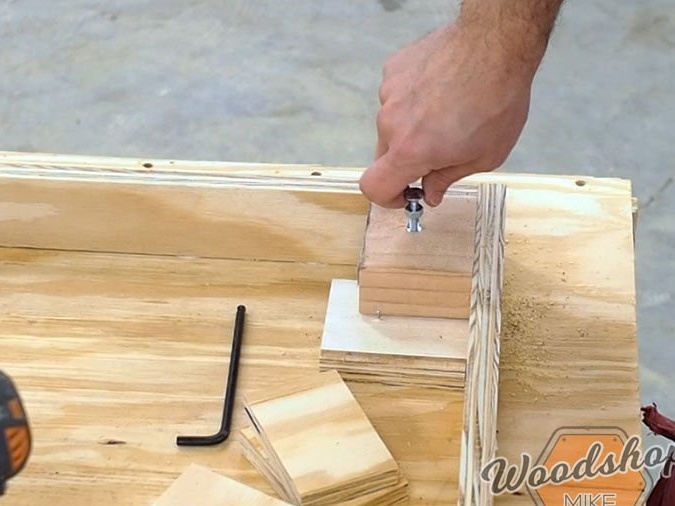
Start by adding glue to each slot for the two parts that are going to be assembled. Put one down. Take the two pieces together with your hands or clamps and insert a few rods into the joint to hold objects until the glue dries.
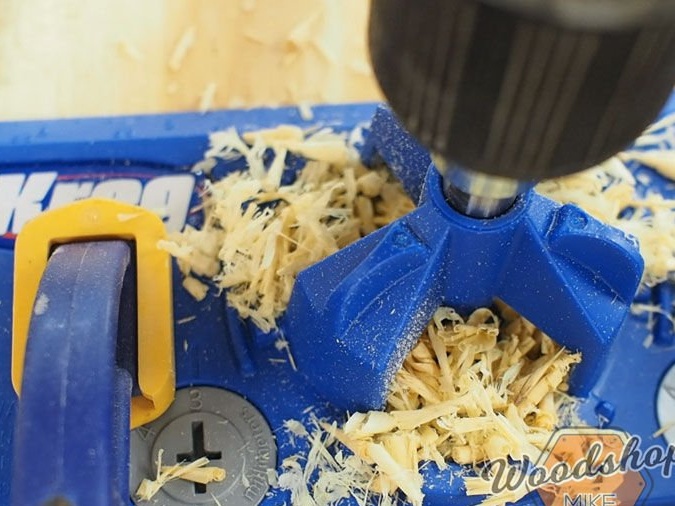
If you prefer to use pocket holes, then this is a simple modification.
Ignore all layout lines on the front of each part. Add pocket holes along all edges of the pieces that are marked.
Using multiple clamps to hold things in place.
Start by adding glue to each slot for the two parts that are going to be assembled. Put one down. Take the two pieces together with your hands or clamps and insert a few rods into the joint to hold objects until the glue dries.
If you prefer to use pocket holes, then this is a simple modification.
Ignore all layout lines on the front of each part. Add pocket holes along all edges of the pieces that are marked.
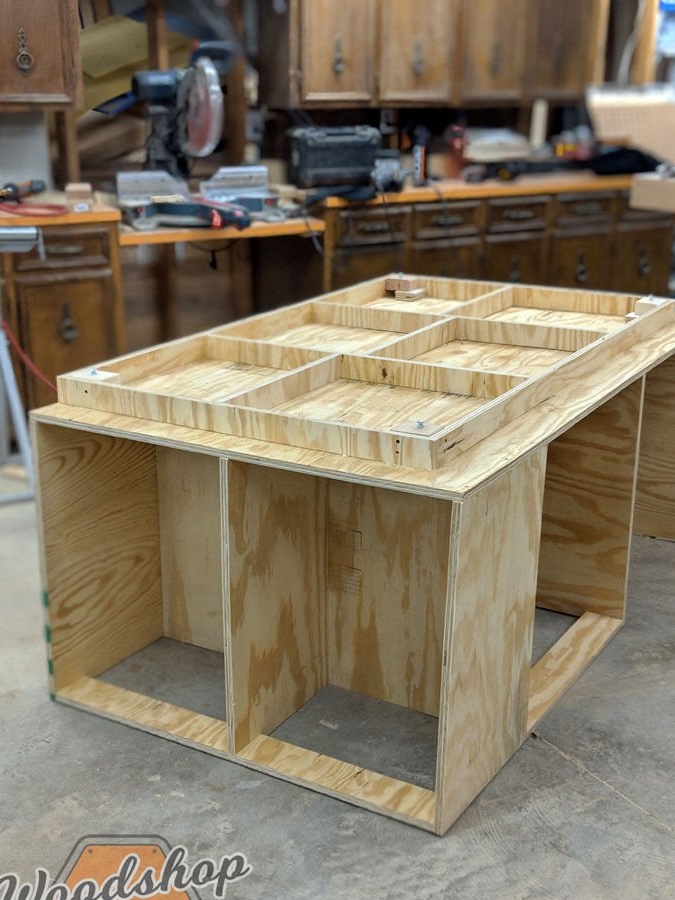
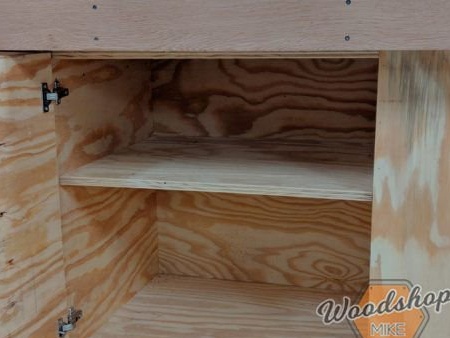
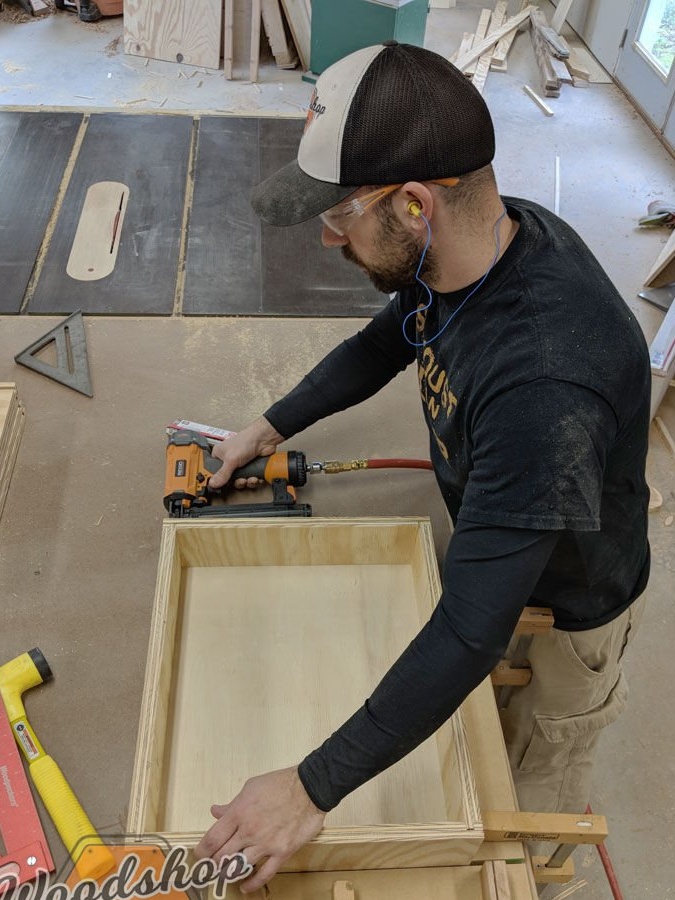
7. Further, the author assembled the cabinet body and smeared the slots with sealant.

8. The author completely twisted the table and missed all the cracks.
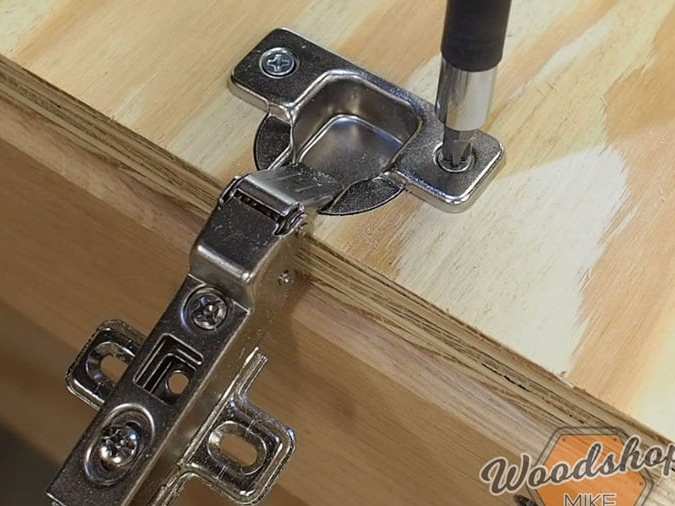
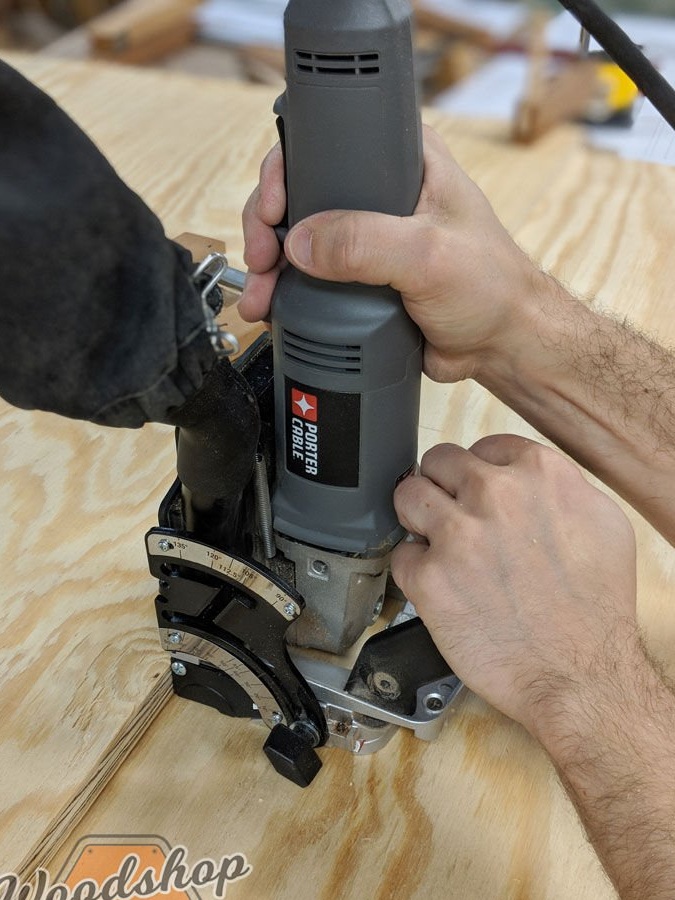
9.Further he drilled holes for the hinges and screwed them on.
10. Drilling all the holes in the front of the cabinet. Here, the author simply held the clamp for the first hole, and then placed the locating pin in the first hole and drilled the remaining places.
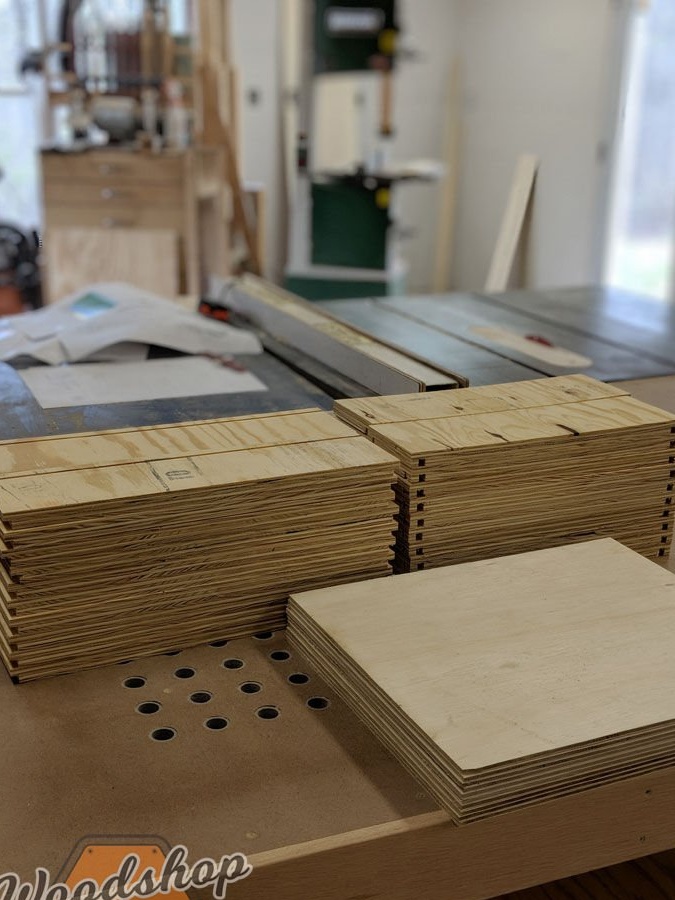

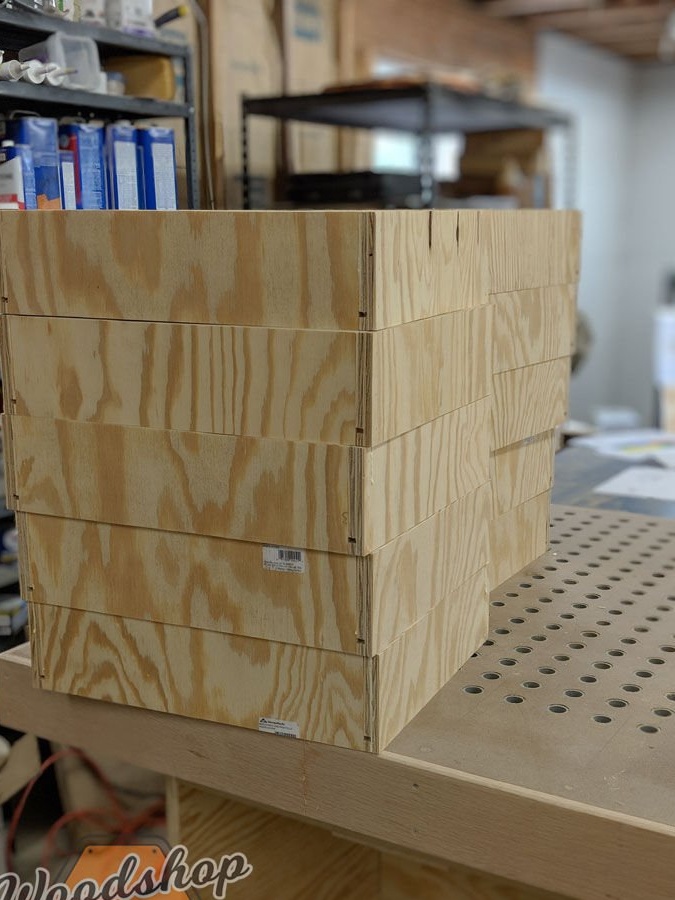
11. There are many ways to quickly and easily create drawers, so if this approach is outside of your comfort zone, feel free to change the design a bit.
The author has collected all the boxes.
The author has collected all the boxes.
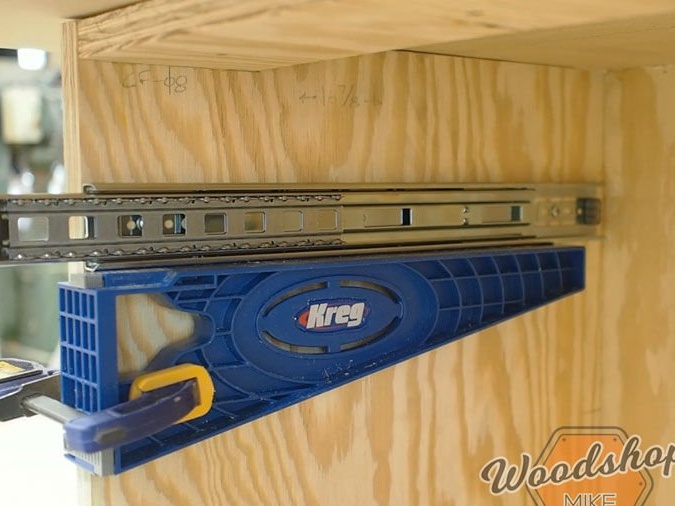
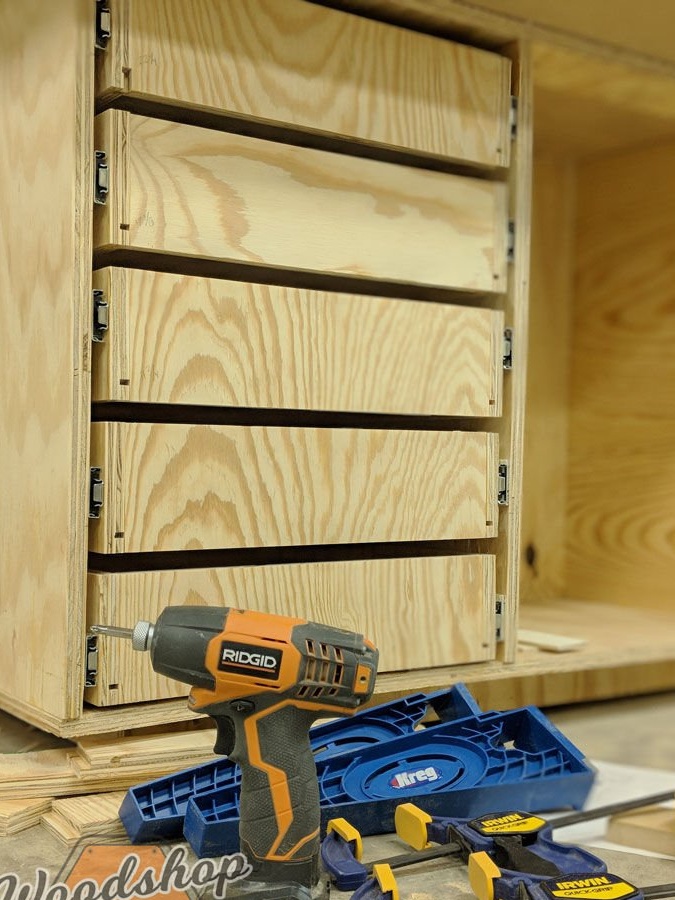
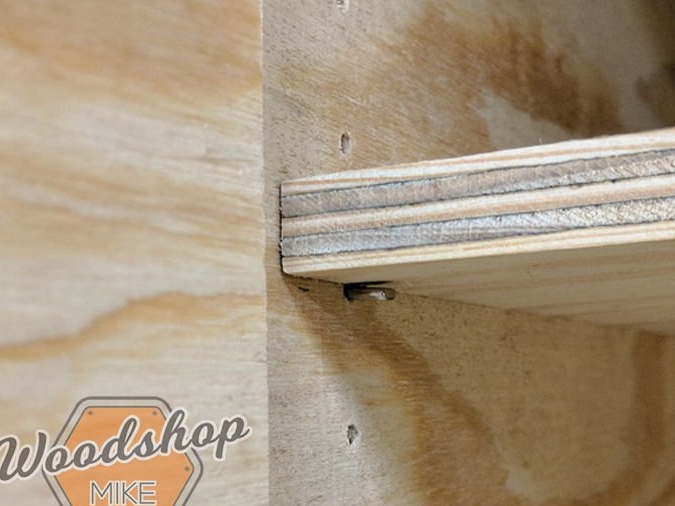
12. Further, the author screwed the guides for the drawers using a clamp and a screwdriver.
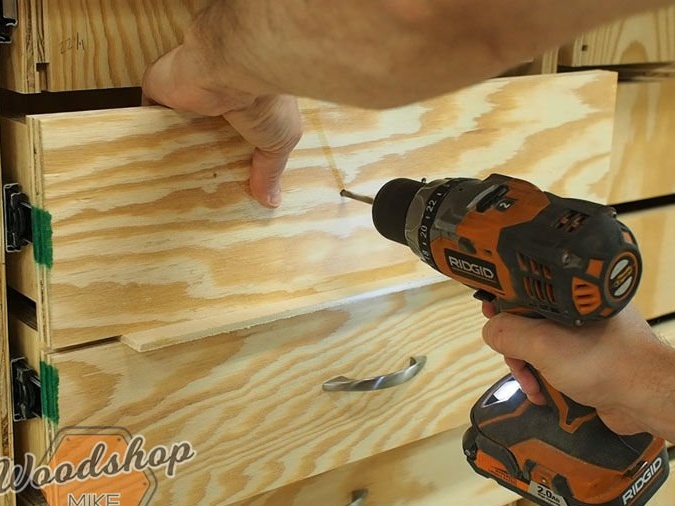
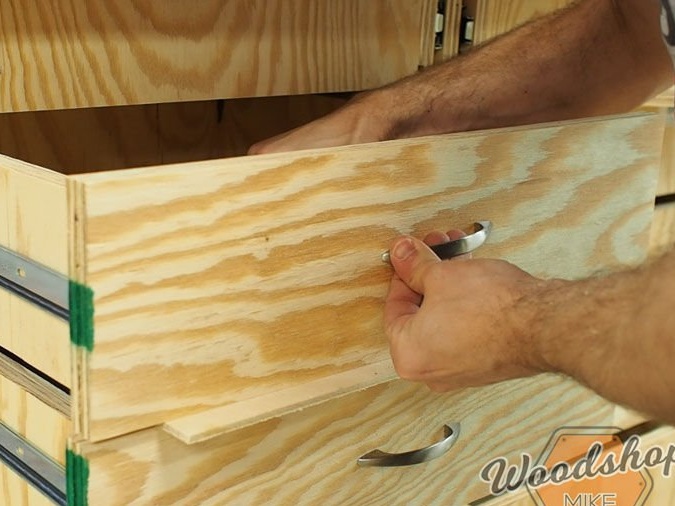
13. The author drilled holes for the handles and screwed them into place.