
In this article, we will look at how the Master made a 12-volt charger from components purchased on Ali. The parameters of the assembled charger are as follows:
Nutrition
-110-220 VAC
output power
-1.25-24 V
-0 - 8 A
- Short circuit protection
- Overload protection
- Overcharge protection
DC Charging
-Constant pressure
- Full battery indicator
-Charge indicator
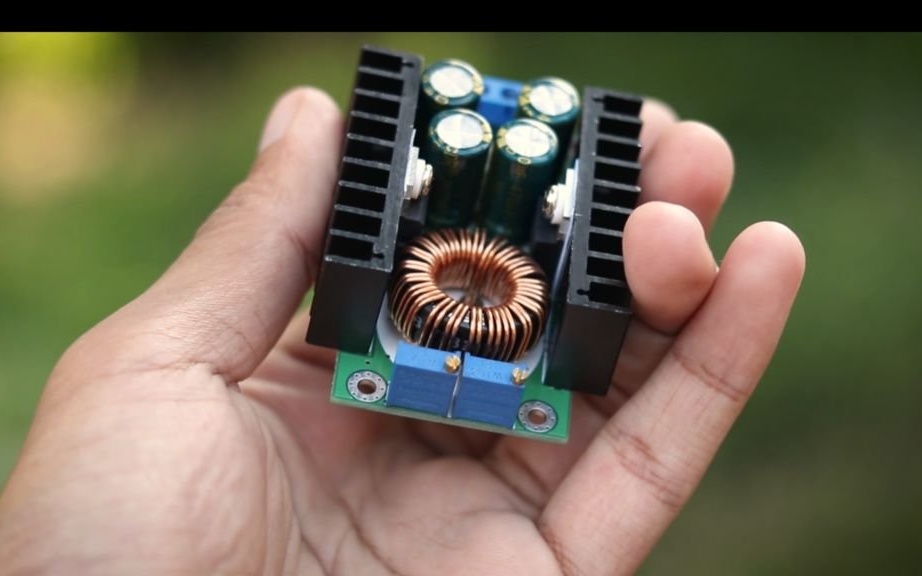
Now let's see which master used
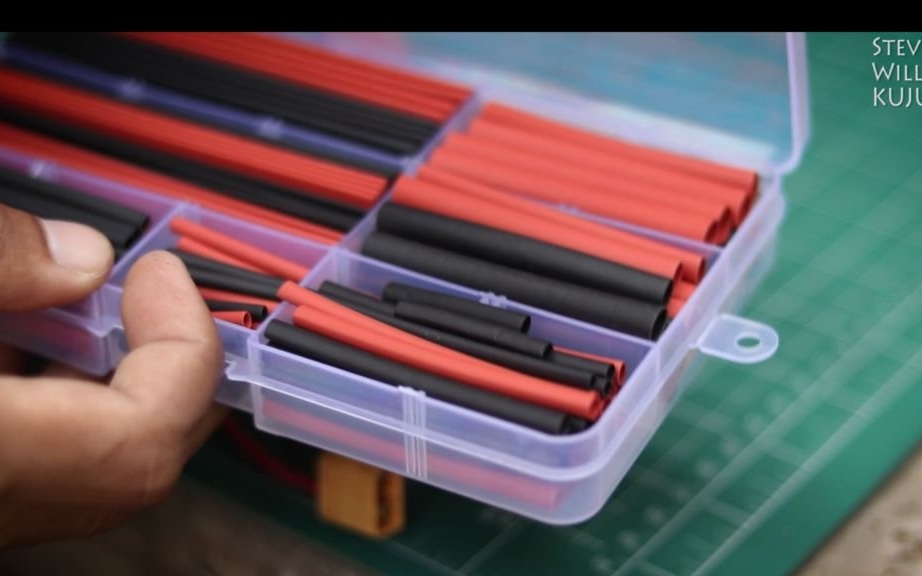
Materials and tools:
-Acrylic sheet;
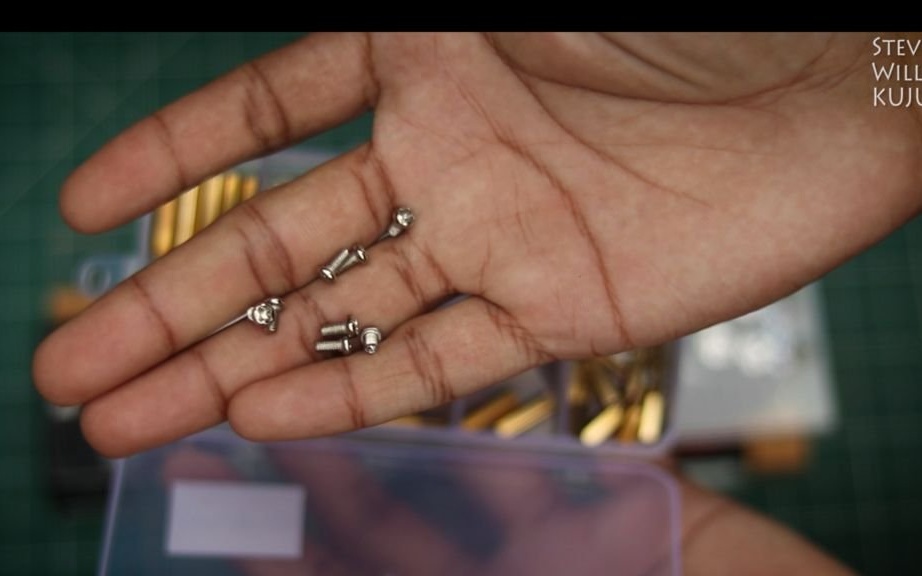
-Fasteners;
-Heat-shrink tubing;
-Clips;
-Soldering iron;
-Silicone legs;
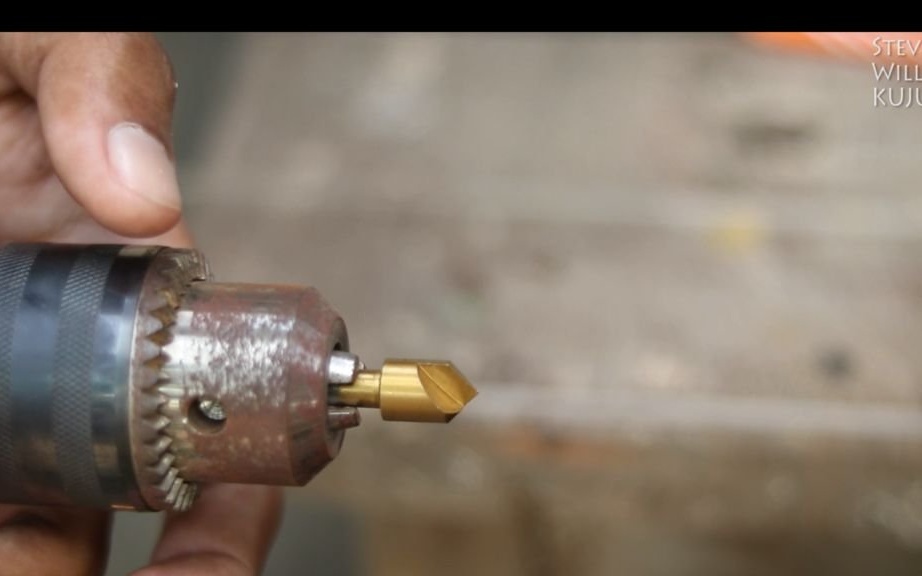
-Drill;
-Drill;


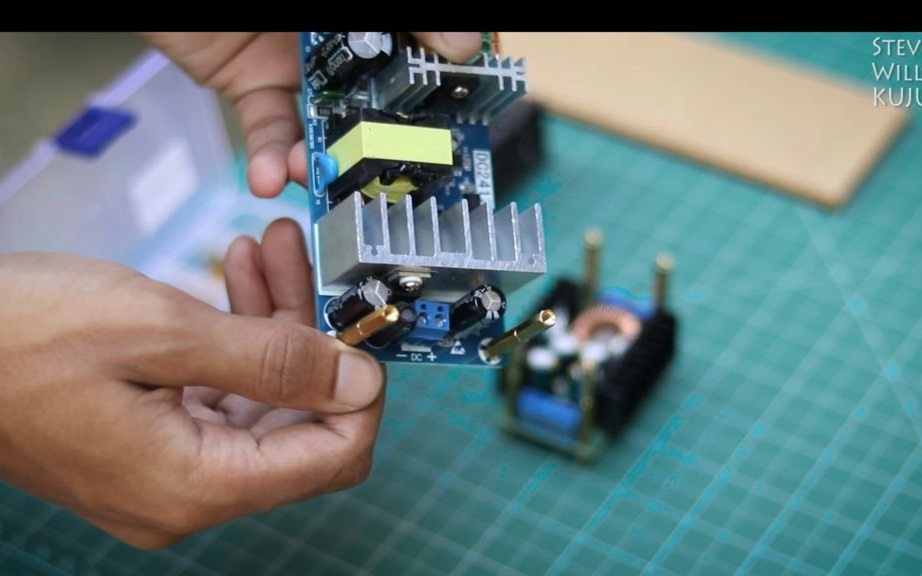
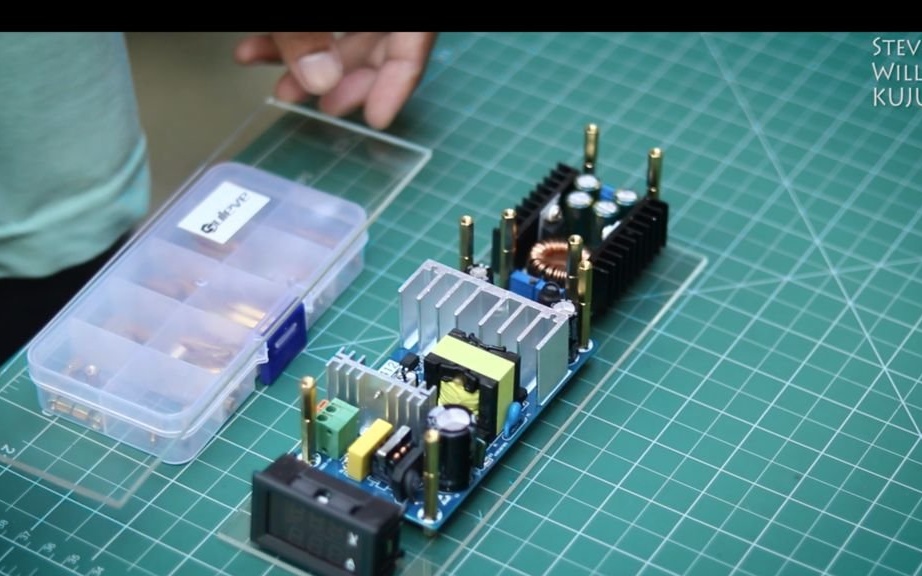
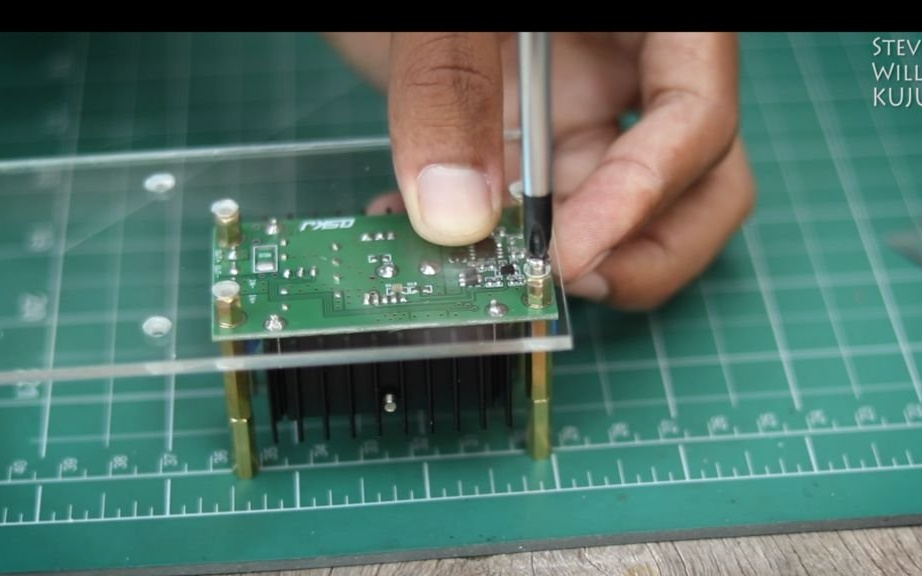
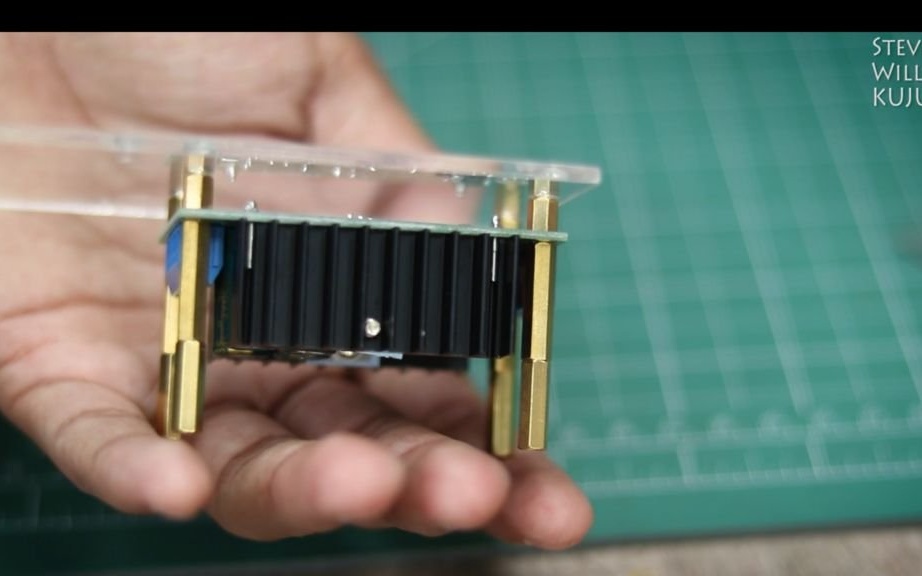
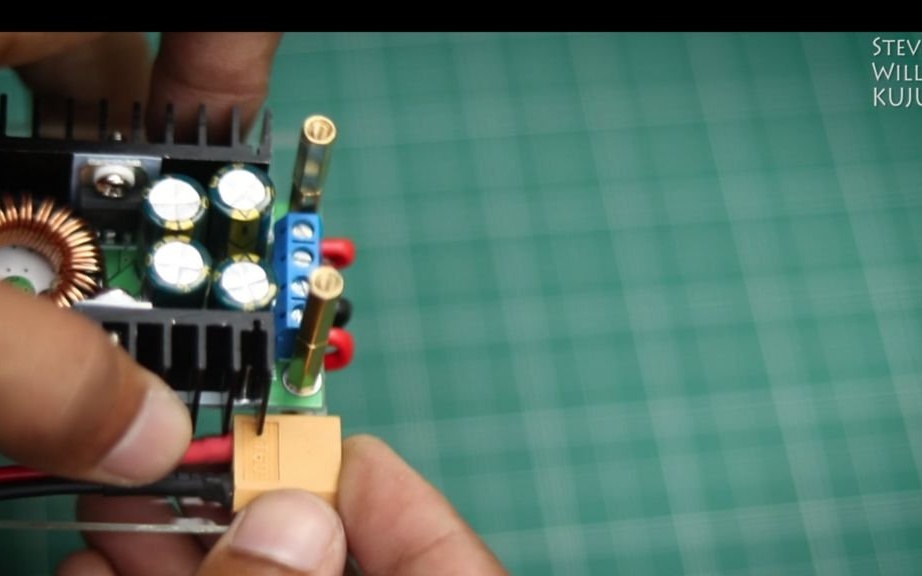
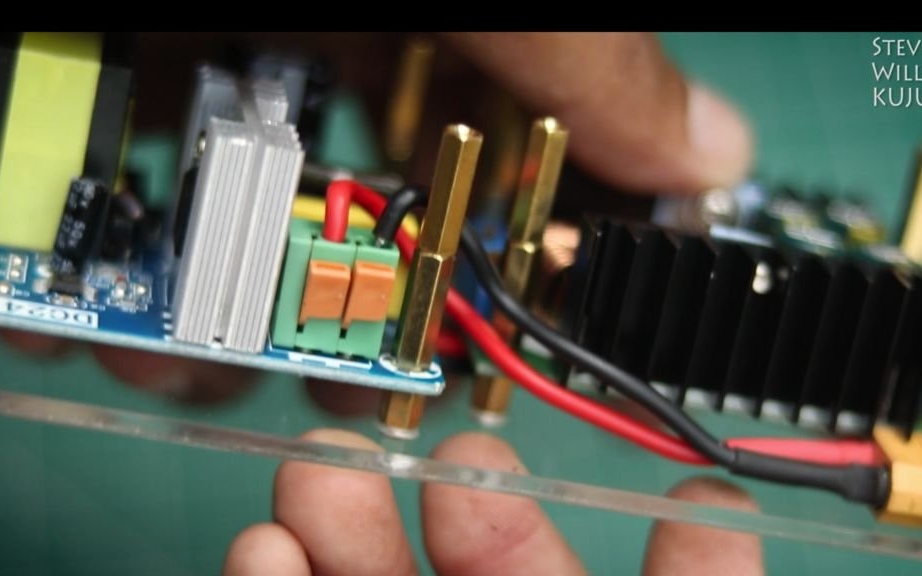
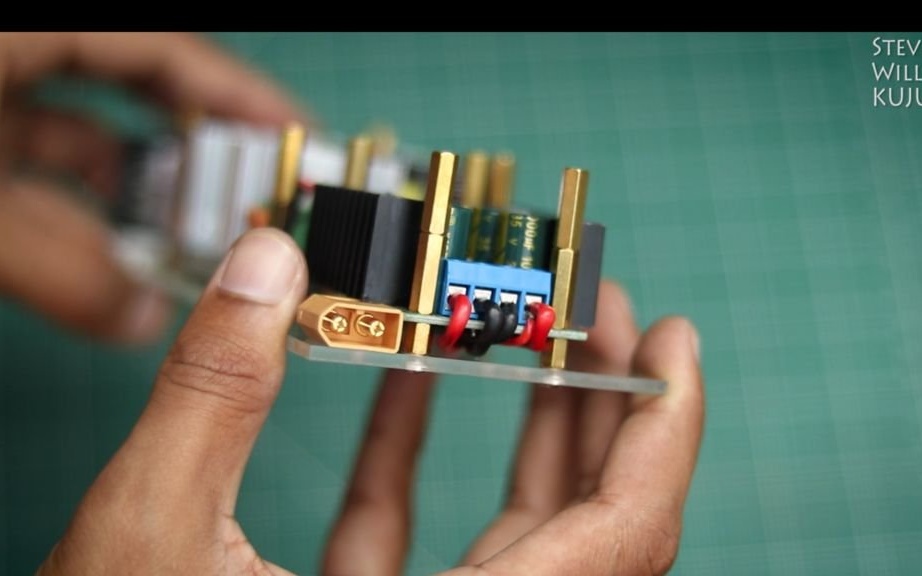
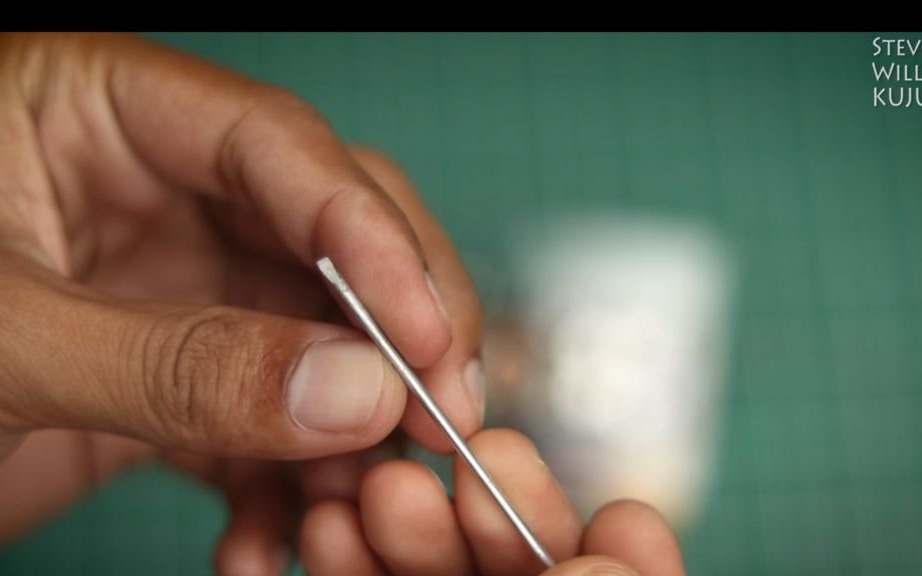
Step One: Fasteners
Fasten the fasteners to the power board and lowering board.

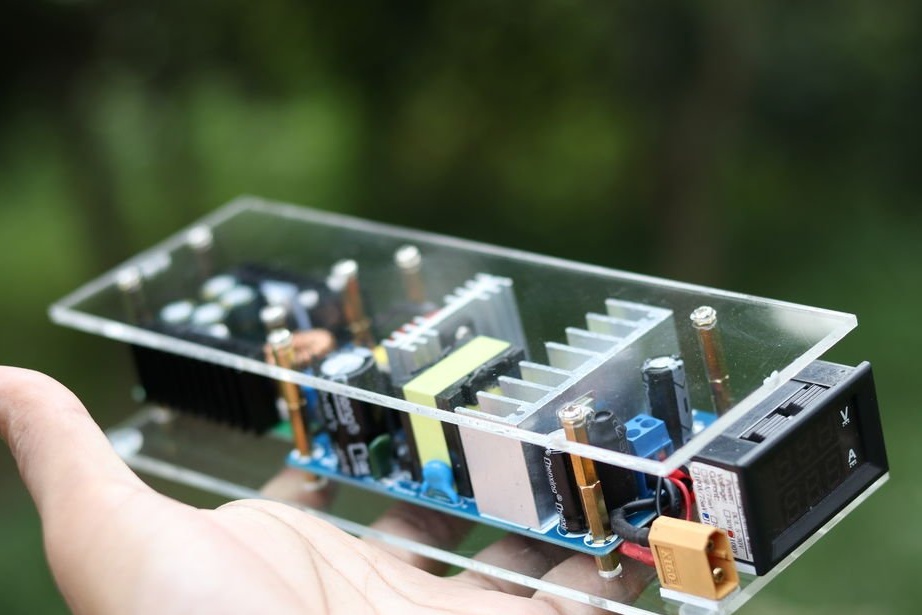
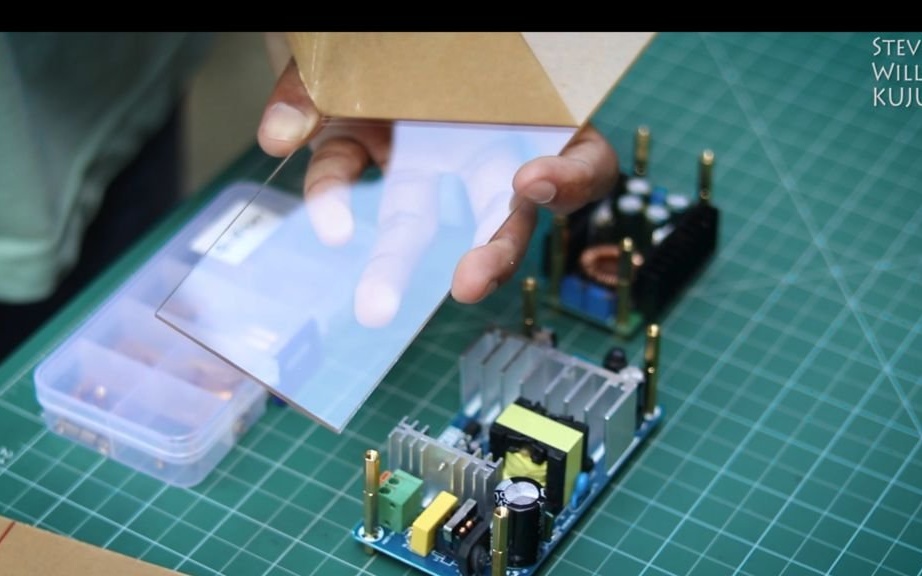
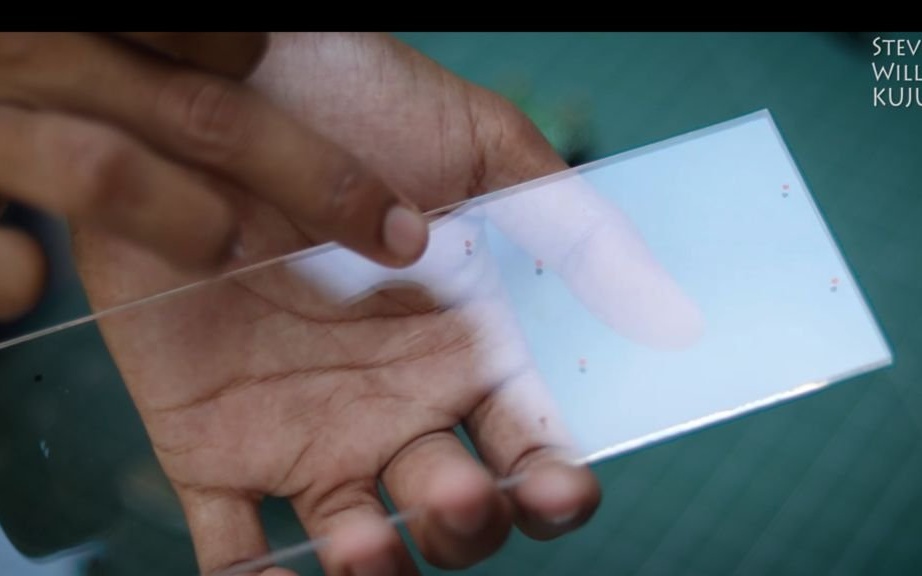
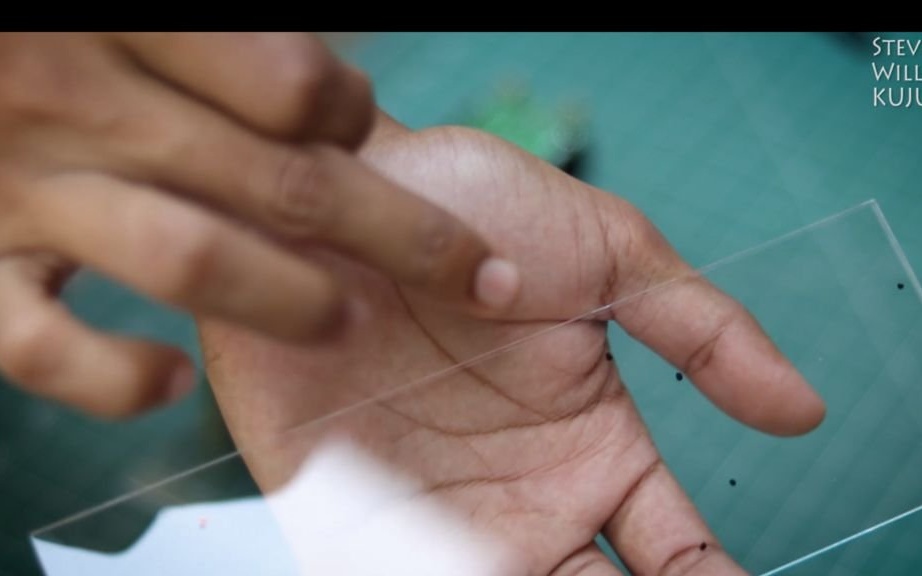
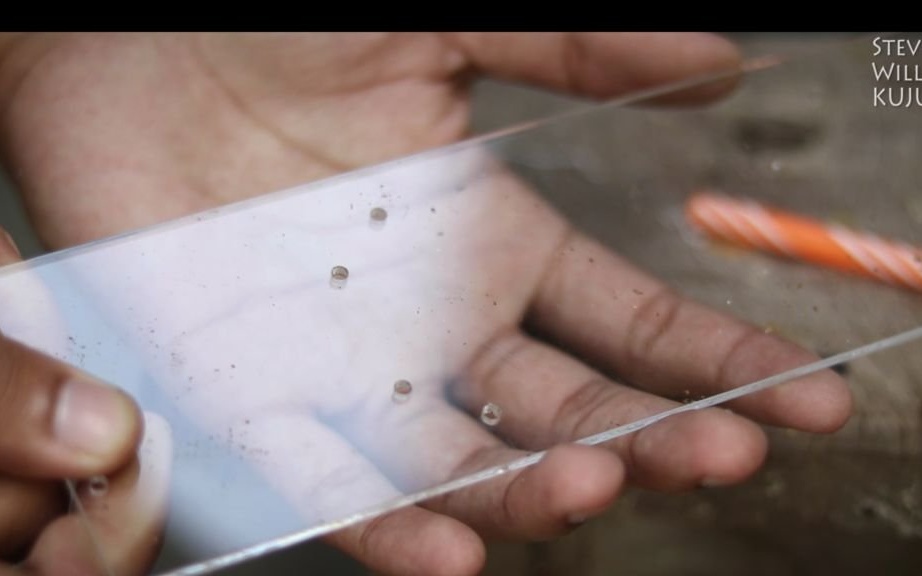
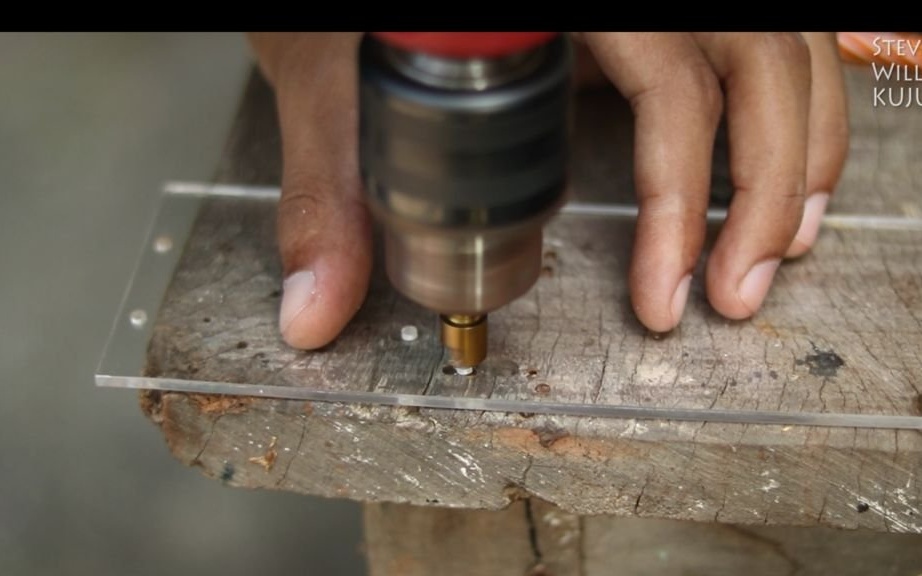
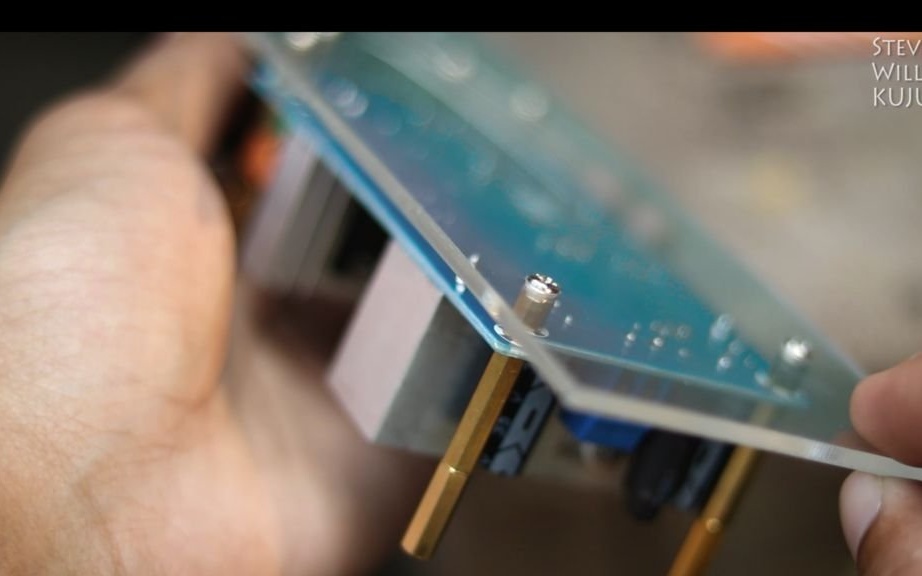
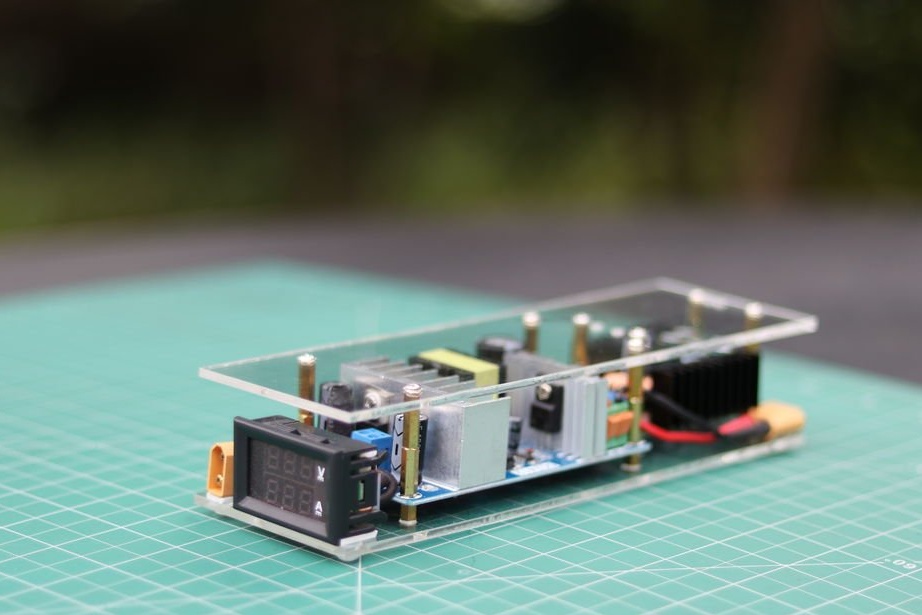
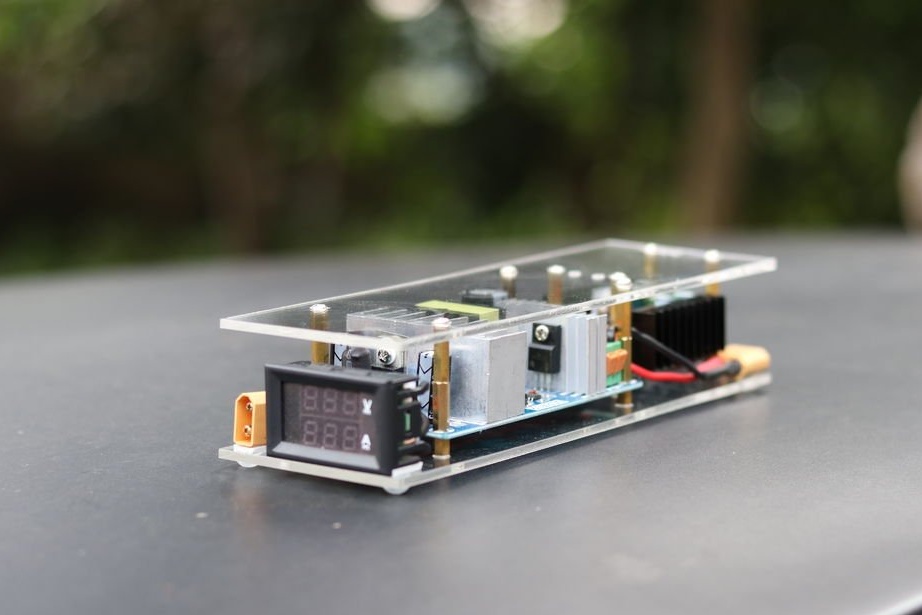
Step Two: Acrylic
Acrylic will play the role of the body on which all the details are mounted. Removes protective layer from acrylic sheet. Places on a sheet electronic devices.
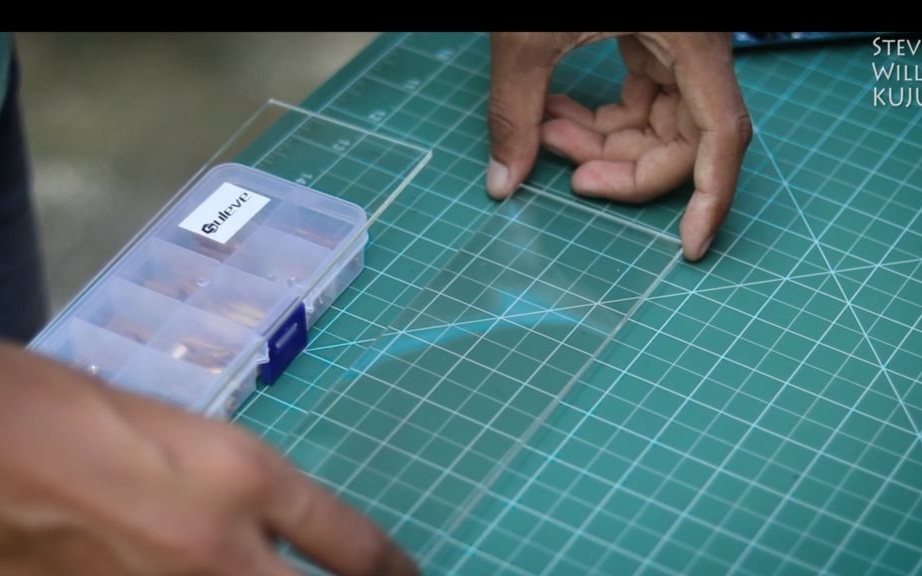
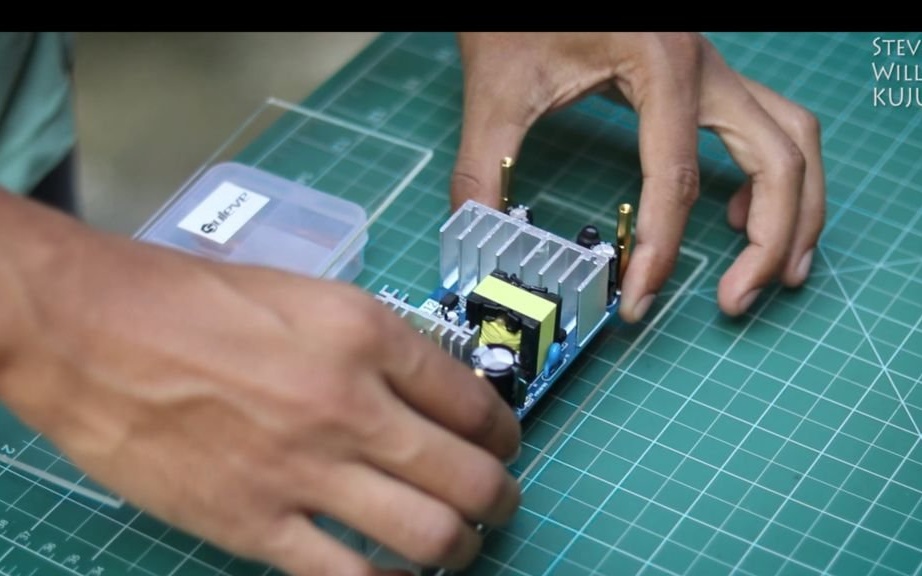
Marks the sheet at the mounting points of the boards. Drills hole marks 2, and then 3, with a drill.
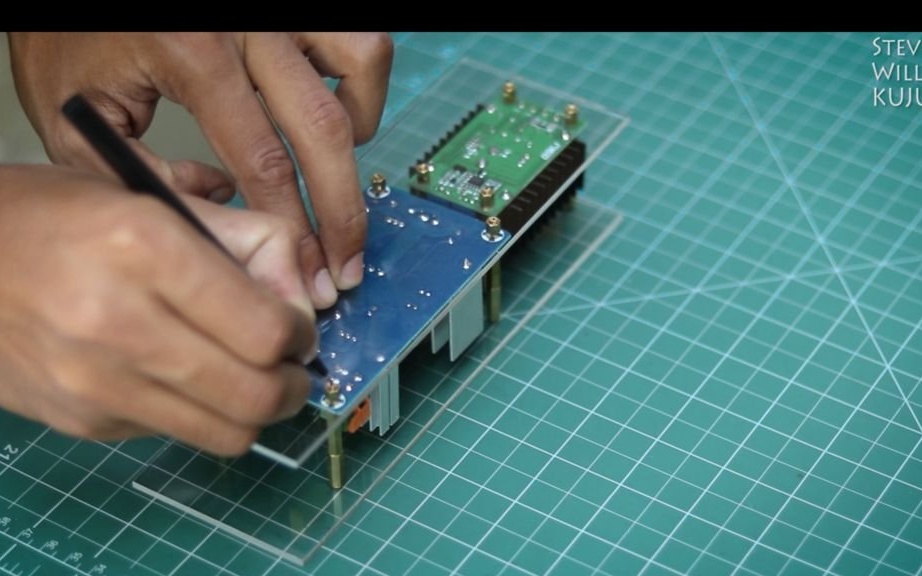


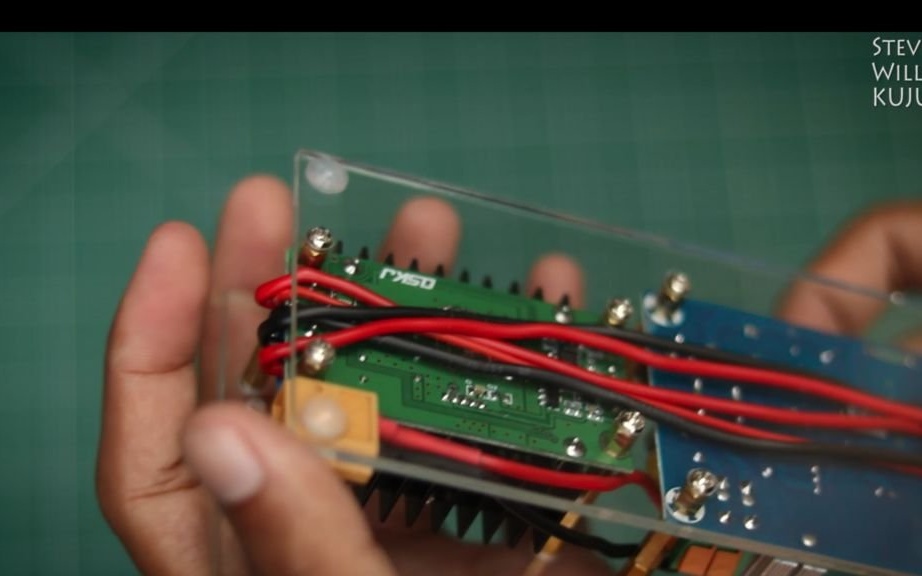
Fastens the boards to the acrylic sheet.

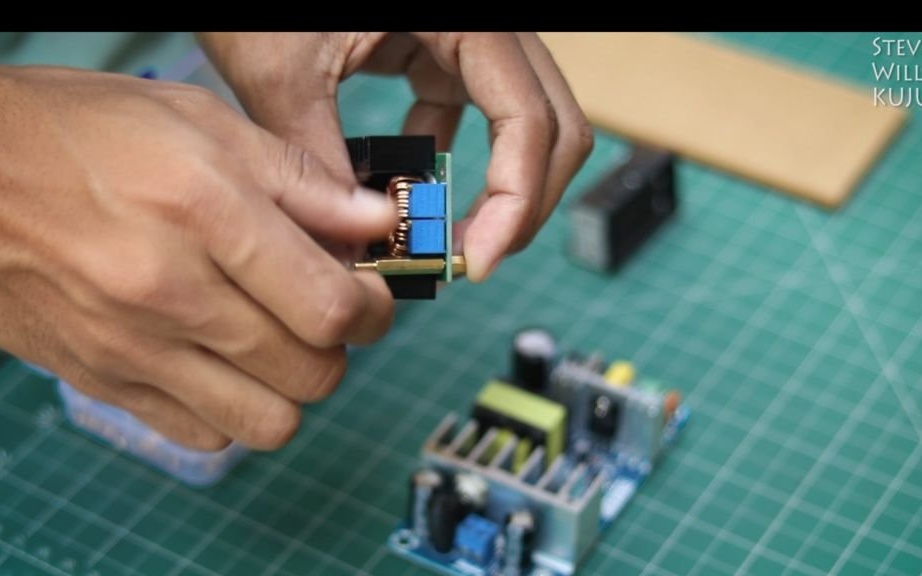
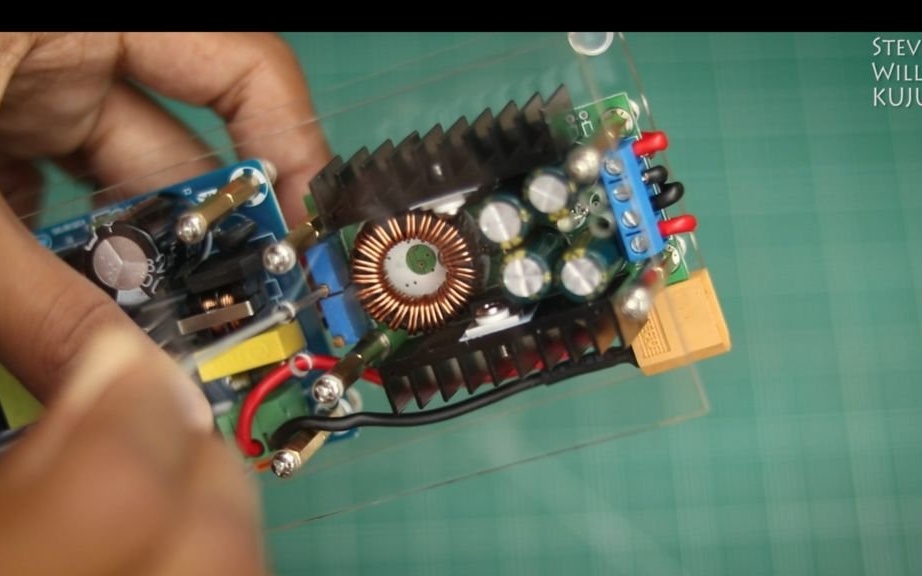
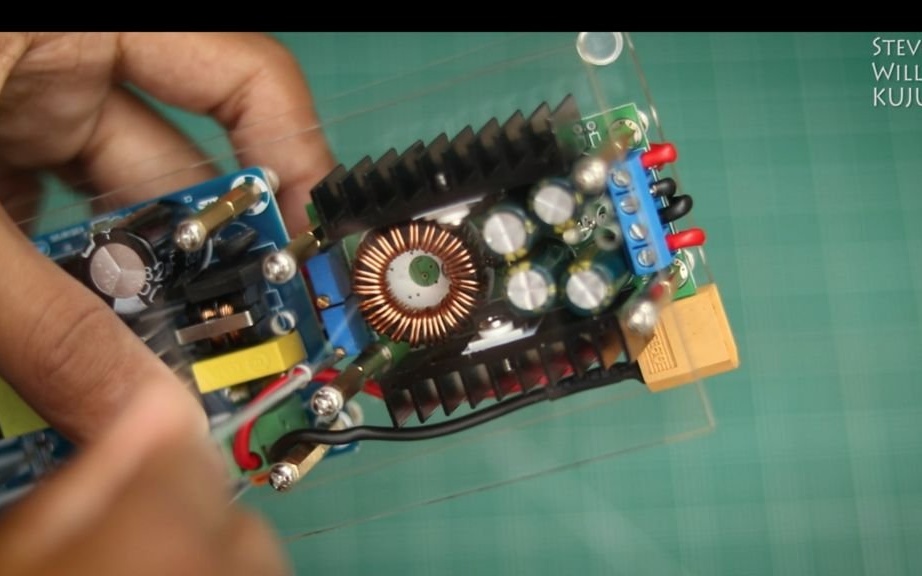
Step Three: Scheme
The device is installed as follows.
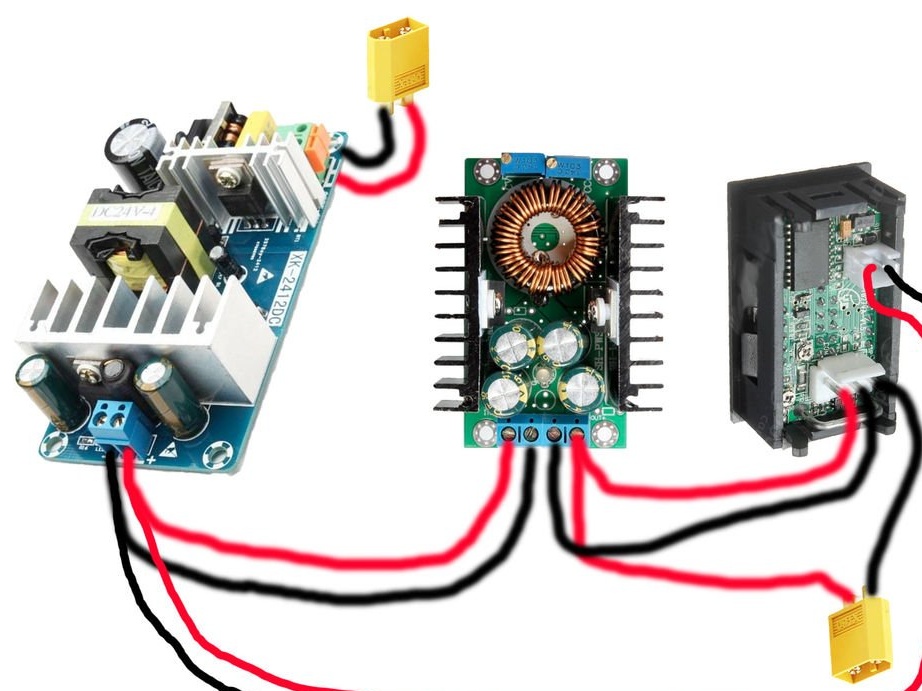
Step Four: Installation
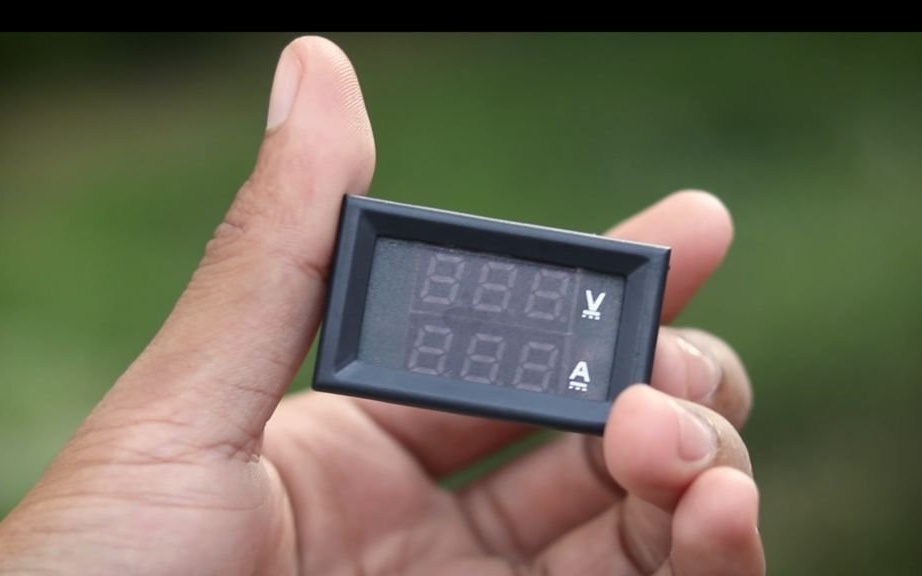
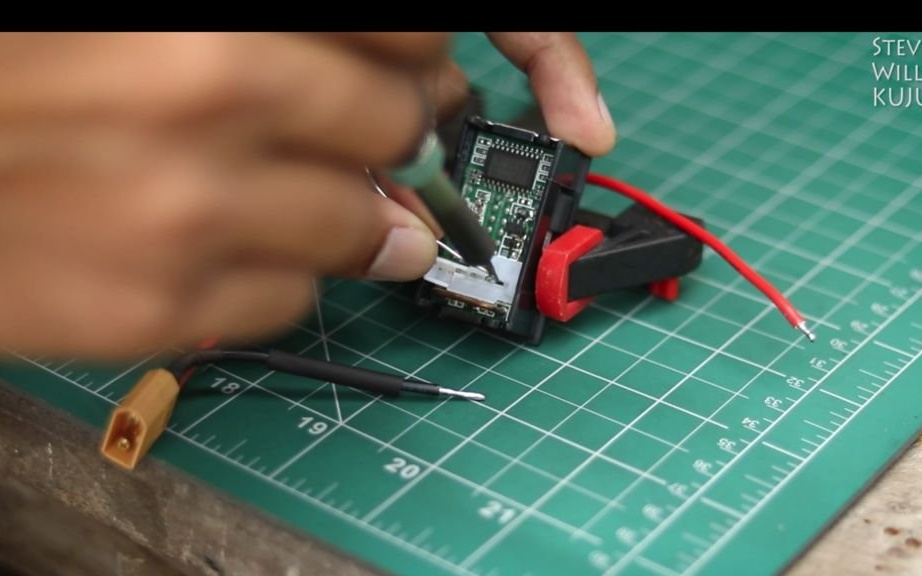
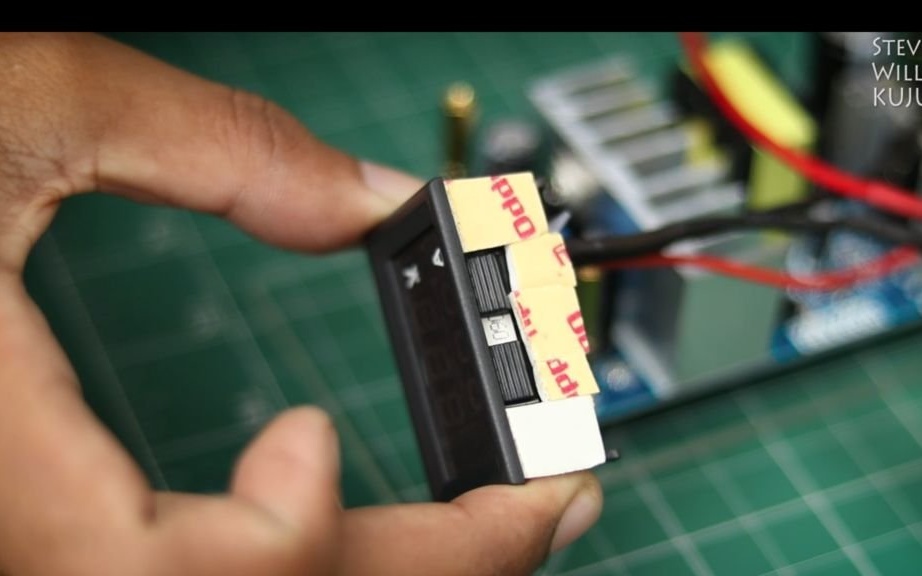
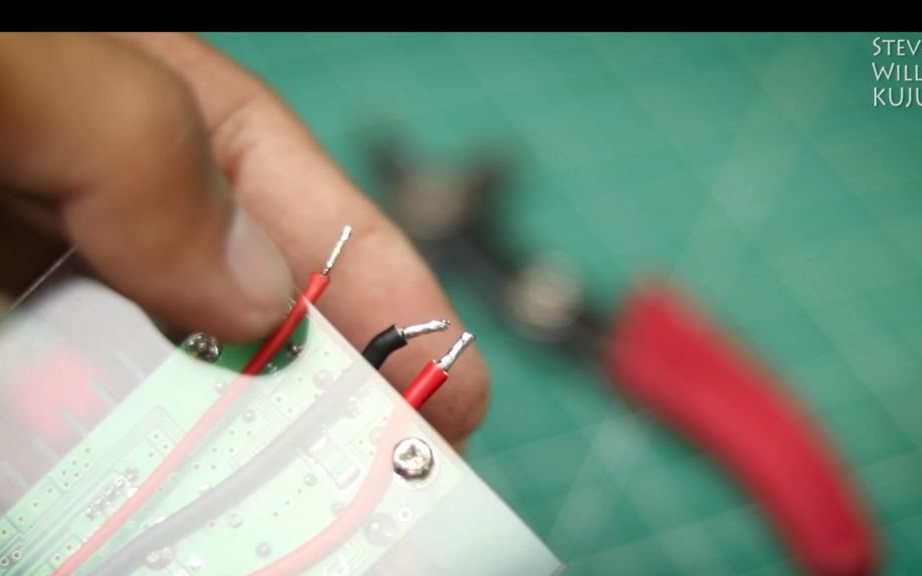
According to the circuit, solder wires to the voltmeter.
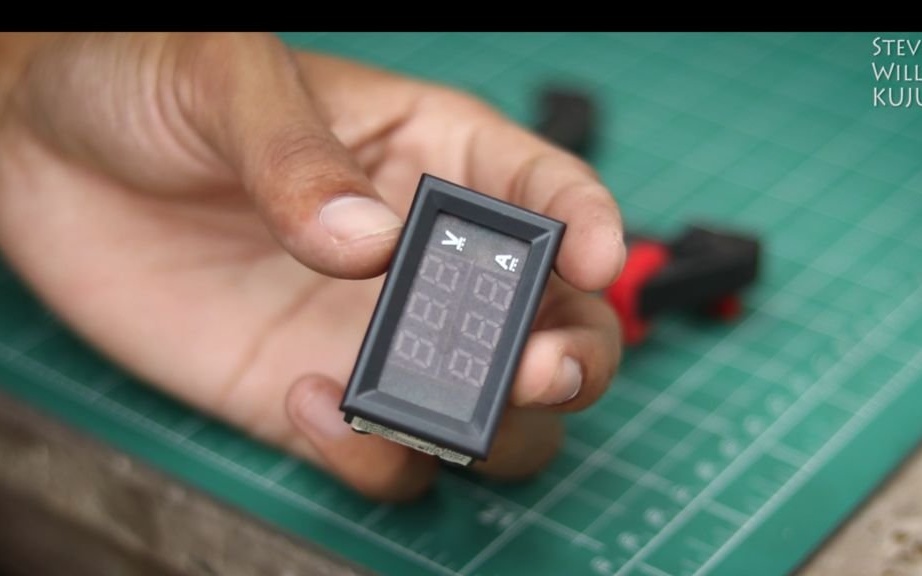
Glues double-sided tape and secures the voltmeter and connector on acrylic.
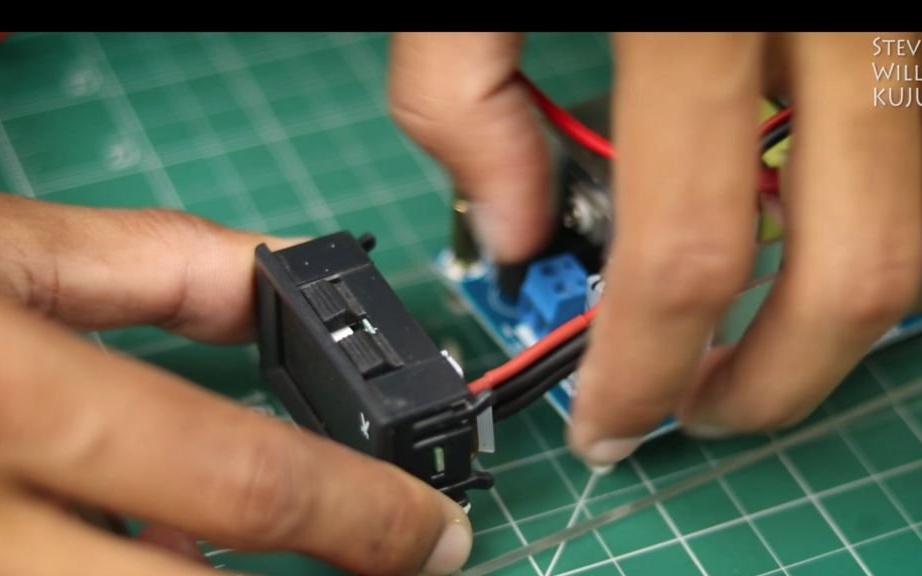
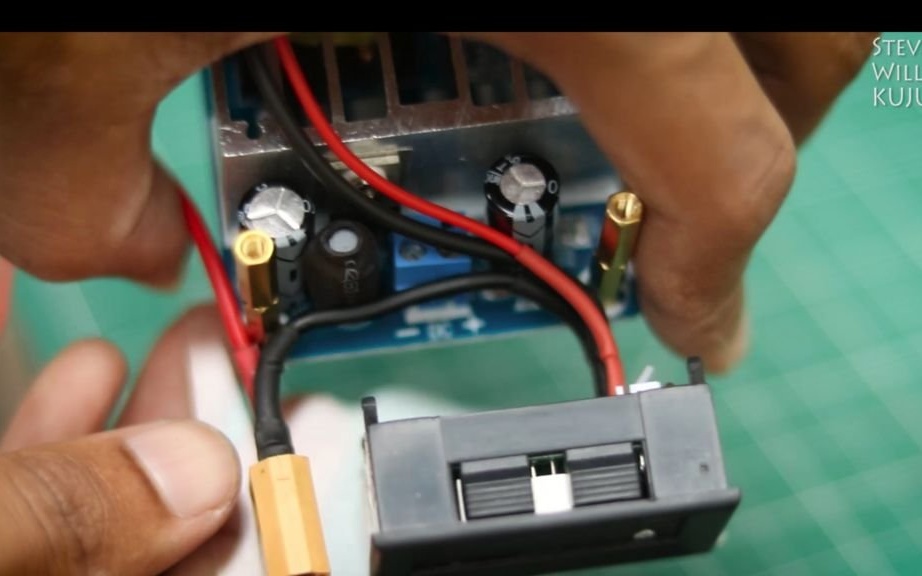
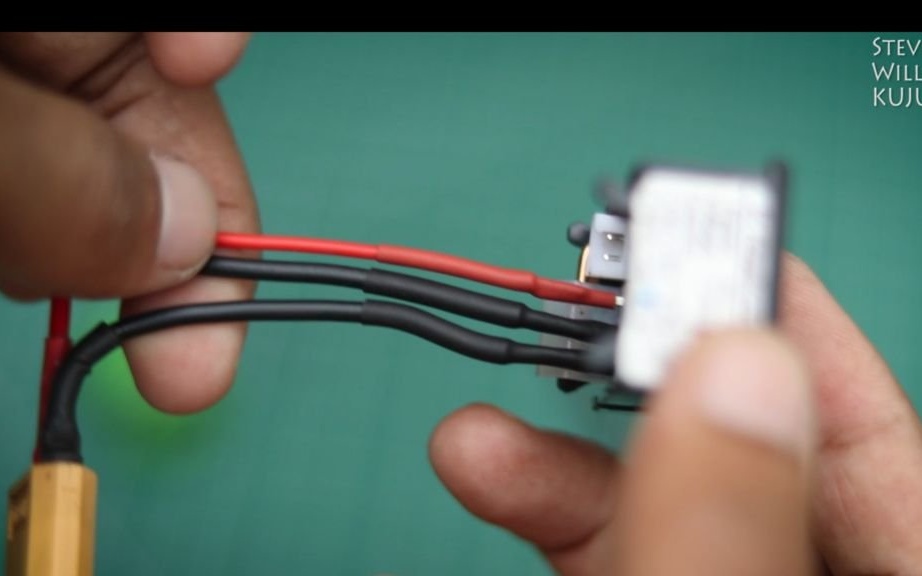
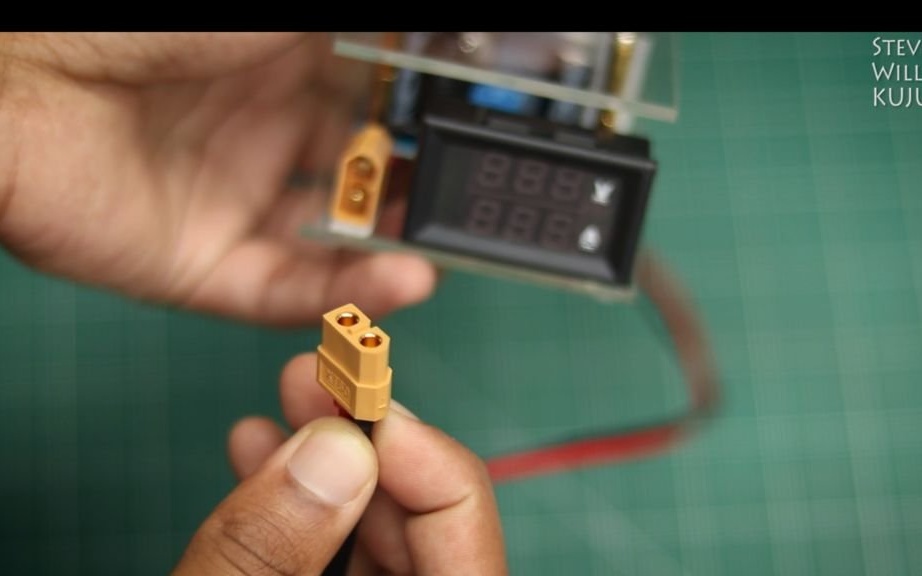
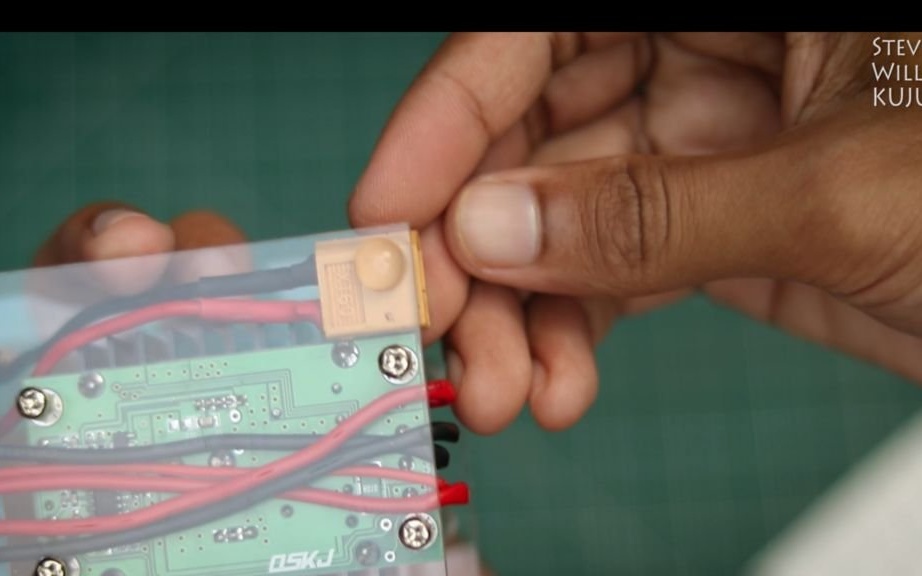
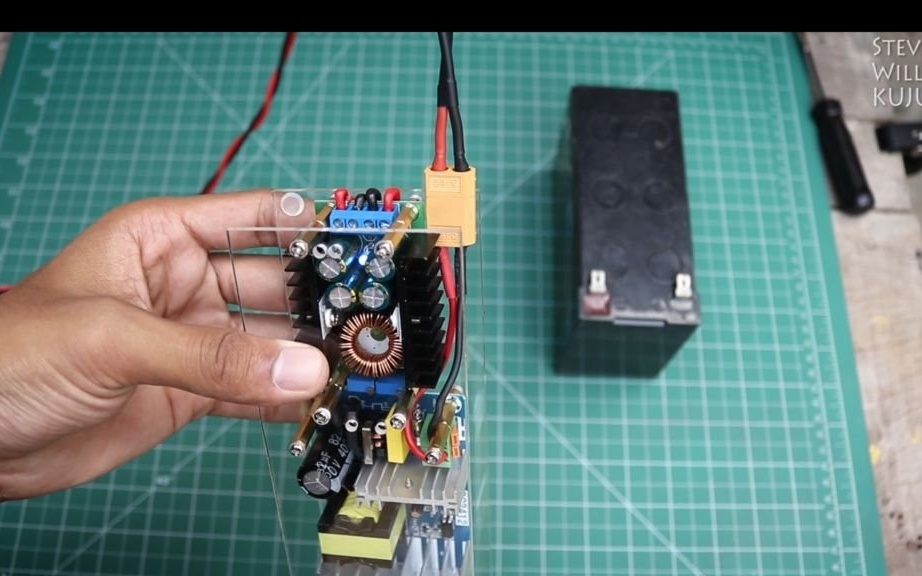
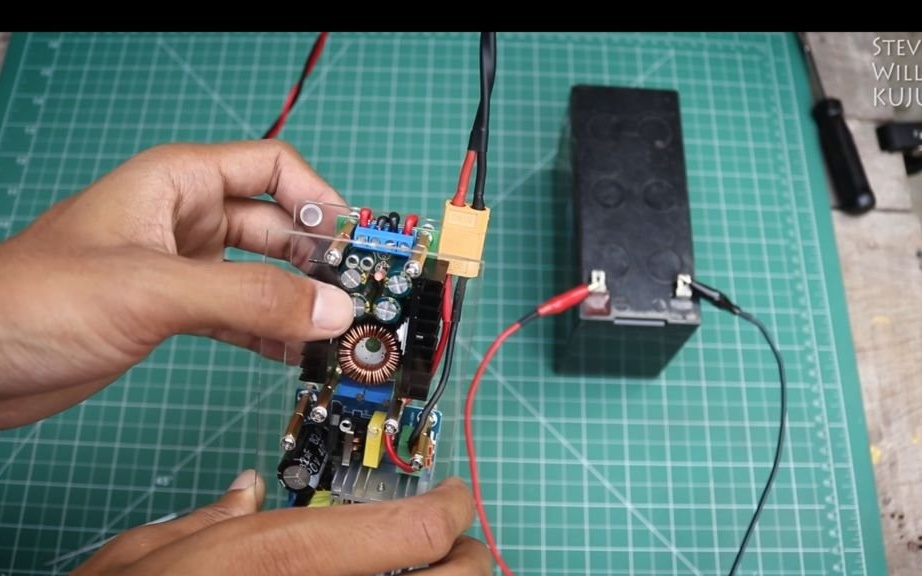
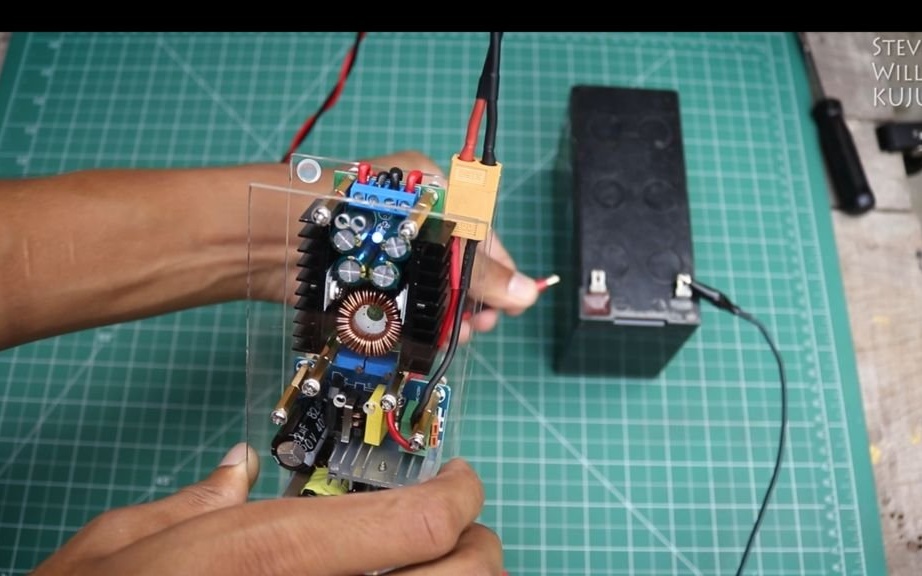
It connects the converter., The wire extends under the board.
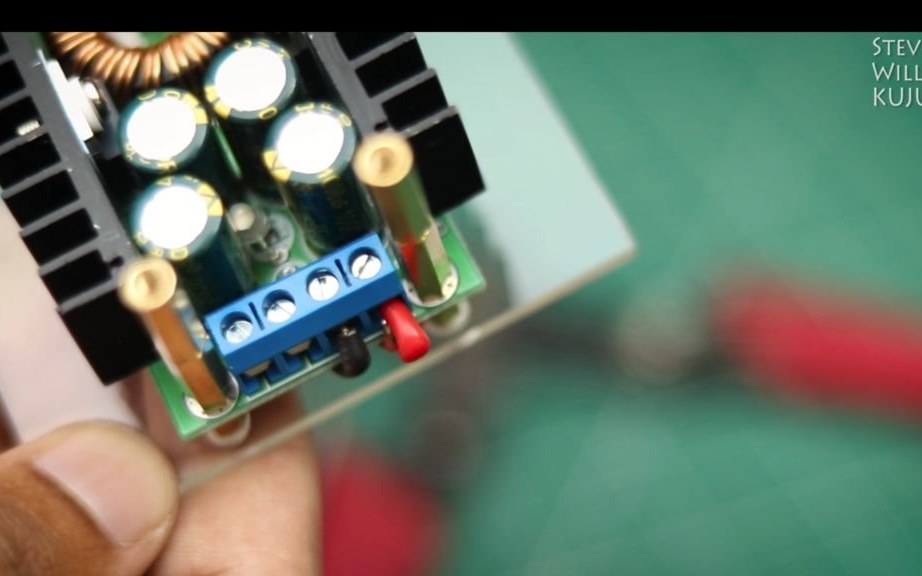
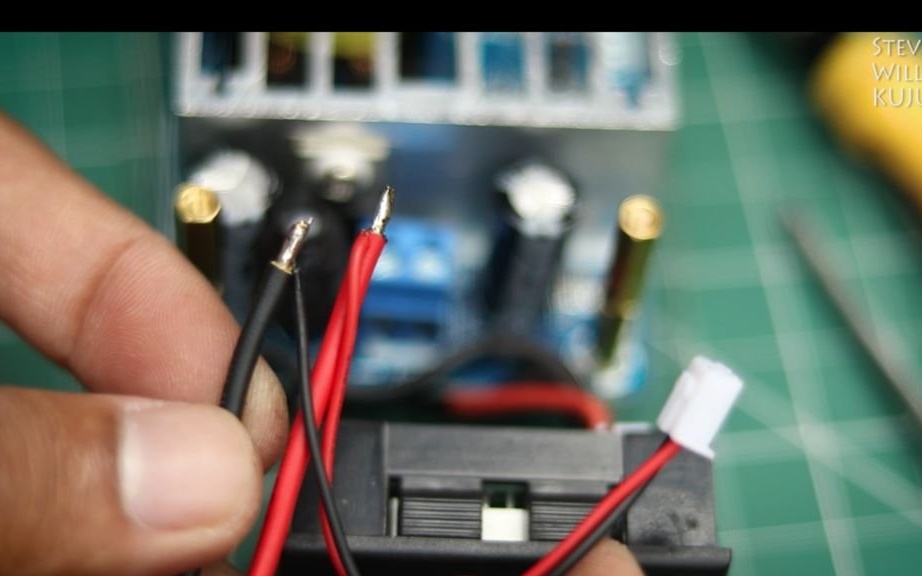

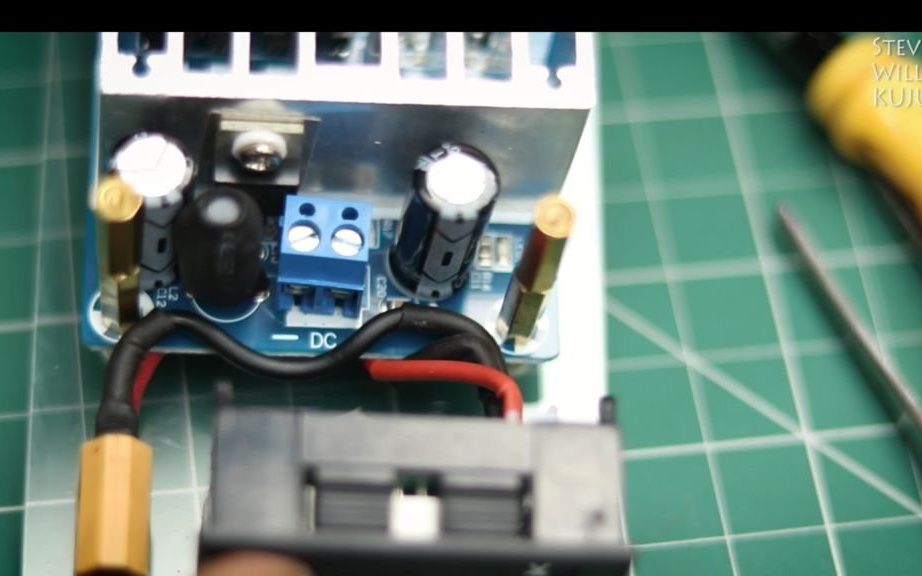
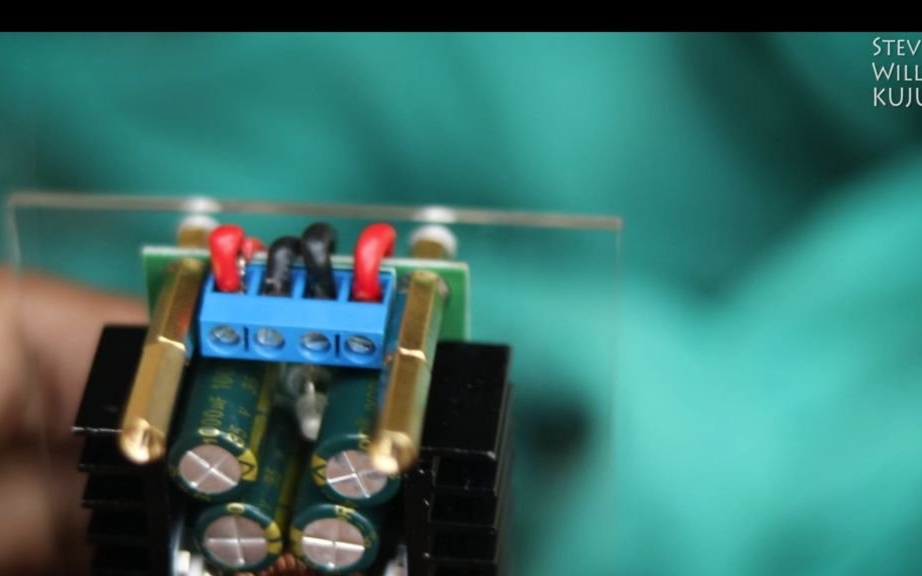
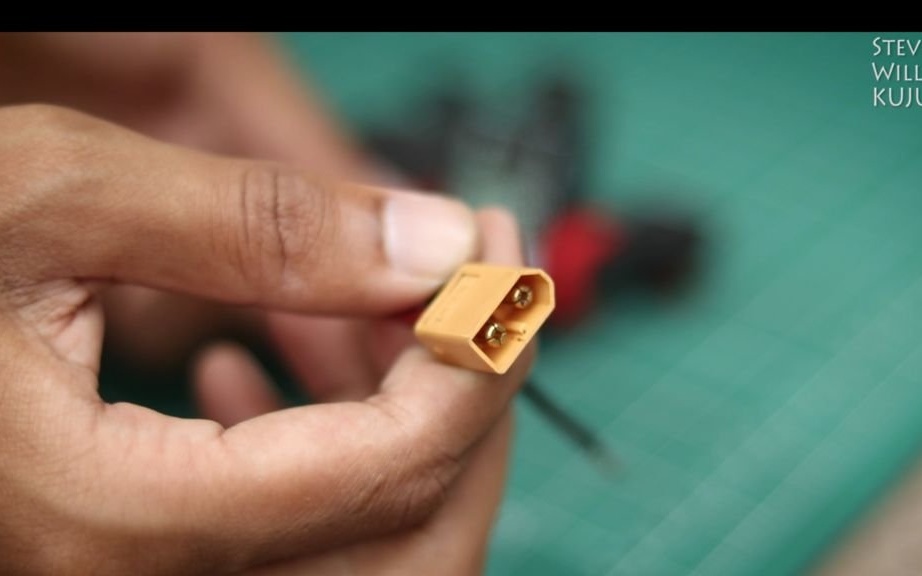
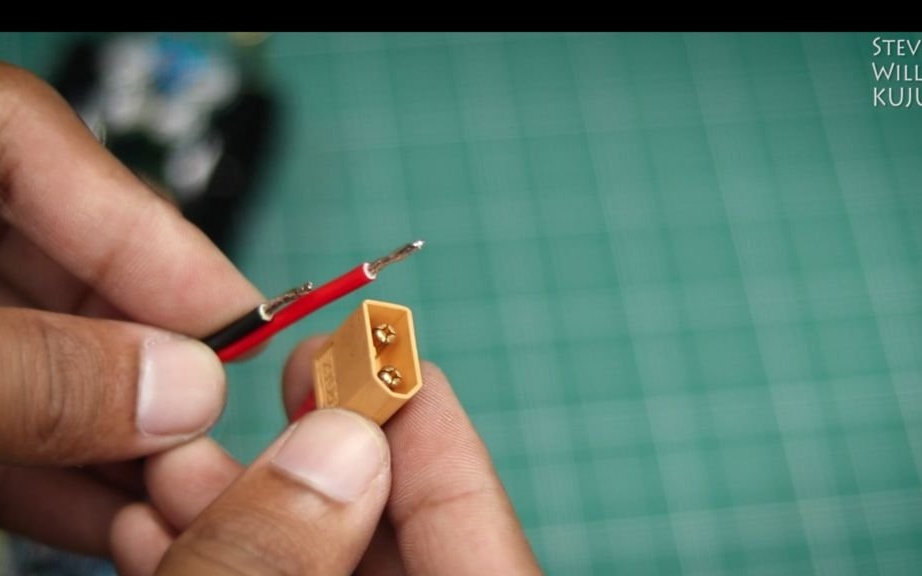
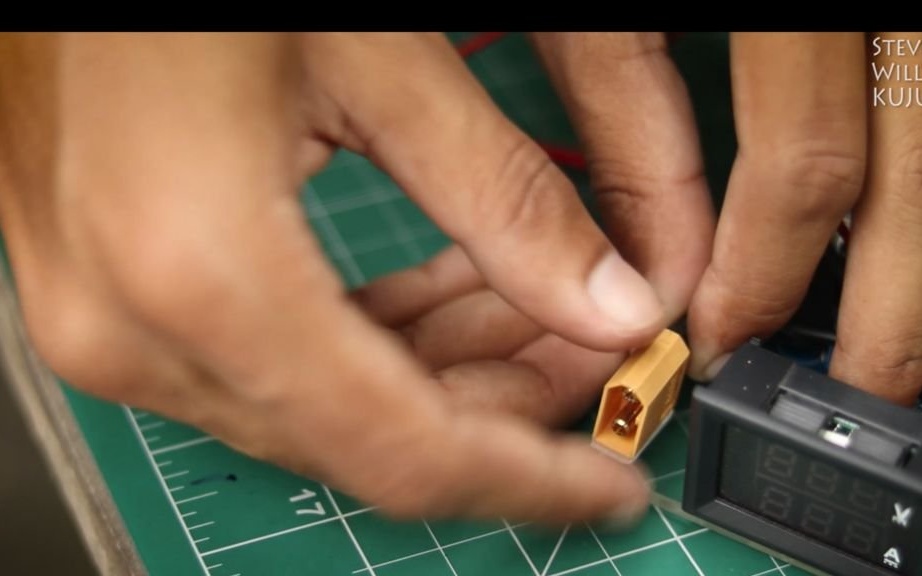
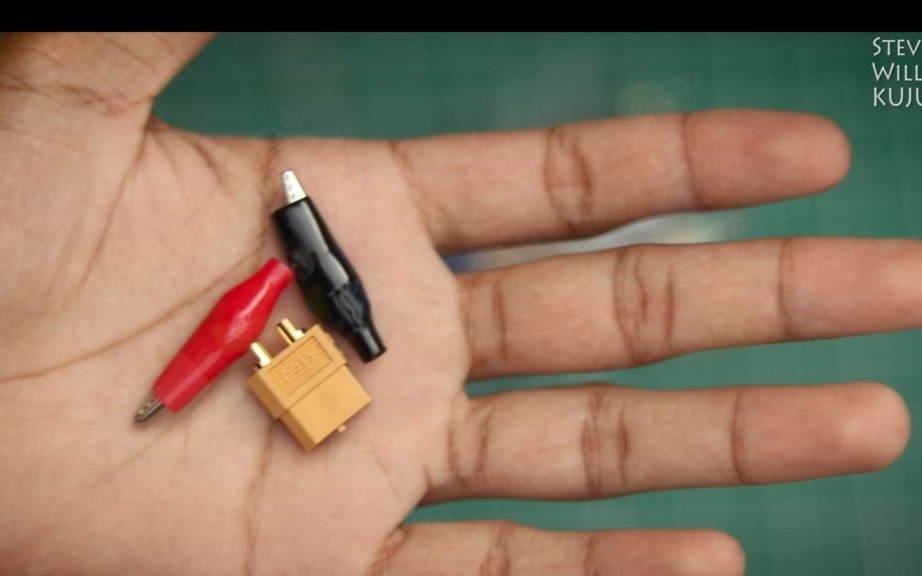
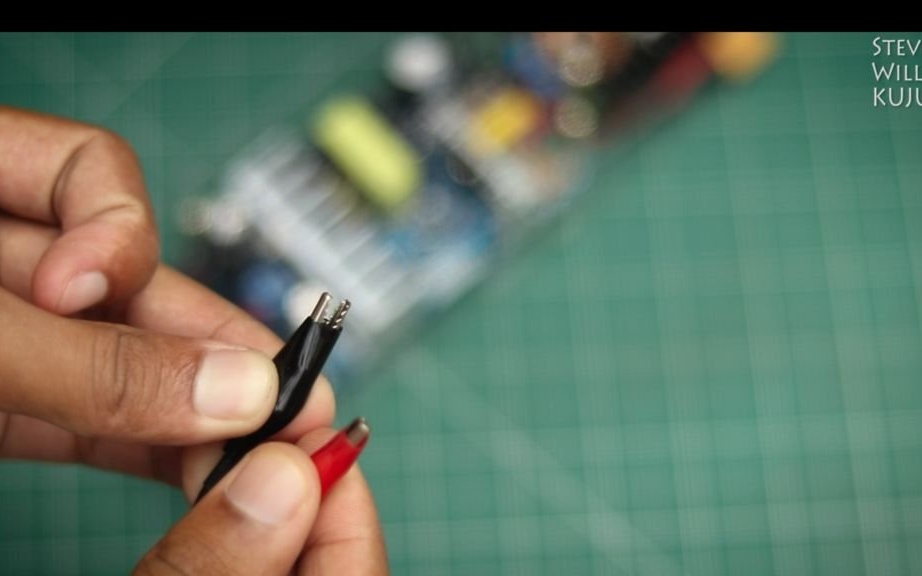
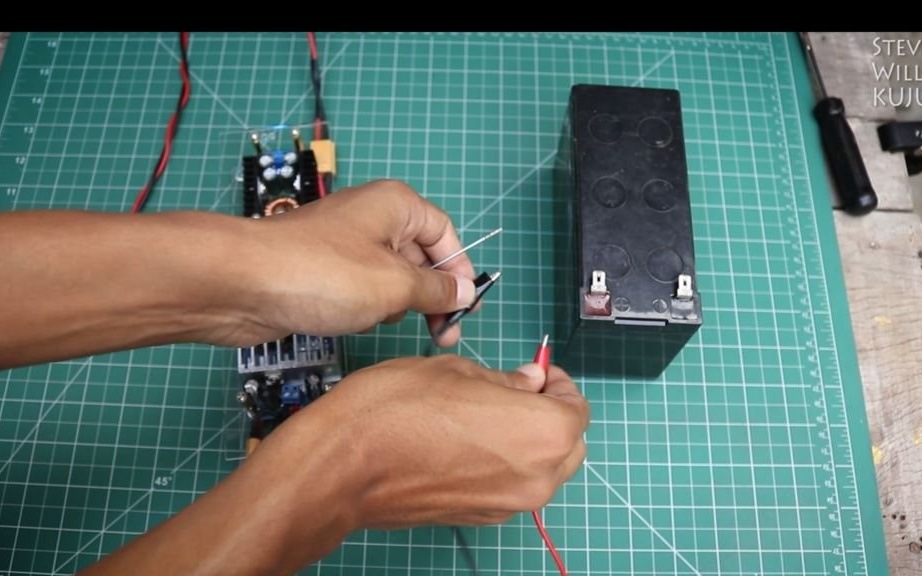
Connects clamps to connectors.
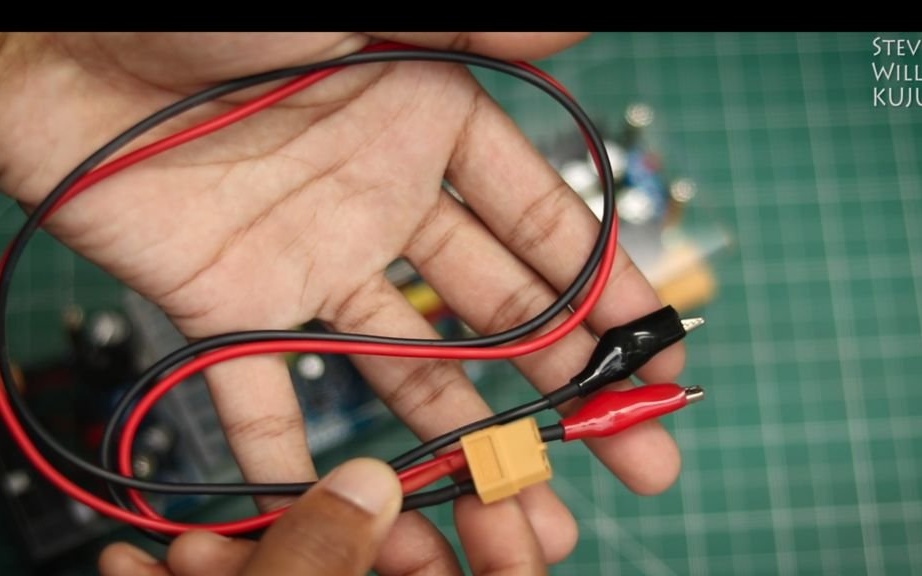
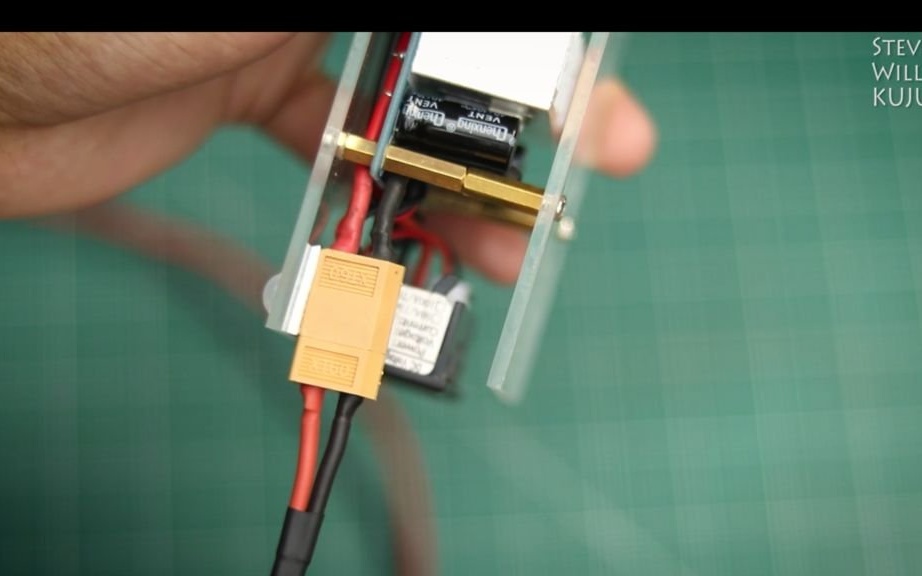
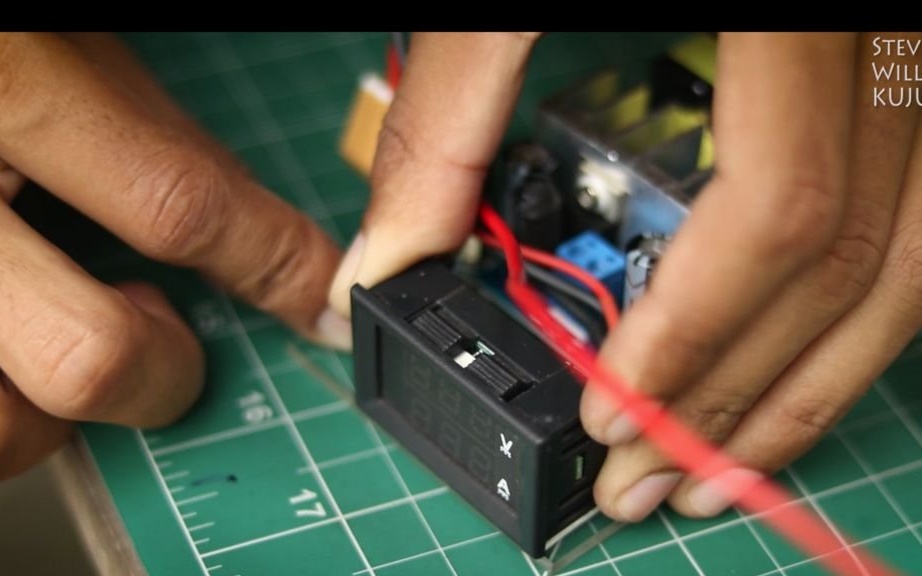
Connects the power cord.
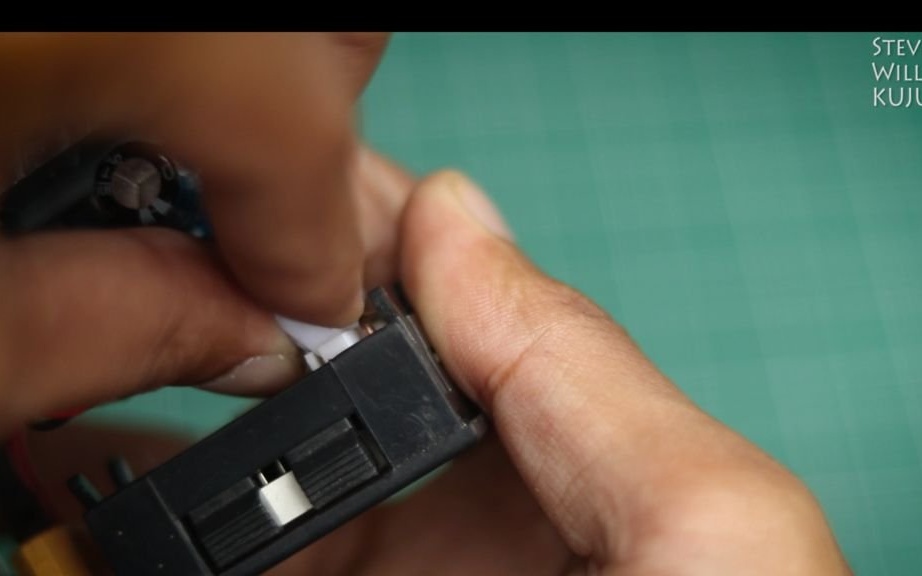
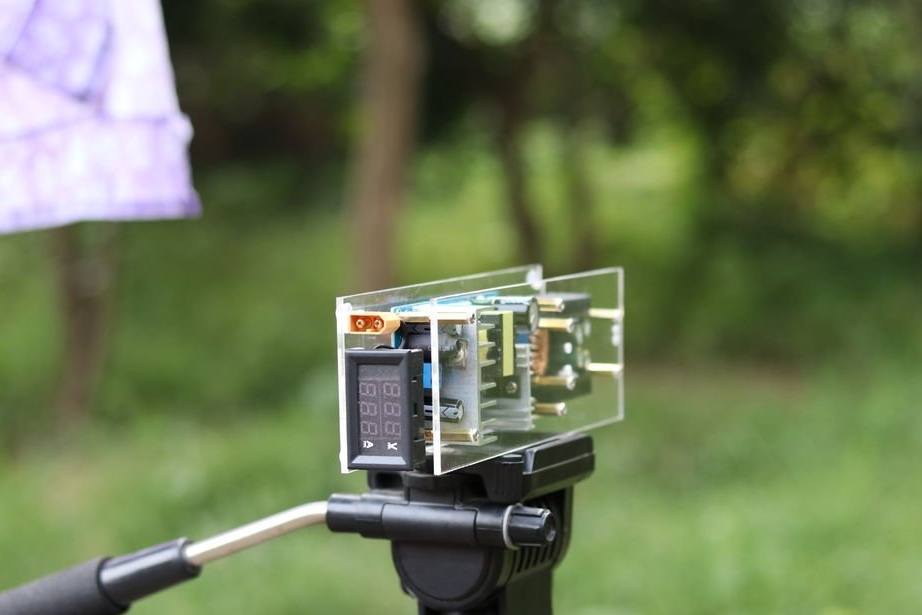
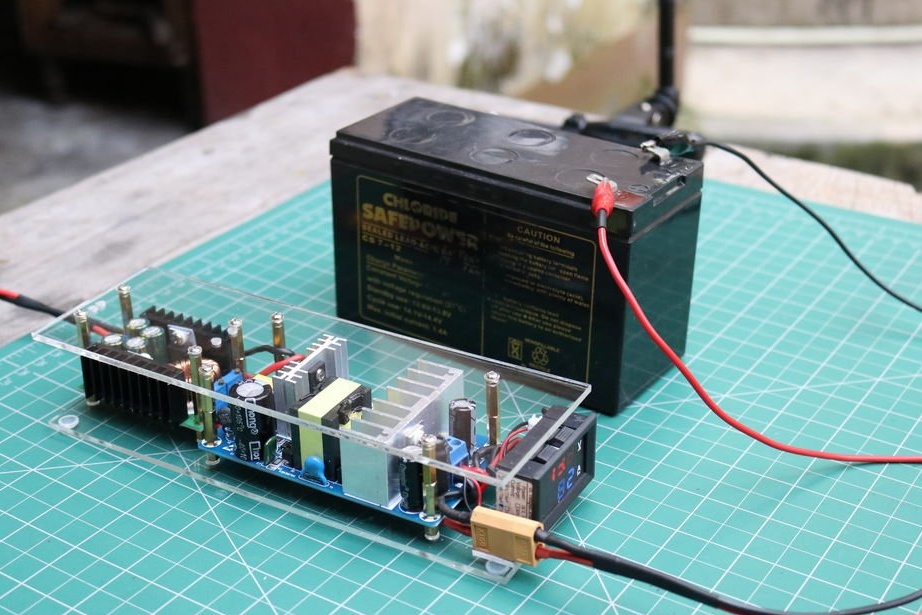
Step Five: Cover
It makes and fastens the lid from acrylic. Adhes silicone feet.


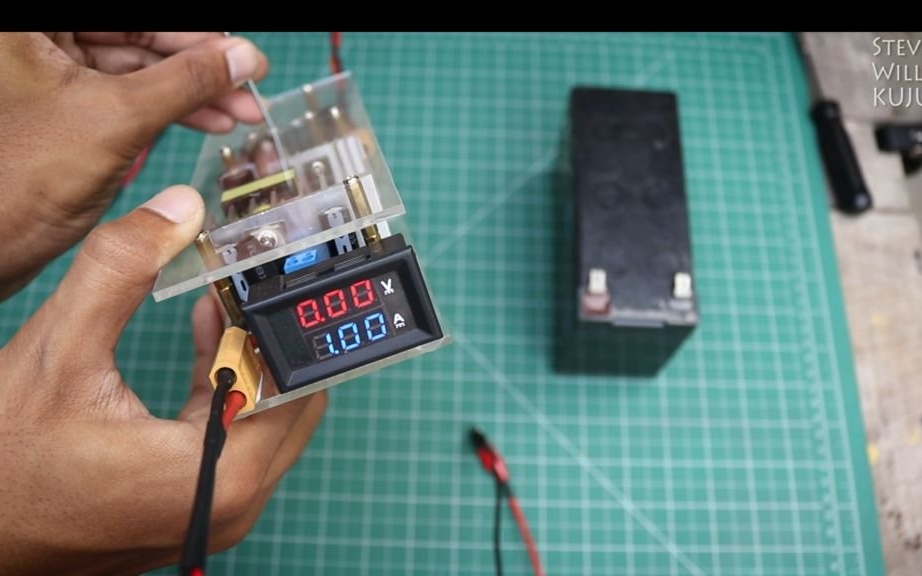
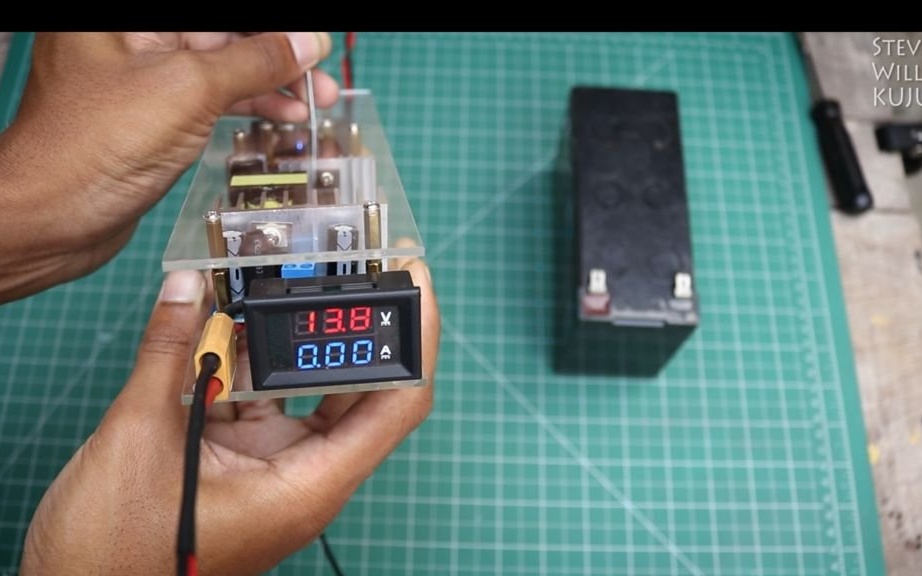
Step Six: Setup
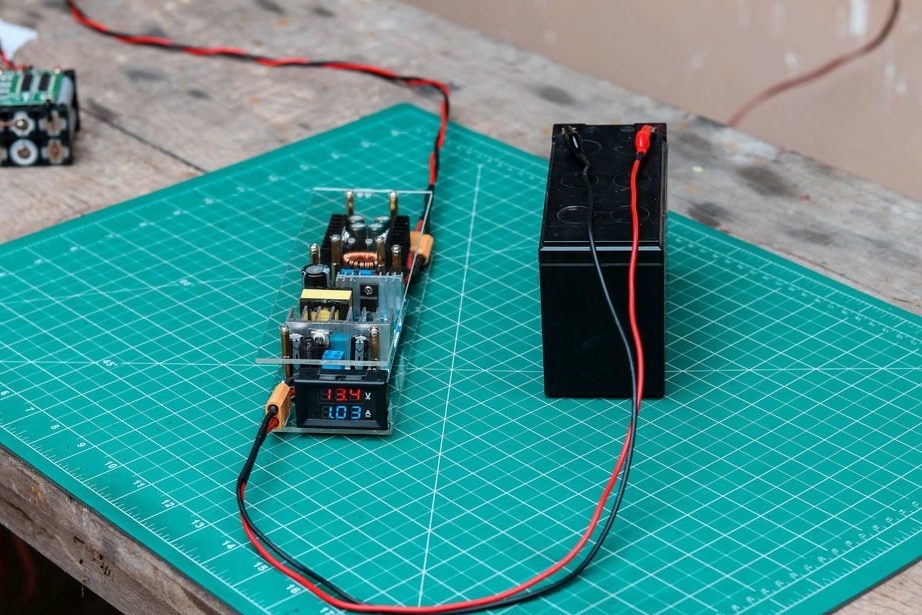
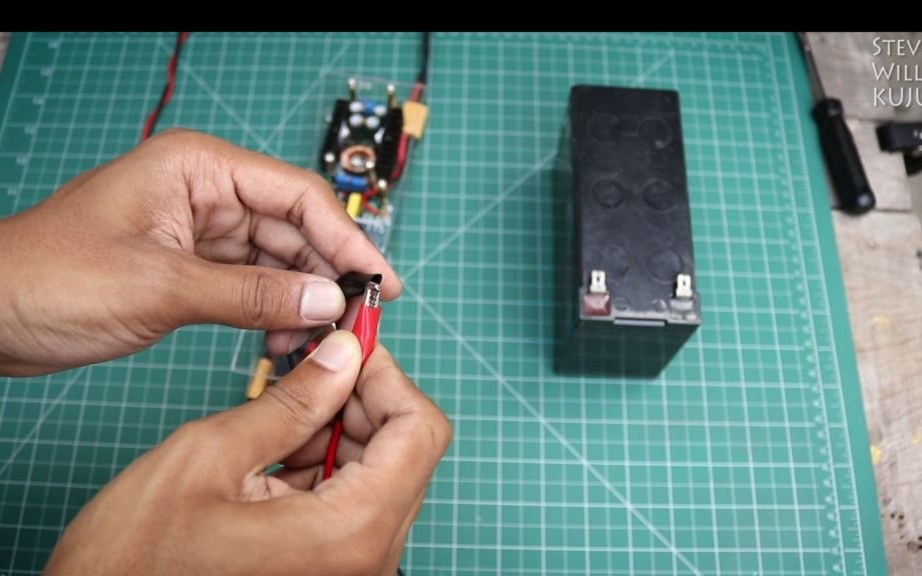
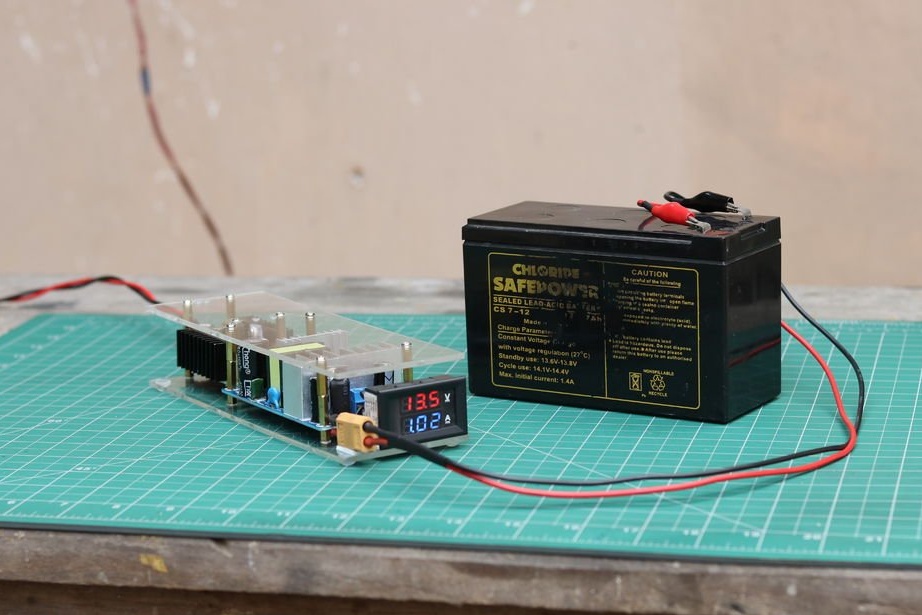
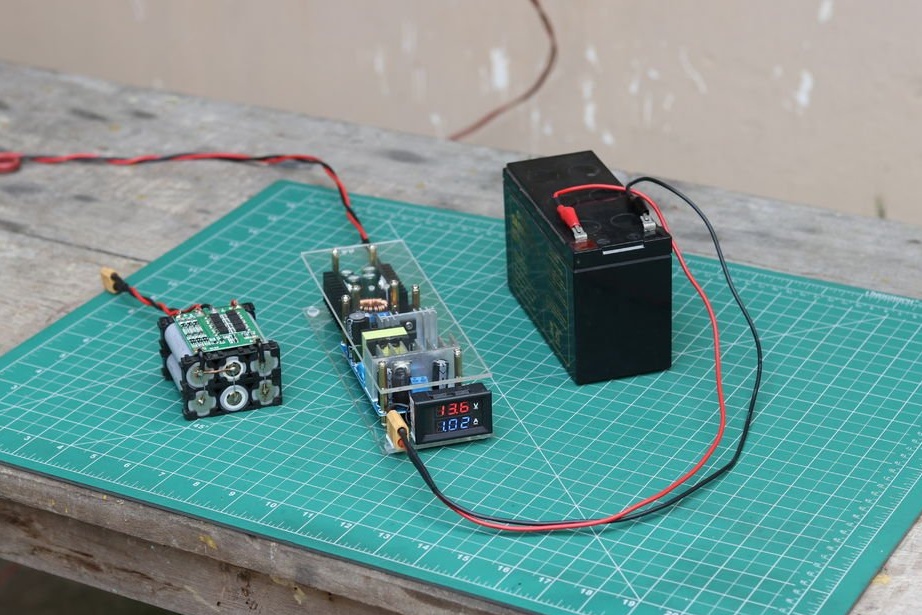
Now you need to adjust the current strength and voltage. The master shorts the clamps and sets the required current with a potentiometer. Then disconnects the clamps and sets the voltage. The voltage of the master sets 13.8 V, the current according to the formula battery capacity x 1/10 = current.
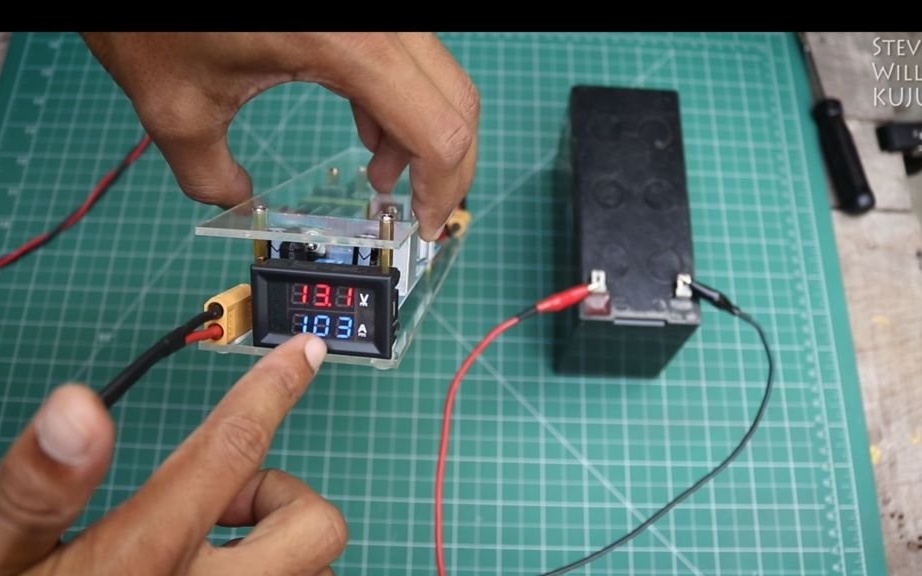
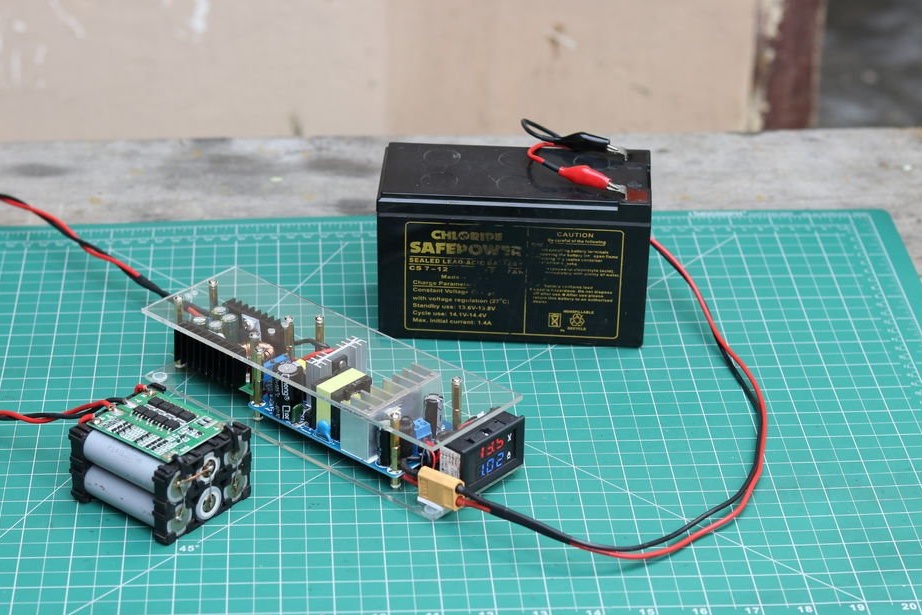
Seventh step: charging
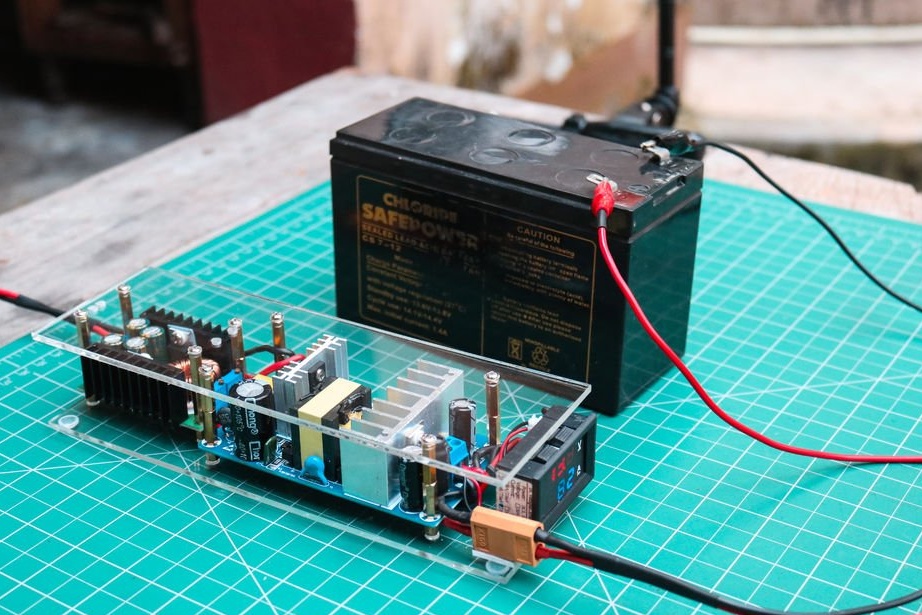
Now it remains to connect the clamps to the battery and charge. According to the author, upon reaching the charge, the device will automatically turn off.

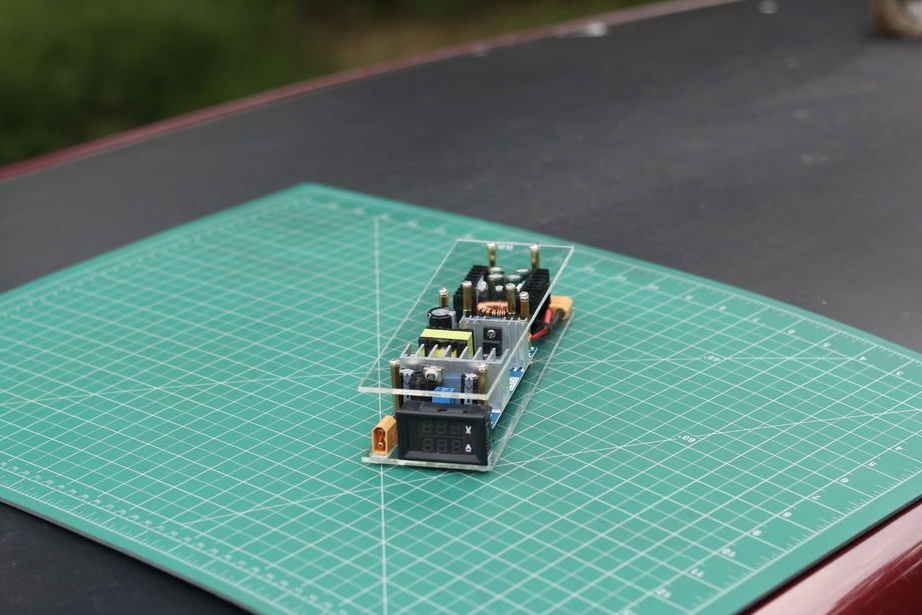
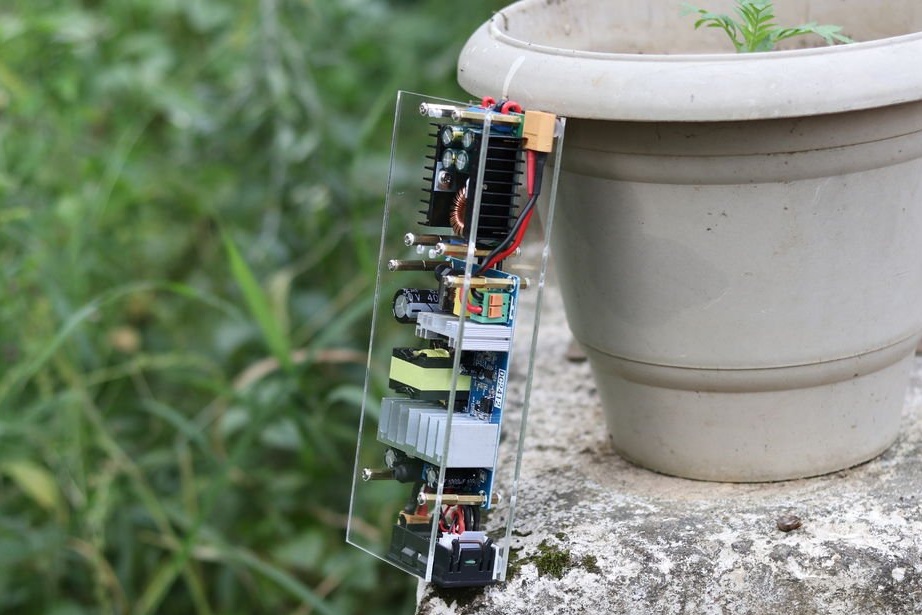
Here is a compact charger obtained from the master. Of course, the security of the device is questionable. At a minimum, it was necessary to carefully consider the case and make it more closed.
The entire process of manufacturing a charger can be seen in the video.