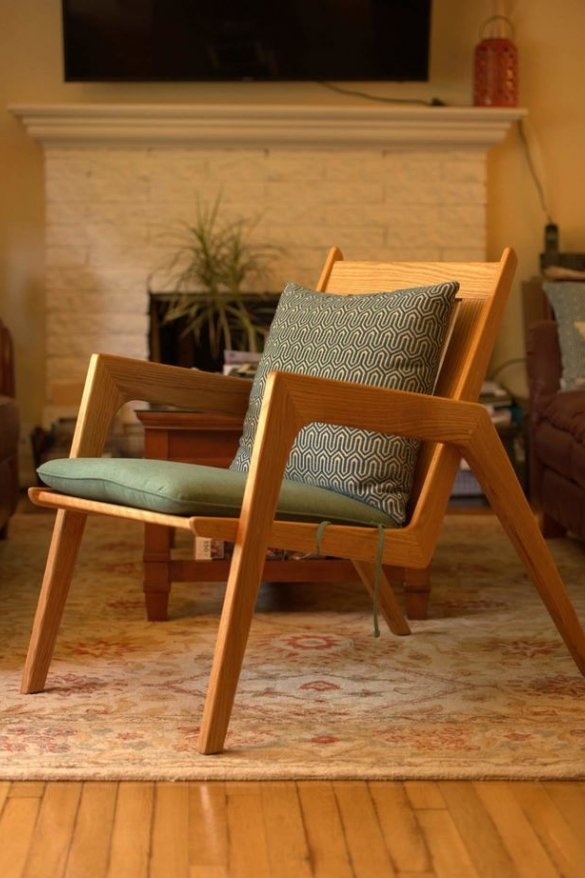
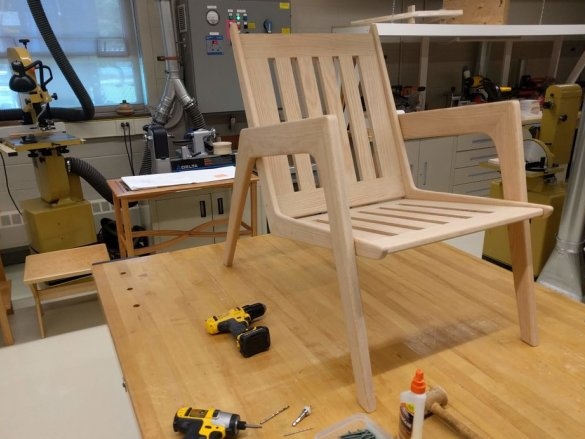
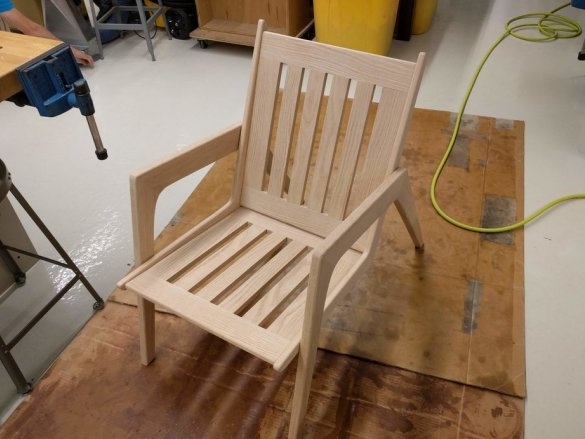
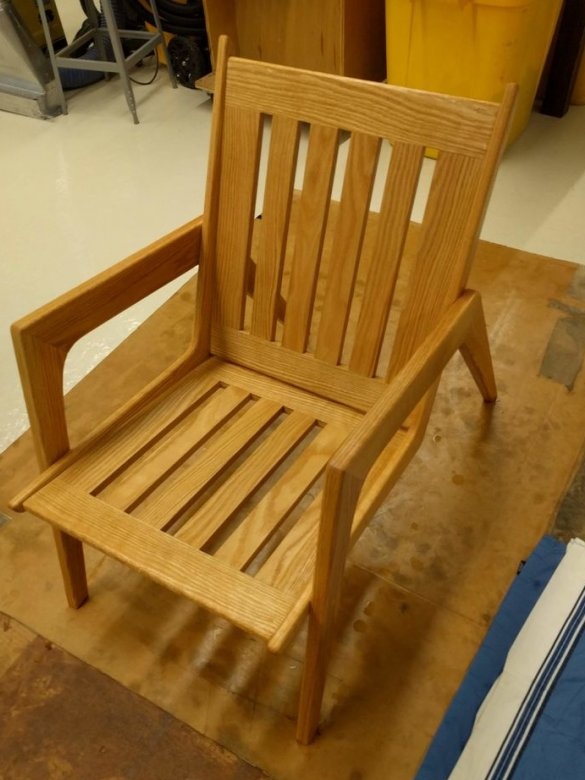
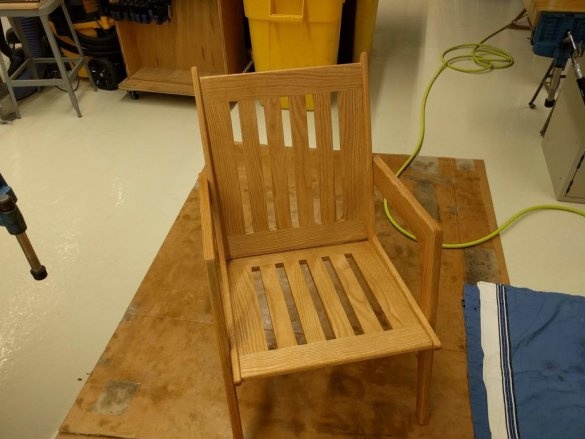
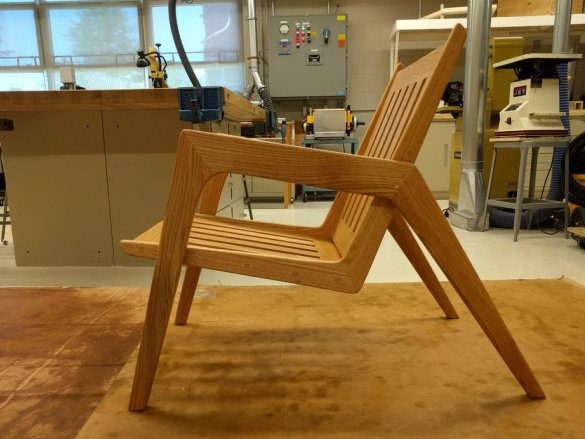
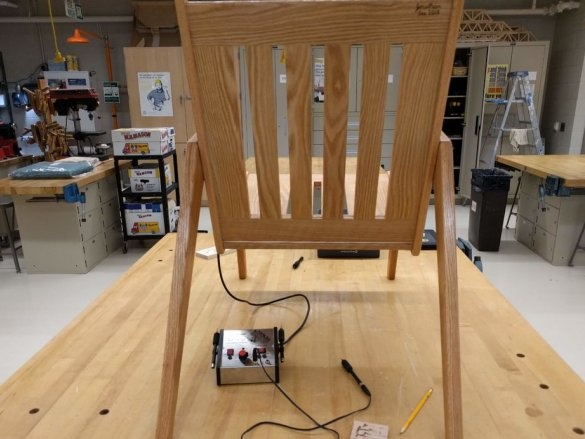
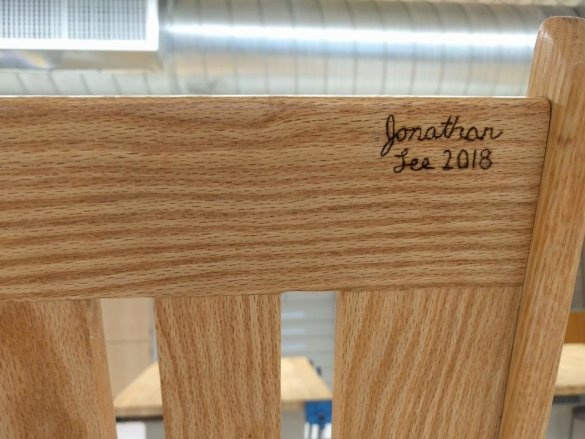
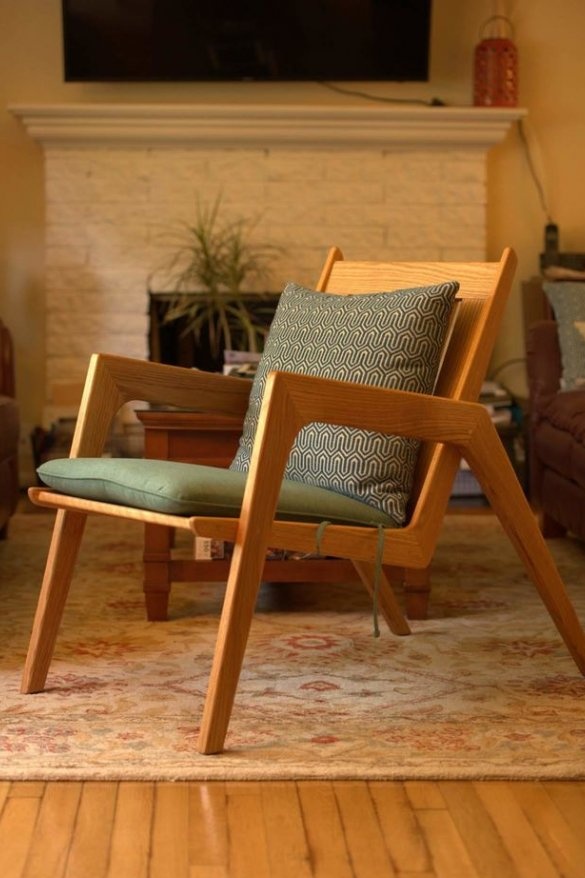
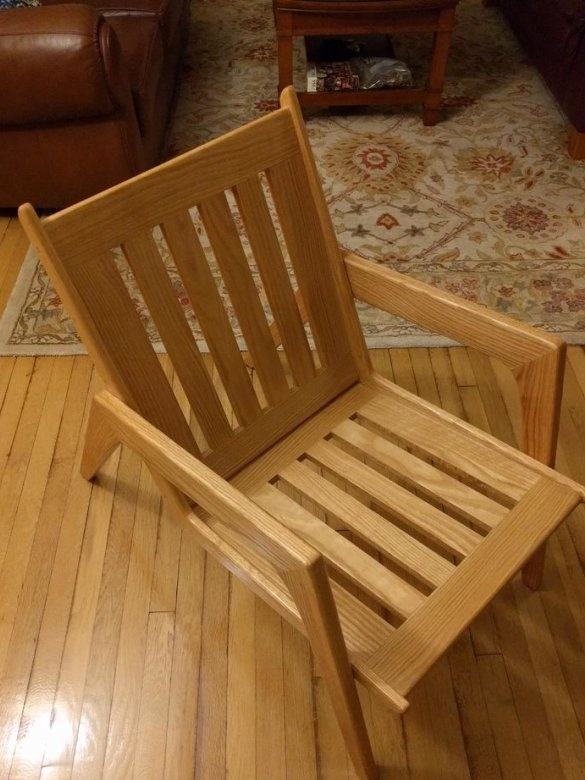
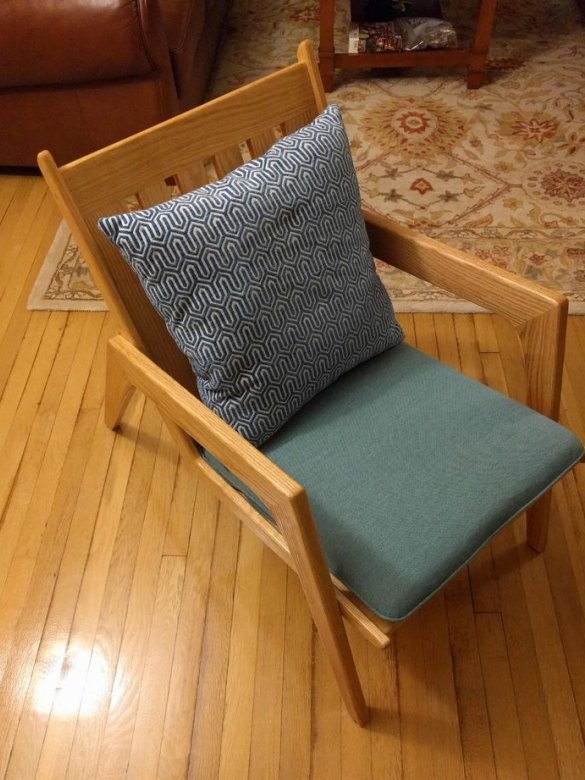
Hello everyone, today I will tell you how a master under the nickname JonLee48 made a modern lounge chair.
Materials:
1.screws
2.Glue for wood
3. Plywood
Instruments:
1.Desk saw
2. Band Saw
3.Drill
1.screws
2.Glue for wood
3. Plywood
Instruments:
1.Desk saw
2. Band Saw
3.Drill
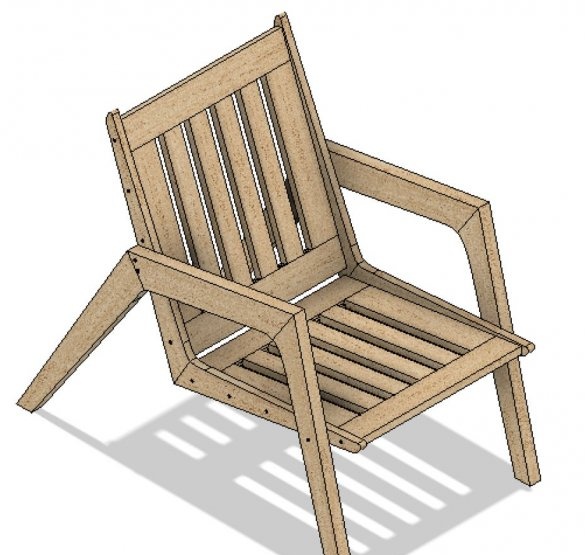
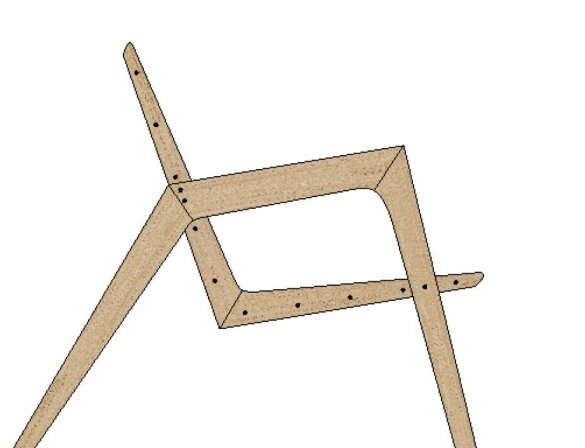
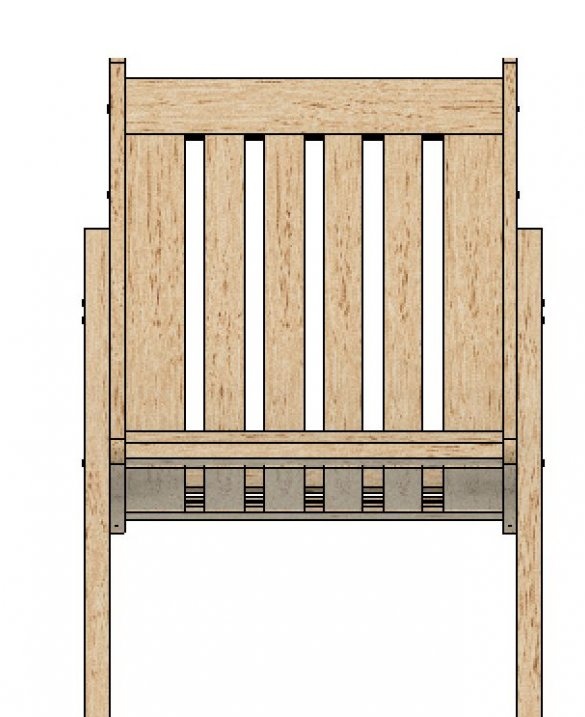
1. Using images of a finished chair, the author made sketches of his chair.
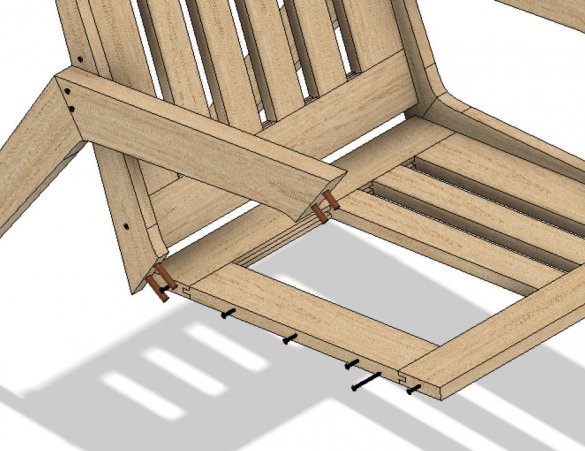
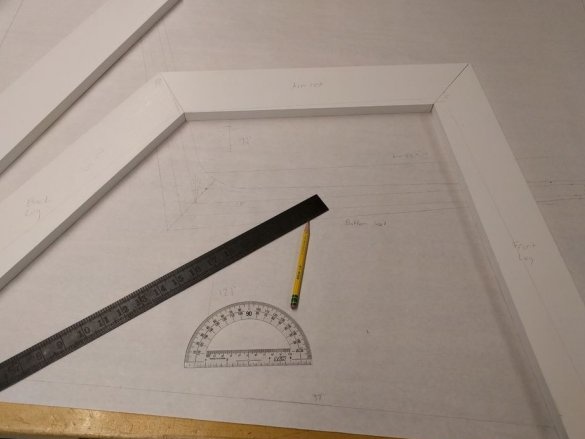
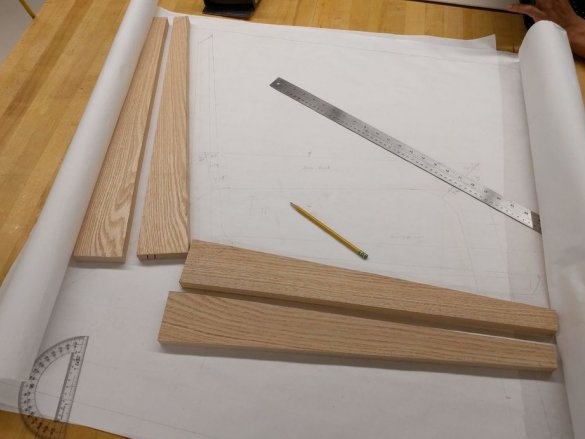
For convenience, the author converted his drawing into a full-sized one. The author also added details such as dowels, dowels and screws. The author tried to do everything as accurately as possible. In addition, the author made full-size drawings in PDF format.
For convenience, the author converted his drawing into a full-sized one. The author also added details such as dowels, dowels and screws. The author tried to do everything as accurately as possible. In addition, the author made full-size drawings in PDF format.
2. (Creating a prototype is optional, but it can save you from errors that could be avoided with a real build!)
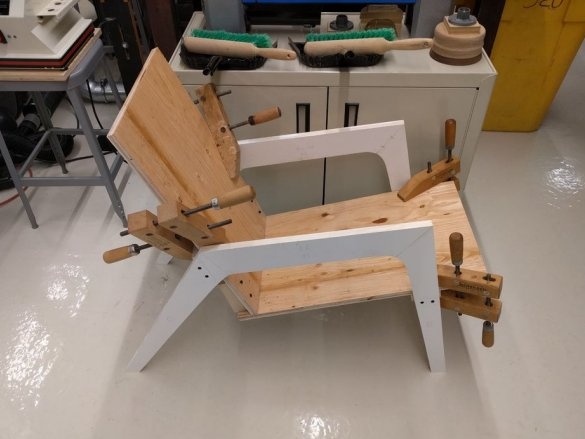
The prototype was quick and cheap, as the author used cheap pine plywood. The author also did not begin to create a frame "L" and subframes of seats.
The prototype was quick and cheap, as the author used cheap pine plywood. The author also did not begin to create a frame "L" and subframes of seats.
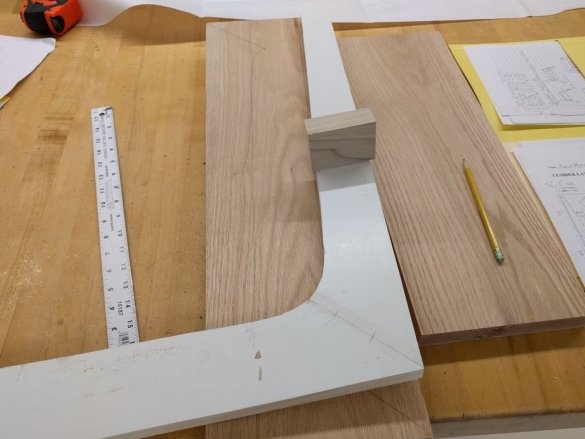
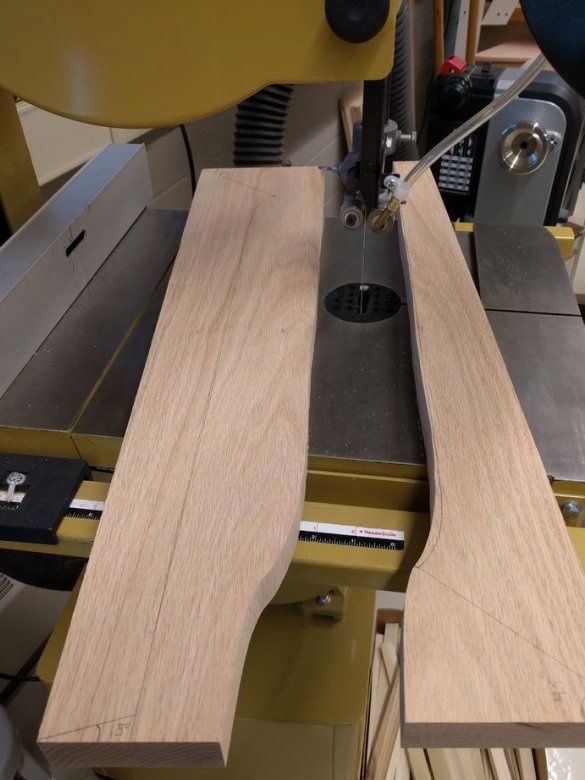
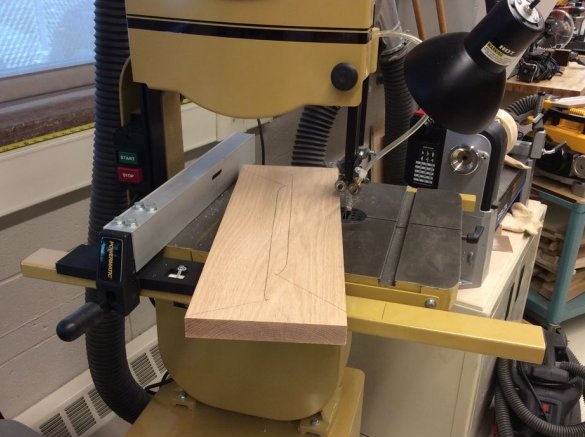
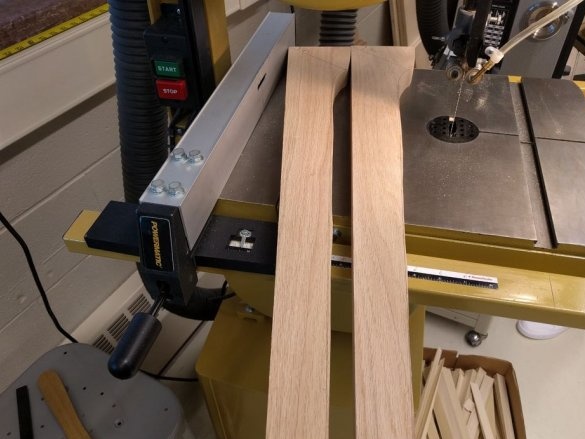
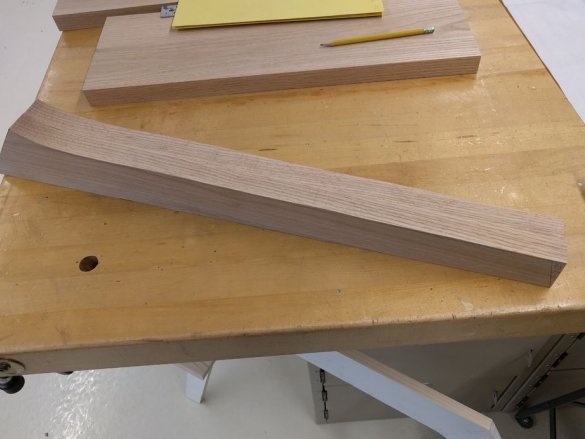
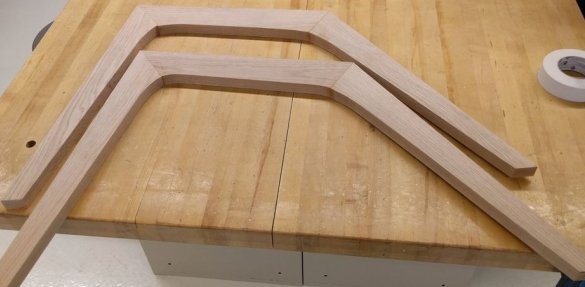
3.Foot and armrest made of 5/4 oak. The foot assembly consists of three parts: the front leg, the armrest and the back leg. The author managed to get two parts from a 7/4 wide board, so the Author used only 3 sections of a 5/4 board. The author cut out 3 sections from 8 m of the board, and then noted the cut using the legs of the prototype.
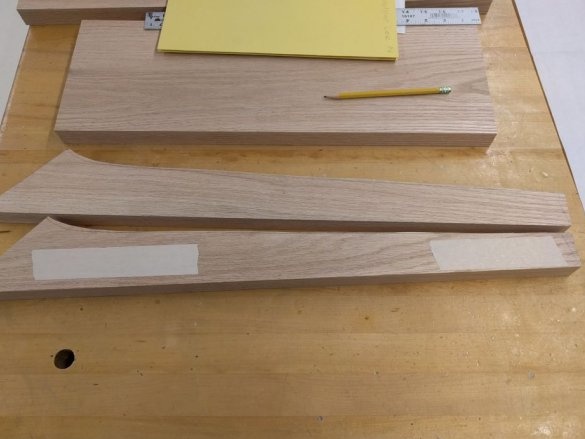
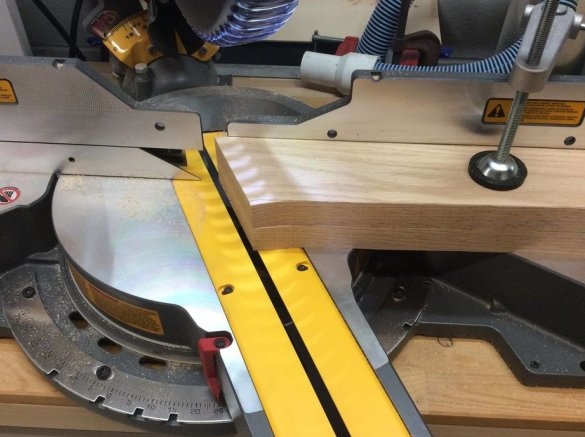
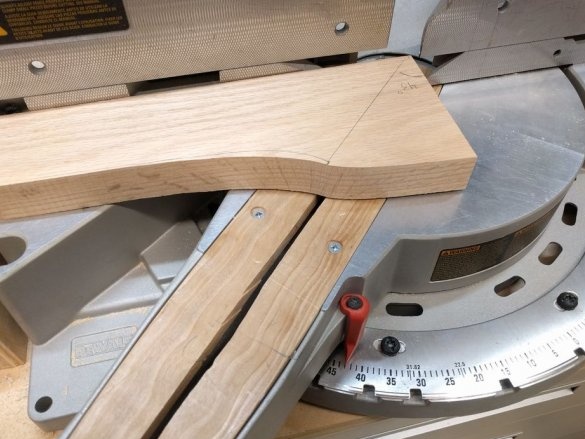
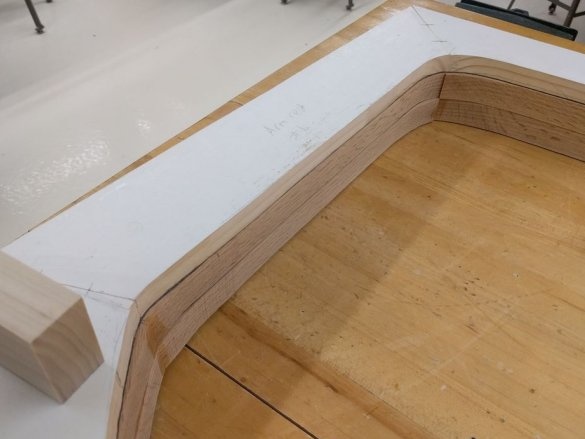
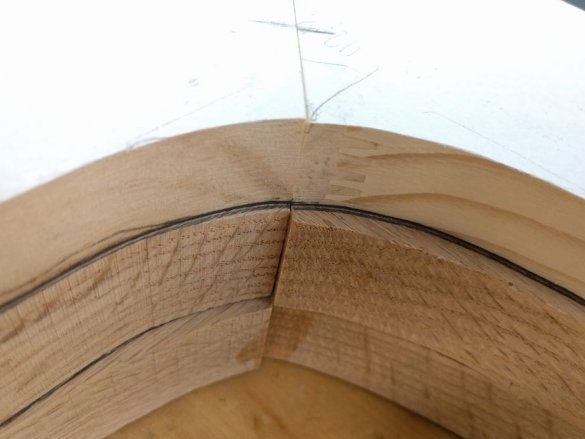
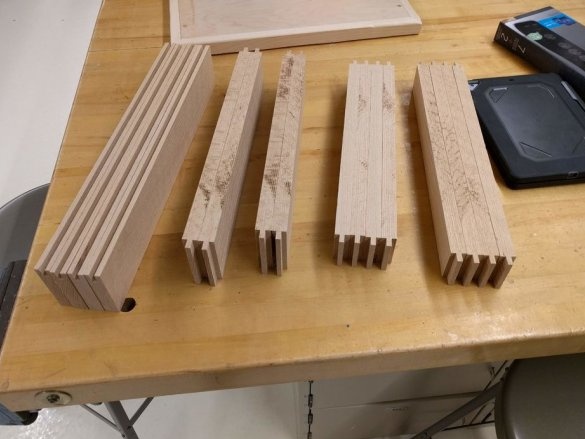
Now the author used double-sided tape to glue pairs of identical parts. The author made all the corner cuts on the miter saw, cutting both parts at the same time. This ensured that both sets of legs would be identical.
Now the author used double-sided tape to glue pairs of identical parts. The author made all the corner cuts on the miter saw, cutting both parts at the same time. This ensured that both sets of legs would be identical.
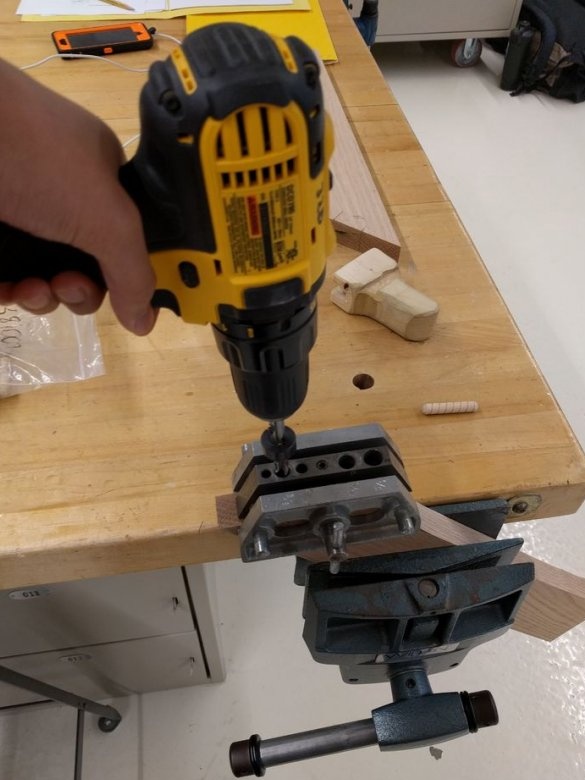
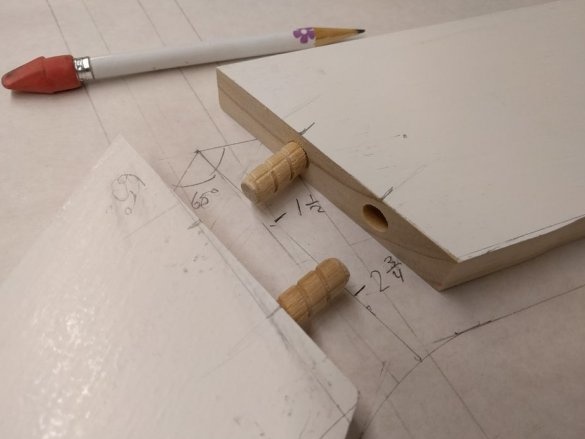
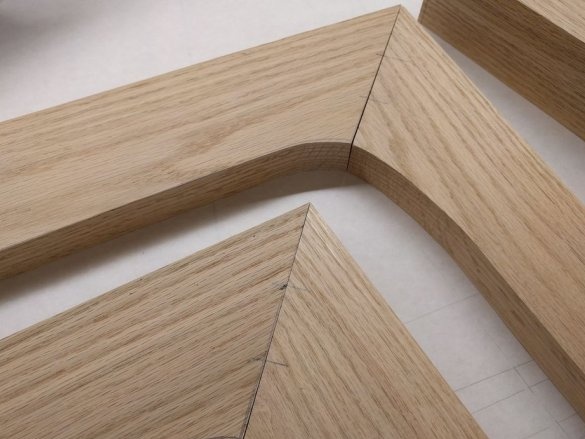
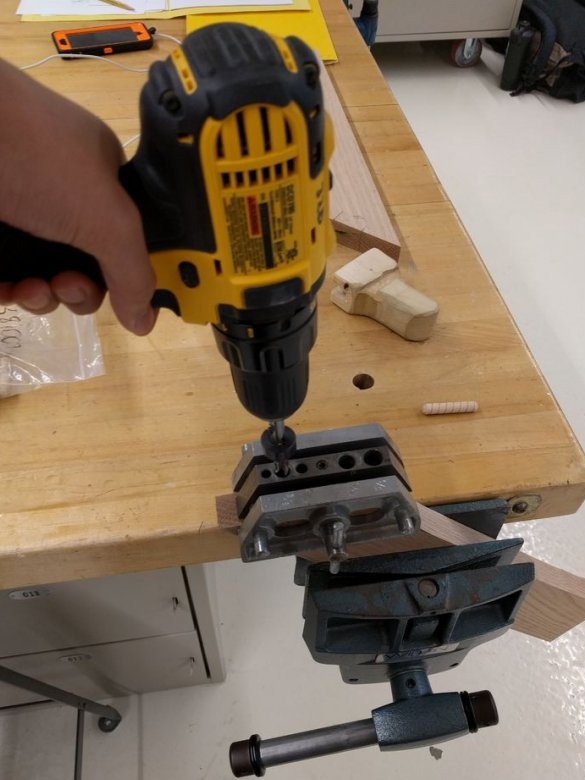
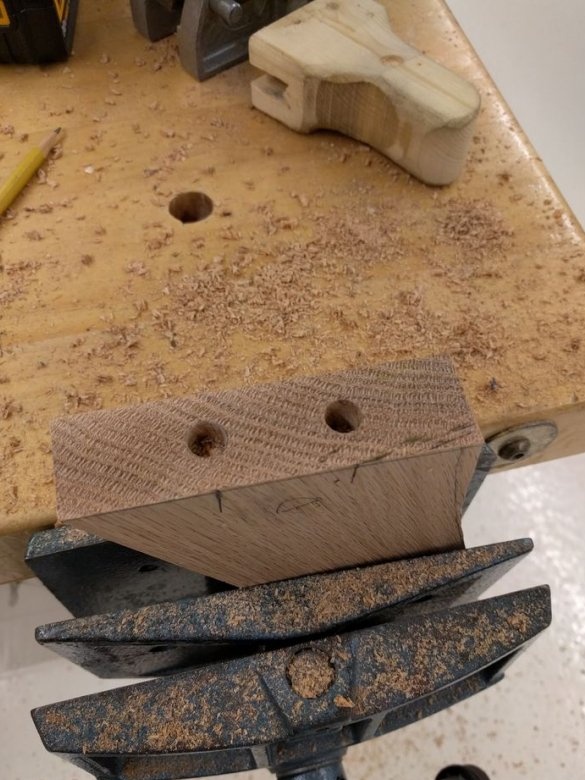
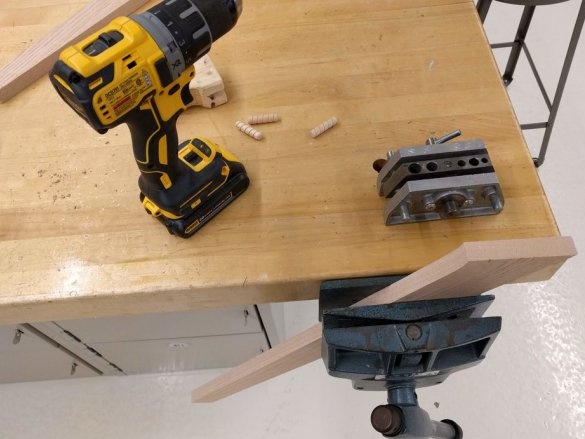
4. On each transverse connection, the author noted the position of the dowels, making sure that the line coincided with the other half of the connection. Then the author used 3/8 drill and dowel to drill holes for dowels. The author set the depth of each hole slightly more than half the length of the dowel.
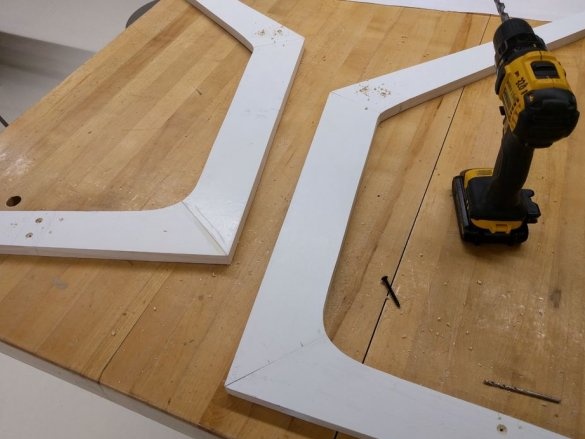
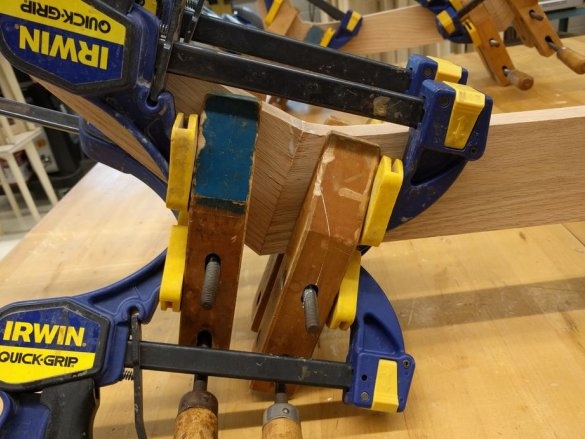
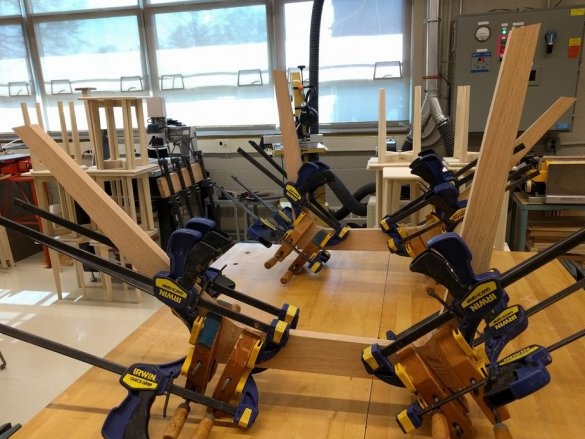
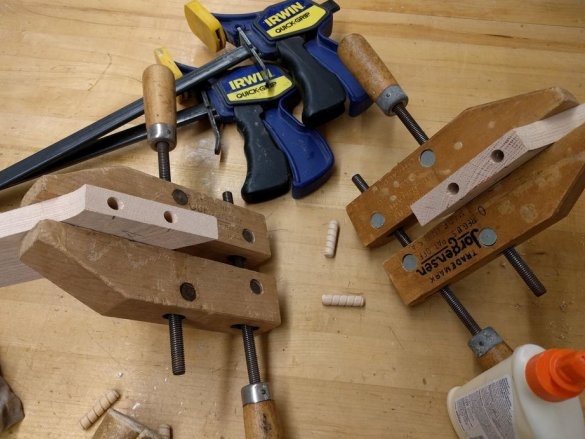
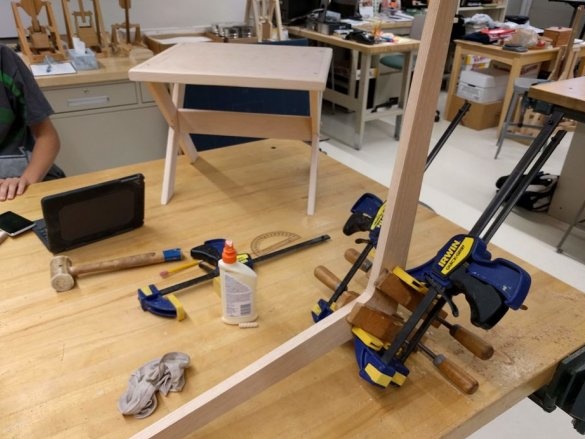
The author was convinced that the holes were aligned, the author was able to prepare for gluing parts of the legs. The author tightened the manual screw clamps parallel to the surface of each part of the legs. They will act as clamps to give tight adhesion. The author wiped all the remains of glue with a damp cloth.
The author was convinced that the holes were aligned, the author was able to prepare for gluing parts of the legs. The author tightened the manual screw clamps parallel to the surface of each part of the legs. They will act as clamps to give tight adhesion. The author wiped all the remains of glue with a damp cloth.
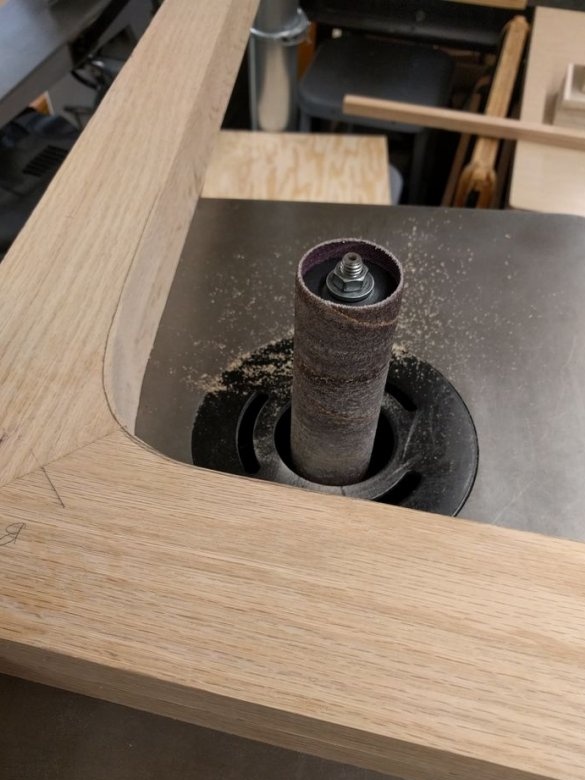
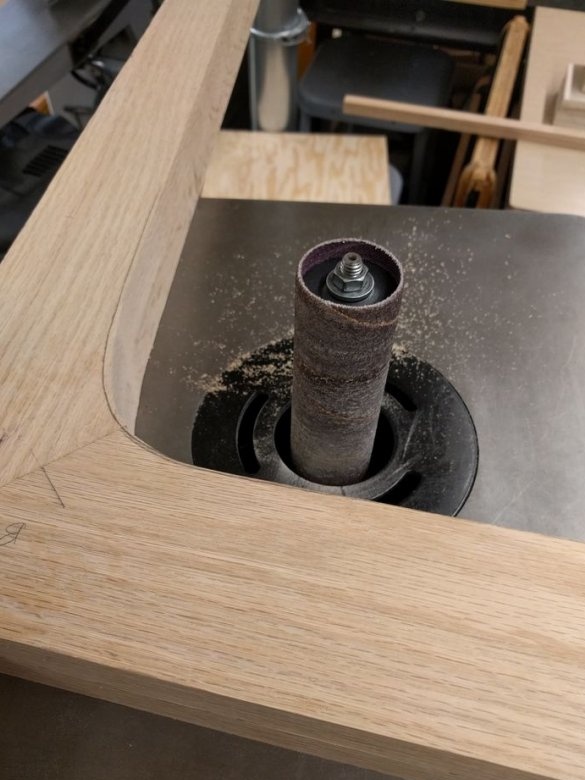
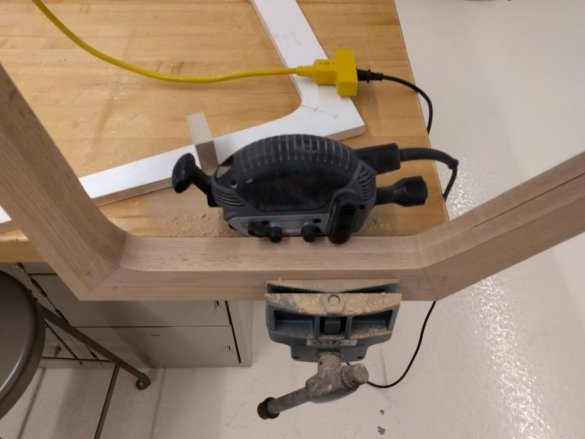
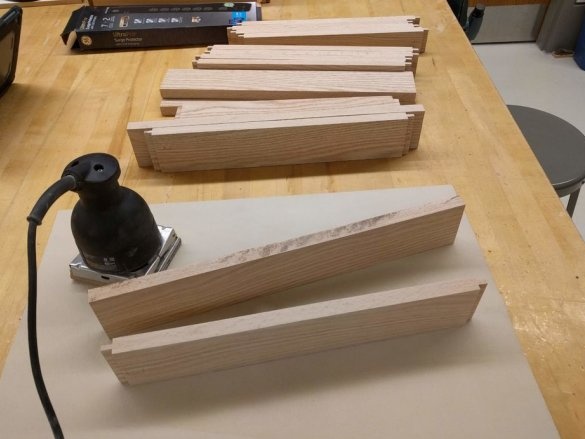
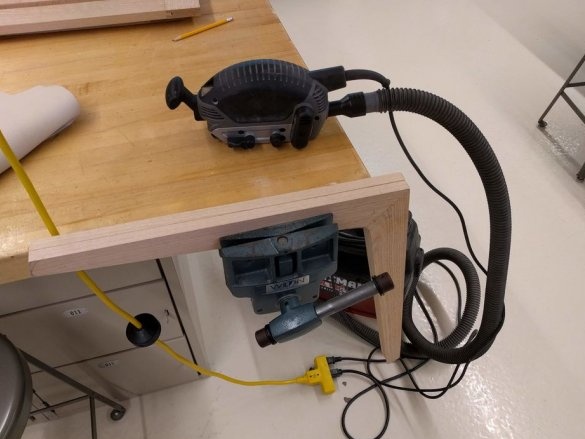
5. When the legs are dry, the author used double-sided tape to glue both sets of legs. The author used a grinding machine with a spindle and a manual belt grinding machine to finish the parts to their final size.
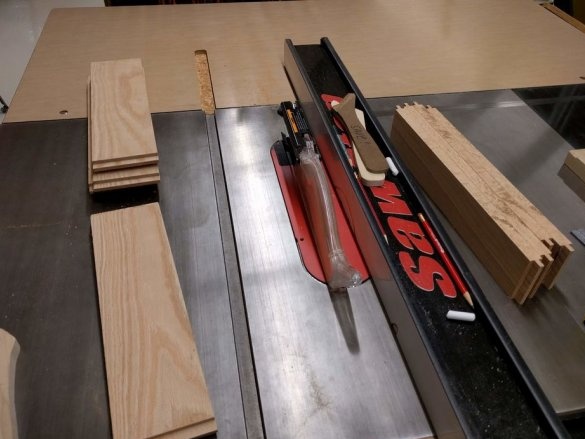
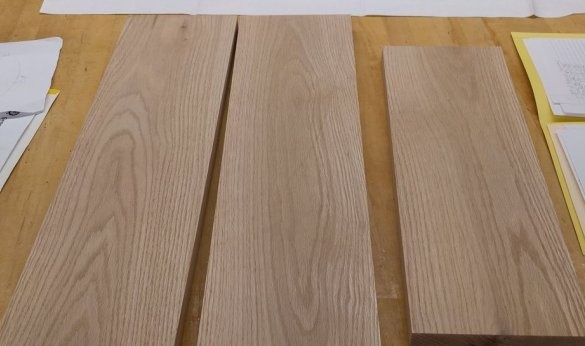
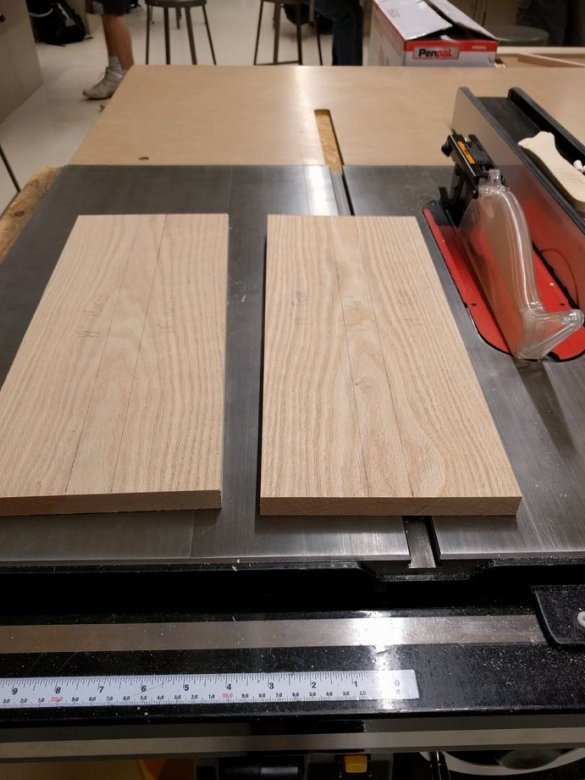
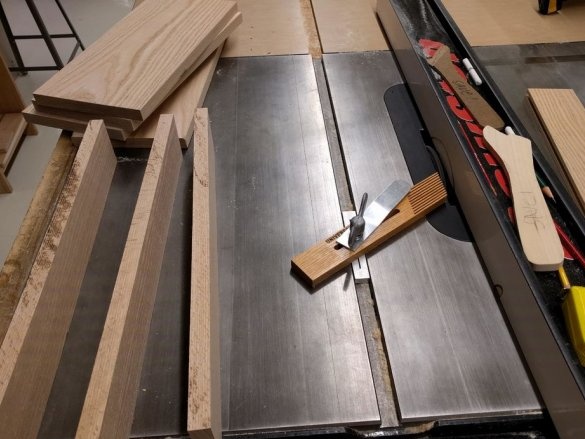
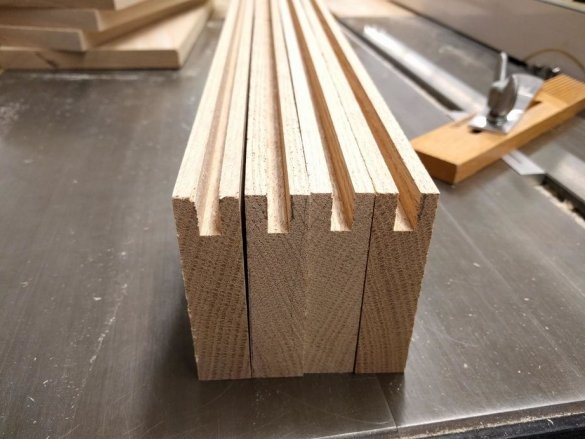
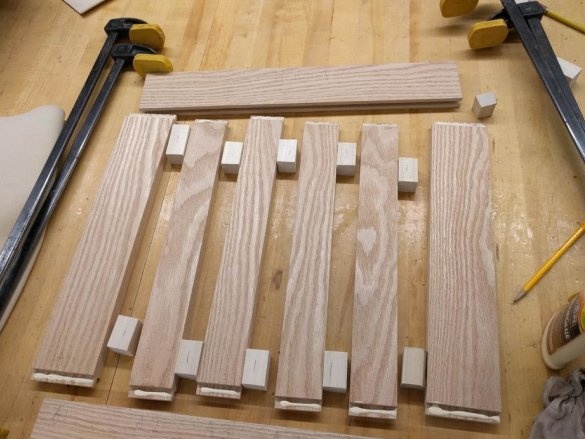
6. All seat components are made of 3/4 x 7 1/4 oak. First, the author cut out all the boards that we need.
Further, the author began assembling and gluing the chair.
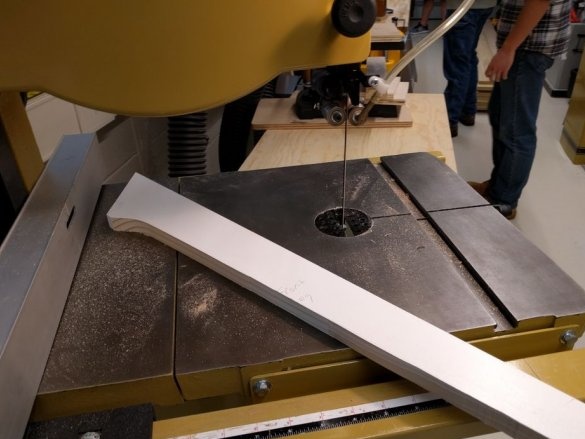
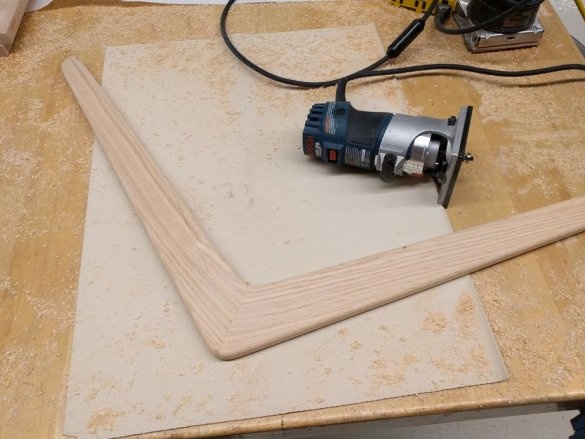
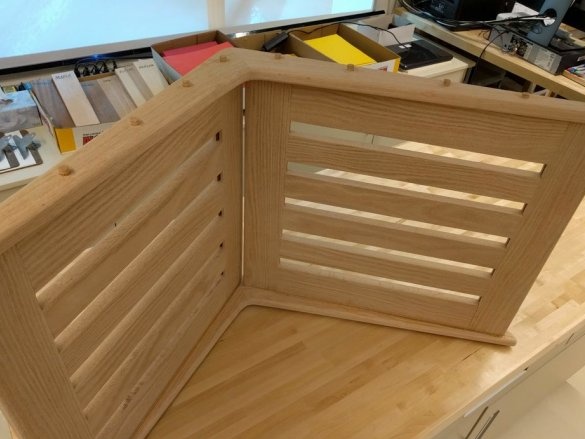
7. Two “L” -shaped brackets will be used to connect the seat to the seatback.They were roughly cut on a band saw from the same 3/4 "oak planks.
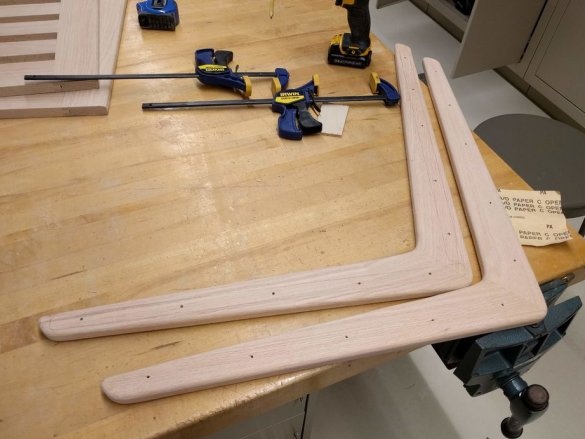
The author used the same process as in the manufacture of legs: double-sided gluing them with each other, cutting corners on a miter saw, drilling holes for dowels and gluing them together.
After each "L" - part has dried, the author has polished all the parts.
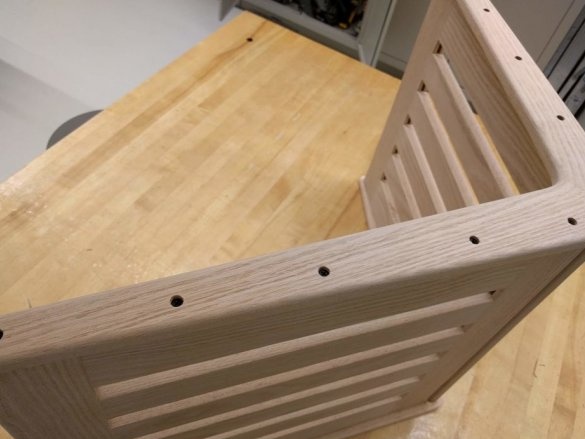
The author then outlined where the backrest was. The author drilled ten test holes in one bracket with a drill bit slightly smaller than a screw thread. Then the author folded the brackets and transferred the holes to another bracket.
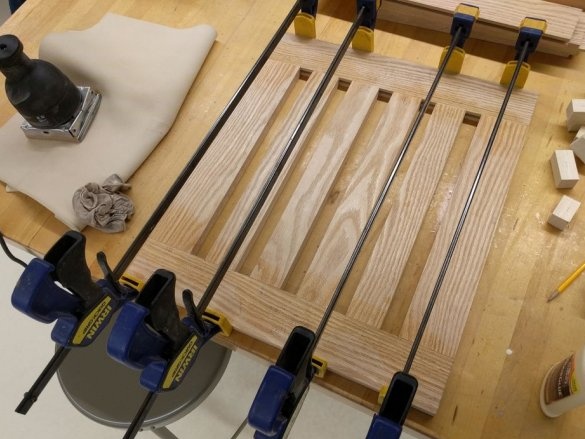
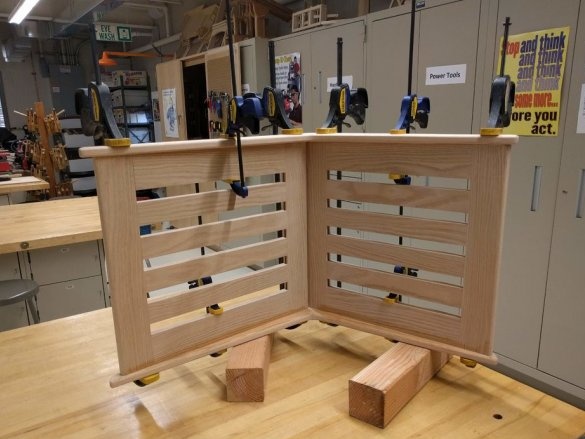
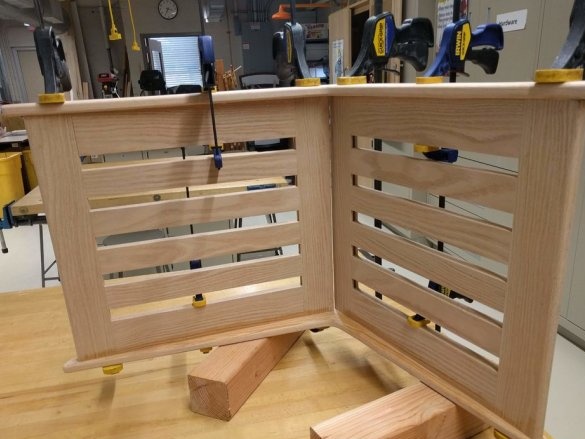
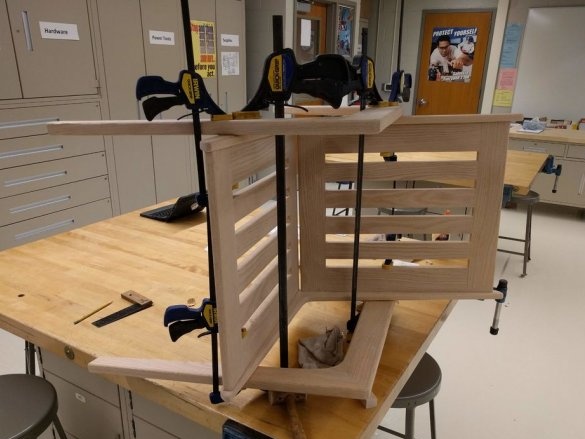
8. Assembly of seats is a job for two people, as there are many parts that need to be lined up. The seat assembly was glued without screws. Screws will be added later to provide structural support.
First, the author glued both frames to one L-shaped bracket and allowed it to dry for 10 minutes. Then the author clamped the second L-shaped bracket and allowed the entire assembly to dry for 24 hours.
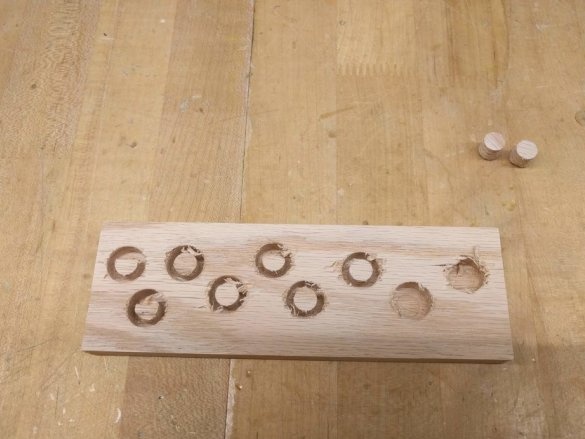
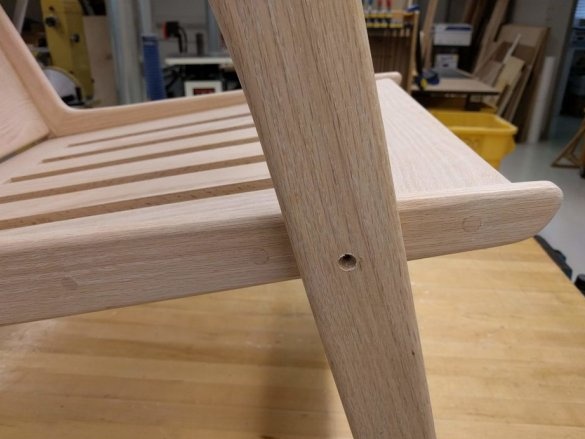
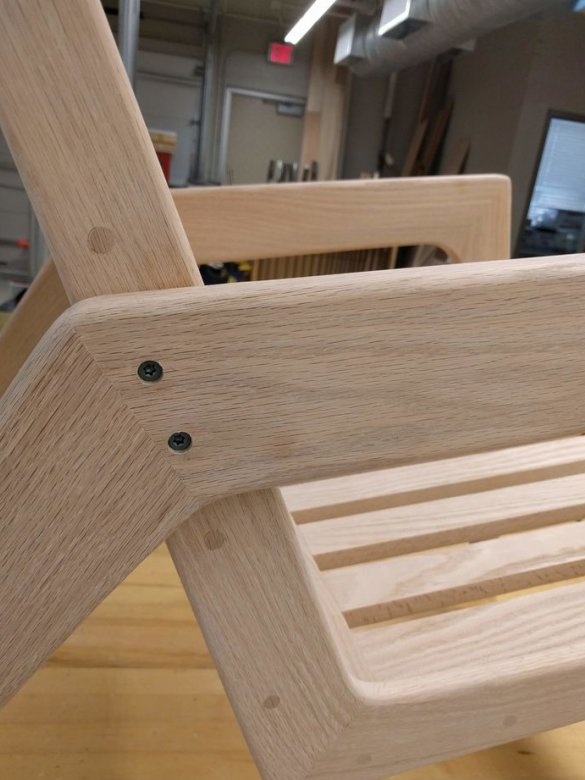
The author then extended the holes in the seat frame (screw length) to prevent cracking of the oak. In addition, the author used an oncoming sink so that the screw heads were approximately 1/8 below the surface of the “L” bracket. After screwing in all the wood screws, the author plugged and glued all the screw holes with oak plugs and polished them.
9. Before attaching the legs, the author rounded off all the sharp edges and then polished.
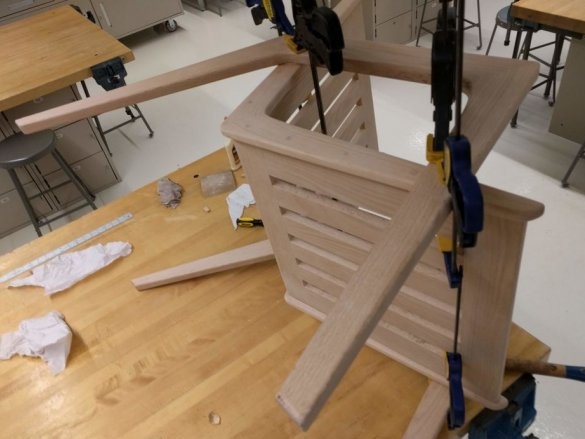
The author then glued one leg of the chair to the seat assembly, making sure that the legs were attached in the correct position and at an angle. After about 10 minutes, the author glued the second leg and made sure that it was in the same position as the first.
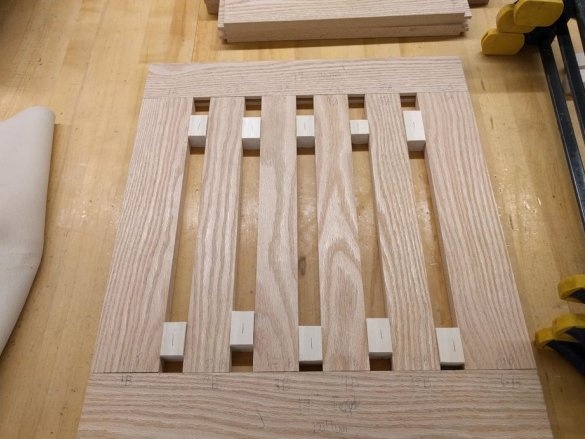
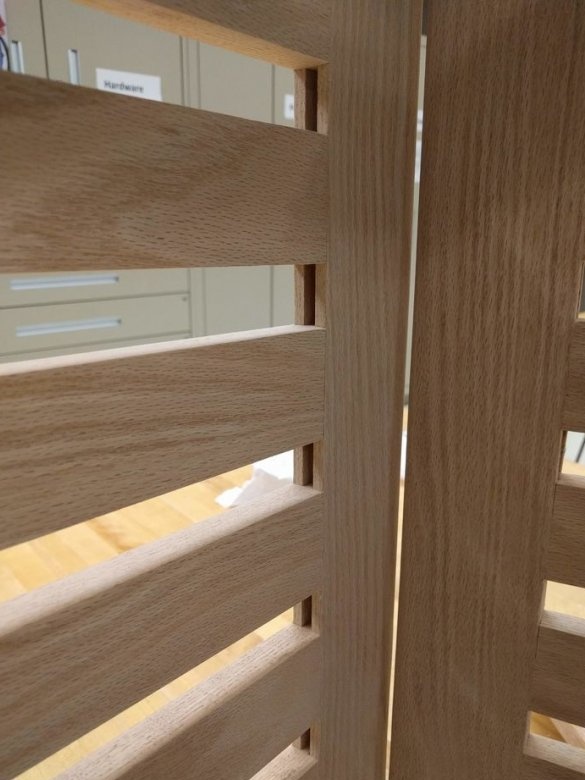
While the glue was drying, the author glued several small wooden rectangles into the grooves of the horizontal subframes of the seat. They completely hide the groove and prevent dust from accumulating in the groove.
After 24 hours, the author drilled holes, drowned them and screwed in 2-inch screws, where the legs were glued to the seat assembly. The screws completely penetrated the seat frame. This helps reinforce the glue line. The author also hid these screws with matching oak plugs.
10. In order to prepare the chair for decoration, the author polished all the flaws and wiped all the dust with a rag.
Then the author applied a layer of linseed oil and wiped all the residues.
After the oil was absorbed for 24 hours, the author varnished.
Then the author applied a layer of linseed oil and wiped all the residues.
After the oil was absorbed for 24 hours, the author varnished.
Here's what happened.

