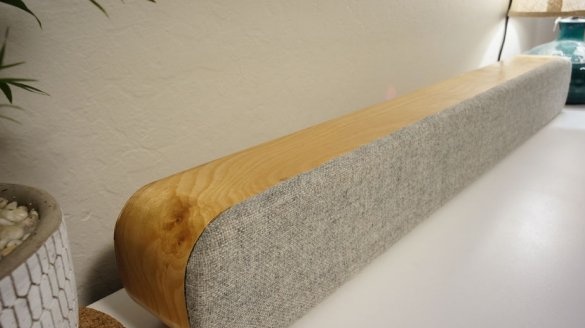
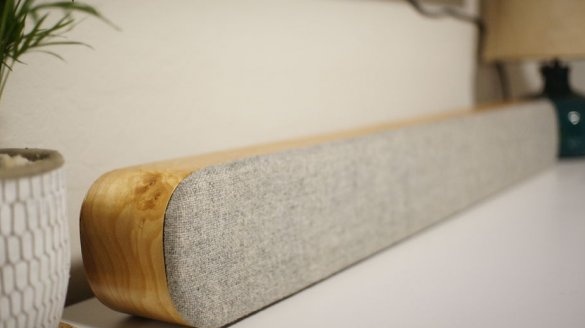
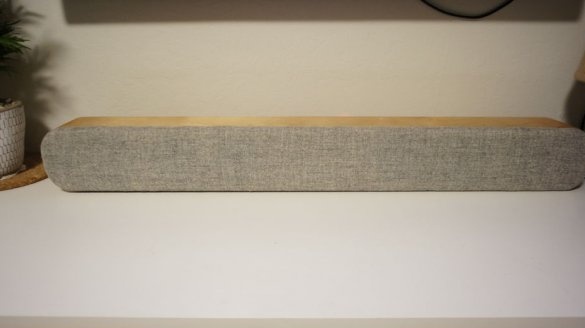
Create a modern 1/2 ”thick plywood soundbar. The soundbar has 2 channels (stereo), 2 amplifiers, 2 tweeters, 2 low-frequency speakers and 4 passive radiators to boost low frequencies in this small package. One of the amplifiers has a built-in A programmable digital signal processor (DSP), which the author uses to create two-way crossovers, custom equalizers and add dynamic low-frequency amplification.The DSP amplifier uses the ADAU1701 processor, which is configured out with the help Analog Devices SigmaStudio (free software).). To download the program SigmaStudio processor requires a separate USBI-programmer. You can not use the expensive version of Analog Devices, and choose something cheaper on the example of
or
List of main parts:
• Woofers (x2):
• Twitter (x2):
• Passive emitters (x4):
• Amplifier 1 (tweeters):
• Amplifier 2 (low frequencies):
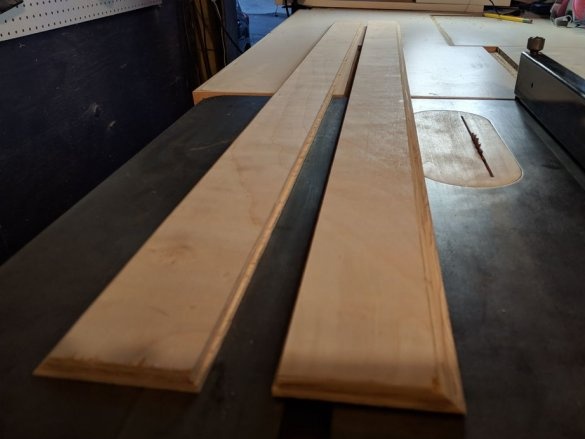
• Case: 1/2 "thick plywood
• Front partition: 1/2 "thick MDF
Housing
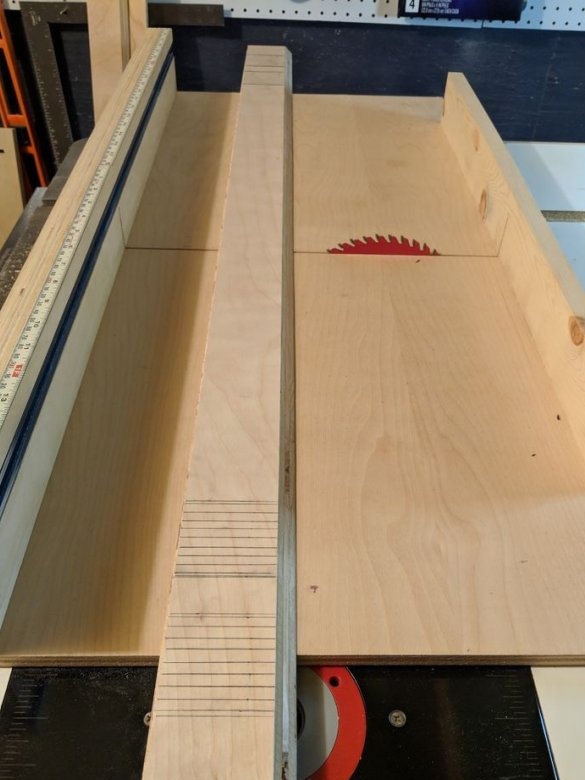
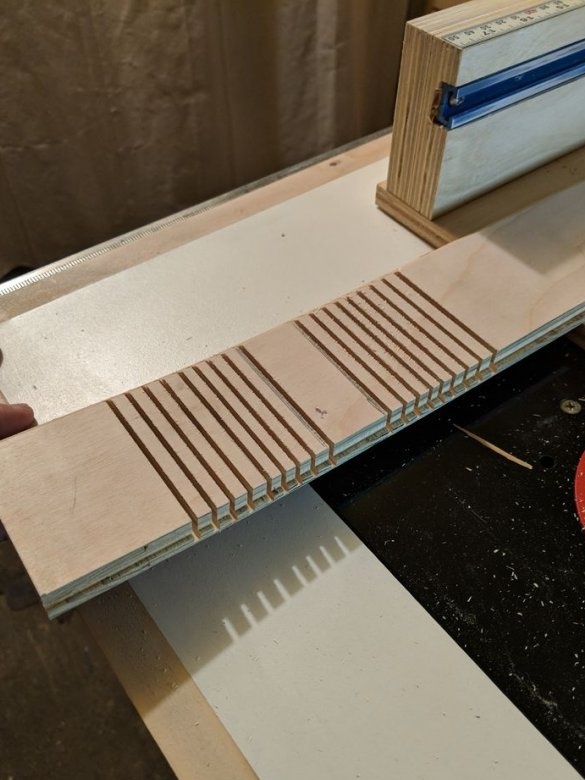
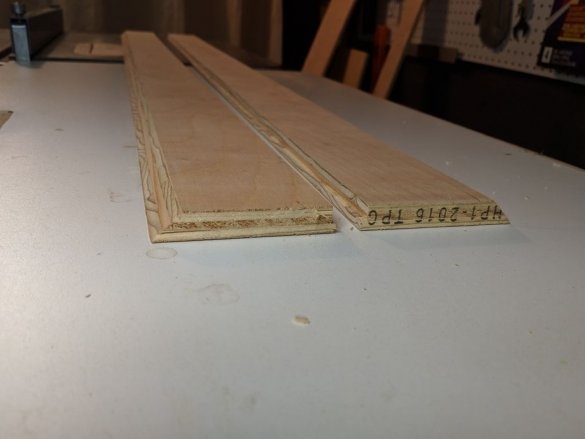
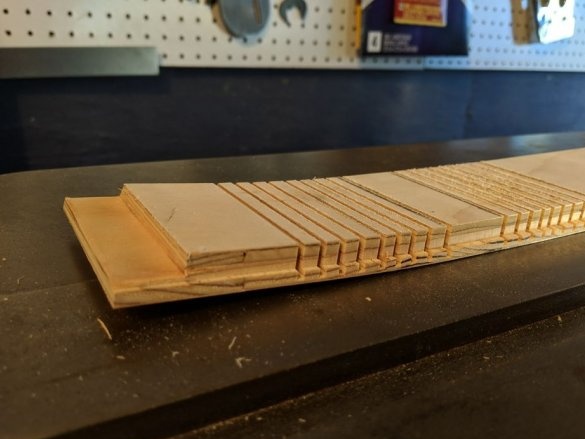
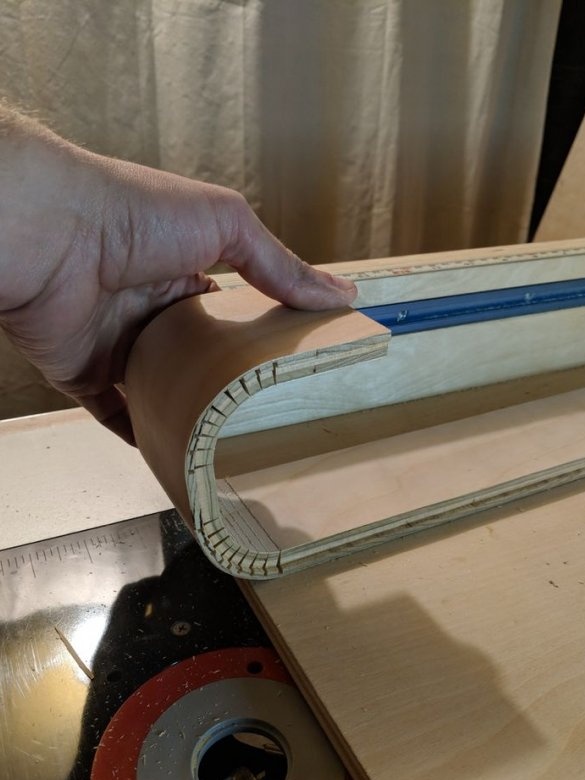
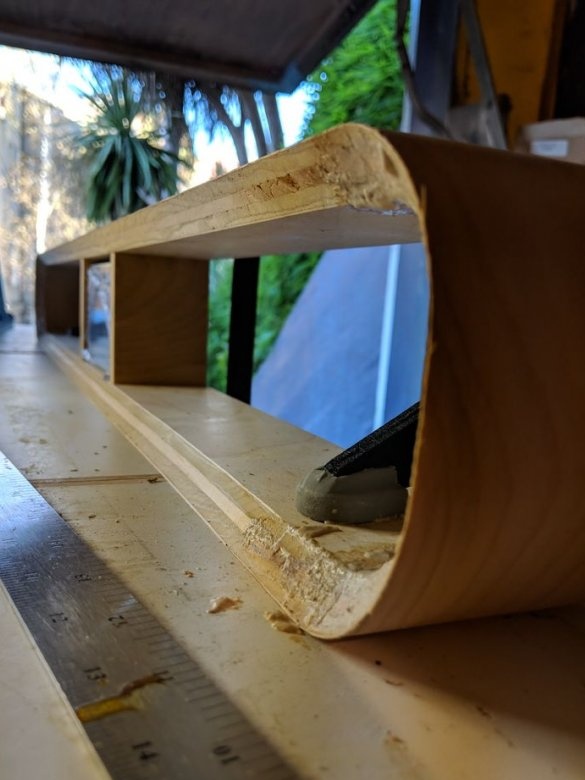
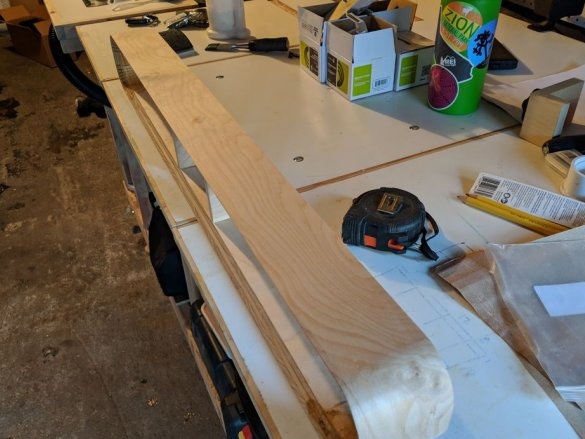
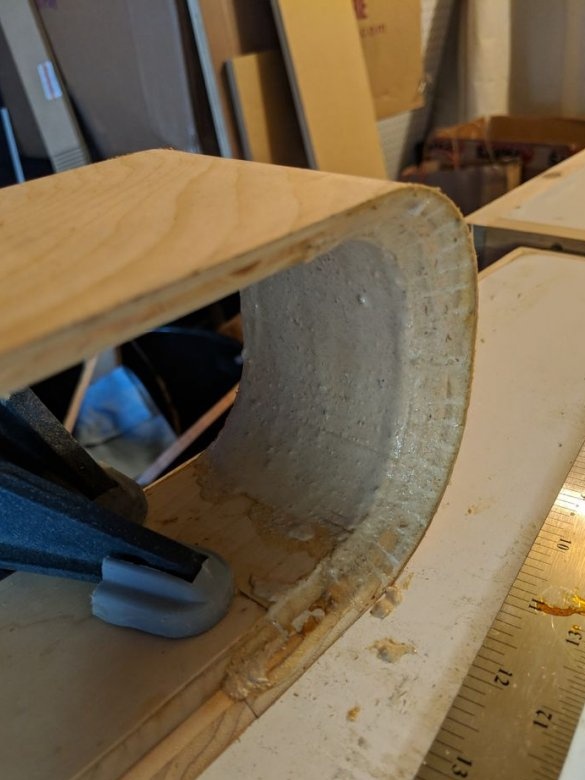
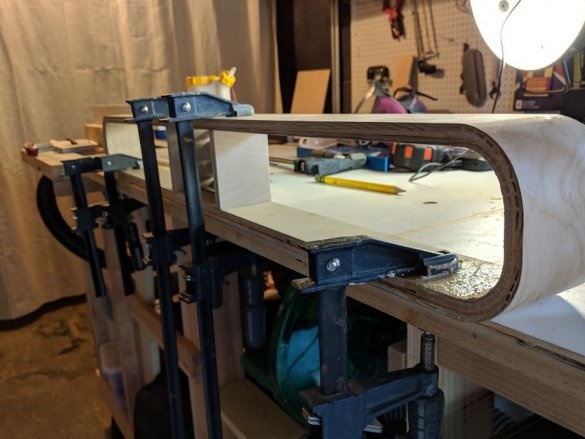
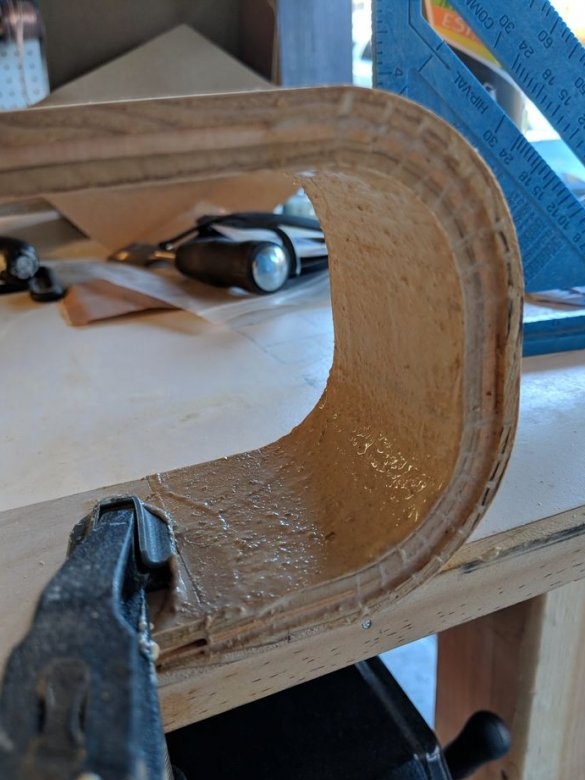
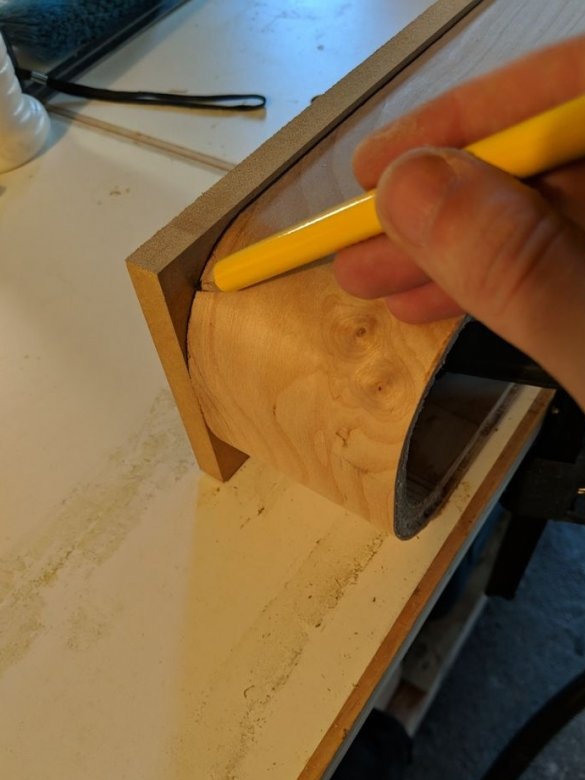
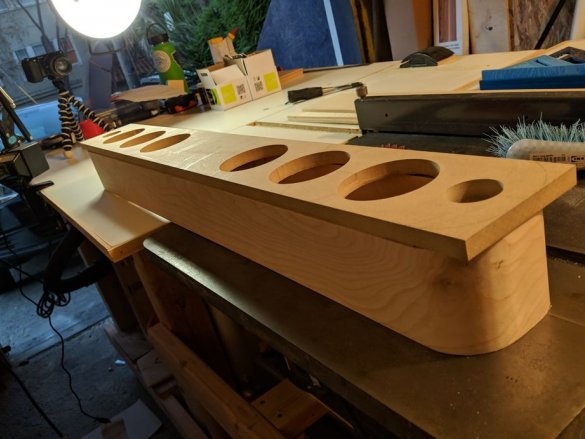
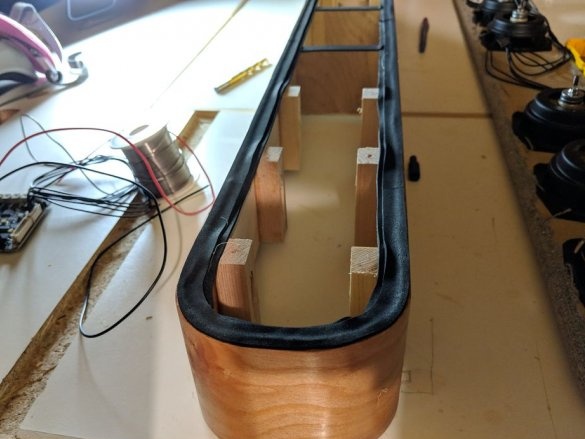
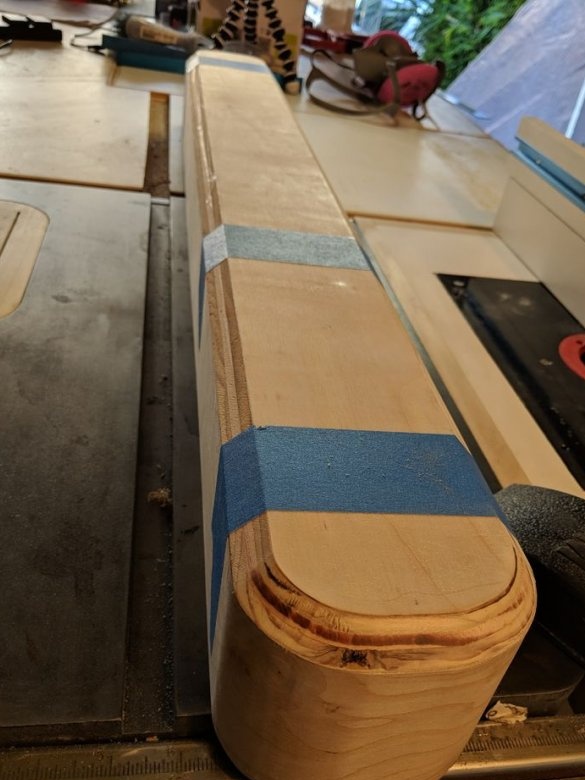
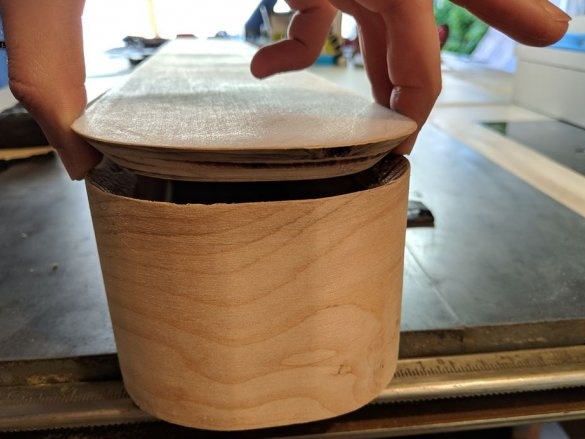
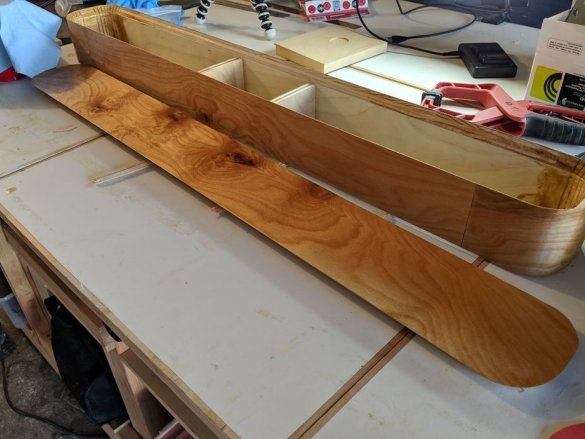
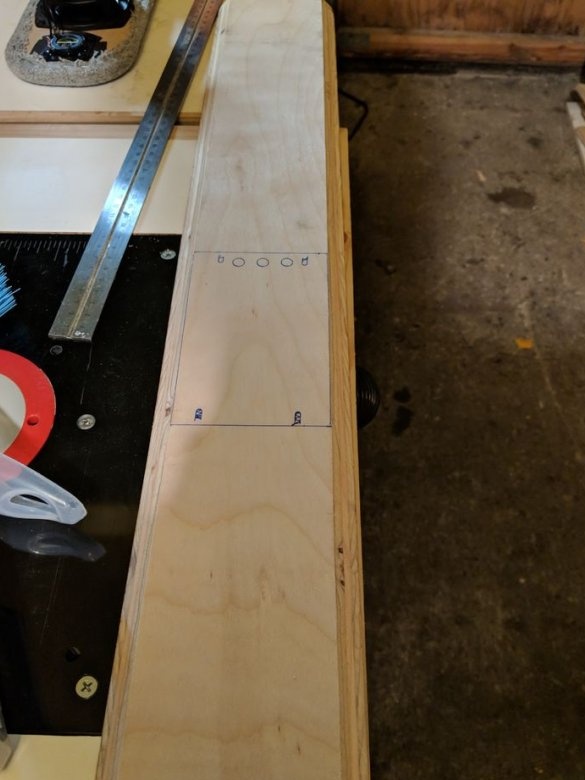
According to the author’s idea, the case should not have looked square, so he decided to use the bending technique using cuts to achieve a smooth, smooth edge throughout the case. for this, he made several (9 bends) thin cuts that end at a distance of ~ 2 mm from the surface of the plywood sheet. The result is a rounded edge with a bend radius of approximately 1 ". Removing the material from one side of the tree makes it easy to bend the plywood. However, care must be taken because this bend is quite brittle. Bending with cuts requires knowing the thickness (cut width) of your blade, the thickness of the material and If you know these parameters, you can calculate the amount of material to be removed (the number of cuts), the length of the external and internal arcs (the distance between the cuts). But they have a limit bending radius. One example can be found
Gluing
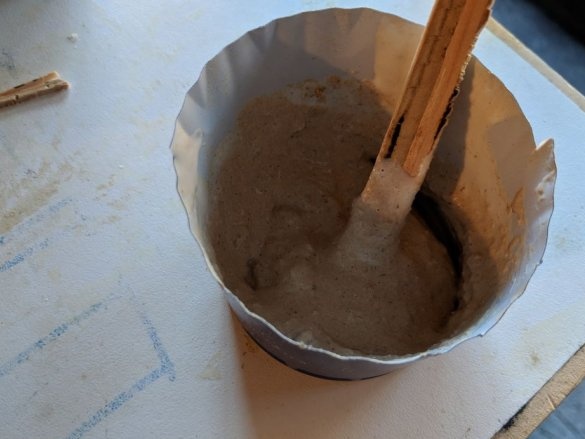
Prepare a mixture of ~ 1: 1 sawdust and wood glue and use it to fill the cuts in each bend. Try to apply the adhesive mixture abundantly, as there is little material left in these cuts and they are fragile. However, after the adhesive mixture dries, the cuts become strong enough (at least strong enough for the speaker).
Front MDF panel
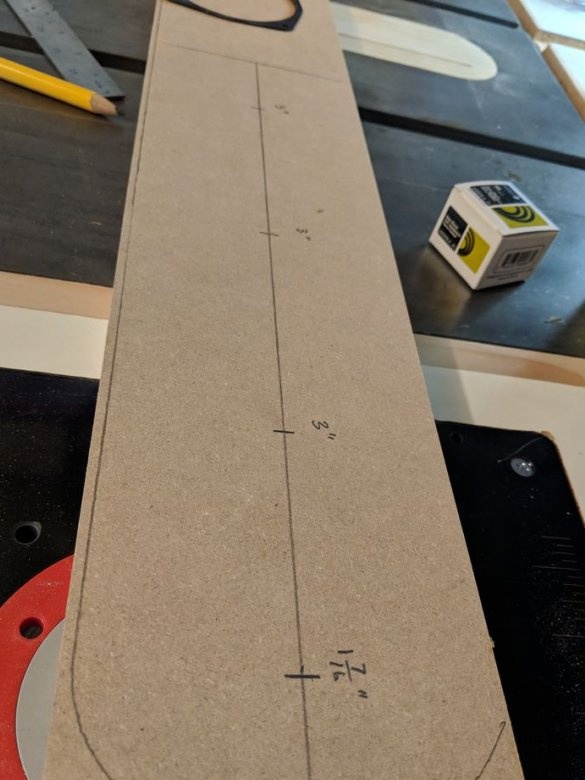
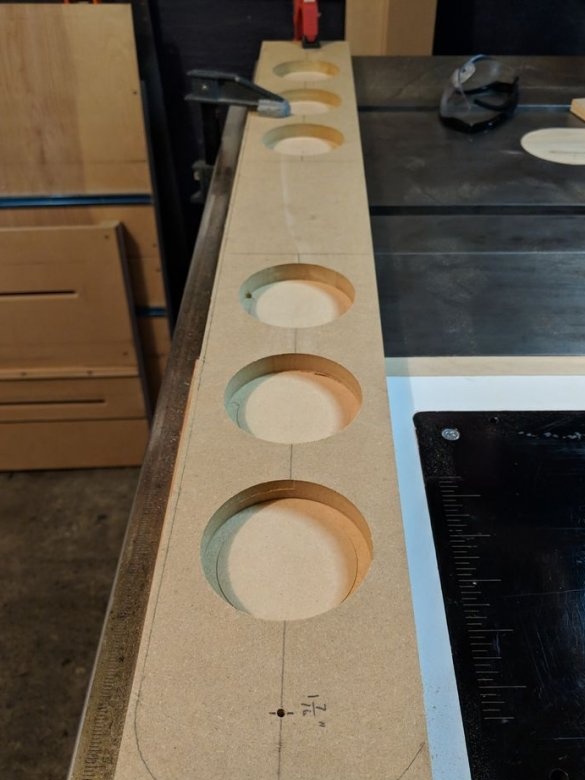
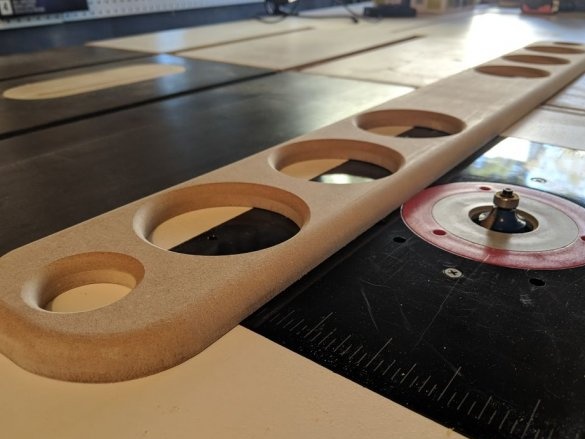
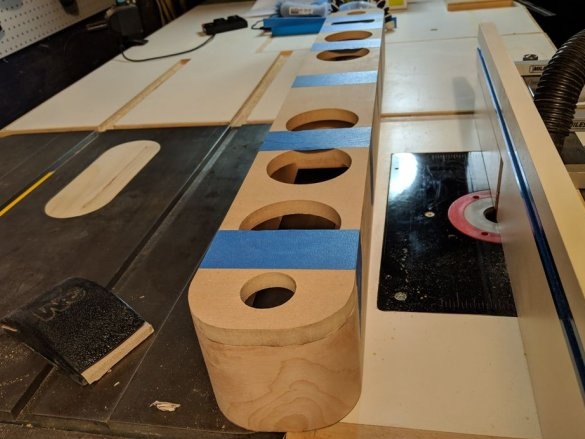
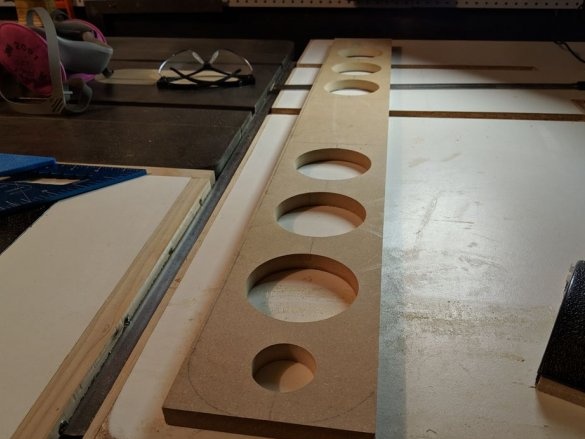
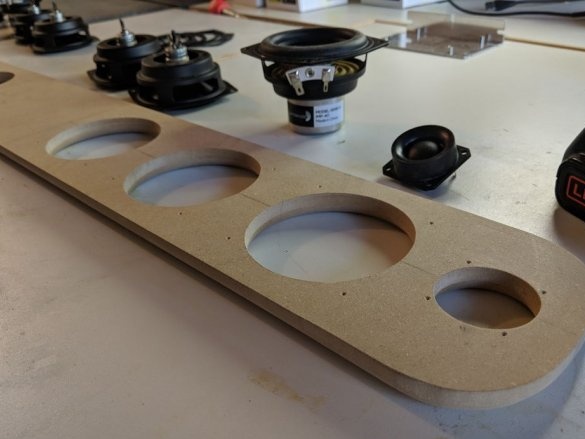
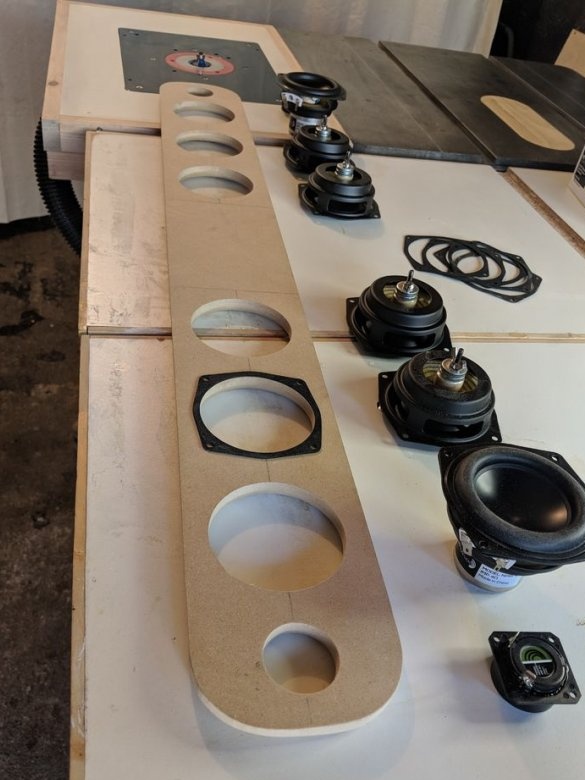
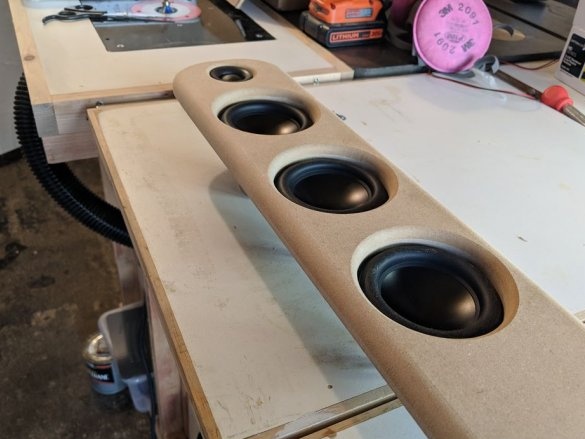
Use a hand mill to cut holes for each subwoofer and passive emitter. Use a large milling cutter and drill for the tweeter holes. A cutter was used to smooth the edges of each hole, as well as the outer edge of the partition. The author installed tweeters as far apart as possible to improve sound quality.
Speaker Mounting & Decoration
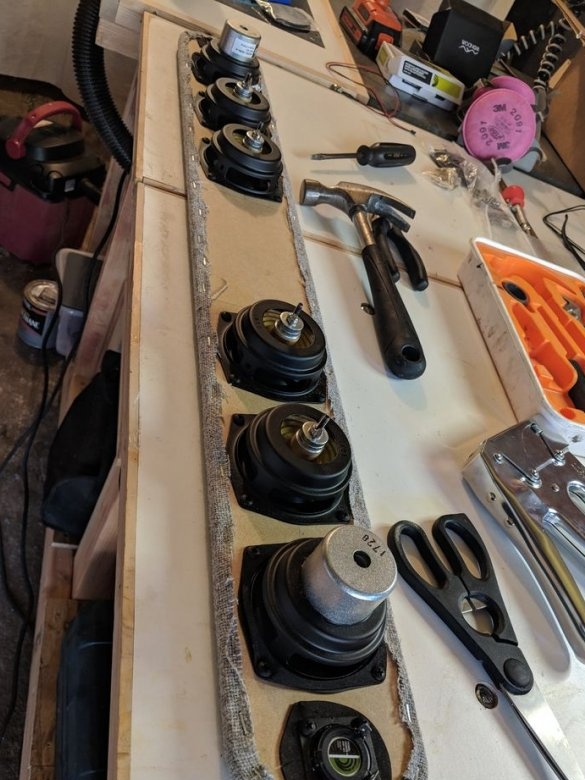
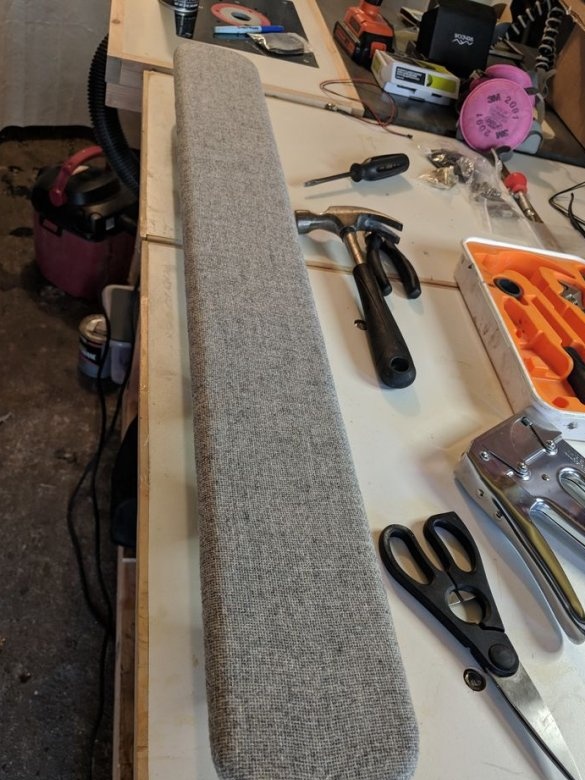
To finish the partition, mount all the subwoofers, passive emitters and tweeters at the back using 1/2 "wood screws. The drivers came with foam spacers (supplied), which creates a good seal during installation. Use a hole pattern on each spacer Decorate the front of the panel (stapled) and use sticky foam to create a seal between the front wall and the body.
Back cover and electronics
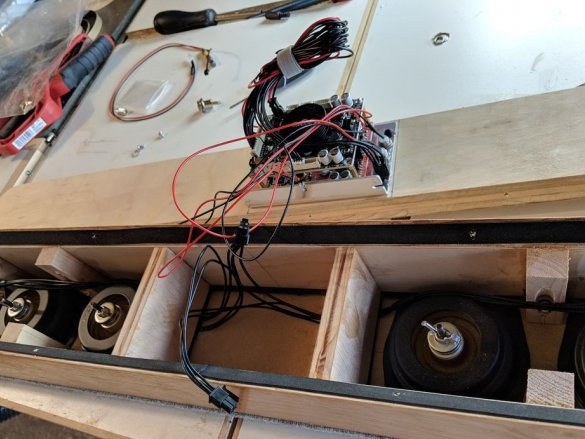
The rear partition has a beveled edge (45 degrees), which is used to create a tight seal with the housing. Electronics (2 amplifiers, DC input power jack, stereo input jack and 2 LEDs) are mounted in the rear partition. The electronics are installed in a sealed cavity in the center of the housing, which divides the left / right channels.
DSP programming / tuning
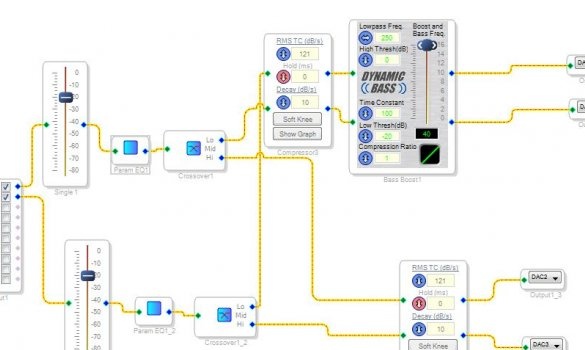
Digital Signal Processors (DSPs) are widely used in most modern sound panels. Their biggest advantage is that they have a digital input and can be used for multi-channel surround sound. For this project, the author used analog inputs because they are easier to design. The Sure Electronics Jab3-250 amplifier is equipped with an ADAU1701 processor, which has 2 input ADCs (analog-to-digital converters) and 4 output DACs (digital-to-analog converters). He used two output DACs for each tweeter and two DACs for each woofer. An image of the SigmaStudio graphics program is included, and some of the important blocks used are described below:
Input Level Adjustment: Used to decrease the input volume for each channel. This is a critical step necessary for the dynamic bass boost function to work (described below).
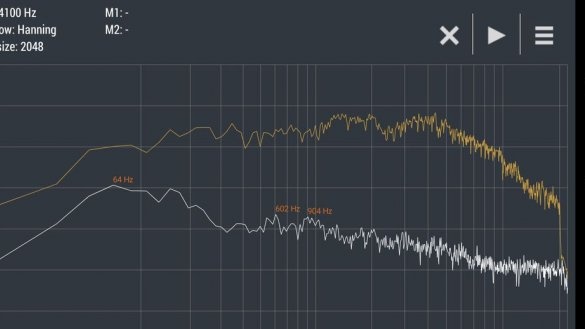
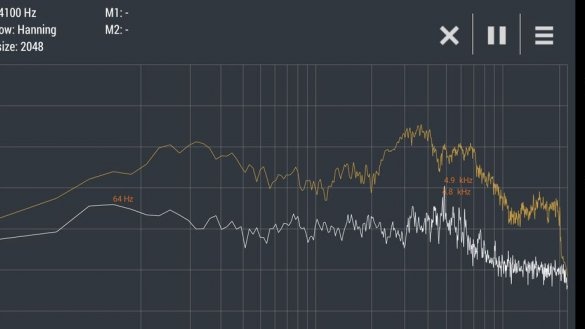
Parametric Equalizer: The author used a telephone application called Advanced Spectrum Analyzer to record the frequency sweep (20–20 kHz) and to roughly measure the frequency response of the speaker without any equalization. This is not the most accurate approach, but it’s quick and provides a more or less good starting point, eliminating the need to invest in more accurate instruments, such as a measuring microphone and sound card for a laptop. You can take more accurate measurements and use additional software such as to calculate the correct equalizer. At the moment, the author has created his own parametric equalizer, which reduces the volume from 500 Hz to 4000 Hz, because his ears perceived this frequency range louder than the rest)). The speaker sounded better (for him) with a decrease in volume in this range. Frequency response curves before and after are attached. They are not an accurate measurement of the speaker’s response and are most likely very inaccurate, but he decided to turn them on to emphasize how effective DSP is in changing sound. In the attached graphs, the orange line represents the recorded peak response, and the white line represents the level in real time (which can be ignored).
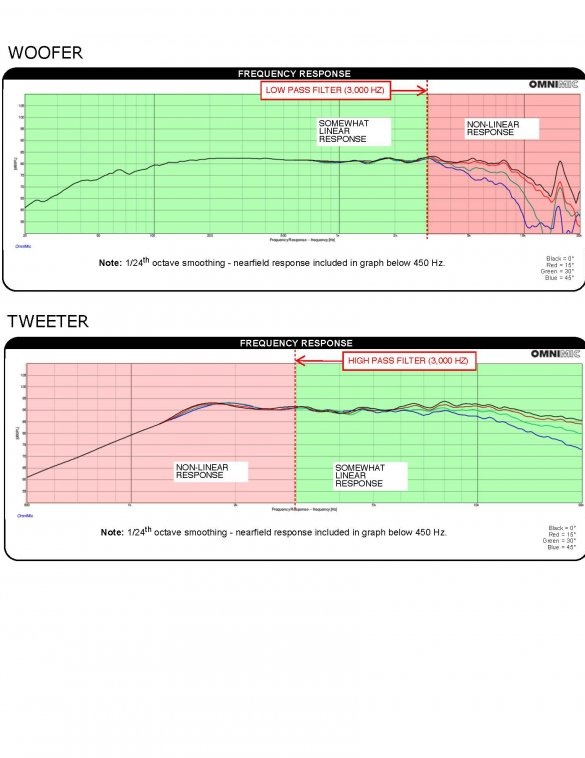
Crossover: a fourth-order Linkwitz-Riley filter with a frequency of 3000 Hz is used for the low-pass filter on the subwoofers and the high-pass filter on the tweeters. One of the great advantages of DSP is that it can easily create sophisticated filters like this.Creating a fourth-order passive crossover Linkwitz-Riley would require additional components that could easily add up to a DSP ($ 35).
Dynamic Bass Boost: The Dynamic Bass Boost unit provides gain that depends on the level of the input signal: lower levels require and receive more bass than higher levels. Using a variable Q filter, this block dynamically adjusts the gain. The input level must be reduced for Boost to work. This means that the speaker is not so loud, but the compromise is worth it. At 50 W / channel this is not very noticeable

