
In this article, Jack, the author of the YouTube channel "Jack Houweling", will share with us his experience on how he managed to make such nice decorative joints of the corners of the box.
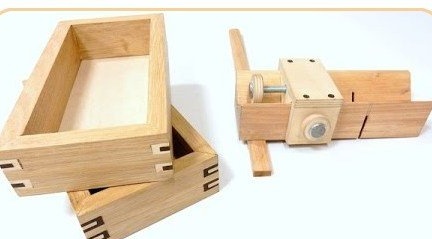
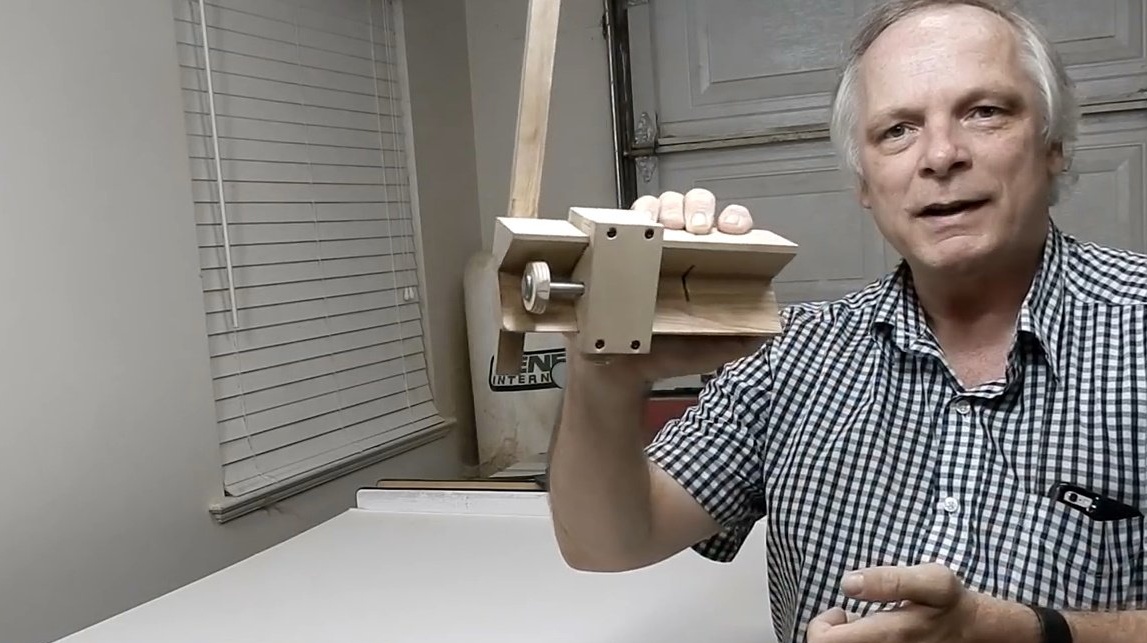
In order to create them, Jack had to first design a special clamping device. The technology of its creation and how all parts of the box were assembled together will be discussed below.
Materials
- Boards of various types of wood
- Joiner's glue
- bolts
- Plywood sheet.
Instruments, used by the author.
- A circular saw
- Screwdriver
- Band-saw
- Belt sander
- Clamps, vise
- Square.
Manufacturing process.
The first step is to make the fixture for the circular saw itself. Jack already has one, he will show how to make it.
The master begins by finding a suitable piece of wood that he cuts to the desired length
This wooden deck used to be part of the window frame. She has a characteristic notch here that should be removed.
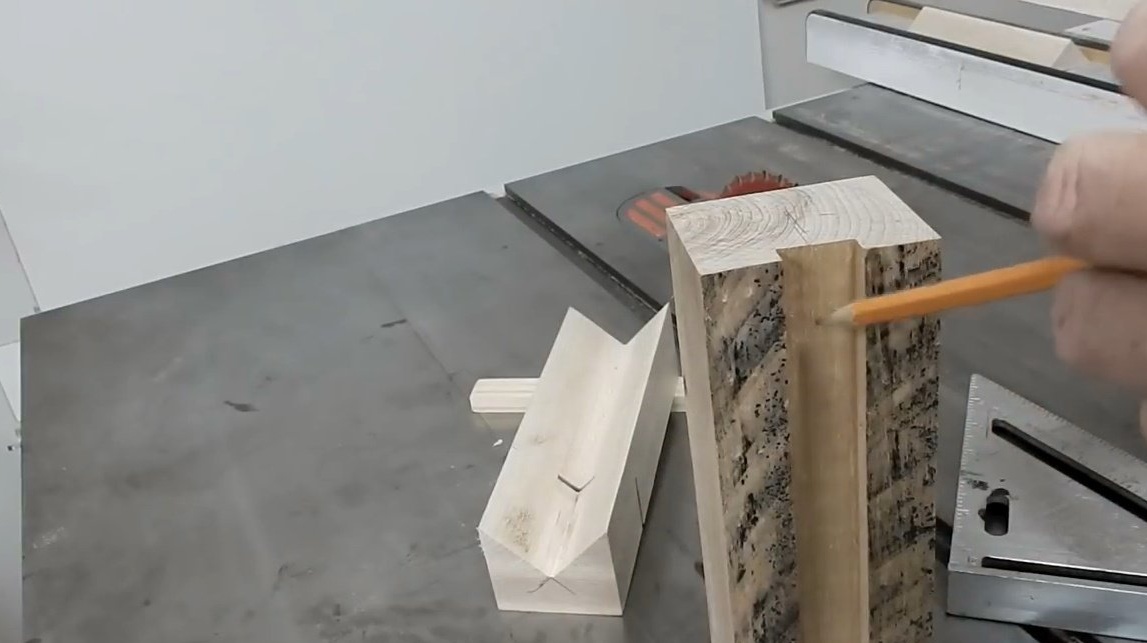
The author solves this issue by cutting a V-shaped groove in the center of the beam, which is what he needs. Applies the necessary markings, then sets the circular saw blade at an angle of 45 degrees.

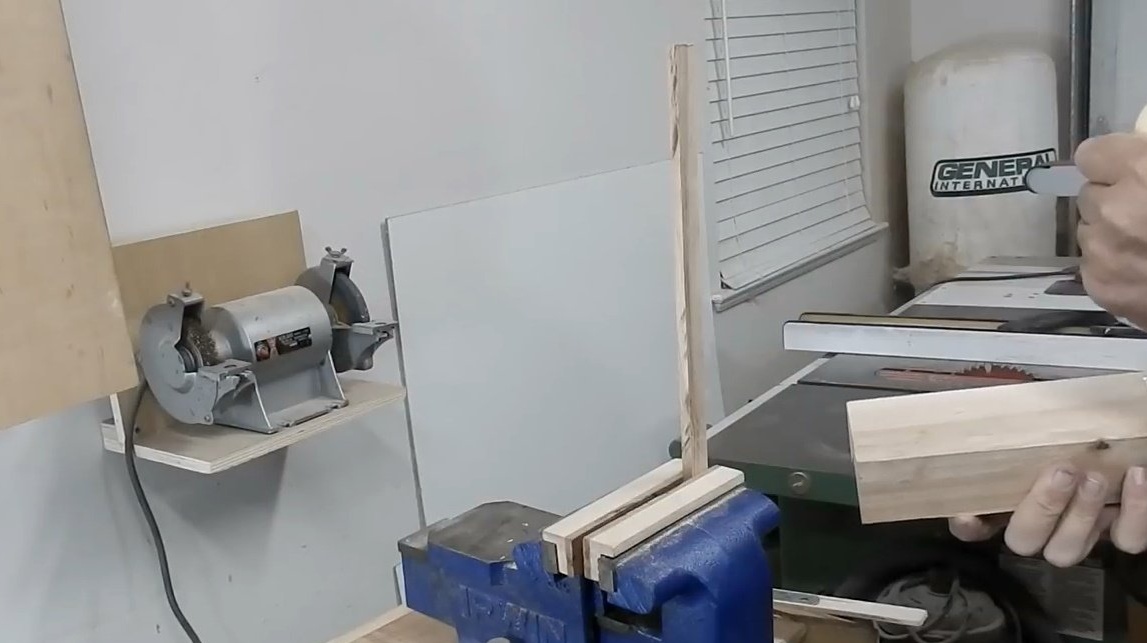
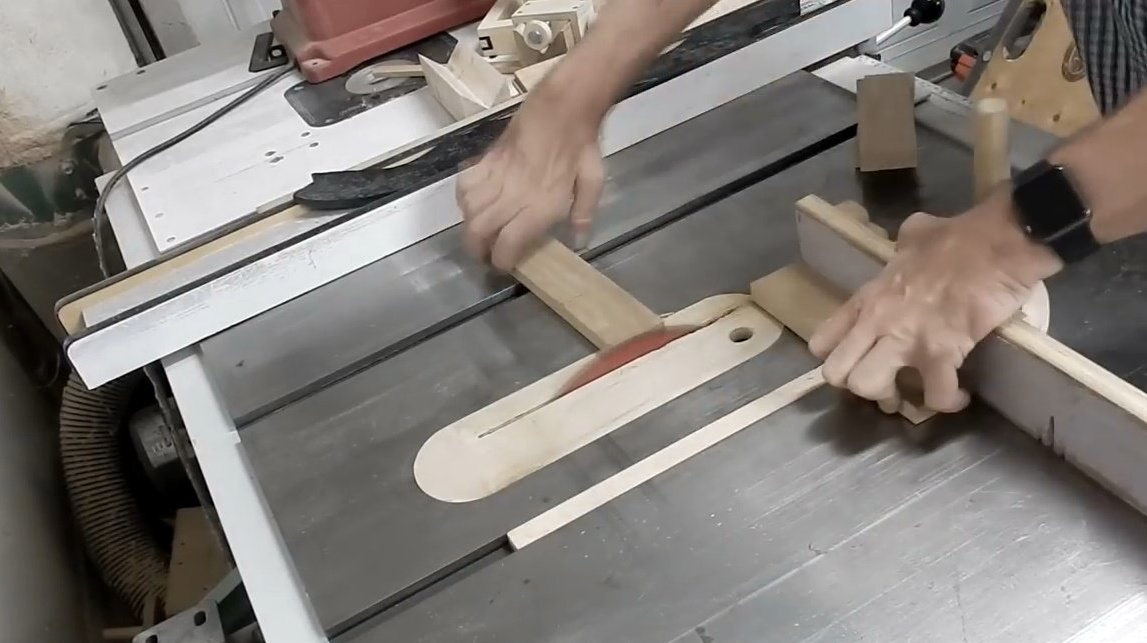
To make a guide for adaptation, the author uses a hardwood board, which should fit into this groove of the circular saw table. He carefully measures it, determines the front side.
A small section of the board had to be cut down on a band saw, because in some place the board clung.
Then he makes a small test piece, you need to very accurately guess the size so that there are no backlashes.

And then it cuts a long strip.
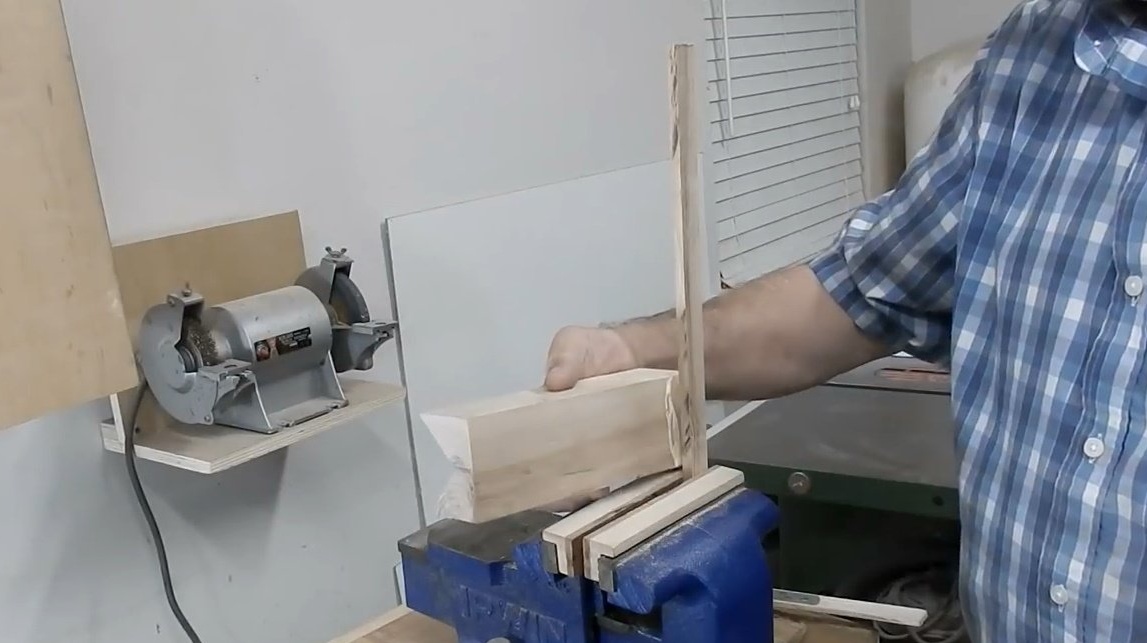
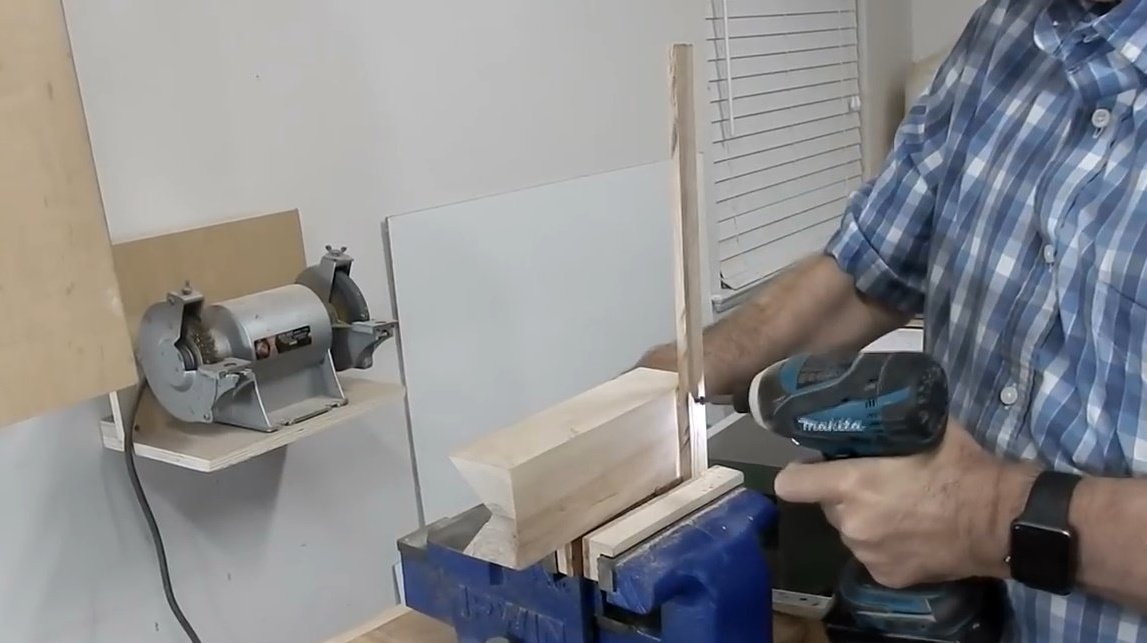
Now everything is ready to attach the guide to the block. Usually the author did this operation right on the circular table, at an angle of 90 degrees.
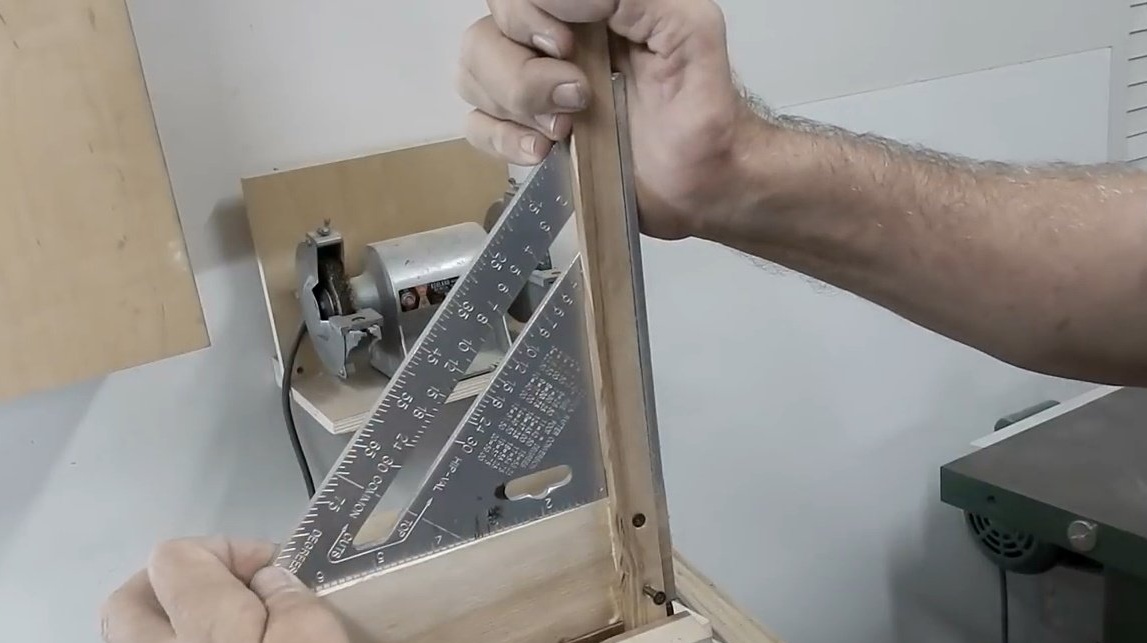
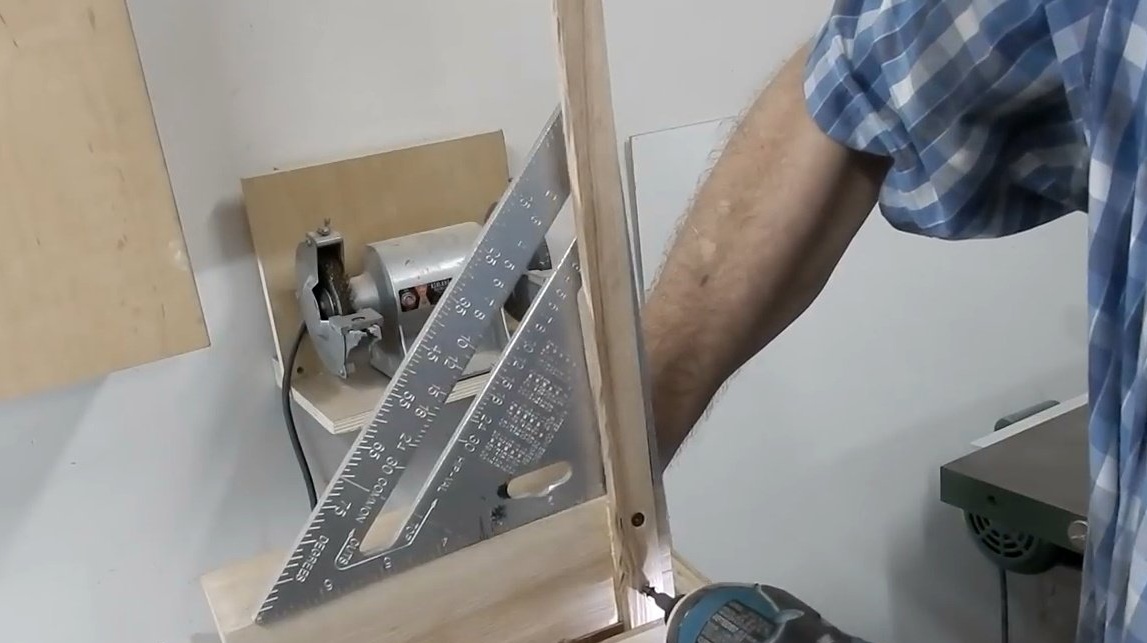
But this time he will do it differently: he will use a square and a vise, then he will put it down until he gets the required 90 degrees. Lubricates parts with glue. Drills and countersinks holes for self-tapping screws, then screw the first one, and gain the second self-tapping screw.
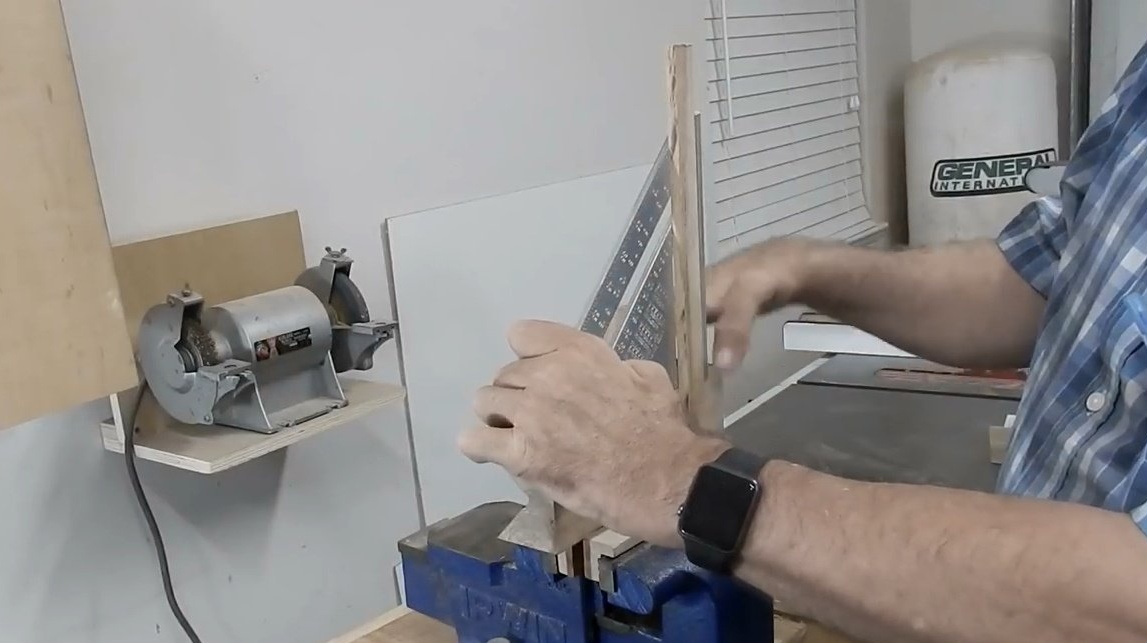
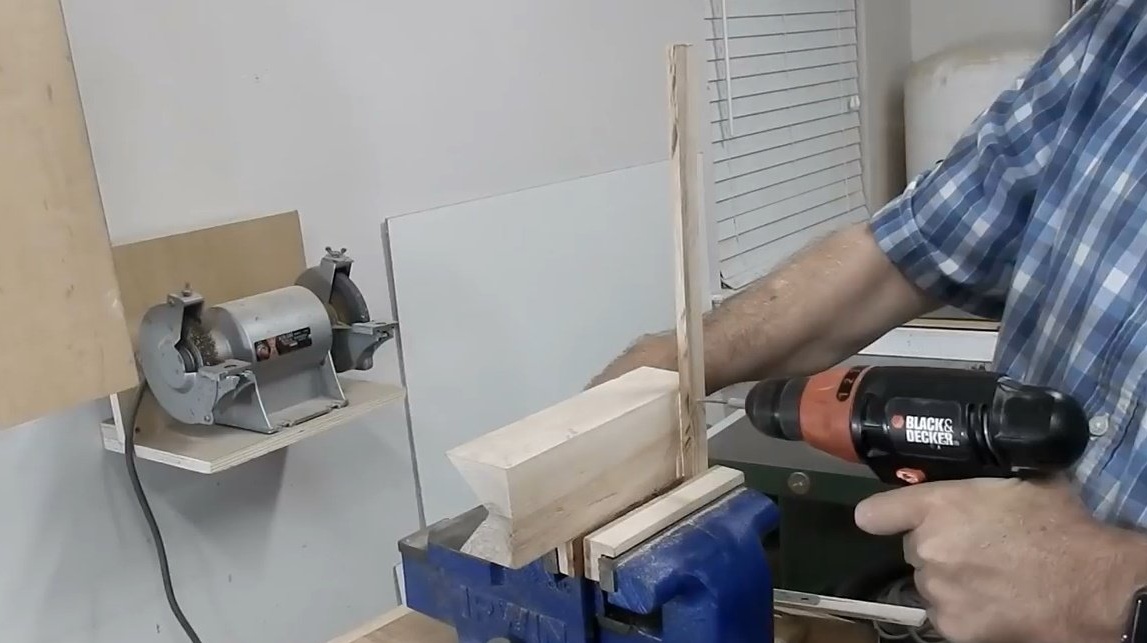
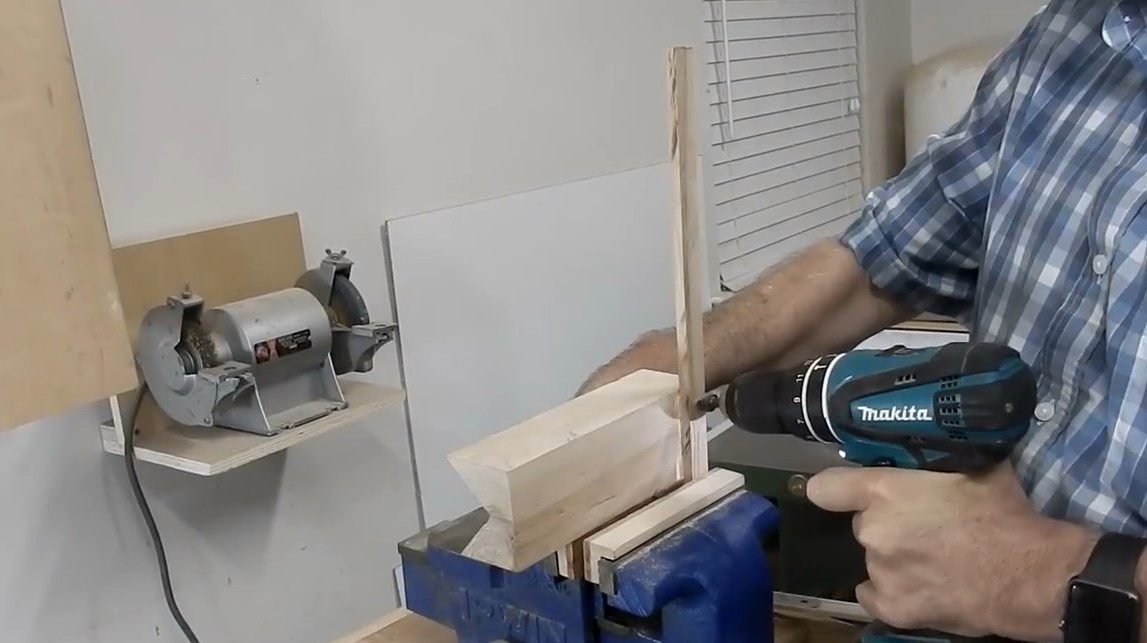
This is a good method, but you should double-check everything twice each time. Having verified the angle, the second self-tapping screw spins.
Before, on the prototype of this clamping device, the author did not use a limiter.He simply marked with a pencil the place where the part should be cut off. But to hold the material and at the same time to cut it turned out to be a rather difficult task.
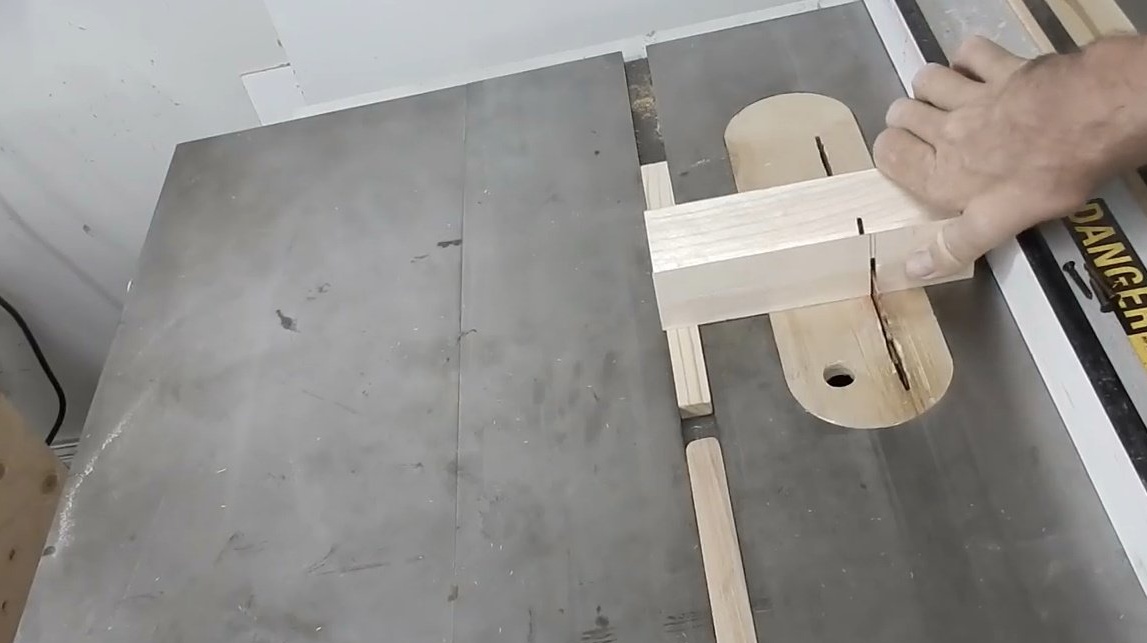
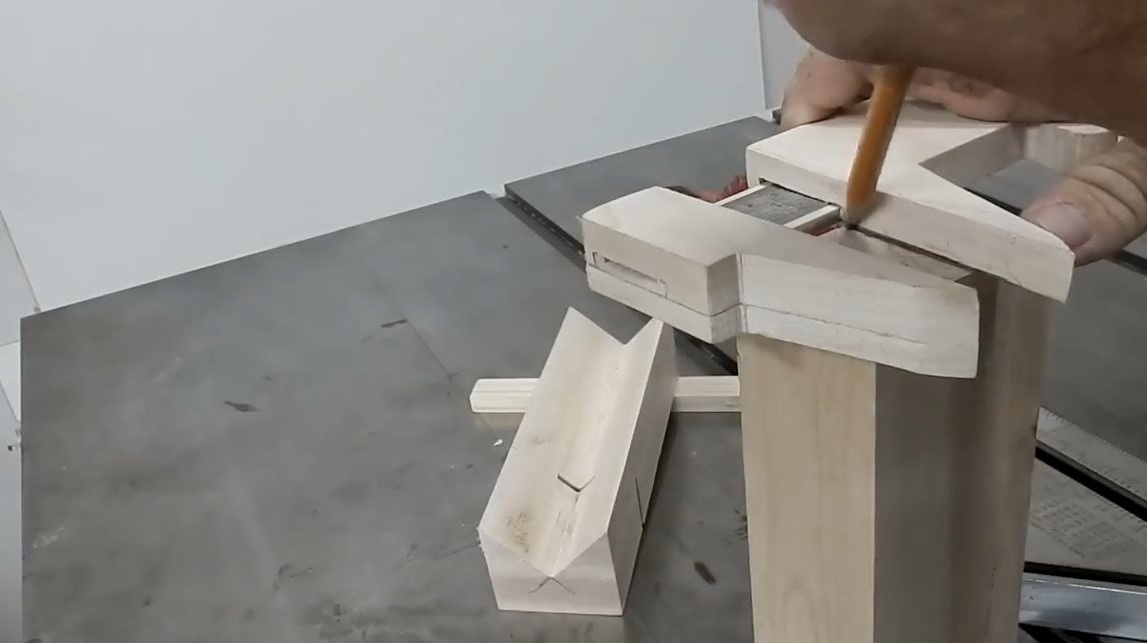
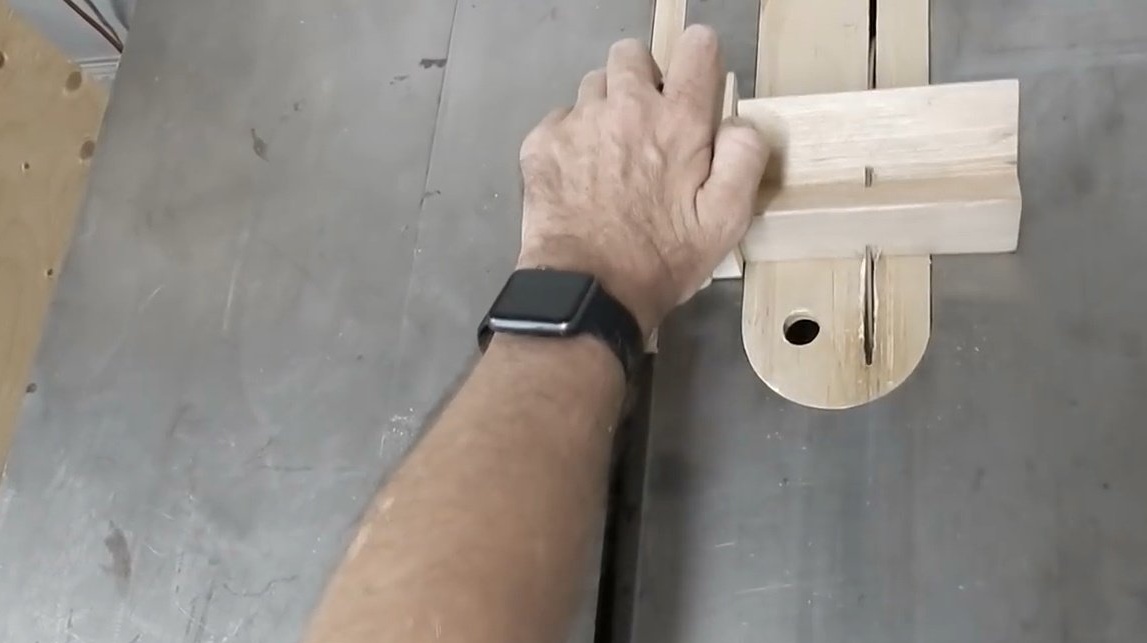
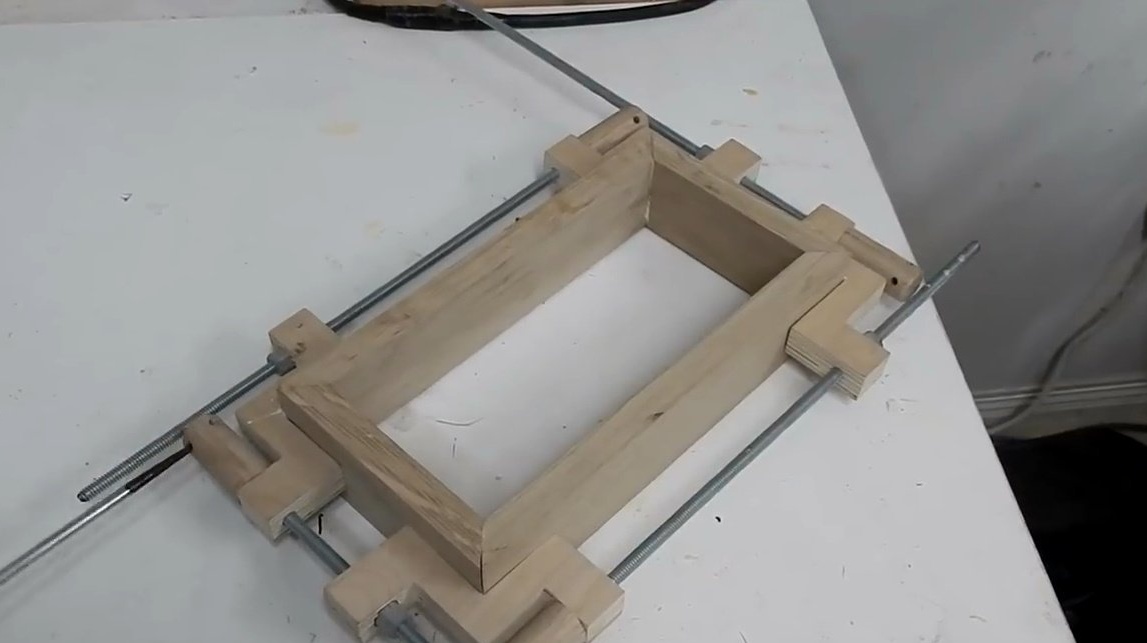
This time the master nevertheless creates such an emphasis. He cuts three small pieces of plywood. One of them will go up here. The other two are on the sides.

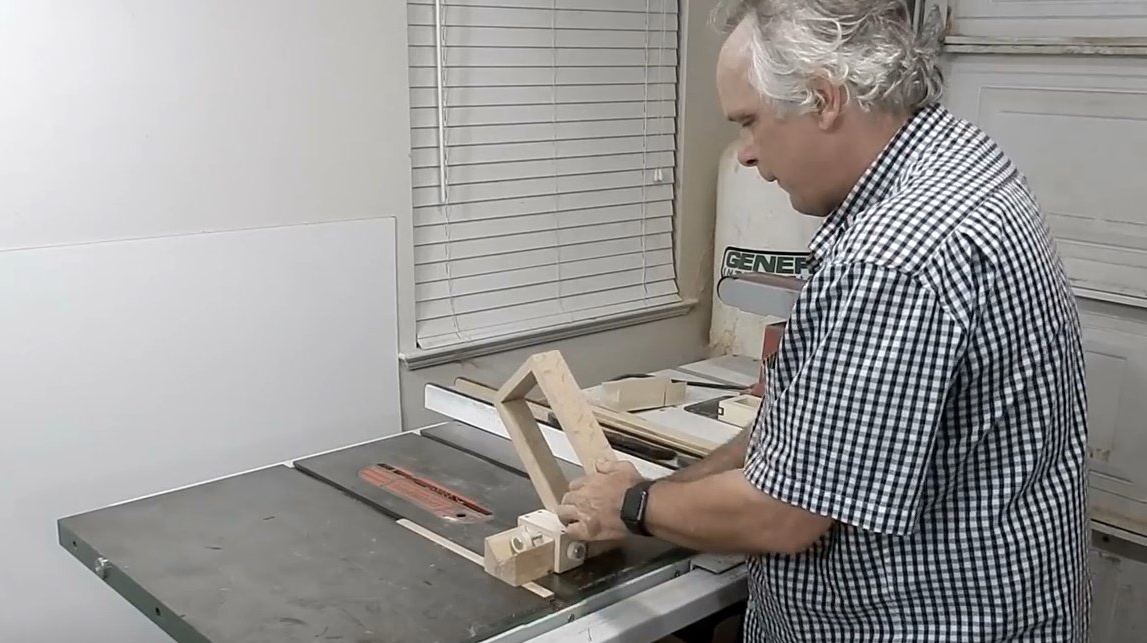
Now, having cut out the triangle from the beam, glues it to the movable carriage.
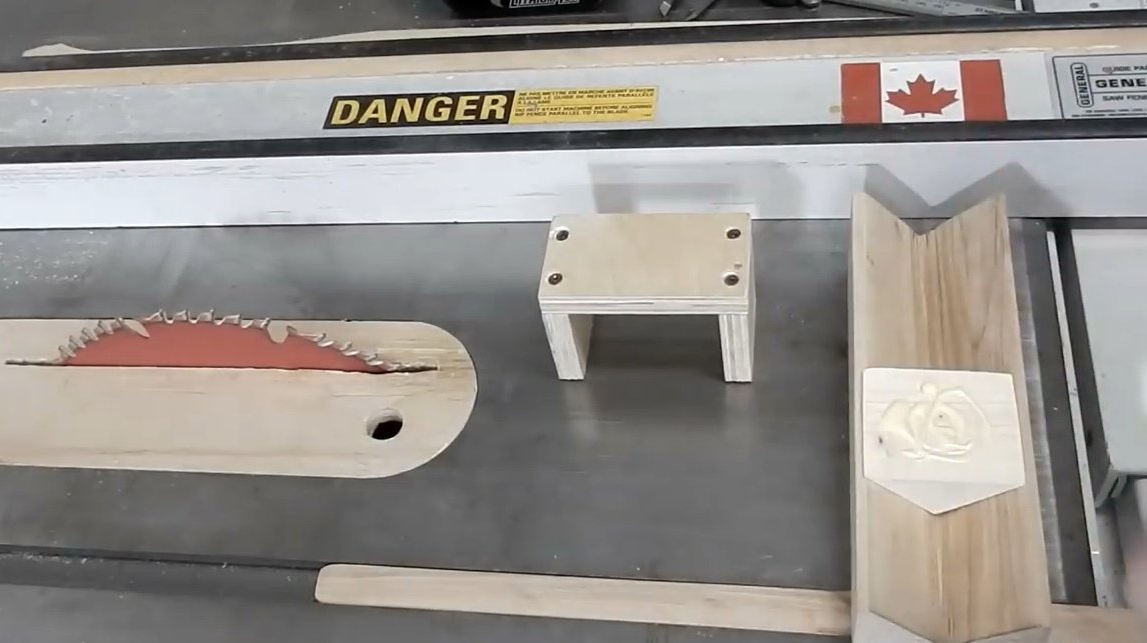

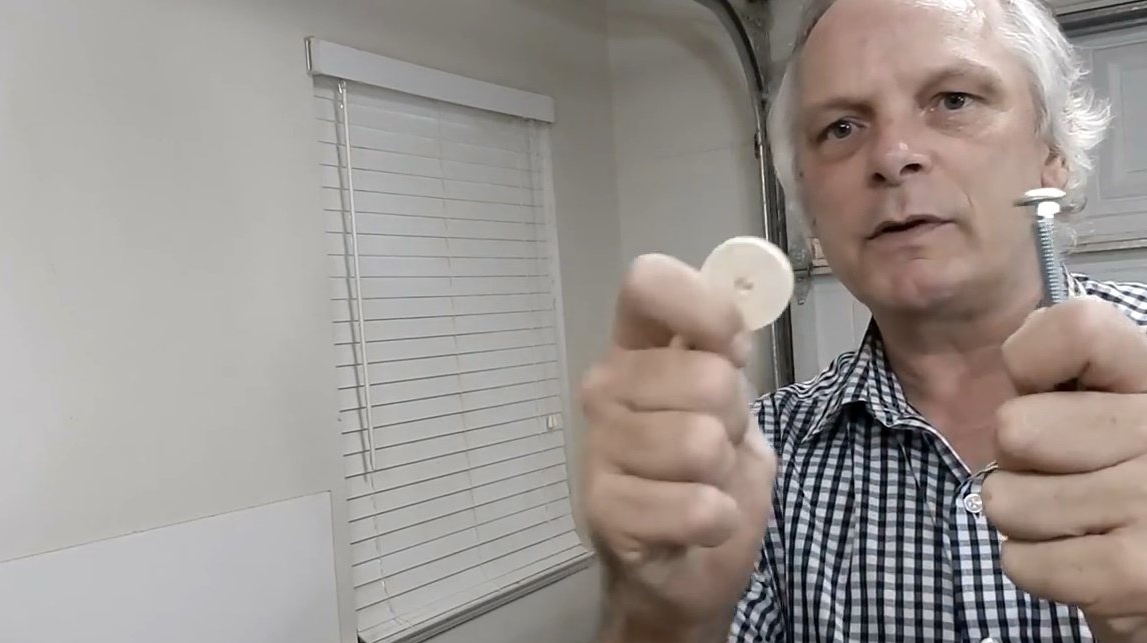
This is how it works. Jack adds two bolts to the carriage: this one will press, block the limiter, and the second will perform the function of fine tuning.
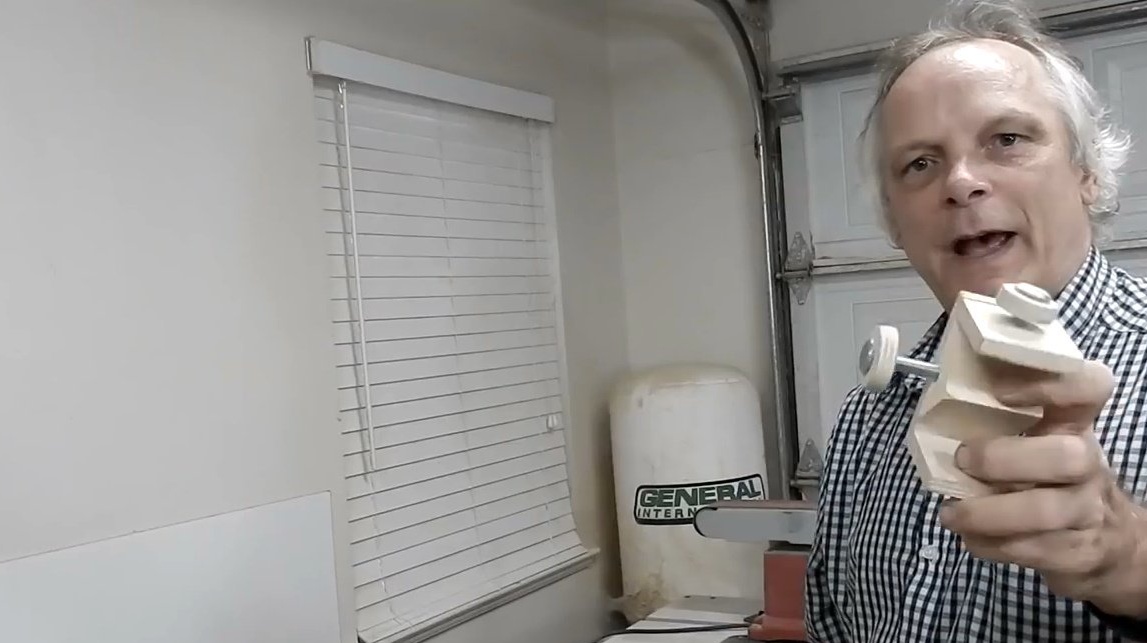
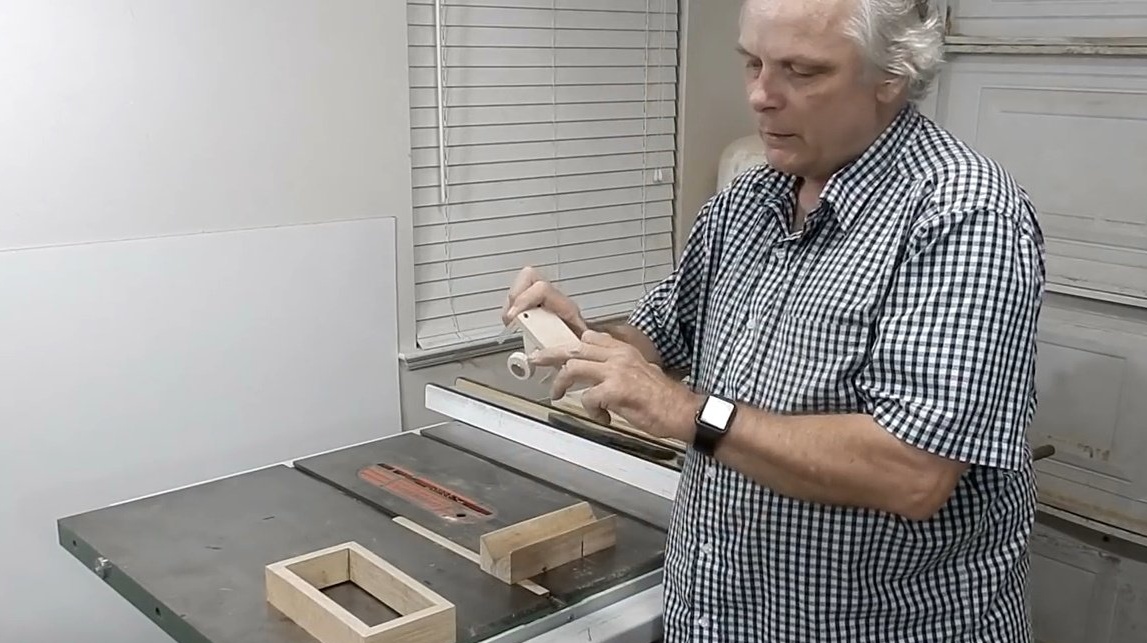
The two handles you see consist of square-base bolts and small wooden discs. Jack cut out the last with the help of crowns and a screwdriver.
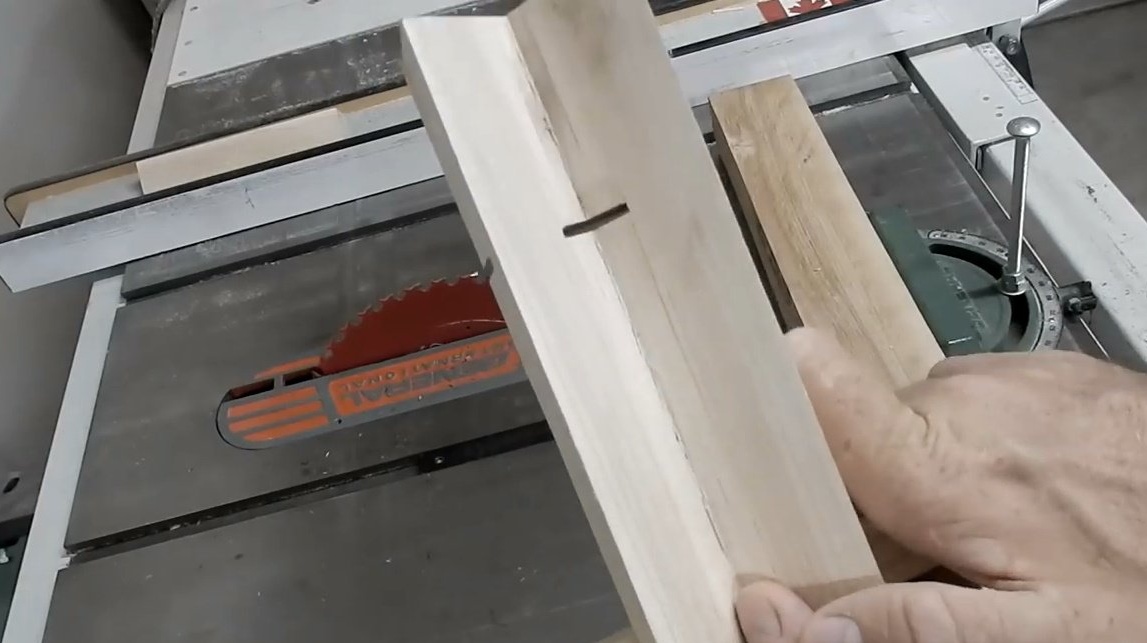
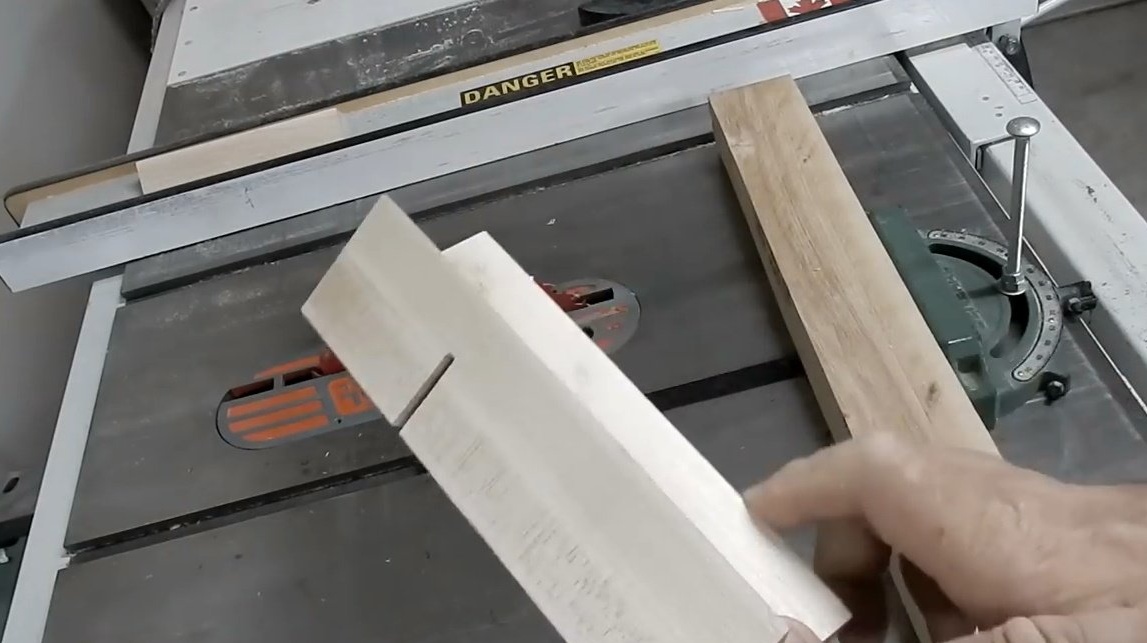
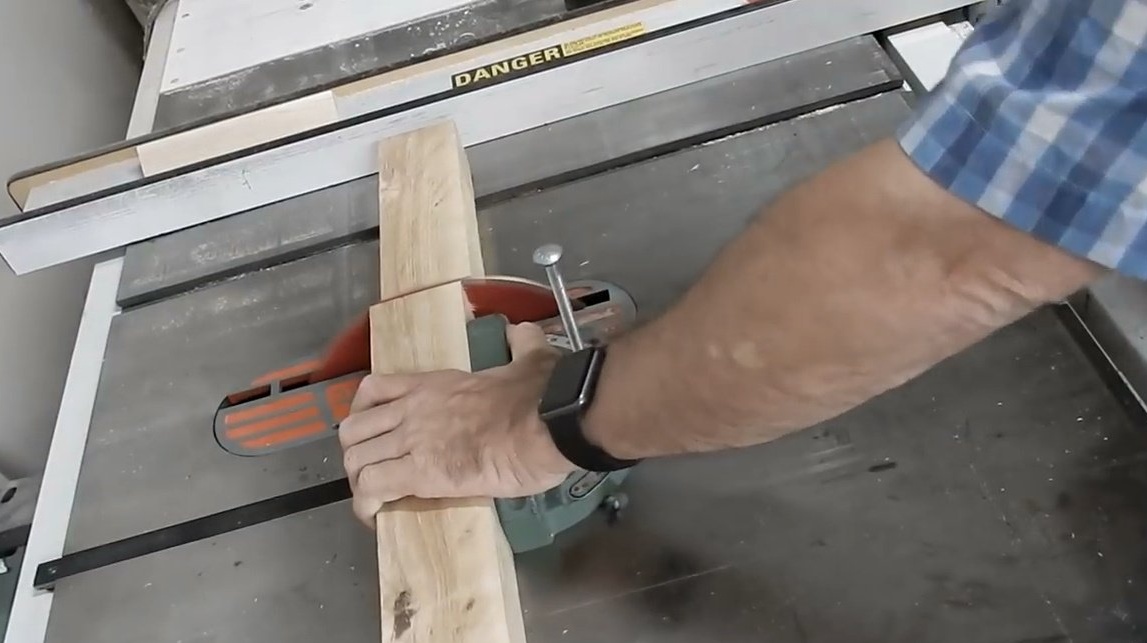
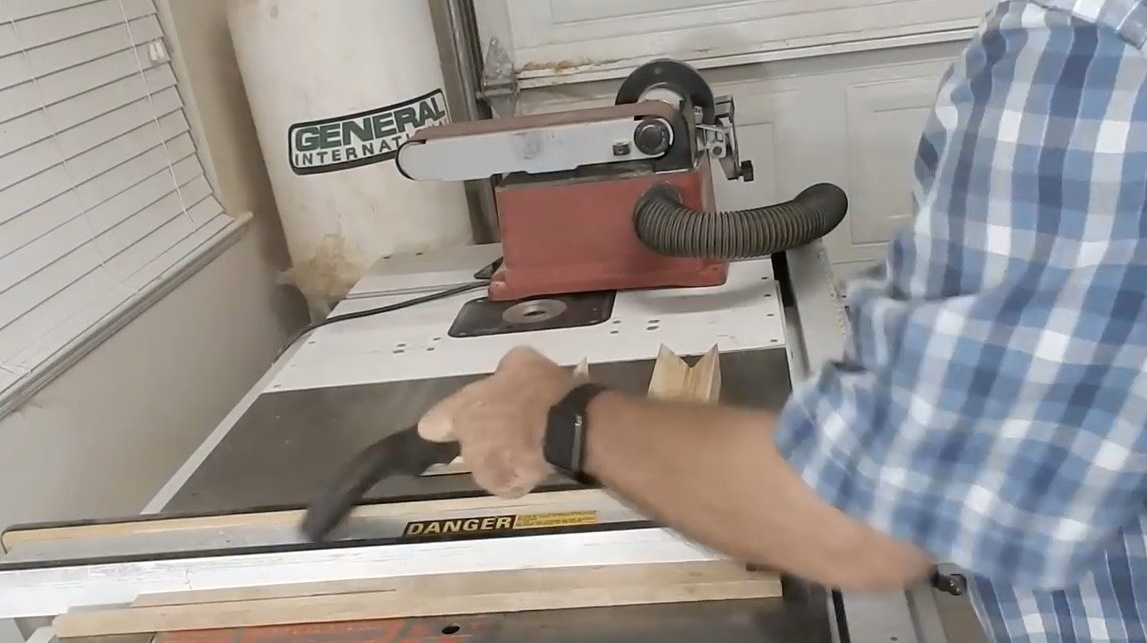
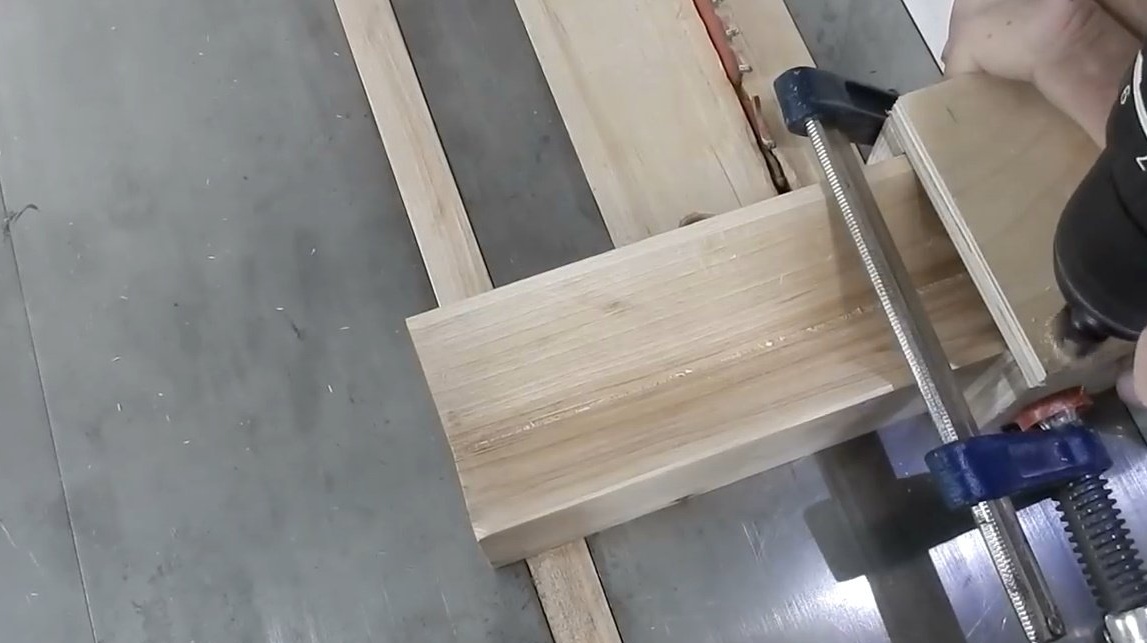
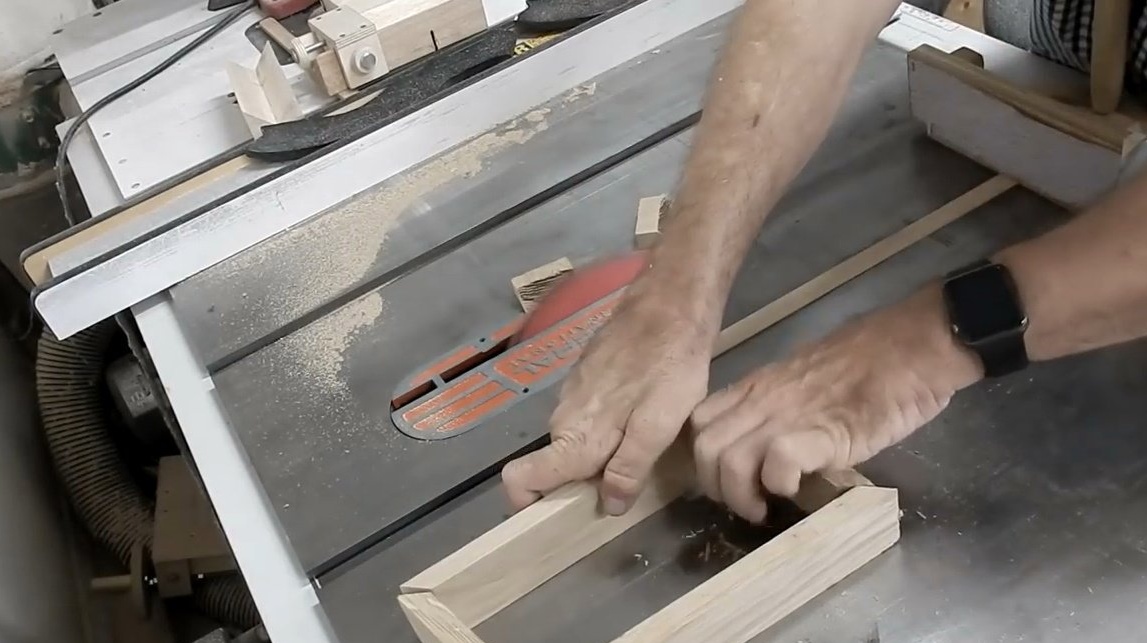
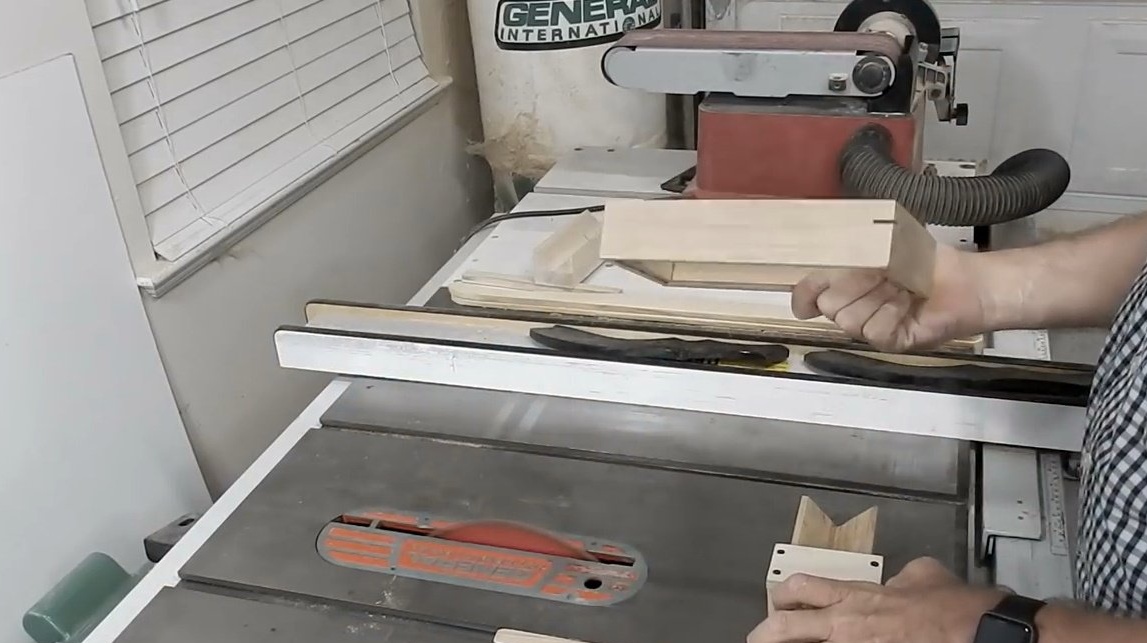
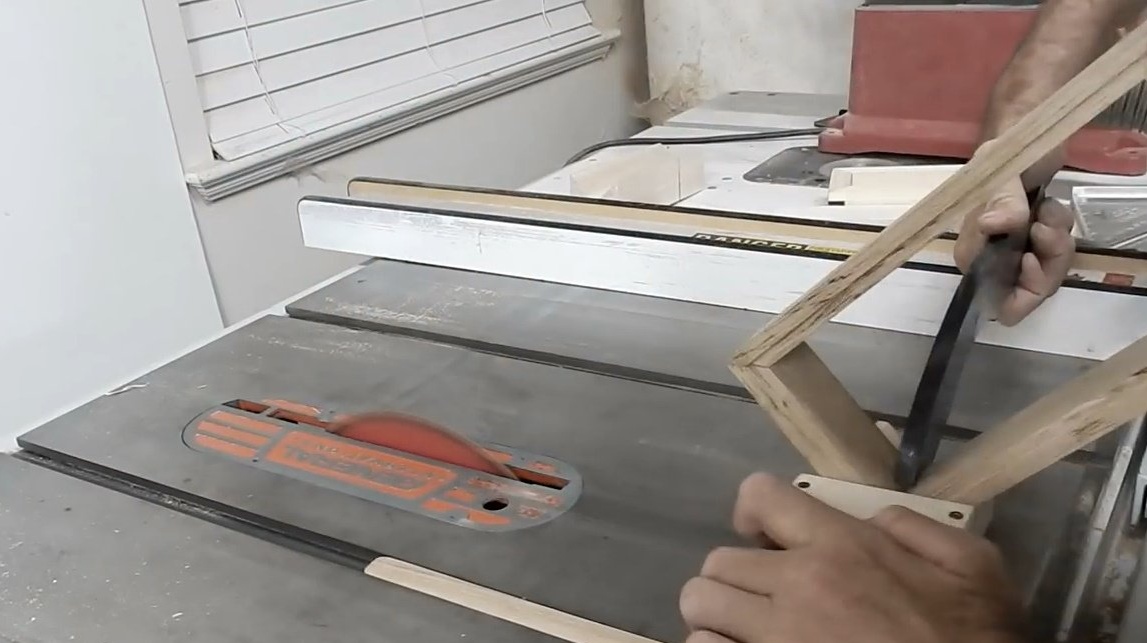
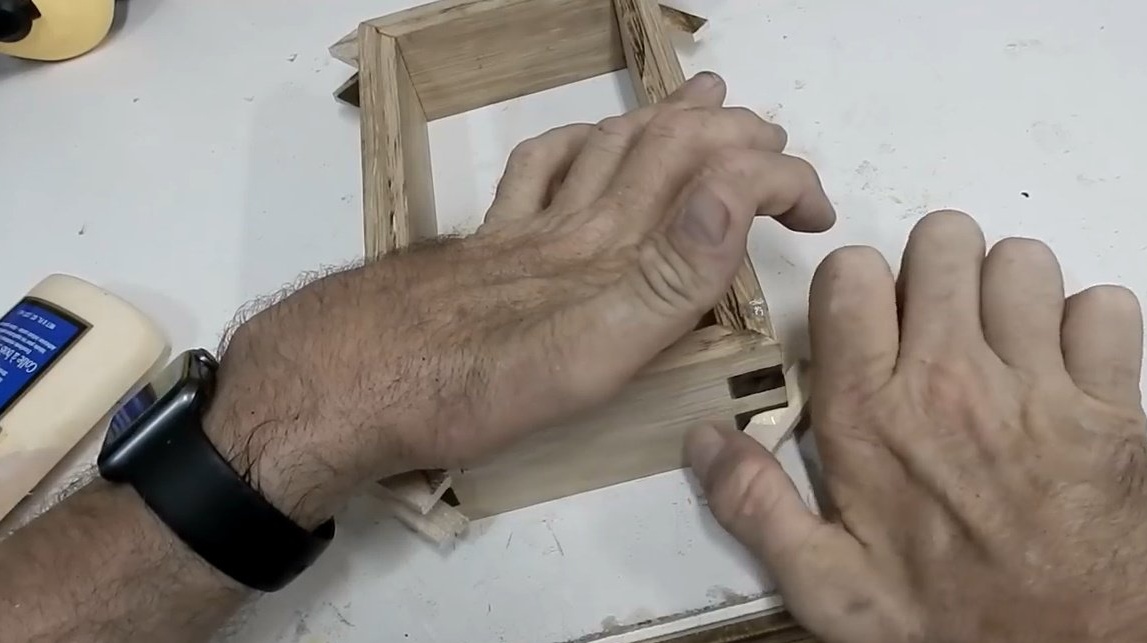
Now, while the carriage is drying, you can make boxes. It cuts the workpiece, makes side cuts at an angle of 45 degrees.
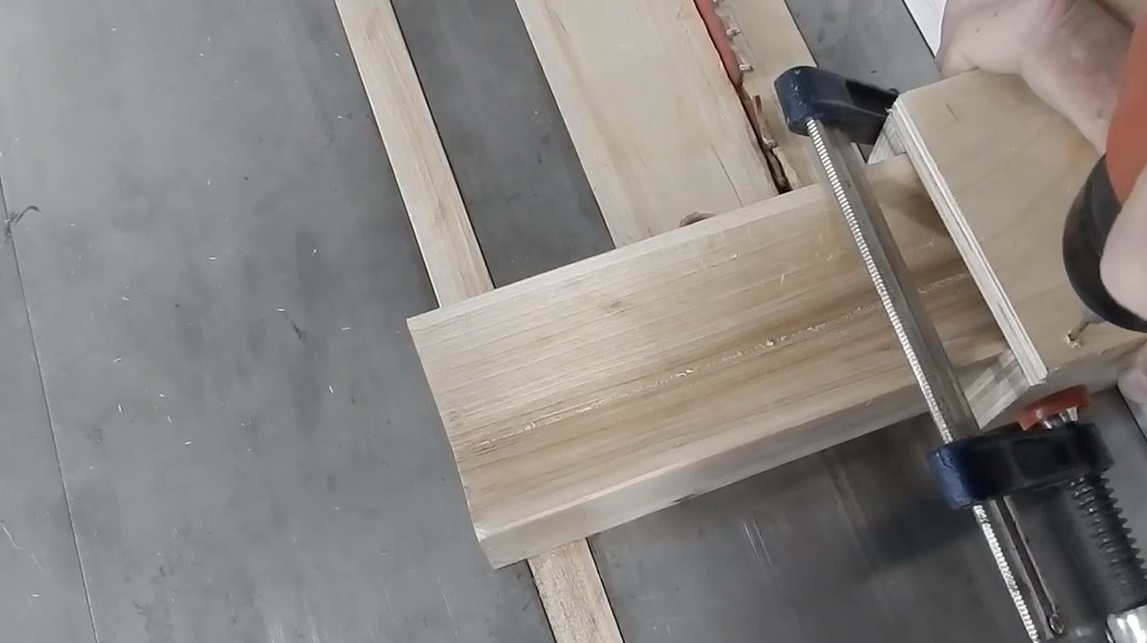
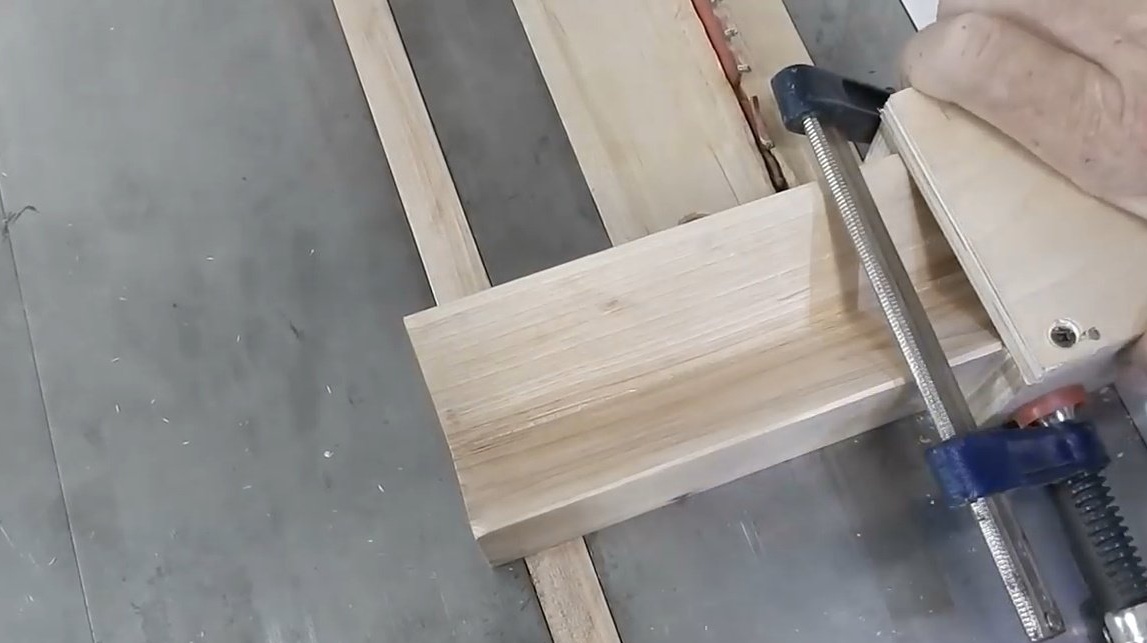
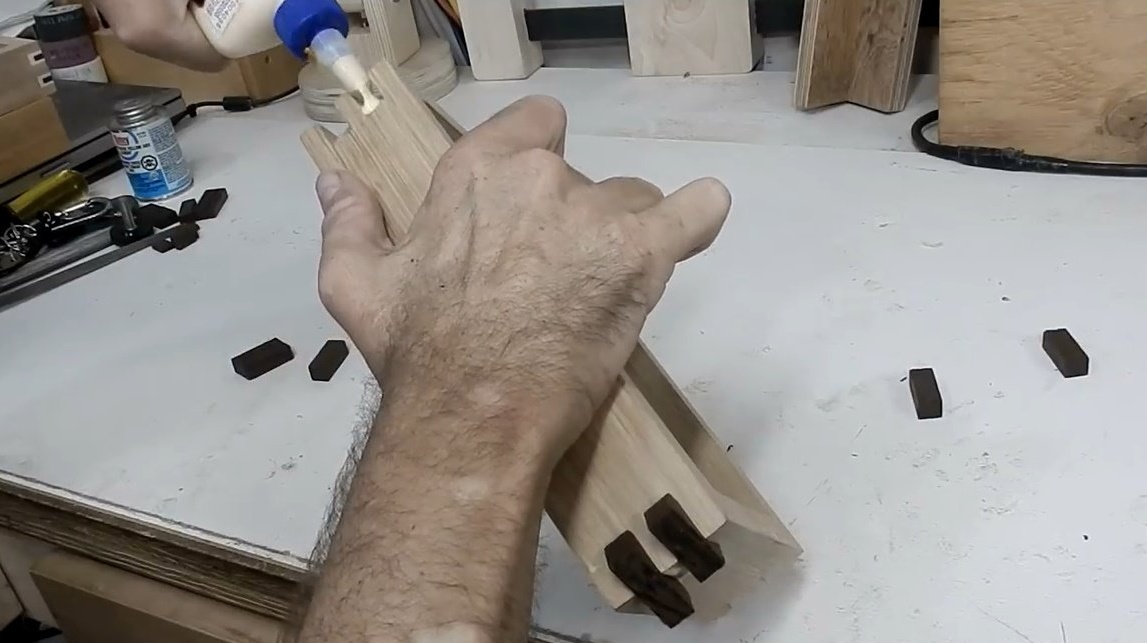
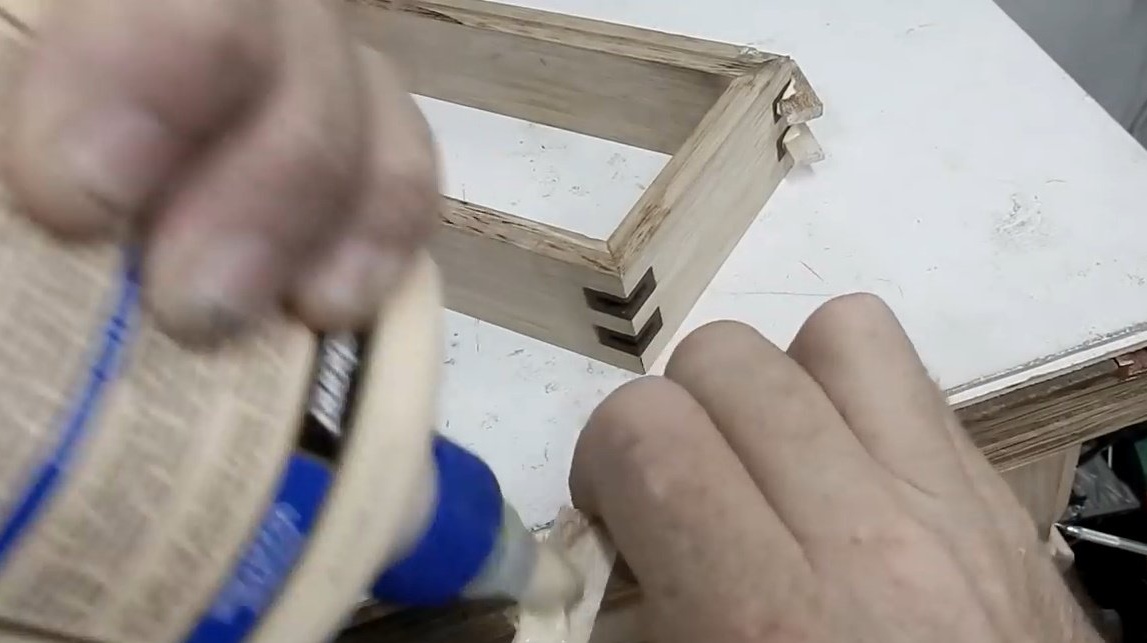
Lubricates the ends with glue, and clamps the workpiece in such a tricky clamp. It allows you to accurately withstand the corners.
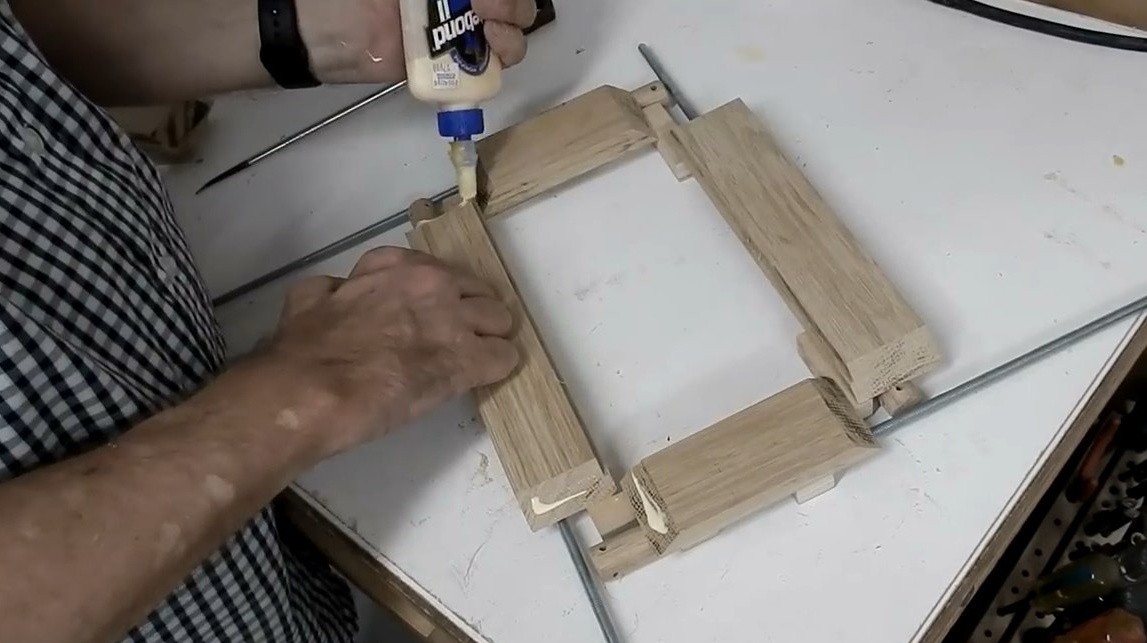
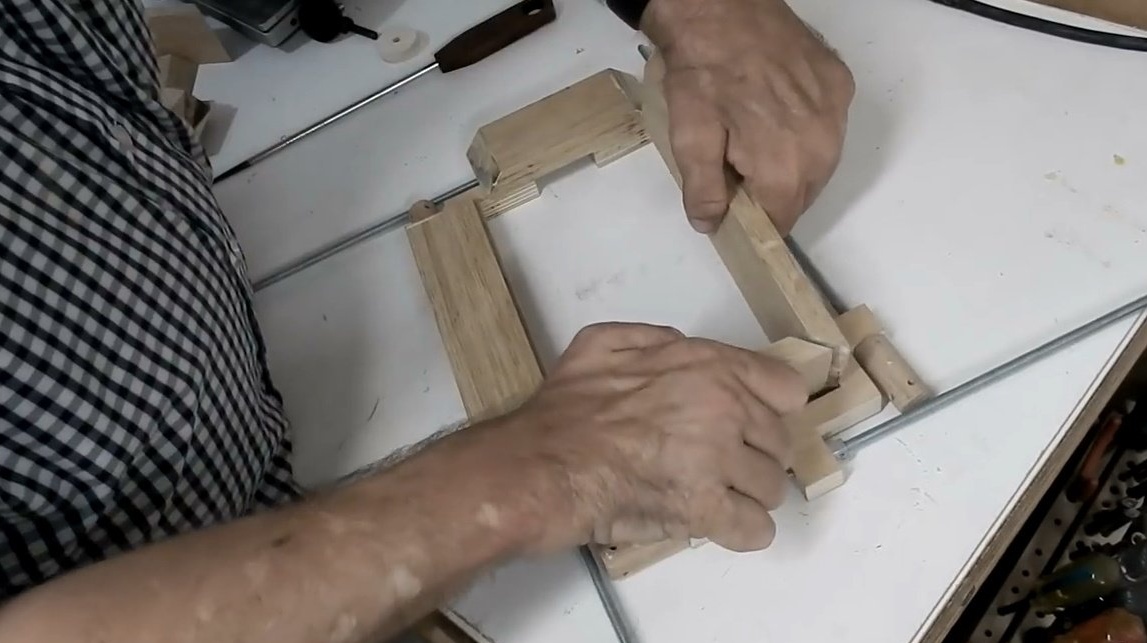
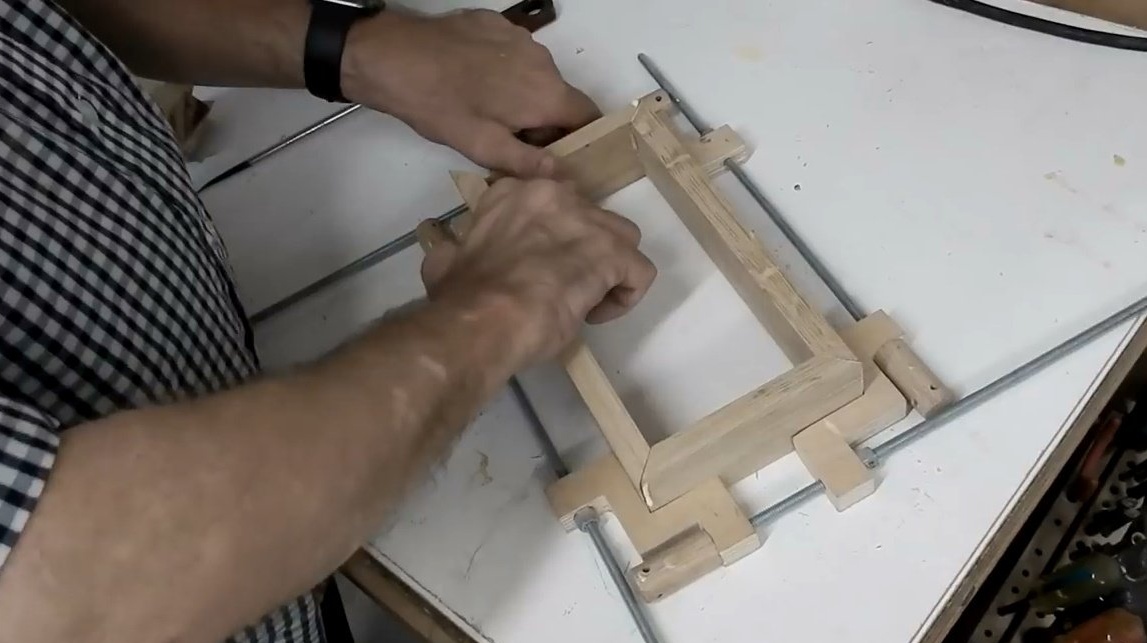
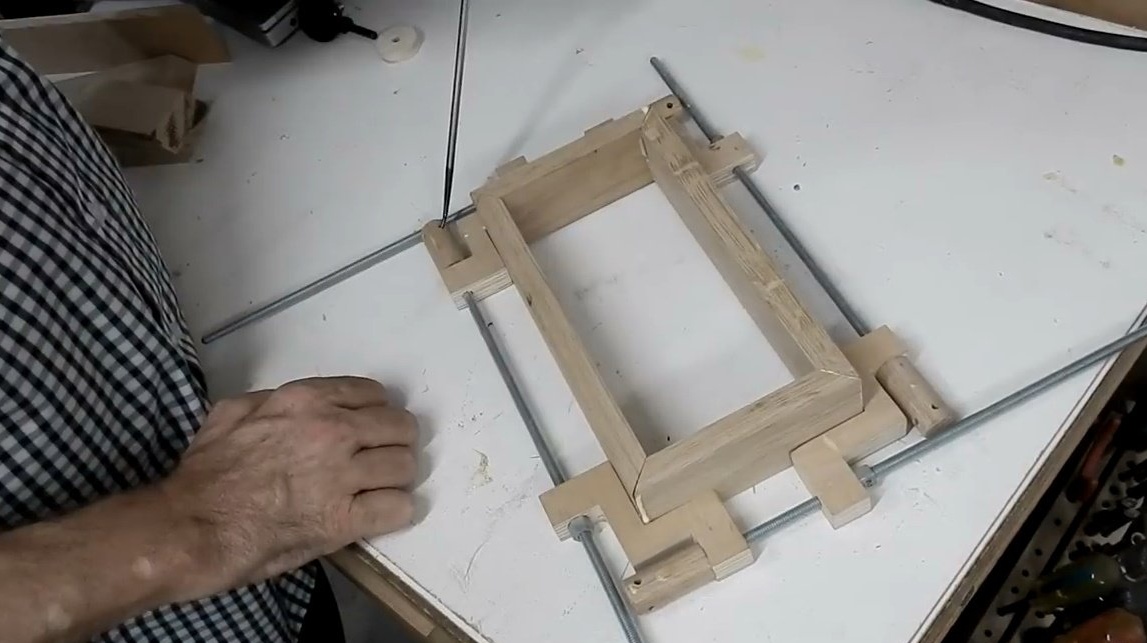
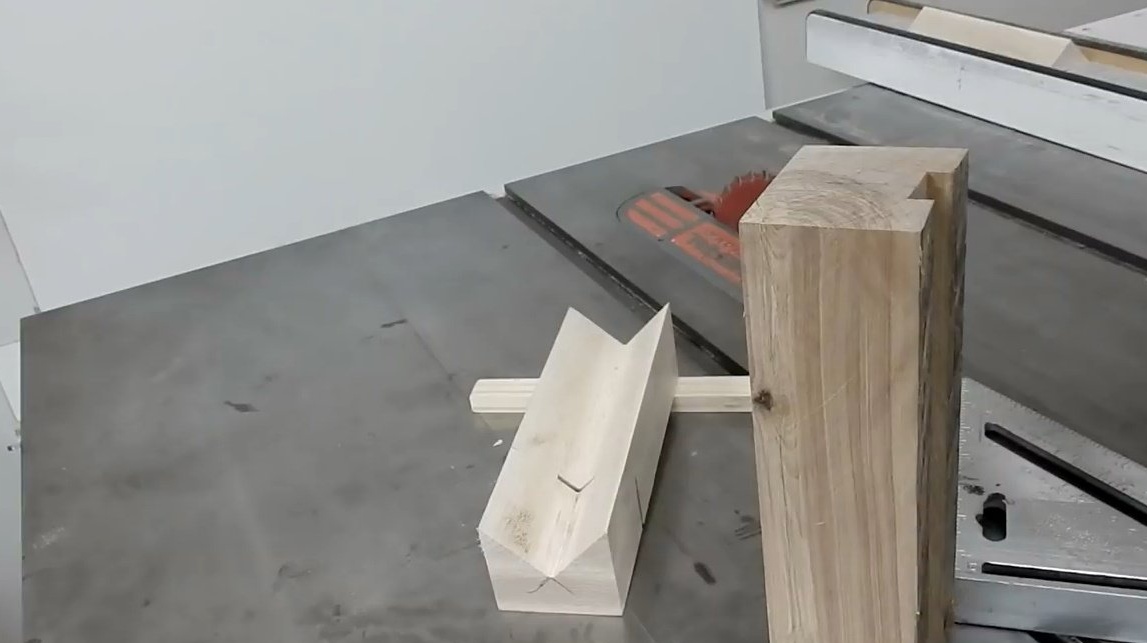
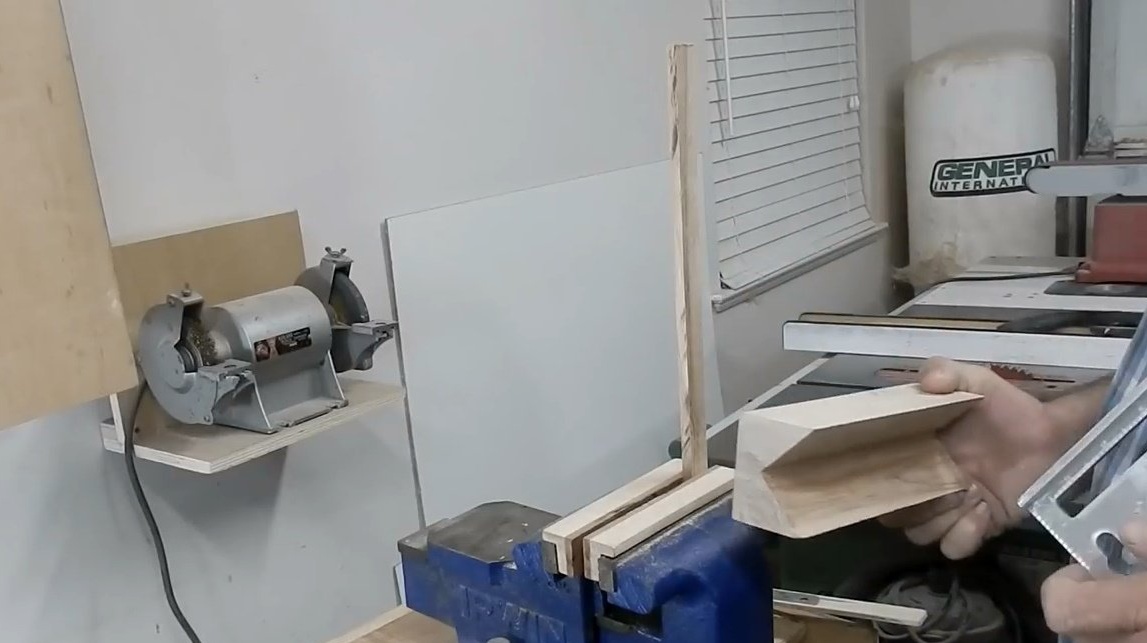
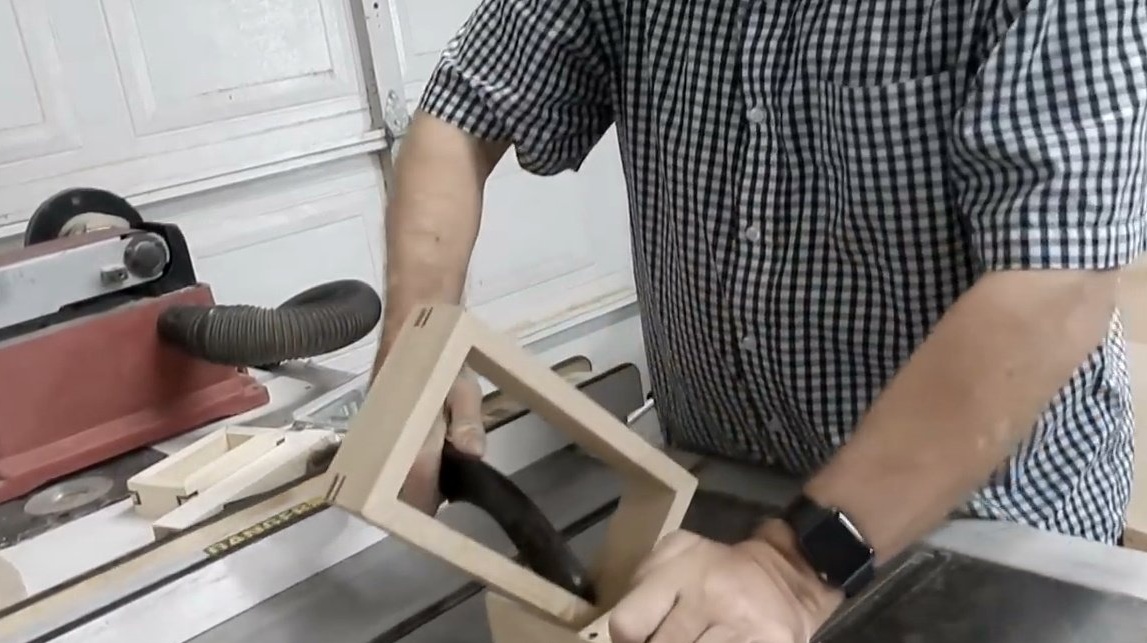
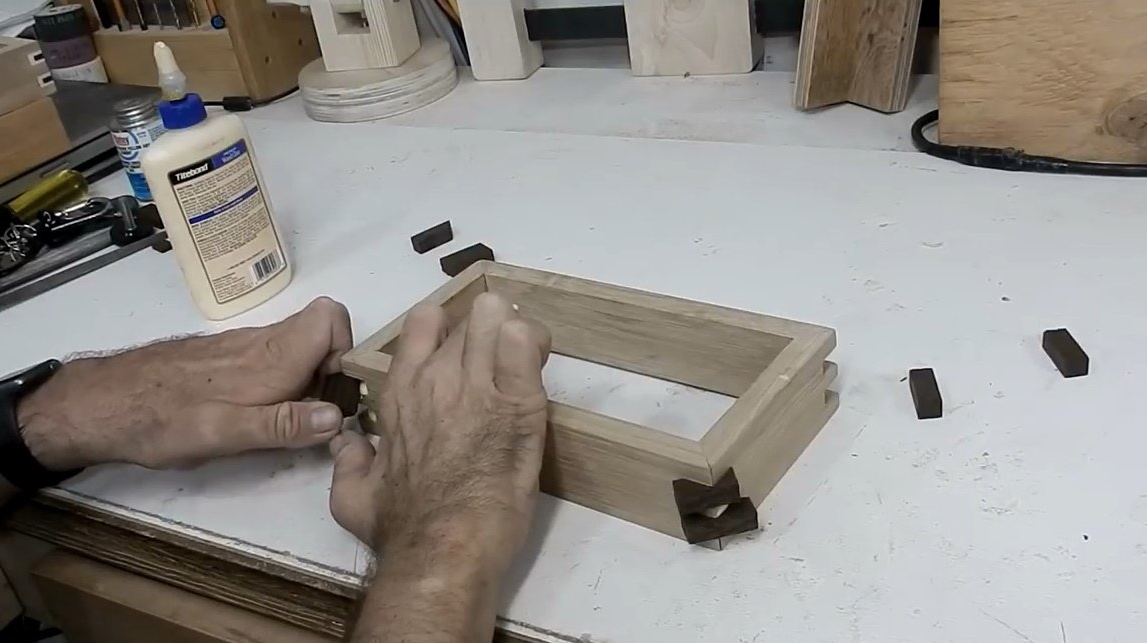
The glue has dried up, and the author removes the clamps, the box is ready.
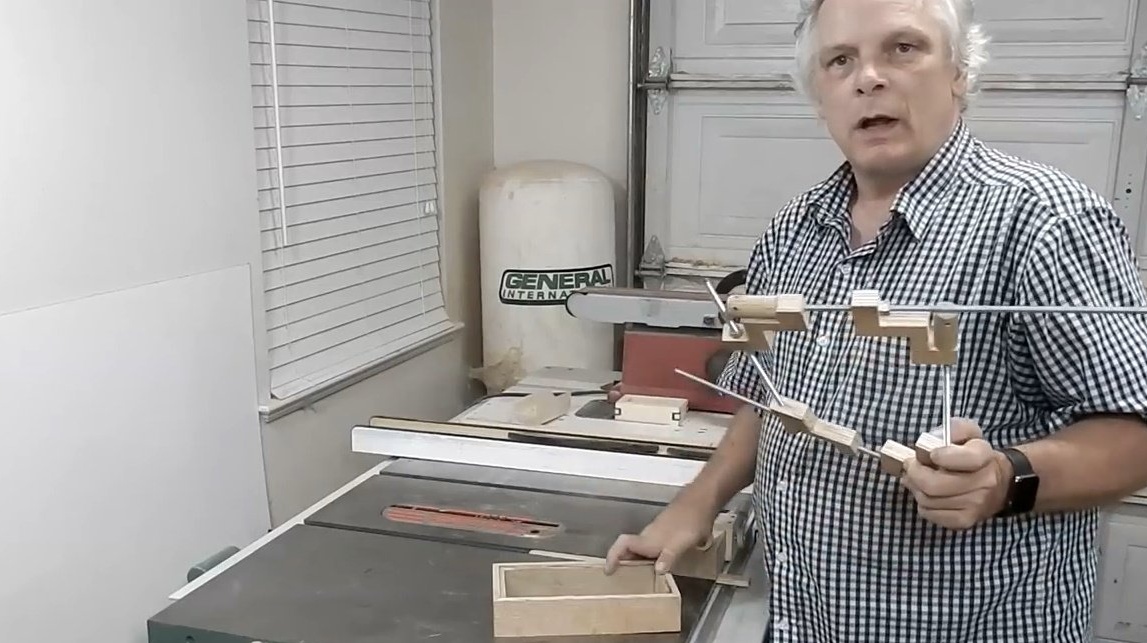

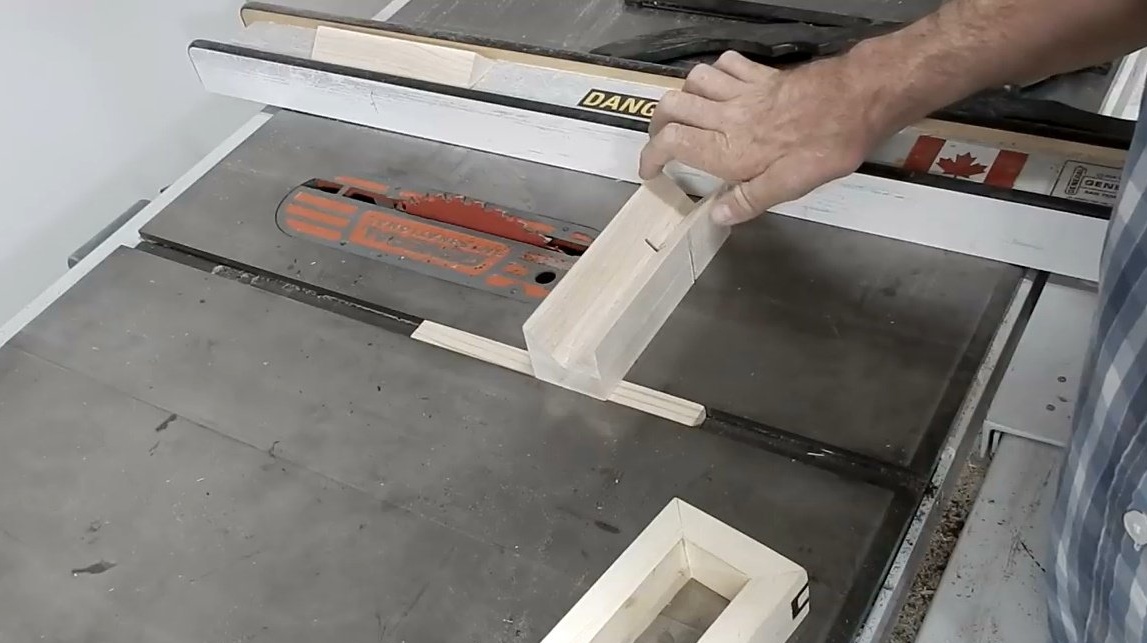
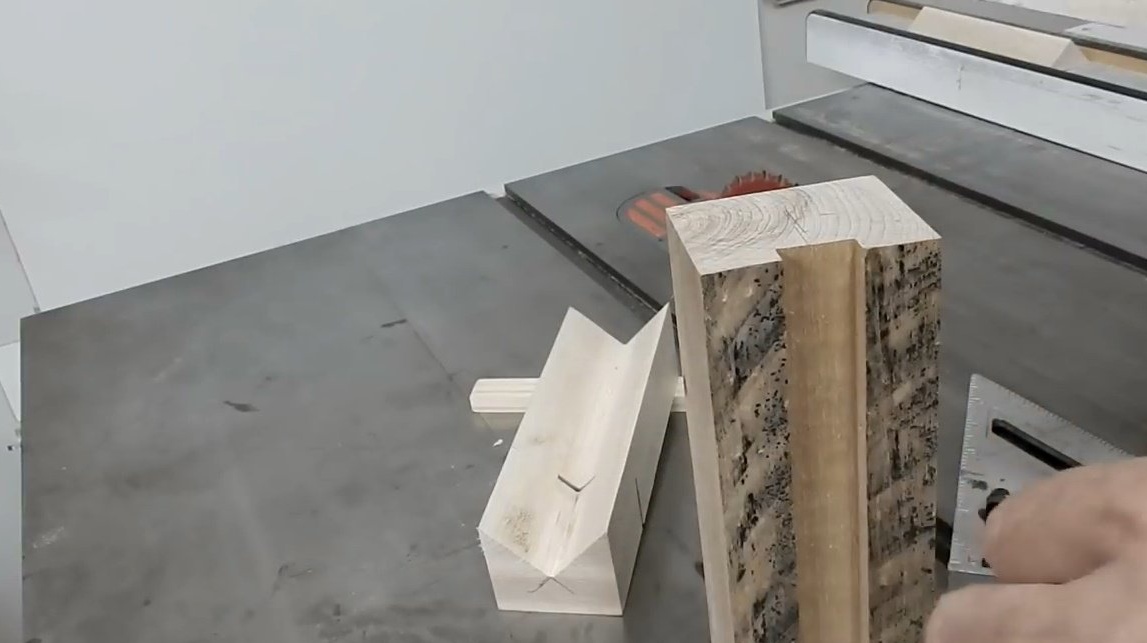
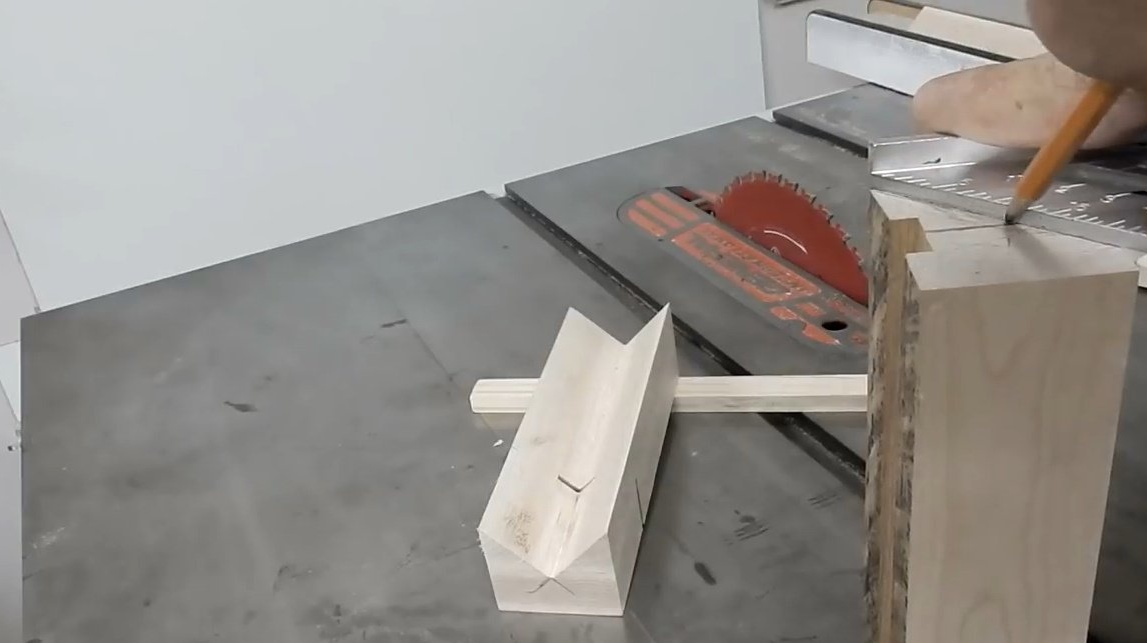
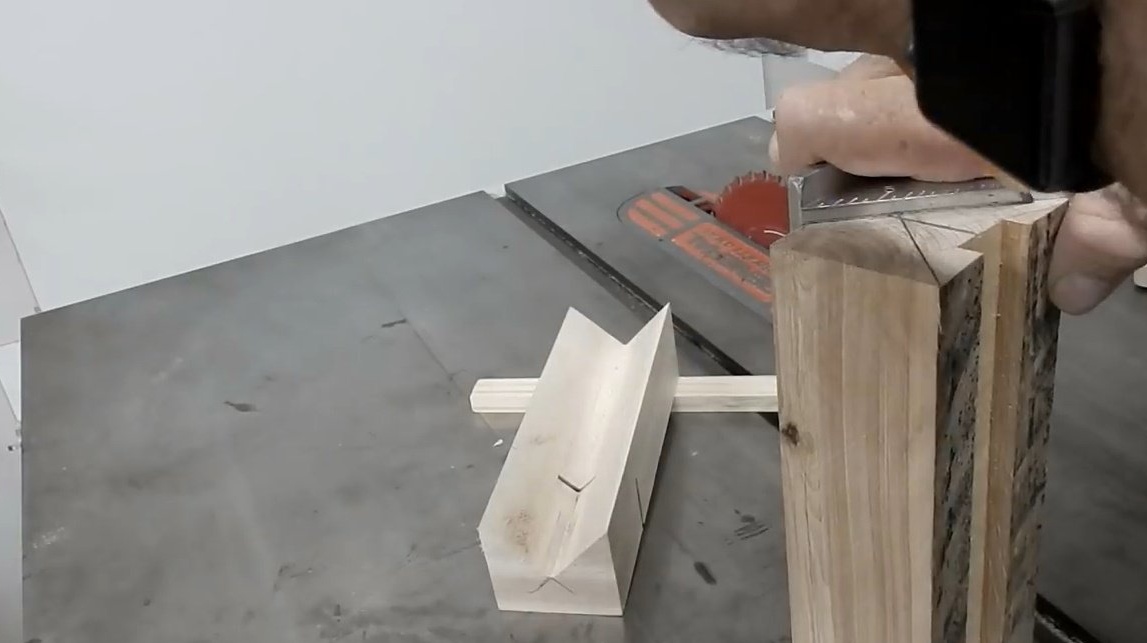
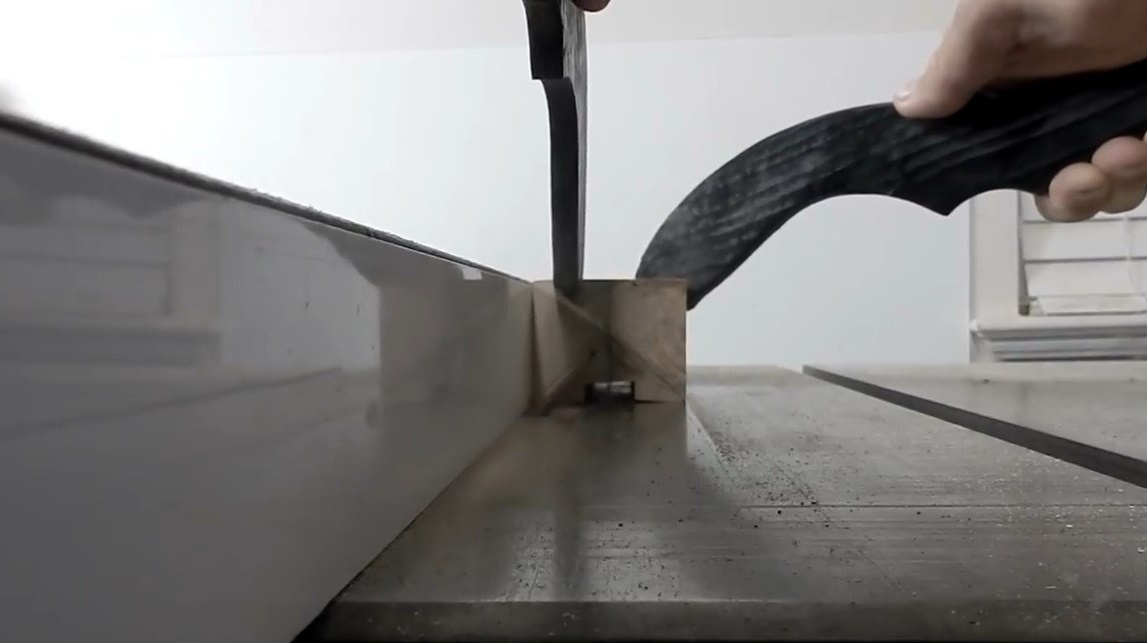
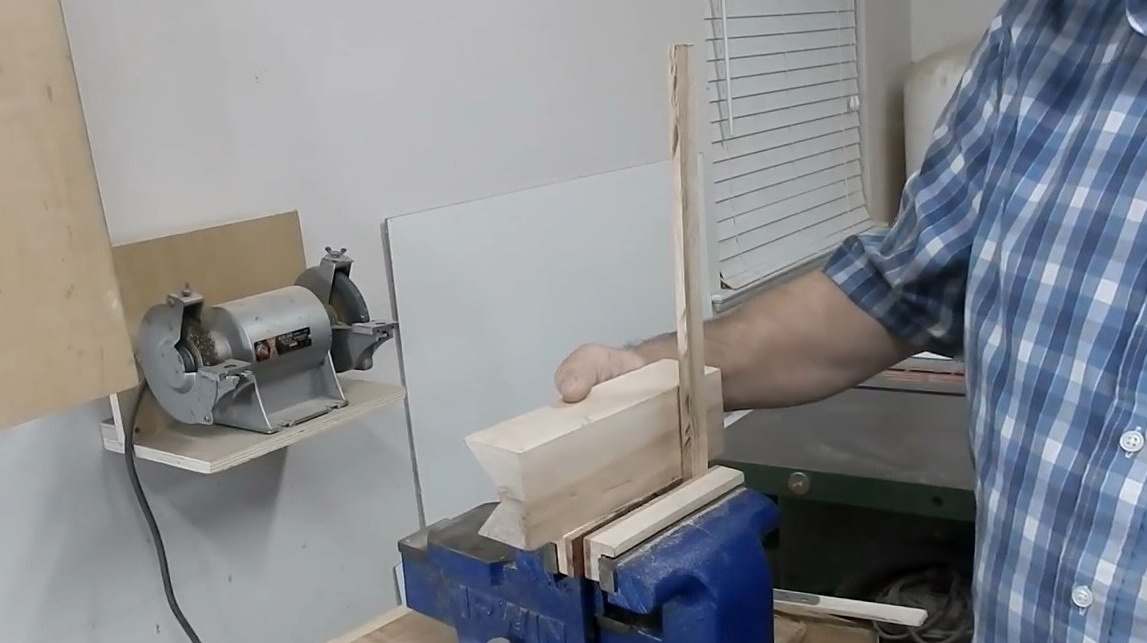
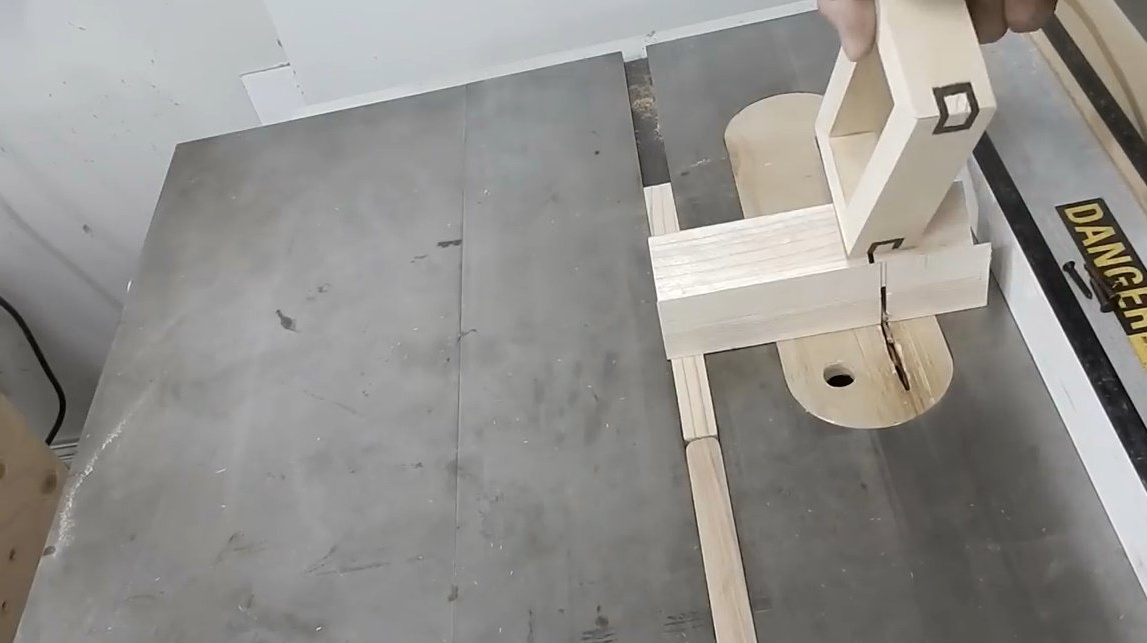
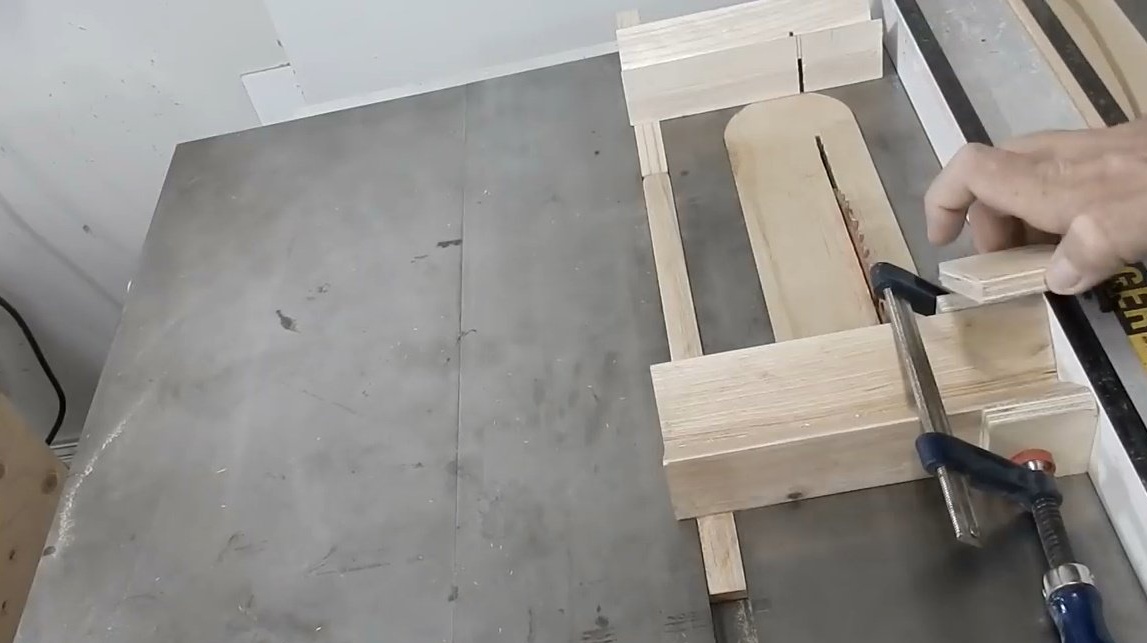
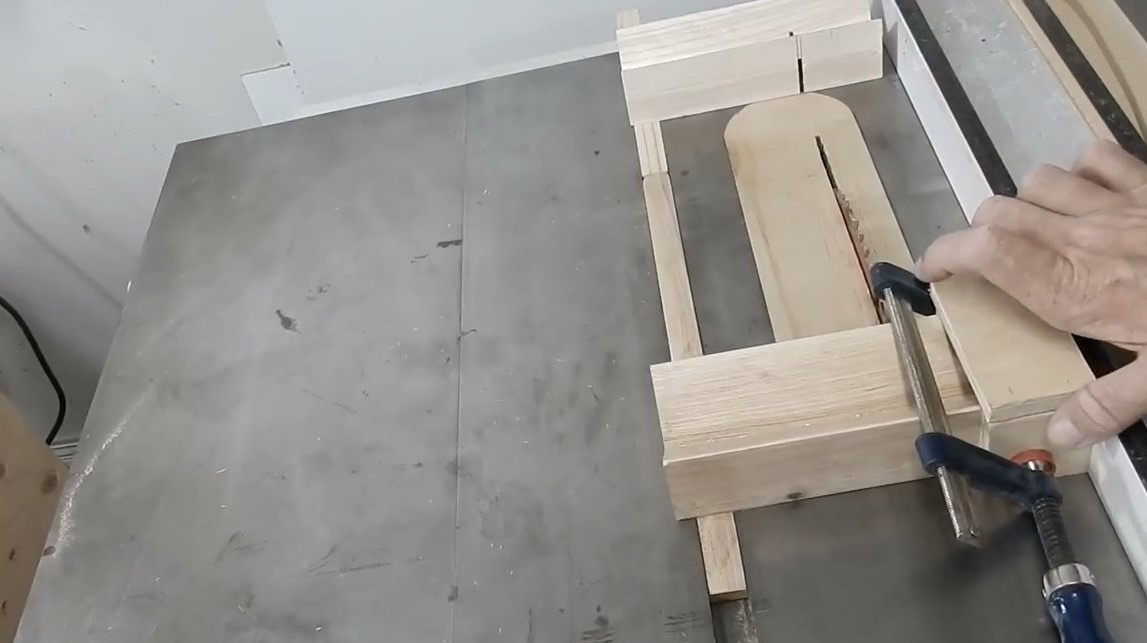
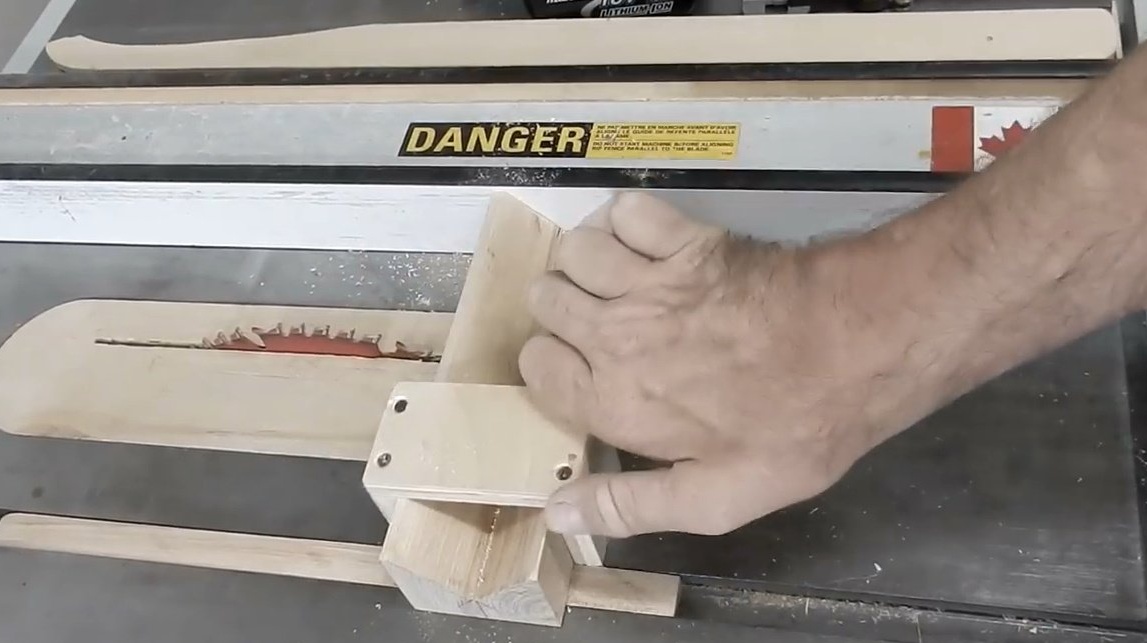
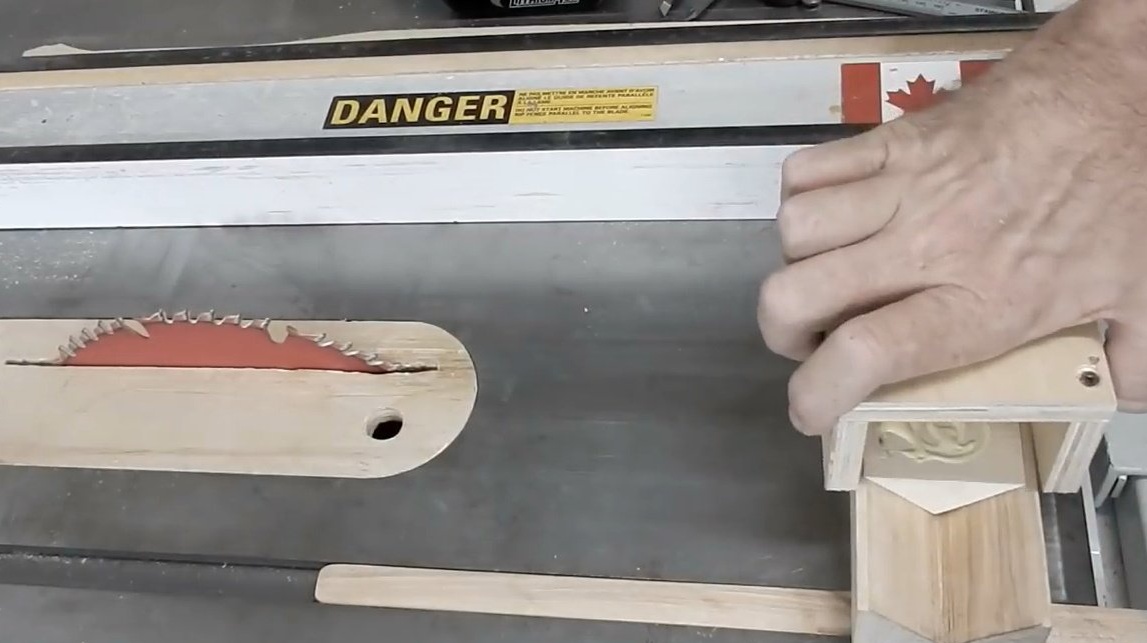
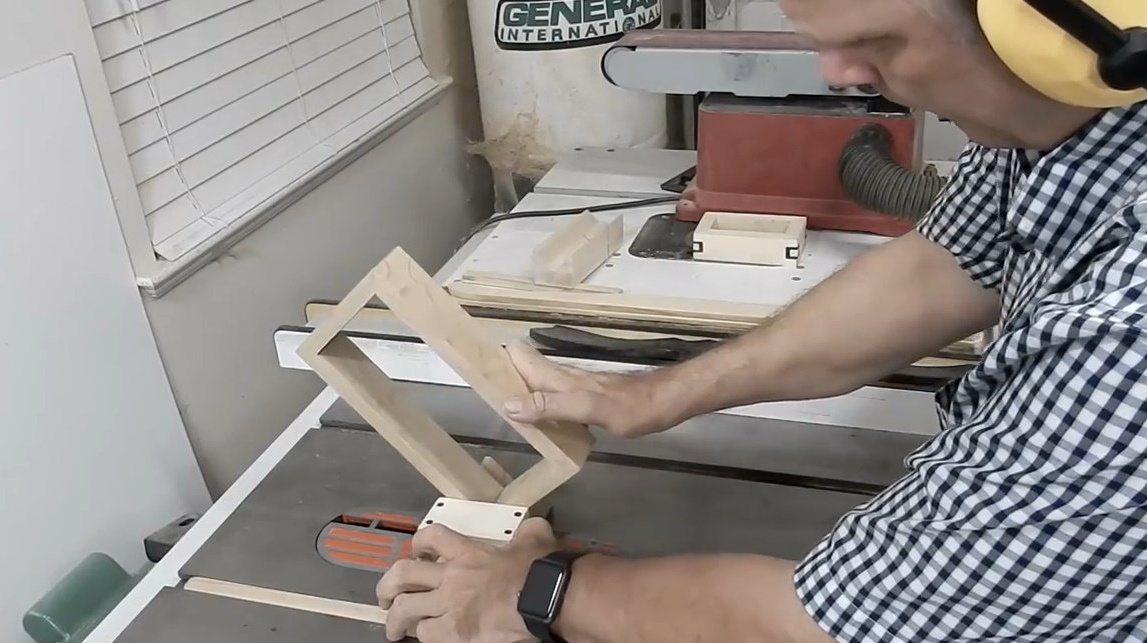
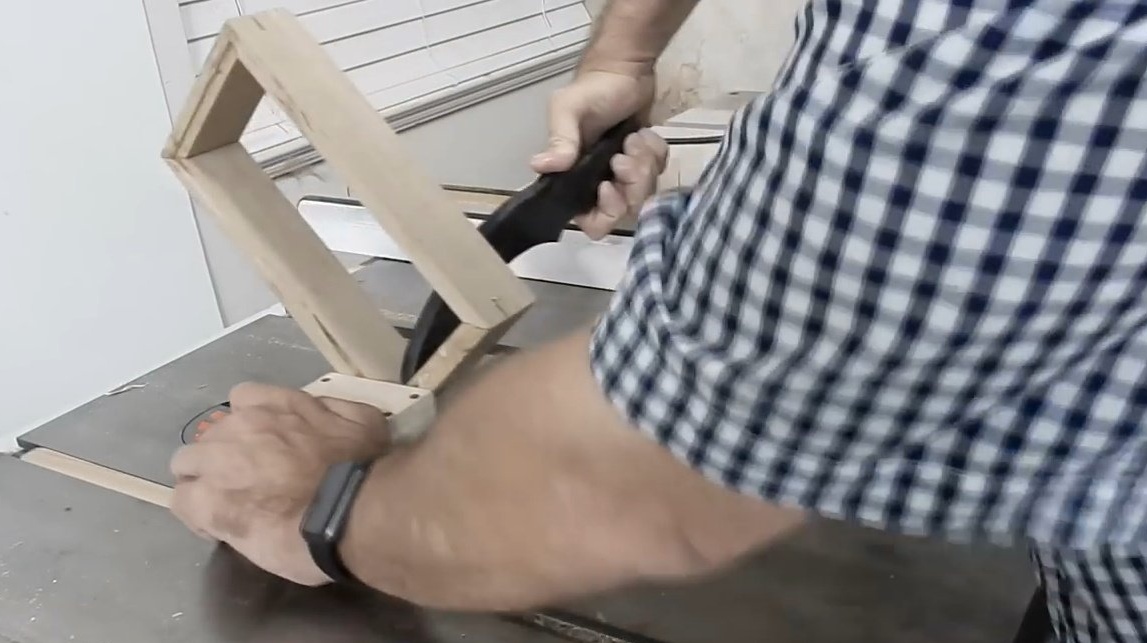
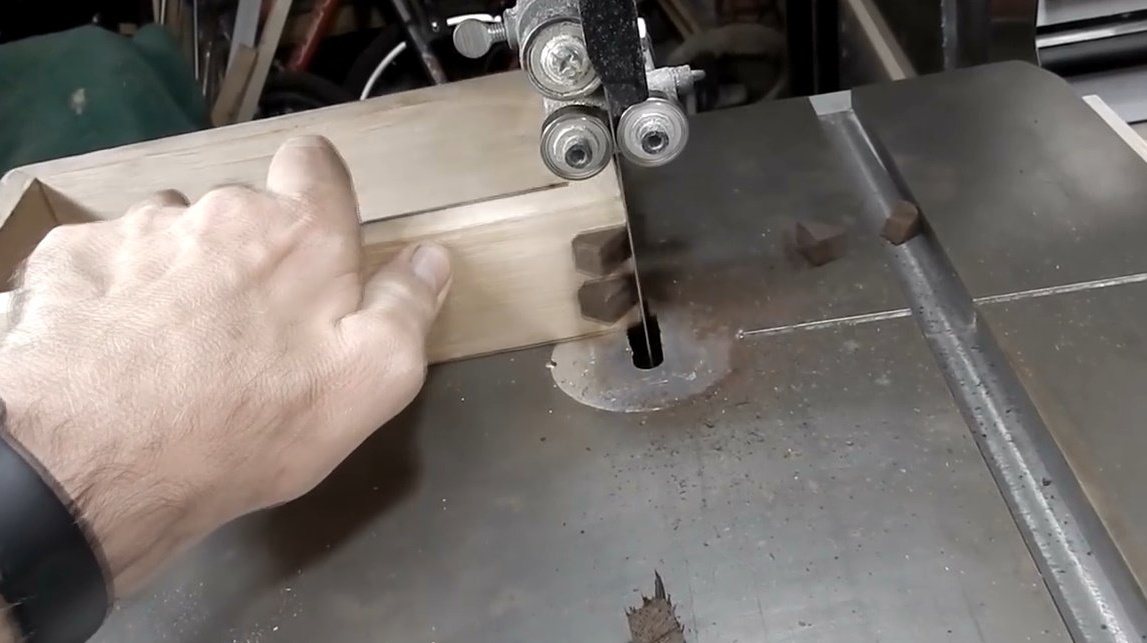
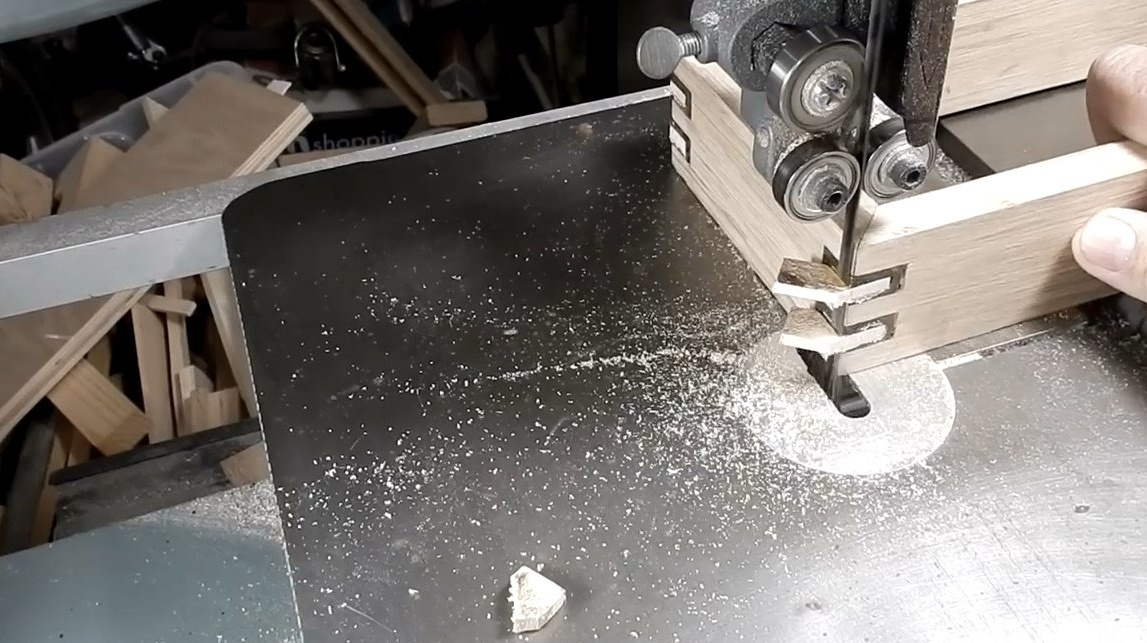
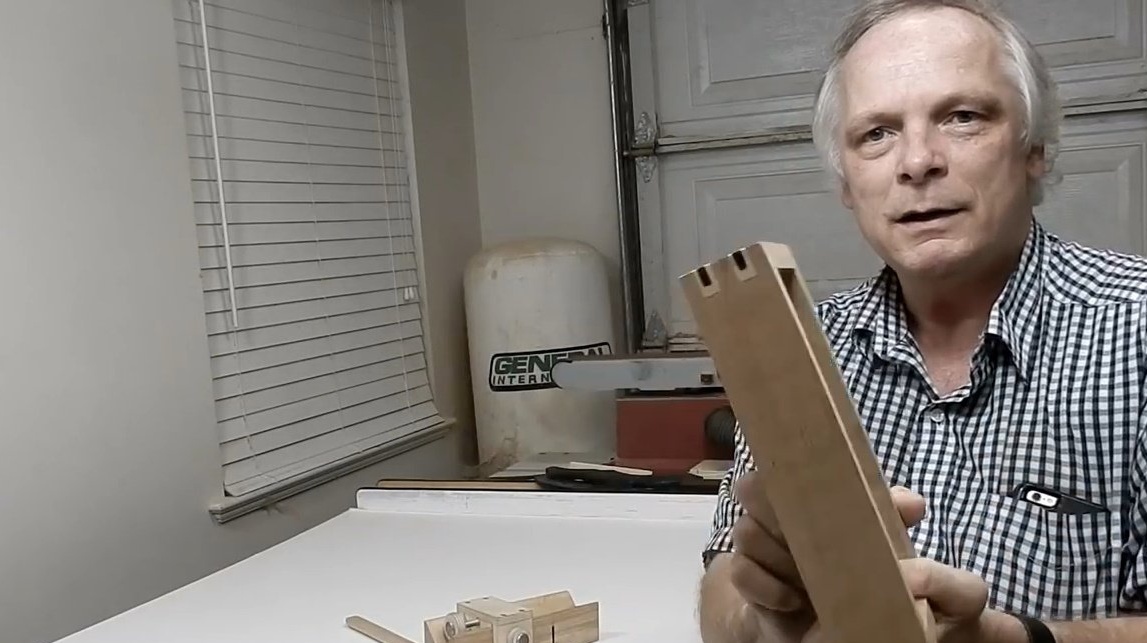
Next, the master inserts it into a previously constructed fixture. First he tightens the clamping screw. Then he makes a marking with a pencil on the second screw from the calculation that two turns of this bolt give the thickness of the saw blade. He also puts several marks on the restrictive block itself, as well as on a wooden product in those places where cuts should be made.
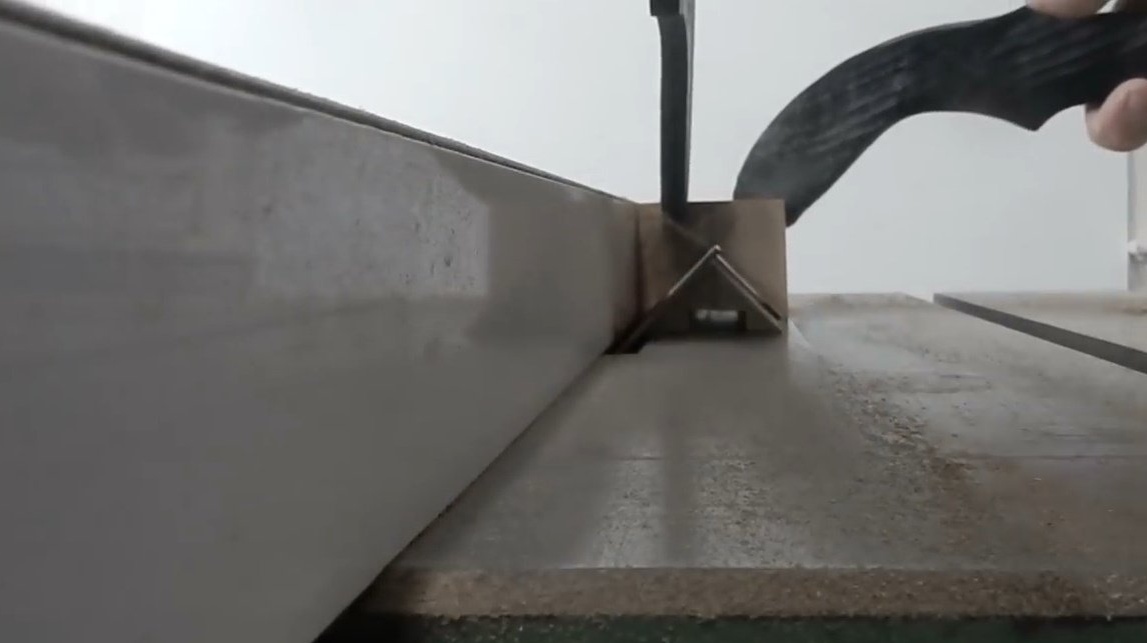
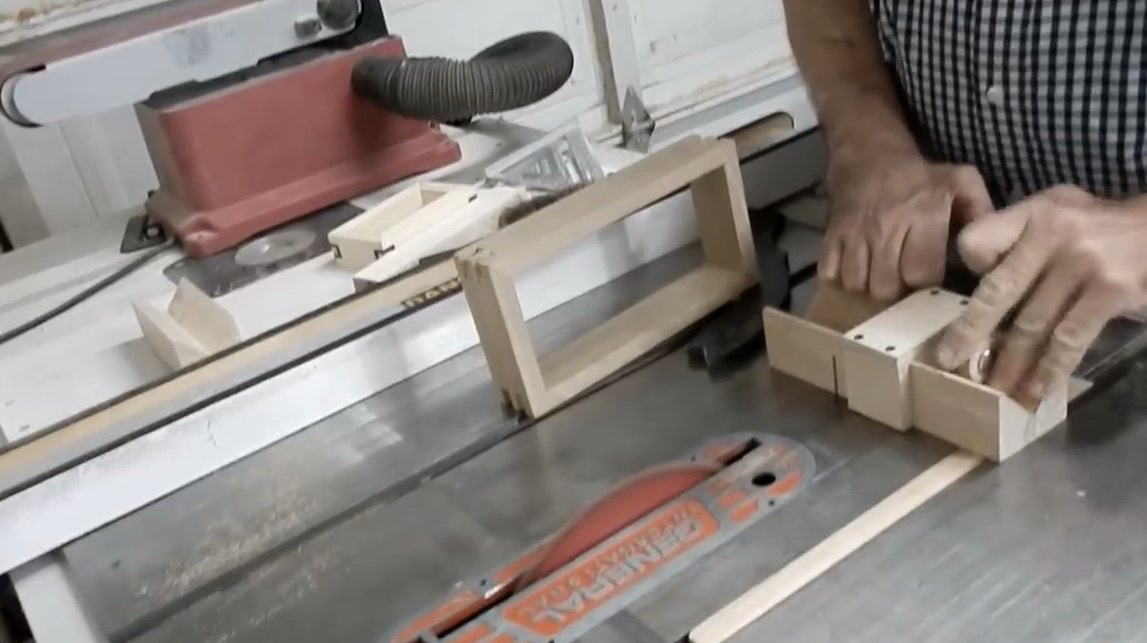
And so the author tightens the screw at the mark made on the box and makes the first cut.
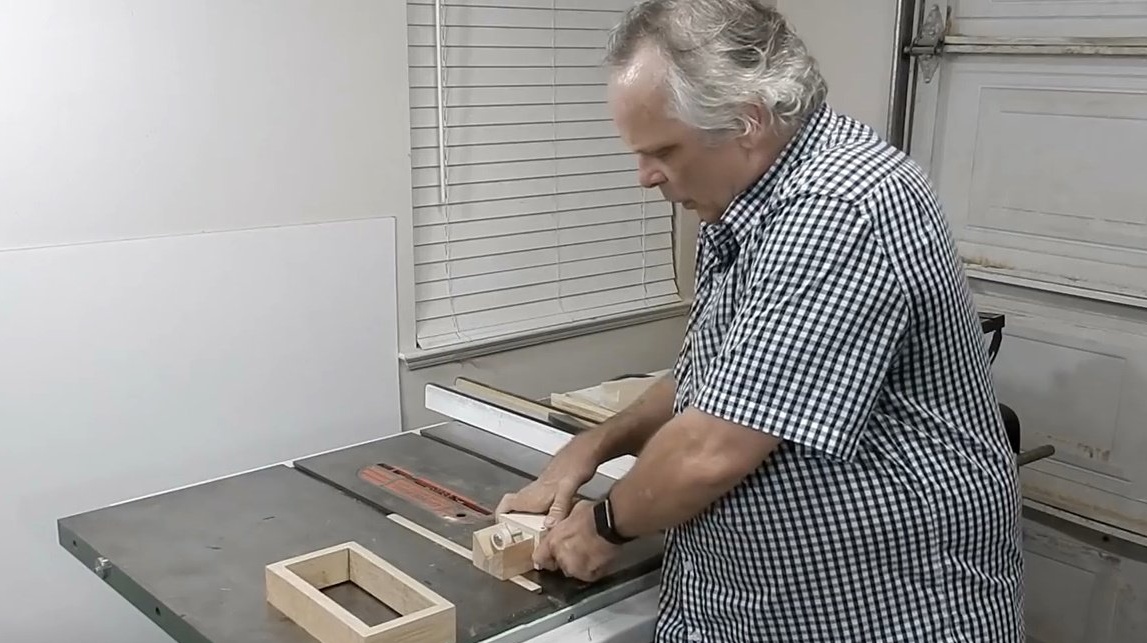
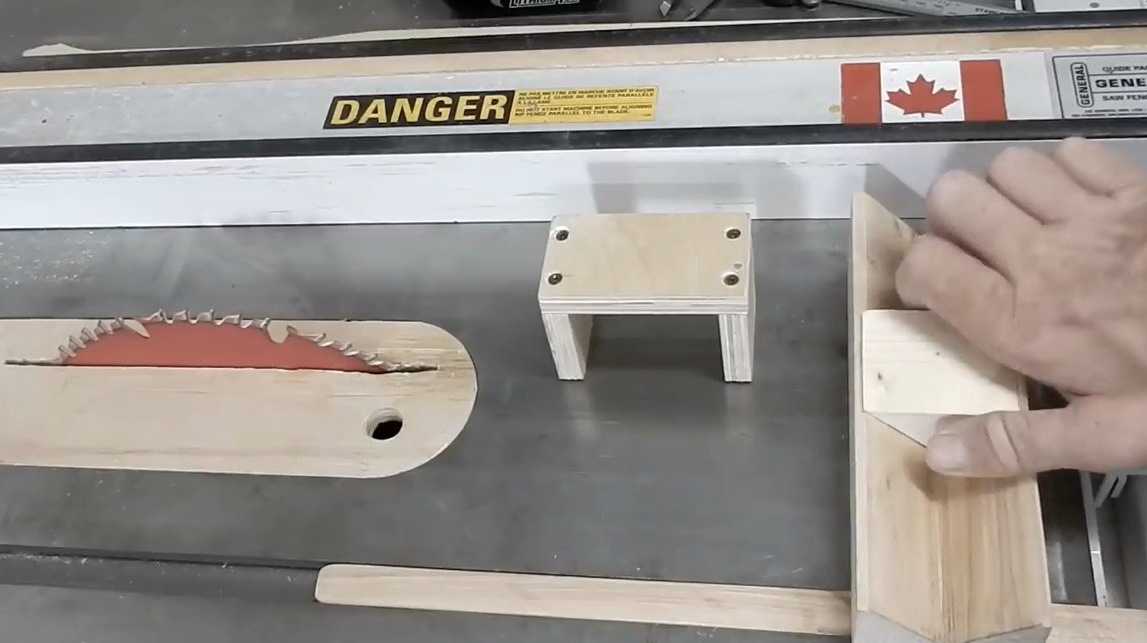
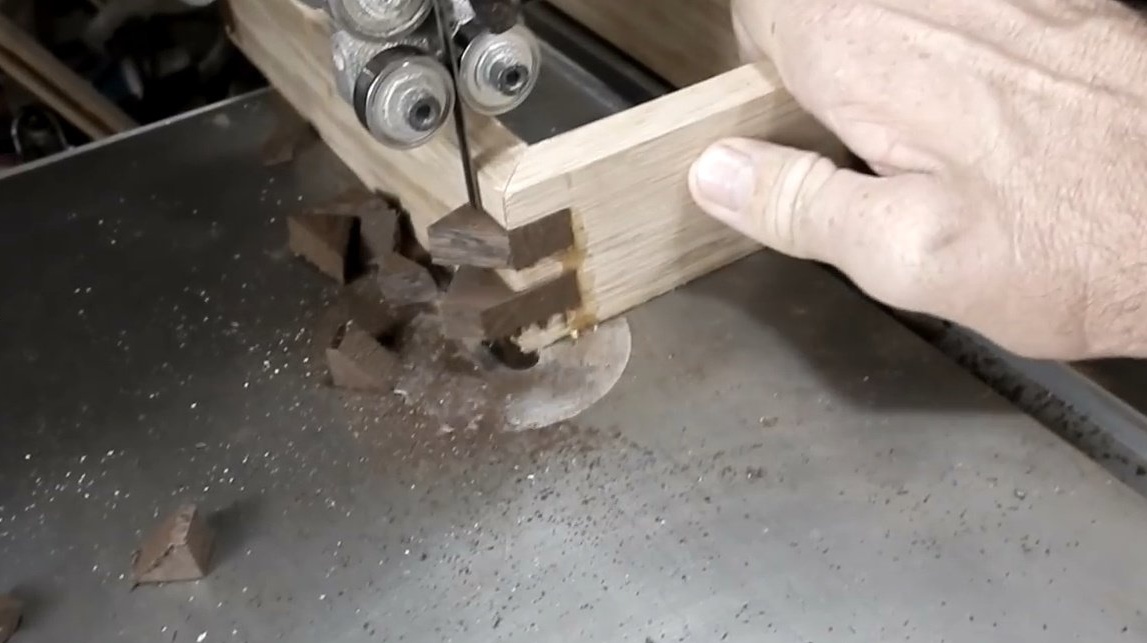
By the same principle, he makes the remaining grooves.
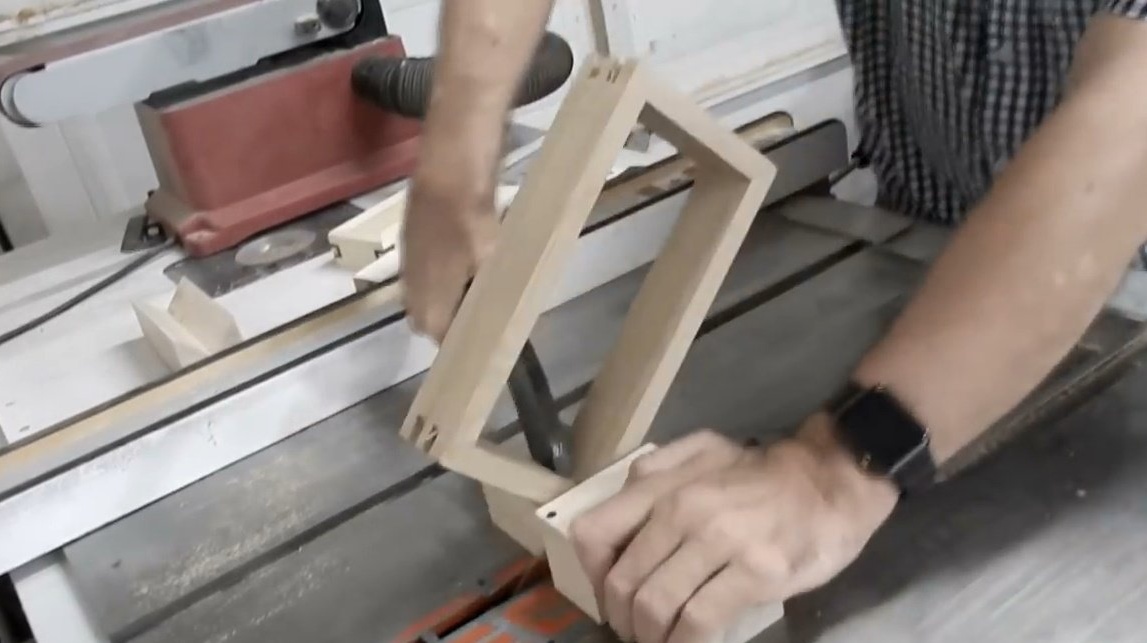
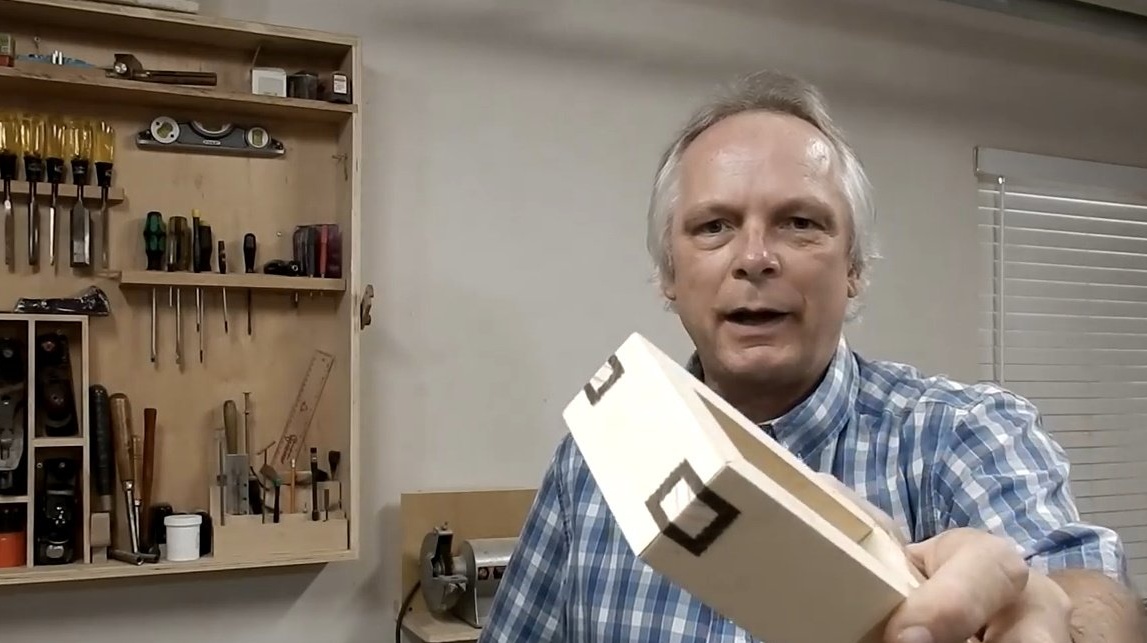
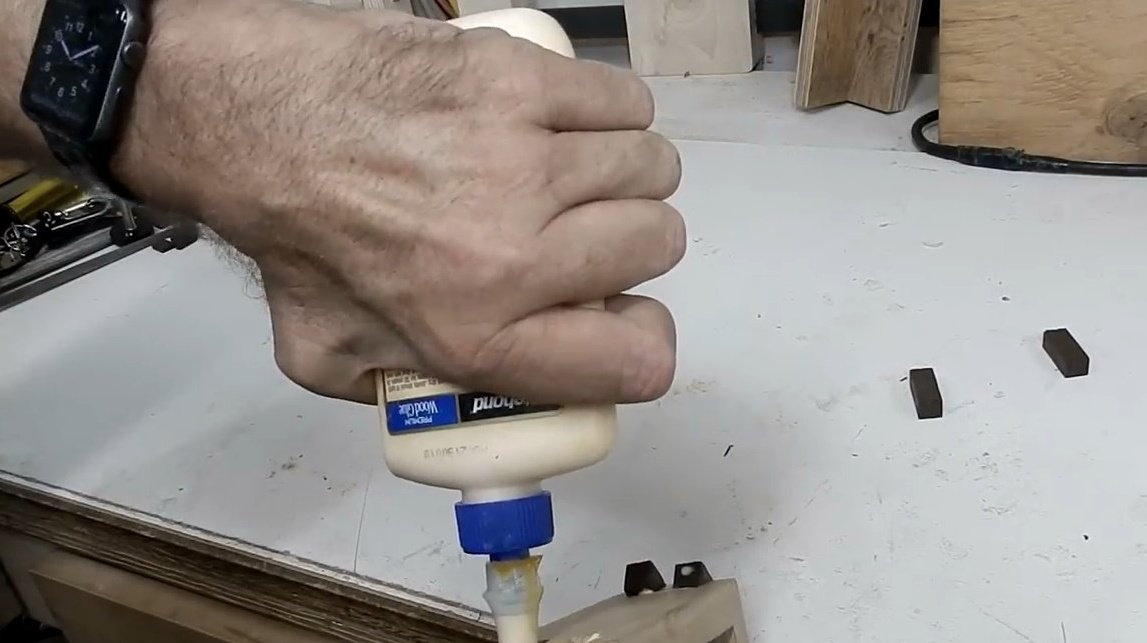
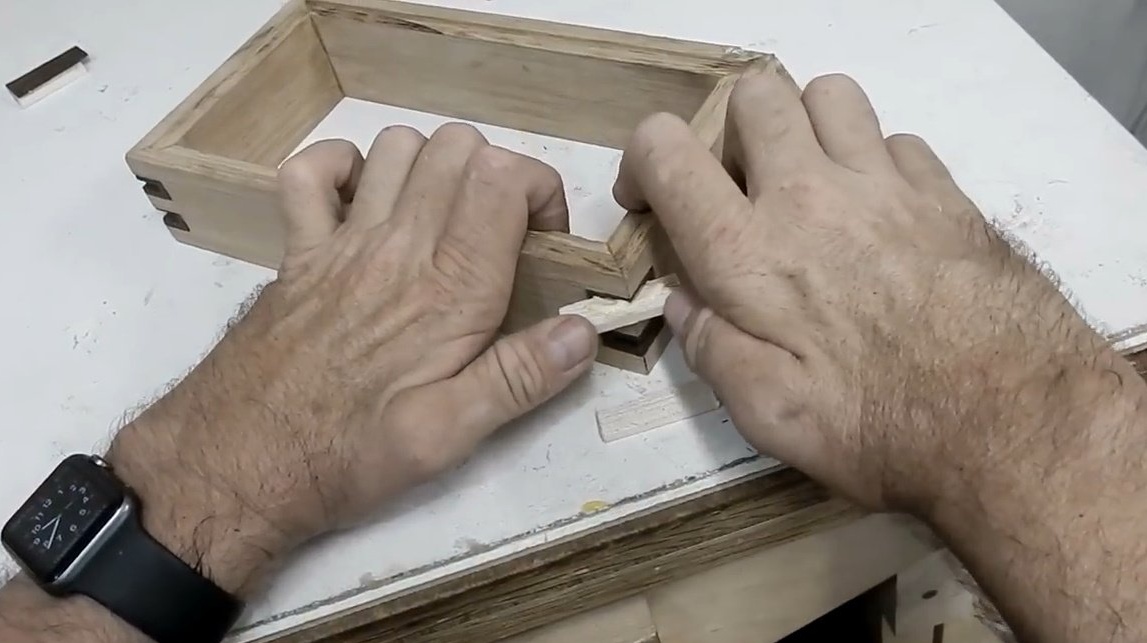
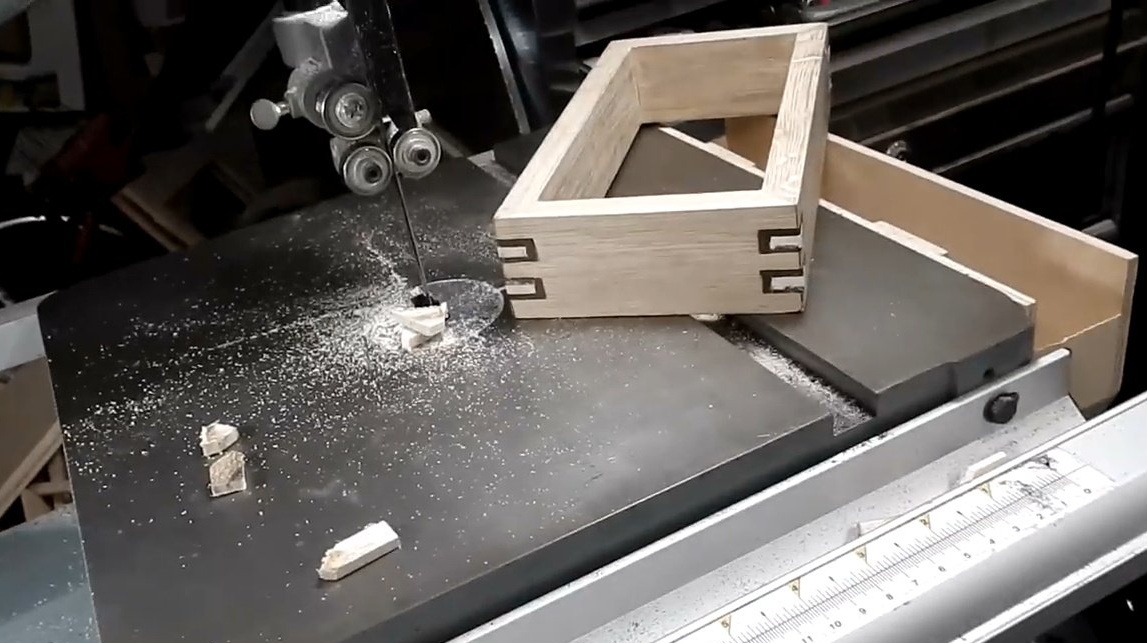
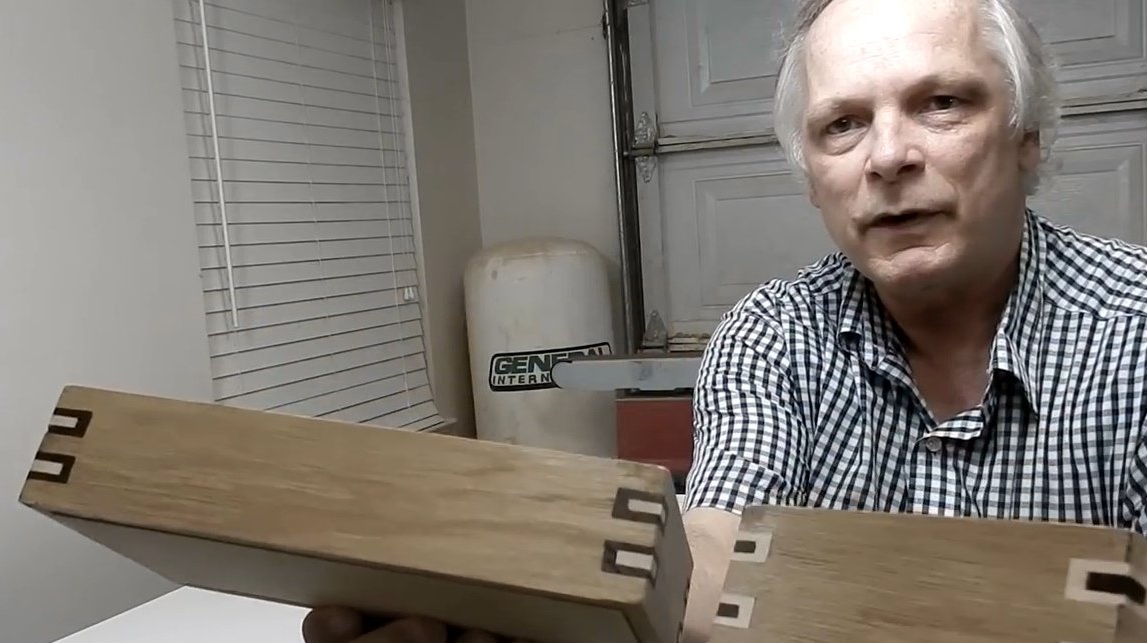
Then glues mahogany dowels.
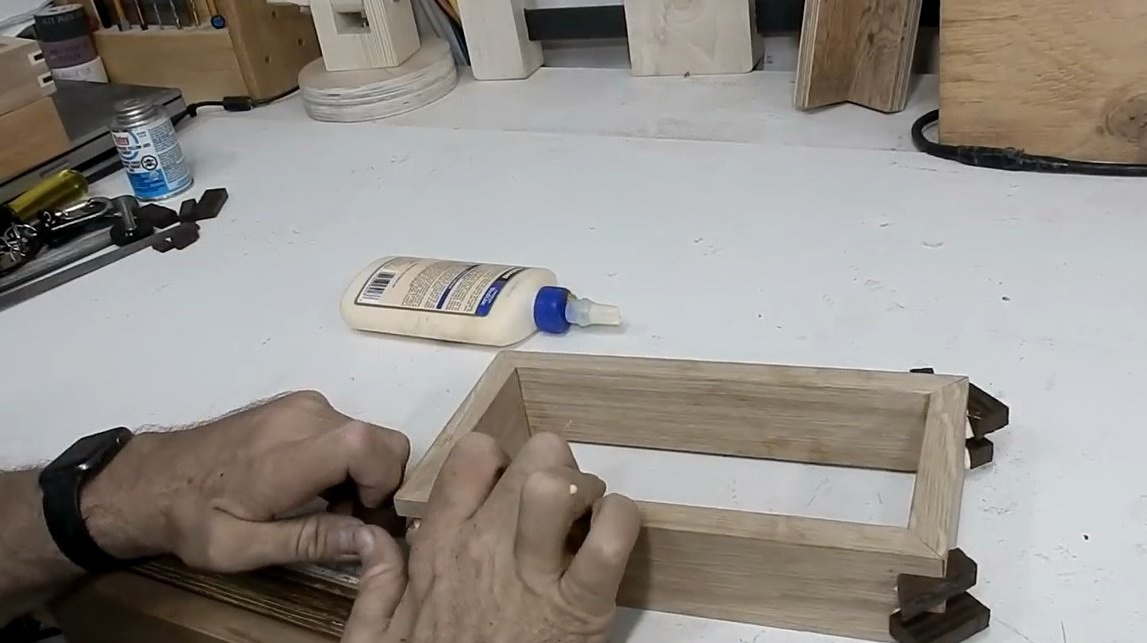
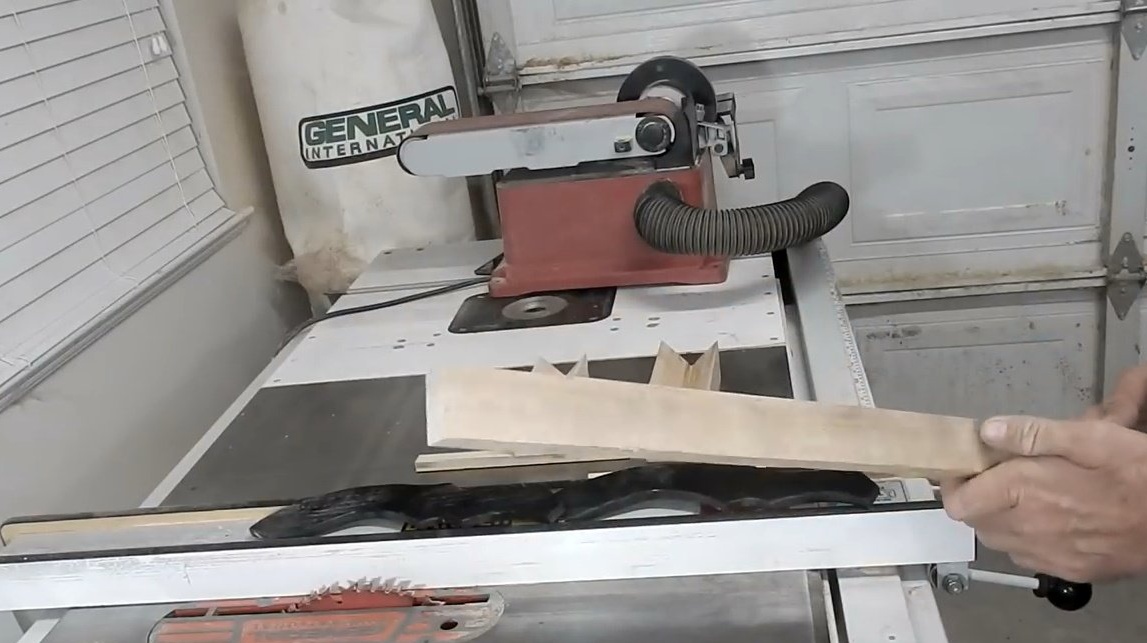
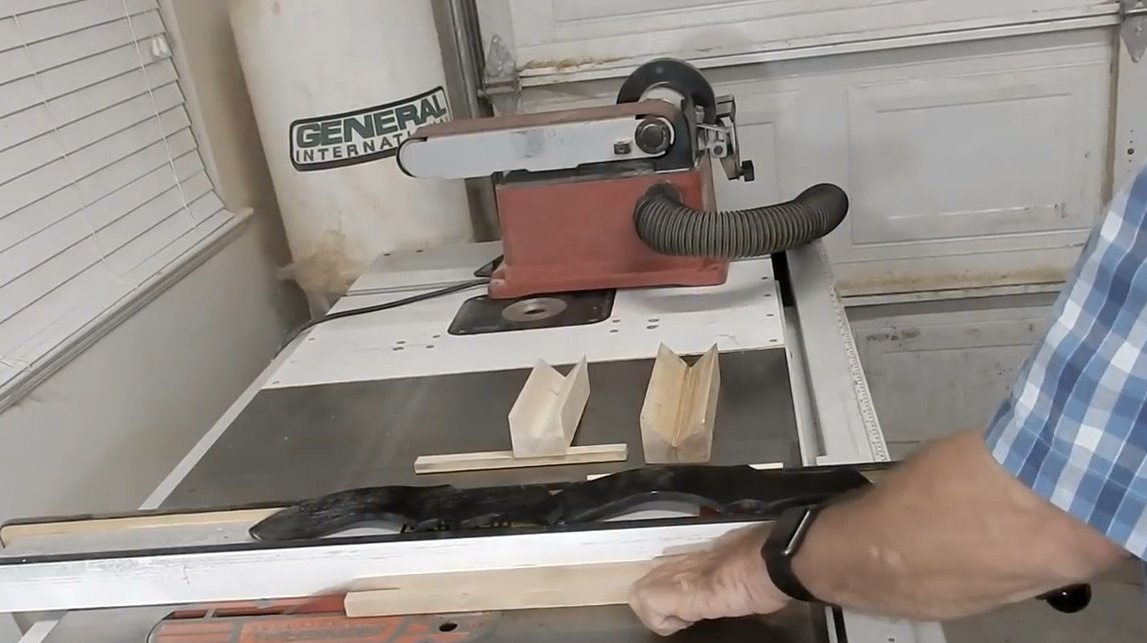
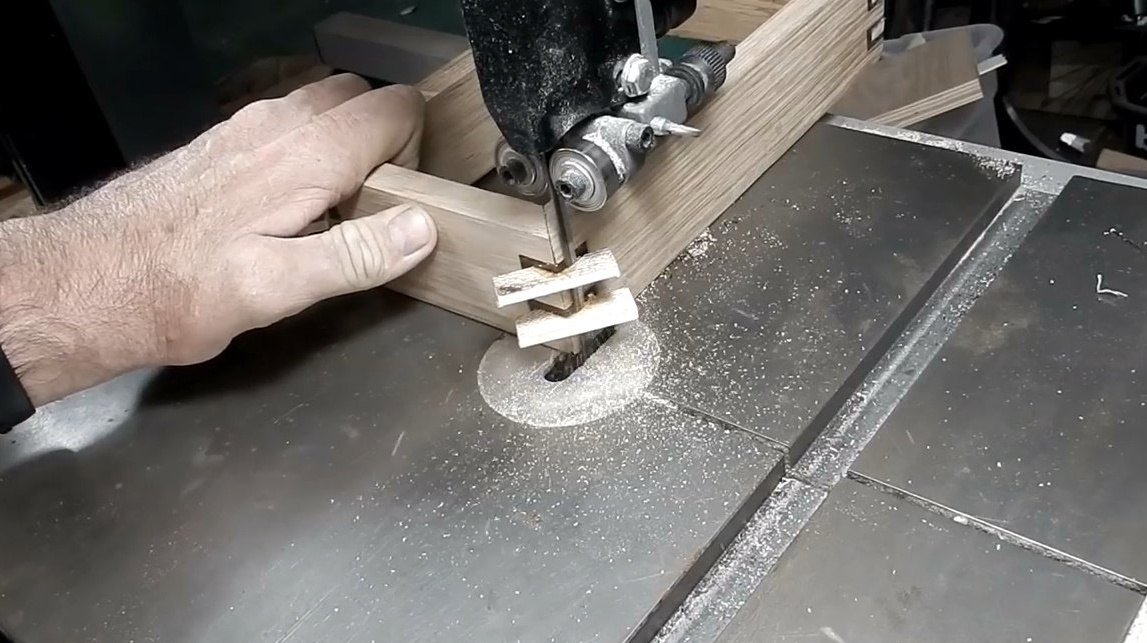
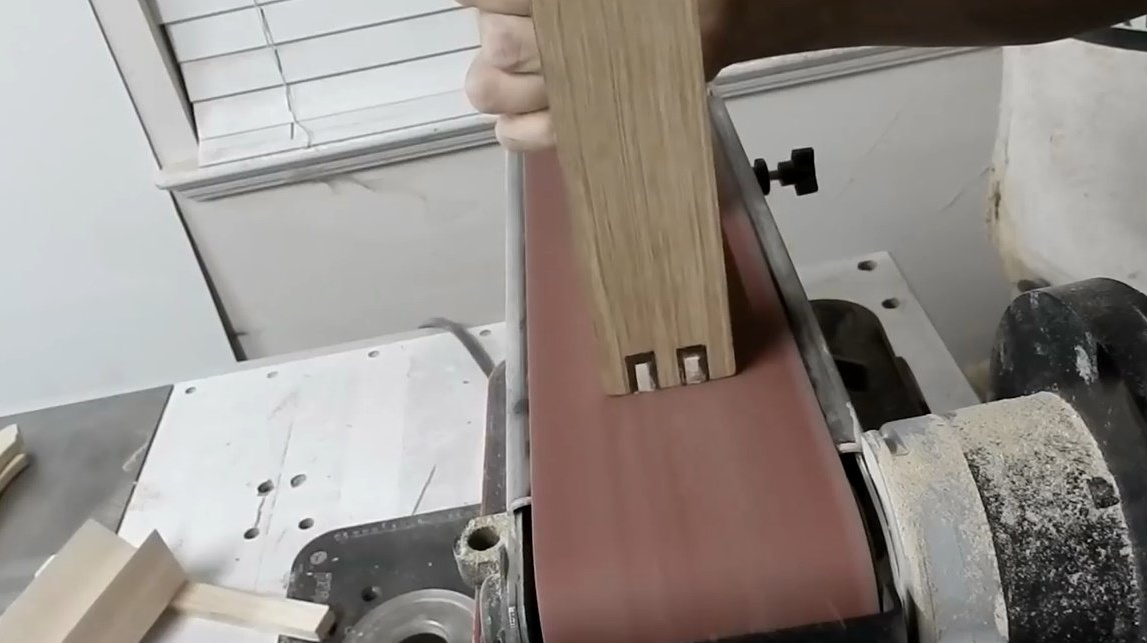
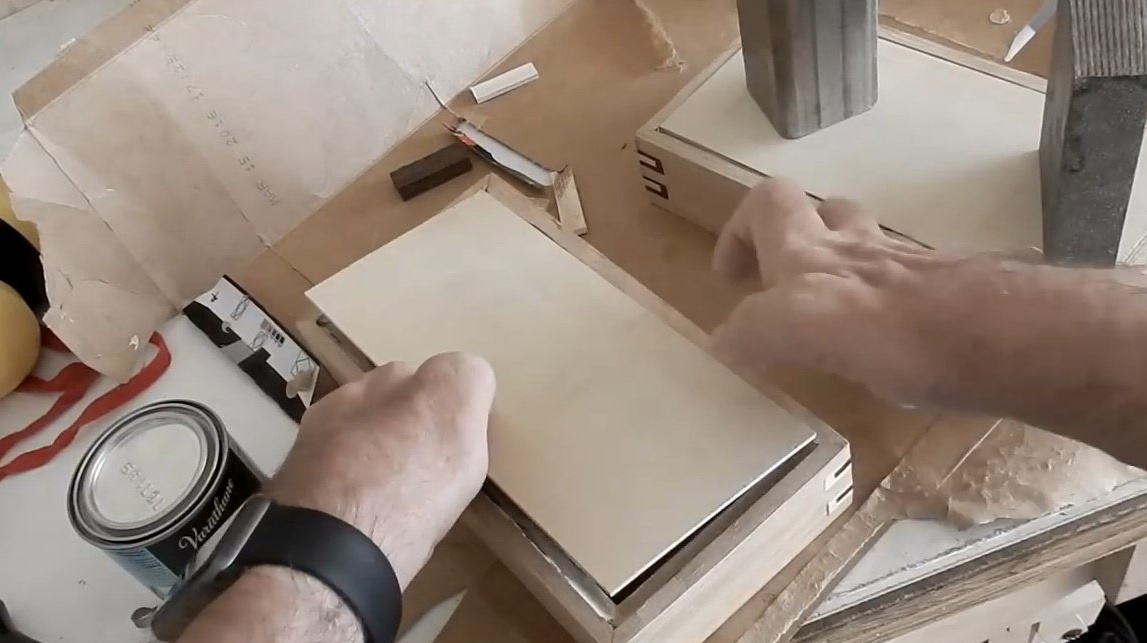
After the glue dries, it cuts off the excess dowels on the band saw.

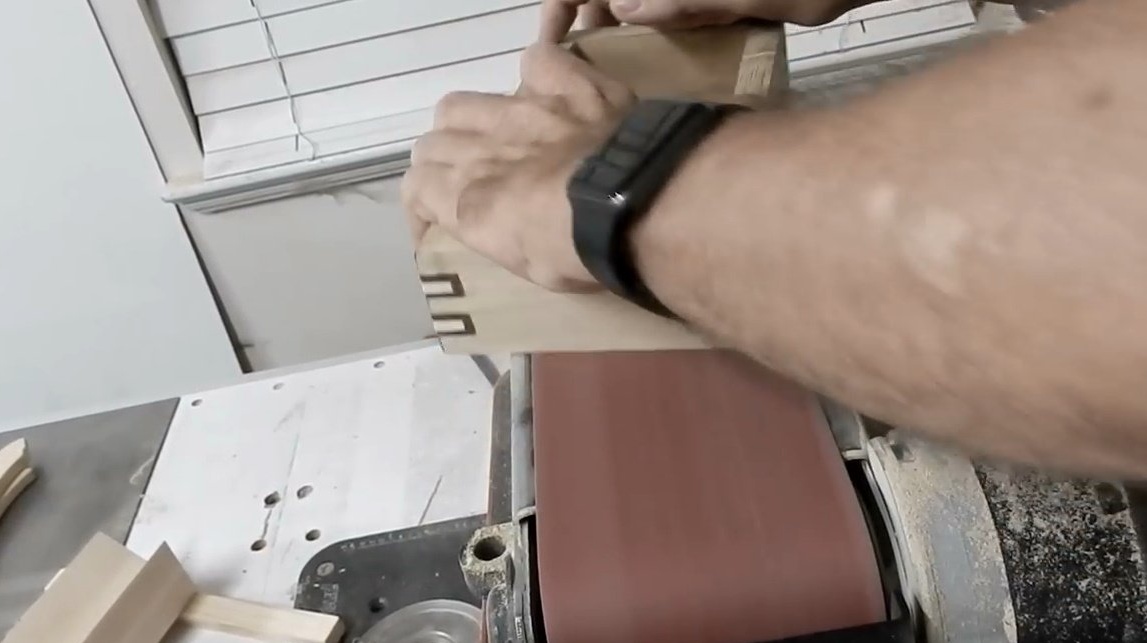
And it cleans surfaces on a grinding machine.


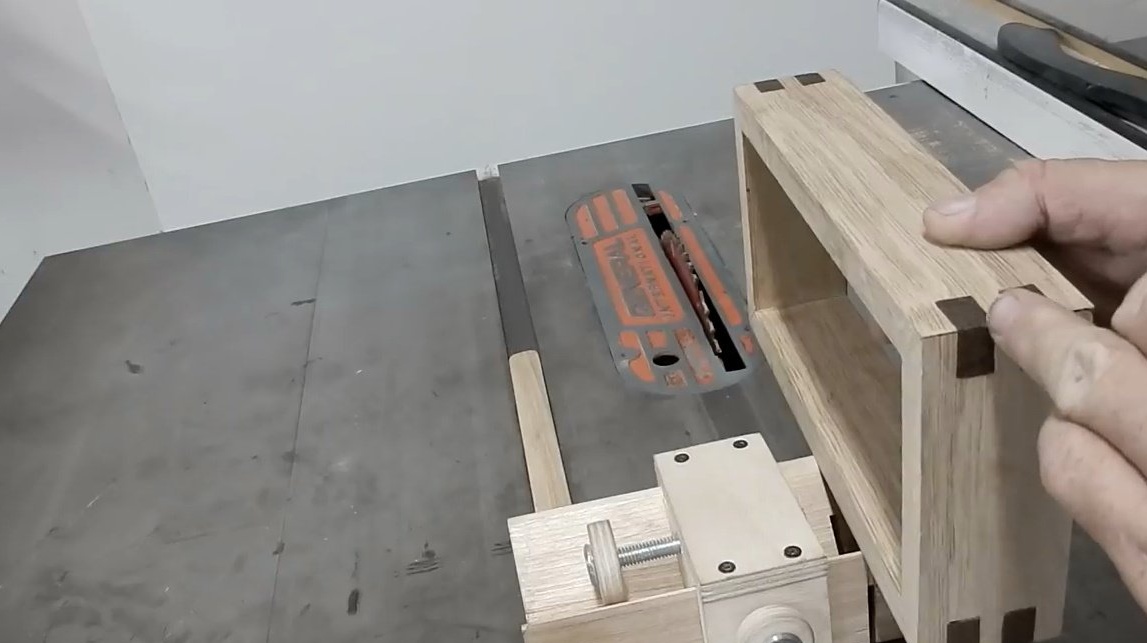
After the box is completely cleaned, you can make additional grooves in the mantles of mahogany, only a shallower depth. As a result, we have grooves inside existing dowels!
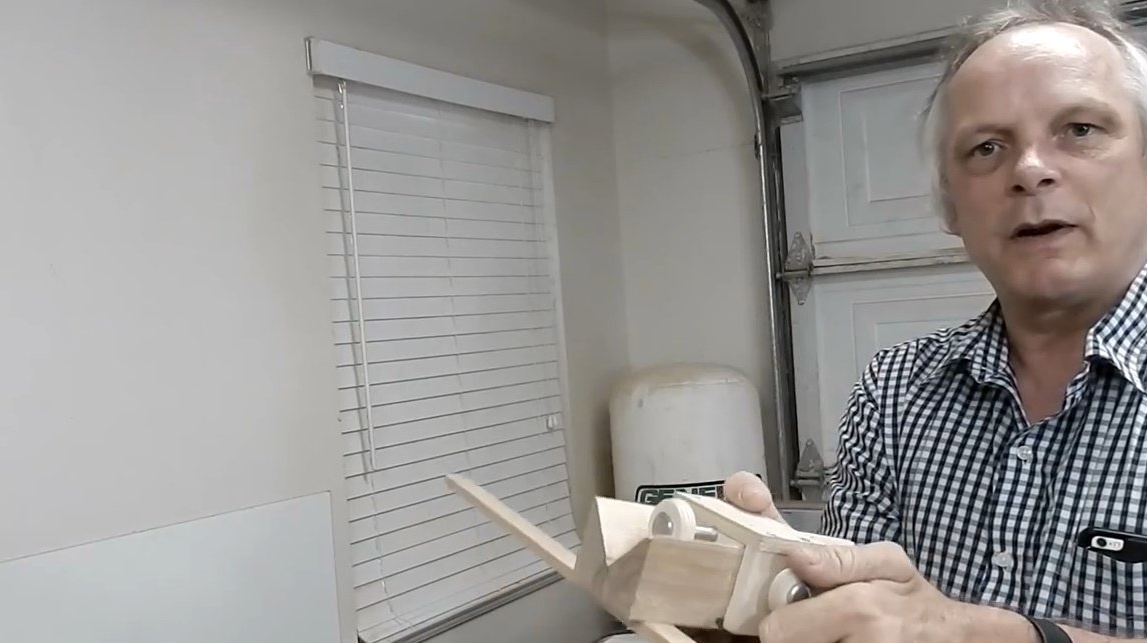
Jack sets the desired height of the saw blade and adjusts his fixture. This is one of his favorite carpentry, allowing him to make all kinds of decorative finishes. In addition, it is small in size and takes up very little space in his workshop.
Now the turn of the dowels of light wood. Pasting, drying, trimming, stripping.


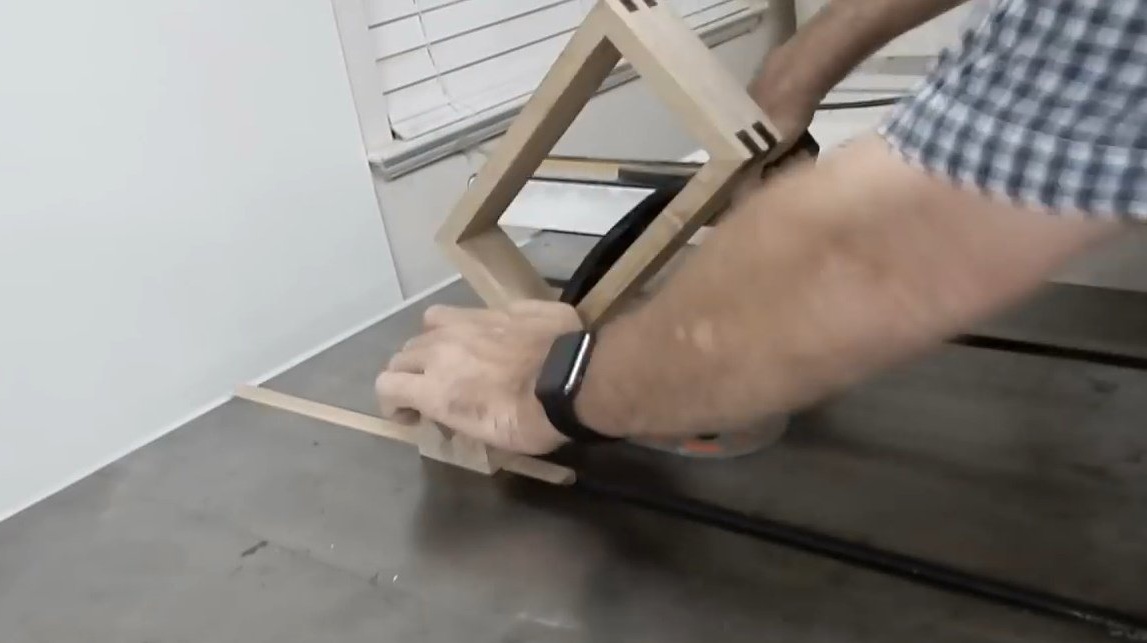
It remains only to glue the bottom, and soak the surface with wax.
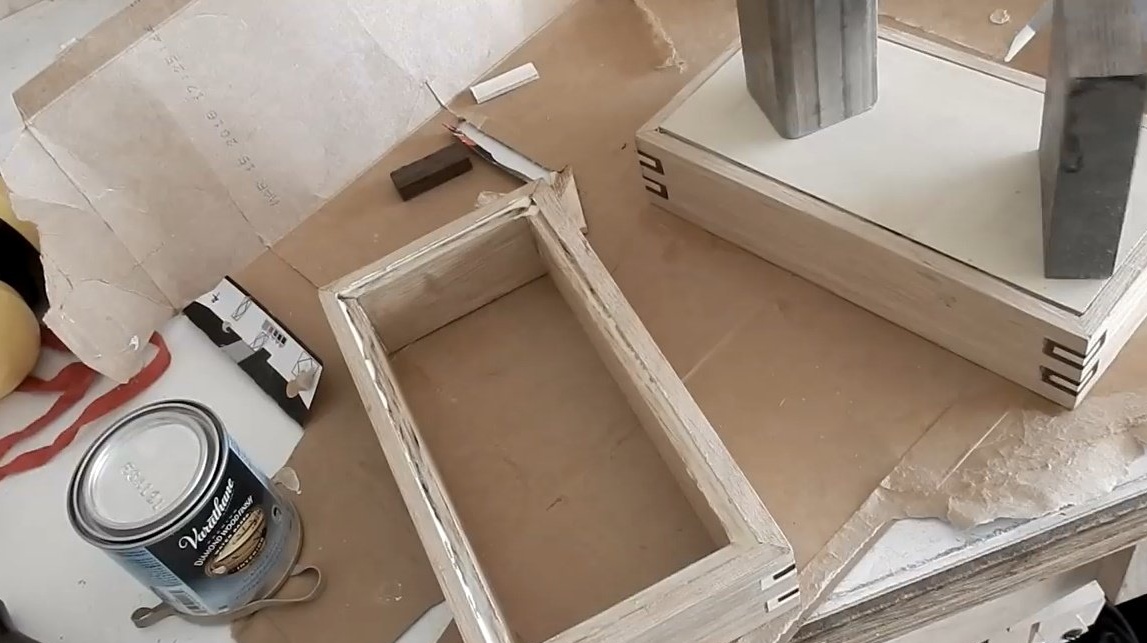
Both boxes turned out pretty nice. They have two different designs. Keeping tools in them is a pleasure.
Thanks to Jack for an interesting and useful workshop on wood processing.
Good luck to everyone and interesting ideas!