
In this article, Jack, the author of the YouTube channel "Jack Houweling" will tell you how he made a wooden vise, which at the same time is also a clamping device for the table of the drilling machine.

Materials
- plywood sheet
- Oak bars
- steel plate
- Wood screws
- Two-component epoxy resin
- Bolt with square head, nut M12
- Joiner's glue.
Instruments, used by the author.
- Band-saw
- A circular saw
- Screwdriver
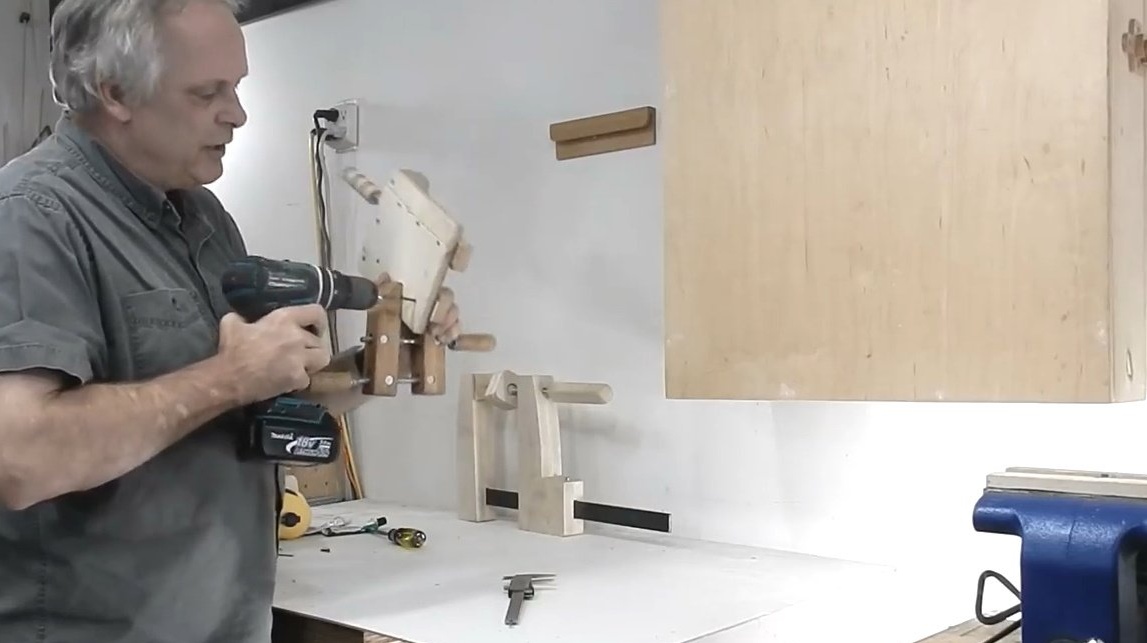
- Drilling machine
- Forstner drills, crowns
- Clamps, vise.
Manufacturing process.
The author of this article brings to your attention a small wooden vise. For this product, the author will use this plywood board, consisting of several layers of cross-lying wood fibers, on top of which lies another layer of solid oak veneer in 1/8 inch. Such a board should become a reliable basis for future clutches.

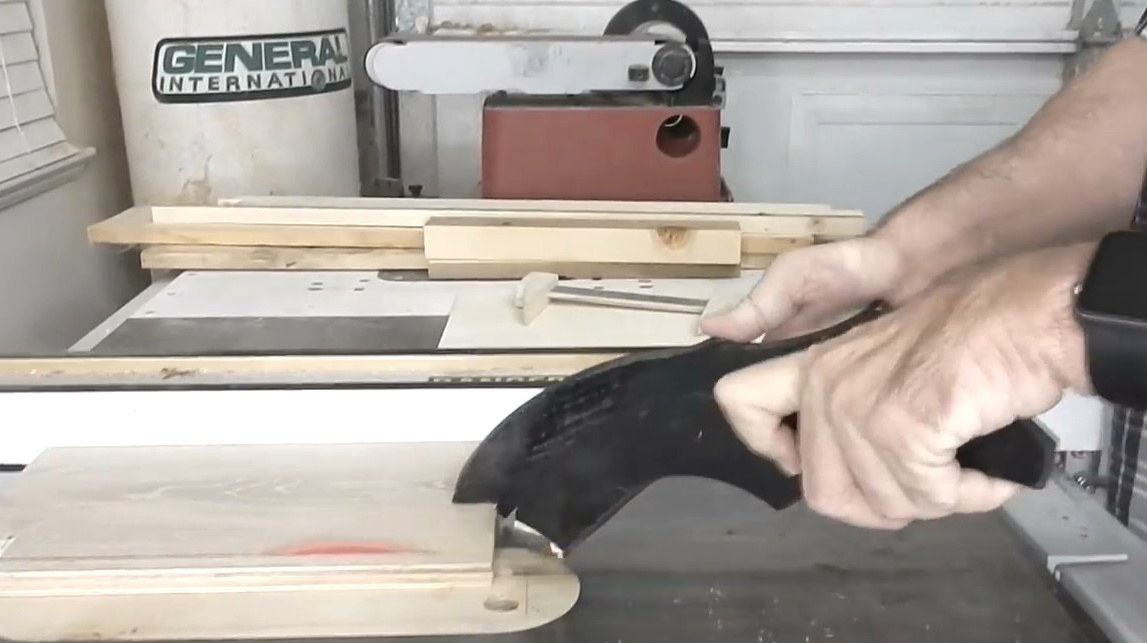
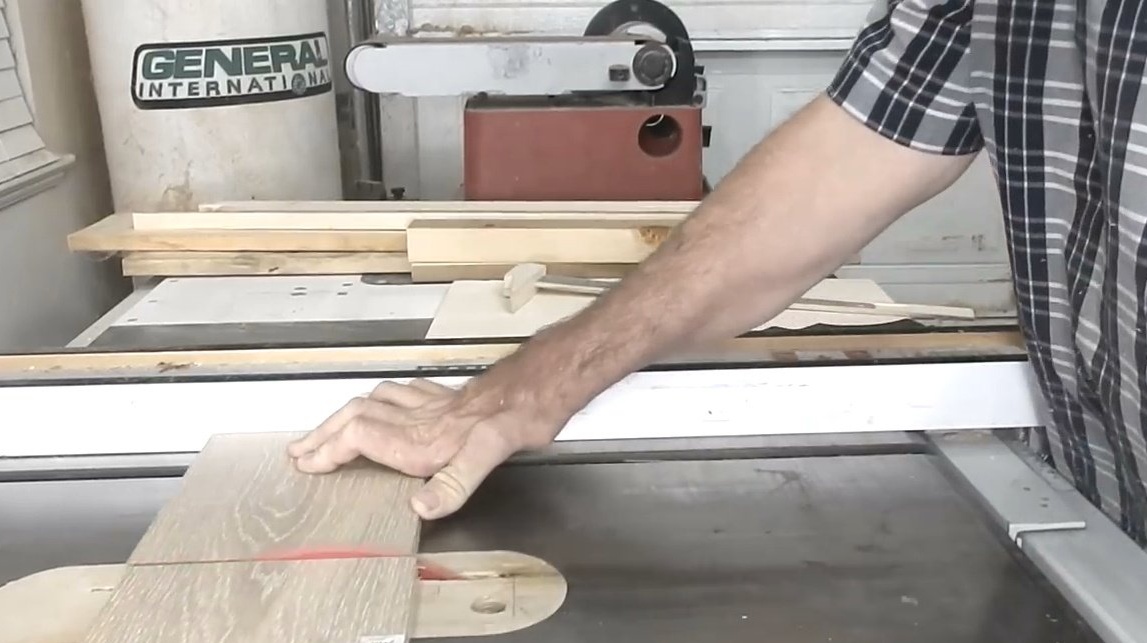
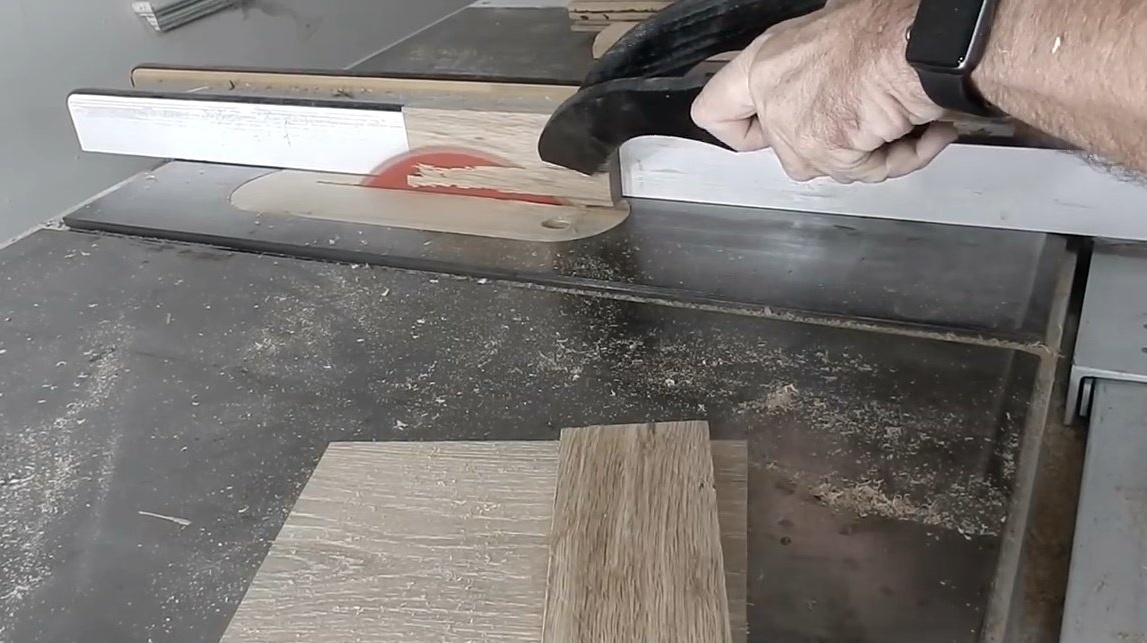
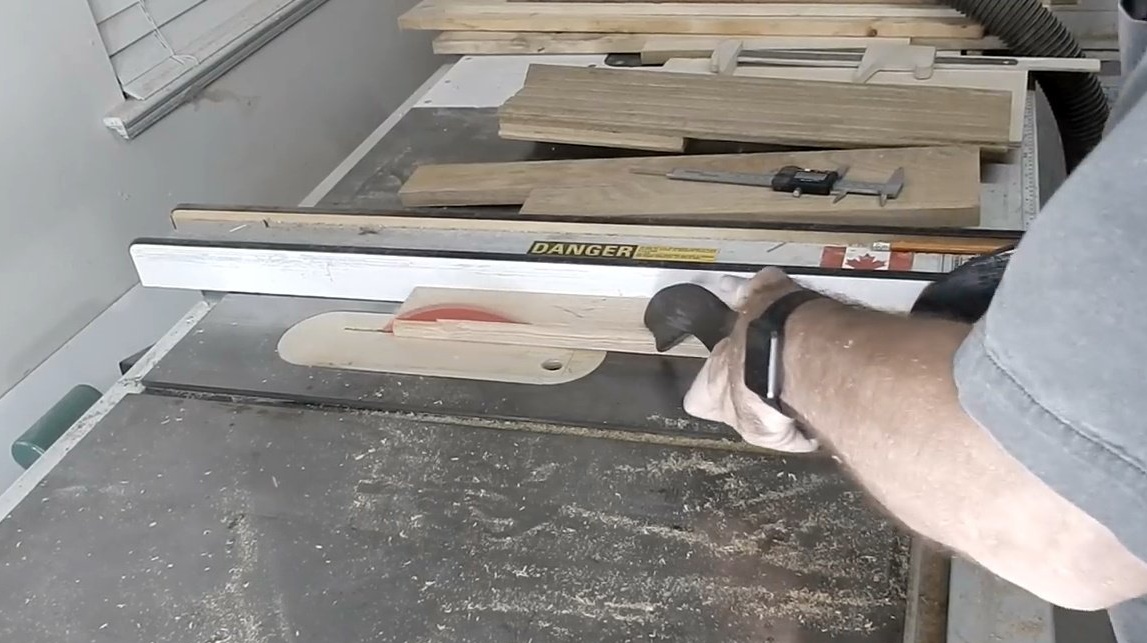
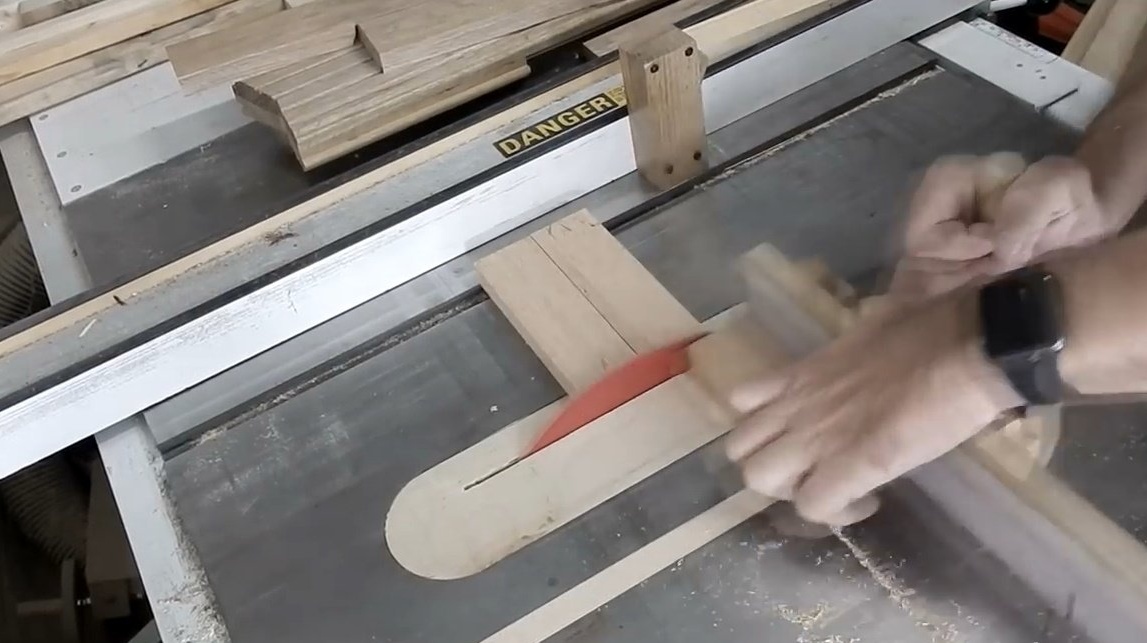
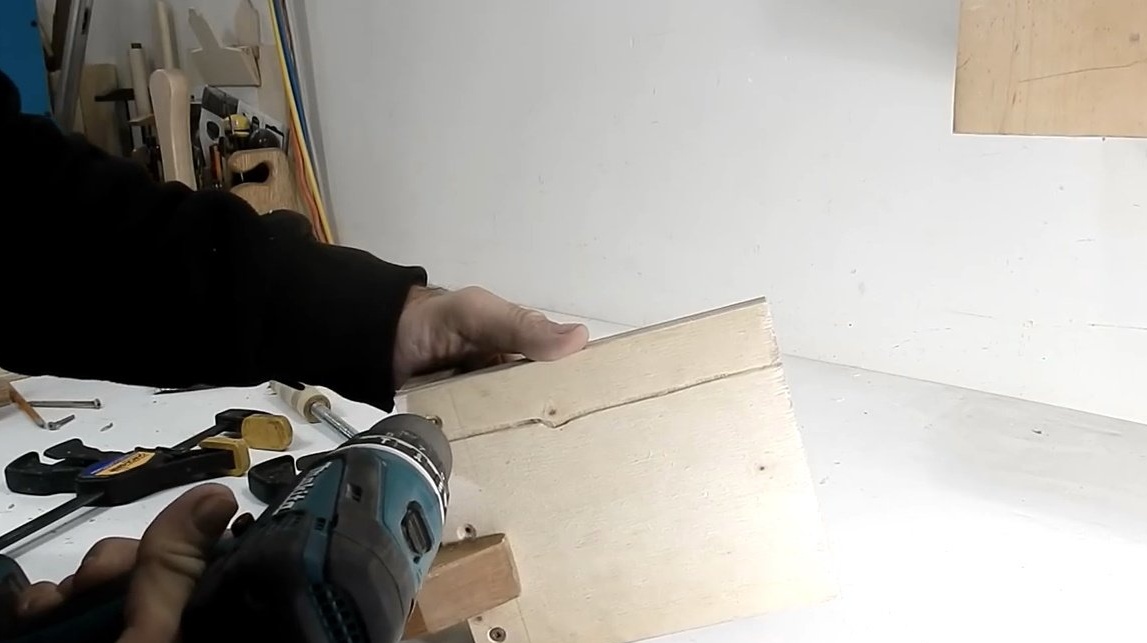
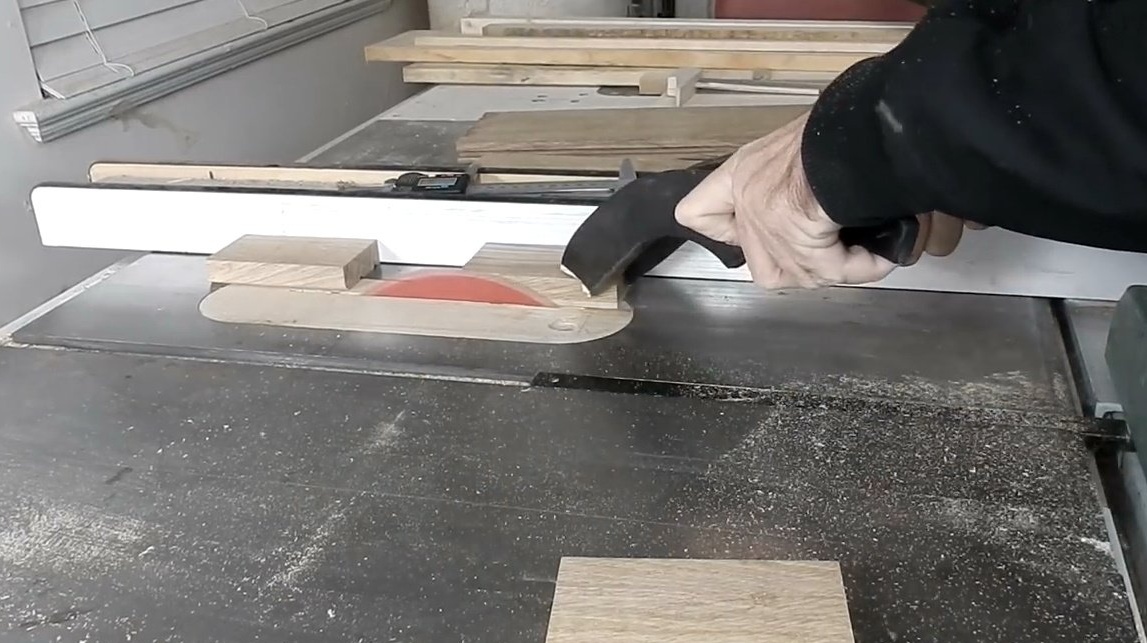
Slices the workpiece for the base with a circular saw.
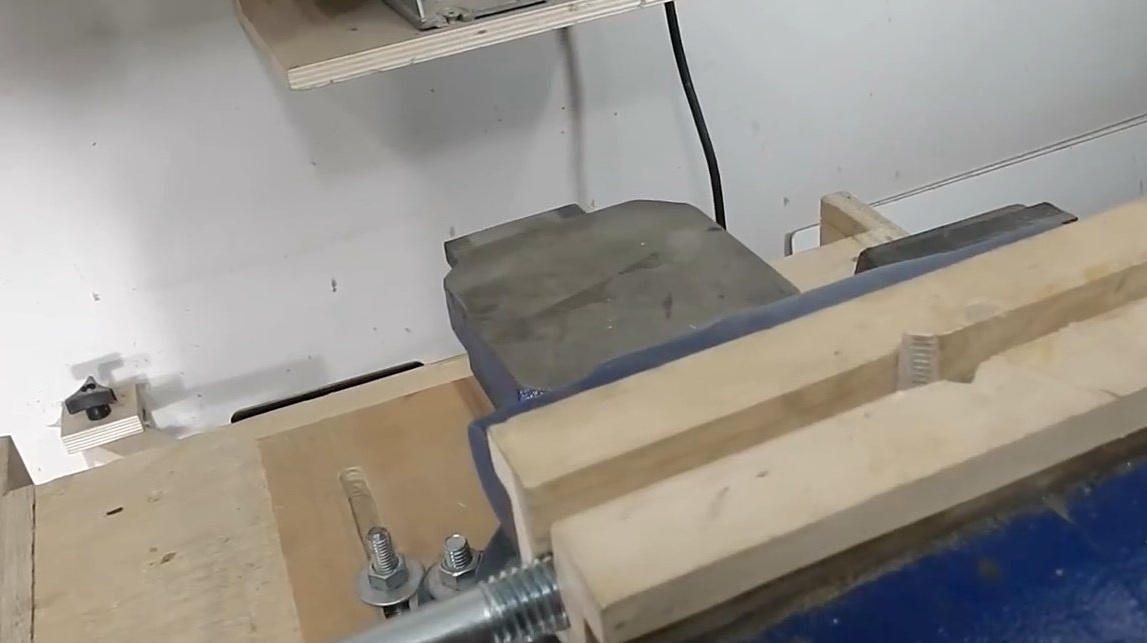
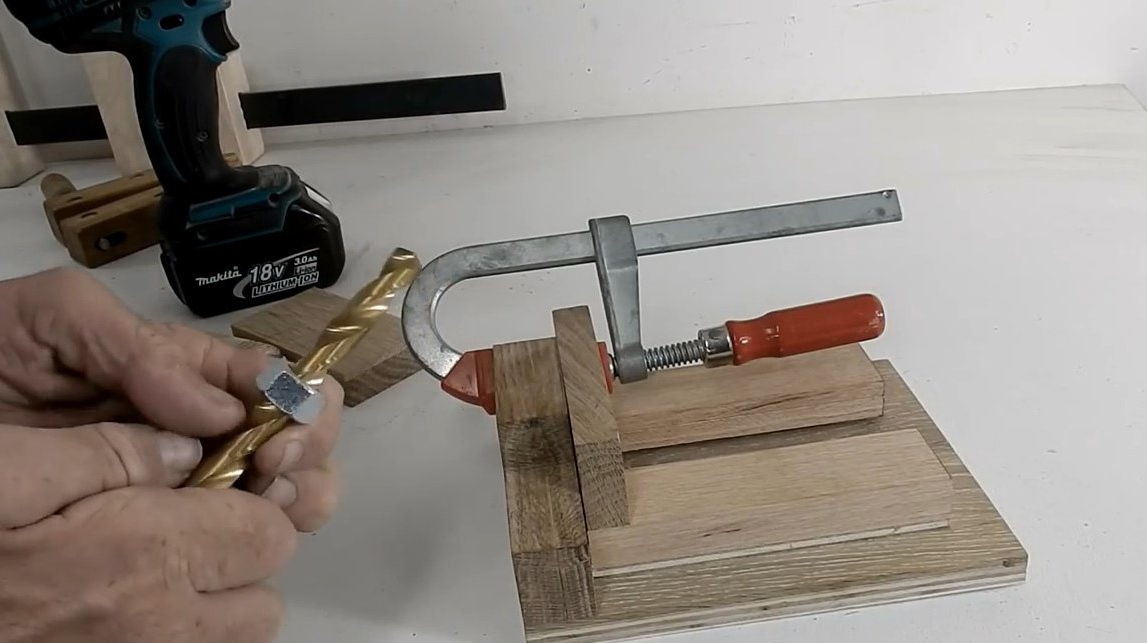
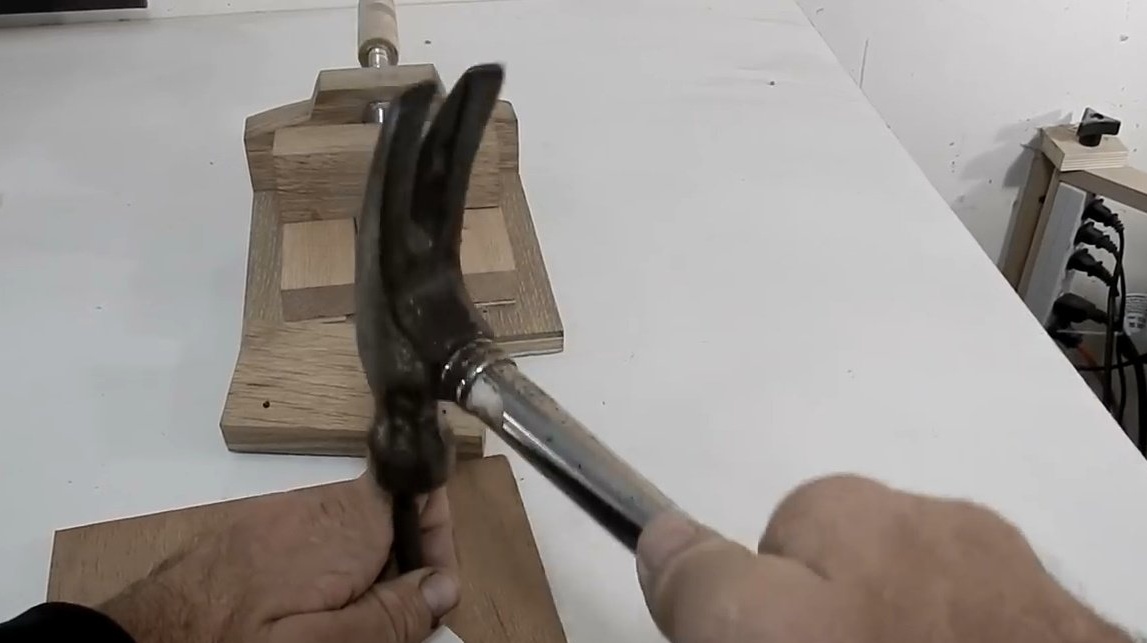
For the vise handle, the master uses such a bolt with a square headrest. For a long time he was looking for a bolt of suitable shape and size. But this was not in his workshop. Therefore, Jack decides to slightly modify the existing bolt.

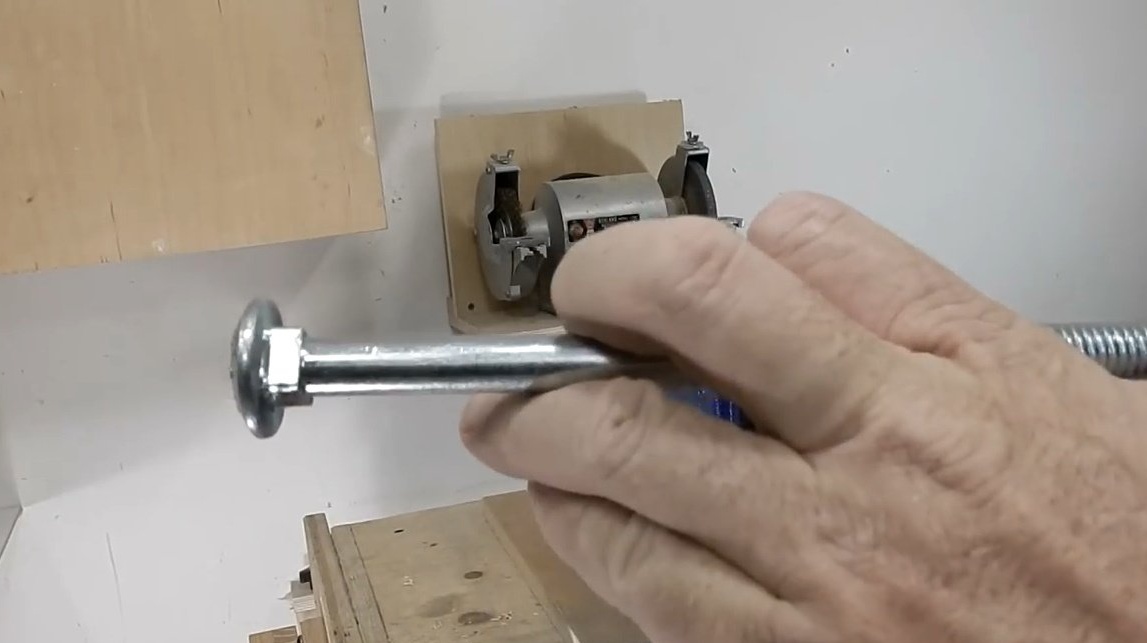
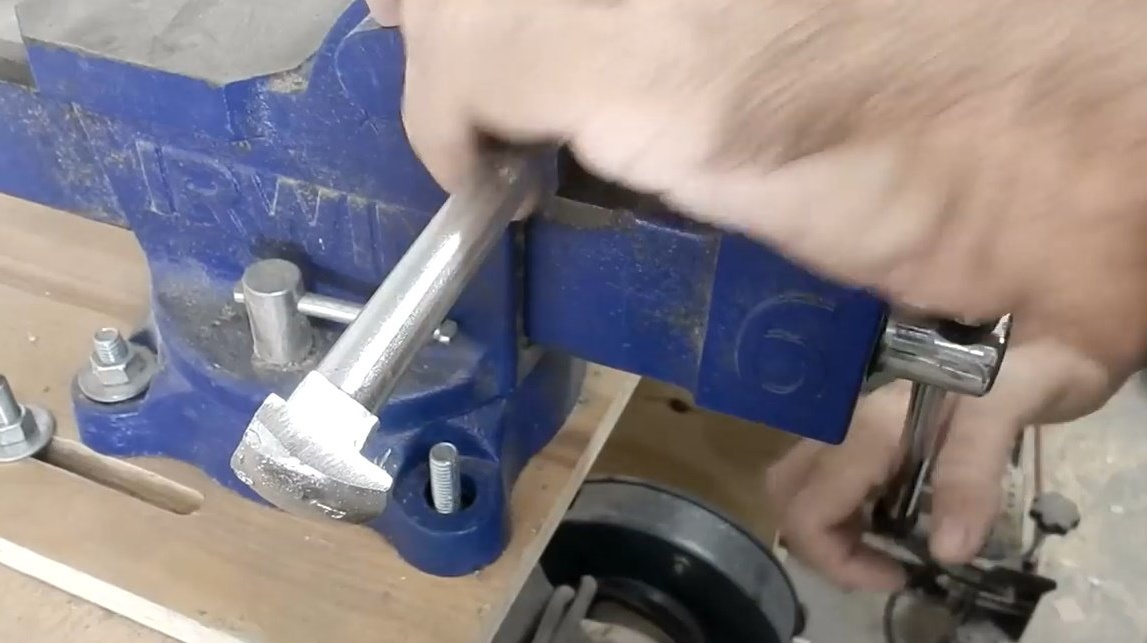
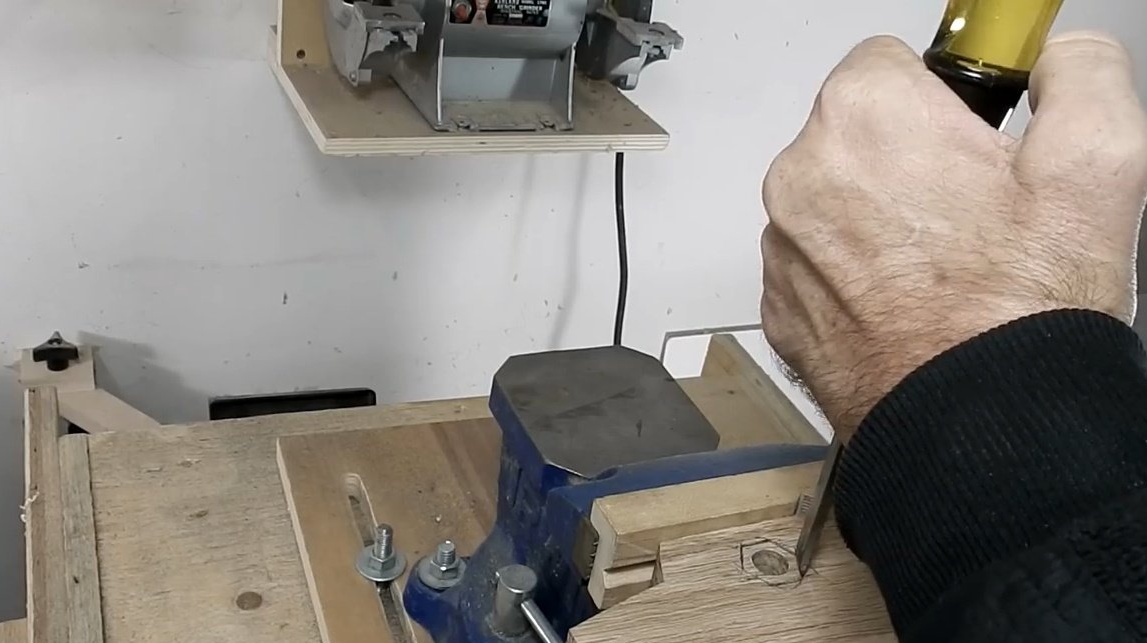
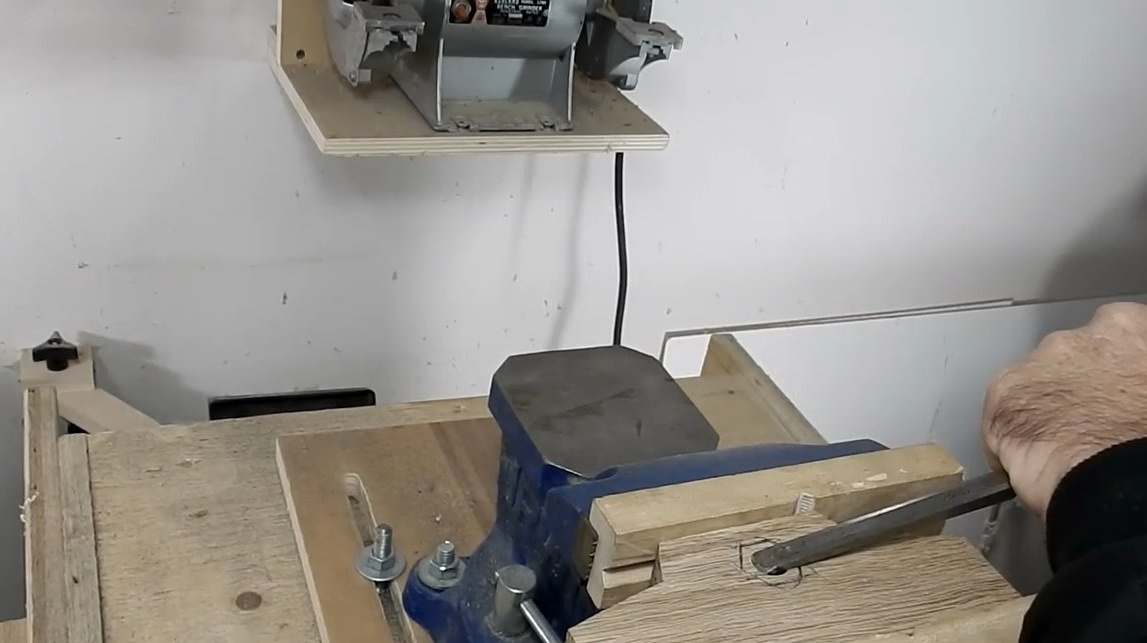
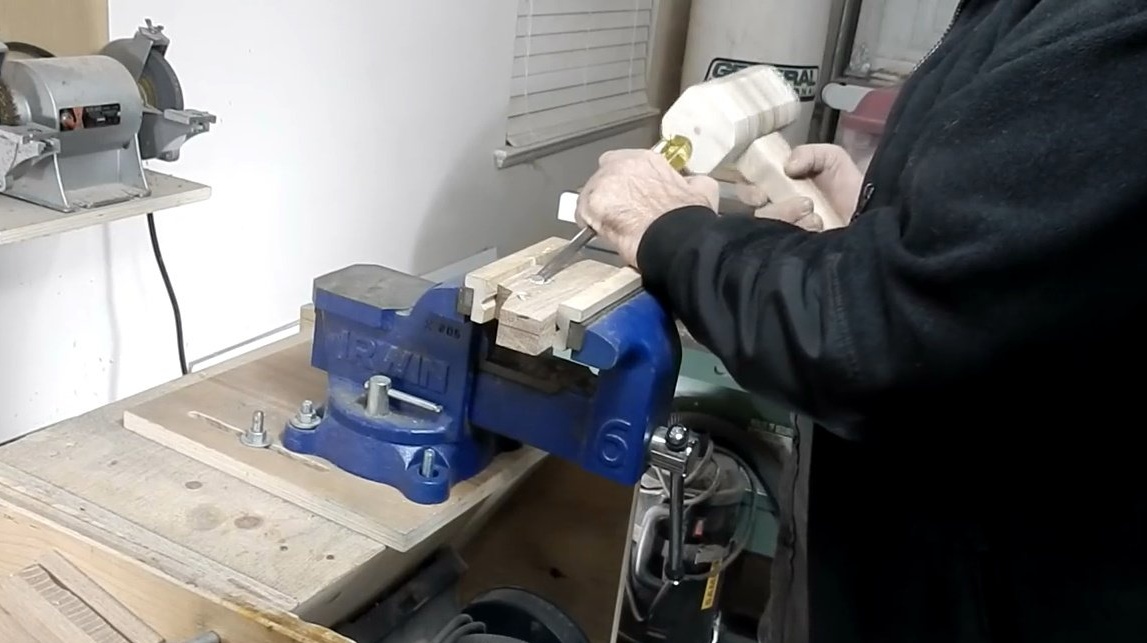
First he pinches it in an iron vice with wooden sponges. This is important because wood is softer than metal and when squeezed, it will not damage the thread of the bolt.
Then he removes part of the cap of the bolt.
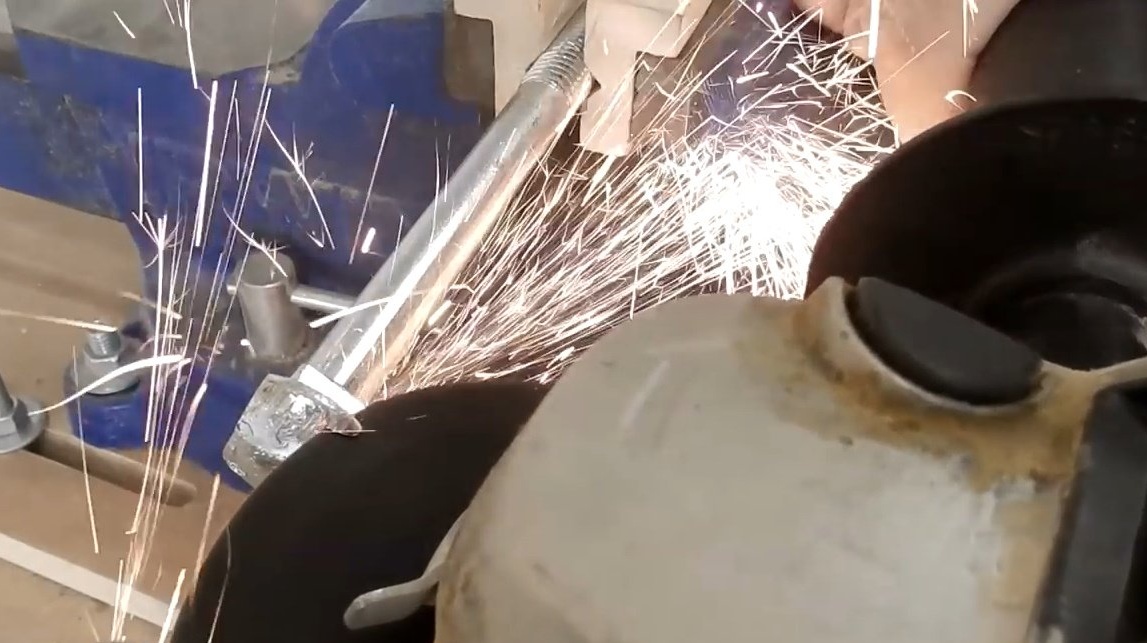
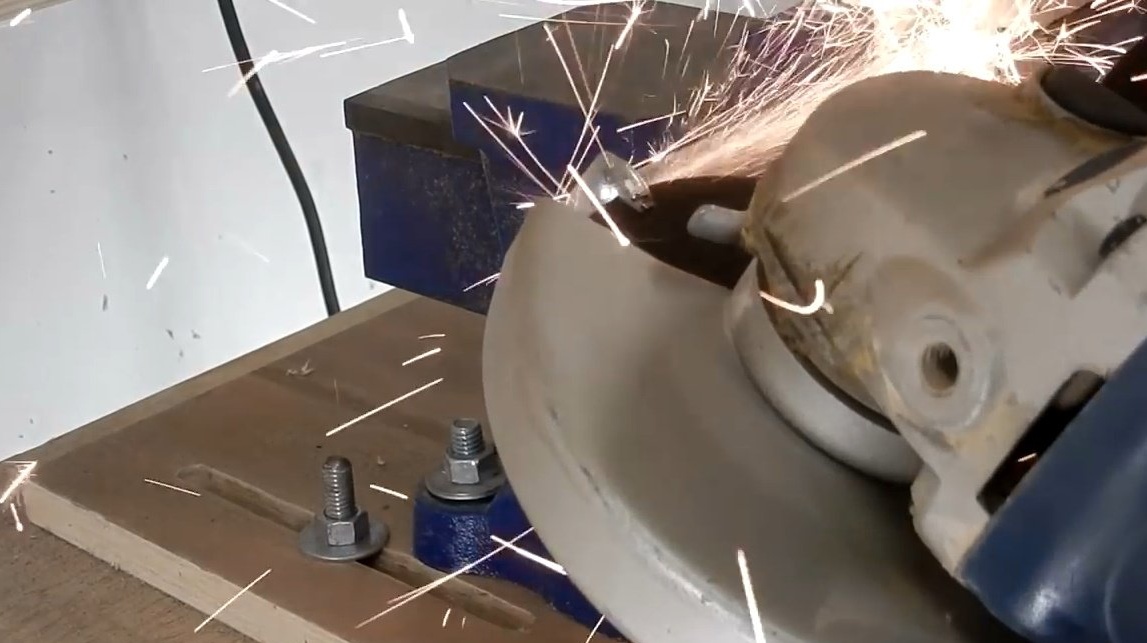
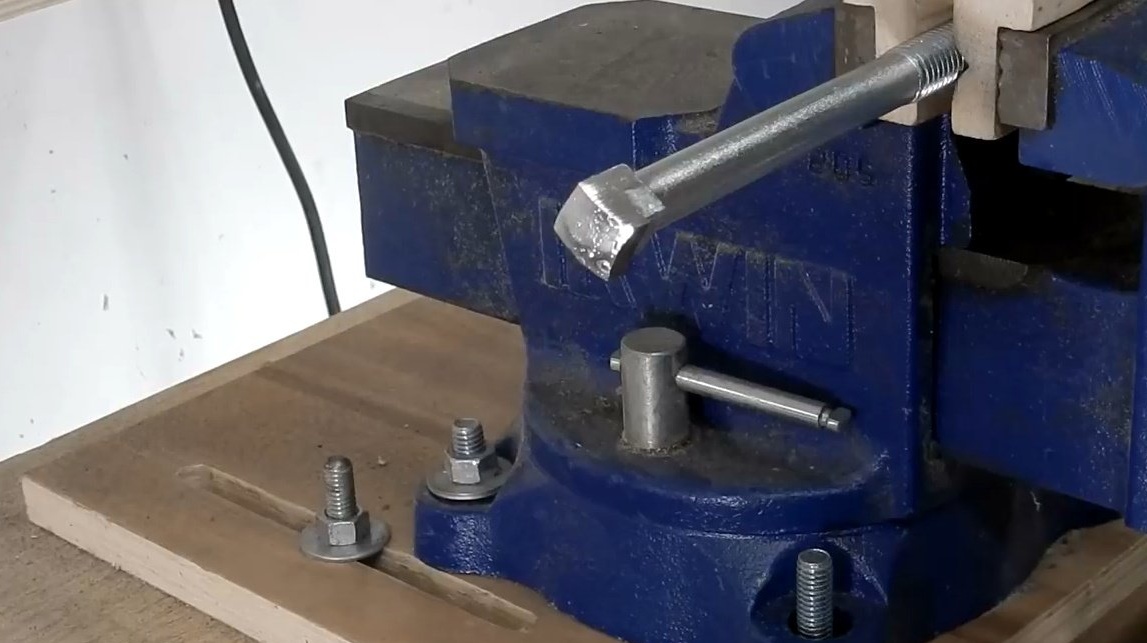
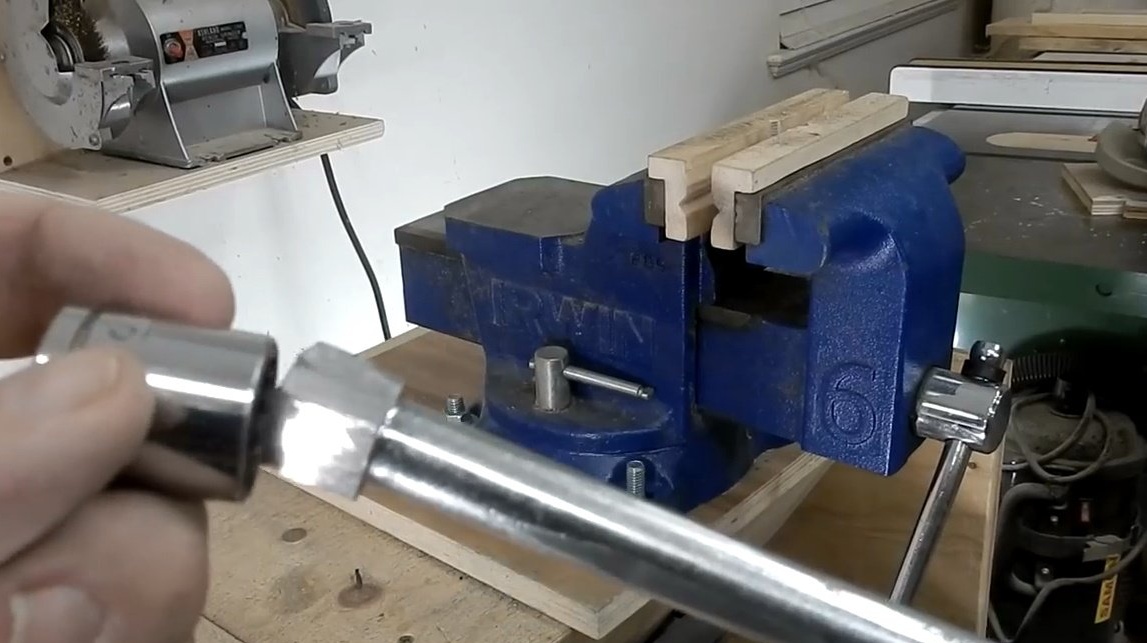
As a result, the latter fits perfectly with a 15 mm socket wrench.
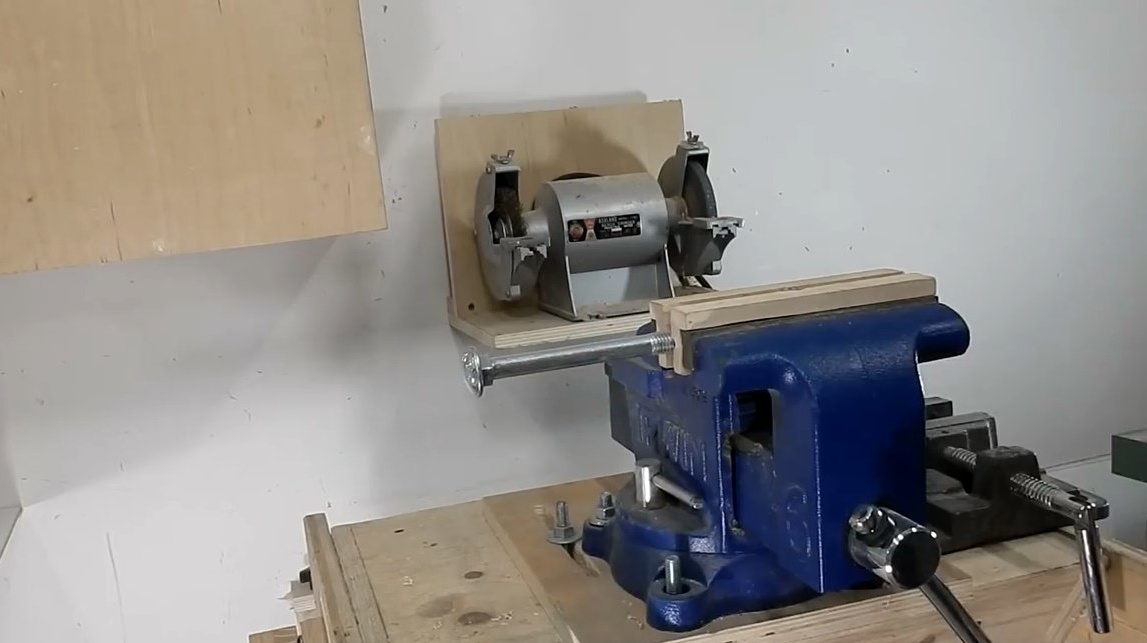
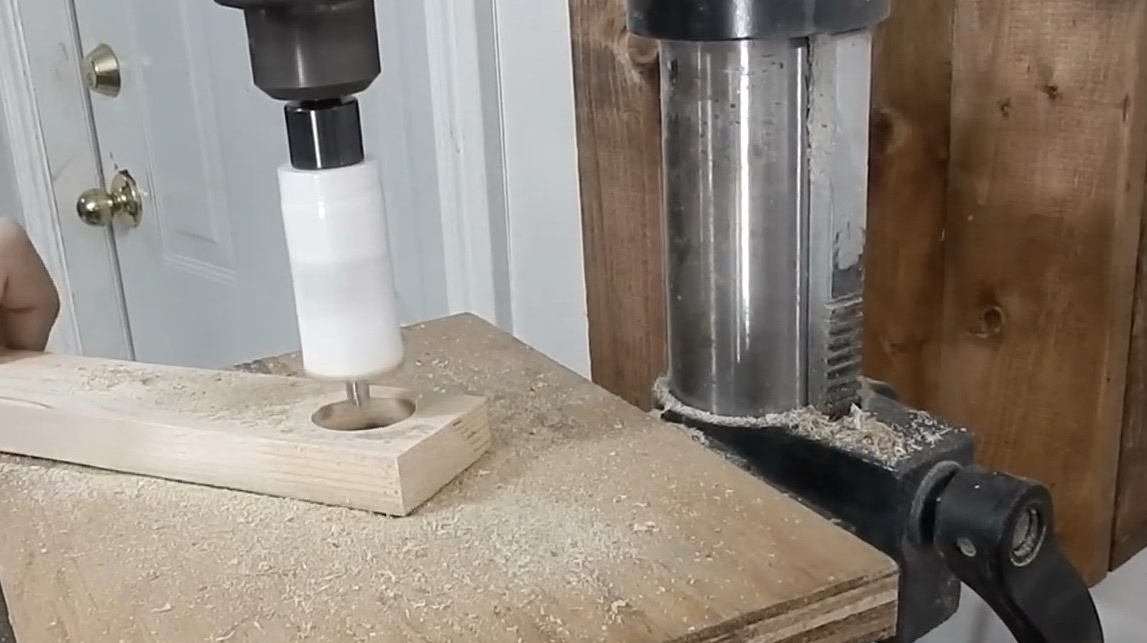
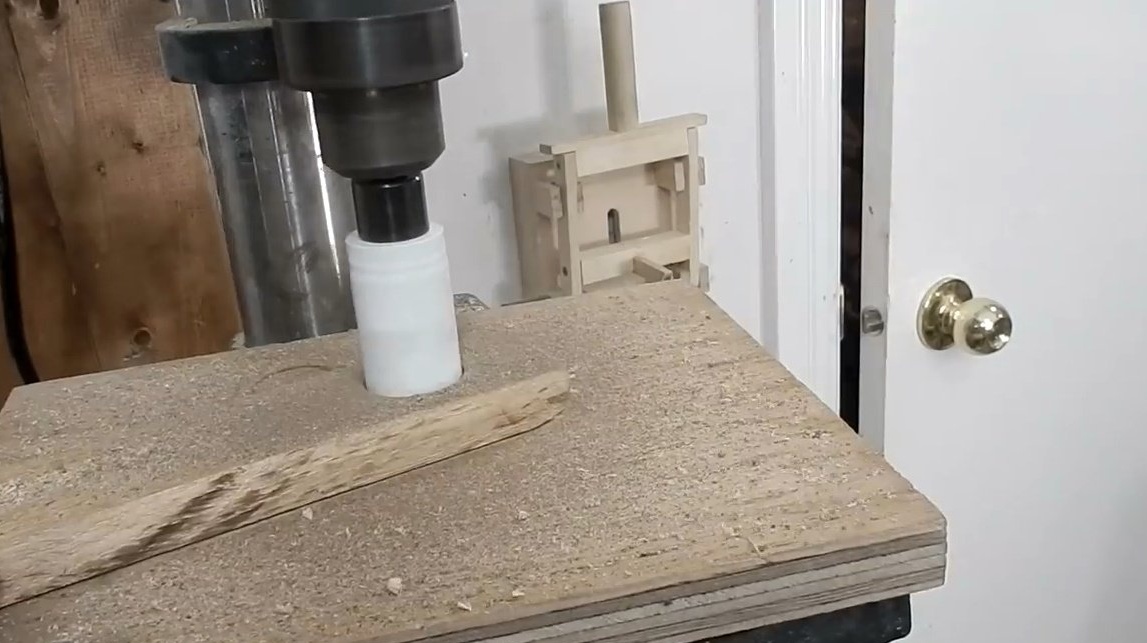
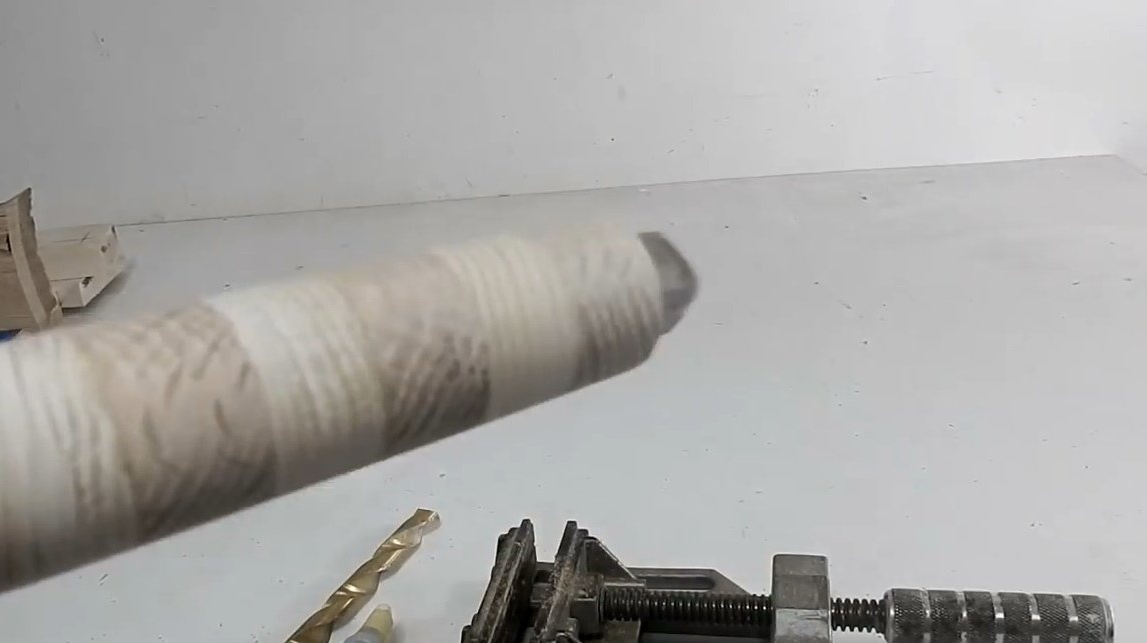
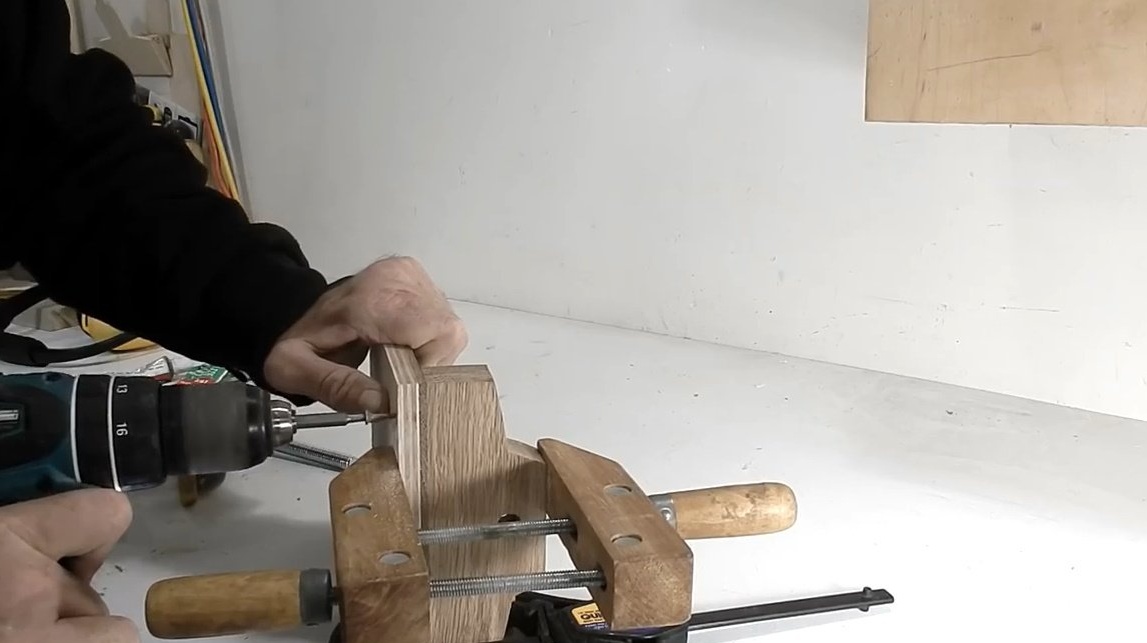
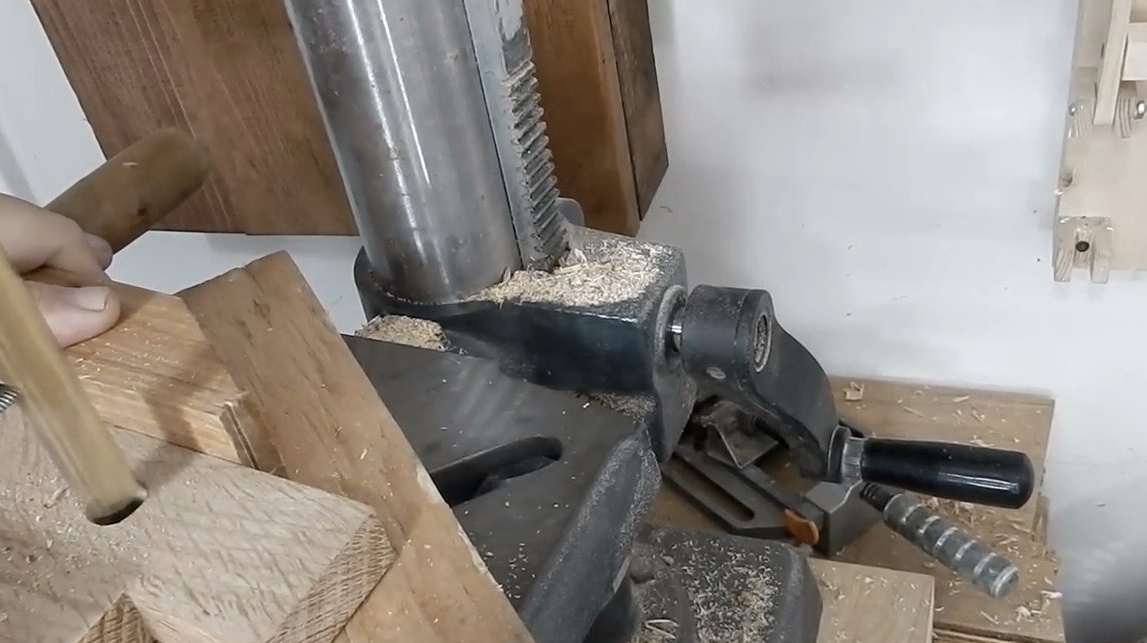
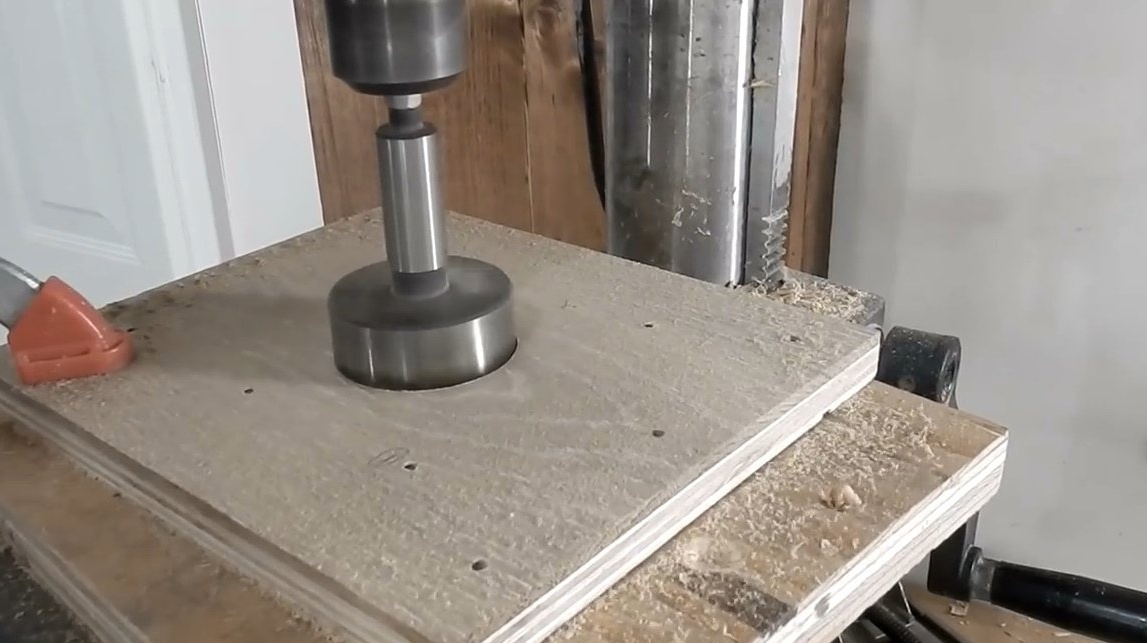
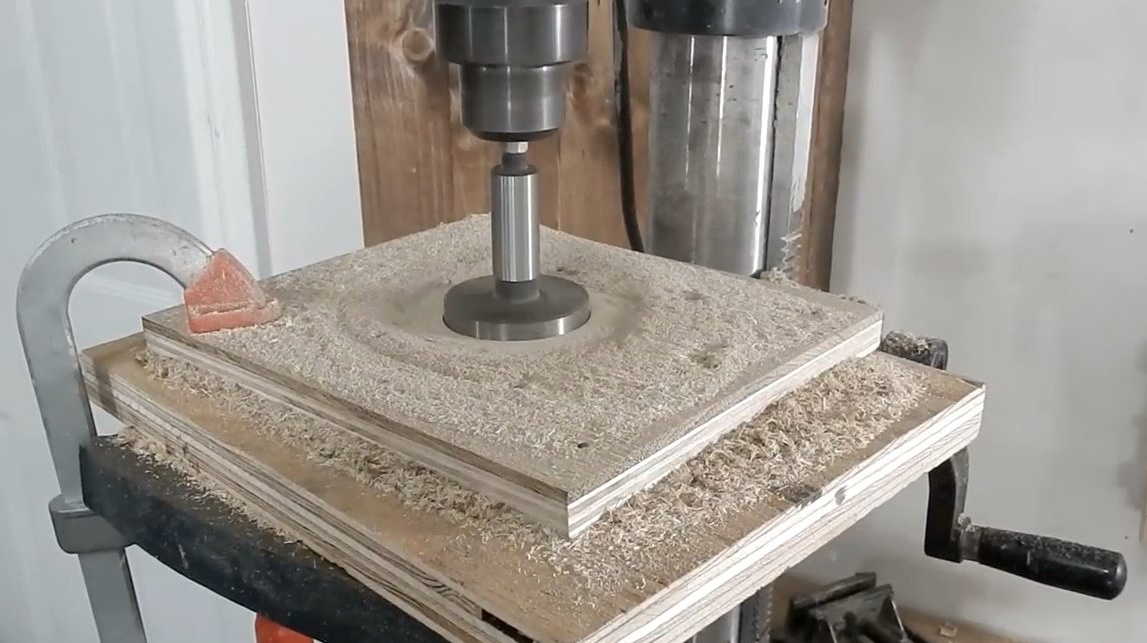
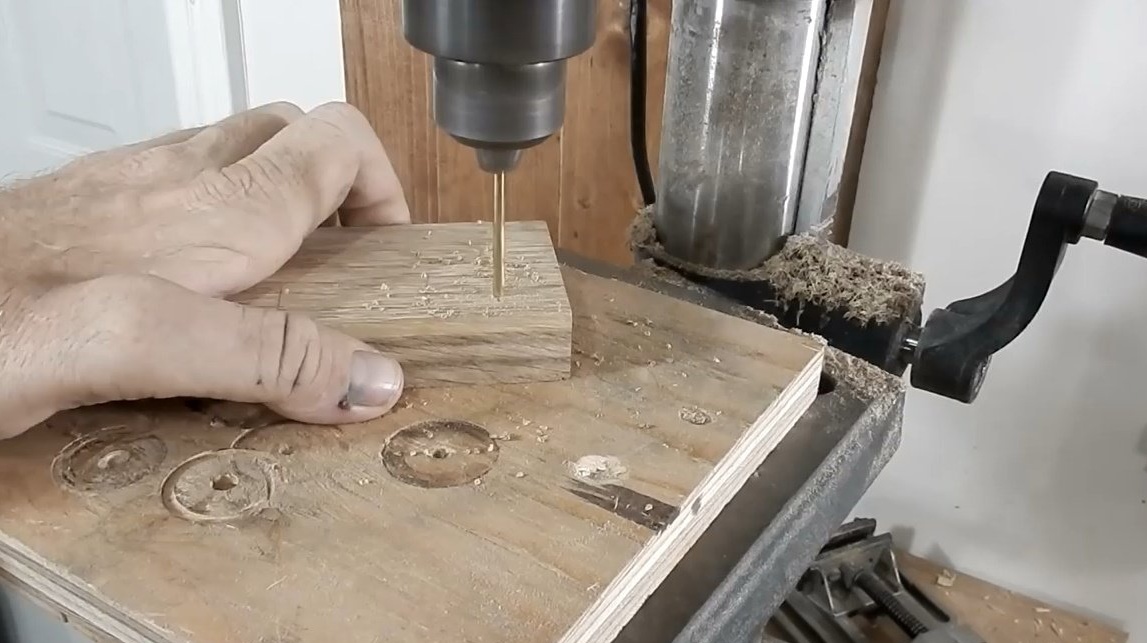
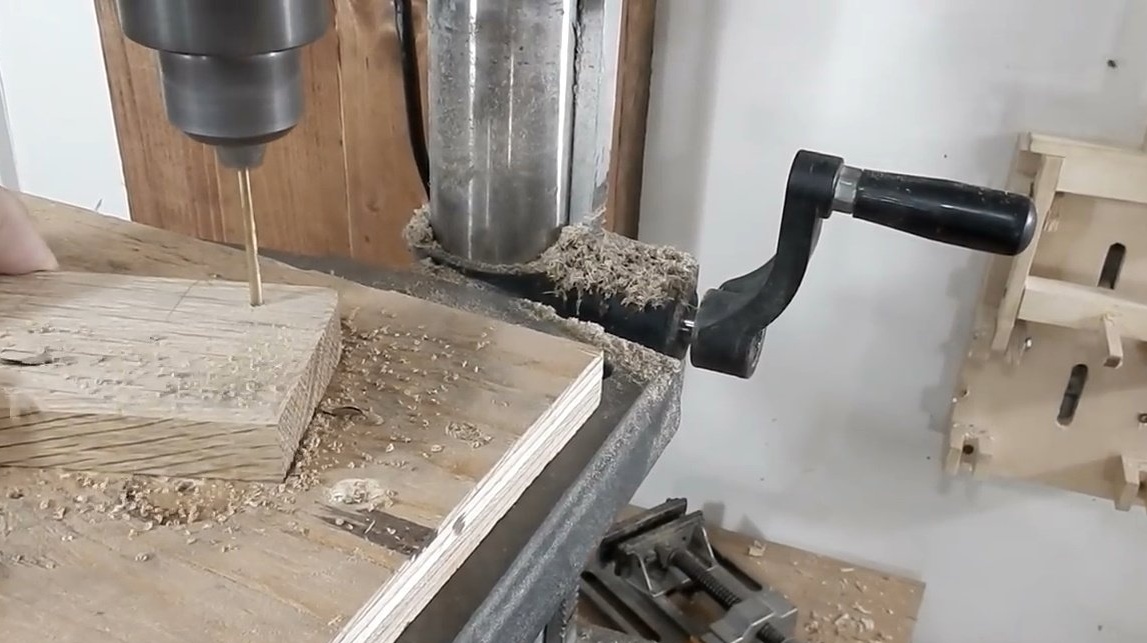
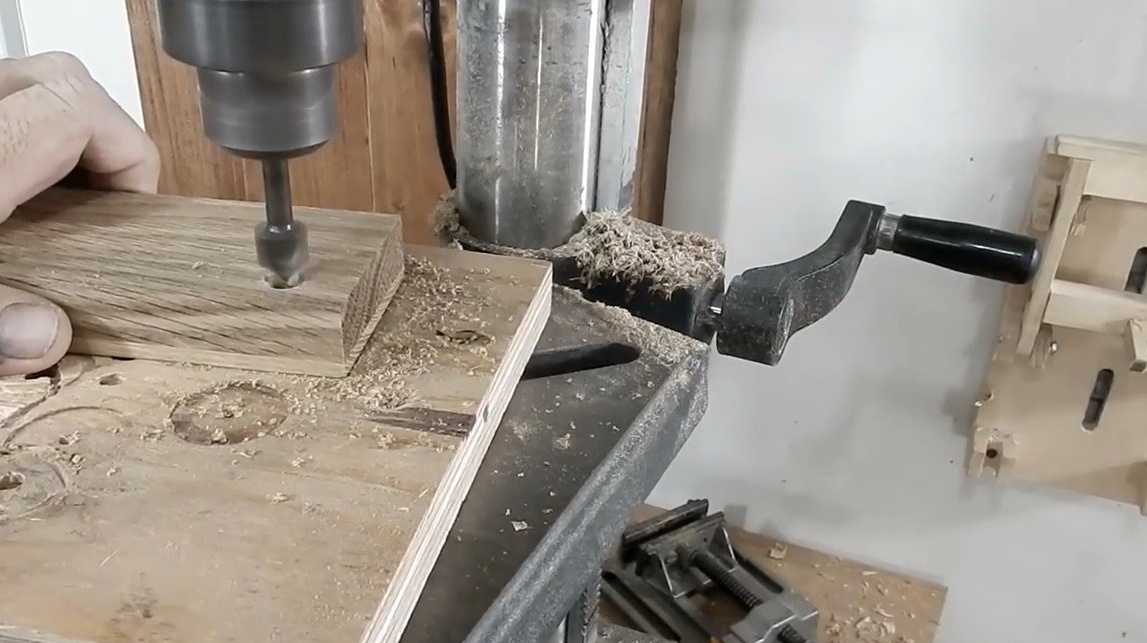
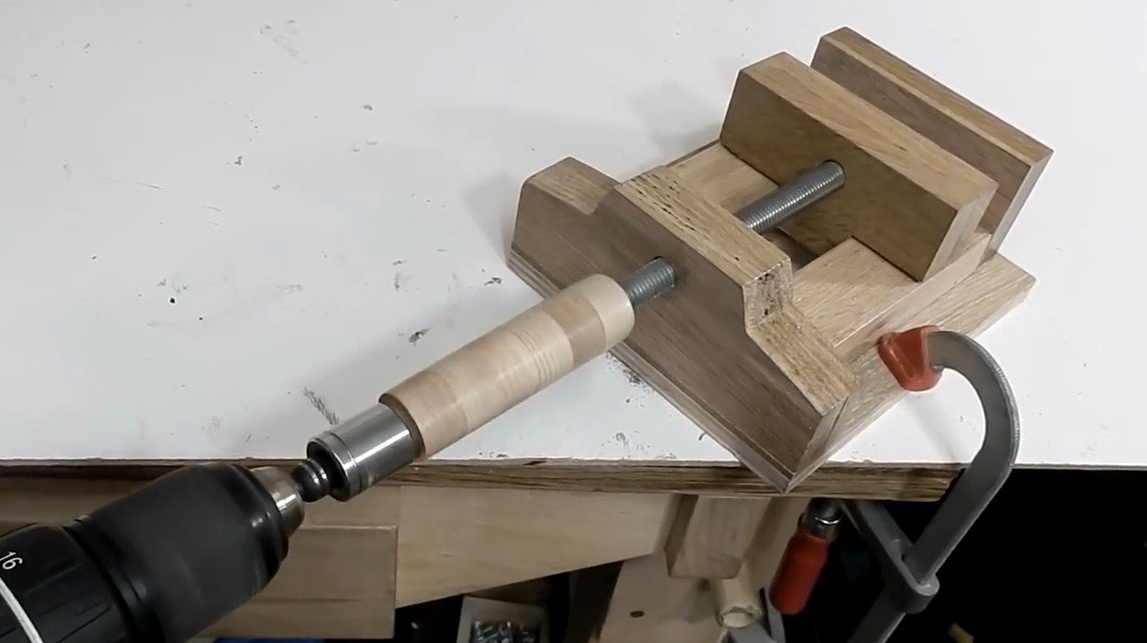
Jack then cuts out a few round logs from an oak plank on a drill press with a crown.
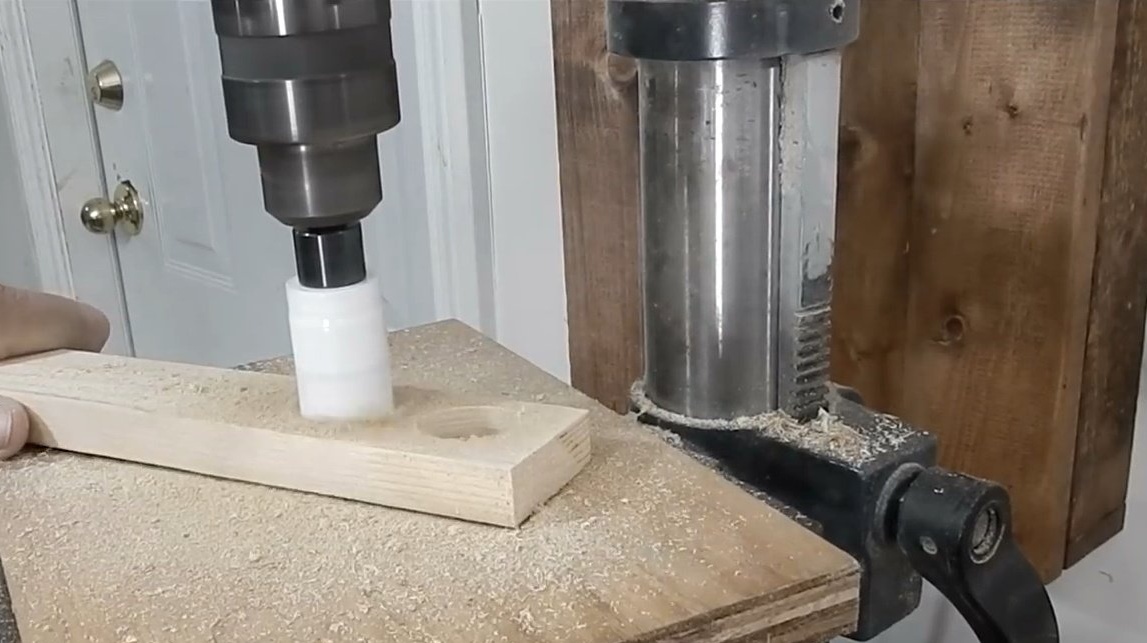
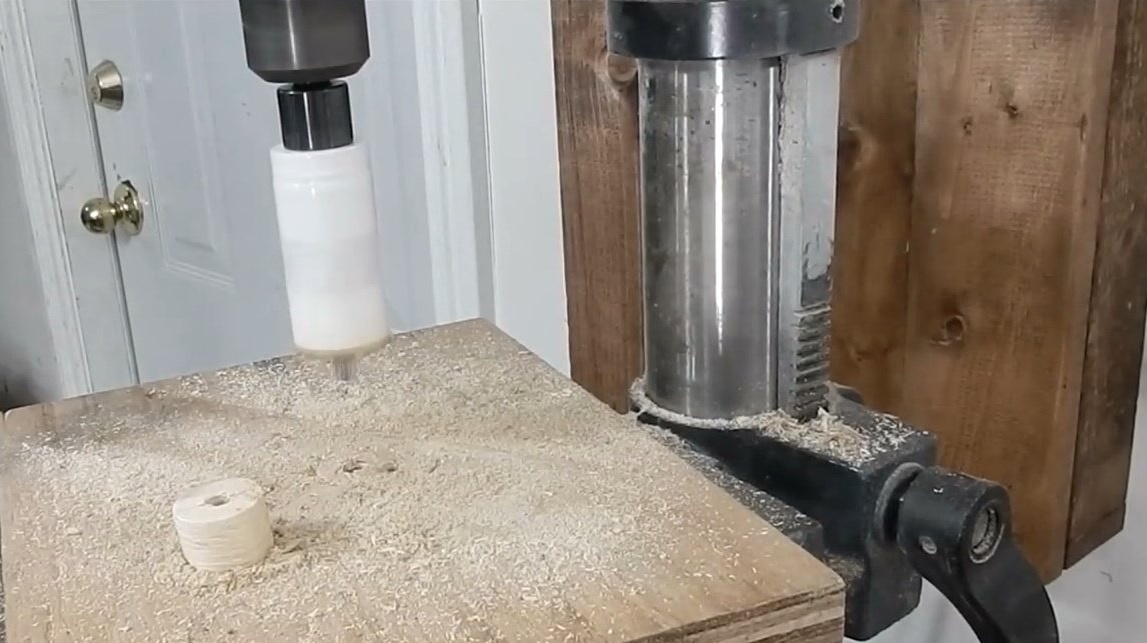
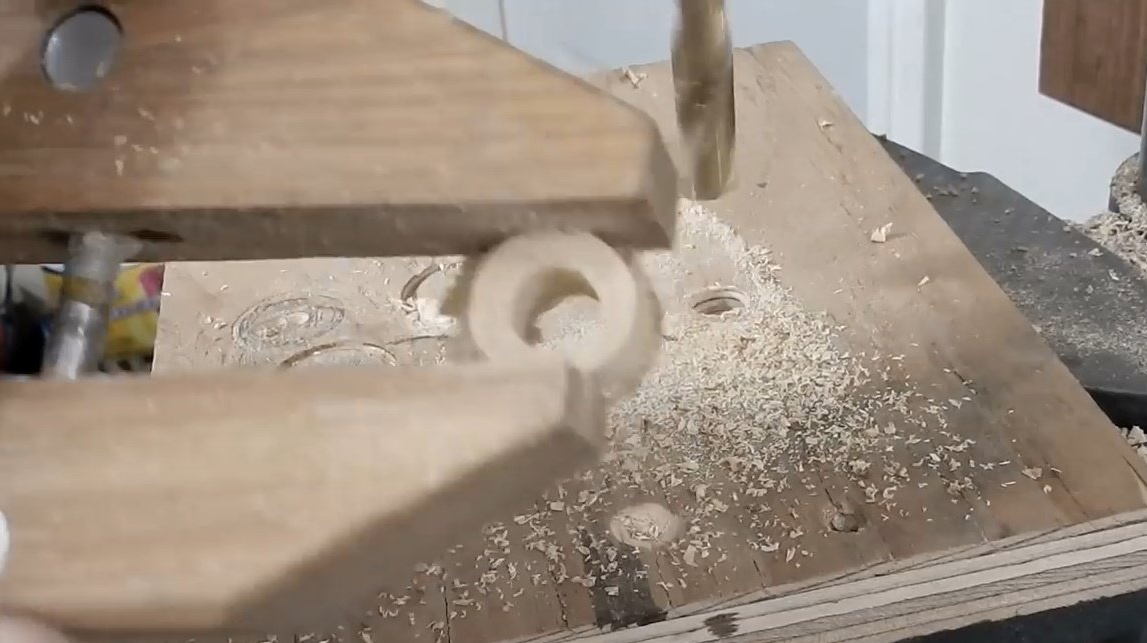
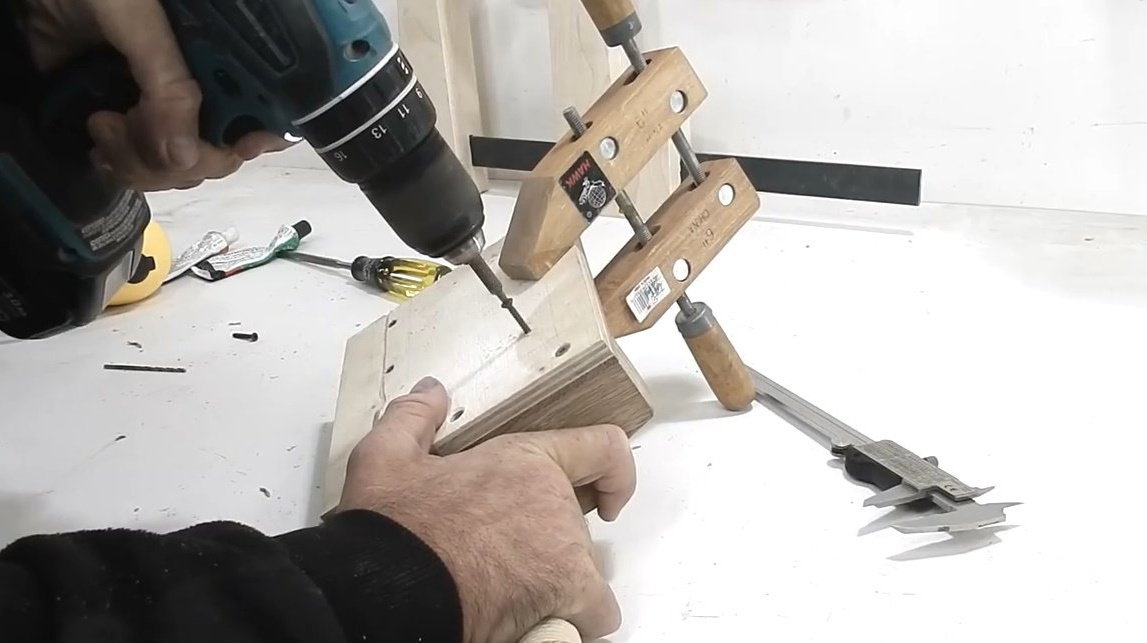
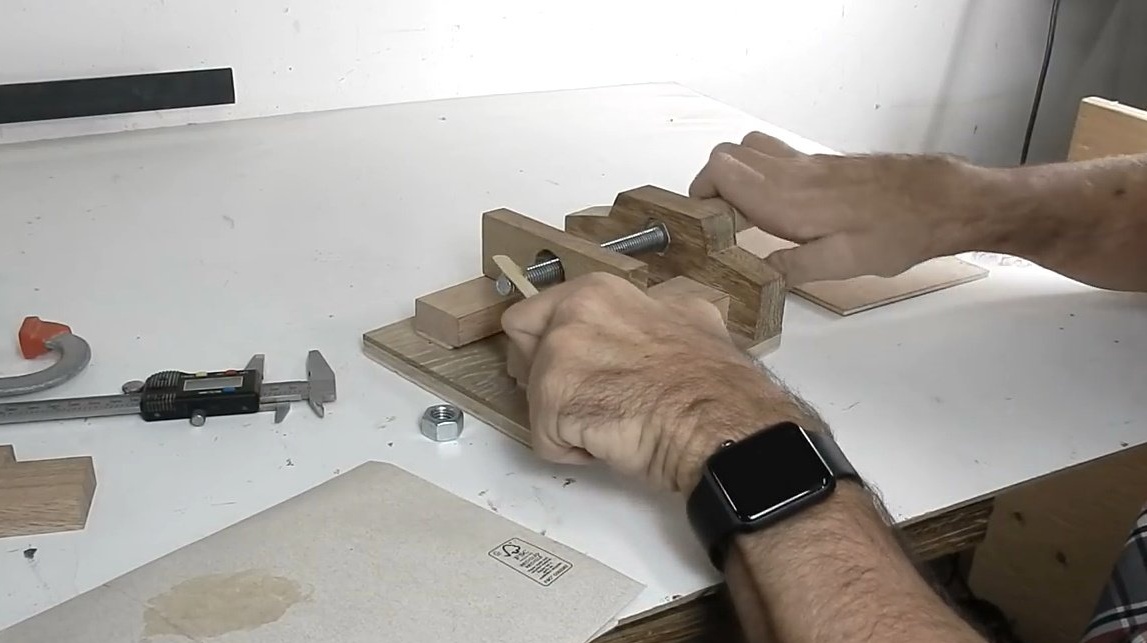
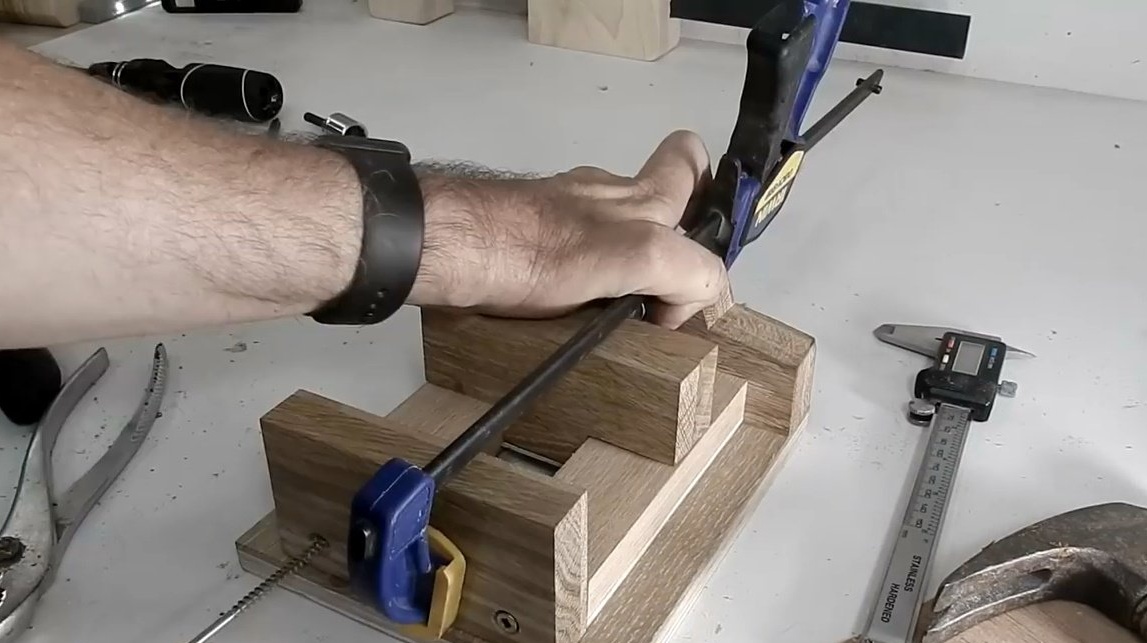
Then, clamping the workpiece in the clamp, drills the holes in the center.
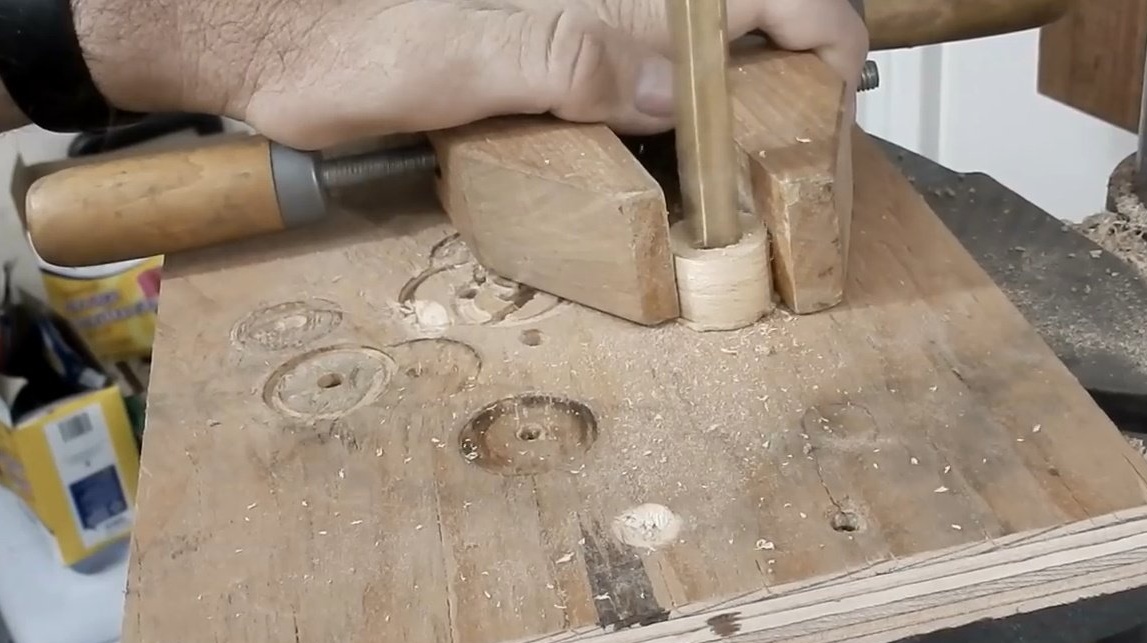
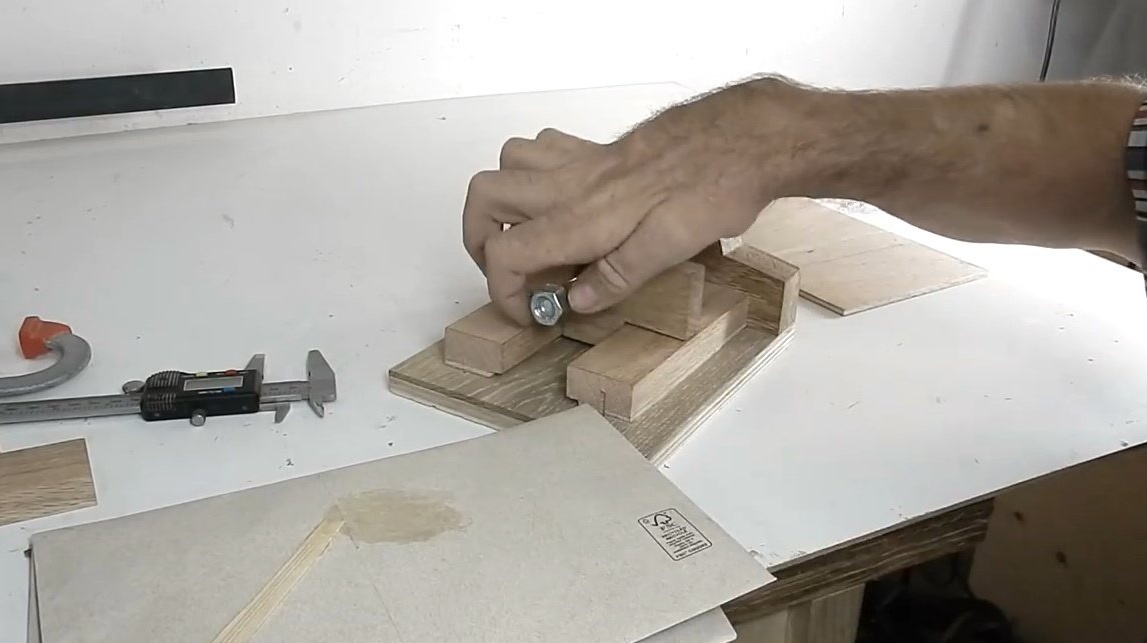
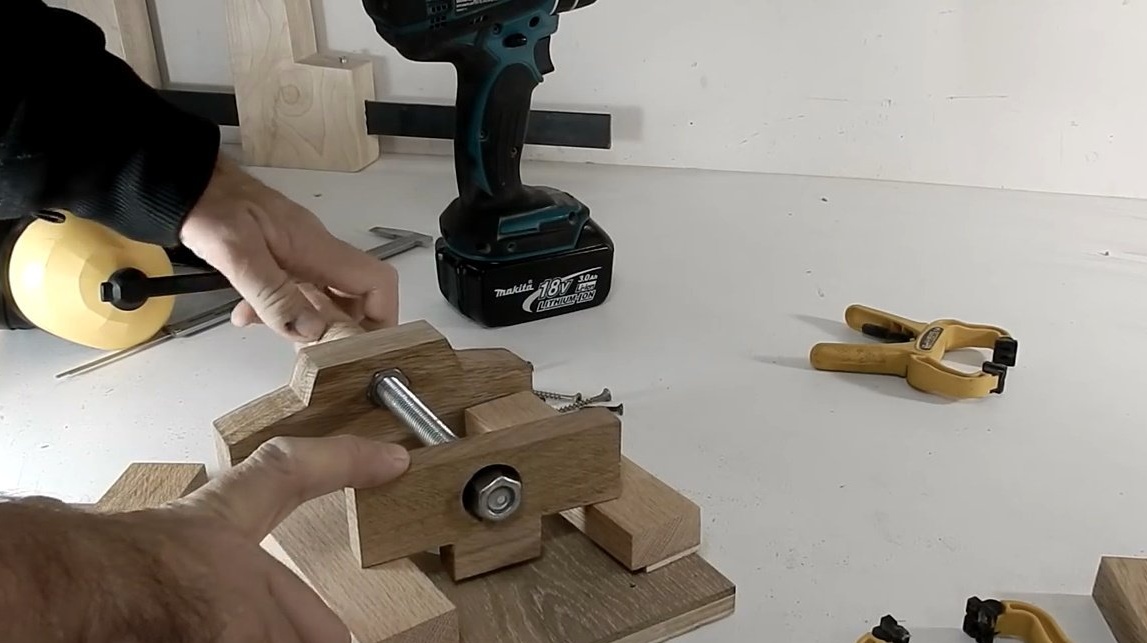
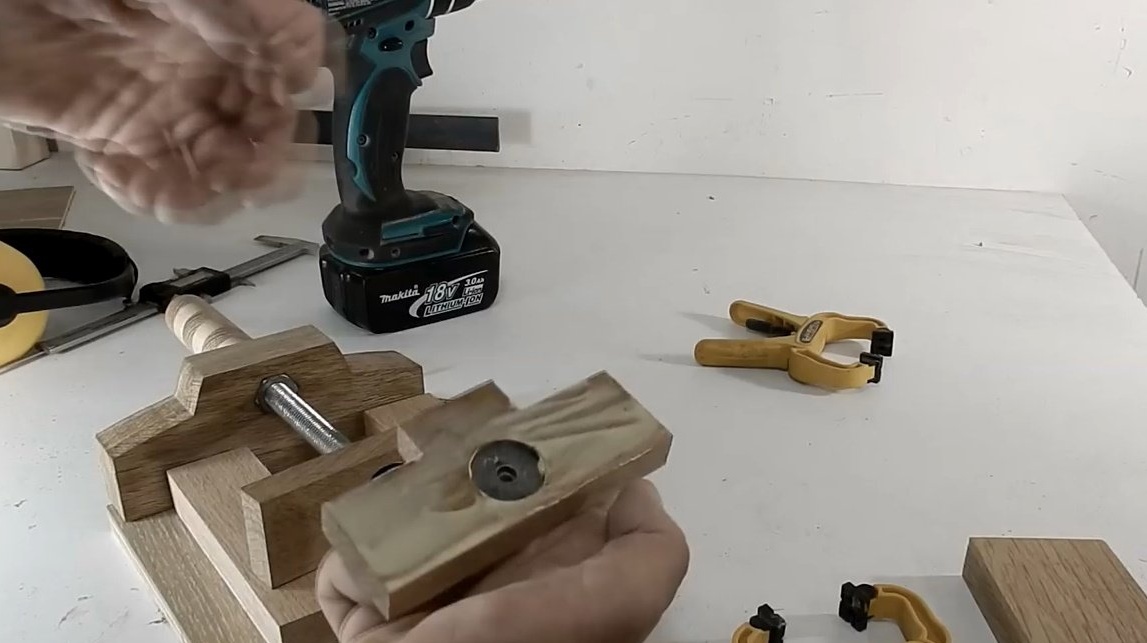
Now you can glue these parts together, and you get a handle for a vice. At the end, Jack tightens the nut to tighten the wooden rings.
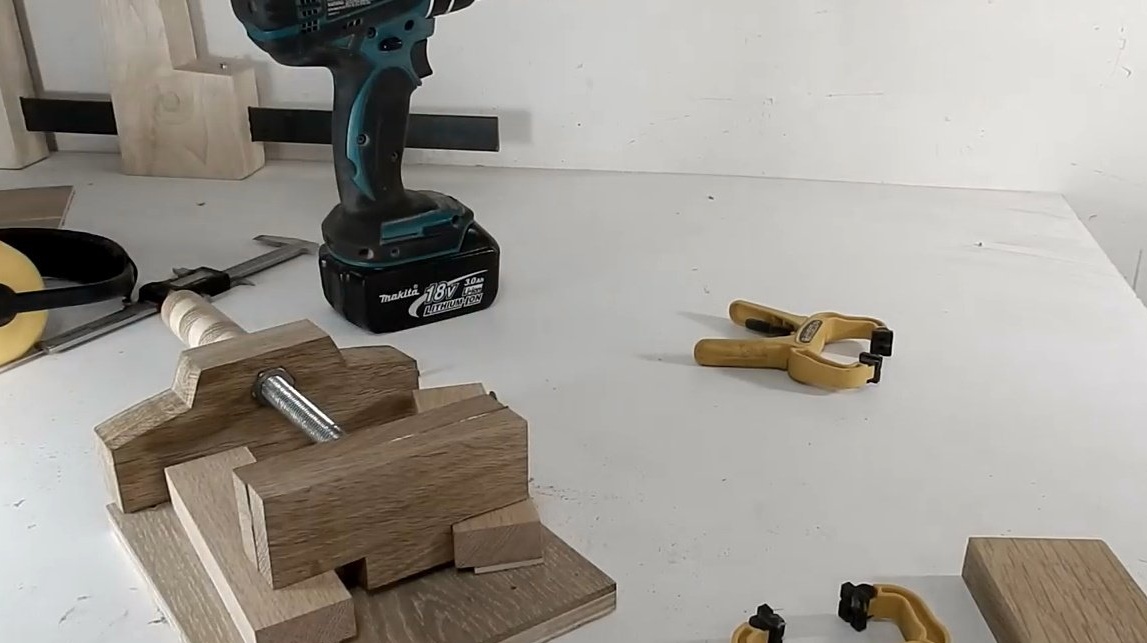
Now the future handle will be cleaned, and after impregnation will acquire a beautiful appearance.
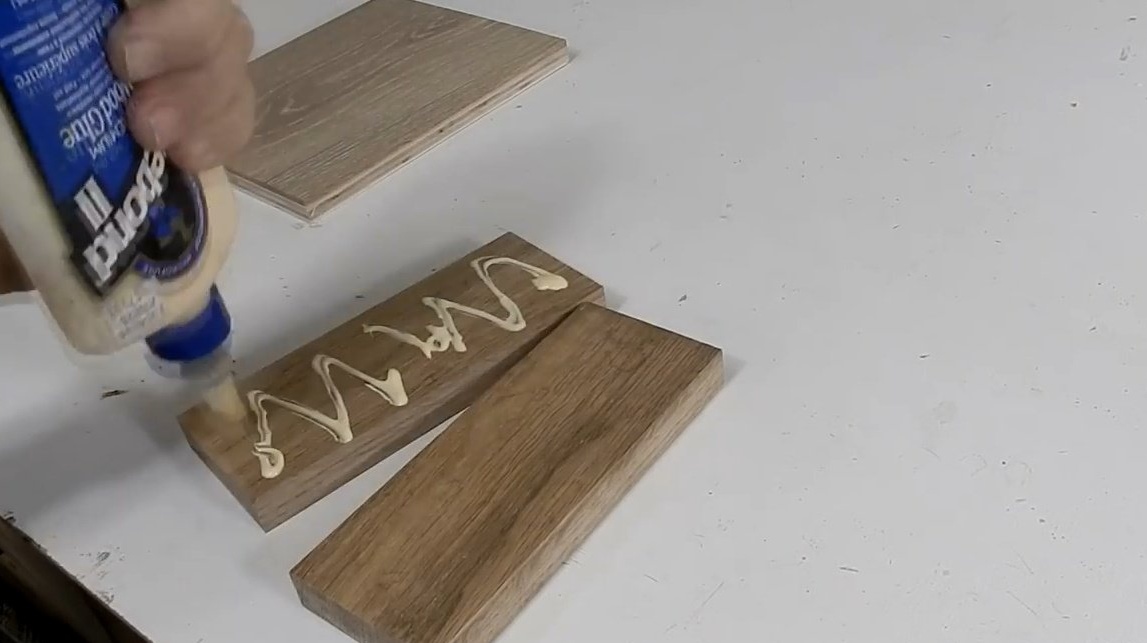
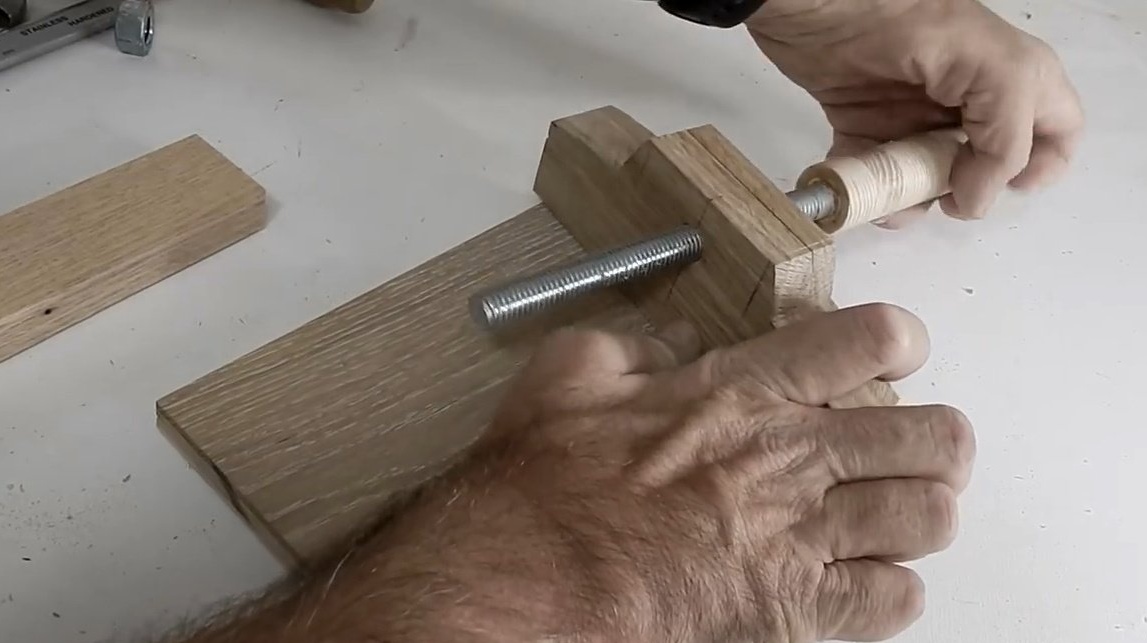
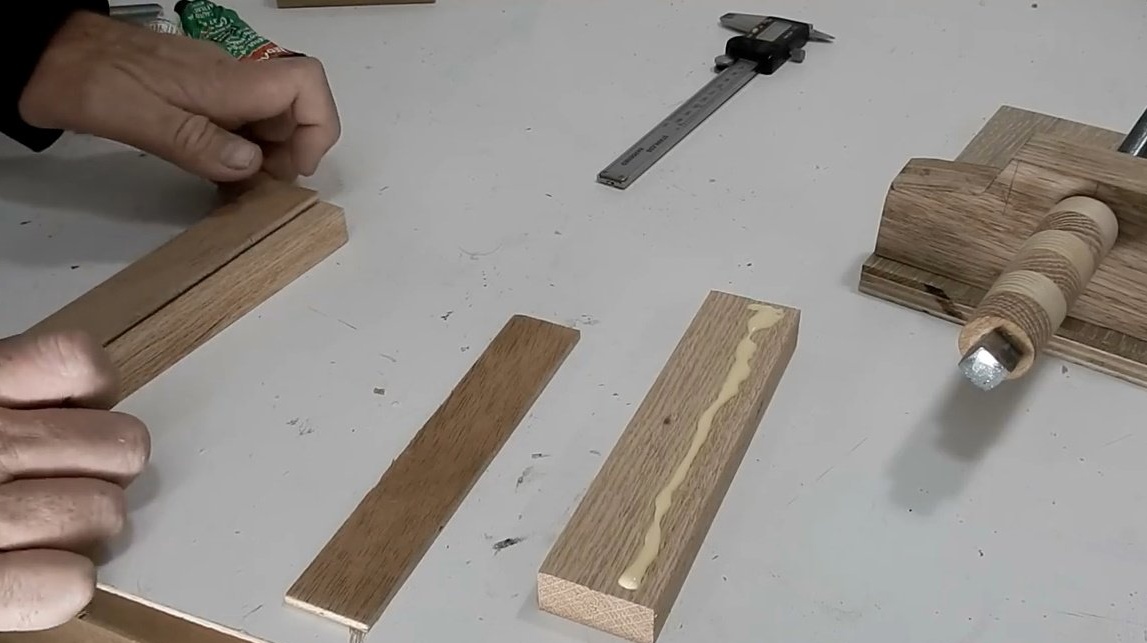
These are two pieces of oak plank, which the author glues together. These elements must be very durable, because this is the place where the handle and the lead screw will go.
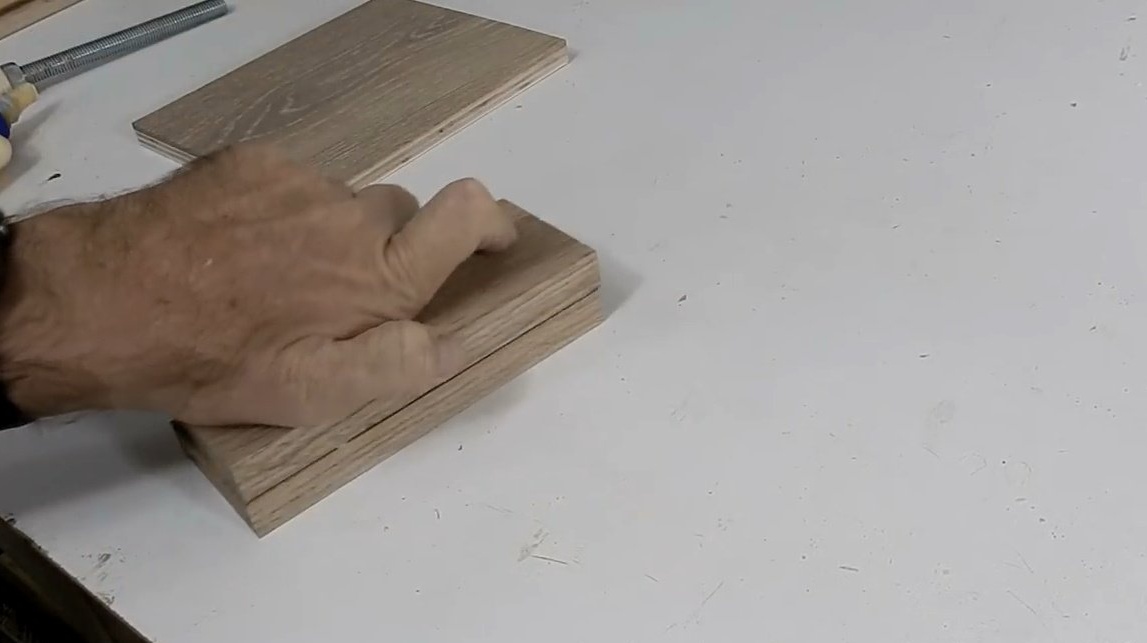
After drying, the master cuts the workpiece in shape, drills a hole for the screw.

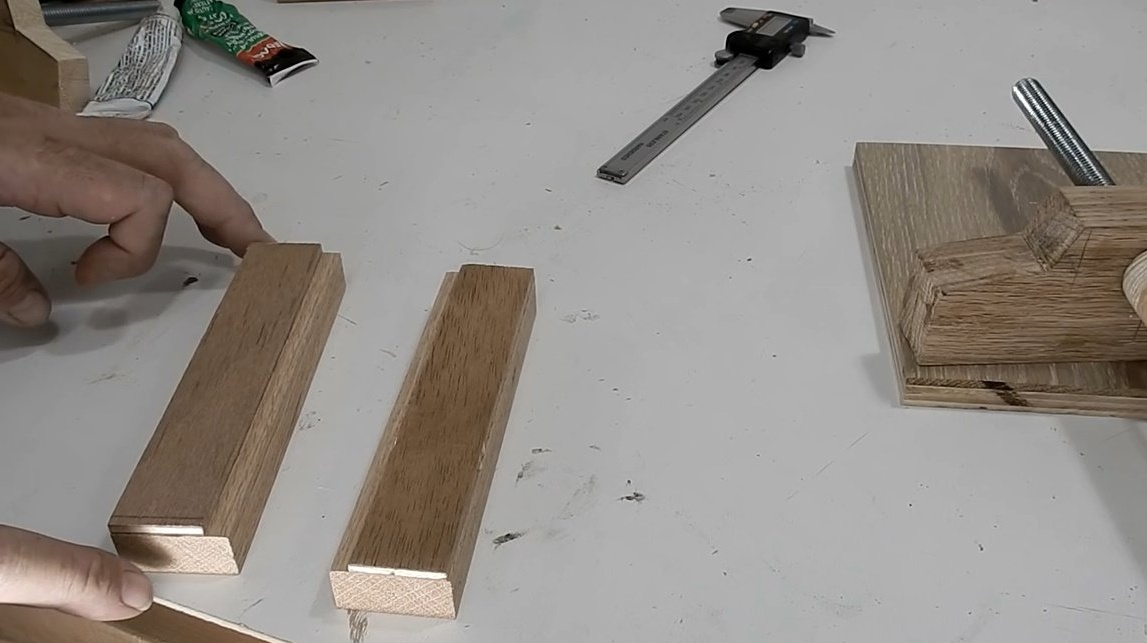
Then cuts the blanks for sponges.
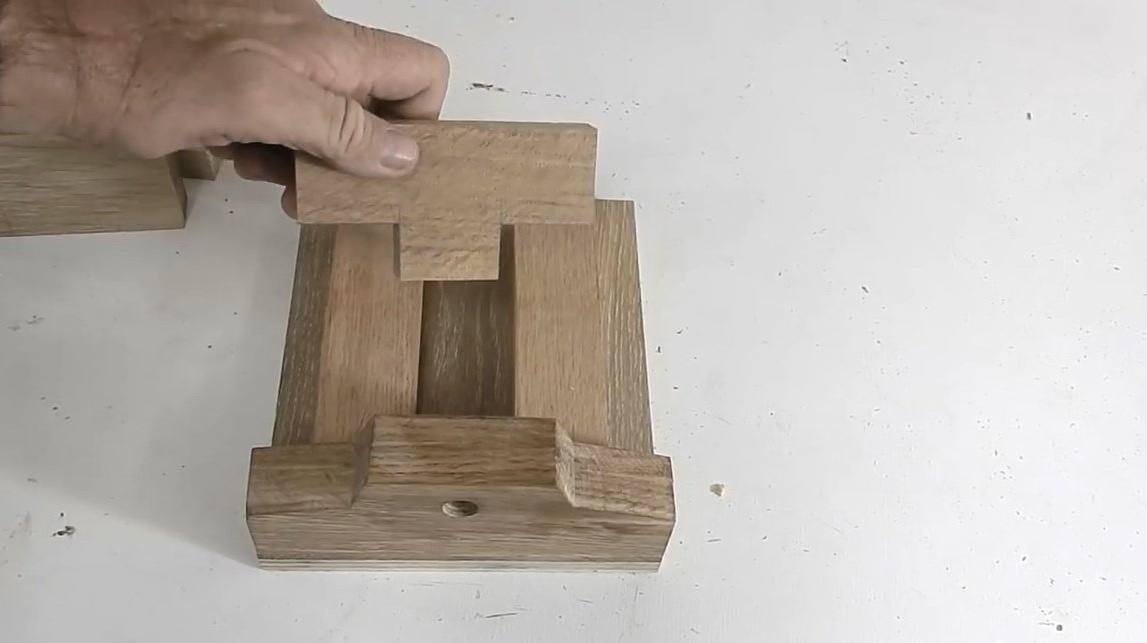
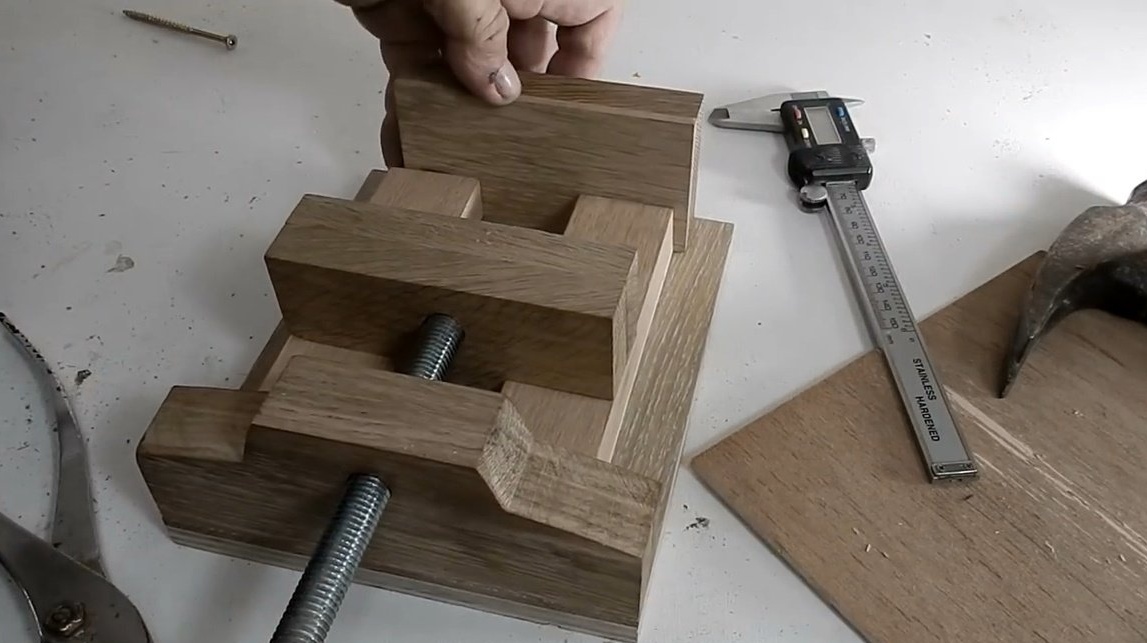
And here is what we have: this is the front of the handle. She skips into the hole.

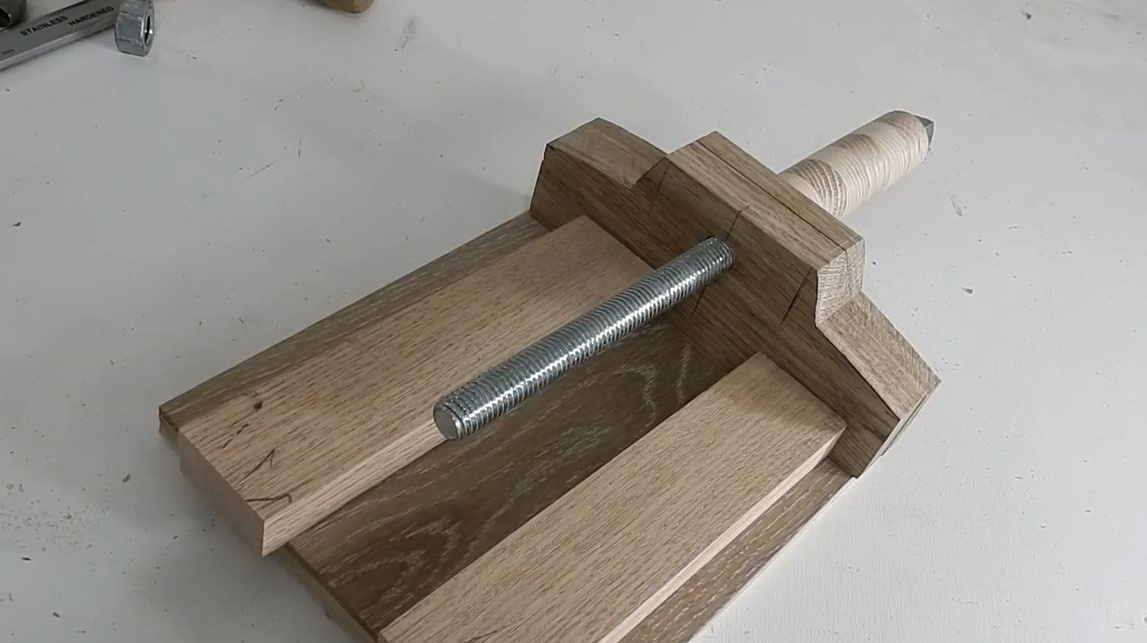
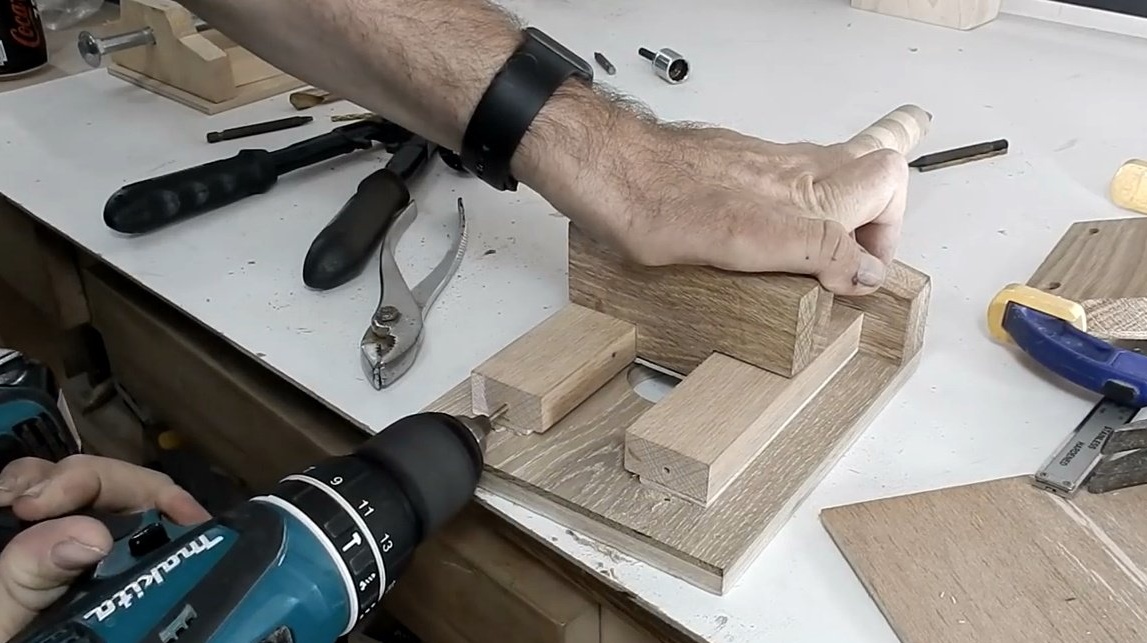
And these are two supports for a movable sponge. The latter will slide over these supports.
These two supports should now be raised slightly to form a gap for the sponge sliding back and forth.
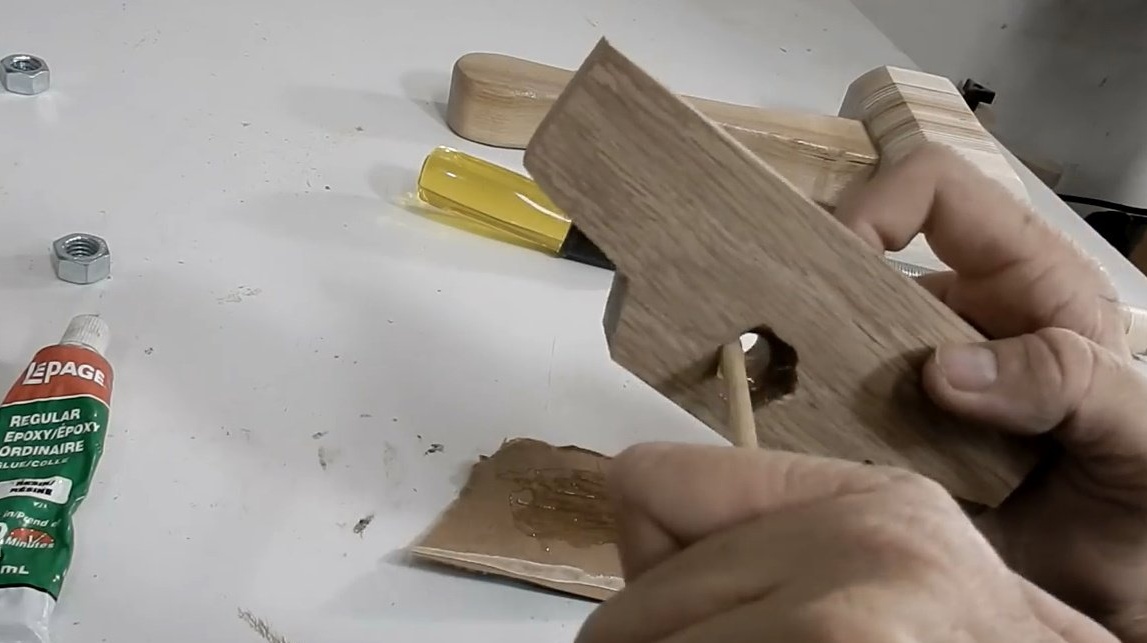
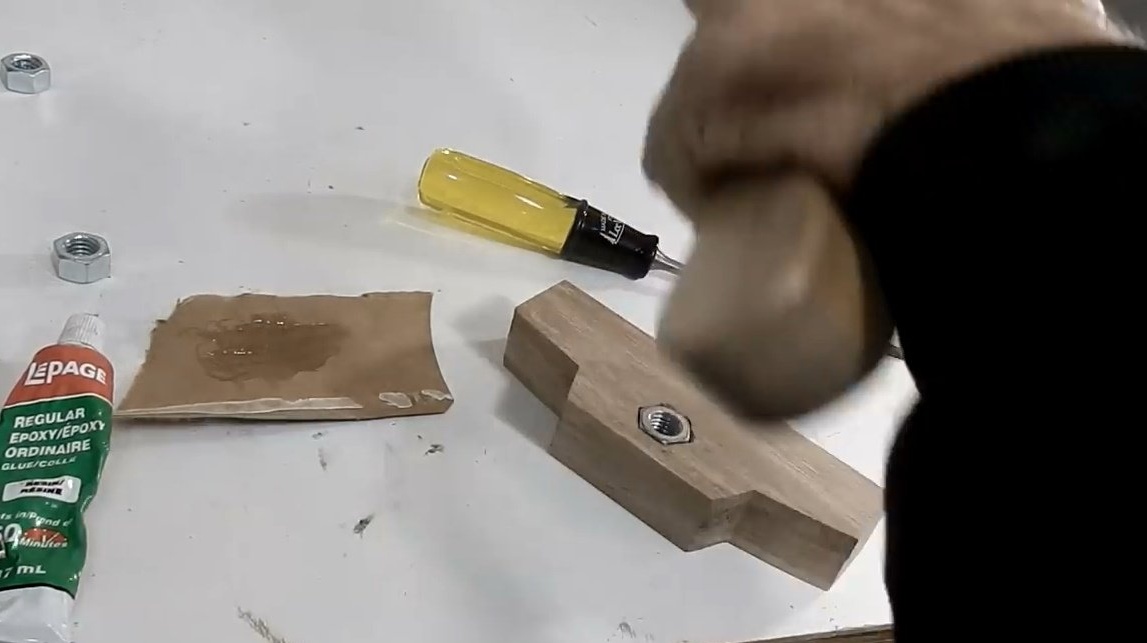
Hollows out a hole for a basic nut.
Then, lubricating the hole with epoxy resin, installs the nut.
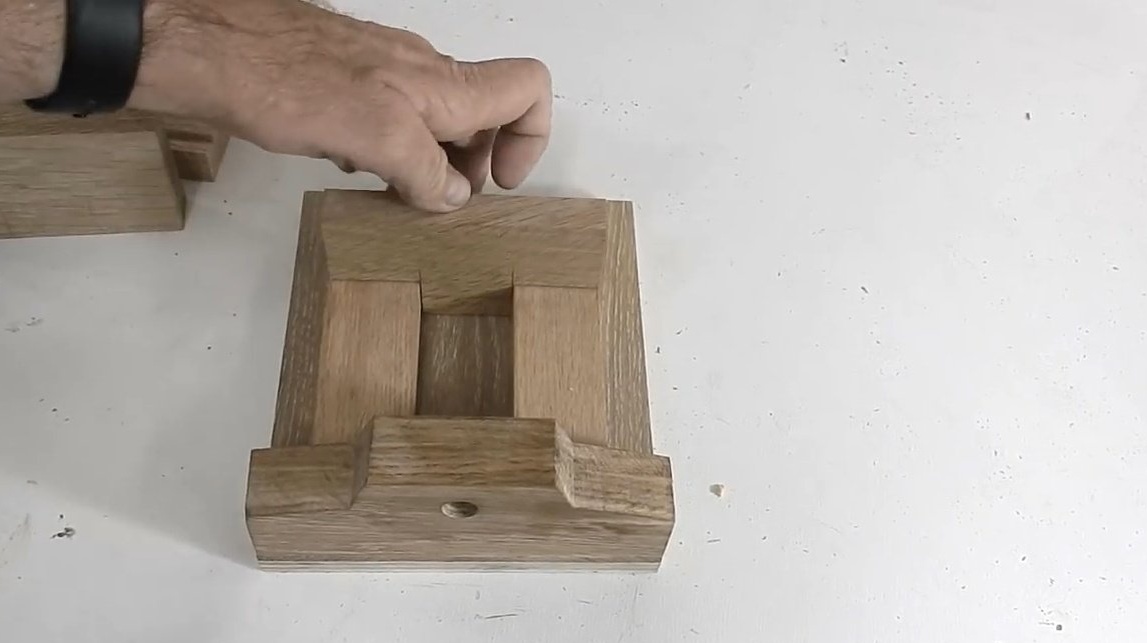
Now makes linings for guides, and glues blanks.
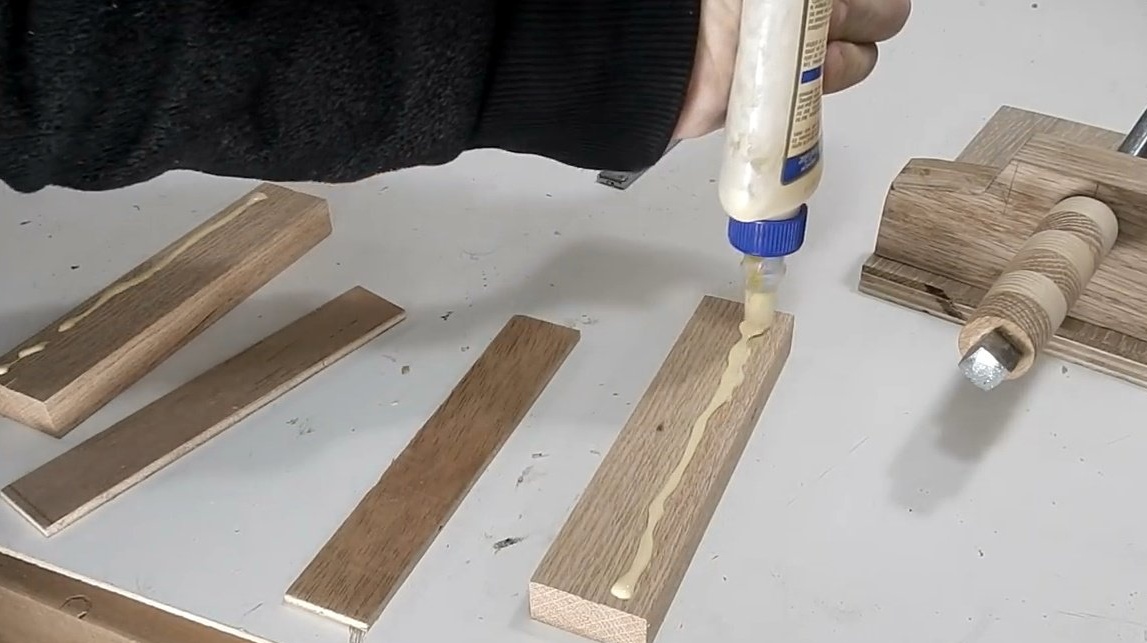
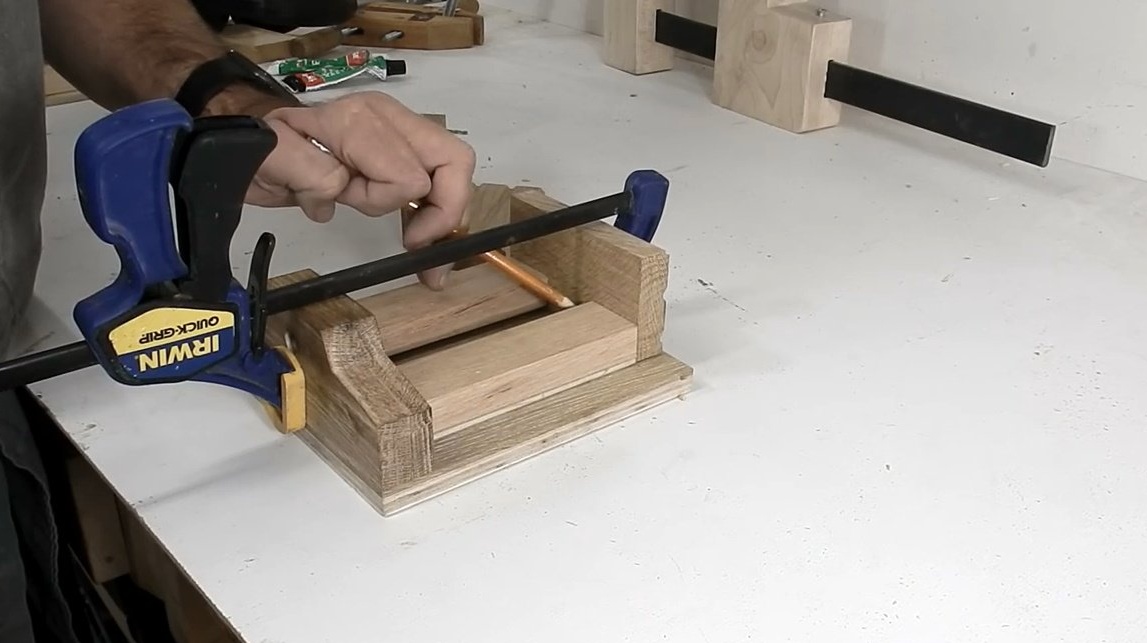
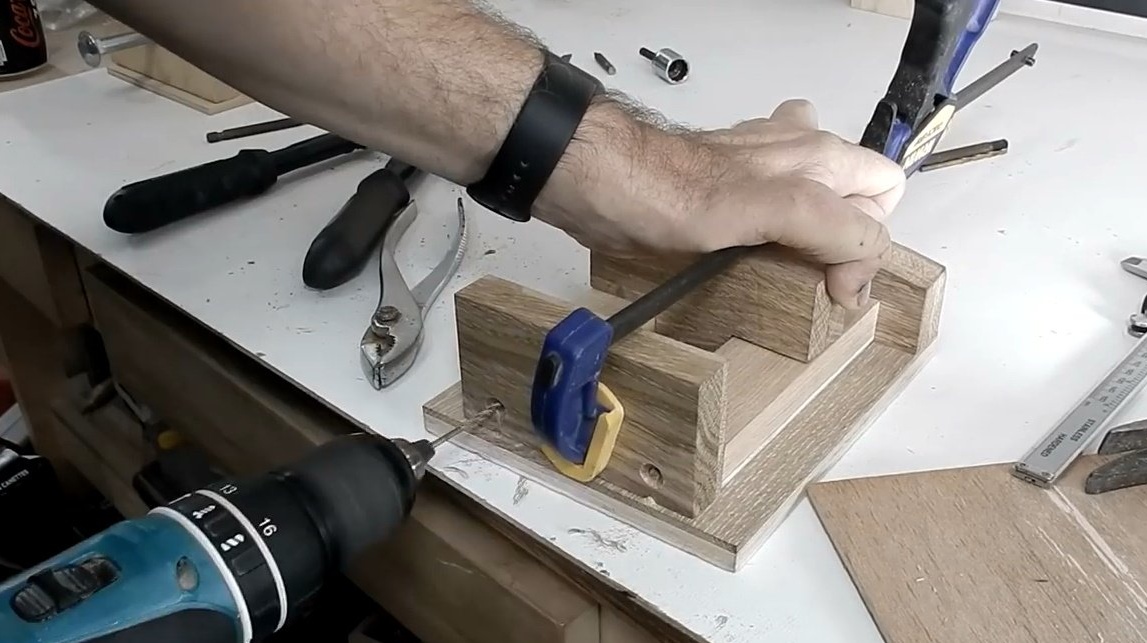
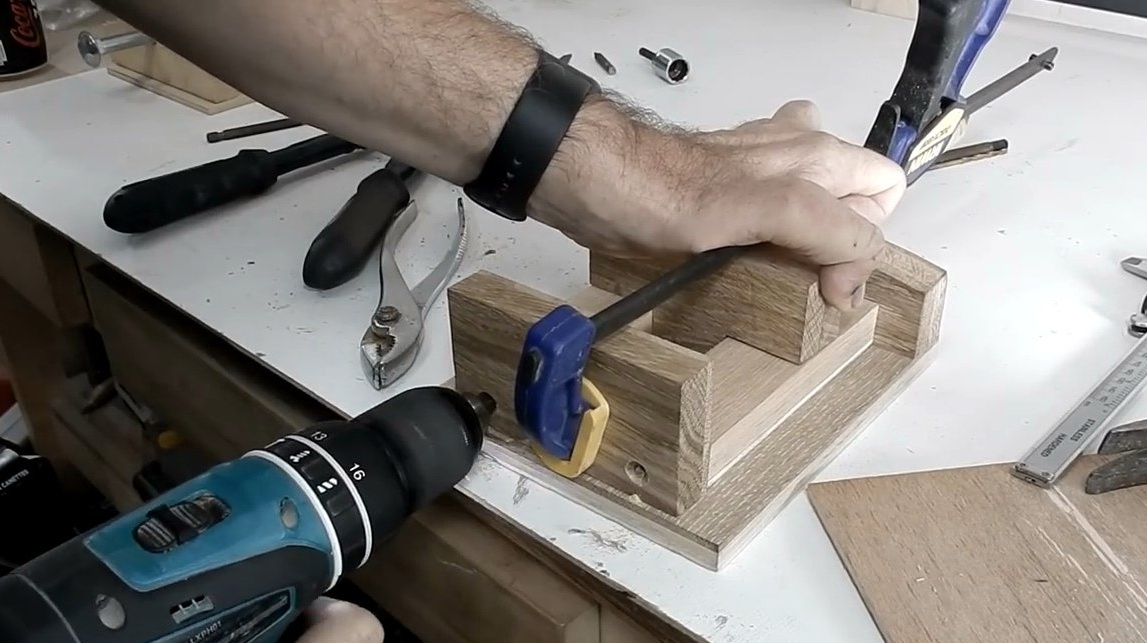
The master screws these guides to the base. Then he will again disassemble the entire structure, glue it and only after that he will finally tighten it with screws, after making sure that all the elements are located evenly.
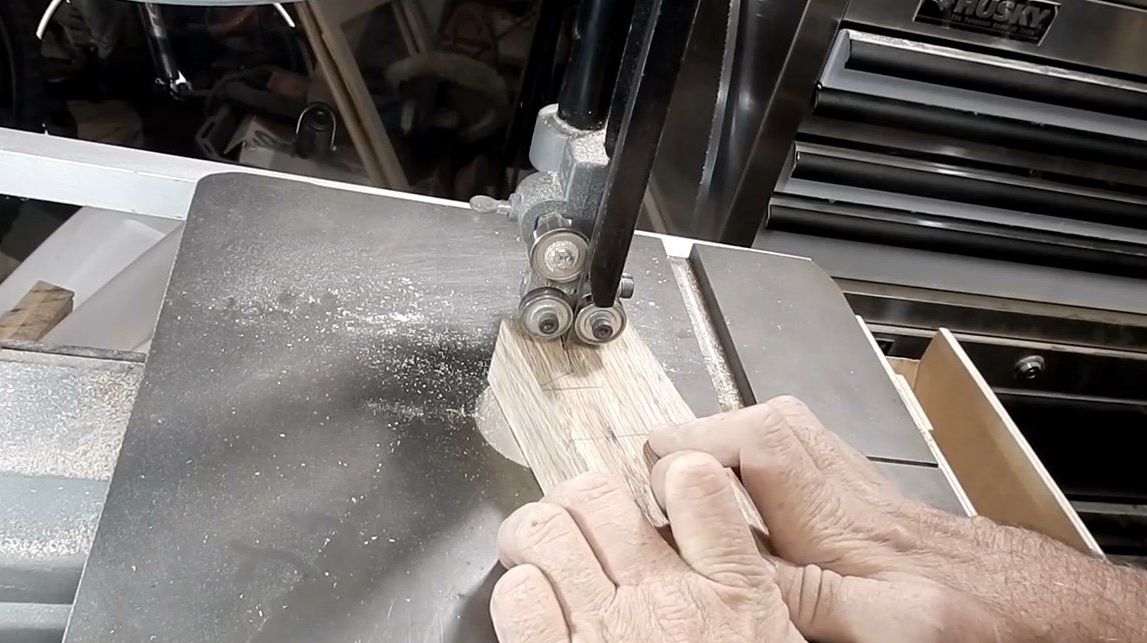
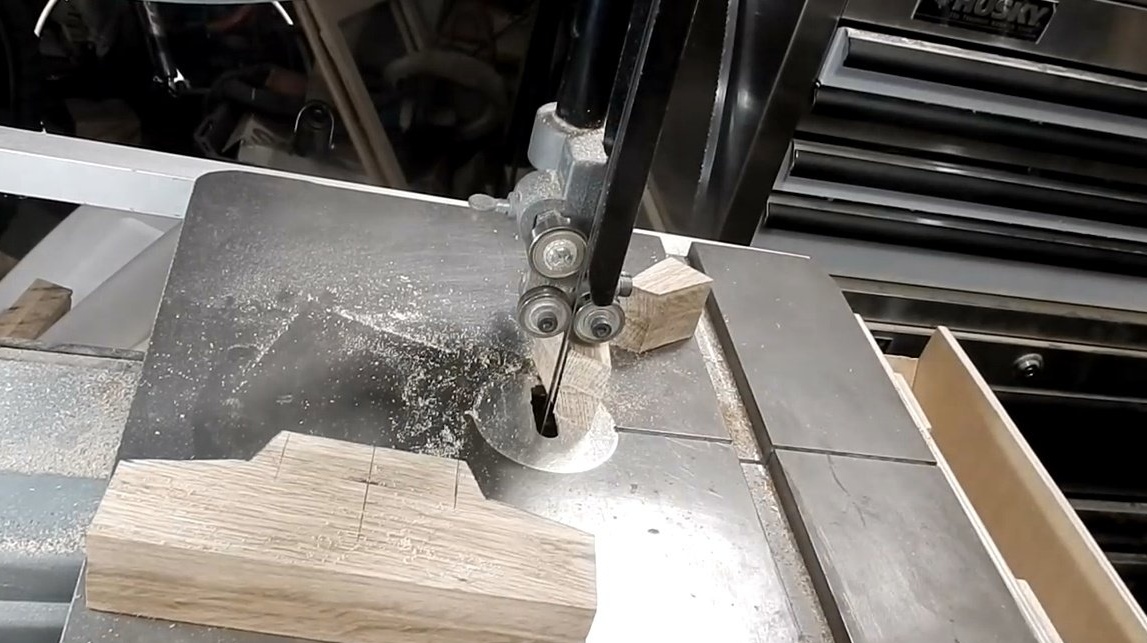
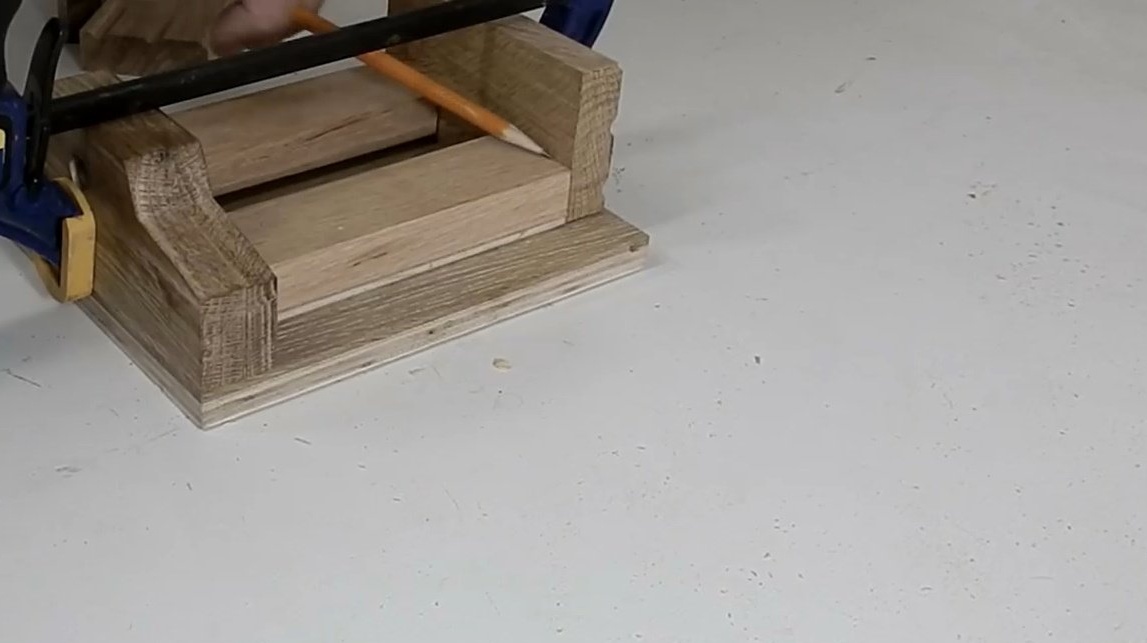
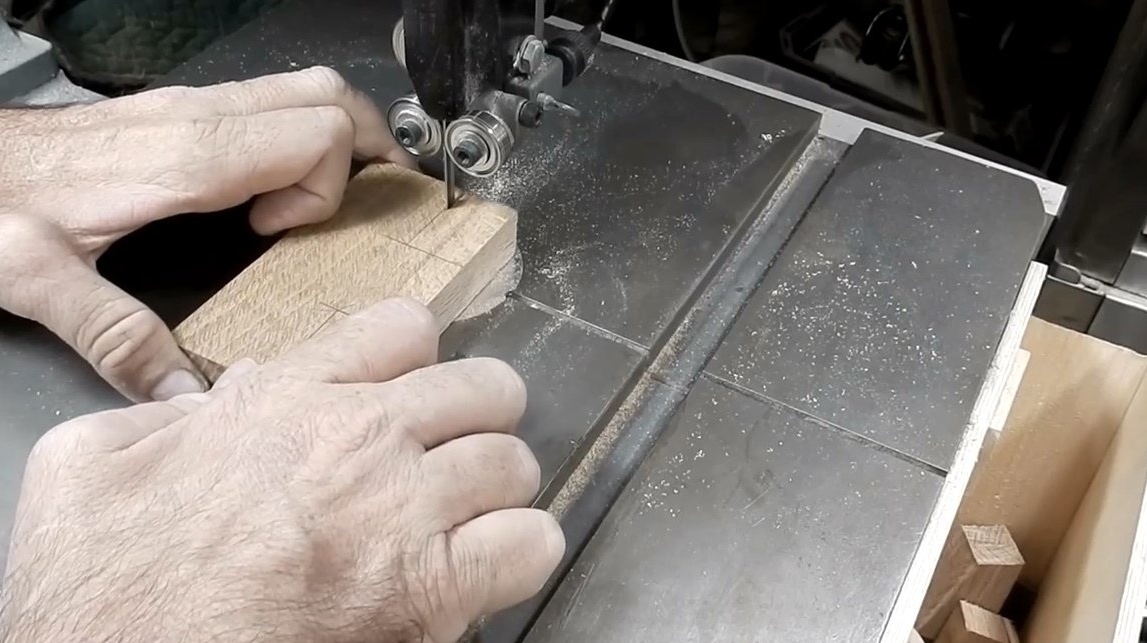
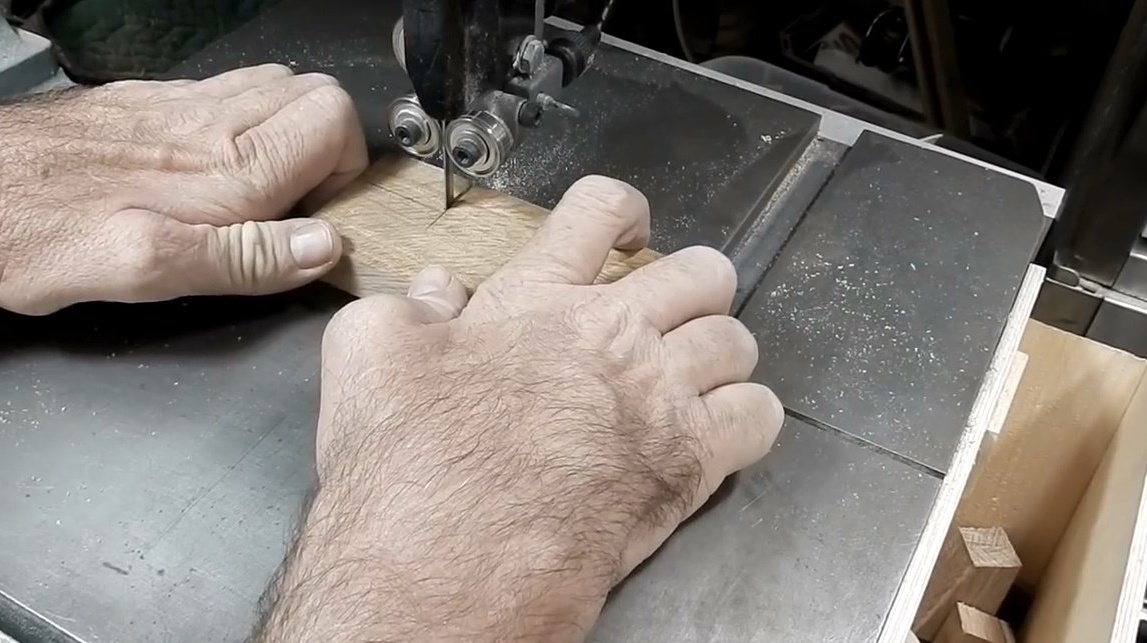
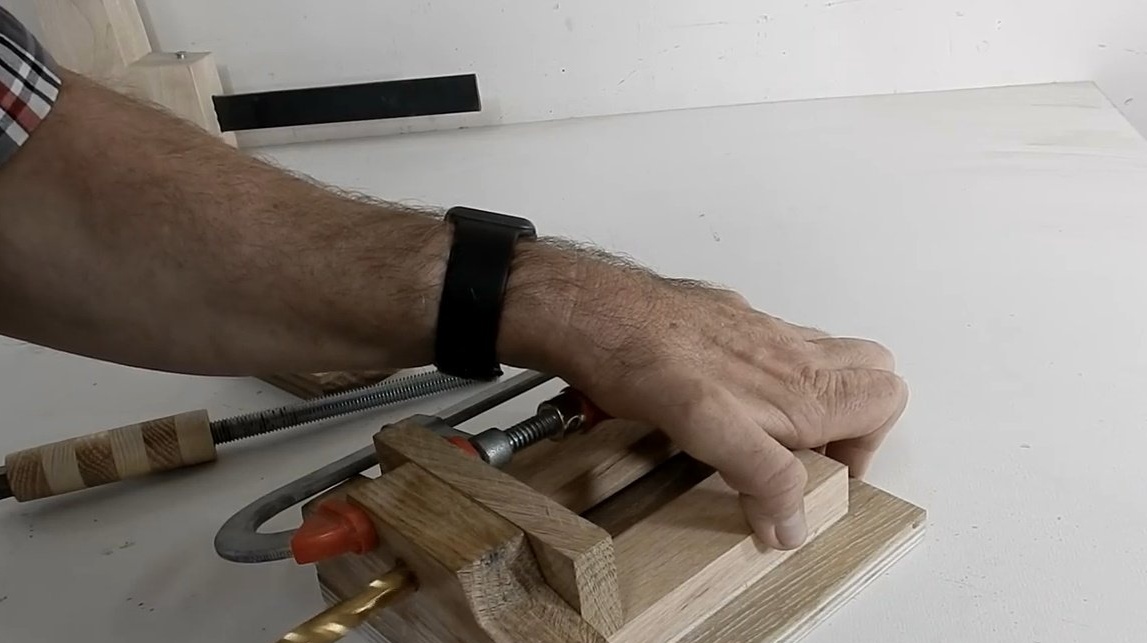
Now you can make the sponges themselves. John presses this wooden block with a clip and makes the necessary notes. Now, along these lines, he passes a band saw.
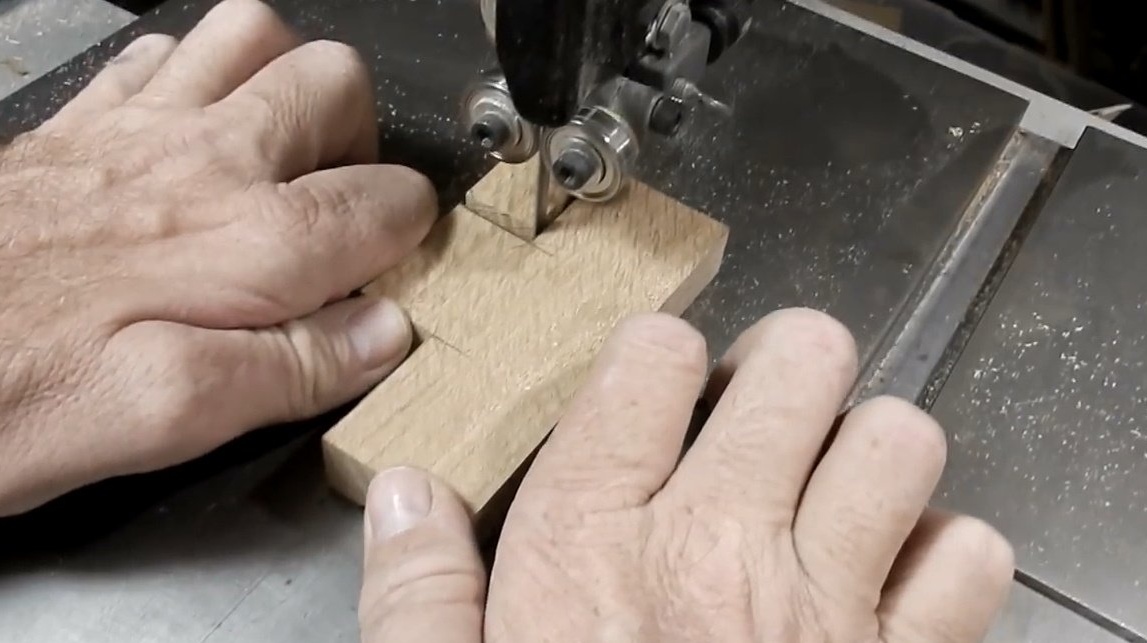
Great fit!
Next, you need to drill a hole in the sponge. Before, Jack had already put a nut in that hole. Now it remains to choose a drill of the desired diameter, which would go into the hole, but it does not damage the thread on the nut.

It turned out a good serif. The rest can be completed on a drilling machine.
Now you need a Forstner drill for the nut so that it can freely rotate in the hole. The author then applies a little epoxy to the shaft to fix the nut.
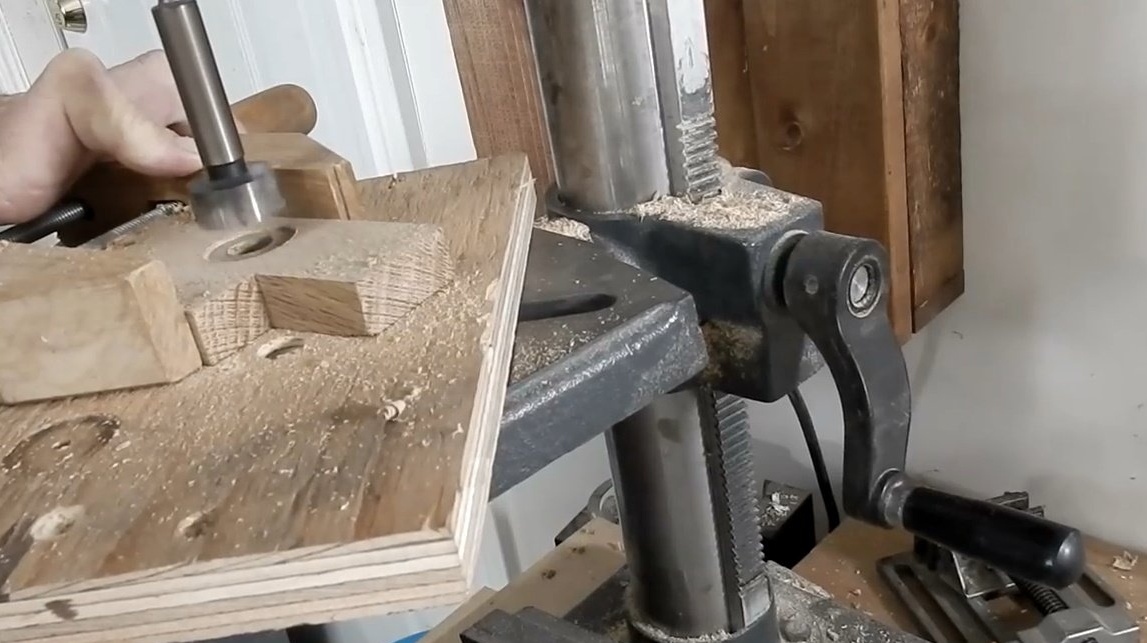

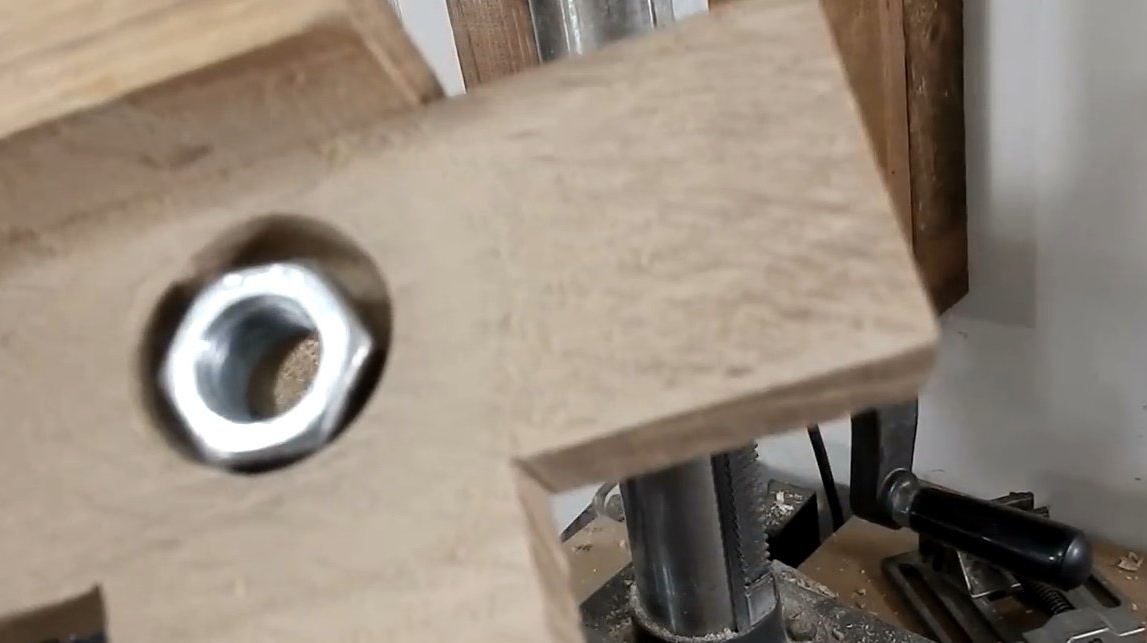
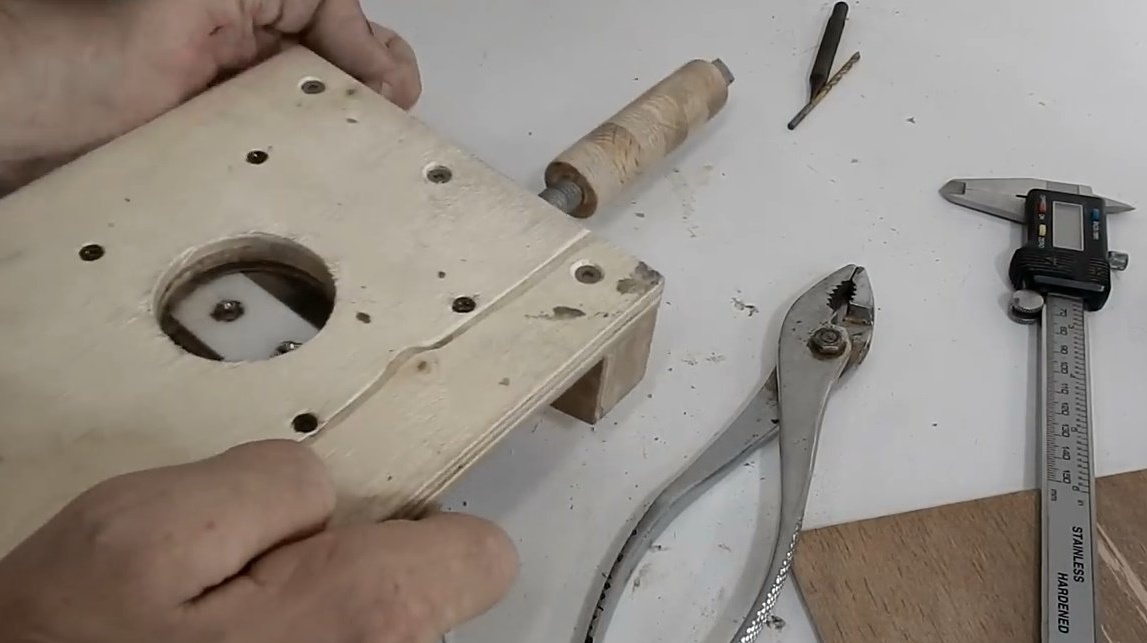
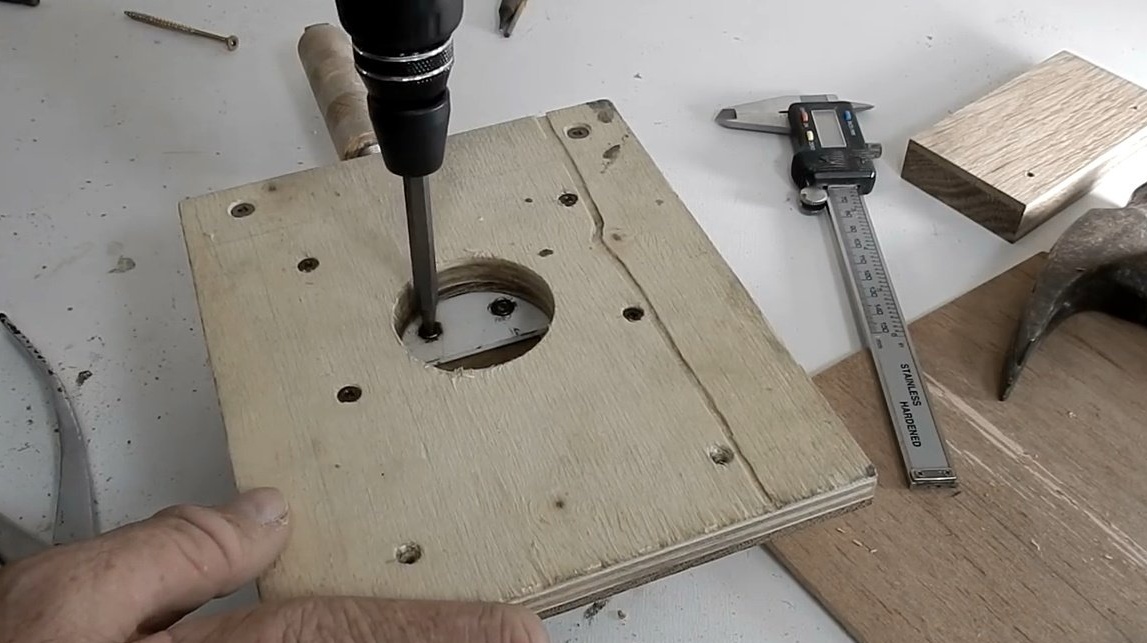
Jack disassembles the whole structure again. Before you is the foundation of the future instrument. In it, he drills a wide hole for the lead screw.
So, now the vice is taken apart. You can see how the nut rotates freely inside the hole.

The next step craftsman glues these two elements together.

Now the author proceeds to the manufacture of a fixed sponge. First of all, he drills two holes in it and puts two large bolts in them to give reliability to the whole structure.
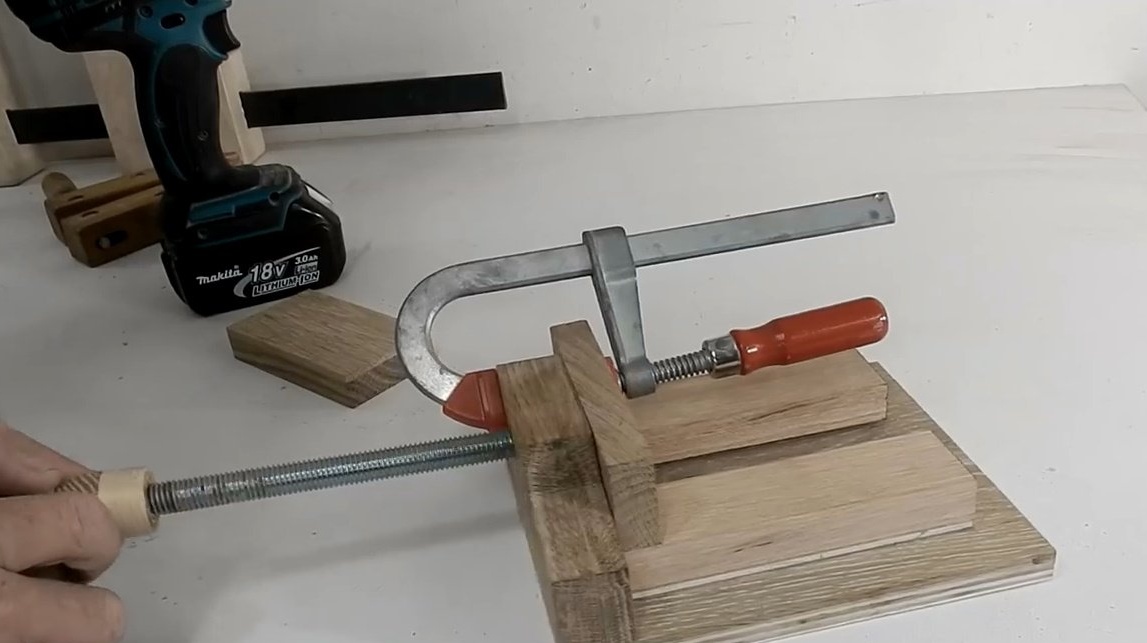
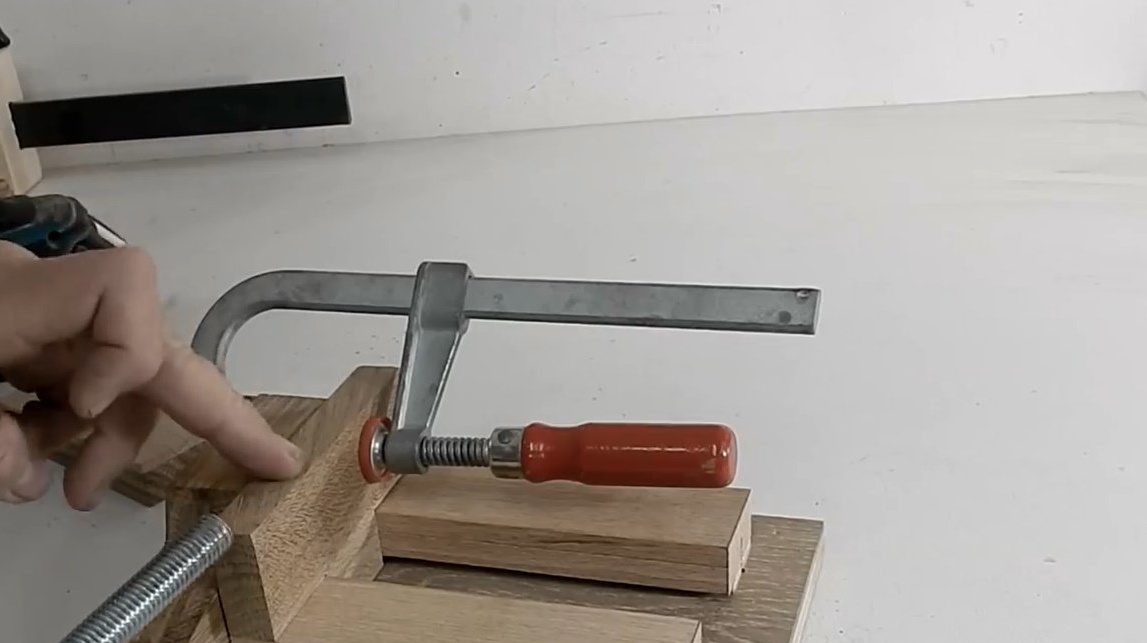
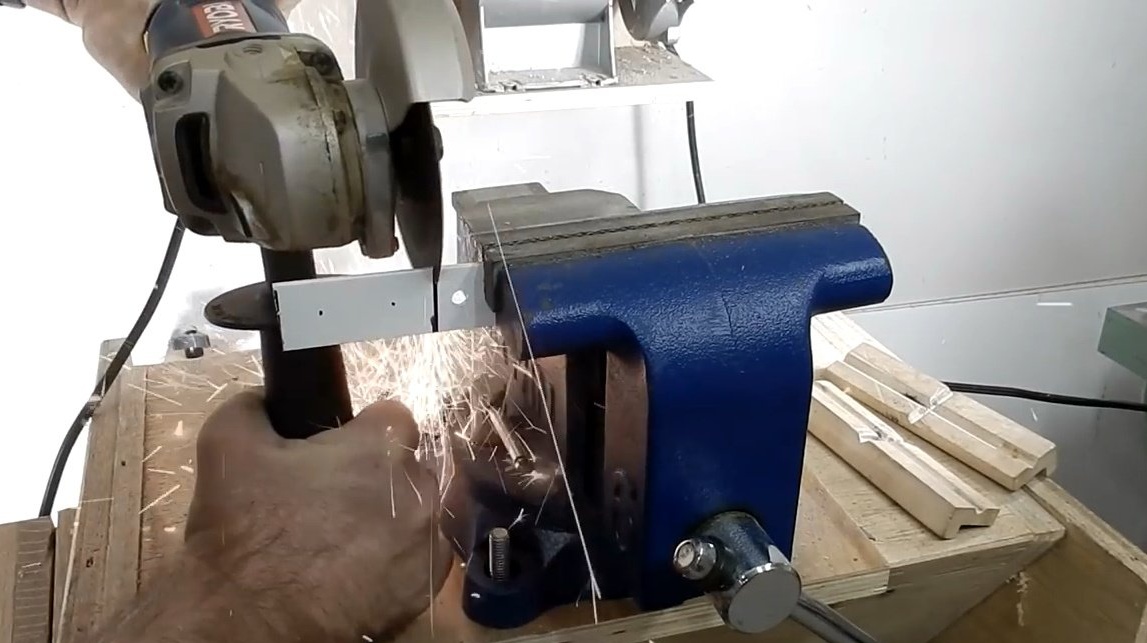
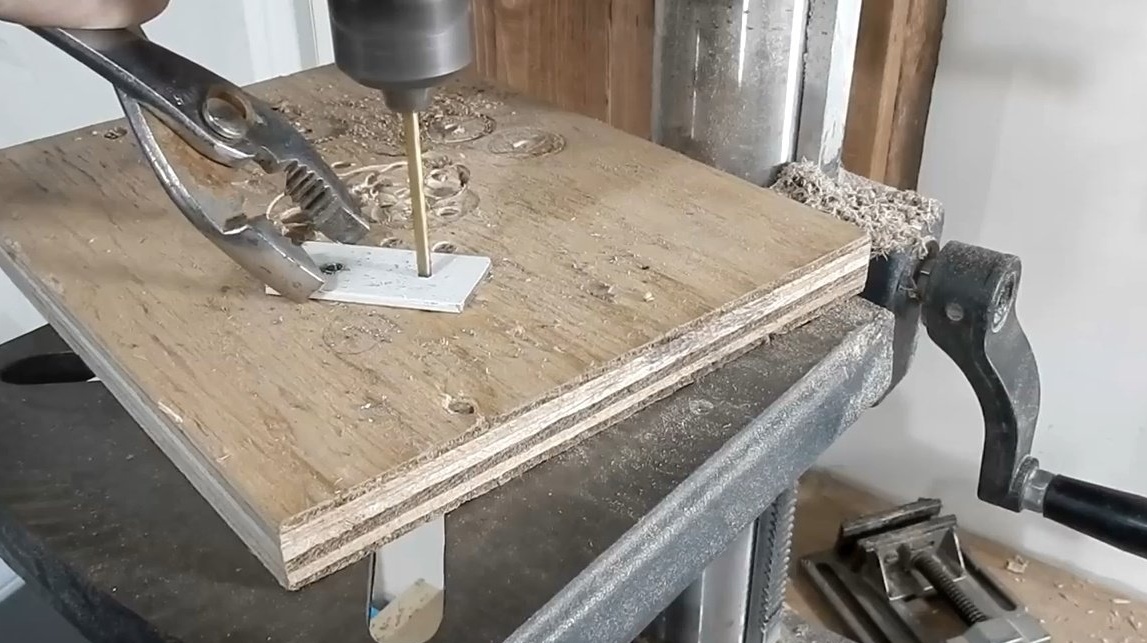
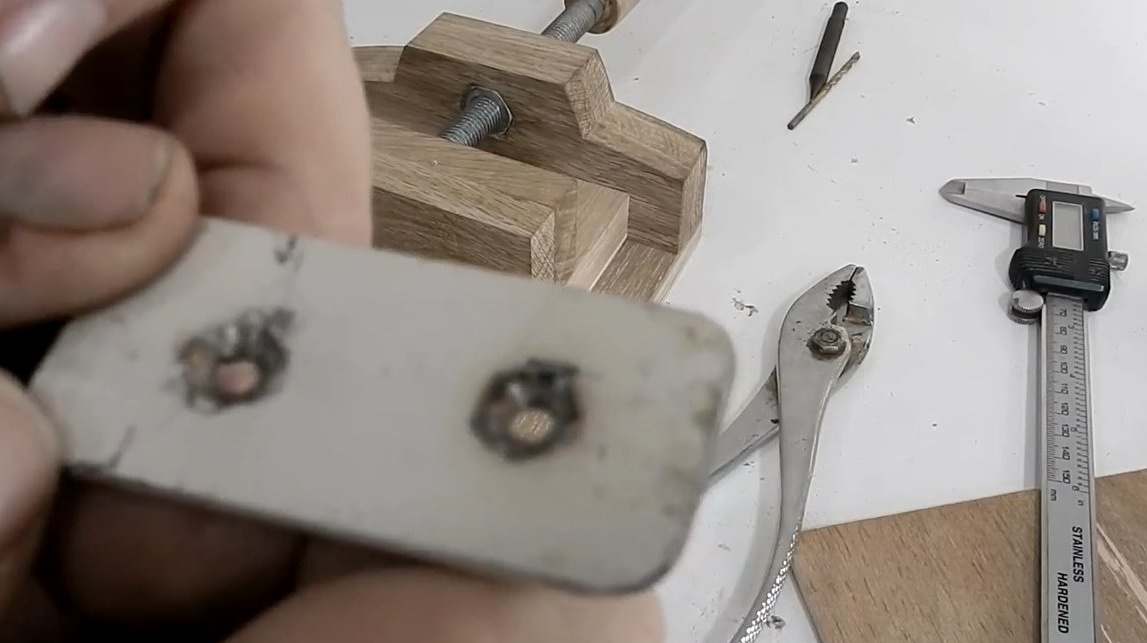
Further, the author clamps a small iron plate in a vice and cuts it off according to the mark. In the resulting plate, he drills two holes for the screws and slightly countersinks them.
Then this plate is inserted under the supports.
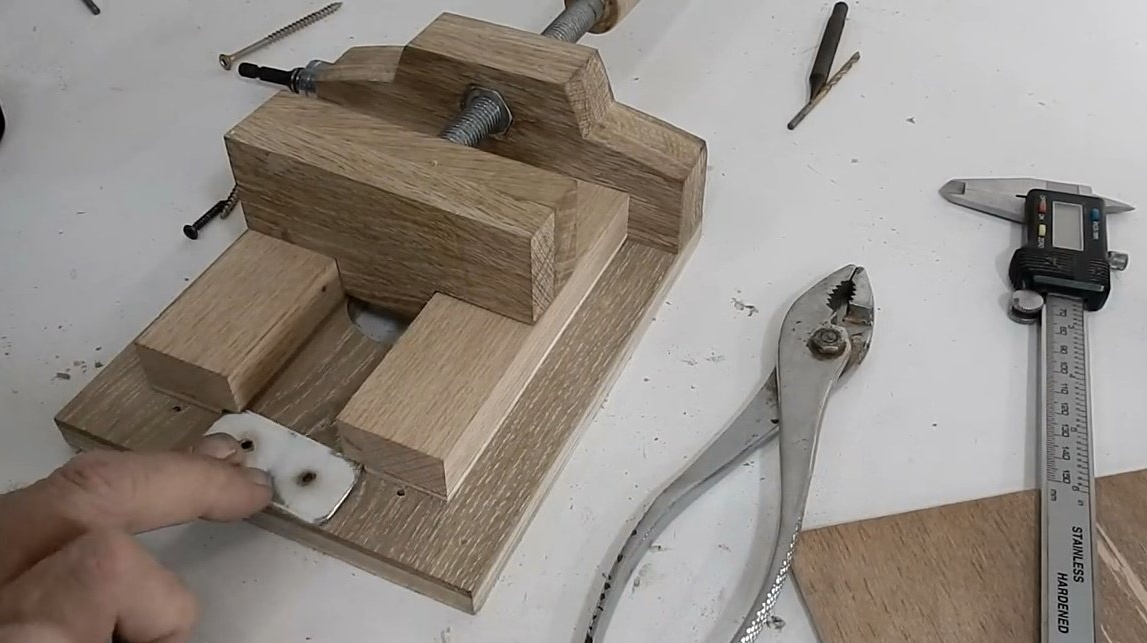
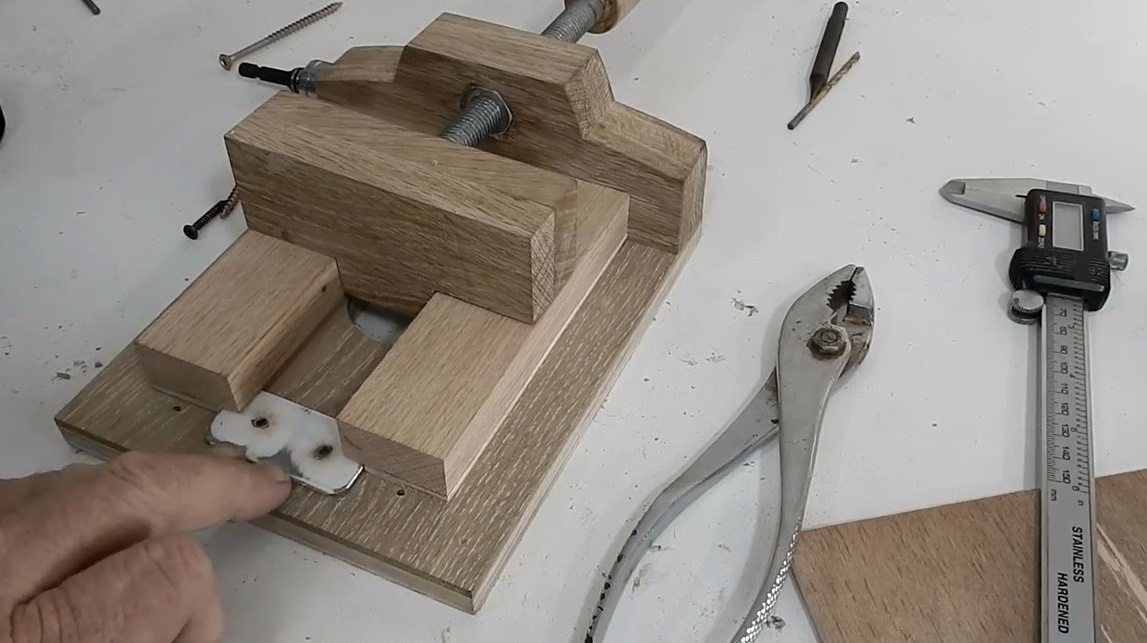
Everything turns over and the plate is screwed to the bottom of the movable jaw. It’s best to do it manually so as not to break the screws.
Now the last detail remains. It is necessary to connect the emphasis and the guides to each other. The master does this with long wood screws.
The vise is ready. The author called them a wooden mechanical vice. And there are two reasons for this.
The metal plate performs its function perfectly, protecting the movable sponge.
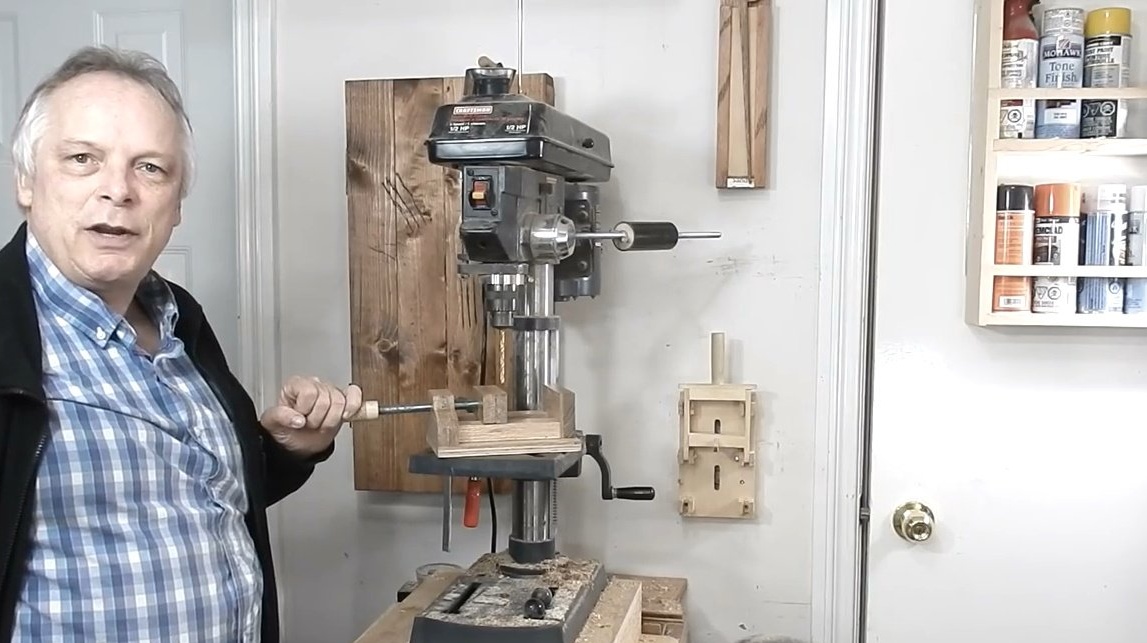
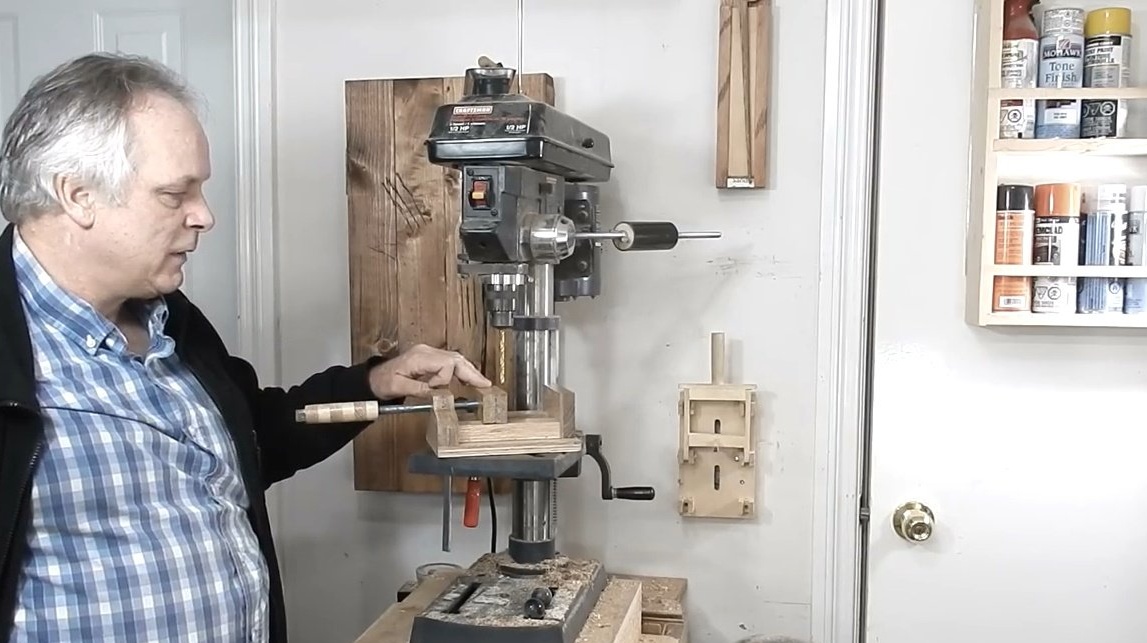
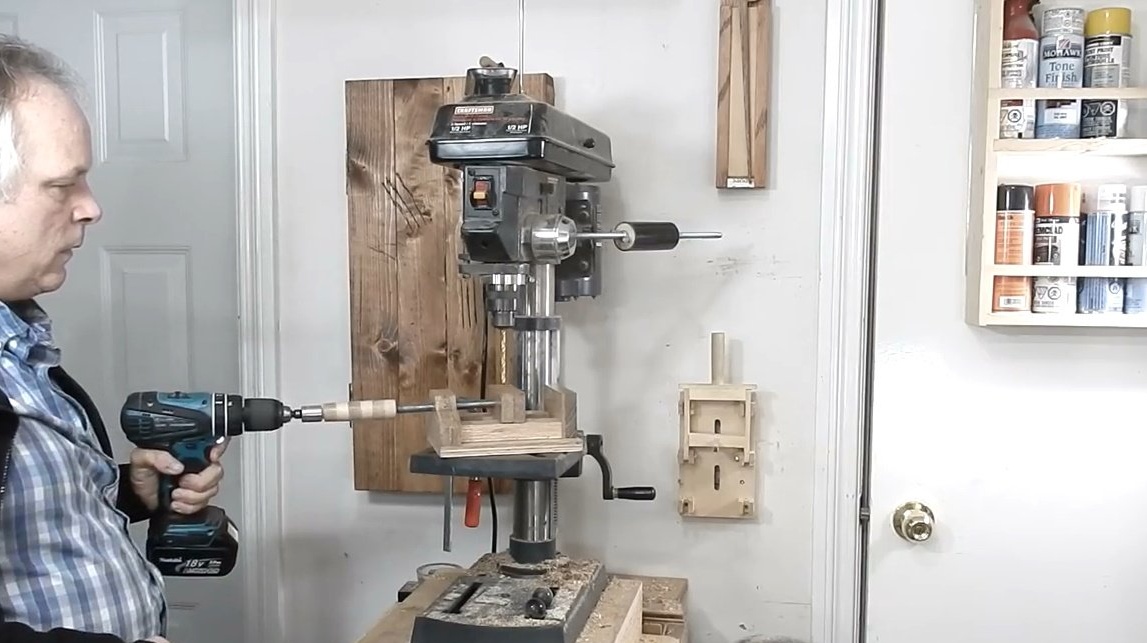
The vise handle fits perfectly into the socket head, so that you can screw and unscrew the lead screw using a screwdriver.

The vice is also perfect for a drill table.

Thanks to Jack for an interesting project!
All a good mood and cool ideas!