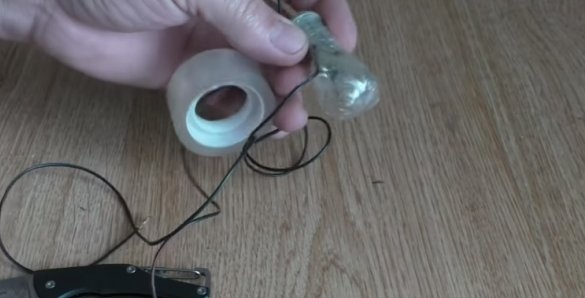
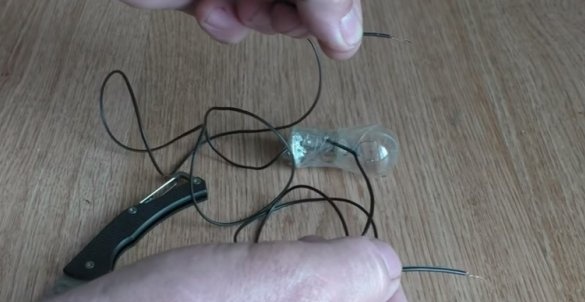
Malfunctioning car electrics is difficult to detect without the use of electrical testers. The simplest of them is a control light or, in other words, a control. If a breakdown occurred on the way and there are no special electrical measuring instruments in the travel set of car tools, then the simplest auto-control can be made from objects that any driver is always at hand with.
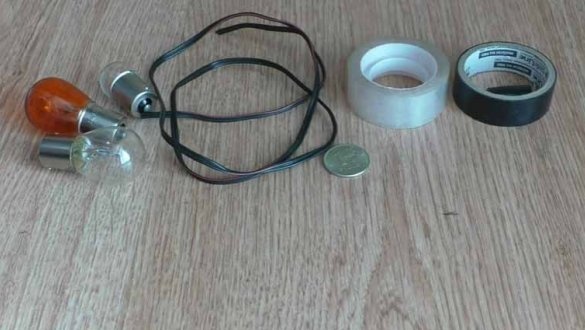
You will need:
1. Light bulb removed from the front turn signal or rear light.
2. A segment of a two-wire wire (you can borrow it from the car speaker wires).
3. Adhesive tape, electrical tape or adhesive patch from a first aid kit (whatever is found).
4. Coin.
The car indicator light from this set of items is made as follows:
Preparation of blanks for the manufacture of car controls
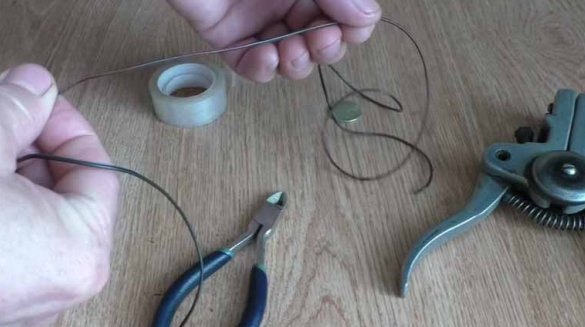
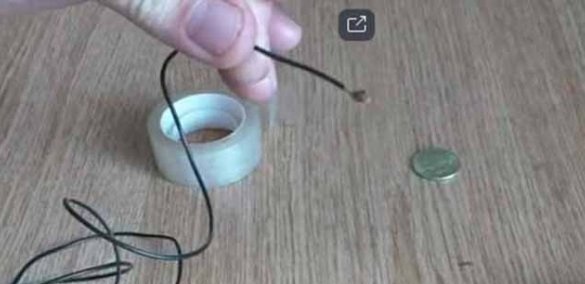
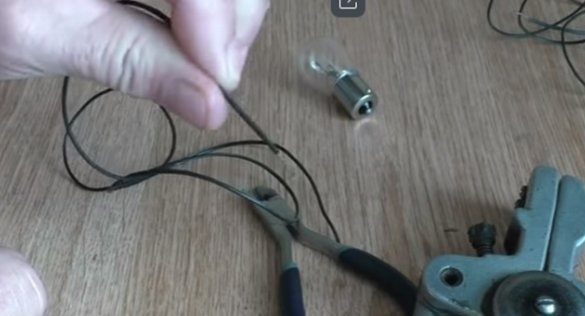
1. The cores of the wire are separated from each other.
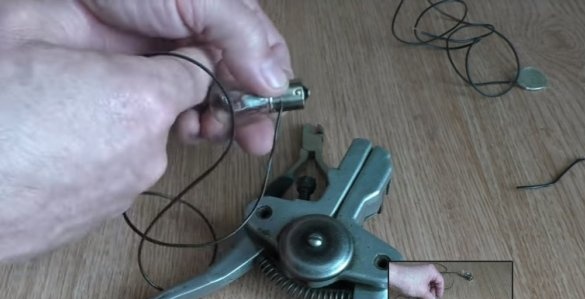
2. They clean the end of one of the cores from the insulation by about 1 cm and tightly twist its wiring to each other. This end will serve as the first contact probe of the future control.
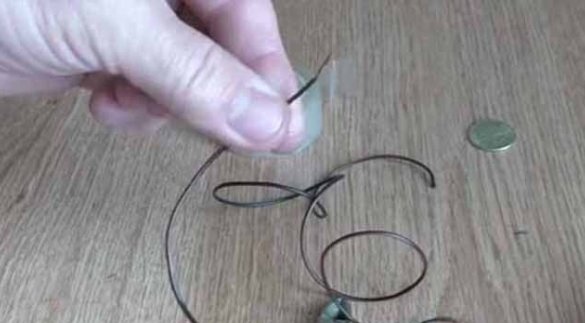
3. Remove insulation from the second end of the core 3-4 cm long, also twist its wires together, and then collect the twist into a “lump”.
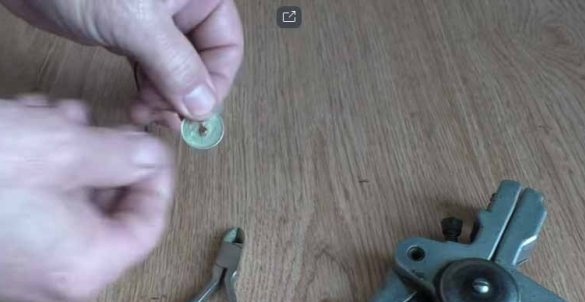
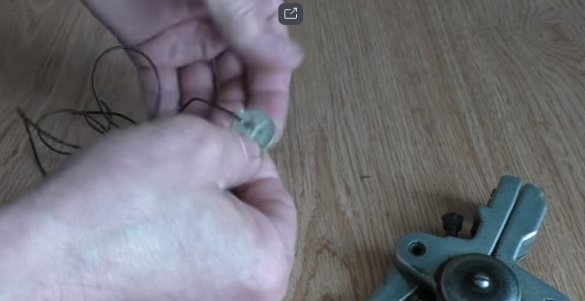
4. Attach, the end of the core, twisted "lump", to the coin, tightly wrapping them with several layers of adhesive tape. The result is a blank of one of the control wires.
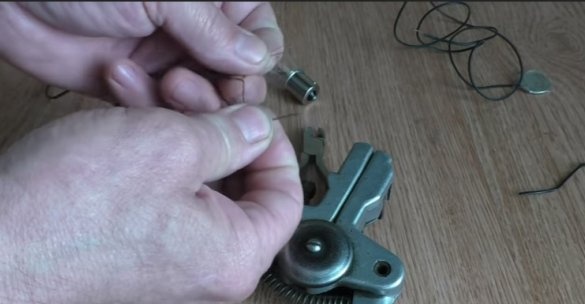
5. From one of the ends of the second core of the cut wire, they also remove insulation by approximately 1 cm, and make rigid straight twisting of its wires. This end will be the second control probe.
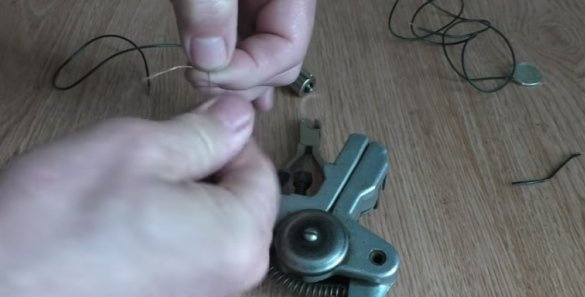
6. The other end of the core is also cleaned from insulation by 5-6 cm and its bare wires are divided into two equal parts,
each of which is twisted into “pigtails”.
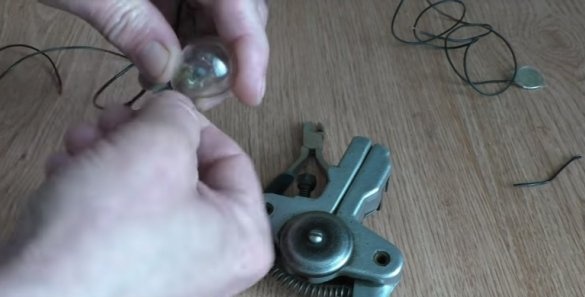
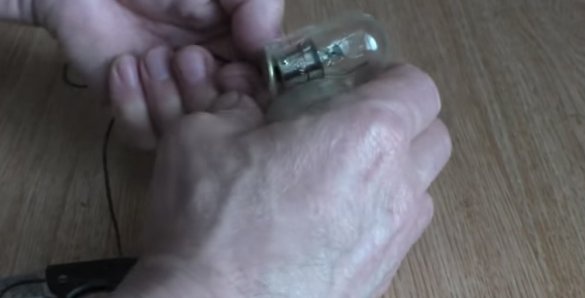
7. Having twisted the “pigtails” made between themselves by one or two turns, they are fixed on the lamp base. To do this, the base is covered with “pigtails” on both sides, and then their ends are twisted together.
It turns out the workpiece of the second control wire with a bulb attached to it.
Auto control assembly
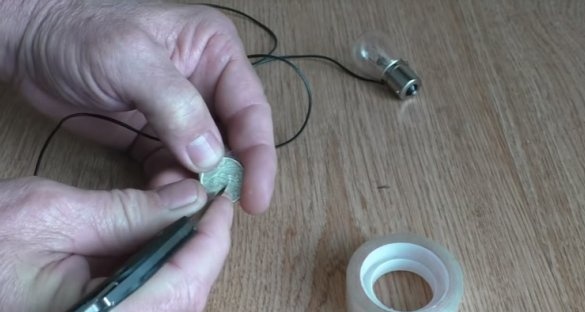
1. A small section in the center of the coin on the first blank is cleaned of tape with a knife tip or other sharp object.
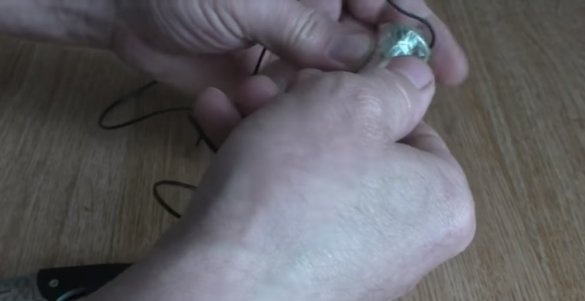
2. Apply the light bulb of the second blank to the cleaned area of the coin and attach the lamp to the coin with tape.
3. Fasten with tape the wire wrapped around the base of the bulb.
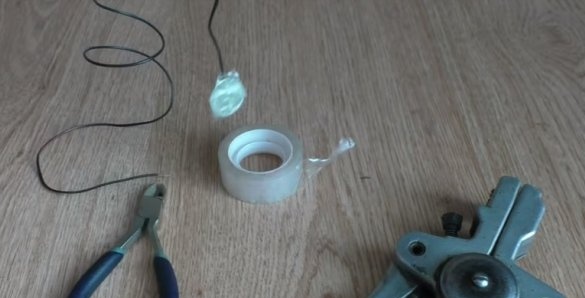
4. Fix all the parts of the assembled control tape with adhesive tape.
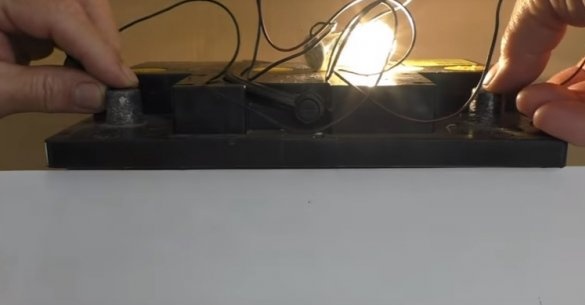
The result is a device with two probes and a light bulb, which can be used to test sections of the car’s electrical network. For example, check for voltage at the battery terminals.
It is only important to remember that various electronic blocks and devices of a car with such a device equipped with a filament cannot be checked. To do this, use a multimeter and an LED lamp.
A detailed video on how to make the simplest auto-control without leaving your car

