This material will be interesting to all craftsmen using clamps.
In this article, the author of the YouTube “Hands from the shoulders” channel will tell you about the manufacturing process of a quick clamp.
Materials
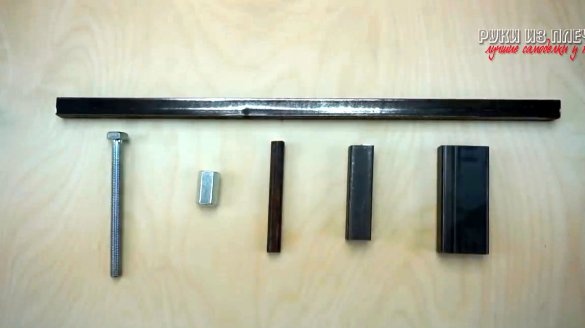
- Steel square 16X16 mm
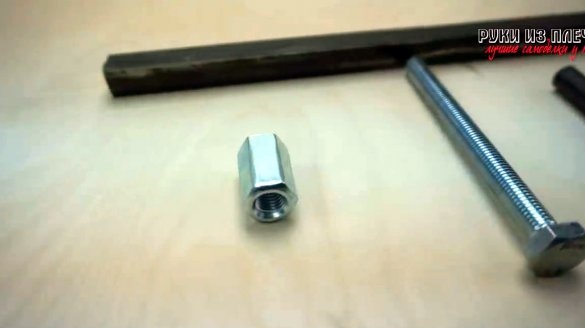
- The extended nut M10
- Steel bar with a diameter of 12 mm
- Long bolt M10
- Spring wire 1.5 mm
- Steel wire 2 mm
- Trimming boards
- A pair of enlarged washers M12
- M10 wing nut
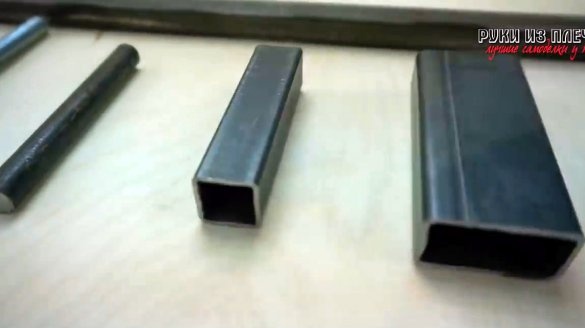
- Steel profile pipe 20X40 mm and 20X20 mm.
Instruments, used by the author.
- Welding machine
- Drilling machine
- Bulgarian
- Screwdriver
- screwdriver
- Cutting and flap scraping discs
- Vise
- Side cutters
- Bor-machine
- vernier caliper
- Square, tape measure, pencil.
Manufacturing process.
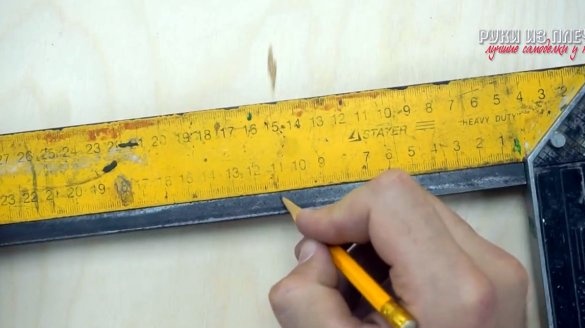
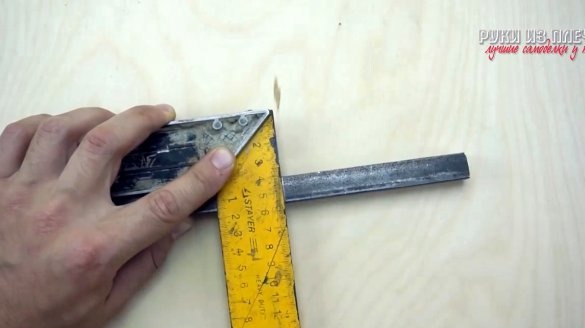
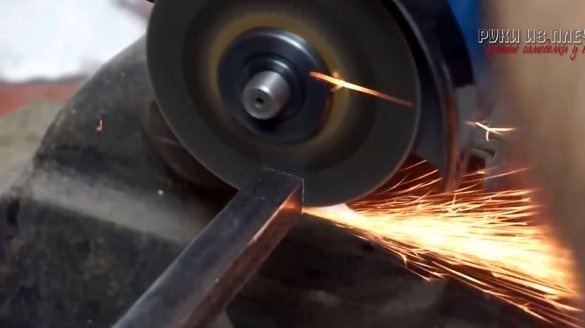
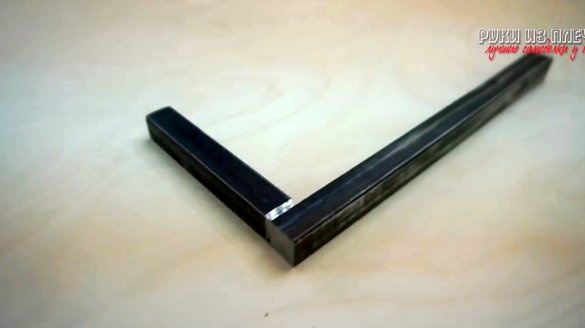
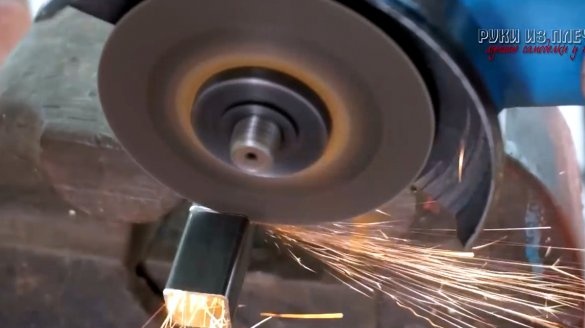
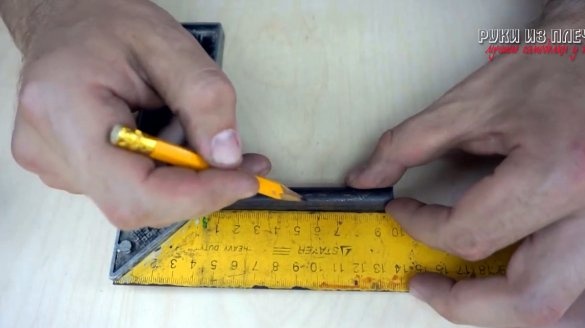
First of all, the author cuts a piece 110 mm long from a 16X16 steel square. You can use a profile pipe of similar sizes.
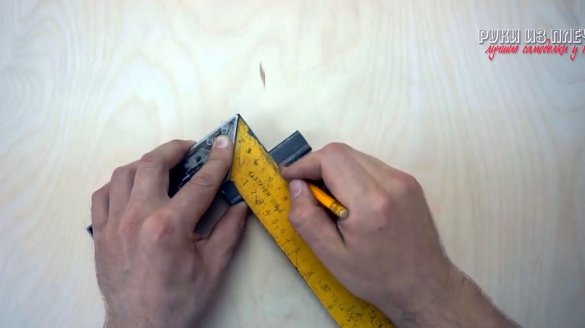
And in height, the author decided to make a clamp 230 mm.
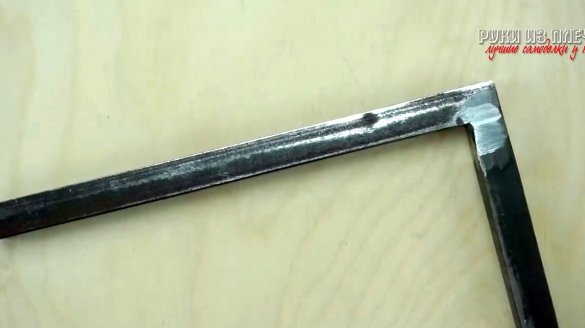
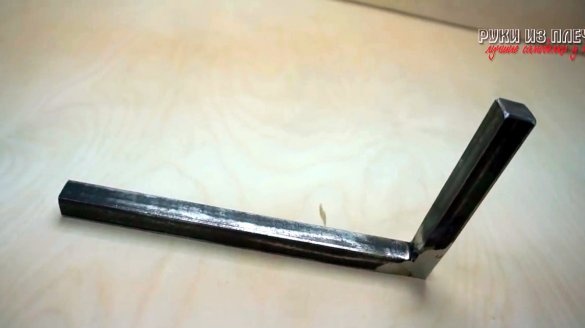
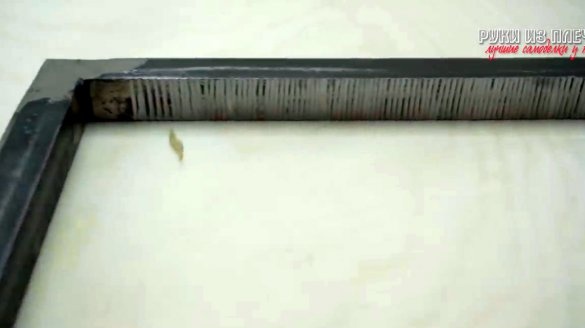
Cut pieces are welded together at an angle of 90 degrees, then the seams are cleaned.
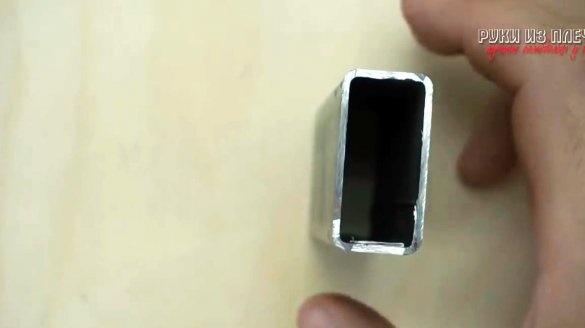
Then, a piece 30 mm long is cut from a profile pipe 20X20.
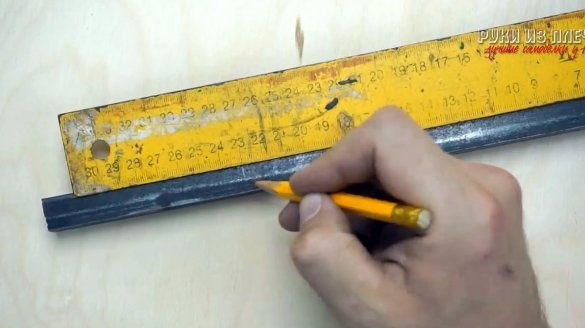
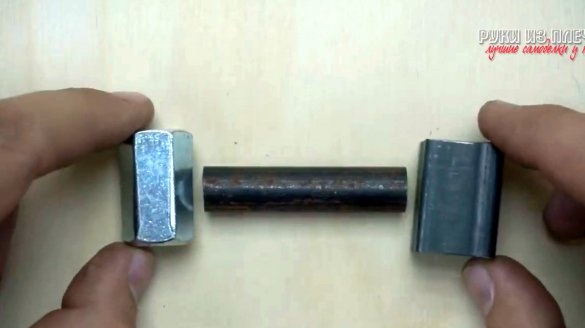
And from a steel bar - a piece 55 mm long.
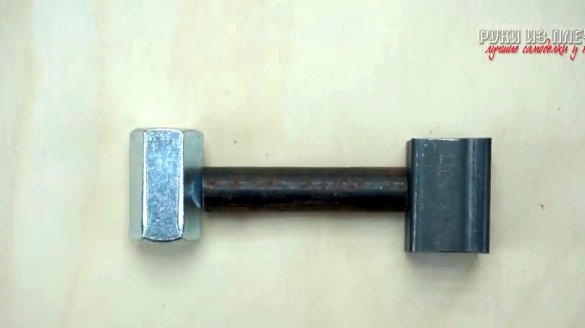
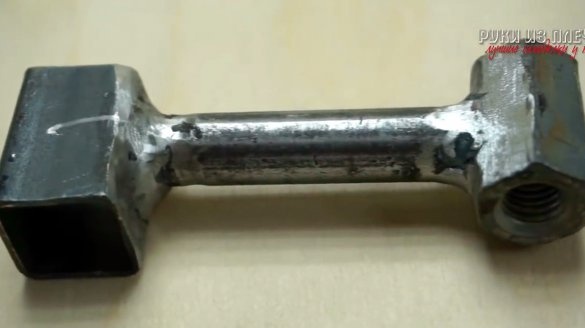
Then the author welds the blanks and the elongated nut M10 between themselves. Seams cleans.
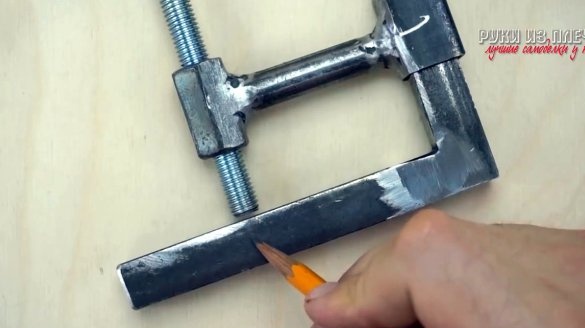
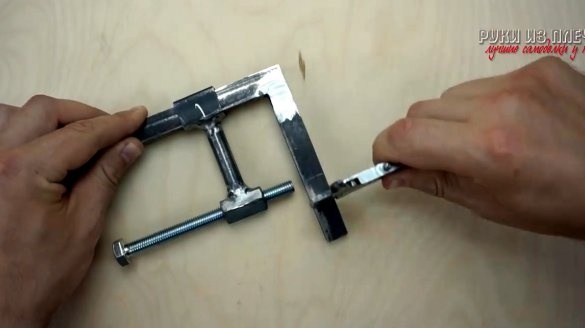
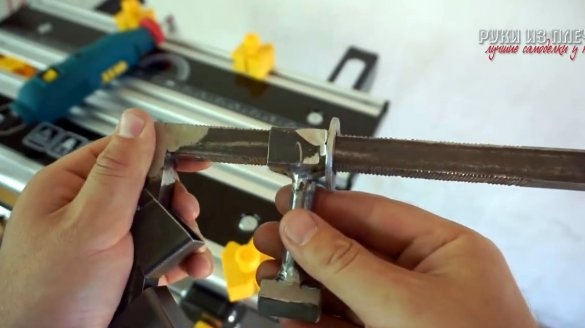
Now you can try on the obtained elements of the clamp.
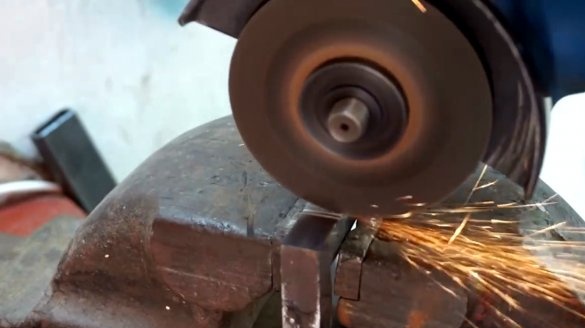
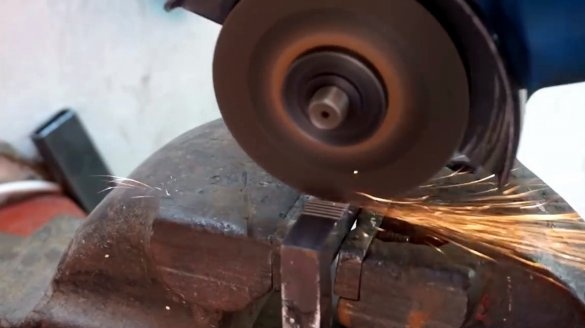
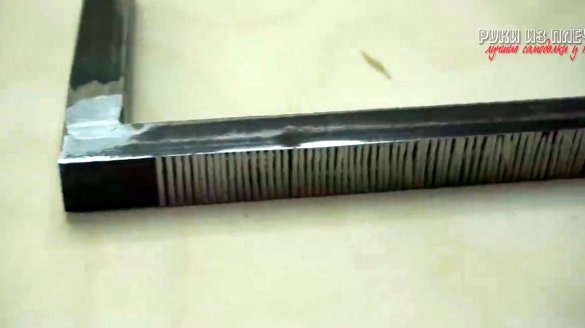
To improve adhesion, the author makes a notch on the L-shaped workpiece from both sides.
It turns out here is such a detail.
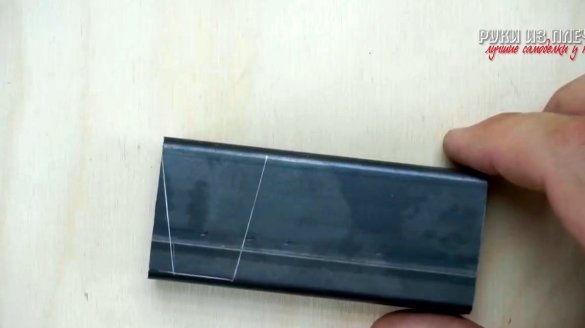
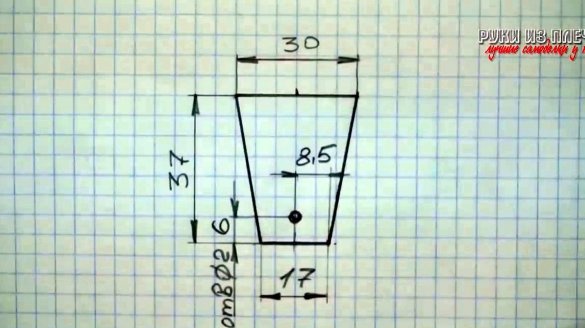
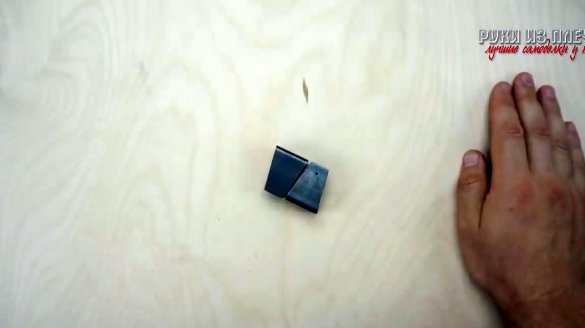
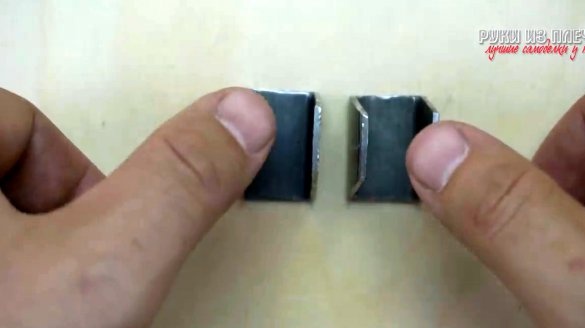
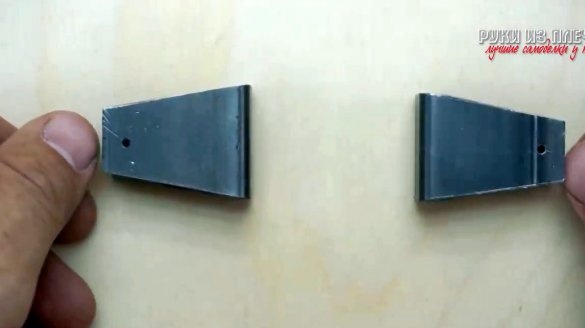
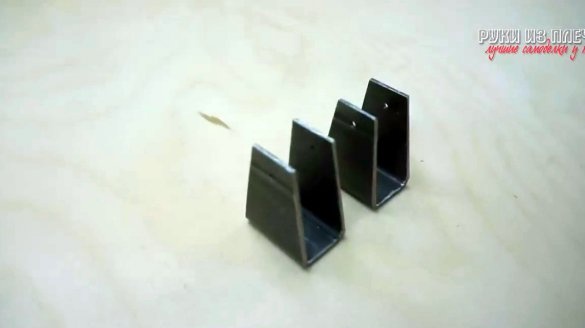
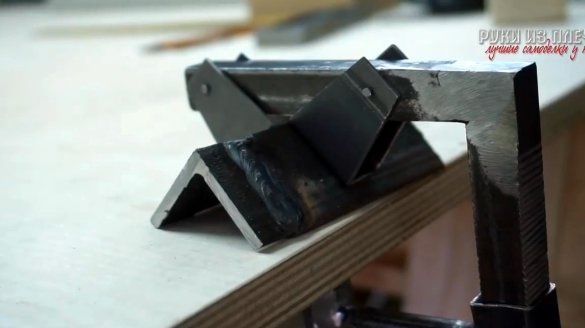
Now it's time to make sponges. The author marked the part on a profile pipe 20X40 mm. Also attached is a drawing.
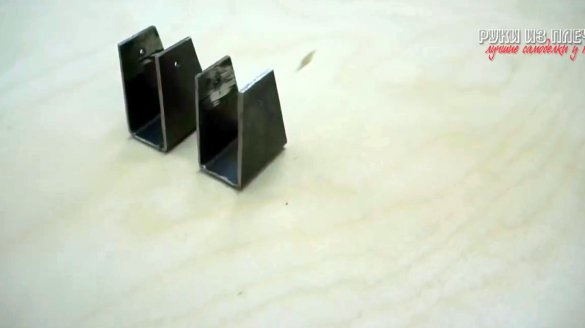
Cutting out according to the marking and drilling the holes, two sponge blanks are obtained.
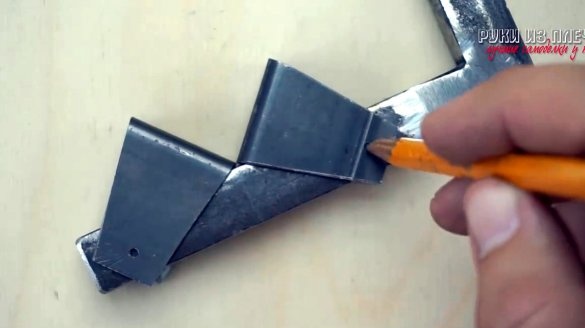
Further, installing the M10 bolt in its place, the author marks the center, and 6 mm from the edge.
Then combines the centers of the holes in the sponges with the line, and marks.
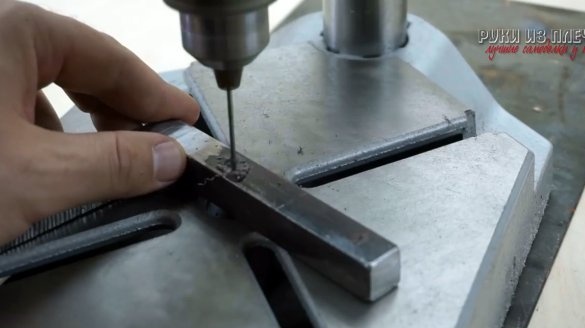
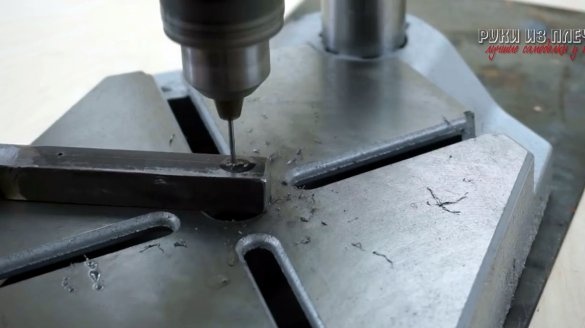
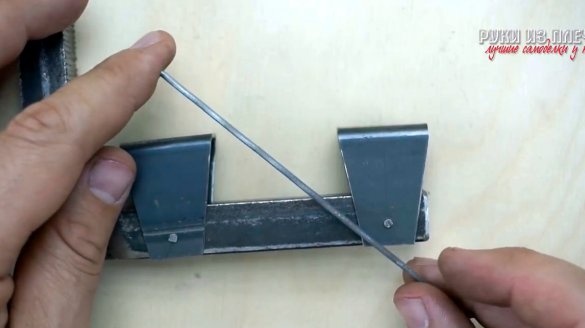
Then he drills a pair of holes with a diameter of 2 mm.
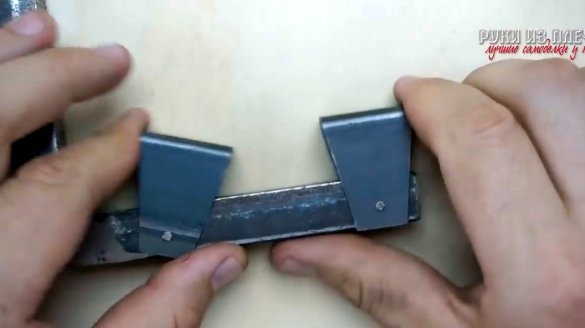
Rivets for sponges are made of wire with a diameter of 2 mm.
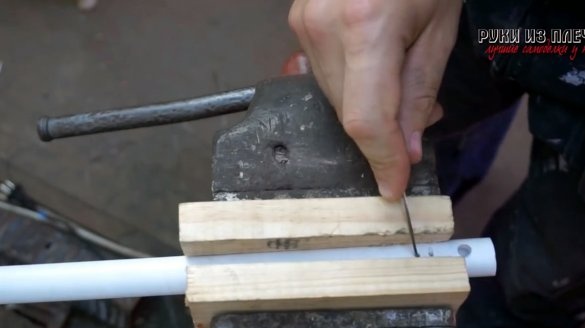
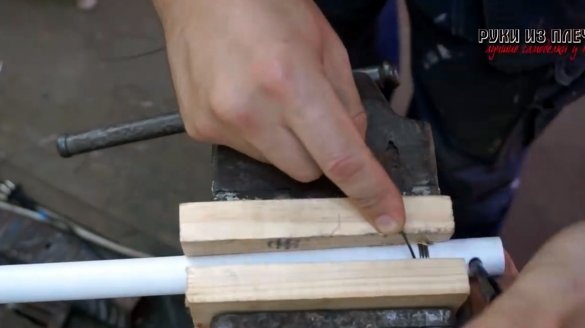
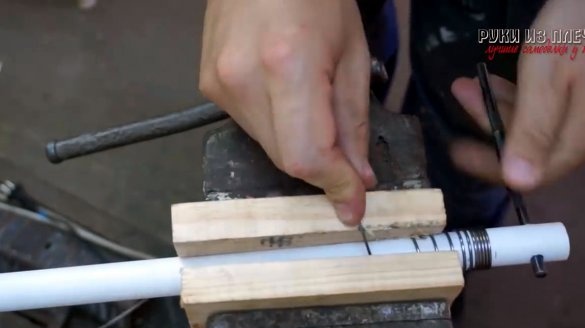
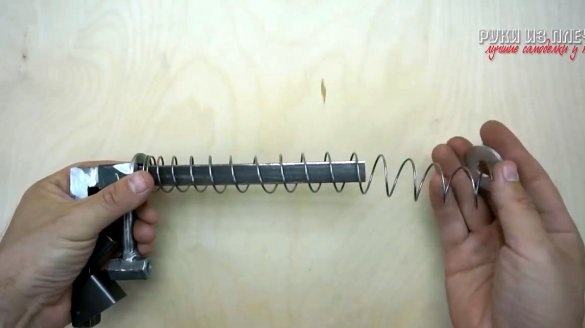
It was not possible to find a ready-made spring; I had to make it myself from a 1.5mm spring wire.
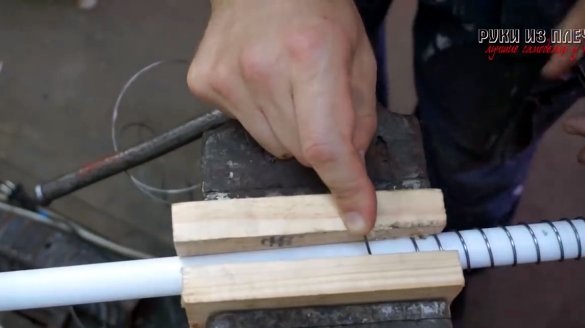
Using the pipe and two planks, the author made a winding.
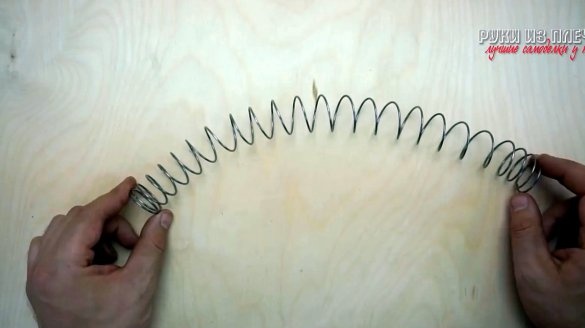
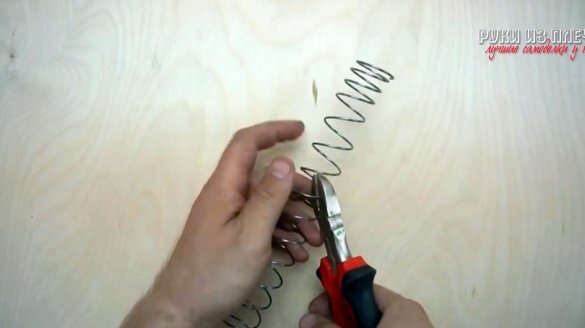
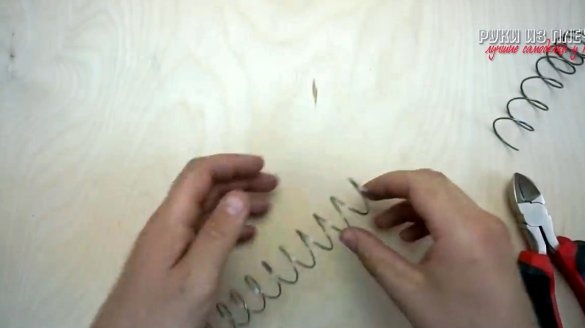
As a result, we got such a spring. But, trying it on, it turned out that it was a little longer, and I had to cut it.
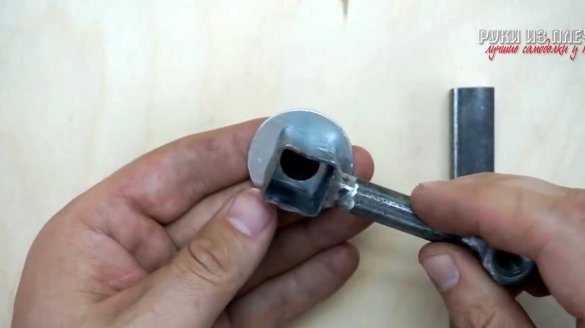
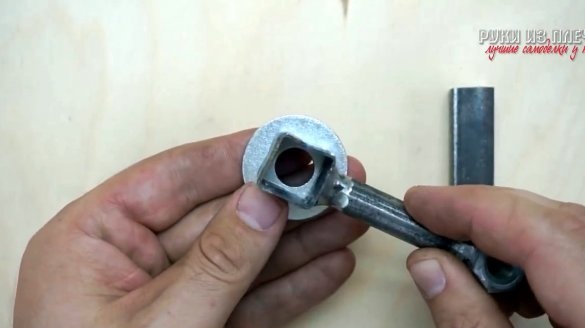
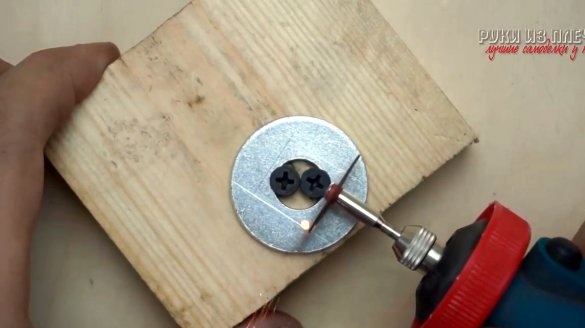
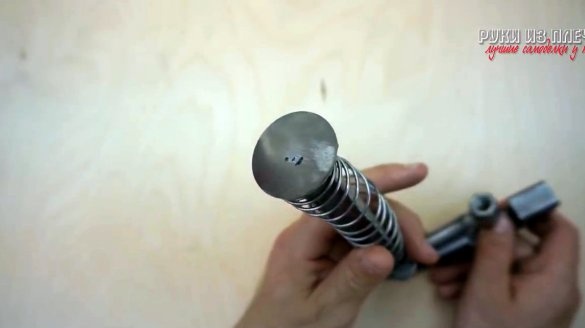
The author makes an emphasis for a spring from the 12th increased washer.
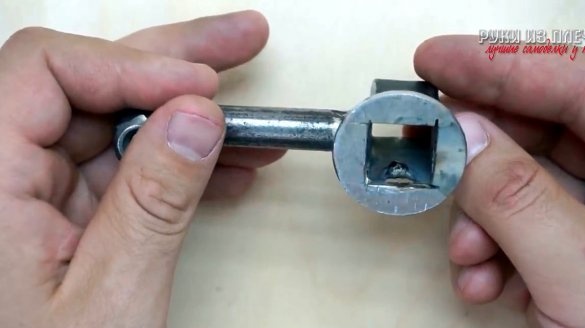
To do this, he cuts a square hole in the washer and welds to the workpiece. Due to too much welding current, the author burned the square a bit.
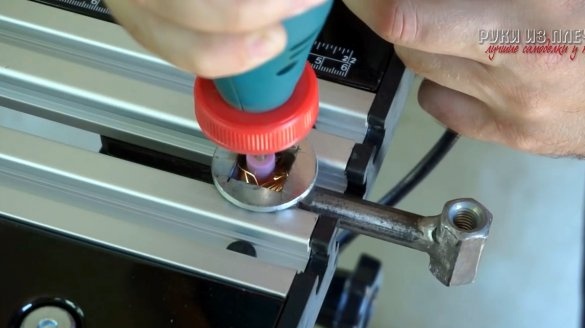
To remove the defect from the part, the author fixes it in the workbench and grinds down the influx.
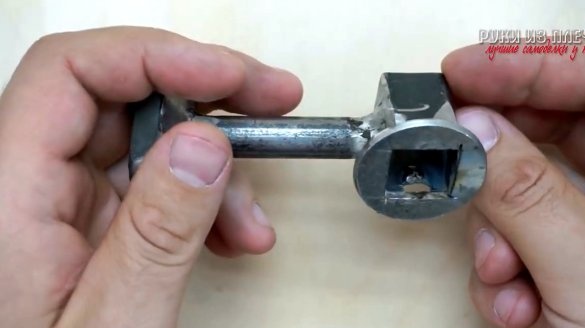
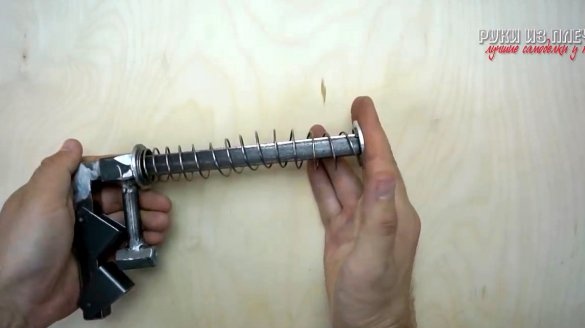
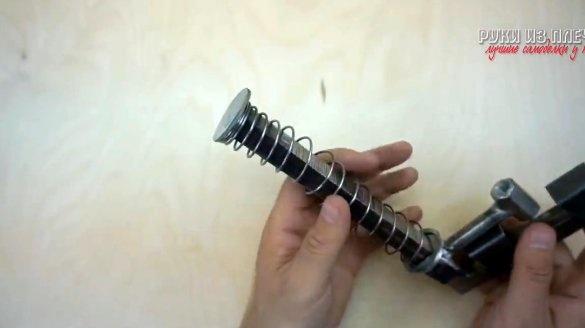
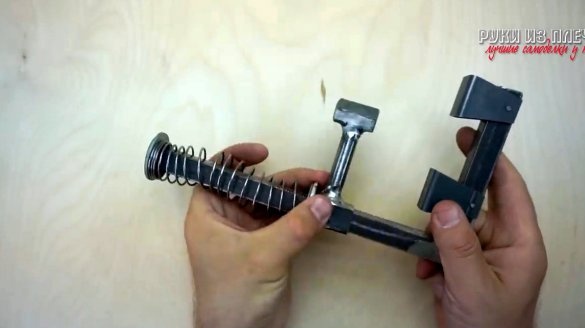
Almost everything is ready, you can collect the clamp.
Now put on the spring and try on the washer.
Welds the washer and cleans the seams.
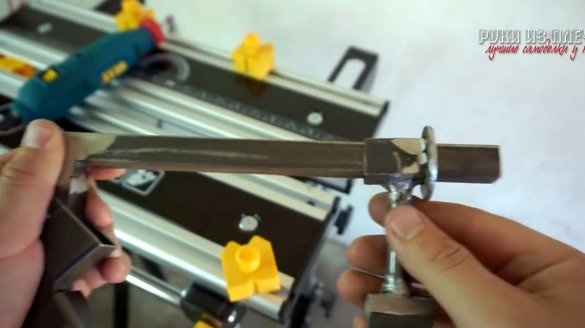
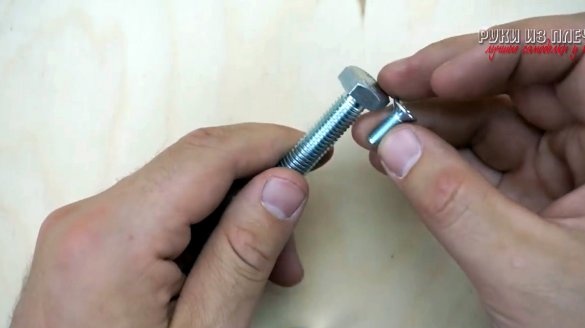
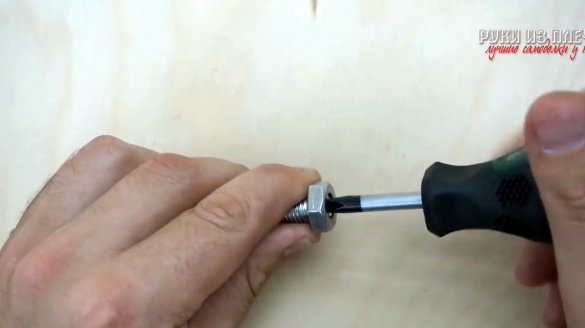
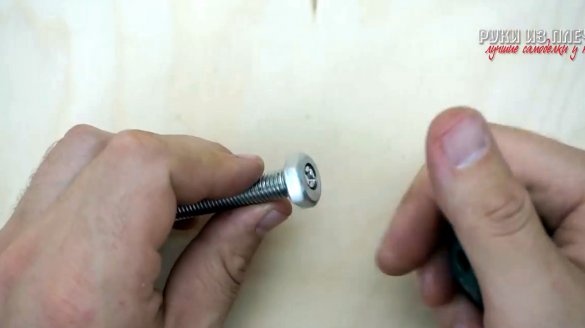
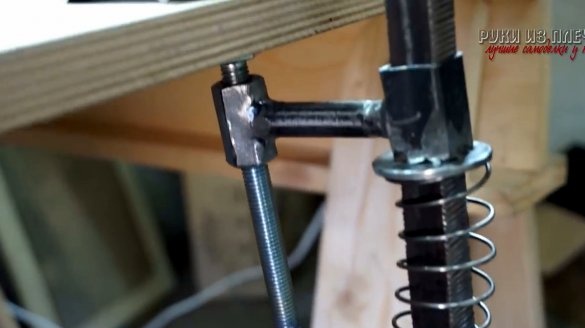
The head of the clamping bolt must be made movable by fastening it to the bolt. He cuts off the head of the bolt and drills a hole in the base.
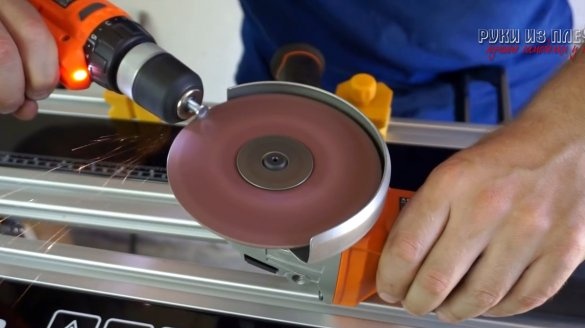
The author grinds the cap of the bolt a little, holding it in a screwdriver and processing it on the grinding wheel.
Then collects the clamping bolt.
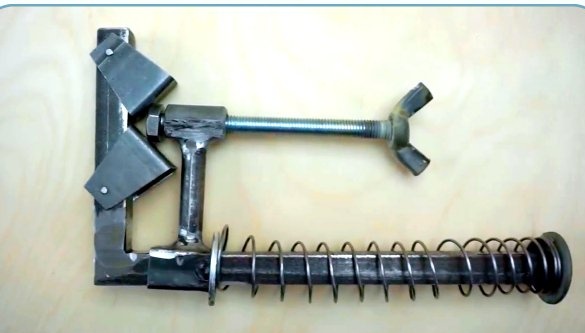
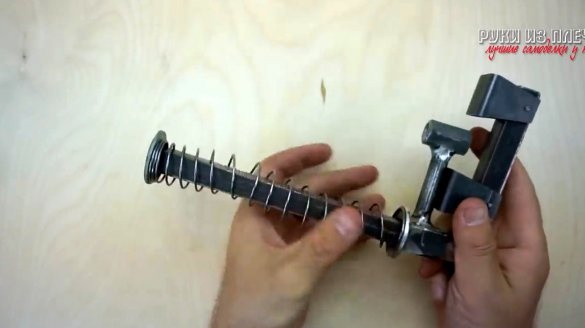
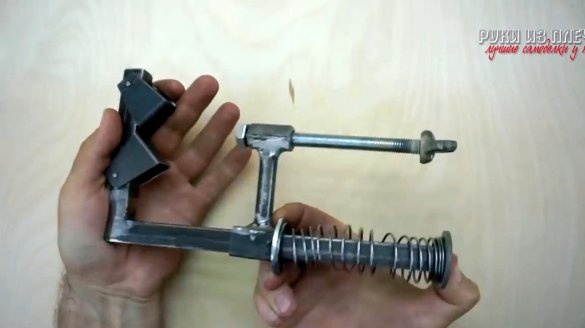
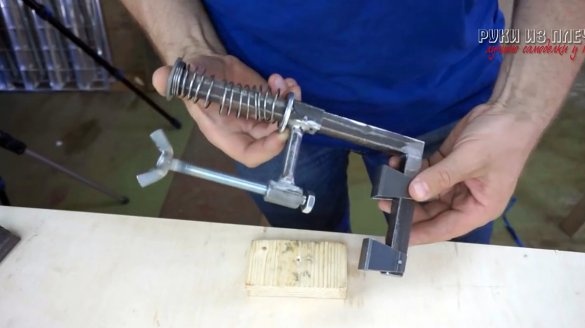
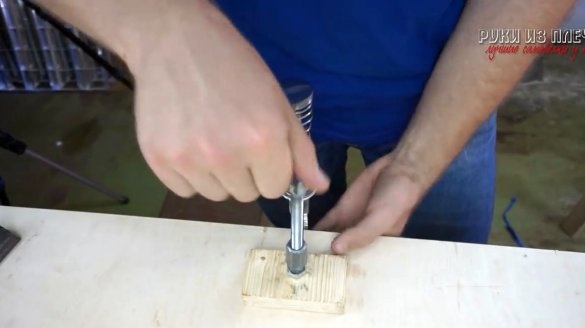
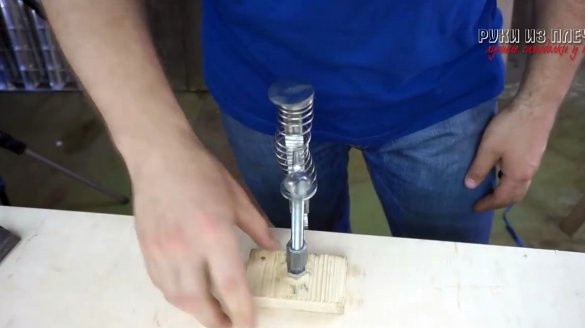
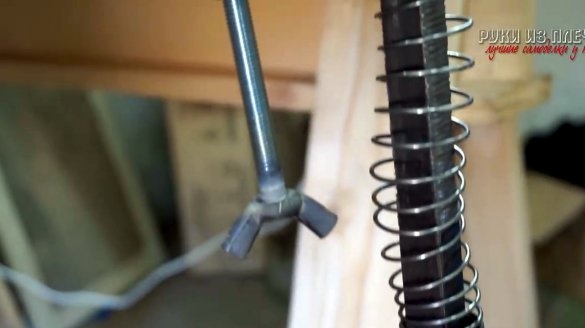
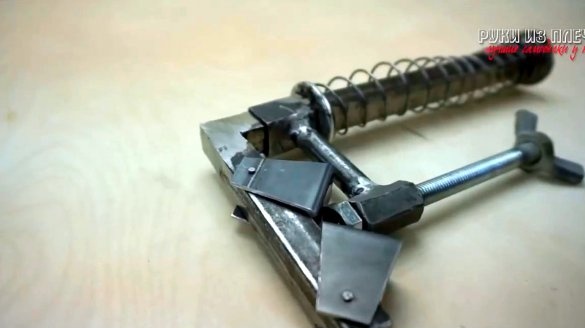
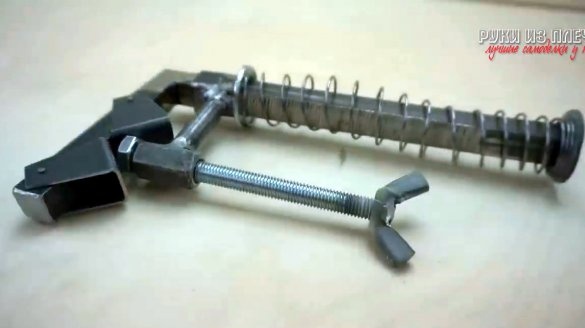
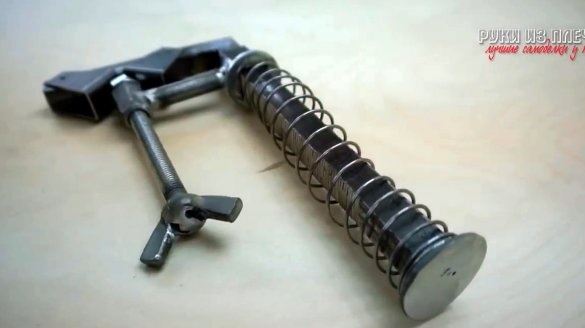
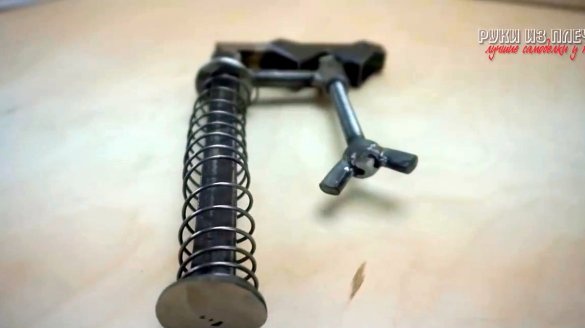
Welding the wing nut on the other side of the bolt results in a finished clamp with a spring-loaded clamp.
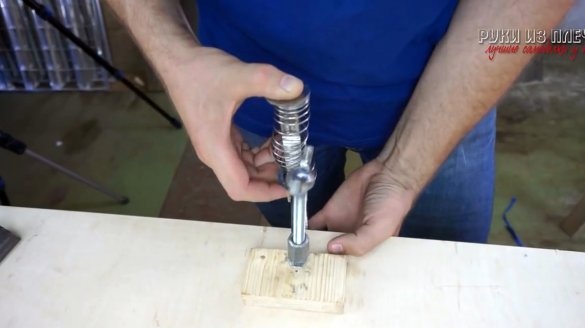
It is enough to release the clamping bolt and hold on the lamb.
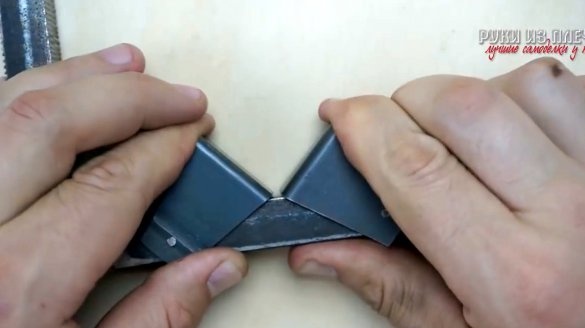
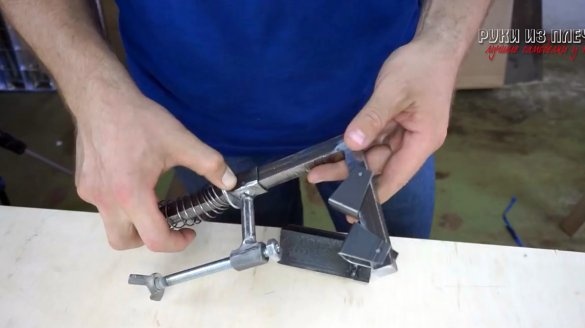
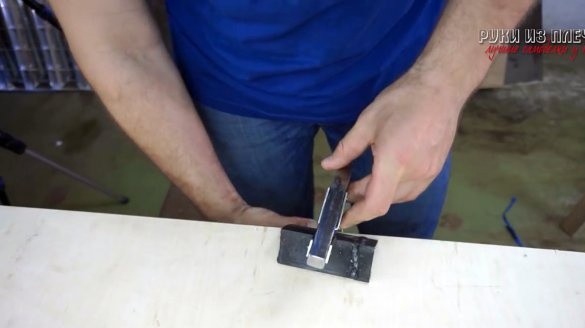
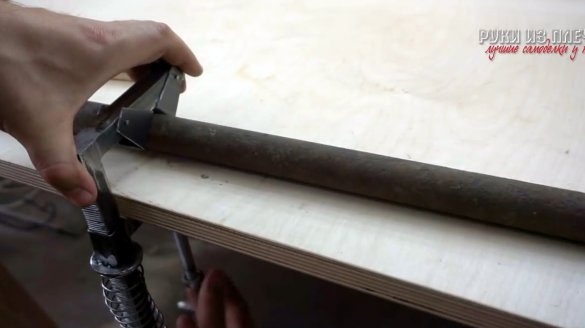
The presence of movable jaws allows you to fix the corners and pipes to the surface of the table.
Here is such a clamp turned out by the author.
Thanks to the author for a detailed workshop on creating a convenient clamp.
Good luck to everyone and good mood!

