
Good day to all my dear friends. In today's article, I would like to share a very interesting idea with you homemade do it yourself. I think almost everyone has heard about tabletop microscopes, good microscope models cost a lot of money, and those that are cheap in terms of performance are very, very bad, but still expensive. But the homemade work that we will consider today can solve this problem, because for its manufacture only relatively accessible materials will be needed that can roll around without work, or you can buy them for a penny.
In general, today we will consider how to make a very simple bench-top microscope with your own hands. It is also noteworthy that in the manufacture of this microscope, additional lenses and the like are not needed. Well, enough of the long preface, we drove.
To make a tabletop microscope you will need:
-corrugated cardboard
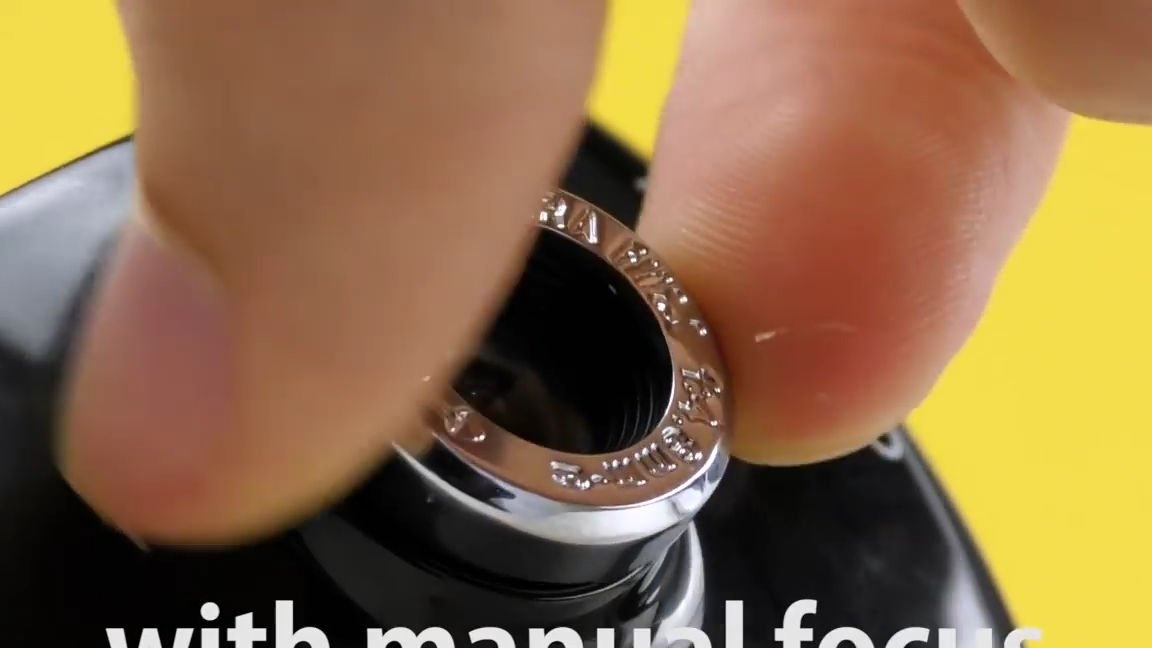
-web camera for the computer (it is important that it has a function for adjusting focus by turning the lens)
- large metal nut and bolt
- LED flashlight, flat type
From the tools you will also need:
-stationery knife
-scissors
line
-pencil
hotmelt
-Super glue
also a laptop or computer for displaying images from a web camera
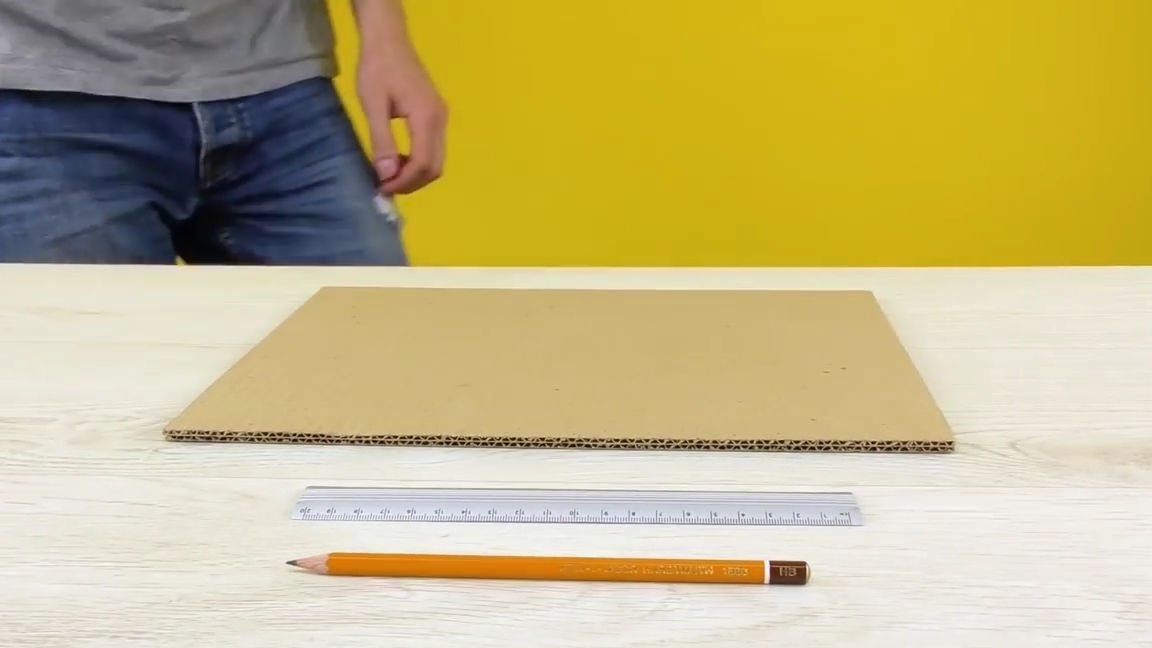
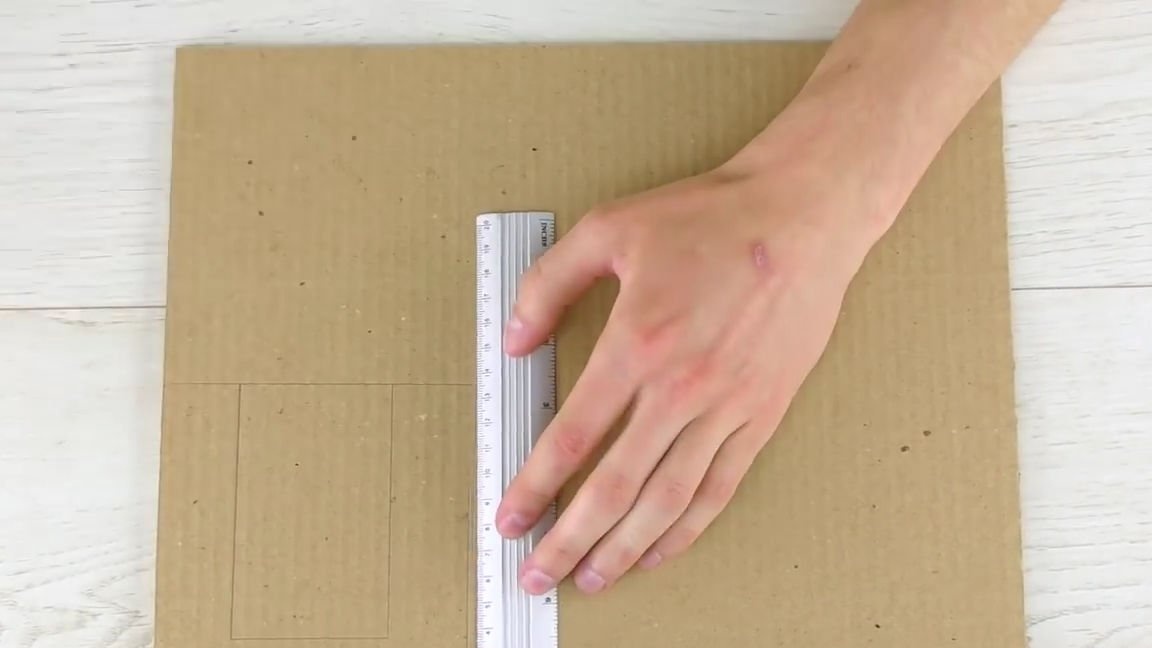
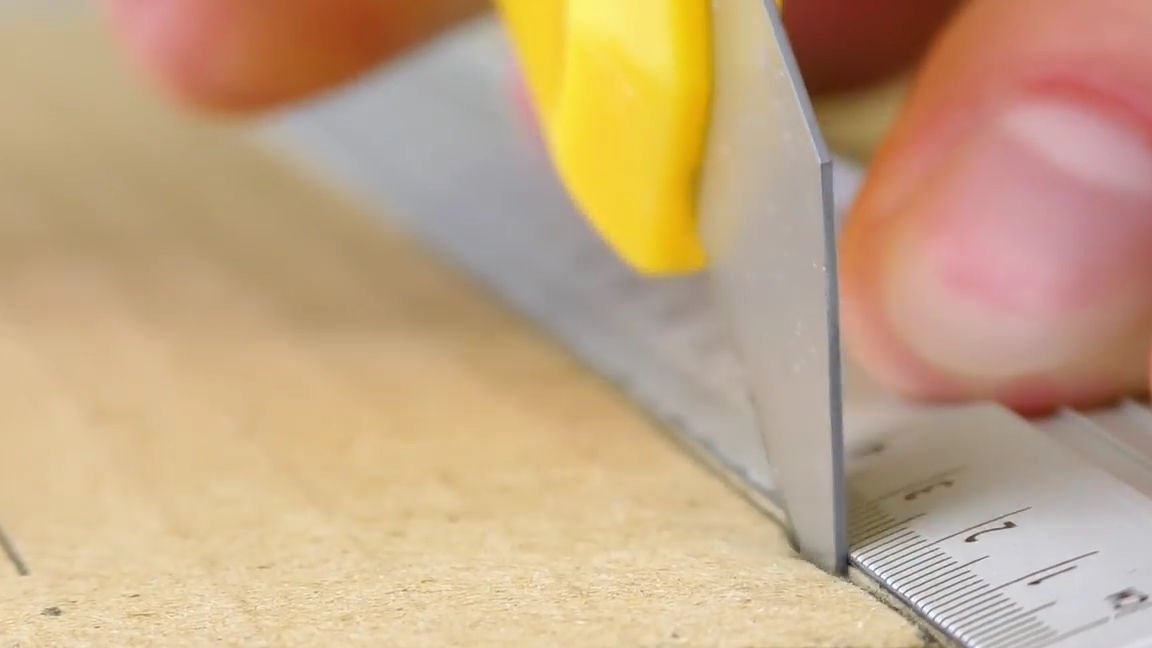
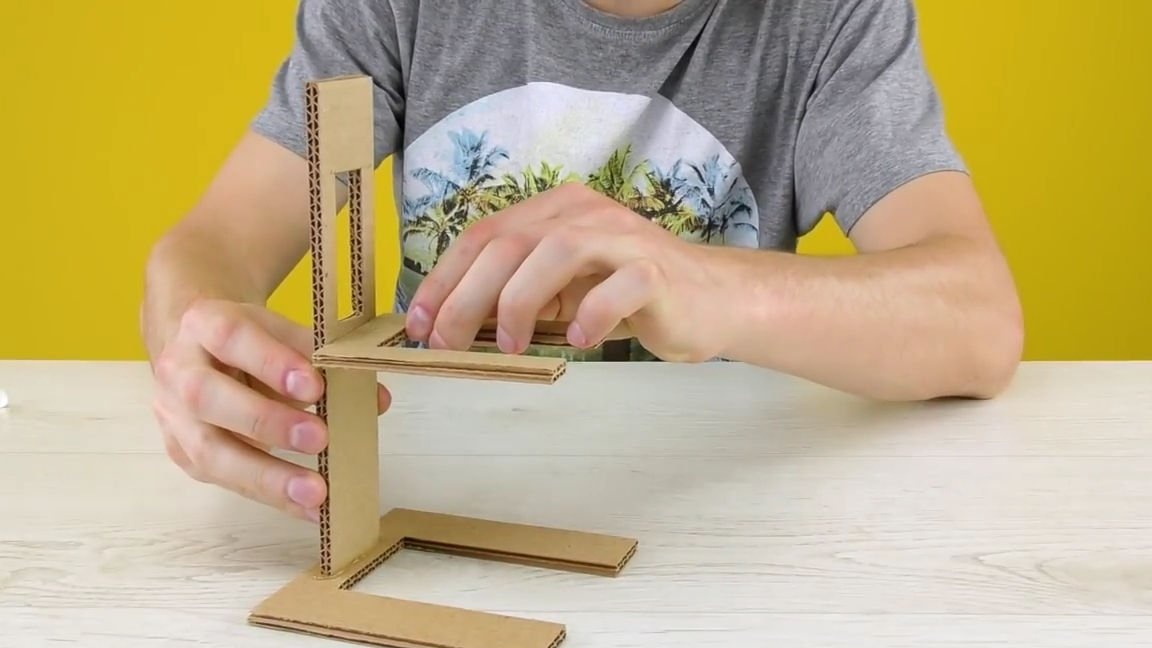
And so, first of all, you need to take a sheet of corrugated cardboard, a ruler and a pencil. Then you need to use them to draw a part that looks like a frame. After that, we cut it out with the help of a clerical knife.
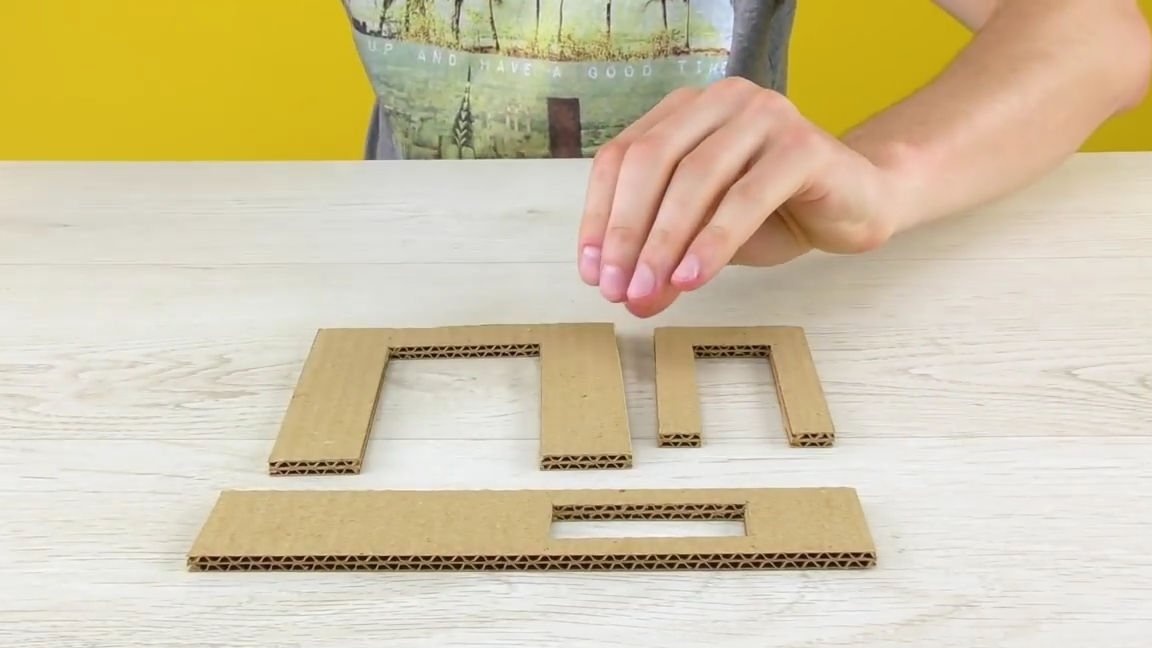
Then we draw and cut another arch again, but now for less, as well as a small cardboard piece. Everything should turn out as shown in the photo below:

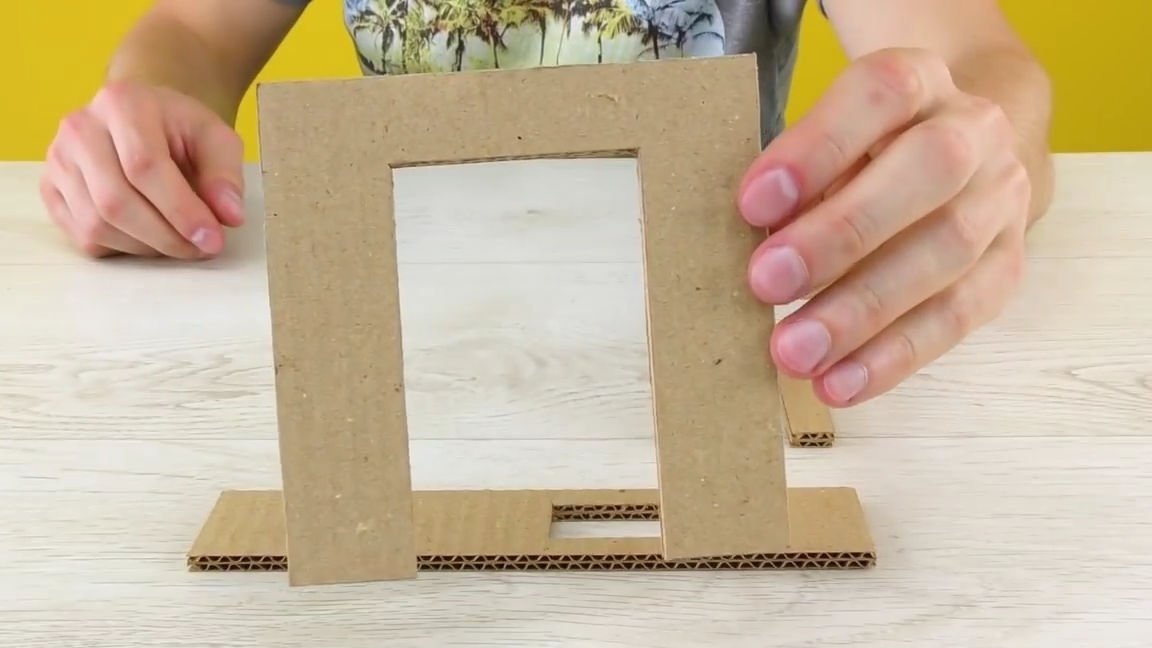
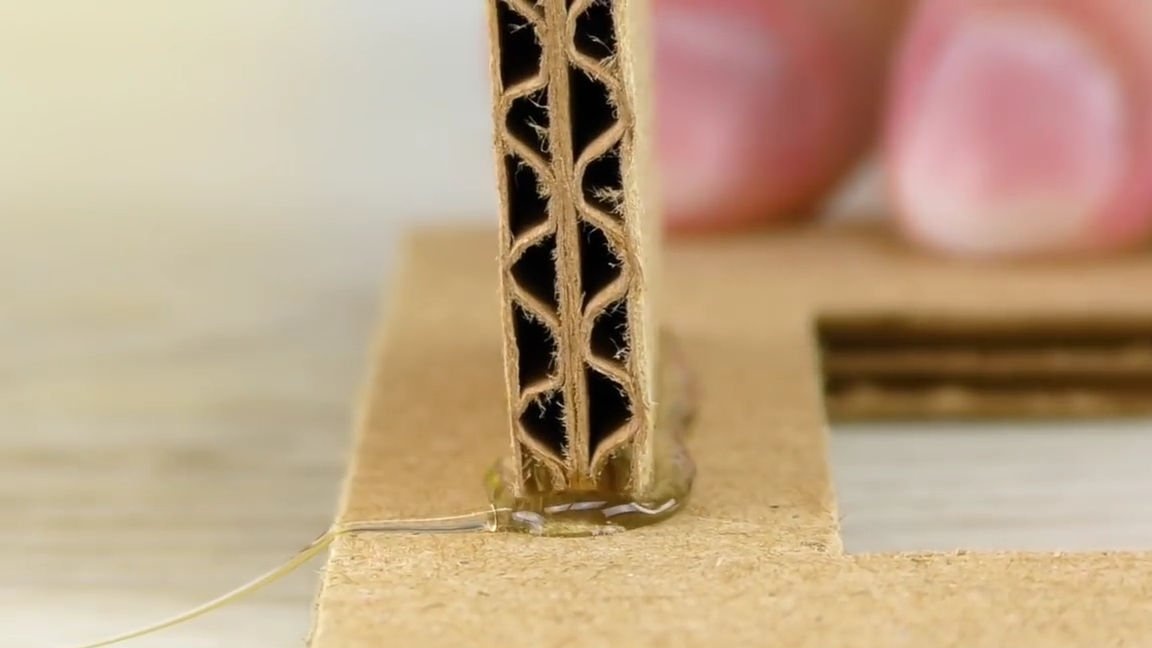
We take hot-melt glue, heat it, apply it on cardboard parts and glue it into a single structure. Here you also need to do everything, as in the photo below:

Now you need to take the most ordinary webcam with a rotating lens. I think it’s not worth explaining that for this homemade product it is best to take a cheaper web camera, but if you are going to make a high-quality microscope, then use the camera according to your finances. By the way, an average webcam can be found on the famous AliExpress website, literally for 500-700 rubles, there are even options for 250-300 rubles, but their quality will be on par with the quality of the camera on a cheap drone, and maybe worse.
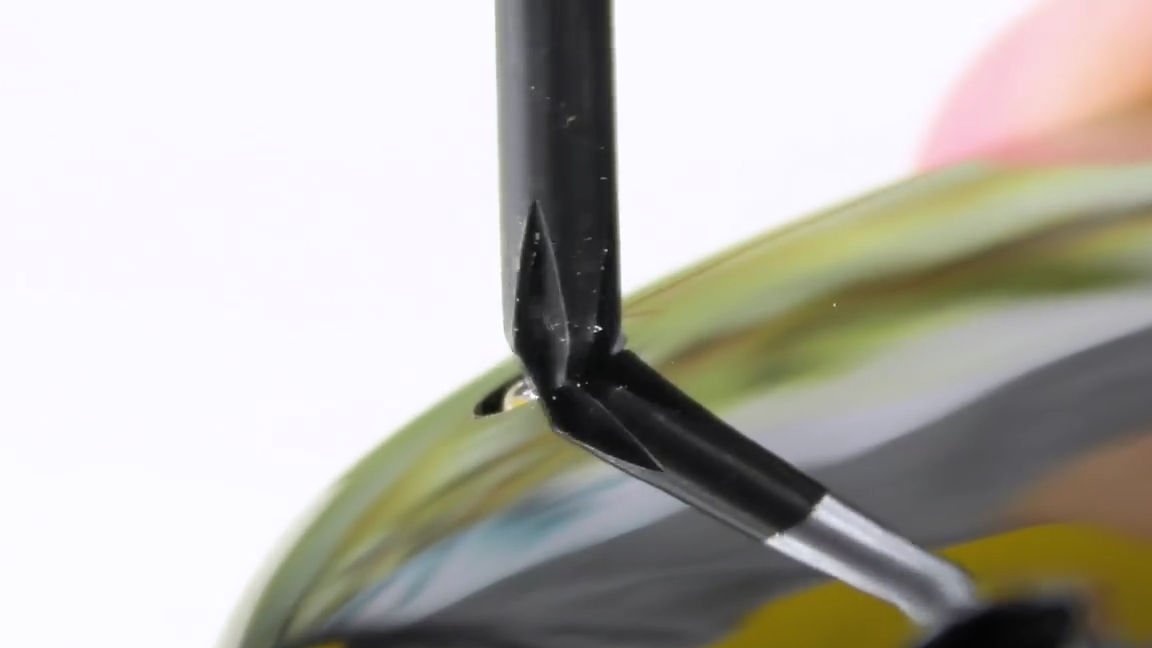
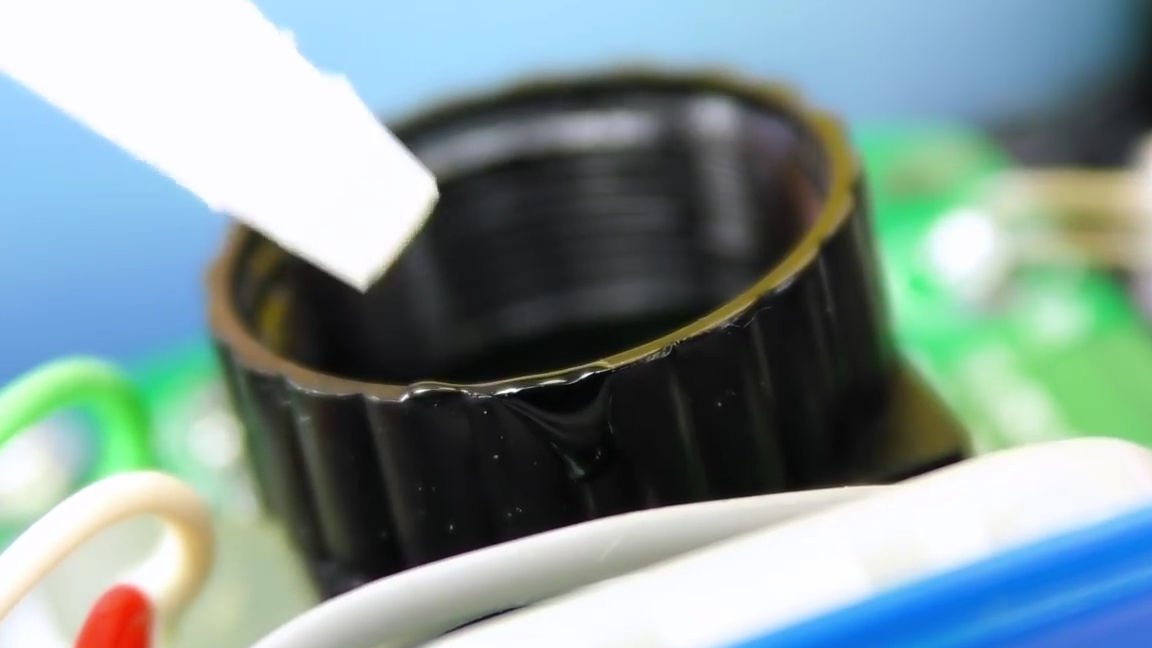
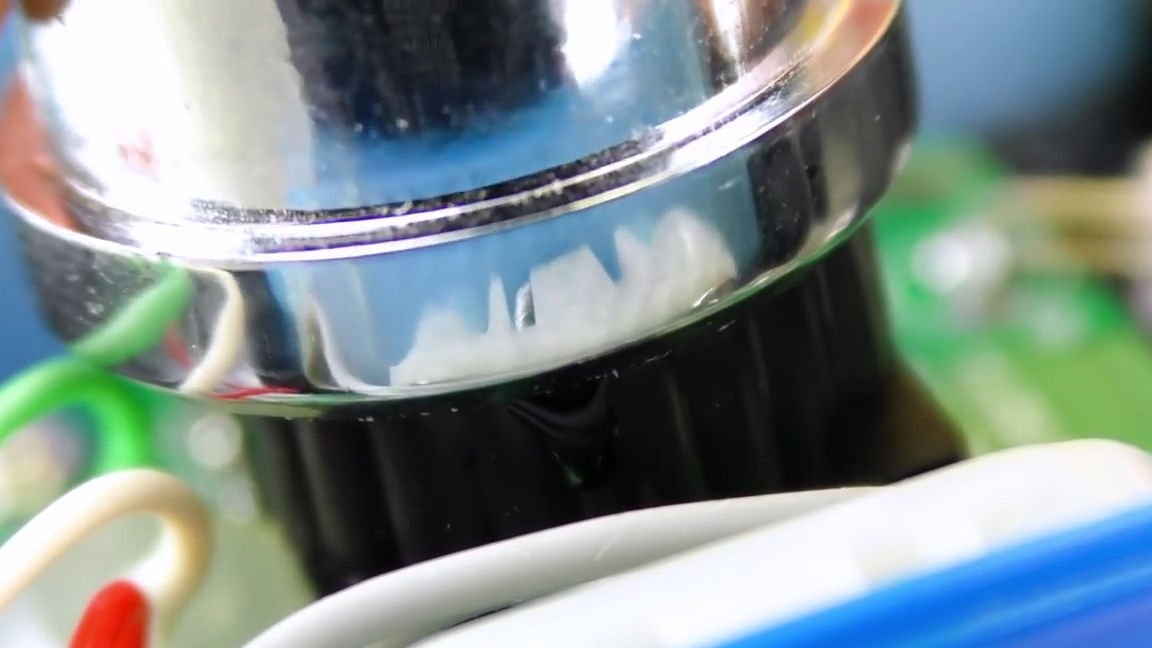
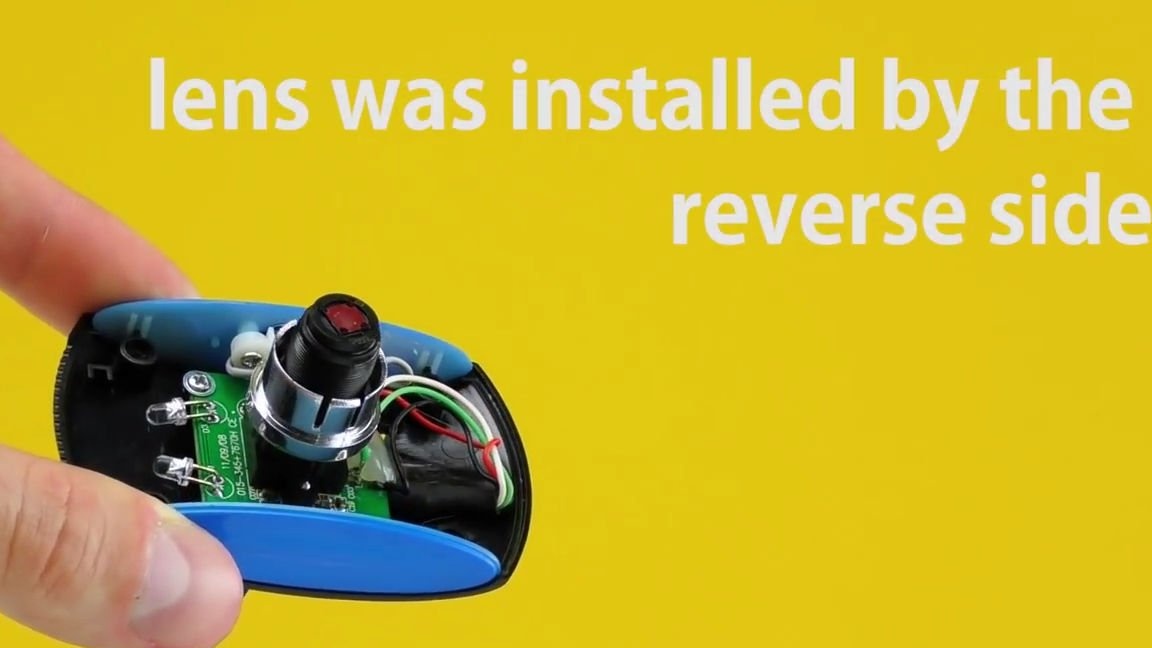
For starters, we test the webcam for performance. Then we disassemble using a conventional screwdriver and remove the lens.We apply a little super glue on the lens mount to the entire diameter and glue the lens back, but on the other side, that is, the one that was first equipped.

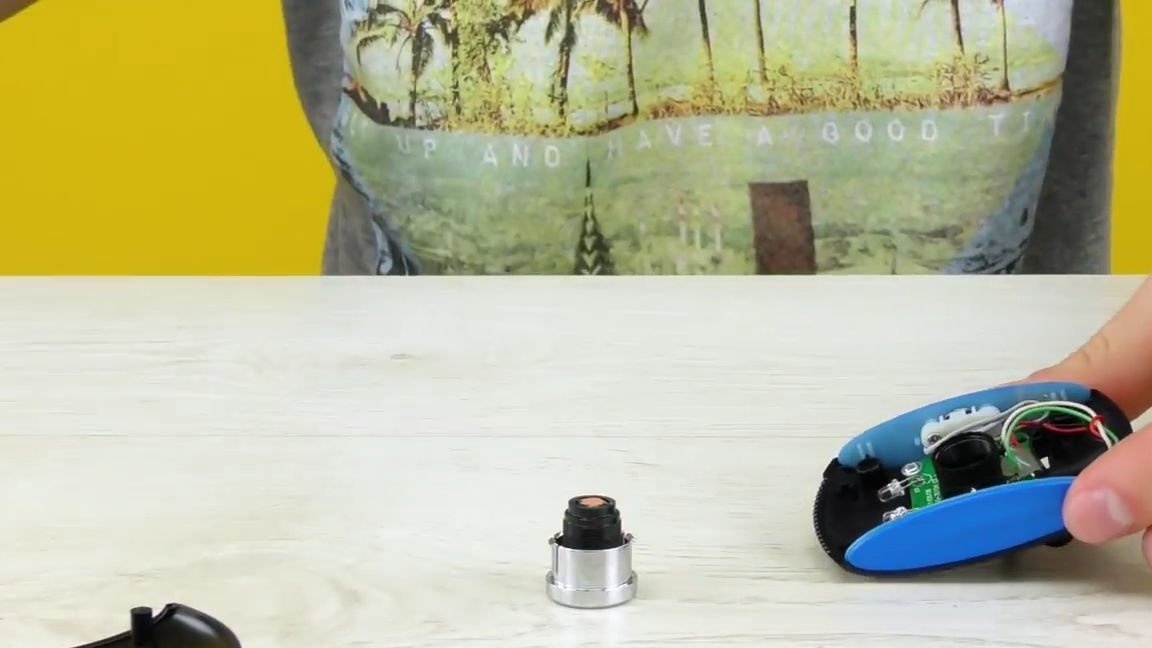
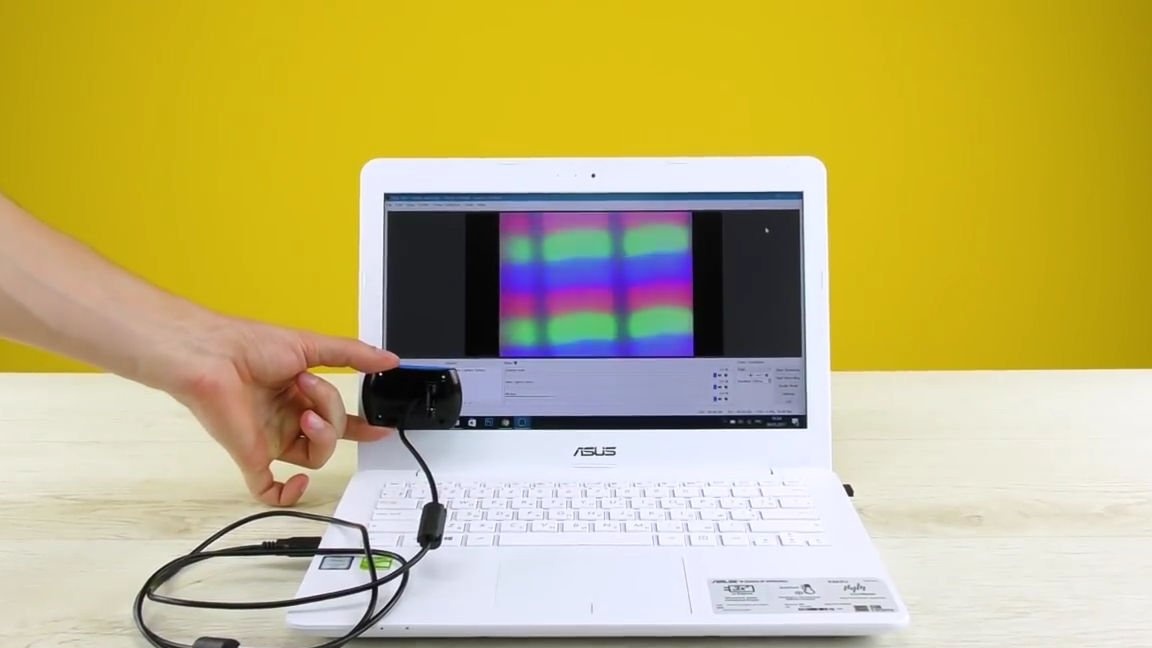
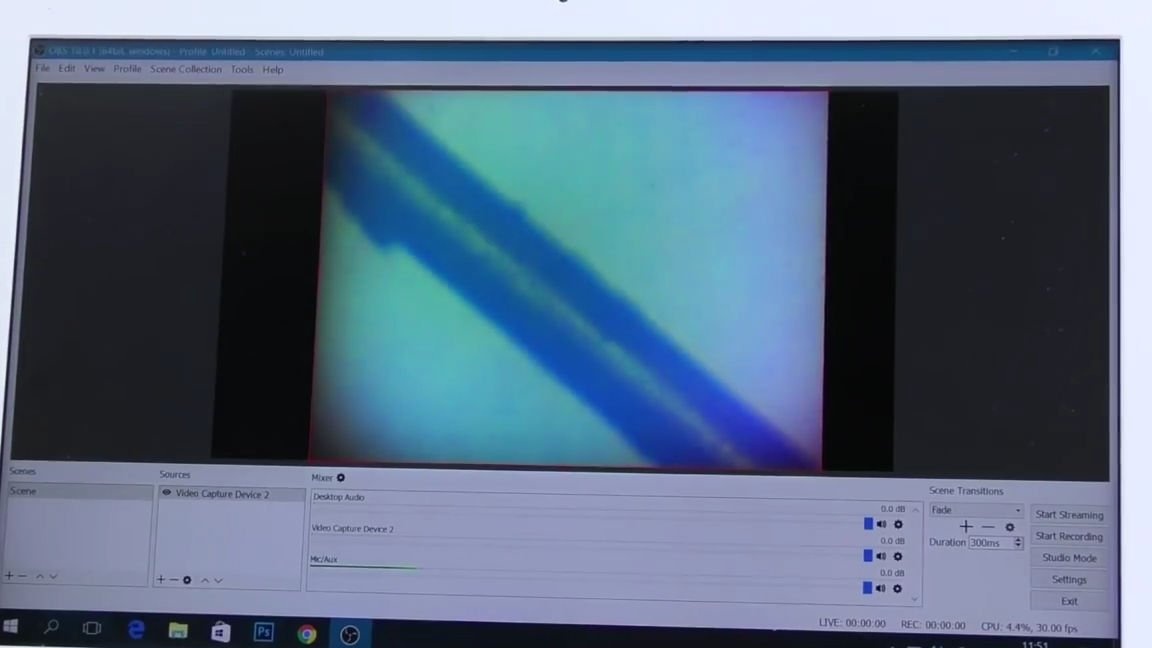
Well, we’re testing what we’ve got. In the photo below you can see that this camera is able to show even the pixels of the monitor.
In fact, all optical and electronic part of the microscope is already ready and this web camera can already be used for your own purposes, but with the case it’s still better, besides, it’s unlikely that you will be able to consider something without additional lighting.
Now you can continue further:
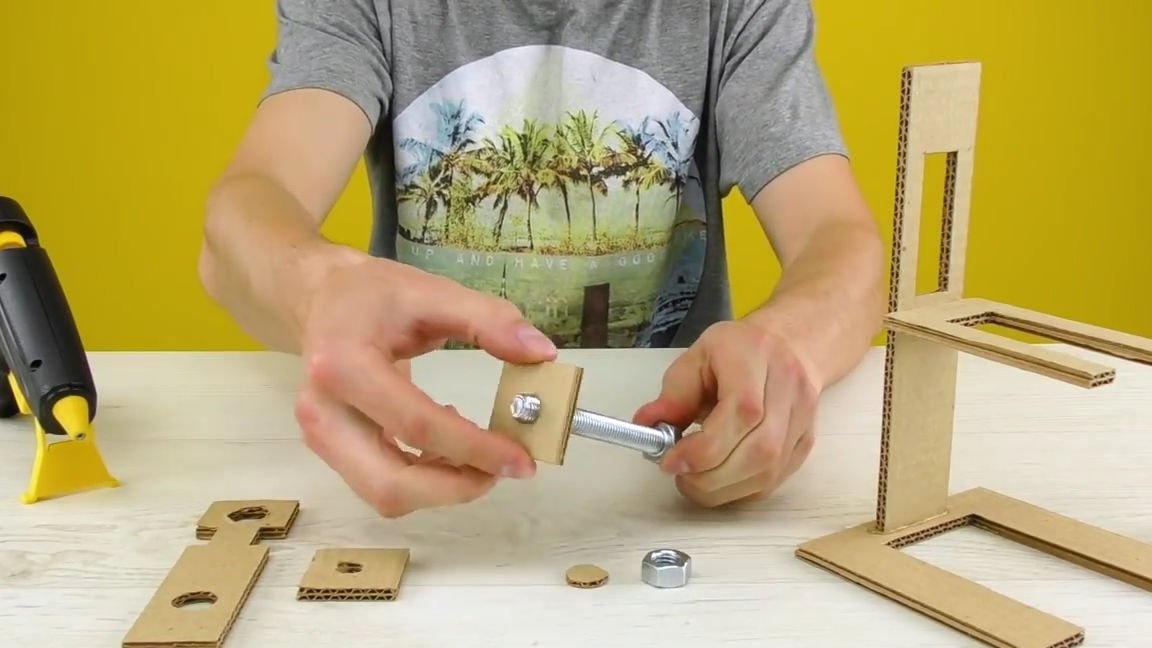
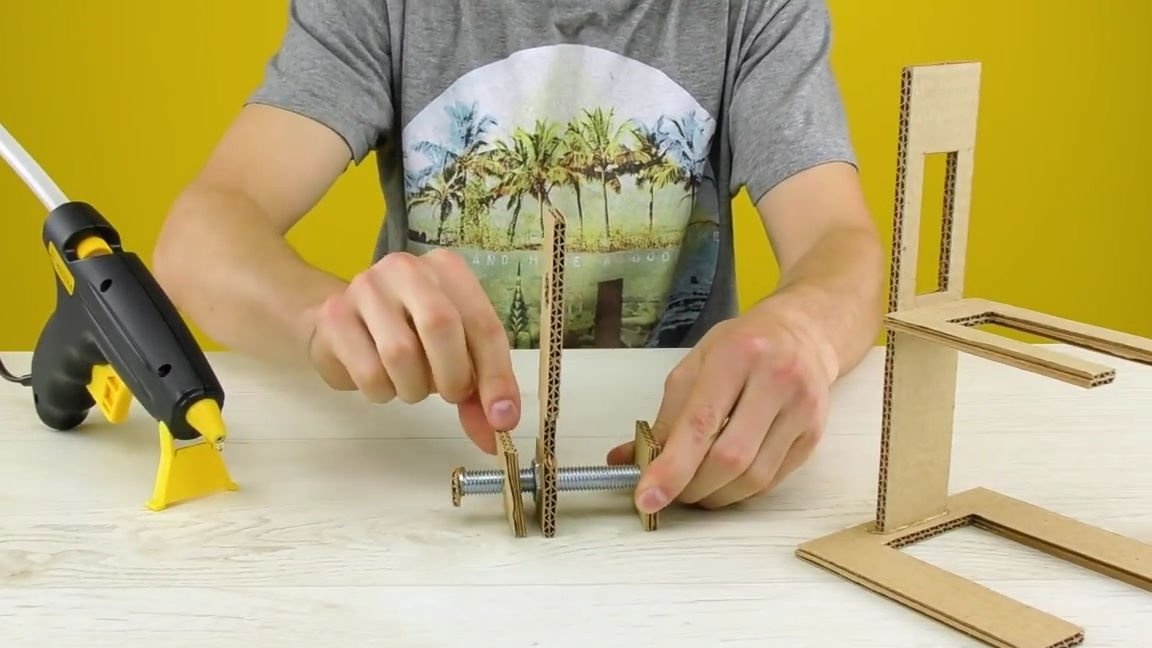
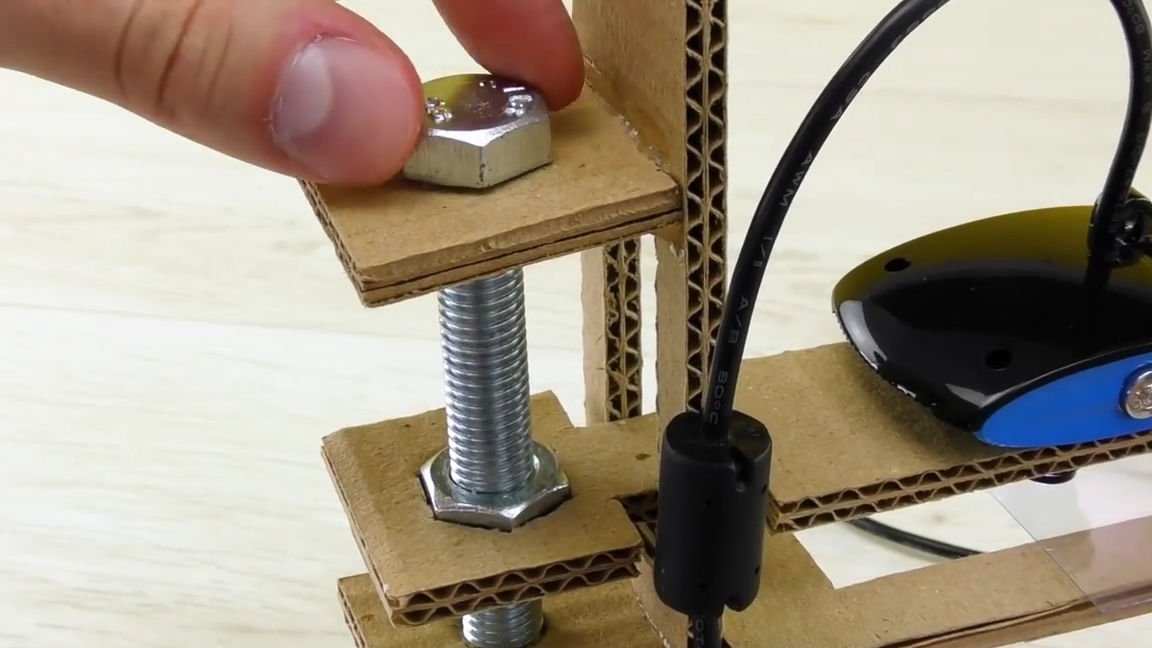
From the same corrugated cardboard, we cut out three more details. Two squares with a cutout in the center for a bolt and another long part, the shape of which you can see in the photo below.
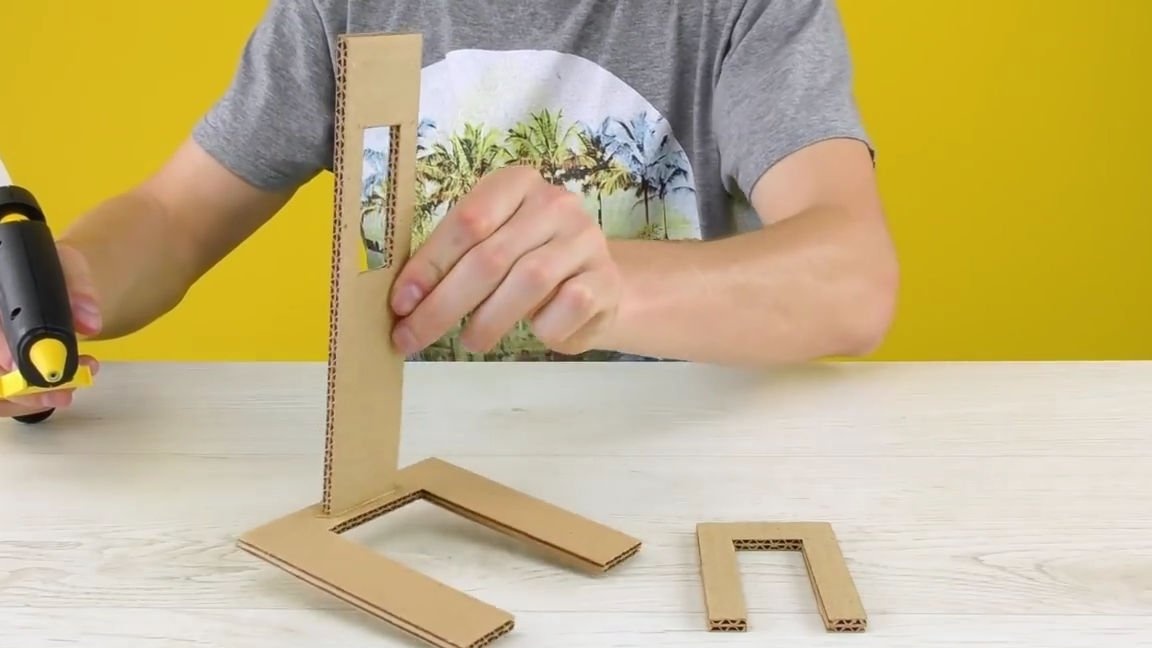
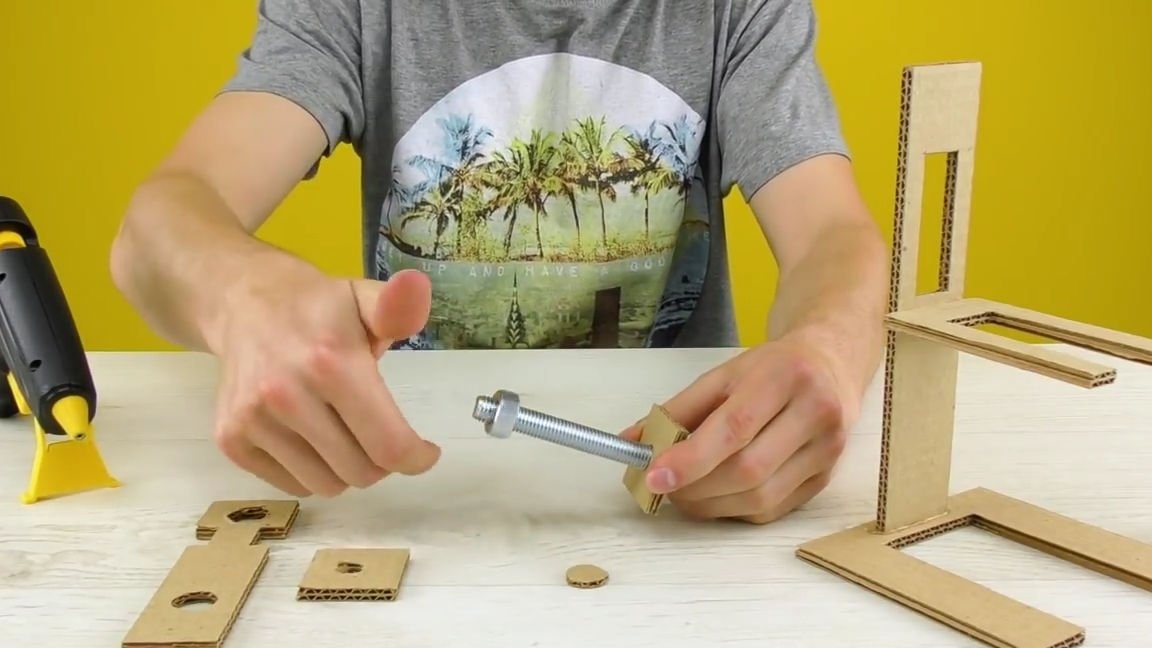
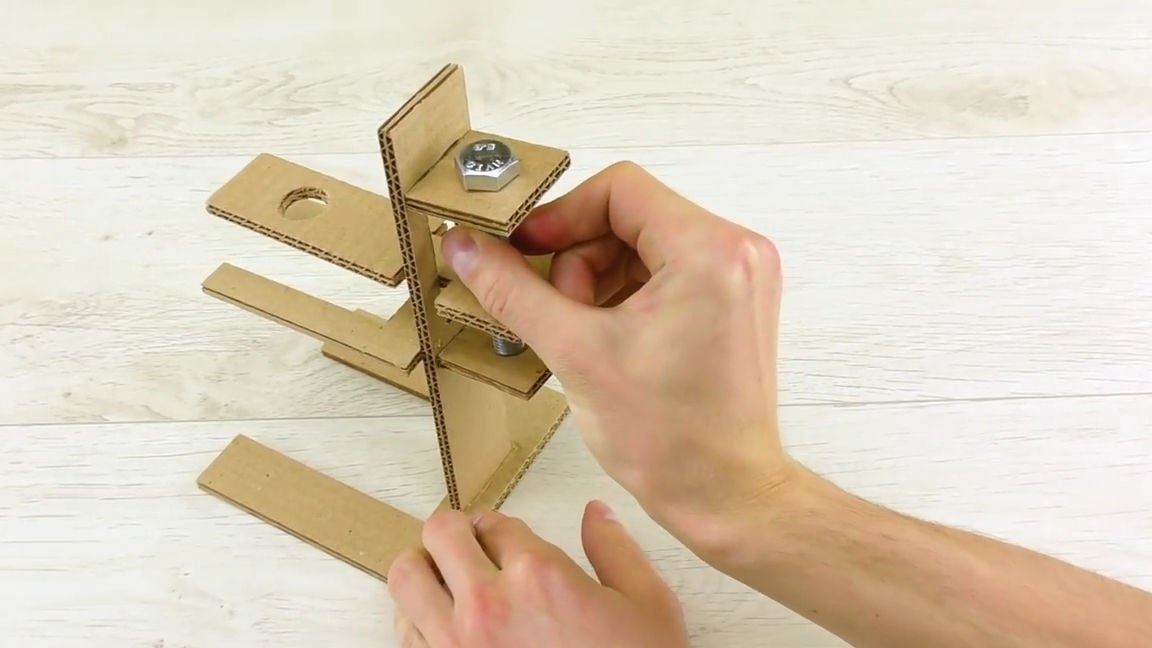
Then we put all the parts and the nut on the bolt, and then glue the cardboard plug on the end. Everything must be done as in the photo below:
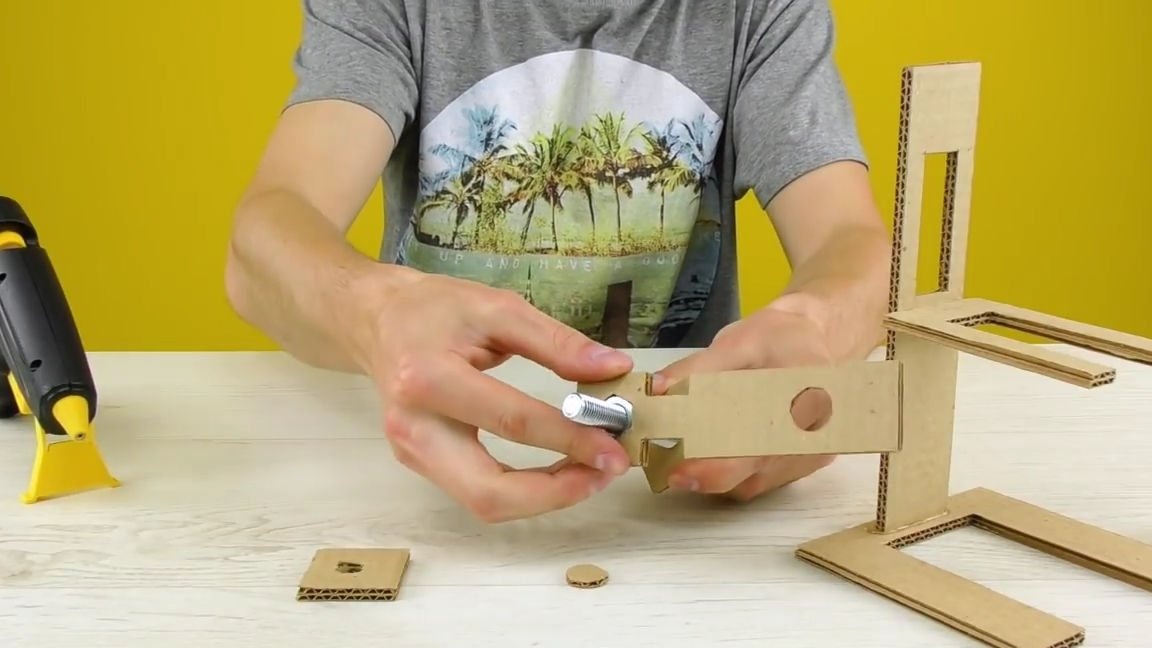
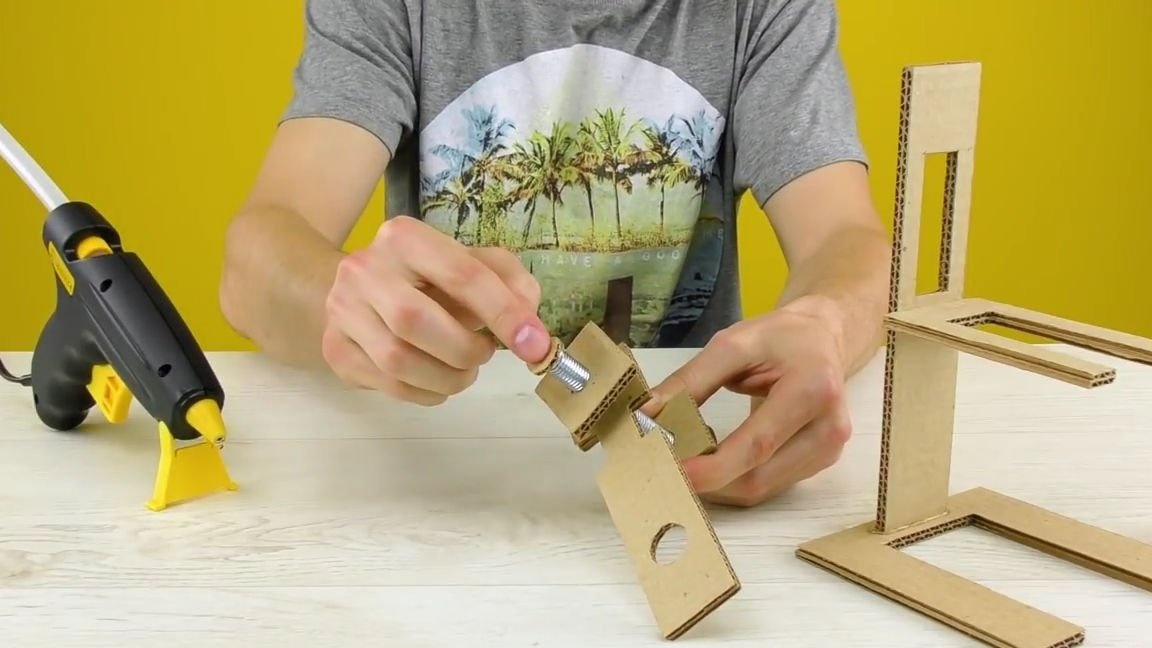
Using hot melt adhesive, glue this part to the main structure. With this blank, you can change the position of the web camera for better focus on the image, so the picture will be much better.
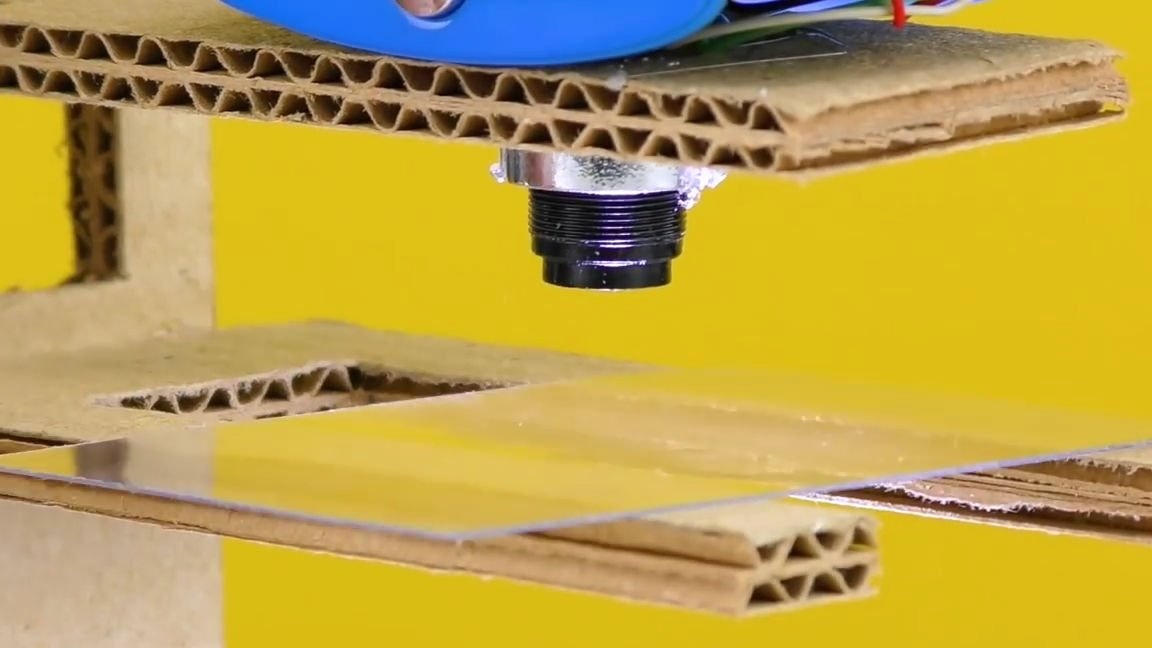
Now we insert the web camera itself into the hole under the webcam and fix it and the wire using hot-melt adhesive to the constitution. The camera should be directed to the bottom of the structure:
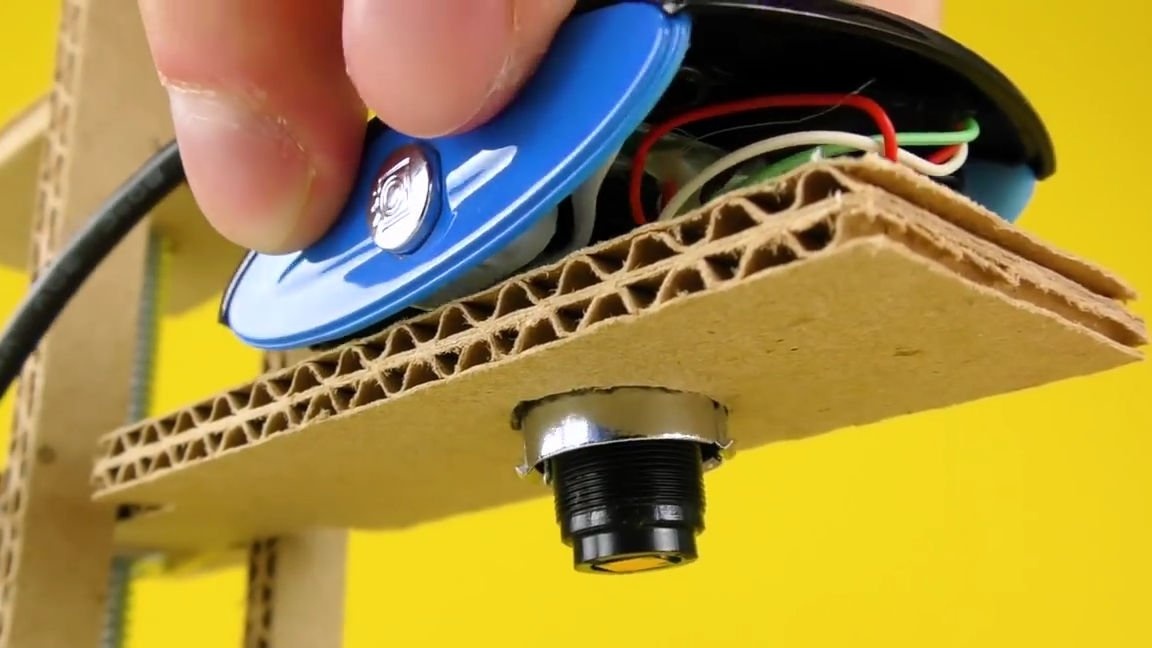
Then, from transparent plastic (which can be taken from any package), we cut out a small rectangle on which objects for examination will be located, and glue it under the camera. Of course, you can use both orc glass and more durable plastic, but it is harder to find and cut, and homemade is simple:
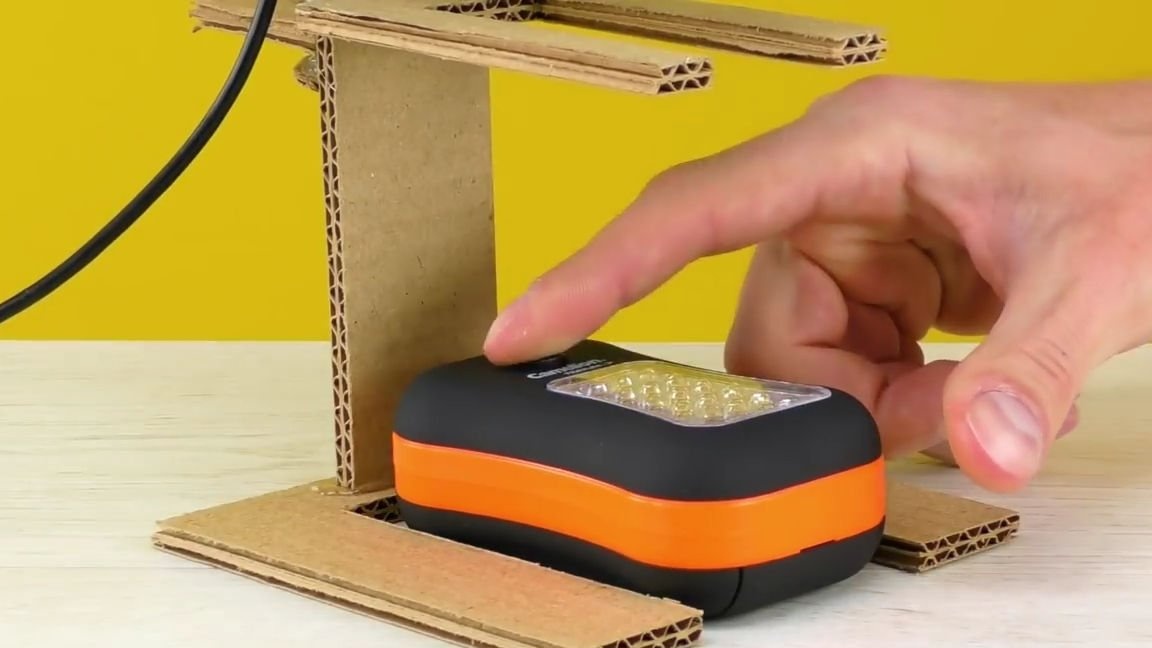
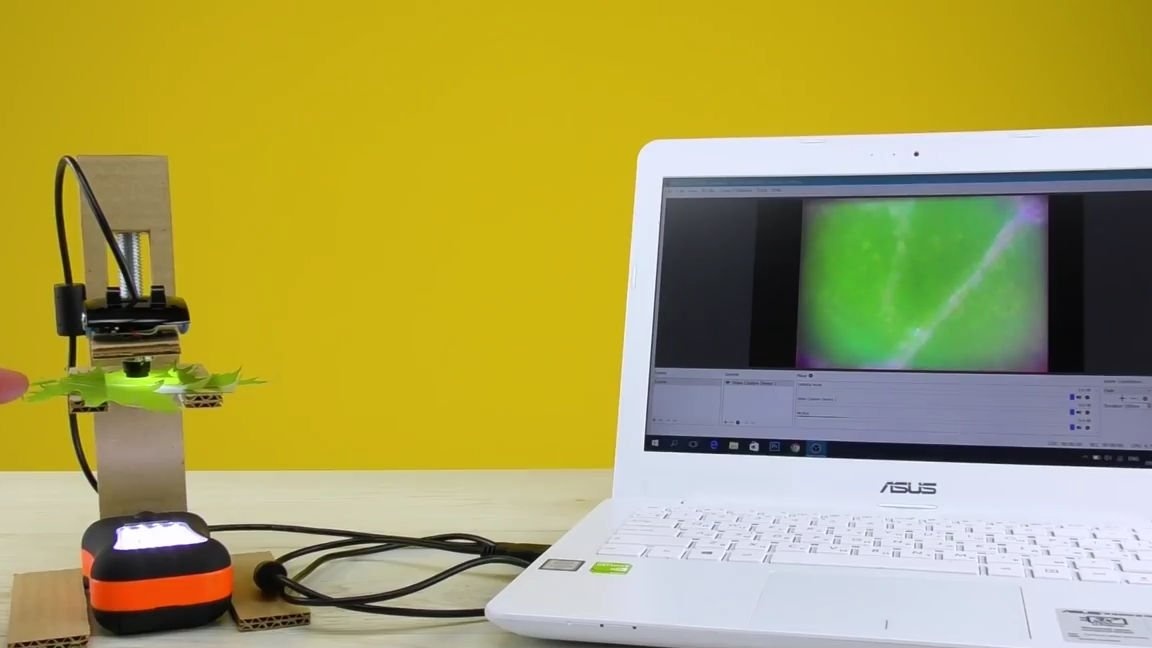
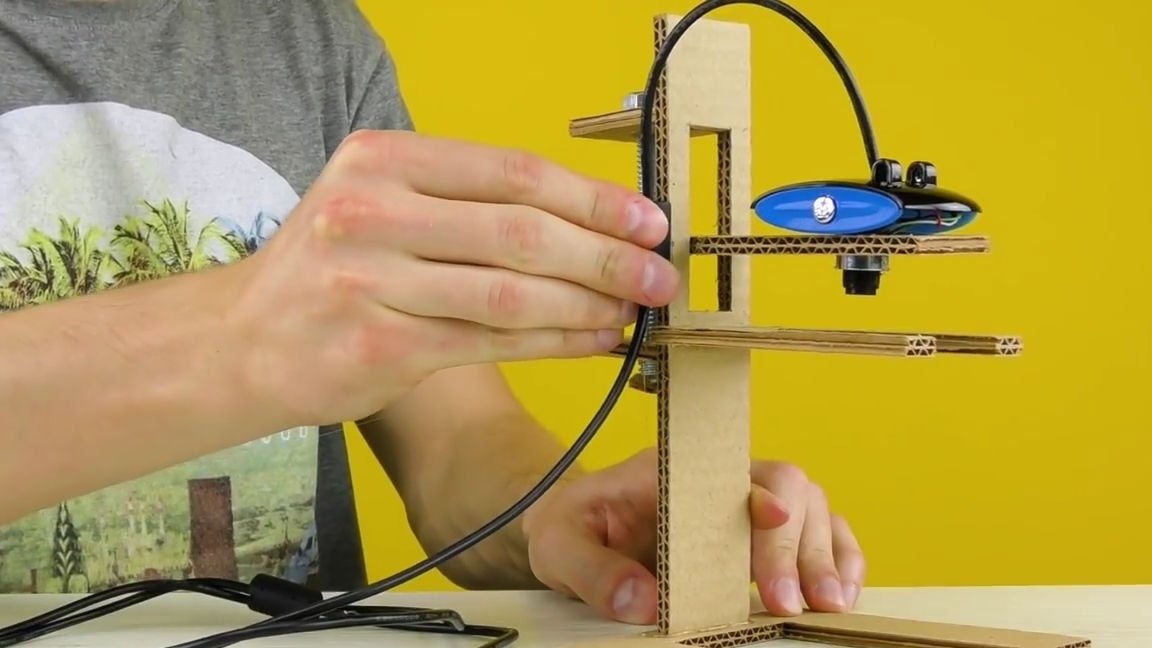
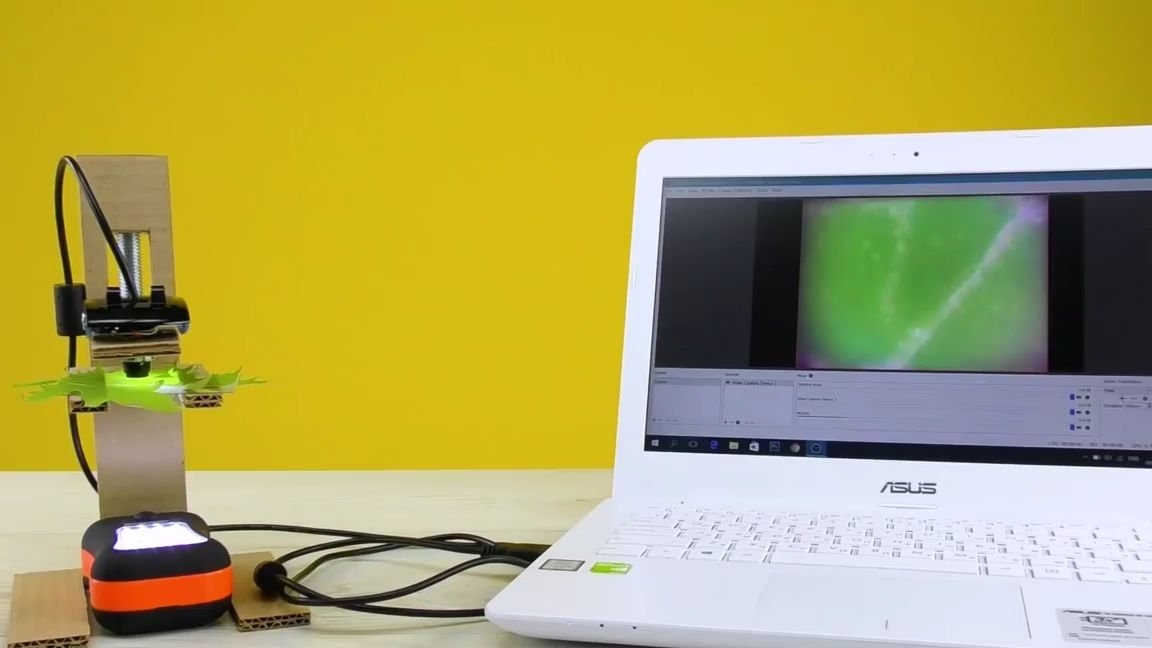
At the very bottom of the microscope, install the LED flashlight, turn it on, connect the web camera to the computer and that’s it! The microscope is completely ready and it remains only to test it. To do this, take the object you want to consider, put it on transparent plastic, adjust the focus and examine the object.
Of course, this microscope does not have an excessively large increase, but with it you can consider very thin hair, as well as cells (or if they are not cells, if you correct something in the comments), plants and other small things that are inaccessible to the human eye. In general, as an entertaining toy for a child or teenager is more than suitable. I myself remember how I made a simple microscope from a laser lens, applied a phone camera to it and admired the small details of the world and it was very interesting.
Here is a video from the author with a detailed assembly and testing of this homemade product:
Well, thank you all for your attention and good luck in future projects, friends!