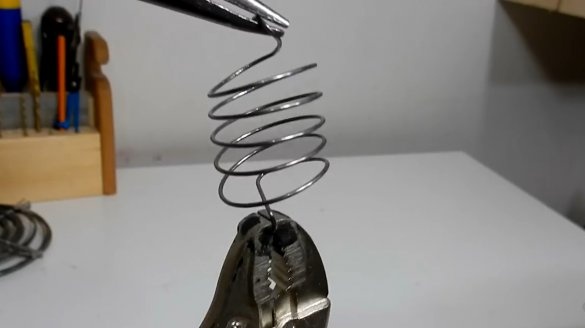
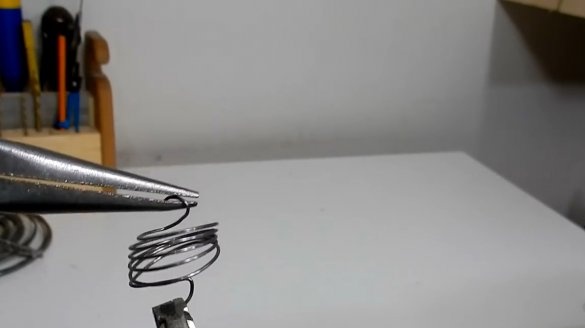
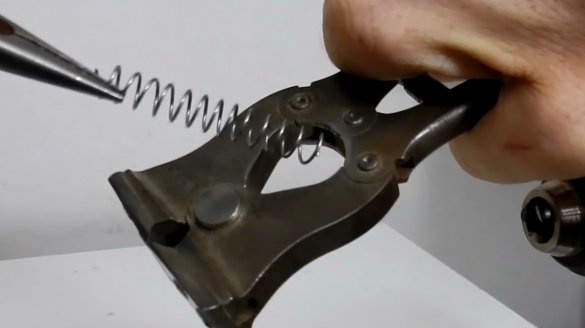
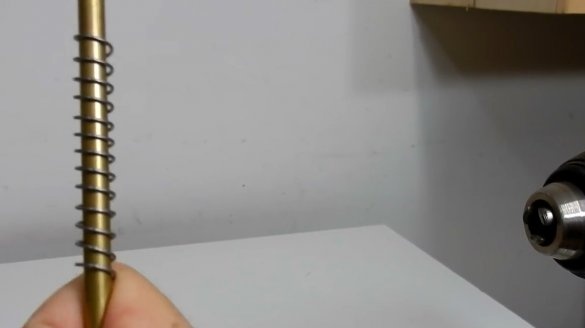
Surely you are familiar with such a circumstance when in the process of creating some original little thing or fixtures You suddenly need another little thing, without which the implementation of the project is unattainable. In this article, the author of the YouTube channel "Jack Houweling" will tell you how he came up with the idea of how to make springs in home conditions.
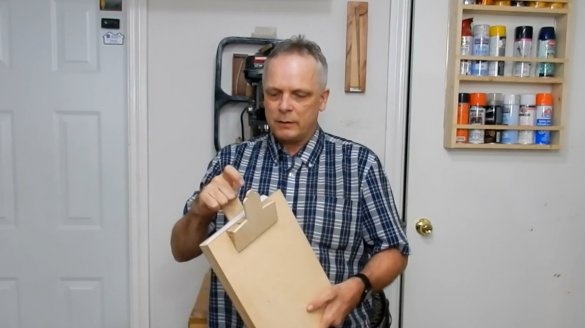
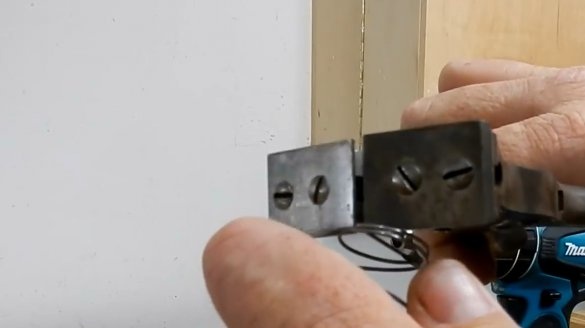
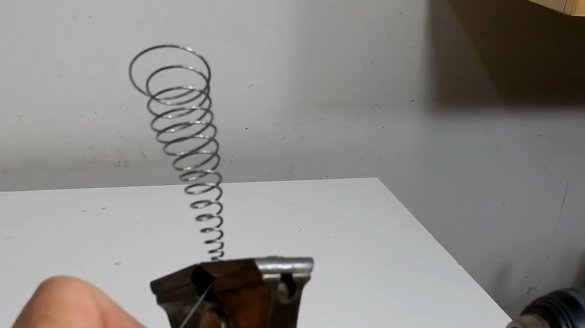
And it all started with the manufacture of a music stand with such a spring-loaded clip.
After reading this article, you will learn how to make several types of springs at once. The author will begin with the traditional method, which consists in using simple tools. Such technology in development is available to everyone. And then he will move on to more exotic know-how.
Materials
- Single core piano string
- brass rod
- Wooden round logs.
Instruments, used by the author.
- Screwdriver
- Belt sander
- Pliers, wire cutters
- clamp
- clamps
- Hacksaw.
Manufacturing process.
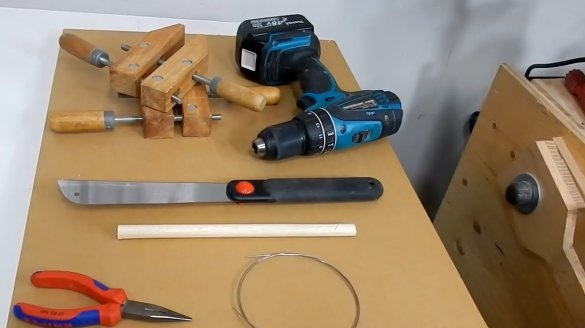
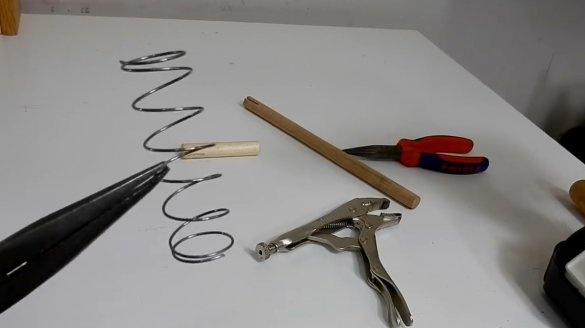
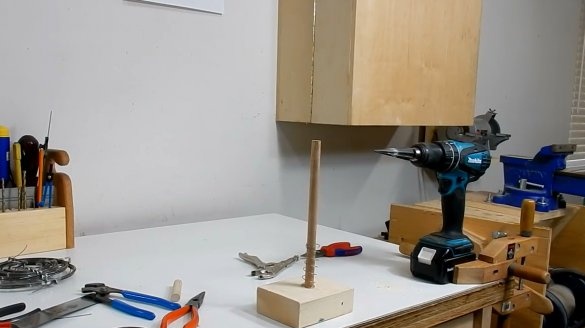
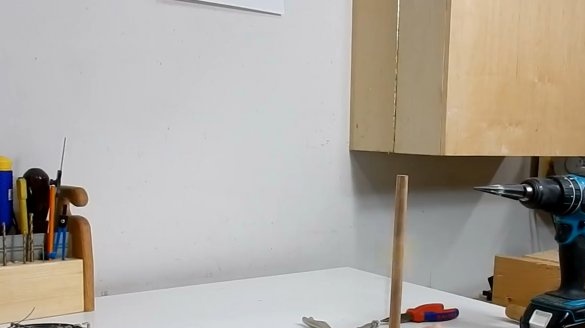
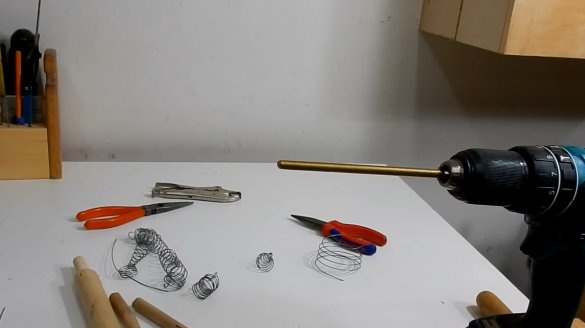
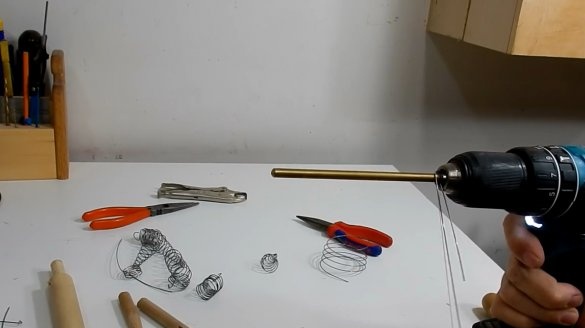
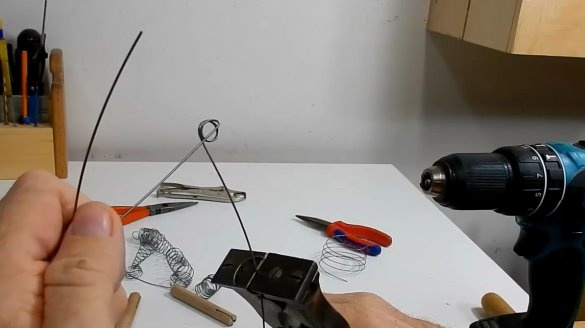
So, before you are pliers, wire cutters, a piano string, a wooden dowel, a hand saw, several clamps, and a screwdriver. This equipment is enough to make simple springs.
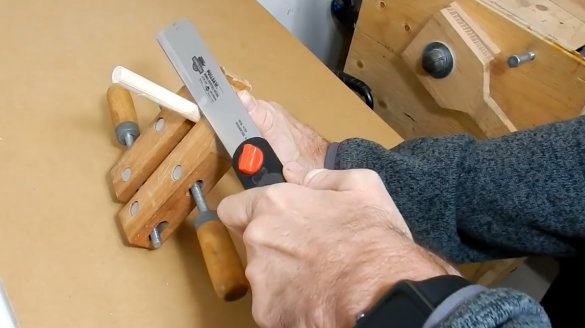
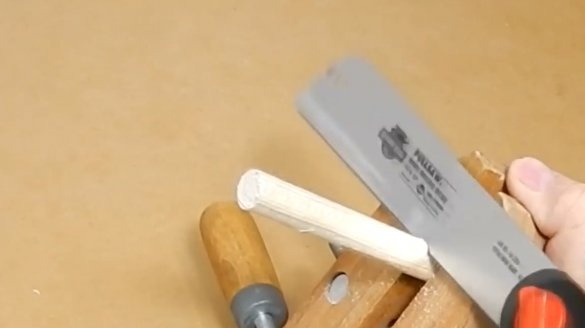
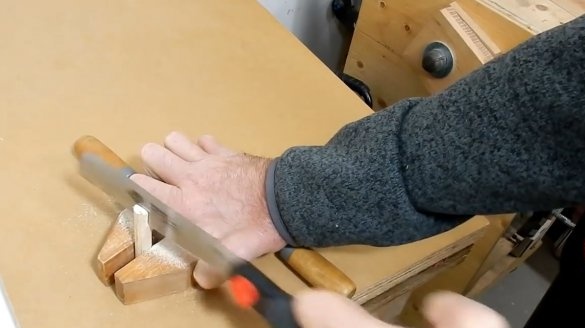
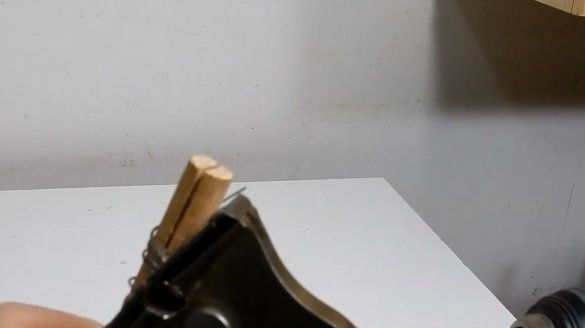
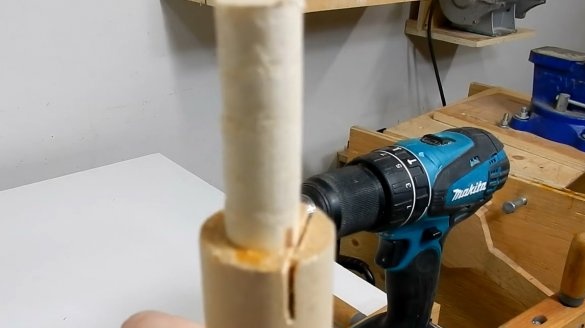
First, Jack cuts a piece of dowel, about this length.
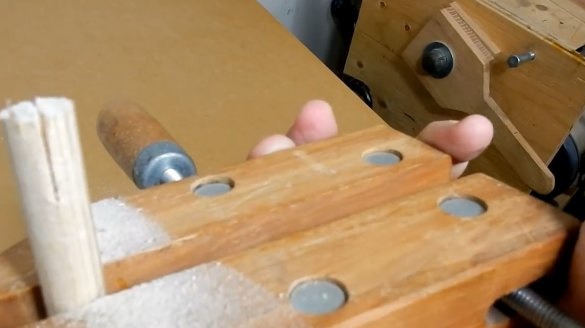
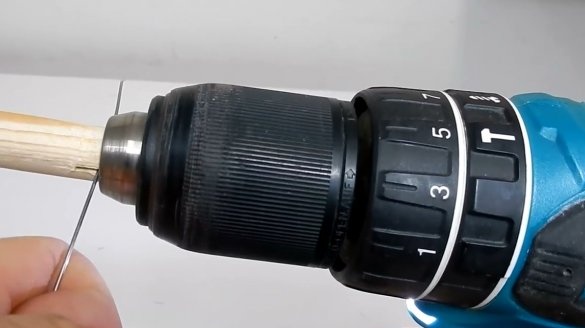
Then he makes a small groove at its base.
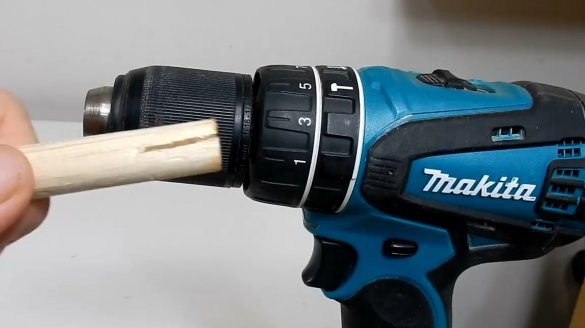
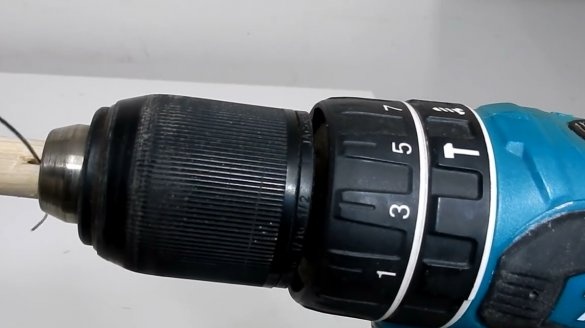
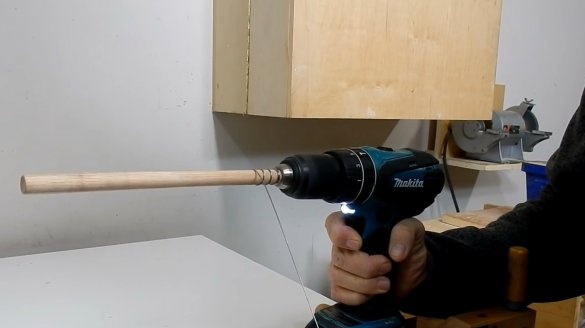
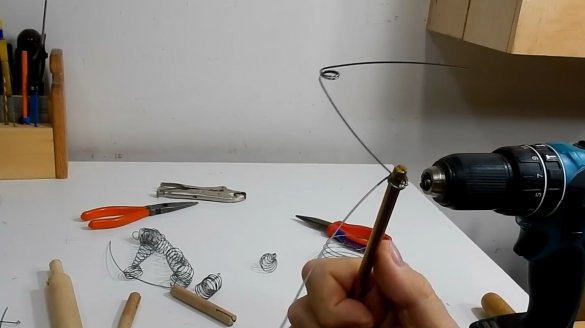
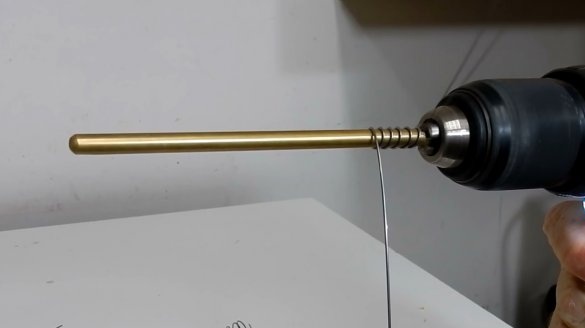
This dowel is about half an inch in cross section, so it fits perfectly into the screwdriver's chuck.
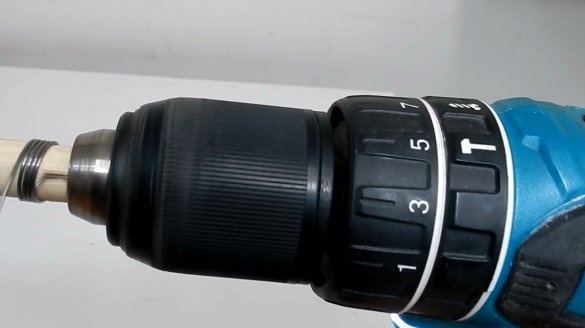
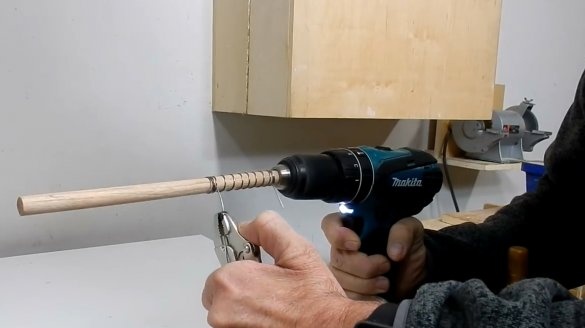
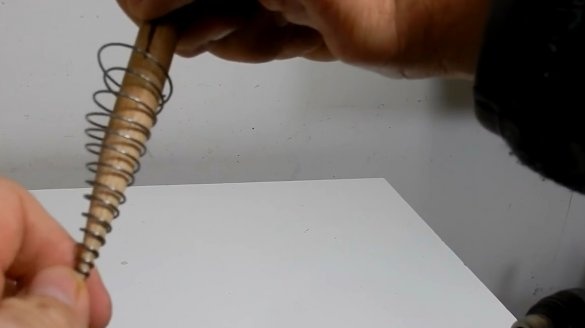
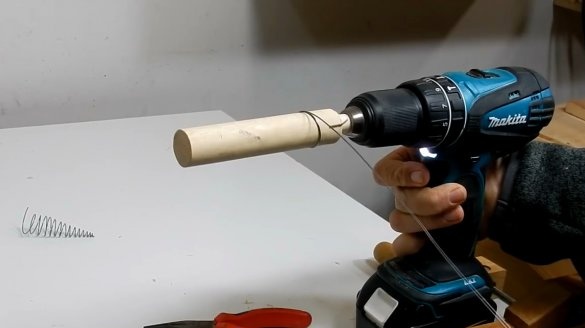
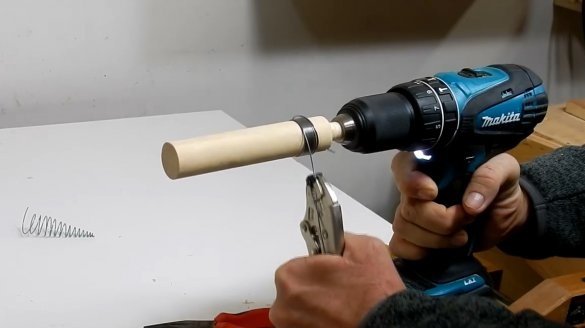
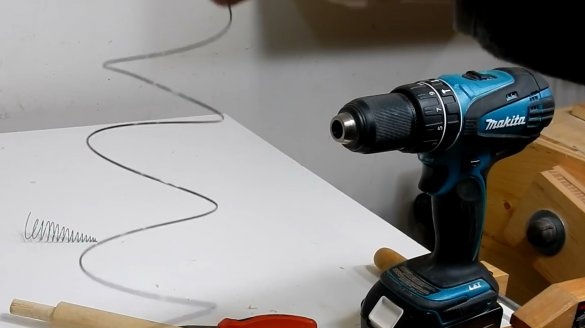
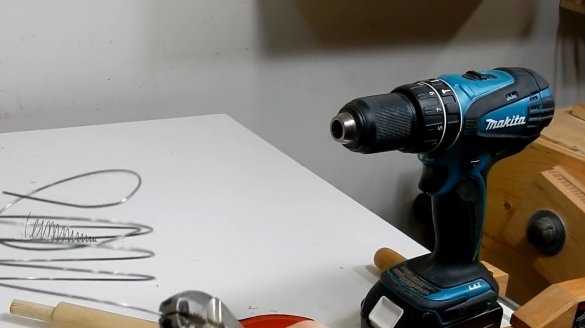
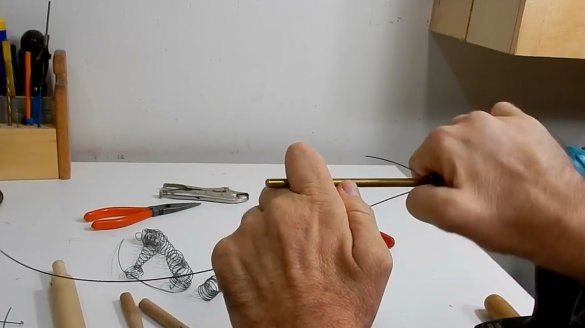
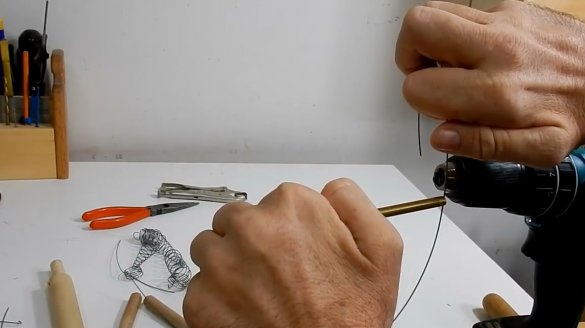
Then Jack takes the wire with the brand of steel C88, and this is the same steel as that of the piano wire. Then inserts it into the cut groove. The screwdriver turns on at low speeds, and the first speed.
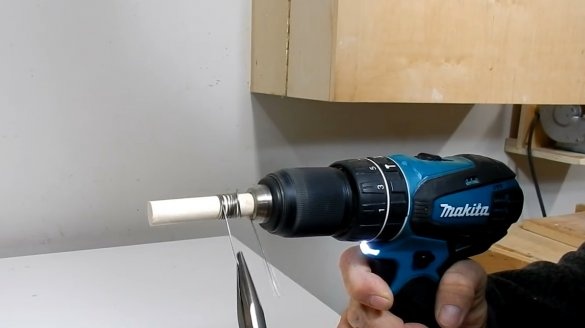
The master recommends that you always use pliers to keep your hands away from the wire, as it can suddenly come off, straighten and cut your hands.
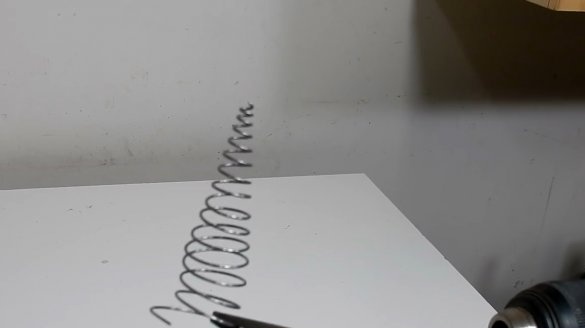
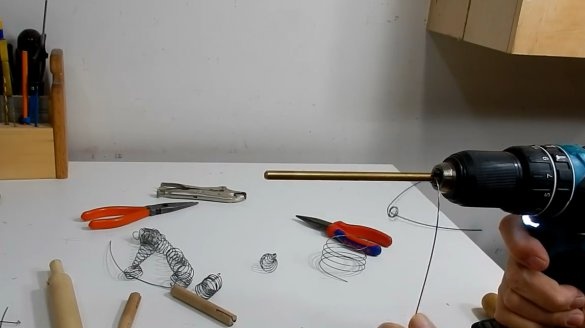
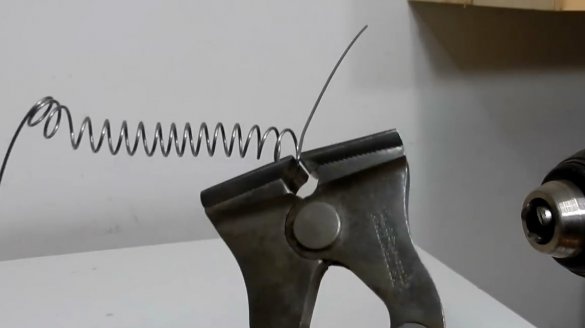
And now the first spring is ready. All that had to be done manually was the small bends at the ends. The result is a tension spring.
The next spring that Jack will make is the compression spring.The difference from the previous one is the step between the turns, they do not fit close to each other.
The author cuts the ends a little and the product is ready.
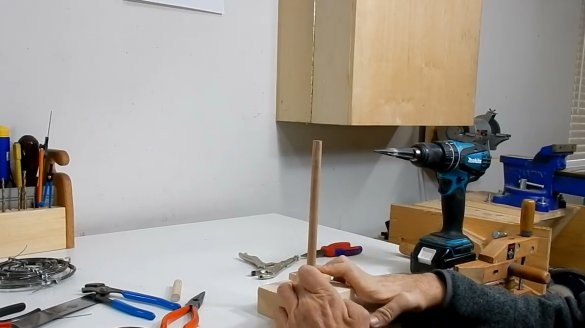
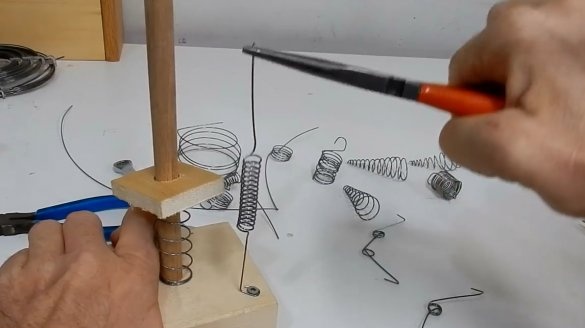
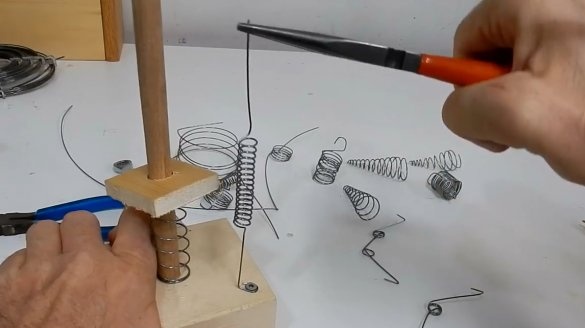
Check: Jack inserts a wooden pin into the hole in the board, puts a spring on it, and then strung a small wooden block. A piece of wood flew into the ceiling. It works great!
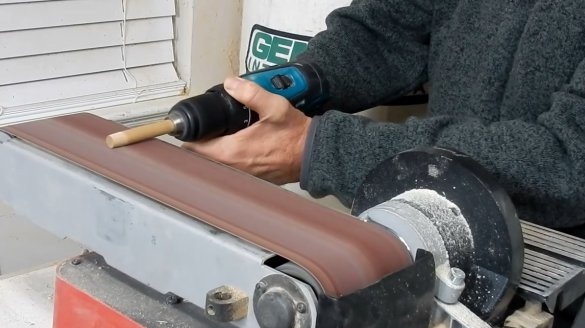
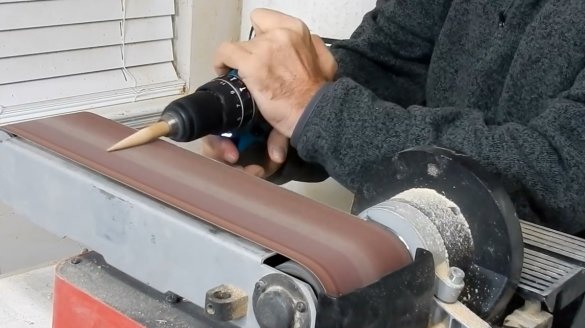
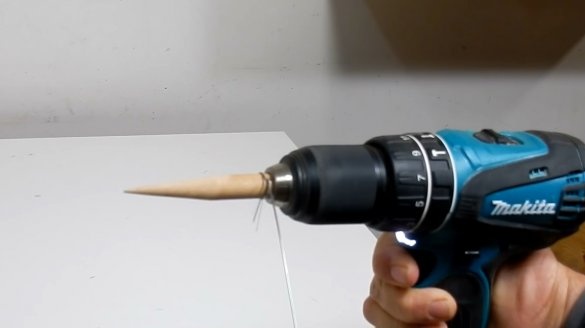
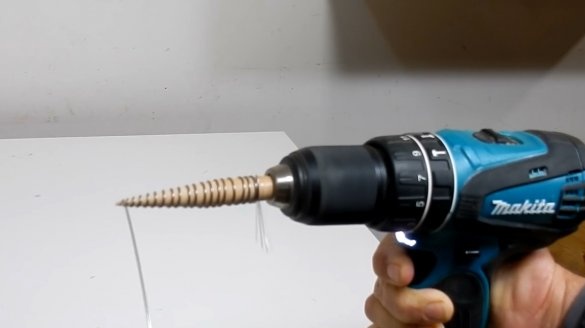
Now the task is to create a conical spring. To do this, you need to grind the round a little to a conical shape. A belt sander can do just fine with this task.
Then insert the wire into the groove, and wind at low speeds.
Now the author bites too much, and here it is - a conical spring.
To make a larger spring, use two dowels of different diameters. In that larger, drill a hole for a smaller, half-inch. So, a larger round timber is strung on a small one, and that, in turn, is inserted into the drill. Be sure not to forget to make a cutout for the wire in a larger round log, on which the spring will be wound.
This is followed by the standard procedure.
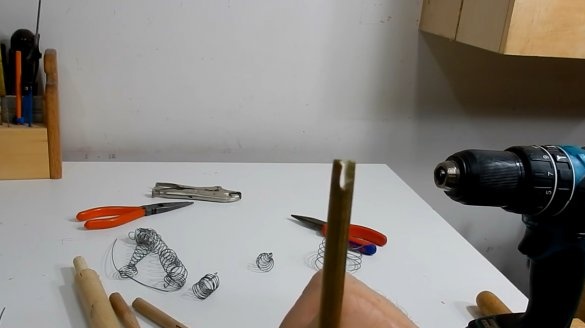
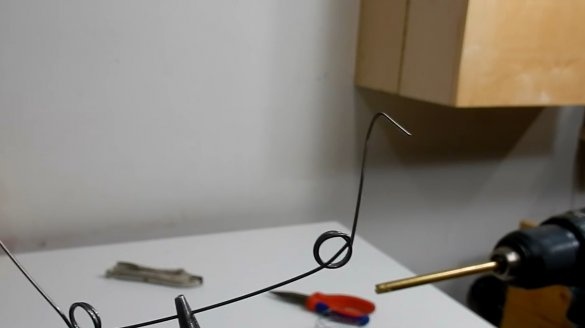
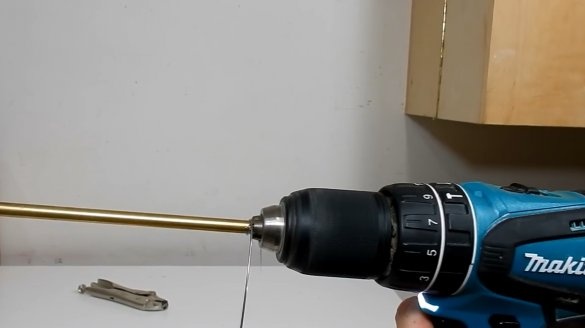
If it is necessary to make smaller springs, the author advises using brass
the core. For tension springs, you can use a hairpin, the coils will fit perfectly into the thread.
It also cuts a slot with a hand saw.
Winding in two passes.
Jack bends the ends of the wire again a little. It turns out a torsion spring.
Now one more tension spring.
And finally, the compression spring.
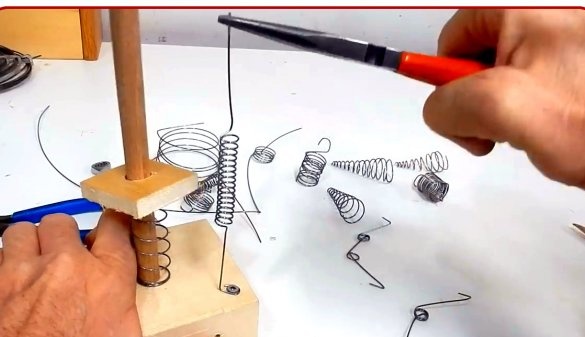
As you can see in the photographs, the author was able to easily make a whole bunch of different types of springs. You don’t need to go to the store for such a trifle!
Thanks to the author for an excellent workshop on manufacturing springs!
Good luck to everyone, good mood, and interesting ideas!

