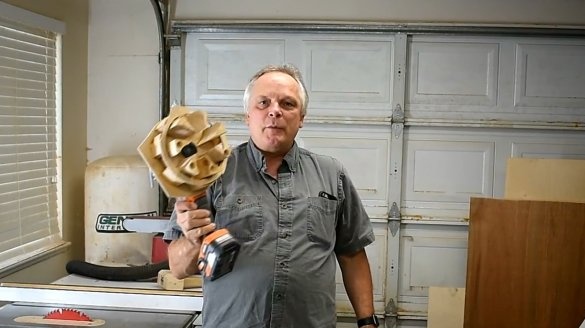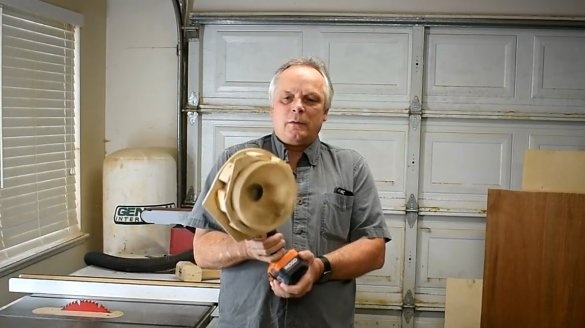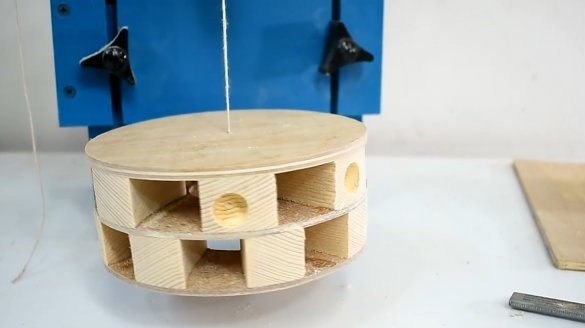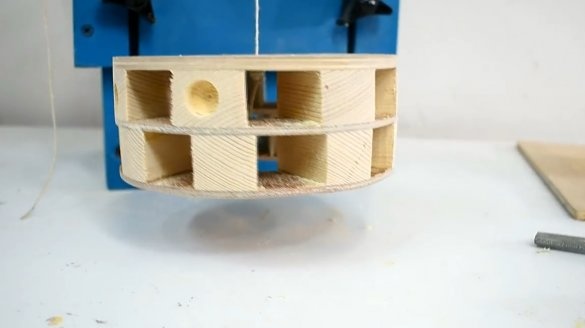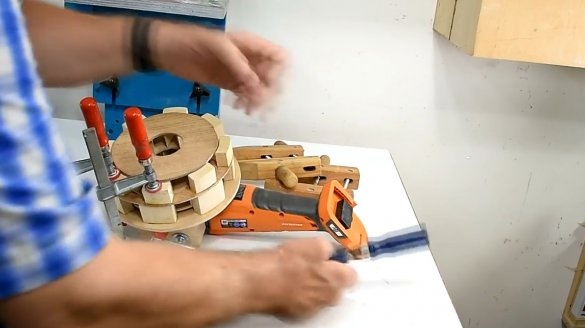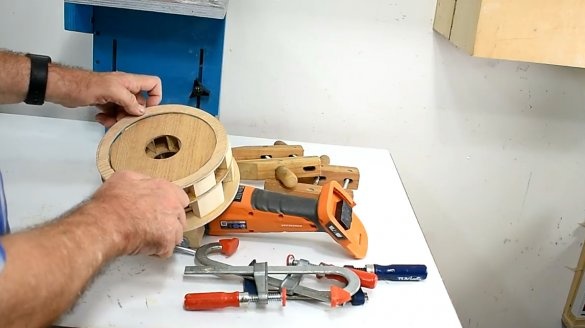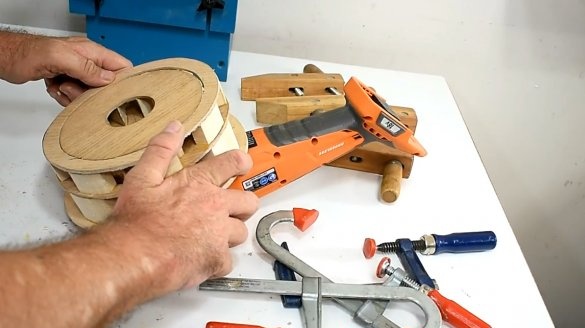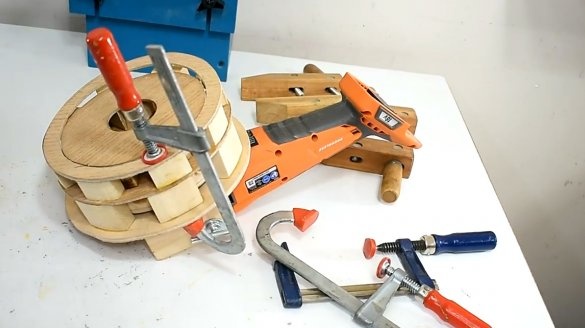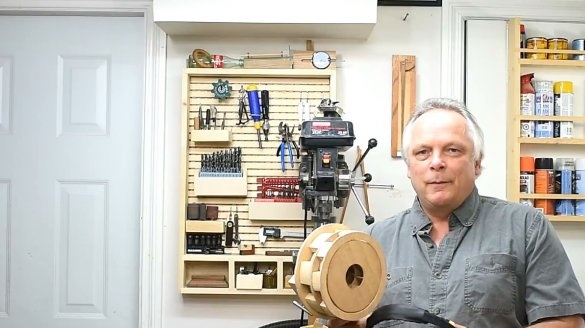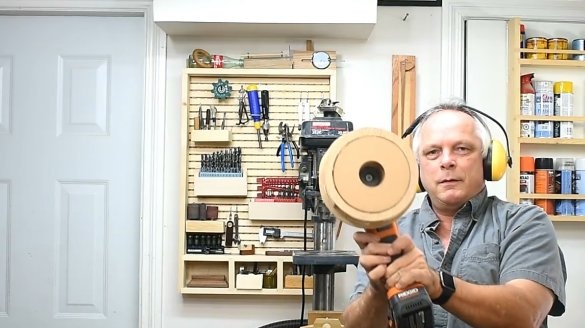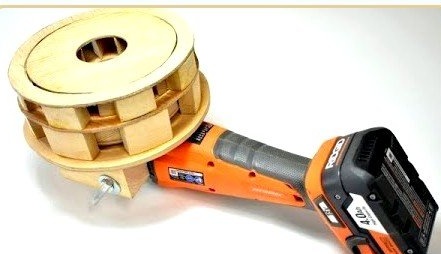
Before you hand siren "air alert". This is a prototype. It turned out to be somewhat rude in sound and needs to be improved. The master will use the battery grinder as an engine.
In this article, Jack, the author of YouTube channel "Jack Houweling" will describe the entire process from start to finish. He is going to make the second version of the device so that the sound is higher and clearer.
Materials
- sheet plywood
- Wooden beam
- PVA glue
- M8 bolt with wing nut and washer.
Instruments, used by the author.
- Cordless grinder
- Screwdriver
- Band-saw
- Drilling machine
- Forstner drills
- vernier caliper
- Compass
- Belt sander
- A circular saw
- Clamps, weights.
Manufacturing process.
Throughout the production process, Jack will repeatedly test the device, including angle grinders at low speeds, and only at the final stage will give a “full throttle” to assess the sound volume and tonality.
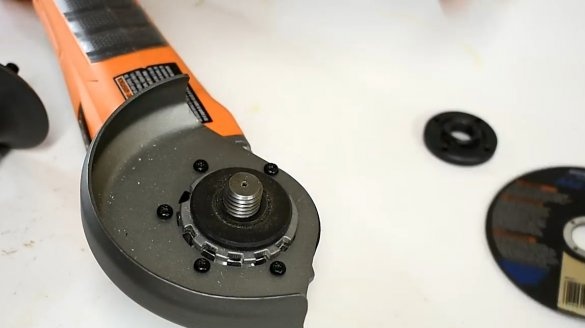
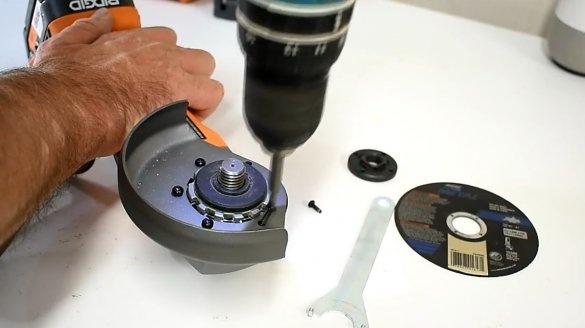
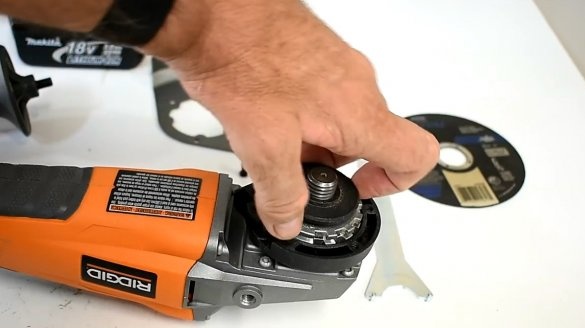
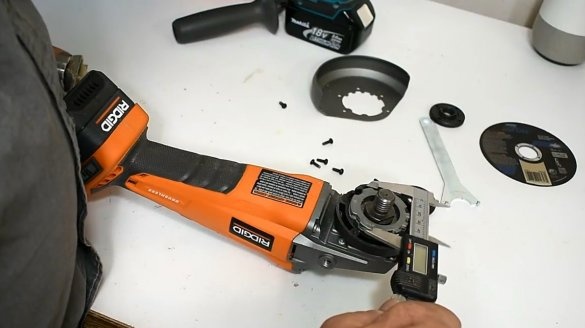
The craftsman begins by disassembling the grinder, removing the protective cover and nuts.
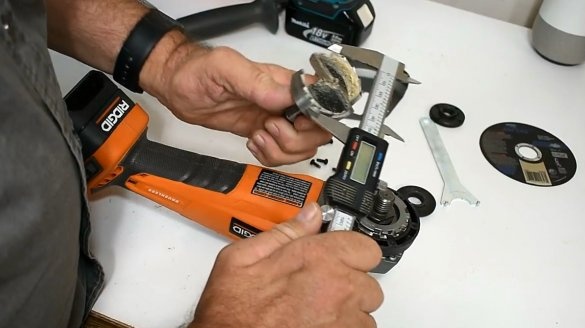
Then it measures this part: 2 inches. Just the size of a Forstner drill.
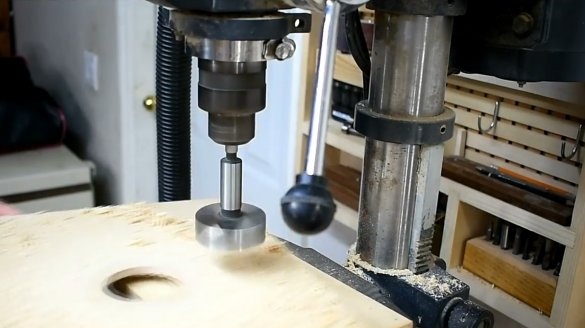
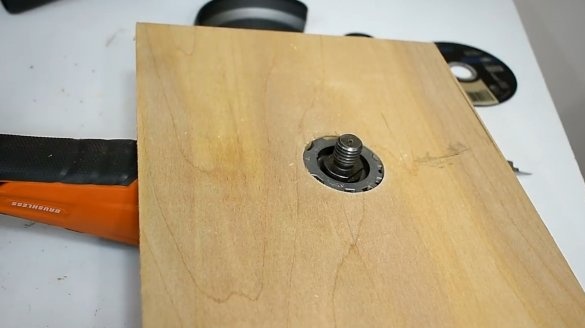
Drills a hole in a plywood sheet. Perfect fit.
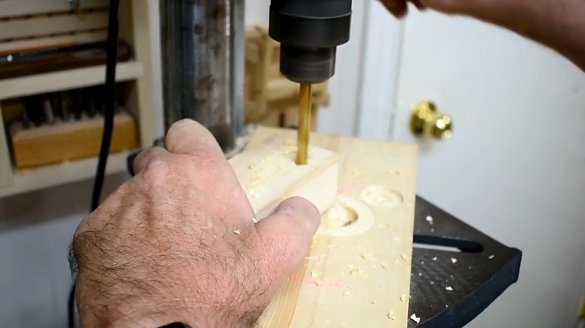
The author cuts out a small block, drills a hole for the M8 bolt in it.
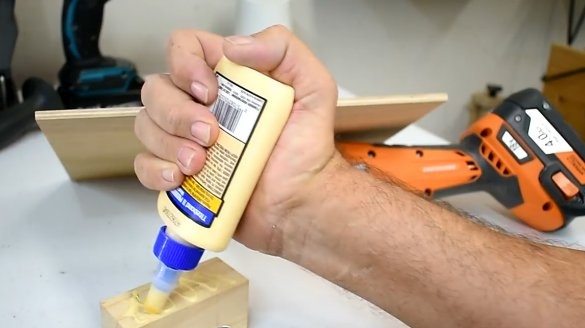
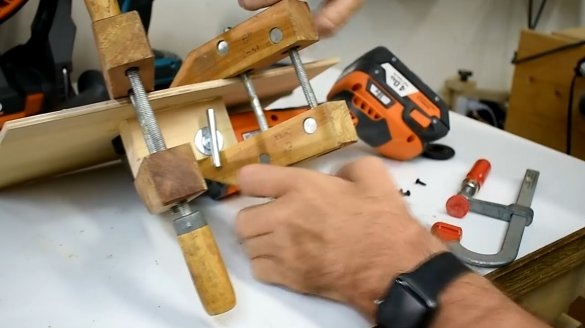
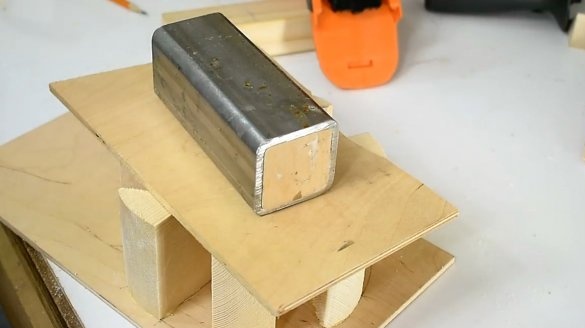
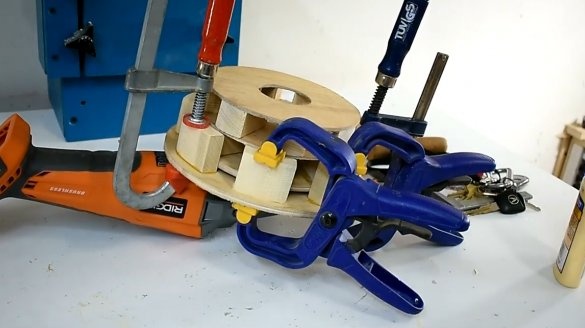
Now screw a bolt into it. Then he glues the whole structure to the plywood, clamping it with clamps.
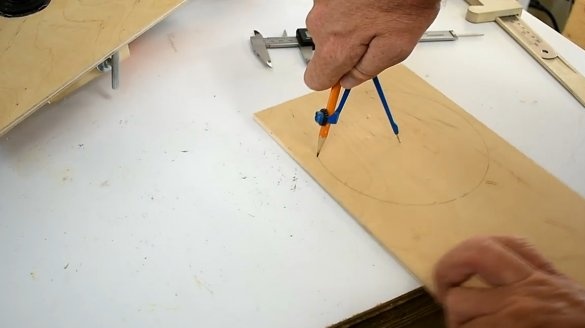
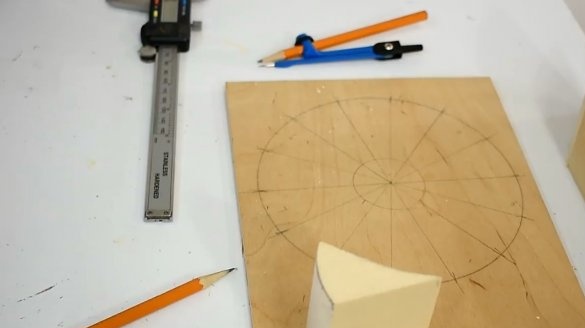
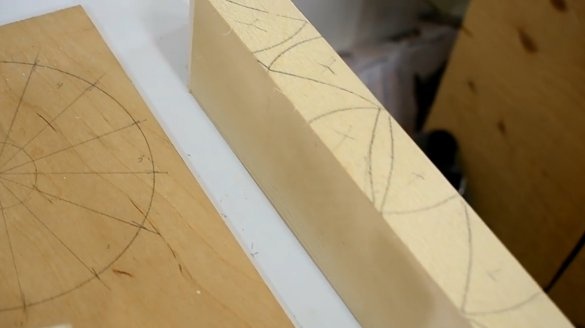
Next, on a plywood sheet, he draws a circle and divides it into equal sectors.
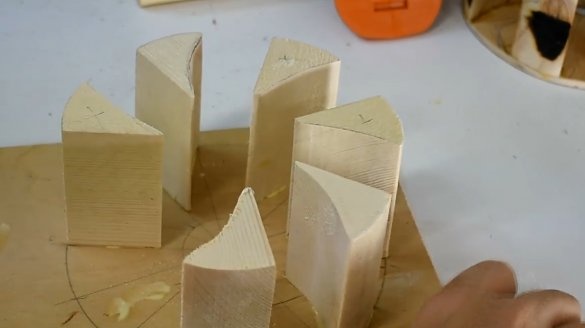
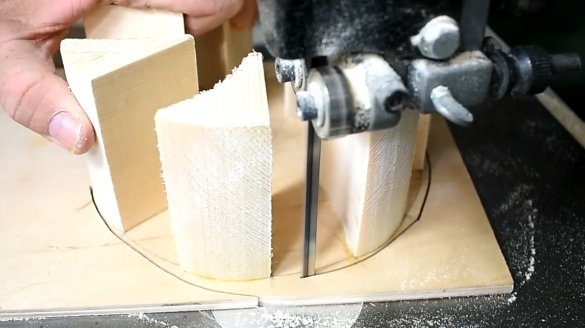
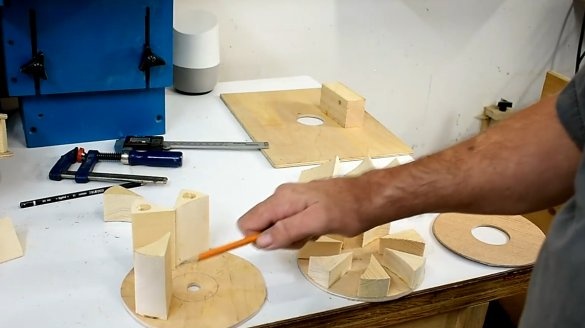
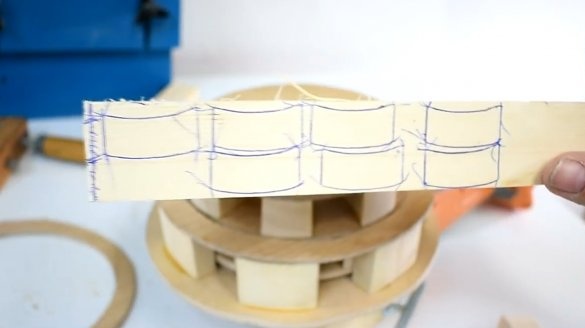
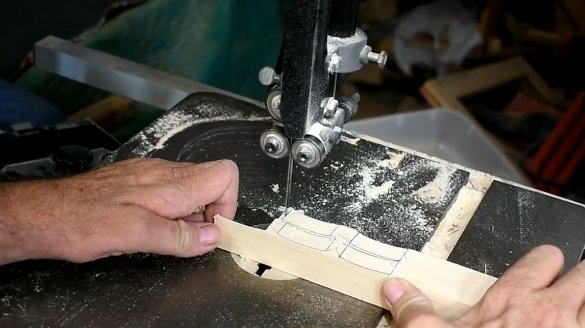
Jack carves one of the blades (it is wooden, as can be seen from the photo, but it also has different tasks). He draws its contours on a wooden block.
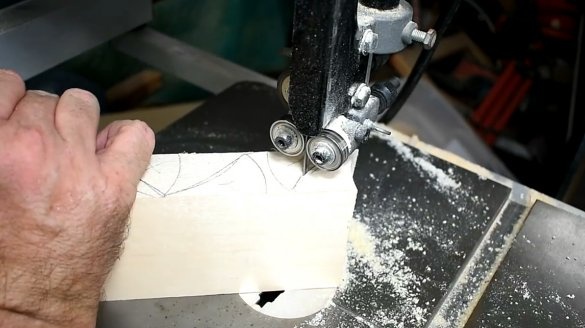
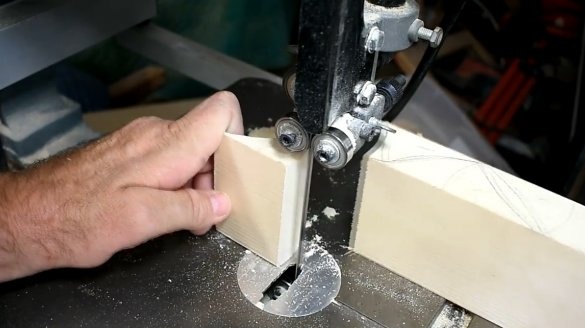
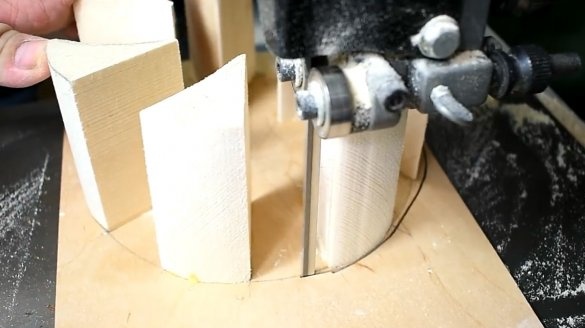
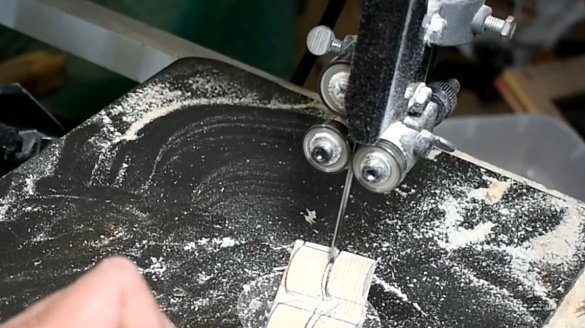
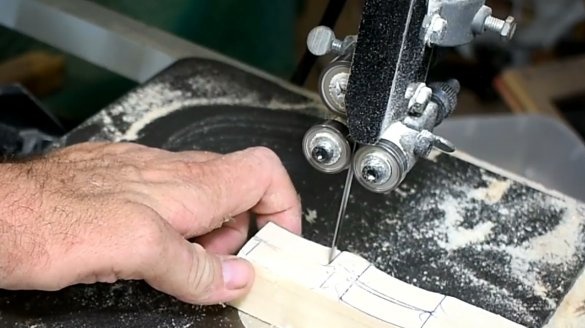
Now you can cut the remaining 7 blades with a band saw. They should be as identical as possible.
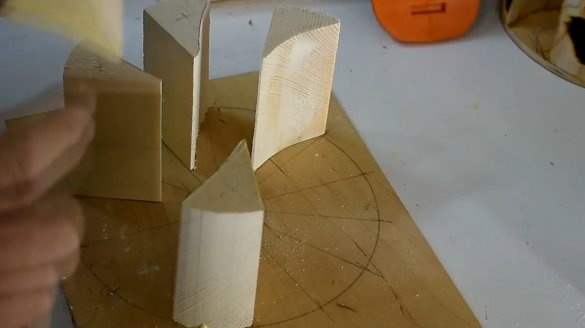
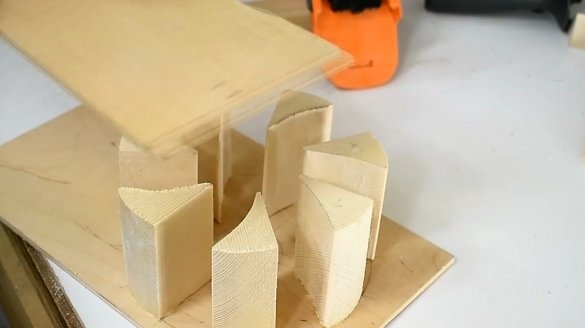
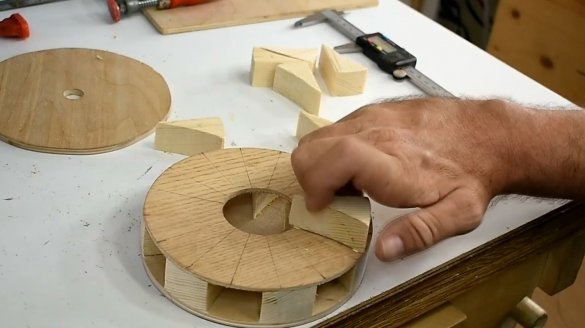
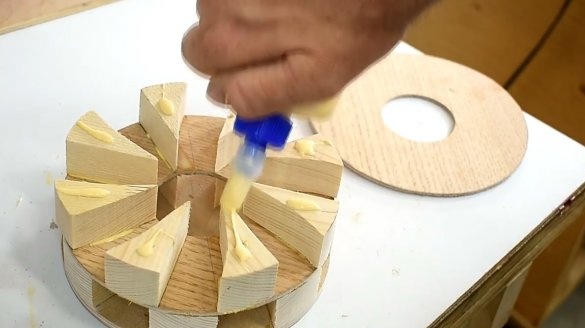
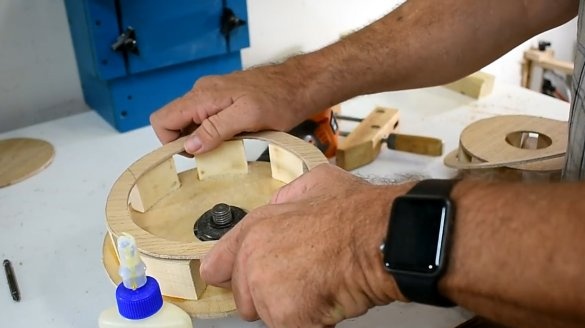
Then the master glues the blades to the plywood.
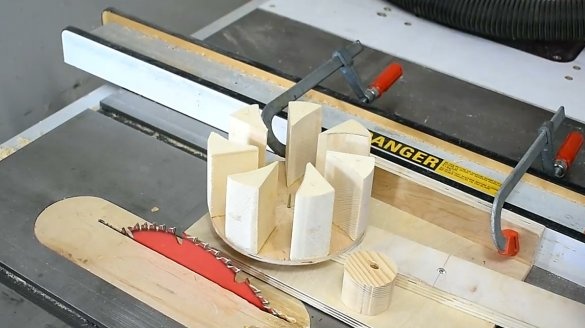
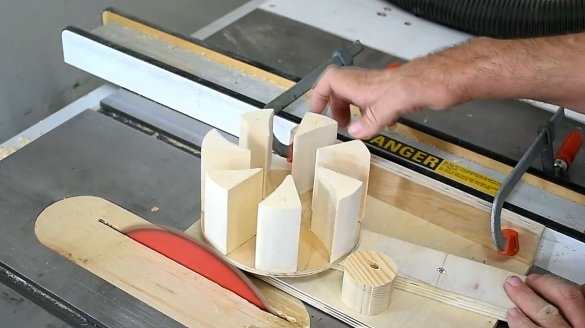
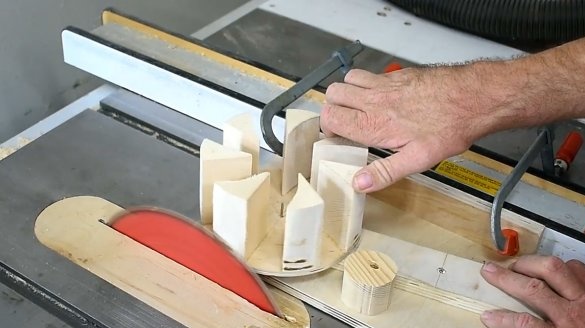
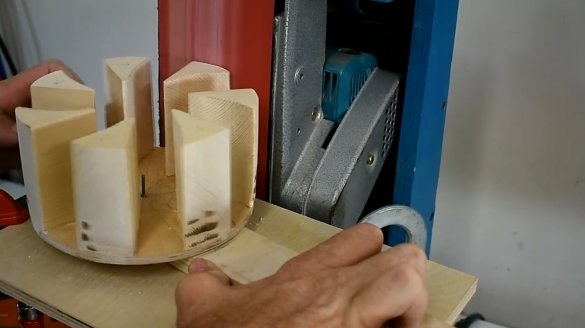
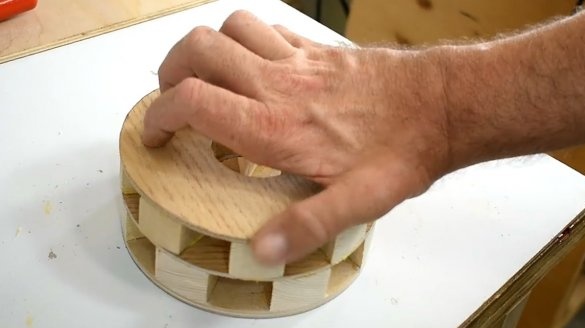
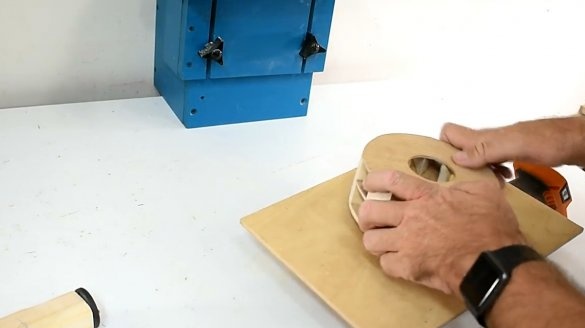
And so it turned out a little device, which should be further sharpened so that it takes on a fully rounded shape, an ideal circle. Similar processing can be done on a circular saw, and then on a belt grinder.
Jack changes plans a bit: when testing the rotor on the grinder, all the blades were blown away!
The author was going to do it this way. And install a second rotor on top.
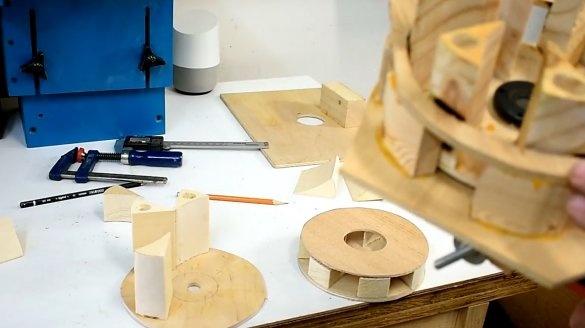
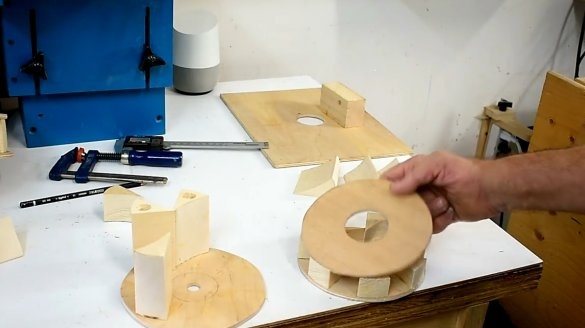
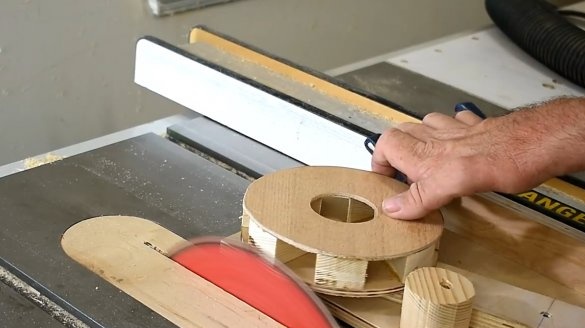
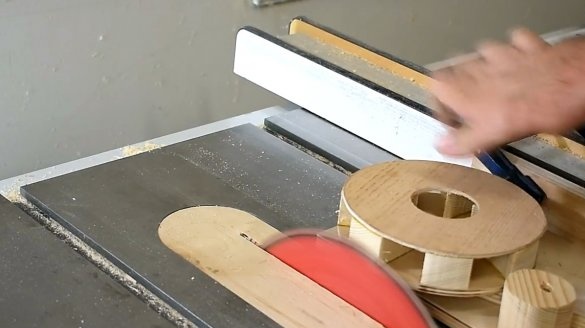
Then he reduces the blades to such a size, glues a ring of plywood, it will provide reliable fastening of the blades. And then aligns on a circular saw.
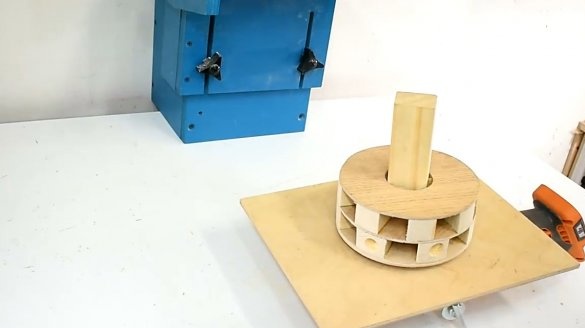
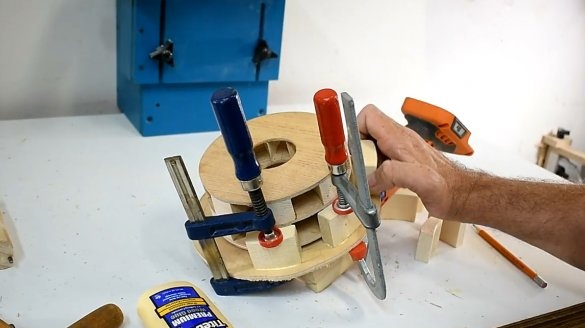
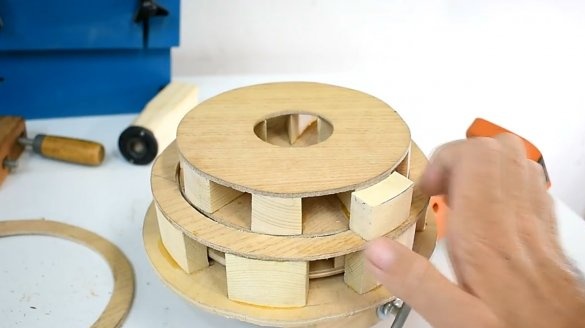
Now you can stick here the second row of blades. The author glues seven blades to the base and another 9 on top.
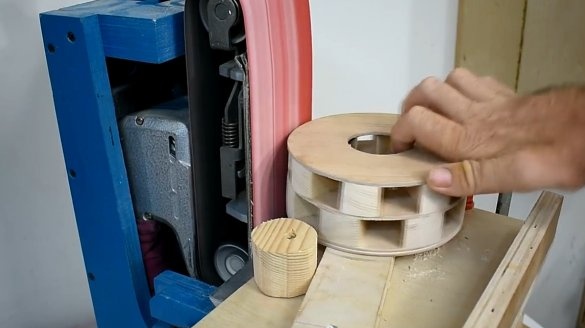
After gluing, it further aligns the edges on the grinding machine.
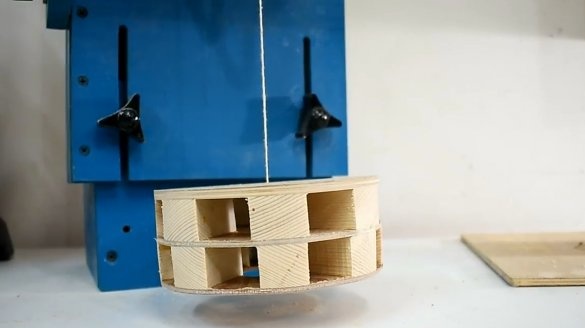
Then he pulls the string, tying one end of it to the grinder, and the other to the center of the rotor. And he watches how balanced he is. One edge outweighs.
You will have to remove some material on some blades.
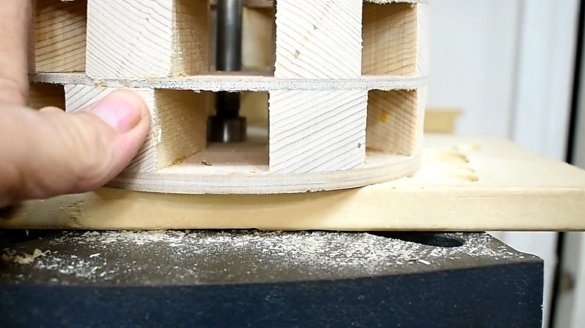
He drills several holes with a Forstner drill, so the rotor looks much more balanced.
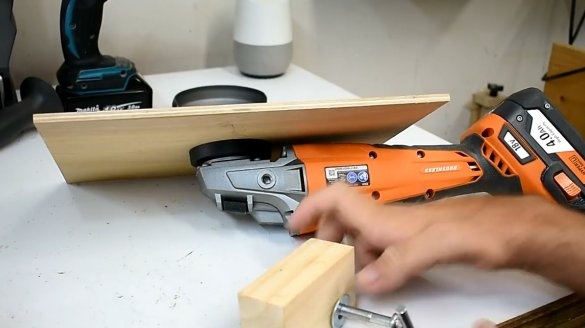
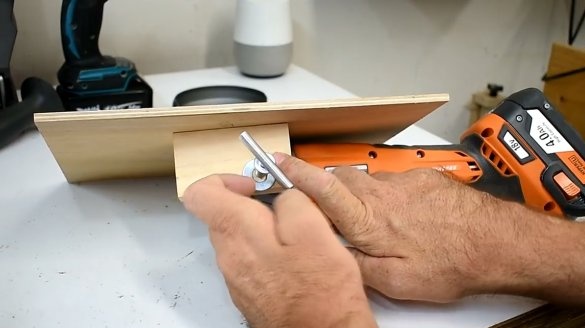
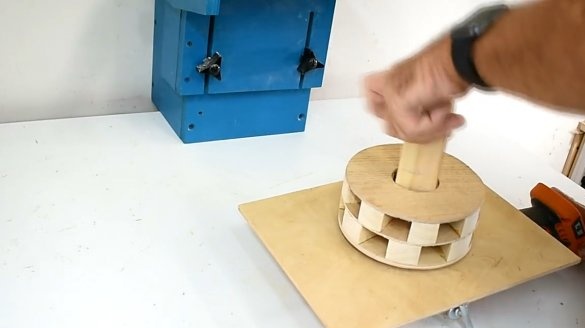
To tighten the clamping nut, the master had to come up with such a device. It fits perfectly here. Jack easily tightens the nut.
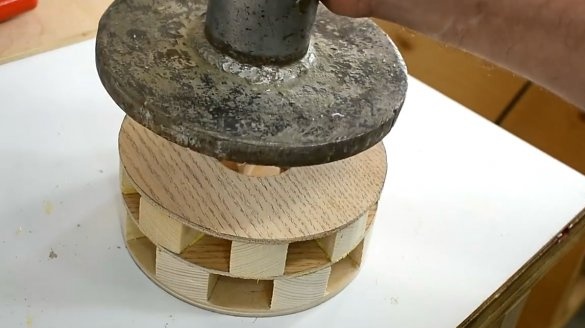
So, Jack removes the previous version of the rotor and puts on an improved one. Let's see how it works!
But the stator still has to be improved. Collects and glues the first row of jumpers.
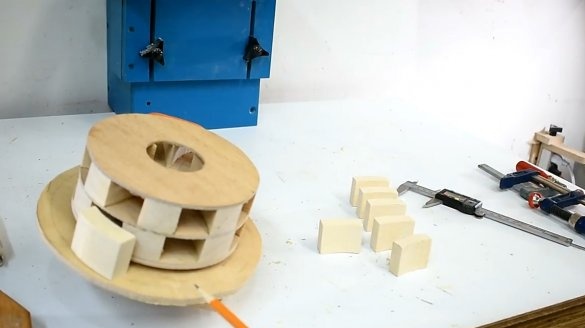
He cuts out 7 more identical blades, which will also become part of the stator, and takes them to glue.
Jack marks the contours where the next eight blades will be glued. So, there are eight blades on the upper tier, seven on the lower tier. This allows you to simultaneously generate two sounds with a difference of two tones.
Then he turns another ring and glues it on top.
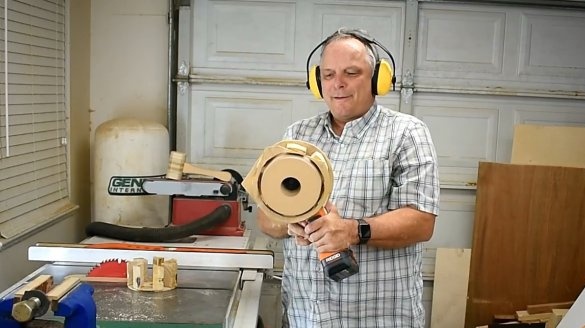
After the glue dries, the siren is ready. Do not forget to wear headphones, it is very loud.
Thanks to Jack for the original idea of a hand-held siren!
All good mood, good luck and interesting ideas!

