
In this article, the author of the GuysWoodshop YouTube channel will introduce interested readers to the course on how to make a box with a combined wood pattern in all four corners. Usually this technique raises a lot of questions.
Materials
- Ashen board.
Instruments, used by the author.
- Jointer
- Milling machine
- Reysmus
- A circular saw
- Band-saw
- Grinding machine
- Ruler, pencil.
Manufacturing process.
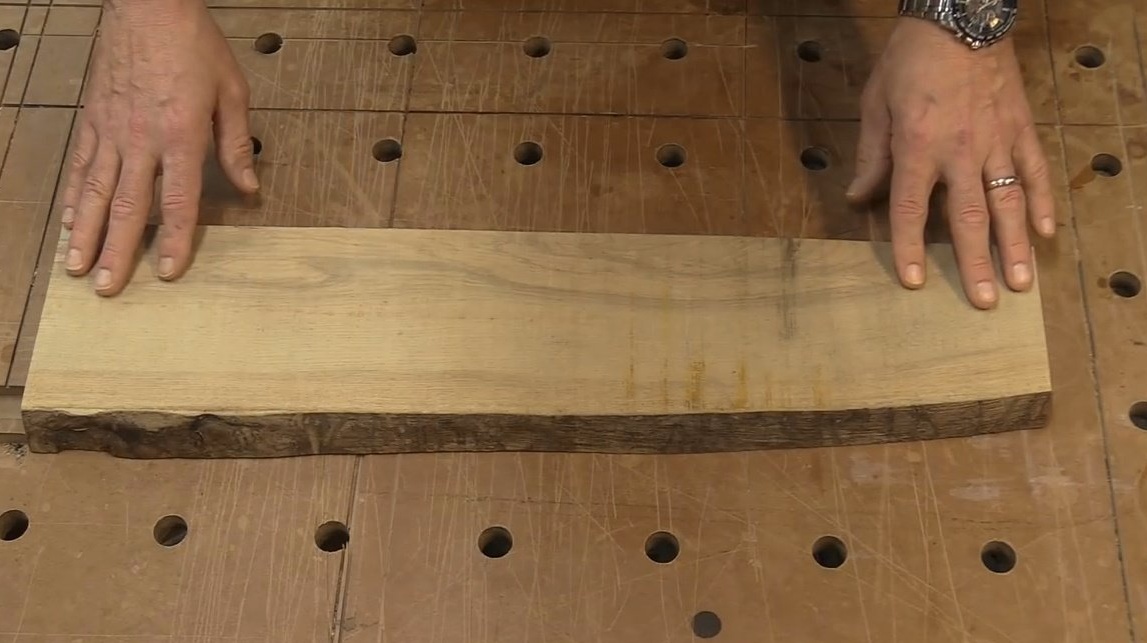
So, before you is an unprocessed piece of ash wood, 24 inches long and full 5/4 inches thick. And the first step that the master will take - he will try to make blanks for the four walls of the future casket from this board.
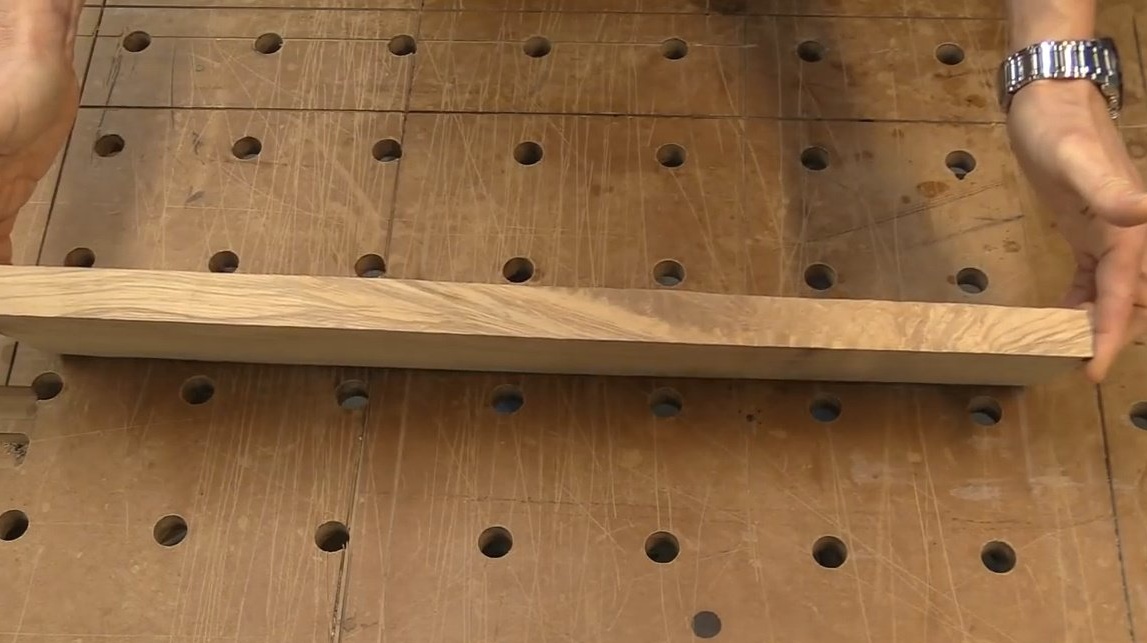
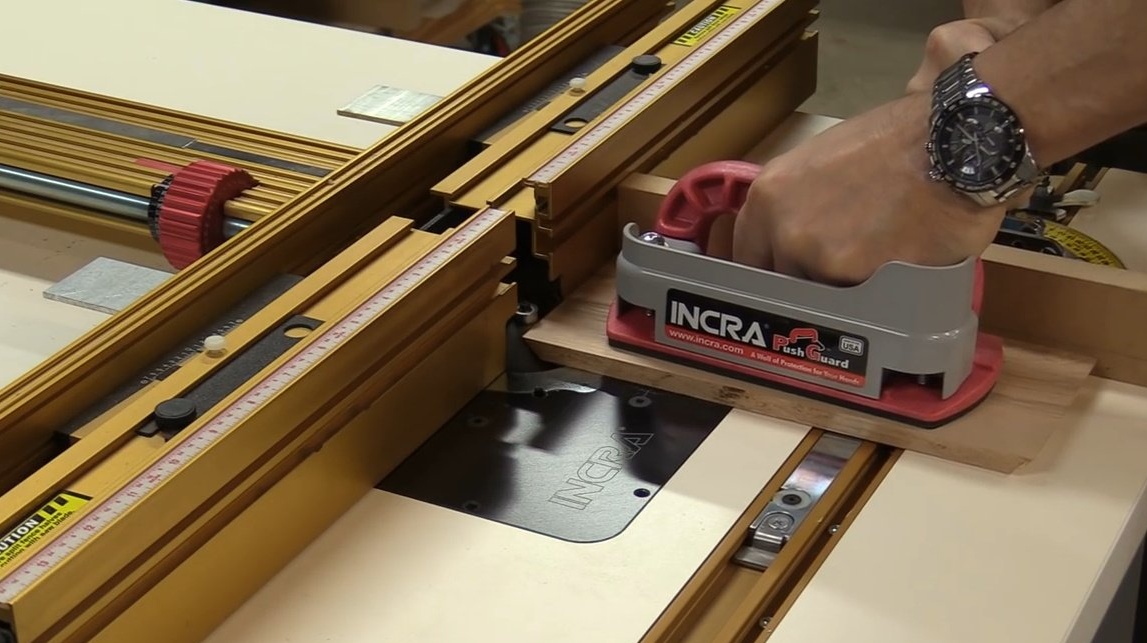
First, two surfaces of the board are machined on the jointer, these will be the base surfaces for the thicknesser and circular saw.
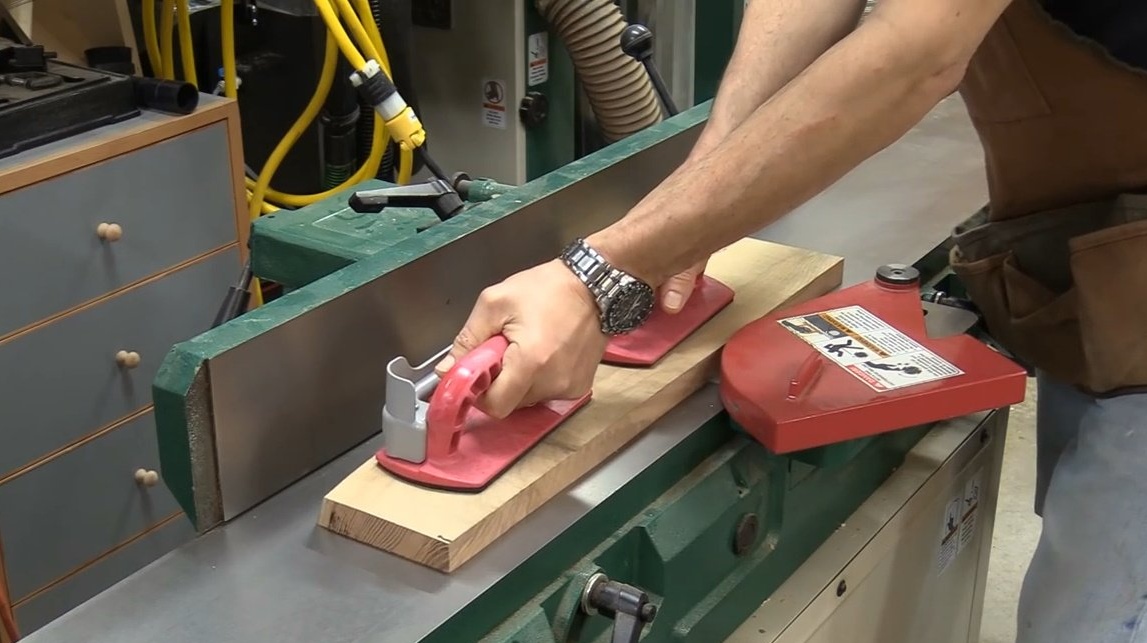
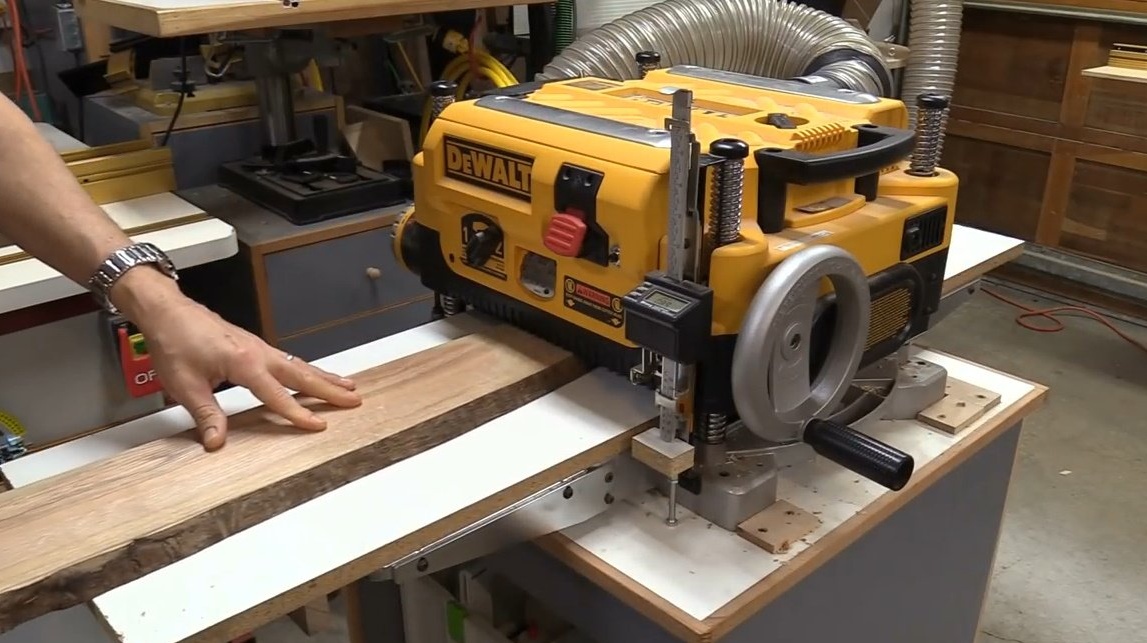
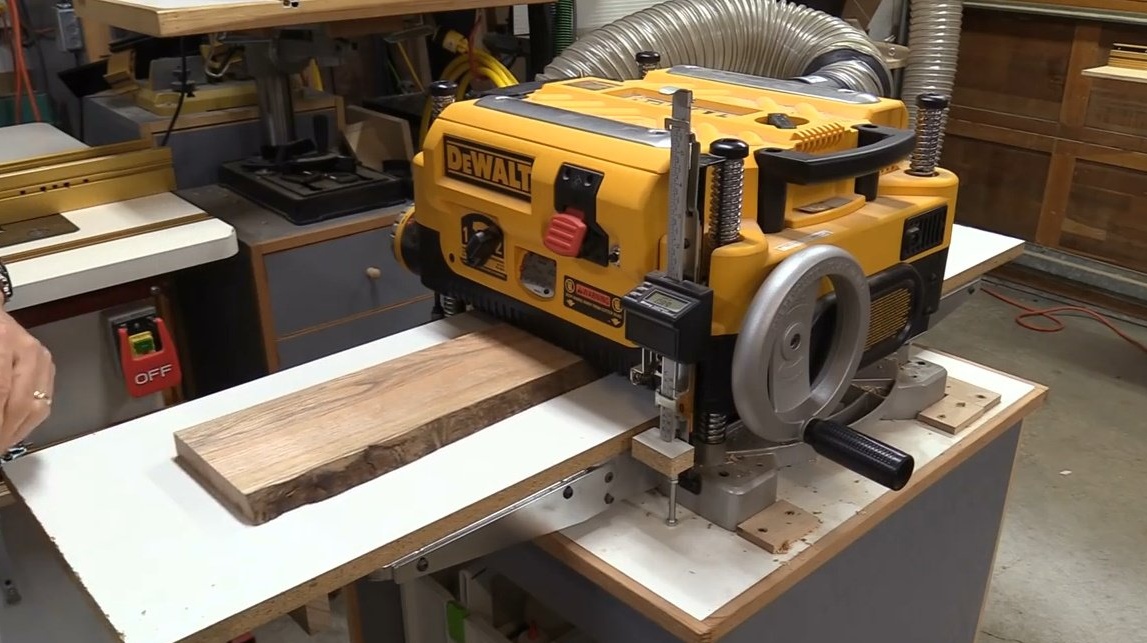
Then it processes the workpiece on a thicknesser and a circular saw.

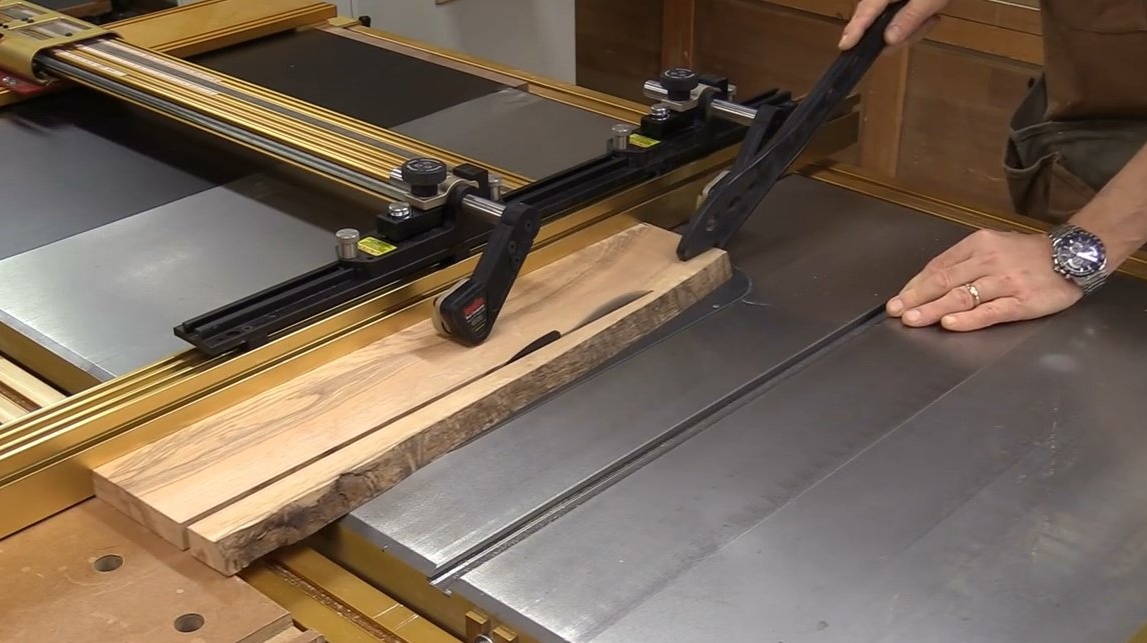
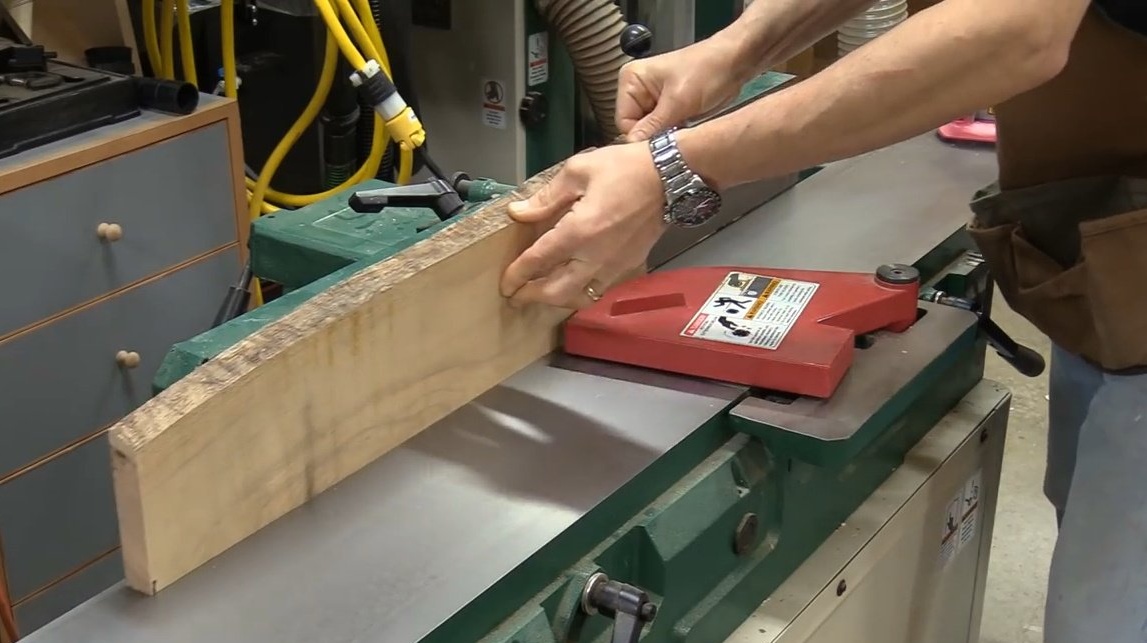
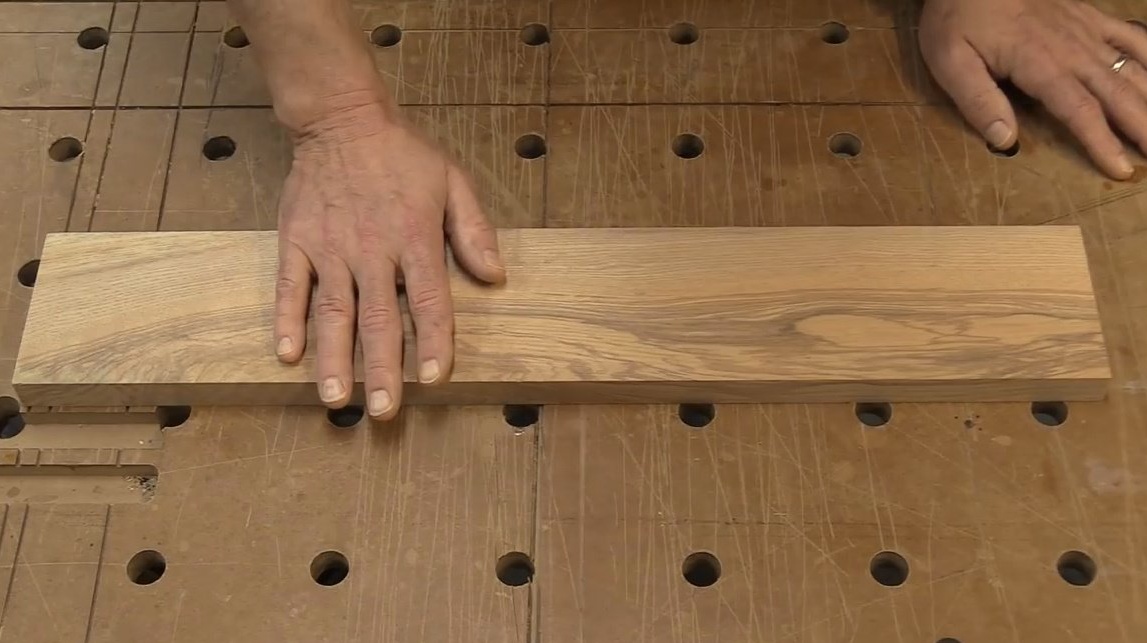
After processing all sides of the board, its thickness came out a little less than an inch, and the author also sawed it along the fibers to a width of 4 1/8 inches.
Thus, the box should be 6 by 10 in size, with a height of 4 inches. And an extra eight inches for the stock to fit the pattern. And you need to do this as accurately as possible so that you can combine the picture.
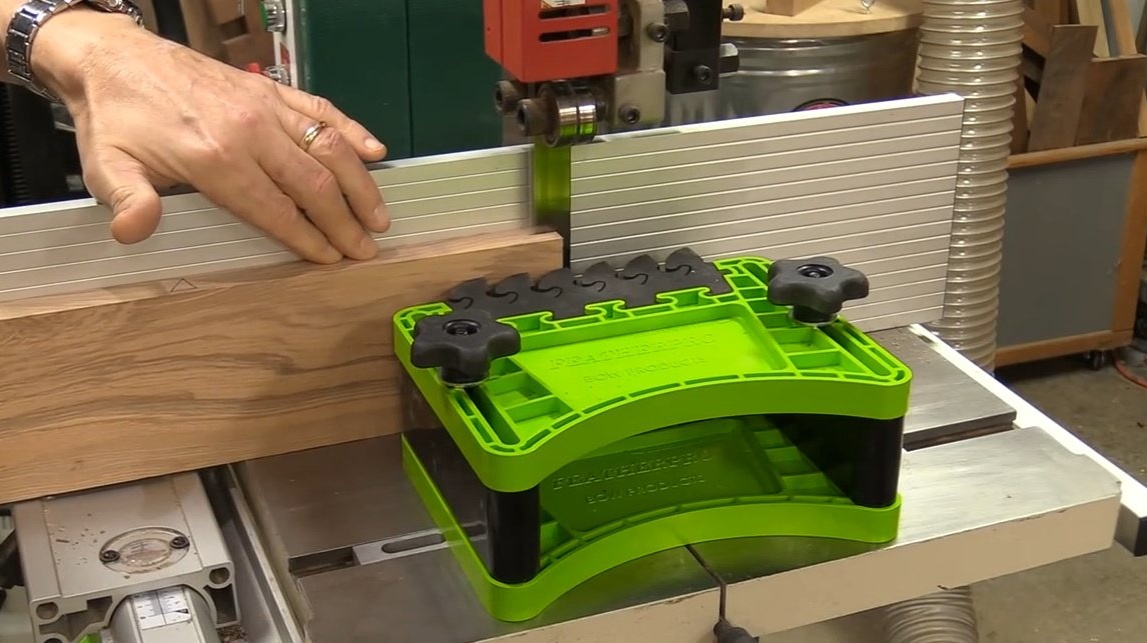
He will cut off this part. He will need to make a 16 and 1/8 inch incision, for which he will use a caliper to accurately comply with the parameters.


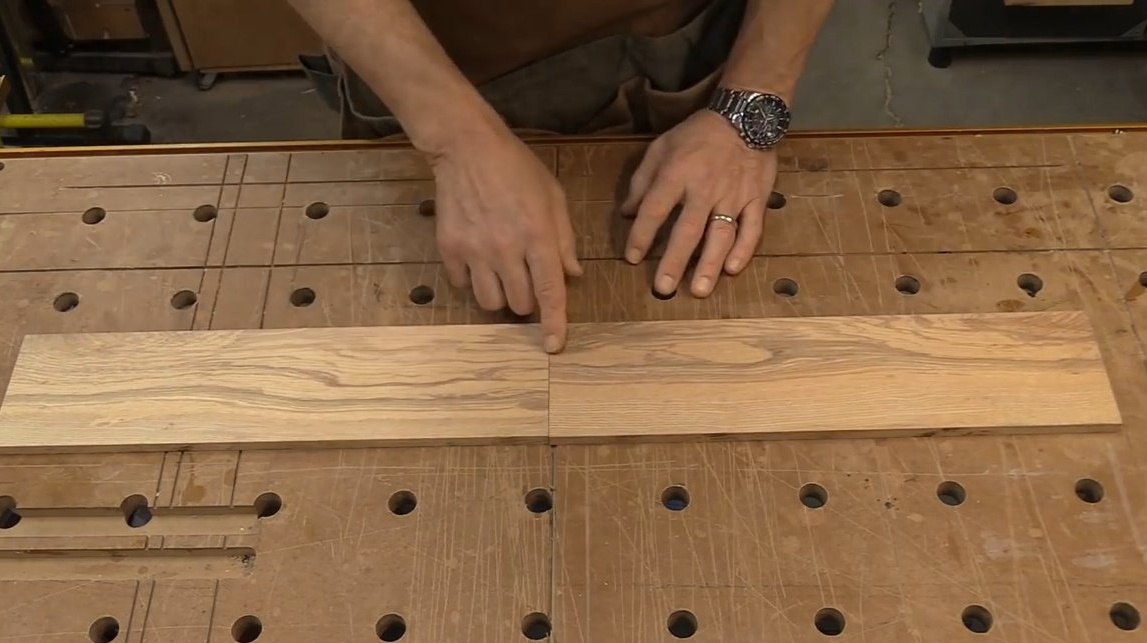
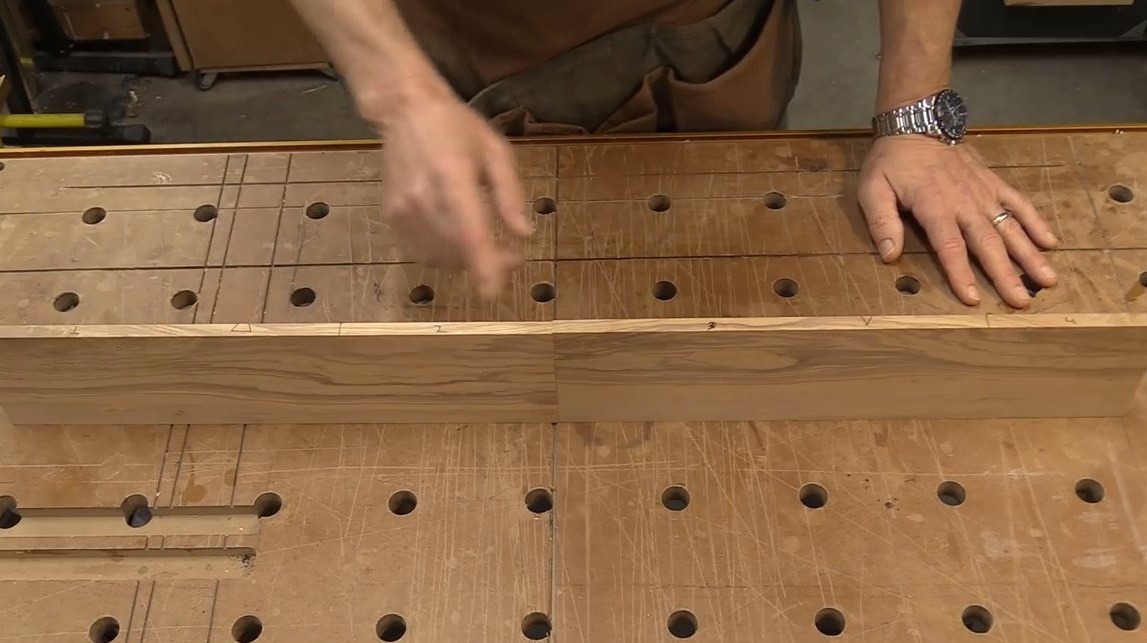
After the author has found and marked the center of the board, he will continue longitudinal sawing on the band saw. He also outlined the triangle at the base of the board so that, after a longitudinal cut, the elements could be folded together.
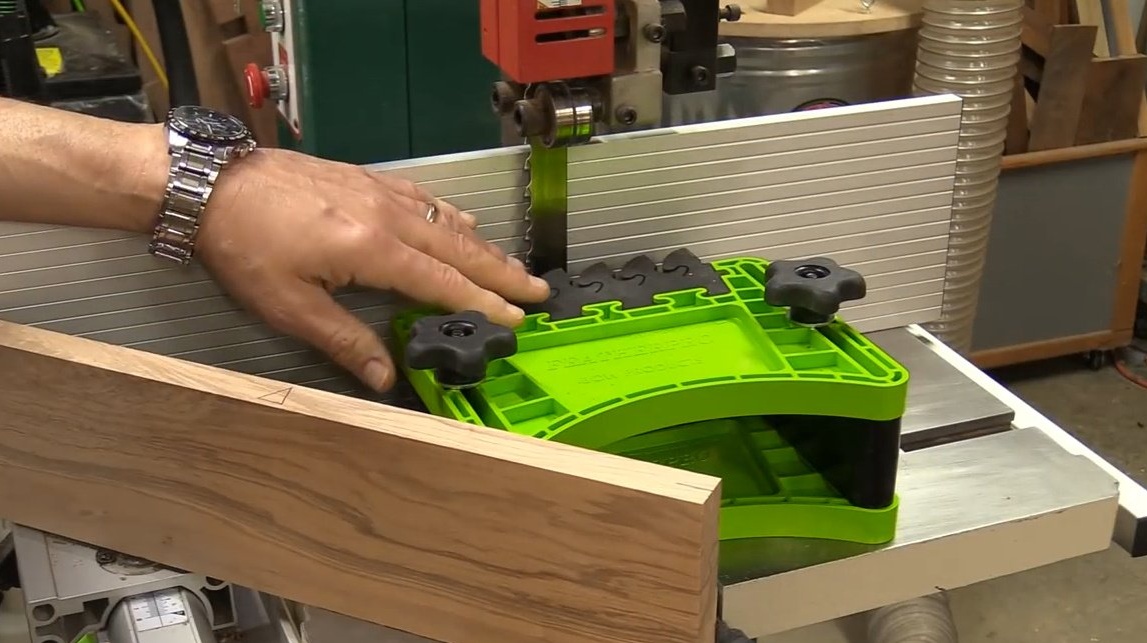
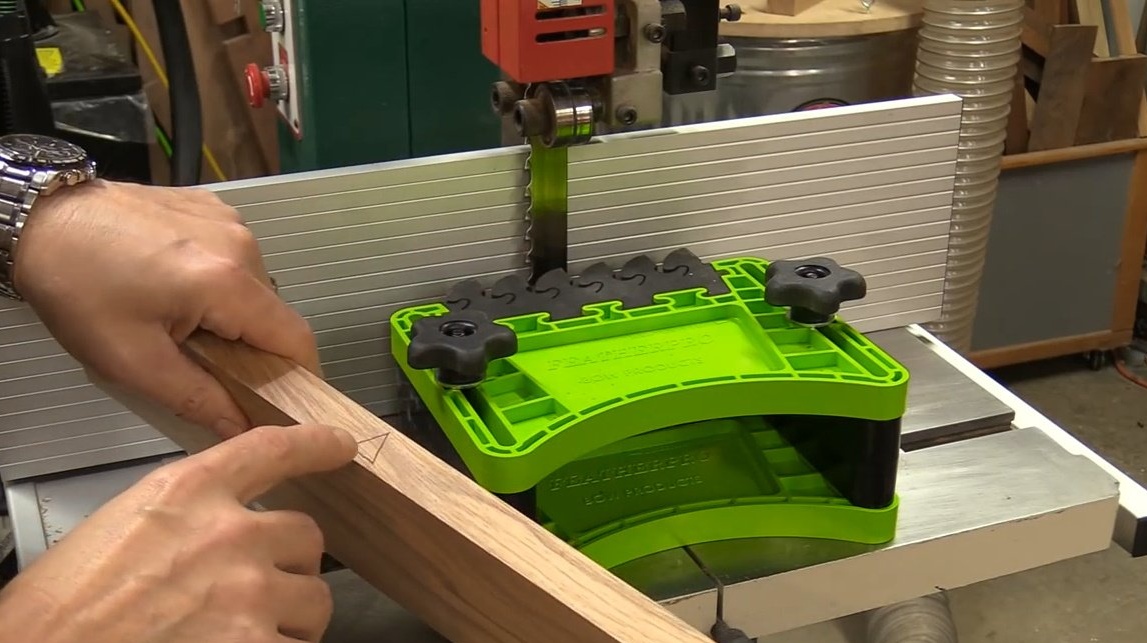
After the planks were sawn, the master reassembled them again, using the triangle as an indicator. And here comes a mysterious moment ... when the craftsman does not open the planks in the form of a book, but builds them in length, end to end.
And if you look this way, you get an almost perfect combination of fiber patterns.
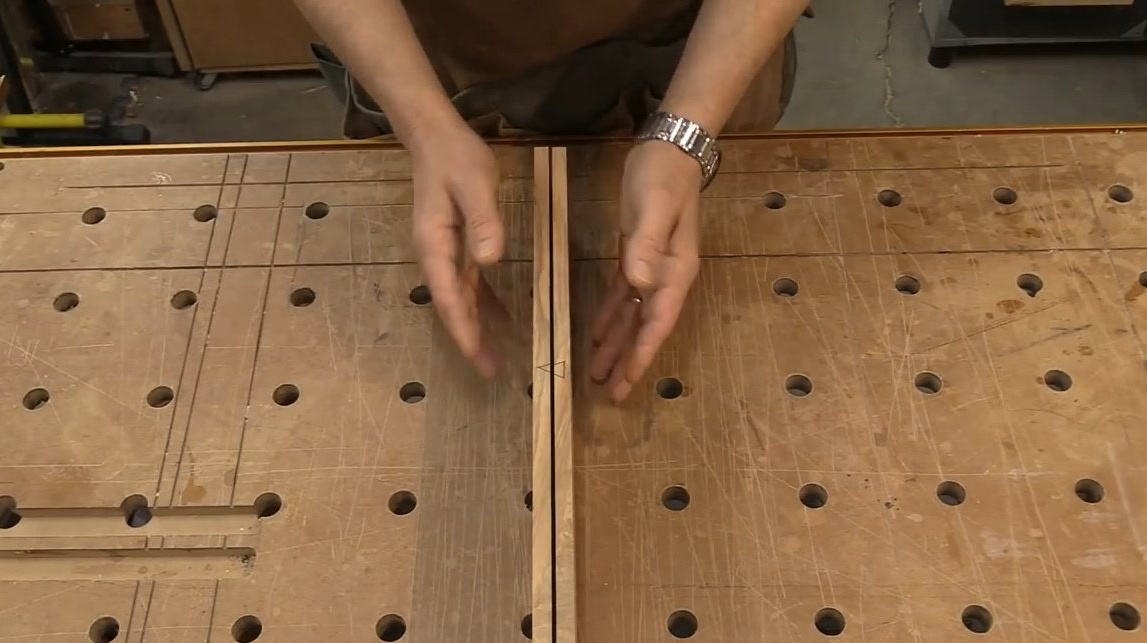
And if you move this side here, that again we will see the same uninterrupted, integral picture.
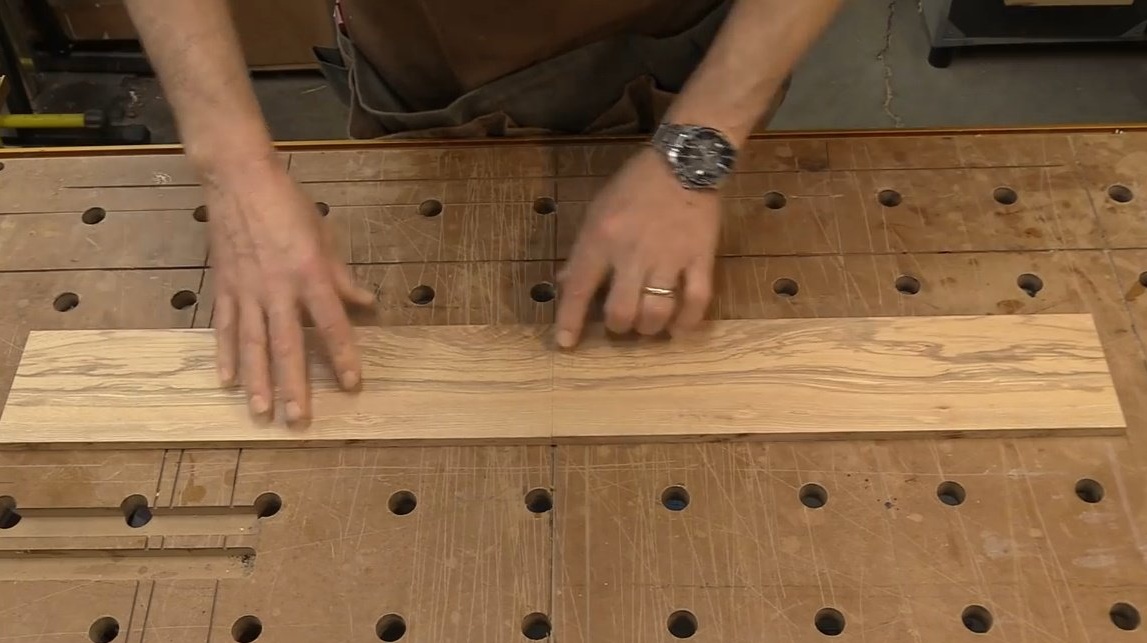
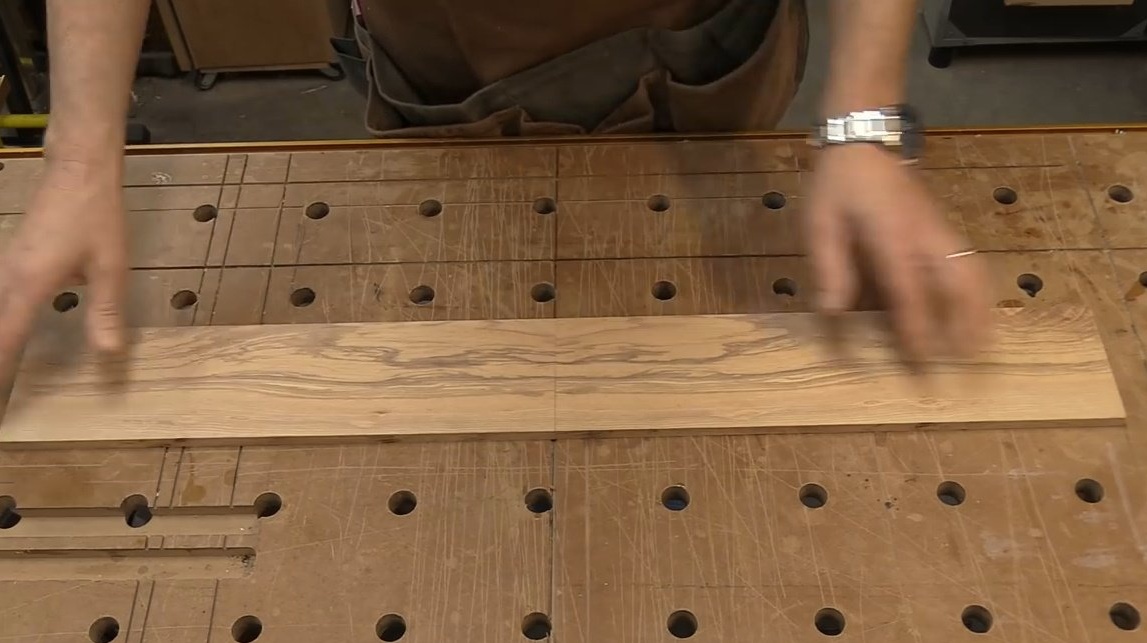
If you turn these boards over and try to combine the pattern, you will hardly succeed in achieving the same effect. The fact is that such magic works only on the front side of a longitudinal sawing of wood.
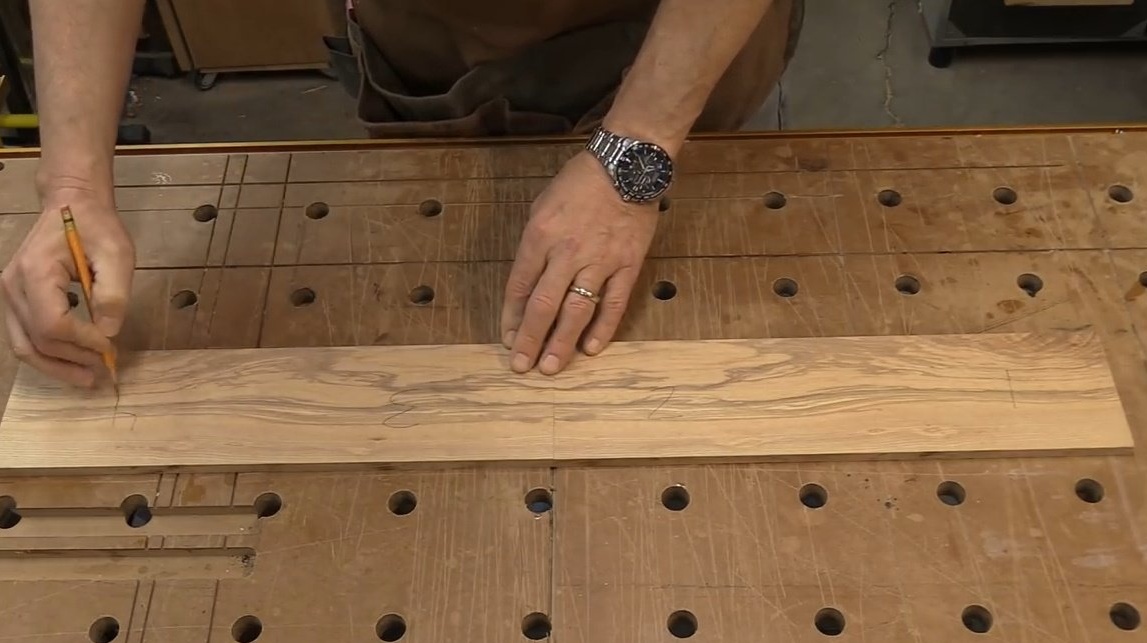
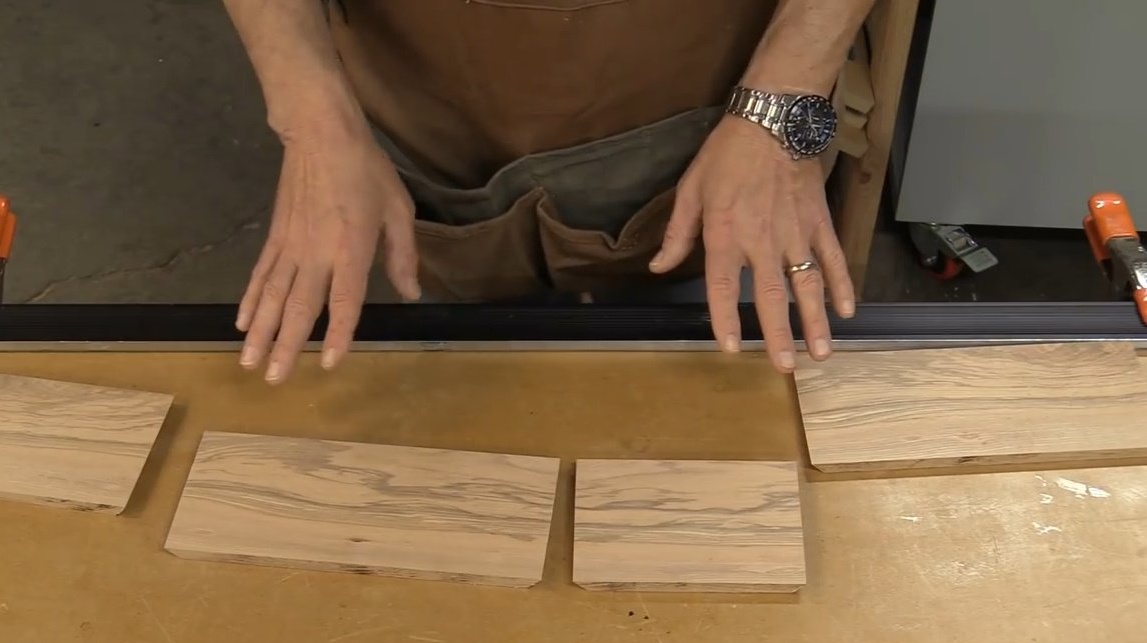
So, the author takes the lengths in the following order: first ten inch piece, then six inch, and again 10 and 6 inches. He marks them with numbers: 1,2,3,4.
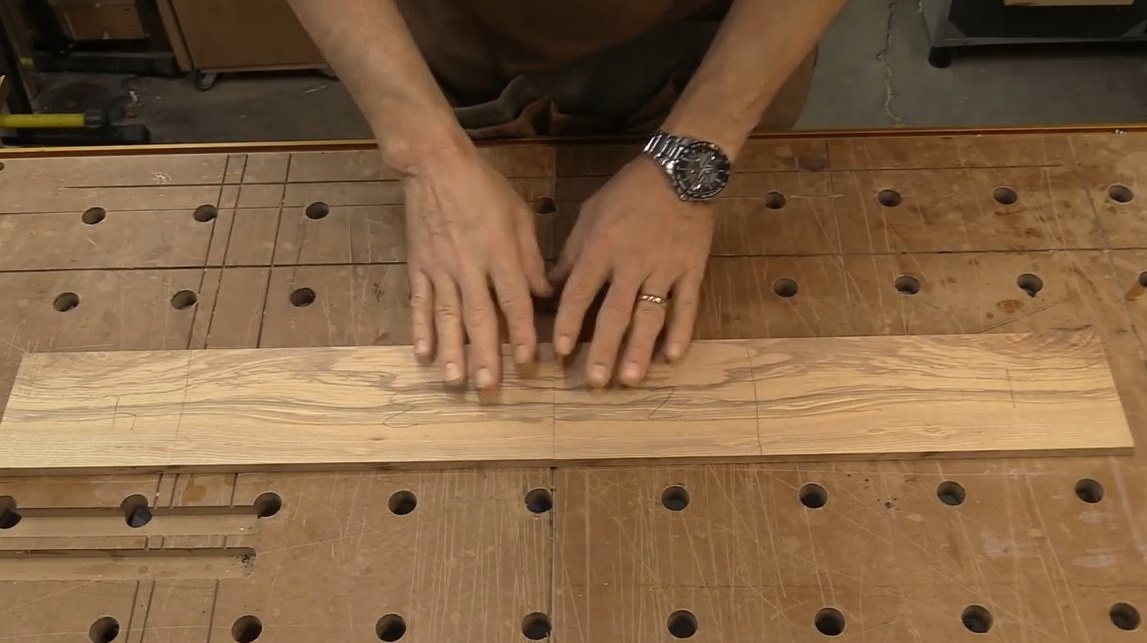
Before figuring out where to make cuts, the master is going to clean the surface of the boards, which still have traces of the saw. But the elements are not yet sufficiently sized.
The next thing the craftsman does, so as not to lose the markup, he transfers the numbering of the sides to the corner of the board with a marker. Now he knows for sure where he has short and long sides.
He uses a drum grinder to grind the surface. For this work, a surface gage will also work, but you need to be sure that it will remove as little material as possible so as not to spoil the combination of the picture!

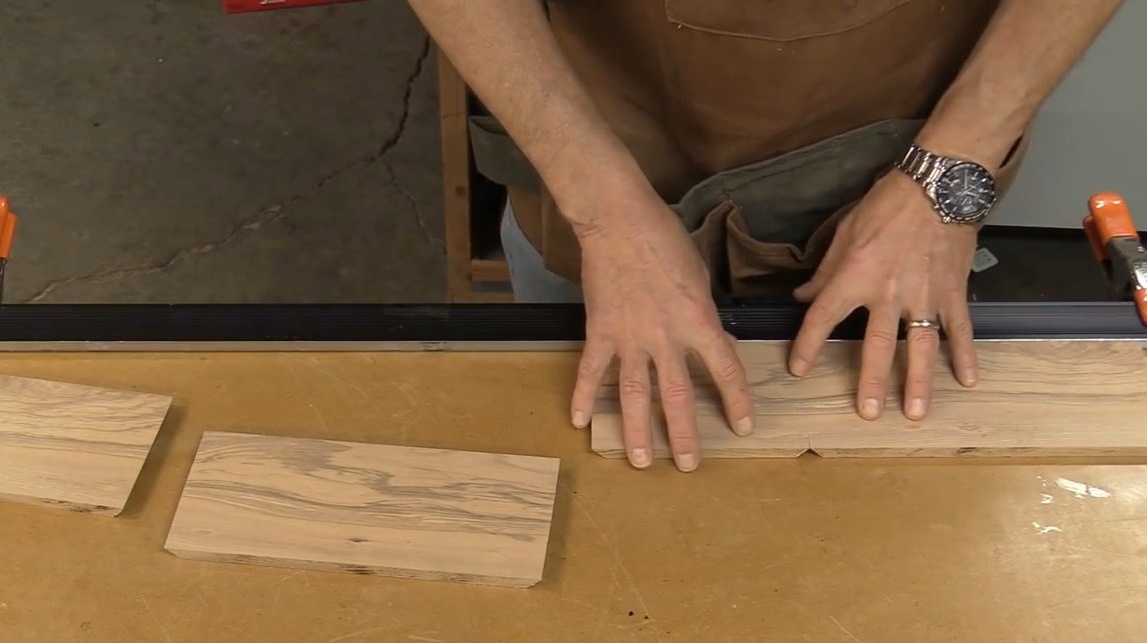
And so he returns the plank to its original position to the designated triangle. All surfaces are already wiped to smoothness.
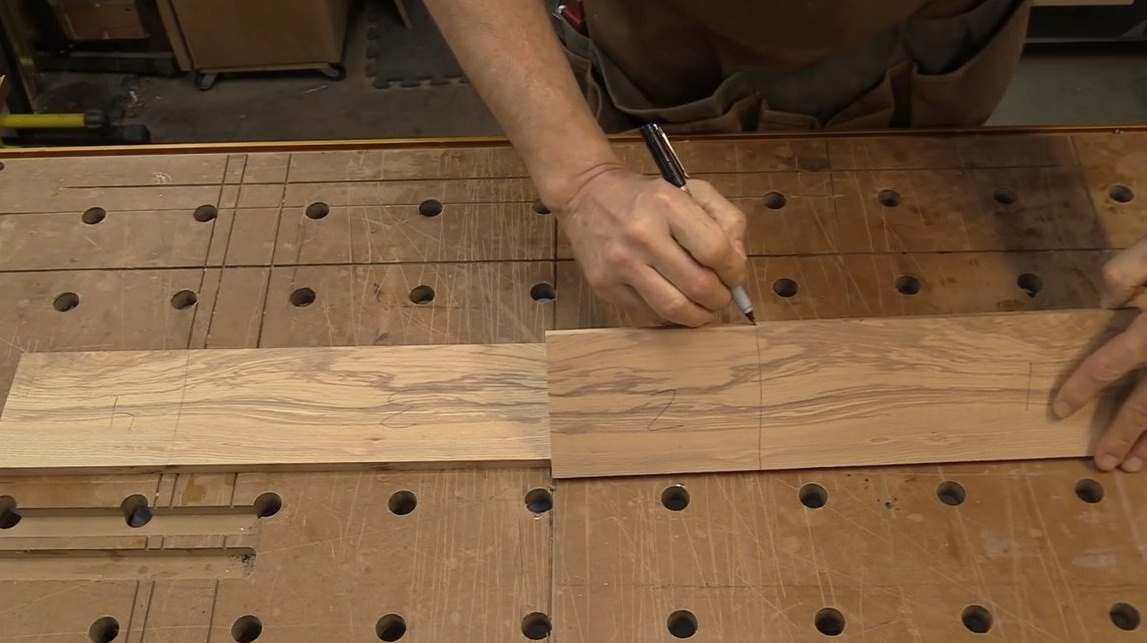
Now they need to be cut into marked sides, remembering the sequence: long, short; short, long sides.


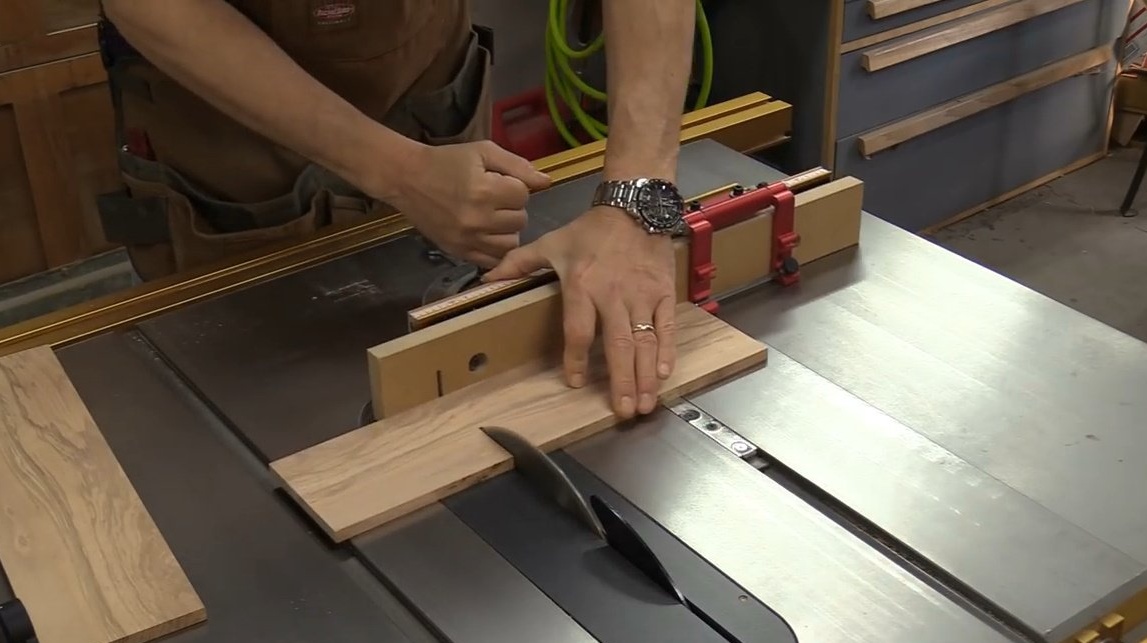
Further, the master turns the details in this way - now he has on one side two long and two short sides.
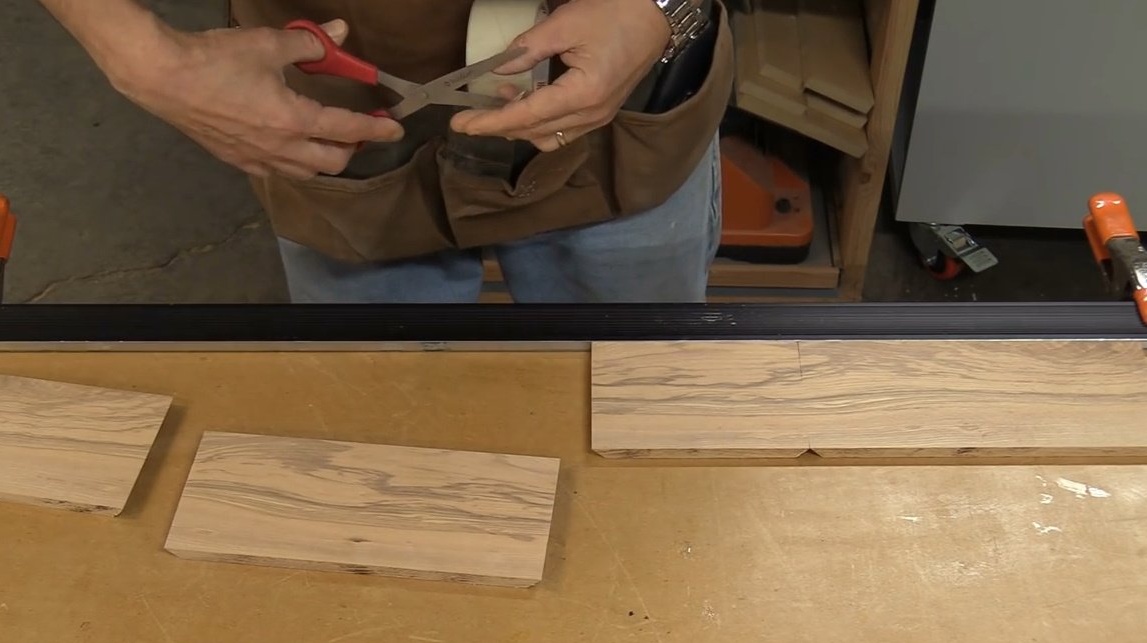
Using a circular saw, he makes one cut on each board of 10 inches. These are elements 1 and two, and these are 3 and 4. The author again lays them out in this way, face up, as a result, a through drawing passes across the entire surface.
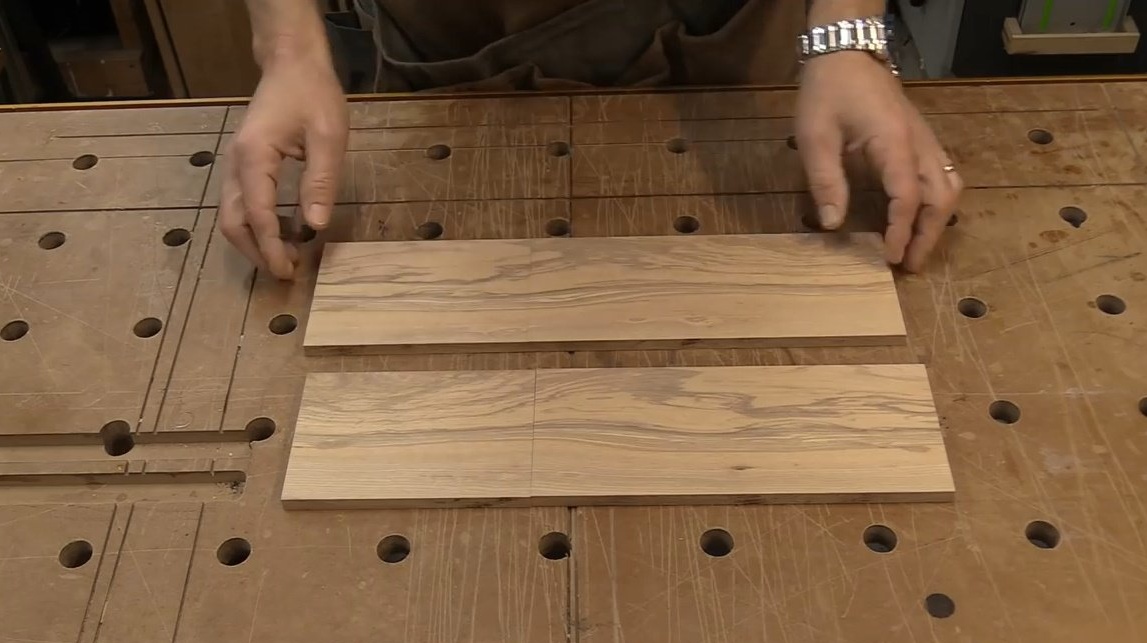
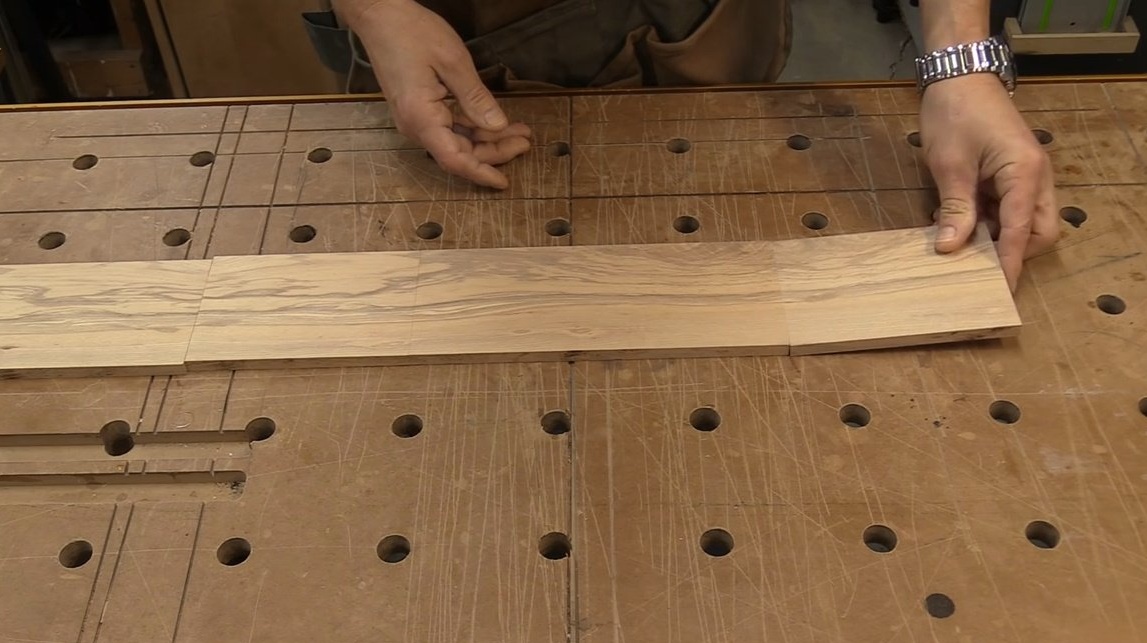
So if he takes part number 4 and puts it in front of the first part, the integrity of the picture is not violated!
The next step is to make 45-degree bevels on all planks and assemble the casket. This is quite simple to perform on a milling machine.
The craftsman lays out the details, as indicated above, face up, bevels down, while the edge of the board with the numbering looks down.
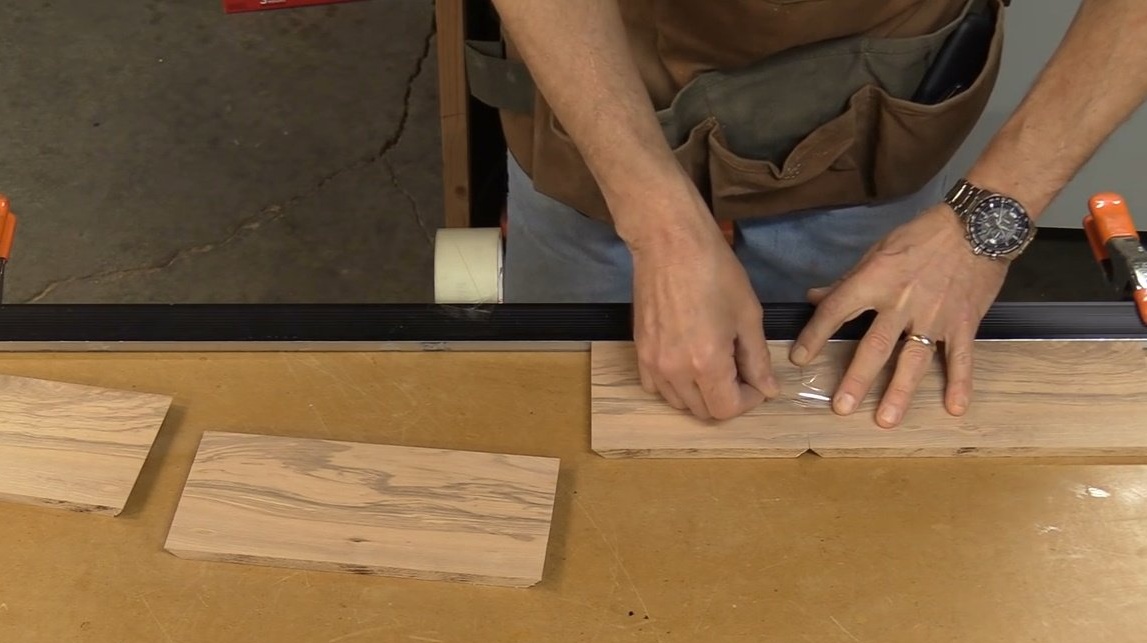
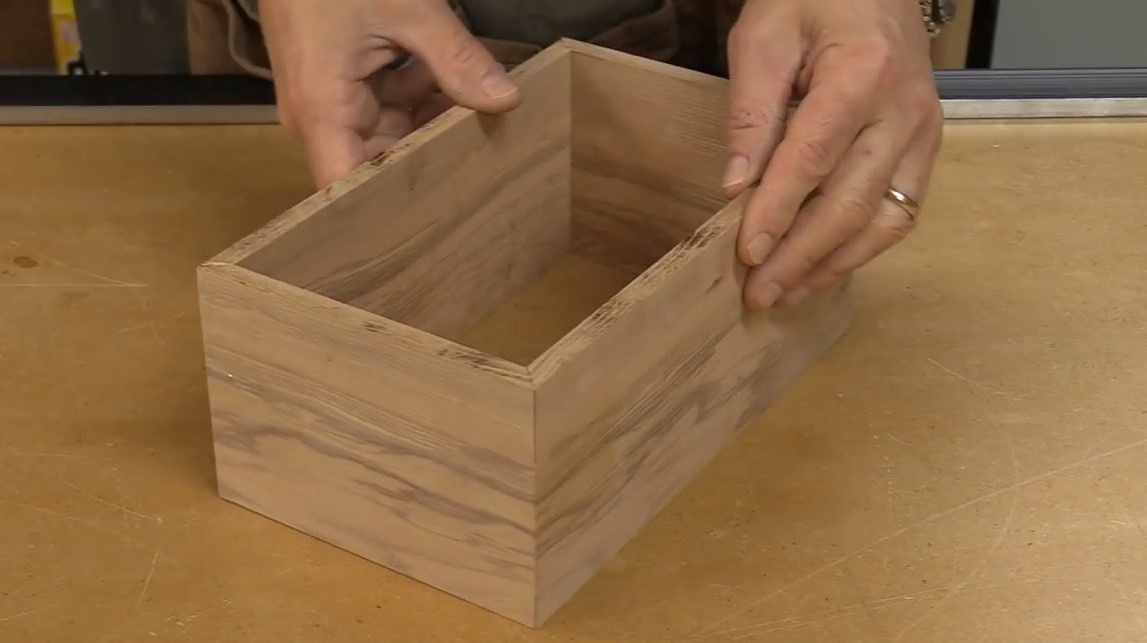
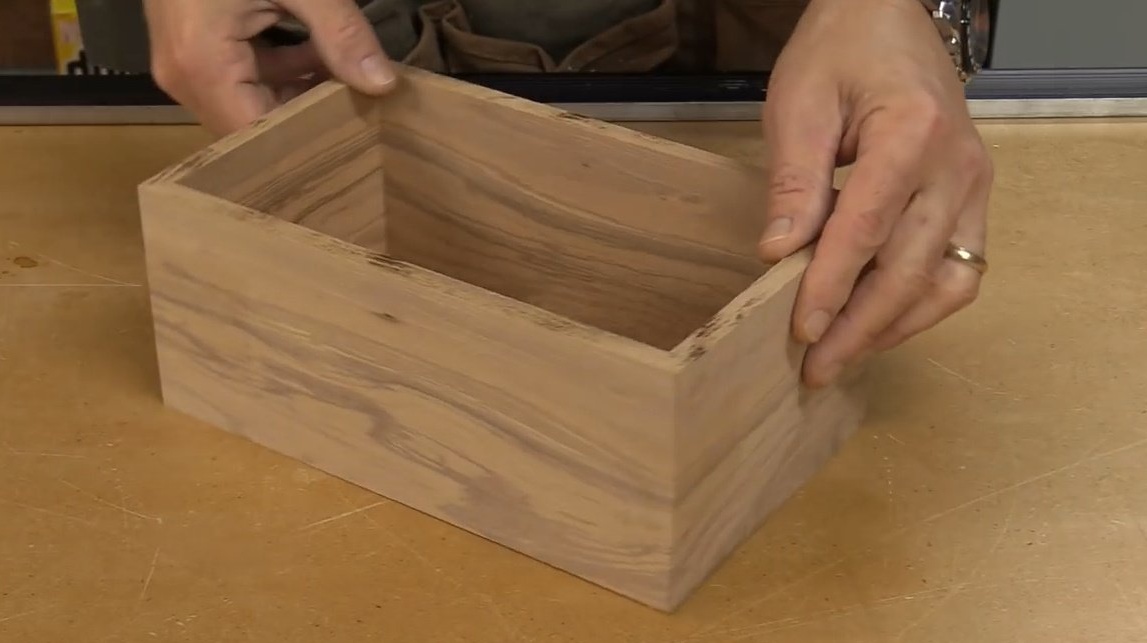
Here we get a right angle. It should be noted, and the author does this with adhesive tape. Usually he prefers the blue color of the tape. But in this particular case, he wants to demonstrate to the readers the combination of a wood drawing. During assembly, it is important to carefully and tightly fit the parts.
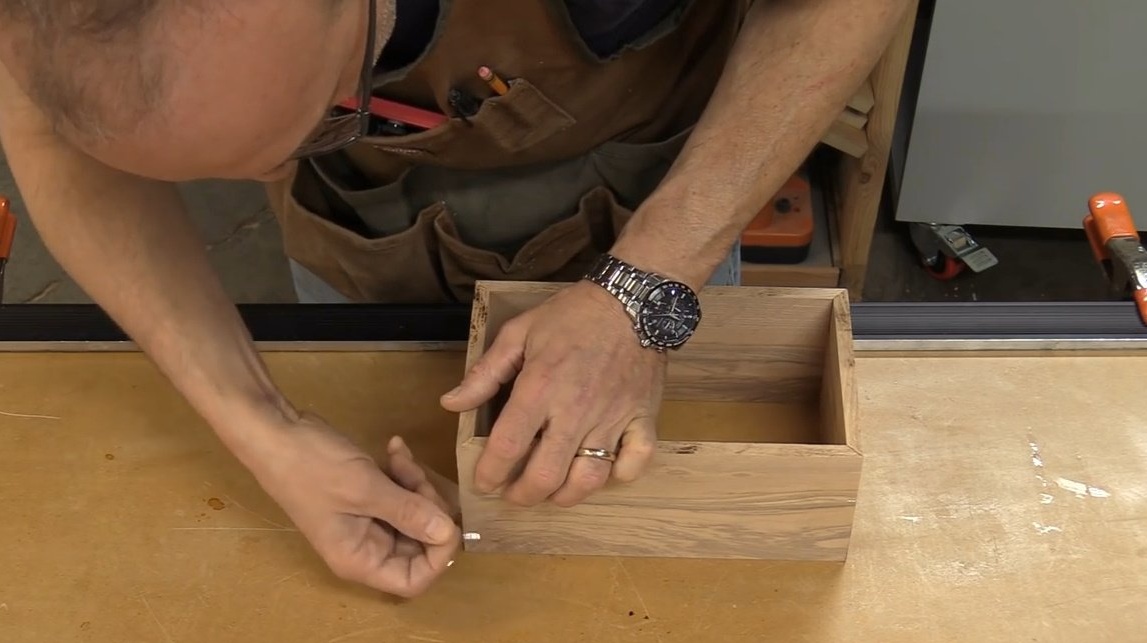
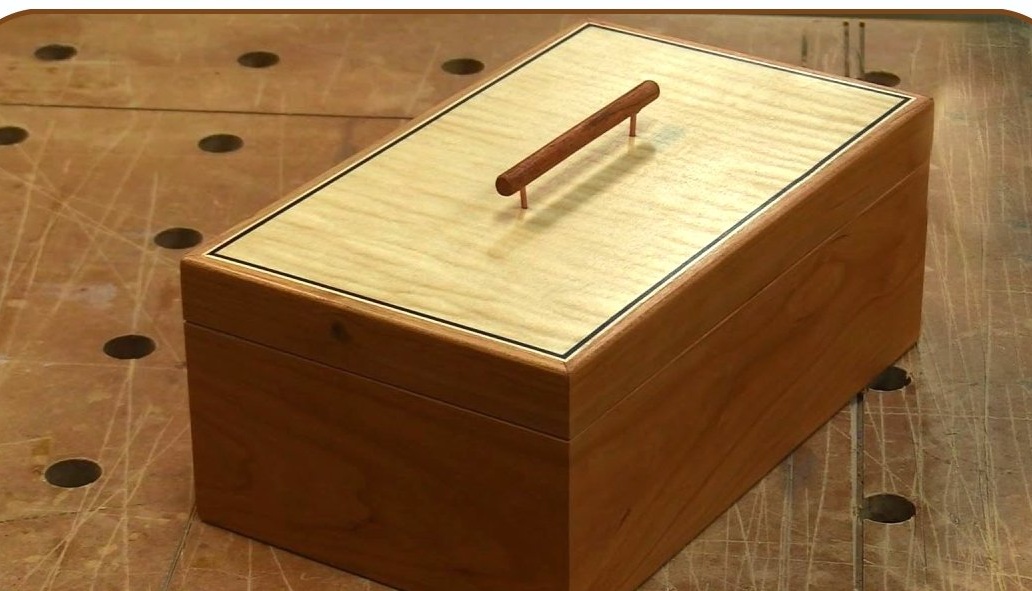
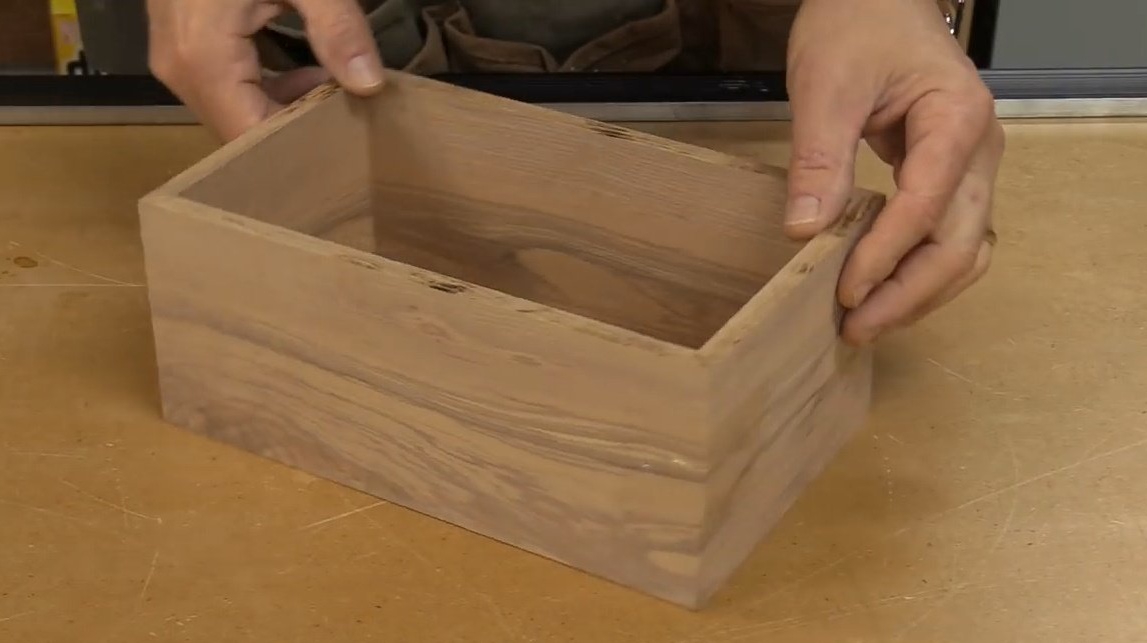
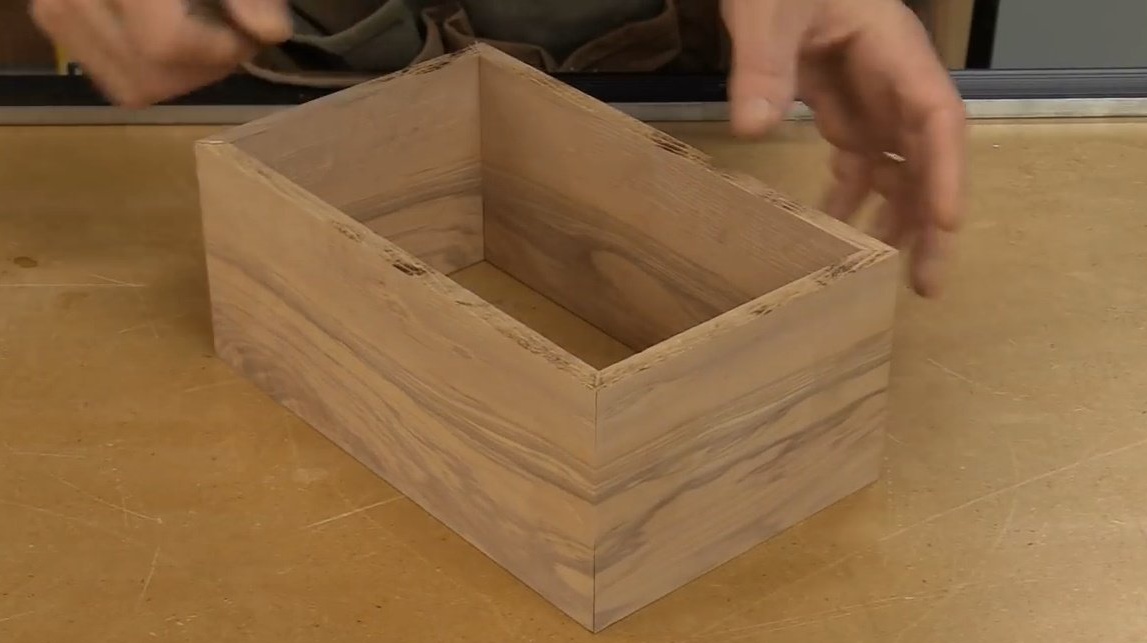
Perfect! The pattern matches at all four corners. Now all that remains is to glue the boards, make the bottom and the lid, soak with stain. But here, without much wisdom.
Thanks to the author for an interesting workshop!
Good luck to everyone, good mood and ideas!