

The easiest and most affordable way to heat small rooms is of course heating with a stove. There are a lot of variations on the theme of the potbelly stove and I'm not the first to make it from a gas cylinder, but I have my own design that I myself invented, and I want to share it with you. Due to its design, the potbelly stove has good heat dissipation and high efficiency.
Materials
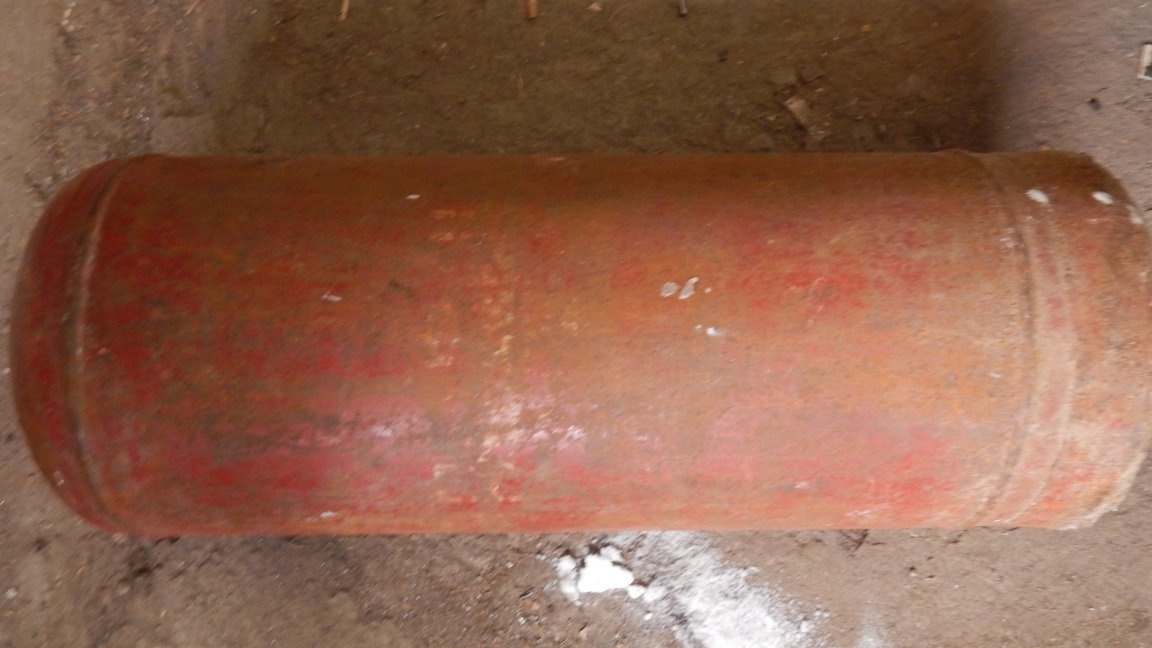
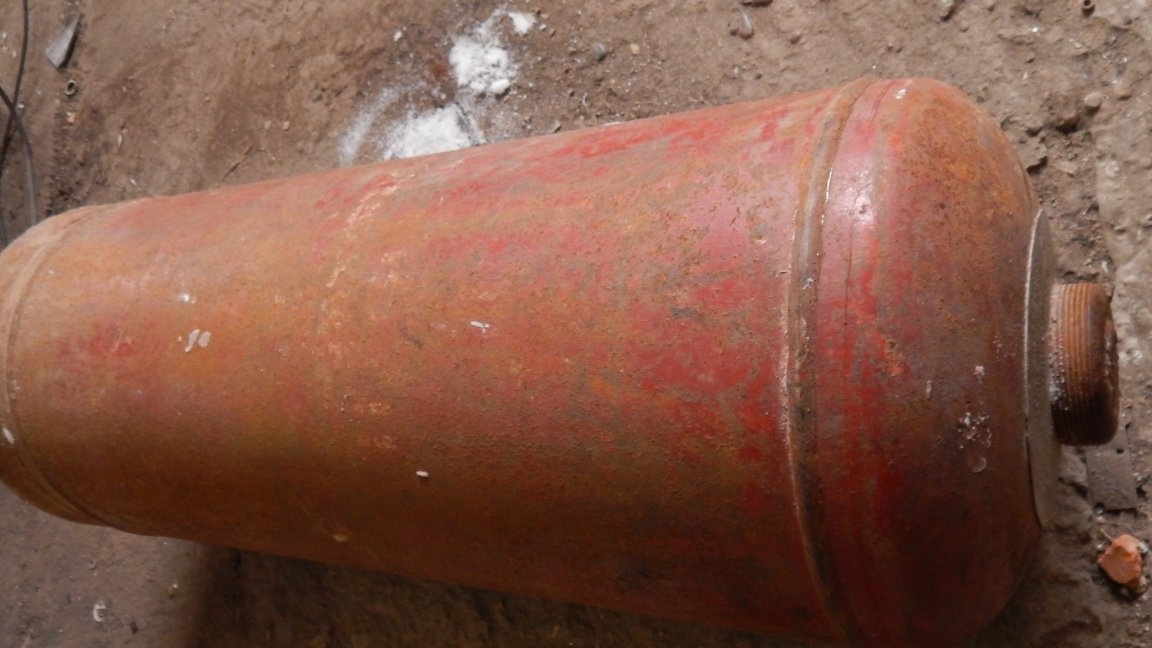
1. 40 liter gas bottle
2. Furnace grates 7 pieces
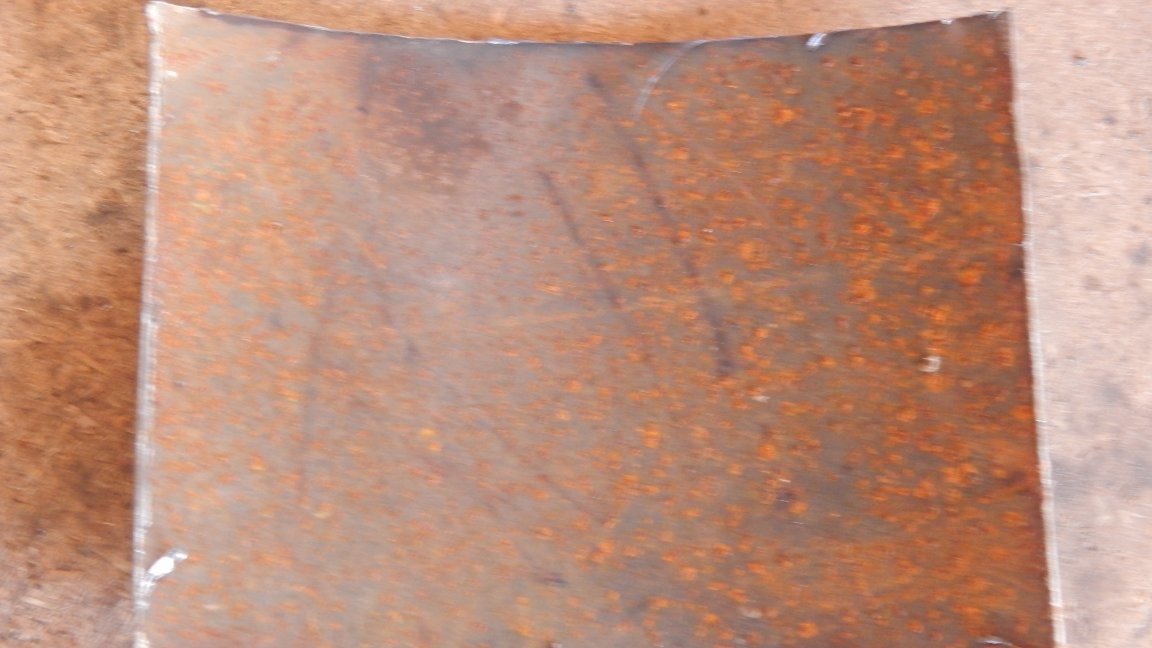
3. Sheet metal 2-4 mm thick
4. A pipe with a diameter of 160 mm and a length of 1 m
5. Armature 14 mm
Tools and consumables
1. Bulgarian
2. Welding machine
3. Drill
4. Tape measure and marker
5. Cutting and grinding wheels for the grinder
6. Electrodes 3 mm
7. Set of drills
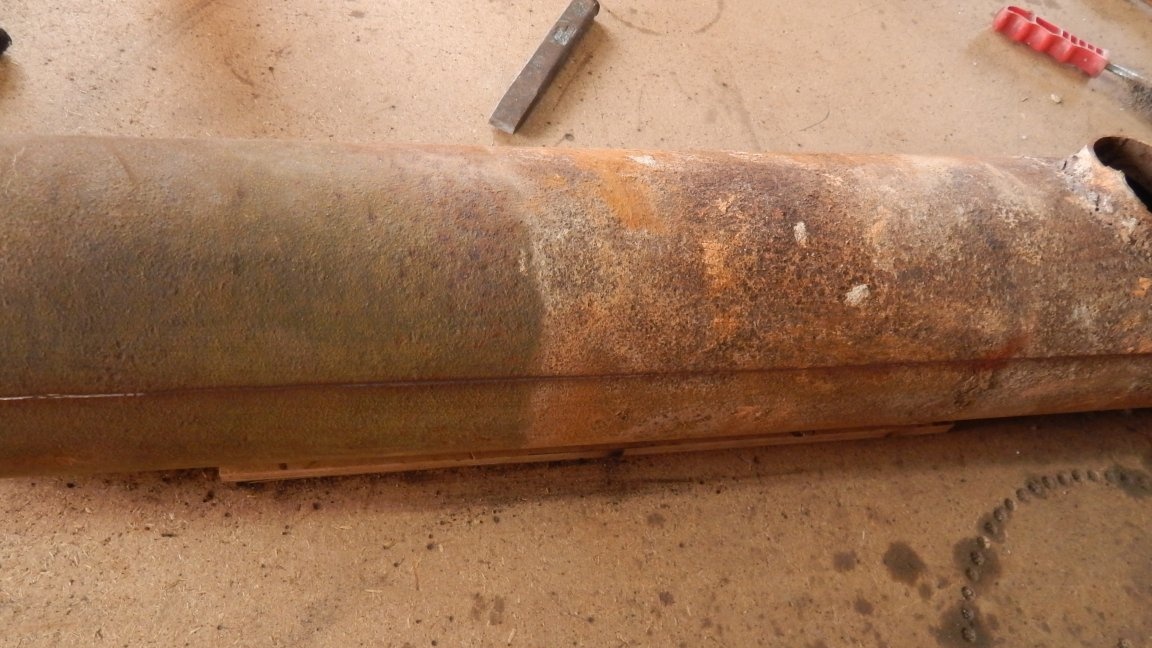
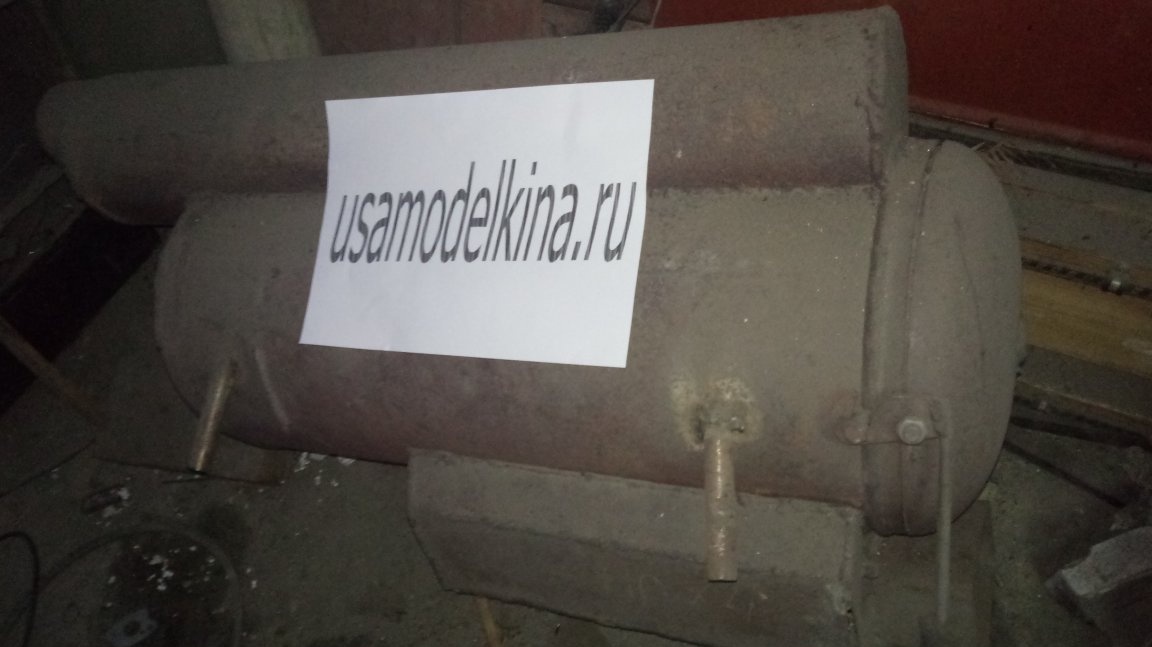
Step one: preparing a gas bottle
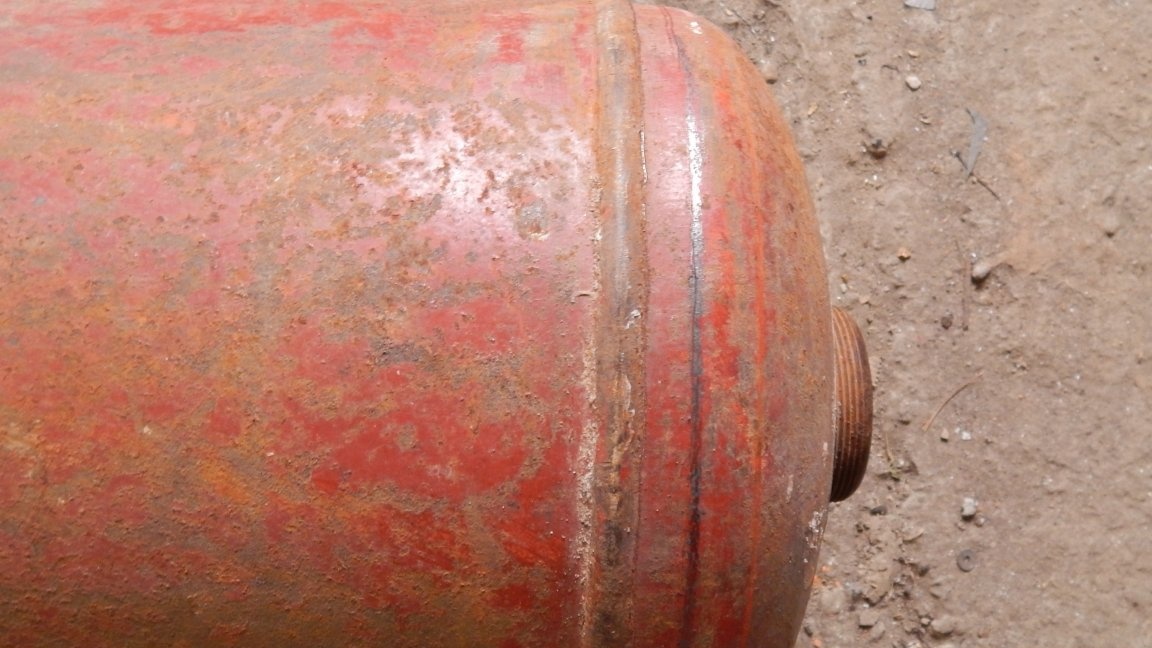
In order to start the production of our potbelly stove we need an unnecessary gas cylinder (40 liter), and of course, those who have it lying around at home were lucky. Those who do not have a gas cylinder at hand, but want to make such a potbelly stove, can buy it at scrap metal collection points, or buy it from someone in the village, or on Avito. The most important thing in working with a cylinder is compliance with safety measures. Before you start to cut something, you need to unscrew the cylinder valve and drain the remaining gas. Then we unscrew the valve body. After this, you need to pour water into the container and thoroughly rinsing it to drain the water. Now our tank is ready for further action.
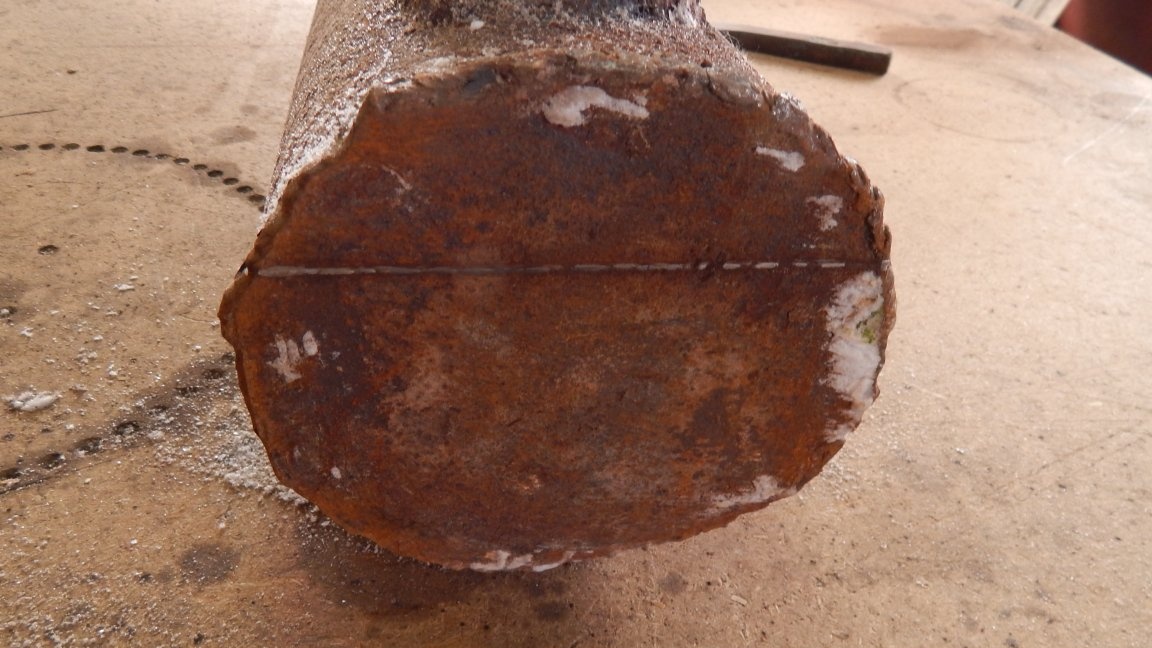
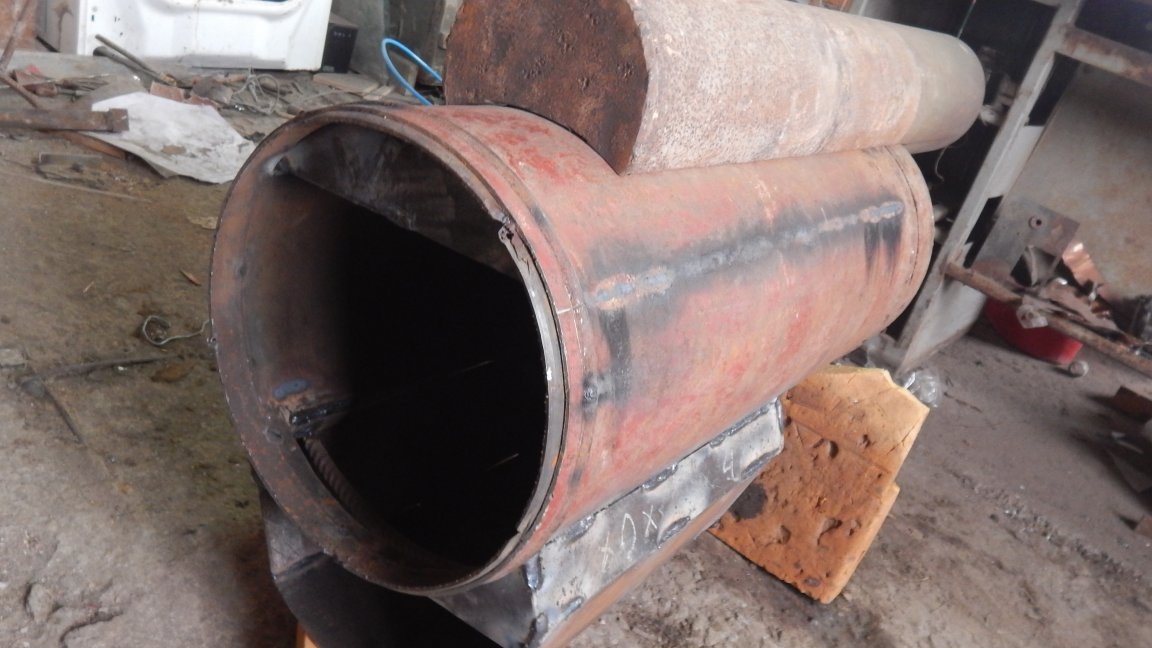
Step two: balloon mode
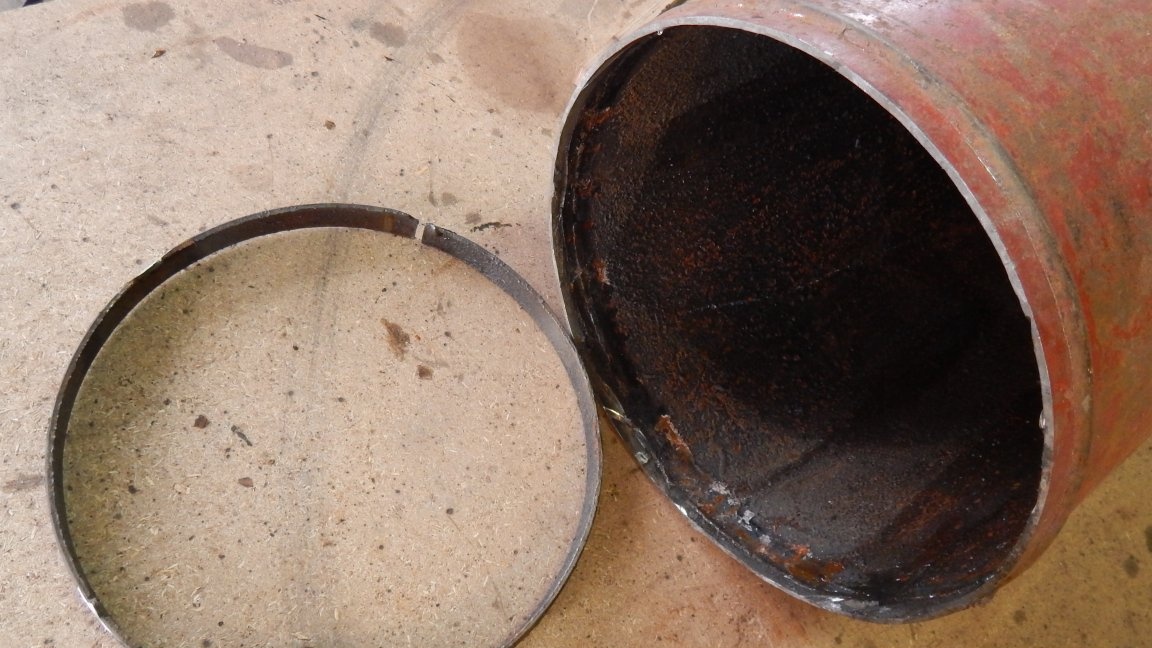
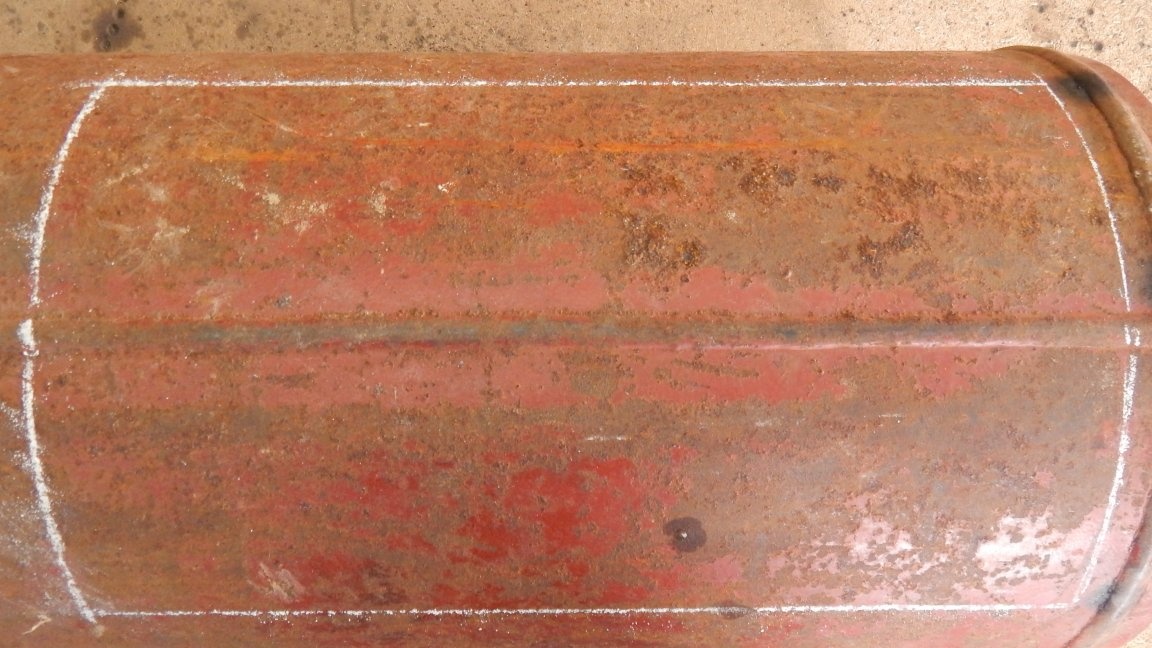
We mark the upper part of the cylinder, 2 cm away from the weld, and cut it off with a grinder.

After you cut off the upper part, inside the container you will see a docking rim welded to the walls, we need to cut it off.
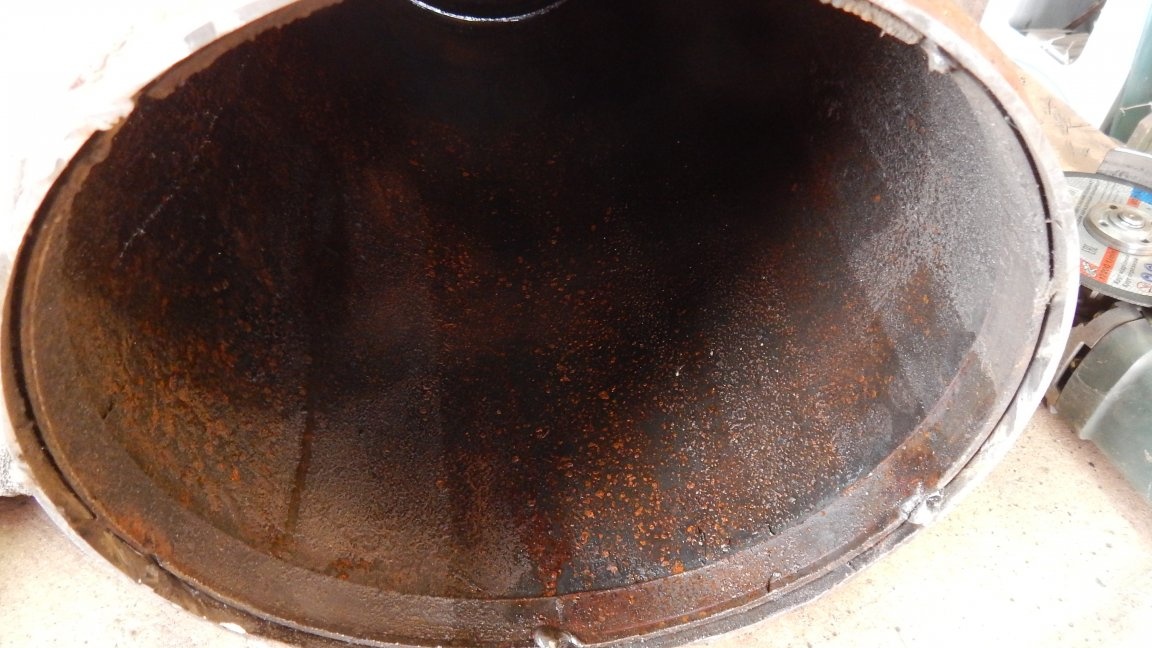
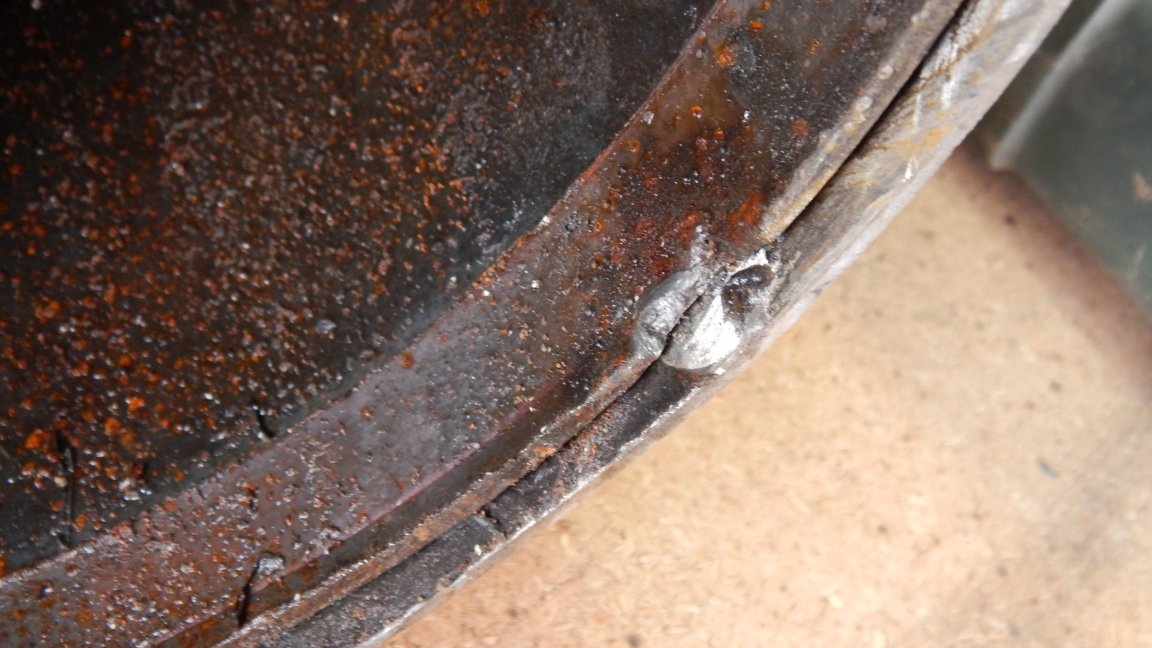
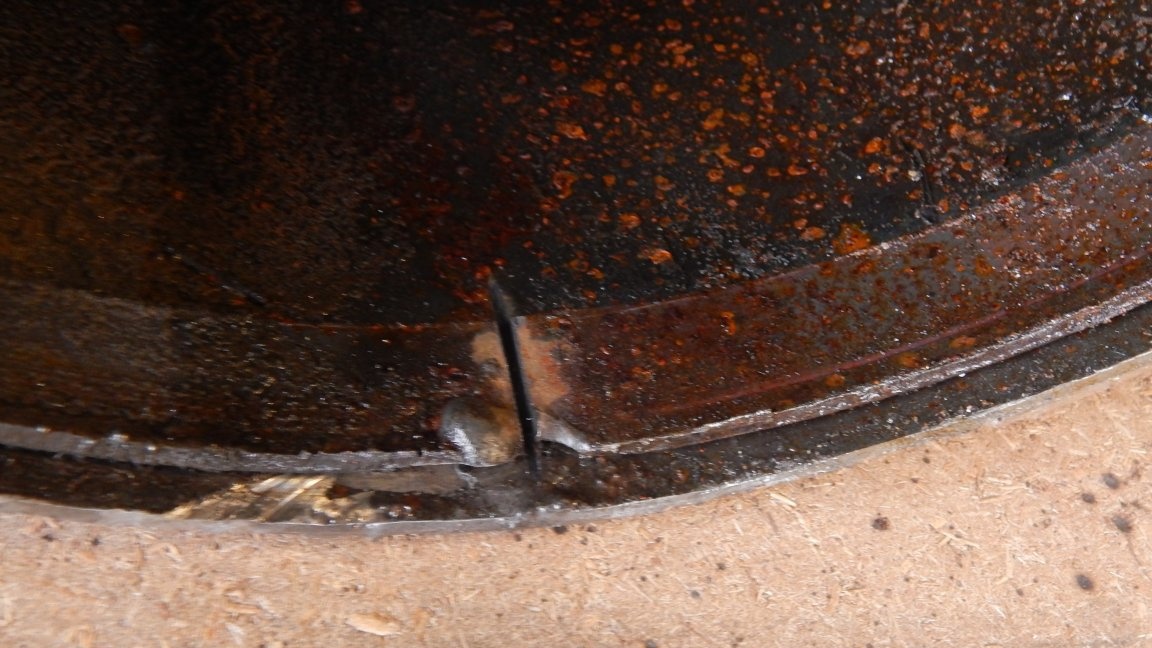
Now this rim needs to be shifted to the edge of the container so that it protrudes outward by 12 mm and welded from the inside. Our lid will tightly fit on this rim when closing, and there will be no excess gaps.

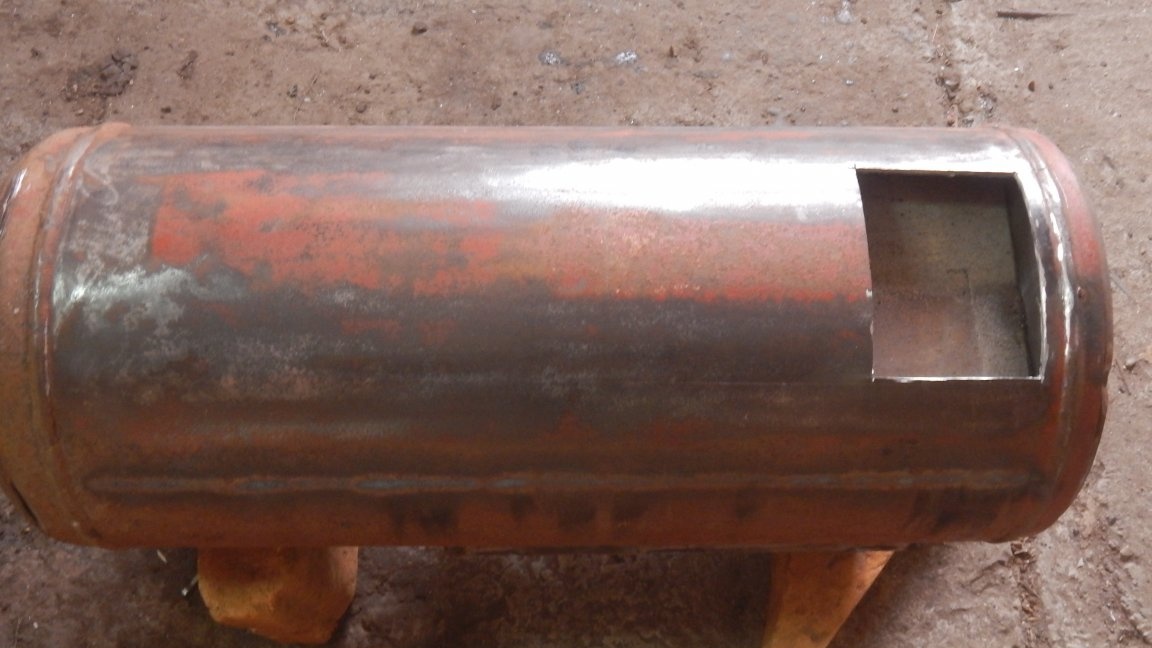
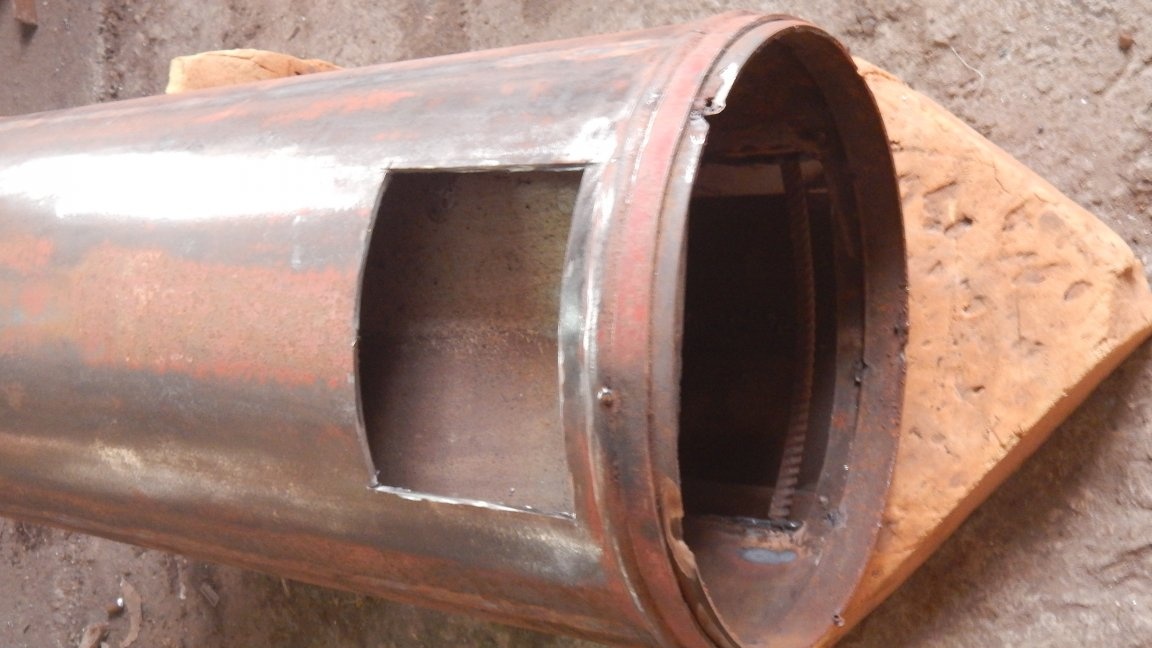
Next, mark the balloon and cut out part of the wall.
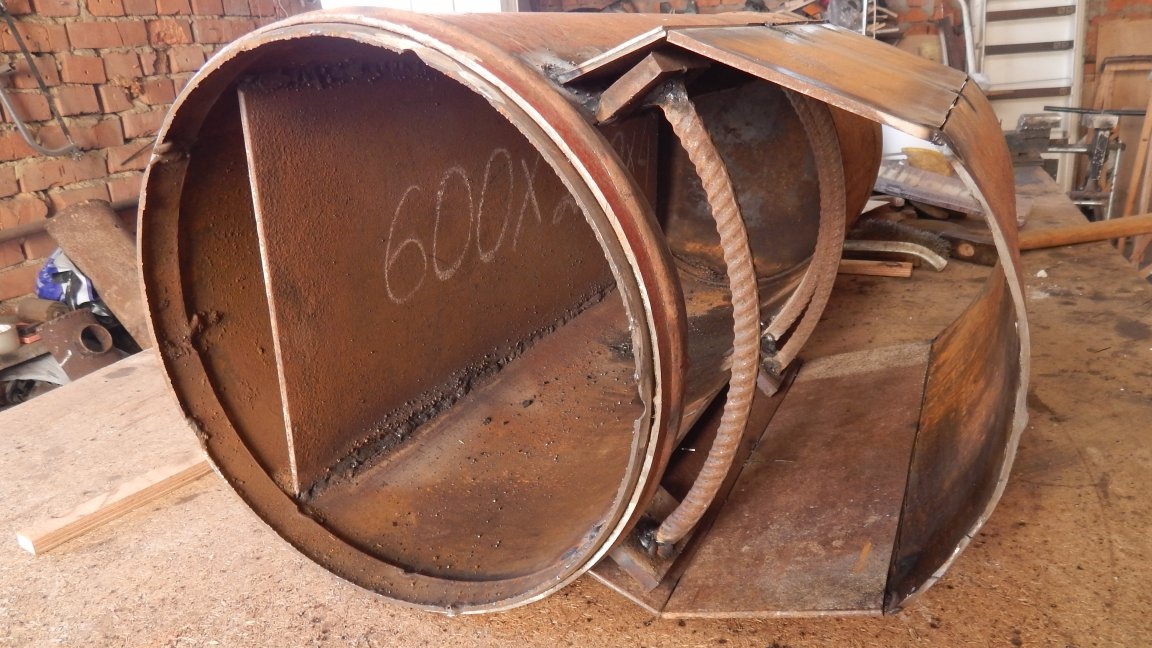
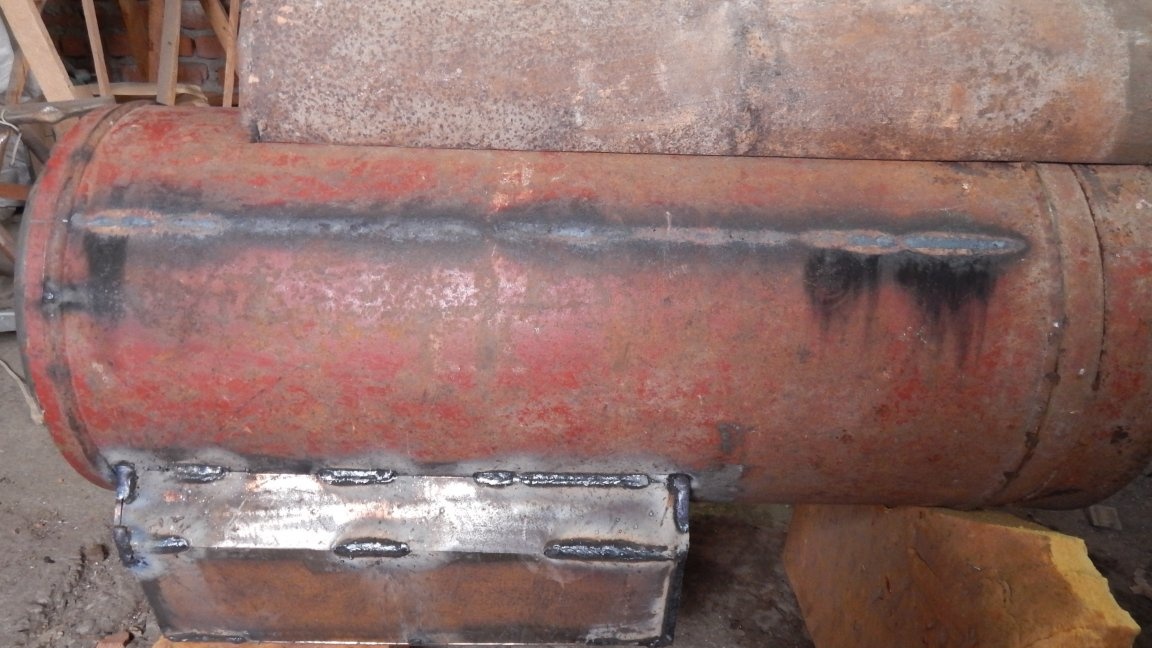
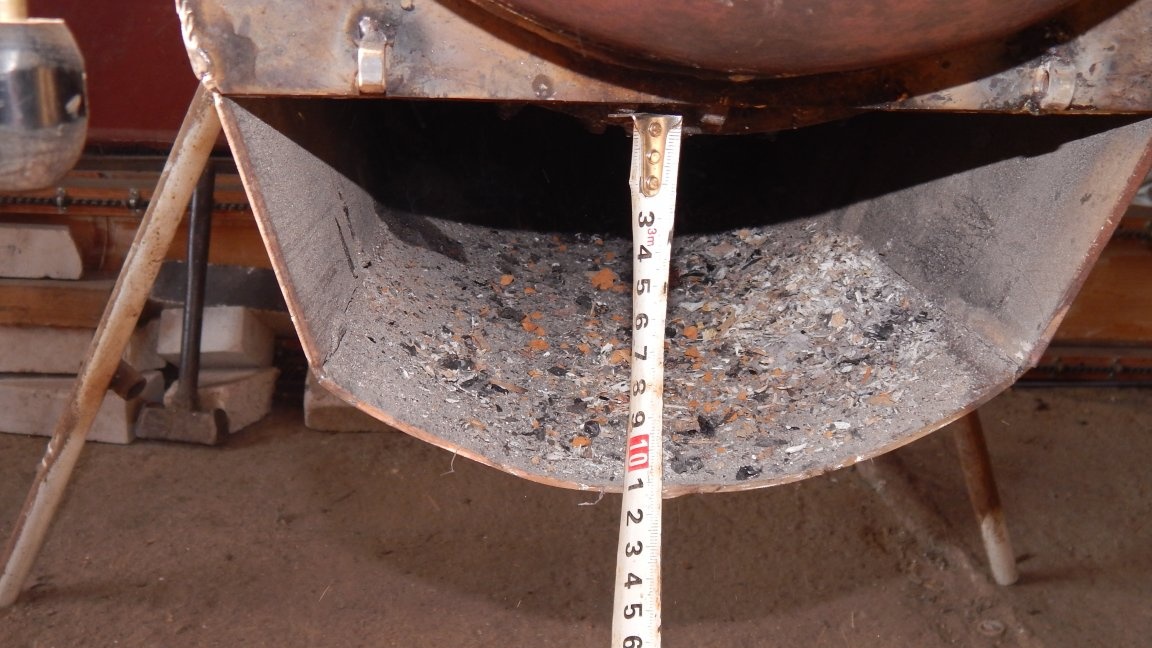
Step three: make an ash pan
In the place where we previously cut out the cylinder wall, our ash pan will be located. In order to smoothly set the grate, I grab in several places the cut wall of the cylinder by welding, in the same place from where the piece was cut. Since the grate will be adjacent to the rounded wall of the cylinder, the places of their joints should be slightly cut off at an angle so that they become denser to each other and the gaps between them are not too wide.
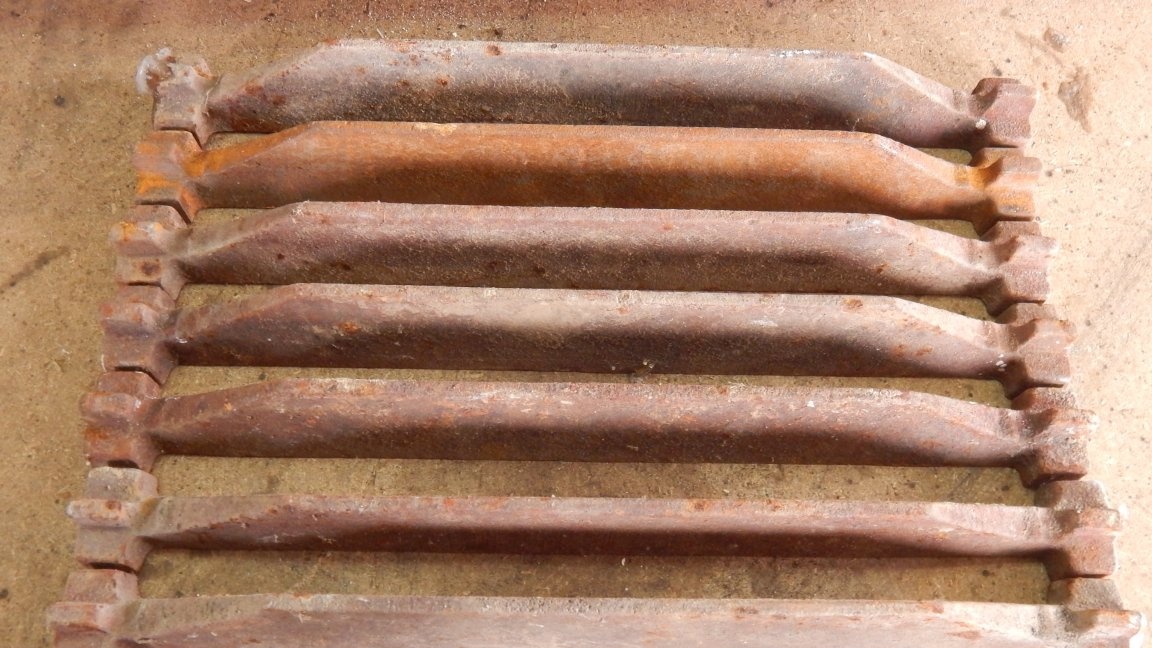
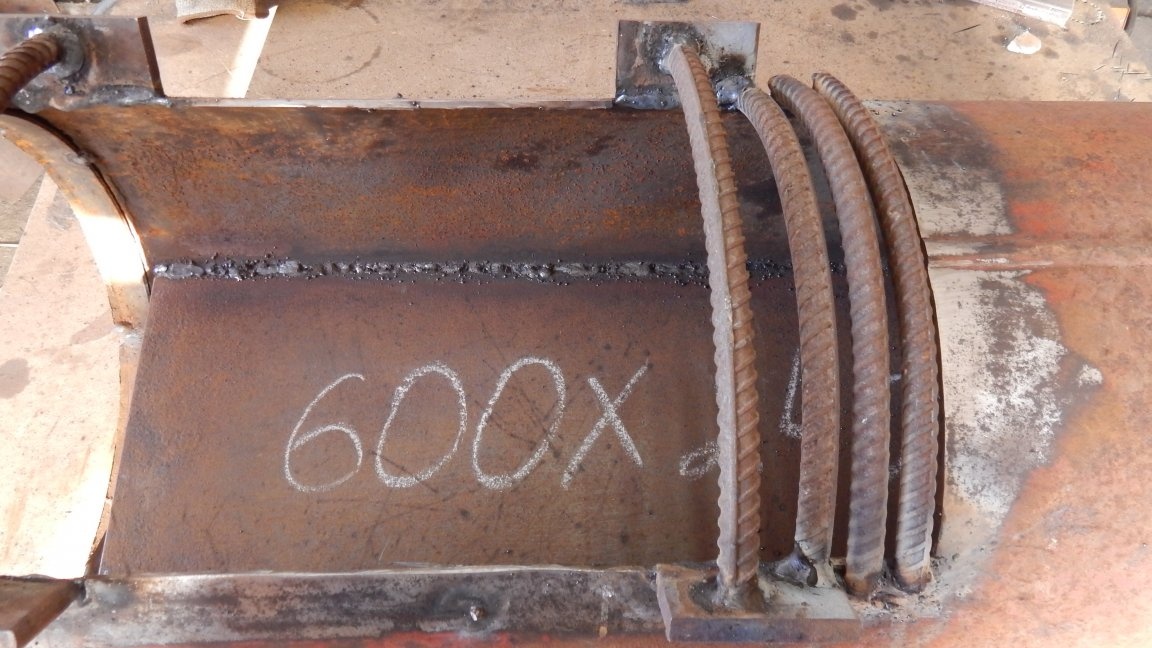
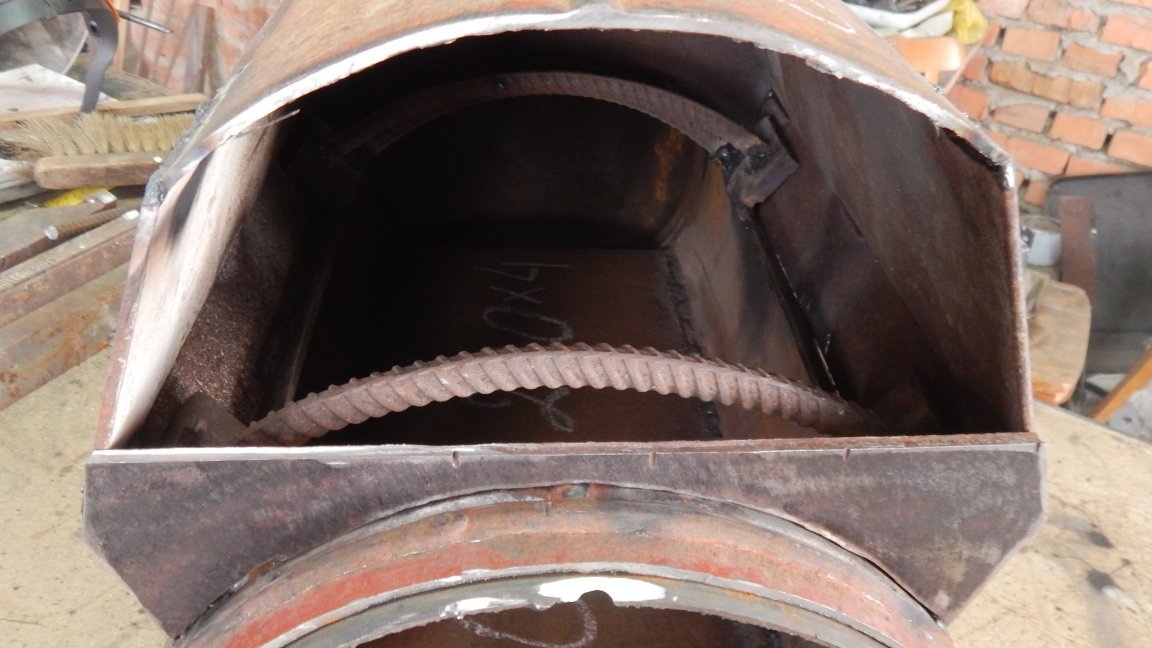
Now I lay out the grate in its place and bend in the form of a bend two pieces of reinforcement 14 mm, which then will become the grate.
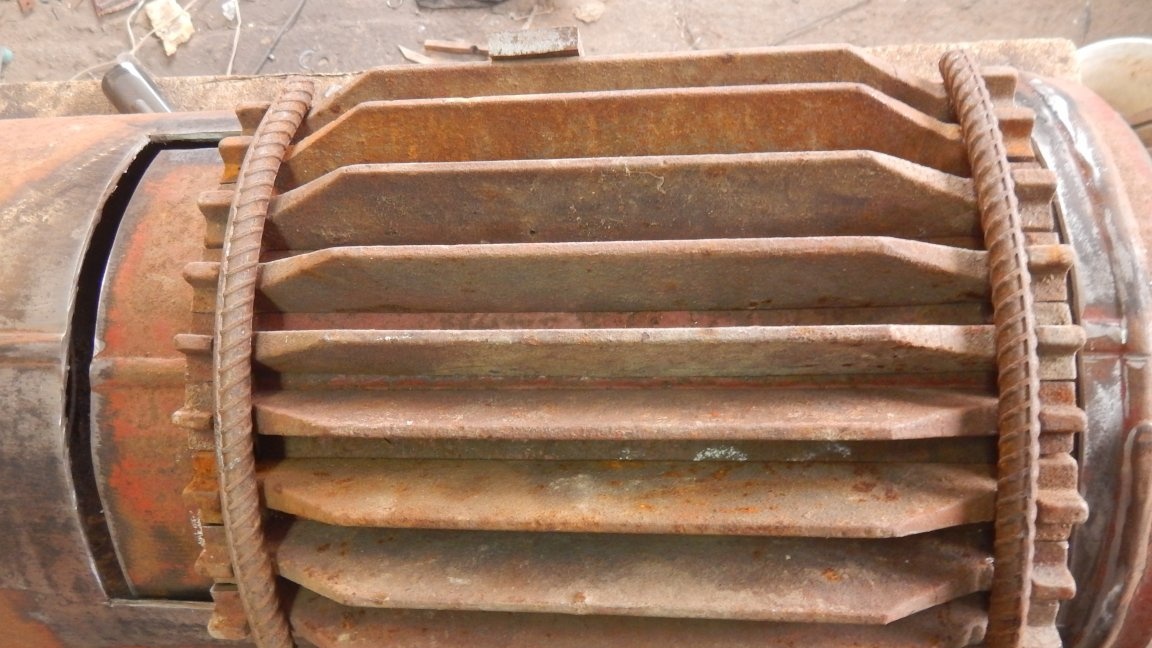
I weld the fittings to pieces of metal, and them to the walls of the cylinder.
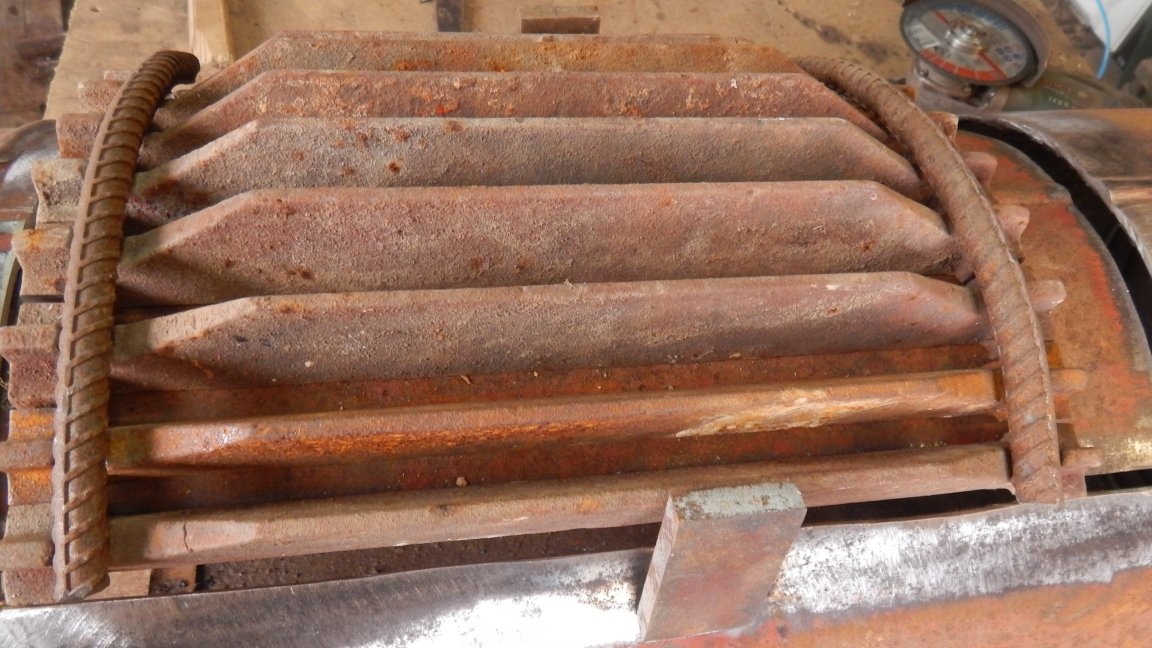
Now when we place all the grid-irons in their place from the inside, then they repeat the bending of the walls of the cylinder and lie on the same level with the walls without protruding.
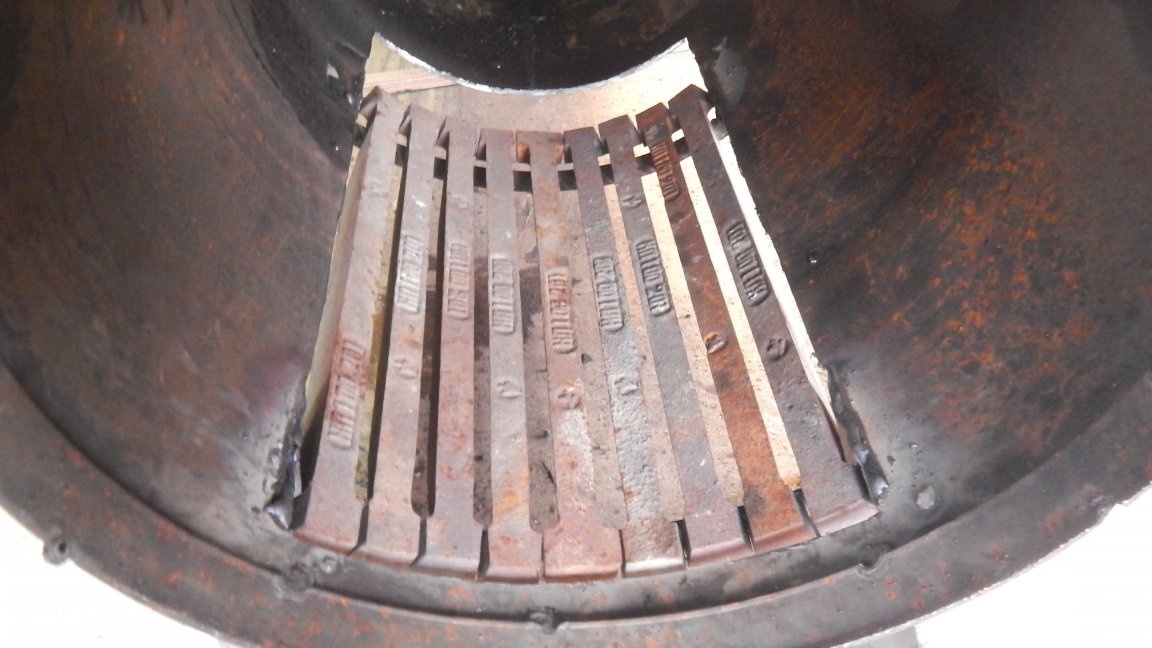
In that part of the container where the hole was not closed behind the grates, we weld several pieces of reinforcement.
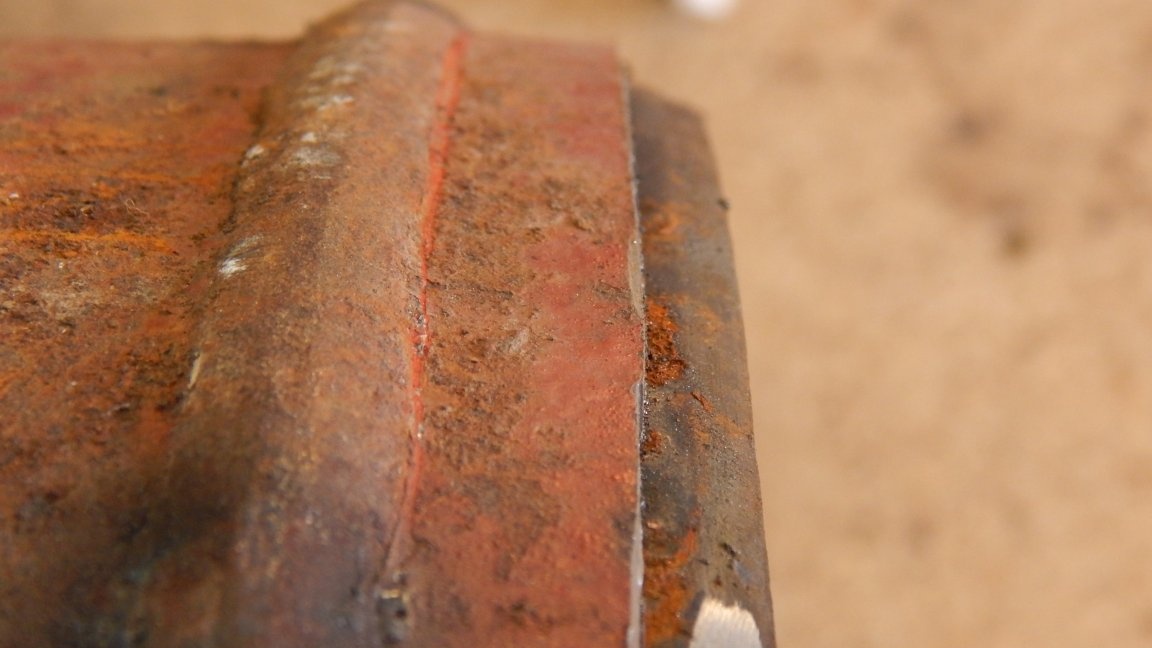
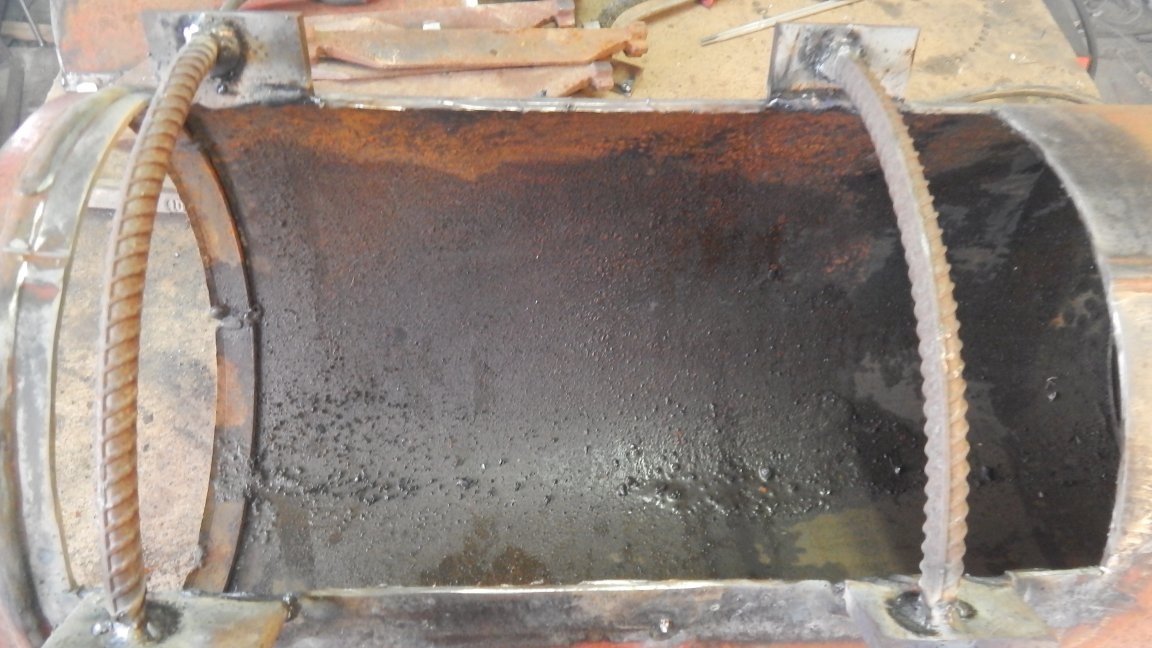
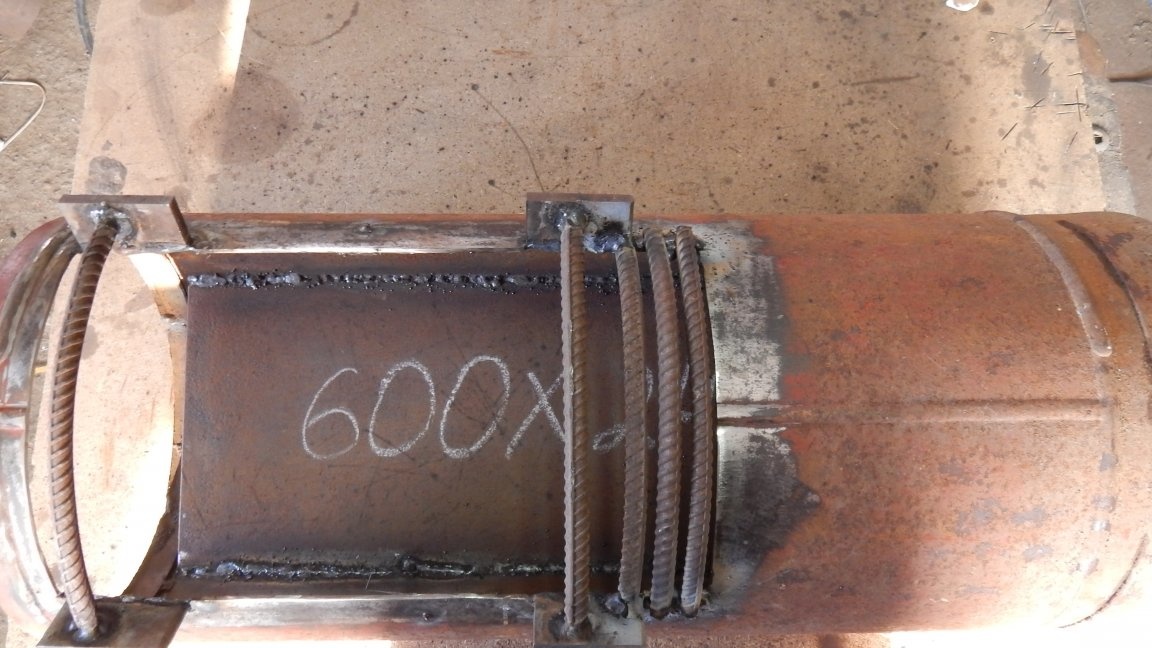
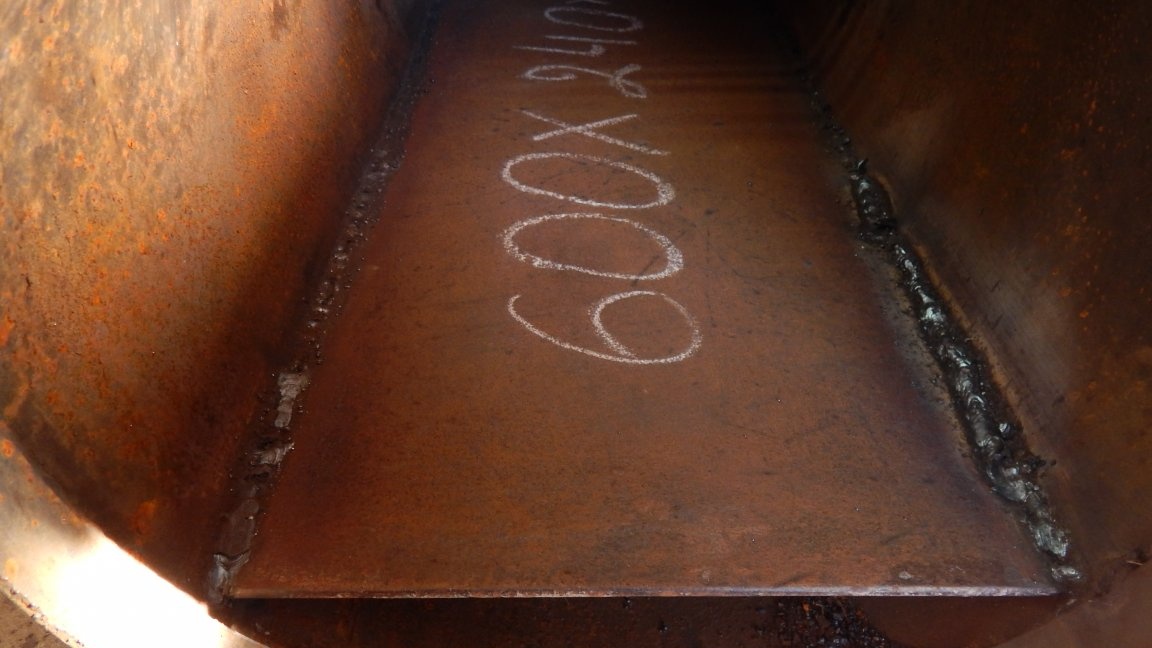
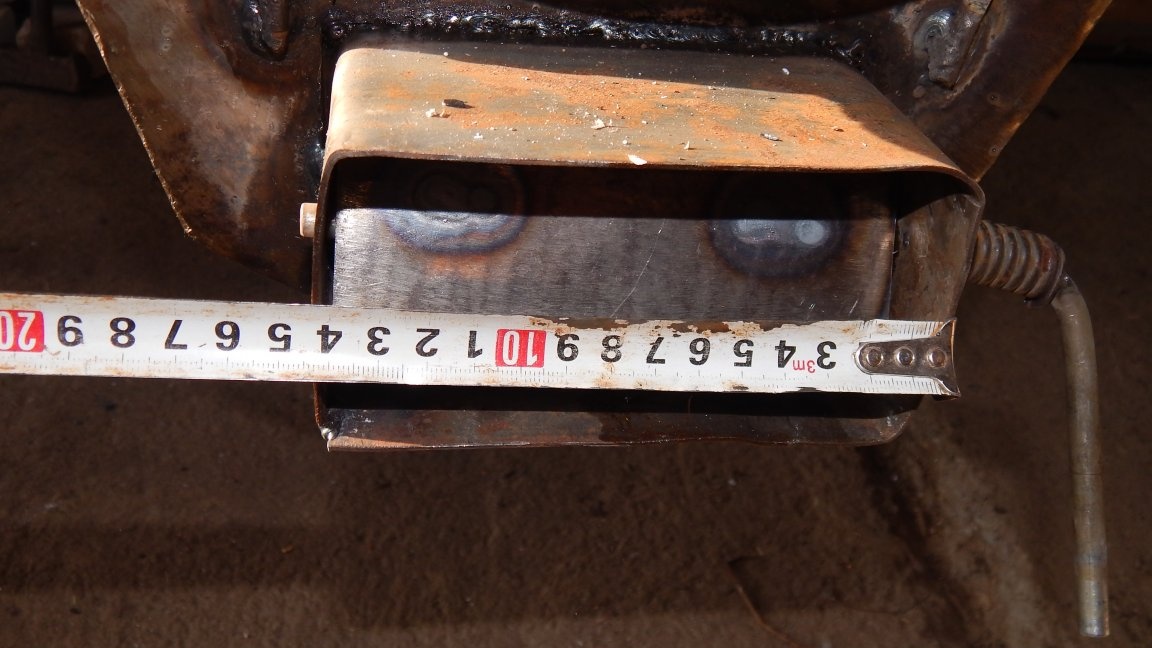
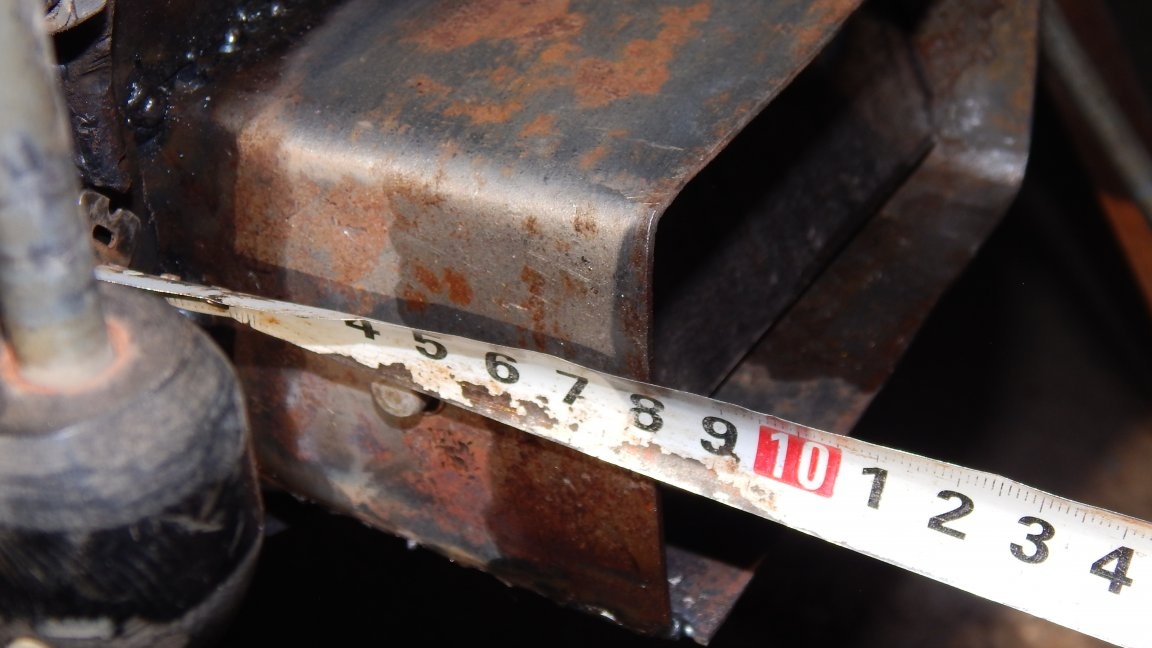
Now, while the ash pan is not welded to the cylinder, you need to weld a piece of metal with the indicated dimensions inside the cylinder, as long as there is good access. This piece of metal and part of the wall of the container create a channel between them through which a stream of smoke will move.
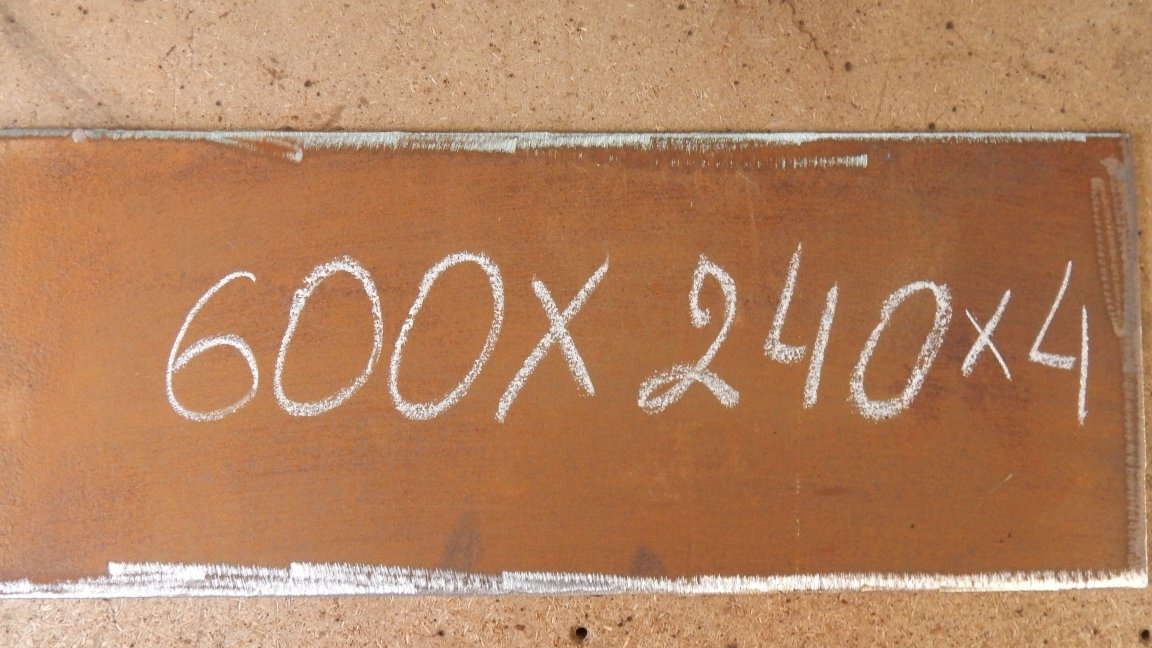
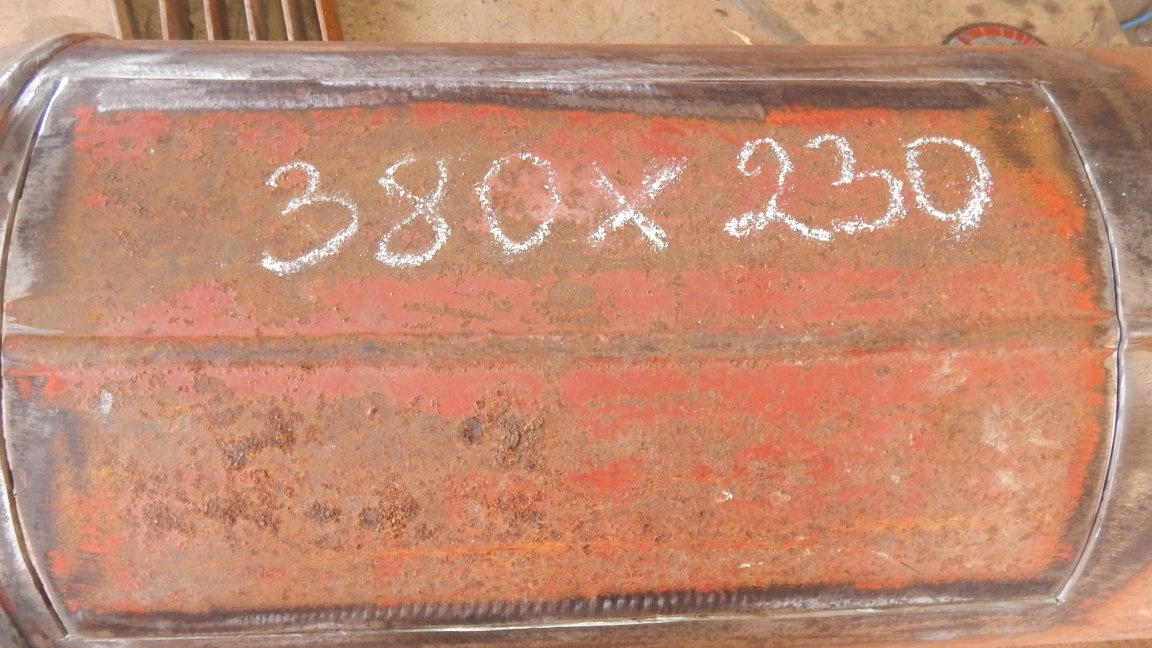
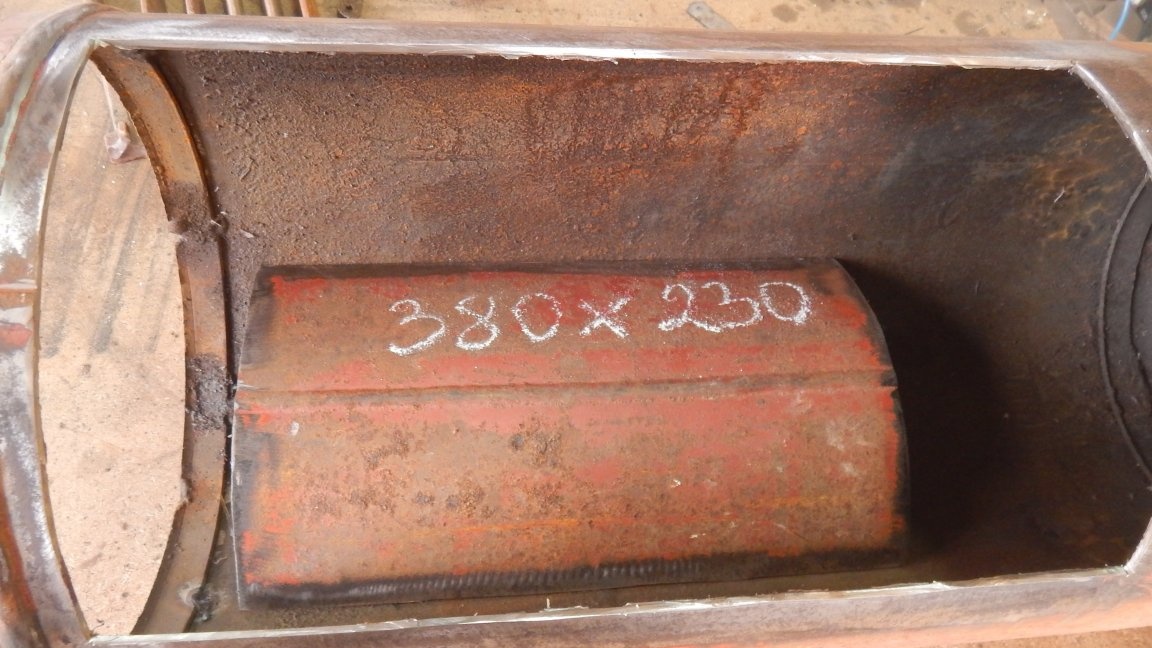
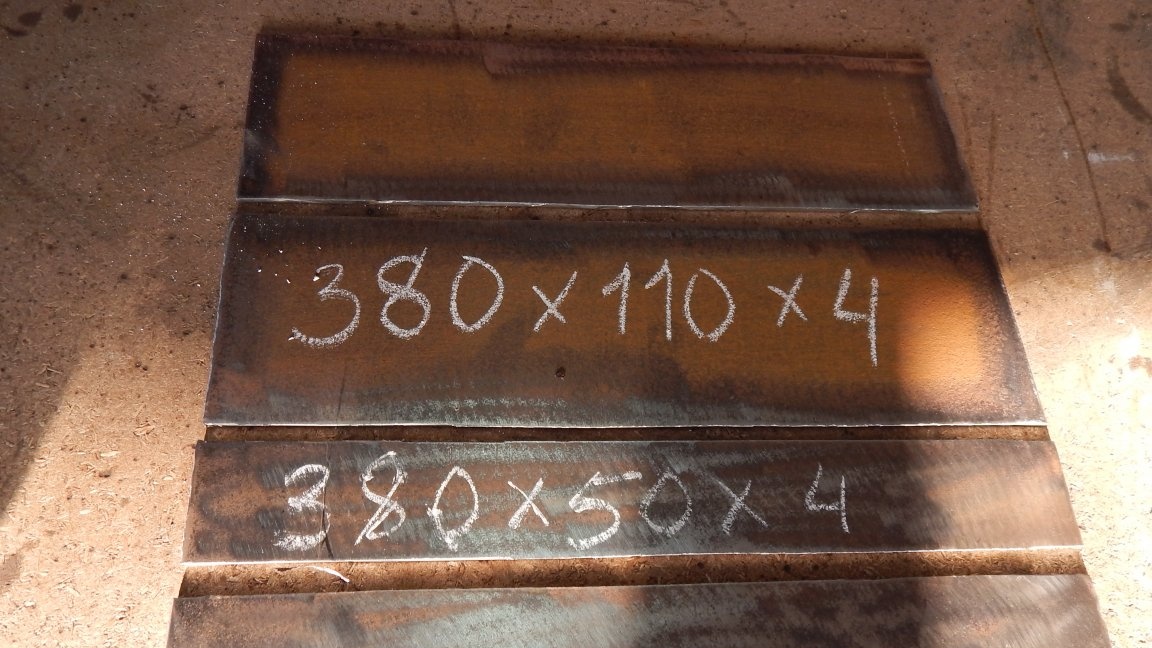
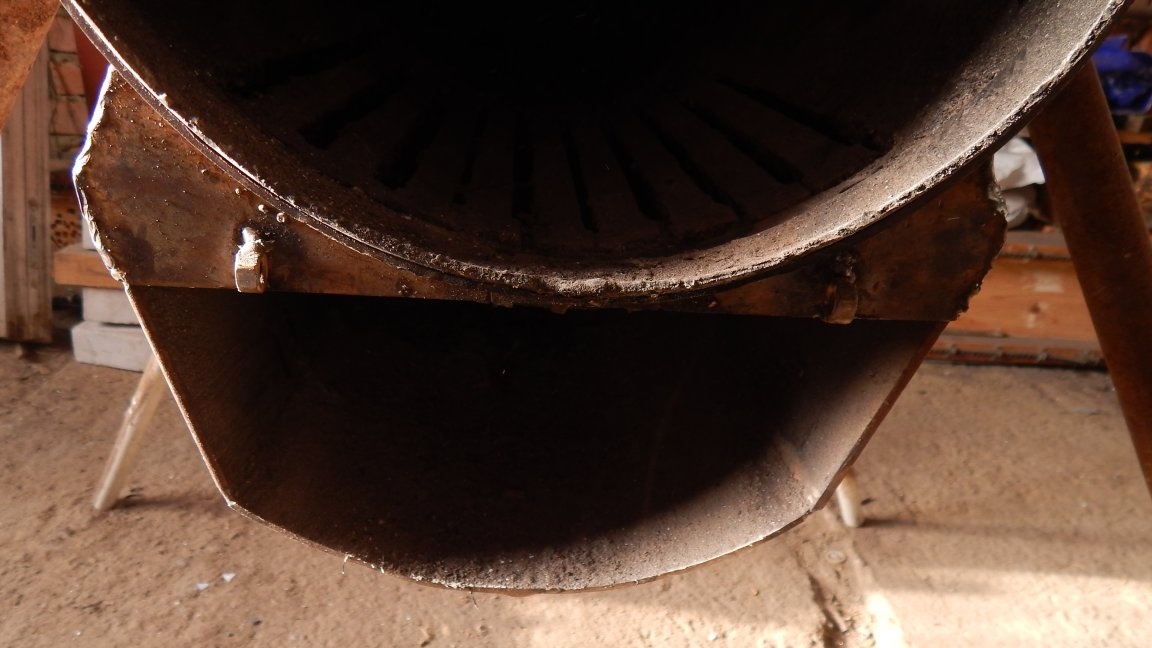
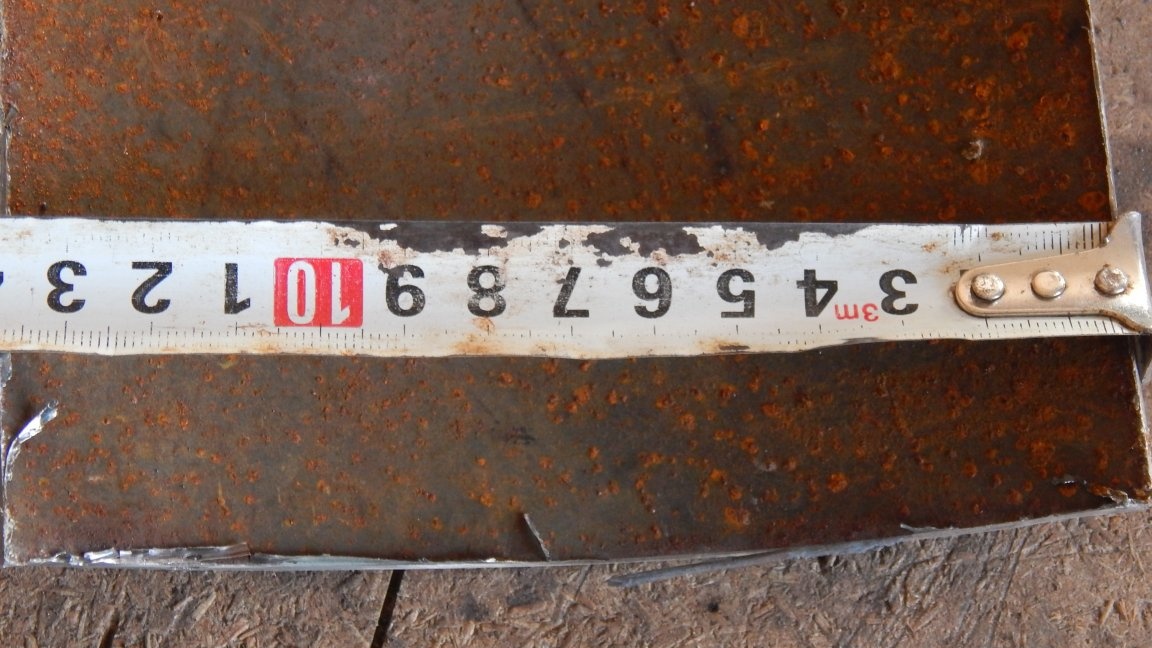
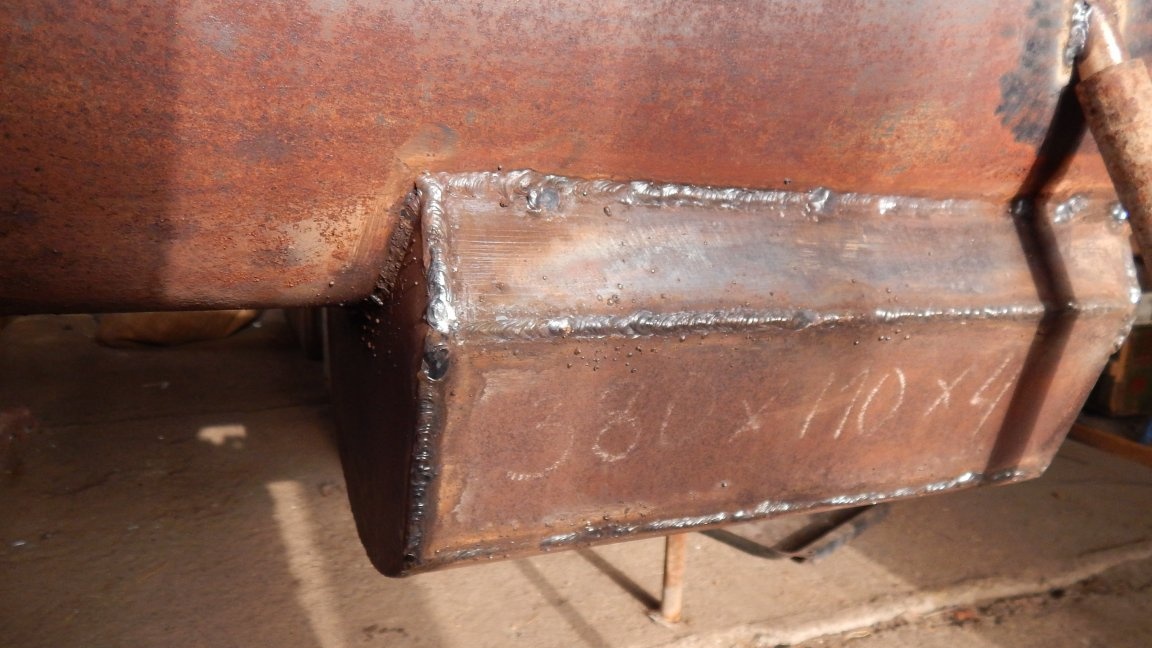
From a sheet of metal with a thickness of 4 mm, we cut out parts for the ash pan according to the specified dimensions.
Next, we weld all the pieces, and the bottom will be the part of the cylinder wall that we cut earlier.
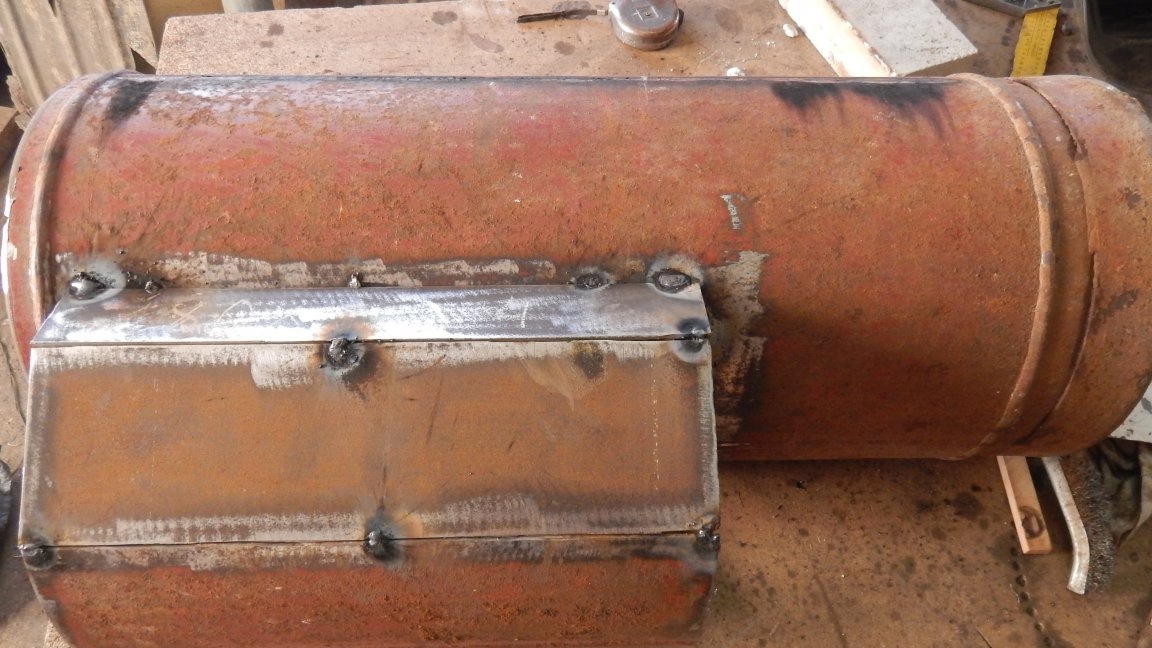
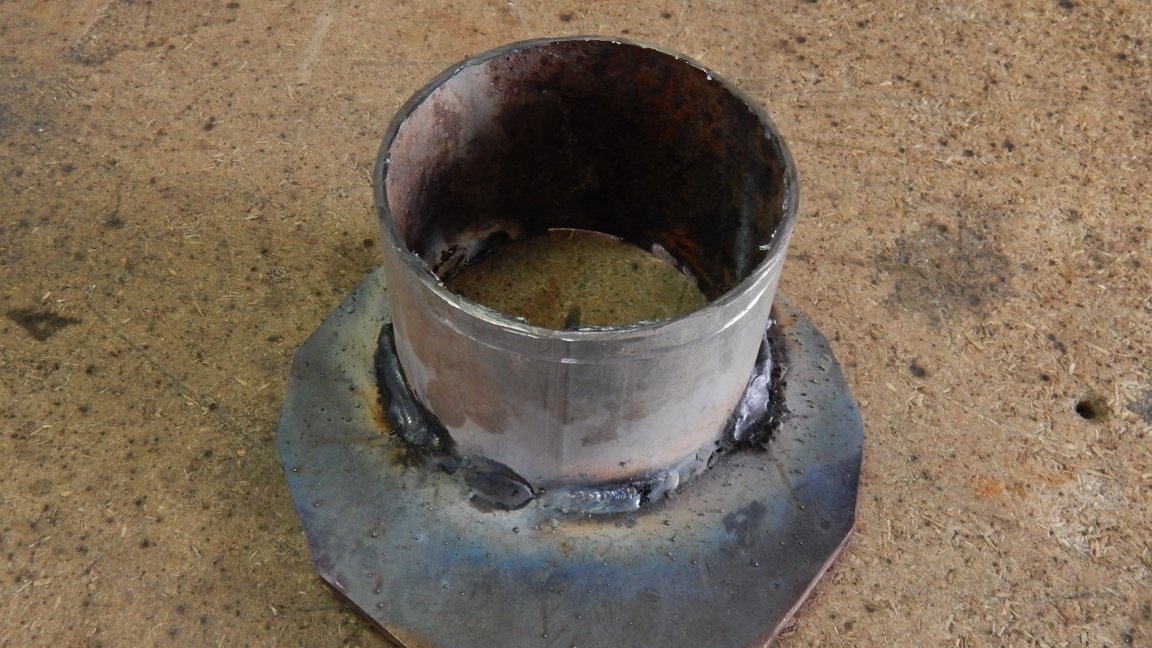
In order to close the back of the ash pan, cut out the plug from a piece of metal 4 mm in shape, and weld to the walls of the blower.
On the front side of the blower, you also need to partially drown the entrance, and for this you need to cut out a piece of metal in the shape of a cylinder and weld to the base.
The next step is to make a door for the blower, and we will make it from a piece of metal with a thickness of 4 mm.

For more convenient adjustment of the air flow, I cut a rectangular hole in the ash pan door and welded a channel with a shut-off valve inside.
Now it will be much easier and more convenient to regulate combustion in the furnace. For more convenient cleaning of the ash pan, I made the door removable. I welded two bent pins to the door from different sides, which fit into two nuts of a suitable size, thanks to which the door can be removed.
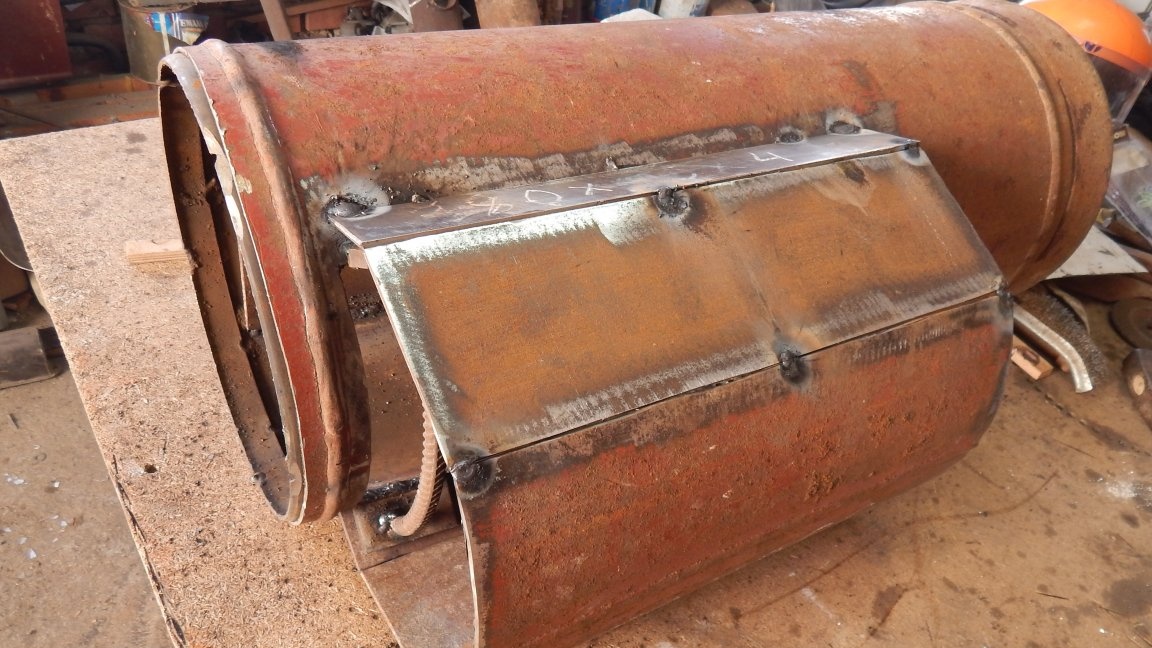
Step Four: make a chimney
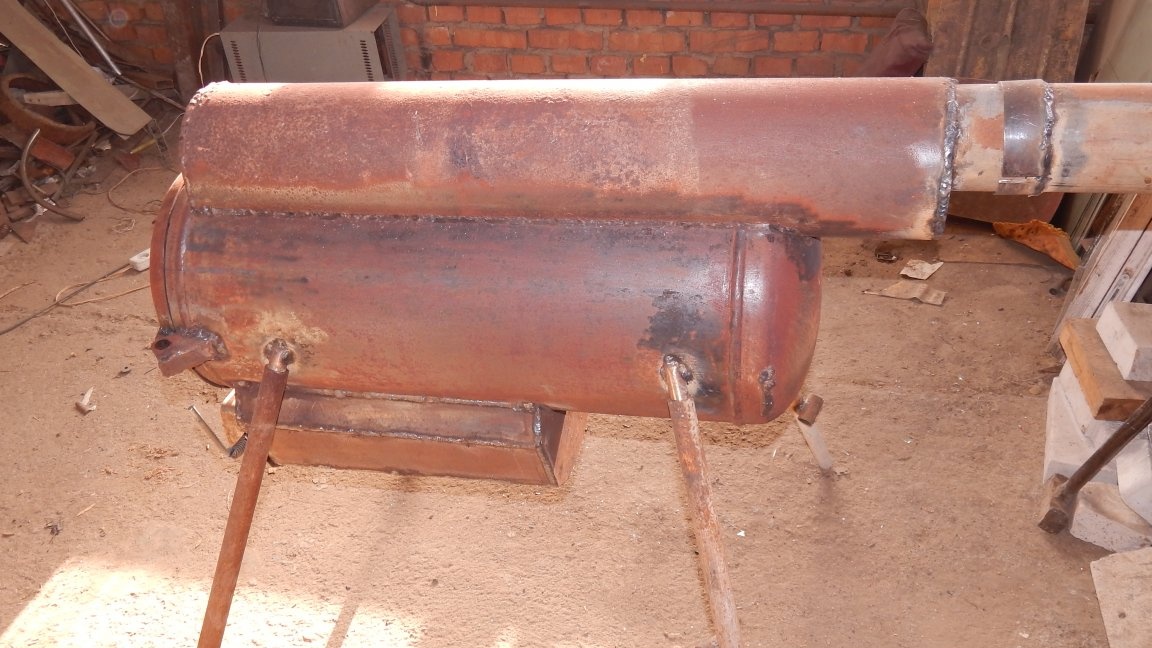
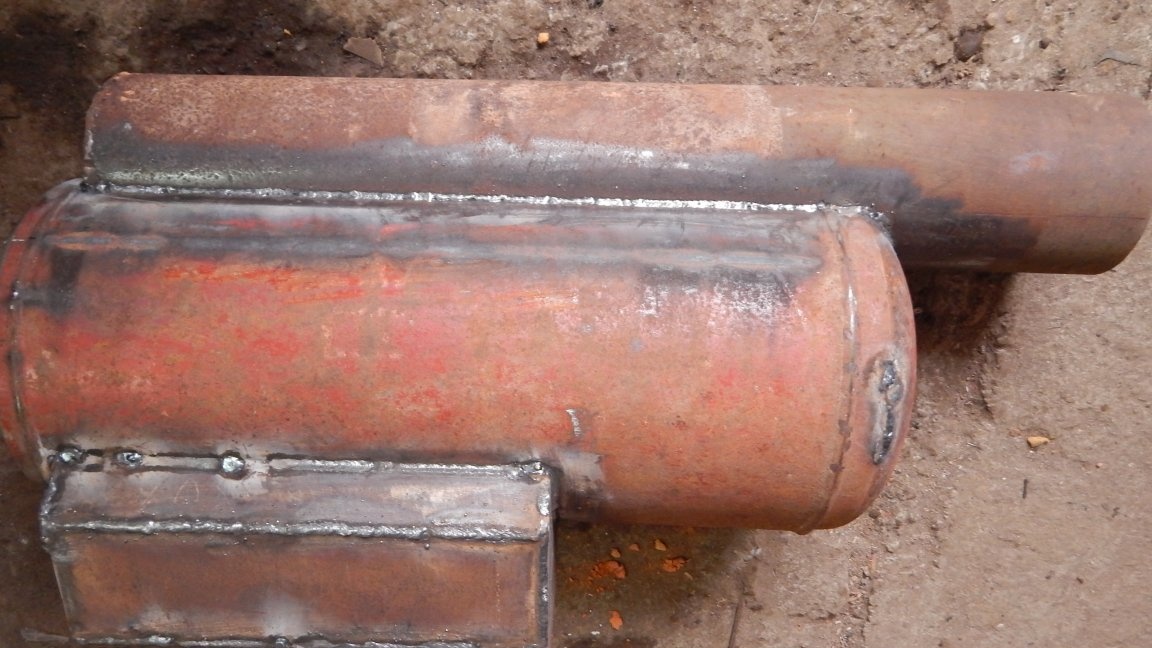
To increase the efficiency of the stove, I made a more complex channel scheme for the movement of smoke.
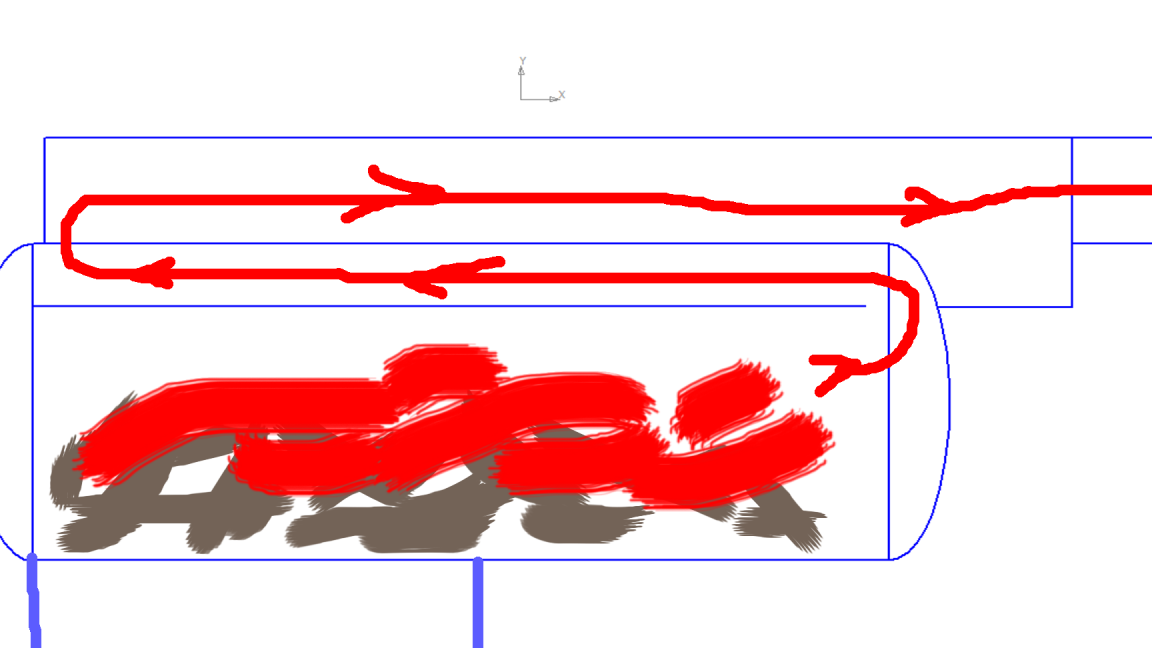
Thanks to such a channel device, the exhaust smoke heats the pipe well on top of the cylinder, thereby increasing the efficiency of the stove. We muffle the channel with a piece of metal from the side of the door to the top, welding metal to the walls of the cylinder.
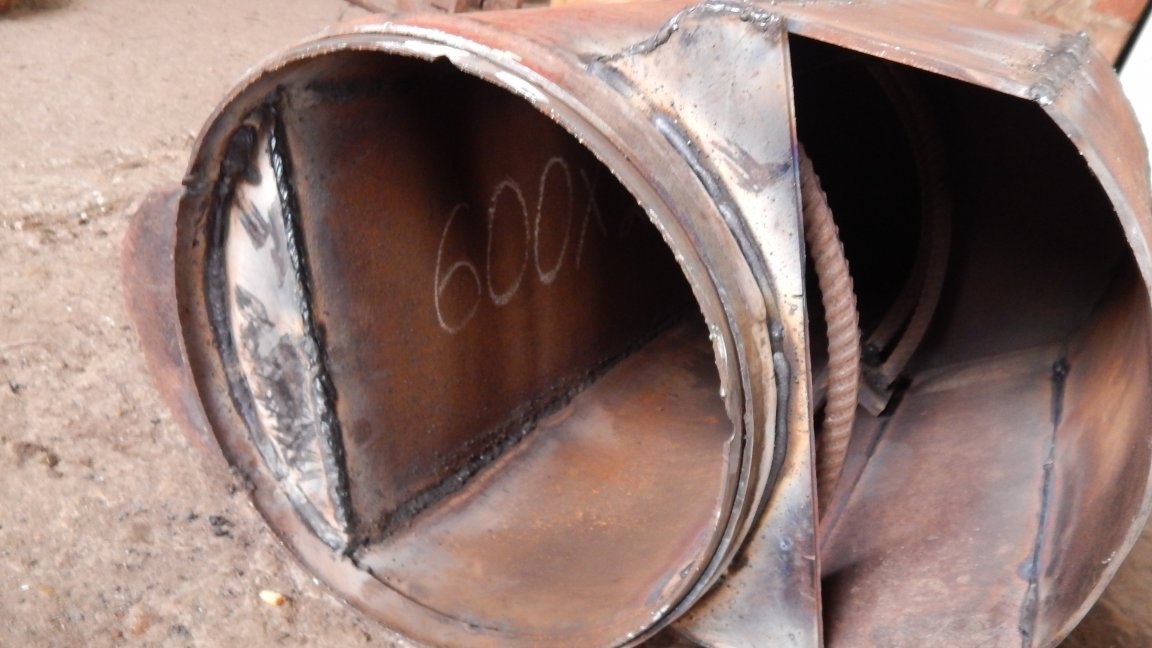
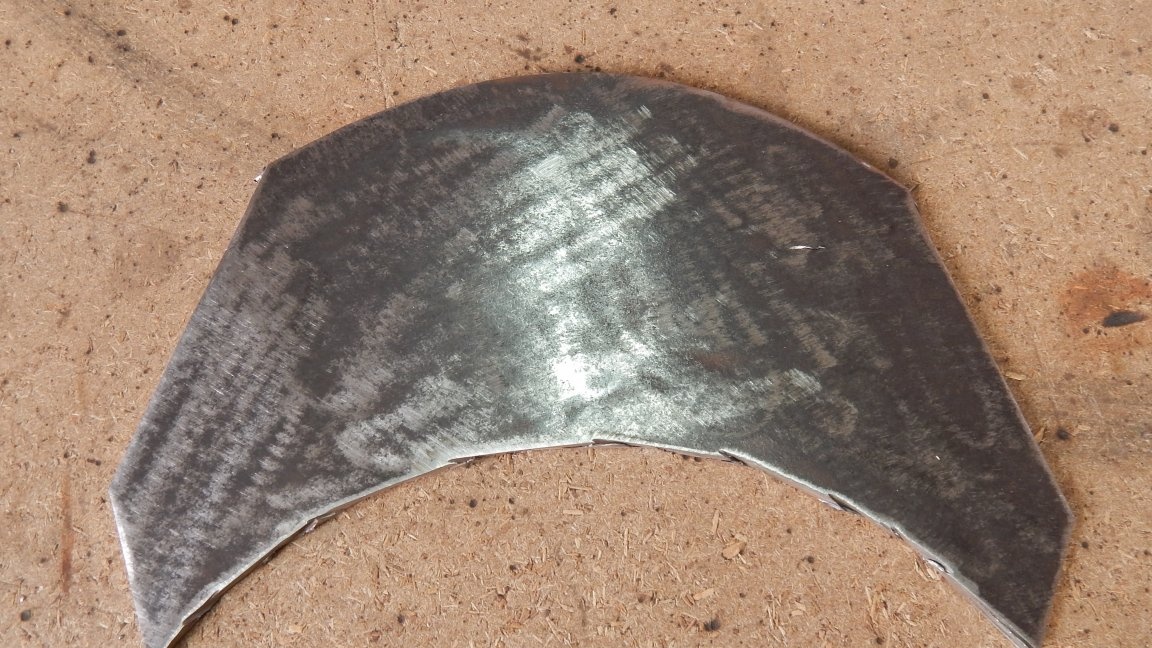
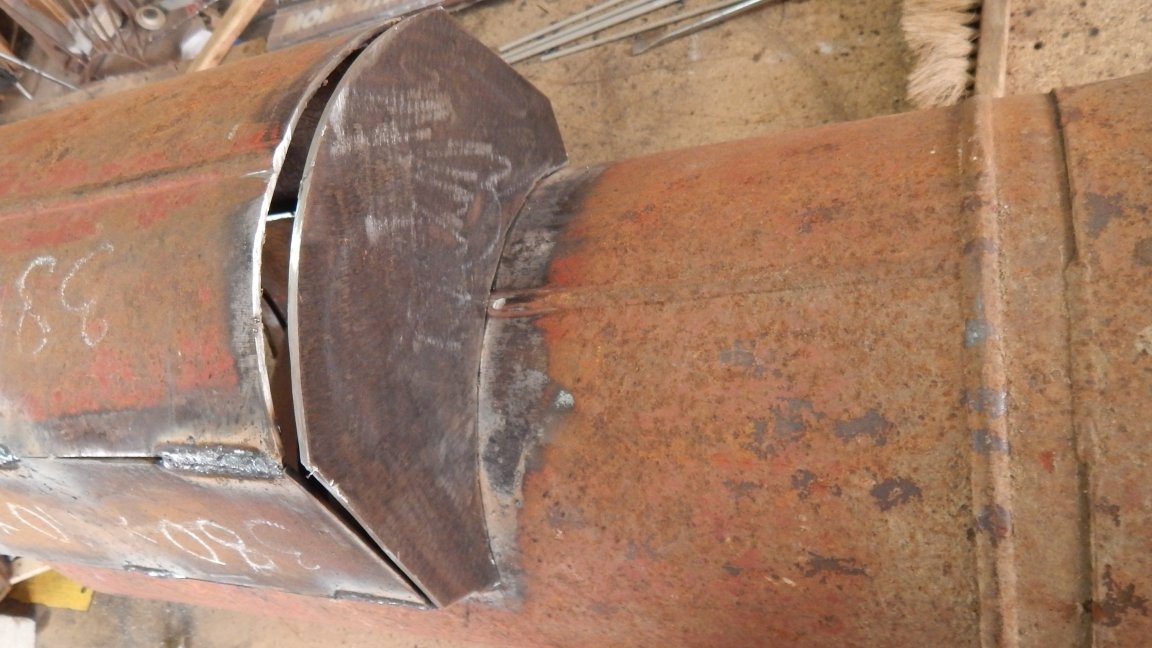
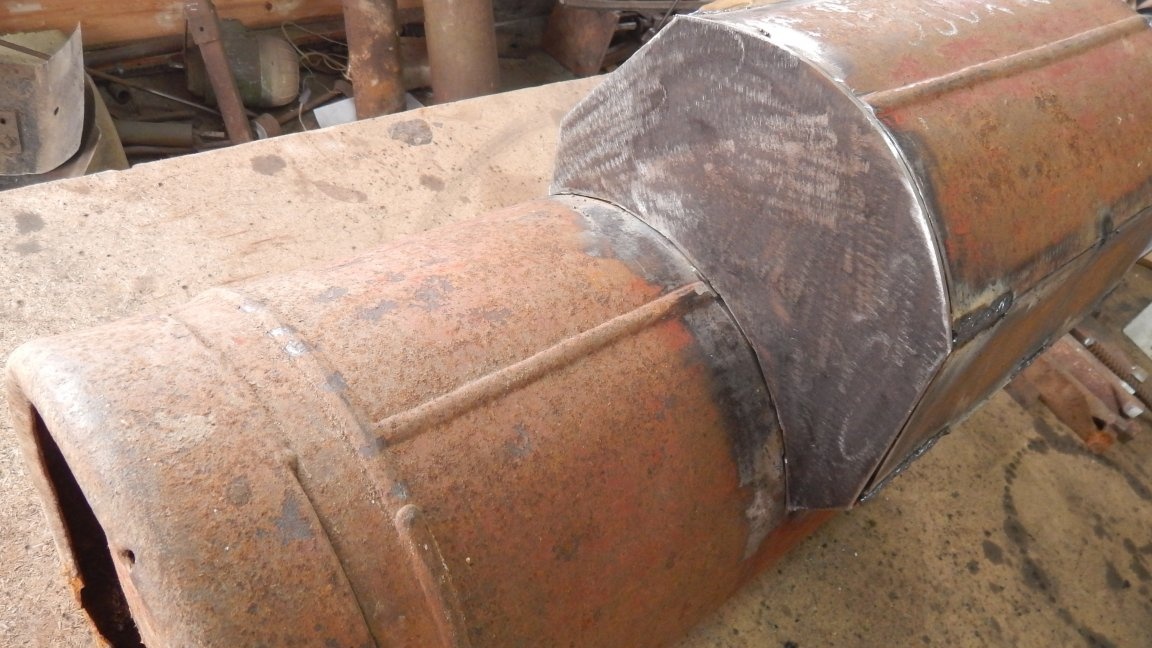
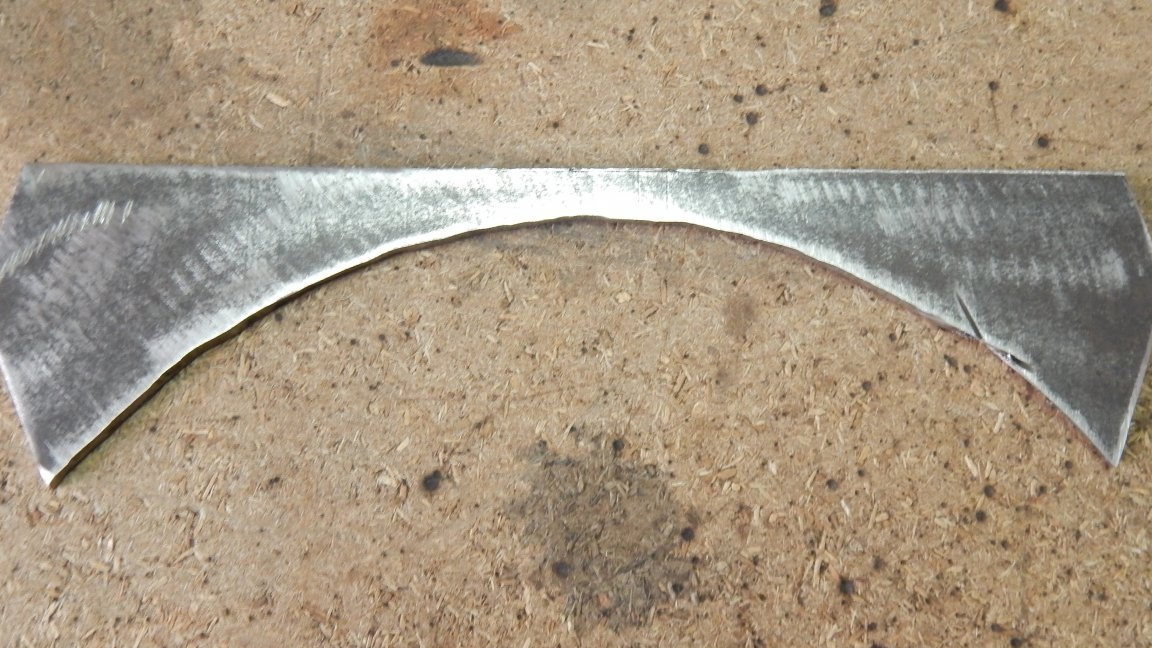
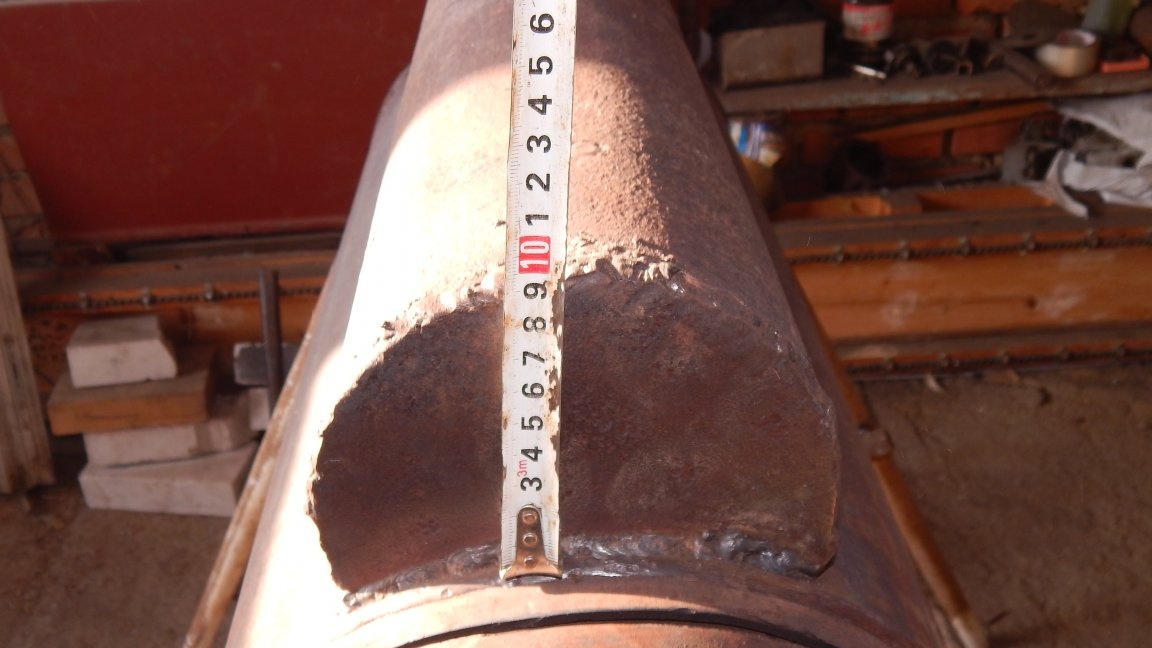
For the upper part of the chimney channel, I took a thick-walled pipe with a diameter of 160 mm and a length of 1000 mm, and cut out part of it by fitting the joints in the shape of a balloon.
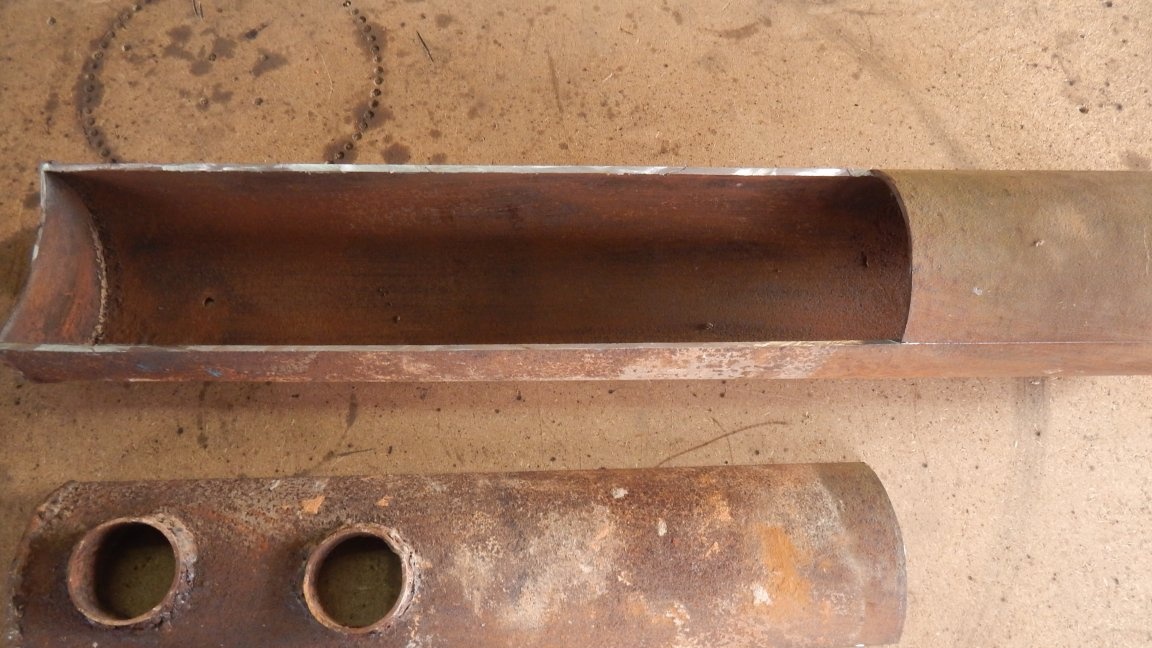
In the cylinder we cut a hole for the chimney.
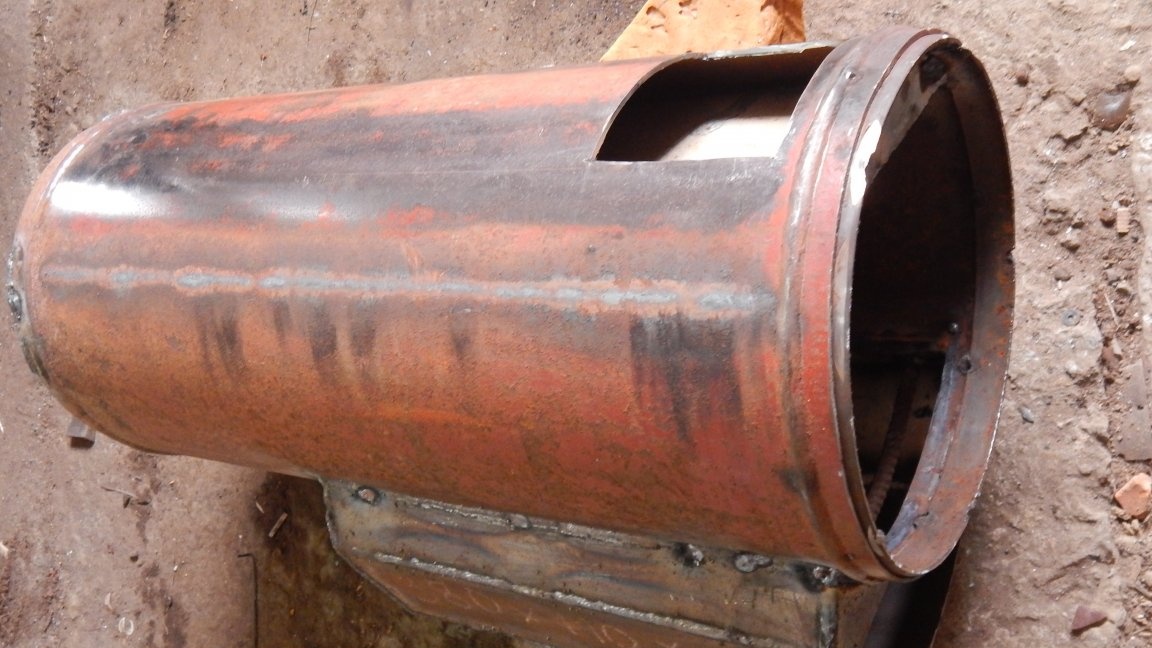
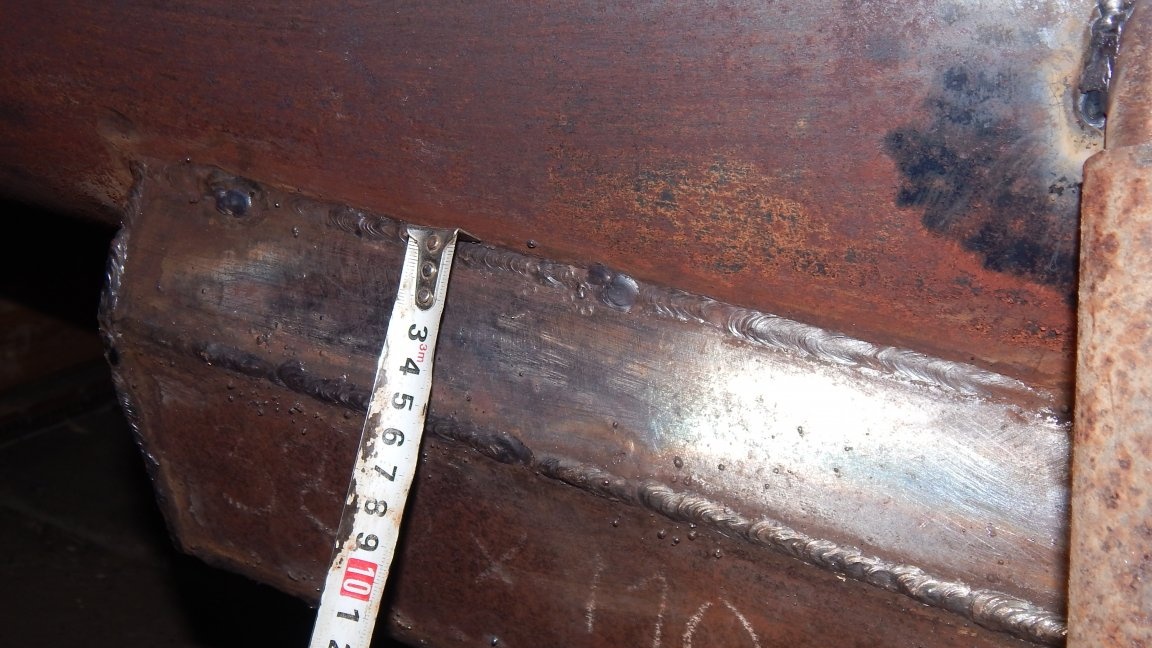
We join the pipe with the cylinder and scald everything well.
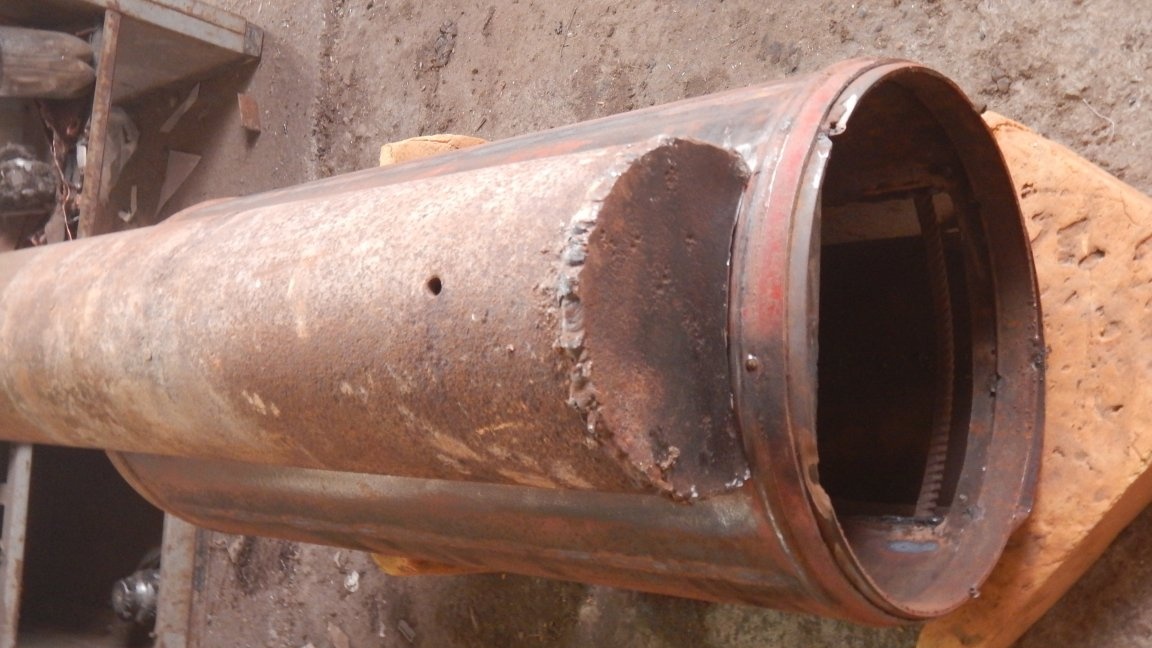
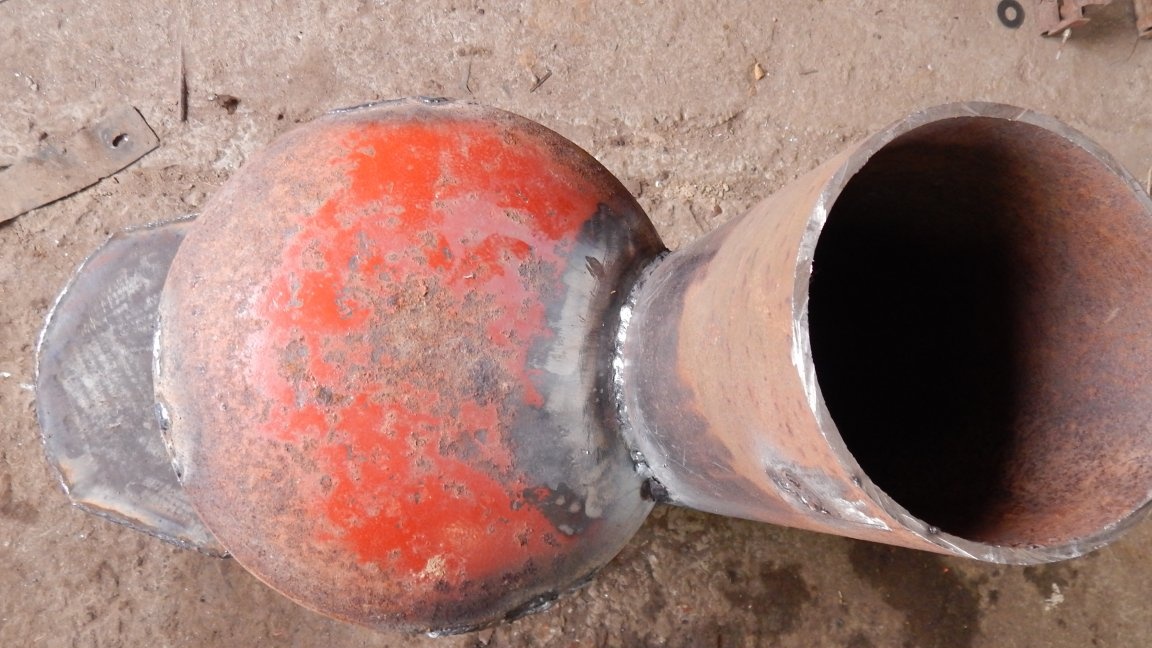
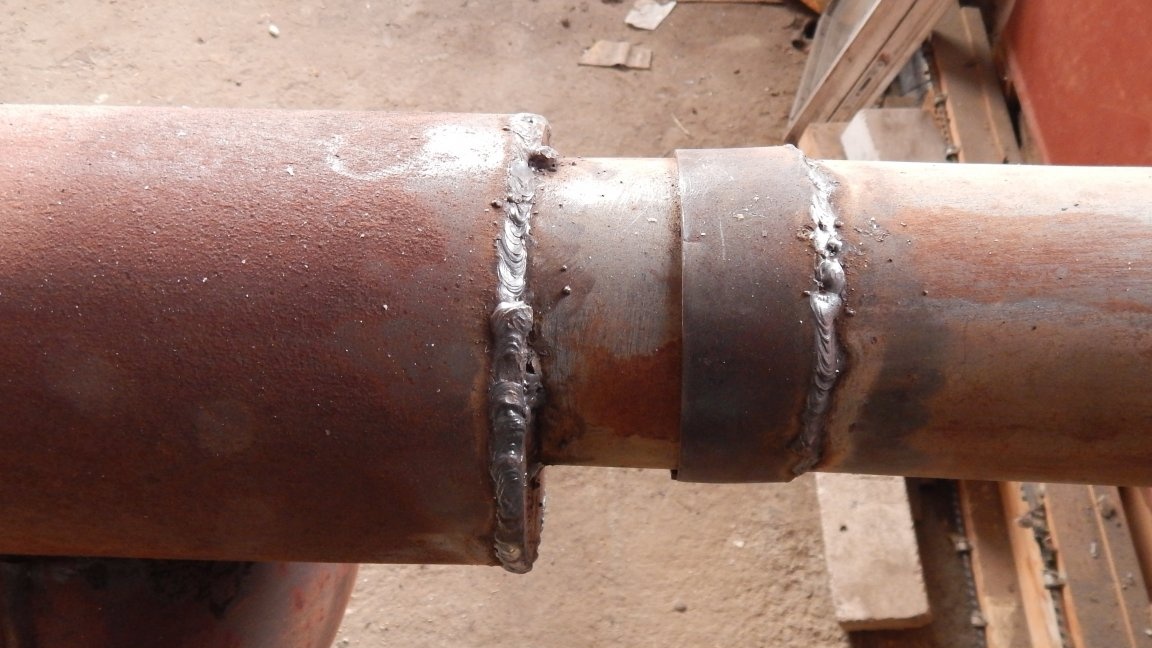
At the end of the pipe, we weld an adapter under the pipe of a smaller diameter. The chimney will continue with a diameter of 100 mm.
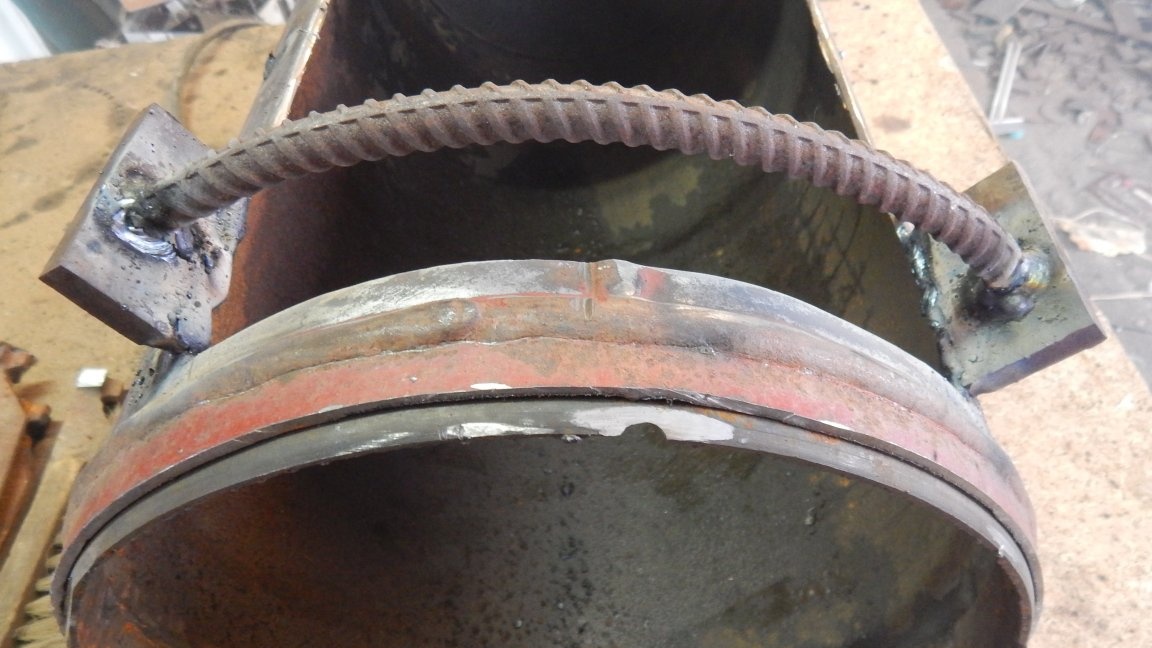
Step Five: make the furnace door
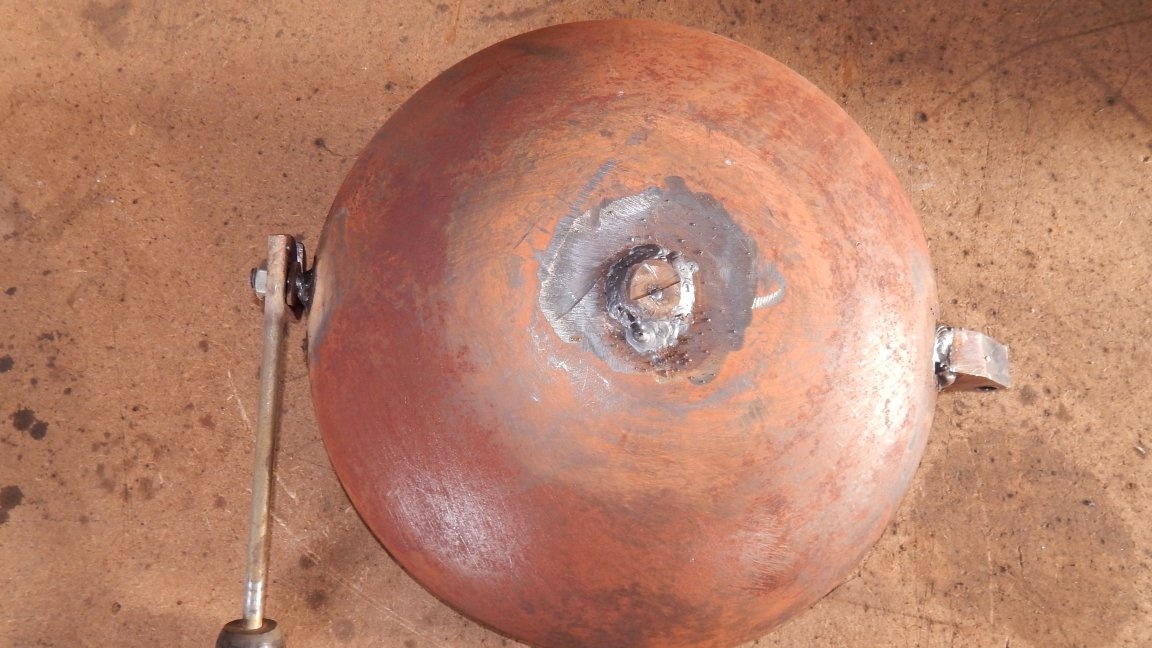
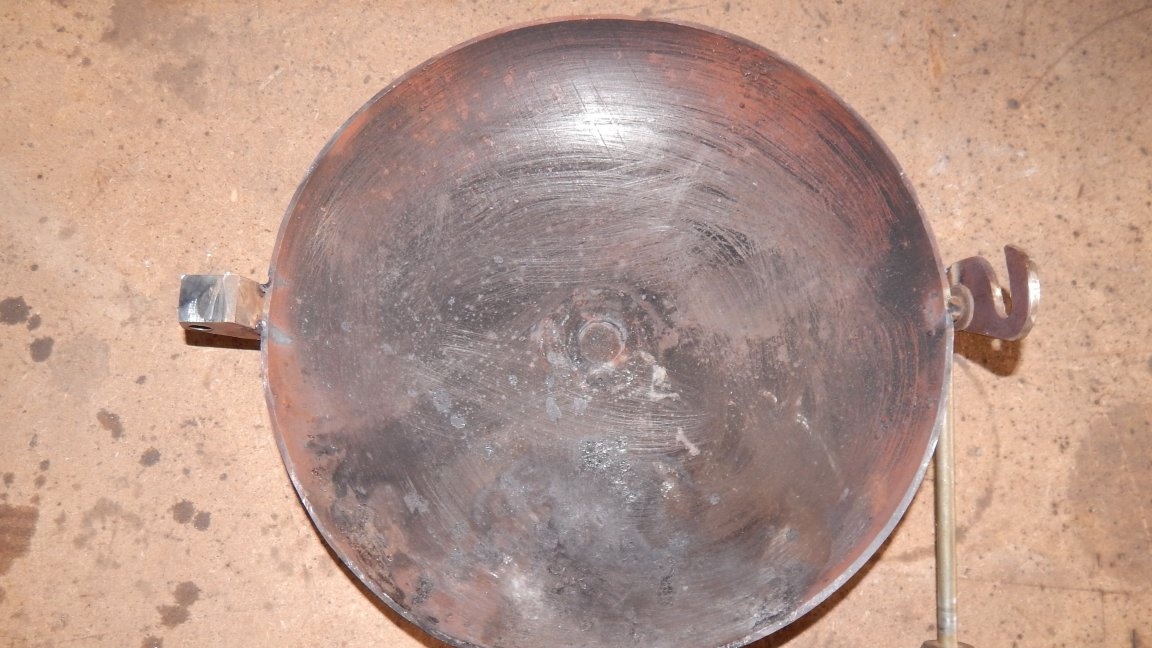
We will make the door from the top of the cylinder which was cut off at the very beginning. We cut off the inlet of the cylinder from the cap and weld it with a piece of metal so that there is no hole.

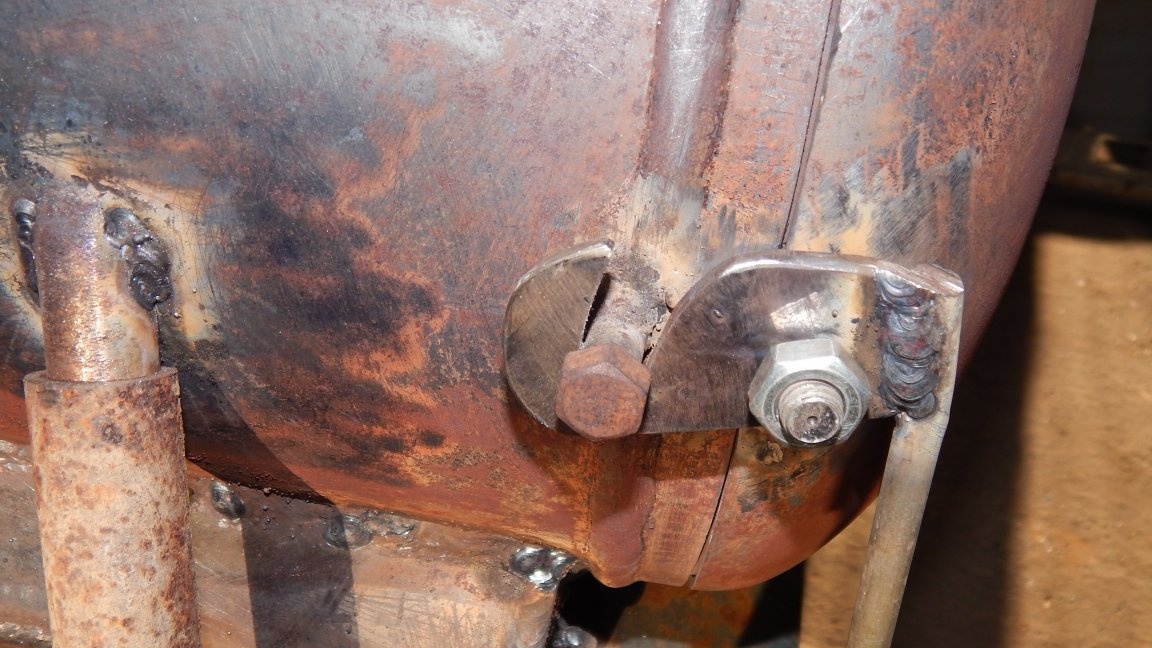
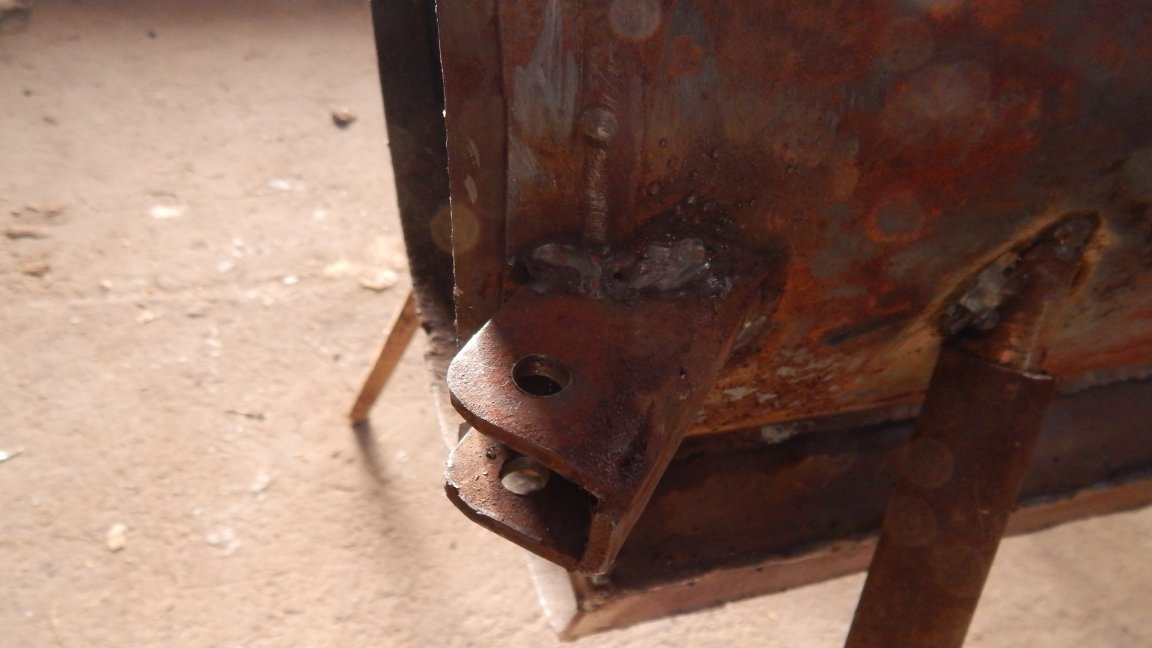
Next, we make a special loop to which the furnace door will be attached. The hinge consists of two elements that enter into each other and are interconnected by a pin, and one part of the element is welded to the wall of the container, the other to the door.
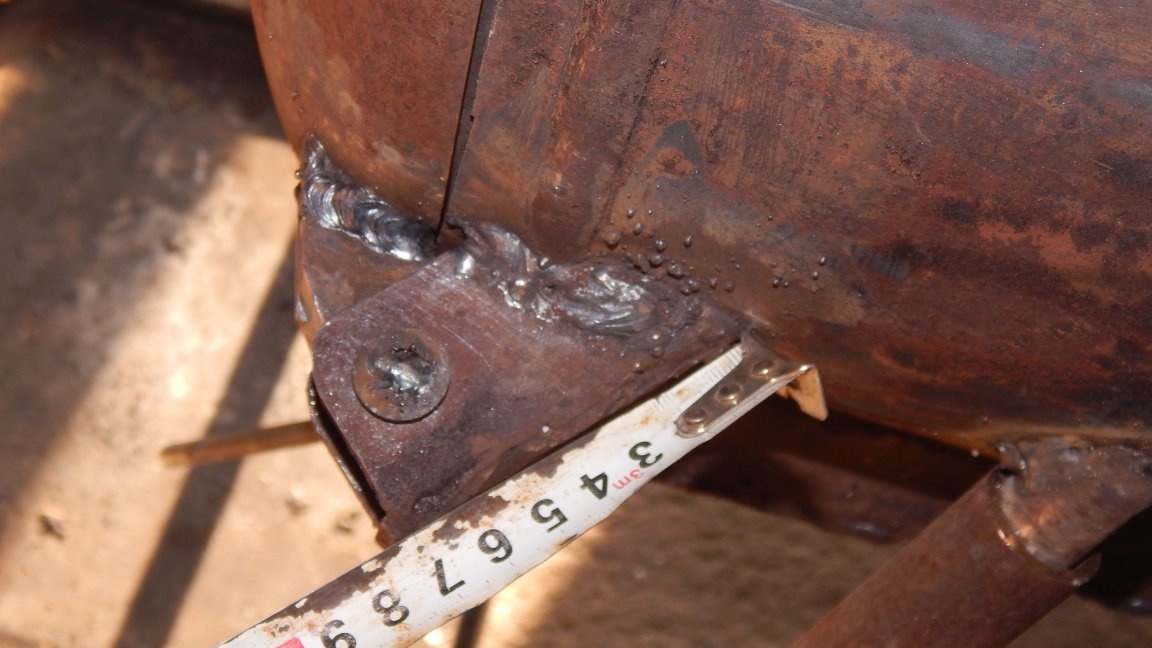
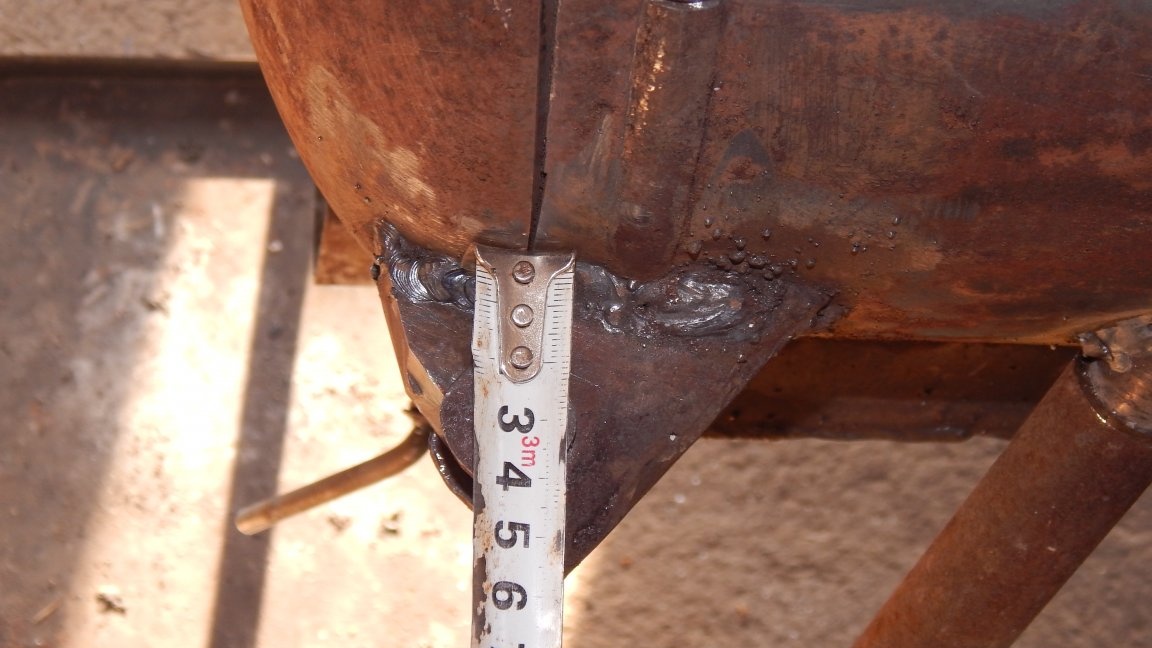
On the opposite side of the door, we weld a piece of the bolt on which we mount a locking hook with a handle. On the side wall of the container we weld a piece of a bolt for which the hook of the door locking mechanism will cling. The hook is made in such a way that when lowering the handle down, it attracts the door without leaving large gaps.
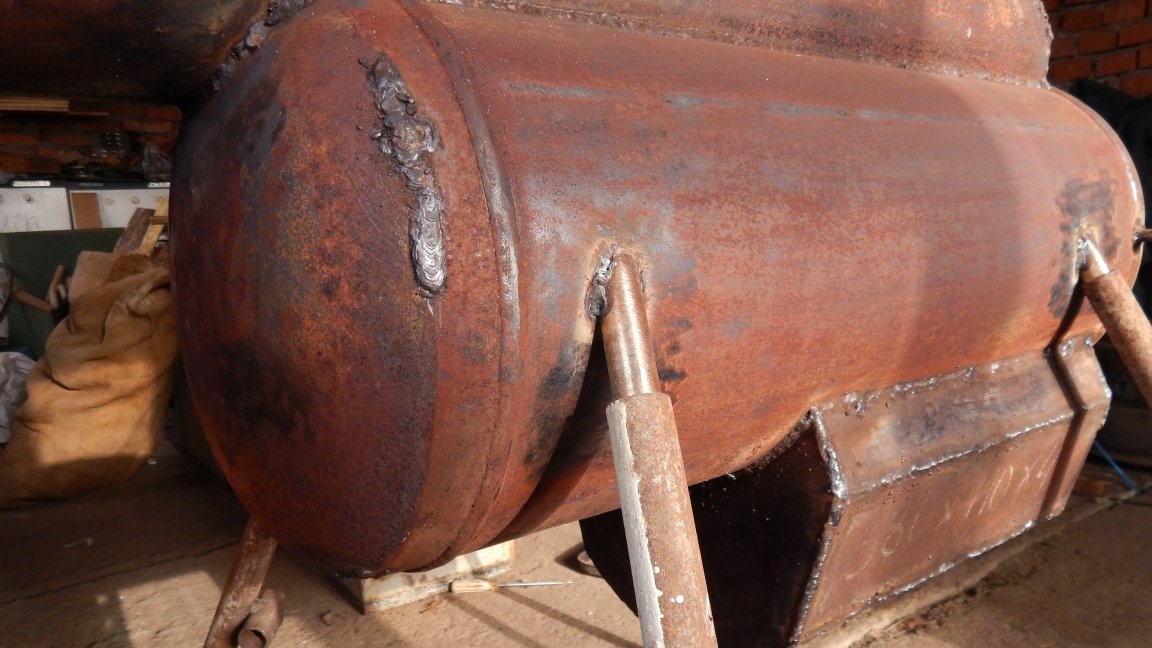
Step six: make the legs
Here our potbelly stove is almost ready, it remains only to attach the legs to it and it will be a complete set. With the legs I did not bother much and made them very simple - I took pieces of a water pipe 19 mm and welded them to the four sides of the potbelly stove. Then he cut off four identical pieces of pipe length of 27 mm and put them on those pieces that were welded to the base of the potbelly stove. Thus, we got good legs and a potbelly stove with good stability, which is very important.
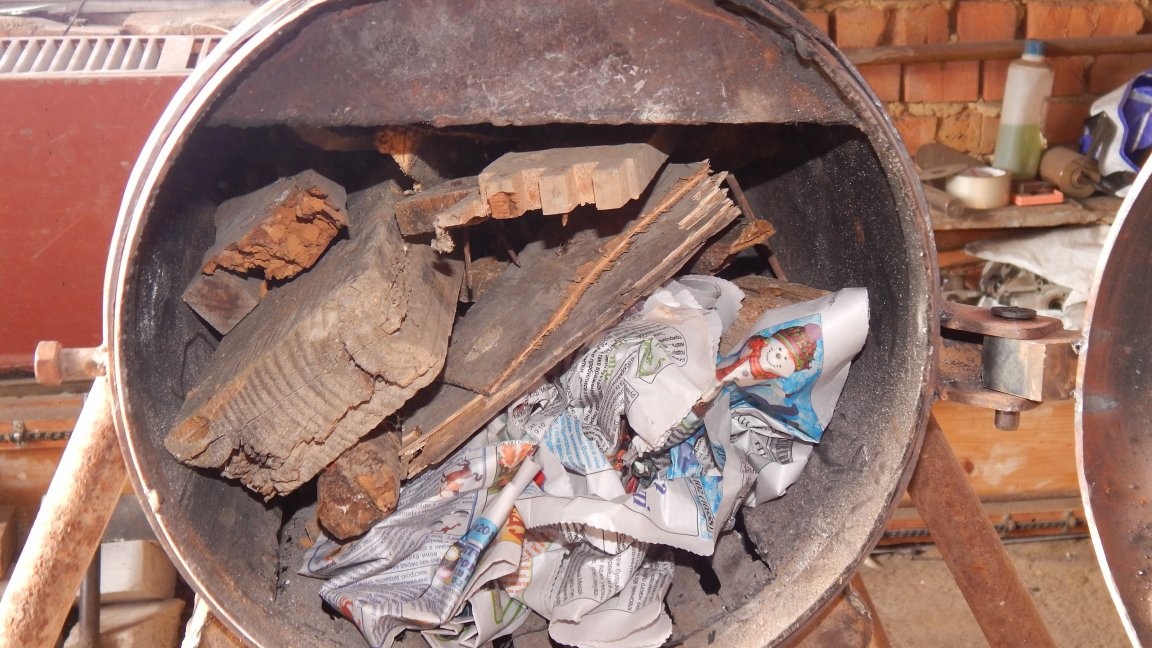
Test
Now our potbelly stove is completely ready and it is already possible to feel it safely. Such a stove is perfect for the garage and small rooms. Its advantage is that it heats up very quickly, and thanks to my design of the chimney channel and the adjustable air supply system, it has a higher efficiency and lower consumption of firewood. I used the potbelly stove for two seasons and everything works just super. I recommend repeating my scheme, whoever tries will not regret it.

For those who do not like to read, but want to know the result, there is a video of a potbelly stove in business.