
Hello everyone, in this instruction we will look at how to make a simple and convenient lift table. With it, you can easily lift weighty parts to work to the desired height. The table is driven by a small motor from a screwdriver, and you can power it with a battery. The wheels are also installed on the basis, which will allow you to move the table along with the parts to the right place. It is not difficult to assemble such a table; materials can be easily obtained. Since the author had to work with a rather thick metal, he used his plasma cutting machine, belt sander and other equipment that may not be for everyone. You can cope with simpler tools, it all depends on time and energy spent. Let's consider in more detail how such a table is made!
Materials and tools used by the author:
Material List:
- Sheet steel;
- corner;
- bearings;
- round timber (steel rods);
- castors for trolleys;
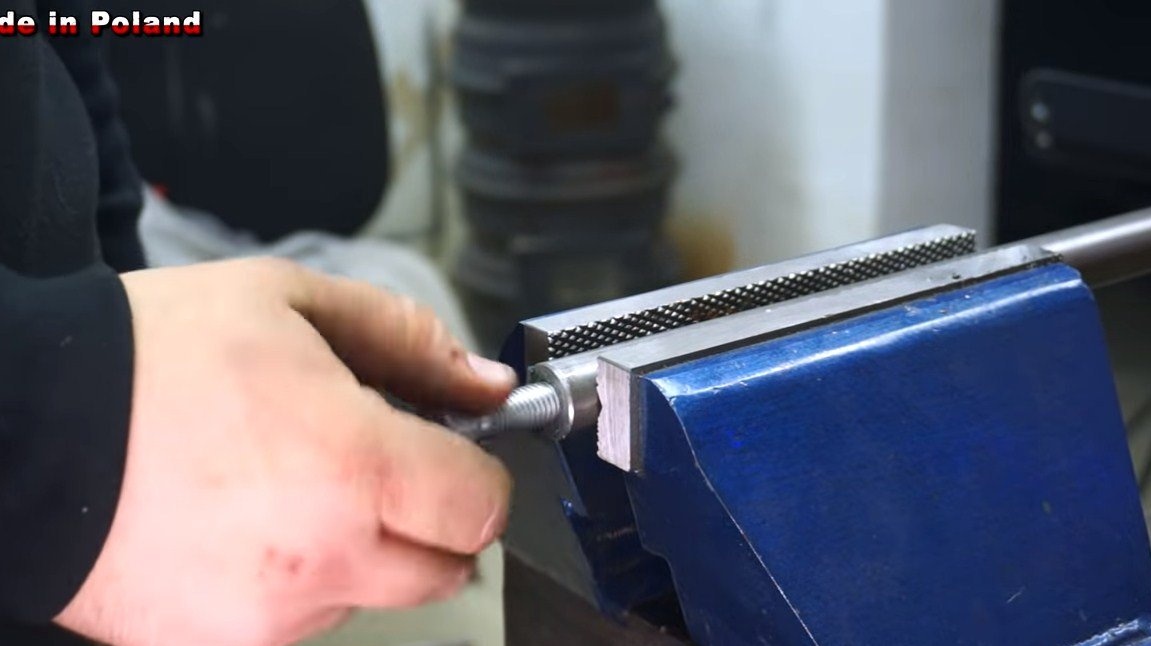
- long threaded rod;
- motor with gear from a screwdriver;
- gear from the grinder;
- switch;
- battery;
- paint.
Tool List:
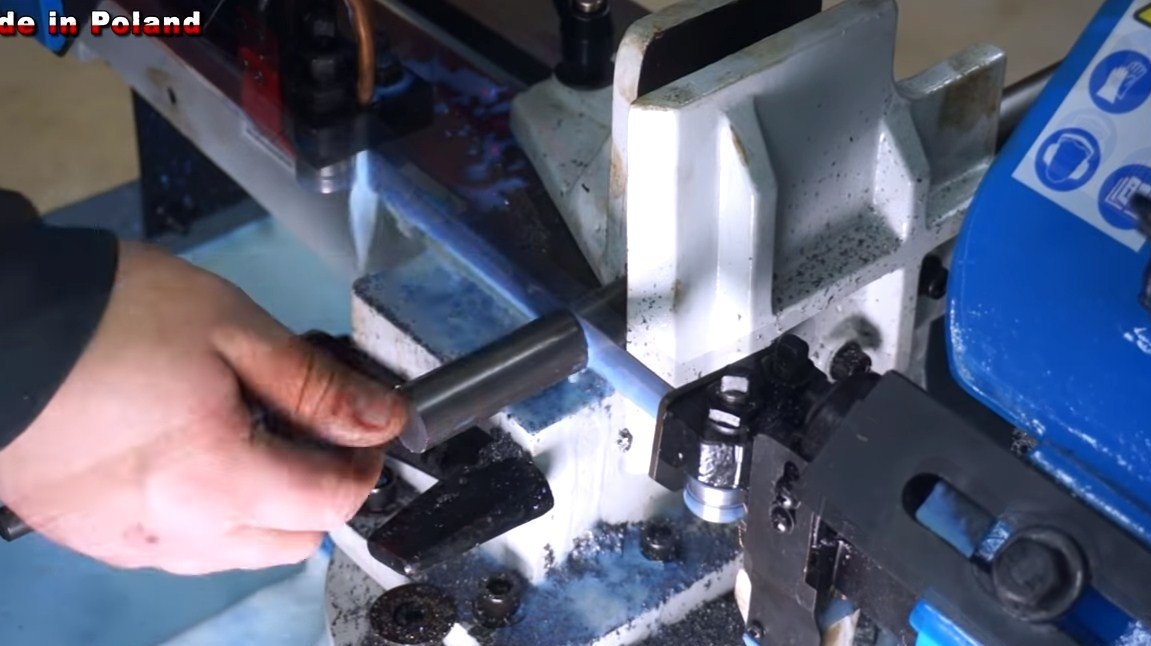
- tape cutting machine;
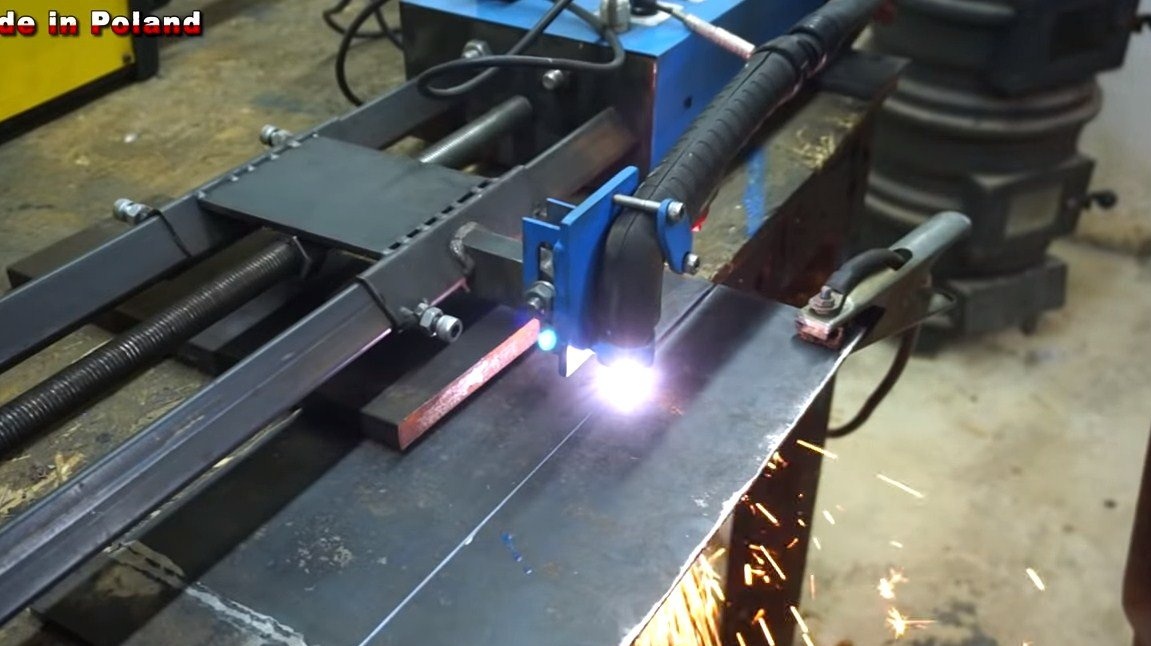
- plasma cutter;
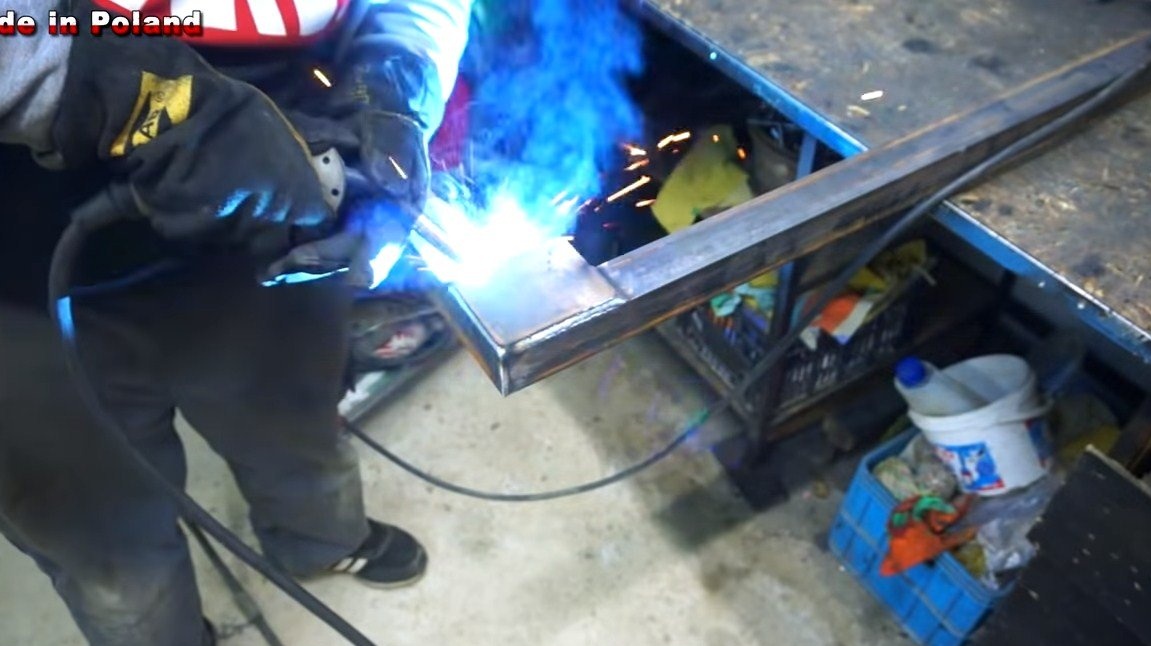
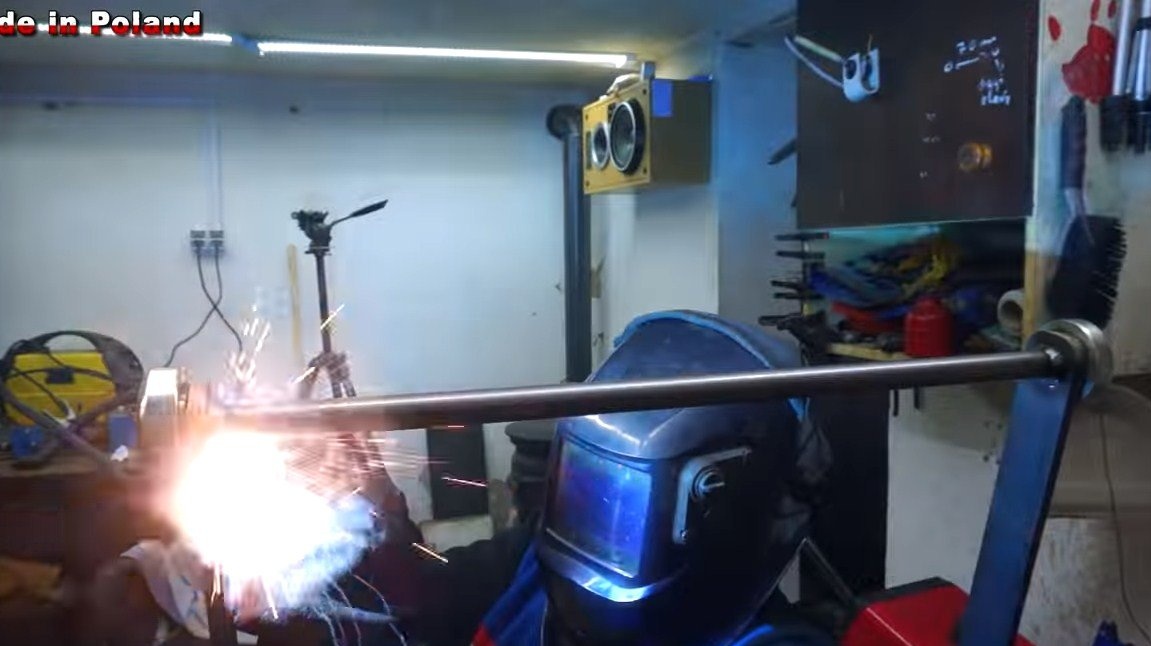
- welding machine;
- drilling machine;
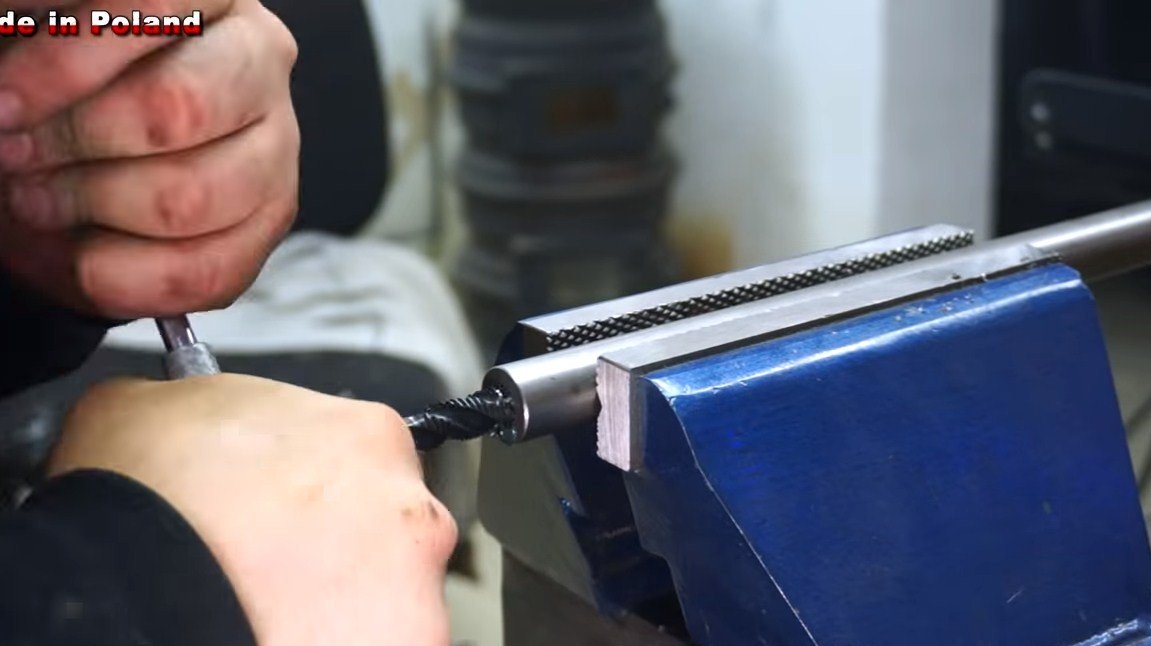
- taps for threading;
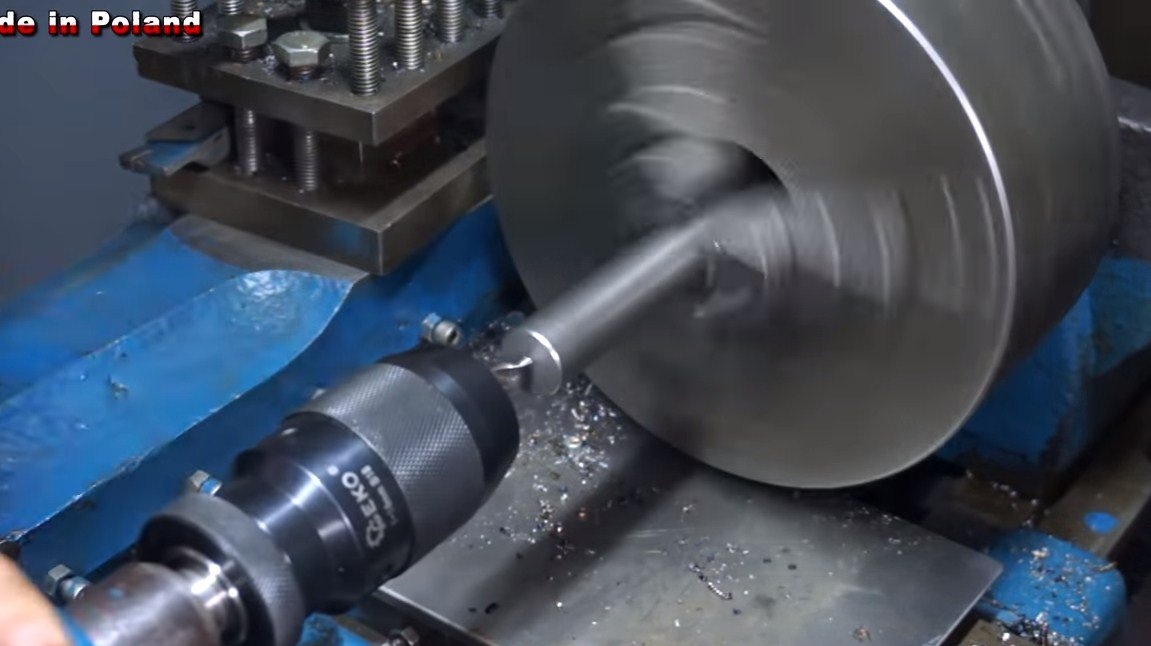
- lathe;
- belt sander;
- clamps, magnetic squares, etc.
The process of making a table:
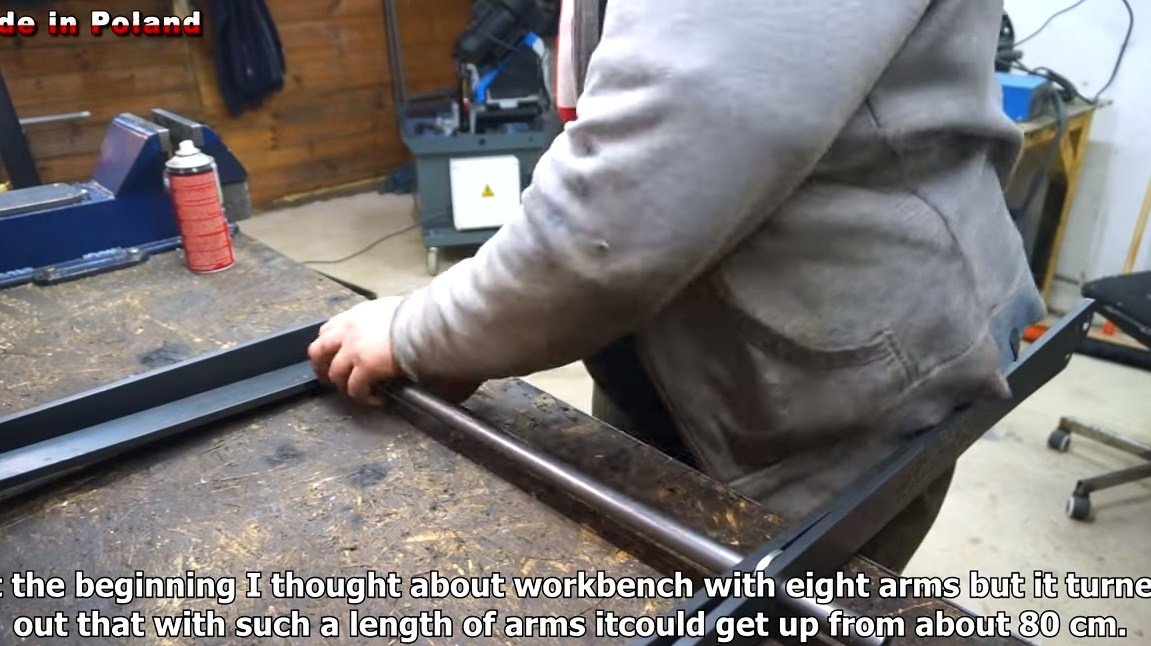
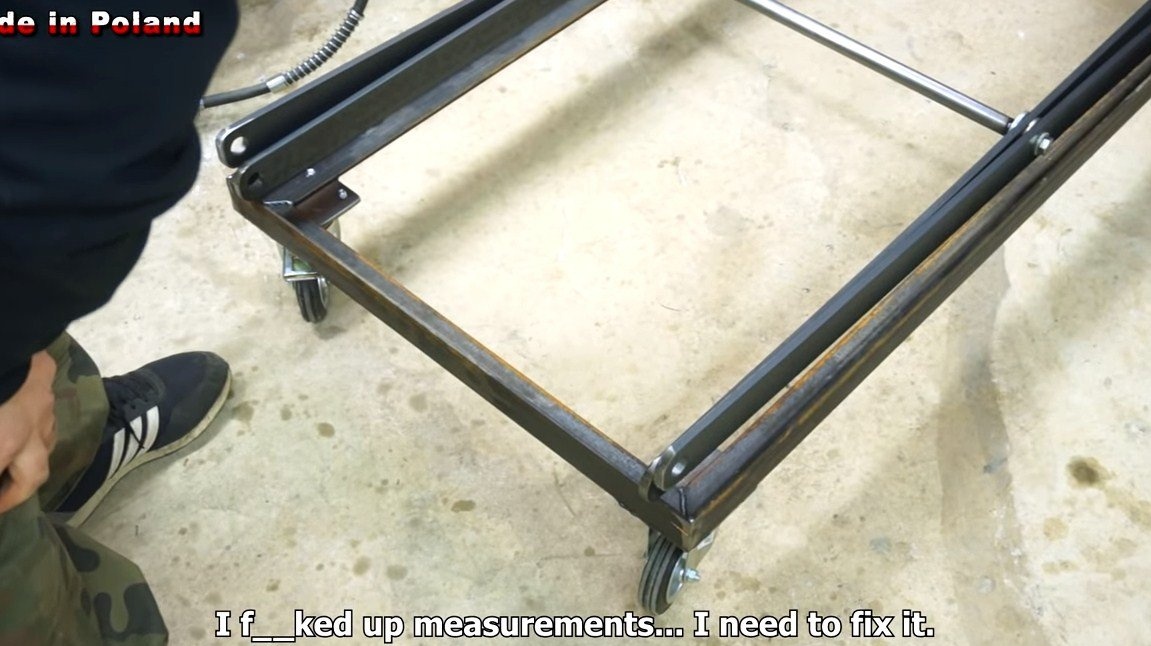
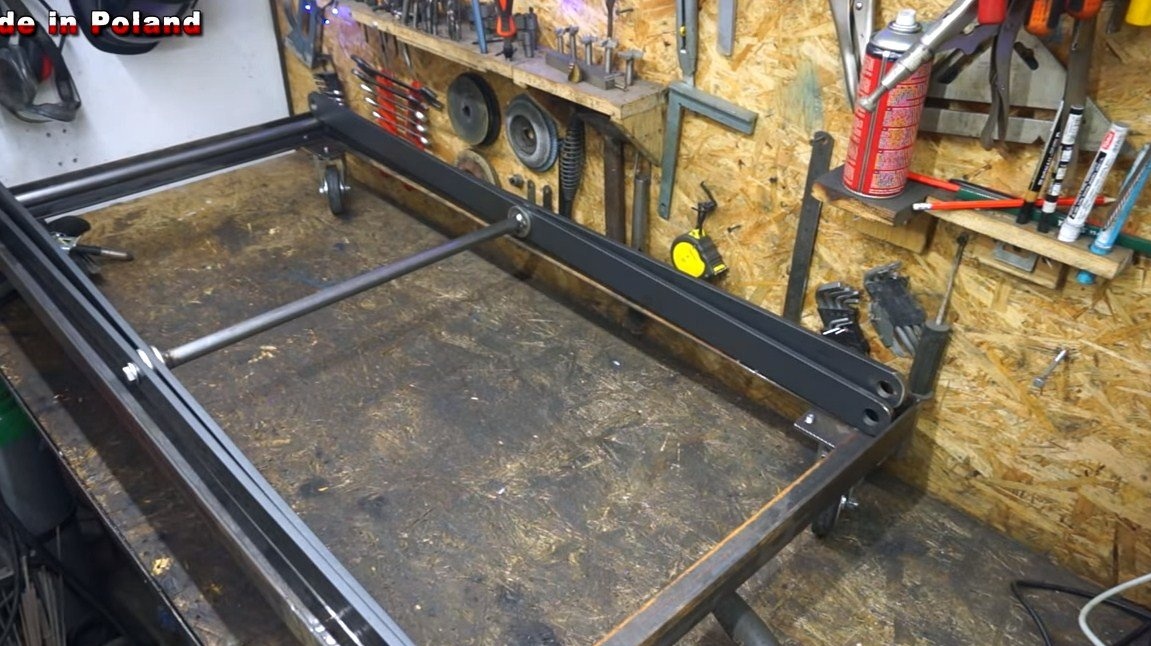
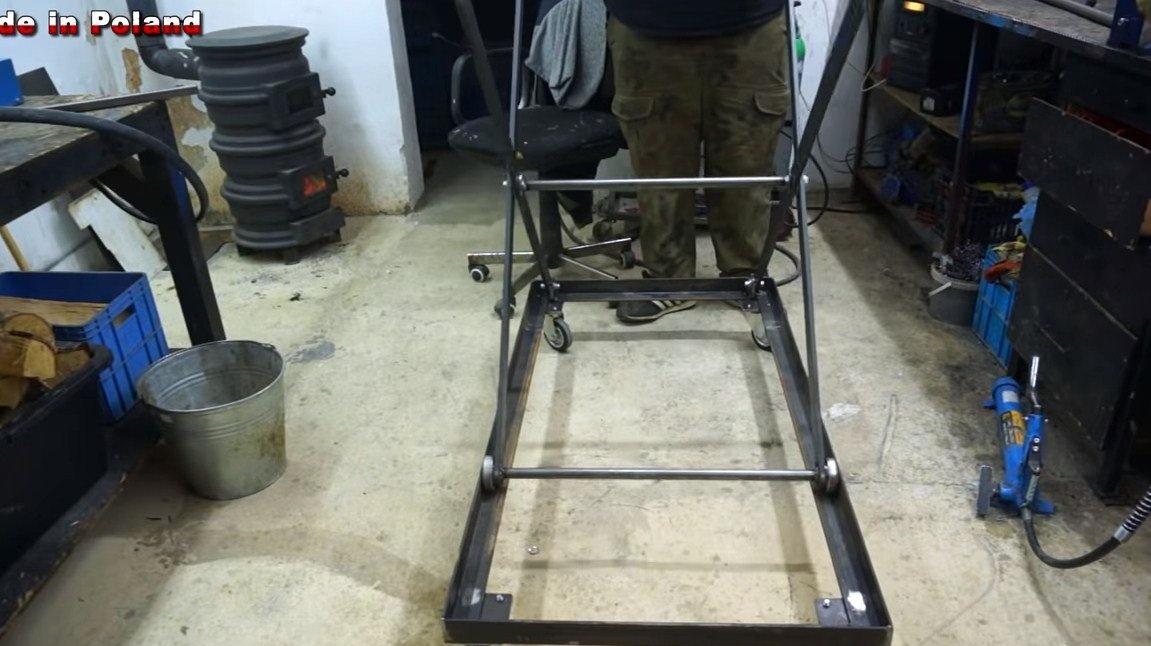
Step one. Base manufacture
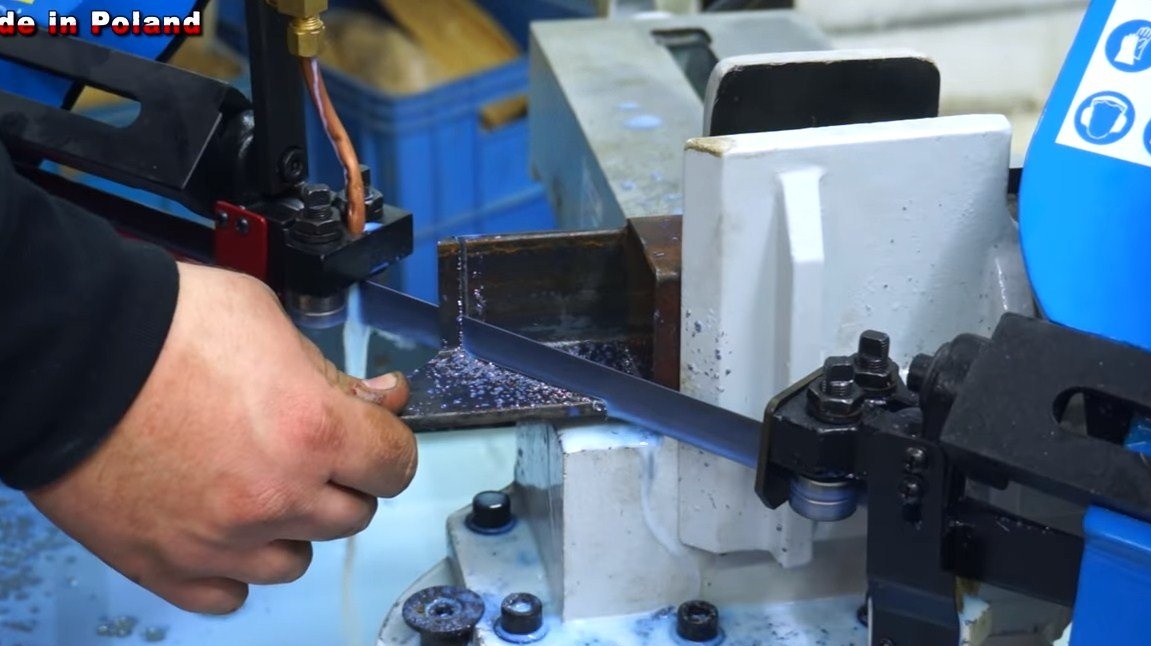
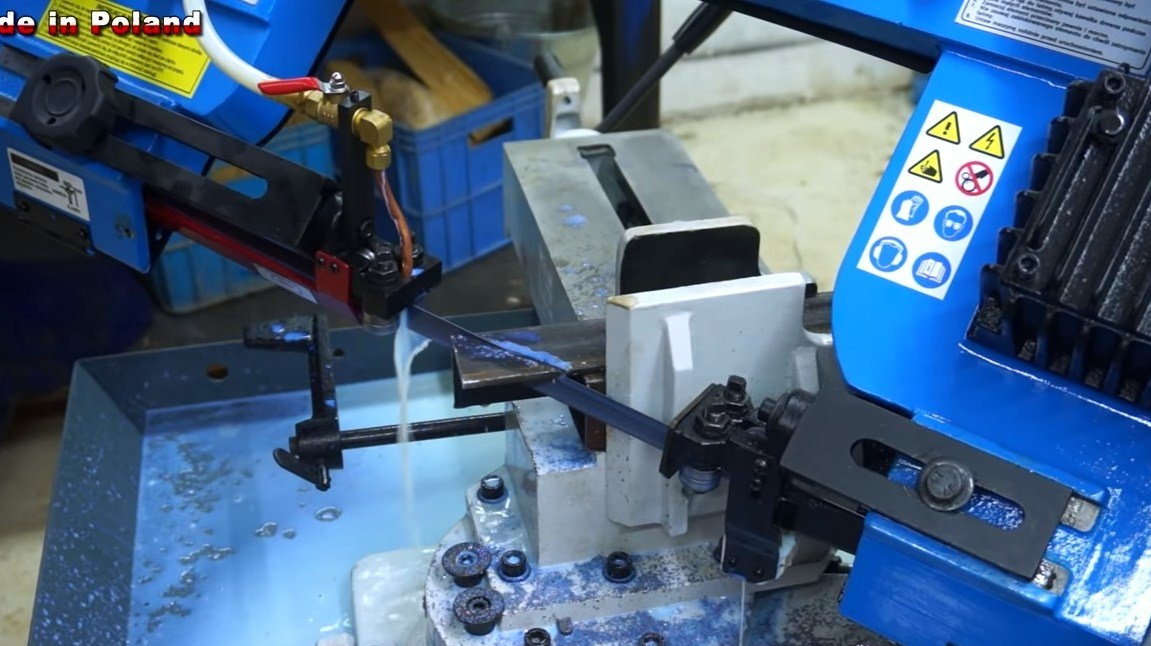
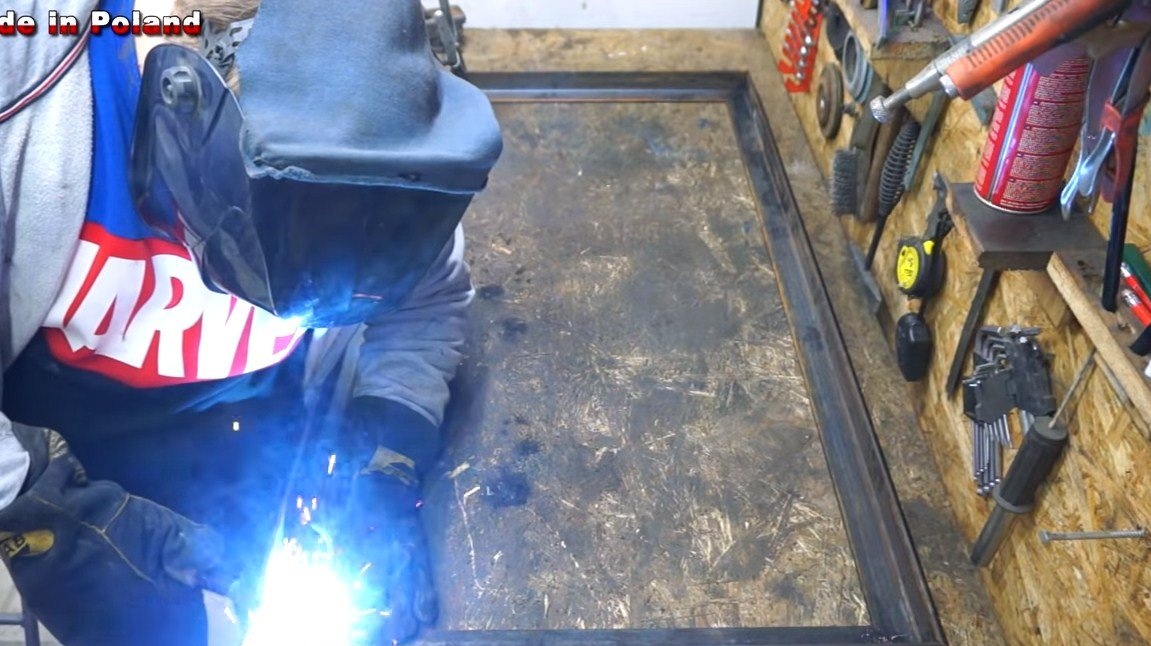
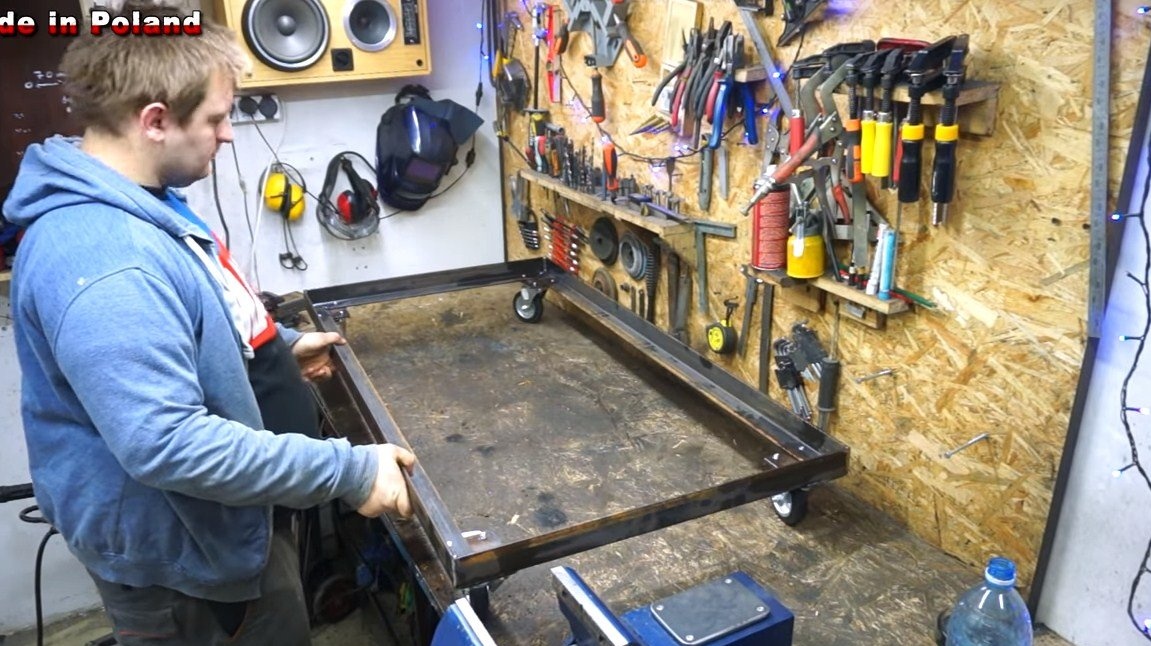
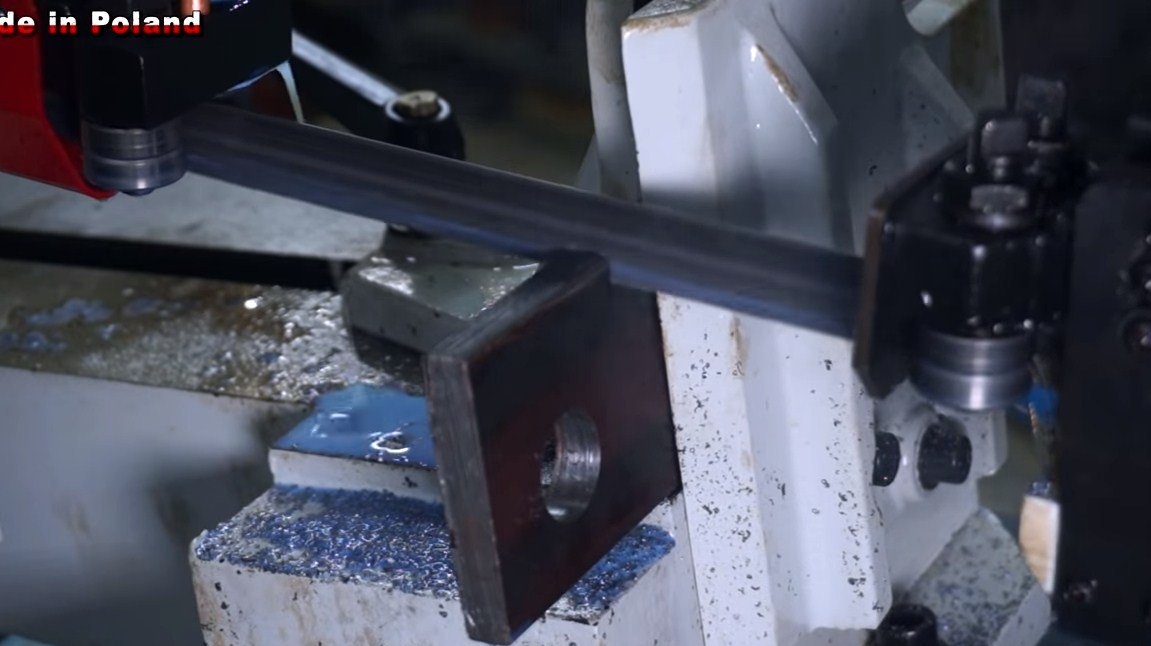
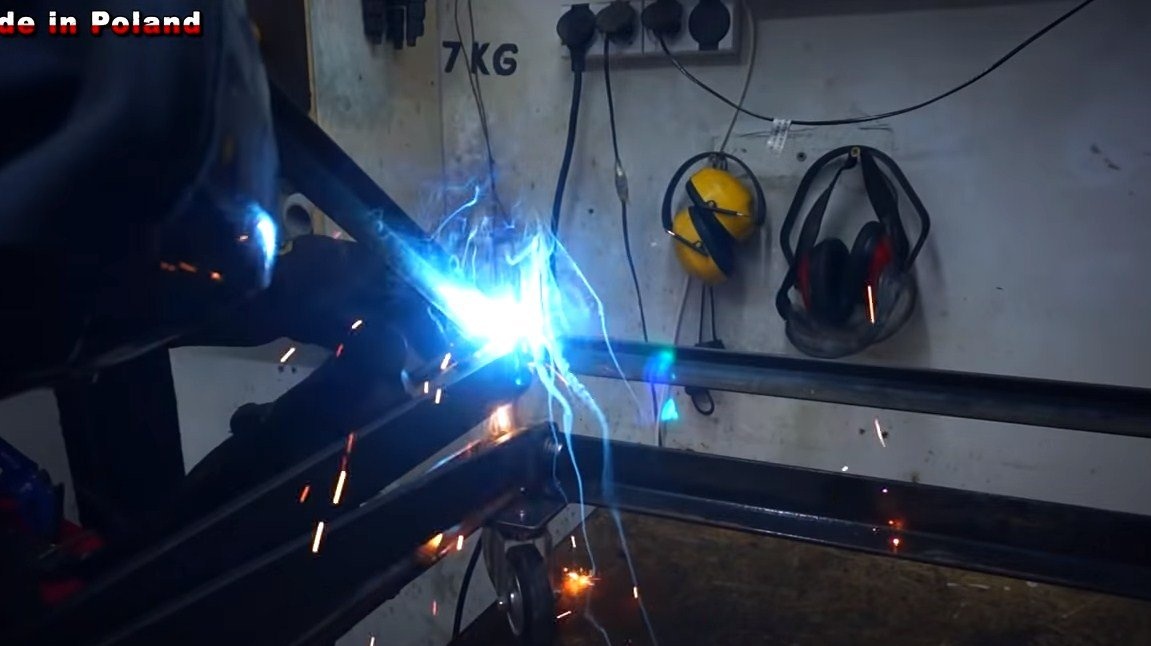
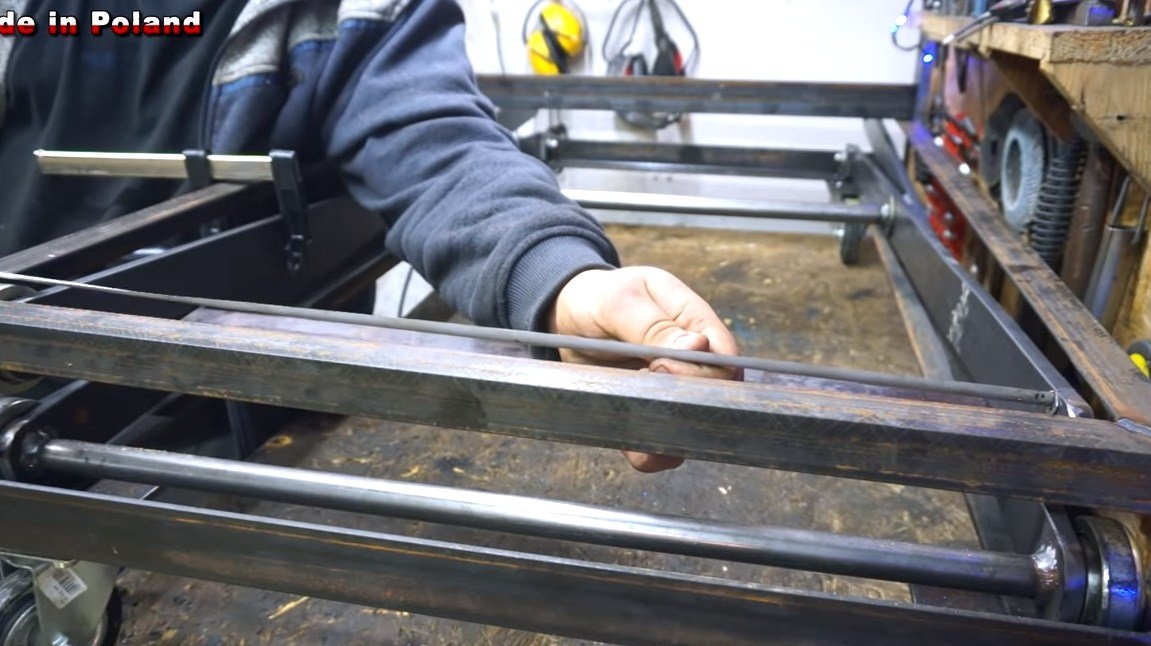
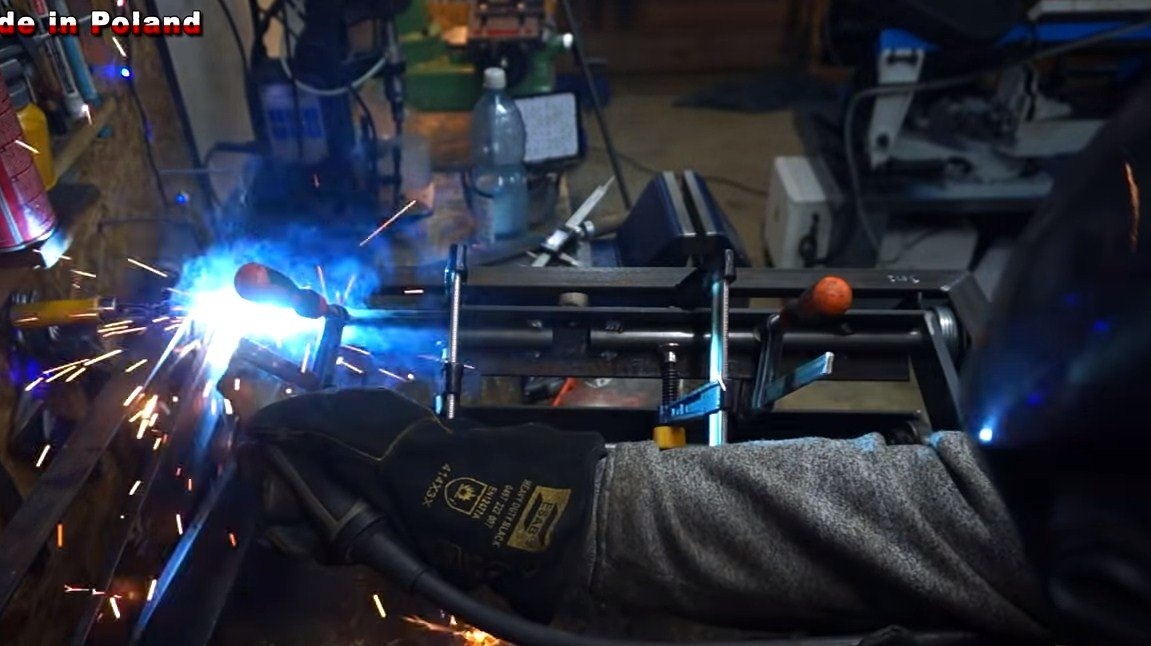
First you need to make the basis of the table, for its manufacture you will need a corner. The point of the frame from the corner is that then two rollers can ride on it. We cut the corner to the desired size and weld the frame to the desired length.
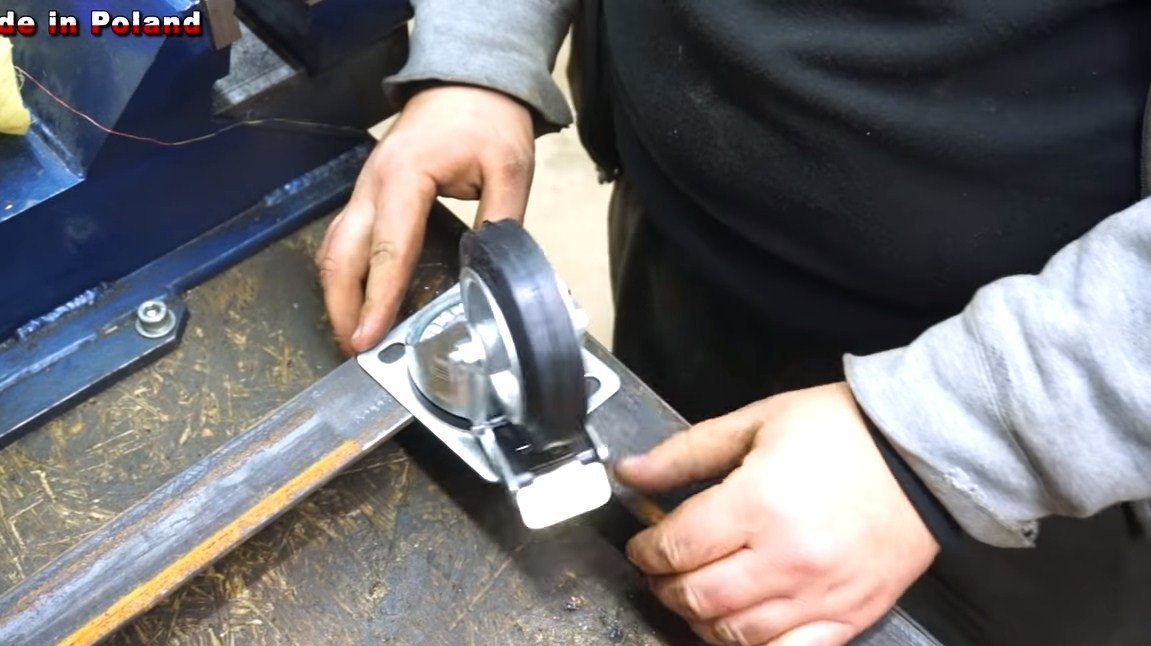
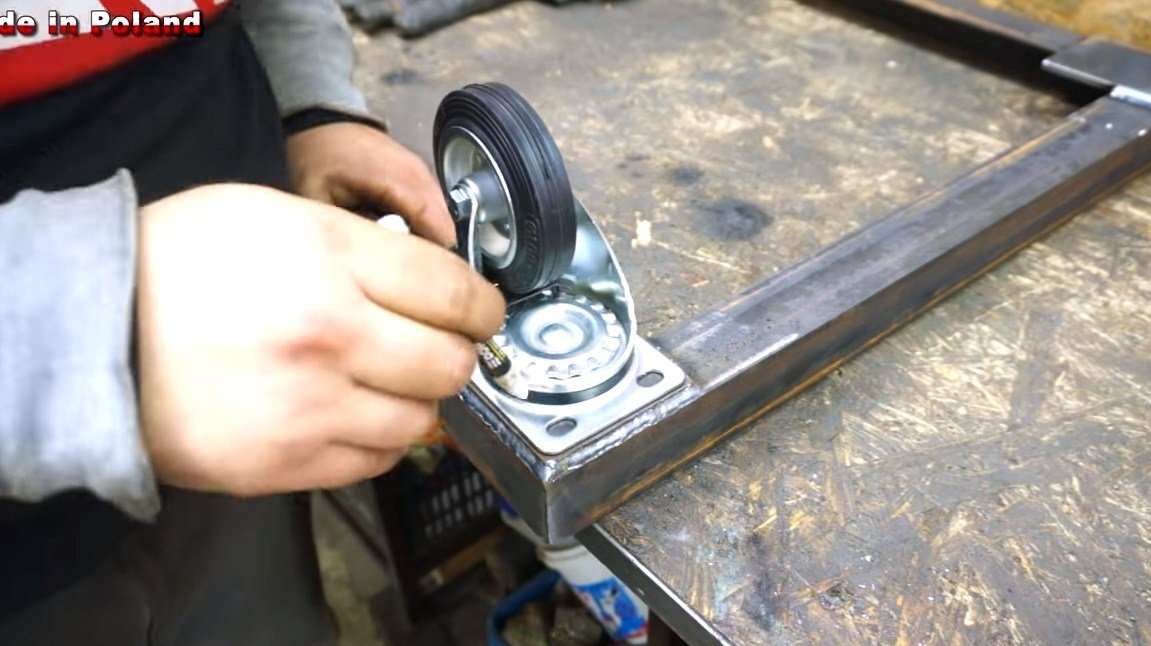
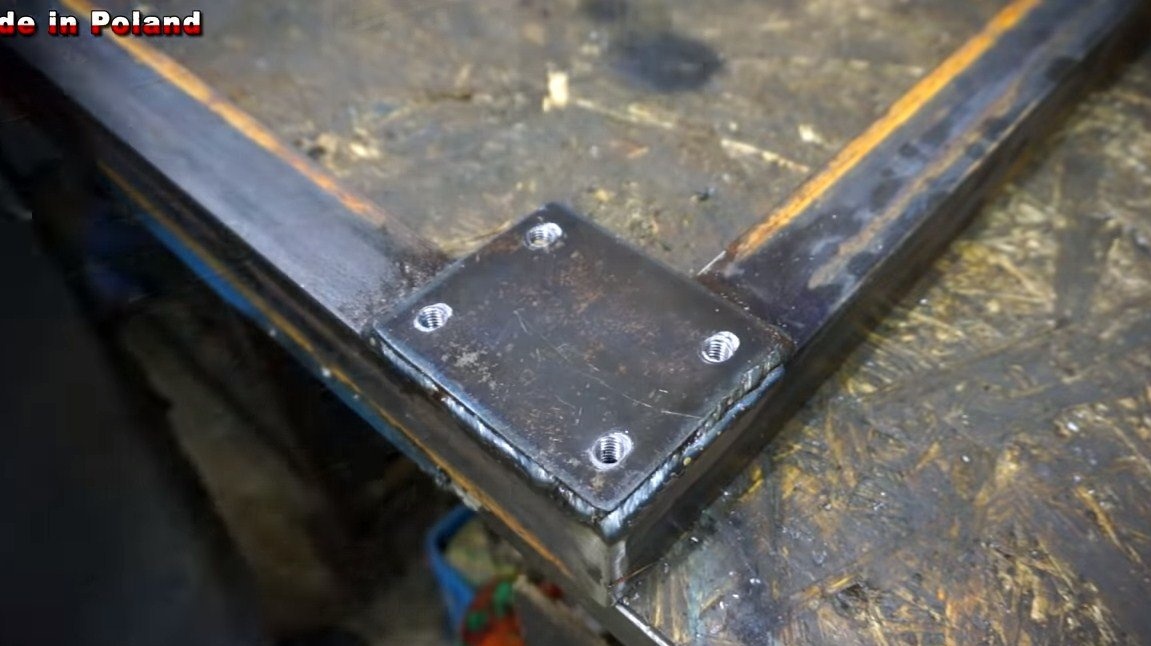
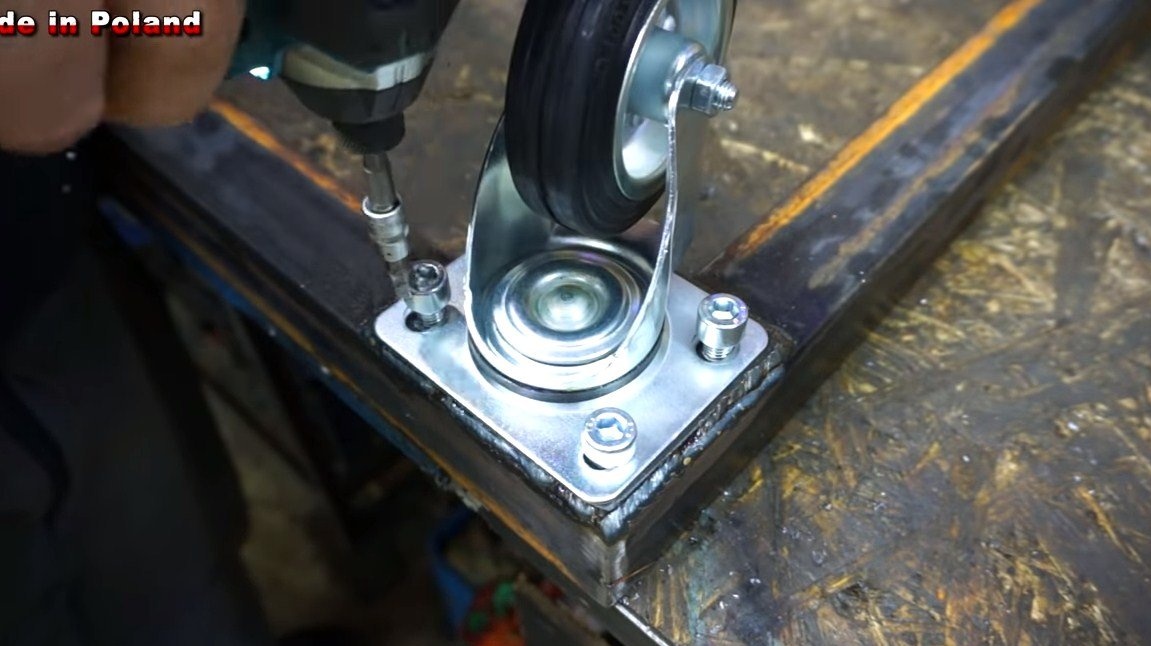
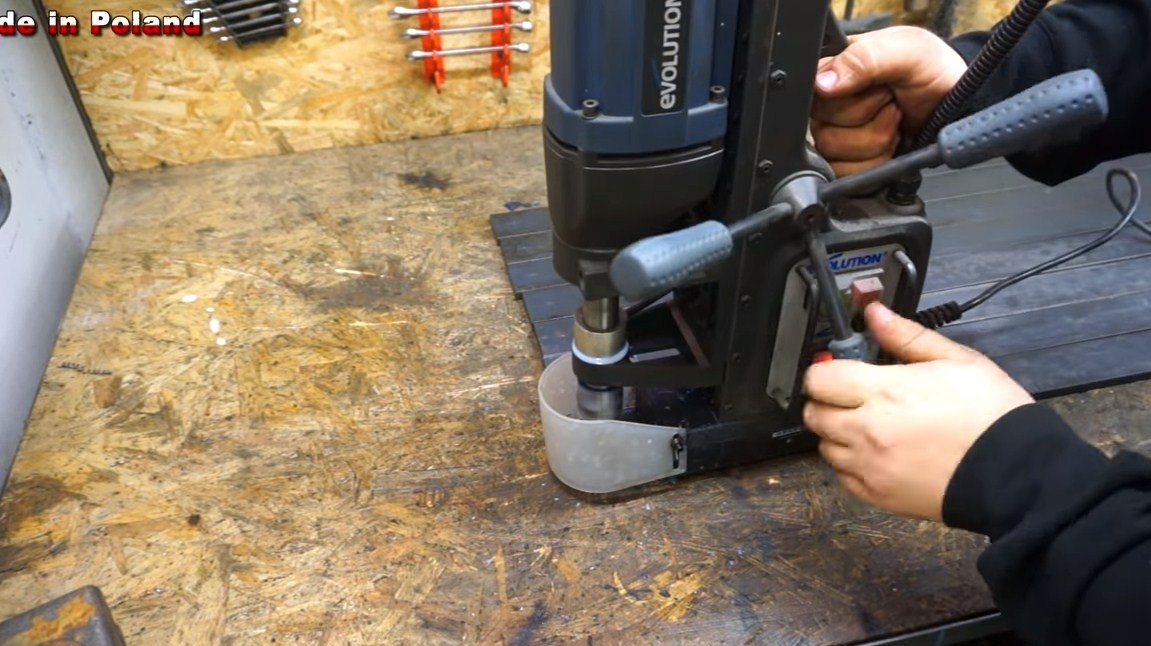
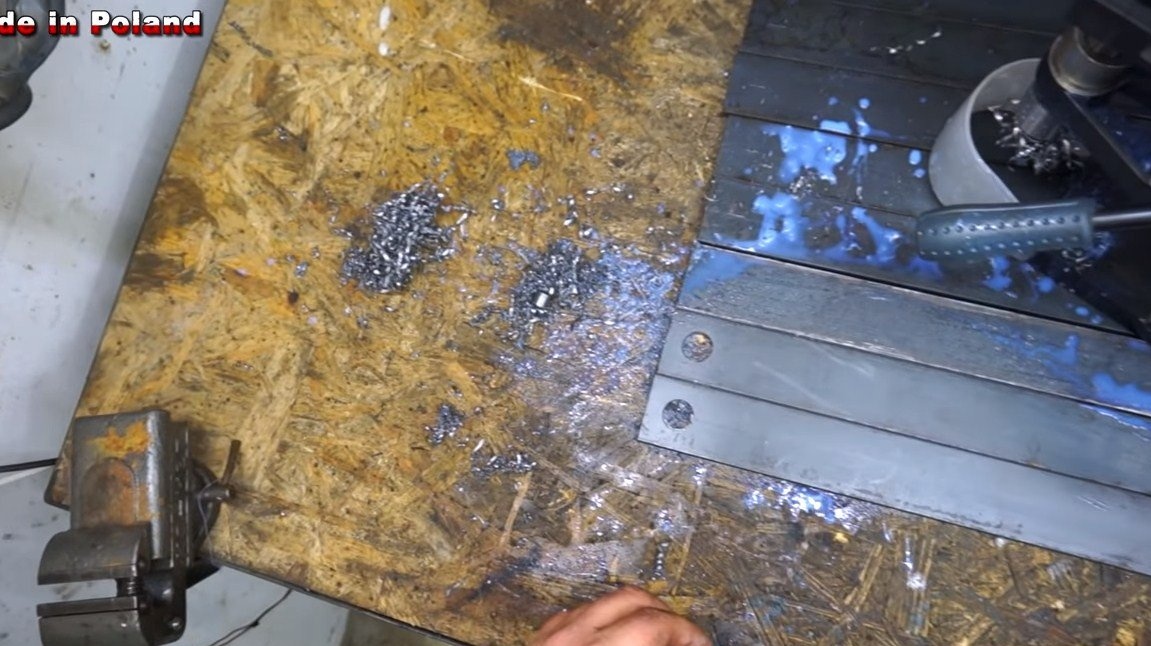
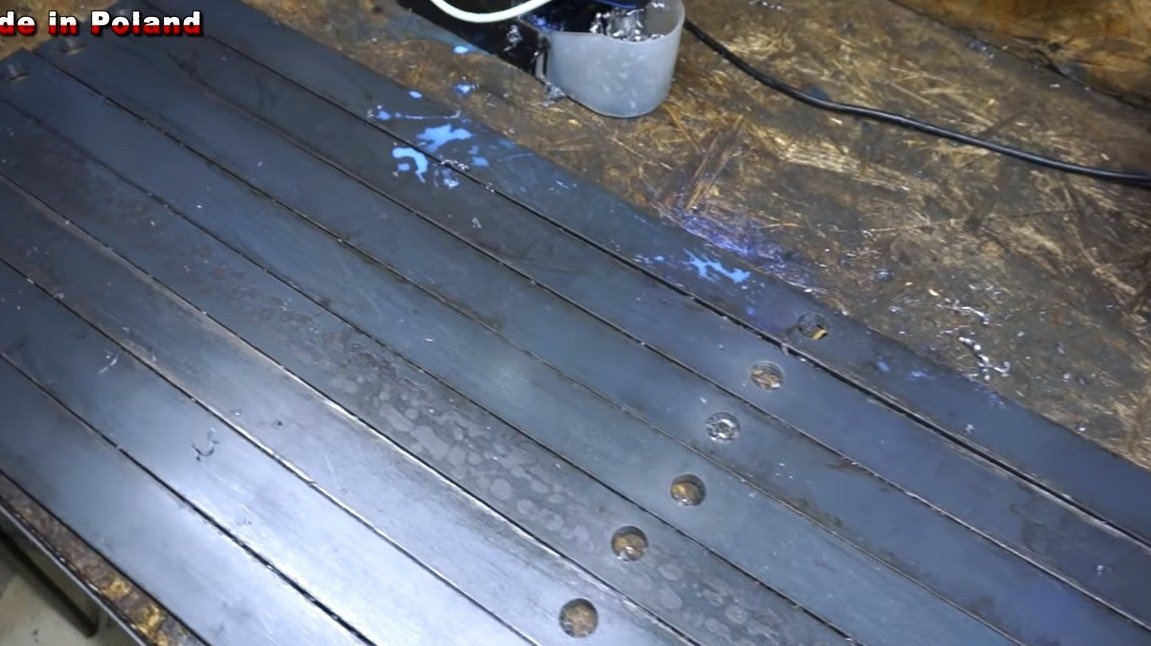
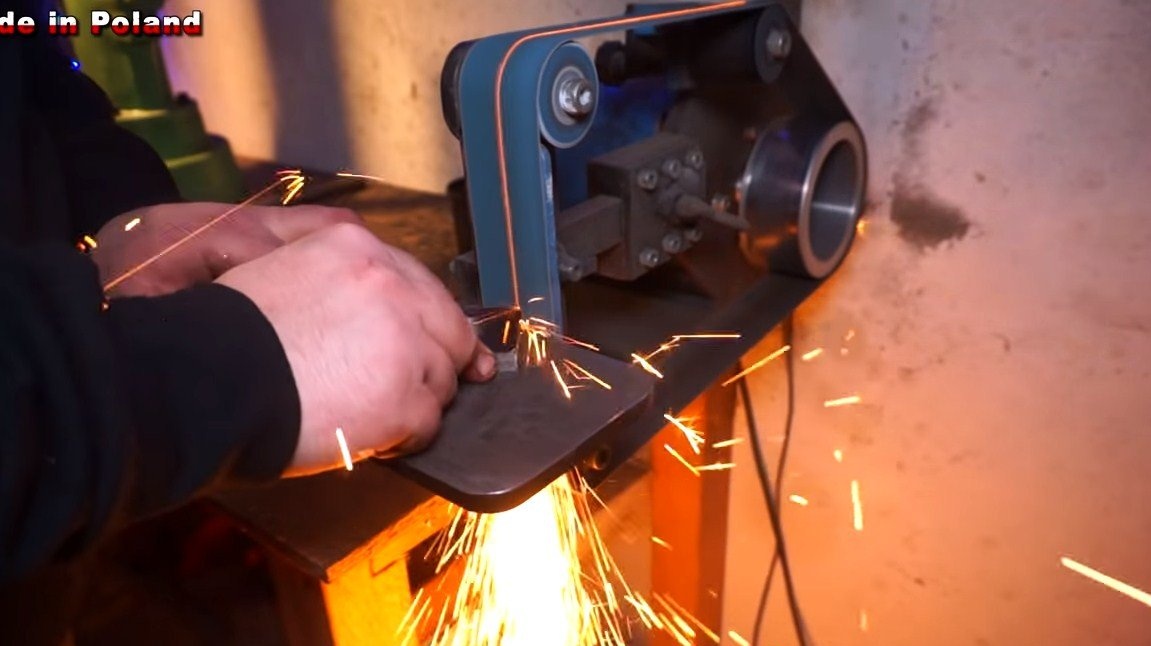
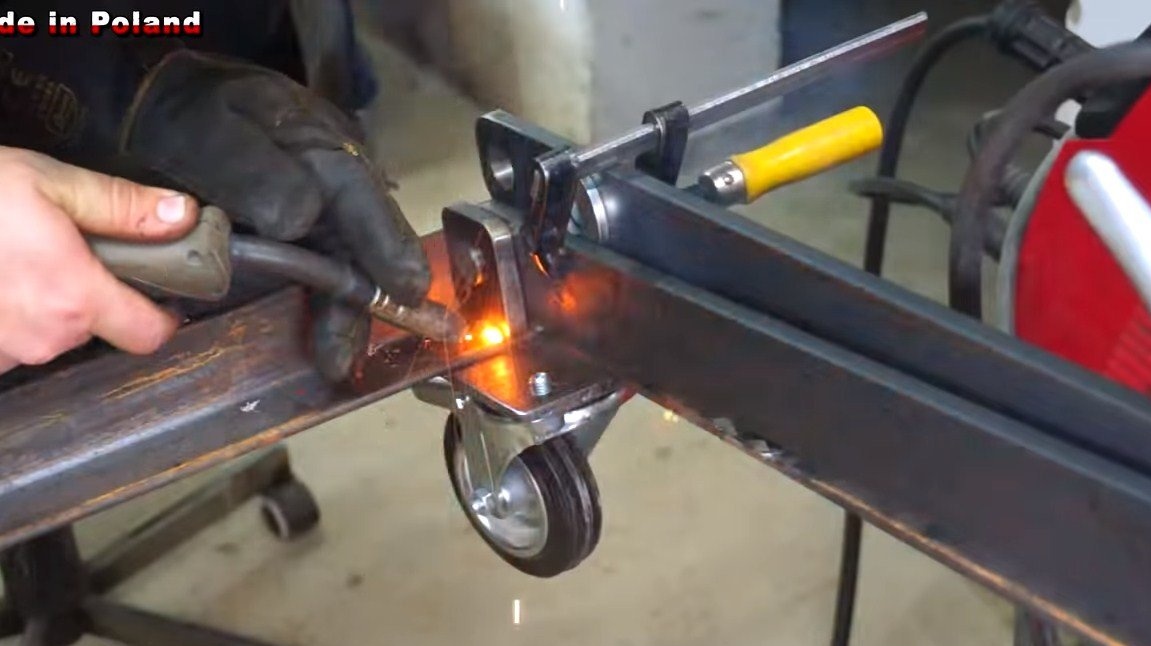
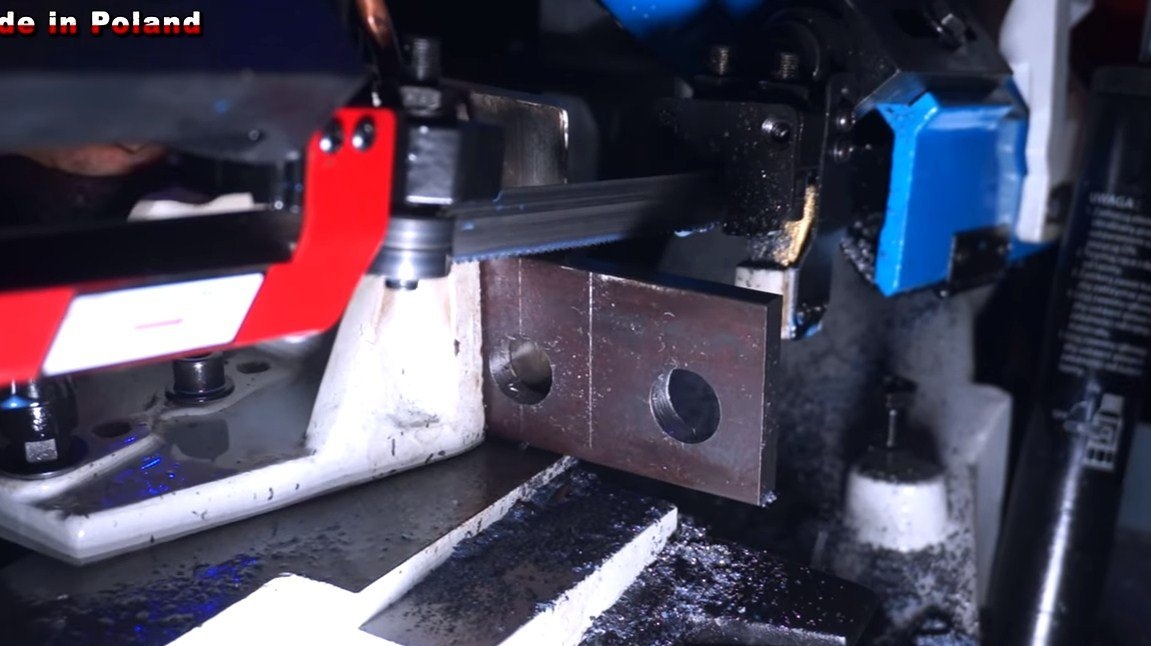
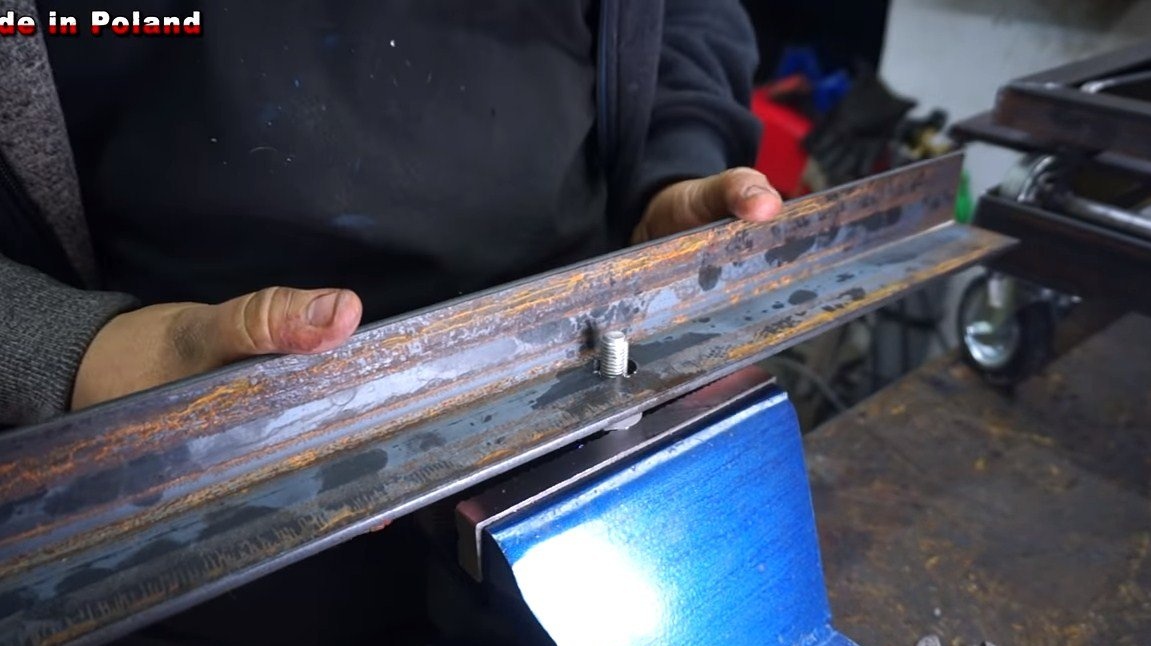
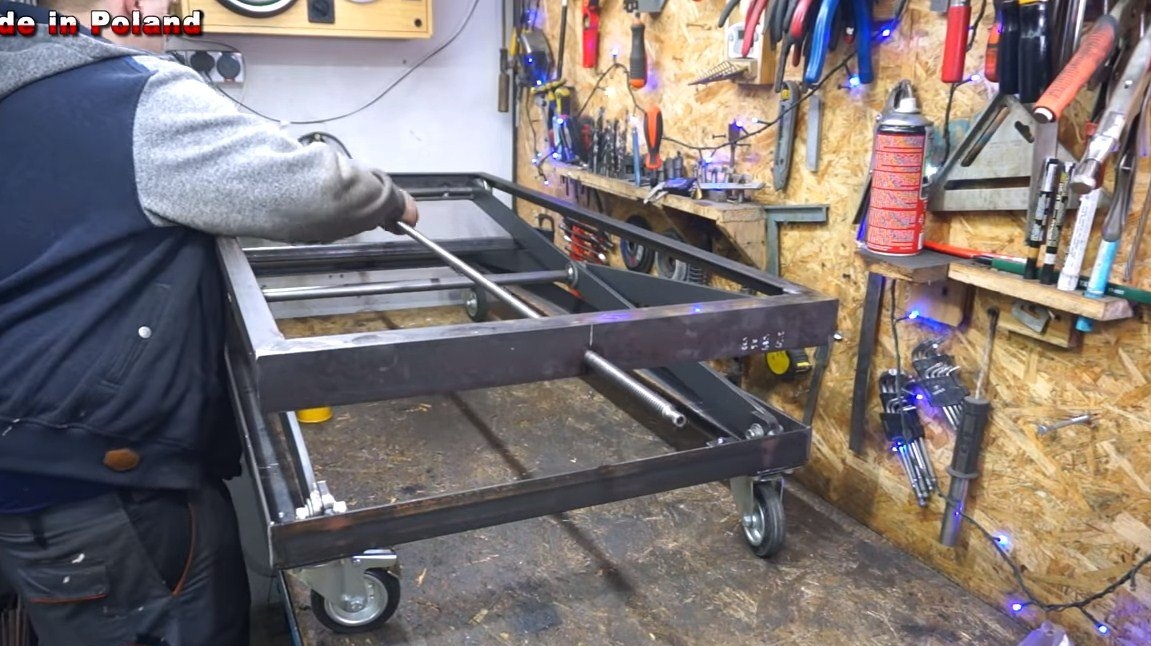
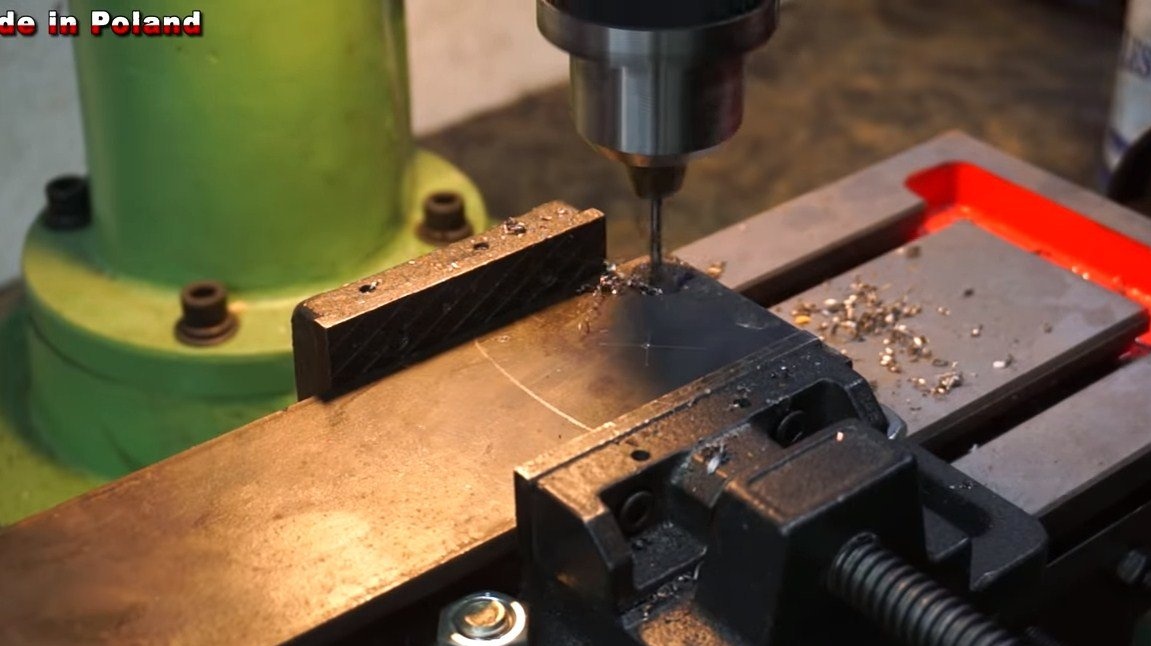
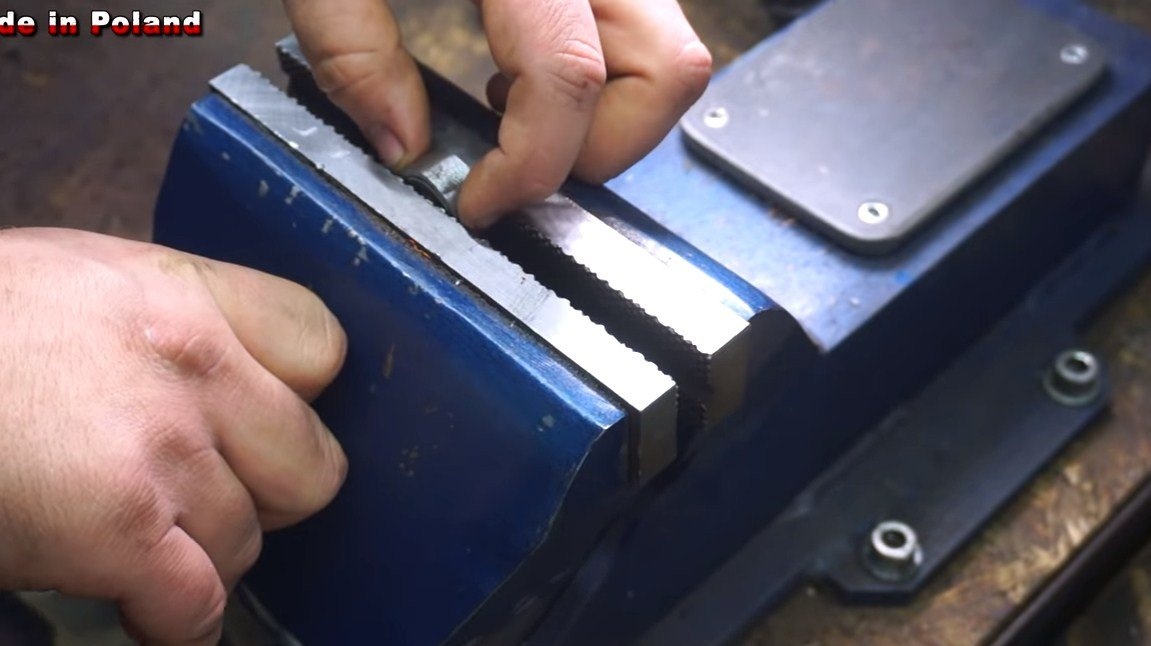
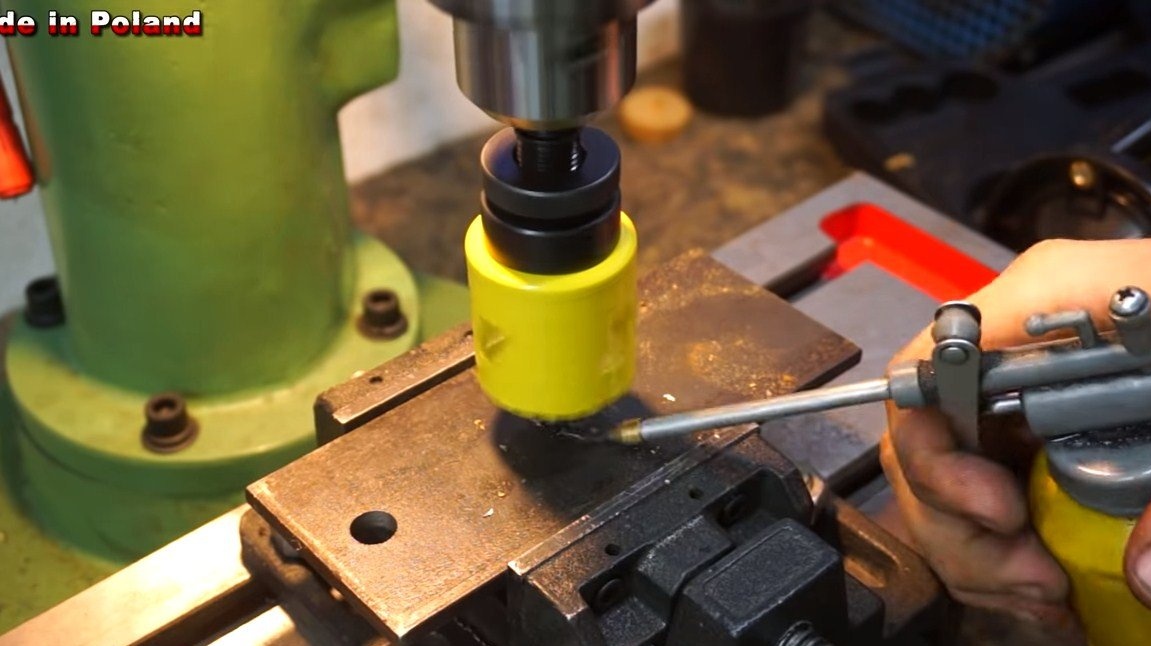
Next, we need to install wheels on the frame that will allow us to easily move the table on the floor. In total, 4 wheels from carts will be needed. To fasten them to the frame, the author made special mounting pads. They are pieces of thick steel foliage, in which holes are drilled and a thread for bolts is cut.
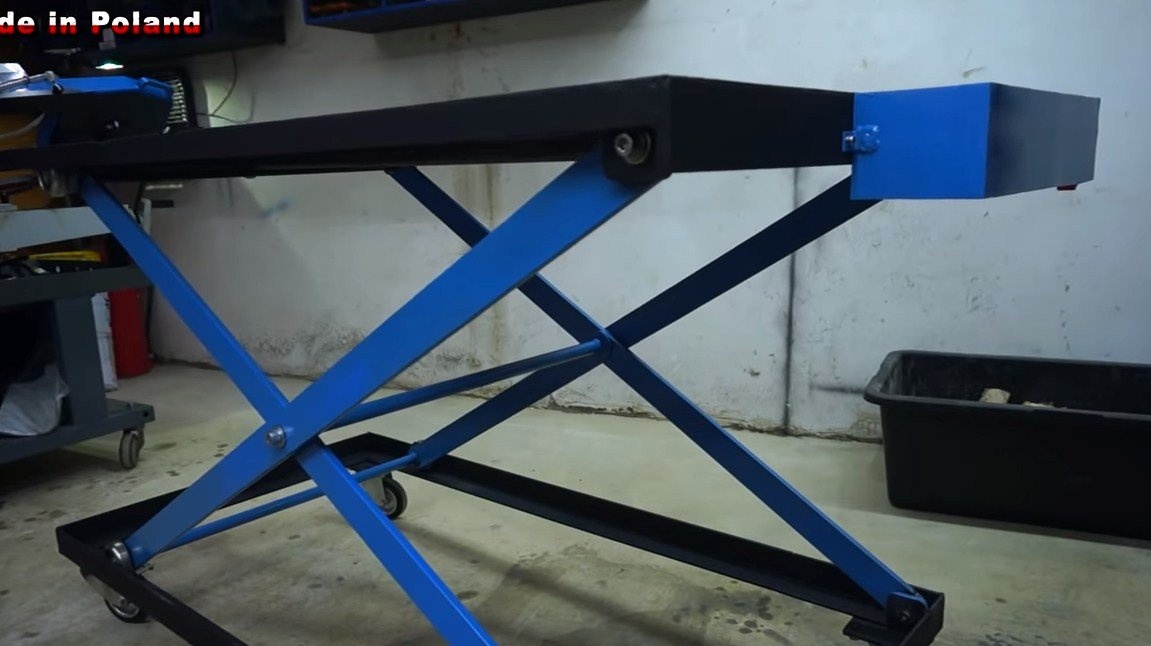
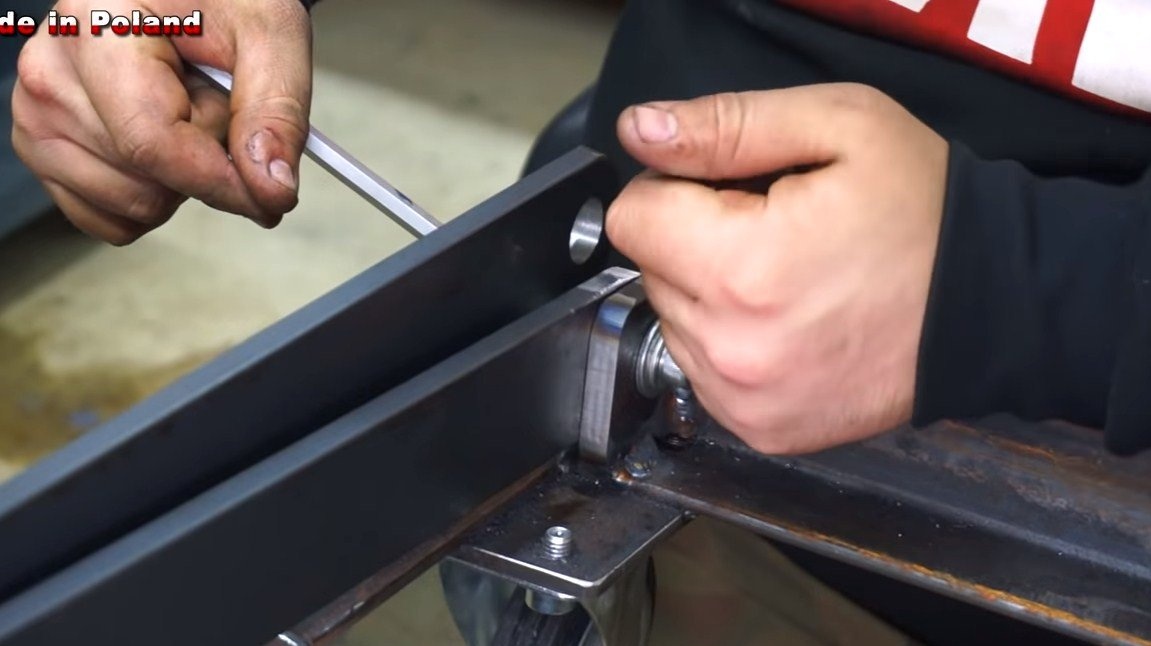
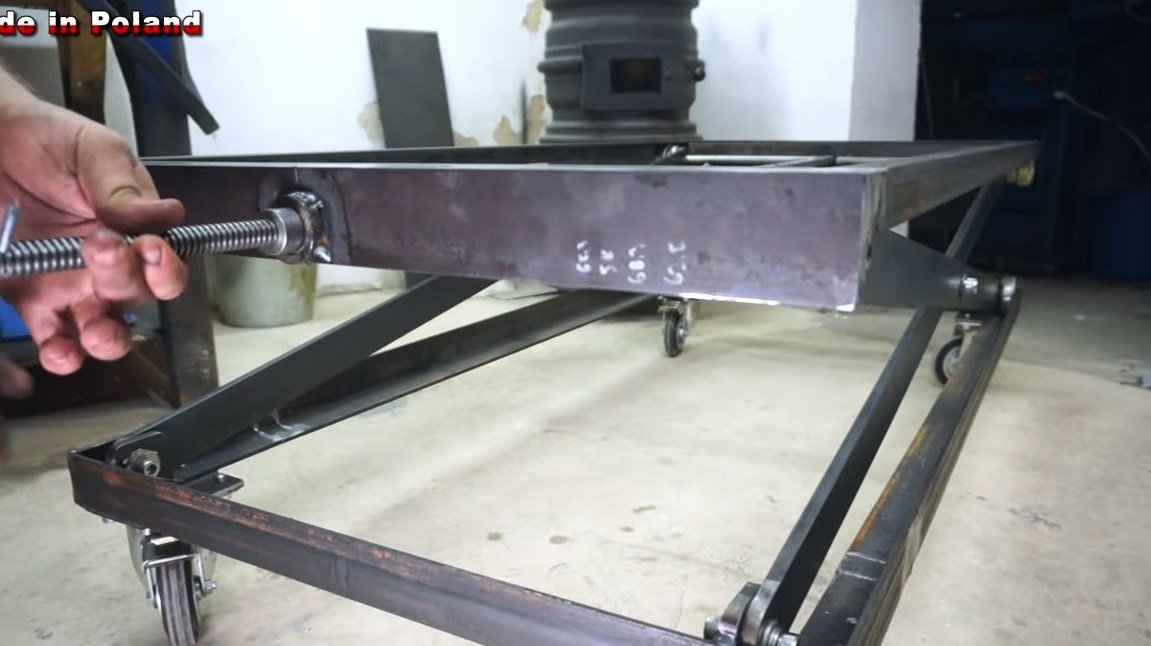
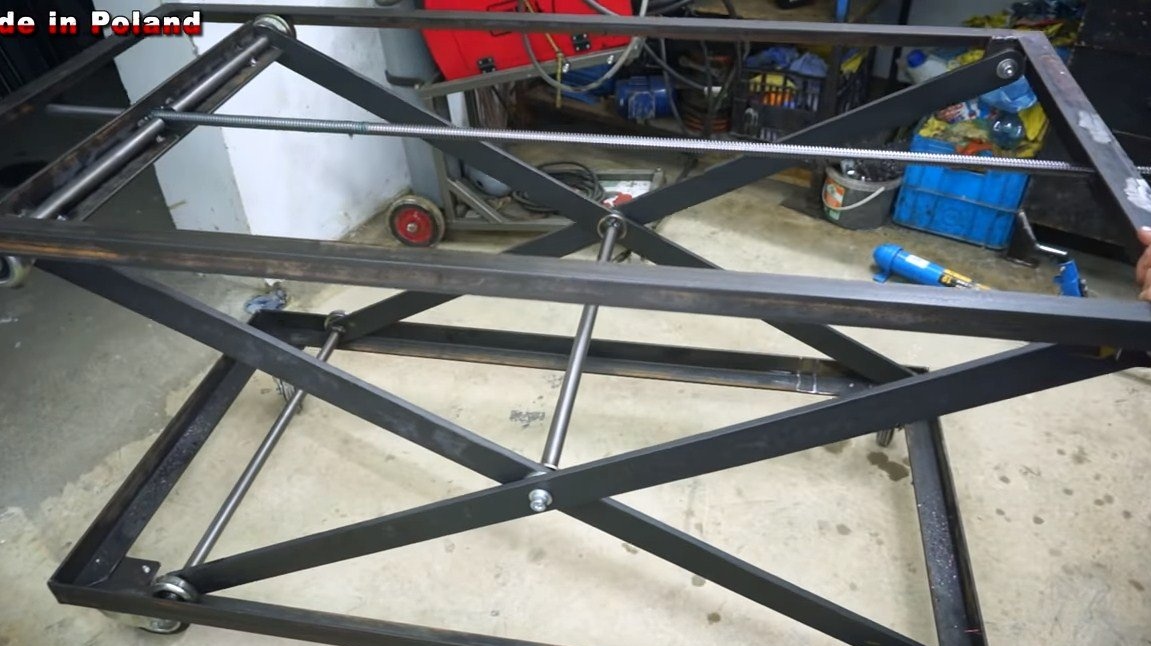
Step Two Crosshairs
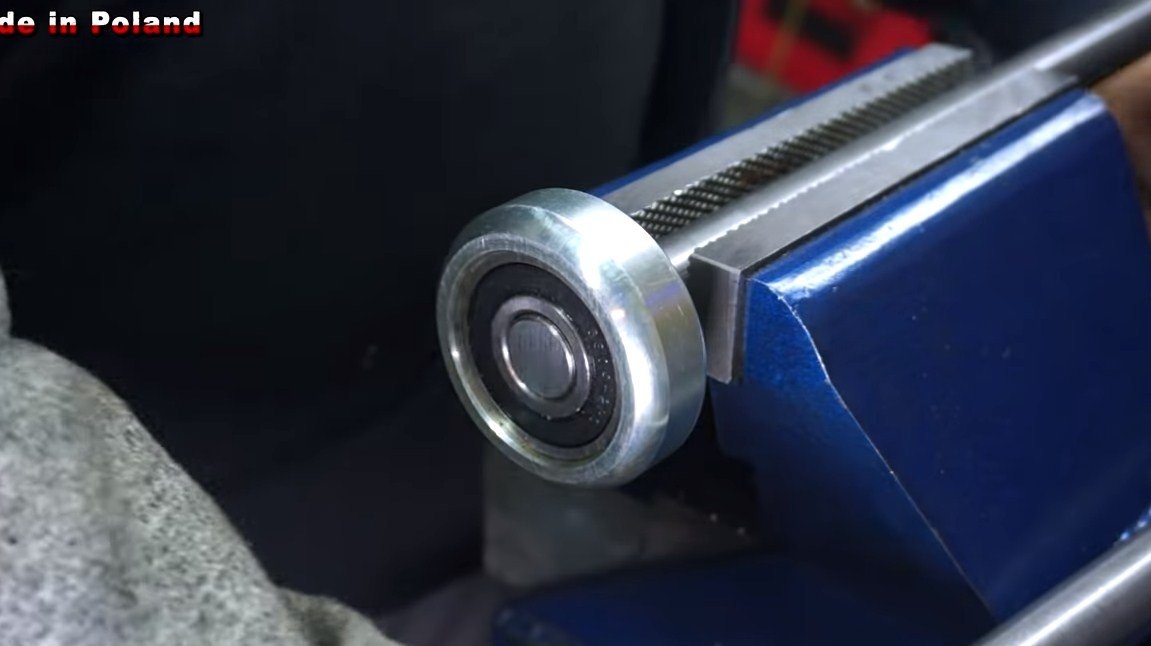
Paired crosshairs are used as the frame of the table. On one side, the frame is pivotally attached to the base, and on the other side, rollers of bearings that drive along the base are mounted. As a result, the countertop will be able to rise and fall.
We make a frame of steel plates, between the manufactured crosses we install a spacer from a round timber.
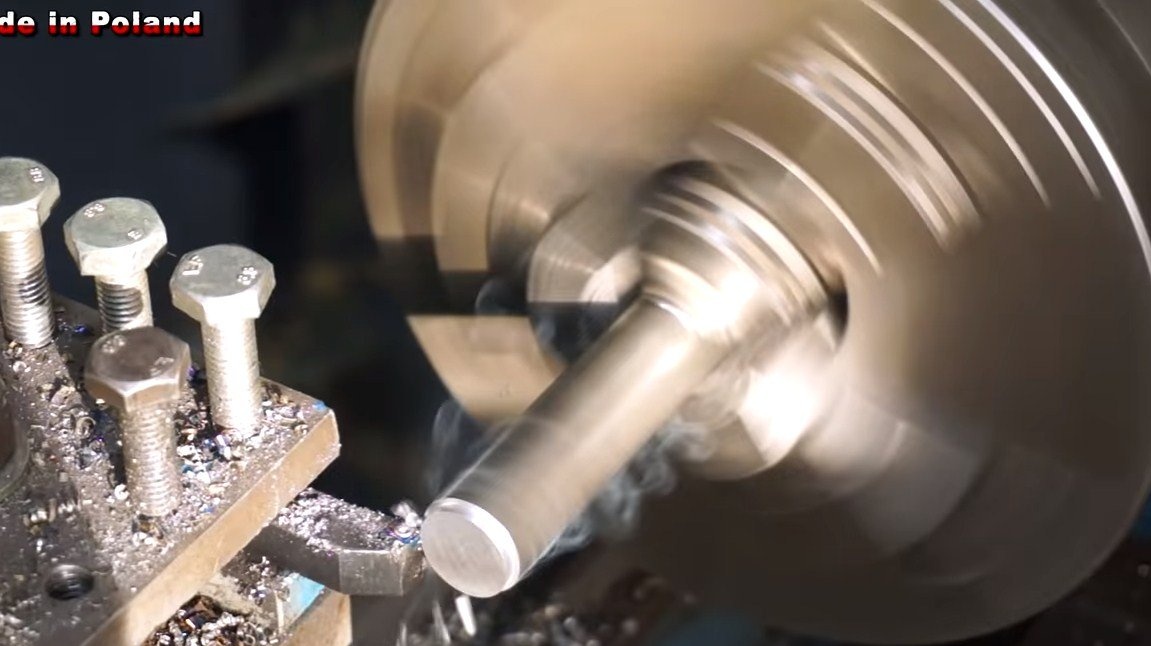

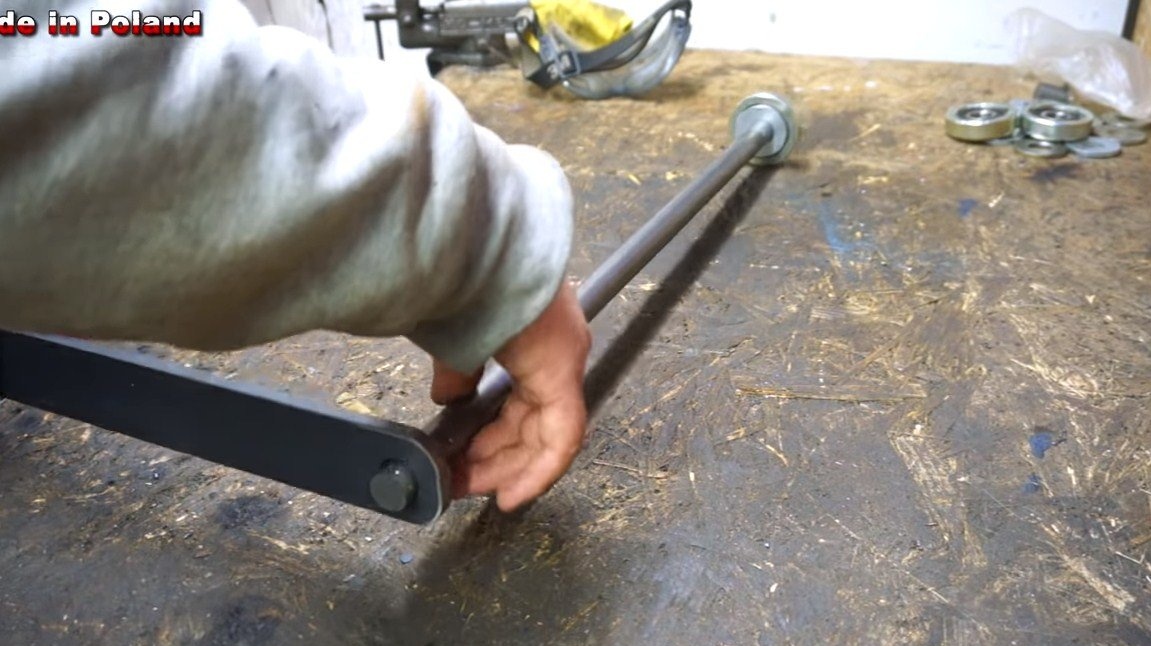
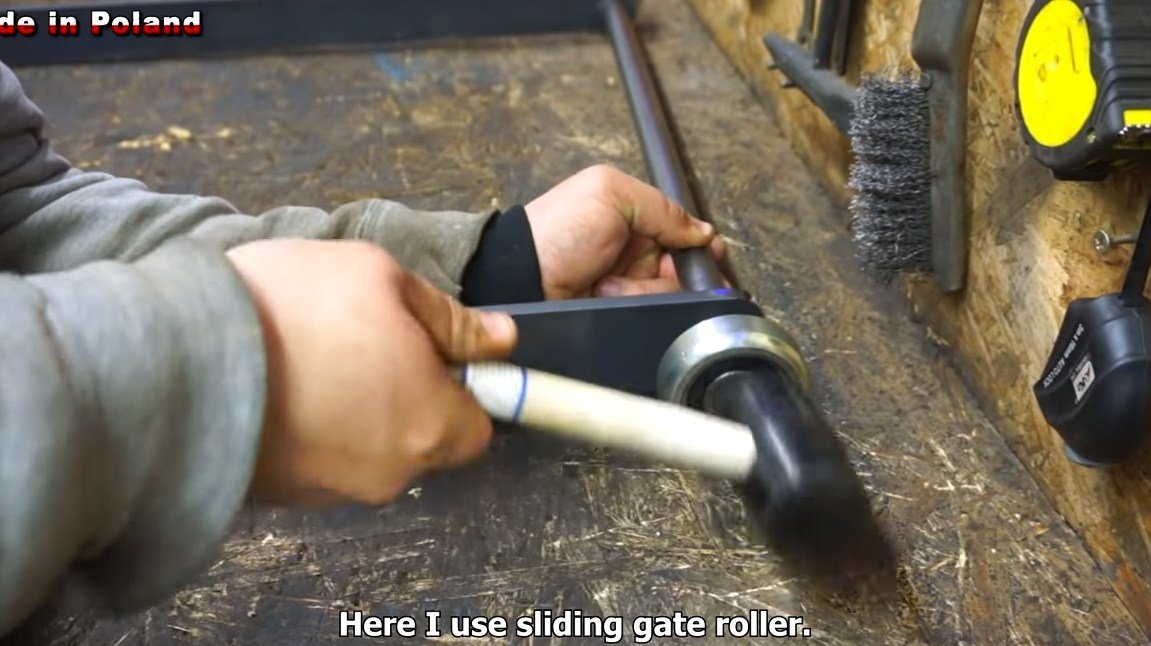
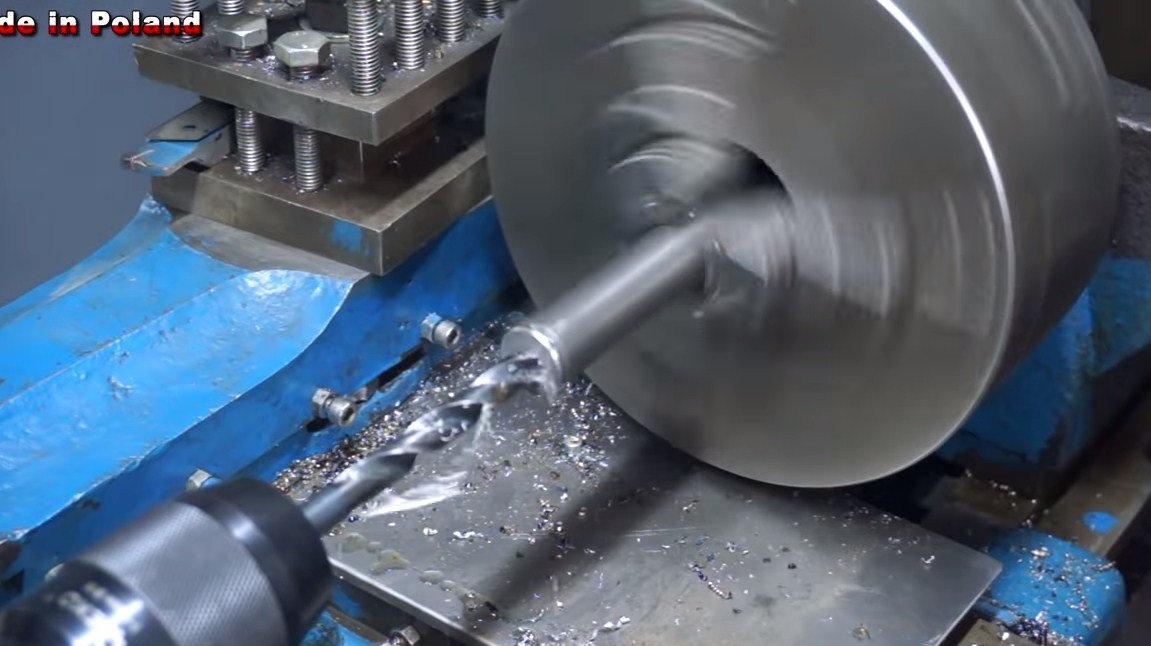
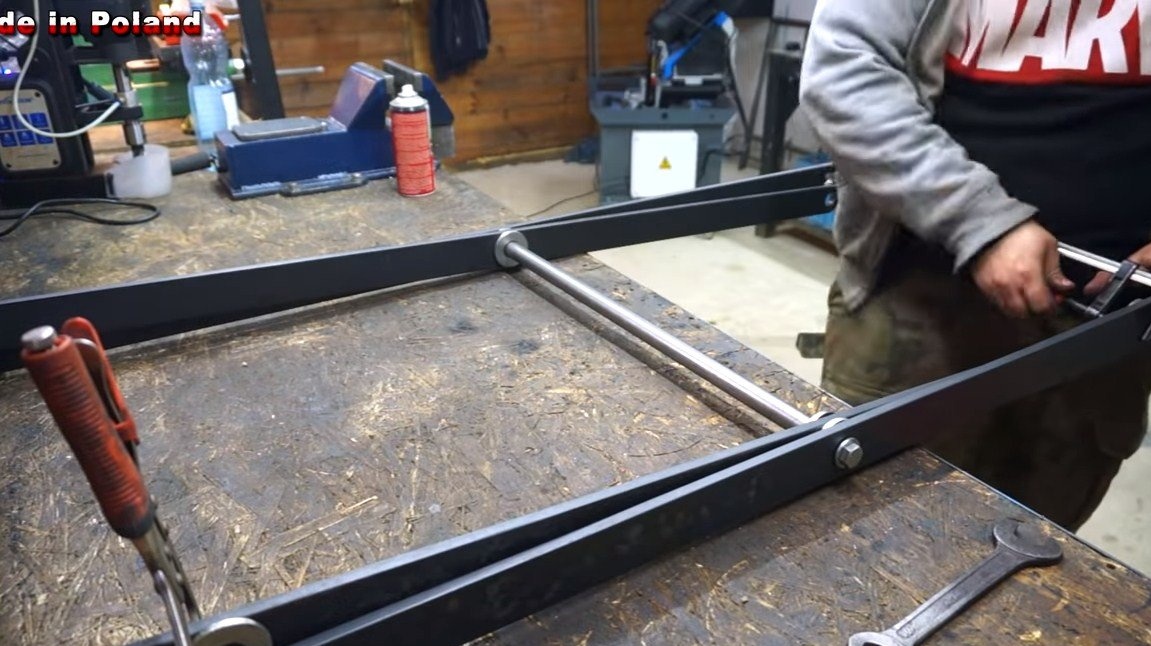
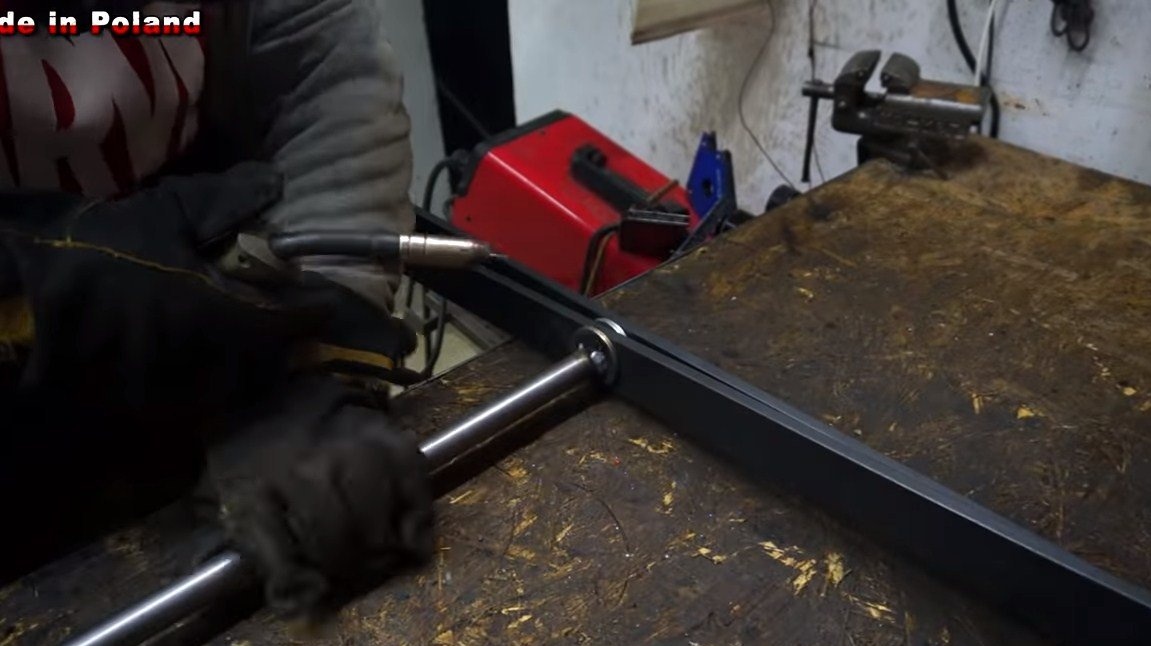
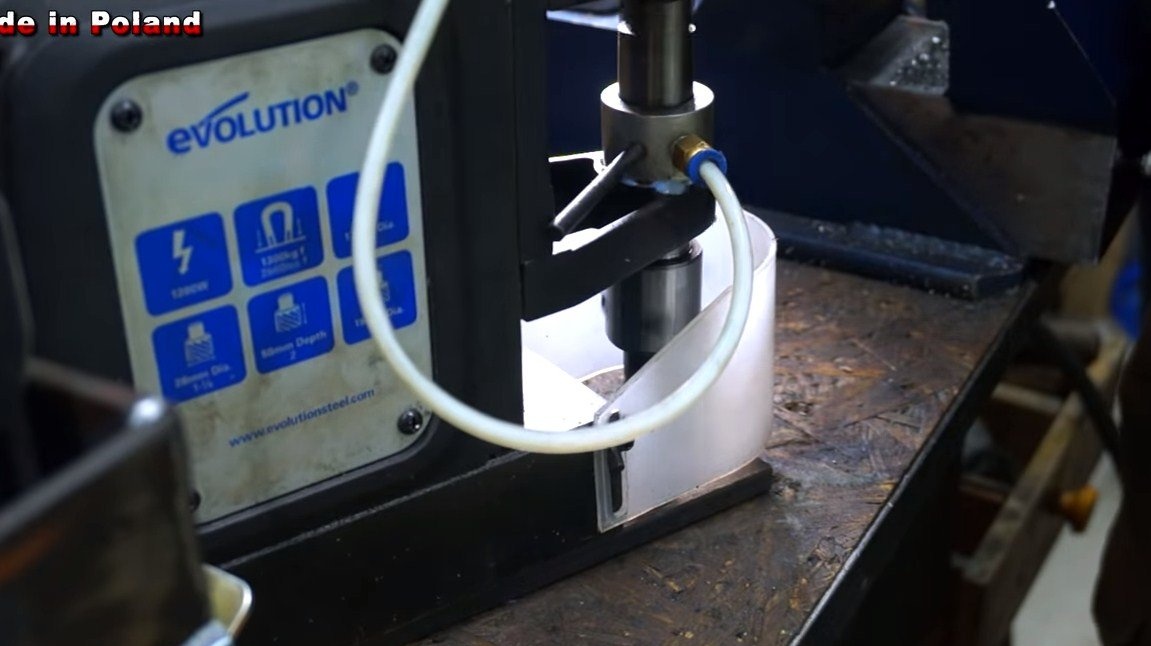
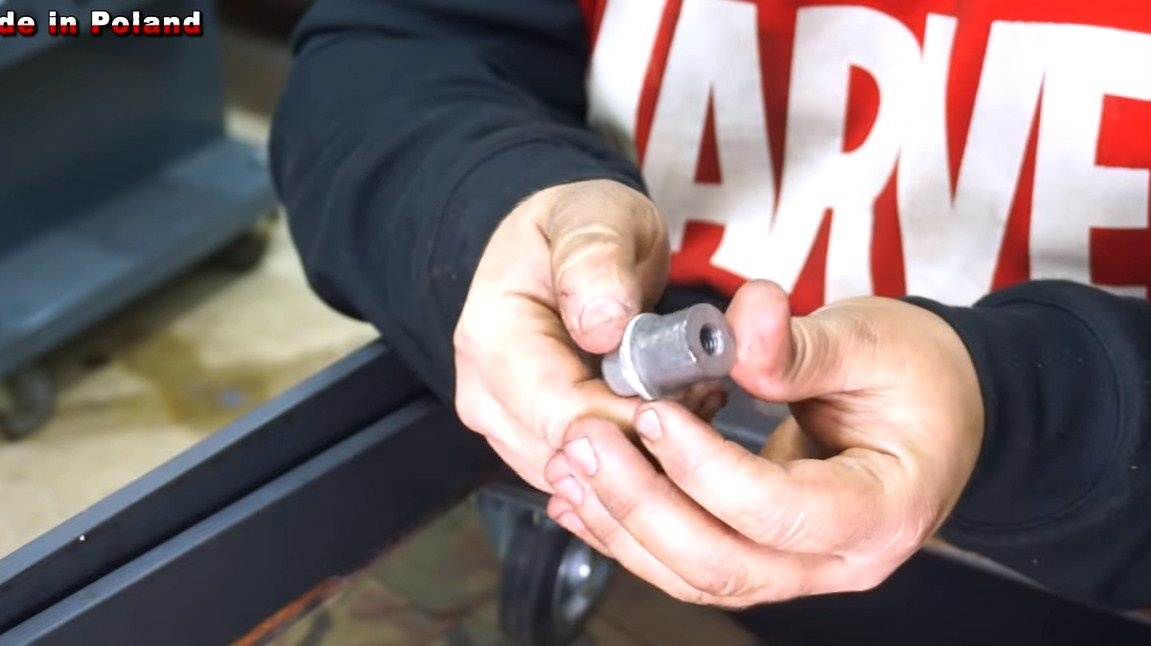
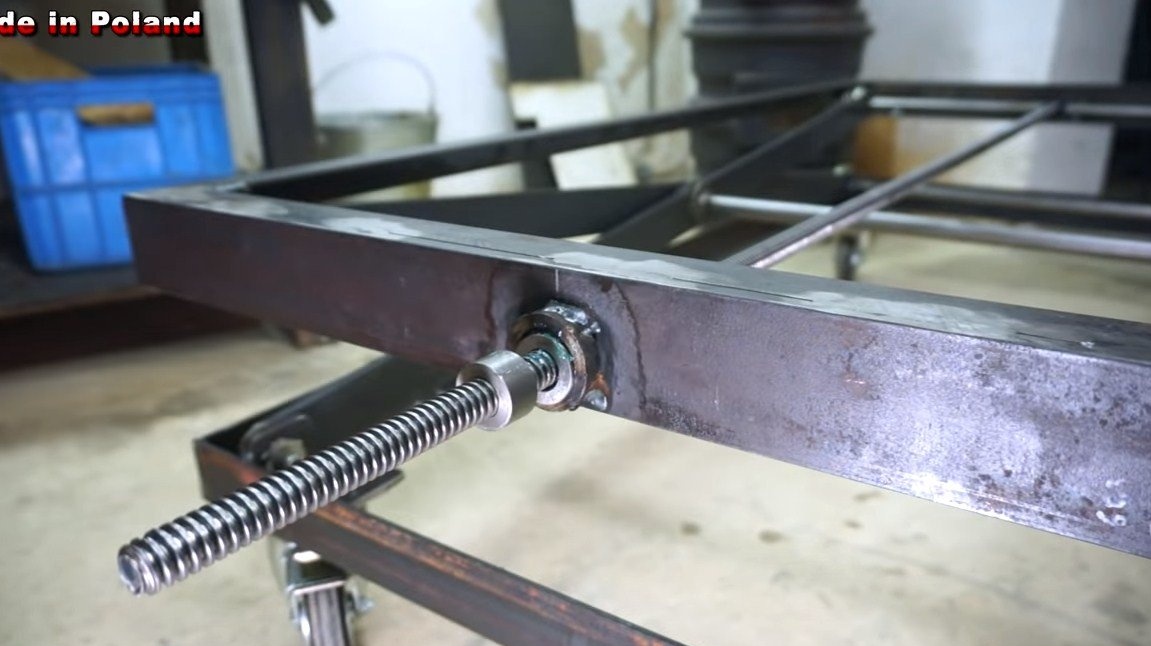
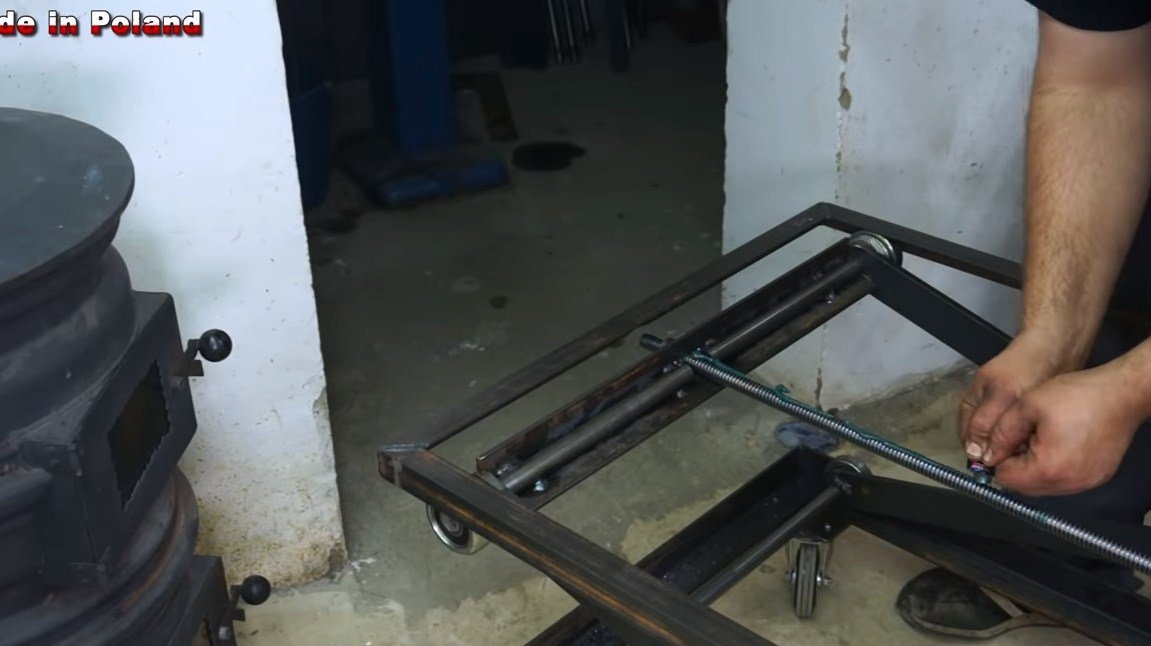
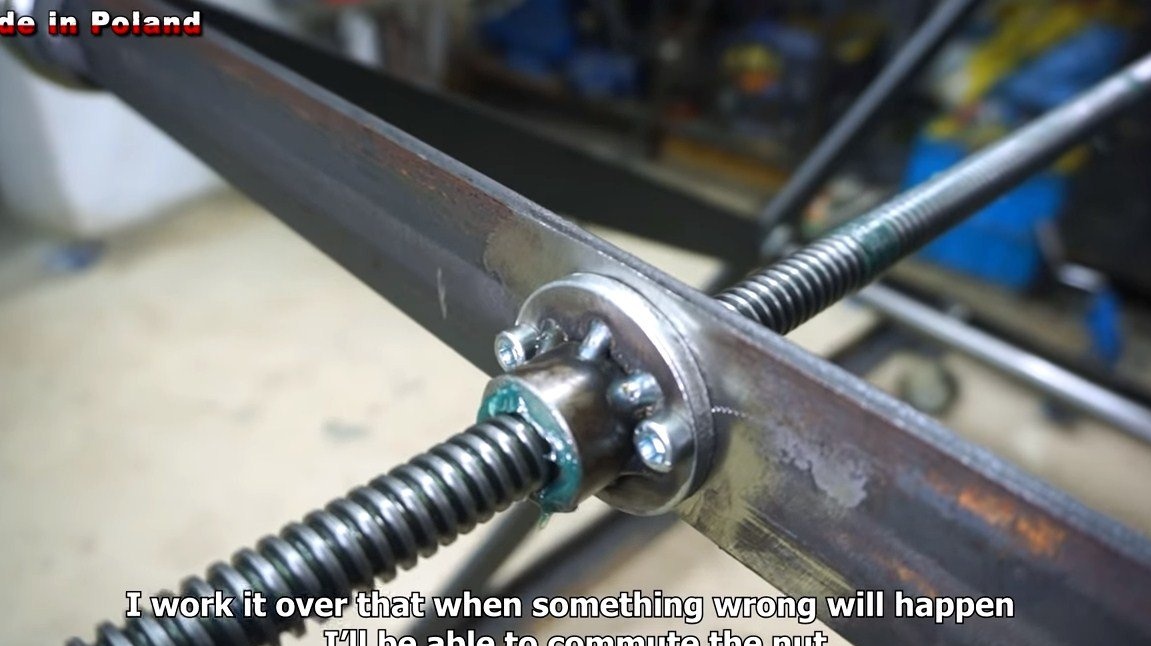
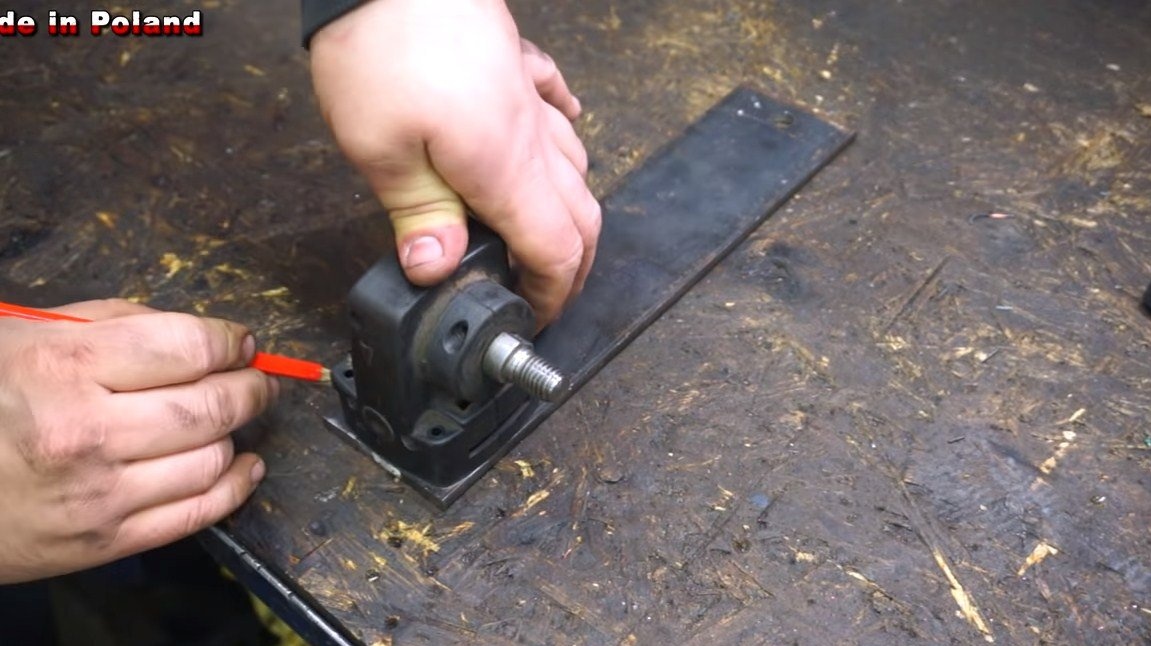
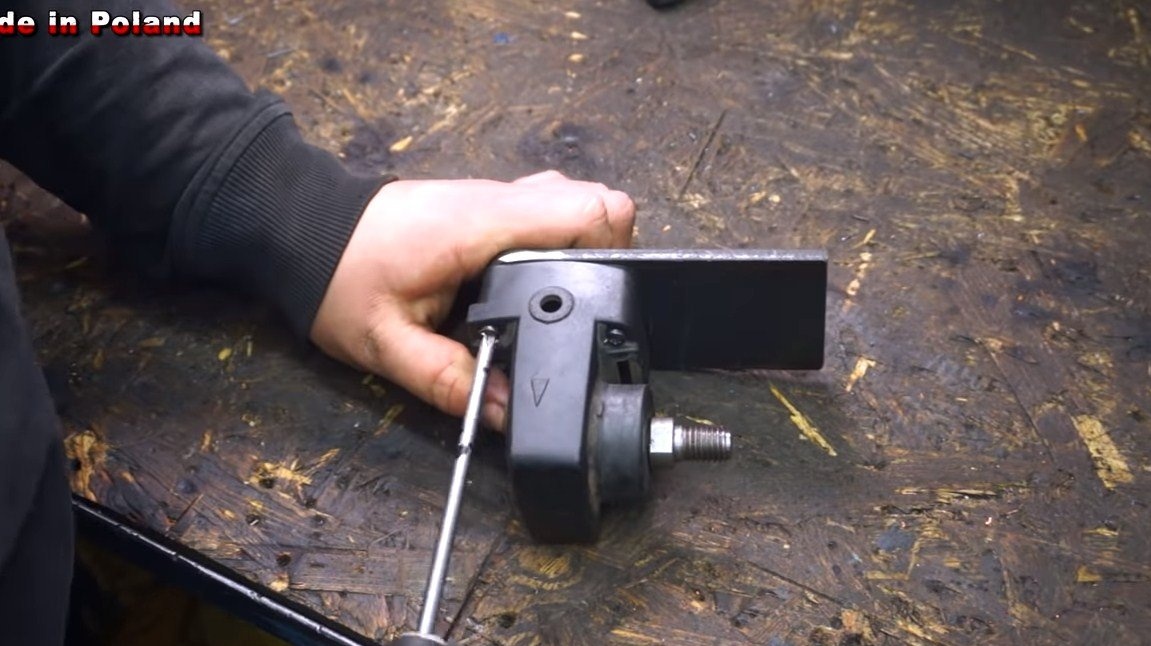
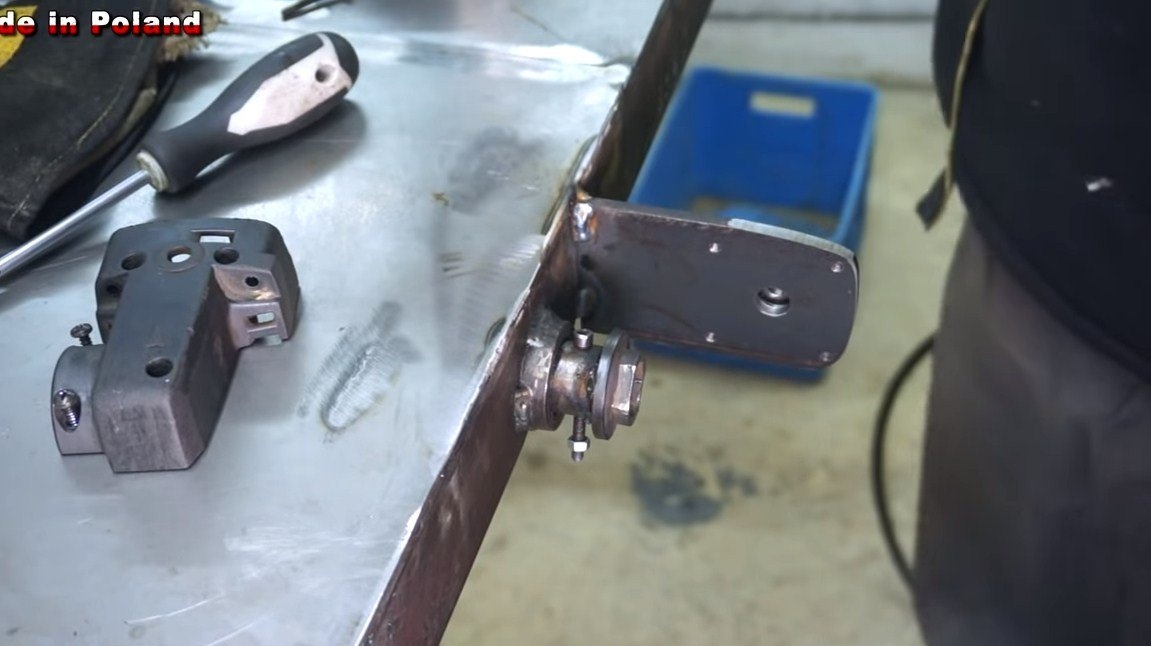
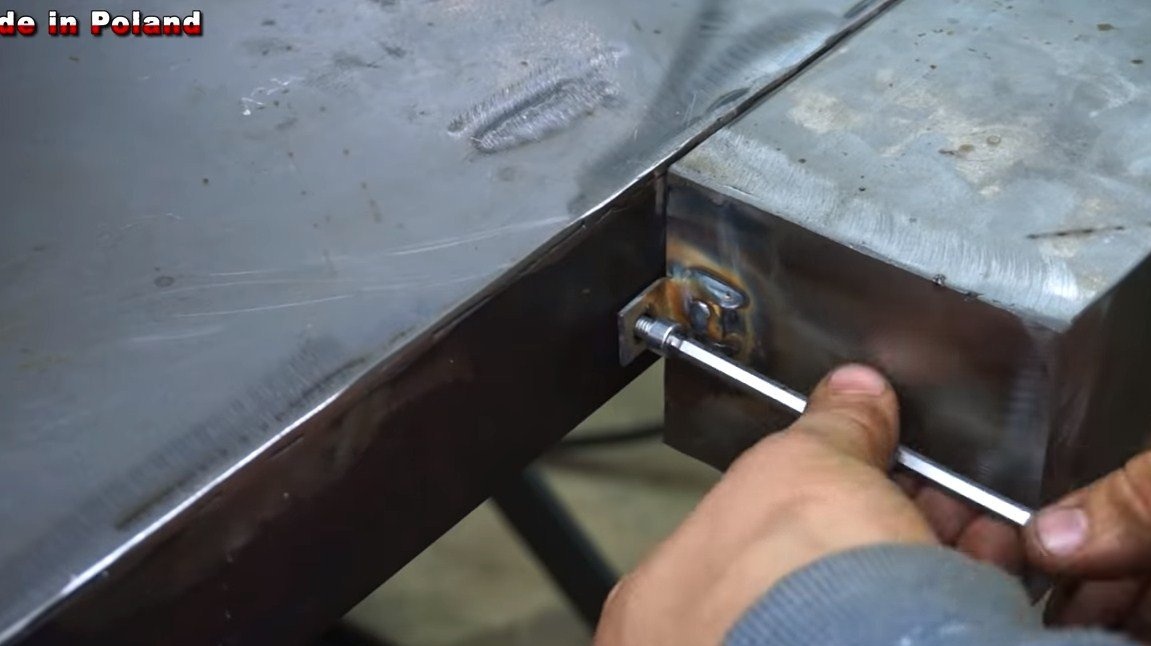
Step Three Installing the lifting shaft
The lifting mechanism at the table is very simple. A threaded rod is installed on the top of the crosshairs. When the shaft rotates and “pulls” the crosshairs together, the countertop rises and vice versa. We weld a nut on one side and a bearing is mounted on the other. The working shaft is well lubricated.

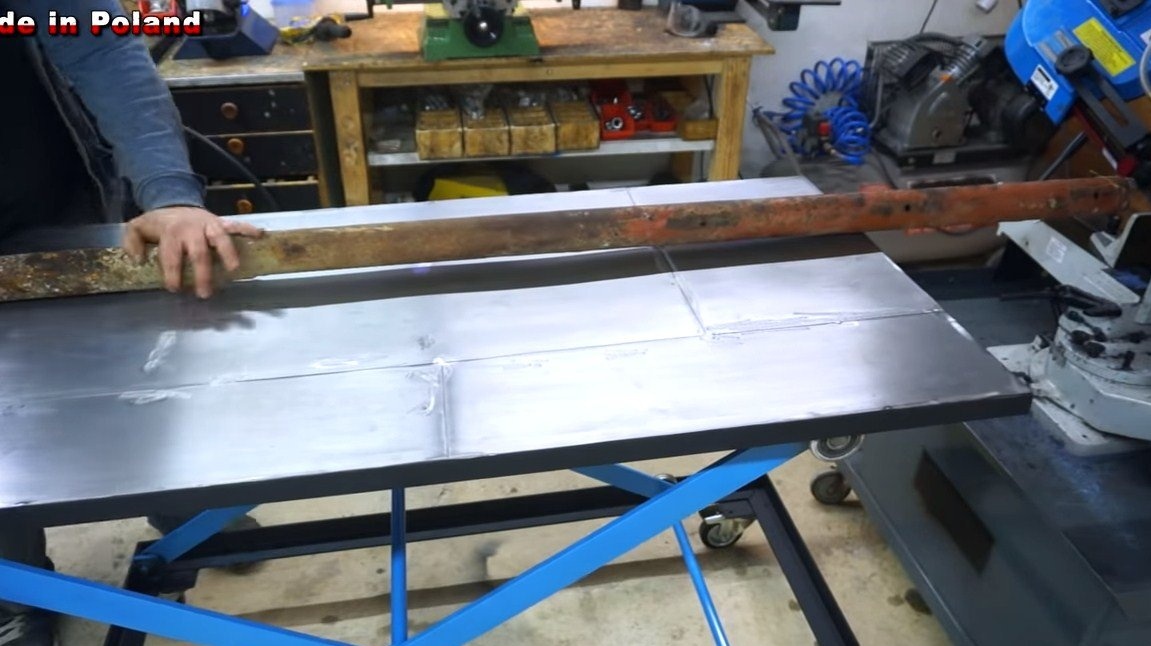
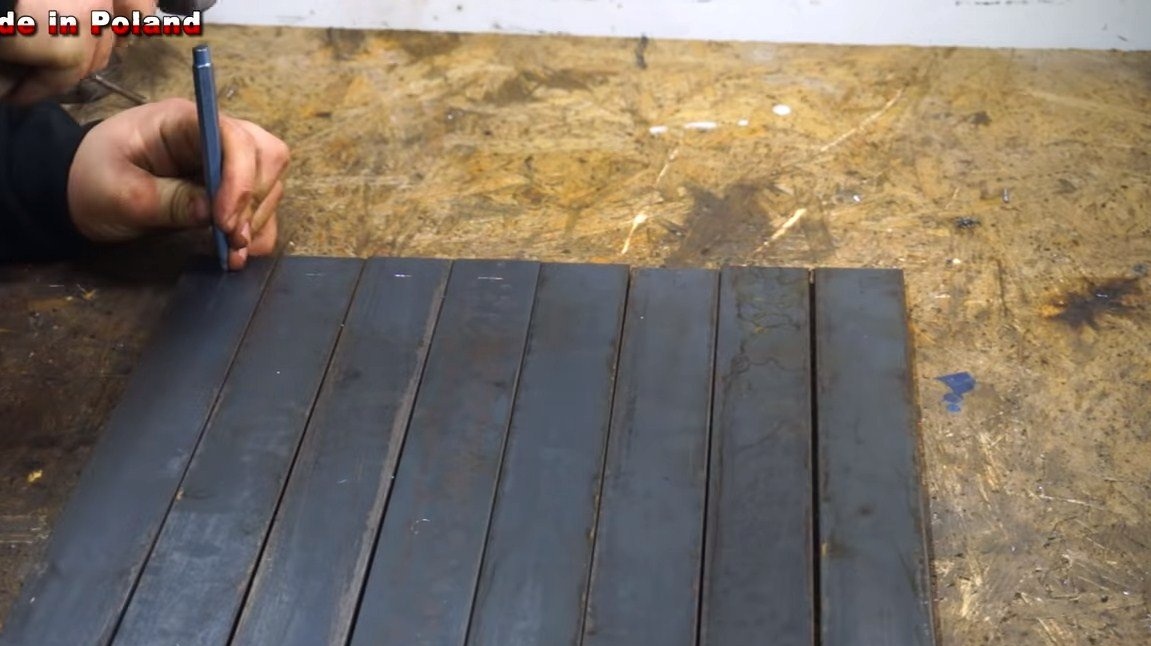
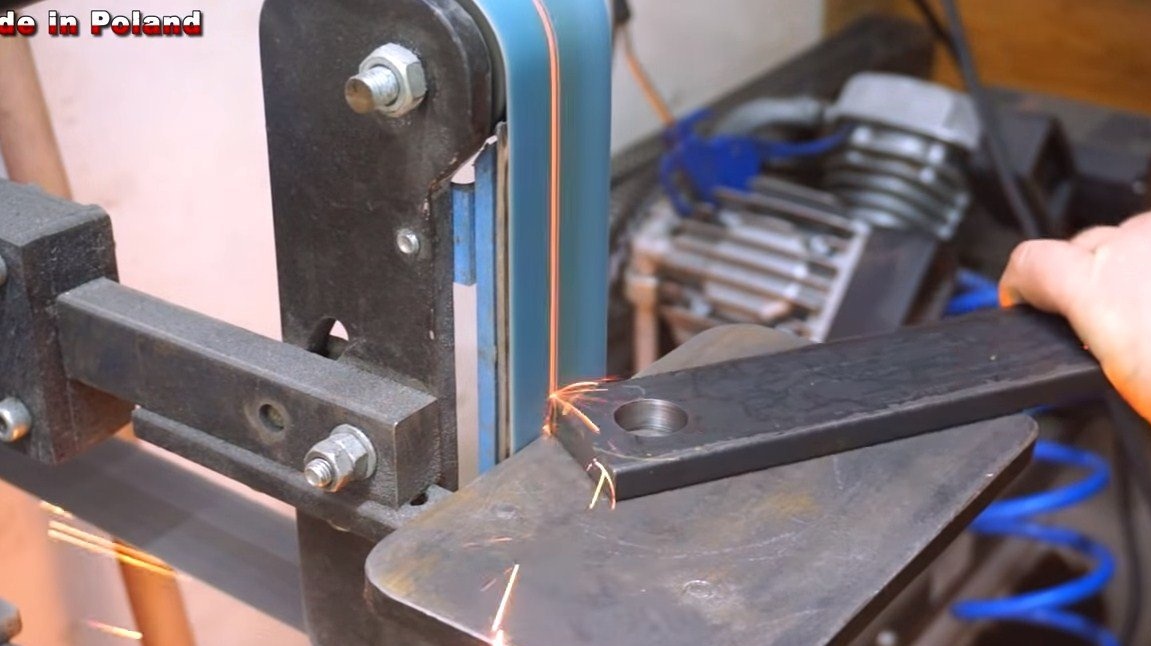
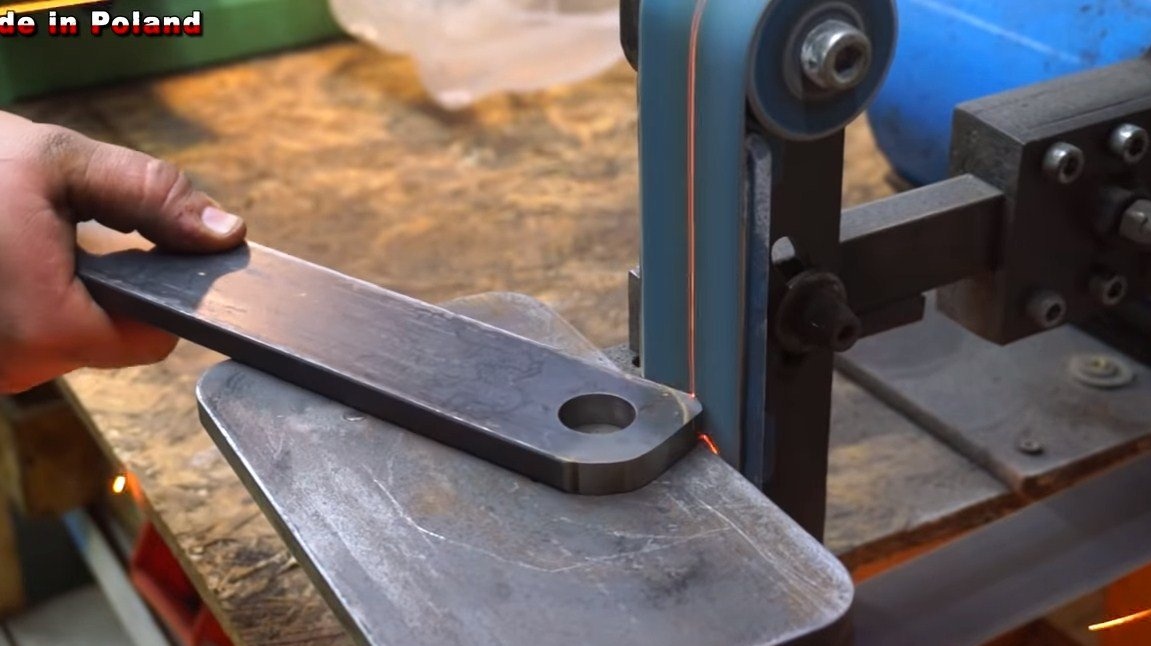
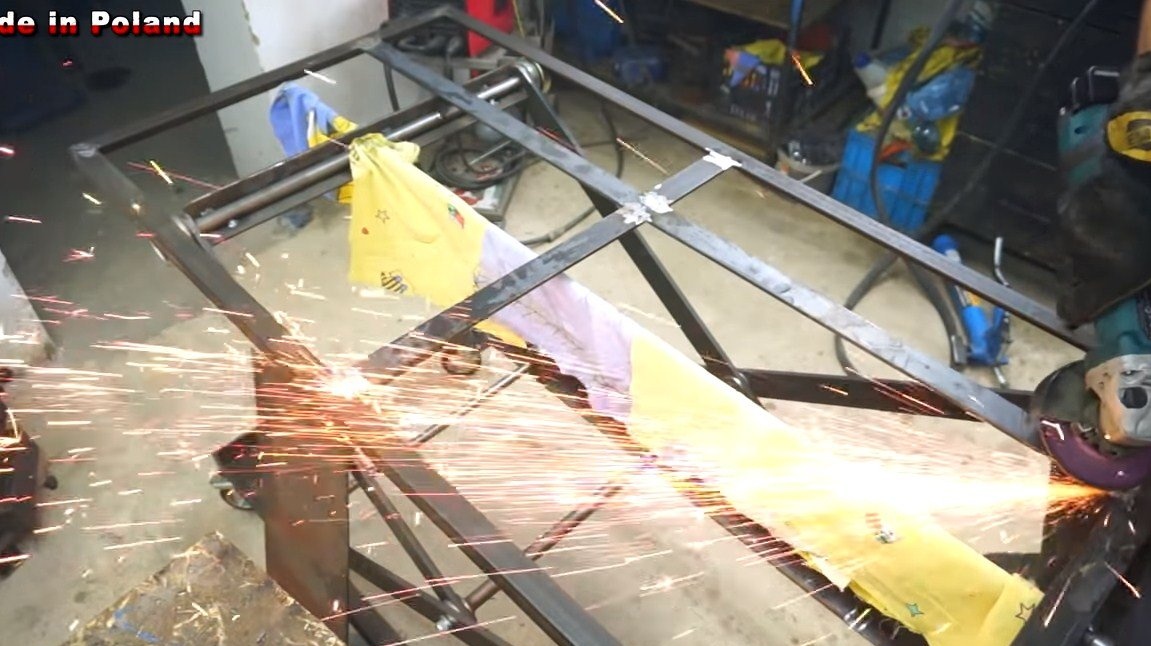
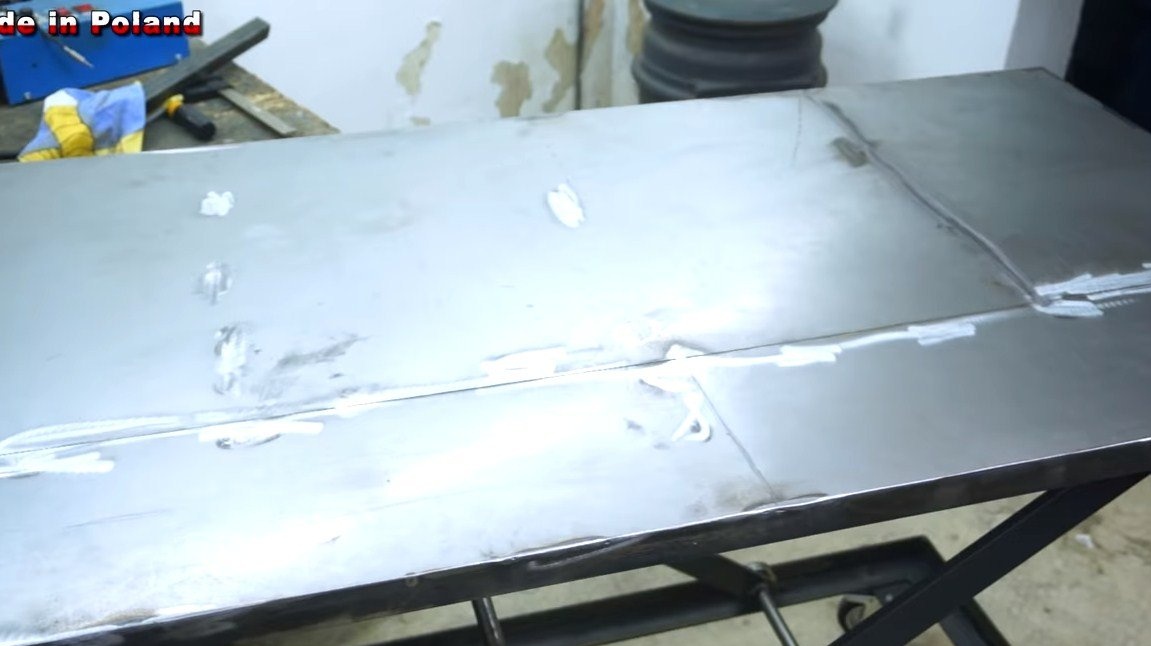
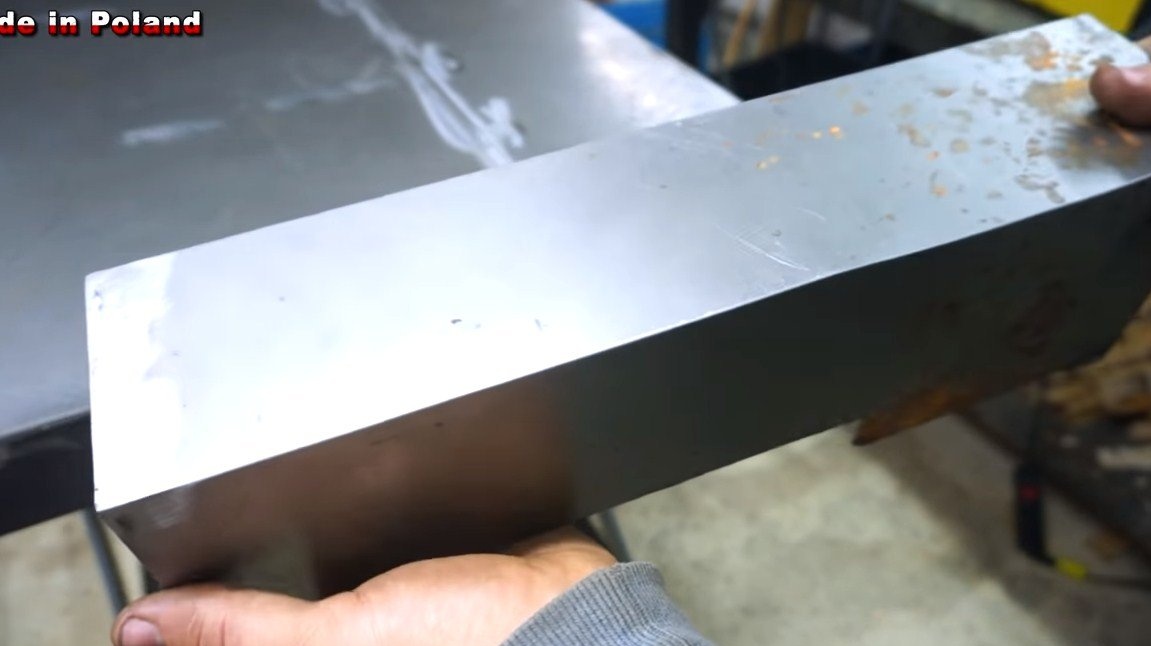
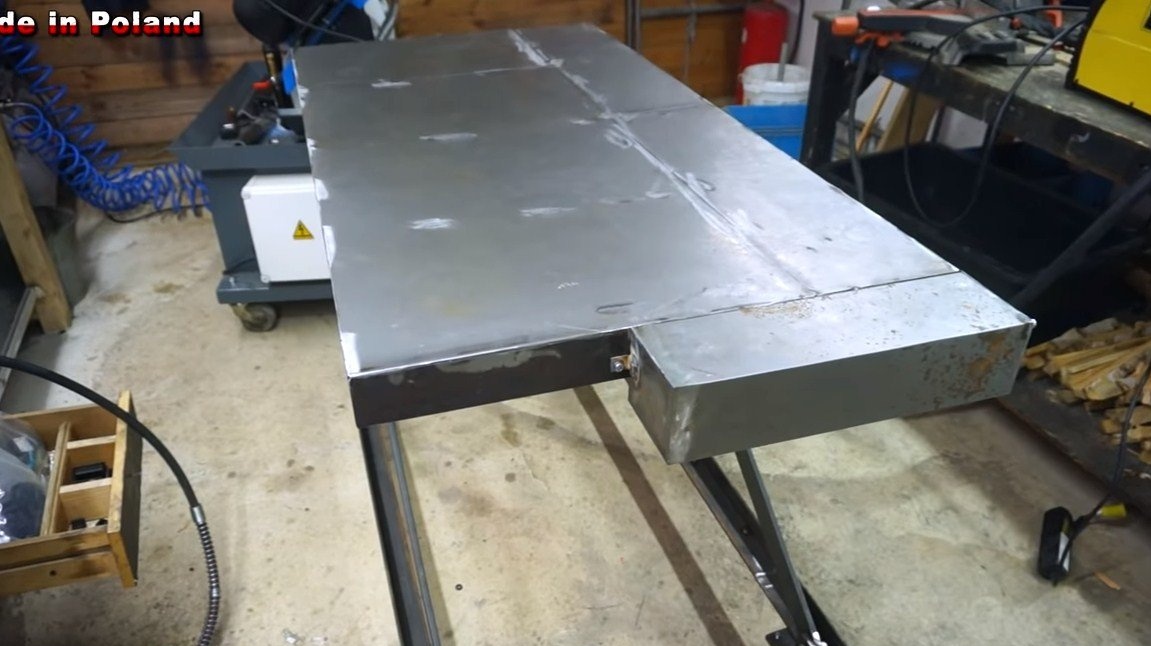
Step Four Countertop
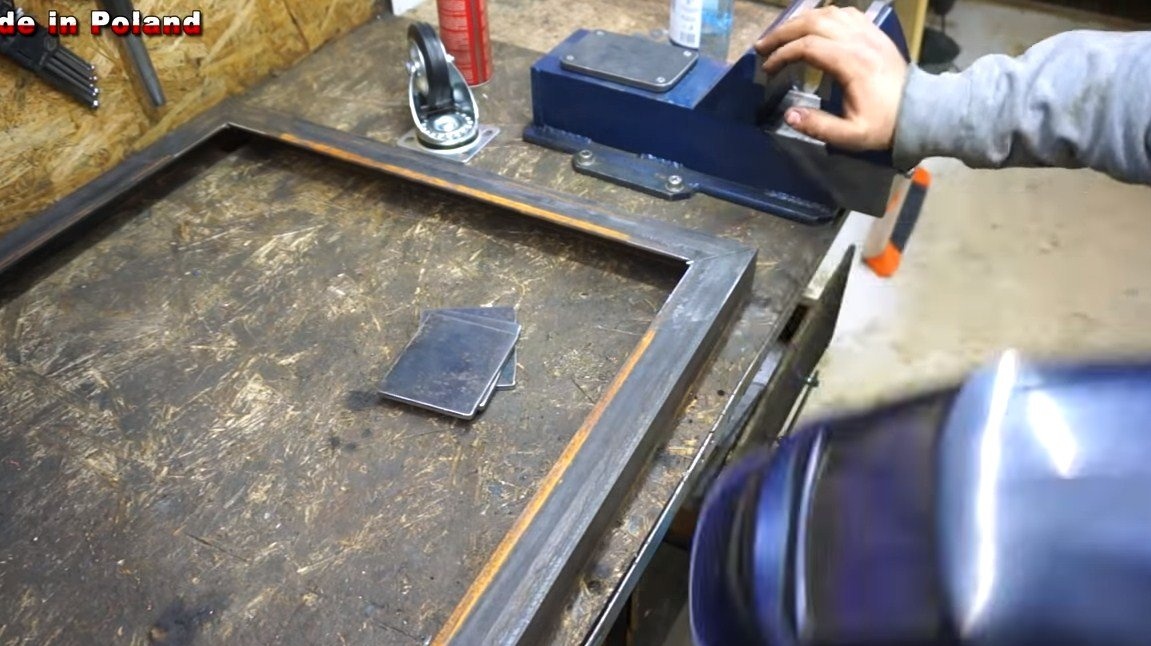
The countertop is assembled in the same way as the base. Only this time we need to sheathe the frame to get a countertop. Suitable sheet metal, you can use black steel or stainless steel. We clean welds and weld metal. We fix the countertop through the ears to the "crosshairs"
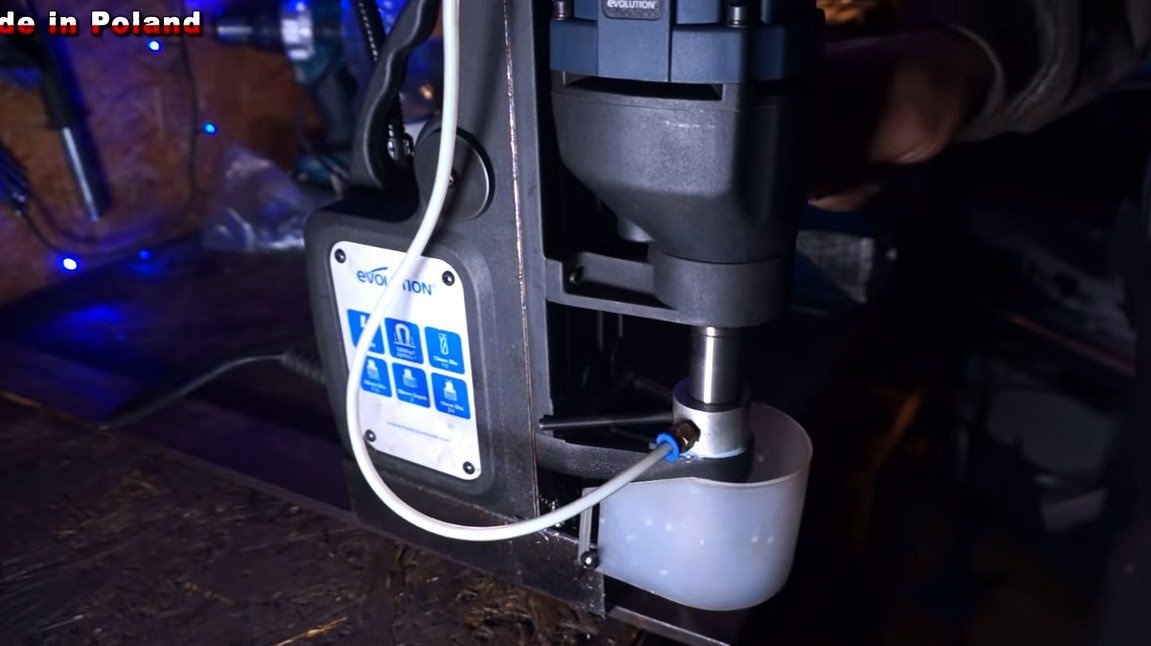
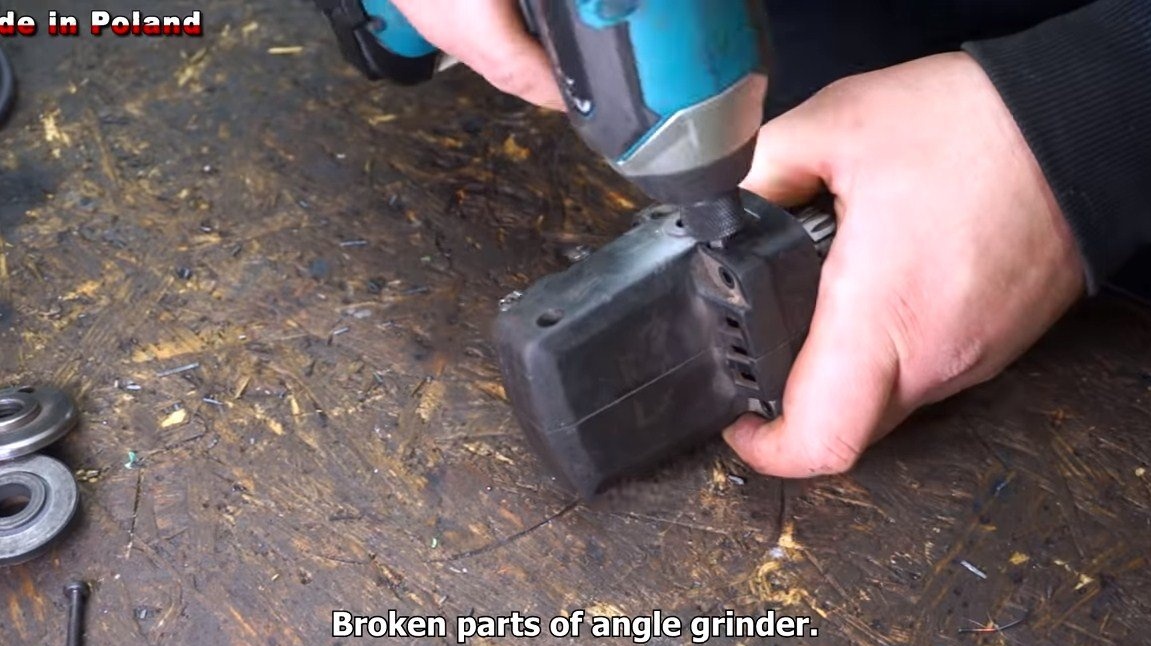
Step Five Electric drive
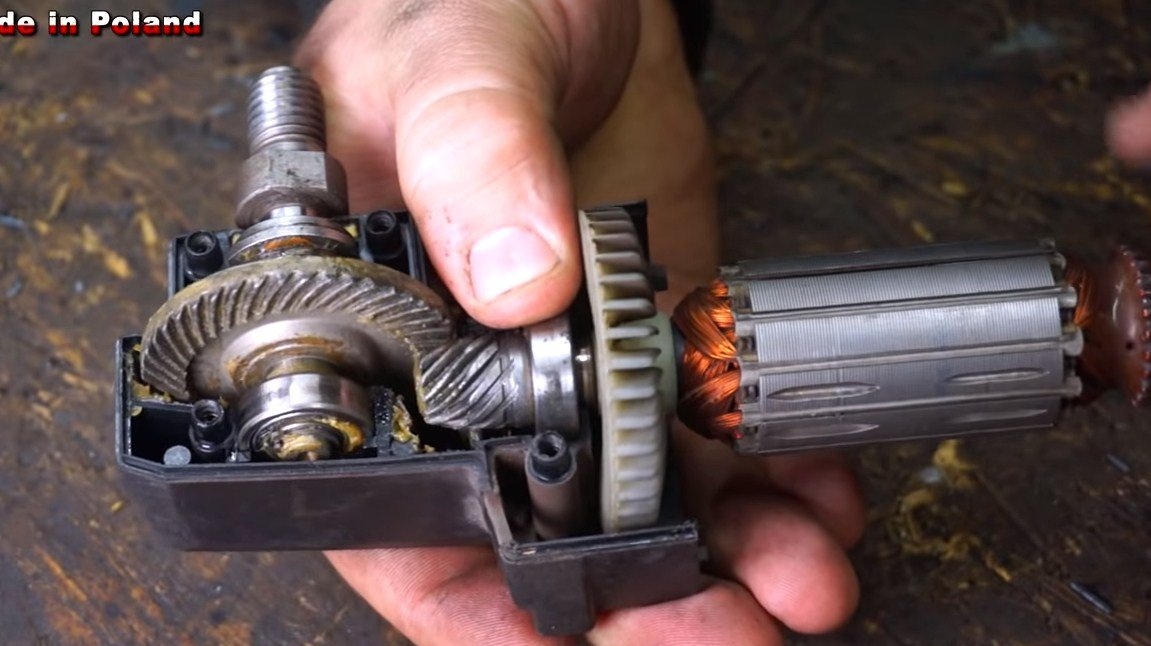
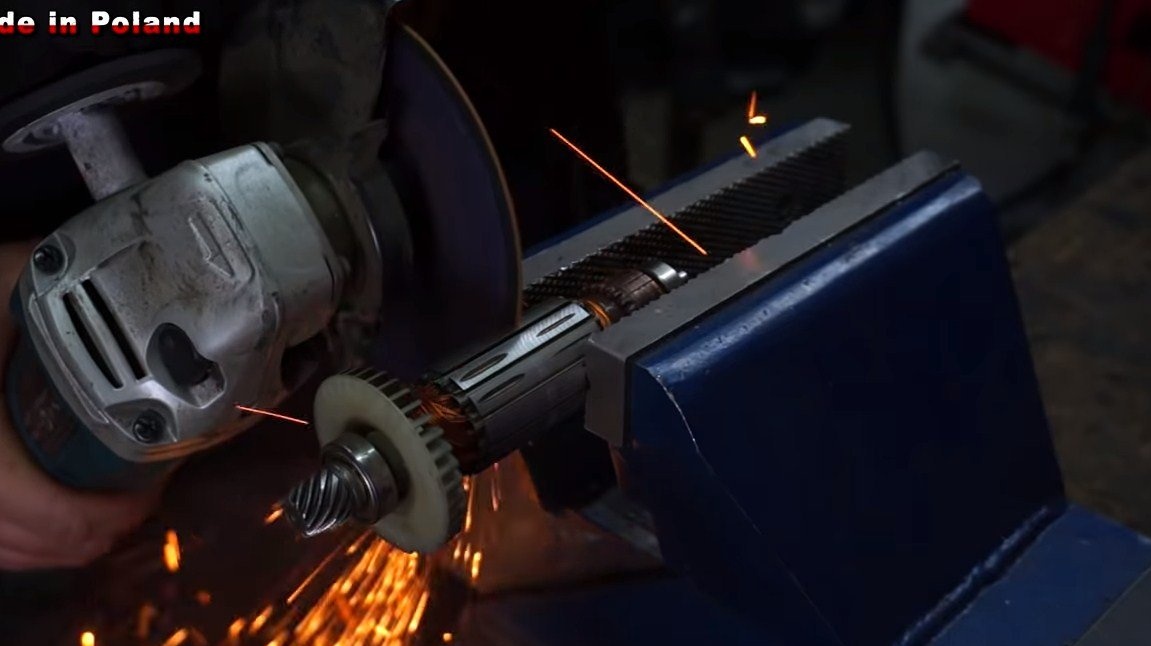
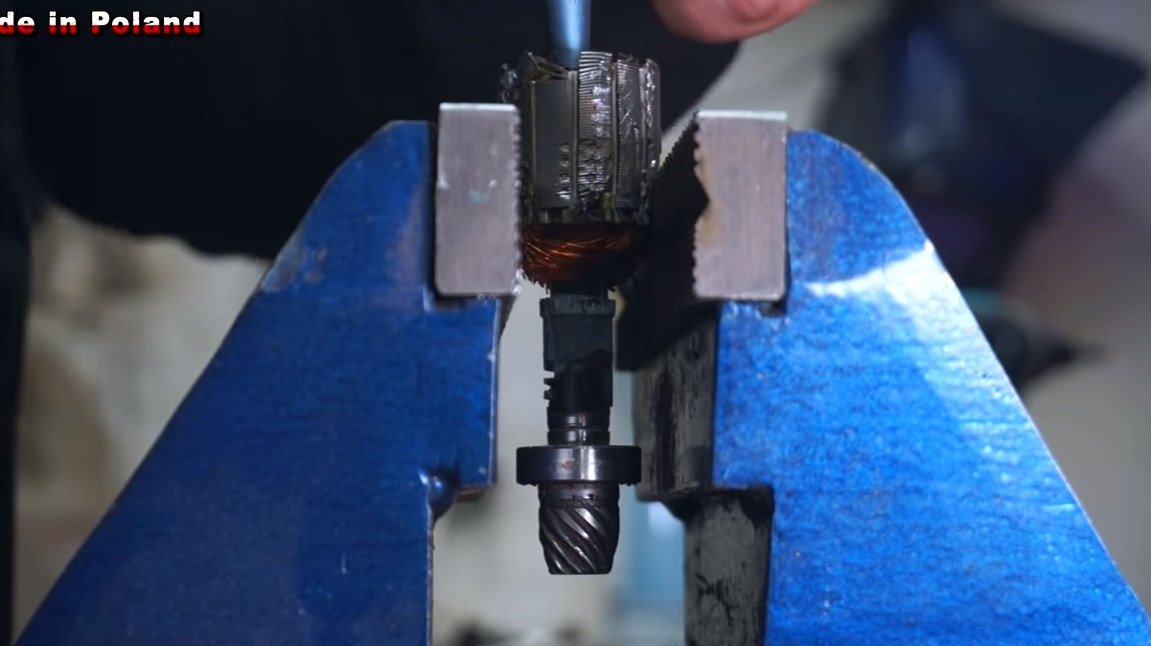
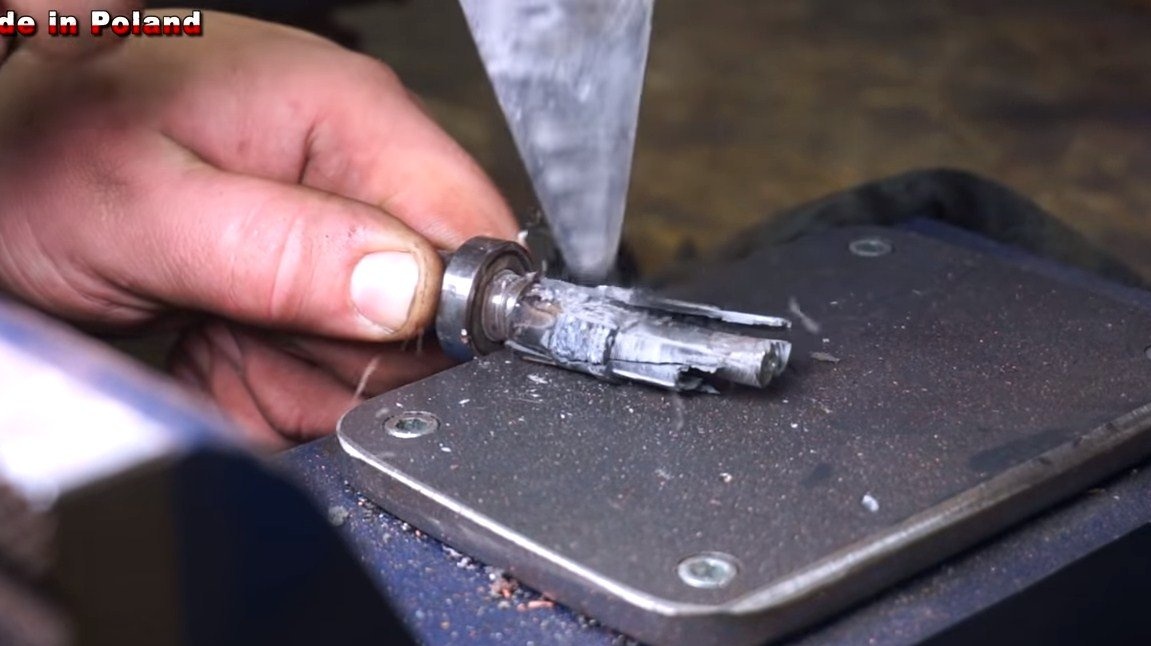
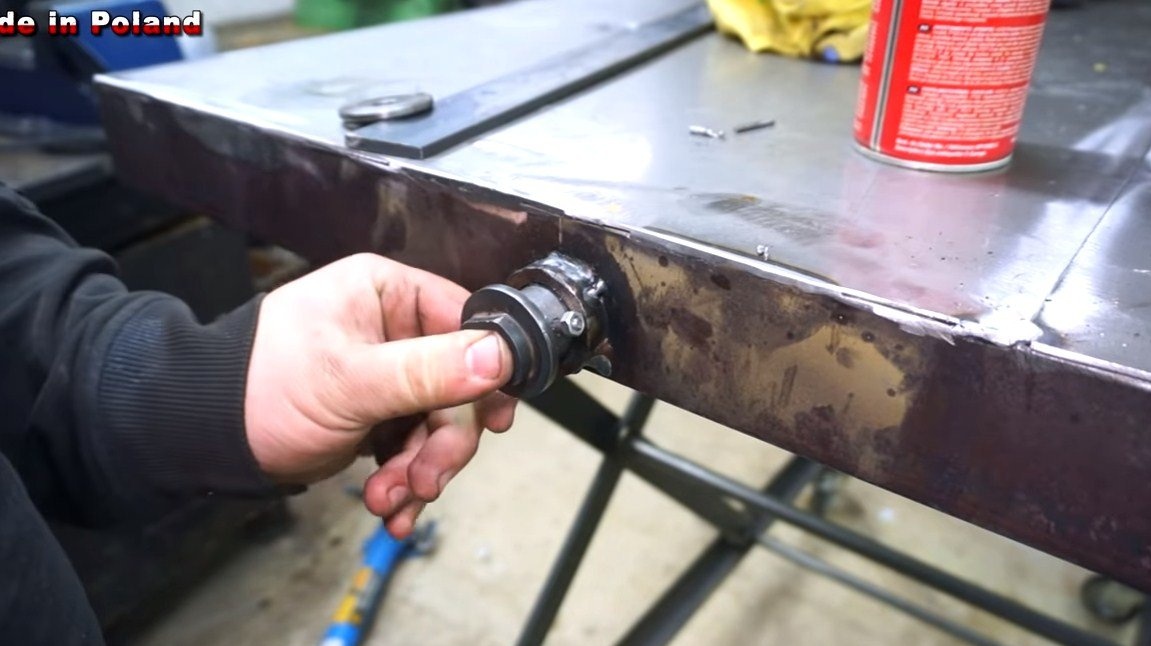
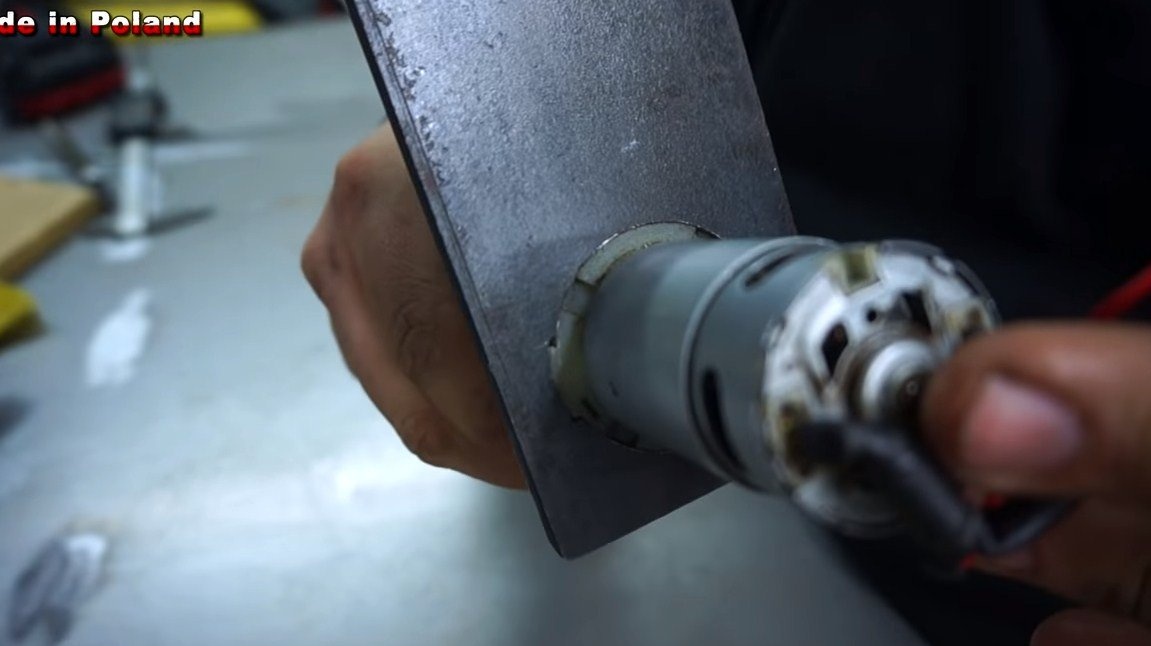
The table at the author works on the battery. To begin with, we need to adapt the gearbox from the grinder, which will create the desired torque. We disassemble the grinder, cut off a piece of the anchor and press in the axis.
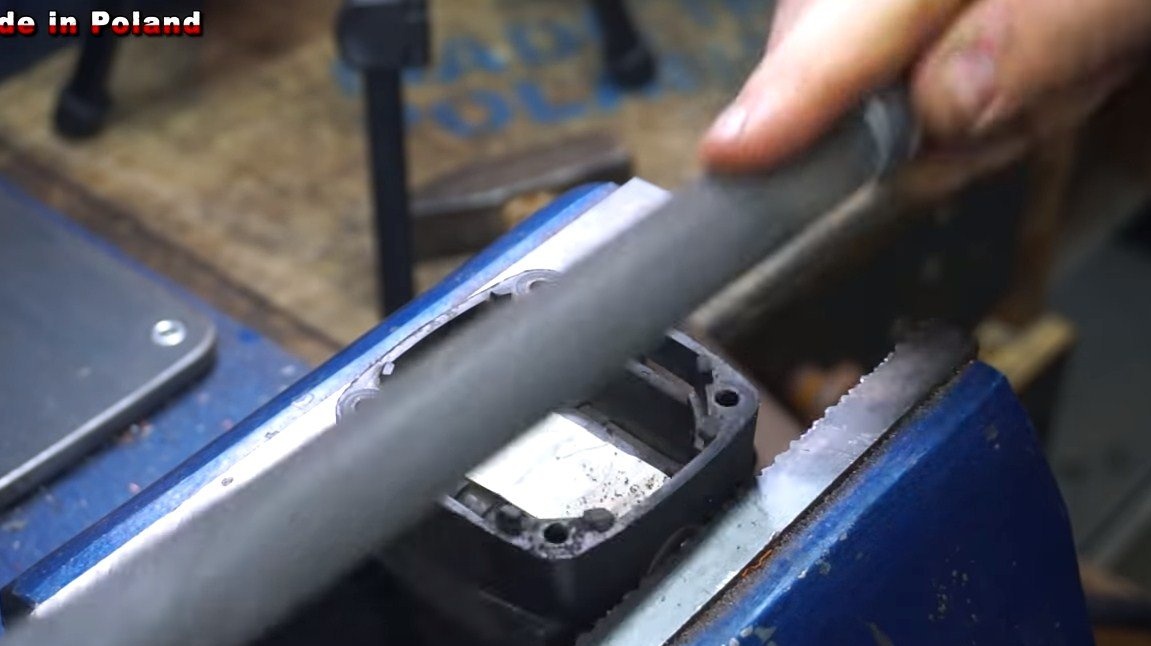
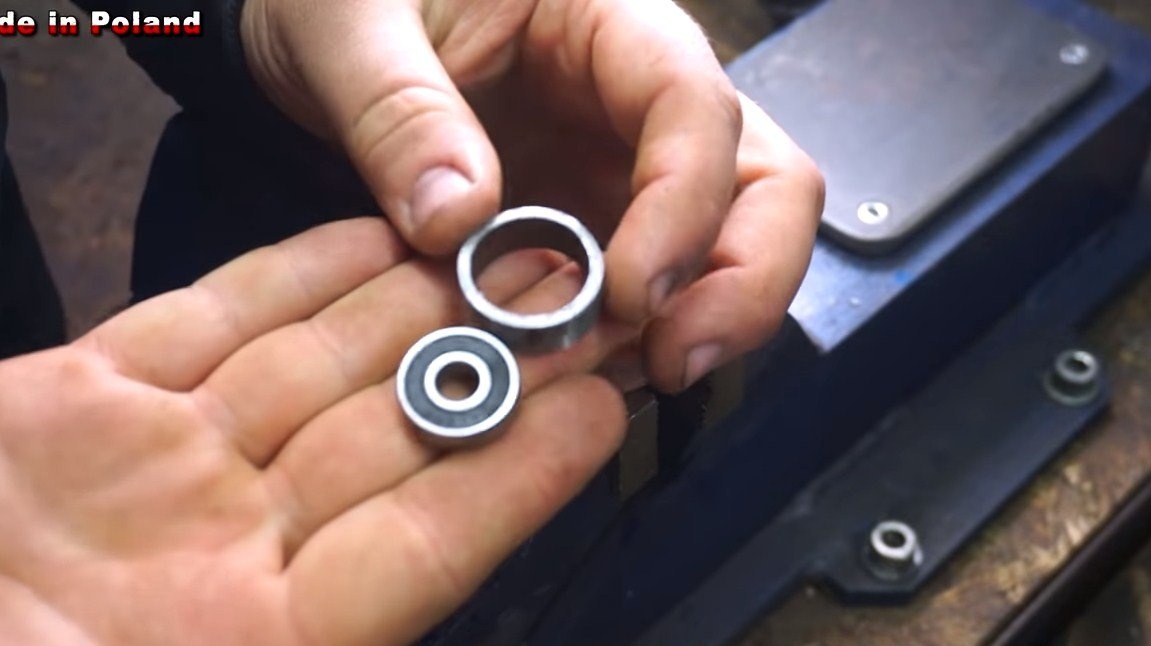
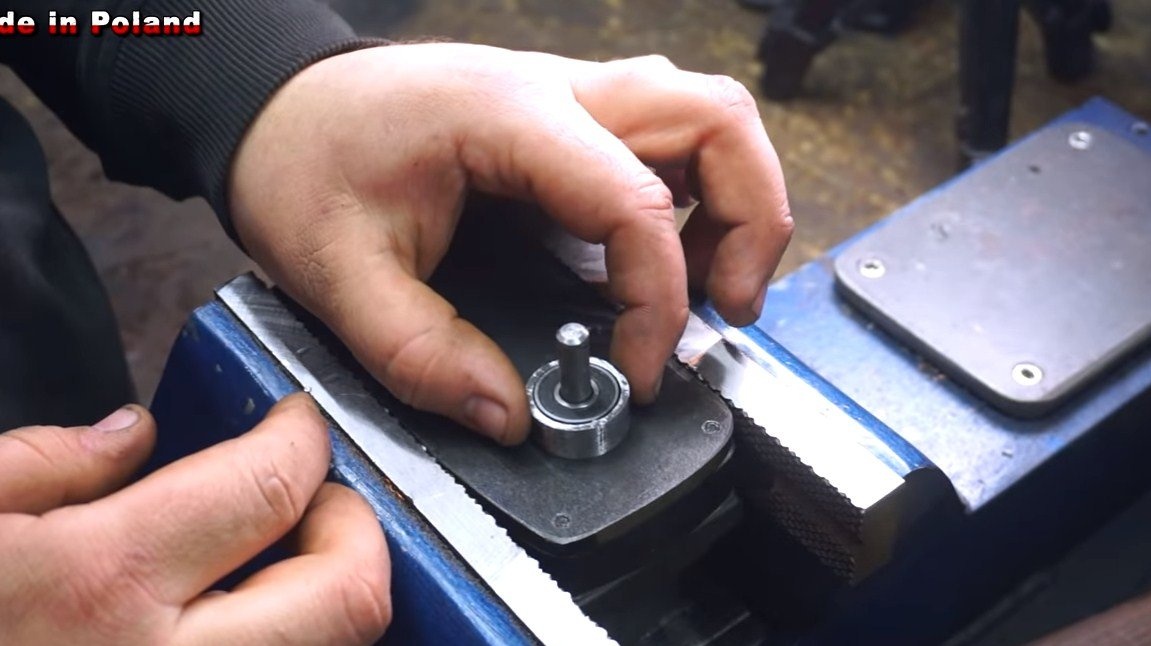
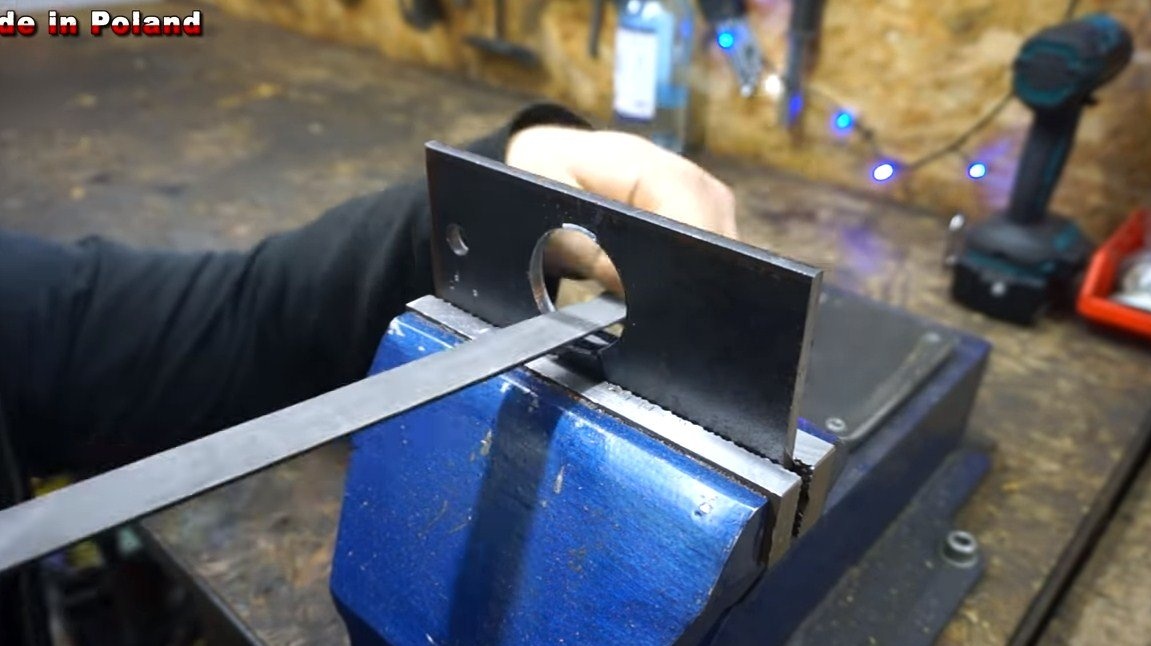
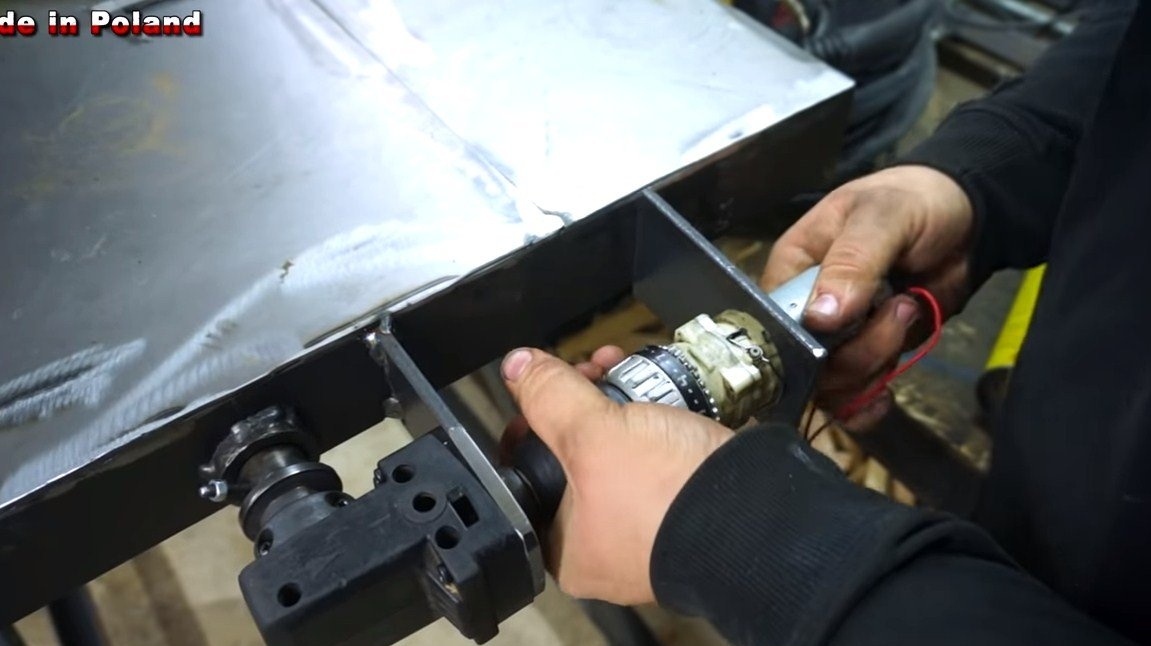
Next, we make a steel plate that will serve as a housing, install a bearing here. The author pressed it into a piece of steel pipe. We connect the shafts and weld the gearbox bracket to the table frame.

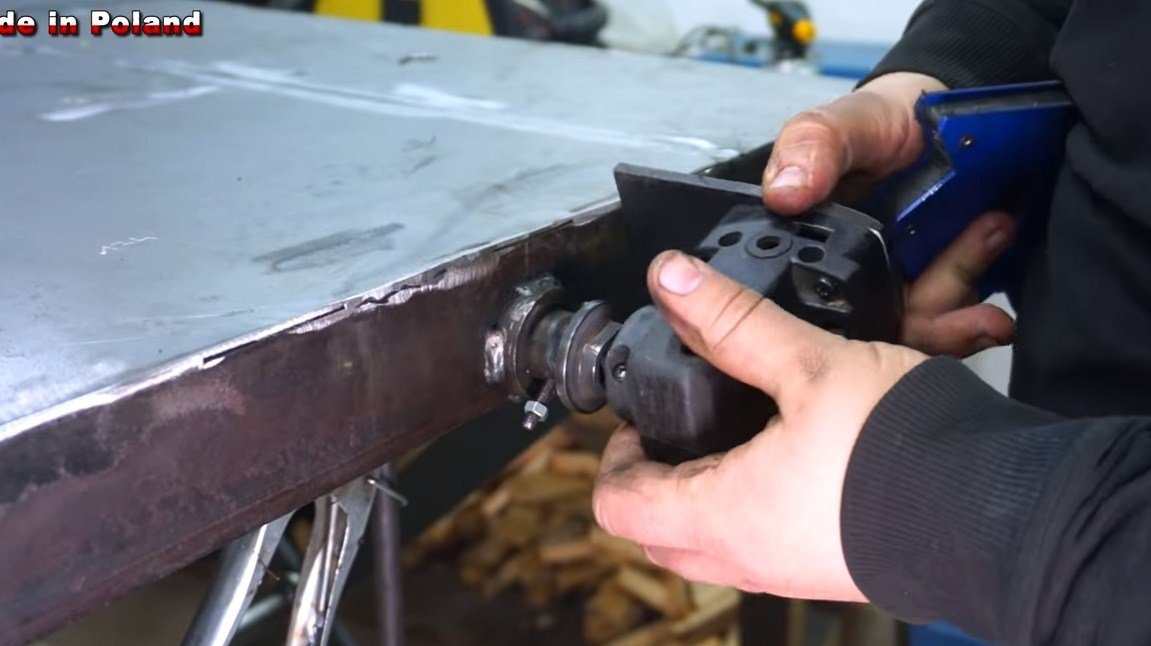
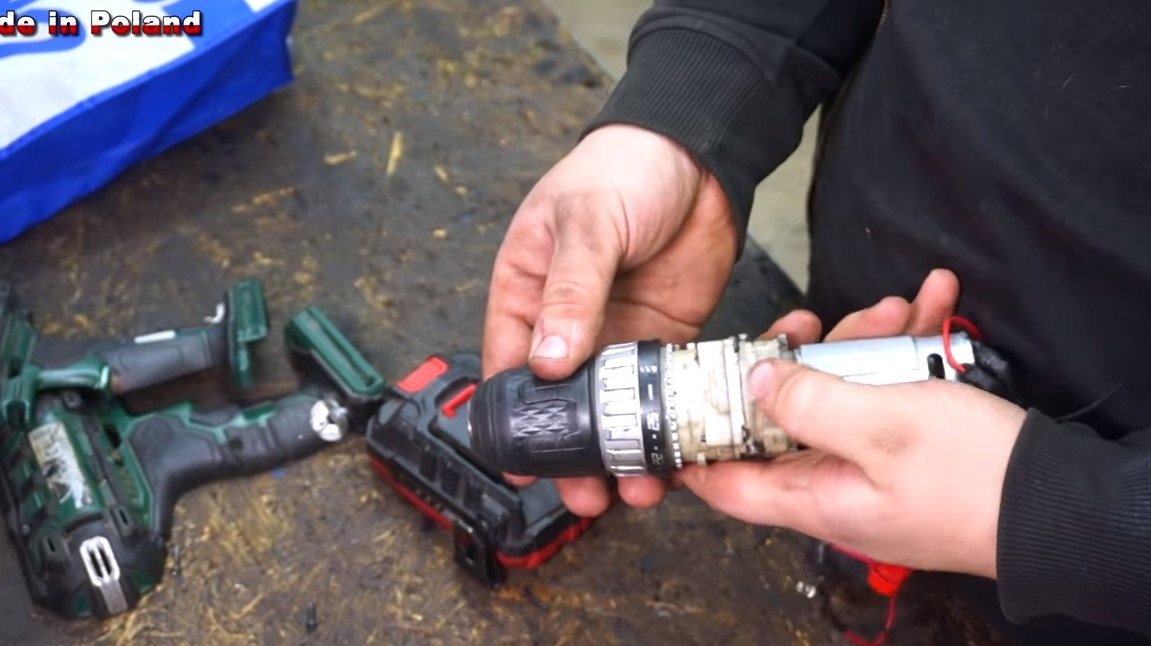
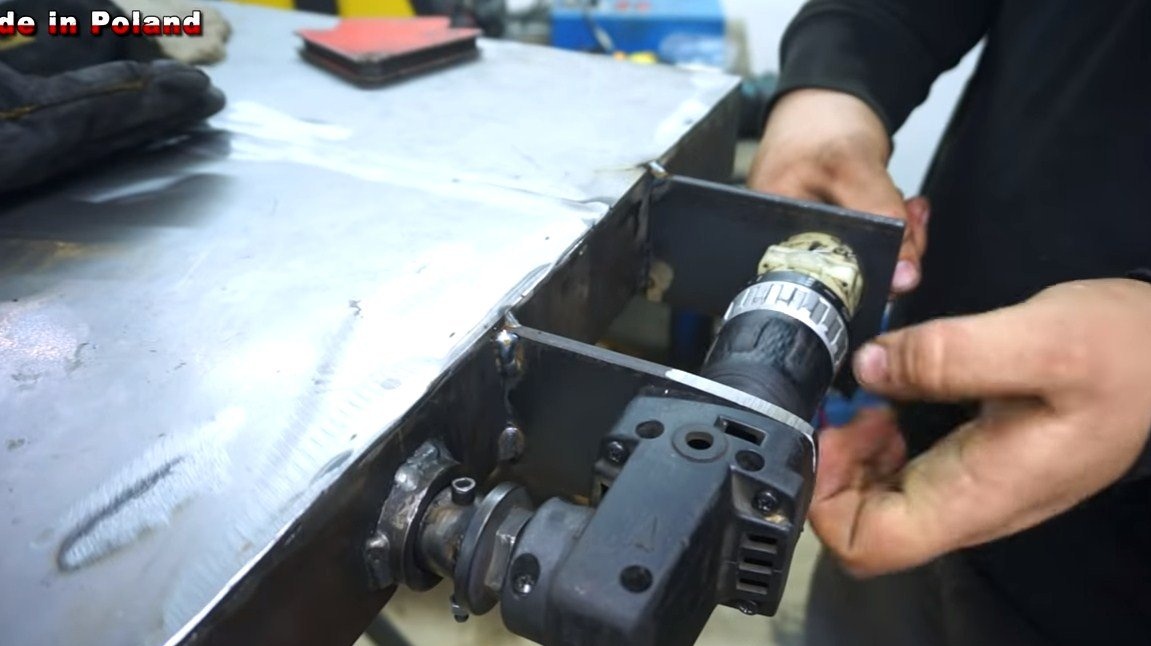
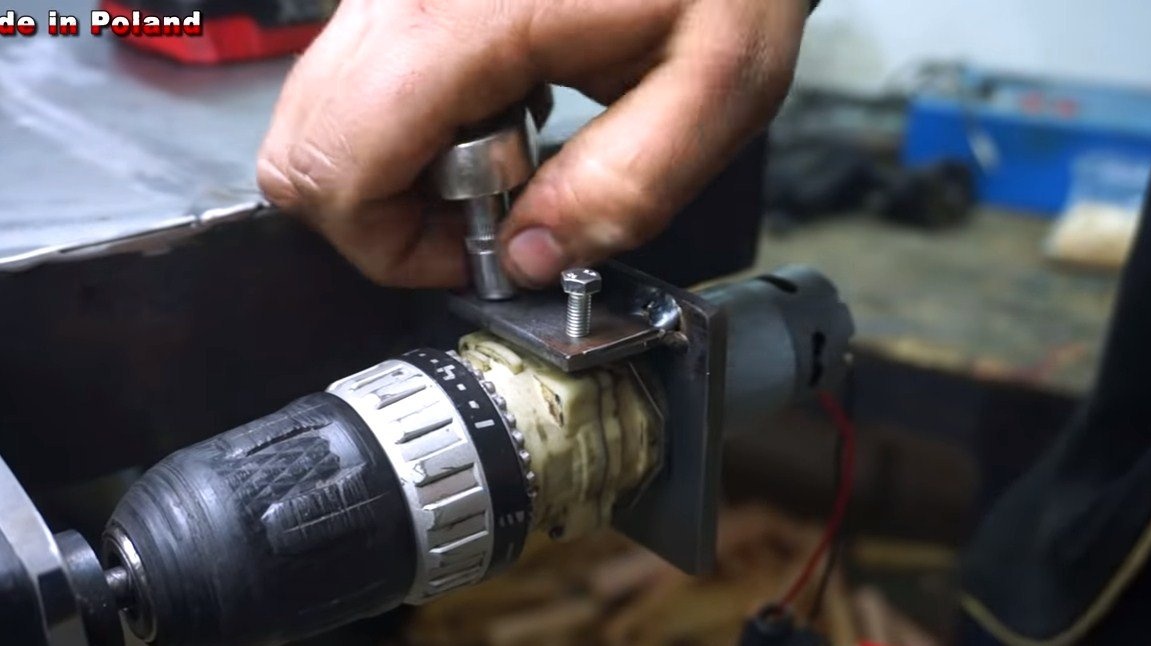
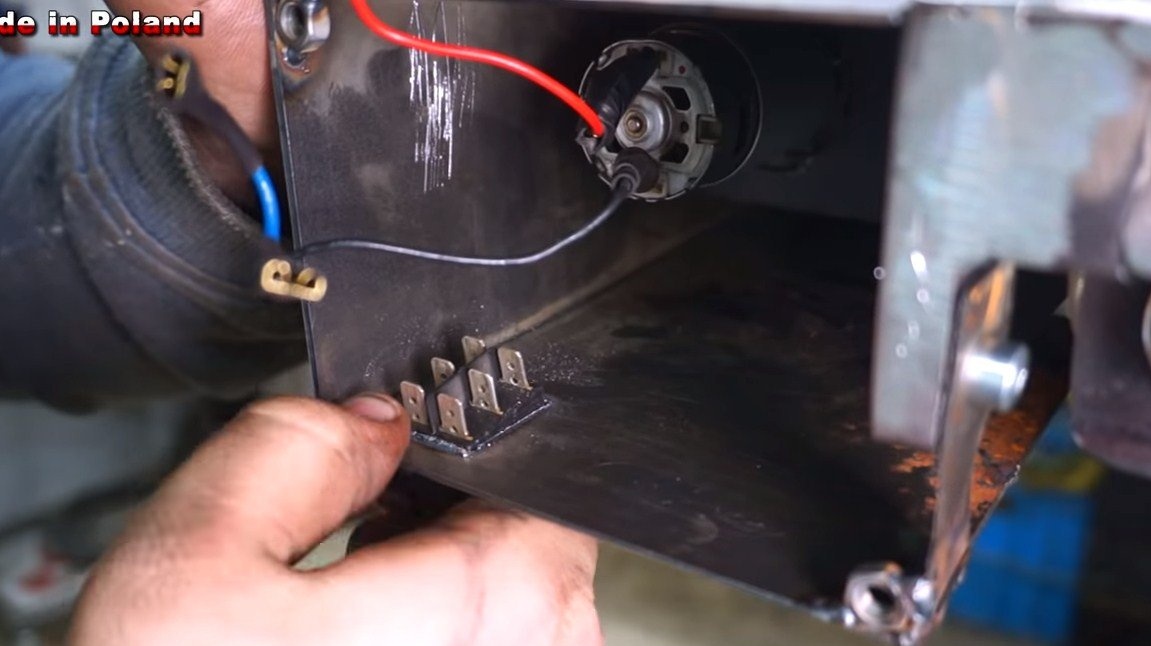
Next, we will prepare an electric motor, for these purposes the author used a motor with a gearbox from a screwdriver. We make a mounting bracket for it from thick sheet steel and weld it to the table. The motor is additionally fixed with two bolts. Now, thanks to two gearboxes, the motor will create a fairly high torque, which will allow the table to lift different weights.
Step Six Finishing touches
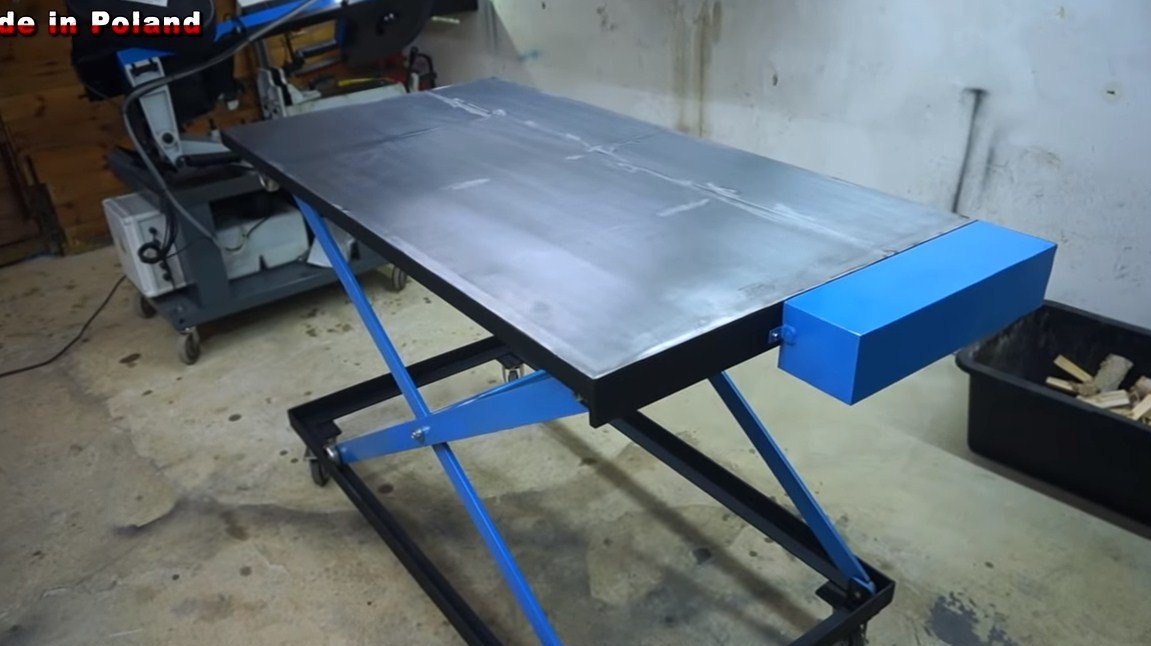
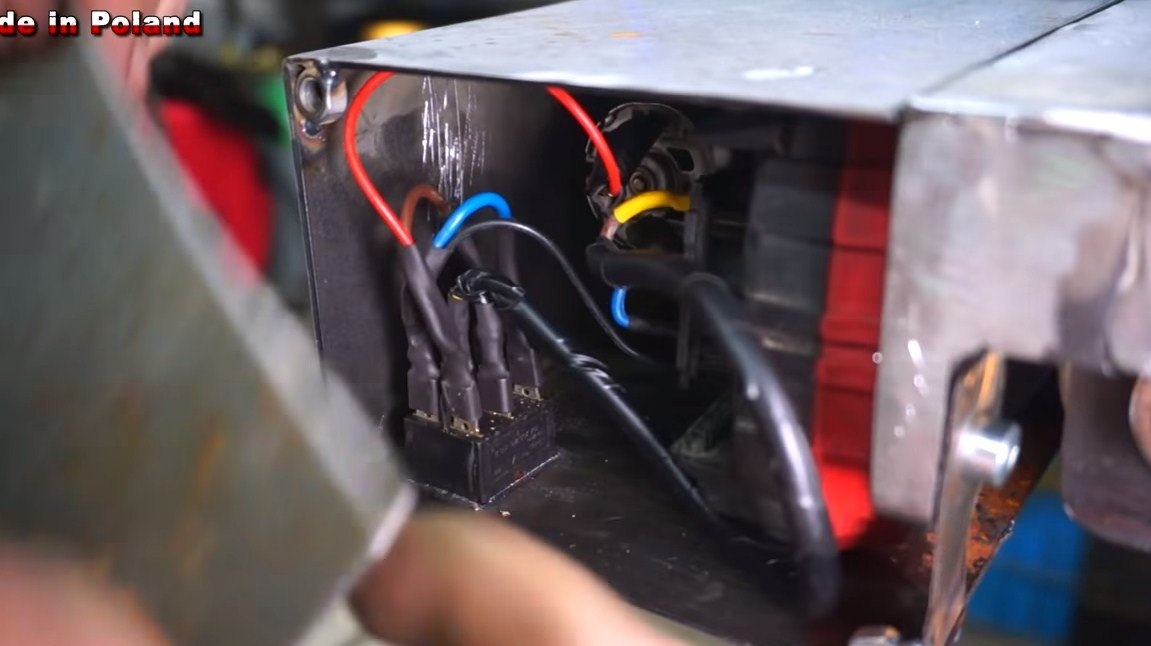
As a conclusion, we will install protective covers over the motor and gearboxes. You can make them from thin sheet metal. In the case we install a switch with three positions, as well as a battery.
In one position, the table will rise, in the other it will lower, and in the middle position of the switch, the motor will be turned off. The only thing that is not clear is how the engine turns off if the table reaches the lowest or highest top position. The author has not yet provided for this system.
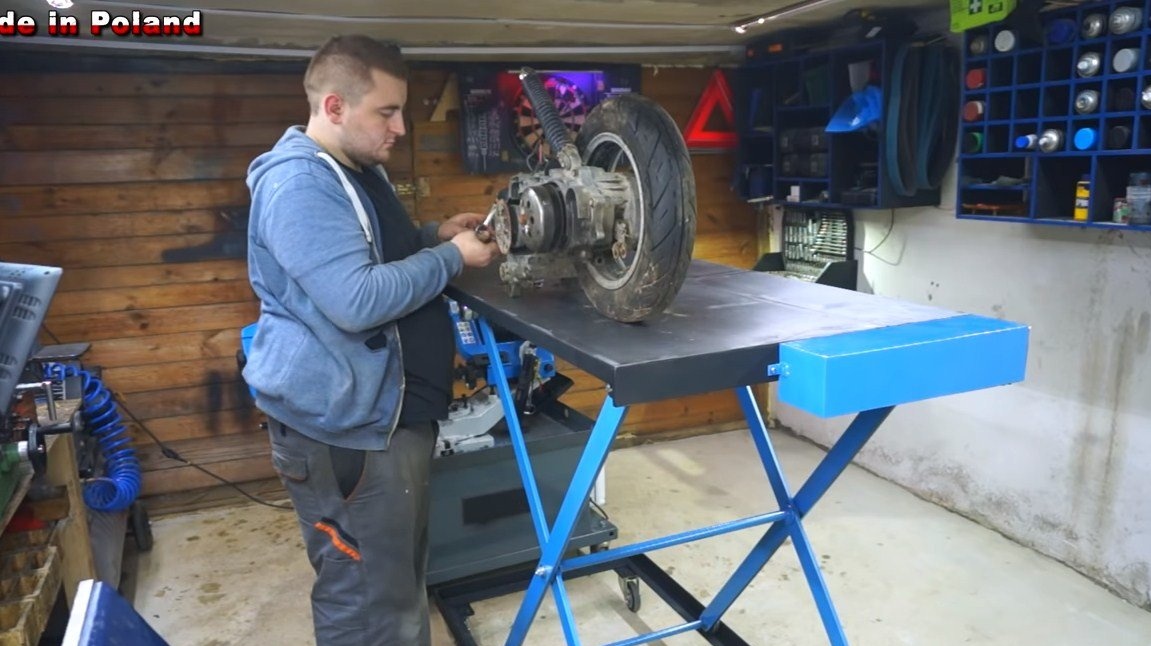
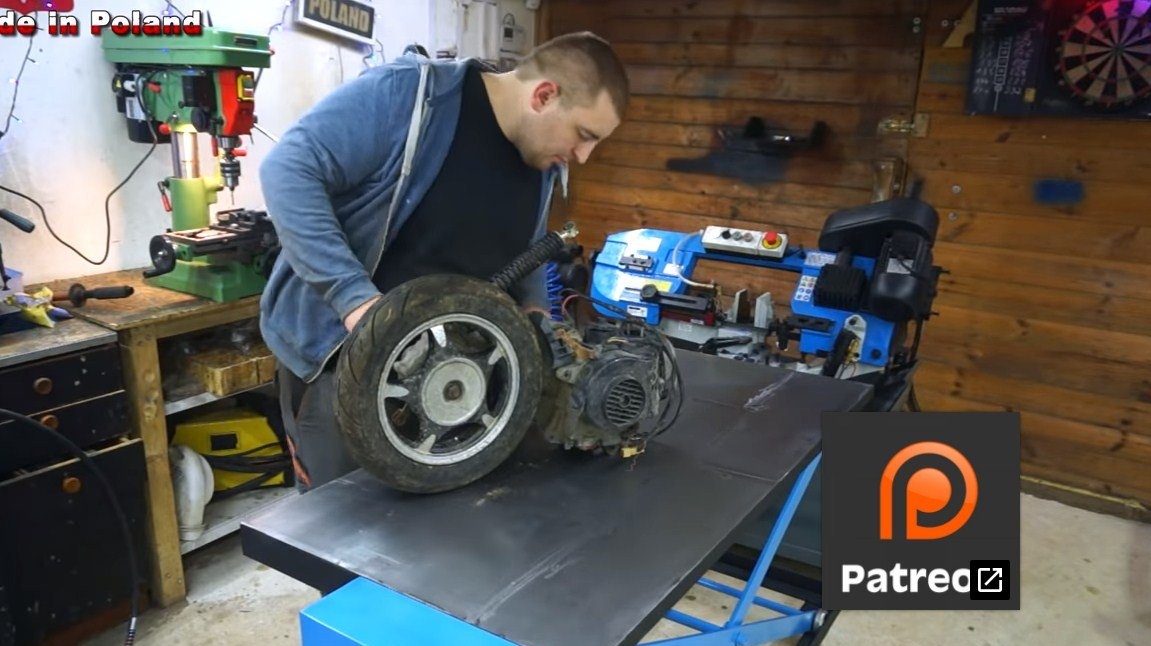
In the end, we paint everything, the table now looks beautiful, and will not rust. You can start the test. The author easily lifts the engine from the scooter with it. Now you can conveniently adjust the table in height so that you can work with individual areas of the engine.
The table also has a “speed”, it can be adjusted. That's all, the project is over, I hope you liked it. Good luck and creative inspiration, if you want to repeat this. Do not forget to share your ideas with us and homemade!