
Good day to all dear friends! In today's article, I would like to show you a rather interesting idea homemade. In this article we will look at how to make a simple and powerful screwdriver, the power and reliability of which will exceed most of the budget counterparts. We compare this screwdriver with budget screwdrivers, since its cost will be extremely small. And since this homemade product consists of the simplest and most affordable materials, then something will surely be at your fingertips and you won’t have to buy anything, and thereby reduce the cost of assembly. This homemade product is perfect for those who have a need for this tool, but there is no money for a normal tool, and it is a pity to spend money on a Chinese trinket. In general, the homemade product is very interesting, so let's not pull with a long introduction, let's go!
For this homemade product we need:
- Rechargeable batteries format 18650 3 pcs.
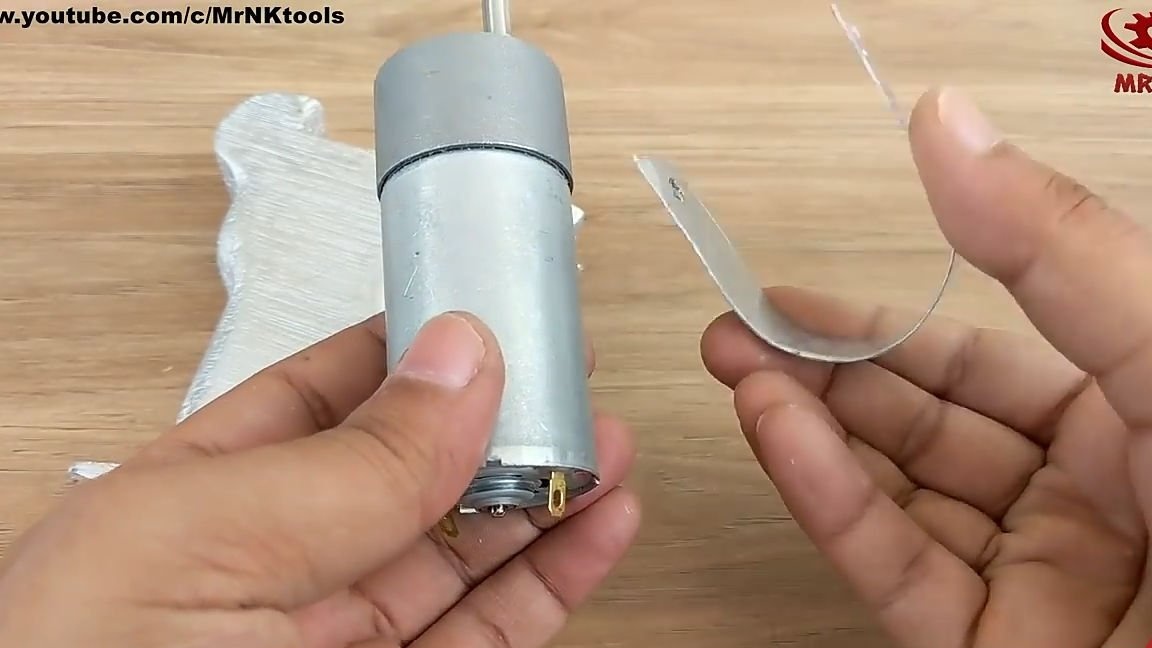
- Electric motor with metal gearbox 550 class
- Power connector
- Drill chuck
- switch-switch
- A button that closes the circuit when pressed.
- Any plastic case for batteries (for example, a box for flash drives, etc.)
- A set of bits for a screwdriver
- wires
- Plywood.
- Metal plate.
- Screw and nut to it
- Metal washers
- Self-tapping screws
Of the tools we will also need:
- Drill and drill set
- marker
- Glue for wood (PVA)
- Jigsaw or regular manual.
- File
- Paint (optional)
- Pliers
- Stationery knife
- screwdriver
- Soldering iron and solder
- Insulating tape or heat shrink
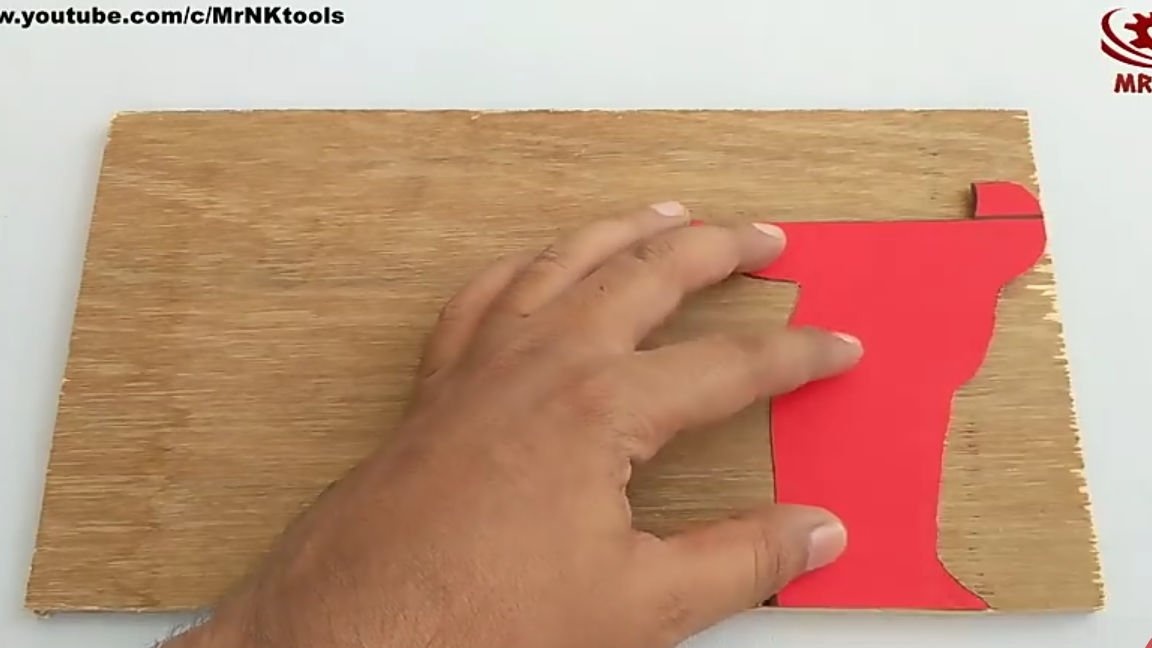
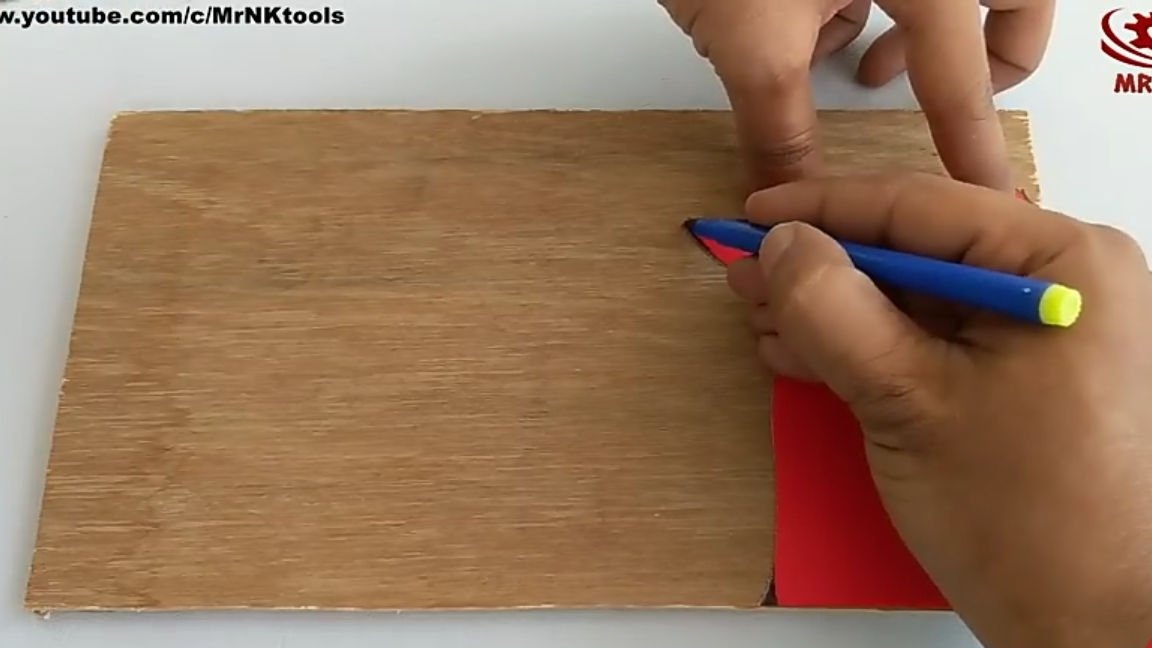
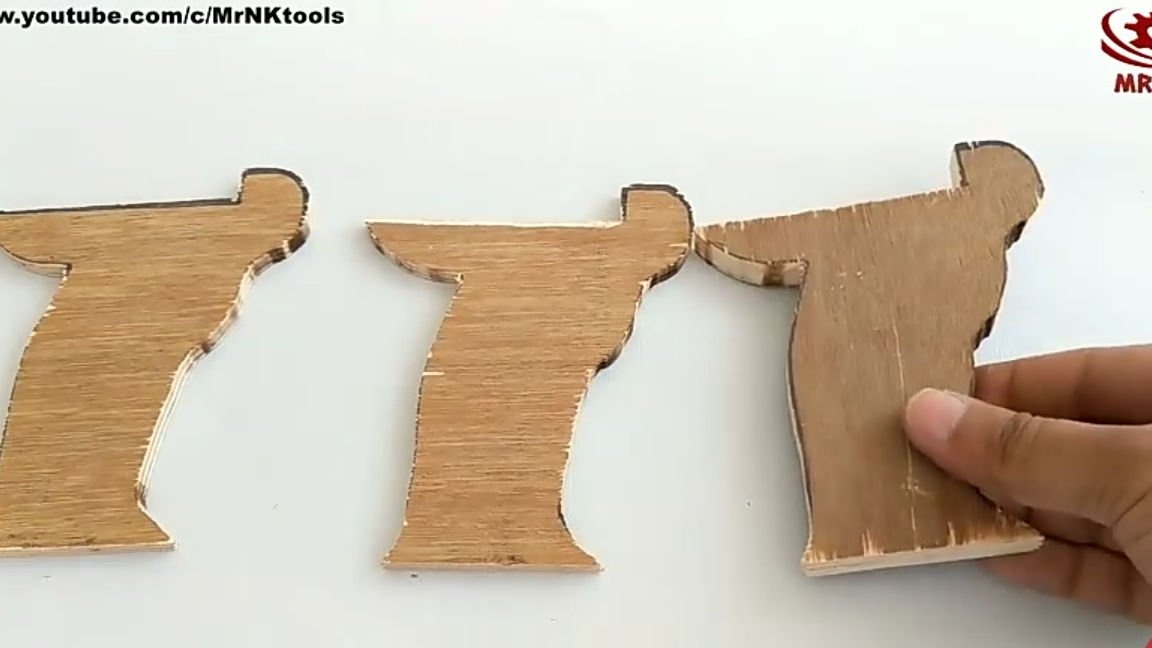
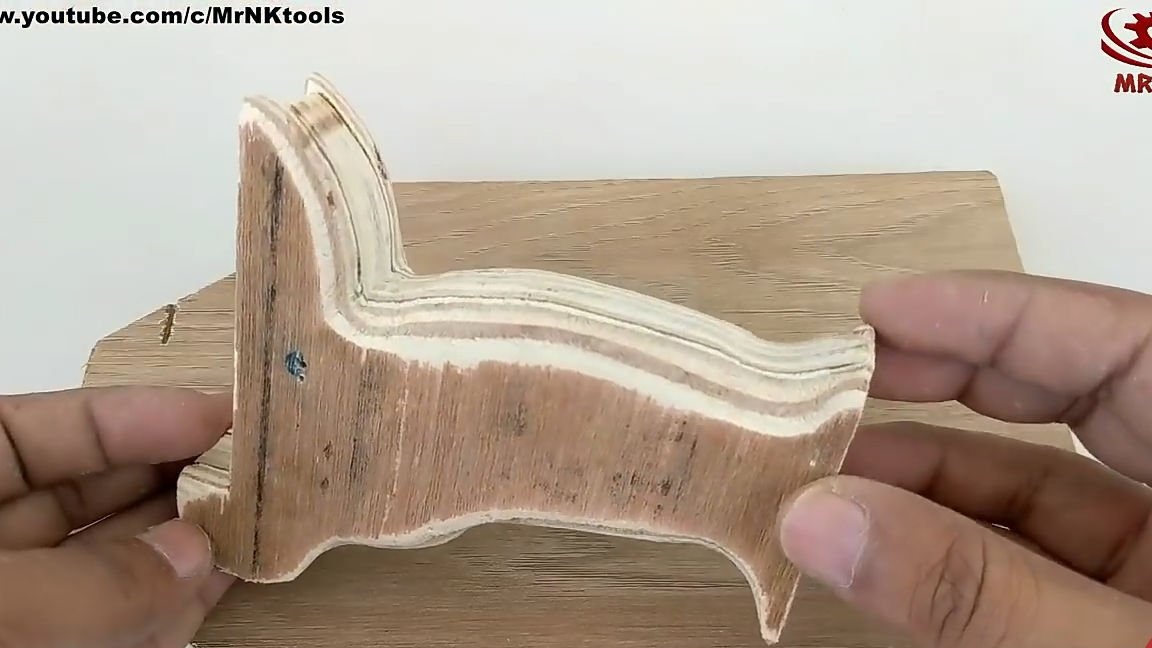
To begin with, we should make a handle for our homemade products, for this we need to find a stencil on the Internet or draw it ourselves. Next, the already cut out stencil should be attached to the sheet of plywood you took and circled with a marker around the office, we will have to repeat these steps 3-4 times. The amount of these elements depends on the thickness of the plywood you choose and on what thickness the handle will be more convenient for you to hold.
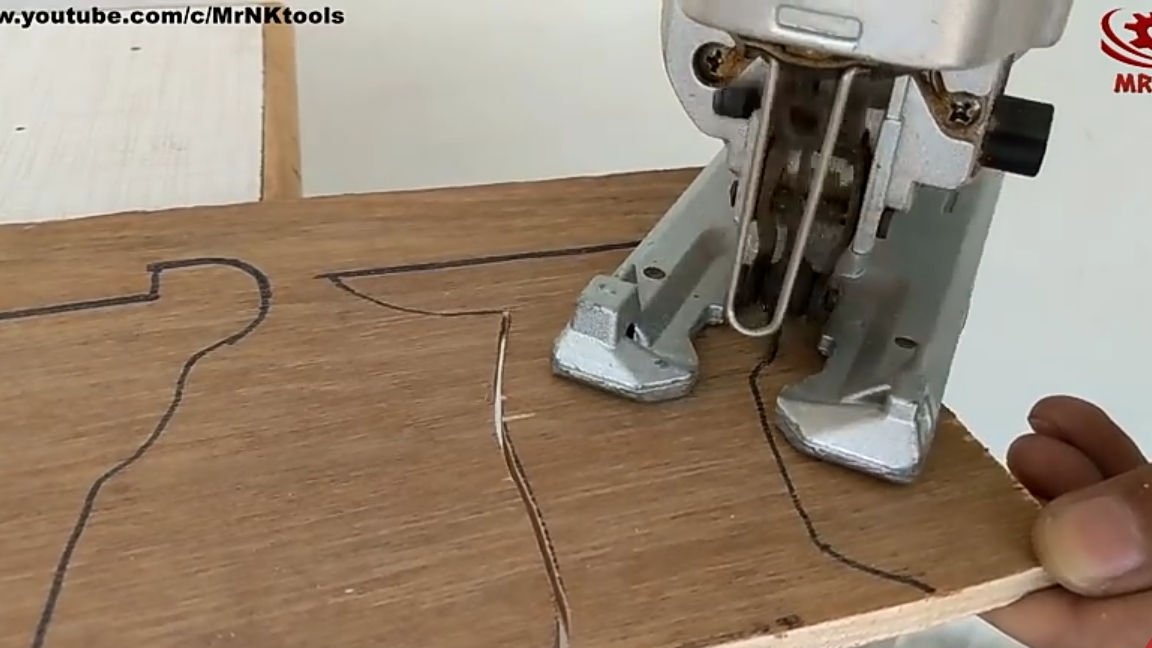
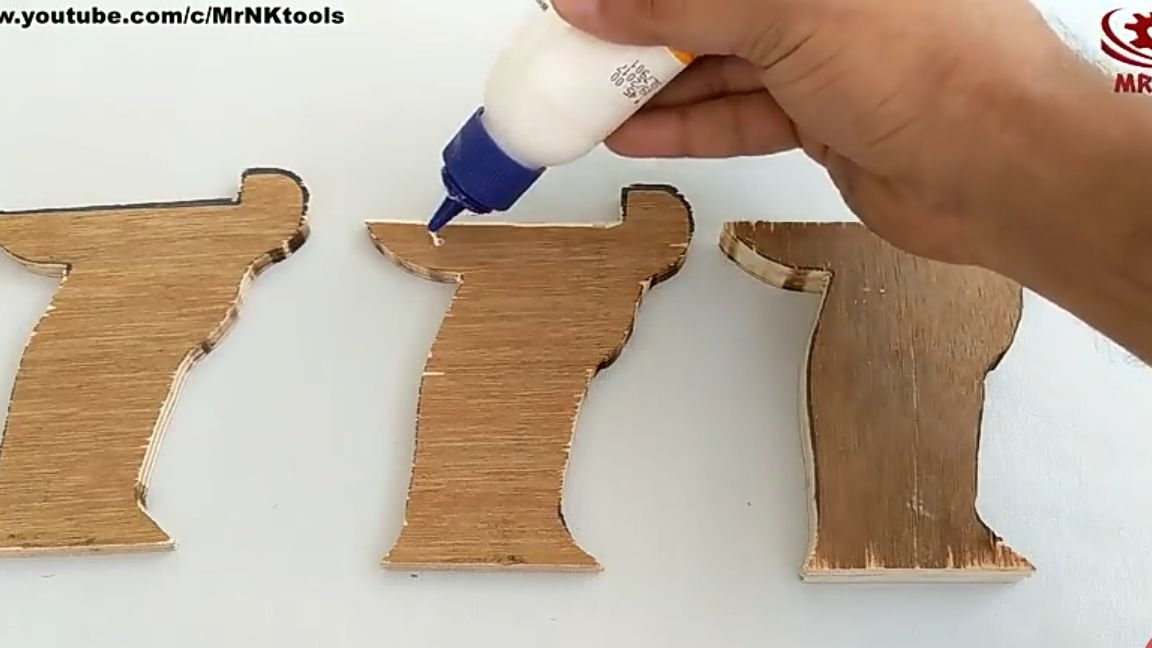
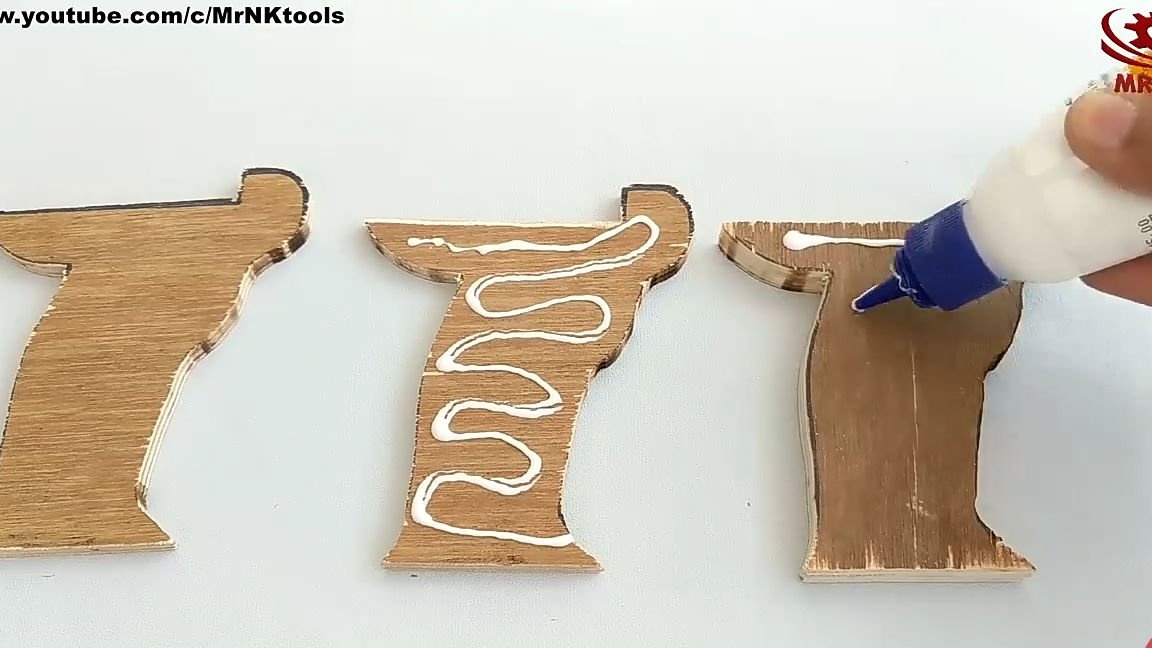
The next step is to cut our freshly drawn blanks. It should be cut with a jigsaw, so it turns out as accurately and quickly as possible. But if you do not have a jigsaw, then you can get by with the usual manual one. Having cut out all their blanks, they should be glued together into one sandwich.We will glue using ordinary PVA glue, since it is affordable and glues wood very reliably. We apply glue to the blanks over their entire area and send the already glued blank to the press (at least by pressing a couple of books) for a day.

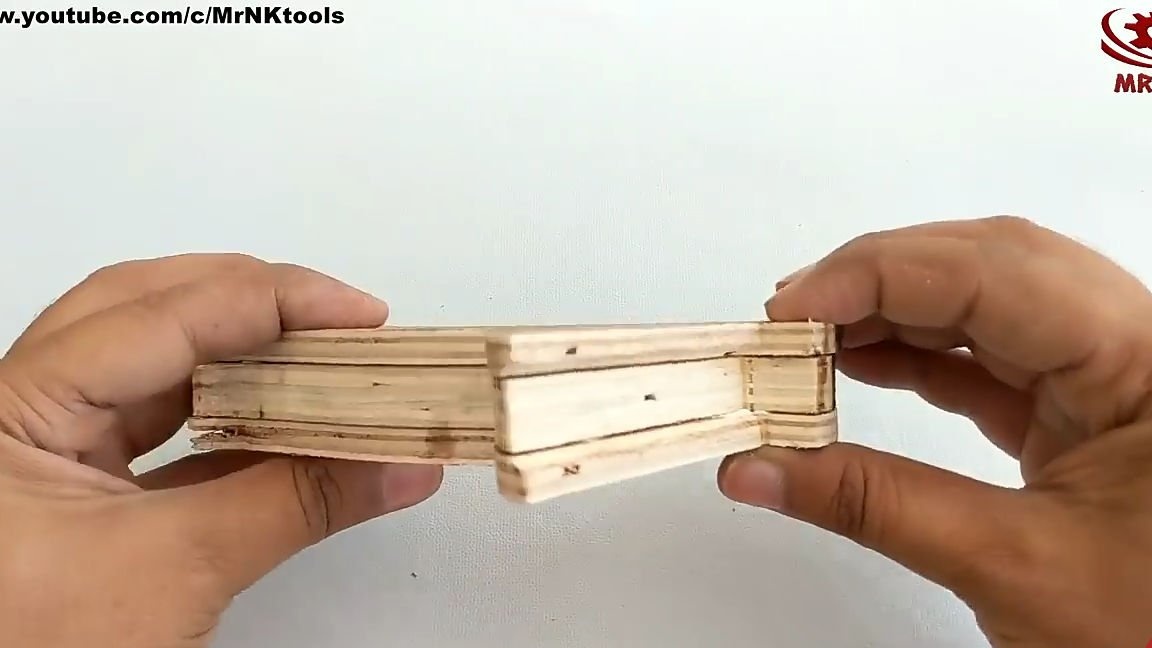
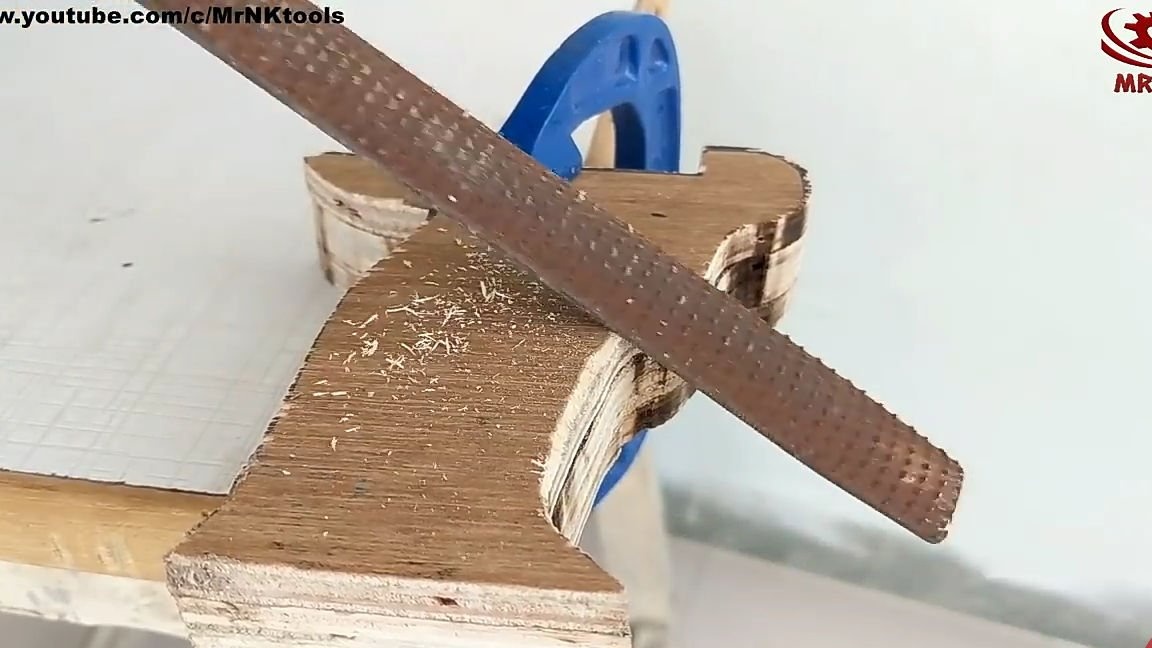
Then, for a more comfortable grip and for convenient work with the device, we round off the sharp edges of the future handle. We will round the edges using an ordinary file.
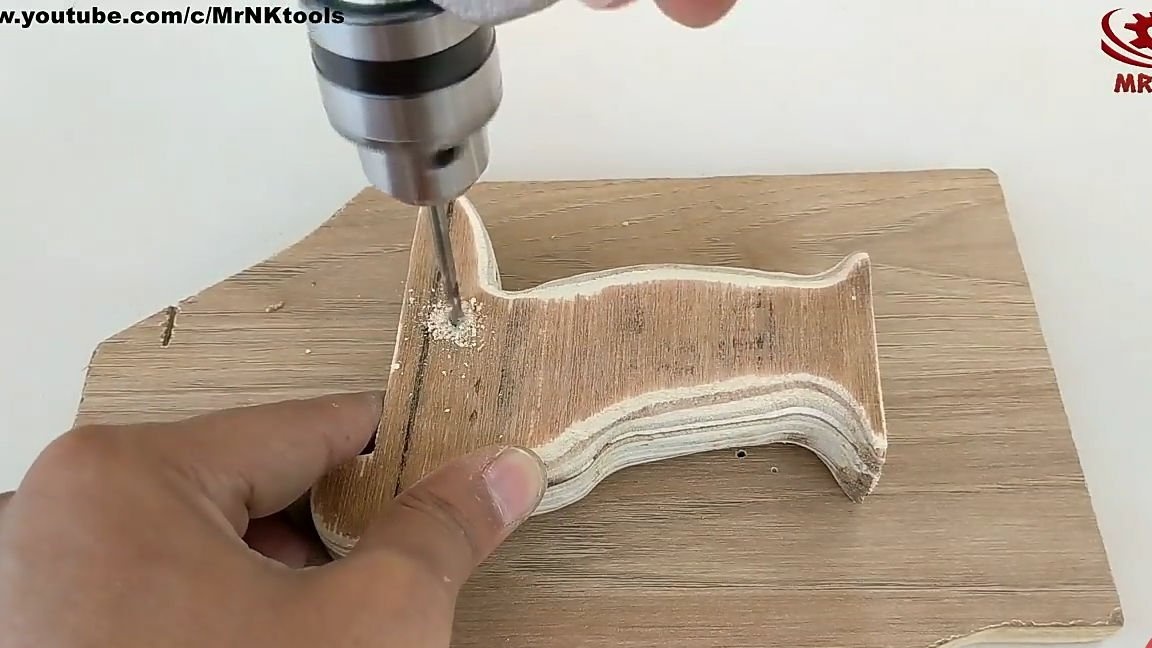
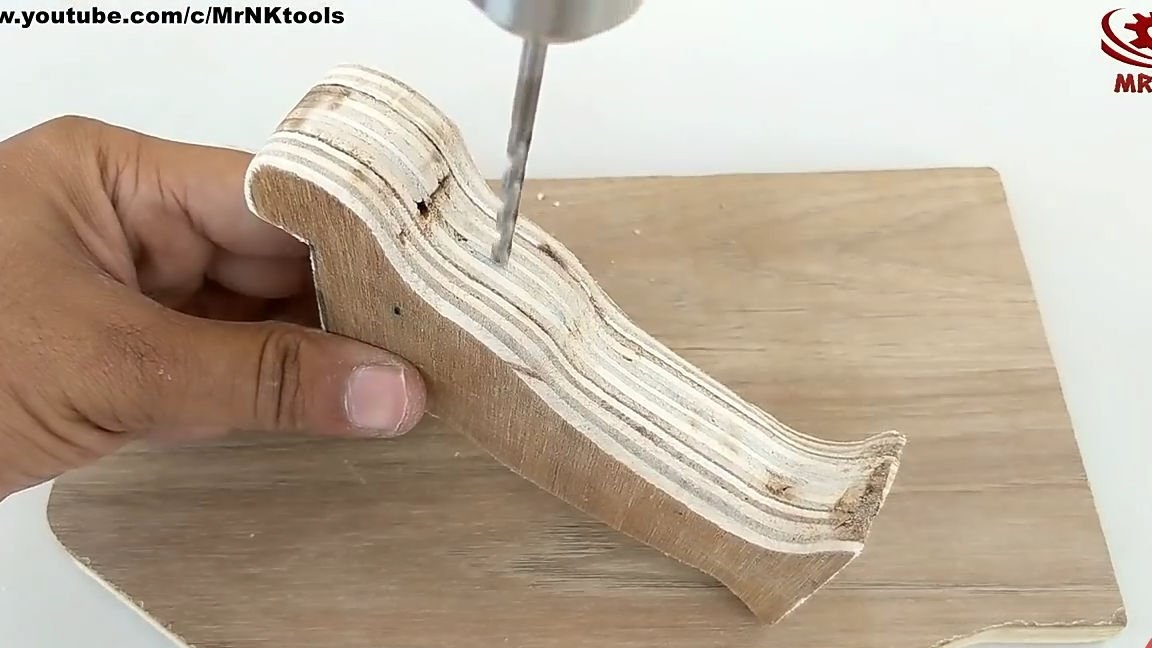
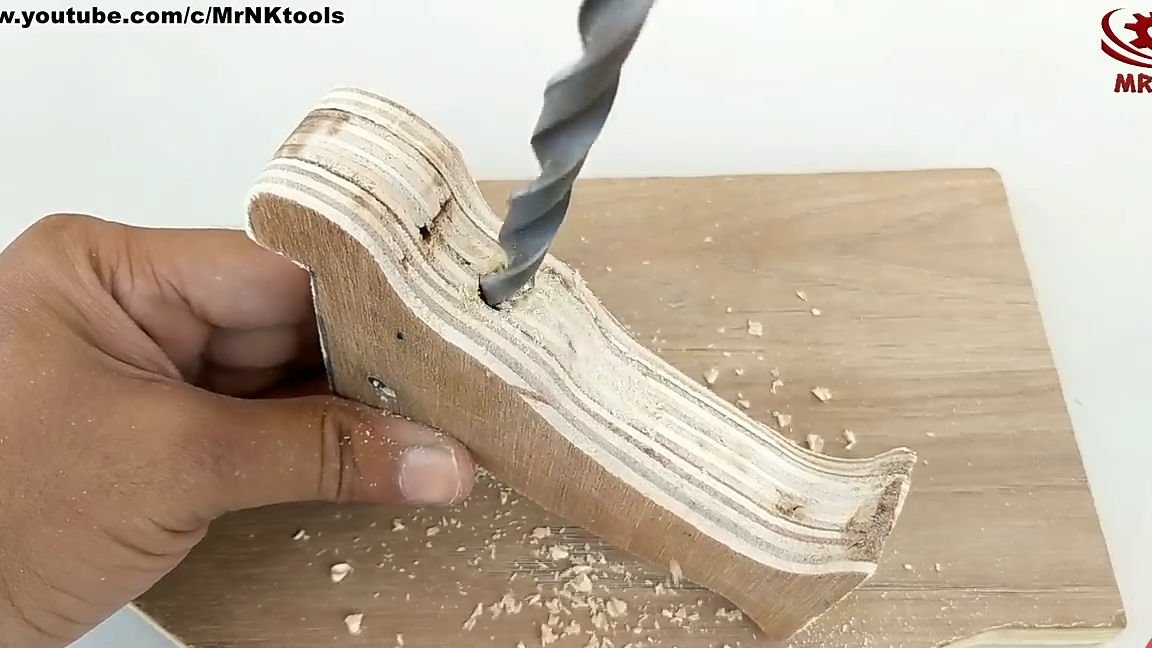
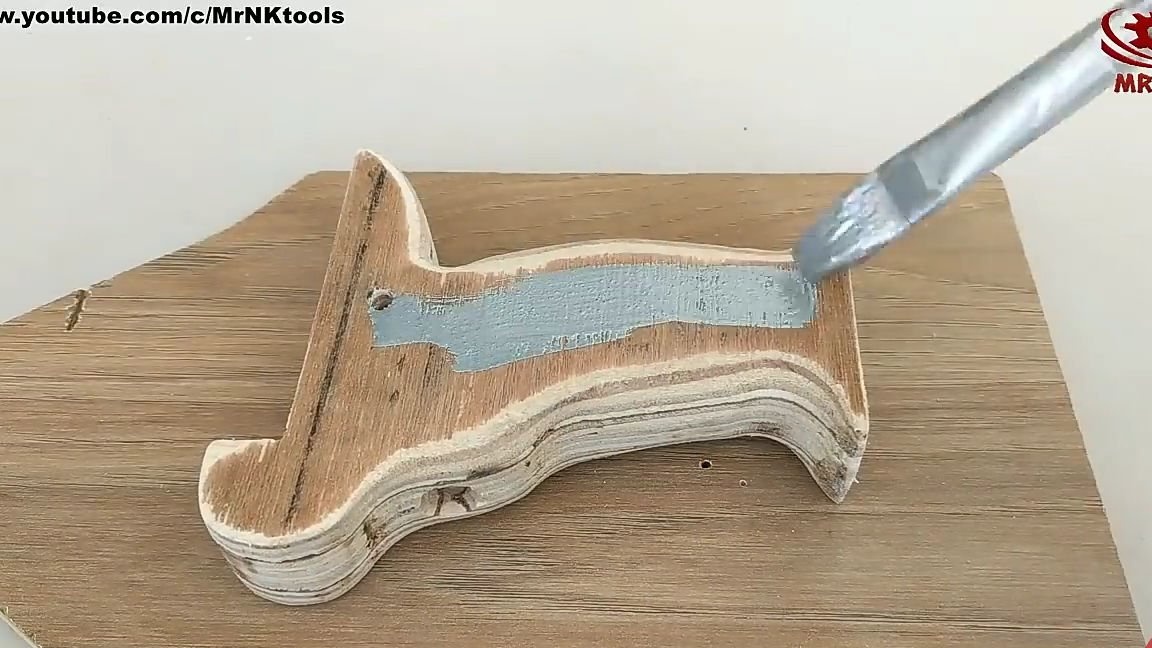
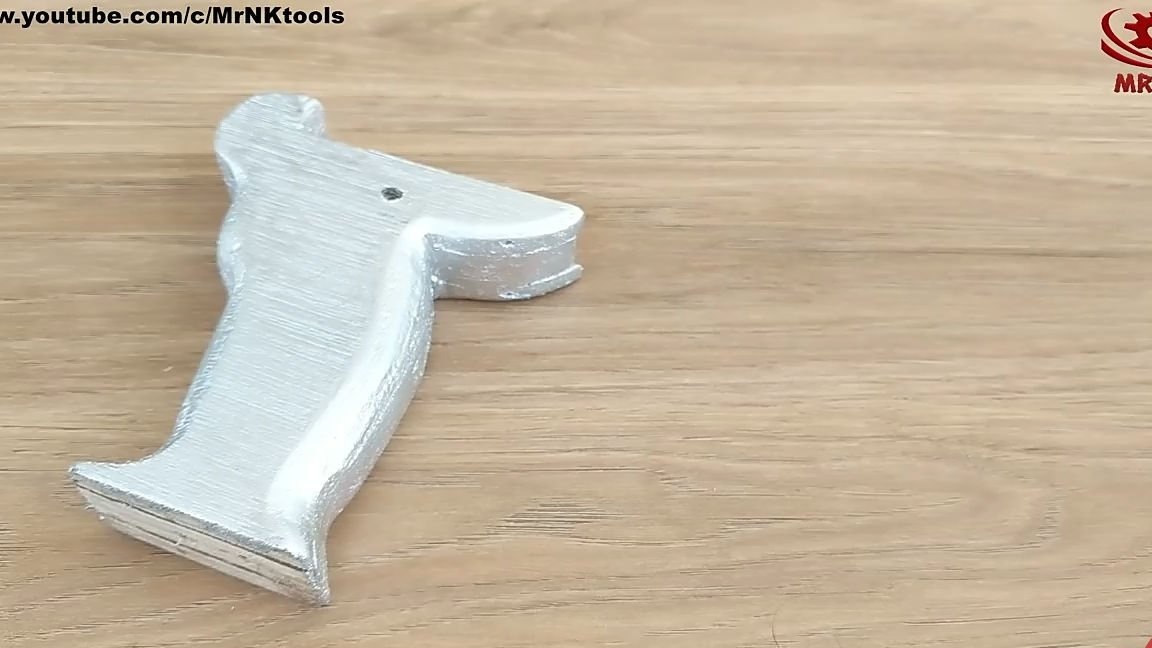
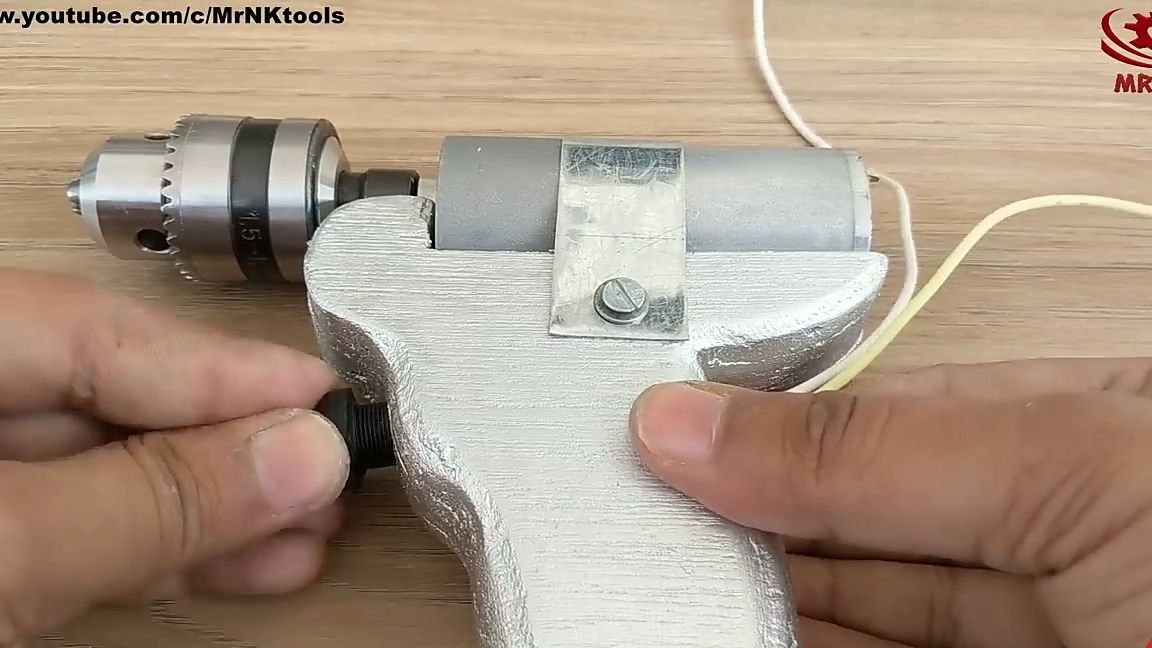
We continue to work with the handle. Namely, at this stage, a couple of holes should be made. One through hole in the upper part (see photo), it will serve as a mounting hole for the engine. And you should also make a hole on the end in the upper part (for the button), first making a through hole with a thin drill, and then expanding it with a wider drill for installing the button itself. And in the end, the handle should be treated with some kind of protective compound, for this you can use stain, varnish, paint, but the author of the homemade product took what was at hand, namely silver and covered its handle.
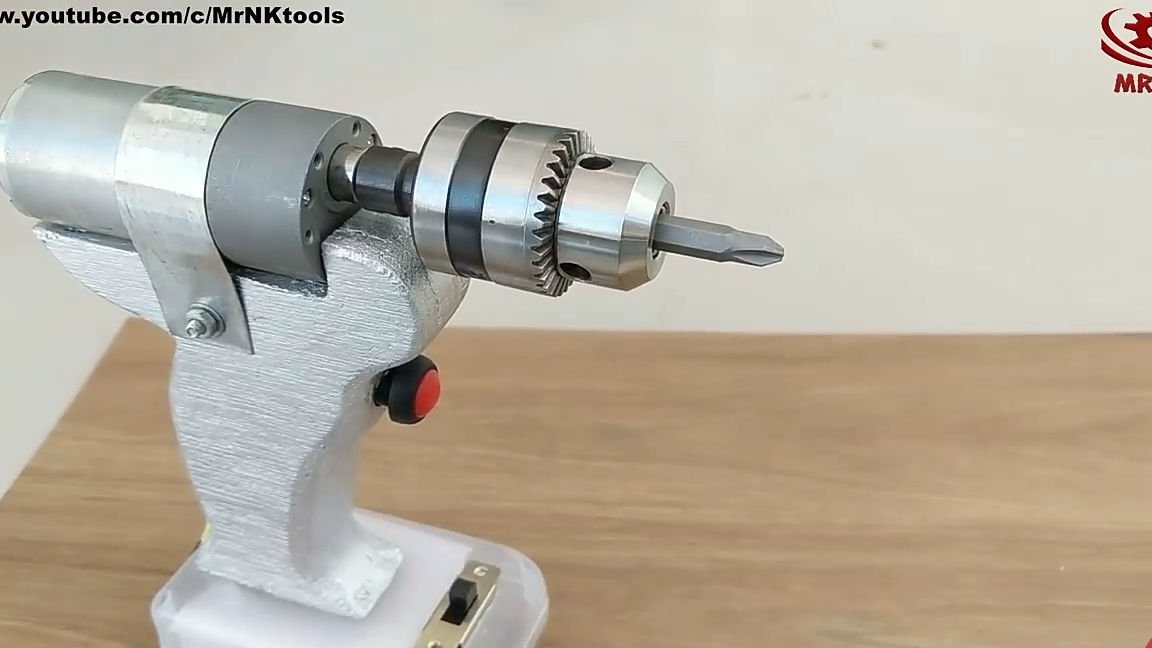
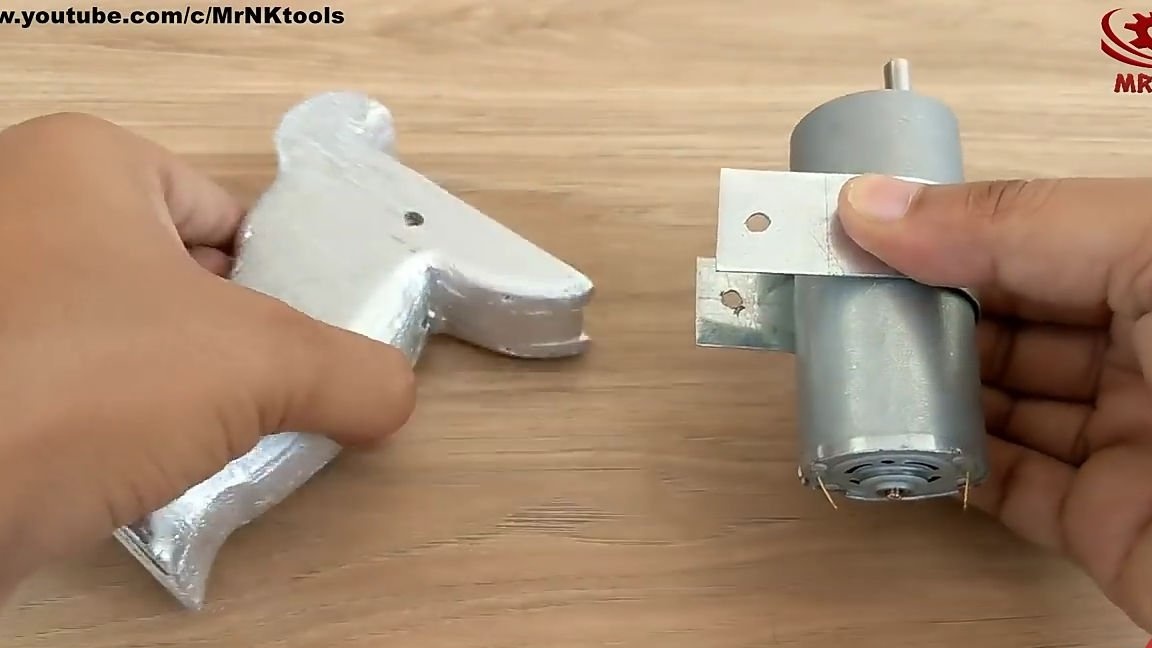
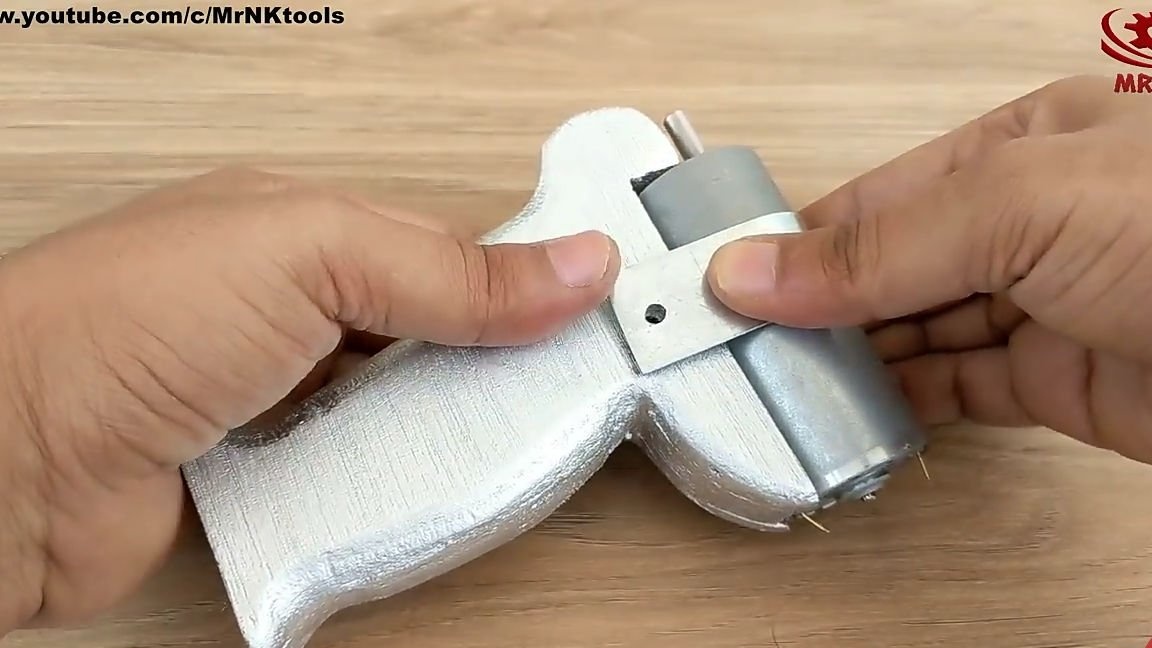
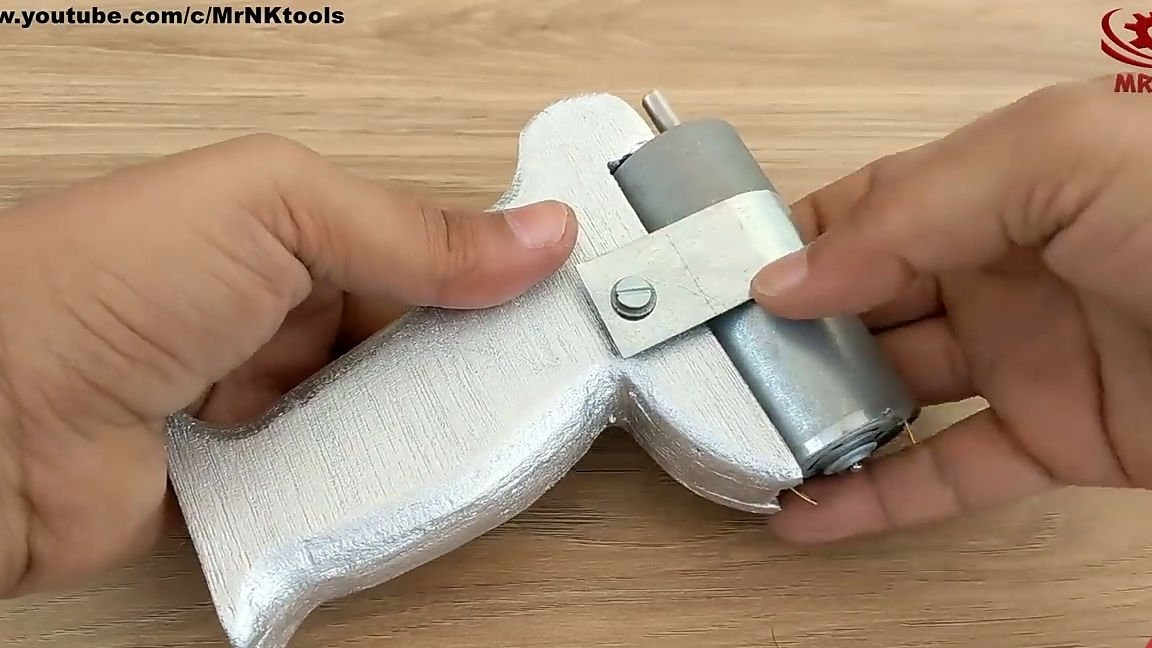
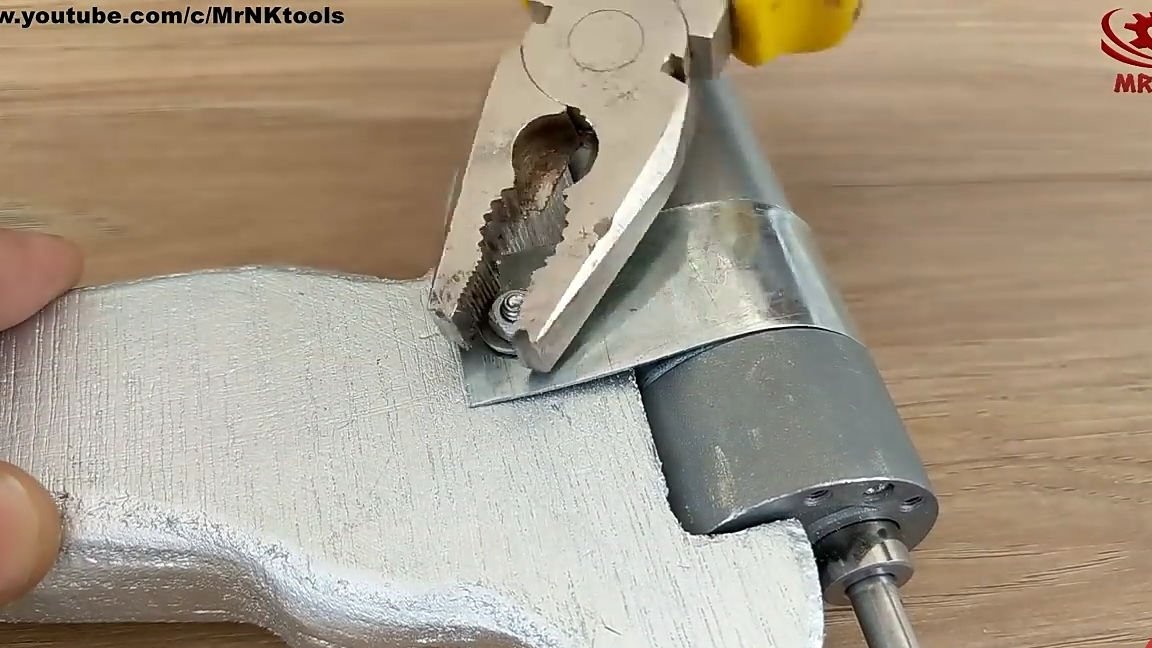
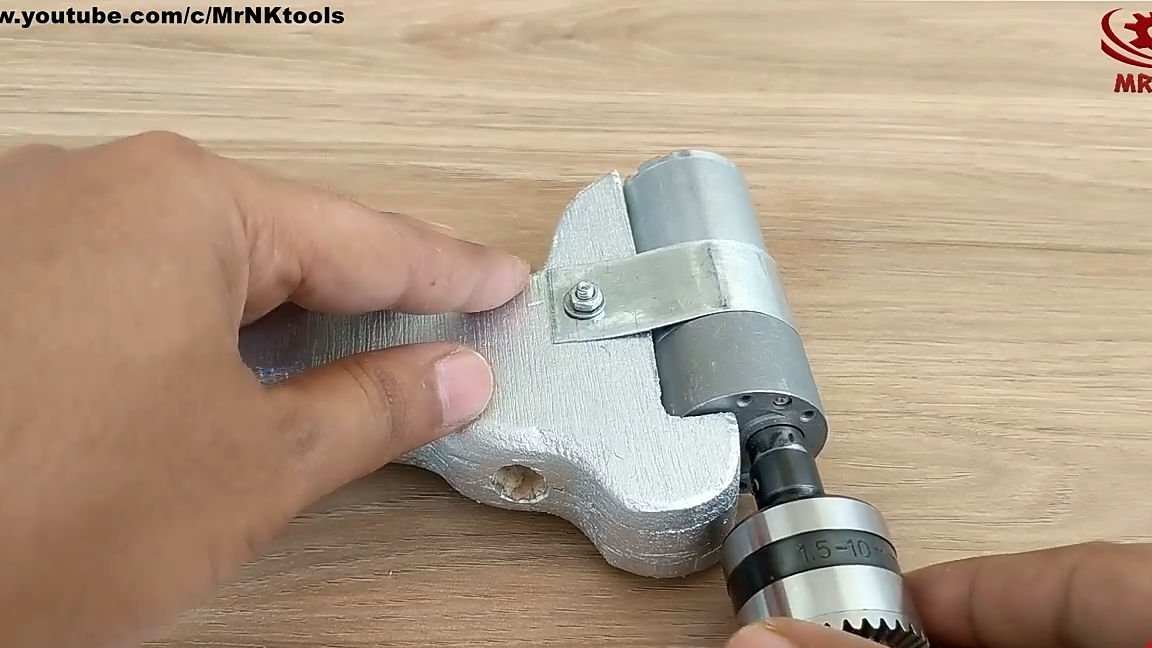
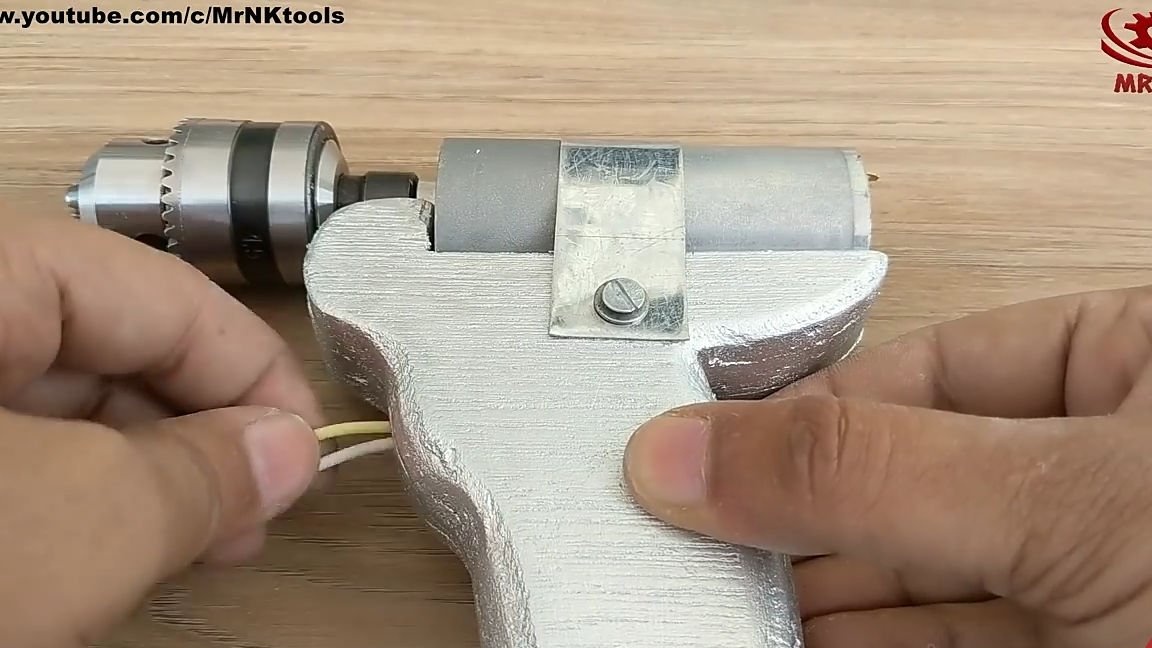
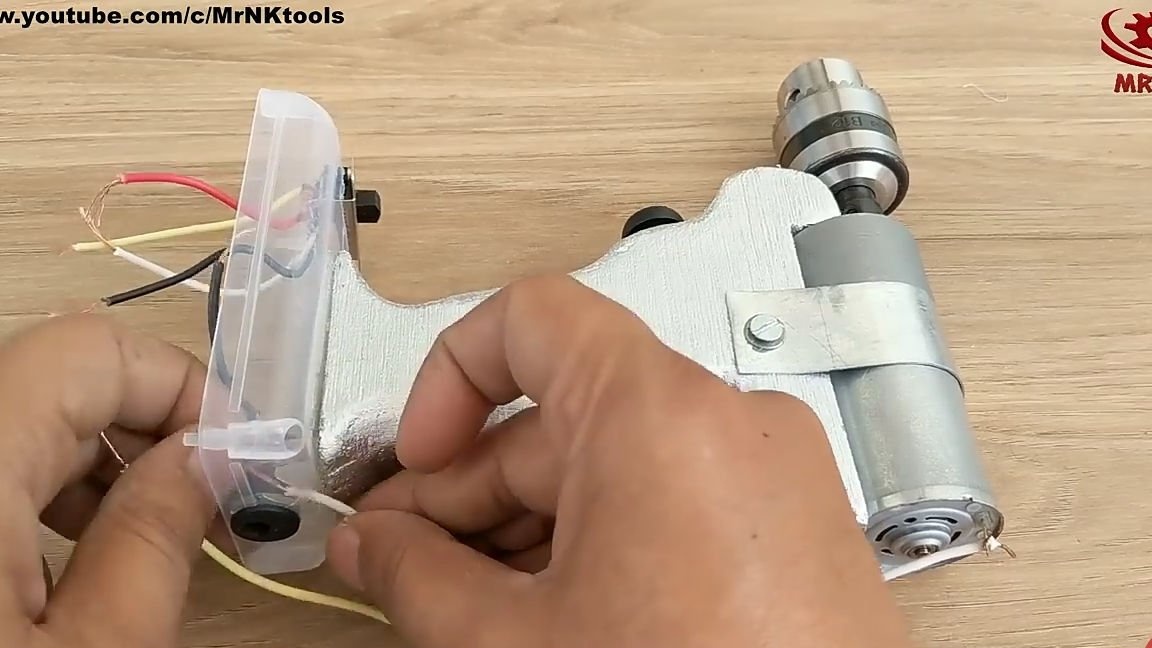
Then, by the next step, we need to fix the power part of the structure, namely the electric motor with a gear to our just made handle. To do this, we need to take a small metal plate, from which a strip should be cut, the length of which should be approximately equal to the diameter of the electric motor. Cutting out the plate, we make a pair of through holes along its edges. The diameter of the through holes just done should be slightly larger than the diameter of the screw you took. Then bend the plate so that it takes the form of an engine. Then we put the plate on the engine, apply them to the handle so that the holes on the plate coincide with the hole on the handle. We insert and tighten the nut, but for stronger clamping, metal washers should be used.
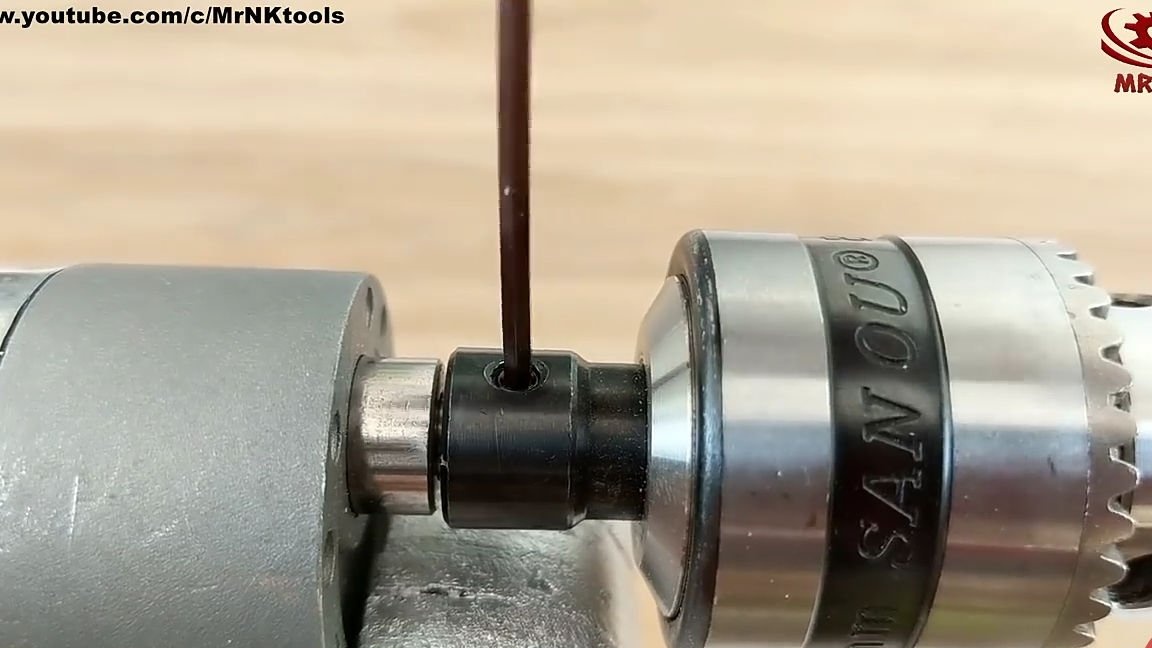
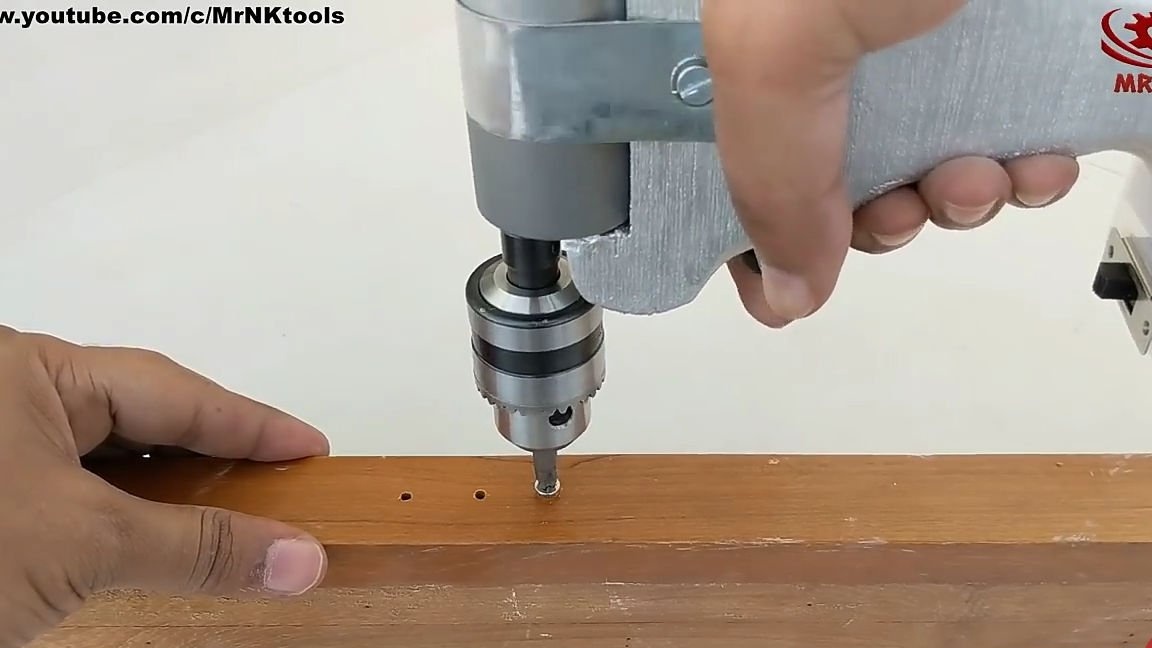
Then we install a cartridge on the shaft of the gearbox of the electric motor. Such a cartridge can be easily found in Chinese online stores for relatively little money.
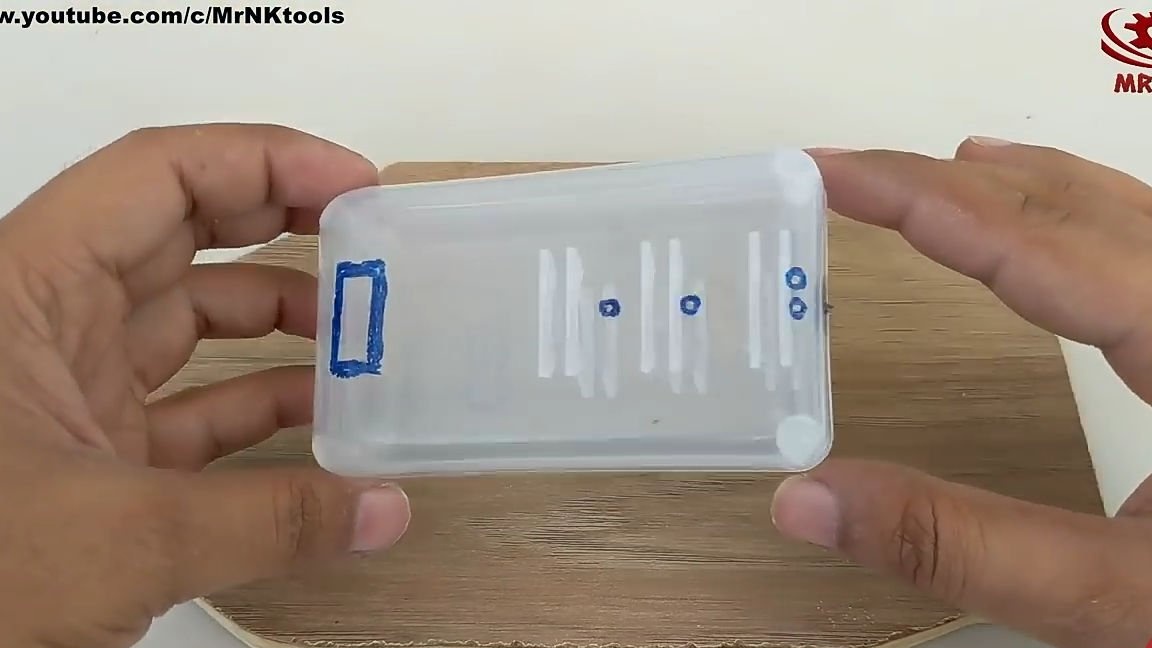
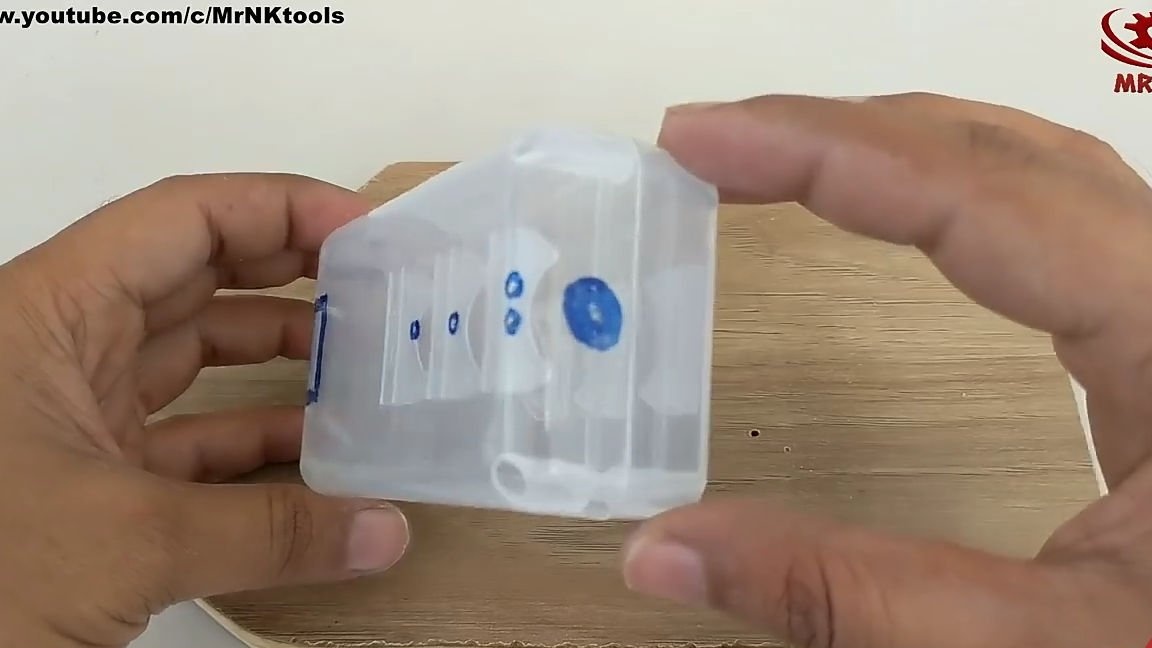
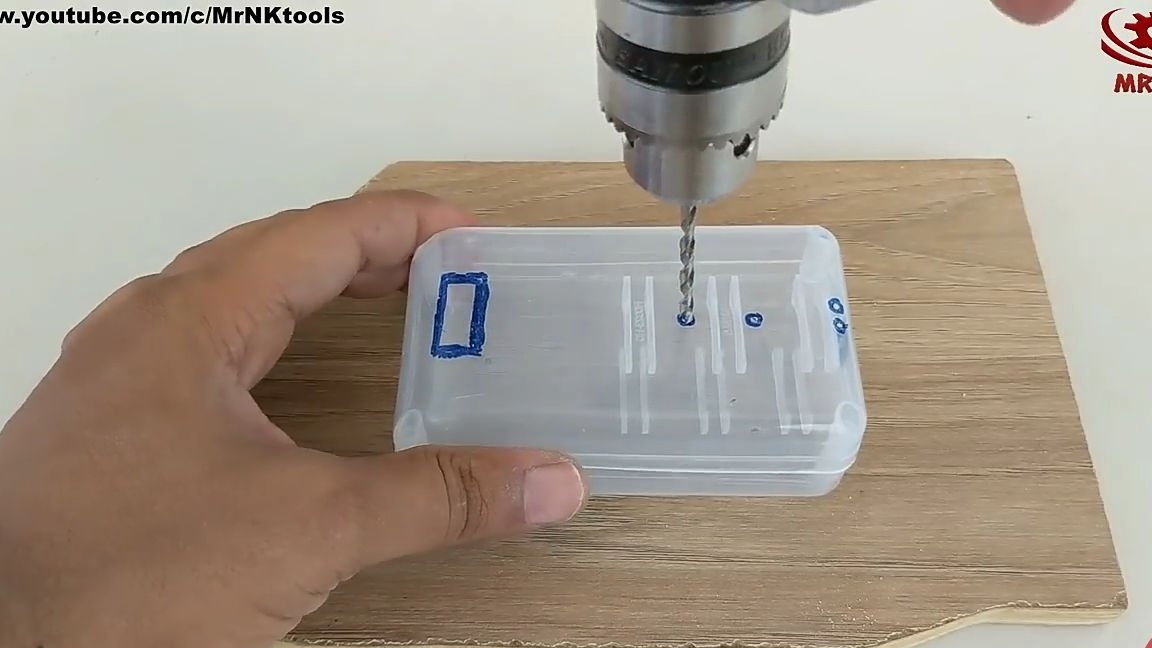
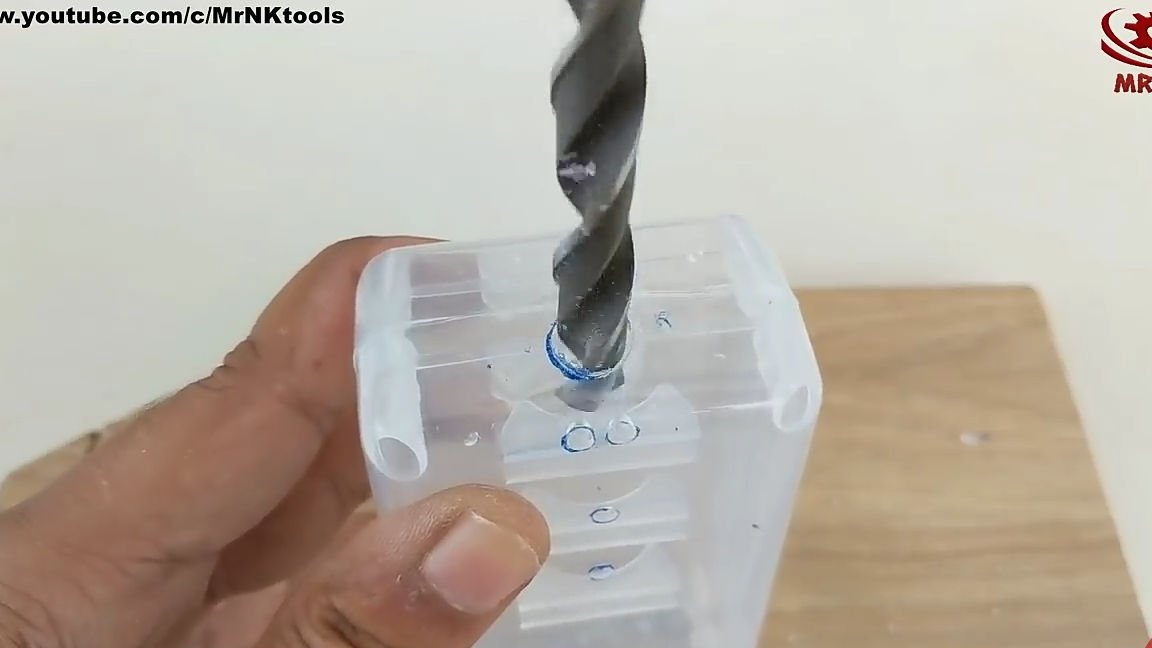
Then go to the assembly e toppings. To begin with, let's take some kind of small plastic container (plastic since it’s quite easy to work with plastic). On the taken container, not a large number of holes should be made for the installation of the switch and the output of wires (see photo below).
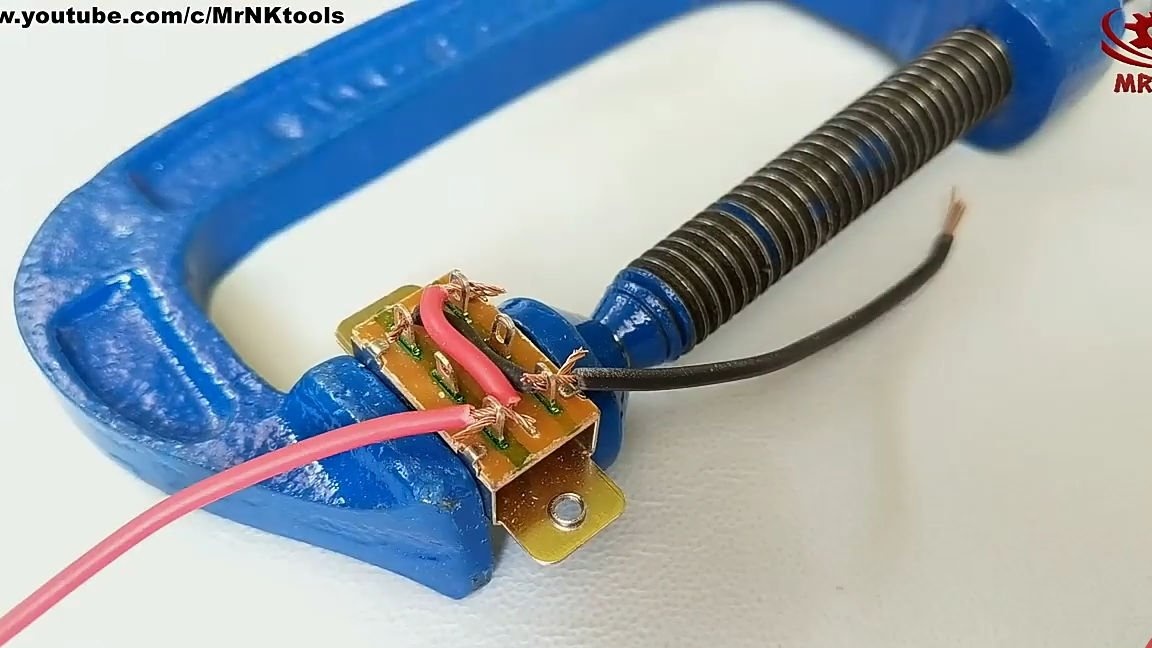
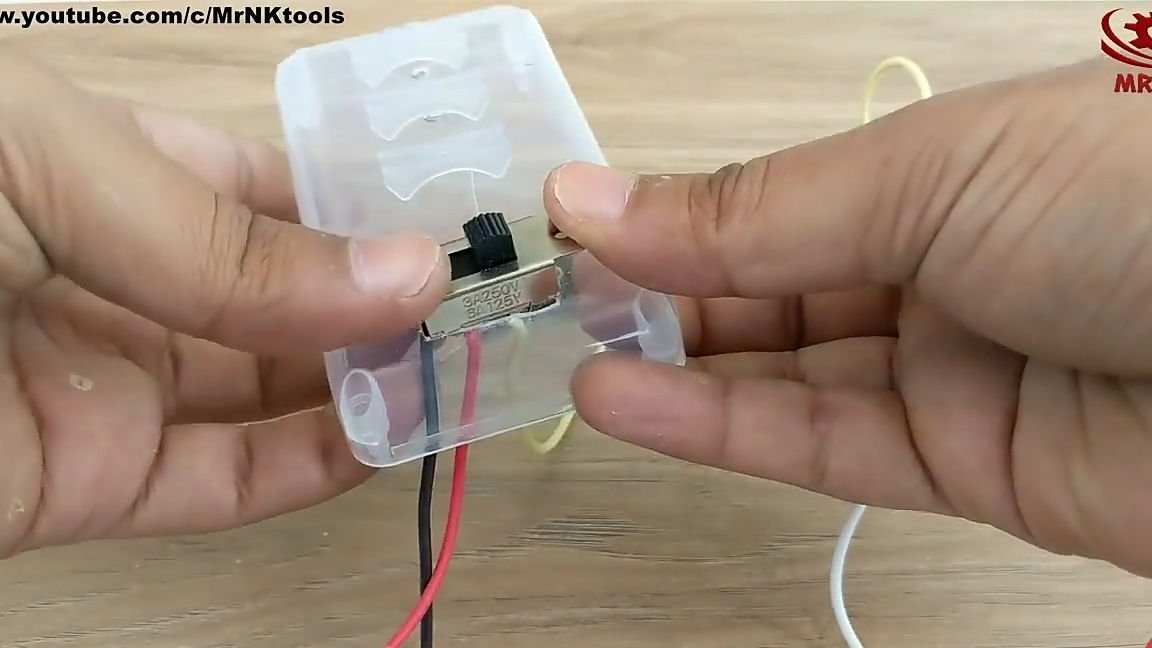
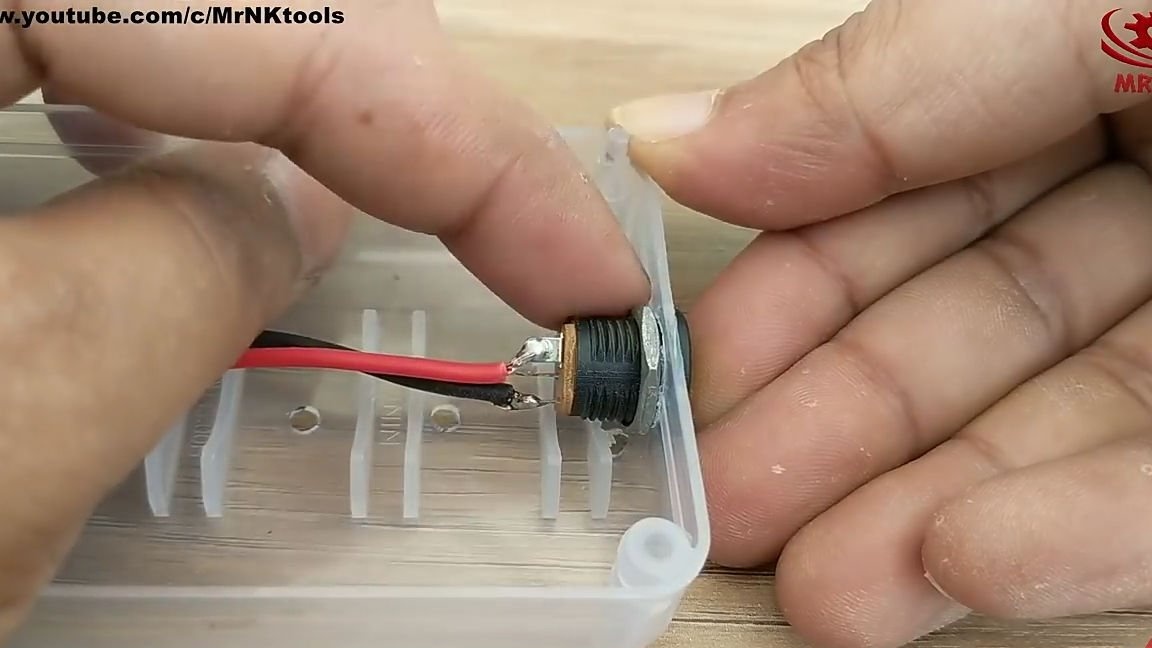
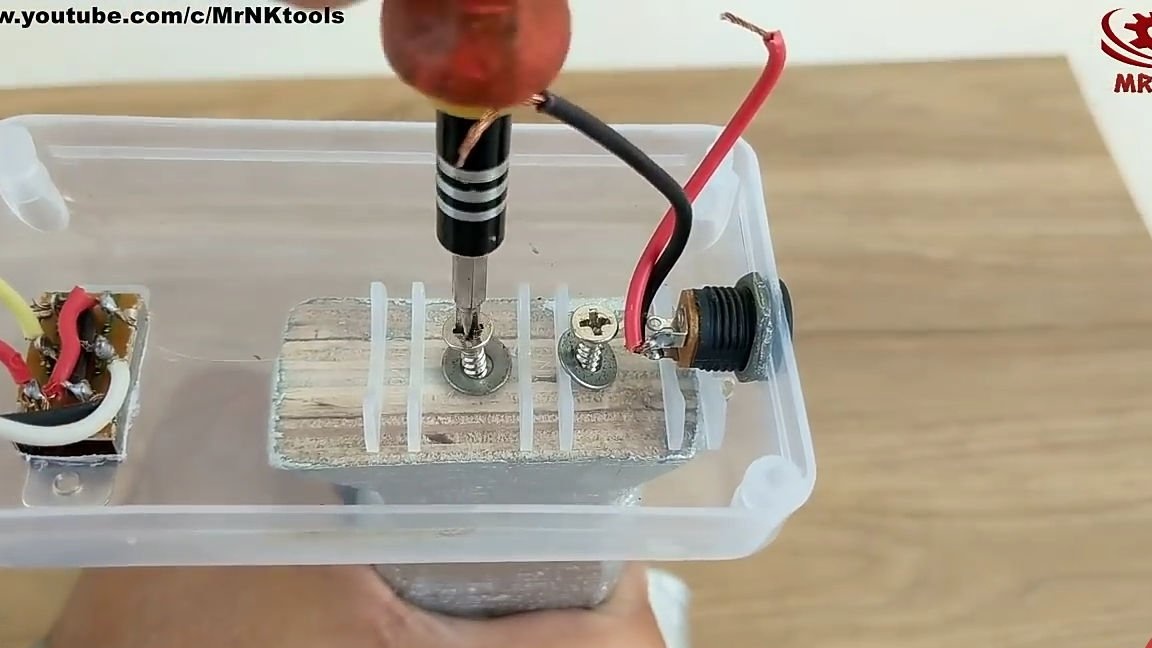
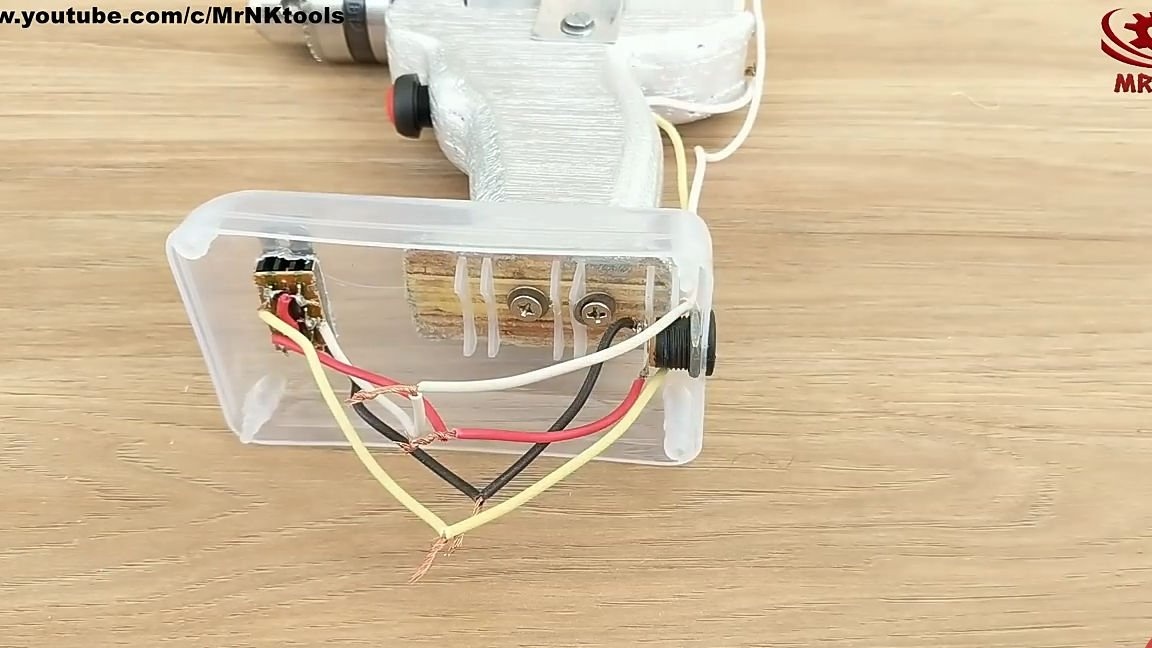
Now let's deal with the switch. Two jumpers should be soldered to the switch. One of the jumpers should connect the lower left contact with the upper right contact, and the second vice versa. Next, solder the wires to the lower and middle contacts (see photo). We install the switch in the case, in our seat, then in our seat we install the power connector. Next, with a pair of screws, we screw the plastic case to our wooden handle and in order to make the connection more reliable and the screws do not pass through the plastic, use washers.
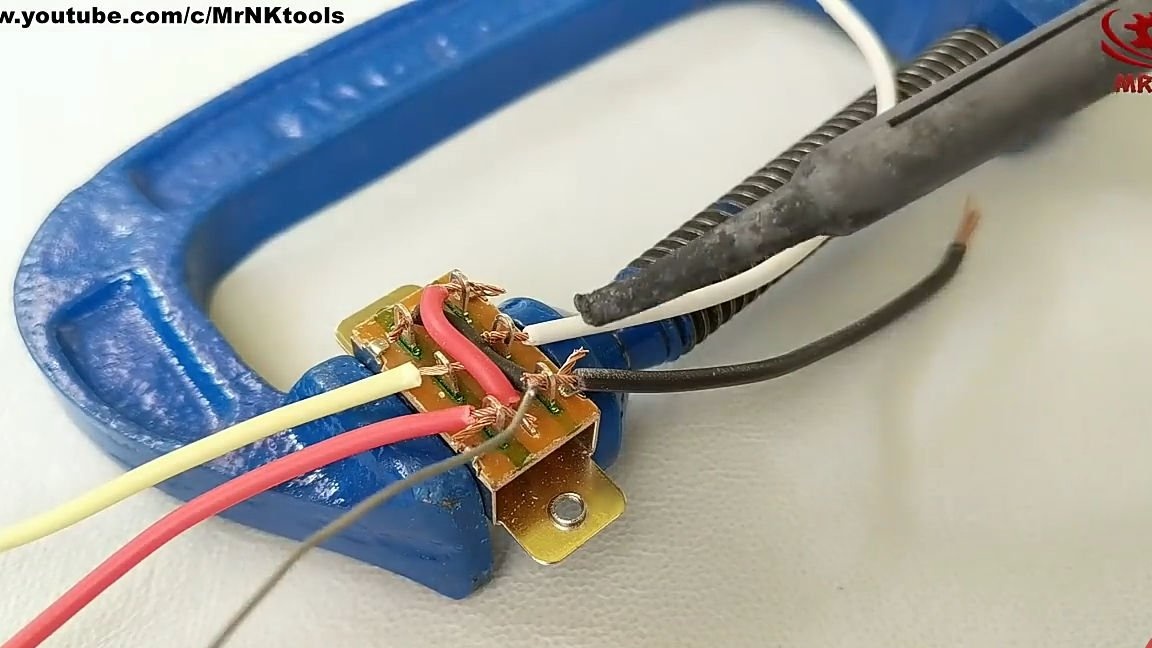
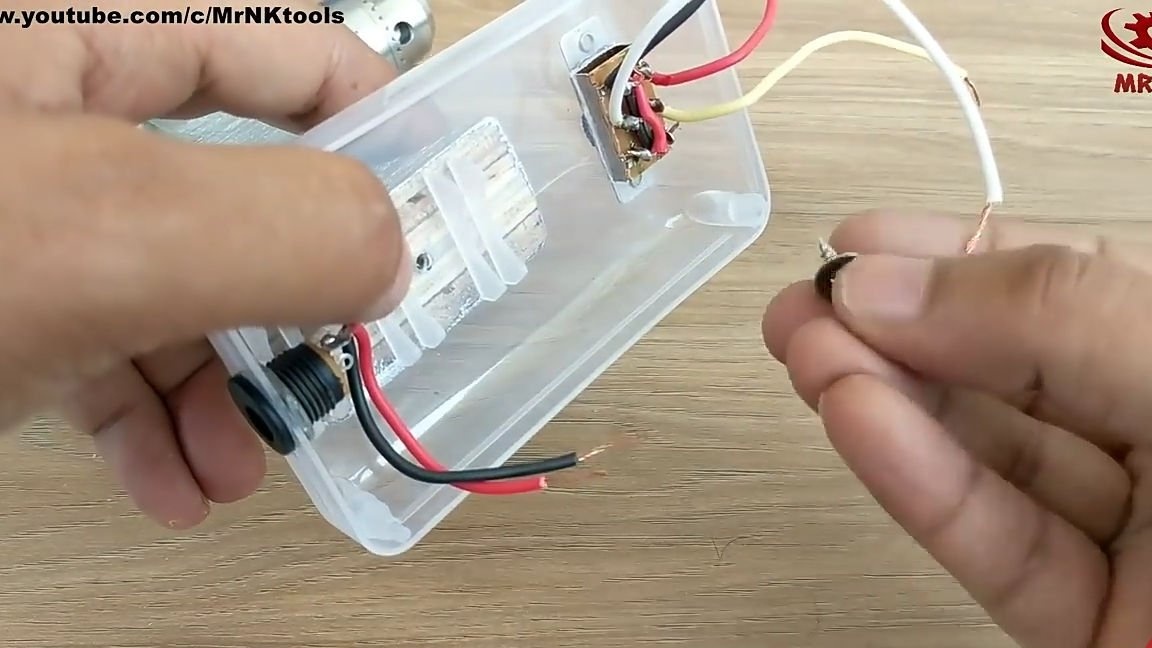
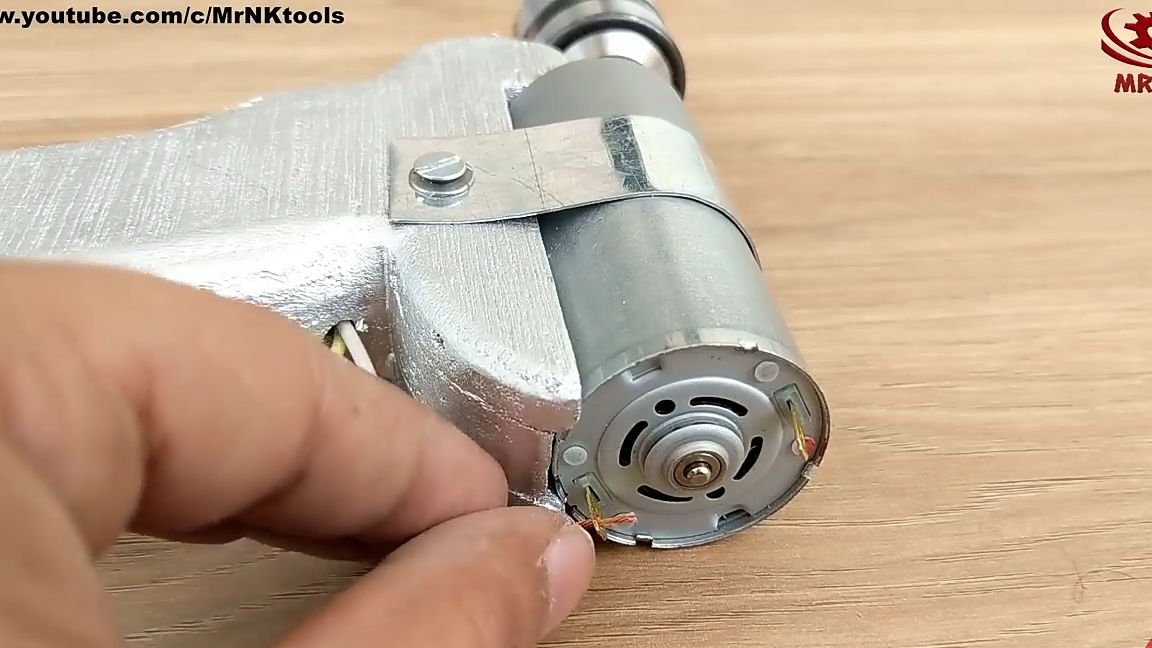
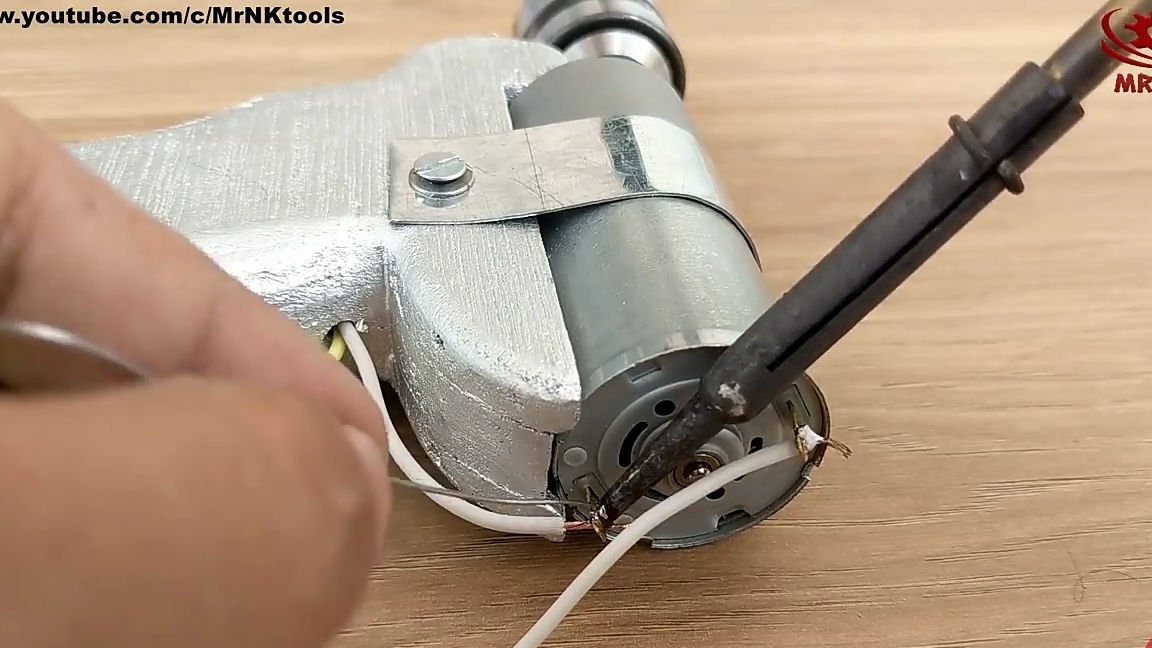
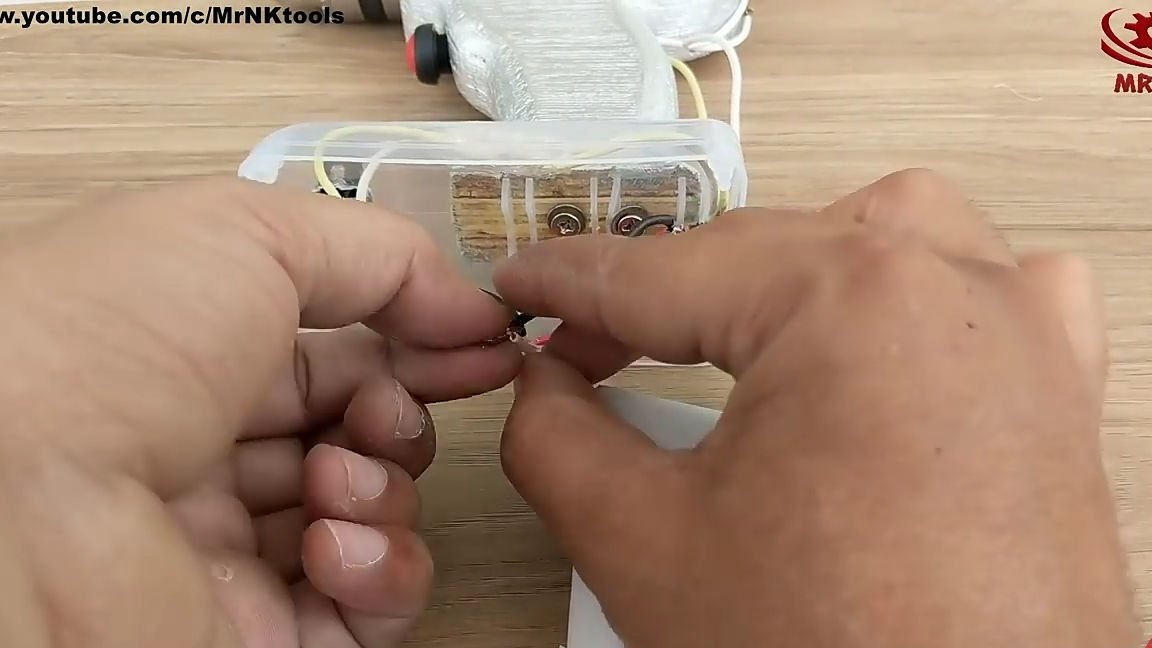
Next, take the button and install it in its seat on the wooden handle, inserting a wire through it. One of the wires coming from the button, we should solder to one of the contacts on the engine. And not a large wire should be soldered to the second contact of the electric motor, which, in place with the second wire coming from the button, should be inserted into the hole in the plastic case that the wound was made. Then we connect all the wires. We connect the Red and Black wires to the power connector according to the polarity, and connect the two wires from the motor and the buttons to the wires that come from the central contacts of the switch.
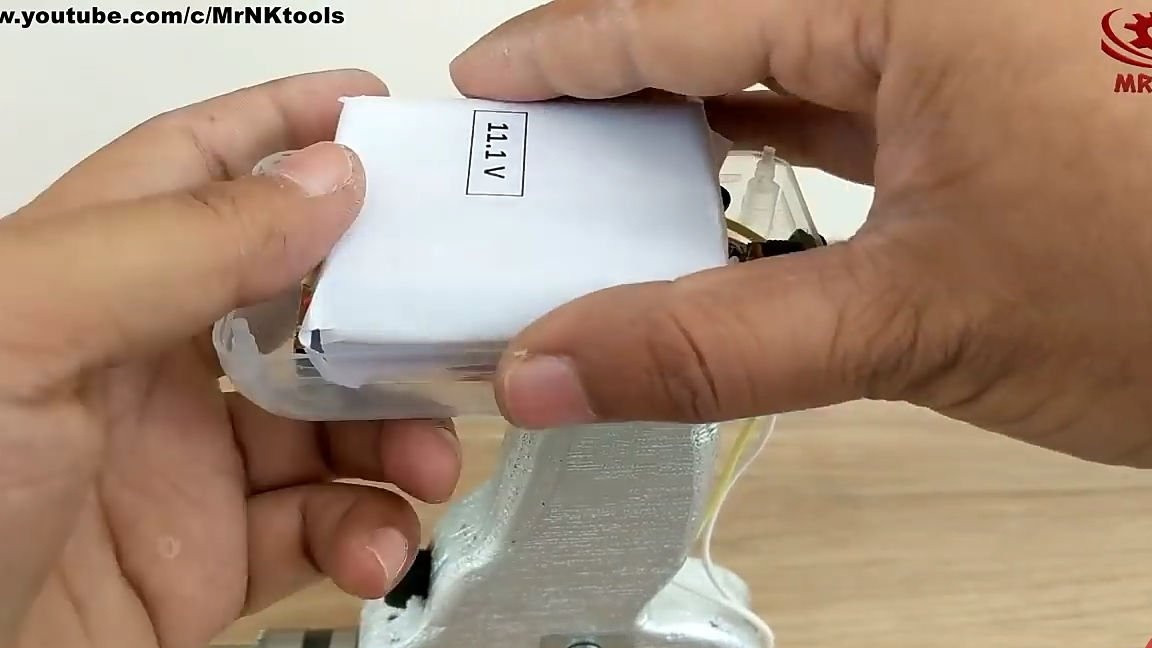
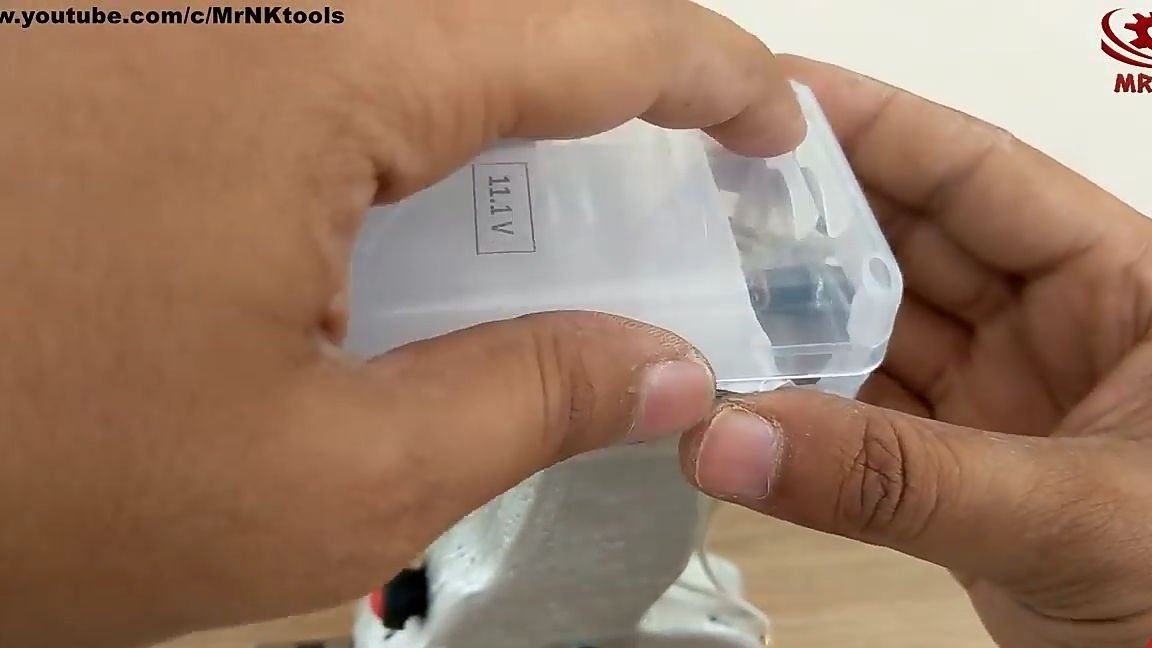
Then we collect the battery. For the battery, the batteries of the most popular format 18650 were chosen. The choice of such batteries in Ali is huge, from the cheapest to the most expensive. They differ in return current and volume.Since this type of battery is very common, it is not necessary to buy them in China, since they are already in every radio store, and in every repair of household appliances. Having chosen the batteries, we combine them into one battery, making a chain of series-connected batteries. To avoid short circuit, the resulting battery should be insulated.
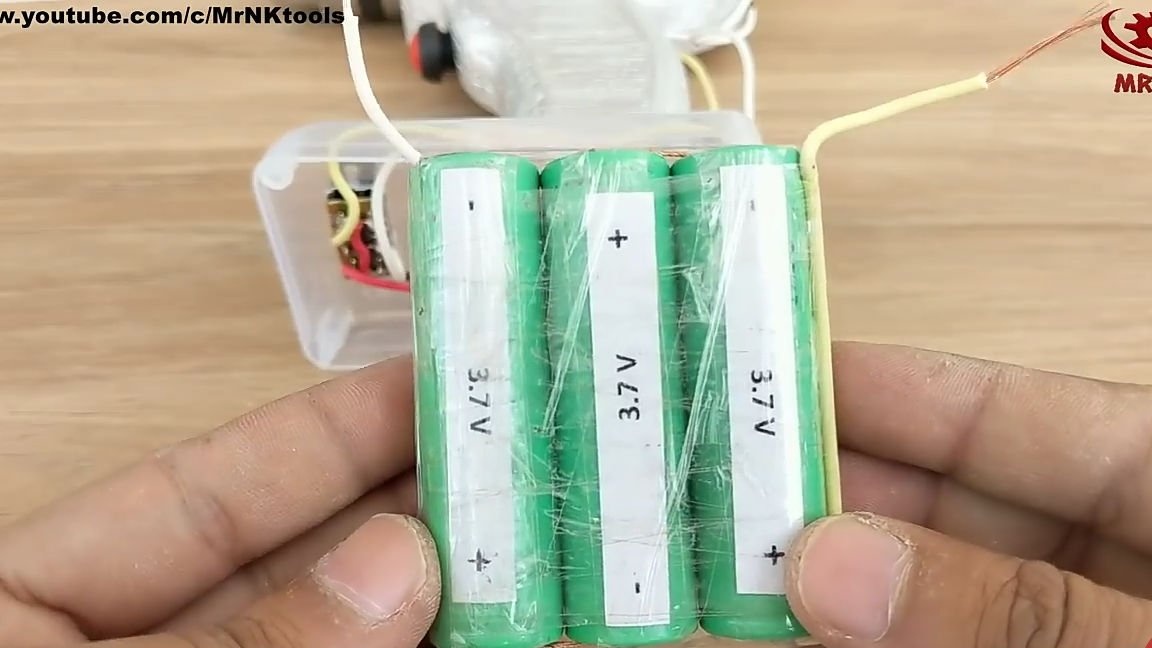
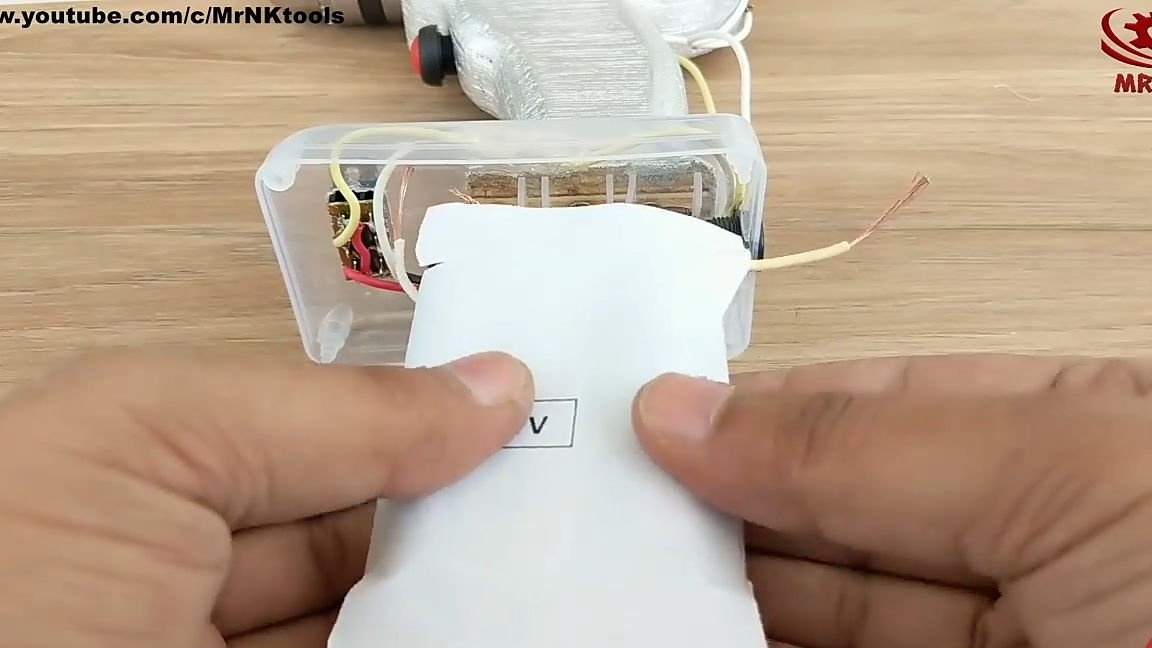
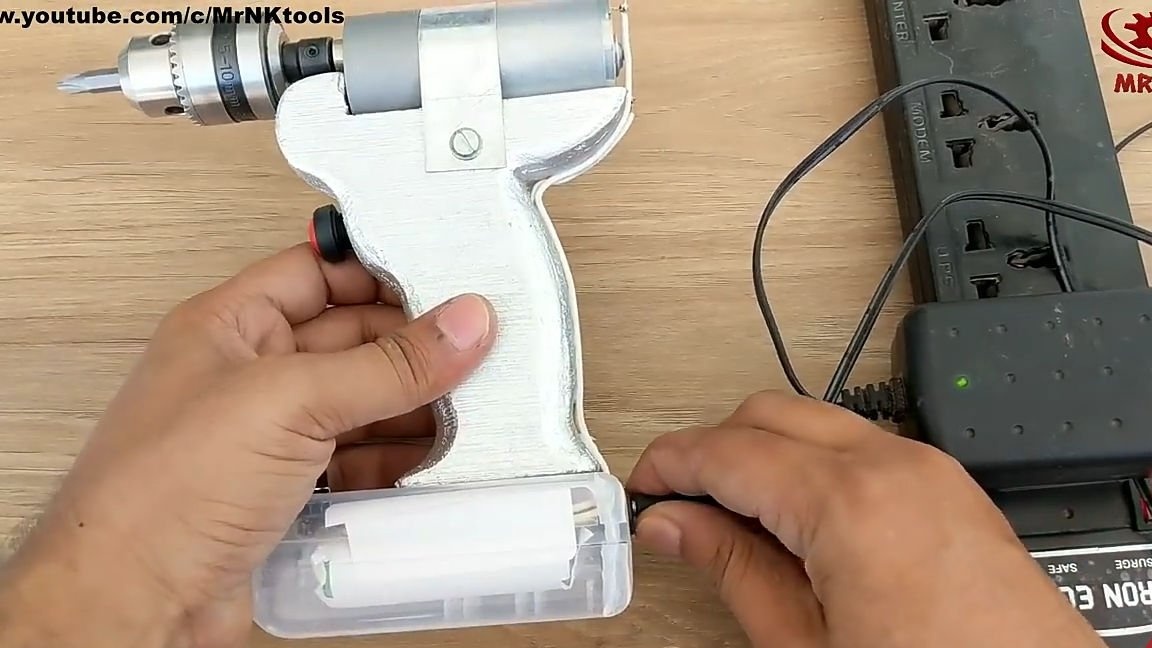
We connect the battery to the plus and minus of the power connector, and install it in a plastic case. Close the plastic box lid and you're done!
As a result, we have obtained an irreplaceable tool that will always find its application in the economy. It is worth noting that with such an electronic circuit connection, a screwdriver can be used from the power supply. It is also necessary to draw your attention to the fact that we have a battery without any protection boards, that is, it should be charged using special chargers or power supplies with a battery charge function. And also, due to the lack of a protection board, it is not necessary to discharge the batteries strongly, as they may fail.
Here is a video from the author with a detailed assembly and testing of this homemade product:
Well, thank you all for your attention and good luck in future projects, friends!