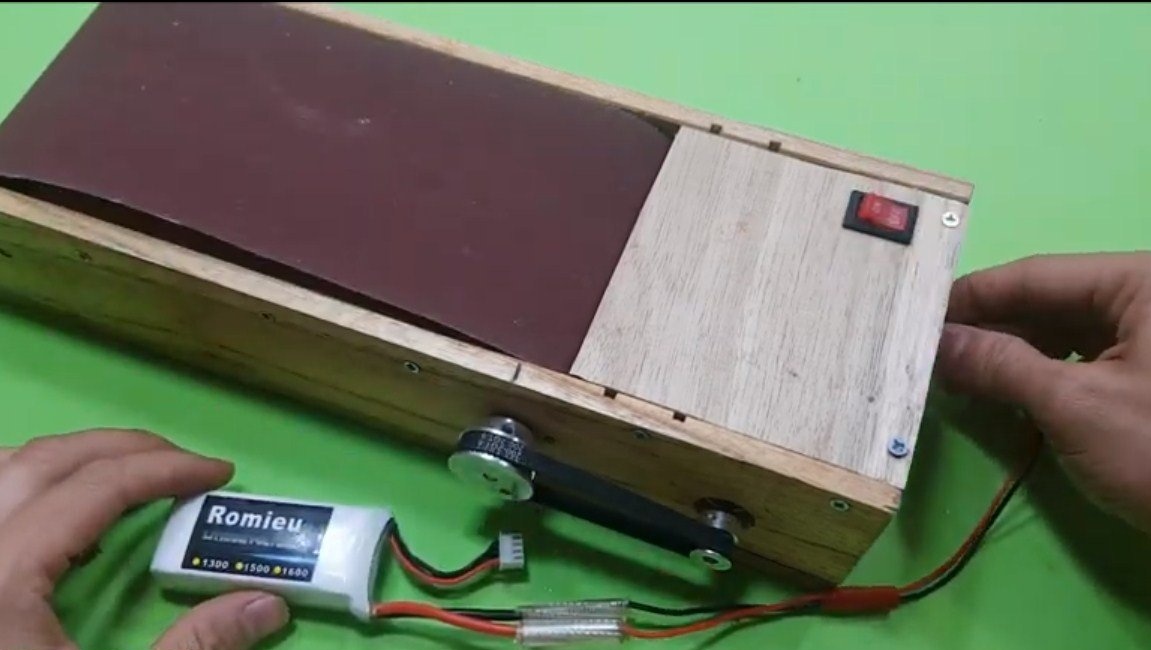
Hello everyone, in this manual we will consider a very simple belt grinder based on the 775 engine. Such homemade You will come in handy if you are engaged in modeling or process small parts for some needs. The machine made is small, lightweight, produces little noise, and it can even be powered by a battery.
The engines are quite powerful, they are used to make a variety of home-made machines. Such a motor operates on a voltage of 12-24V, it has a forced ventilation system, and more modern models are equipped with ball bearings, which significantly increases the life of the motors.
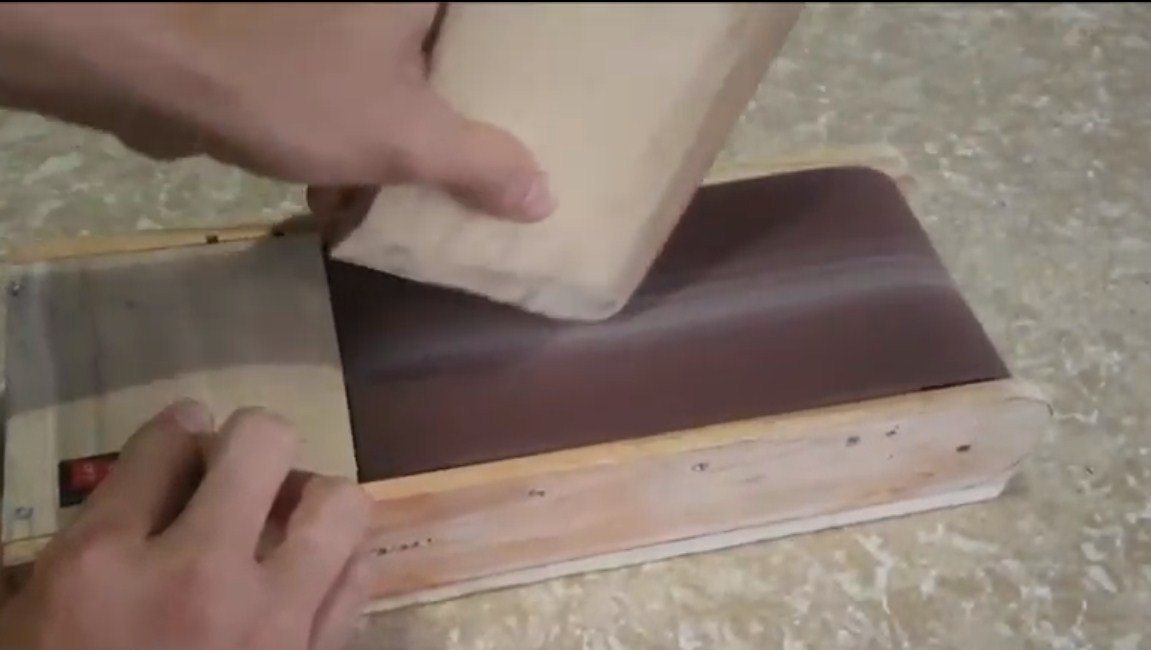
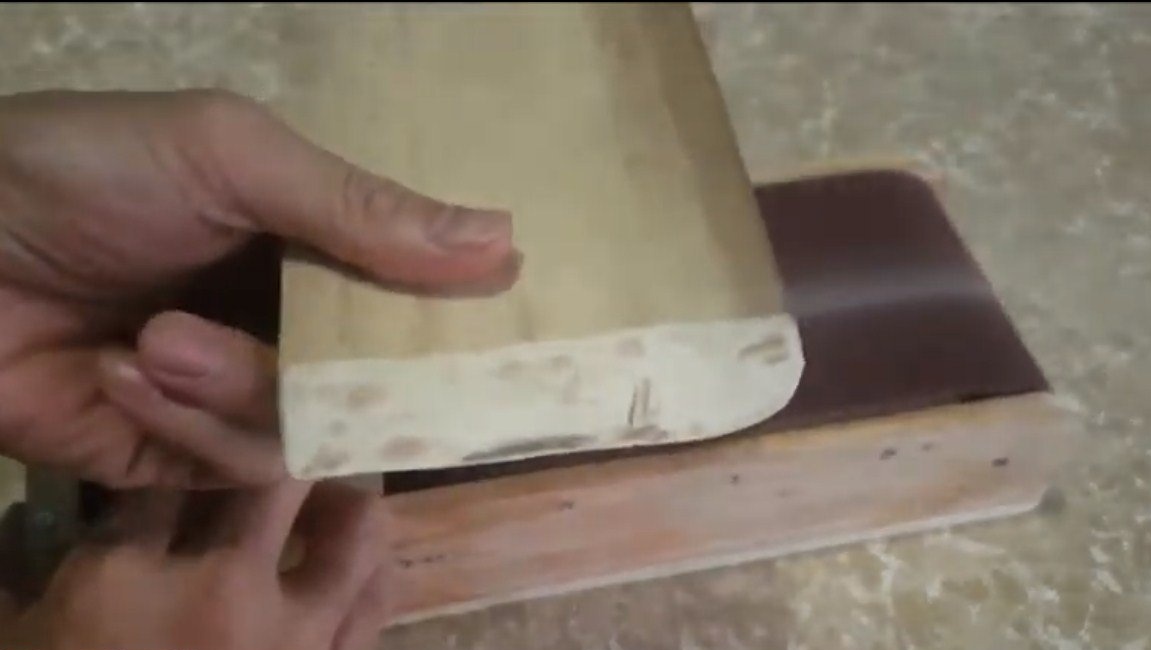
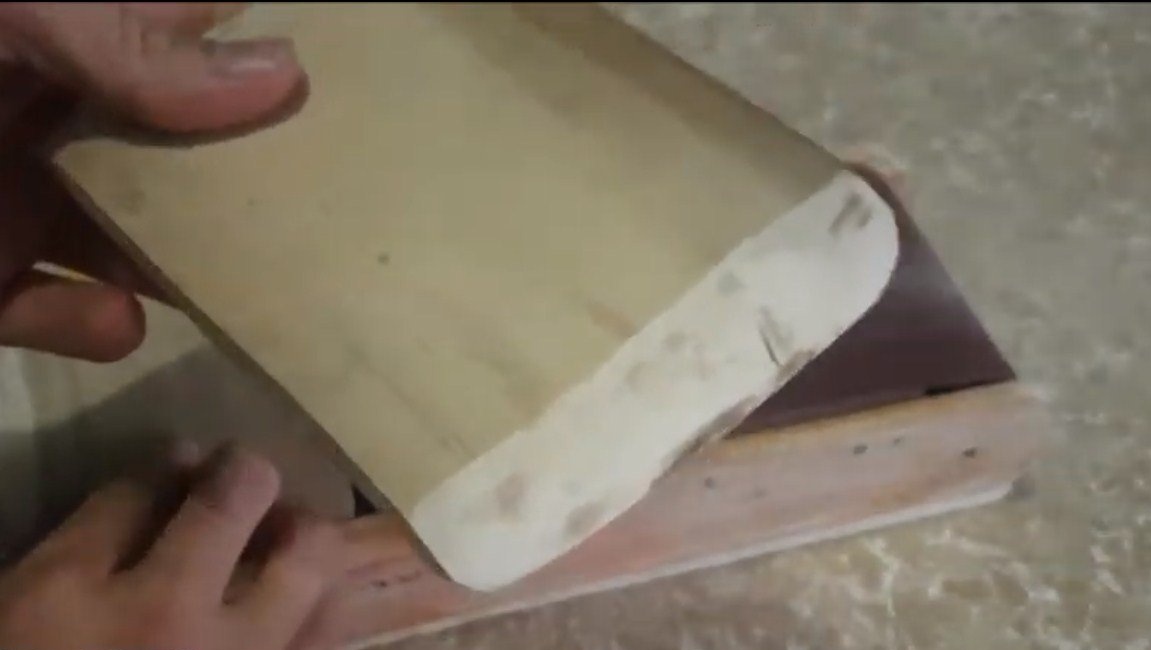
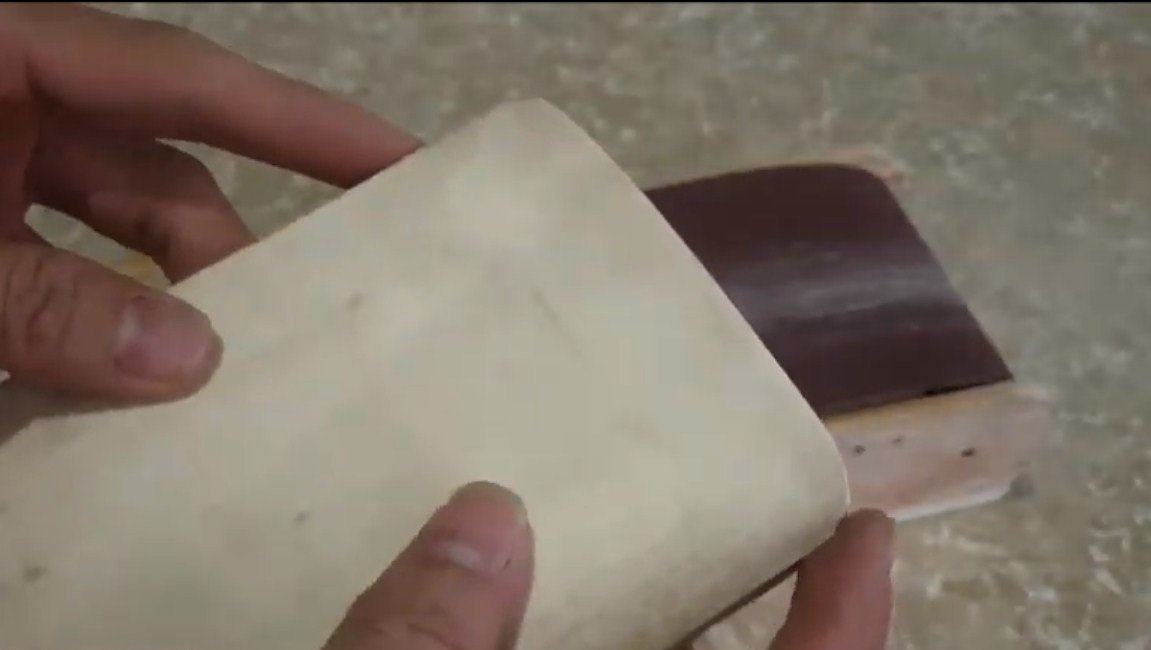
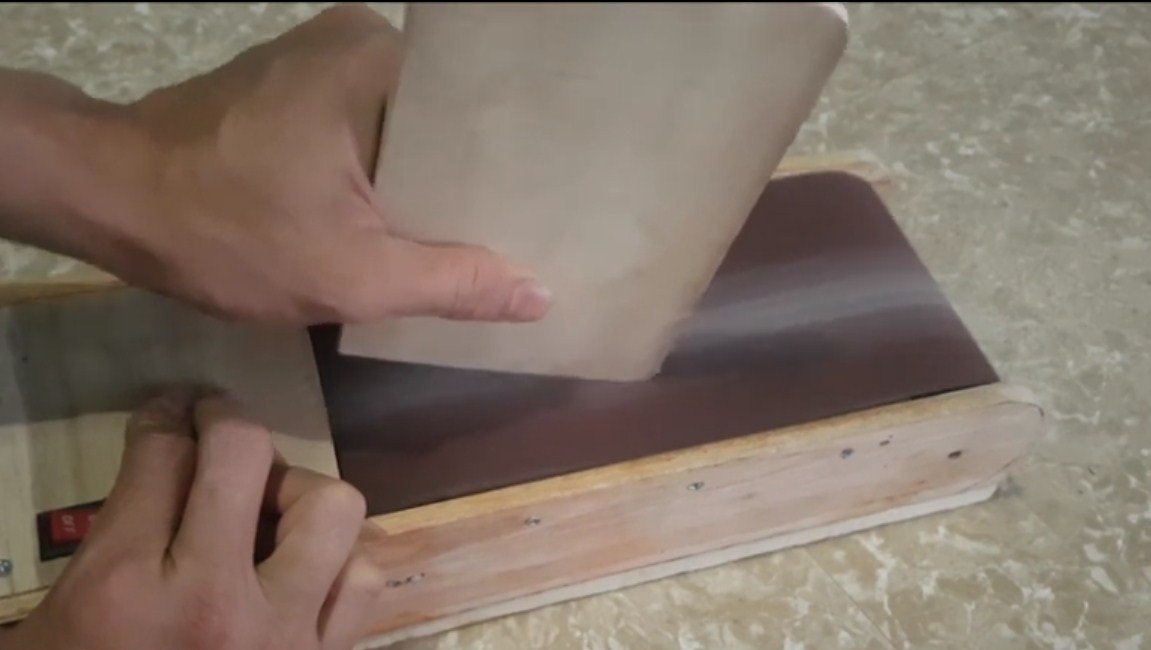
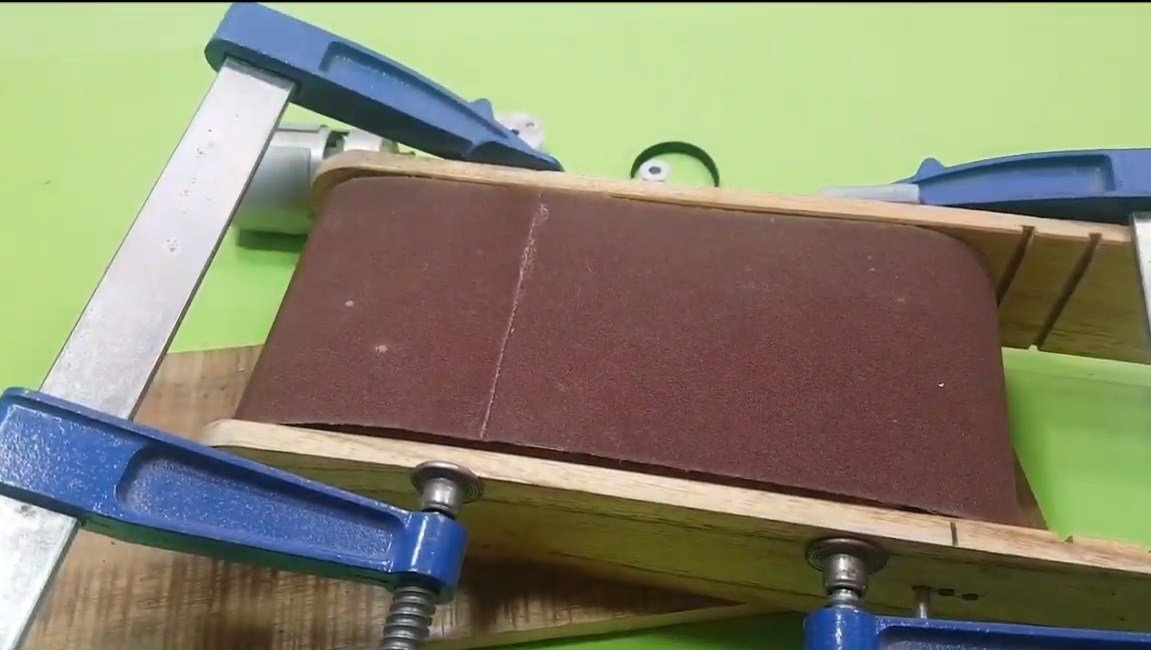
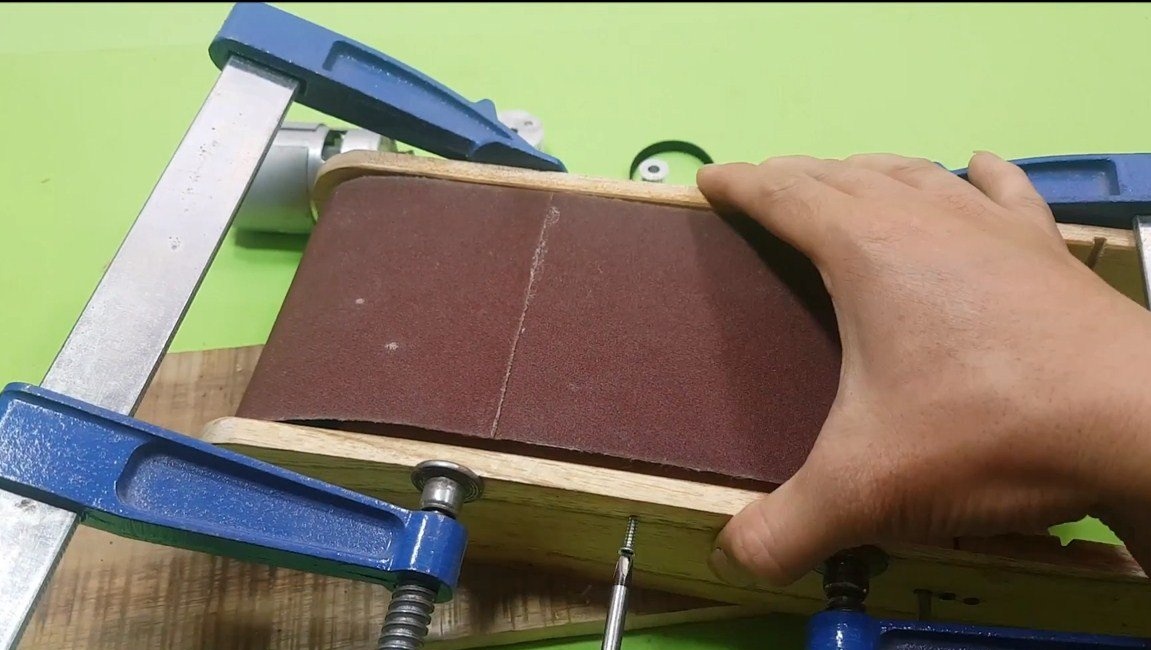
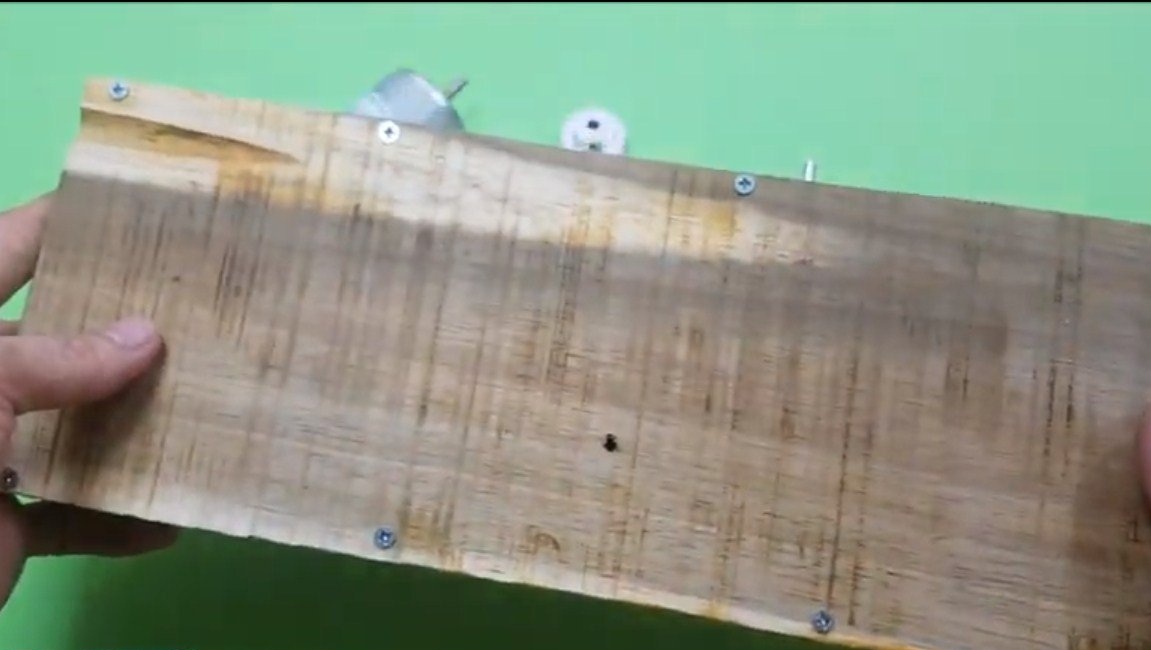
The machine body is made of wood, here you can use boards, plywood and so on. The rollers are also made of available materials, here two pieces of plastic pipe and rubber were used. The machine works perfectly, the author polishes a rather massive board, sometimes the tape skips, but this is not scary. The torque at the machine is increased due to a lower belt transmission. If the project interests you, I propose to familiarize yourself with it in more detail.
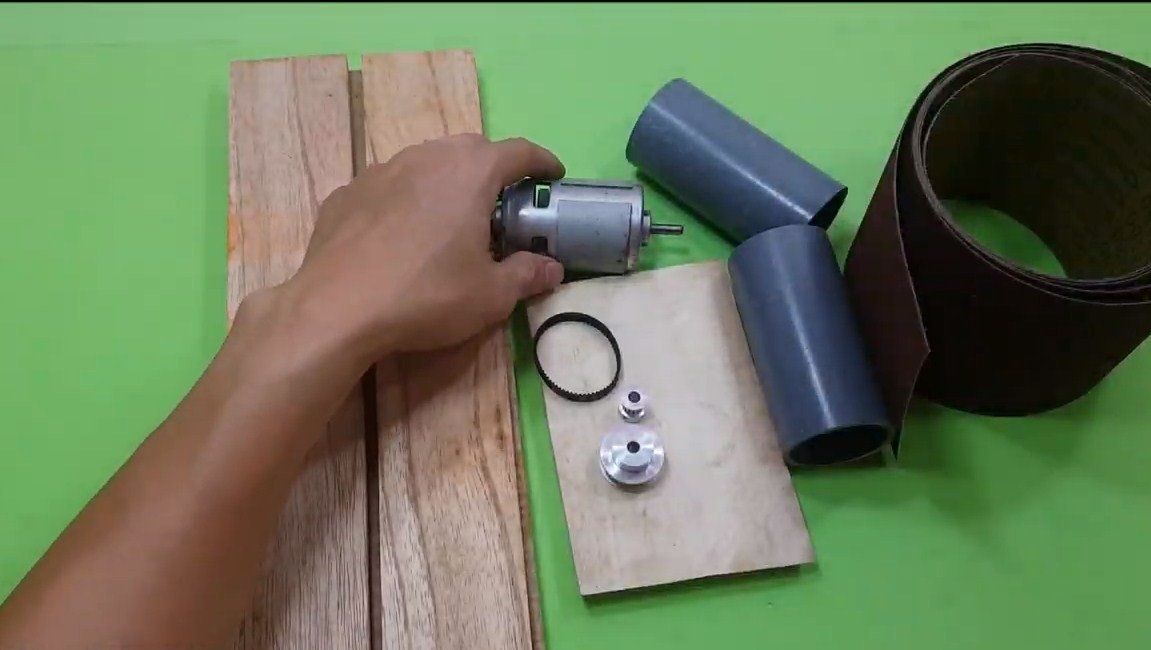
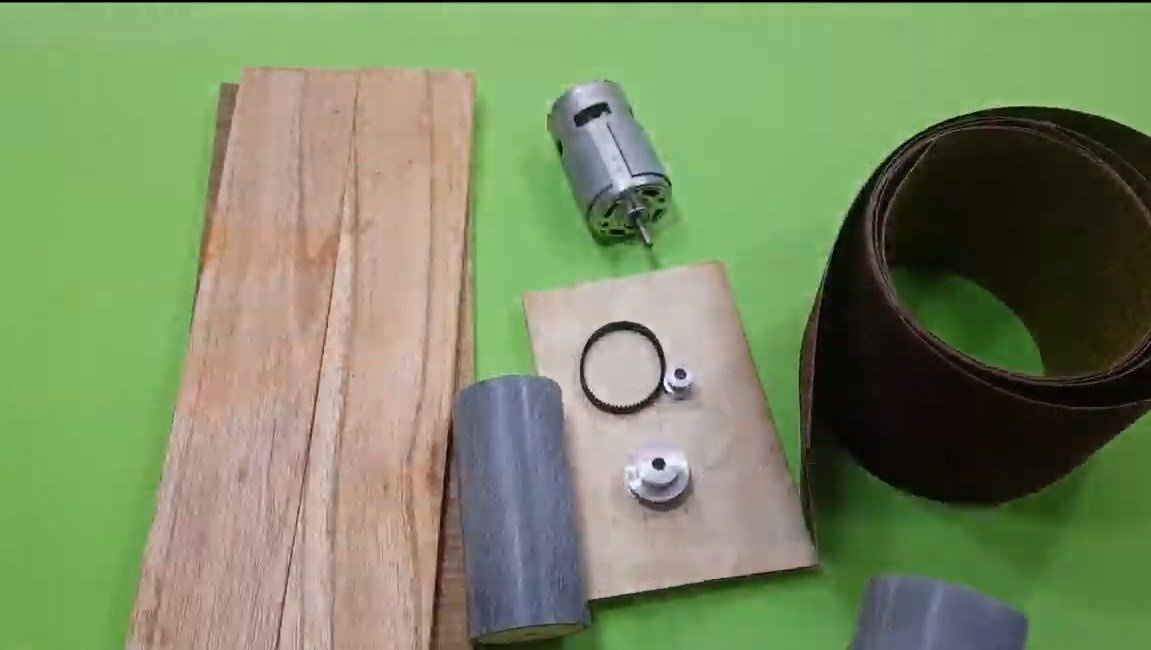
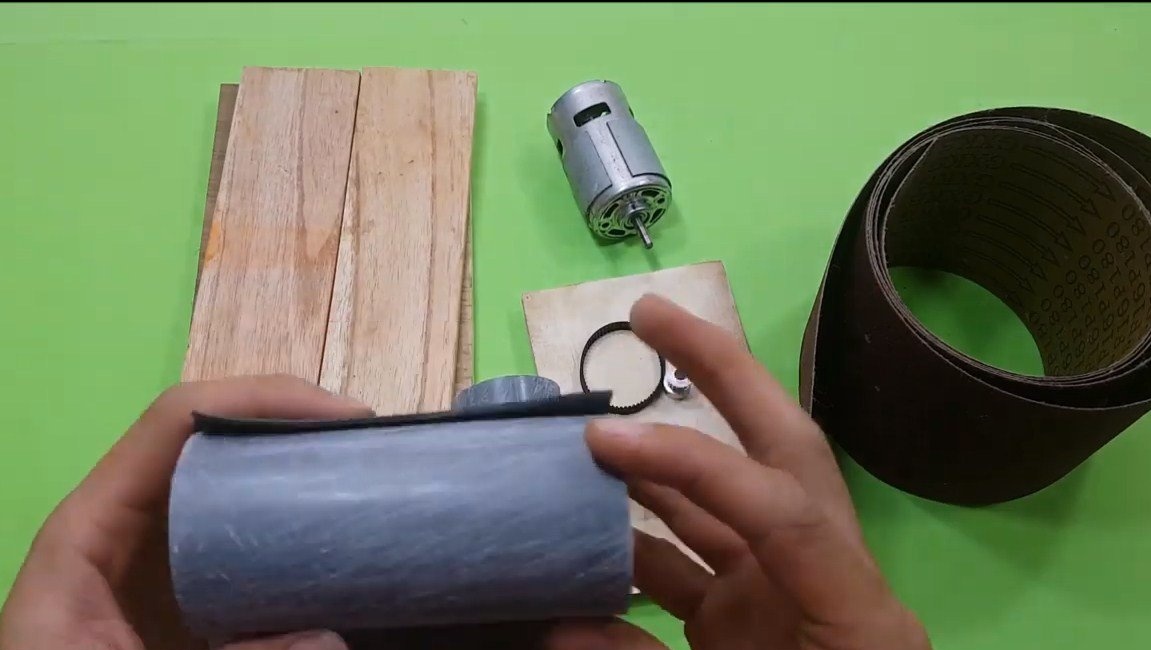
Materials and tools used by the author:
Material List:
- a piece of plastic pipe (for rollers);
- boards, plywood (or other similar material);
- steel axles;
- ;
- (lowering);
- self-tapping screws;
- Super glue;
- rubber from a bicycle or car camera;
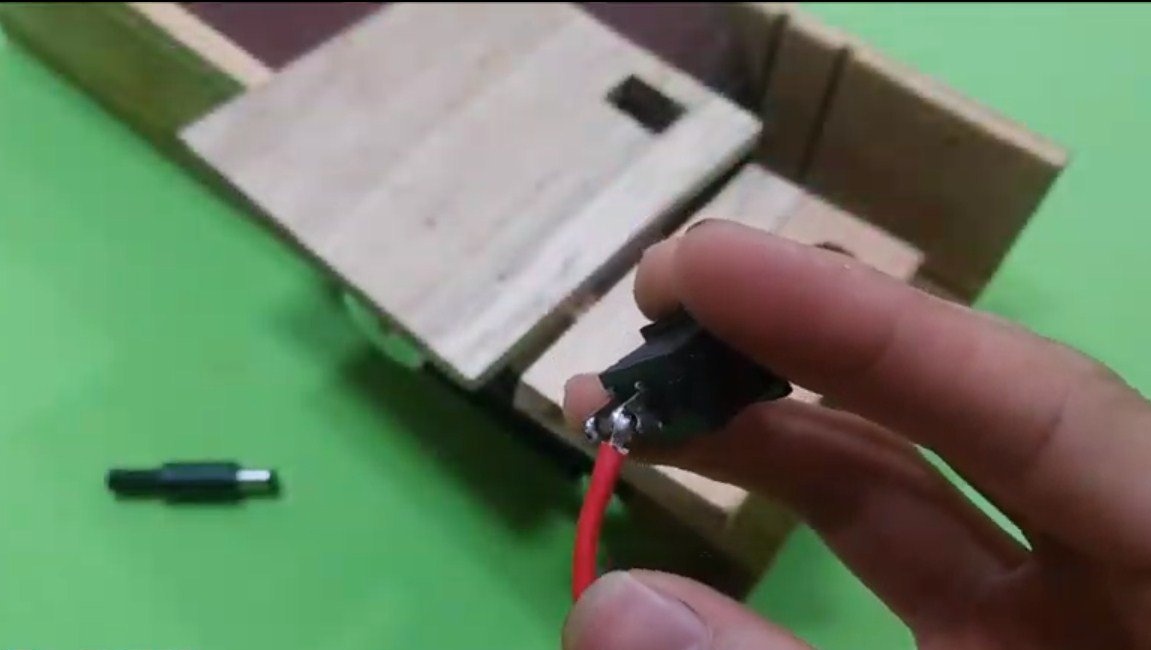
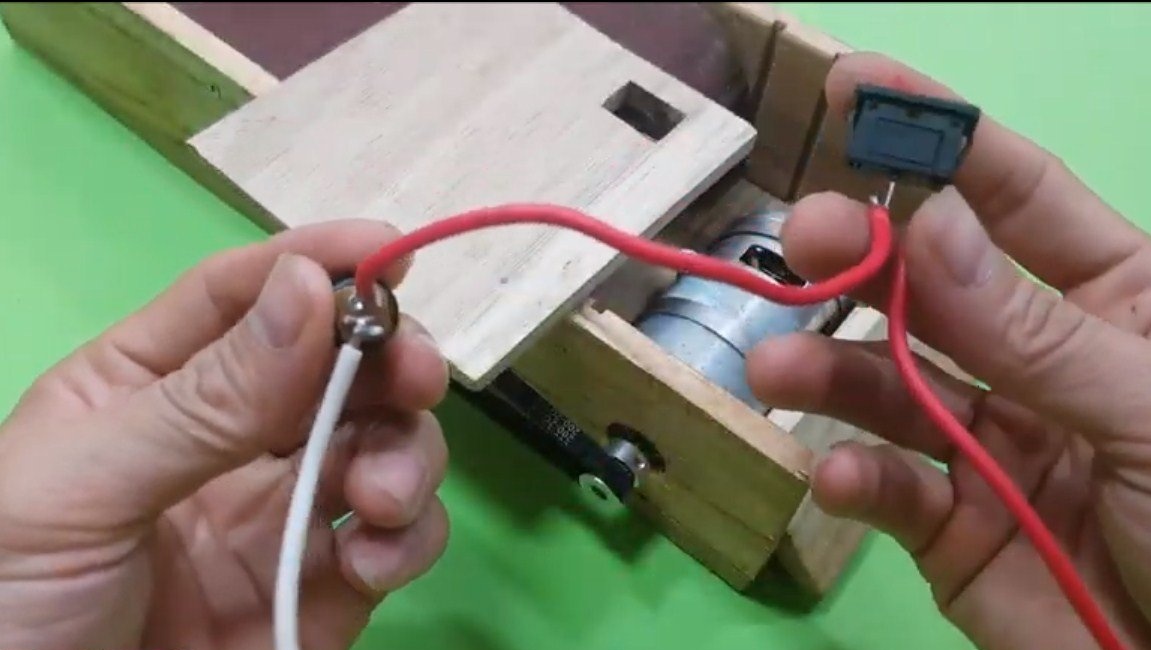
- switch;
- socket for connecting power supplies;
- sandpaper (for the manufacture of sanding belt).
Tool List:
- a jigsaw, a hacksaw (or other wood tool);
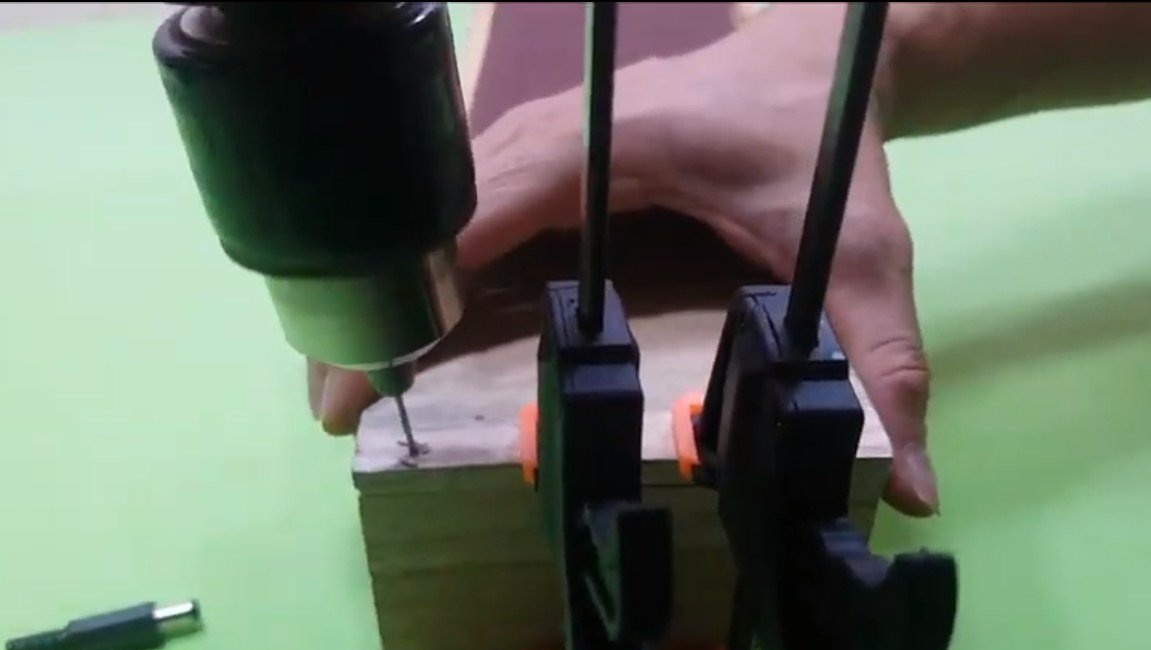
- drill with a step drill;
- screwdrivers;
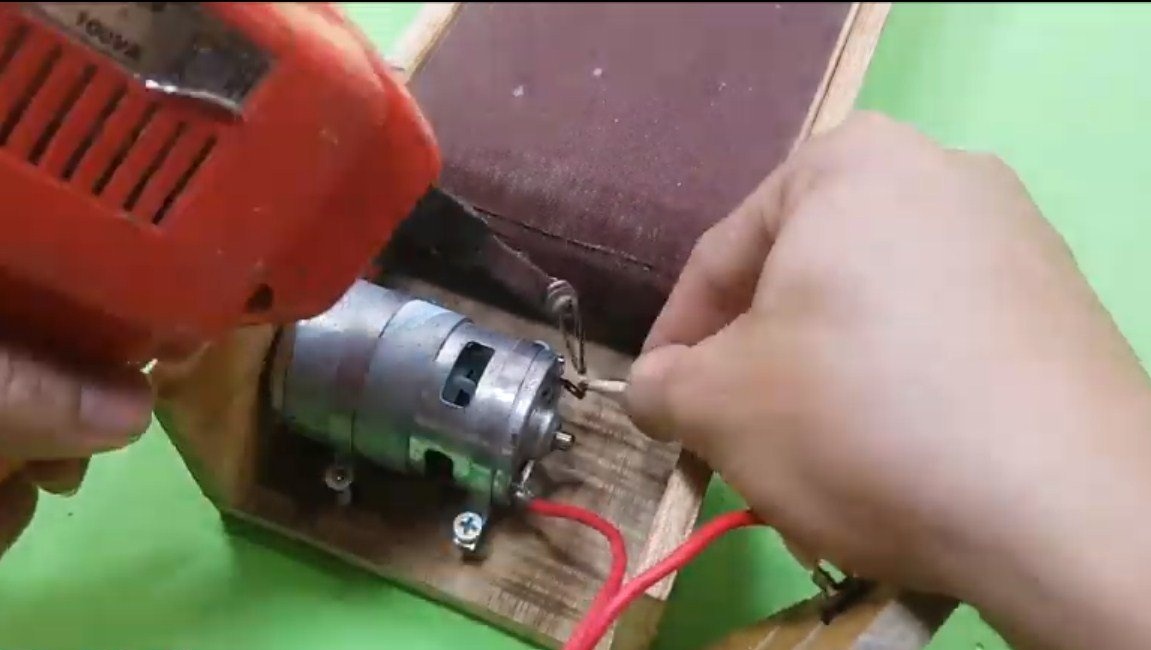
- soldering tool;
- scissors.
The grinding machine manufacturing process:
Step one. We make rollers
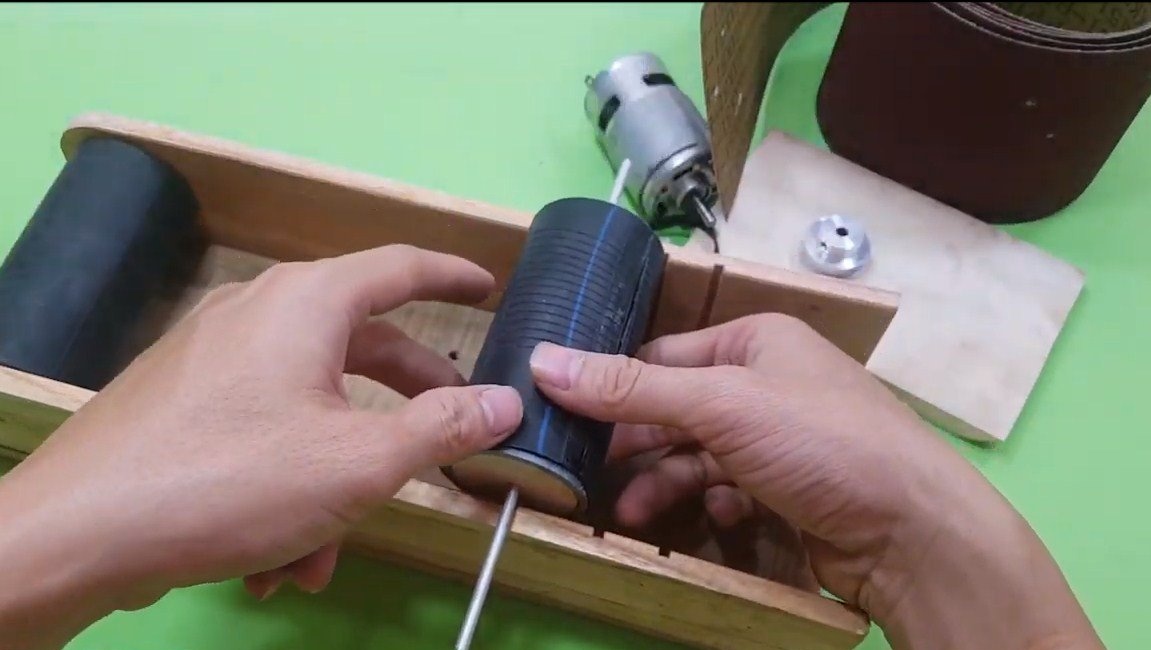
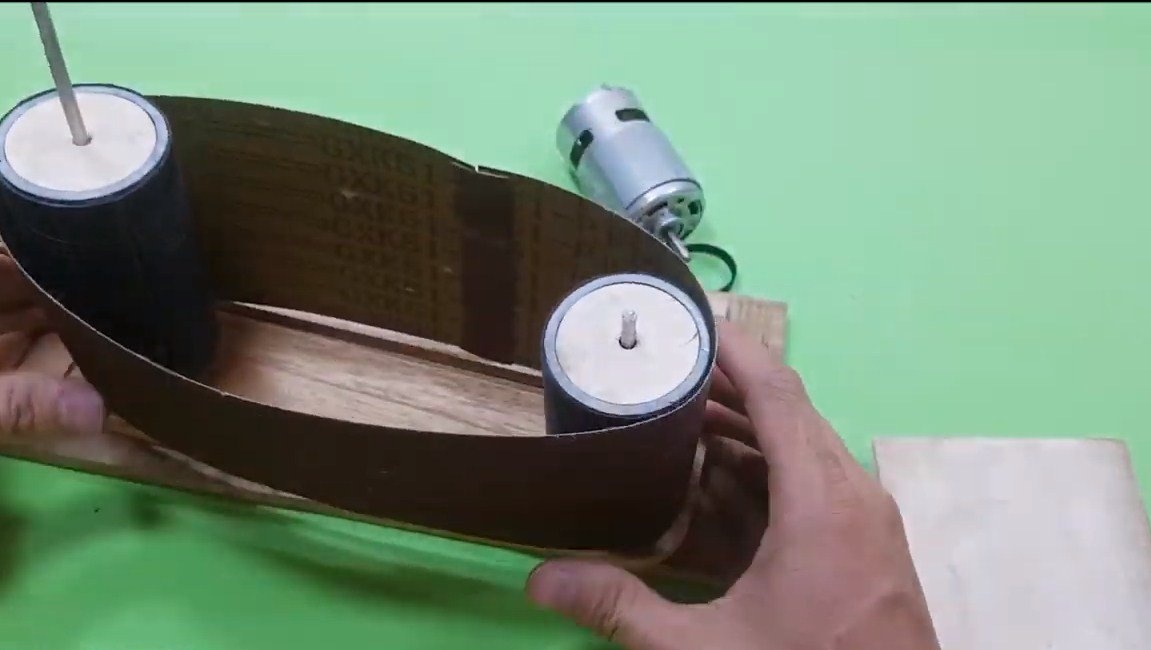
First we make the rollers, for this we need two pieces of the same length. Pipes can be used plumbing. A wood insert is installed on each side of the tube, this can be drilled with a crown using a drill. We glue each insert with superglue.
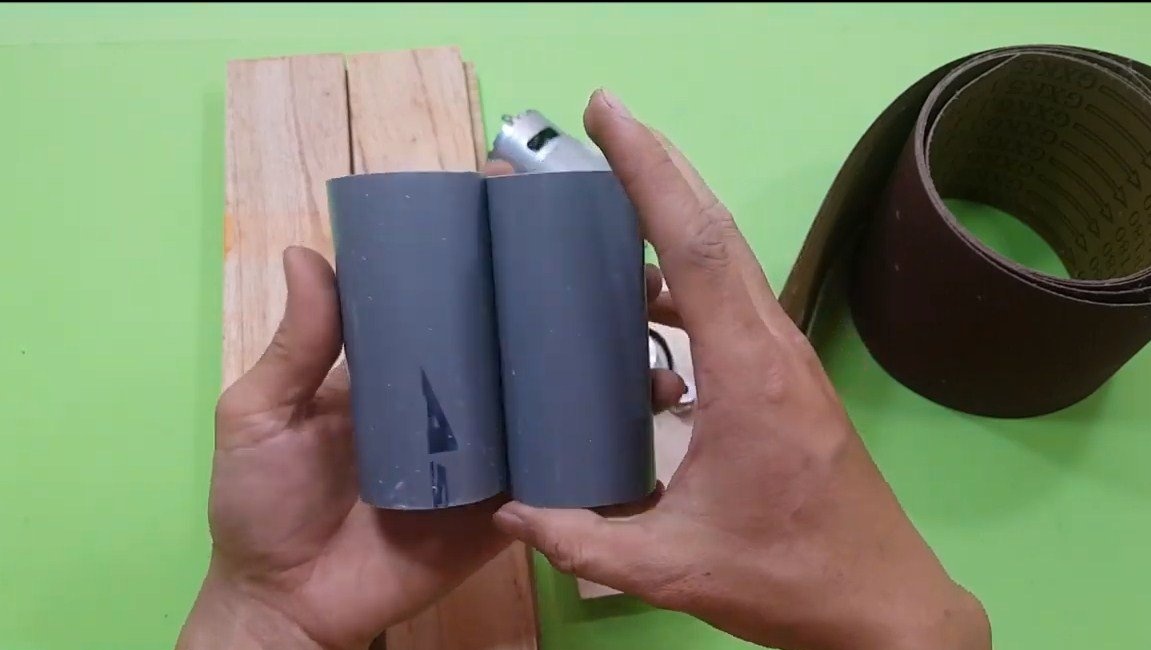
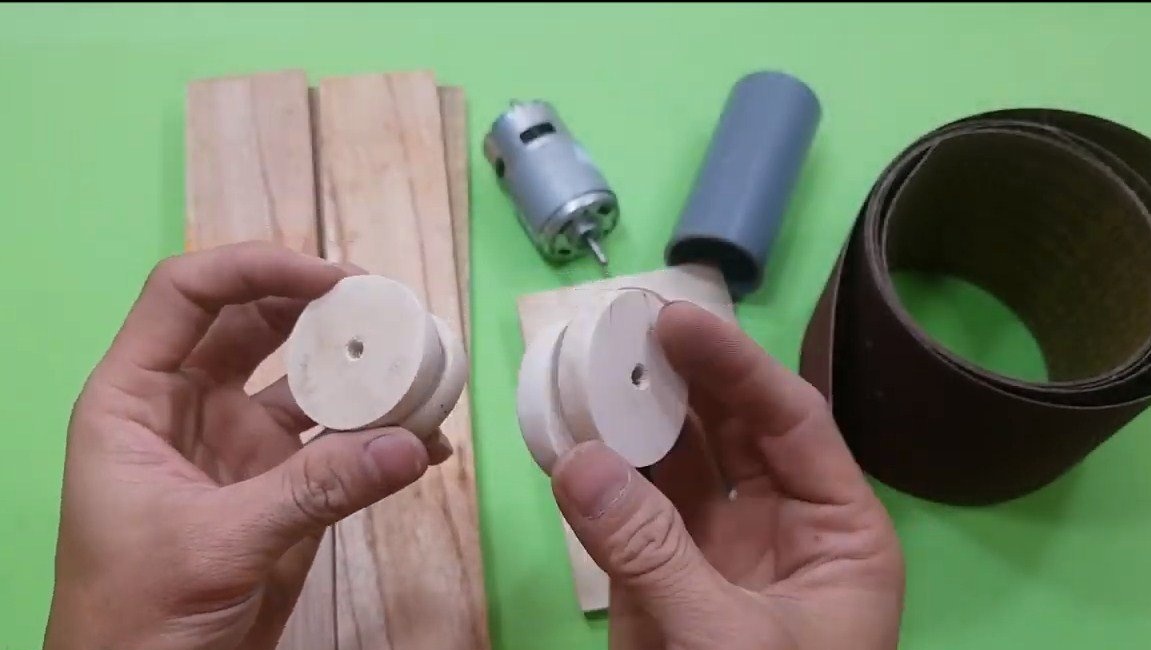
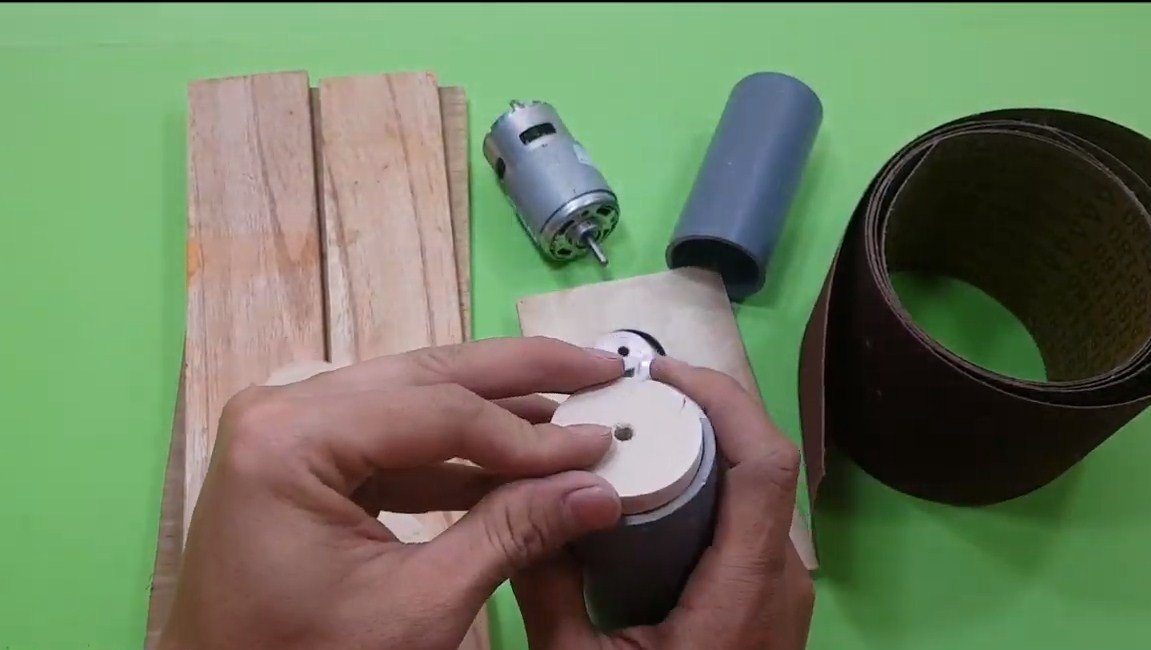
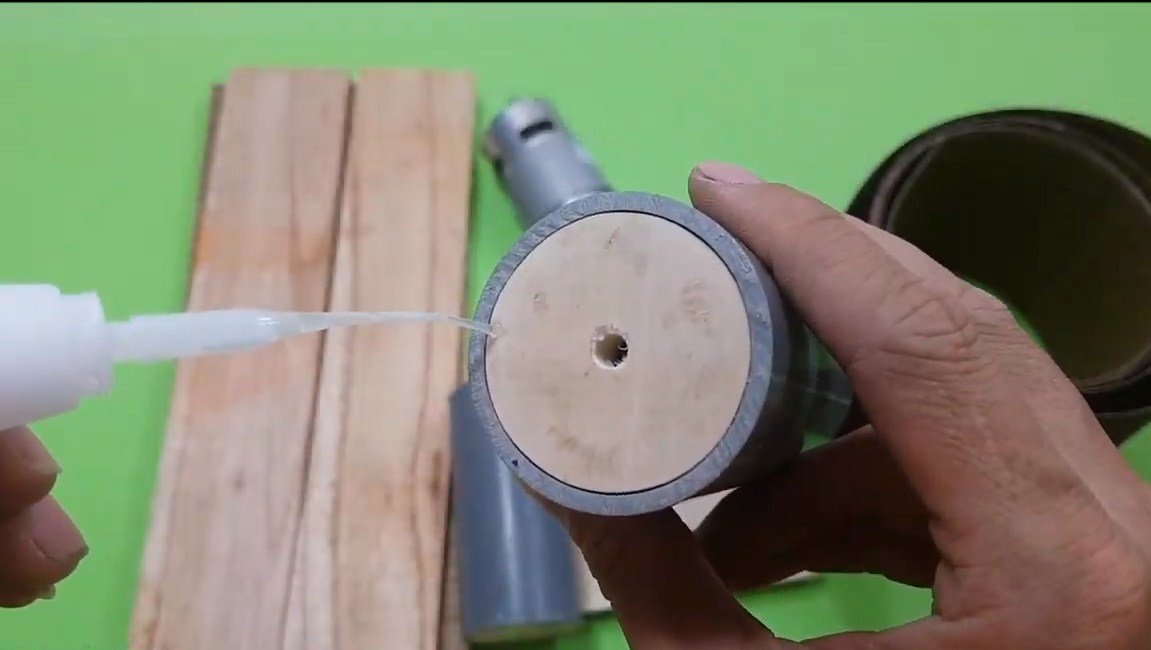

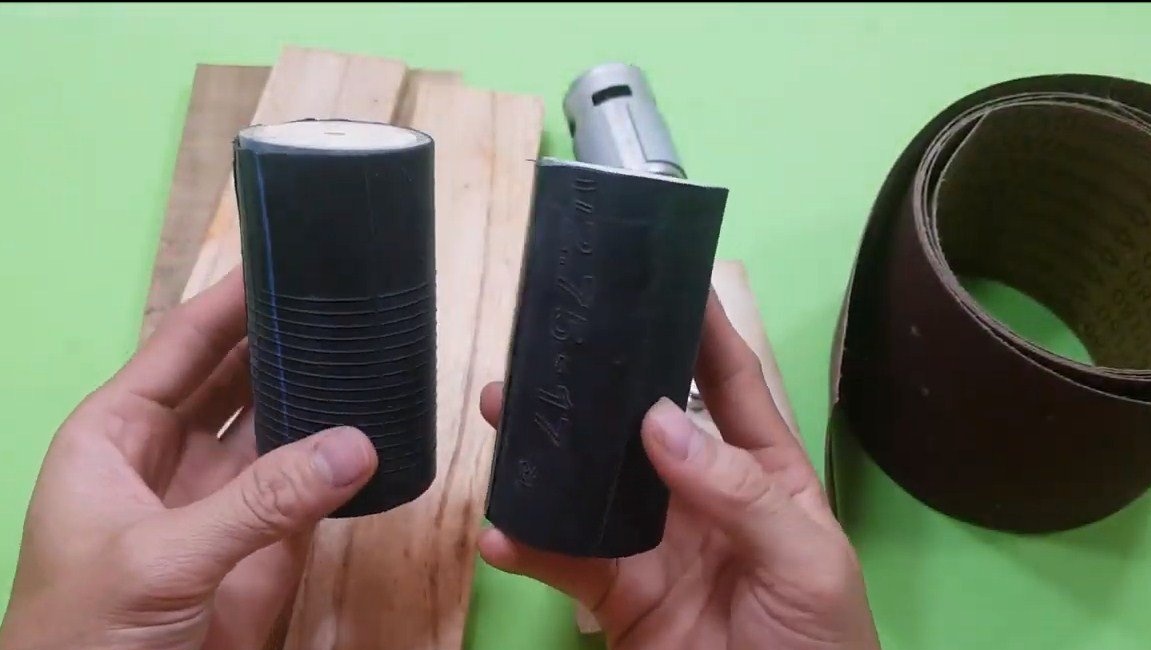
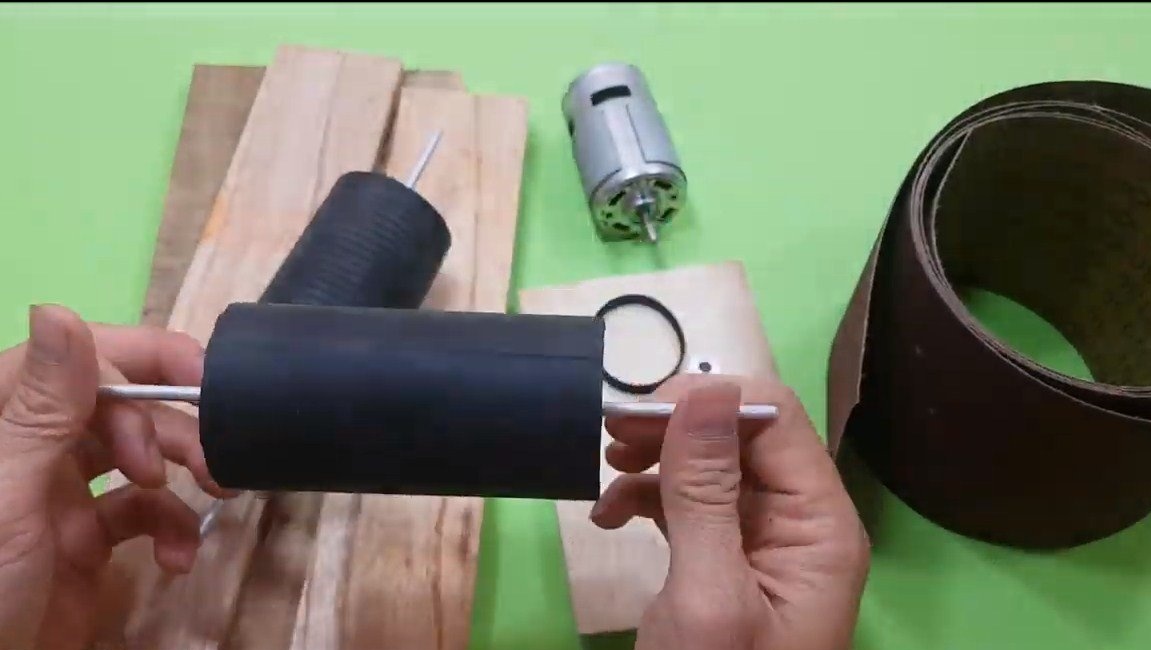
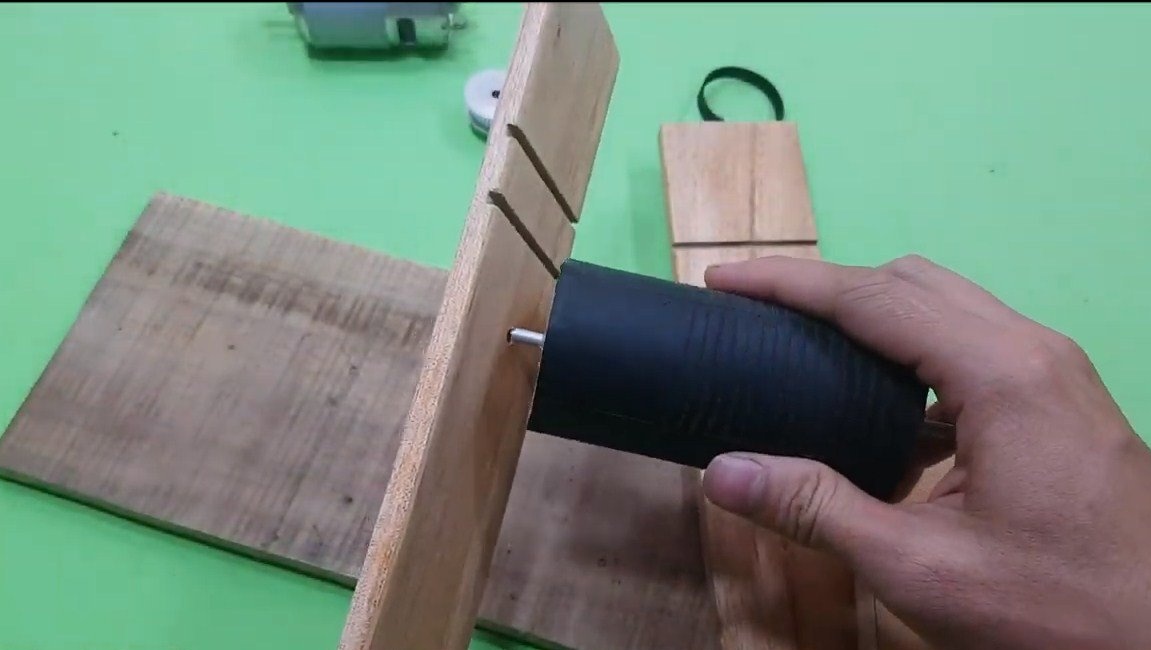
To prevent the rollers from slipping, we glue them with rubber from the car camera. The author glues everything with superglue. At the end, we install the axles in the rollers, they need to be glued. The axles will rotate without bearings, just in the holes drilled in the tree. We especially glue the axis of the drive roller, since not weak forces will be created here. As the axles, you can use steel rods or bolts, but you will have to remove the threads from the ends.
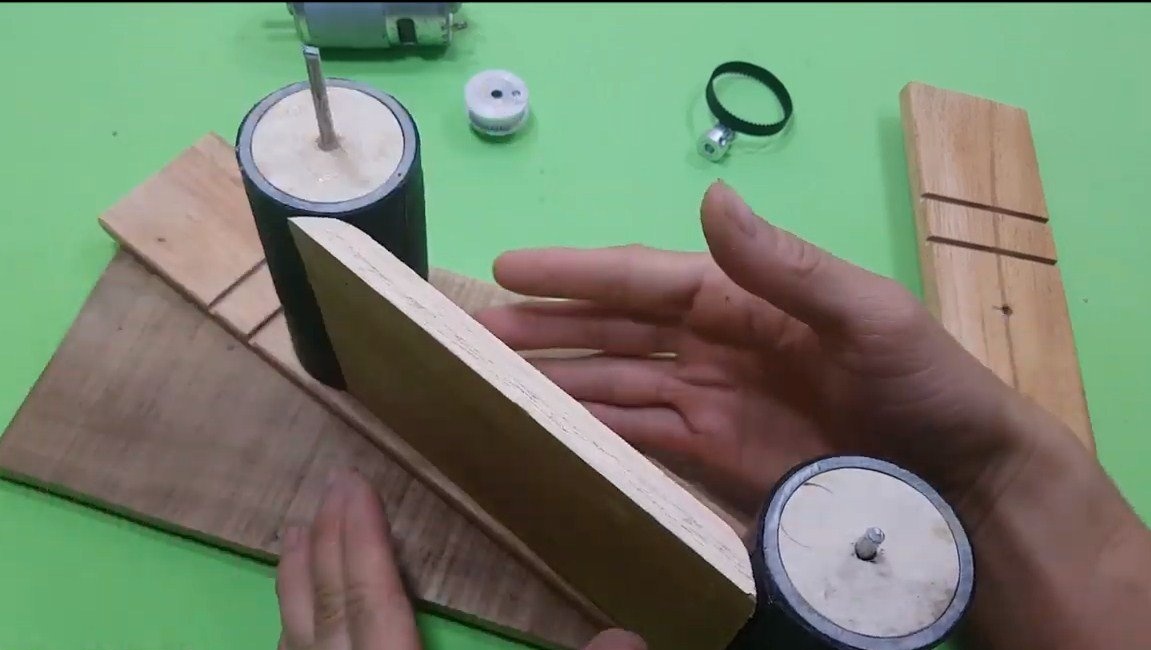
Step Two Frame Parts
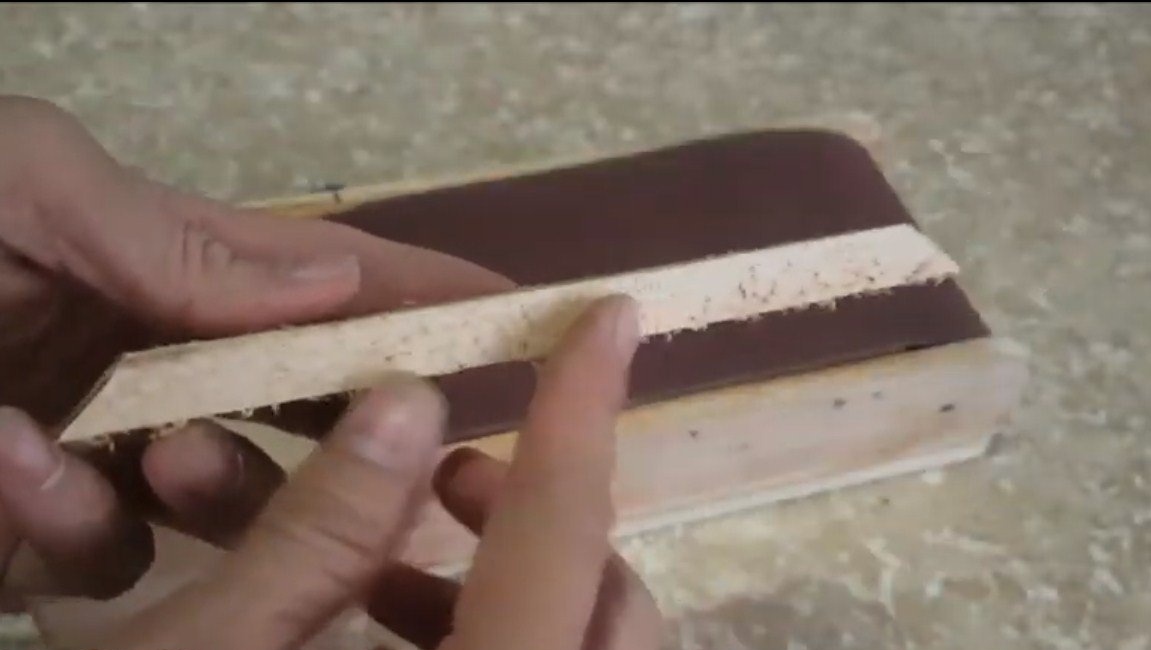
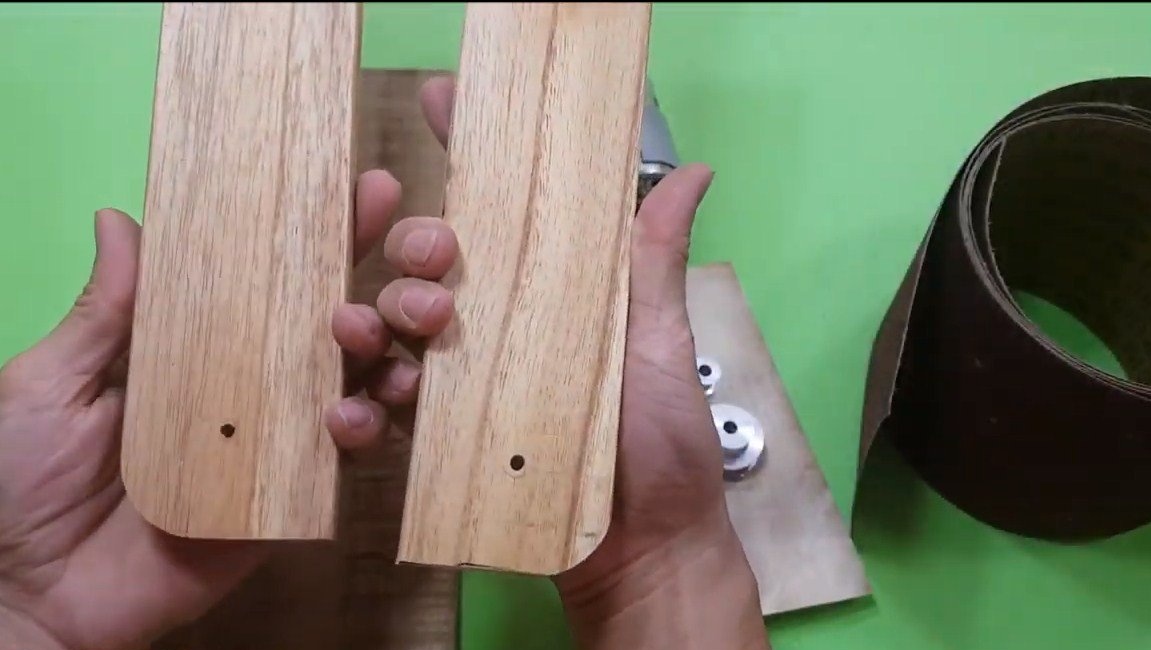
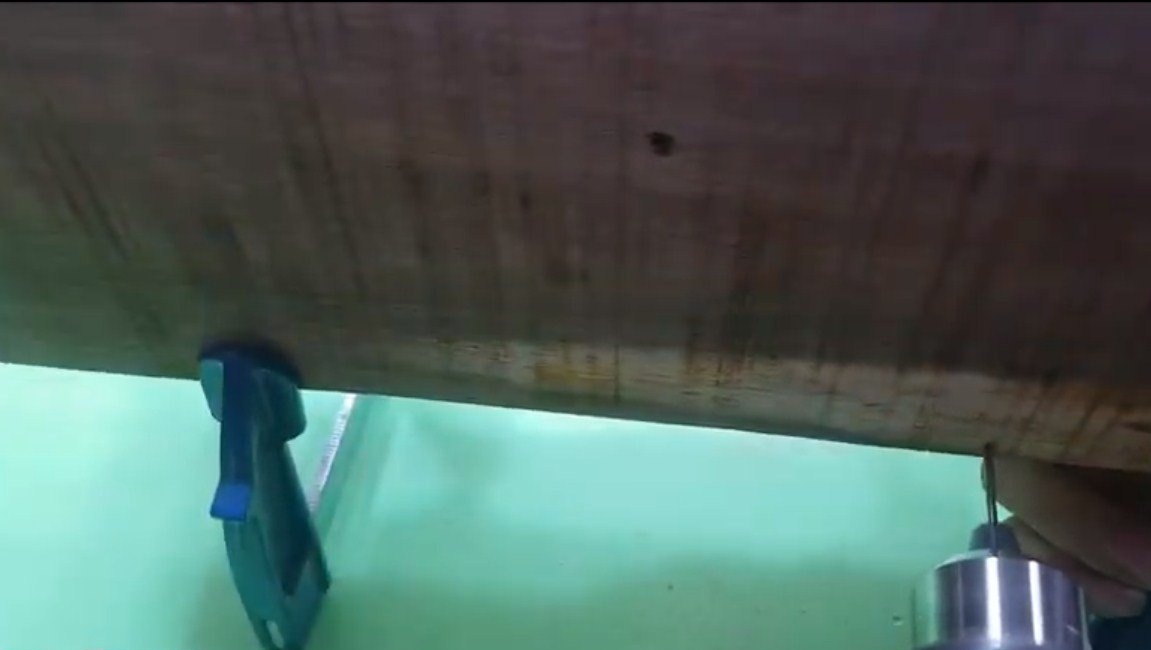
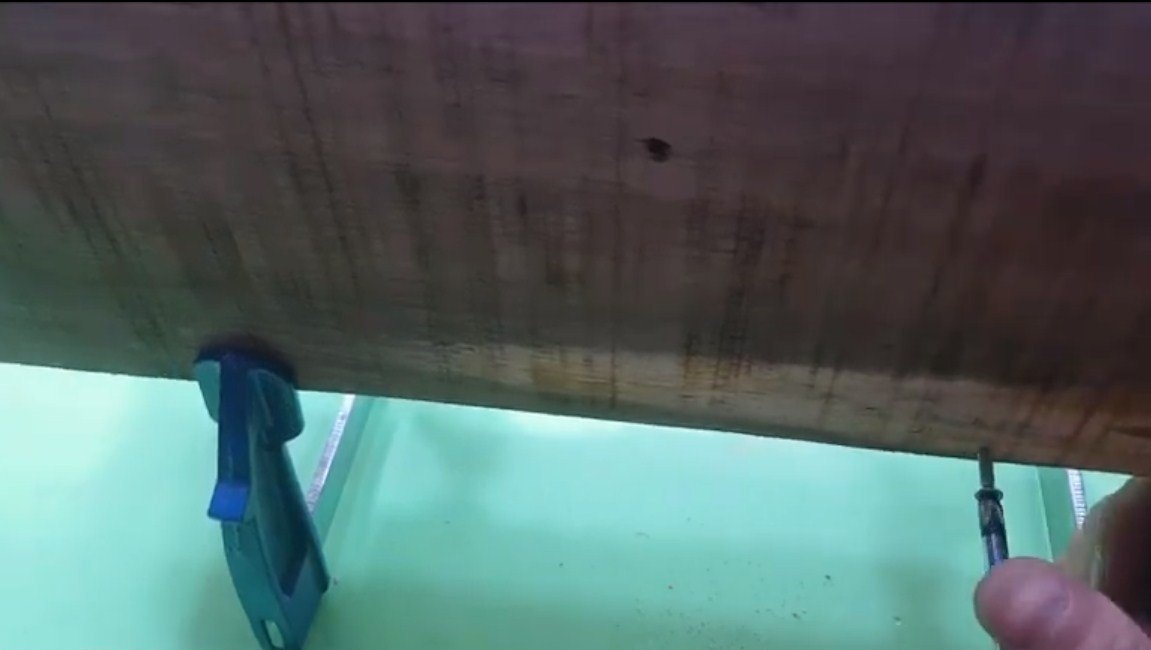
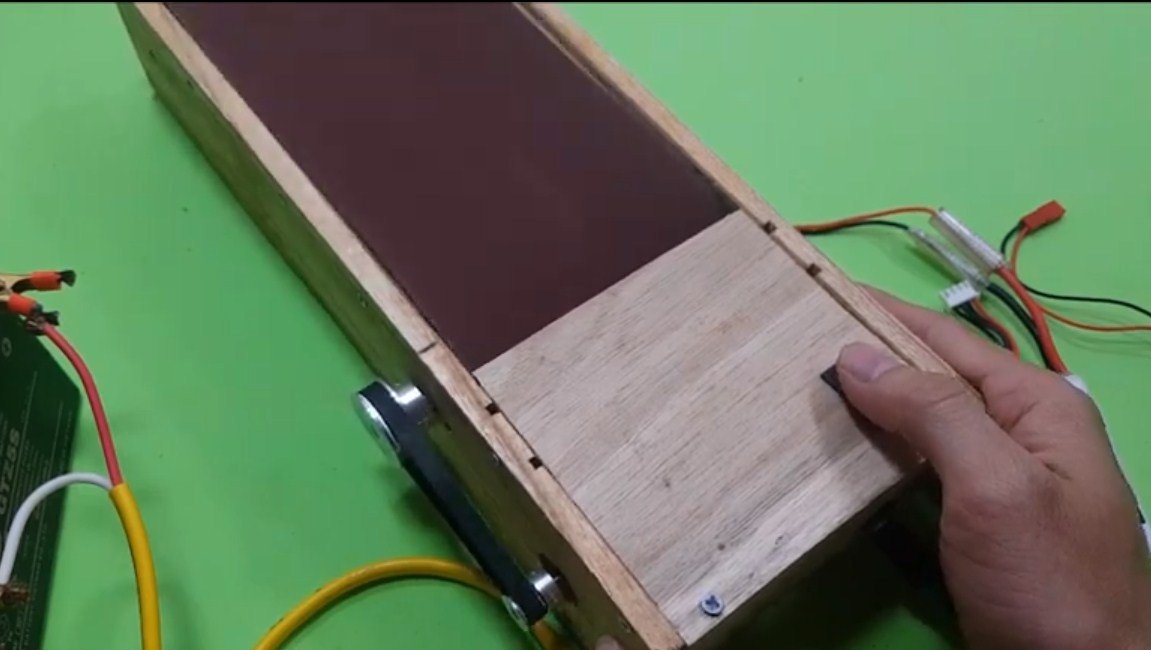
We cut the details for the frame, here we need parquet boards, plywood or other similar material. It is best to use smooth material, as the rollers will rub against it with the side parts.
The main elements of the frame are the base and two racks. In addition to them, you will need to cut out the stubborn plane and the covers with which we will close the motor department.
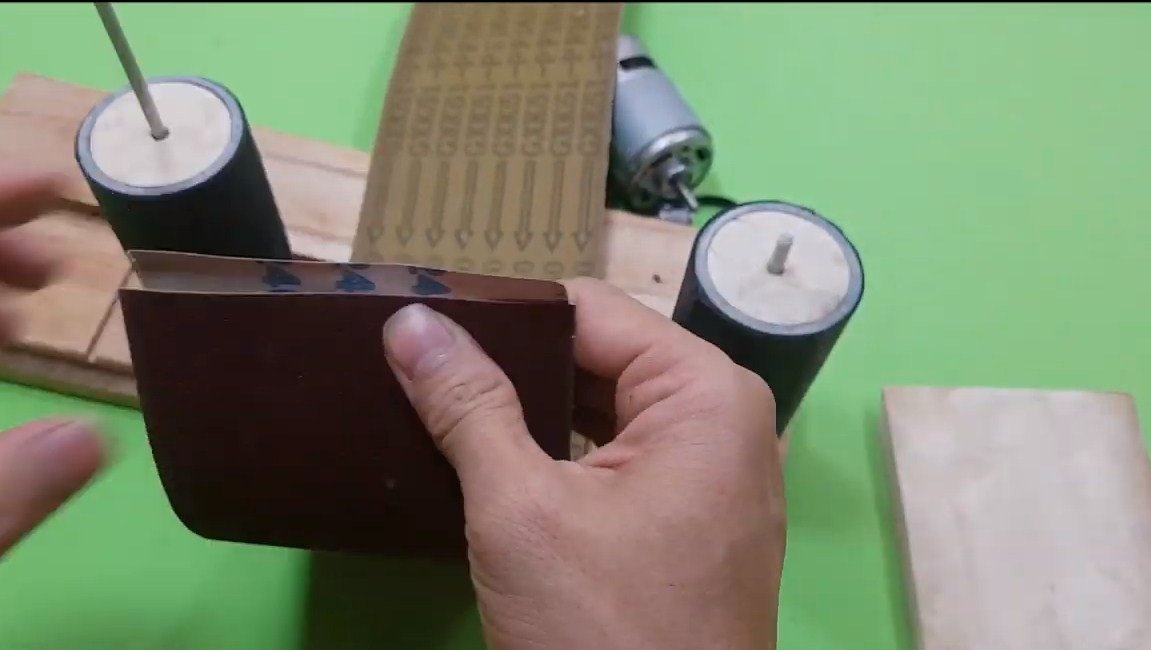
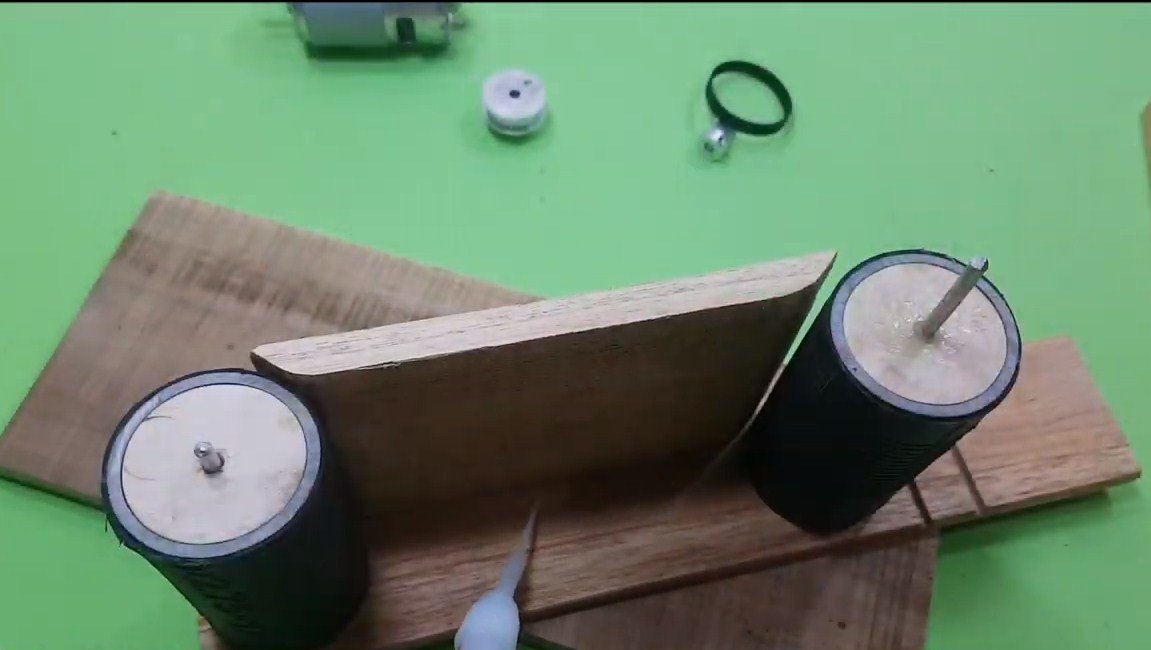
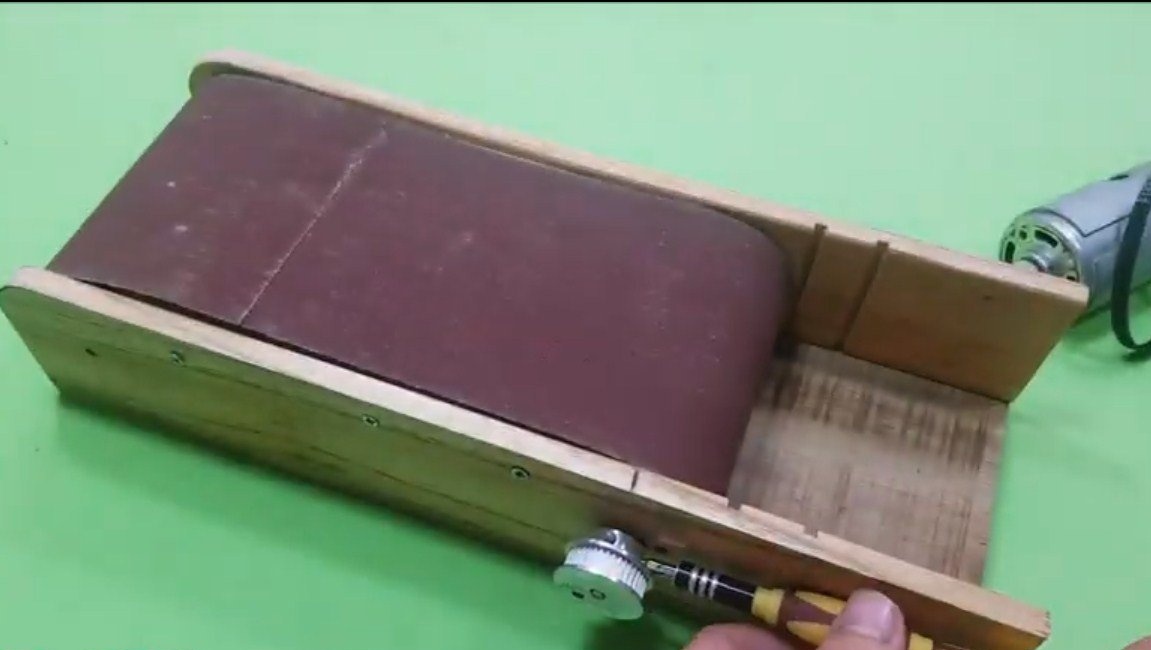
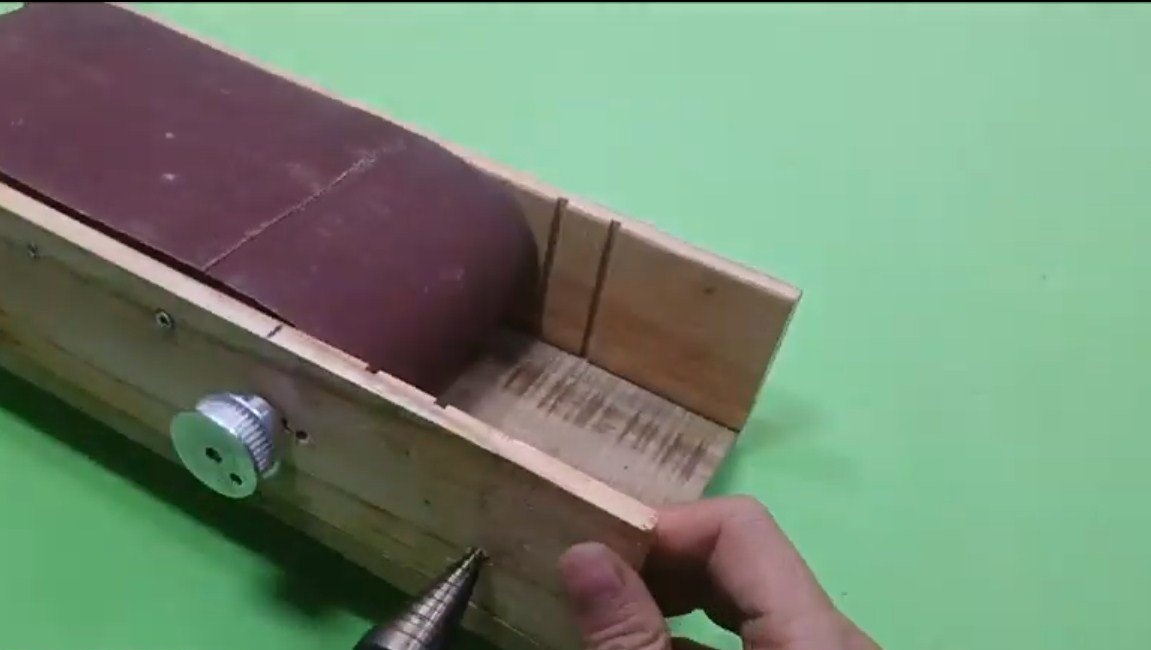
Step Three Tape making and frame assembly
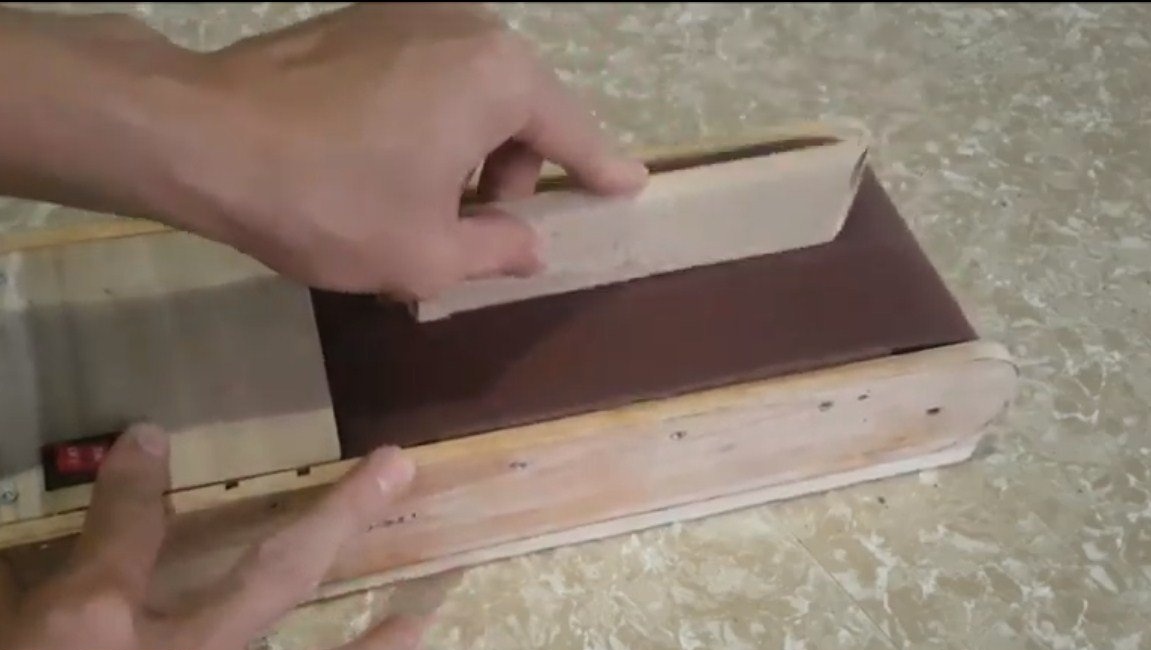
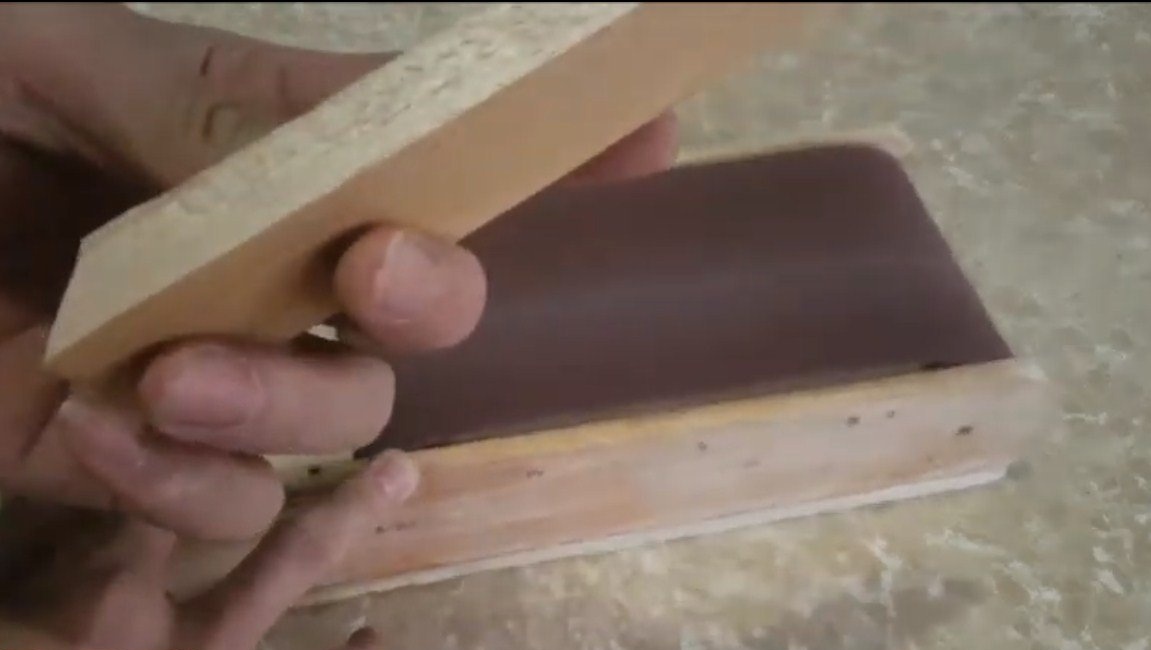
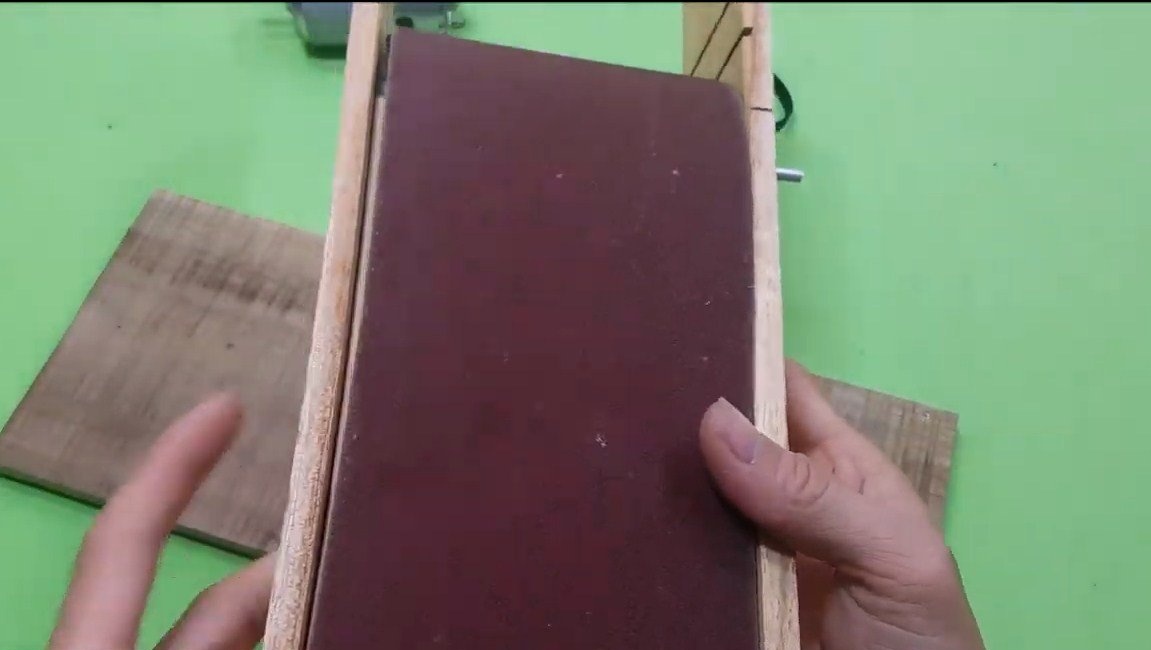
We make a sanding belt, for these purposes sandpaper will be needed. Note that the larger the grain, the harder the machine will work. Cut off the desired piece, and then glue the tape of the desired length from it. Subsequently, the tape will need to be glued immediately on the machine.
Next, we assemble the frame, for a start, everything can be glued with superglue so that it is more convenient to drill holes. We twist the frame well with self-tapping screws.
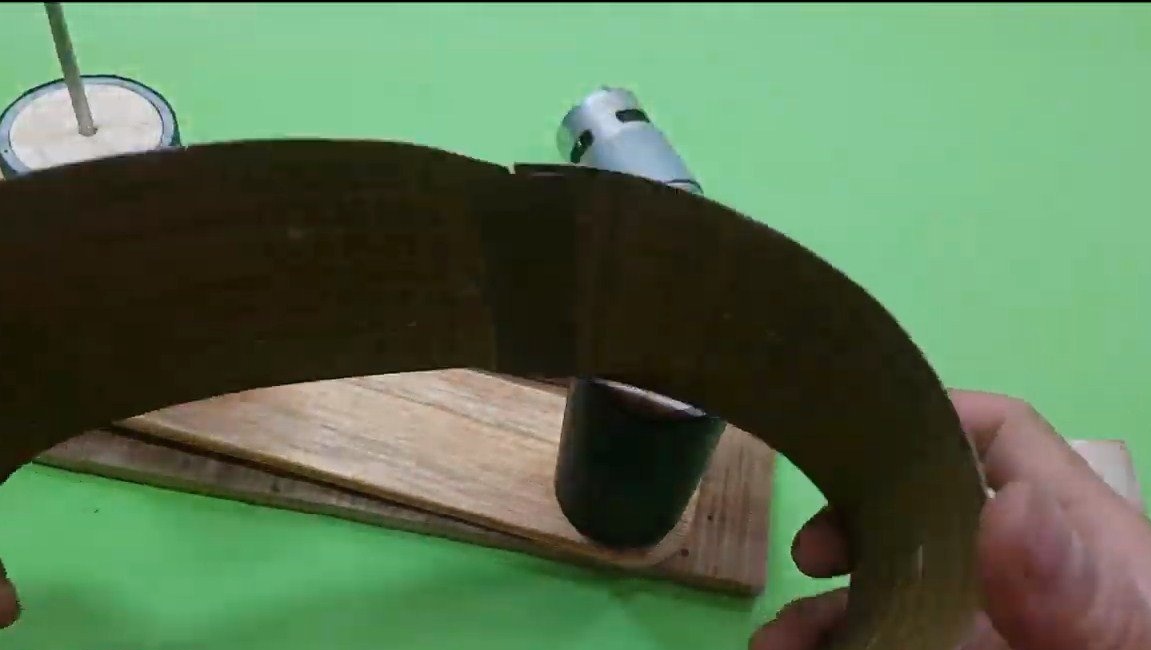
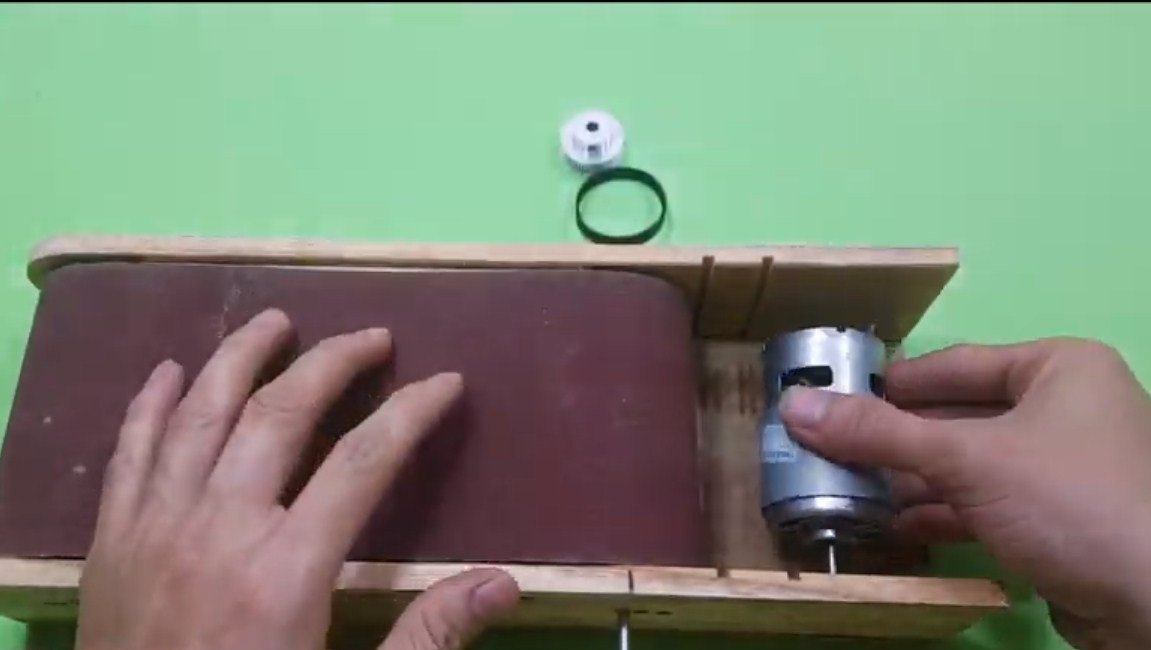
Step Four Belt drive and engine
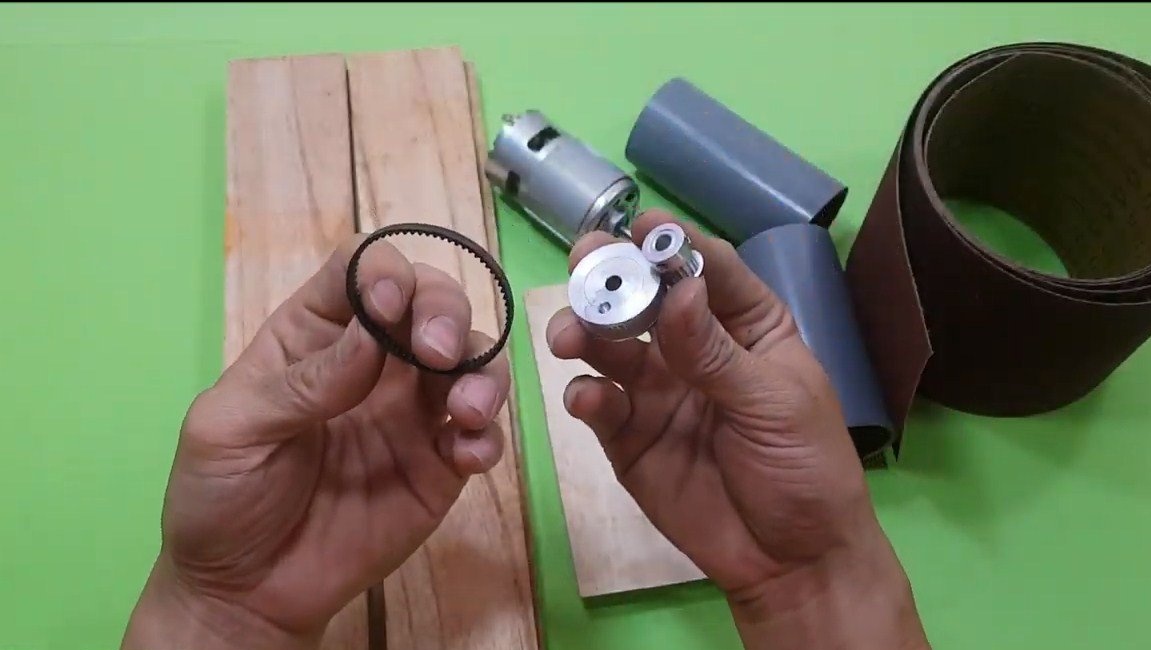
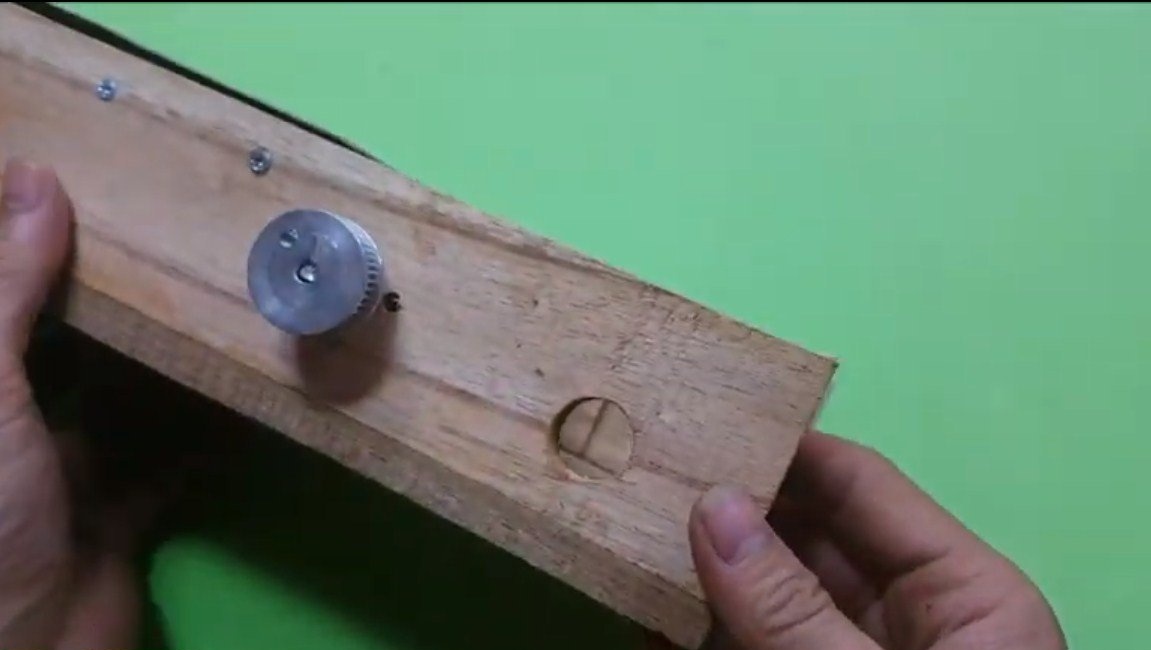
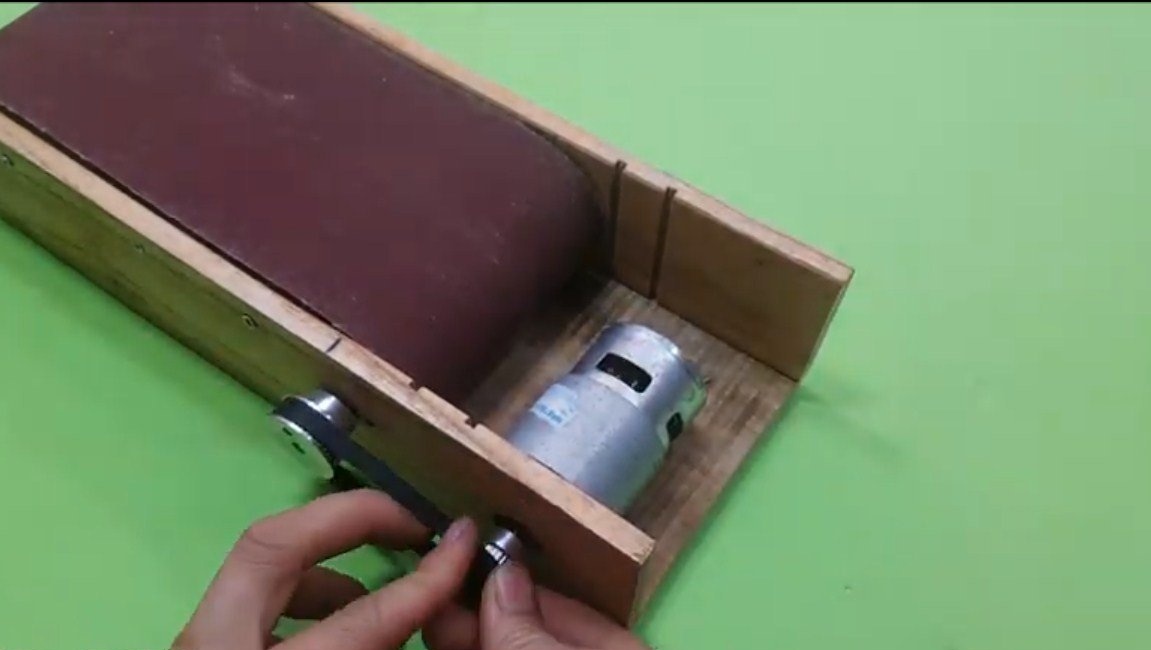
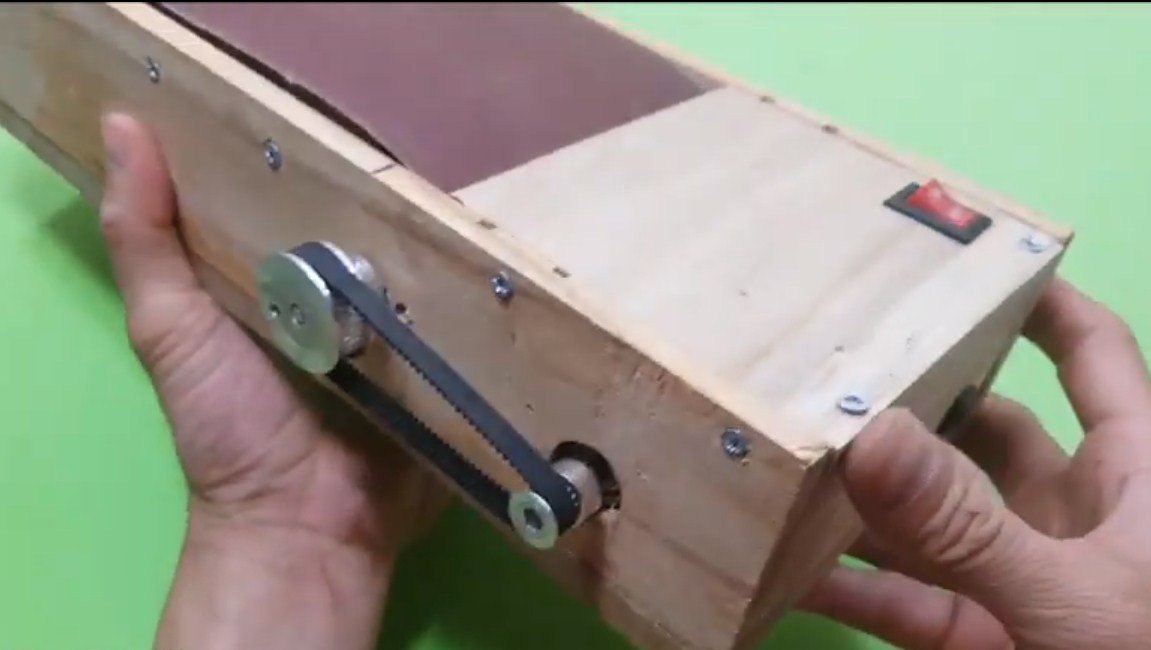
We install a driven pulley, we have a large diameter for high torque. The pulley is fixed with screws.
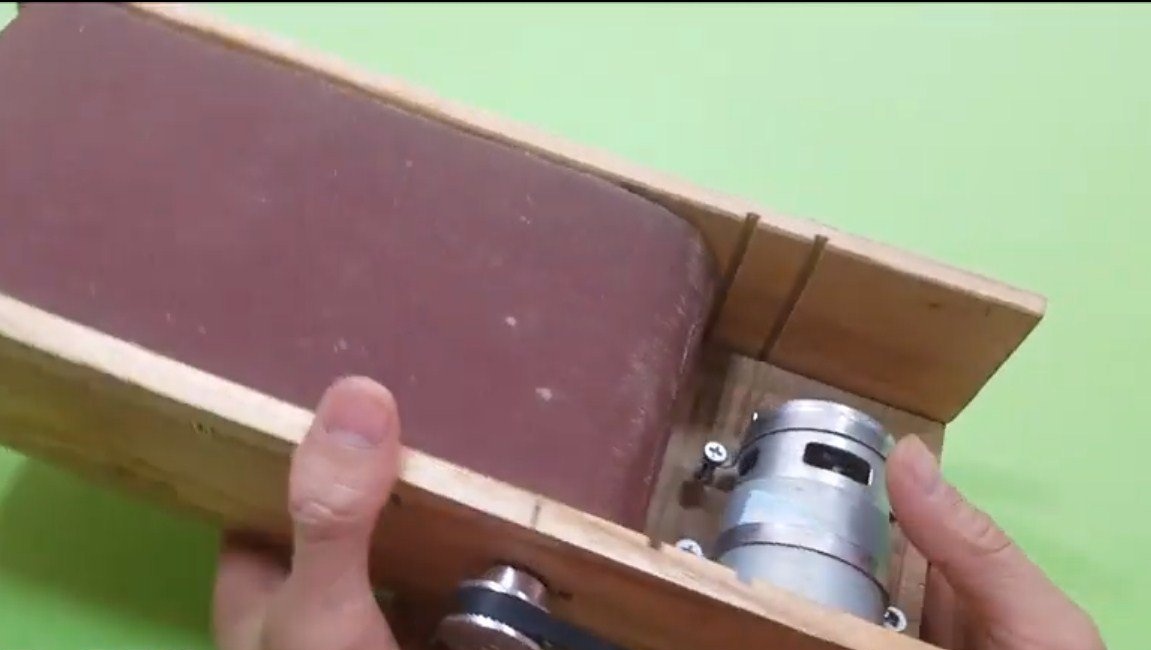
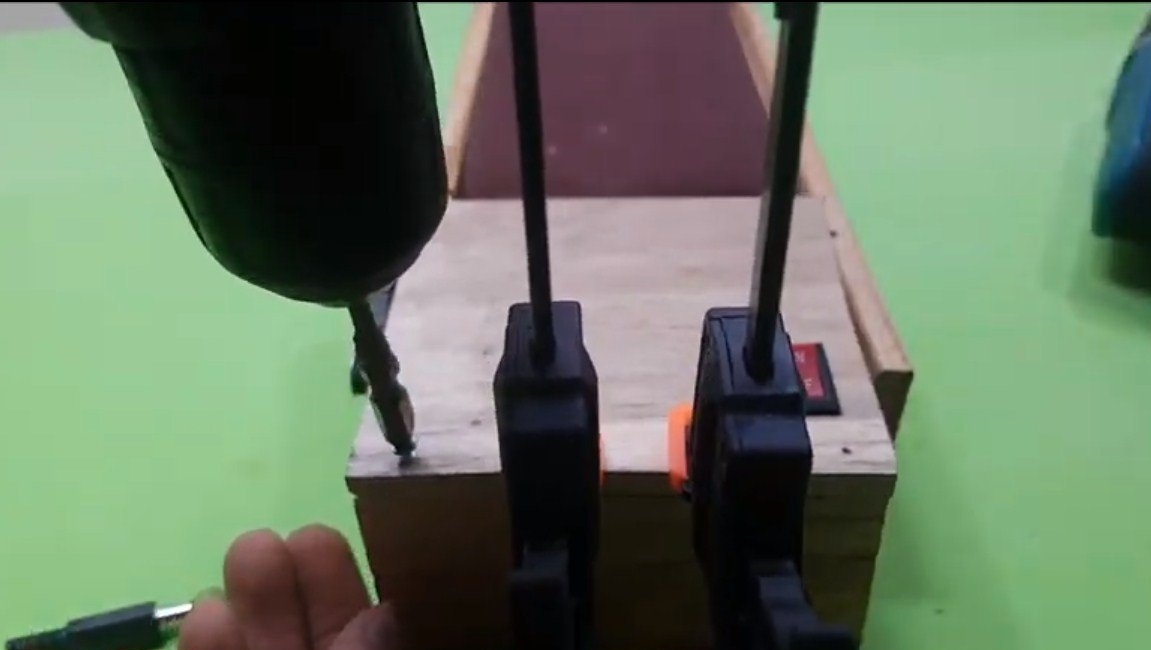
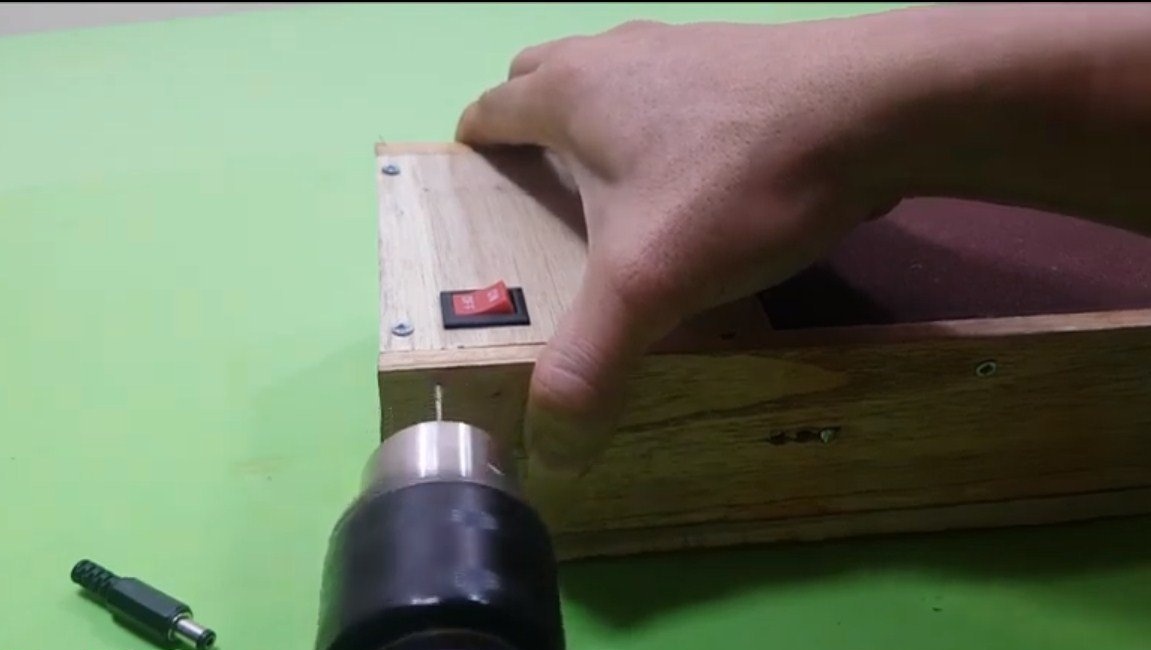
Further, based on the length of the belt, we select the right place for installing the engine and drill a hole for it. The author drills a hole with a drill with a step drill. We install a driving pulley on the motor shaft and put on a belt. The engine itself is attached to the base with two steel clamps and screws.
Step Five Finishing touches
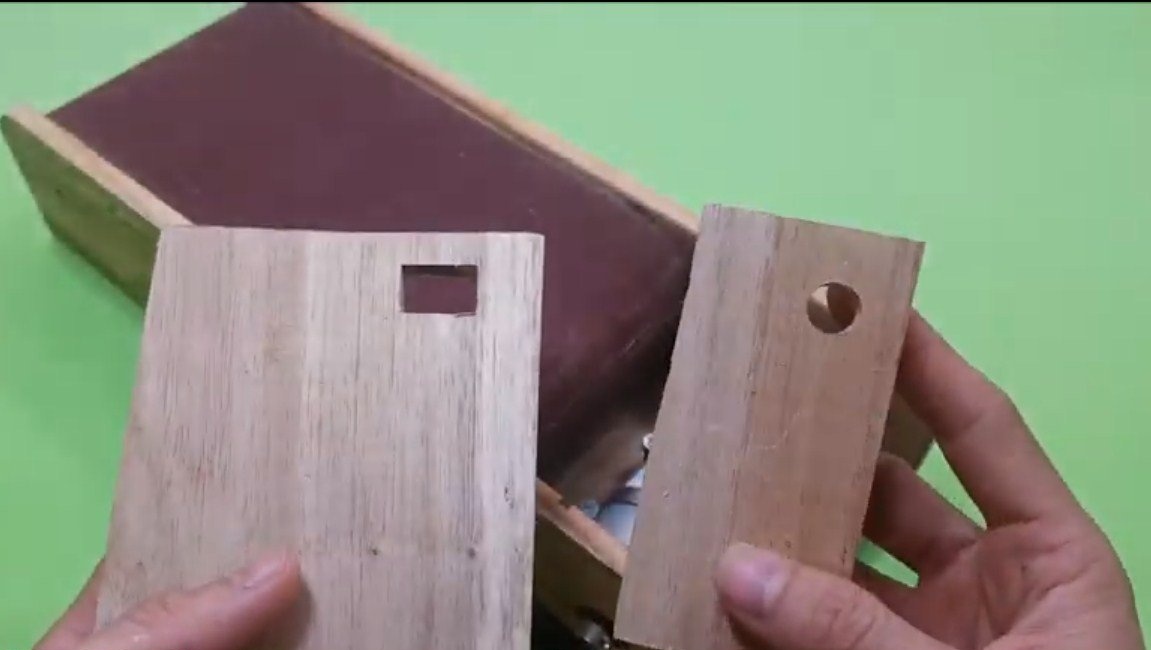
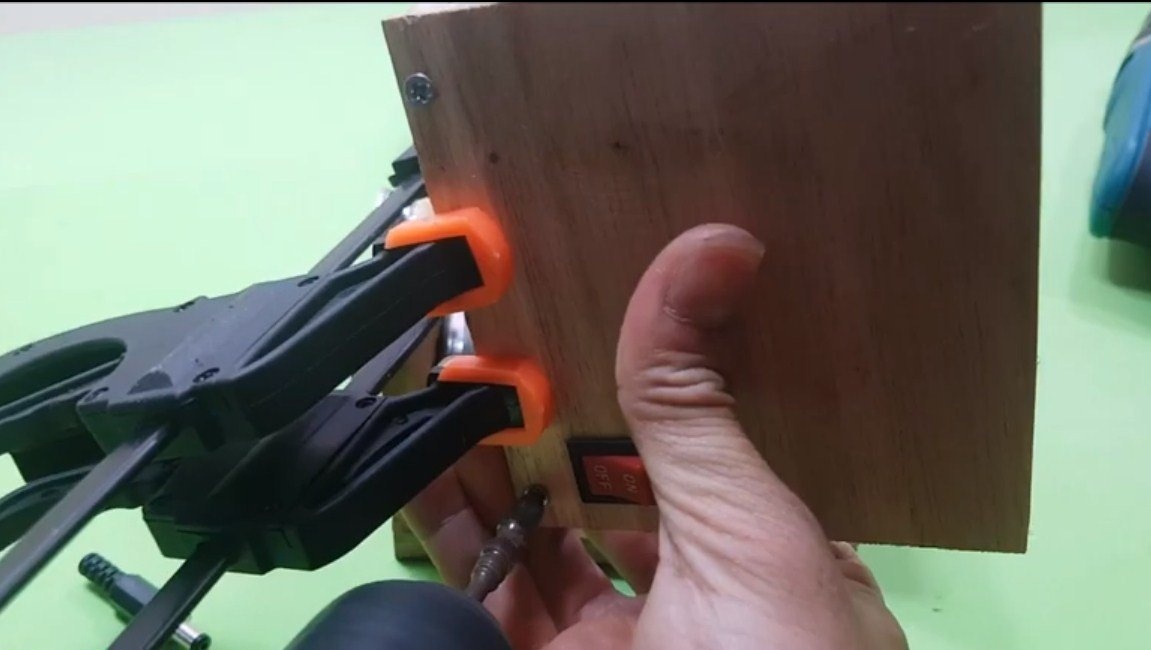
We install protective covers over the engine compartment, and in the covers we install a socket for connecting a power source, as well as a switch. We fasten the covers with screws. Now the machine is ready, you can proceed to the tests!
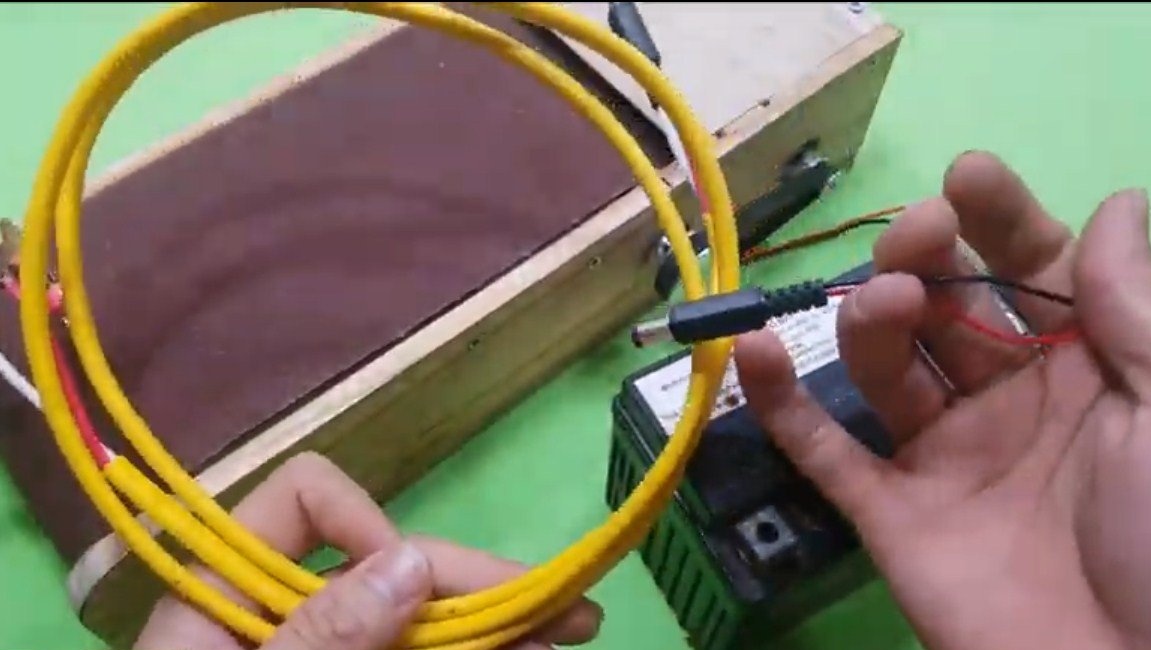
We connect the battery, even with a 12V power supply, the machine works quite briskly, but it is permissible to supply a motor with voltage up to 24V. But it is better not to do high speeds, since the components of the machine are not very reliable. If desired, you can set the speed control for the machine. As an experiment, the author polishes a rather massive board, and the machine copes with this task.
I hope that homemade work will be useful, good luck and creative inspiration for you, if you decide to repeat it! Do not forget to share with us your ideas and homemade products.