

Good day I want to tell you how to make model radio-controlled high-speed boat for this you need:
1 ceiling tile 2pcs
2 glue Titanium, Master or any other adhesive for ceiling tiles
3 mounting knife
4 ruler metal 50 cm
5 fiberglass can be used organza for bouquets
6 epoxy resin
7 spray cans of enamel
8 2012 series with regulator
9 11.1c
10 on 2 channels
11
12 any tube for deadwood
13 knitting needles 3 mm
14 by 28 mm
15 pvc plastic of different thicknesses
16 glue for pvc plastic I use COSMOFEN
17 color adhesive tape for convenience
18 wood block with stretched sandpaper No. 150
19 drawing pattern download here
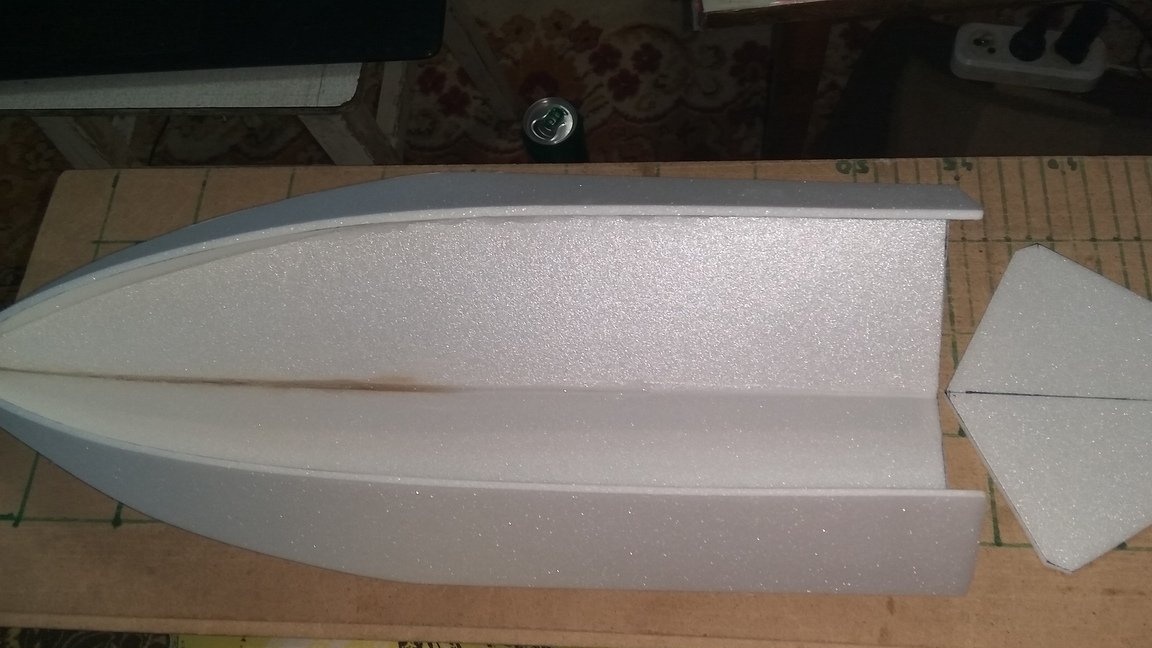
First, print the pattern on the printer and transfer it to the ceiling tile
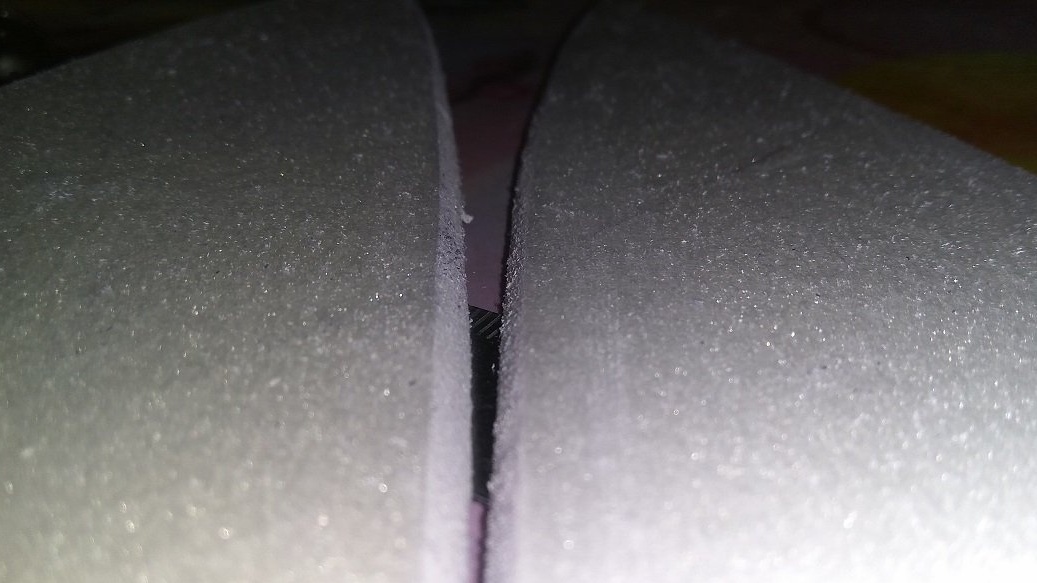
With a mounting knife, we cut the workpiece at the bend points, make a V-shaped cutout for easy bending, but do not cut through.

Places where parts will be glued together at an angle need to be covered up with emery covered with a bar for convenience, so that the contact area is maximum as in the photo
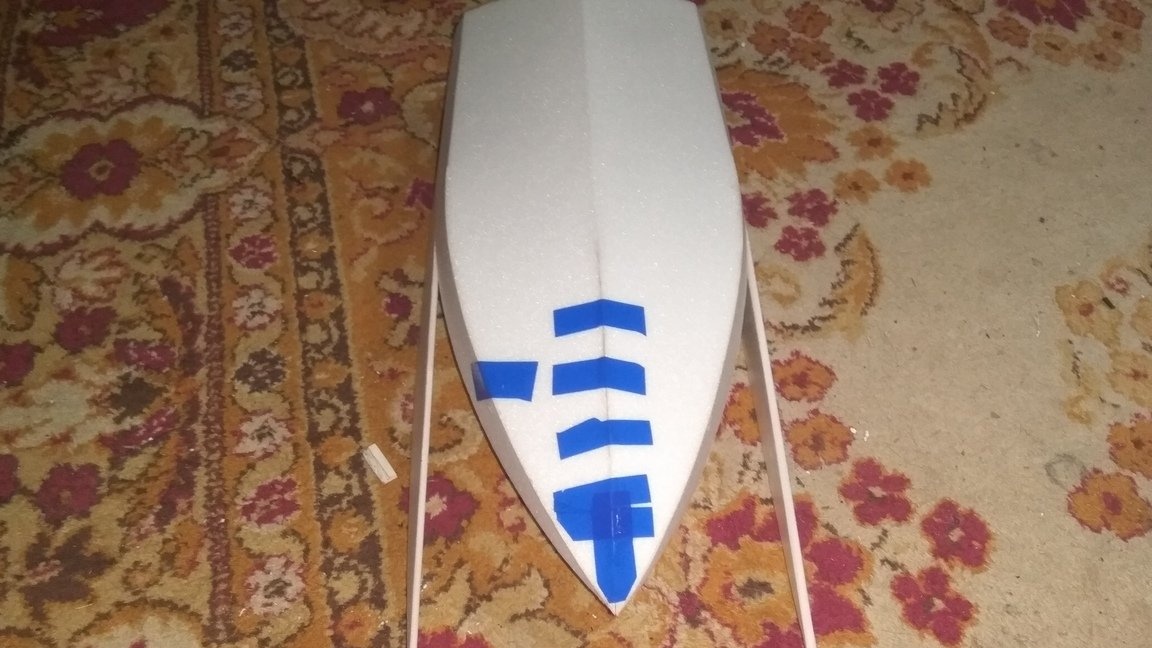
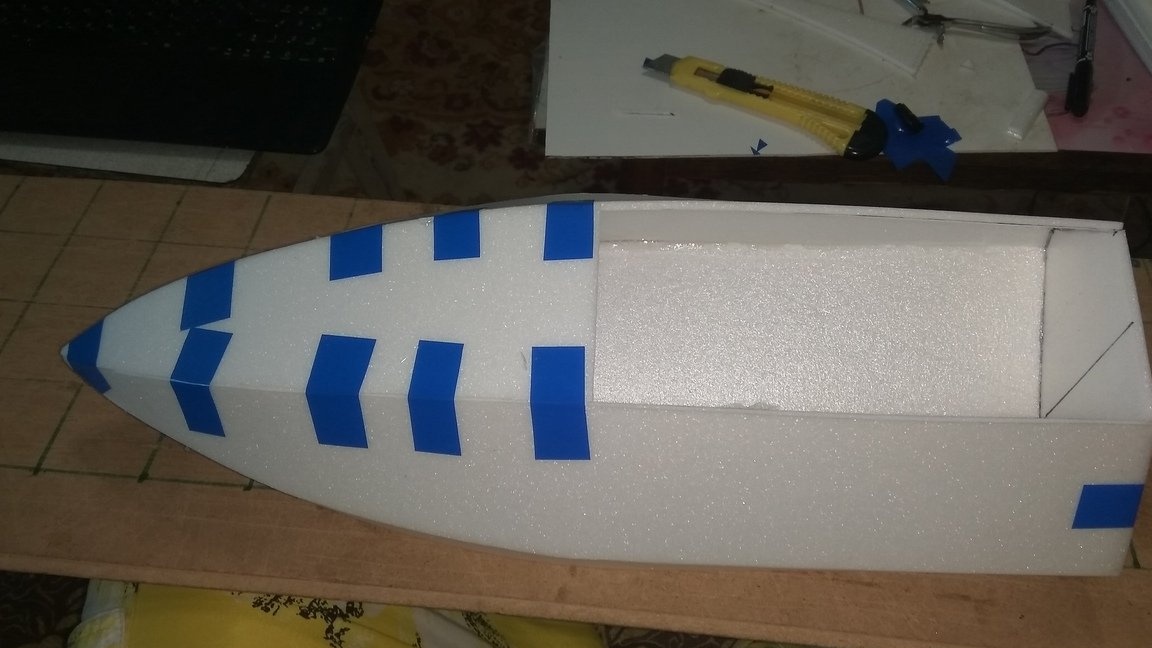
We take a colored tape, paste a strip of 25 cm on the surface, from which it will be easily peeled off and cut into strips of 1.5 cm.
We smear the glue on the bonding places, press the joints and fix the interference with pre-prepared adhesive tape strips.
After the glue dries, we cut out the transom and bow deck and glue it with tape
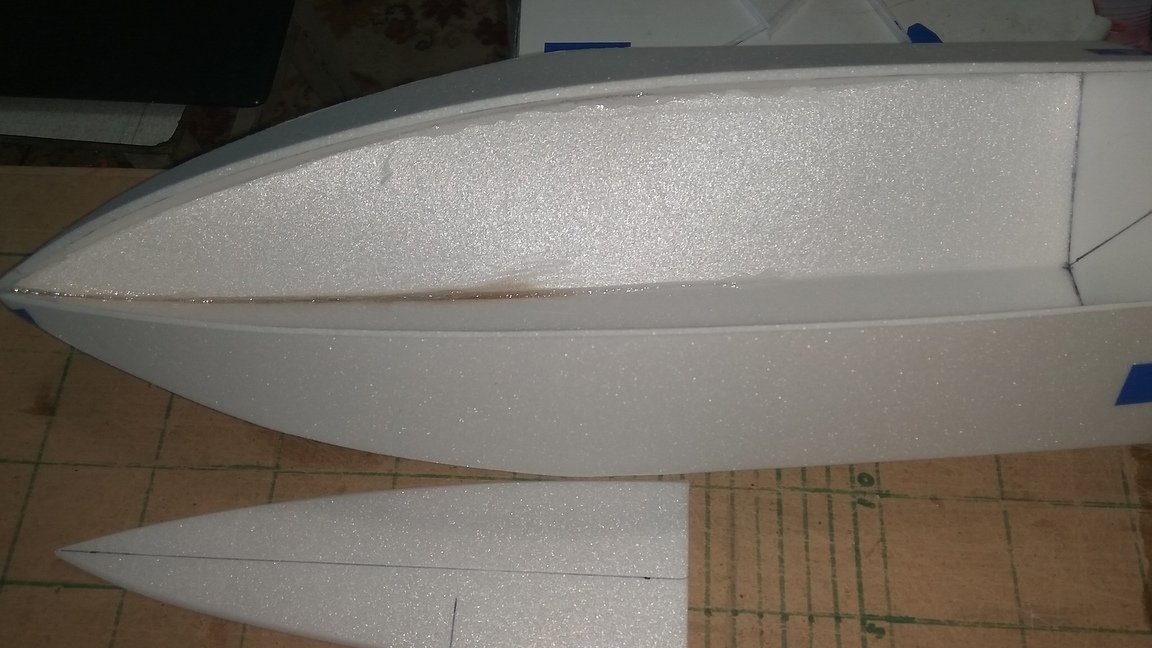
We pour all the seams from the inside of the case with glue and the places of bends too. As the glue dries, remove the adhesive tape and with an emery block, align the seams from the outside, prepare the body for applying organza and epoxy.
We cut the organza into strips for the convenience of tightening the body, we put the epoxy in the right proportion 1:10 I put it 1: 8, with a paint brush we apply a layer of epoxy and we tighten the organza after the resin layer and another layer of organza and so hang 3-4 layers until it dries for a day .

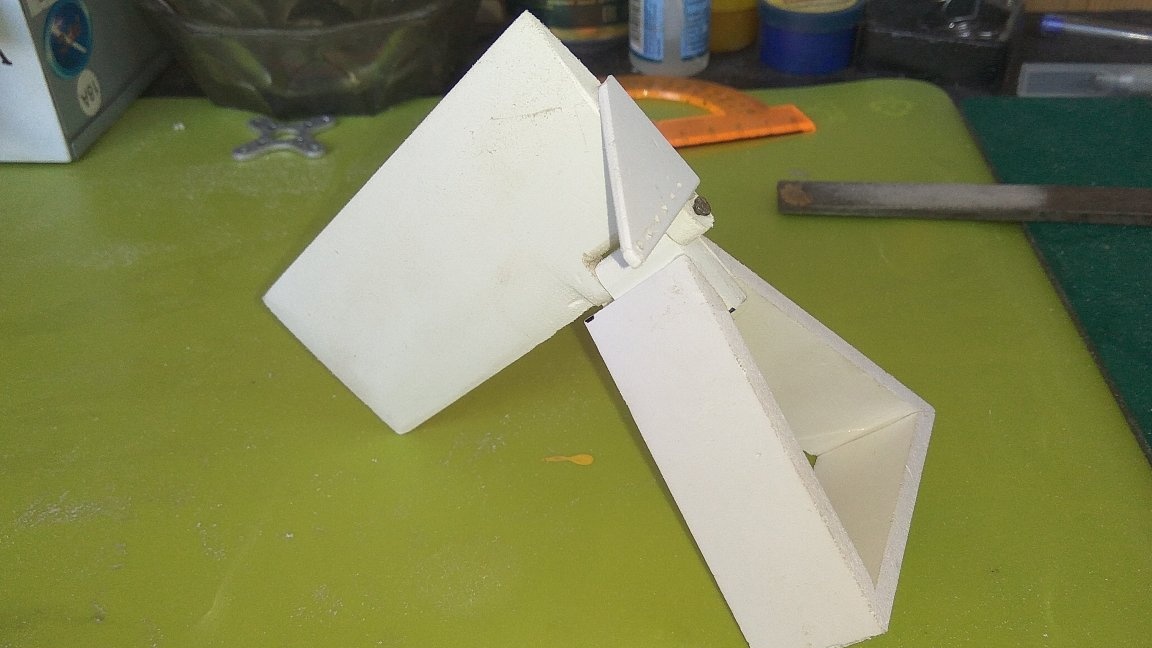
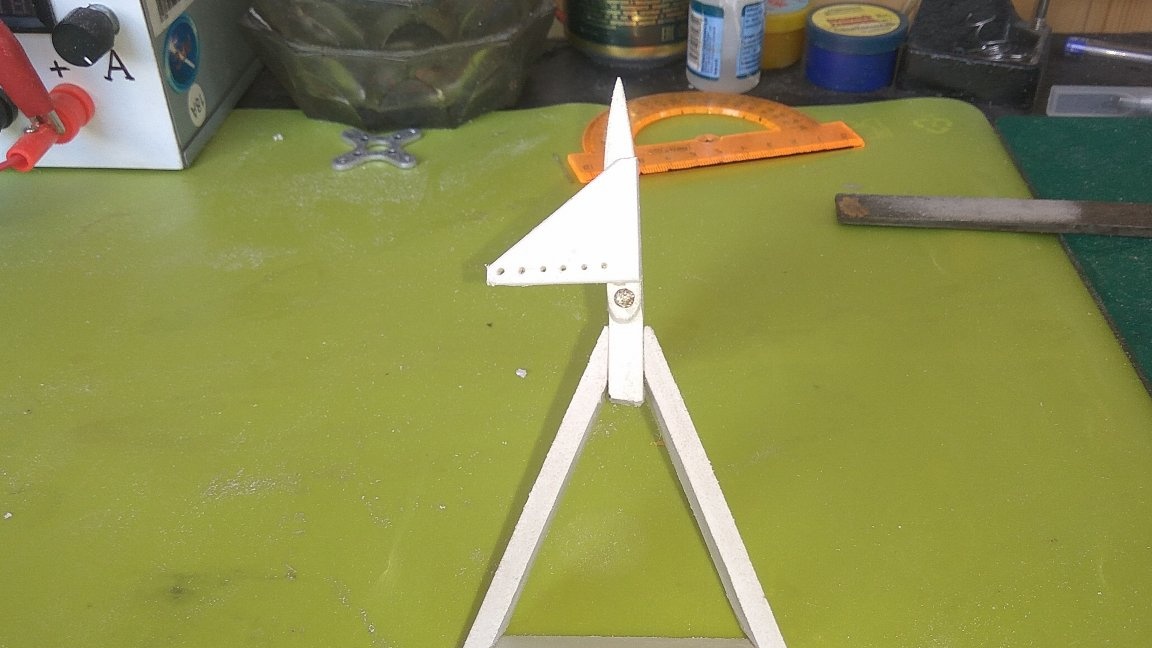
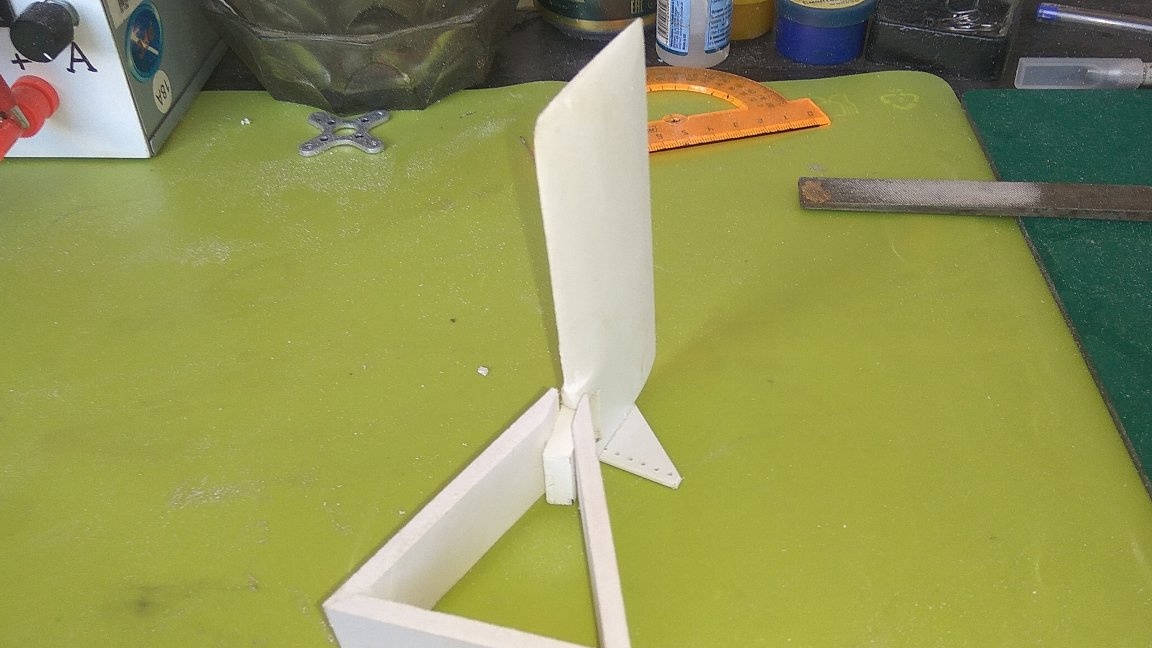
While the case dries, we will make 4 mm thick PVC plastic according to the sketch, make a steering device with a servo mount and a transom mount.
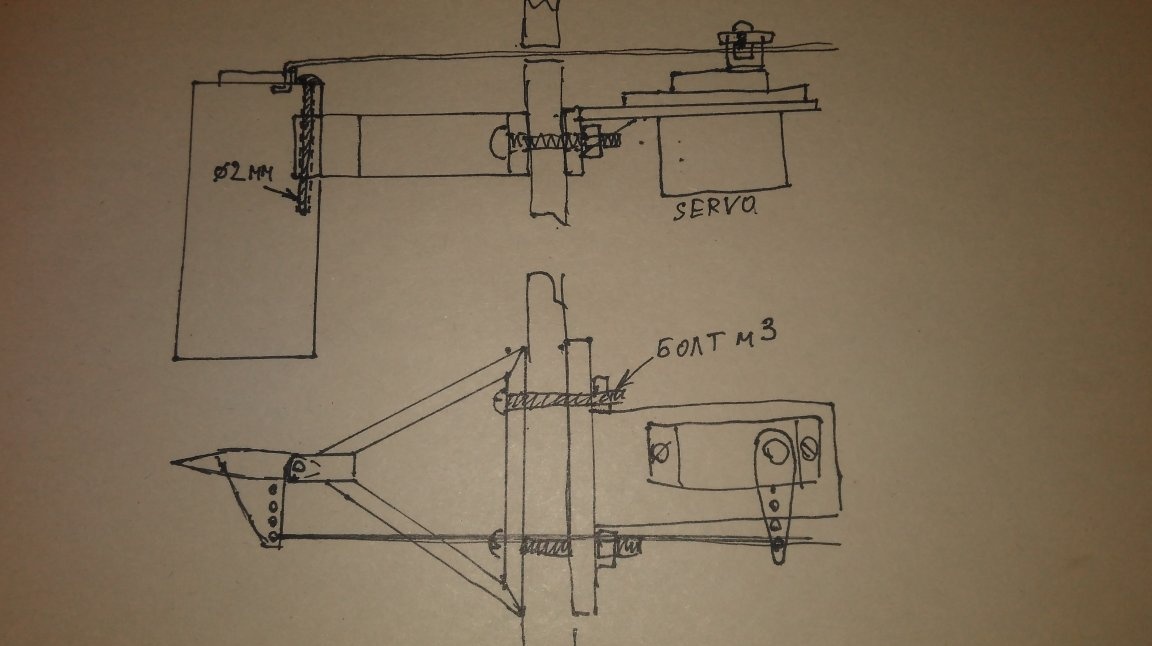
Having cut the feather of the steering wheel, give it a streamlined shape, glue the bracket for the steering wheel and drill a 2mm hole for the steering axis, insert the axis and this is what we get:
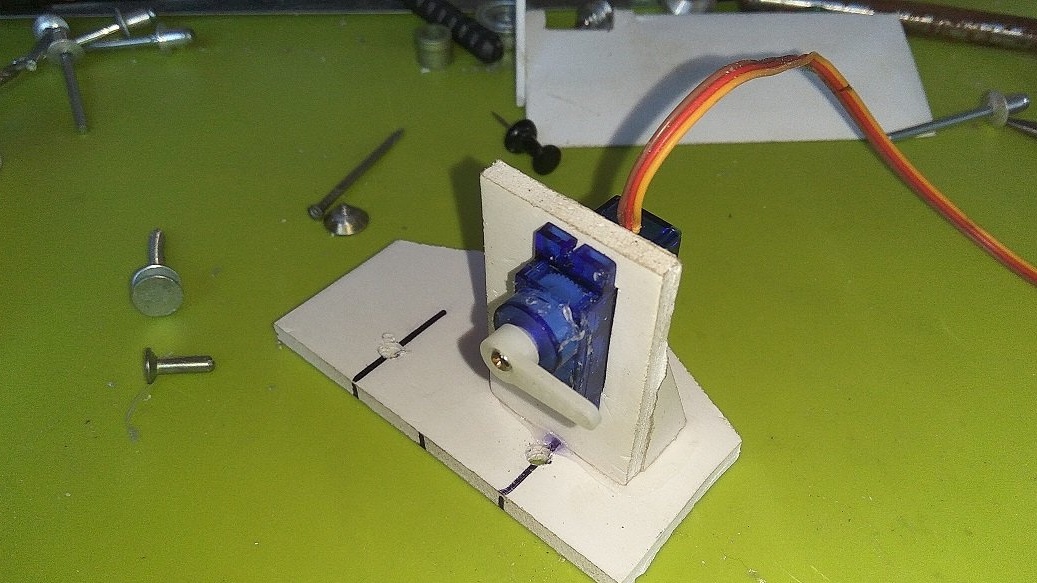
Also from PVC plastic we make mounting under the servo machine:

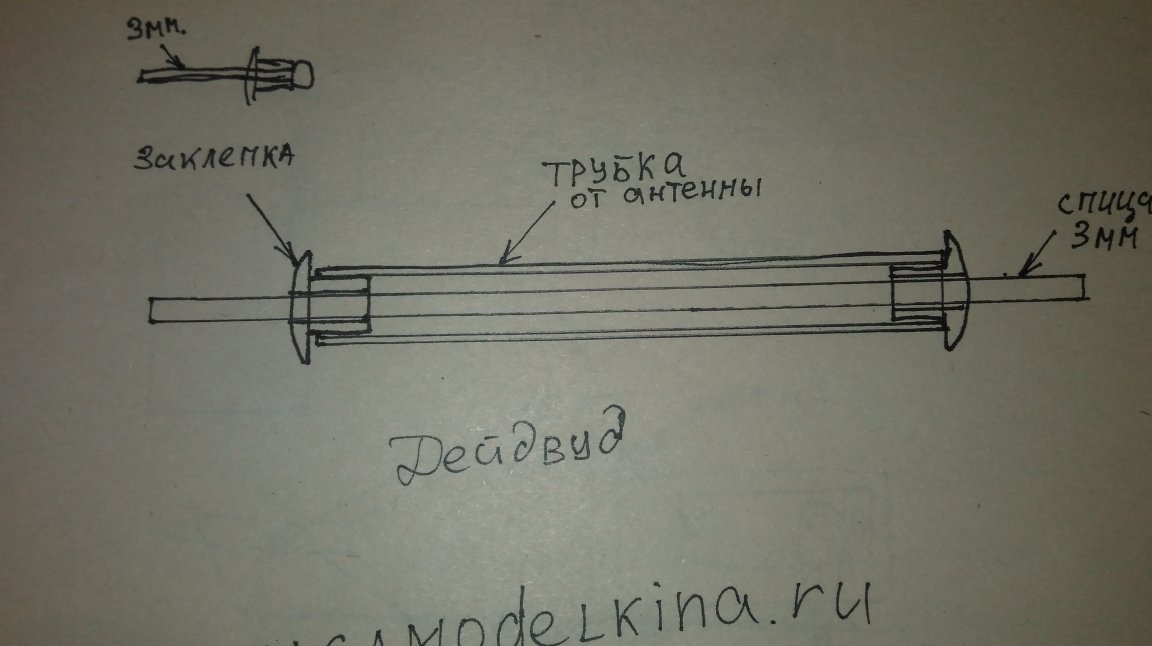
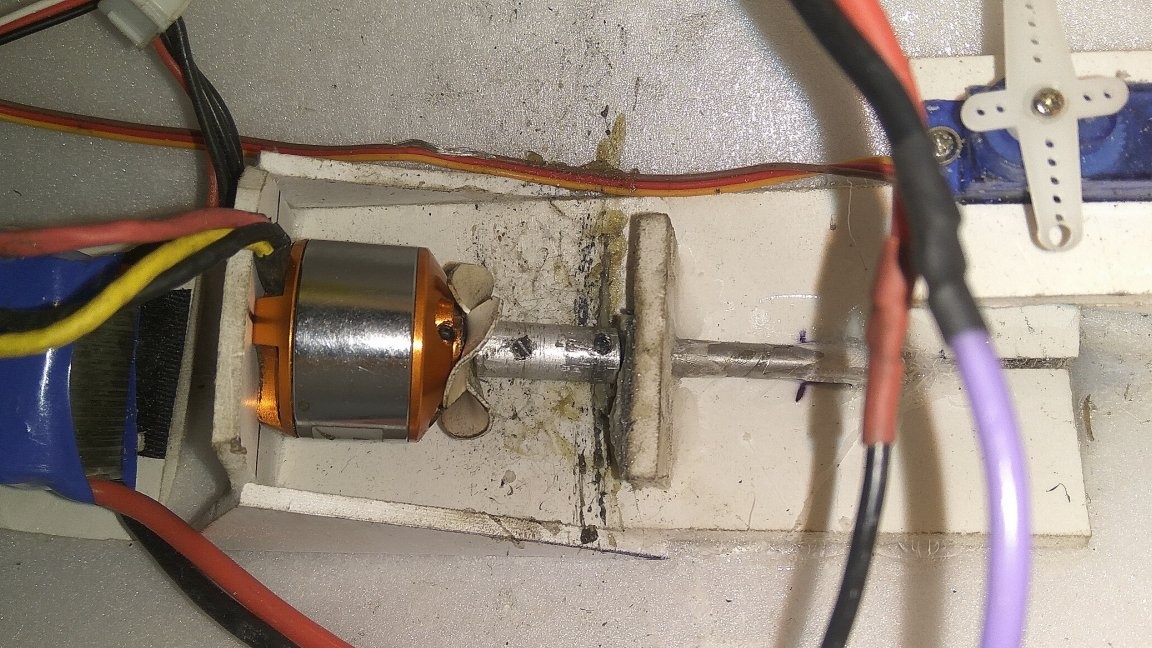
I made Deadwood from a tube from a telescopic antenna 5 mm in diameter of the sleeve; in rivet we took rivets for a rivet gun with a 3mm exhaust rod.3mm spokes shaft:
And from PVC we make a moto frame.
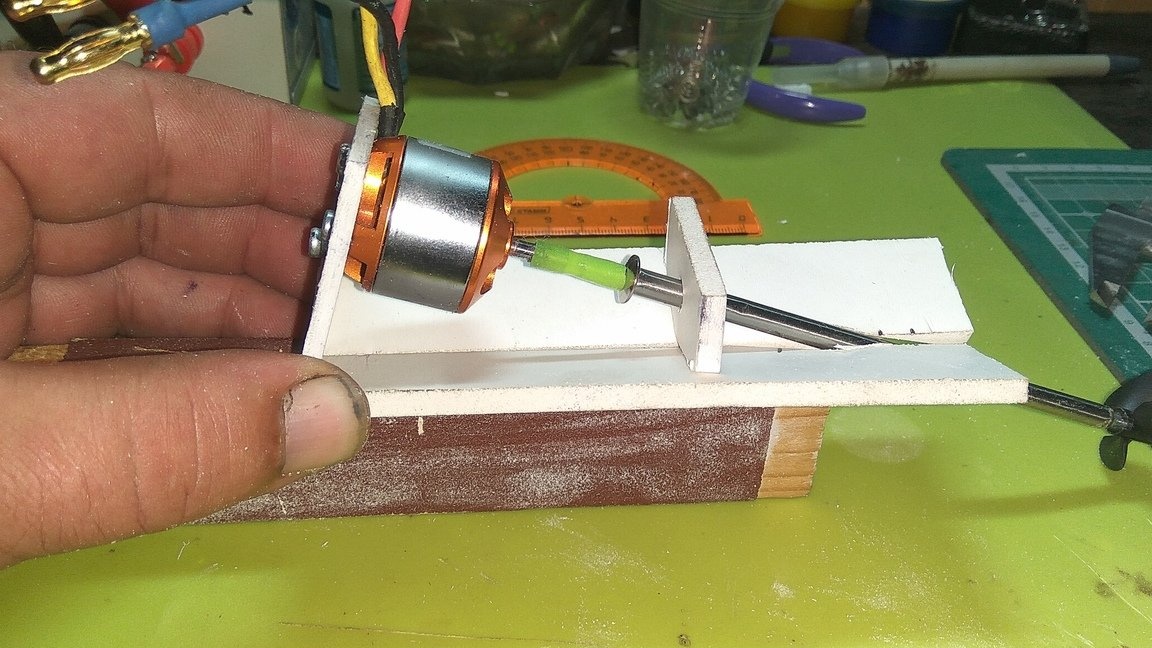
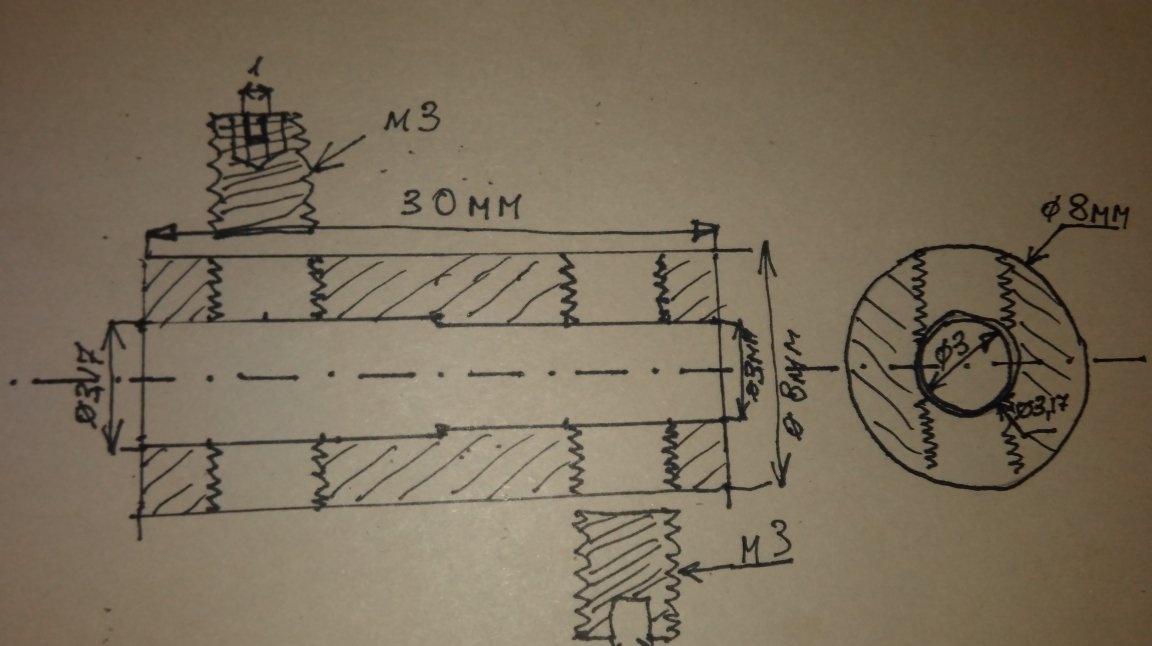
I made a coupling for connecting the motor to the propeller shaft and an 8mm aluminum bar, on one side we drill a 3.17mm hole, and on the other 3mm two holes 2.5mm perpendicular to a 3mm thread, here's a sketch:
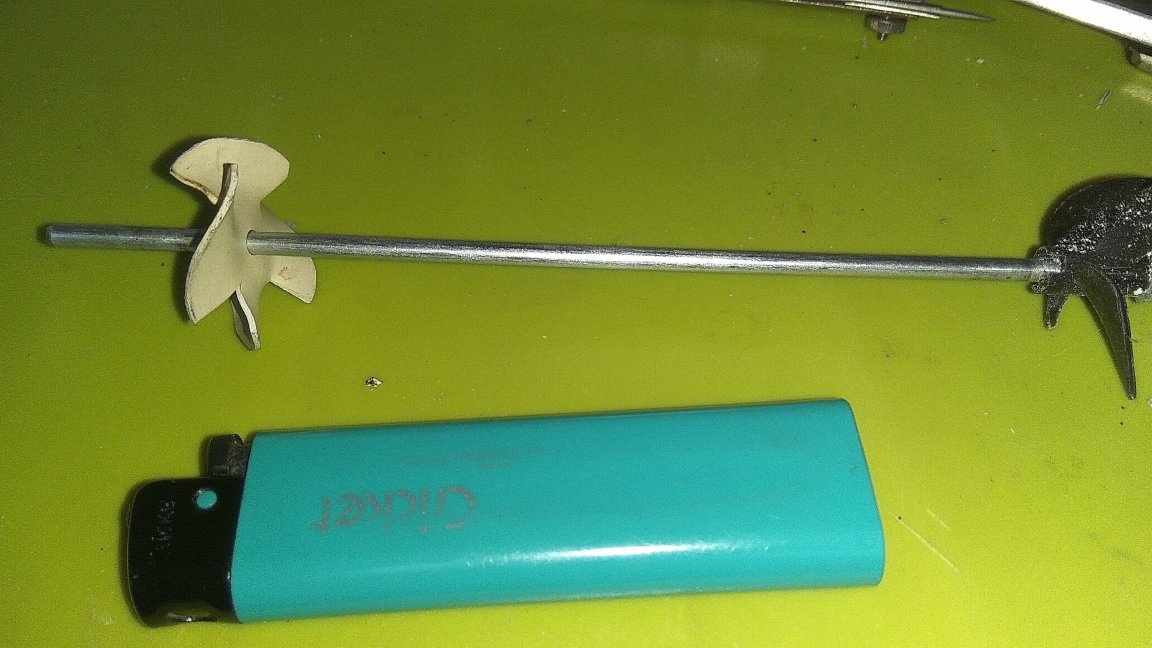
Also from PVC plastic we cut a circle of 30mm with a hole of 3.17mm

We carefully make 4 blades with scissors, by heating with a lighter we give the blades the shape of a screw in the opposite direction from the propeller, this will blow the motor for cooling:
After the case has dried up, we take the skin to be sanded where necessary and put it on the skin again, cut out the hole for the deadwood and paste the moto frame with deadwood into the body:
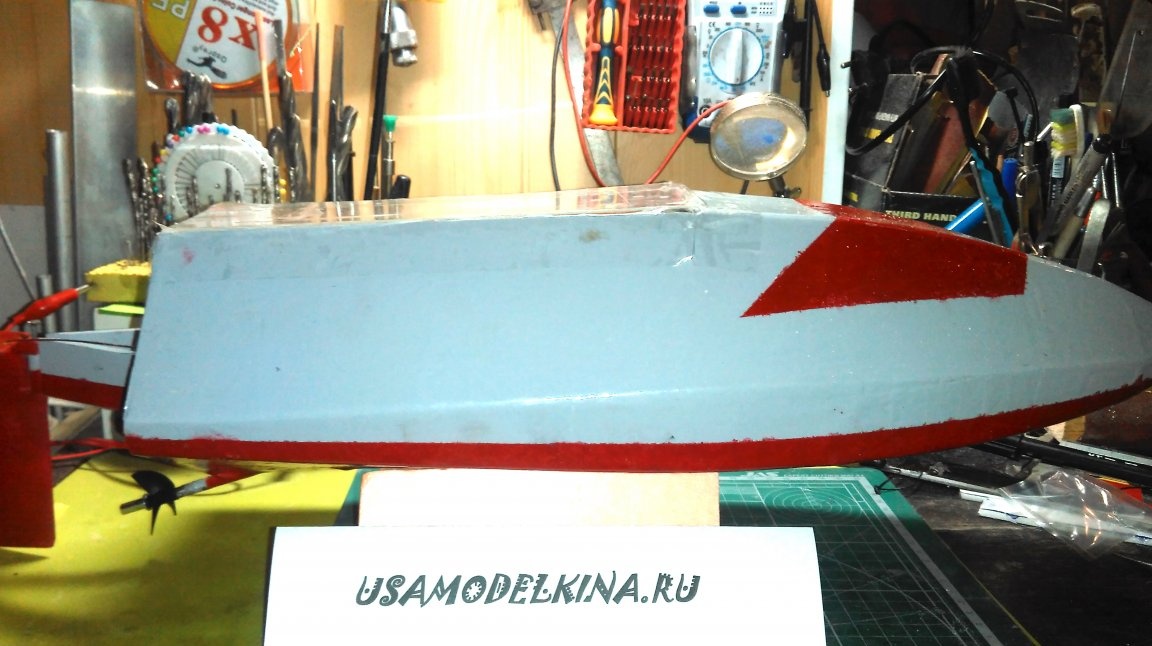
After we apply the primer, it is the same as the development layer, if everything suits, then paint:
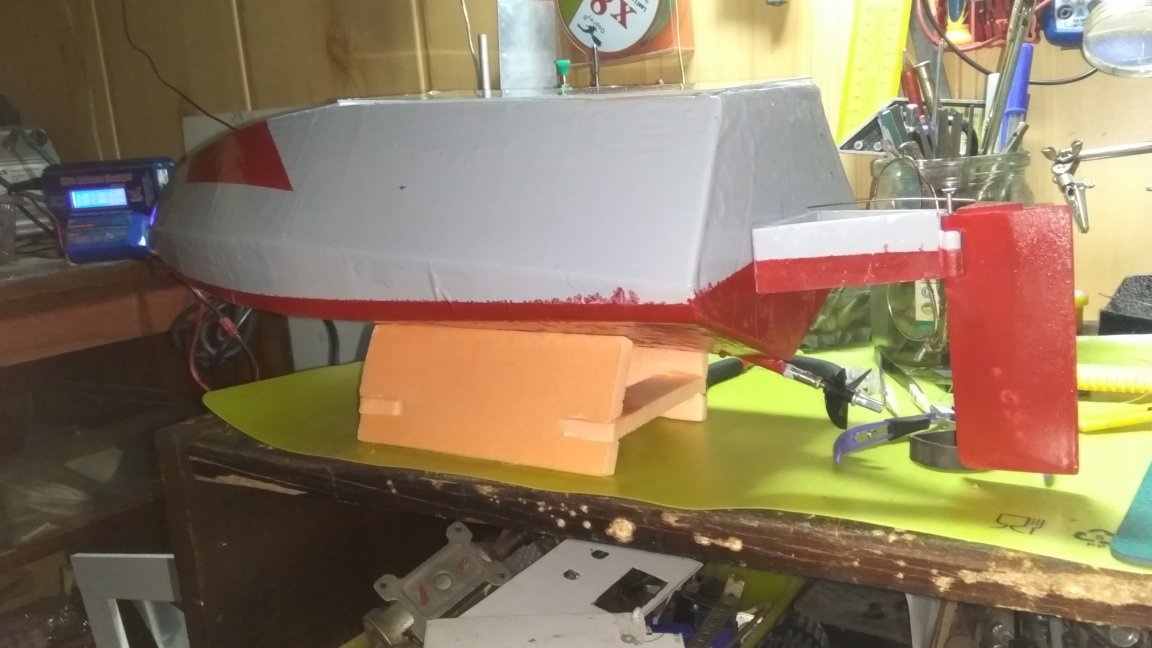
From transparent plastic we make an opening lid to control the insides and leaks:
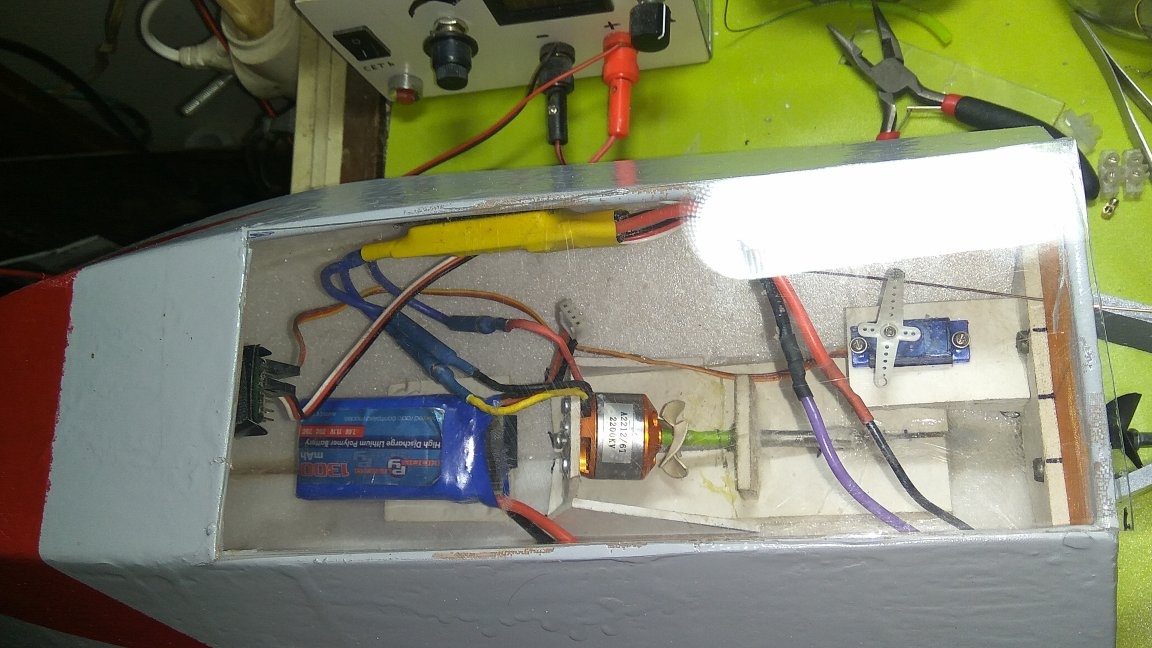
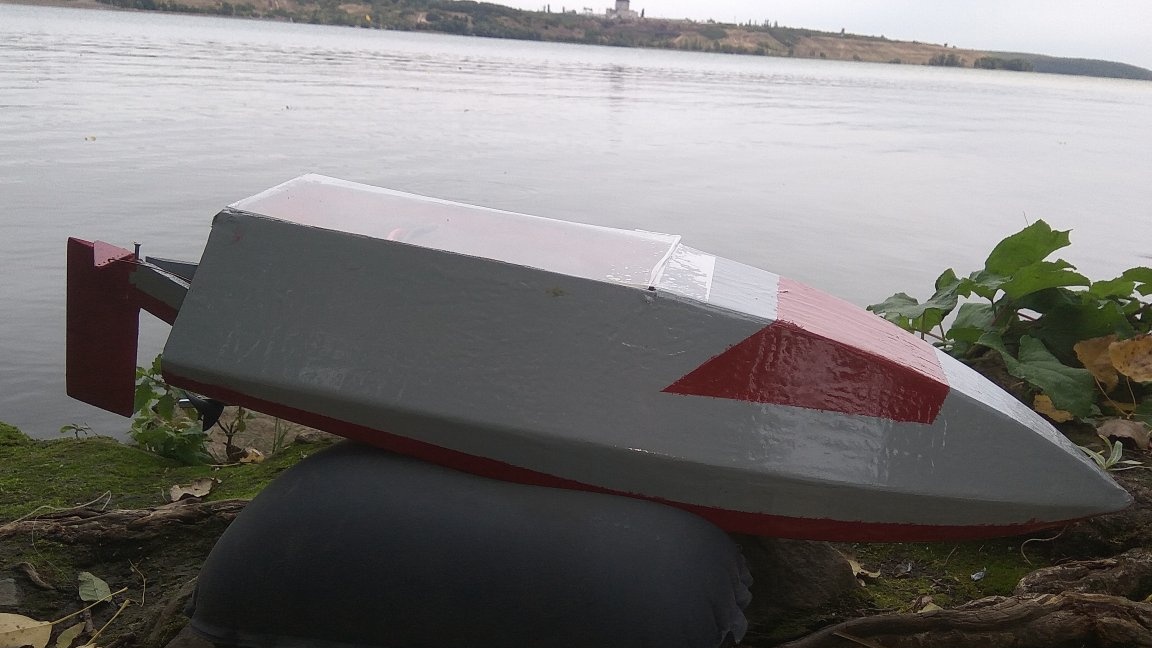
We charge the batteries and go to the pond to let our boat
We connect the battery to the motor controller, check the performance and seal the lid with transparent tape for tightness and lower the boat into the water. Here is a video of tests and pokatushek.
Happy viewing:
Video 1
Video 2