
So the author decided to help a little, and tell everyone in detail and popularly about the construction of a simple foam based on the Su - 26 aircraft.

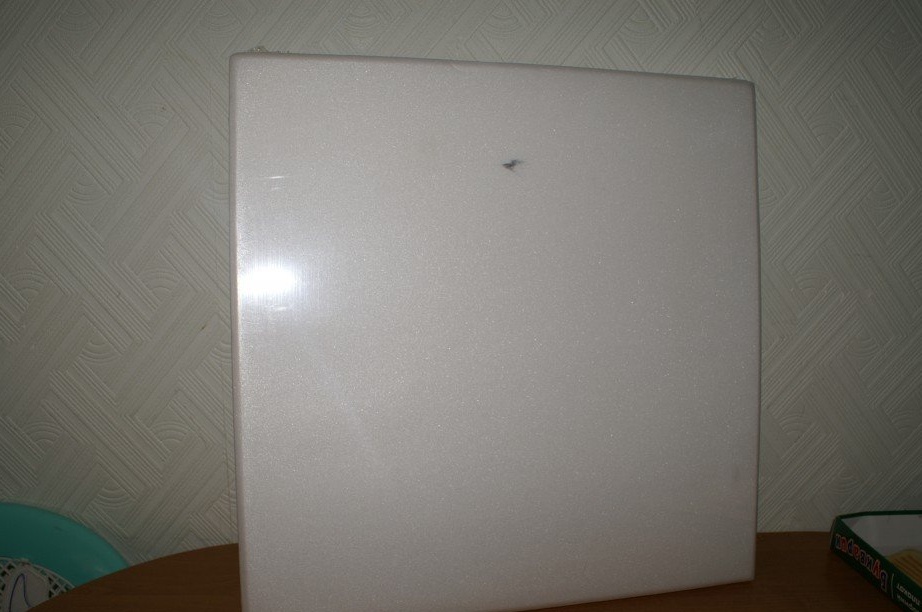
First of all, decide on the material from which you will build model? Unfortunately, it is difficult to buy from us some materials that are used by foreign aircraft models, but done calmly, you can replace them with ceiling tiles or a substrate for a laminate.
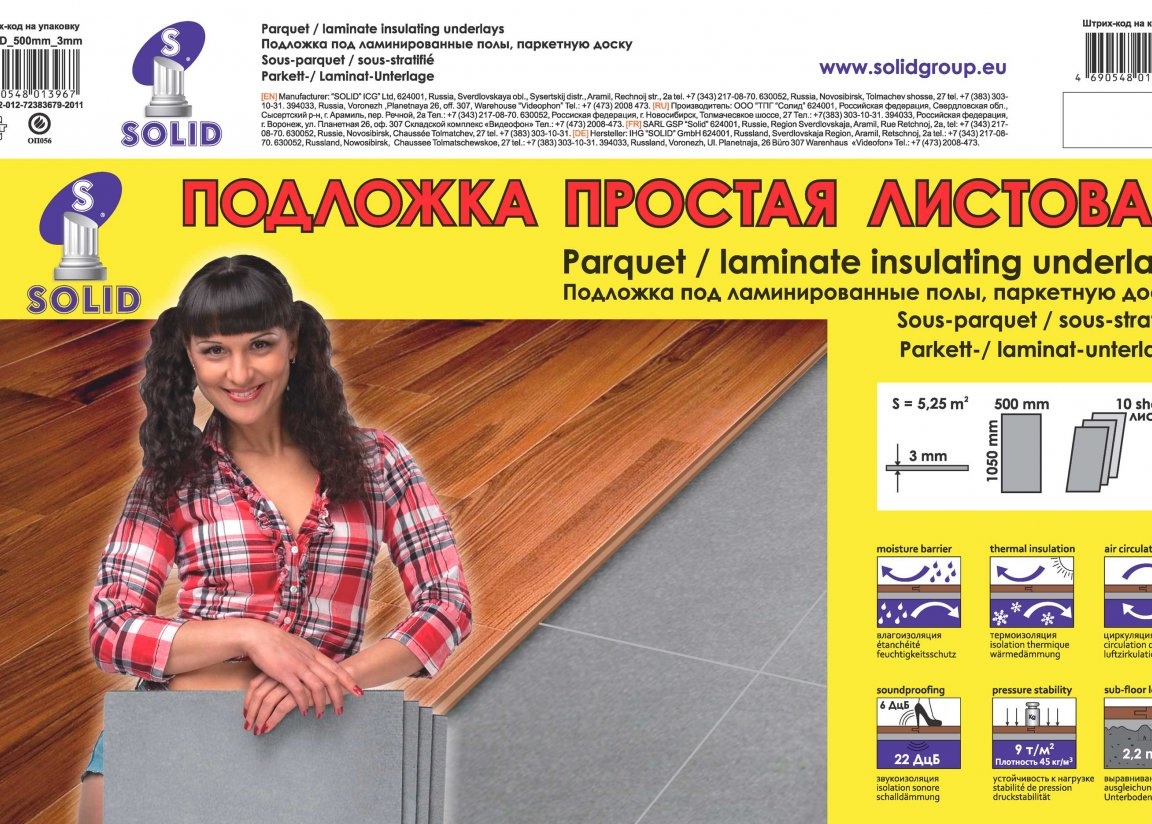
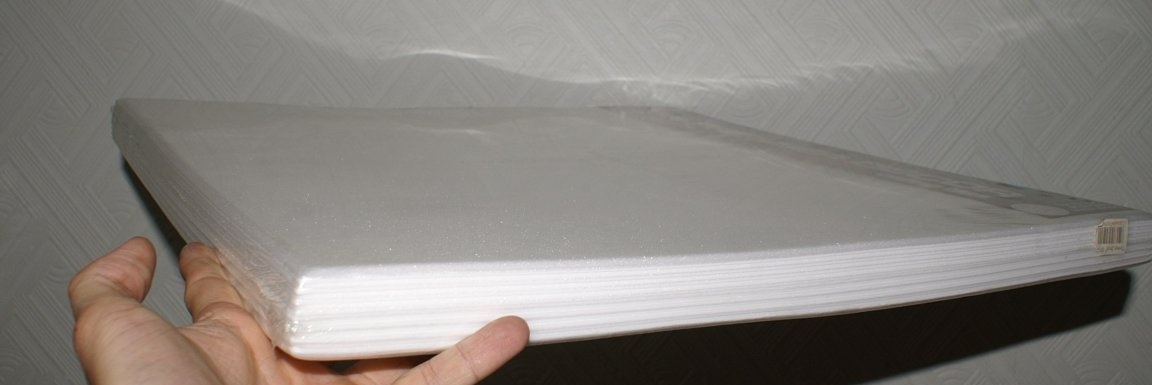
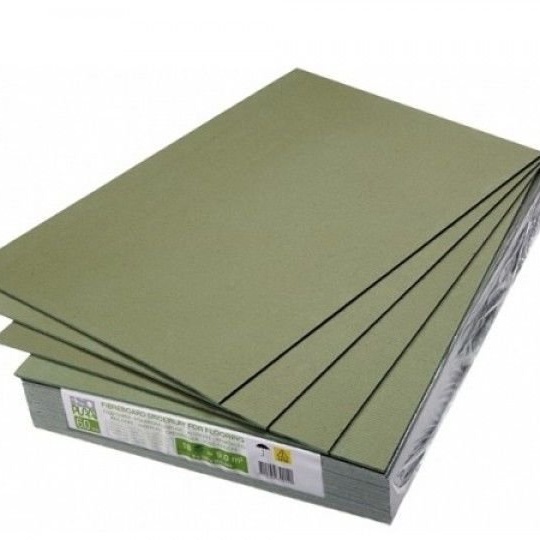
The thickness of these materials, as a rule, does not exceed 4-5 mm., And the standard sizes: ceilings - 500 X 500 mm., Substrates - 1000 X 500 mm. and 1200 X 500 mm.
The thicker the material, the stronger the model, but also heavier, so you need to choose something medium.
It is necessary to be guided by the size of the model, the smaller the model, the easier it should be, the thinner the material for construction.
For the model, which he will talk about, the author took a 3 mm thick ceiling.
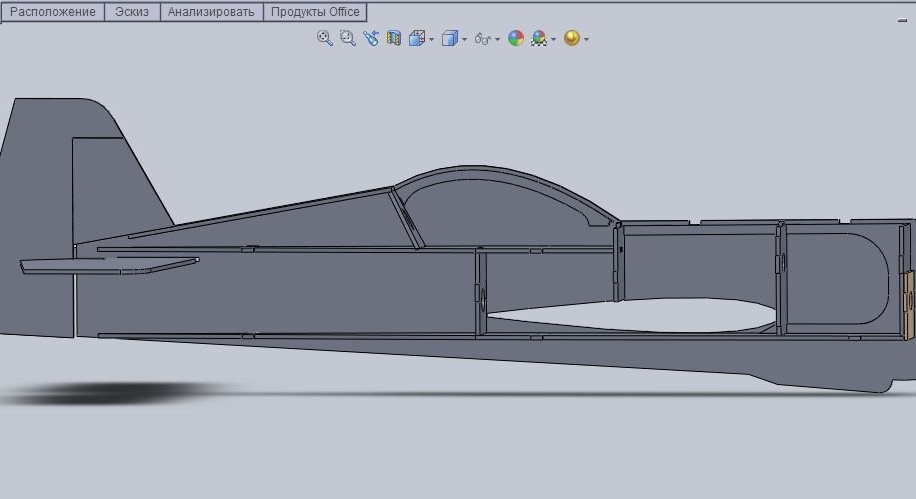
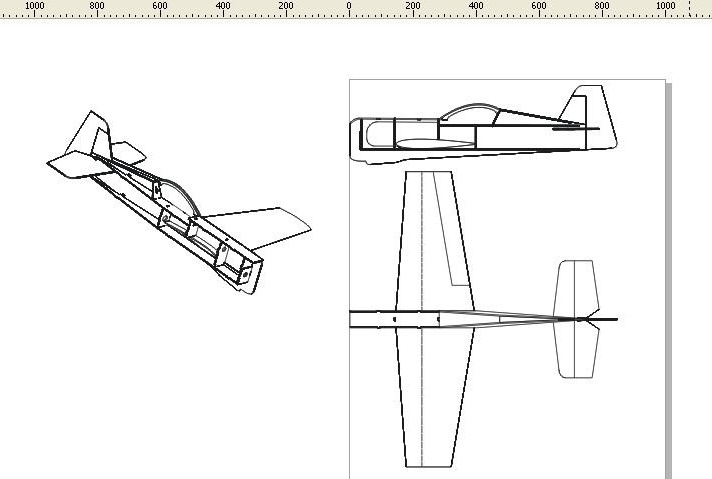
The author shows how at first the image of the future model was created.
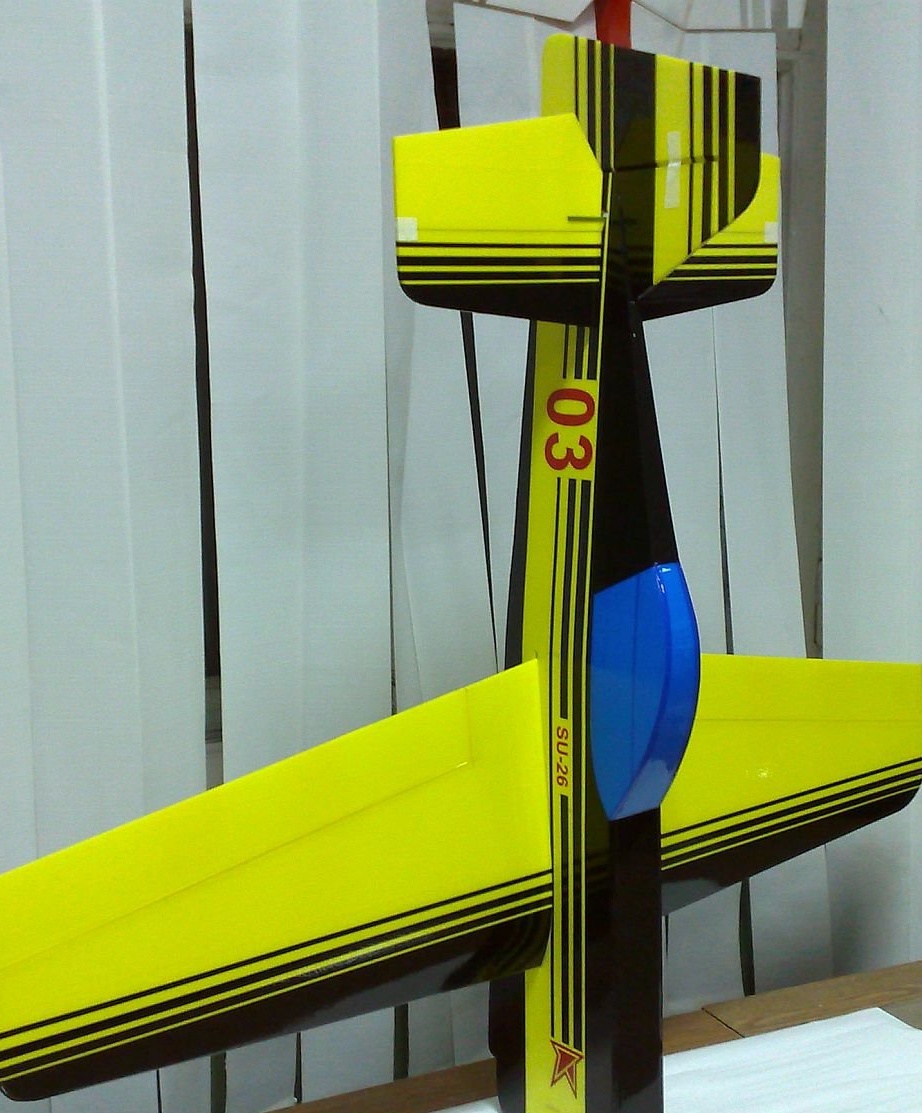
These are the drawings of individual parts by the author for cutting from the ceiling, and even the option of coloring.
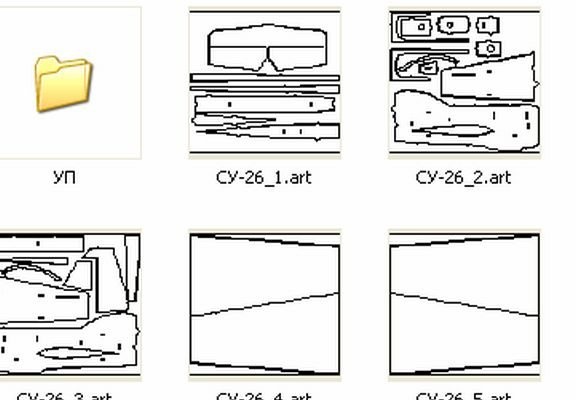

Choose the scale you need, put down the dimensions and transfer the picture to the surface of the ceiling or substrate.

Now all the details must be cut.
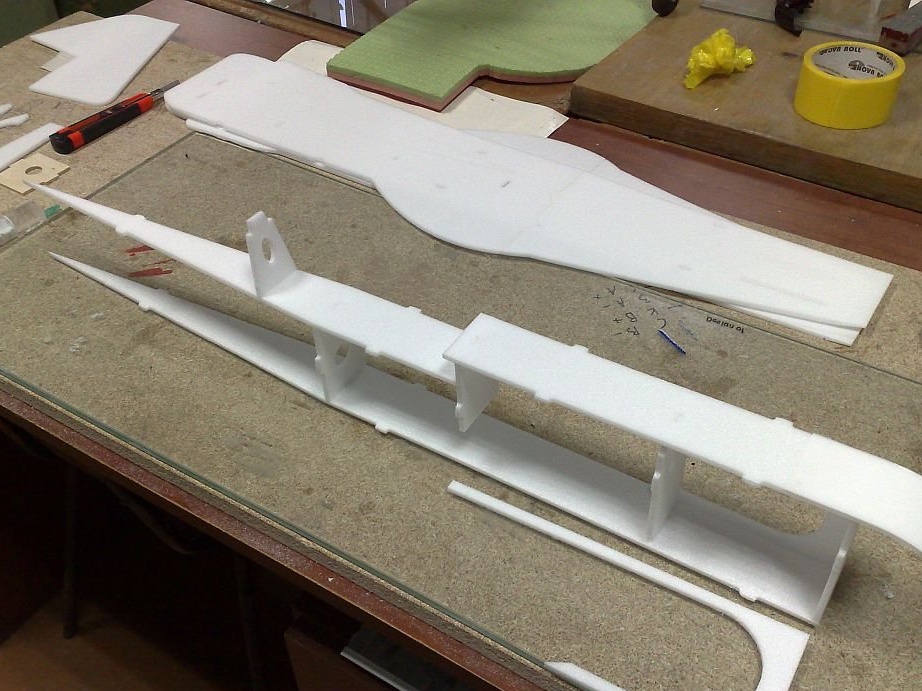
Details are cut out, proceed with assembling the model.
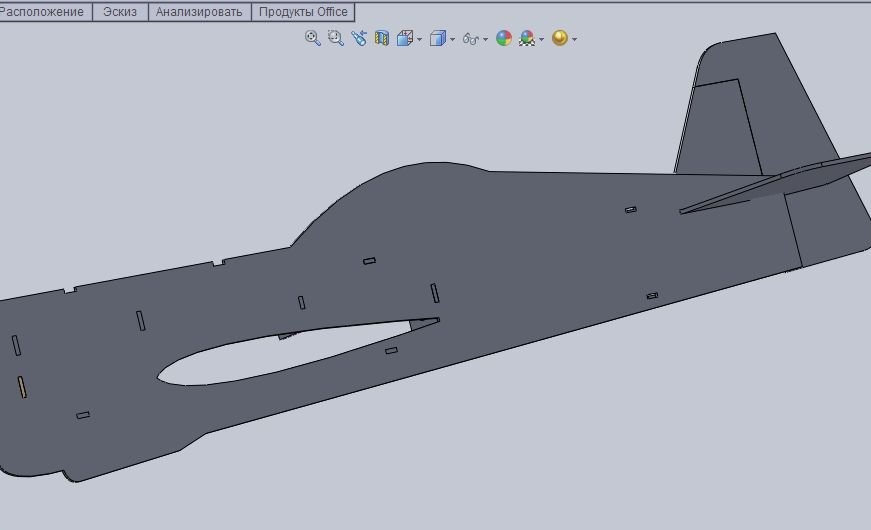
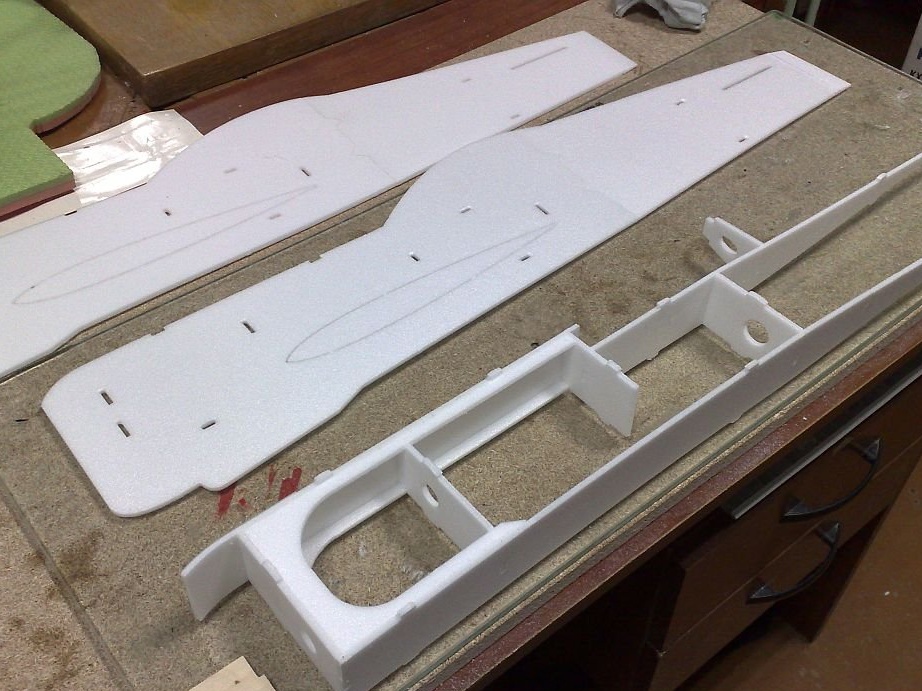
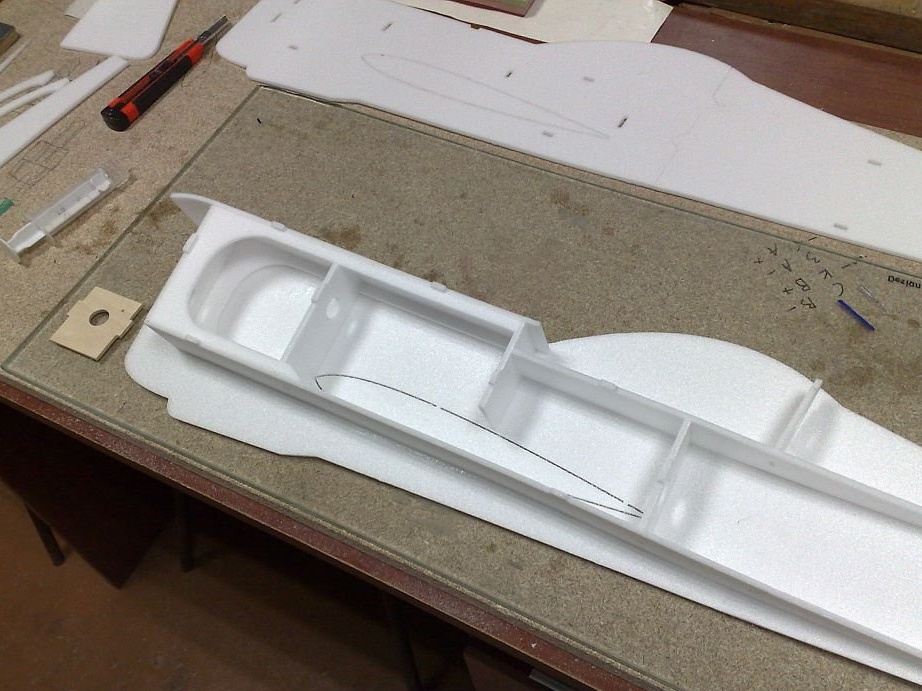
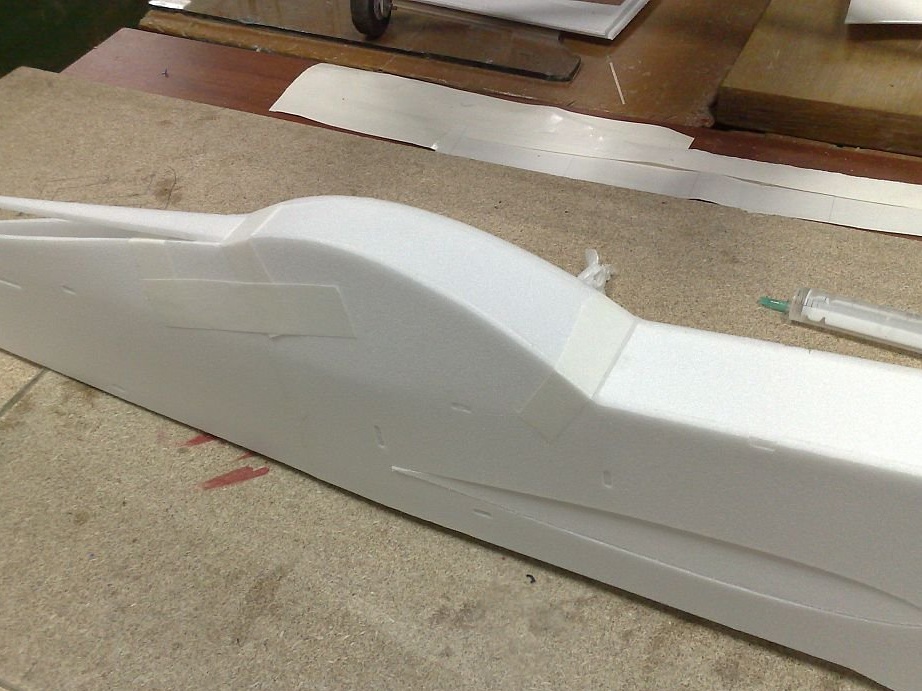
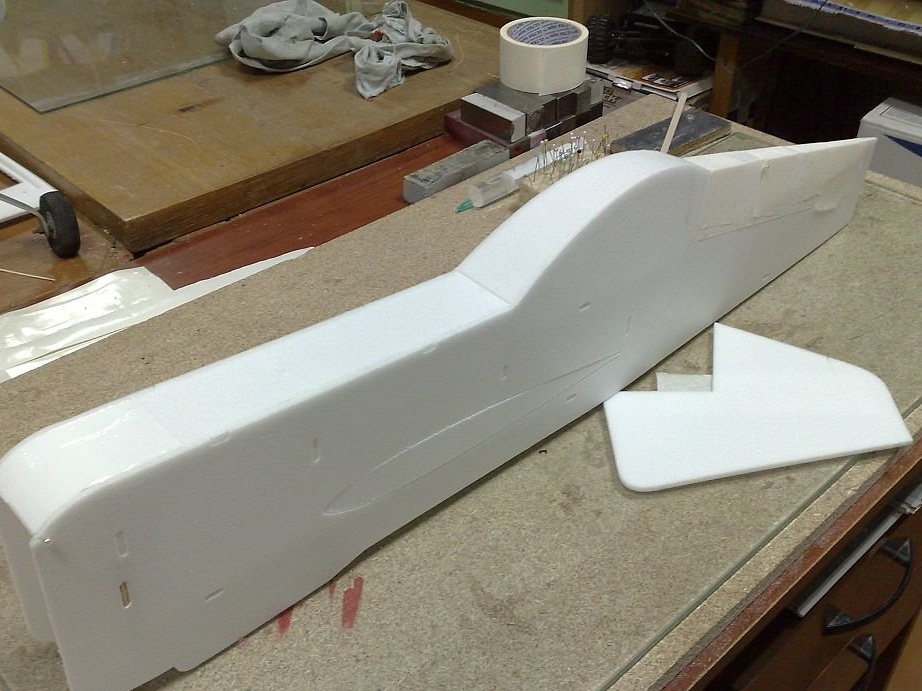
The first thing is going to the fuselage. Many photographs are offered that can be used to easily build a model.
Assembling the model is a very painstaking job, requiring accuracy and accuracy.
Coat the parts to be glued with glue with a thin layer and let them dry a little. Excess glue can be removed with a wet cloth.
Most importantly - do not rush. You have enough time while the glue is polymerizing to correct something. or change.
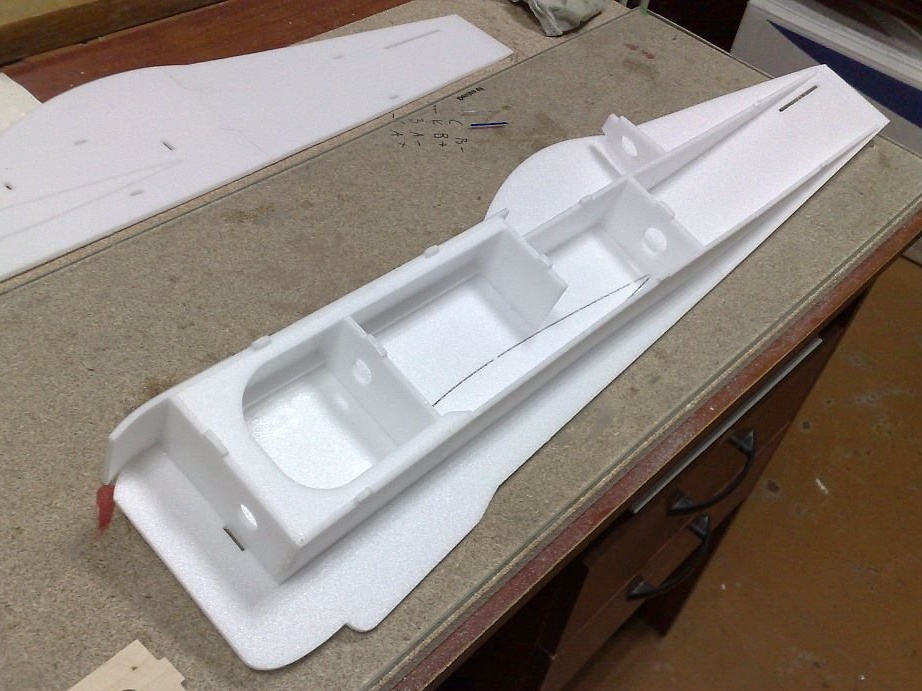
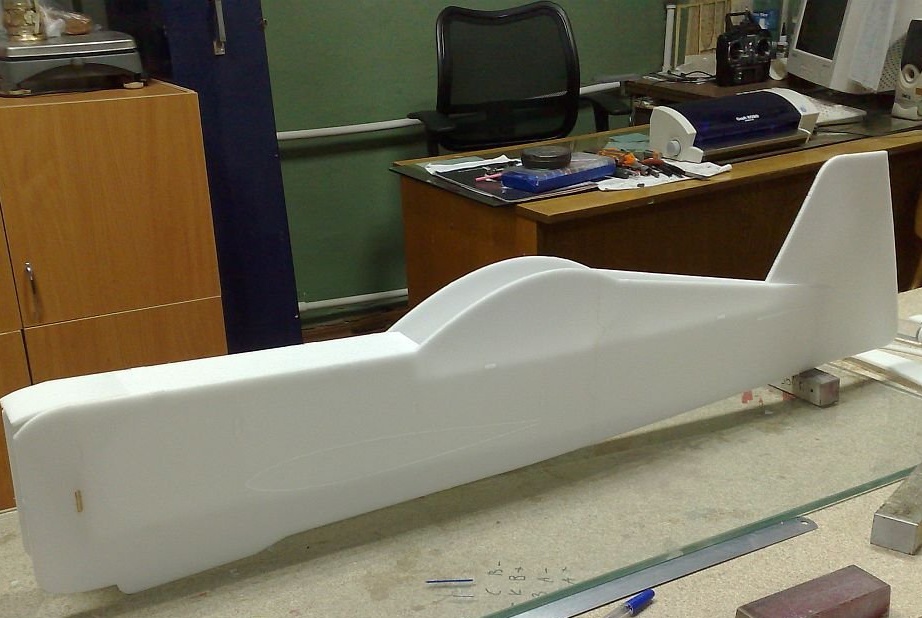
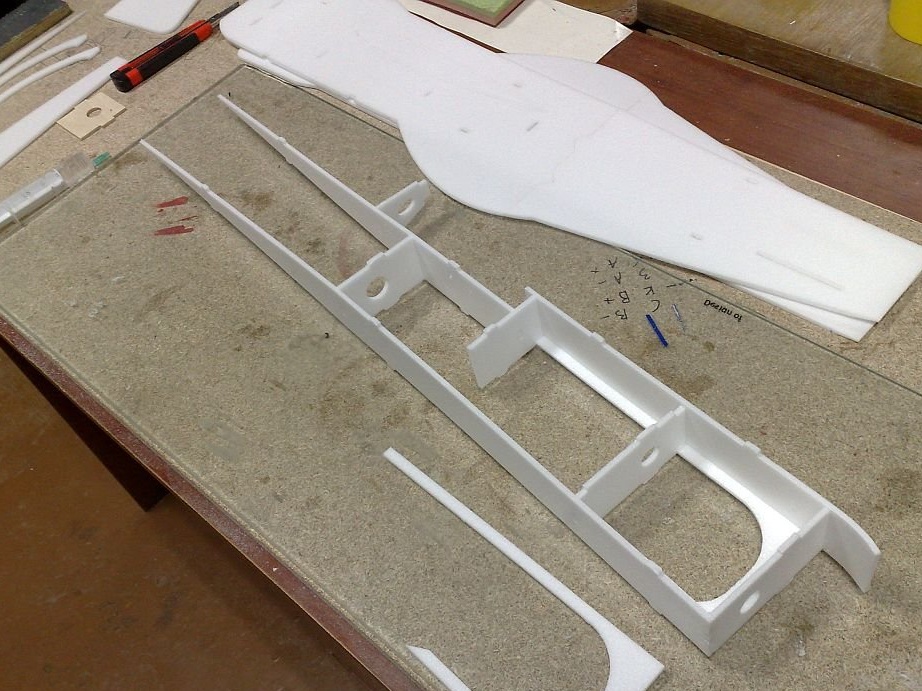
Several details are glued to complete the fuselage, this is the cockpit and gargot.
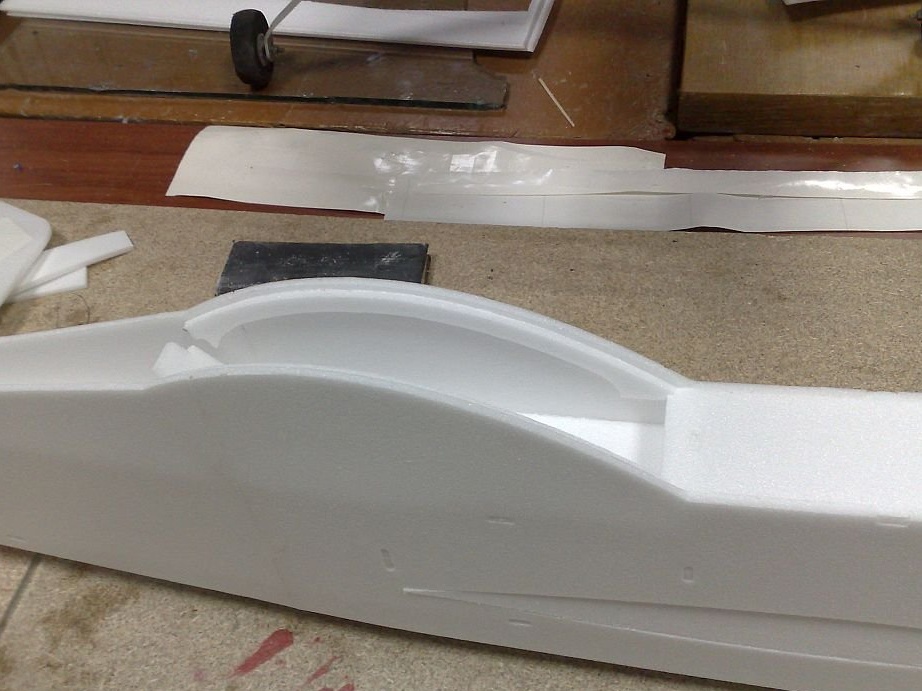
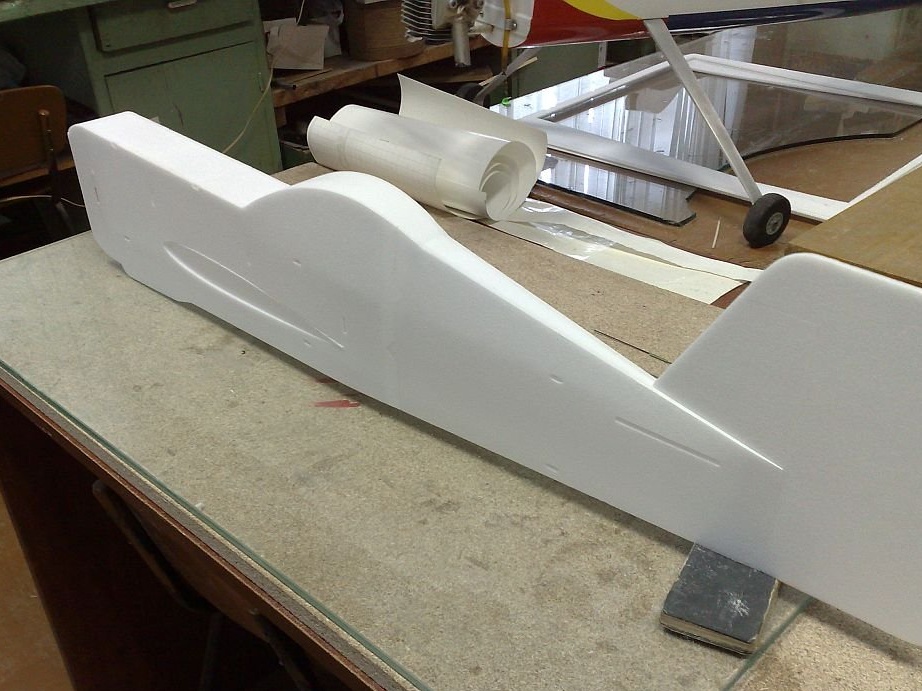
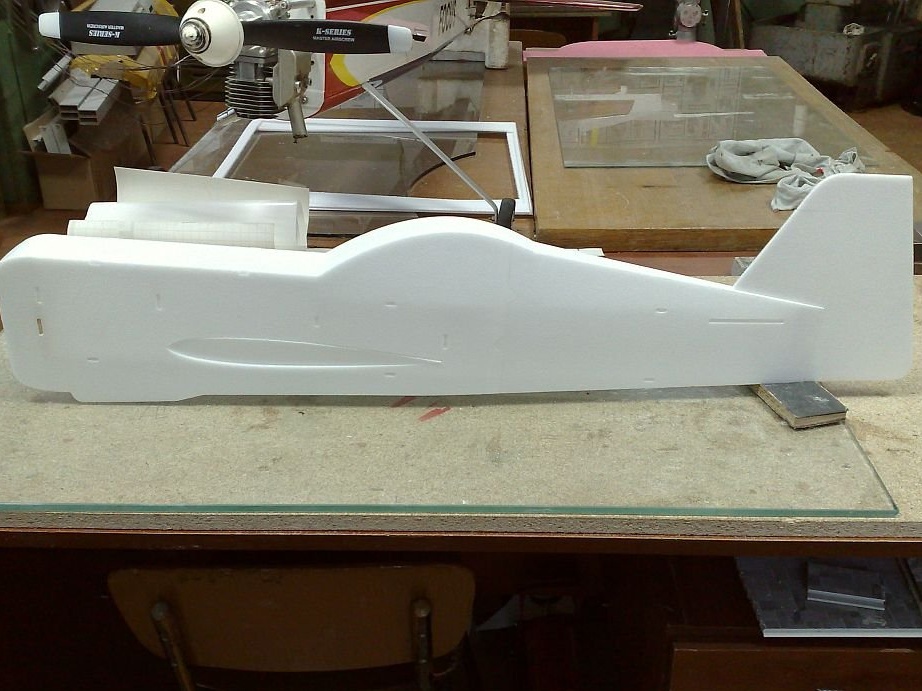
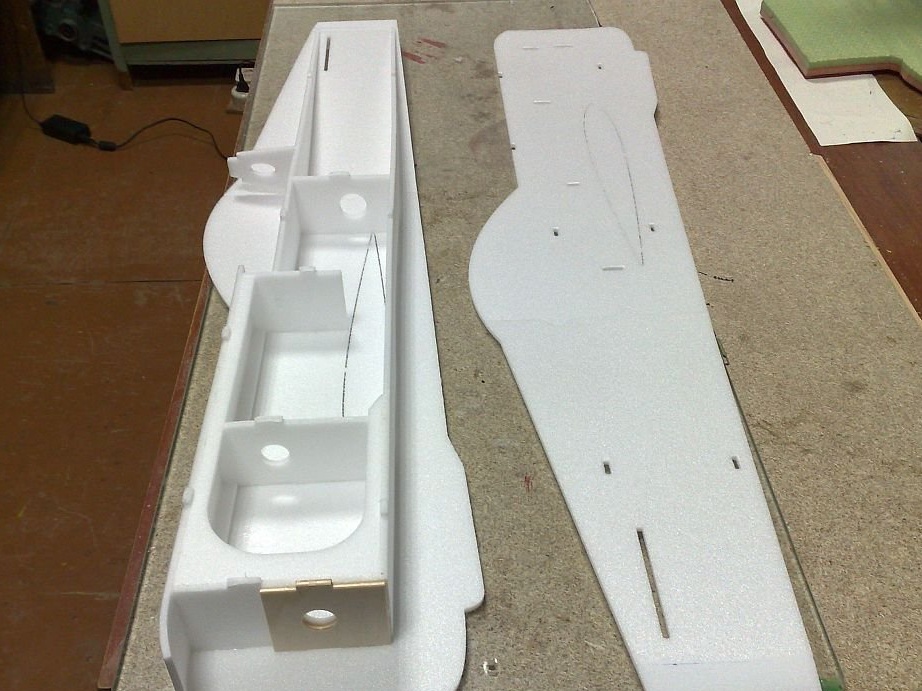
The fuselage is ready.

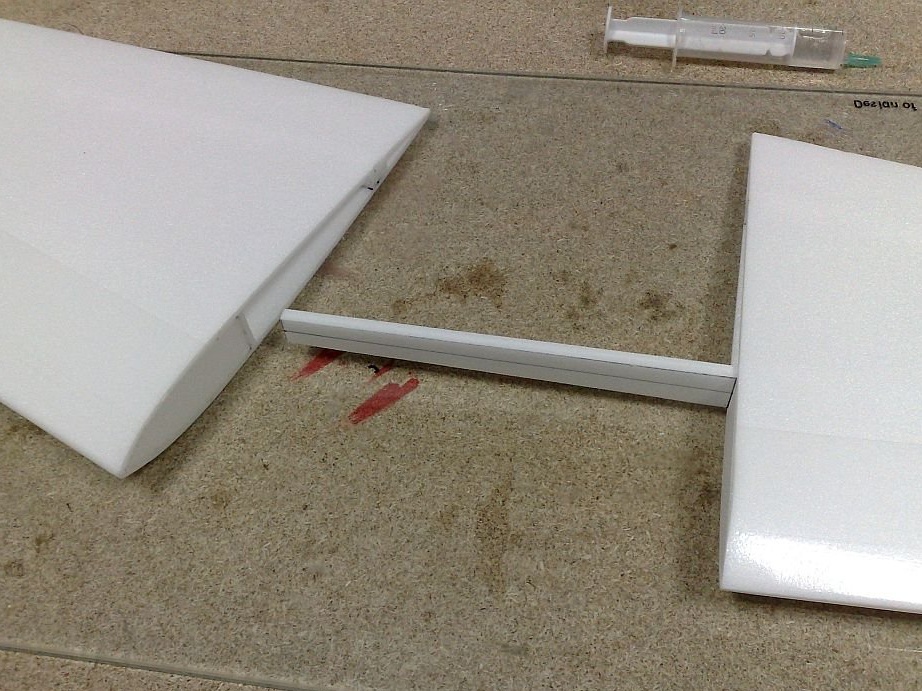
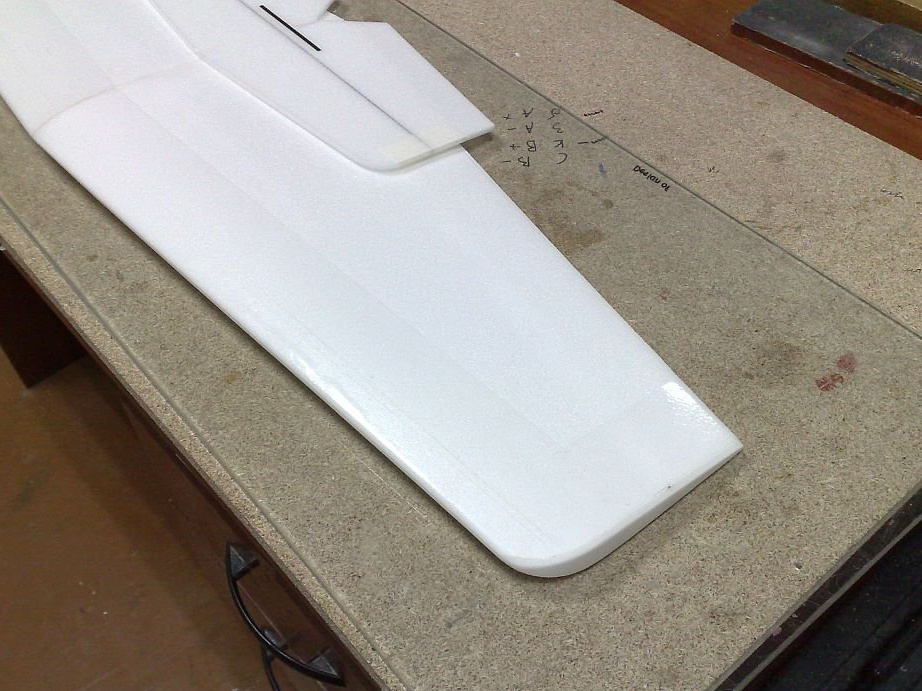
We turn to the manufacture of wings.
A small chamfer along the inner surface is removed along the front and rear edges of the workpieces.
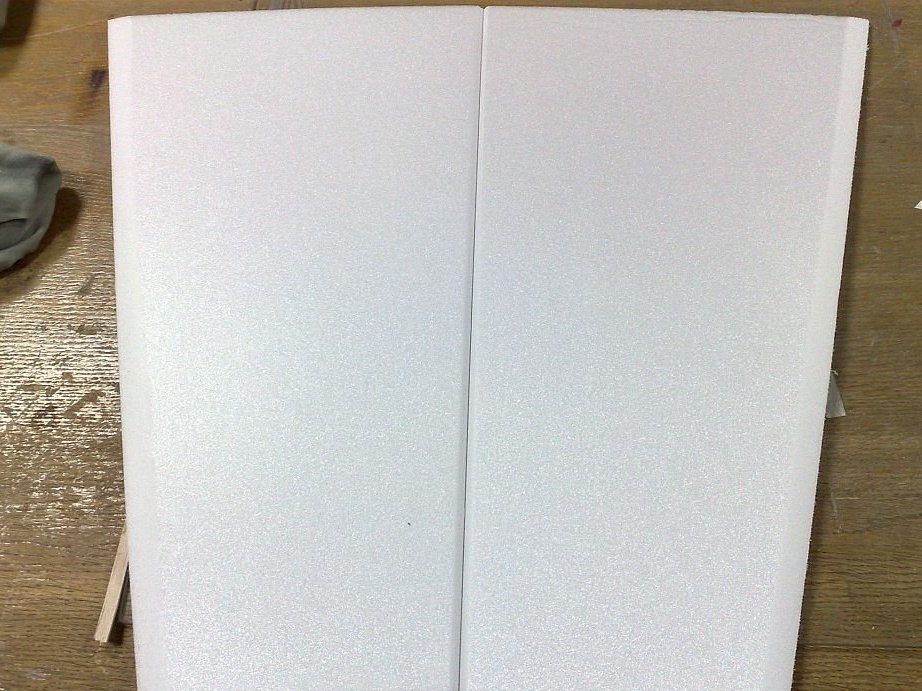
The leading edges of the workpieces are pressed against each other by transparent tape.
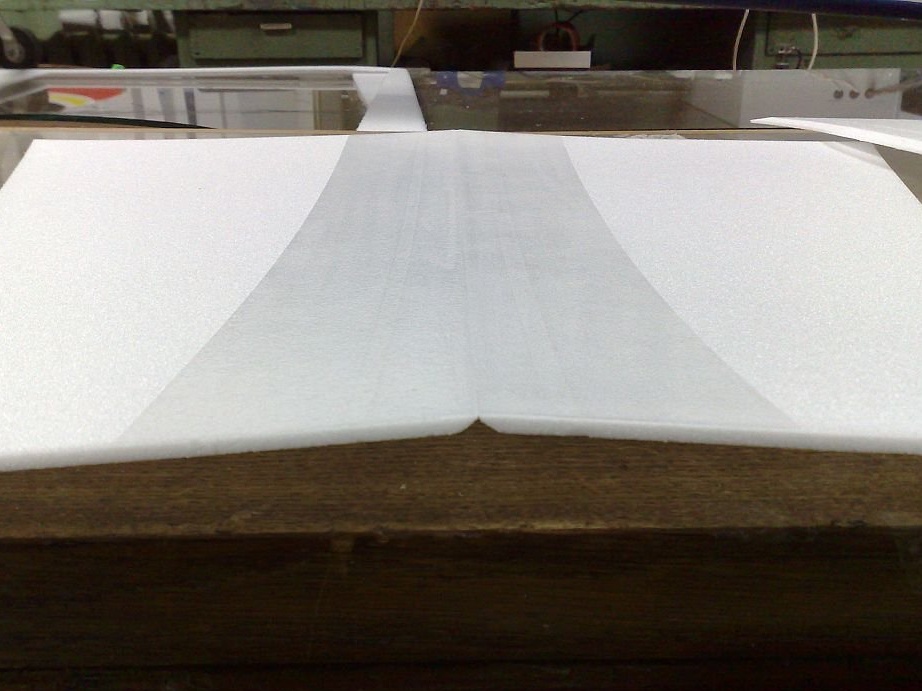
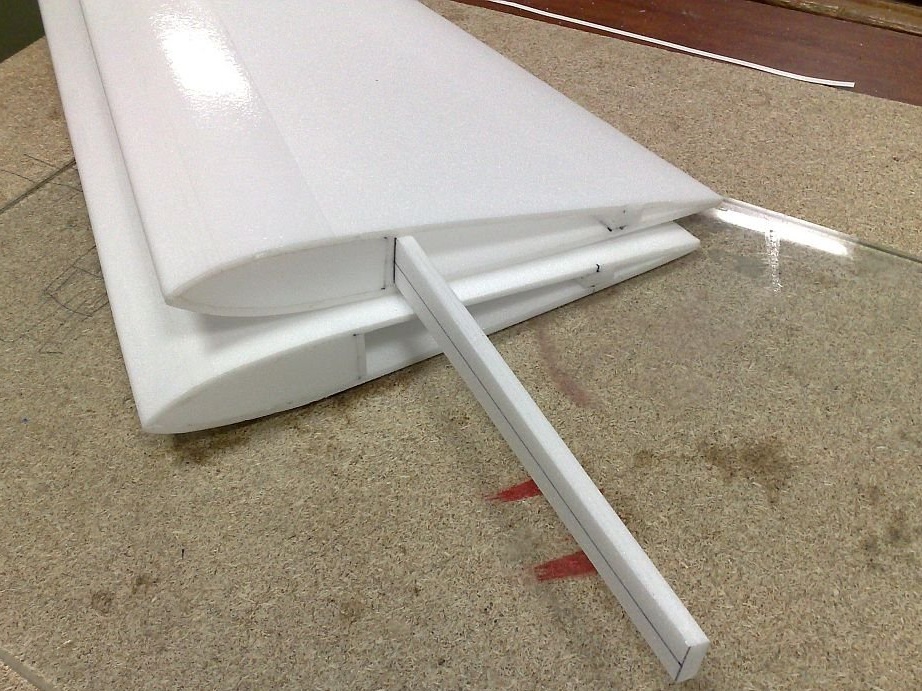
I would like to draw your attention to the fact that the spar is glued to the wing, almost in the place where the center of gravity of the model is located, 30% of the wing chord.
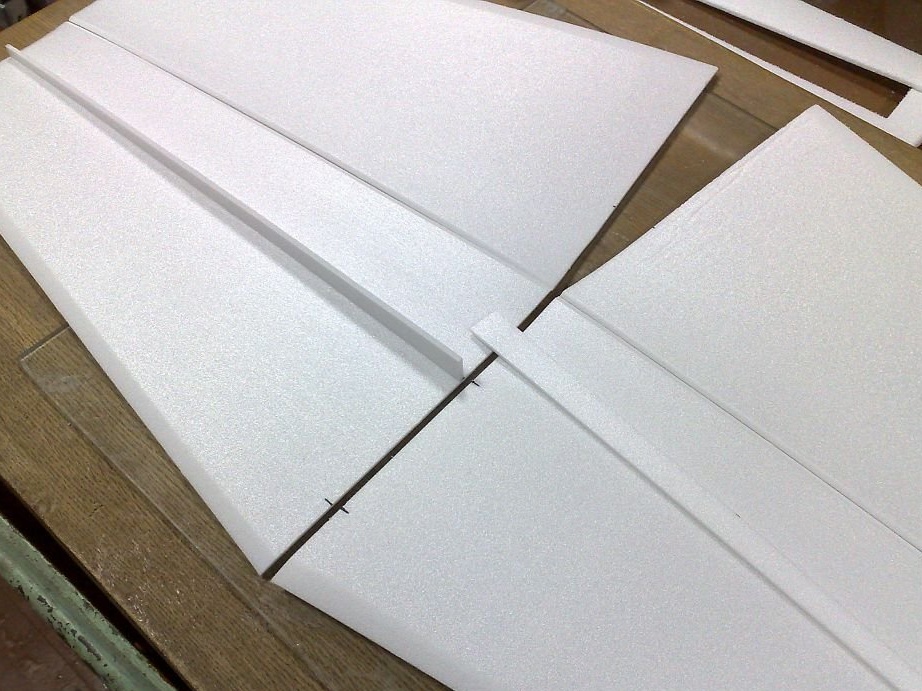
The trailing edges are cut and glued.

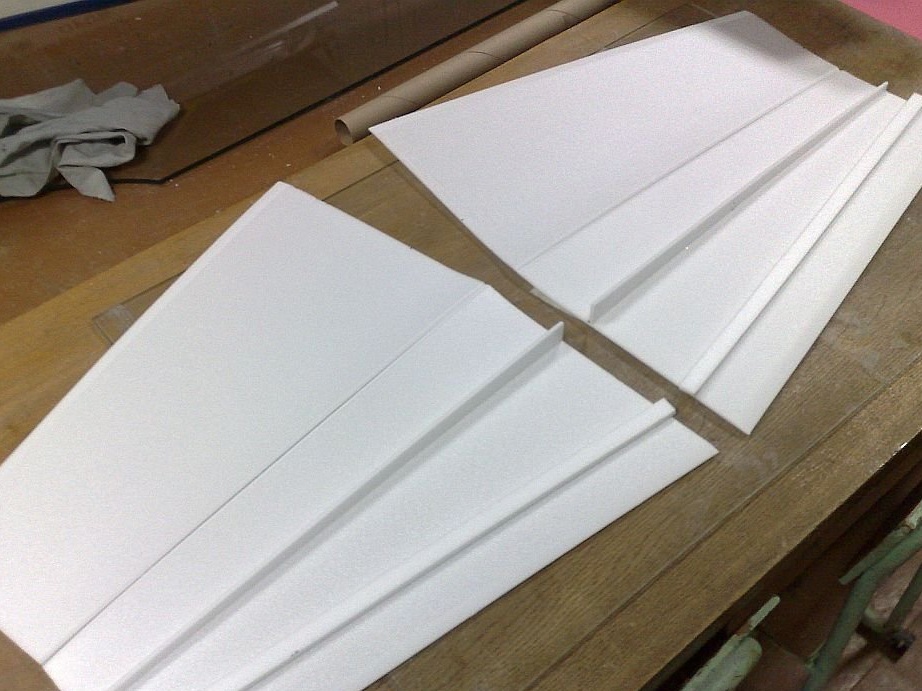
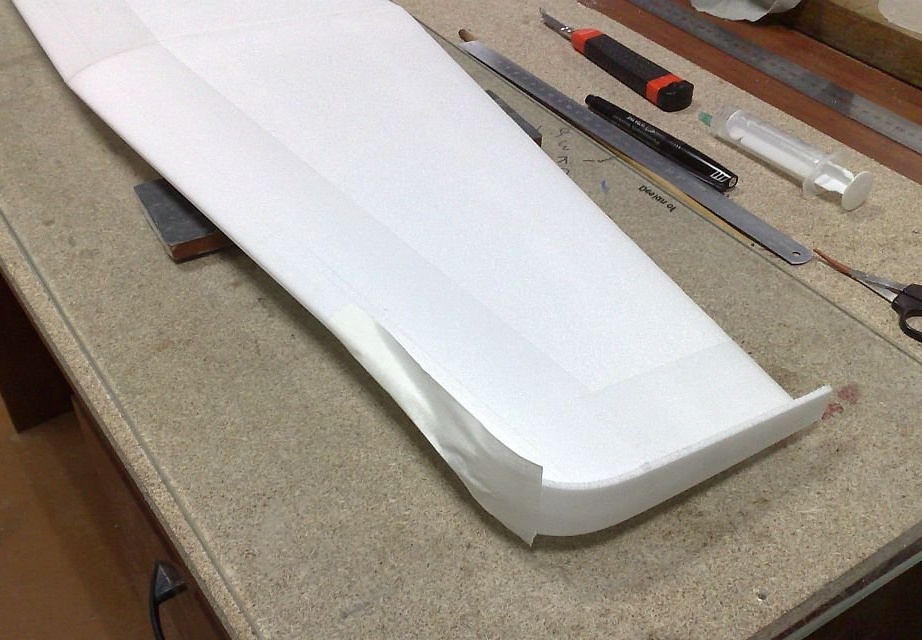
The assembly of the consoles is nearing completion.
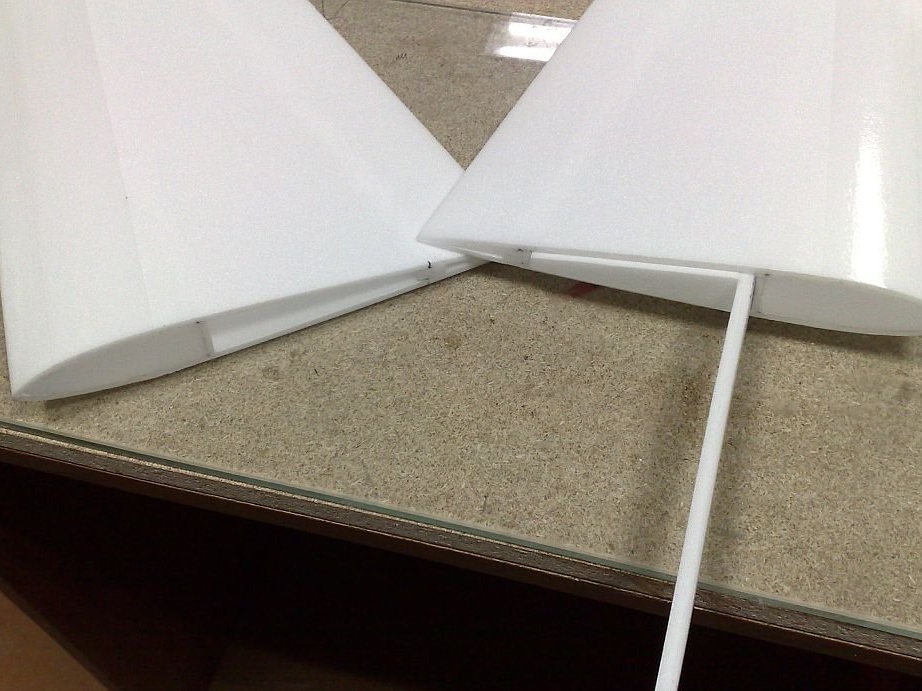

Processing wingtips.
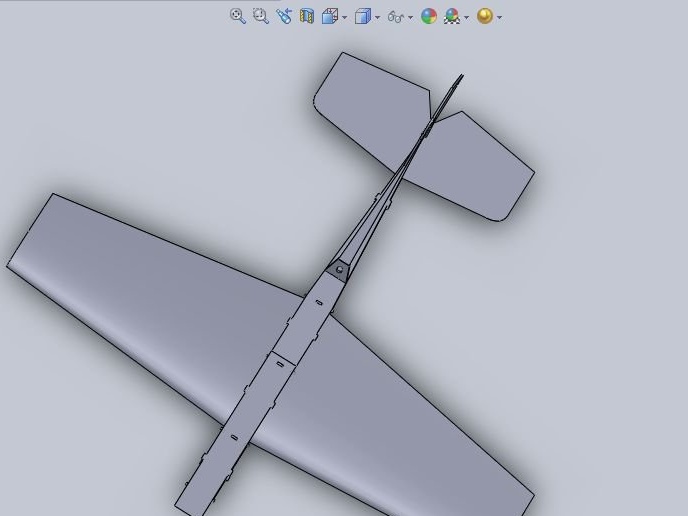
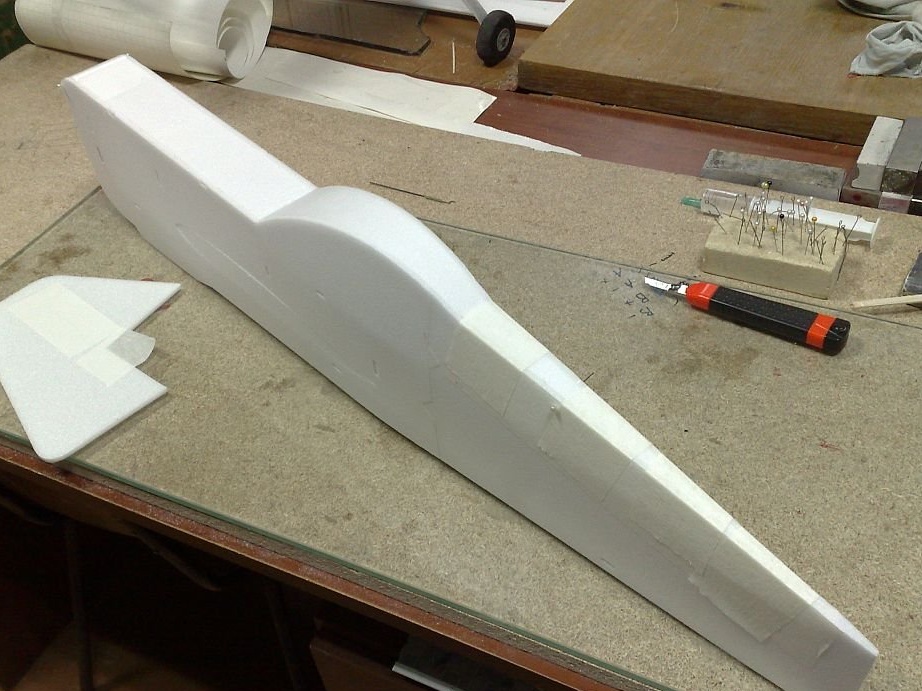
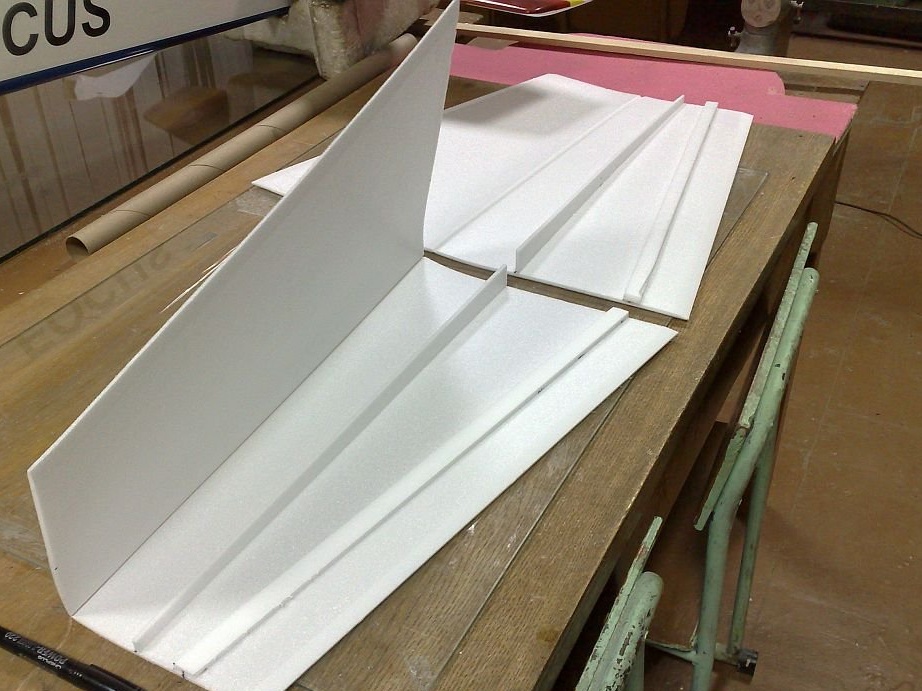
The main parts are glued together, it remains to make the stabilizer.
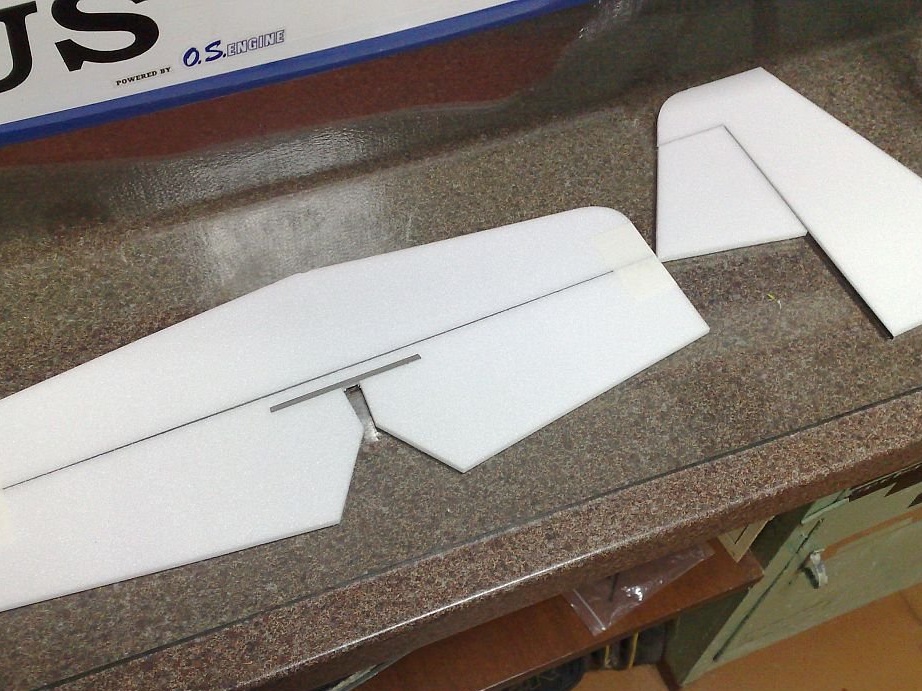
Glue the stabilizer from two layers. Do not cut off the deflecting part.
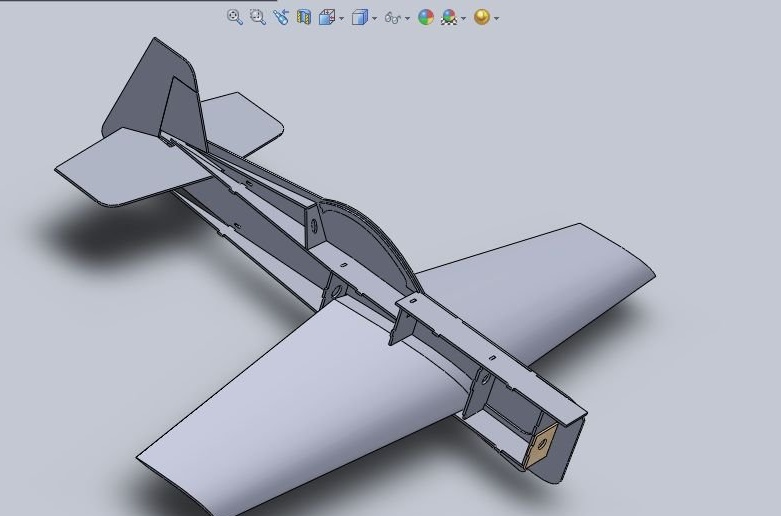
The main parts are glued together, you can assemble the entire model and tighten with tape.
That’s probably all.
The so-called "carcass" of the aircraft model is ready.

The weight of the resulting model should be about 150 - 180 g.
Can be tested in flight.
Before starting the model, check where the DH is located. If necessary, load the nose or tail of the model, balance so that the center of gravity is in the area of the spar, the third part of the wing width from the leading edge.
The assembled model, when flying even as a simple “metal”, will bring great pleasure to those who assembled this model and his friends, both adults and children. If desired, and the availability of control equipment, this model is very easy to redo by installing a motor, making LV, RV, and ailerons, and putting servos to control them.
Good flights and soft landings.