Hello everyone, in this instruction we will look at how to make a simple miniature muffle furnace from improvised materials. In it, you can melt aluminum, and also harden or temper steel, say, for making a knife. The author uses a furnace to heat automotive spark plugs. From the obtained ceramics it turns out to make excellent nozzles for a sandblasting apparatus.
Despite the small size, the furnace turned out to be quite powerful, here a 3 kW heating element is used, which heats the furnace to 900 degrees Celsius. If you are interested in the project, I propose to study it in more detail.
Materials and tools used by the author:
Material List:
- two cans of paint or canned food of suitable sizes;
- a spiral of 3 kW from the electric stove;
- Alabaster (building gypsum);
- two bolts with nuts (for contacts);
- steel wire (for legs);
- wires;
- heat resistant paint;
- radio components for the manufacture of a power regulator;
- junction box or other enclosure for power regulator.
Tool List:
- a hacksaw for metal;
- grinder;
- a container for stirring gypsum;
- soldering iron;
- vise;
- pliers.
Furnace manufacturing process:
Step one. Cast the inside
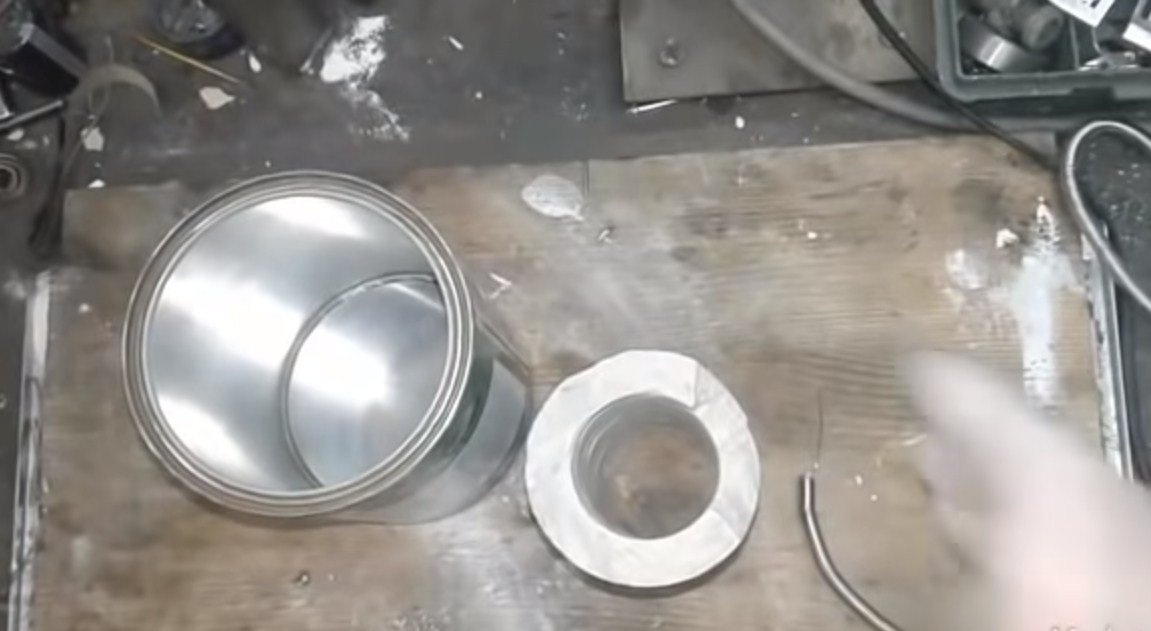
The furnace is made gradually, first the inside is cast, and then the outside. For the manufacture of these parts, we need two cans of paint or the like. One jar will be smaller and the other larger.
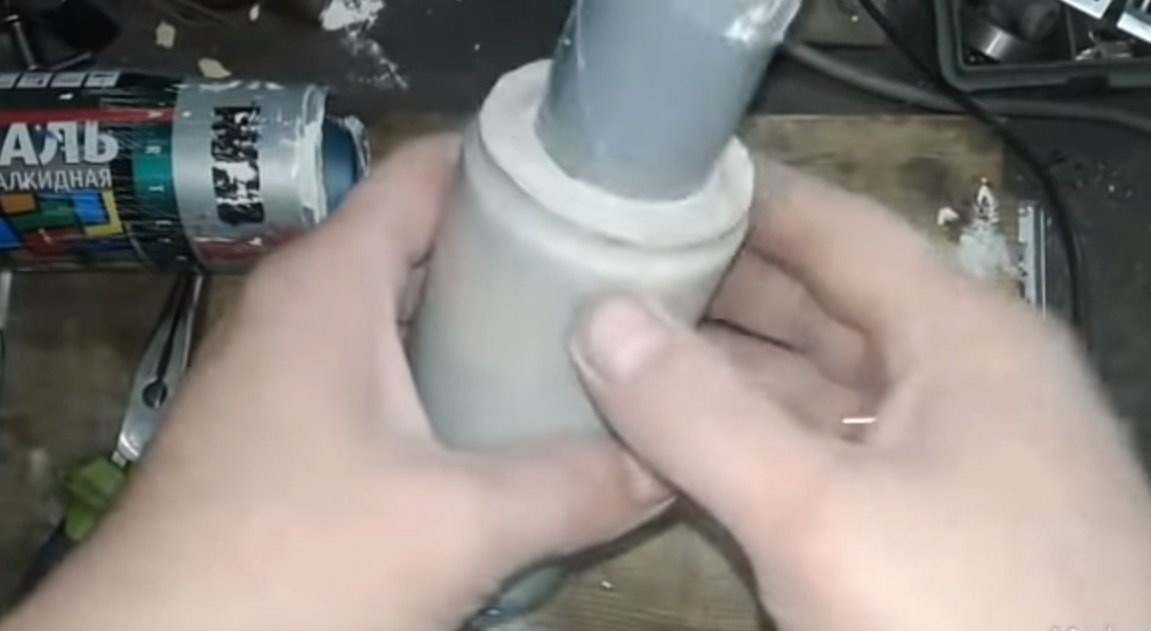
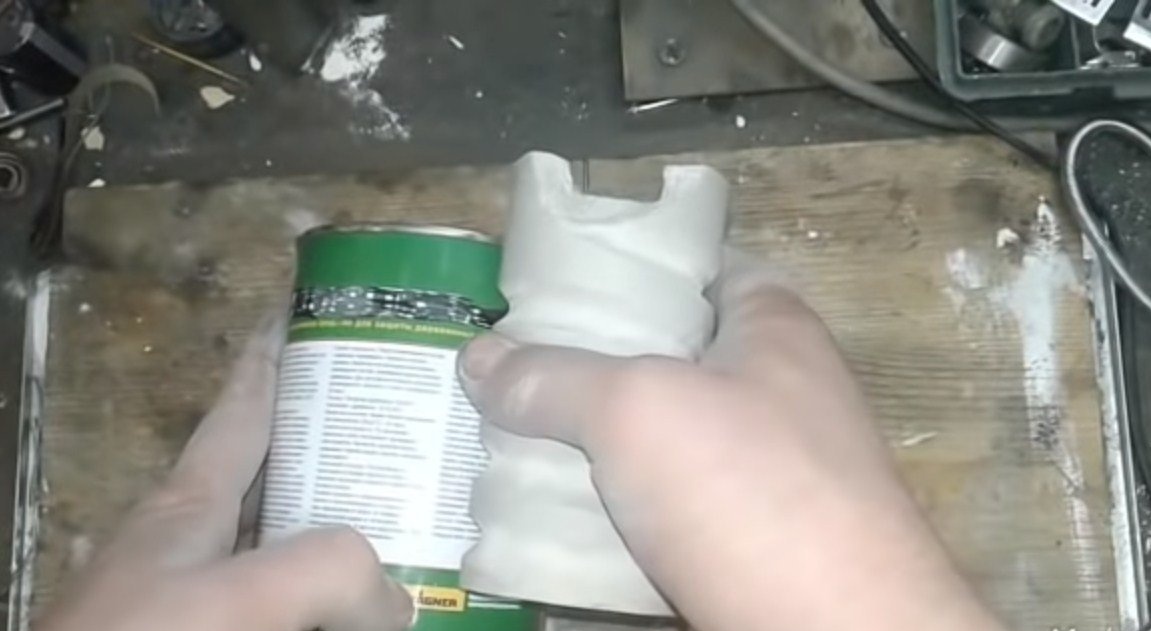
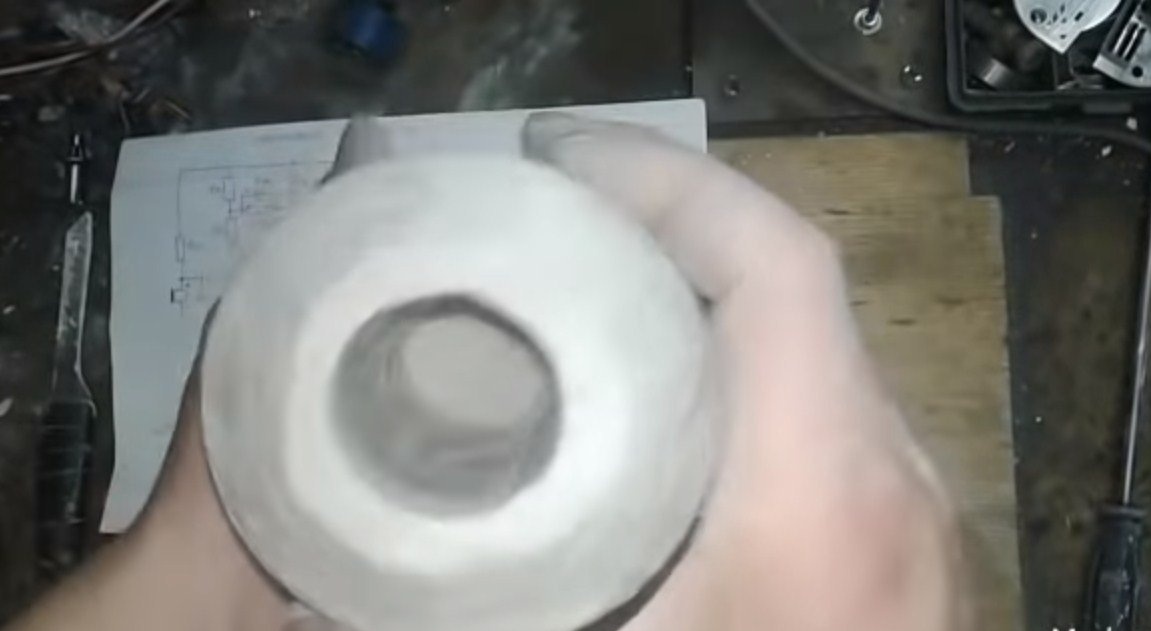
To begin with, cast the inside of the furnace from gypsum. To do this, take a tin can of a smaller size and install a piece of PVC pipe in it. We wrap the pipe with tape so that it can then be easier to pull out of the set gypsum.
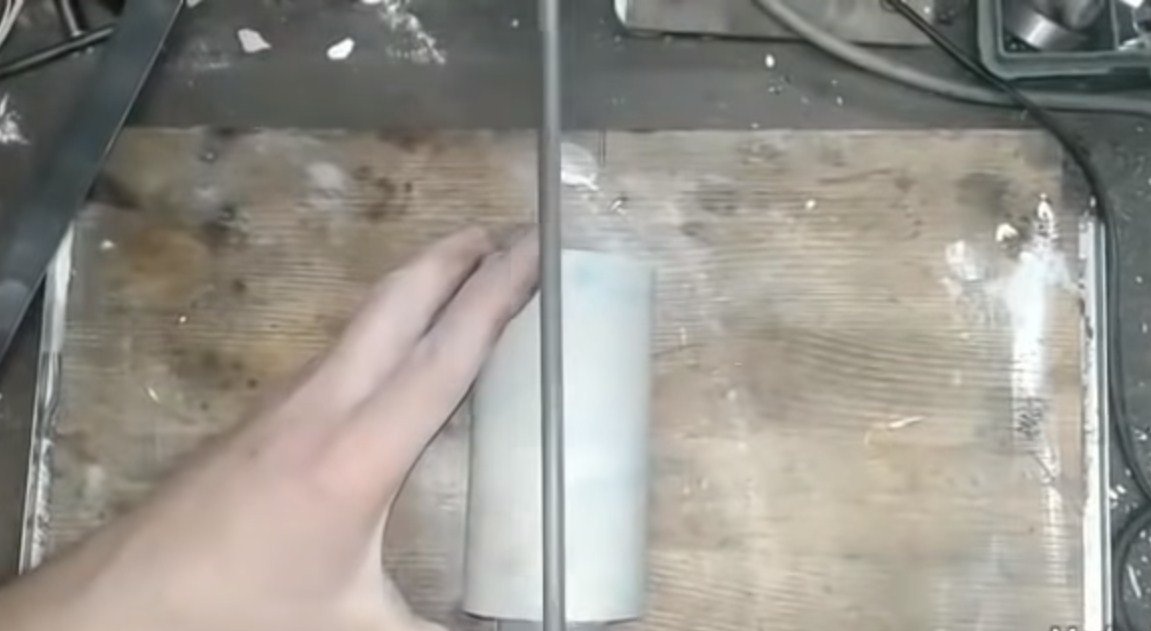
After installing the pipe, fill the gypsum in a jar and wait for it to dry. Well, then you need to remove the jar, for this it can be easily cut with a grinder or other tool. But it may be more difficult to pull out the inner pipe, the author had to cut it along the inside with a hacksaw for metal.The author held the pipe so firmly that he even accidentally broke off a piece of gypsum, but this did not affect the design of the furnace.
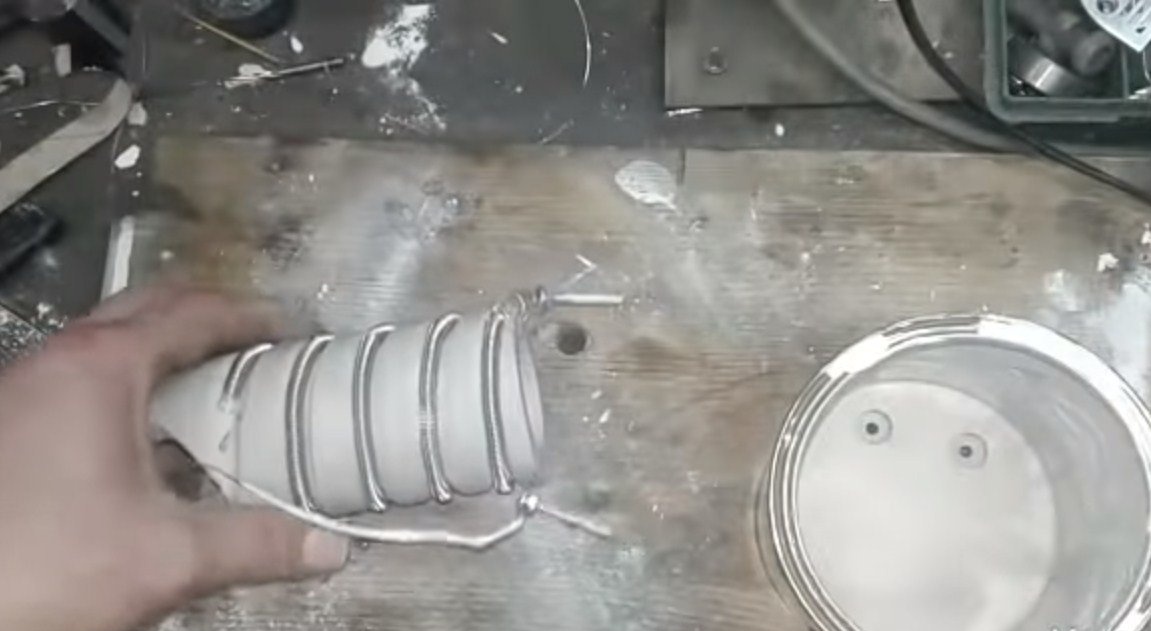
Step Two Spiral
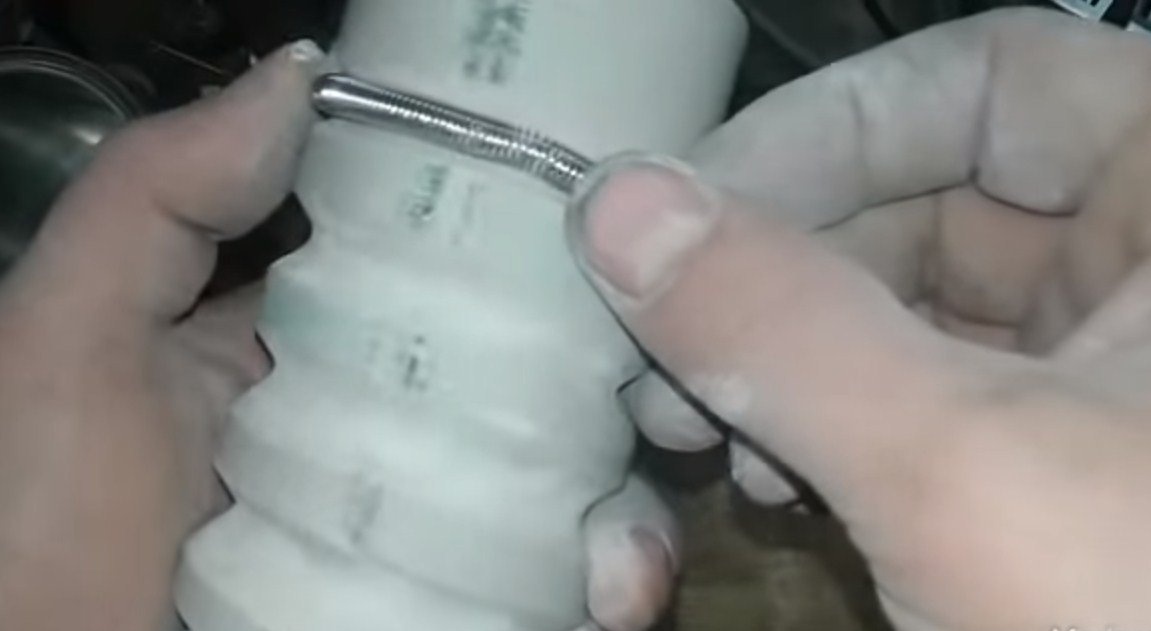
In the previously manufactured parts, in a circle you need to groove a groove, here we will lay the spiral. First, we mark everything out, and then go through a file or other accessible tool.
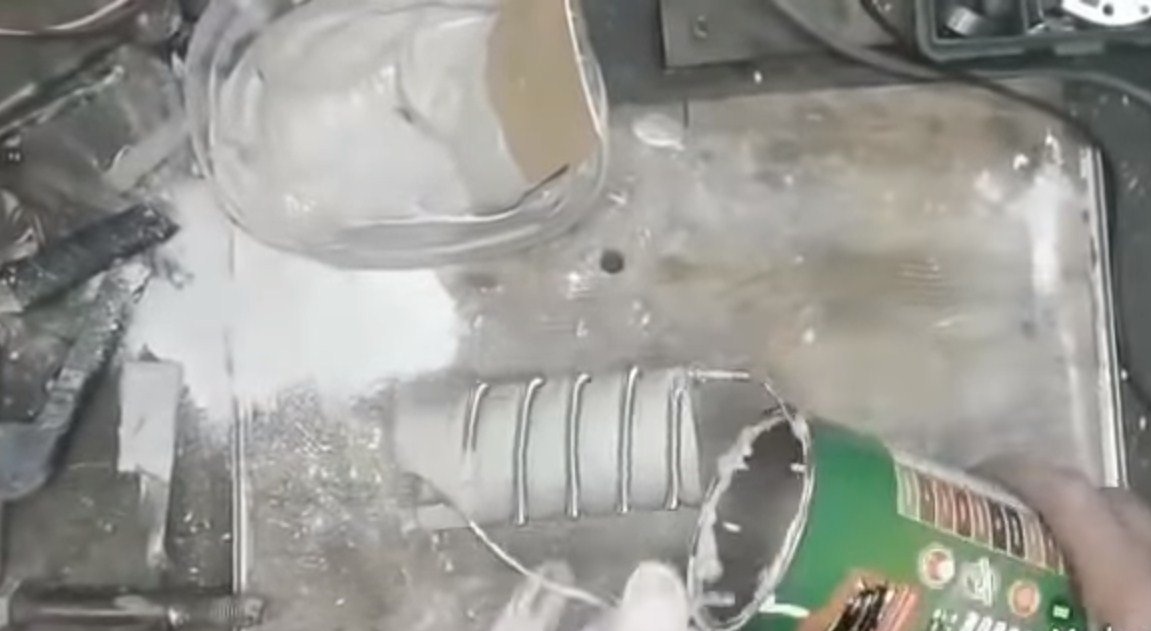
Step Three Cast the outer part of the furnace
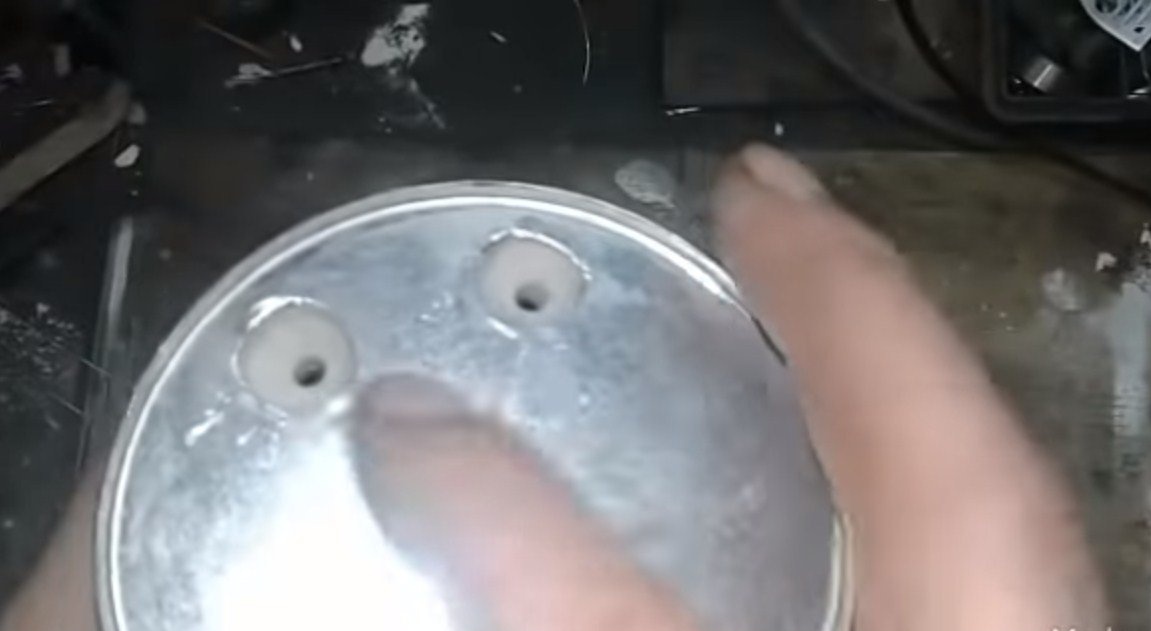
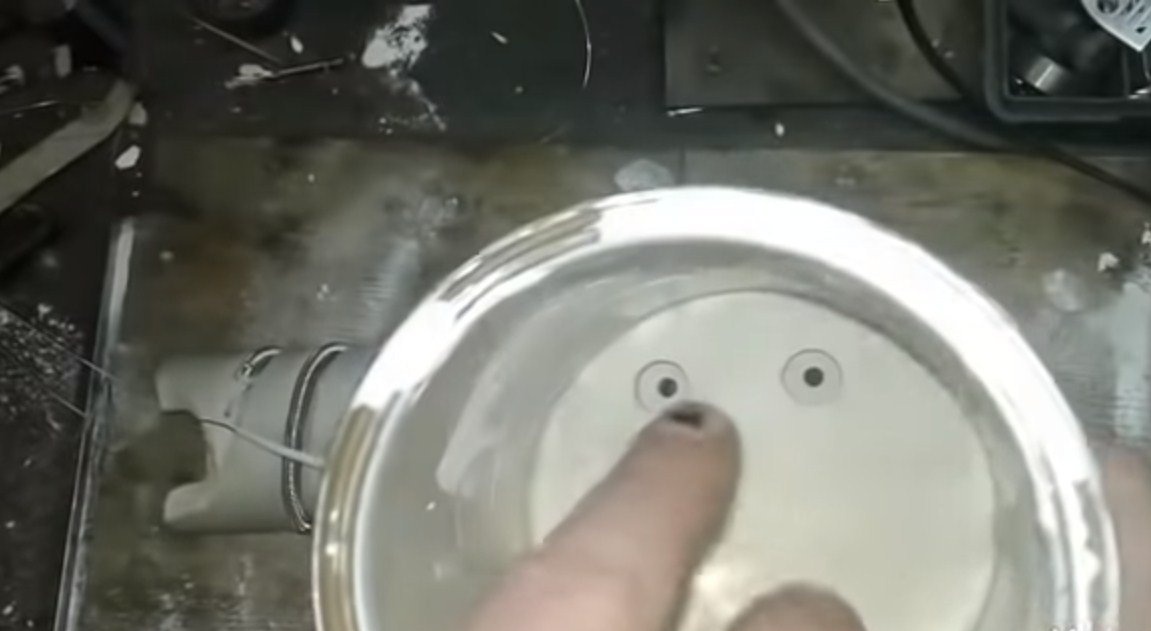
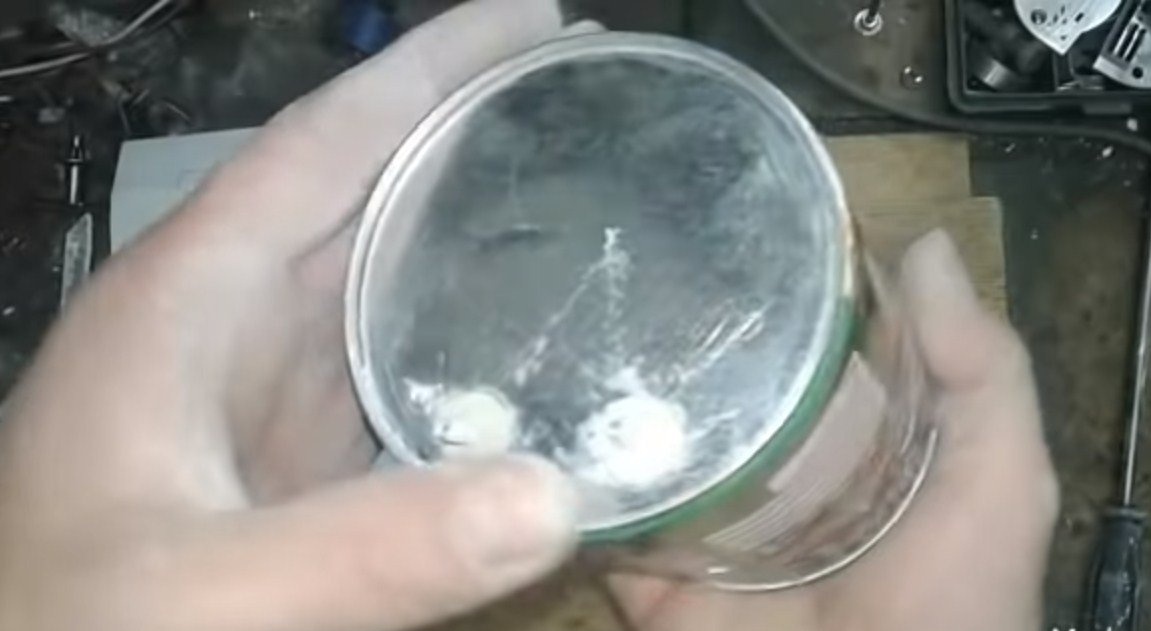
We take a jar of a larger diameter and pour the bottom out of gypsum. Then we drill holes for the contacts, which will be two screws with nuts. We cut the metal around the holes so that there is no short circuit.
We establish contacts and the central part with a spiral in a jar and fill it with gypsum. We leave the whole thing to dry. Instead of gypsum, you can use special heat-resistant compounds.
Step Four Power regulator
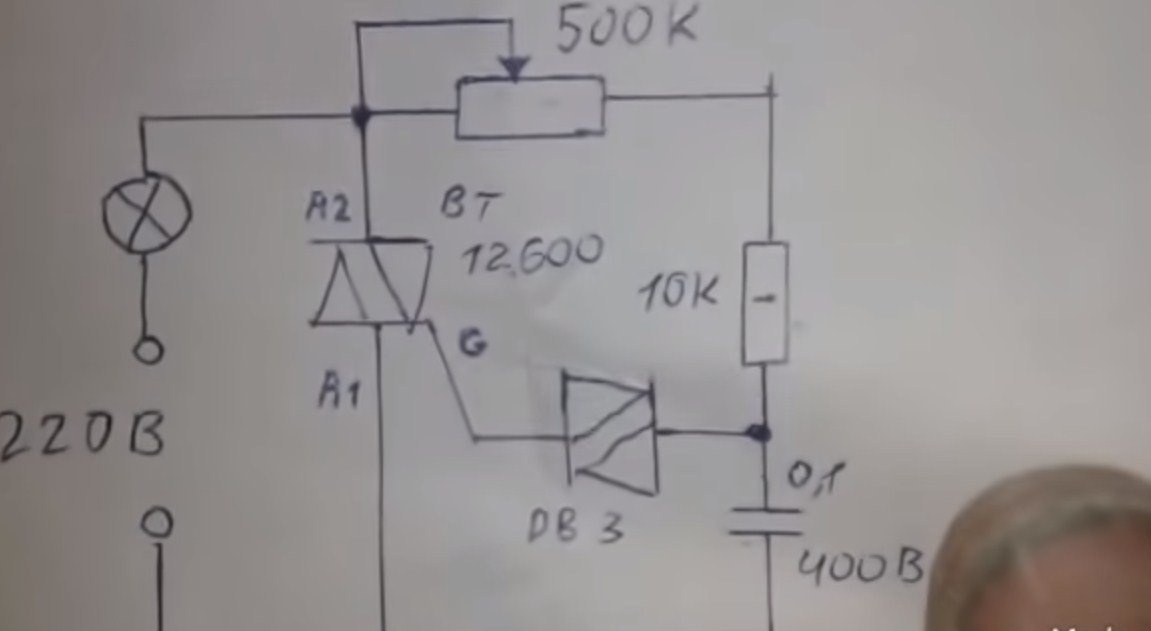
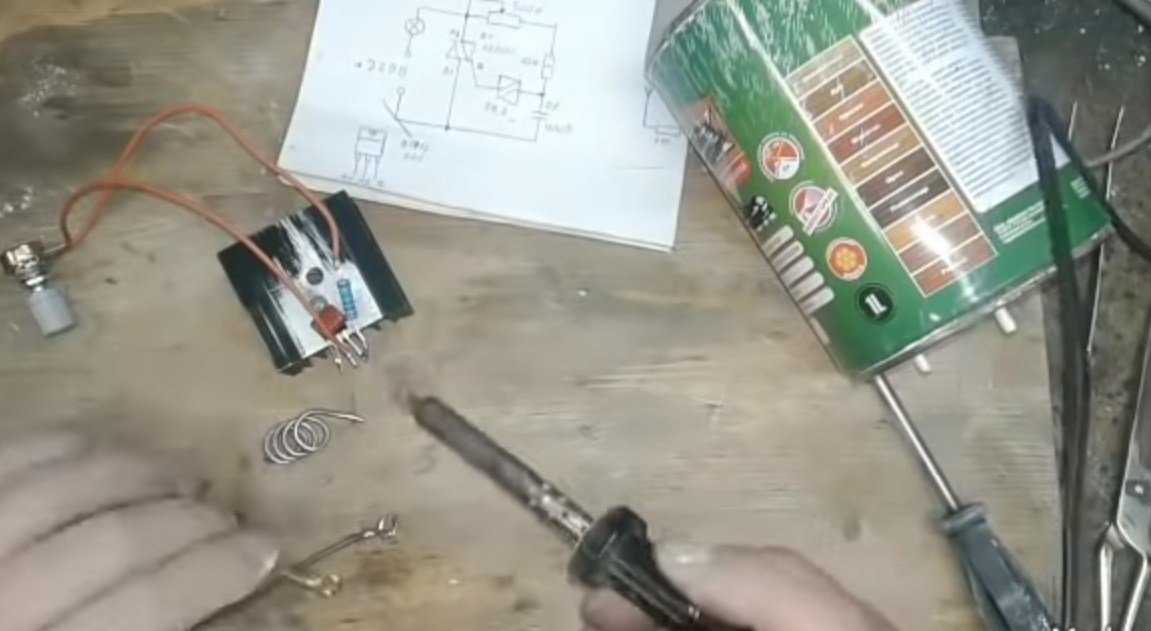
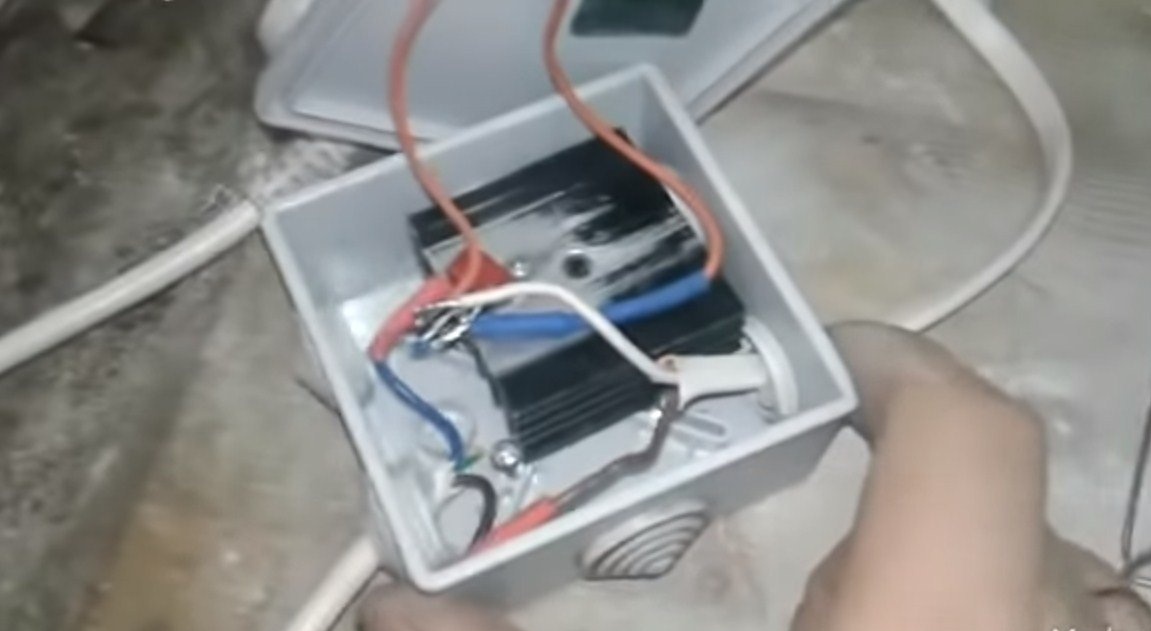
We make a power regulator for the furnace, it will allow you to adjust the desired temperature, as well as smoothly turn off the furnace, which will extend its service life. We assemble the regulator in accordance with the scheme. And to hide all the elements, the author used an electric junction box. Everything turned out neatly and safely. The controller is removed from the furnace to a safe distance so that it does not overheat.

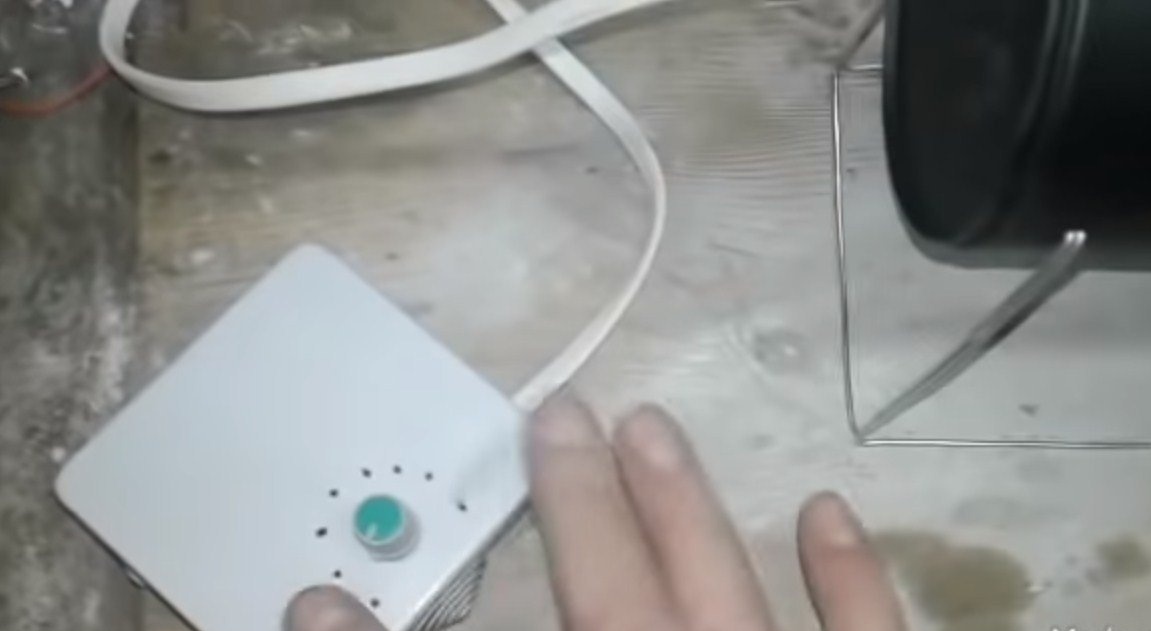
Step Five Finishing touches
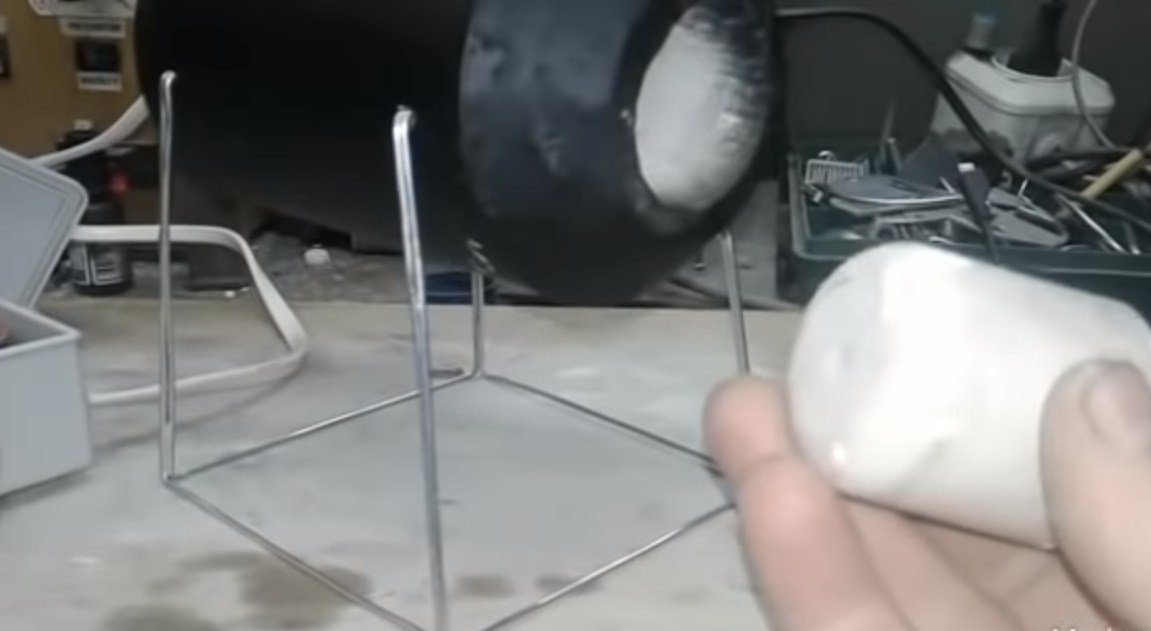
In the end, we make legs for the furnace, for this you can use a steel wire. The author soldered the legs, and secured them by drilling a small depth of holes in the body. Everything turned out neatly and beautifully.
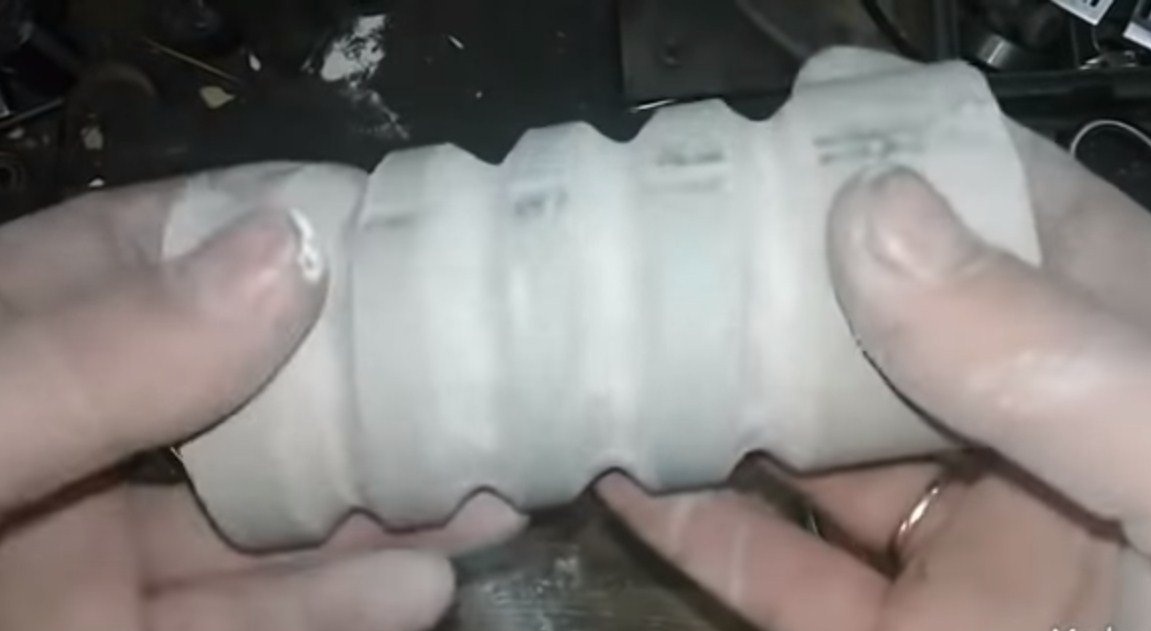
Also make a cork for the stove; it can be cast from plaster. As a result, we paint the case with heat-resistant paint so that everything looks perfect.
Step Six Test
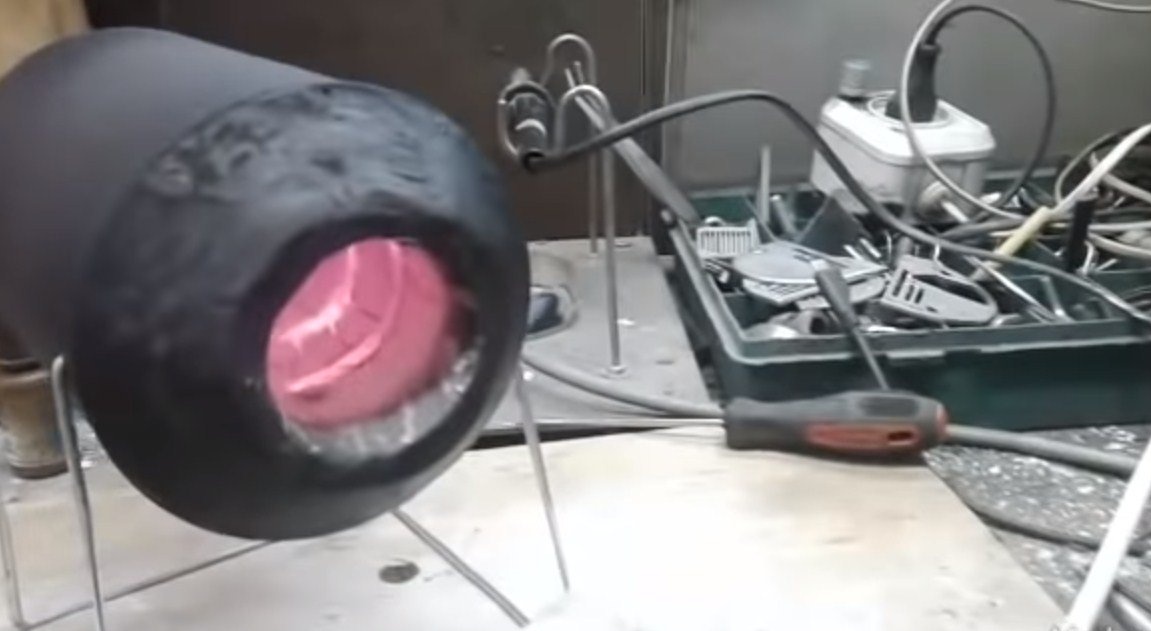
We start the furnace, first set a low temperature so that the furnace warms up smoothly. At first, steam or even smoke can come from it, this is normal, everything that needs to burn will burn, then the furnace will work normally. Well, then gradually bring the furnace to full power, after 30 minutes everything inside glows red.
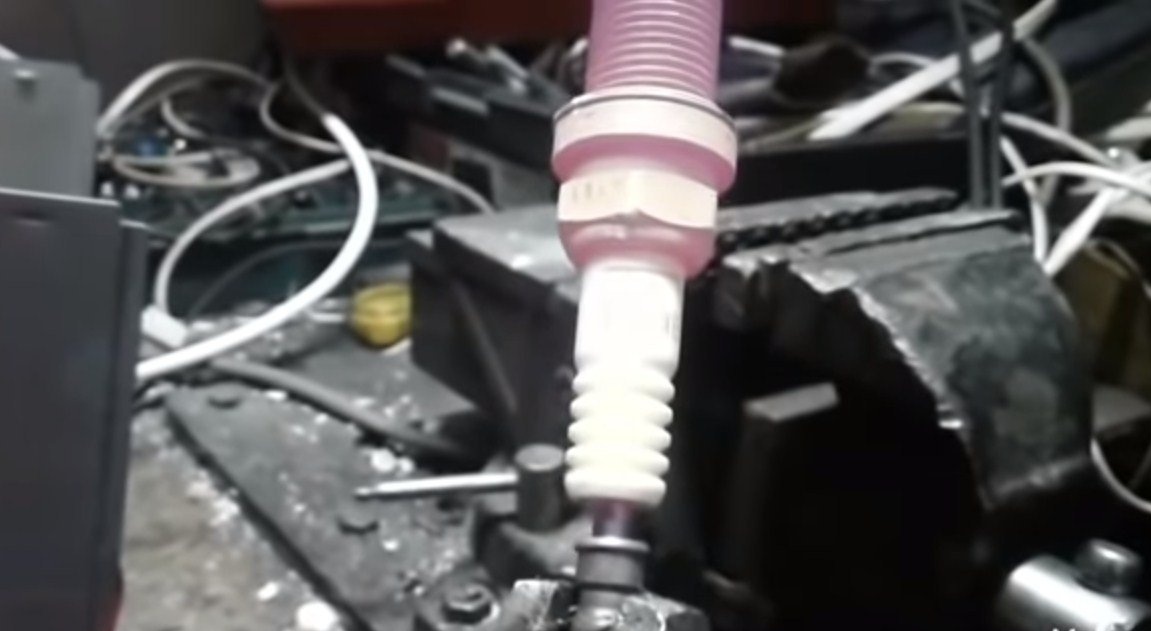
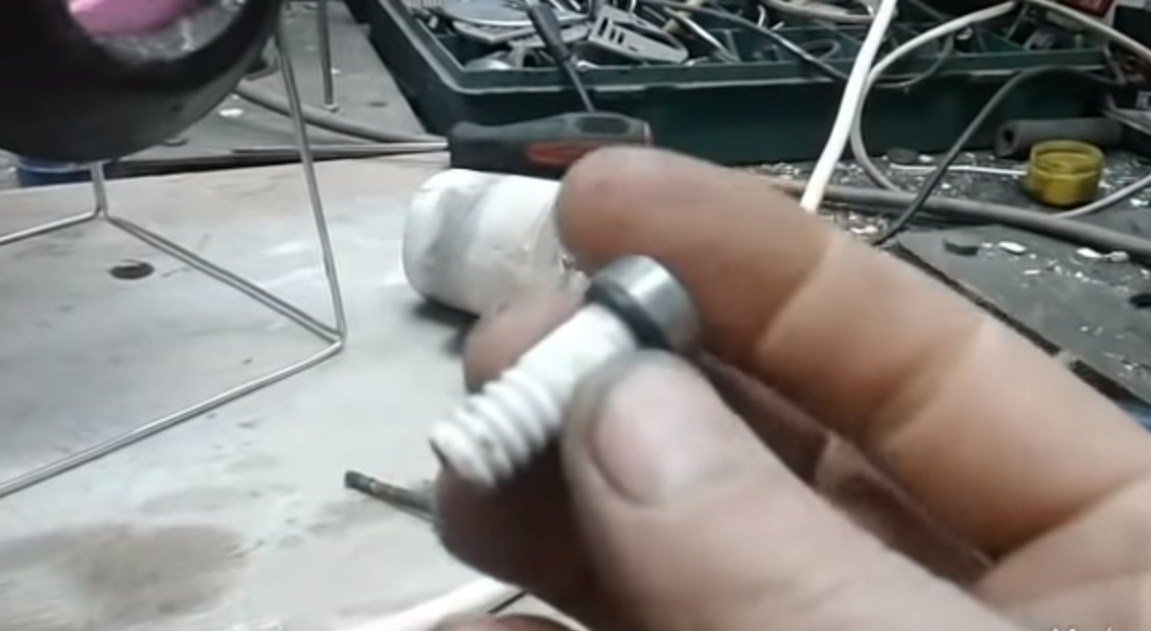
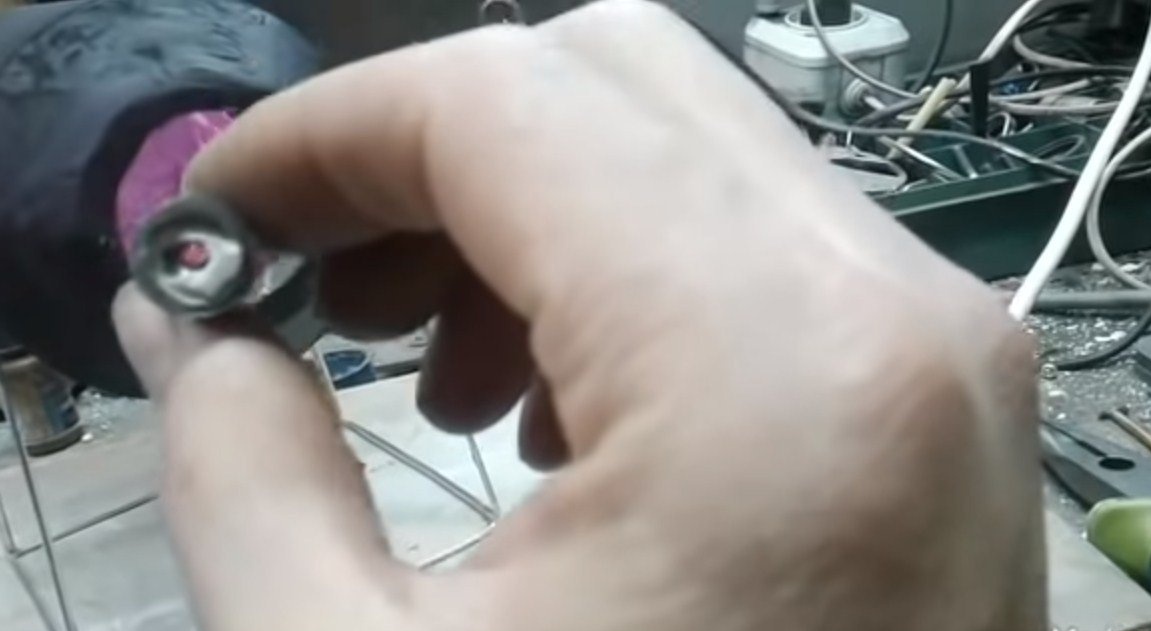
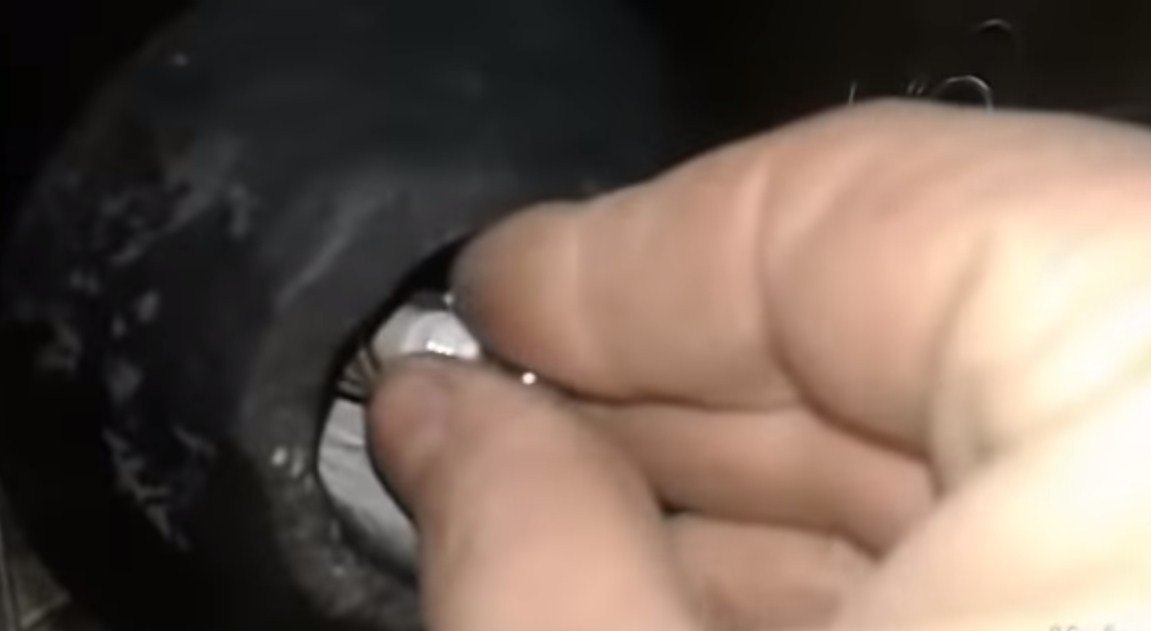
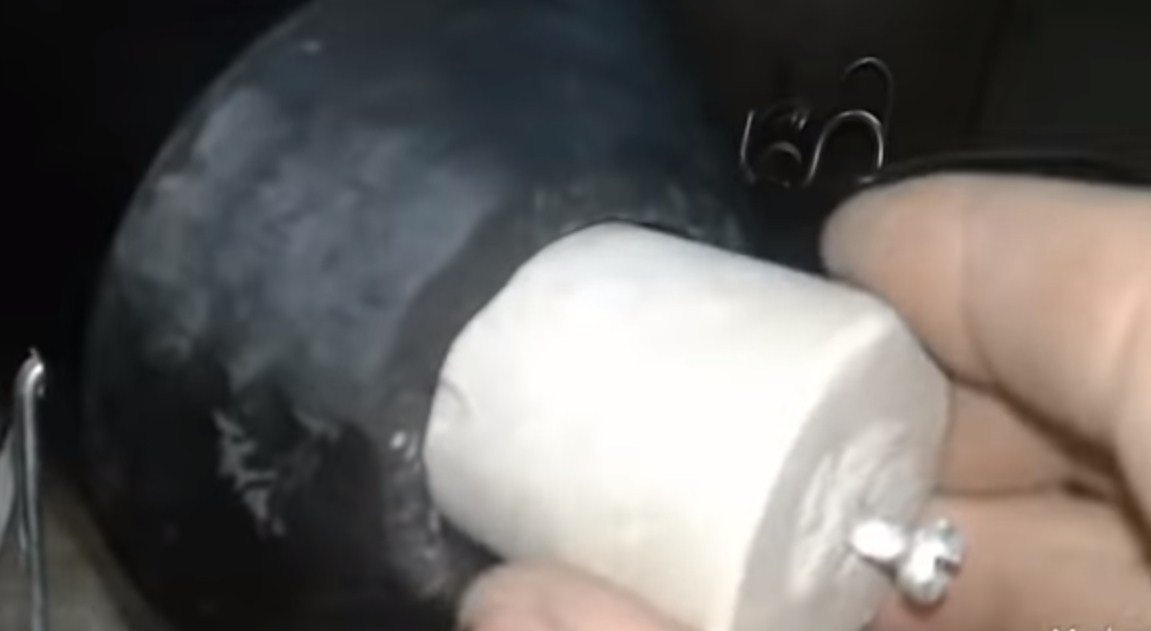
We send the candle inside and make it hot, the author flared up to a red glow, and the central stock got out. Now, holding the candle in a vise, you can use a pair of pliers to pull out the central stem.
That's all, the project is over, the oven showed itself well, I hope you homemade liked it, and you will find application for it. Good luck and creative inspiration, if you decide to repeat this. Do not forget to share with us your ideas and homemade products.