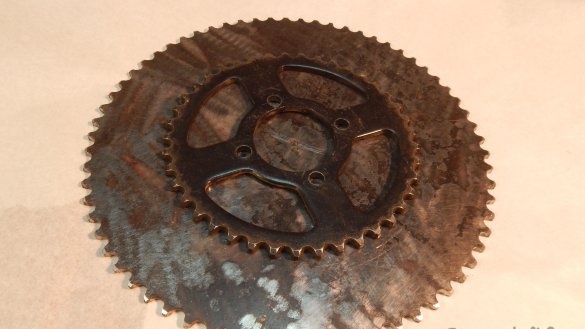
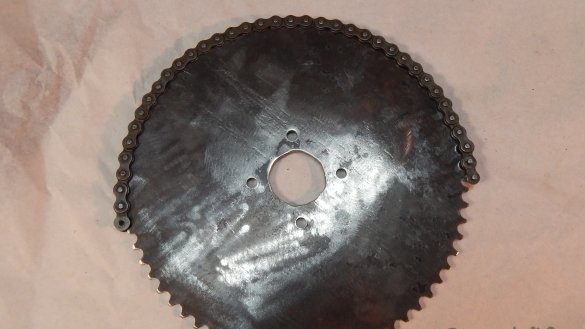
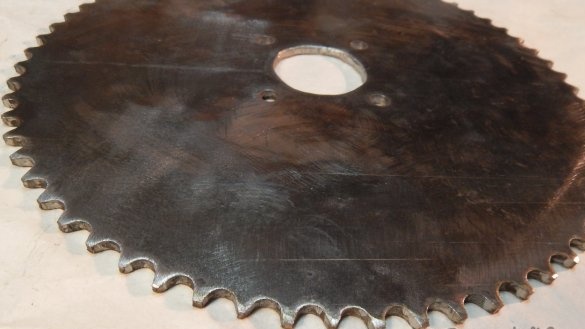
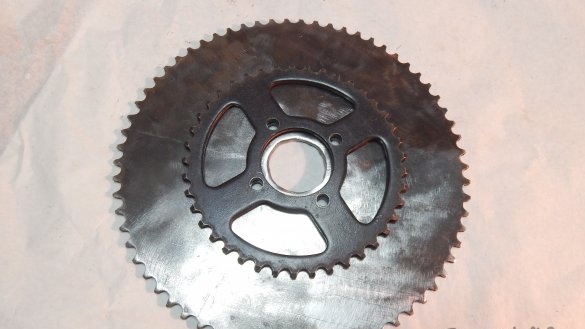
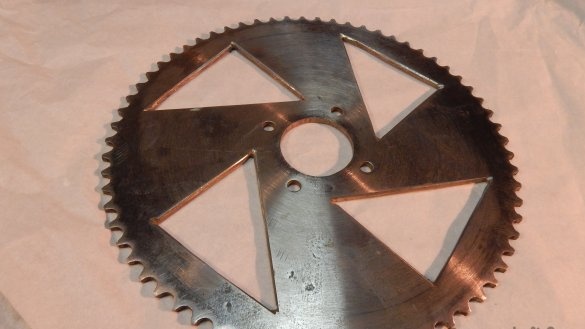
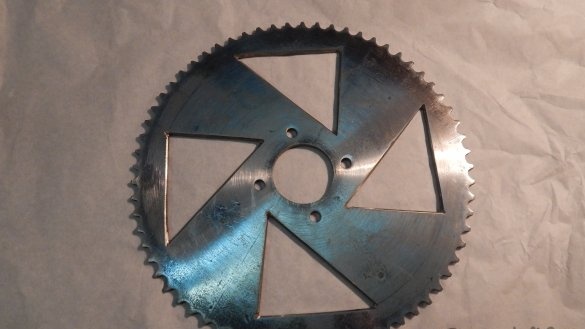
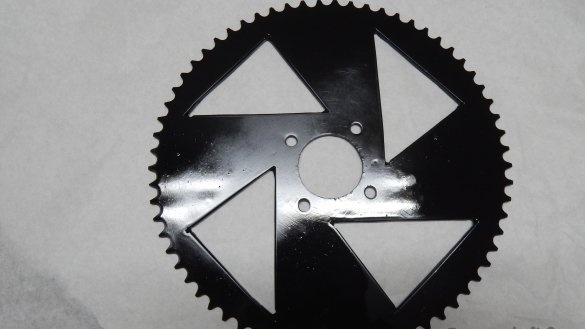
Such a drive star can be made do it yourself in home conditions without a CNC machine, a lathe, and other machines that a simple master does not have. In the same way as I suggest you, you can make almost any size of a star with the step you need, and in order to understand whether this method of manufacturing a star is suitable for you, I suggest you first watch the video.
I myself make all kinds of self-propelled homemade (as a hobby), and more than once faced with the problem of selecting a suitable drive star. After all the calculations, I realized that I needed a 66-tooth star, but then I did not think that it would be such a problem. And so, when I could not find the star I needed for the next homework, from a huge number of regular stars from different motor vehicles, I decided to look for another solution to this problem. On the Internet, I came across a very good and easy to use program with which I was able to make the right star.
Tool and consumables
1. Bulgarian
2. Drill
3. Set of drills
4. Hammer and core
5. Cutting and grinding wheel for grinder
6. Computer with printer
7. Welding machine
Materials
1. Sheet metal of the required thickness
2. Spray black paint
Step one: create an asterisk model
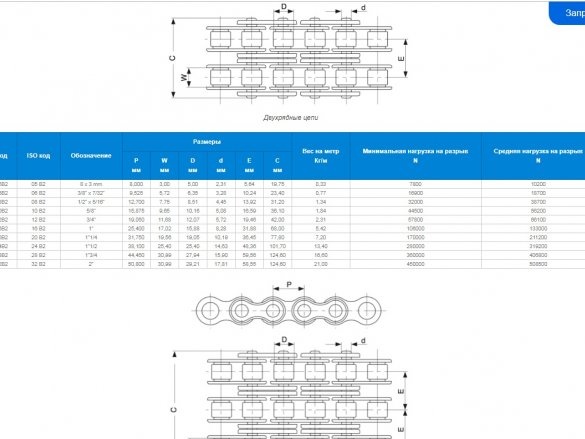
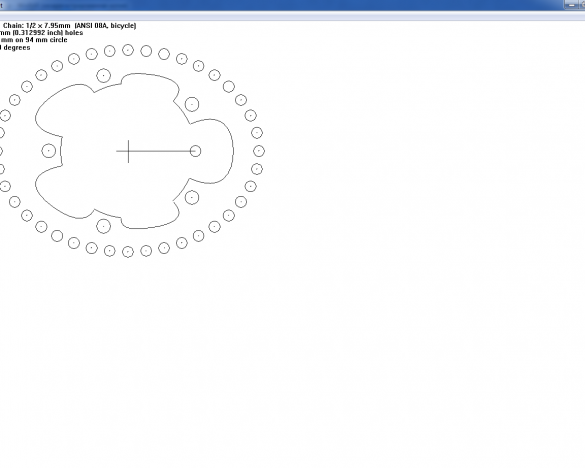
In order to make a homemade star, you first need to create a drawing. To do this, you need to download a program with which we will create a drawing. The program is very small in volume and does not need a powerful computer. In order to determine which particular chain size to choose in the program, we will use, well, the designation can be viewed in a slightly different format. Also, the dimensions of the circuits with a digital designation are shown in the table below.
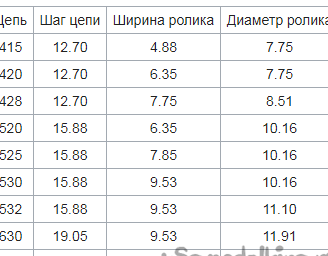
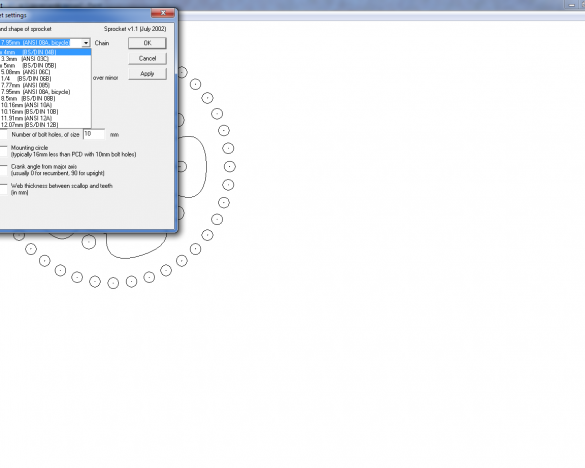
We open the program and select the chain size in the program according to the reference book, I need to make a star for the 428th chain from the motorcycle Minsk (old-style push-pull Minsk) for 66 teeth.
For those who want to make an elliptical star for a bicycle, this program will help you to cope with this task without any problems.
Step Two: Print a Star Pattern
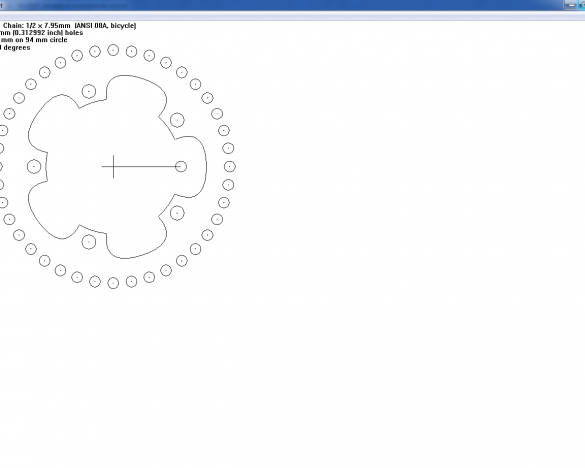
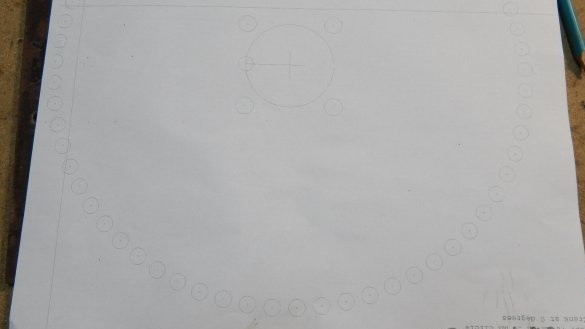
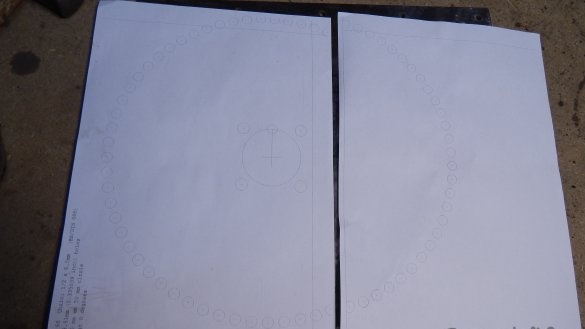
After we substituted all the values and sizes into the program, press the Print button and print the star pattern on paper.
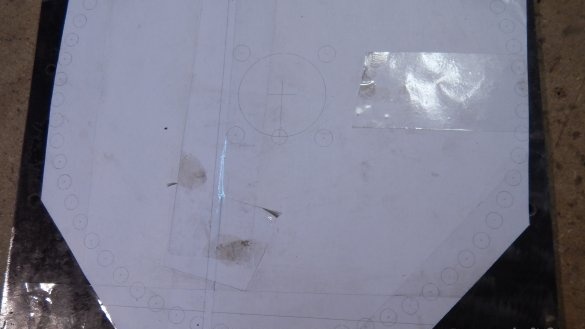
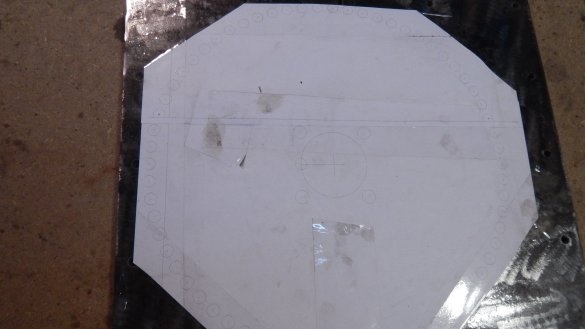
We glue the sheets together along the line with tape or glue, and glue to a piece of iron from which we will make an asterisk.For my asterisk, it was necessary to take sheet metal with a thickness of 7 mm, but I did not have this, and I took metal with a thickness of 5 mm, you will choose the thickness according to your parameters.
Step Three: core and drill the workpiece
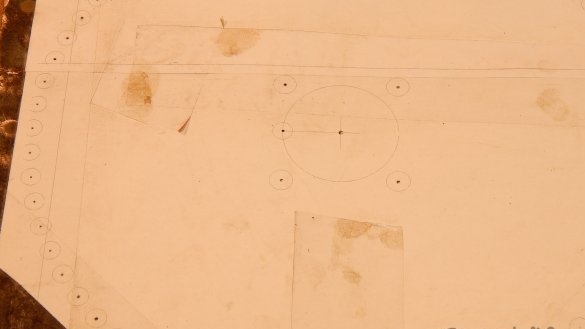
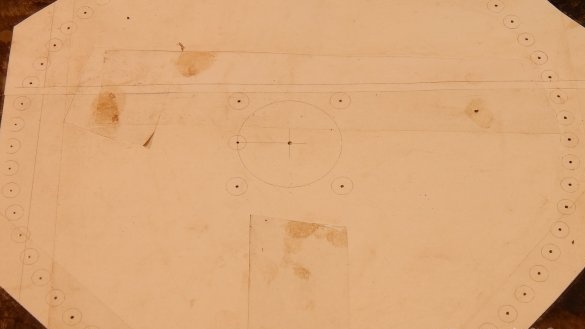
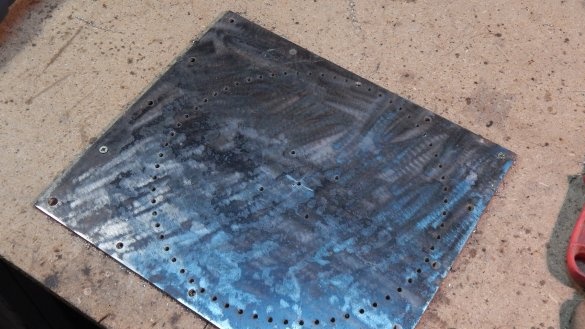
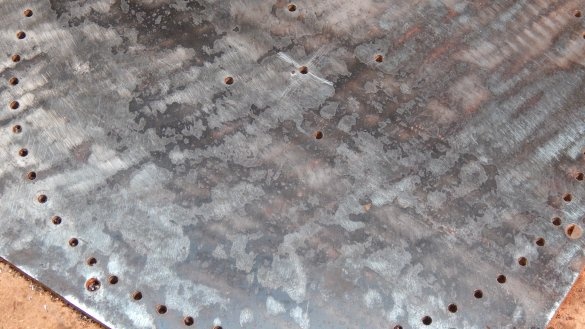
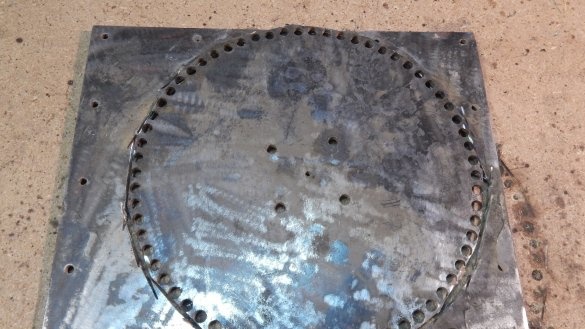
In order to prevent the drill from drifting to the side during drilling, the core is drilled at all drilling points.
Then we tear off the paper and proceed to drilling holes.
First you need to drill a thin drill, they will be able to drill more precisely. You can use a drill with a thickness of 3-4 mm.
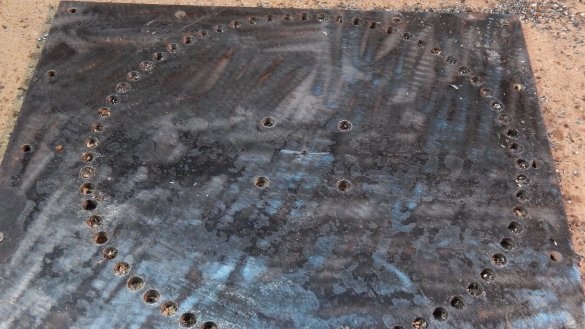
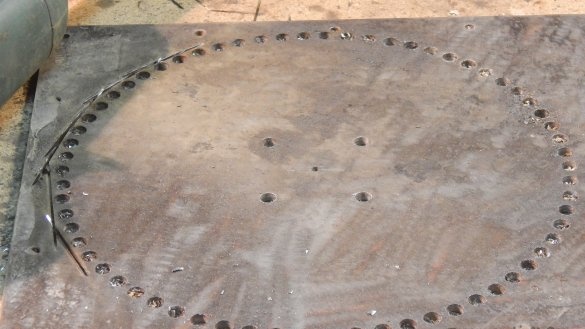
Next, we will drill with a drill of such thickness as the thickness of the chain roller itself, I have this drill with a diameter of 8.5 mm, you will have a different size, depending on your parameters.
Drill holes for sprocket mounting, also drill with the diameter of the drill you need.
Fourth step: cut off all unnecessary
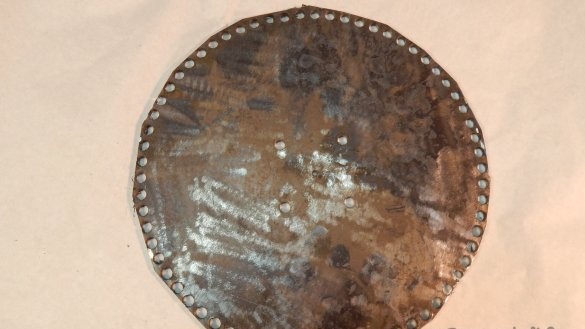
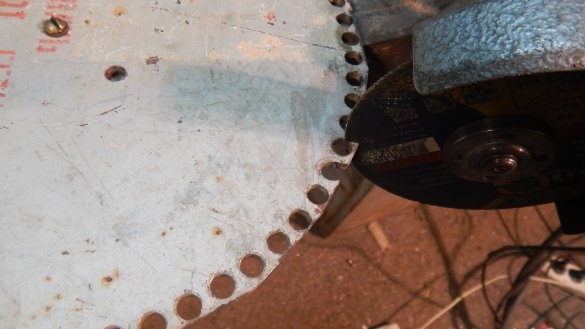
Everything is drilled and then you need to cut off the excess metal neatly at the very tips of the teeth, we make it a simple grinder, but anyone who has a lathe can cut it.
Step Five: Tooth Cutting
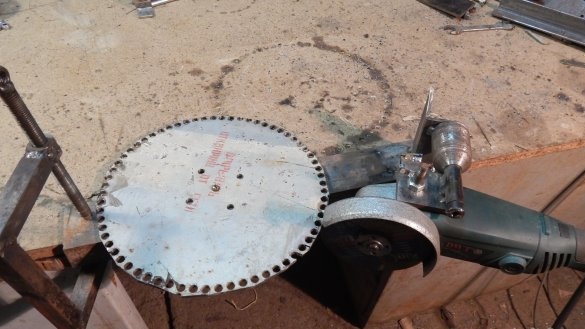
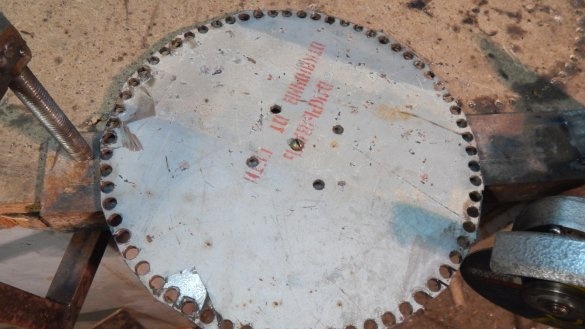
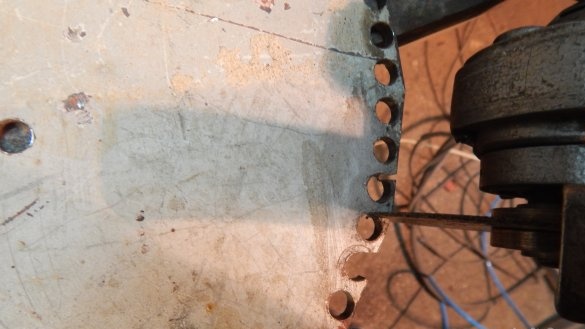
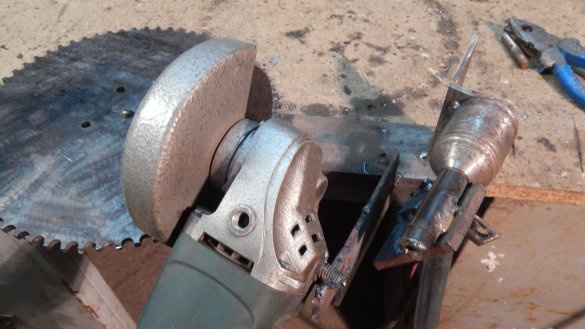
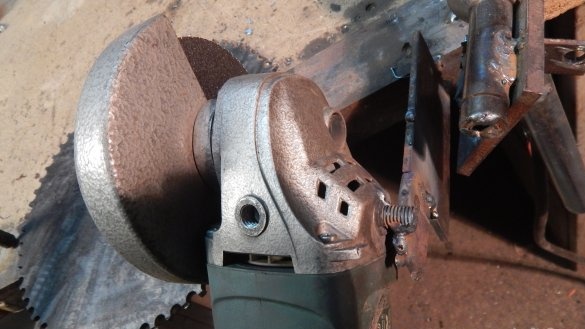
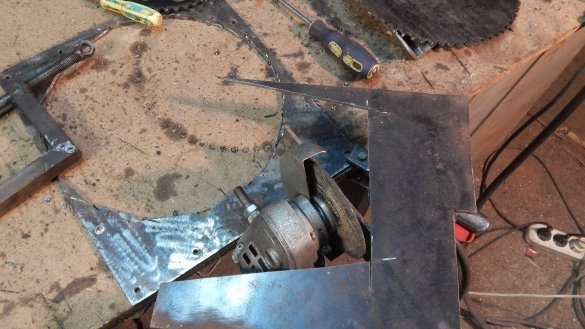
In order to cut all the teeth the same way, I fixed the star through the center with a bolt on the same base as the grinder. I fixed the grinder on a hinge with the help of which it can rise and fall. Now the sprocket and grinder are fixed firmly on one base and all that remains for us to do is to rotate the star by one tooth and saw through it with the grinder.
Then we turn the star on the other side and repeat the procedure again, cutting the other side of the tooth.
Sixth step: align the height of the teeth
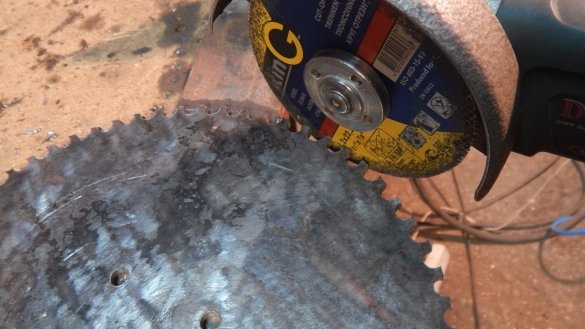
In order to align the height of the teeth, I leave the sprocket fixed on the same base as the grinder, and I turn the grinder with the mount at the desired angle and weld the holder by welding to the base. I determined the height of the tooth by the factory star.
To fit the teeth under the chain and trim them, I put on the grinder a cleaning circle, and fix the grinder on the table. So I didn’t get a bad emery with a stand on which it will be much more convenient to grind the teeth by resting the star in the stand.
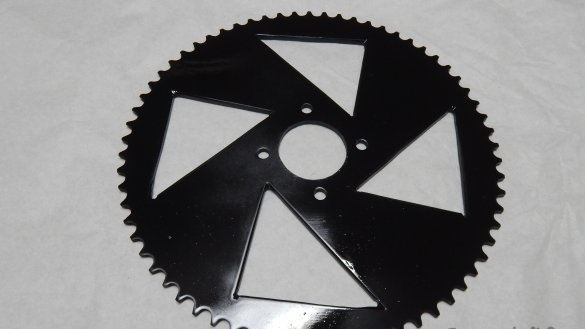
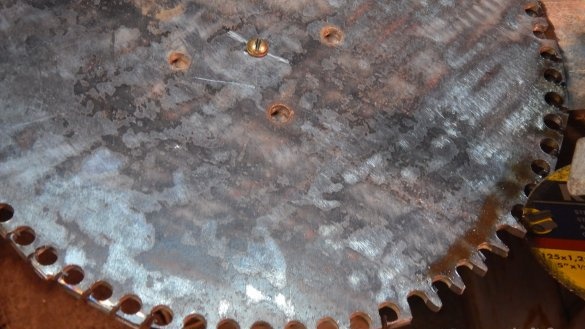
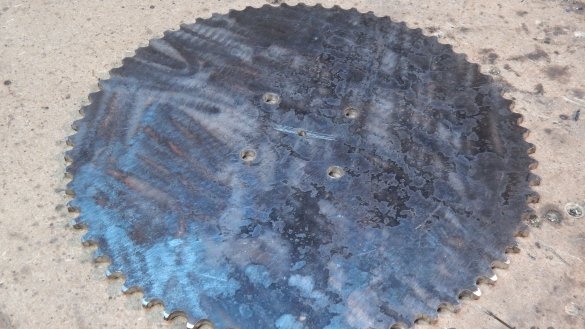
After all the manipulations, we got a great sprocket. In the middle of the sprocket, I make a hole with a diameter of 50 mm through which the shaft will pass.
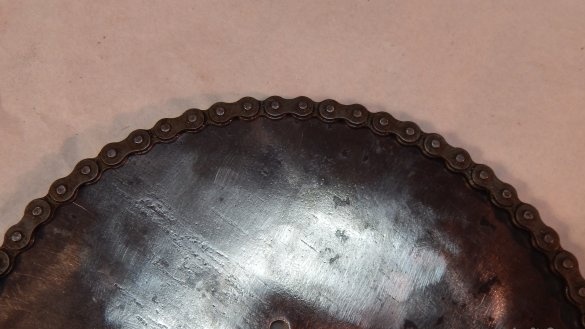
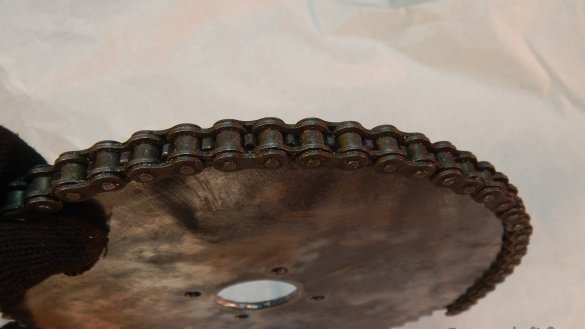
The chain sits perfectly without any backlash.
Seventh step: fine-tuning and painting asterisks
The star has a not very attractive appearance, and to begin with, I carefully polish it with a grinder with a grinding wheel.
In order for our star to look even more beautiful, I cut out the triangles inside, smooth the sharp edges with a file and a grinder.
Well, the final touch will be painting. Here, everyone for himself will choose one or another method of painting and the paint itself, and I painted it with ordinary black paint from a spray can.
Conclusion
I spent half a day on the manufacture of my sprocket; you must agree that this is very little in order to get a star of the right size. The teeth of the star need not be hardened, they will serve for a long time due to the fact that a lot of teeth go into gear at the same time - about 70%. I have been using my star for several seasons on my technique and so far there are no significant signs of wear. Who cares what exactly I used this star on, you can watch the video.


