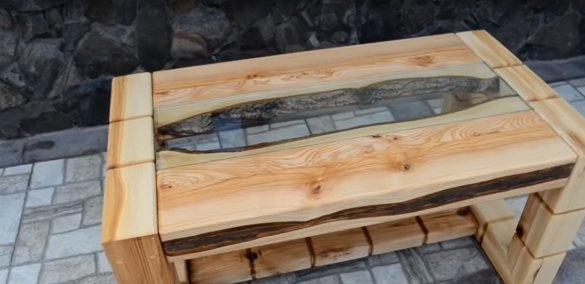
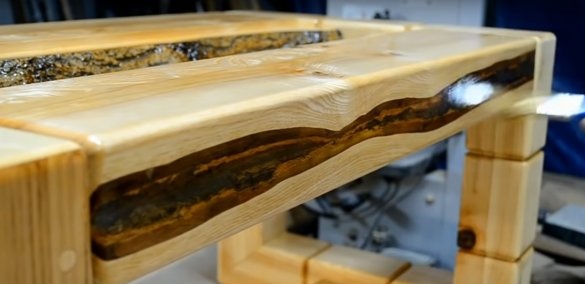
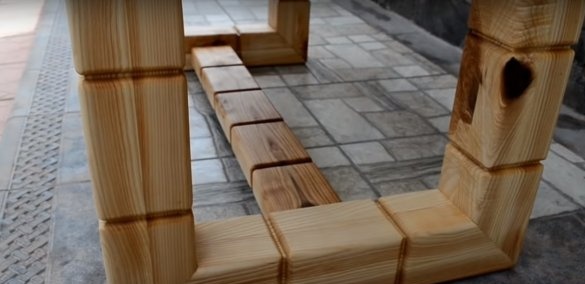
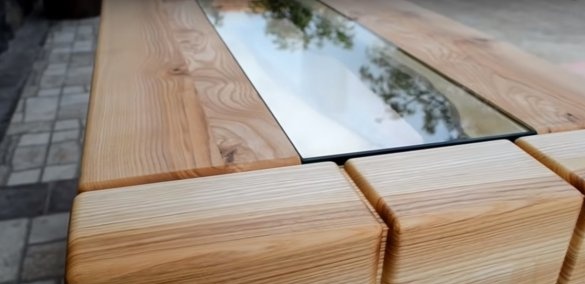
A coffee table is a favorite piece of furniture by a designer. The author’s idea required a huge amount of time and effort from him, but the table turned out to be original.
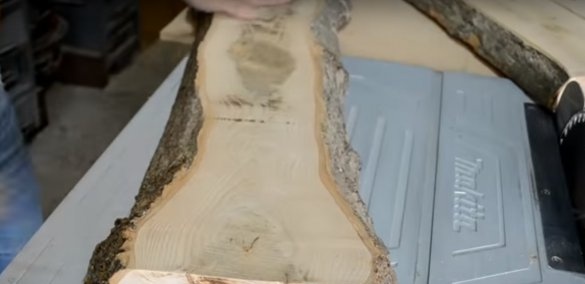
To create it, we used an unedged thick board of our own production and a lot of various equipment. In the master class, you will see the process of creating this unusual coffee table from beginning to end and subsequently you can repeat something similar.
So, in order to make a coffee table from an unedged board, you will need:
Materials:
- unedged board 50 mm thick hardwood (short blanks);
- shockproof glass for countertops;
- epoxy resin and hardener;
- carpentry glue;
- furniture dowels;
- oil wax for wood;
- felt self-adhesive "legs";
- furniture screws.
Instruments:
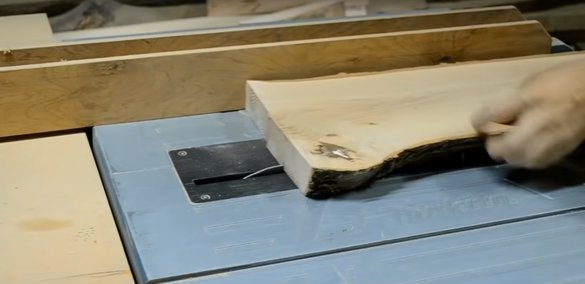
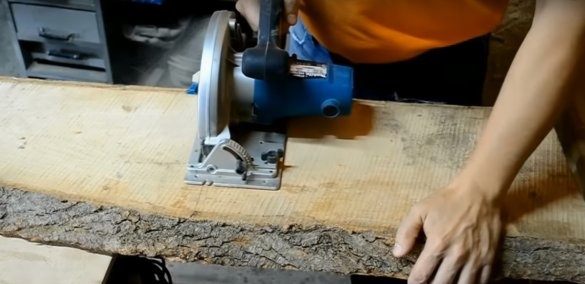
- a circular saw;
- Thicknessing machine;
- Miter saw;
- a drill and 2 drills - for holes for dowels and for screws;
- screwdriver;
- grinder and grinding cloth for manual grinding;
- manual milling machine or milling machine;
- building hair dryer;
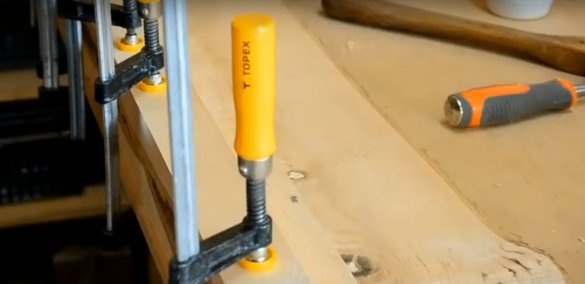
- a lot of clamps to accelerate the gluing of wood;
- paint brush;
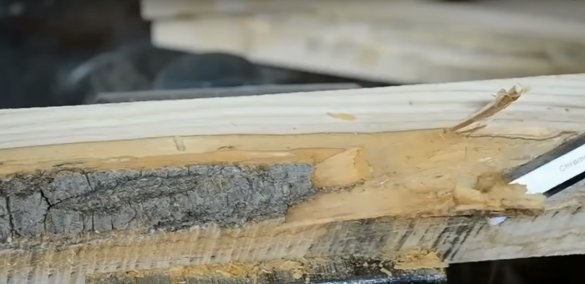
- a chisel for removing bark;
- a pair of plastic glasses for kneading epoxy;
- construction tape measure, square, pencil.
Step One: Woodworking and Bonding
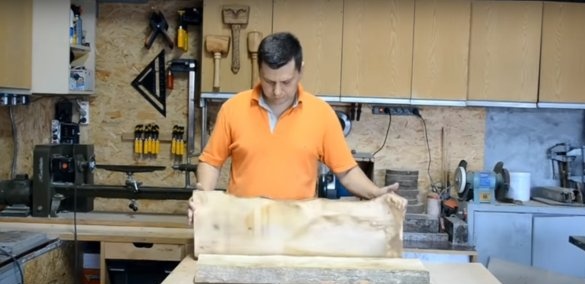
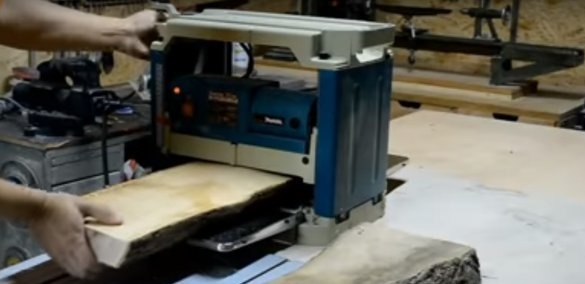
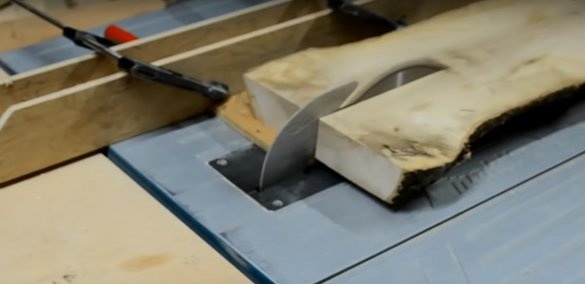
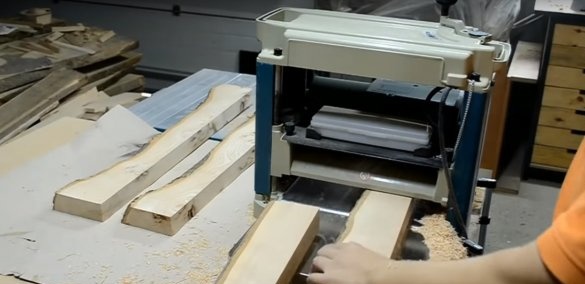
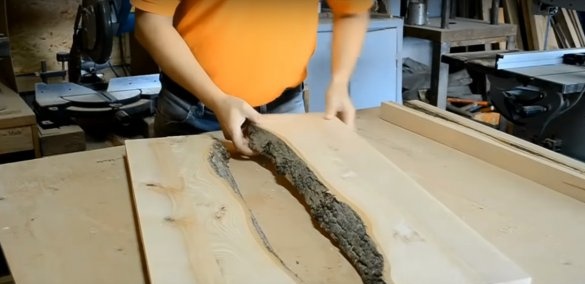
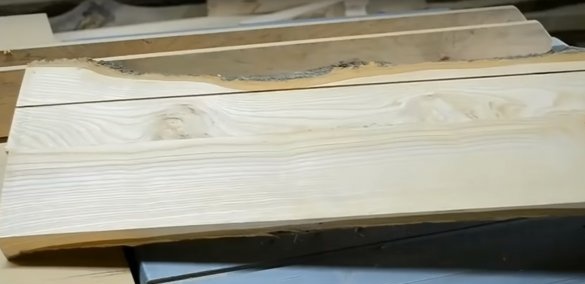
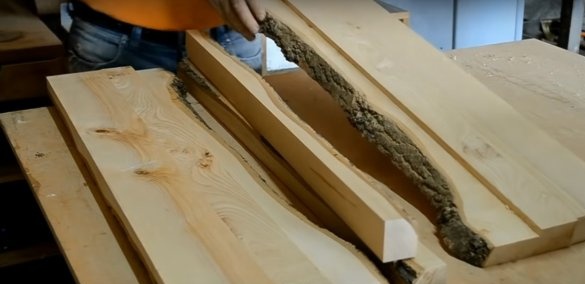
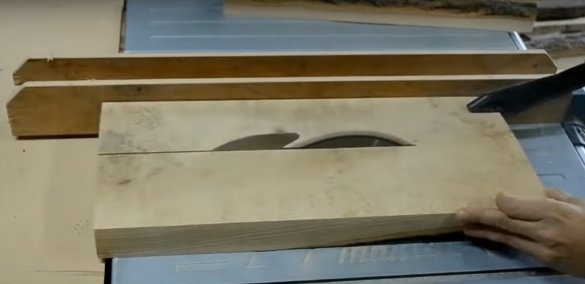
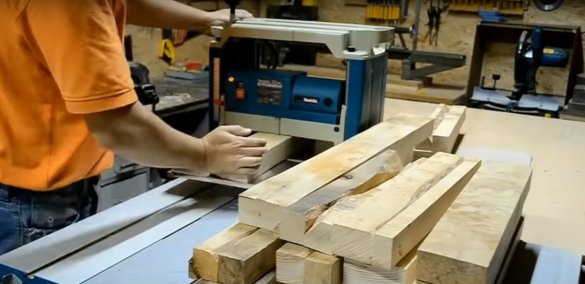
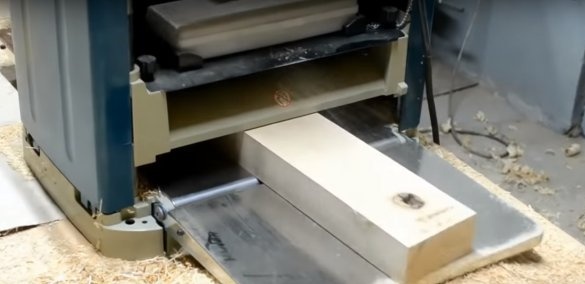
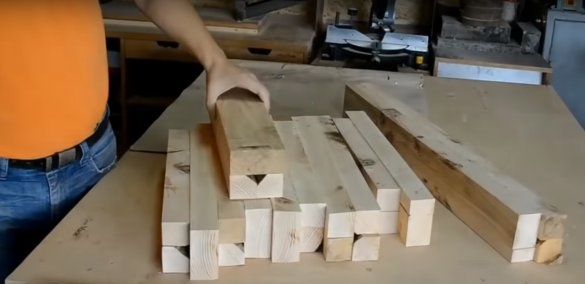
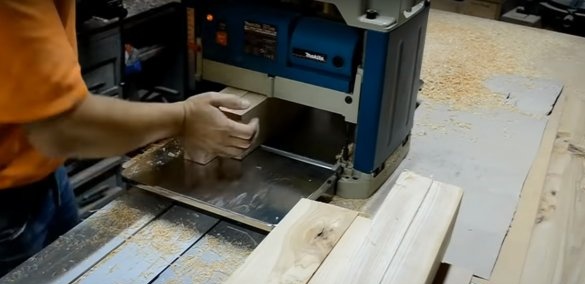
The author uses unedged boards of hardwood. They must be thoroughly dried. Pass the boards through the thicknesser several times to level the surface and adjust the material to the thickness necessary for the work.
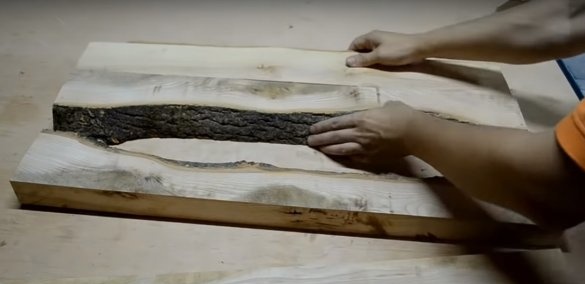
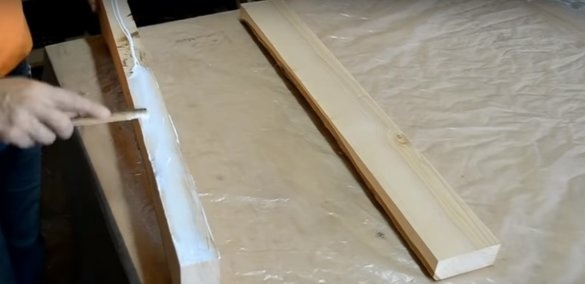
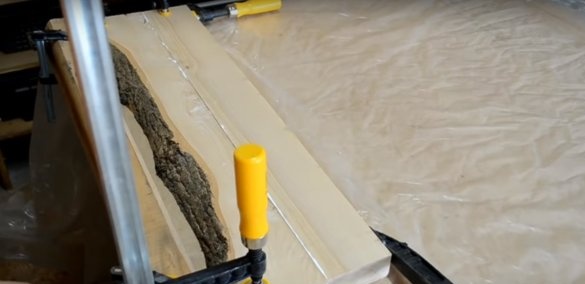
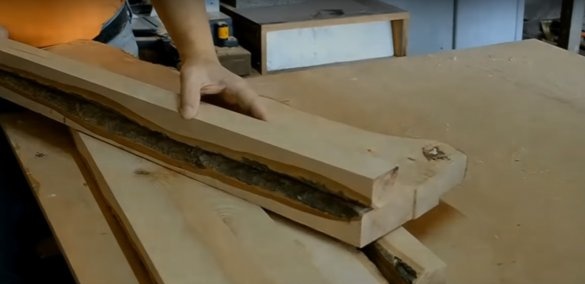
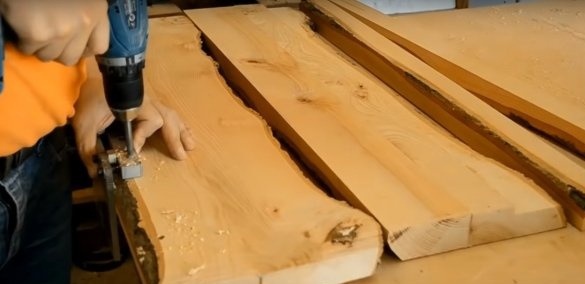
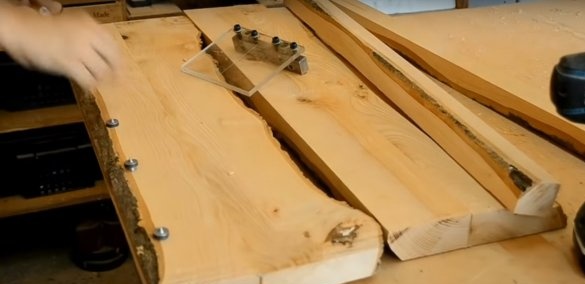
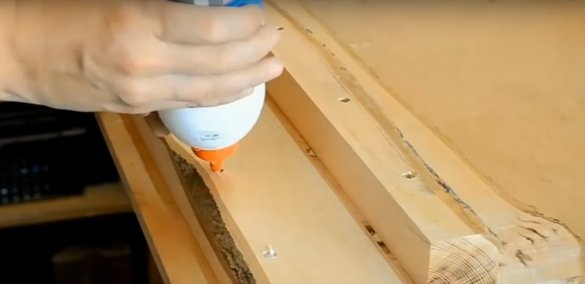
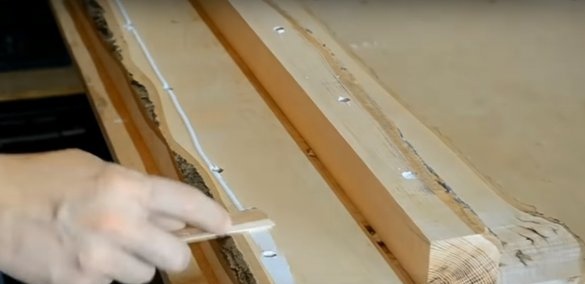
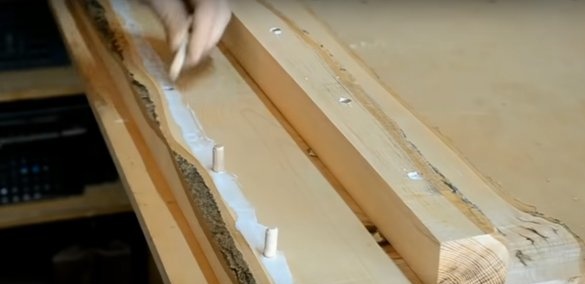
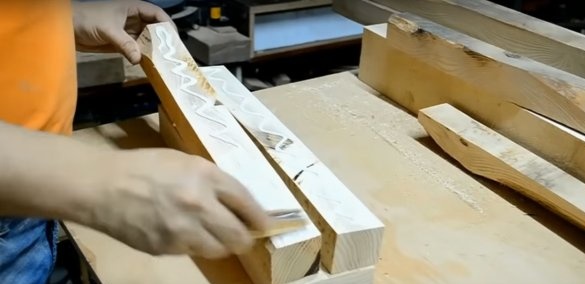
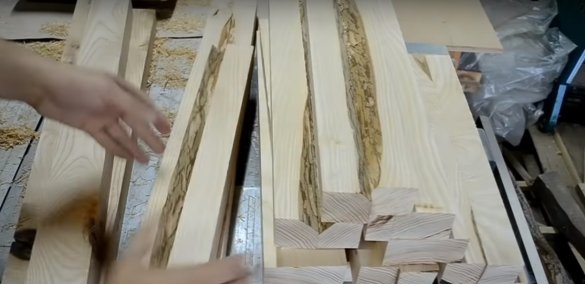
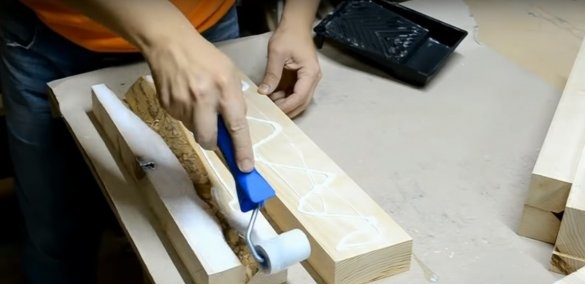
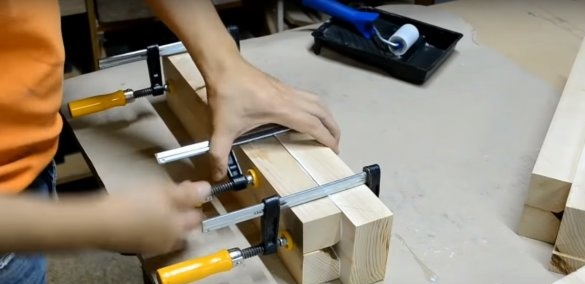
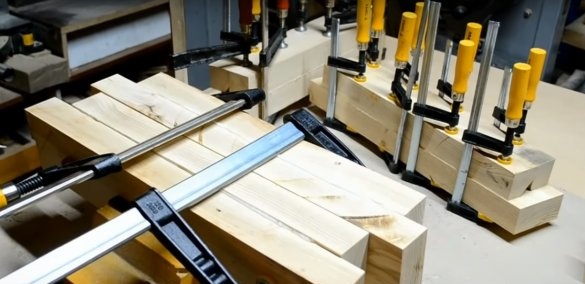
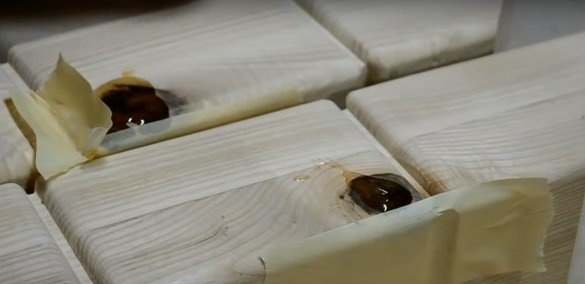
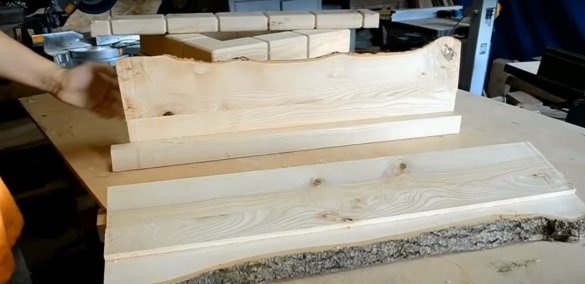
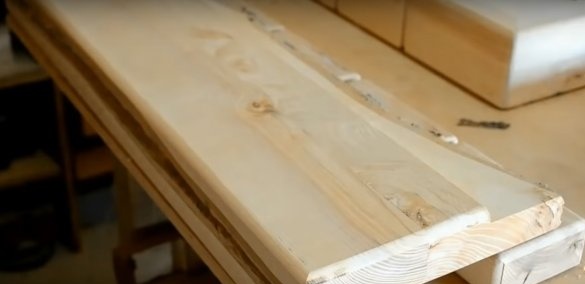
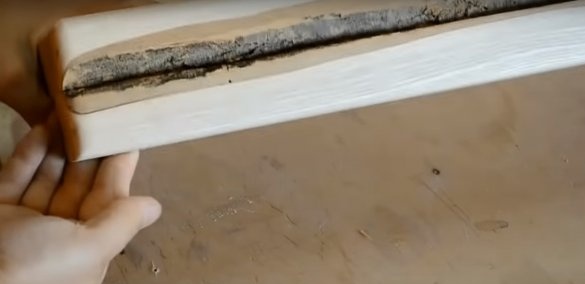
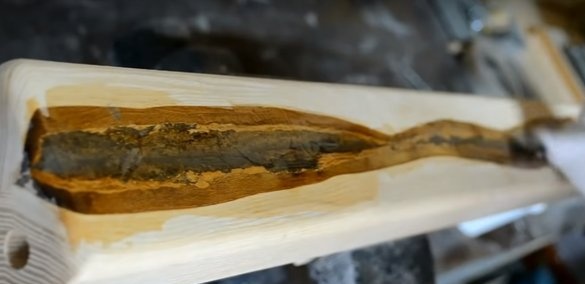
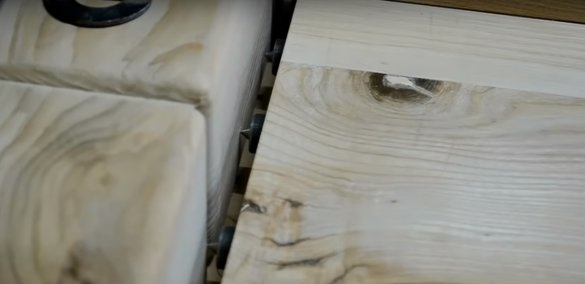
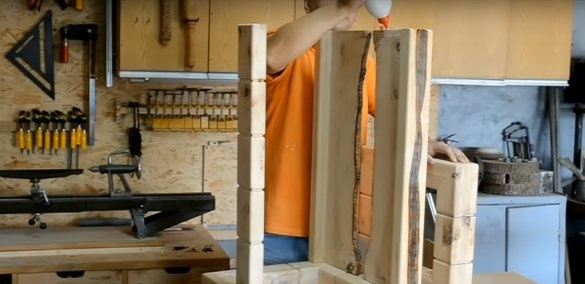
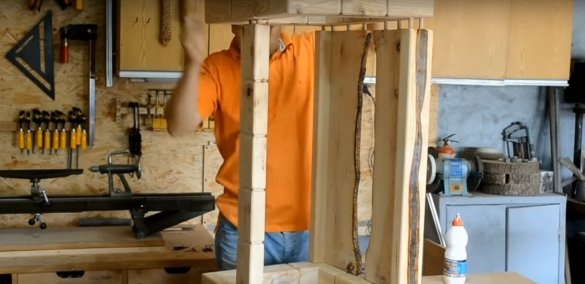
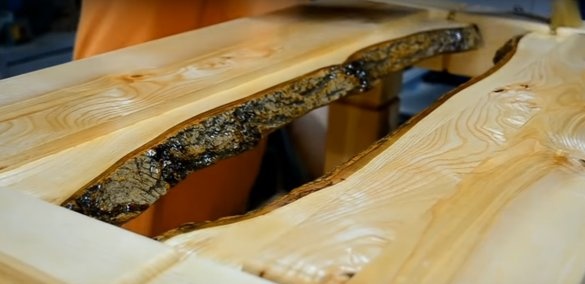
Start by making worktop workpieces. The author prepared two details of the countertop, each of which he glued on dowels of three elements in order to make them wider and decorate the edges. Subsequently, he will fill the formed cavity with epoxy.
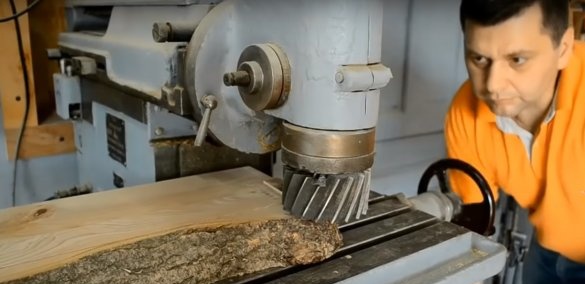
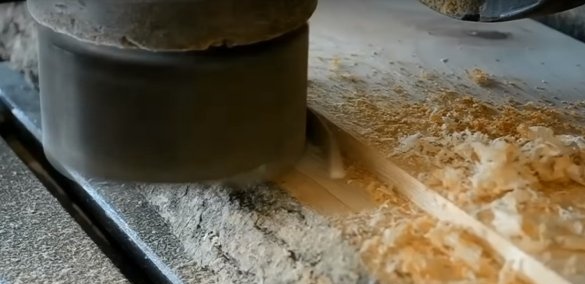
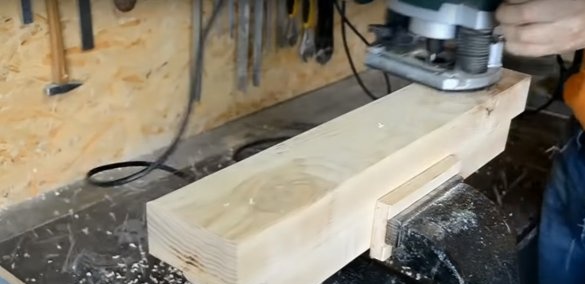
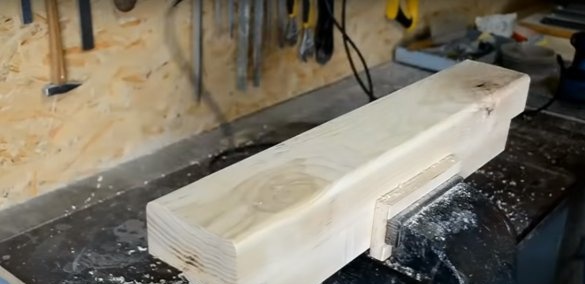
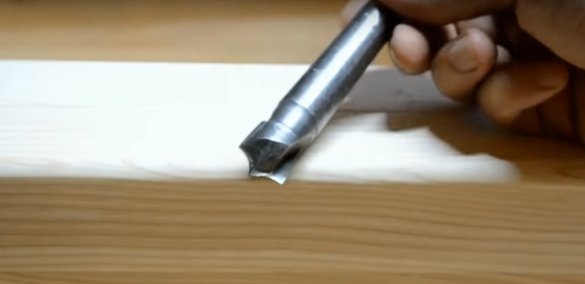
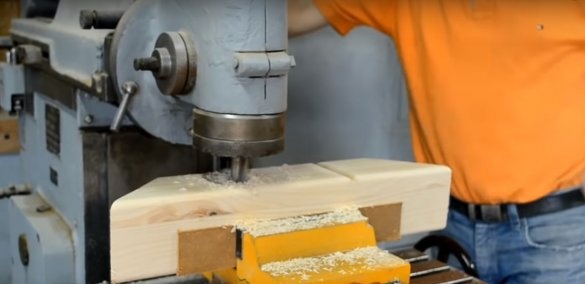
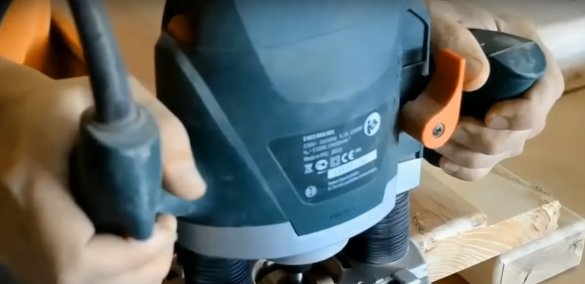
The groove under the glass is made on a milling machine.
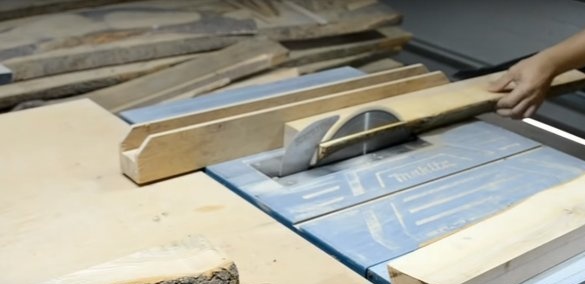
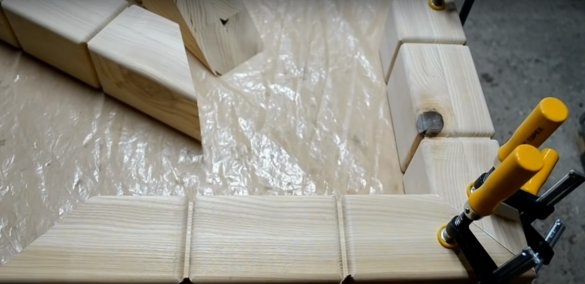
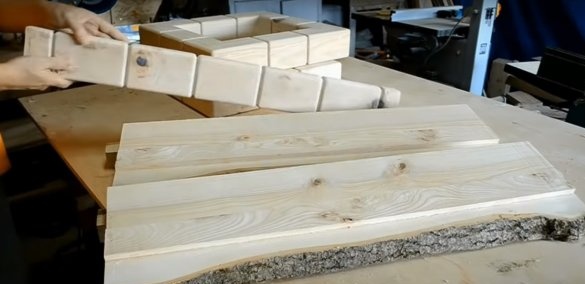
Frame parts are also glued in three parts each. After the glue has dried, they should be passed through a thicknesser.The same section of parts will greatly facilitate the assembly process.
Step Two: Frame Assembly
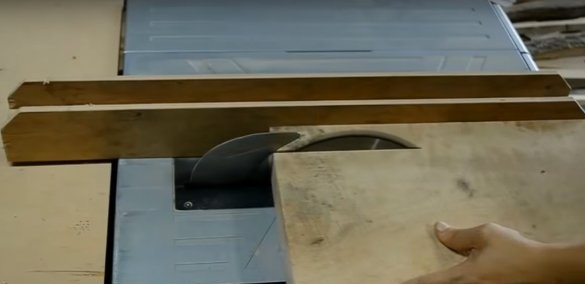
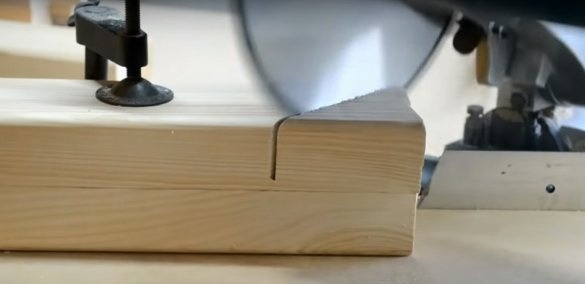
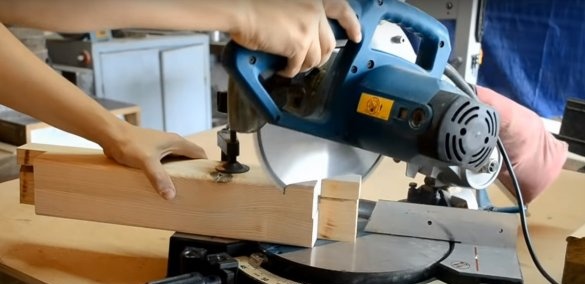
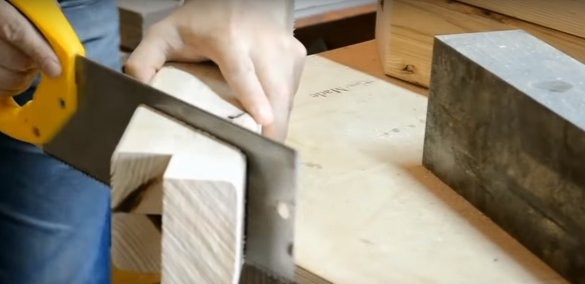
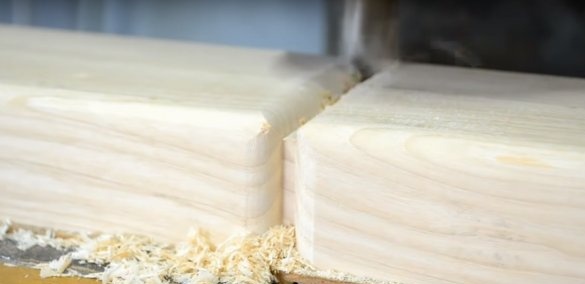
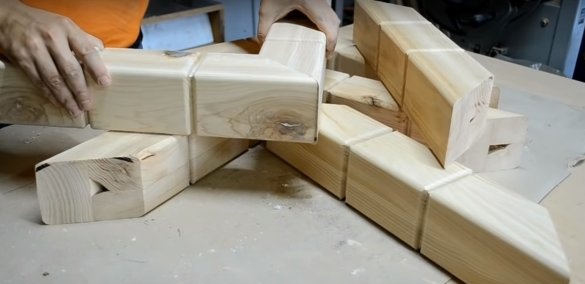
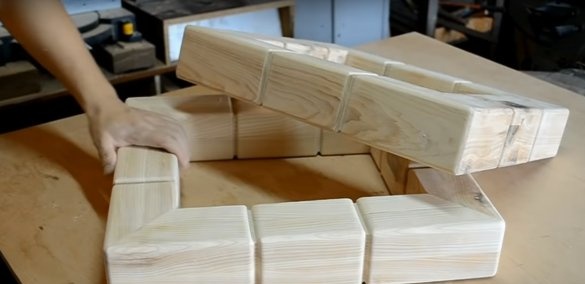
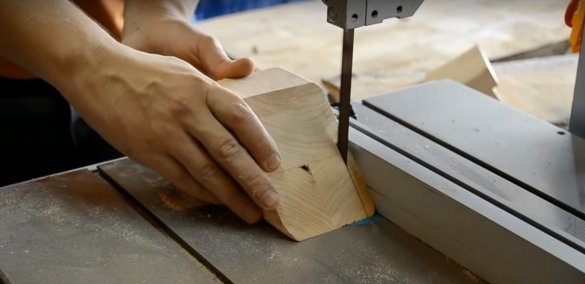
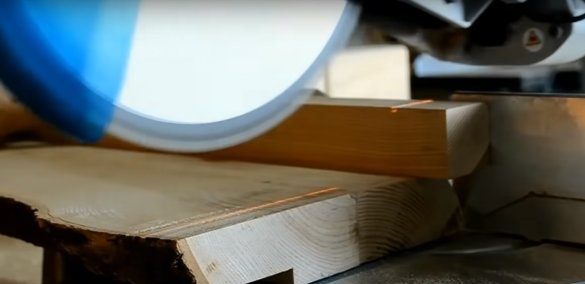
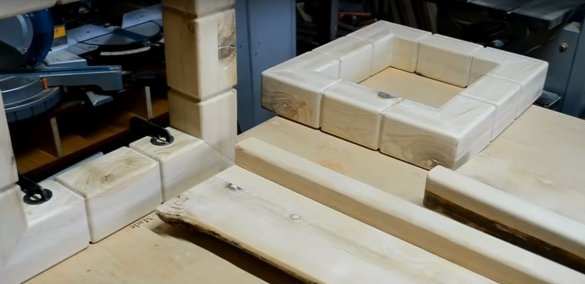
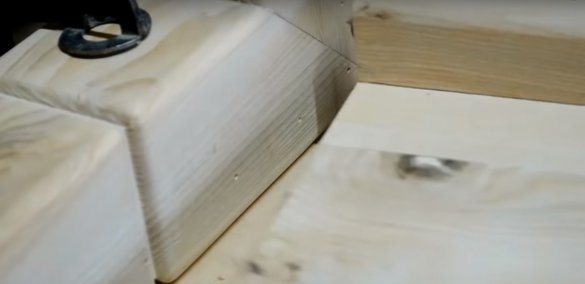
Saw the edges of the frame parts at an angle of 45 degrees. Pre-dock them on a flat surface and make sure that no gaps form in the corners.
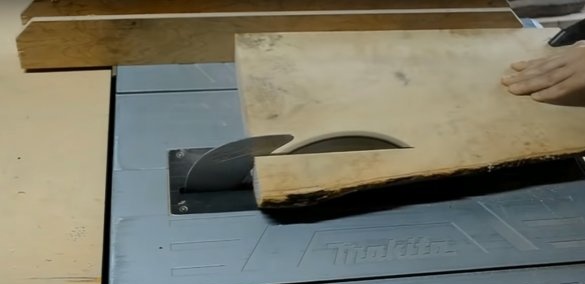
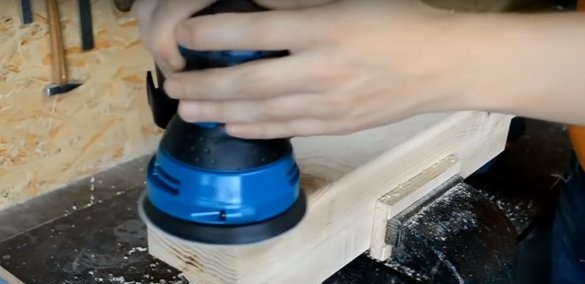
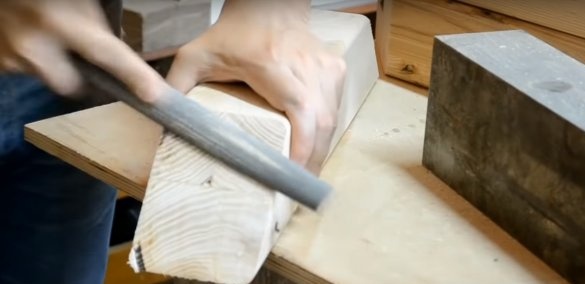
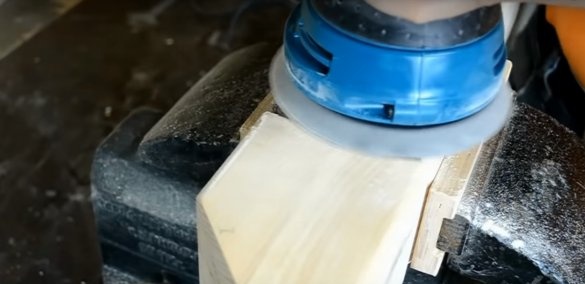
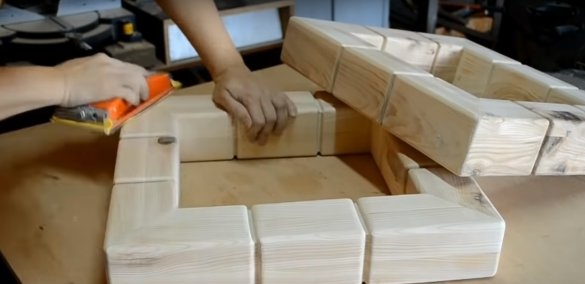
The author milled blanks across the machine. Saws are made around the perimeter, and the workpieces themselves are carefully sanded.
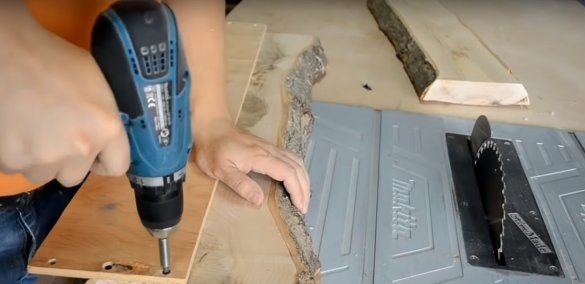
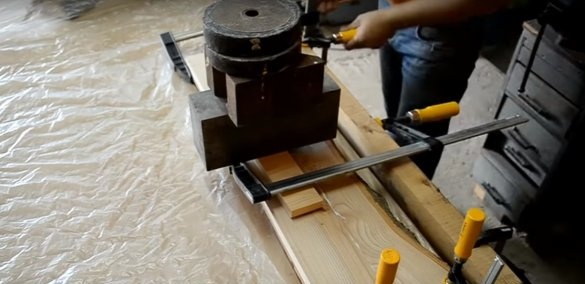
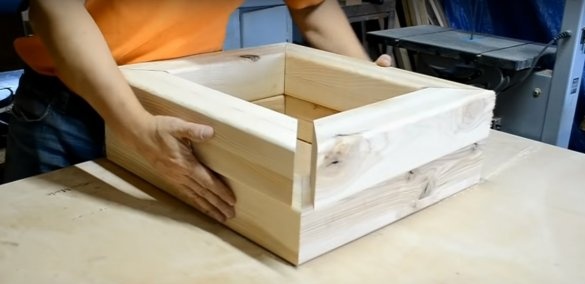
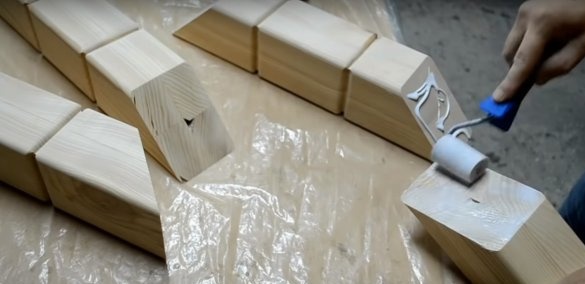
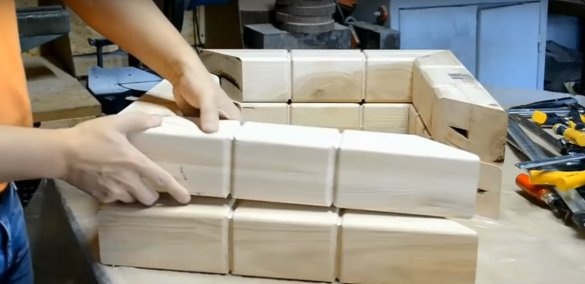
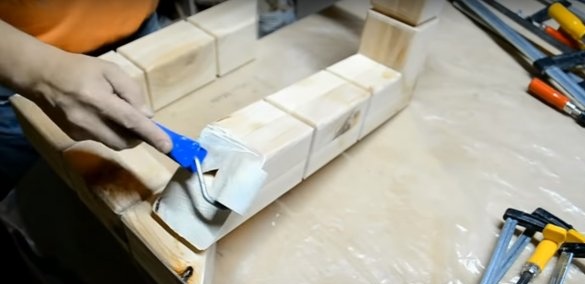
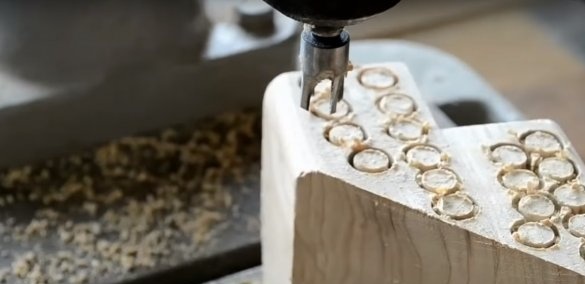
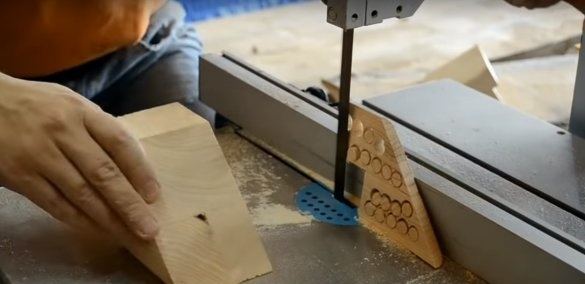
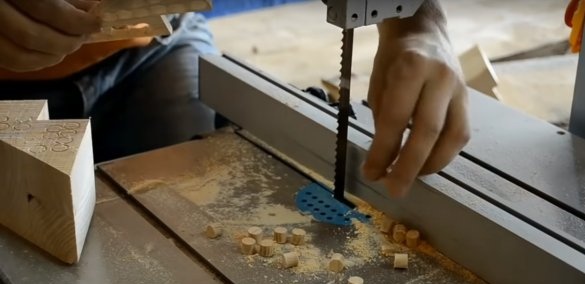
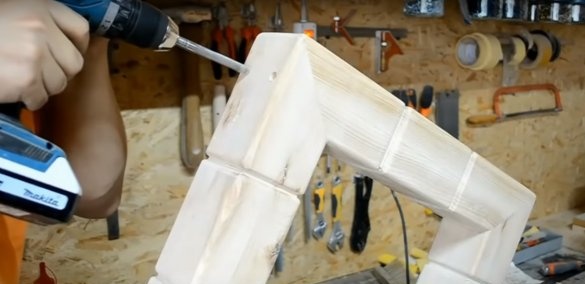
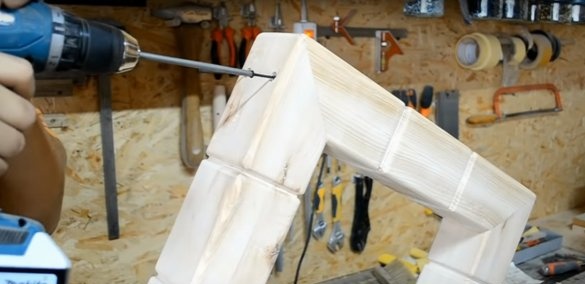
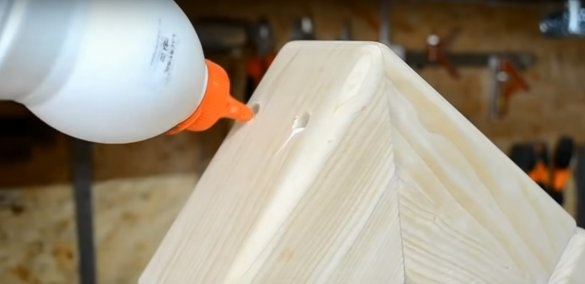
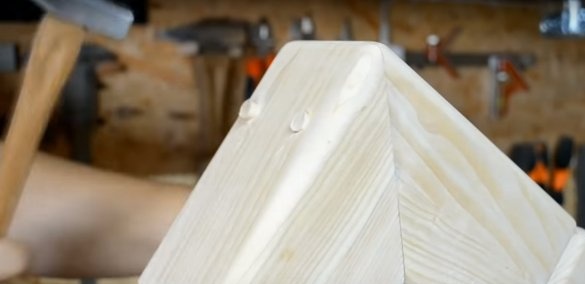
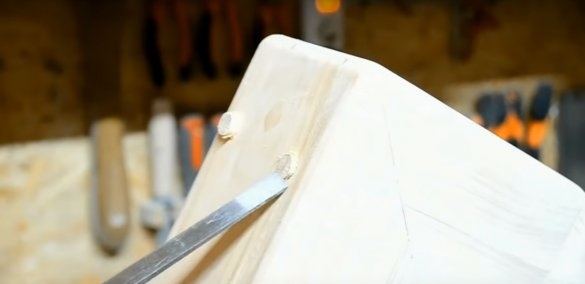
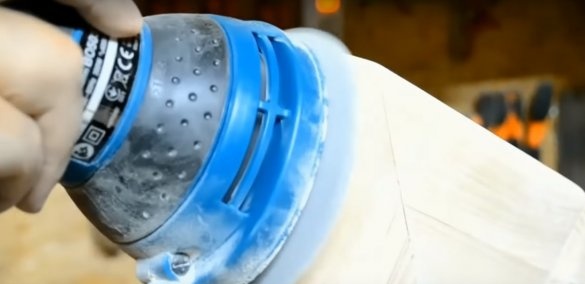
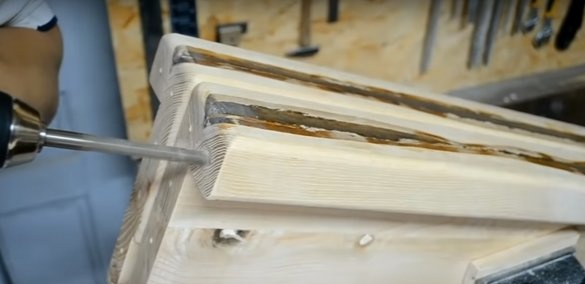
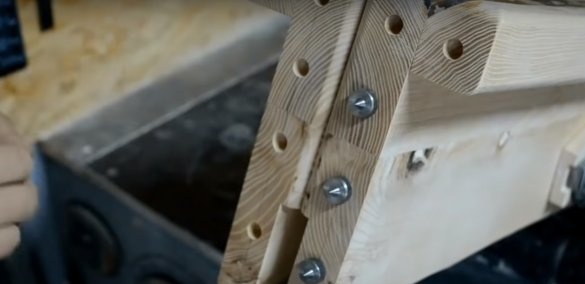
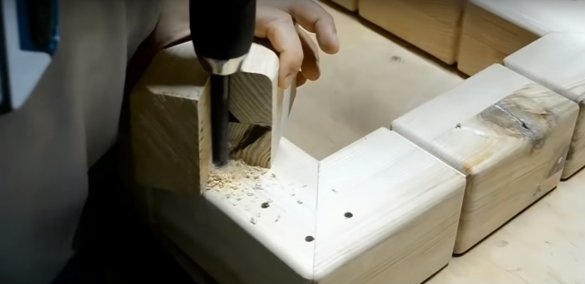
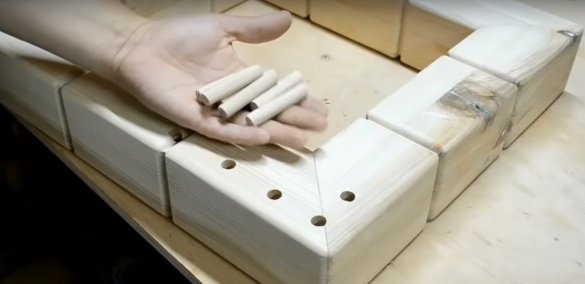
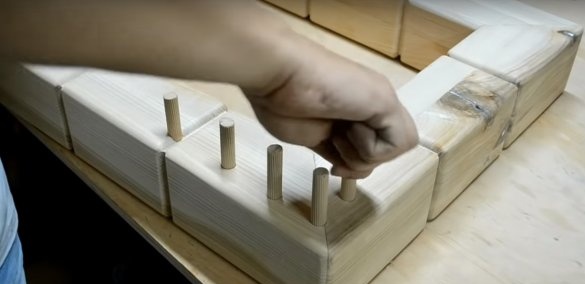
You can start assembling. Glue the four corner pieces first. Glue the prepared blanks in pairs. To strengthen the frame, connect the parts in the corners flush using self-tapping screws. Fill the holes with glue and trample with wooden plugs. They can be made independently.
Step Three: Worktop Detail Processing
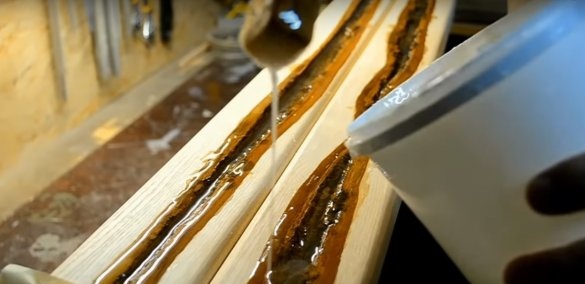
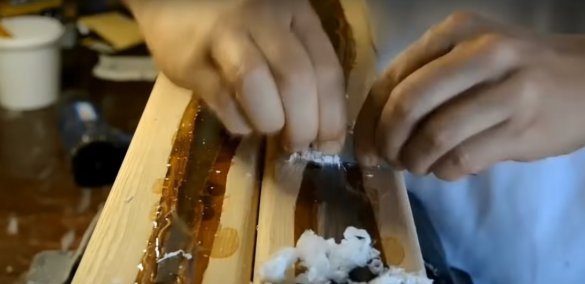
The author used a hand milling cutter to round the edges of a future countertop. Grind the workpieces thoroughly and start kneading the epoxy. Pour the required amount of epoxy into a plastic cup and add hardener. Thoroughly mix the mass. Do not forget that stirring too much promotes the formation of air bubbles. Pour the mixture into a second cup and mix thoroughly again.
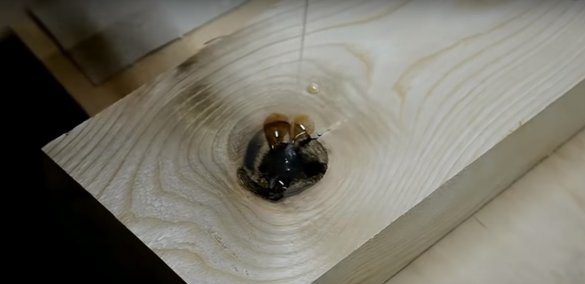
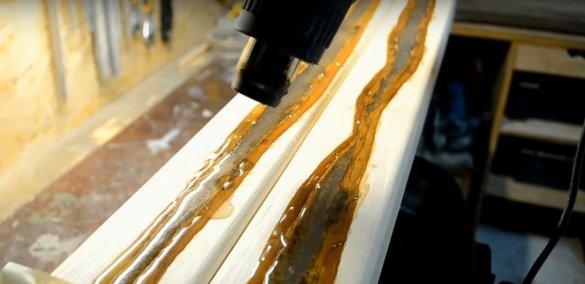
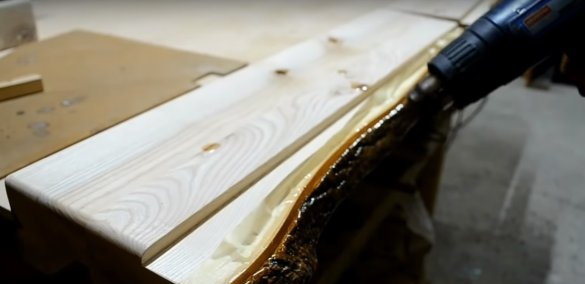
Pour the prepared epoxy into the hole with a small margin and heat it with a building hair dryer. Heating leads to liquefaction of the epoxy, so that air bubbles float and burst.
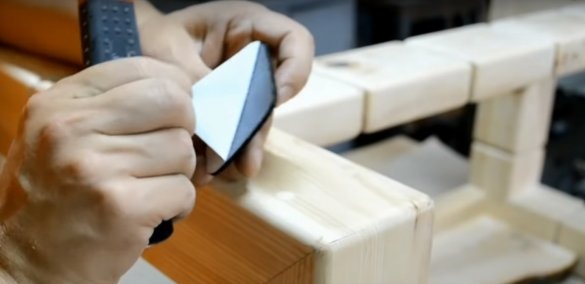
Once the epoxy hardens, remove the excess with a knife or grinder. Sand the surface of the workpieces thoroughly.
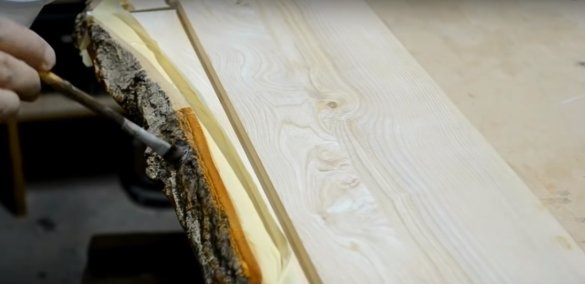
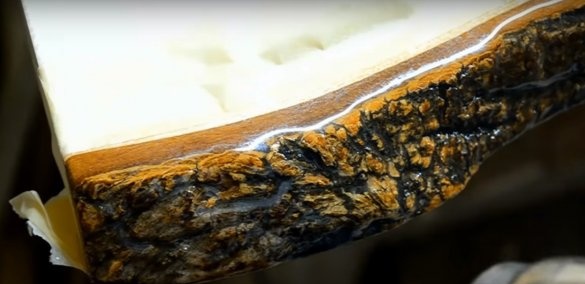
Coat the inside with the bark with epoxy or glossy varnish, let them dry.
Fourth step: assembling a coffee table and protective and decorative wood processing
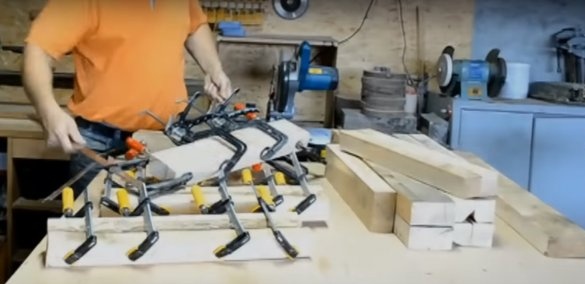
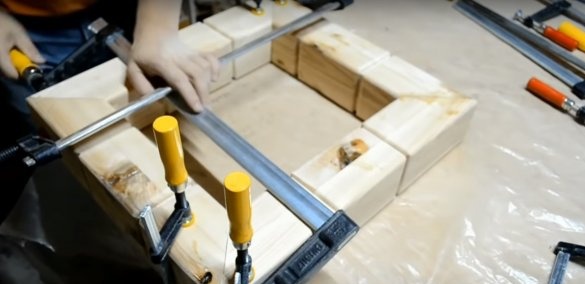
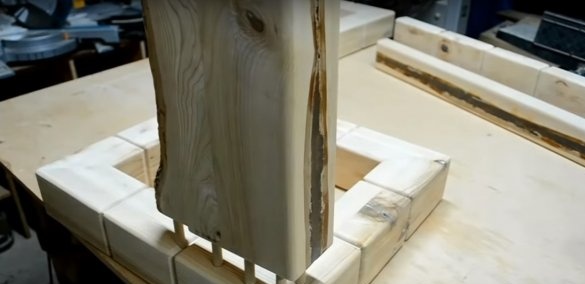
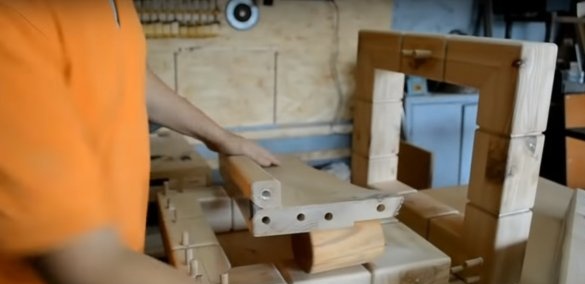
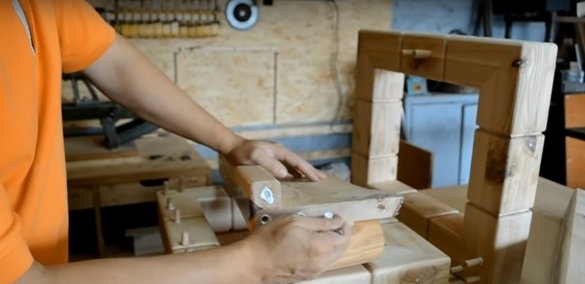
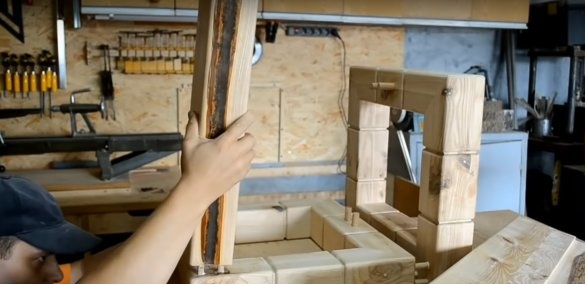
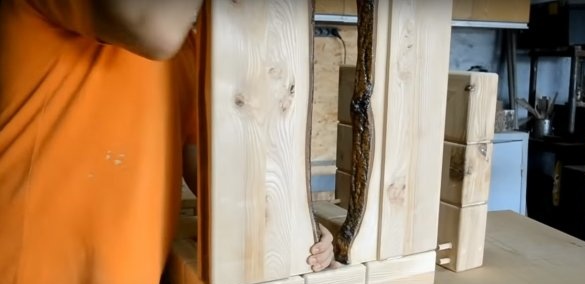
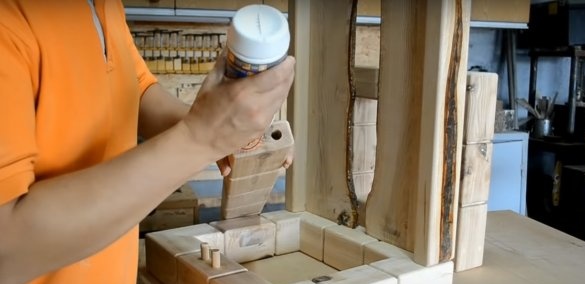
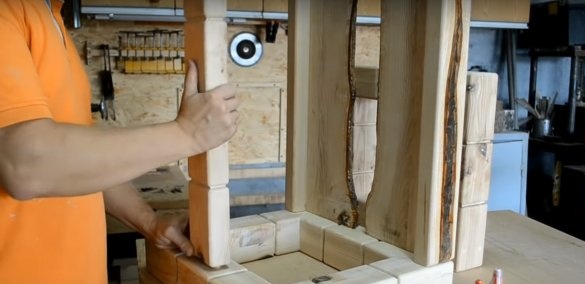
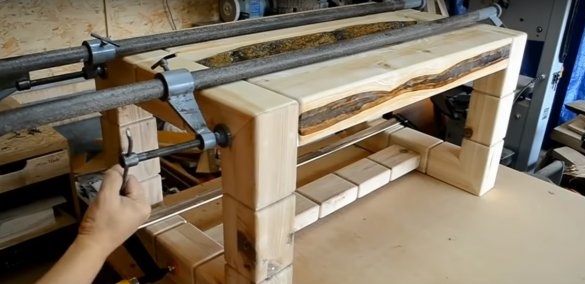
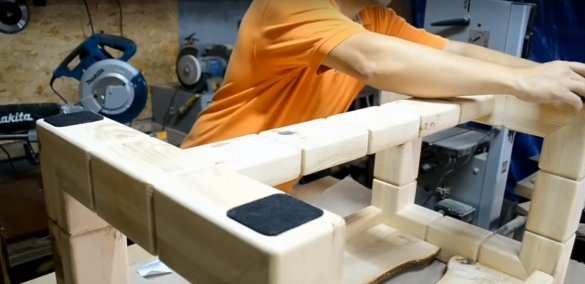
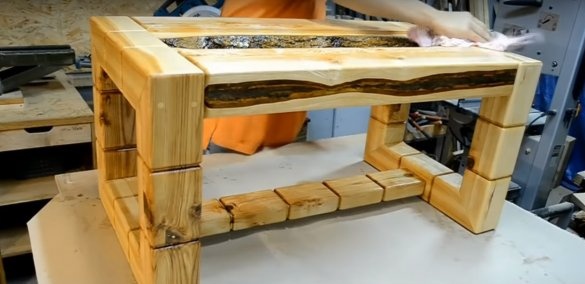
The table is assembled on dowels using glue. Assemble the frame as shown in the photo. Use clamps to tighten parts as tight as possible.
On a plane that will touch the floor, place self-adhesive felt “legs”.
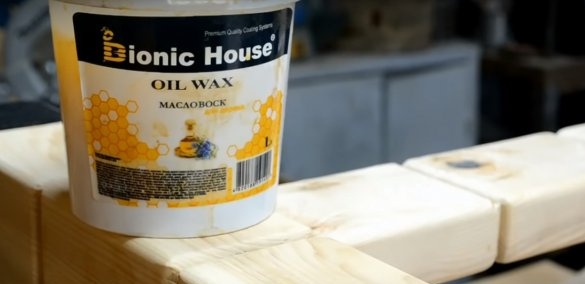
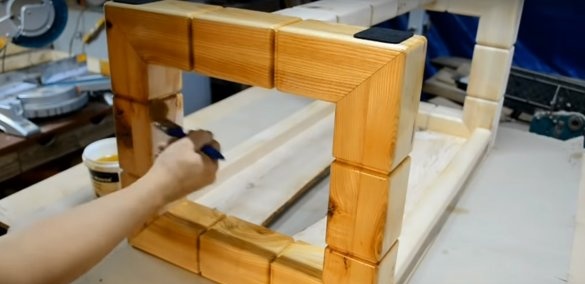
Wax the surface of the wood with oil. Use a paint brush for this, and remove the excess with a lint-free cloth. The finished product can be polished manually or using a grinder and a special wheel.
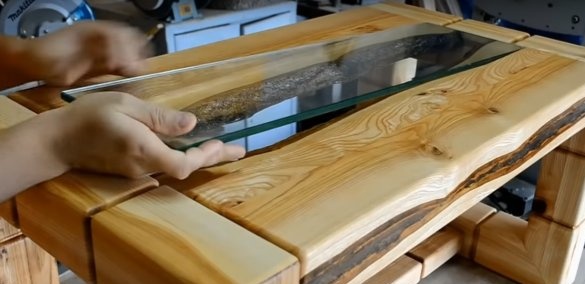
Fix shockproof glass to the countertop.
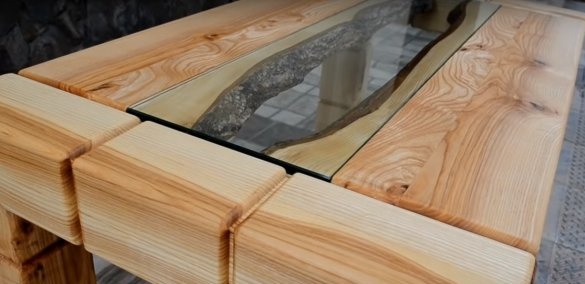
The original coffee table is ready!

