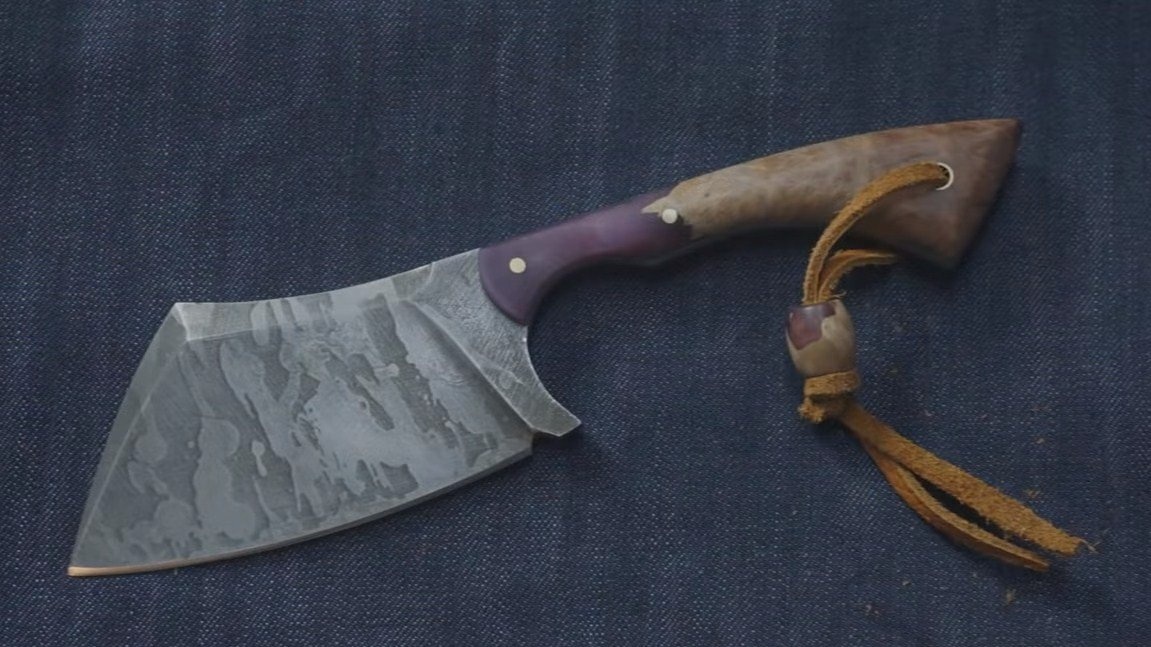
Hello everyone, in this instruction we will look at how to make a simple and original hatchet knife do it yourself. They can work like an hatchet, or they can be cut like a knife, high-quality steel was used here, because the blade is sharp.
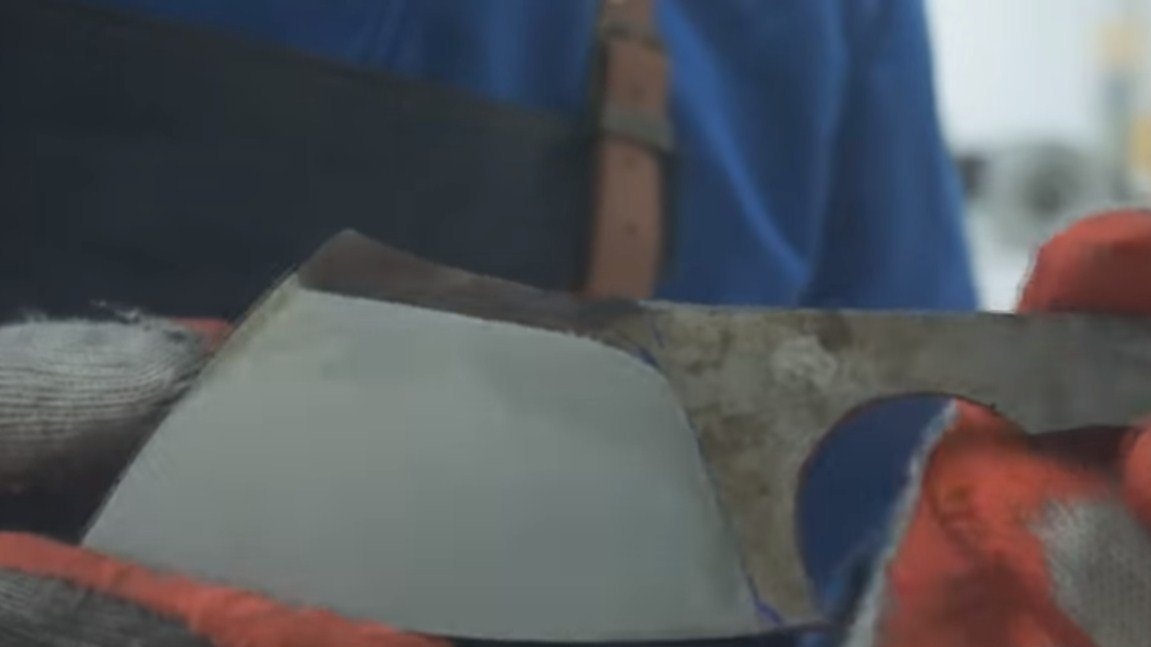
The hatchet is unique in that an interesting pattern is formed on it by etching. The hatchet handle is also interesting, it is a combination of epoxy with dyes and wood. Everything turned out original and beautiful. On the hatchet is a beautiful leather strap, on which the author installed a beautiful home-made bead. If the project interests you, we proceed to its study!
Materials and tools used by the author:
Material List:
- carbon sheet steel for hatchet;
- epoxy resin and dyes;
- a piece of wood for the handle;
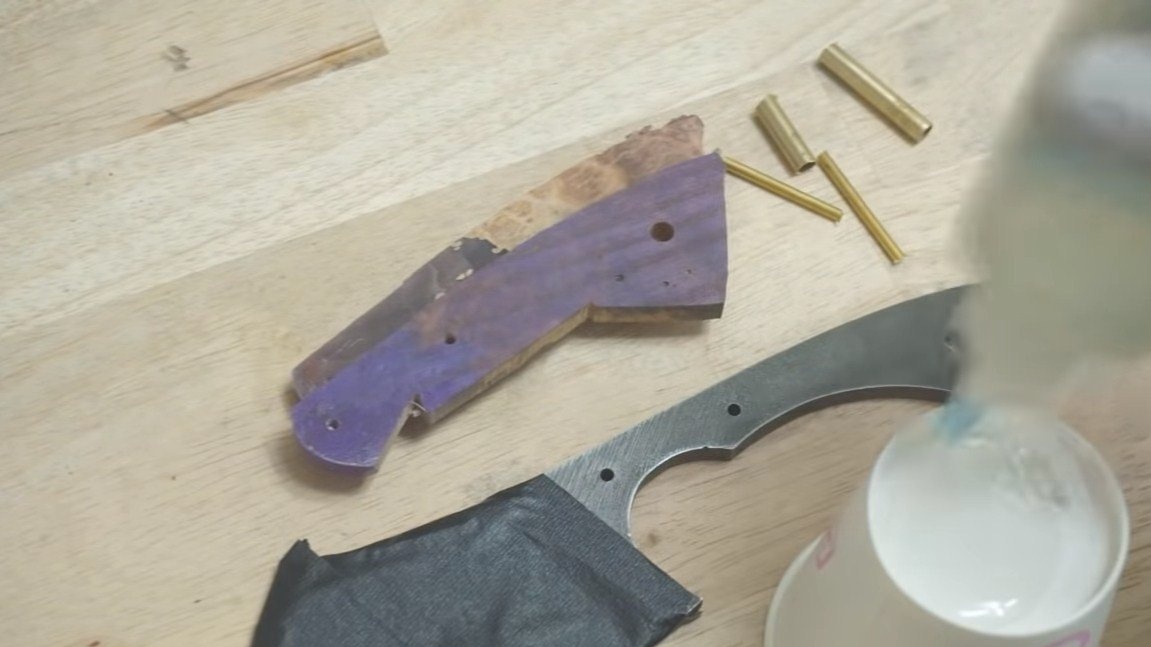
- brass rods and tubes;
- (recommended);
- leather belt;
- oil or wax to cover the handle.
Tool List:
- acid for etching and paint;
- tape cutting saw;
- drilling machine;
- clamps;
- belt sander;
- Bulgarian with cutting and grinding discs;
- oven, oil and oven for heat treatment;
- sandpaper, files, a hammer and more.
Hatchet manufacturing process:
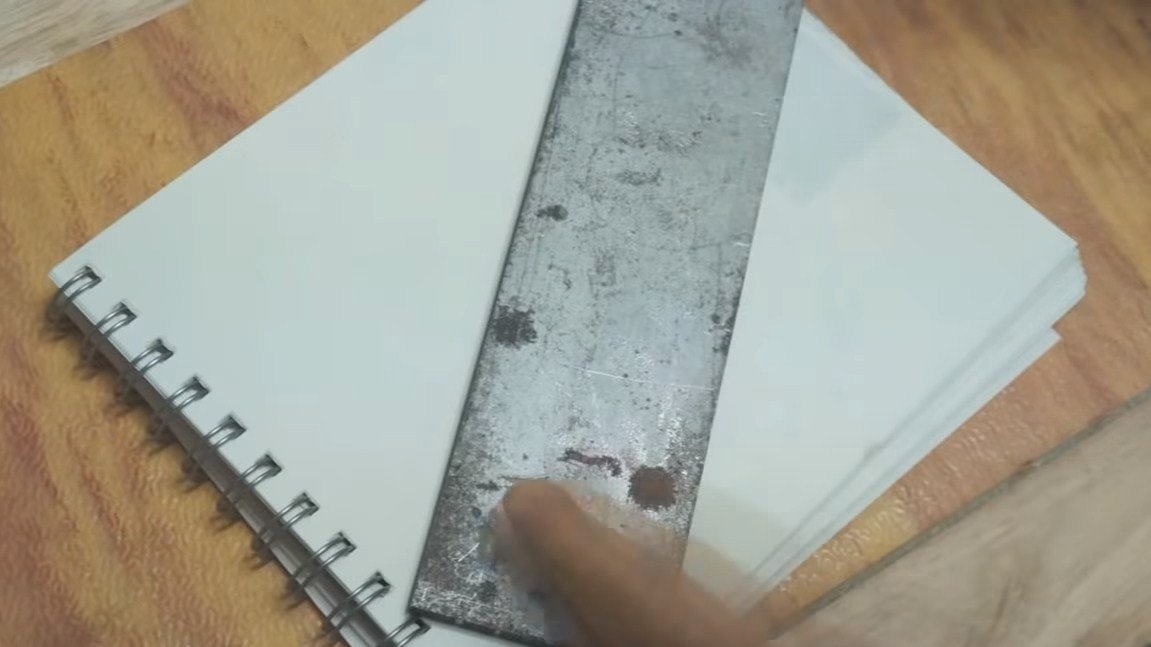
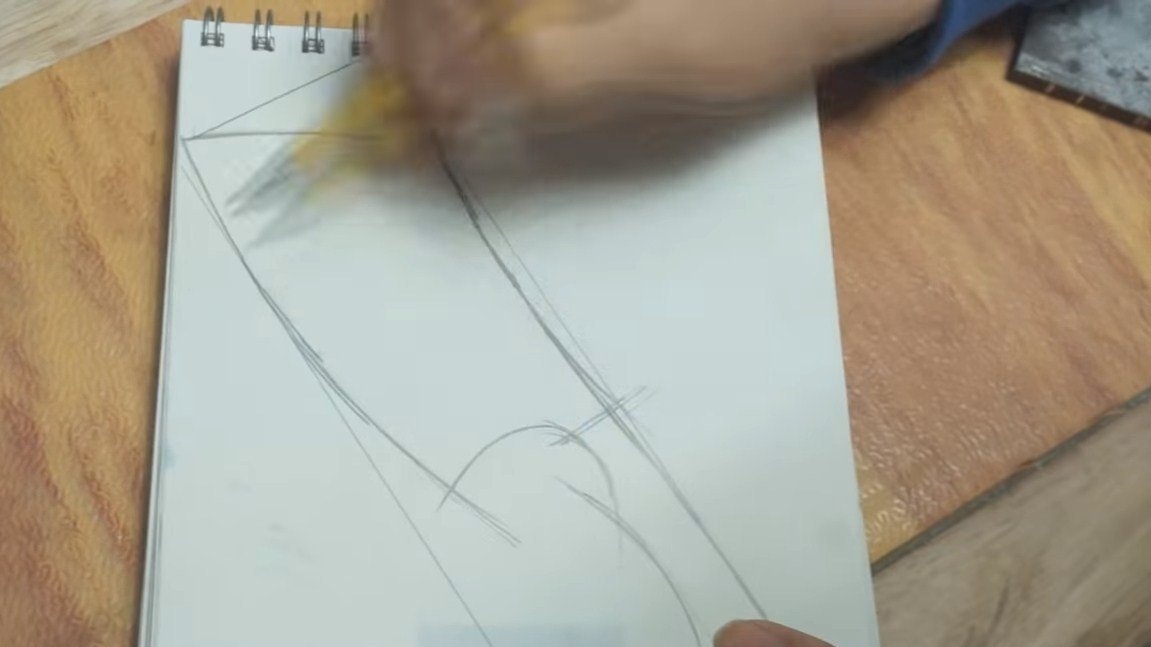
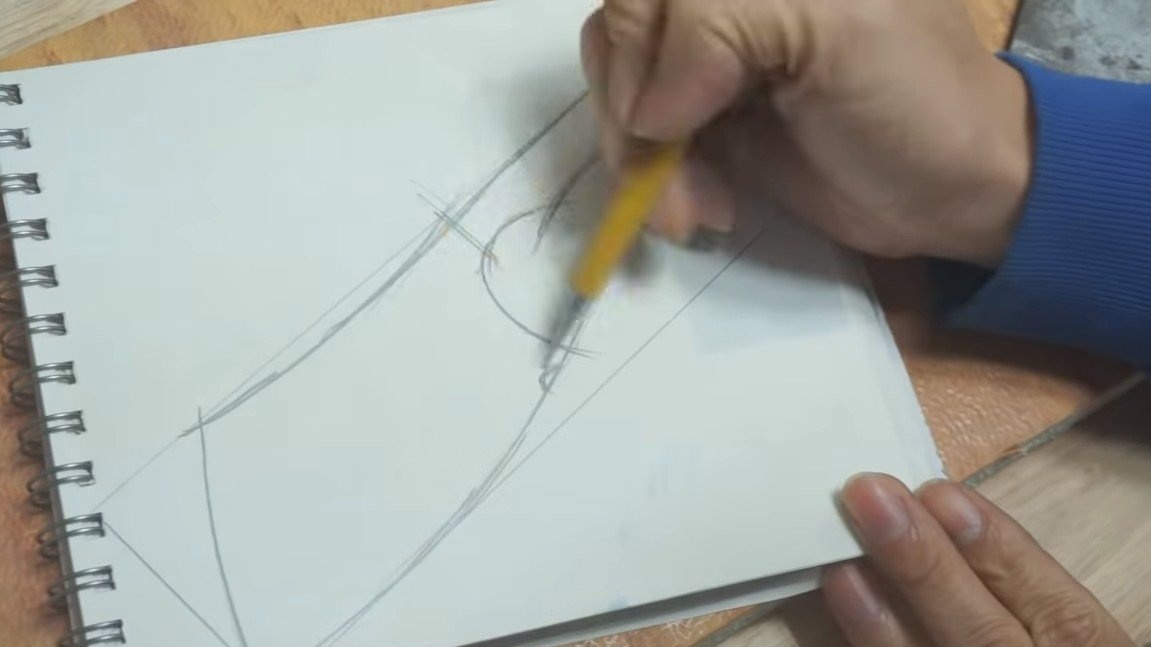
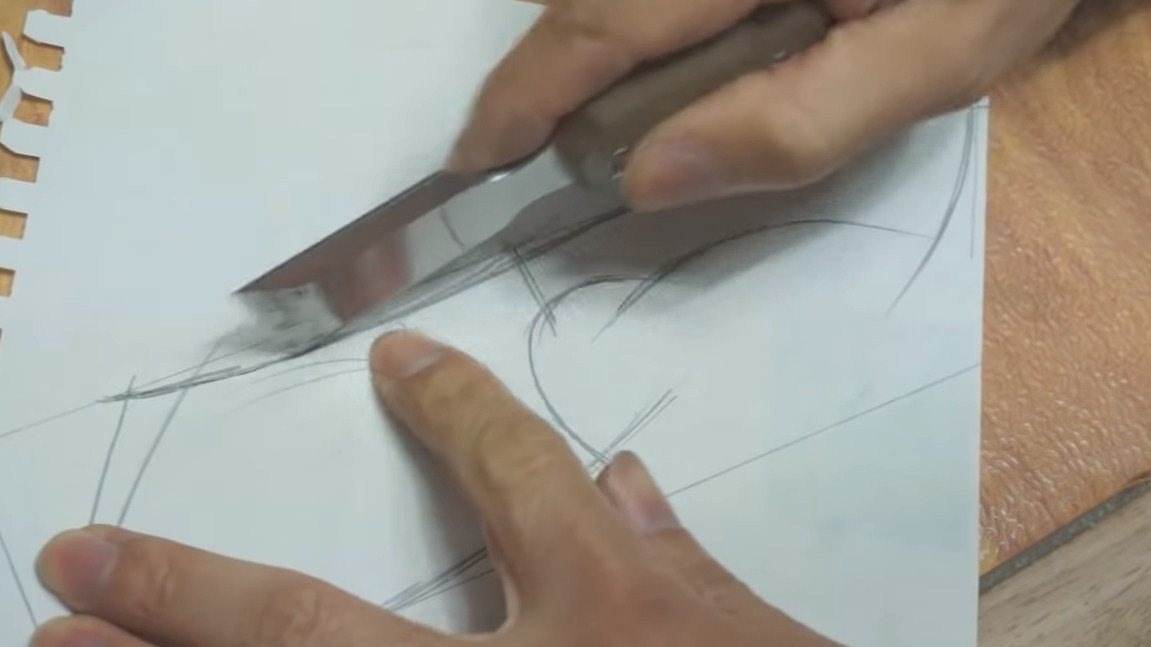
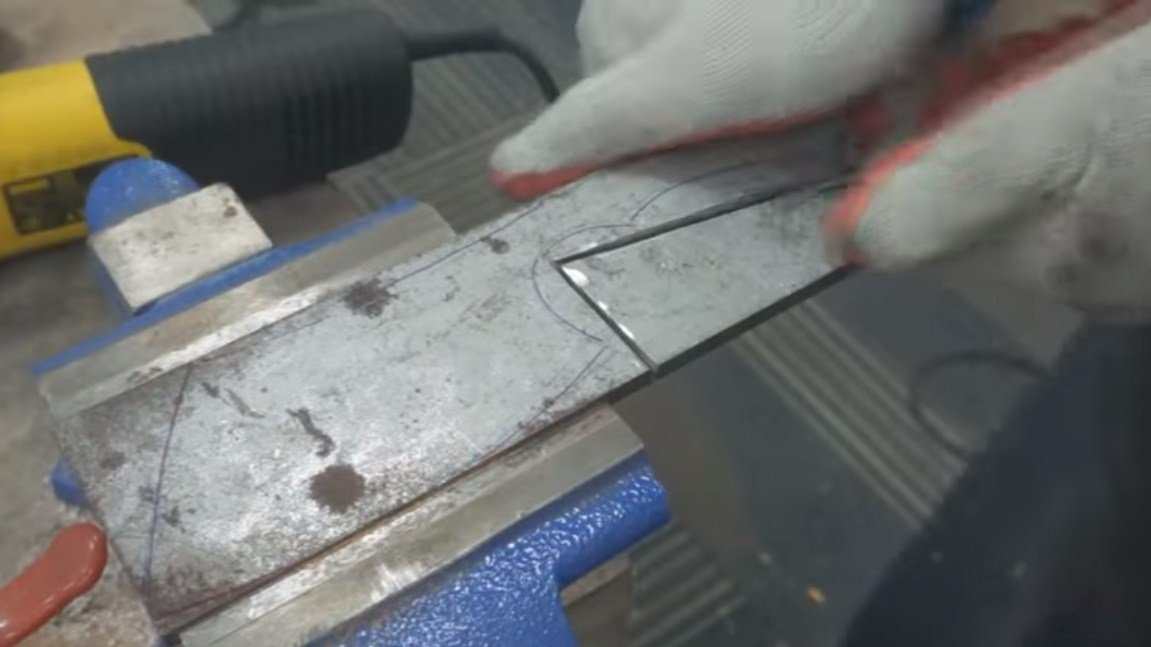
Step one. Cut profile
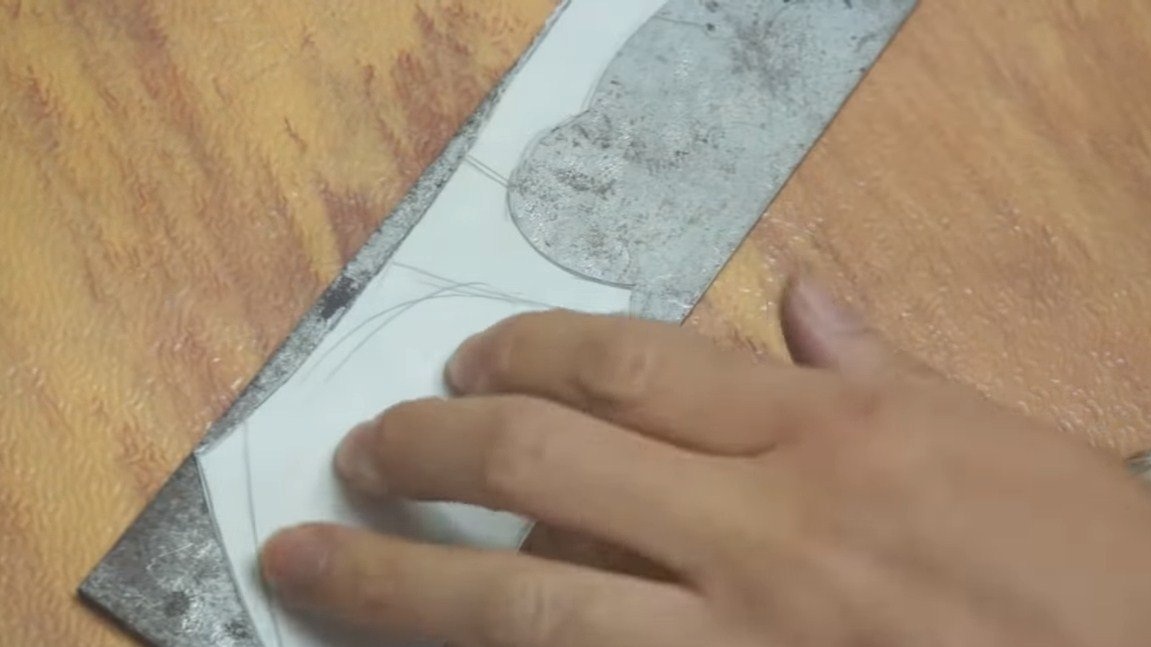
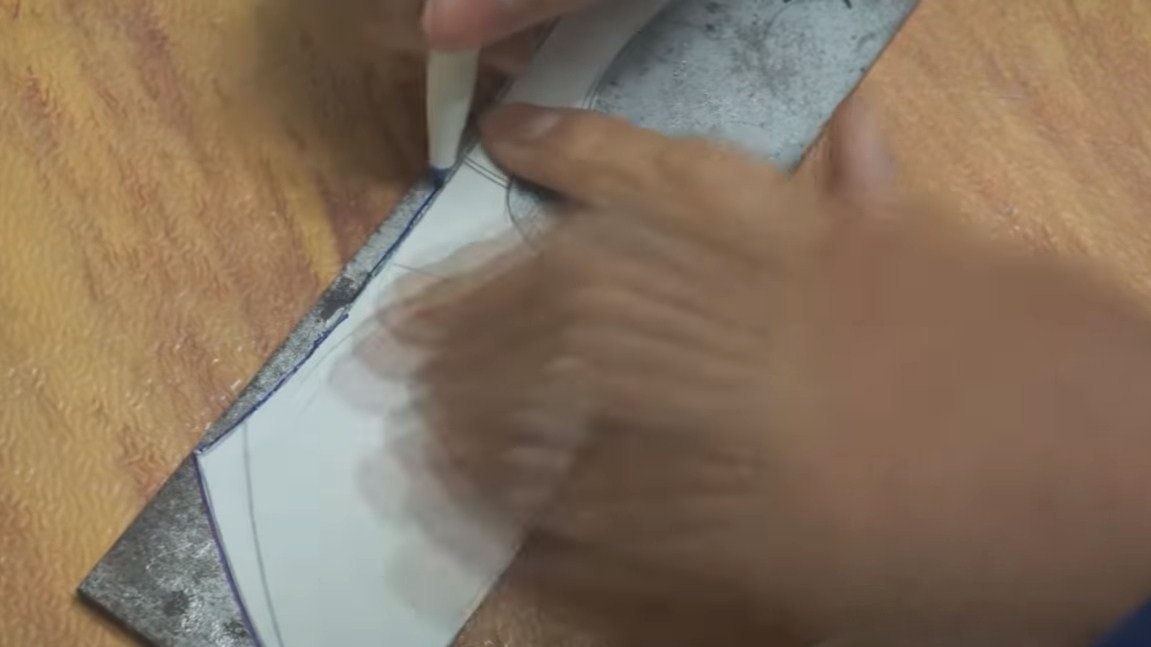
Let's make a hatchet template, the author proceeds from the size of his piece of metal. We draw the project by hand in pencil, this is not difficult to do. And if you want to realize a more complex project, you can print it on a printer. We cut out the template and draw a marker on the metal, it is advisable to use the marker with a thinner line.
You can start cutting, the author carries out the work with a grinder.
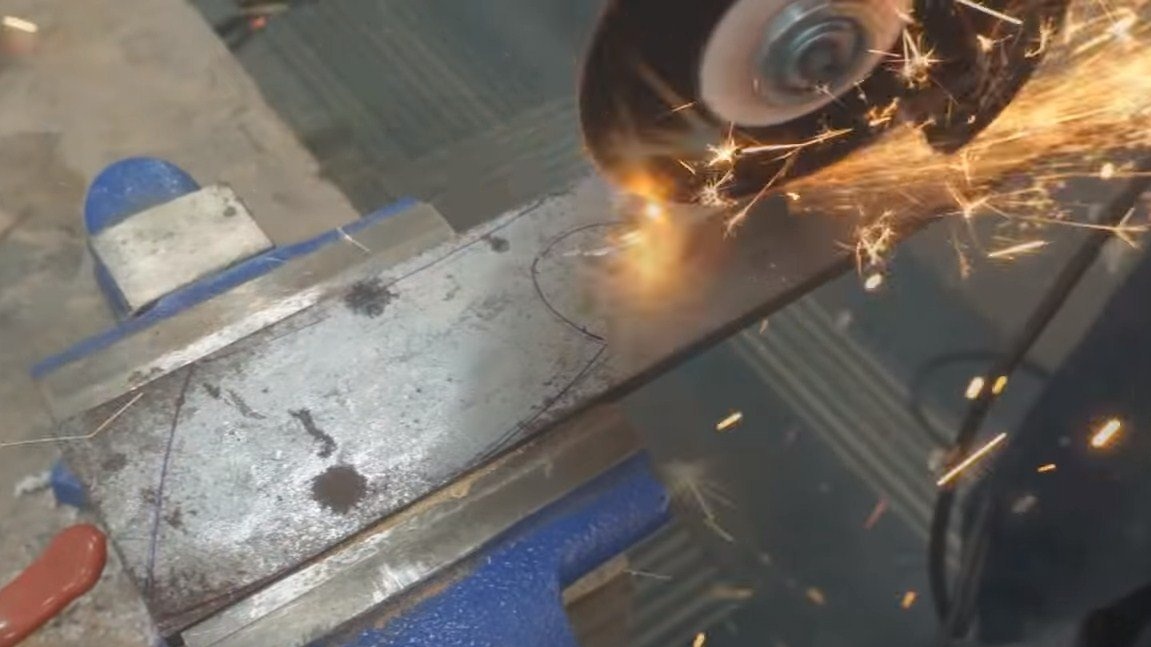
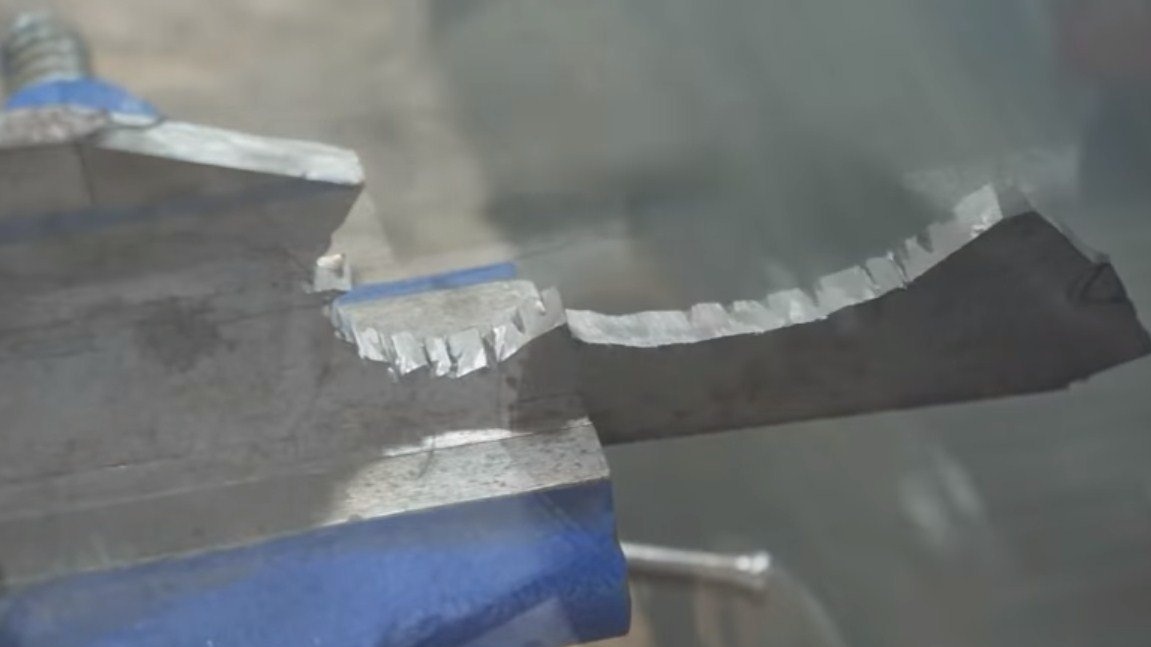
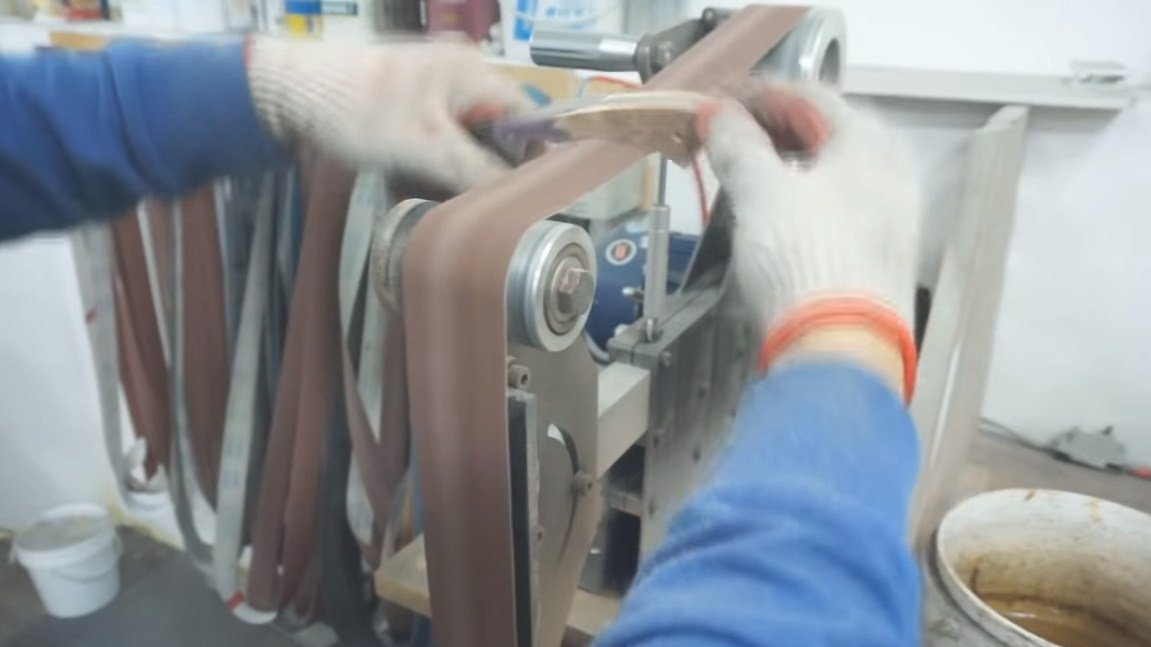
Step Two Grinding work
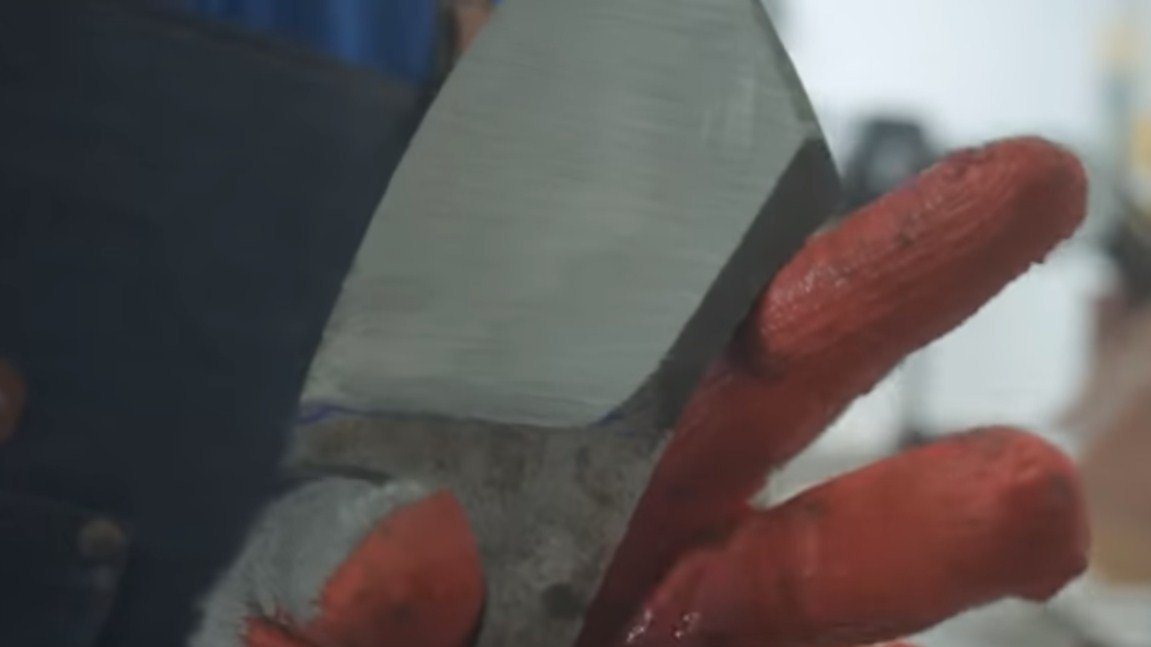
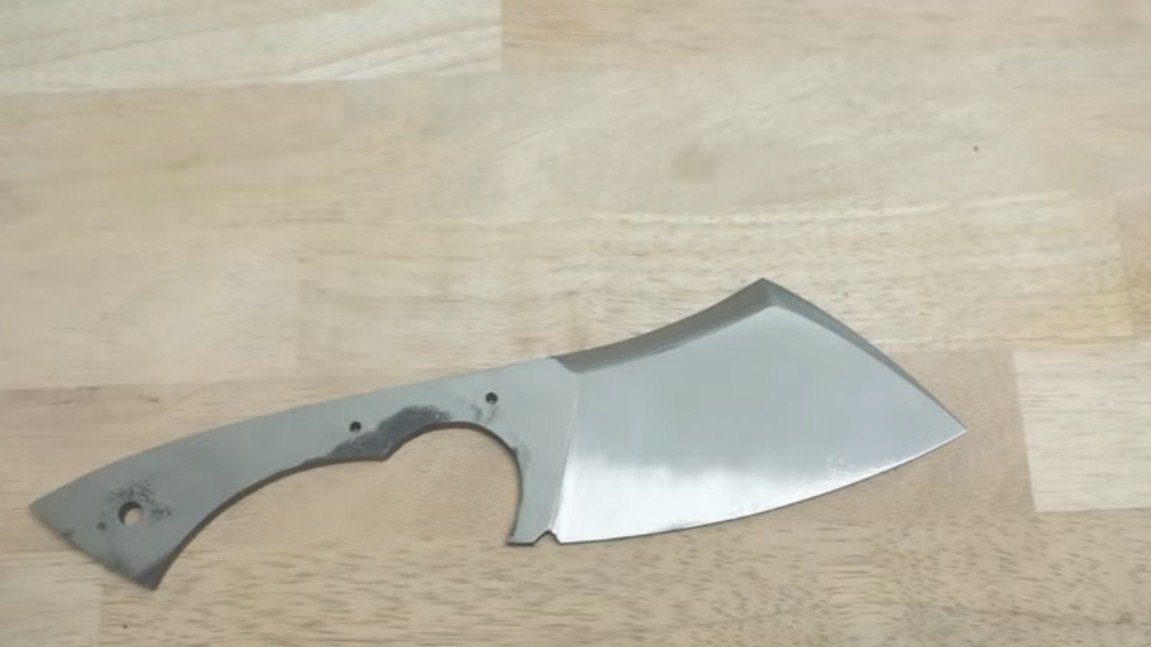
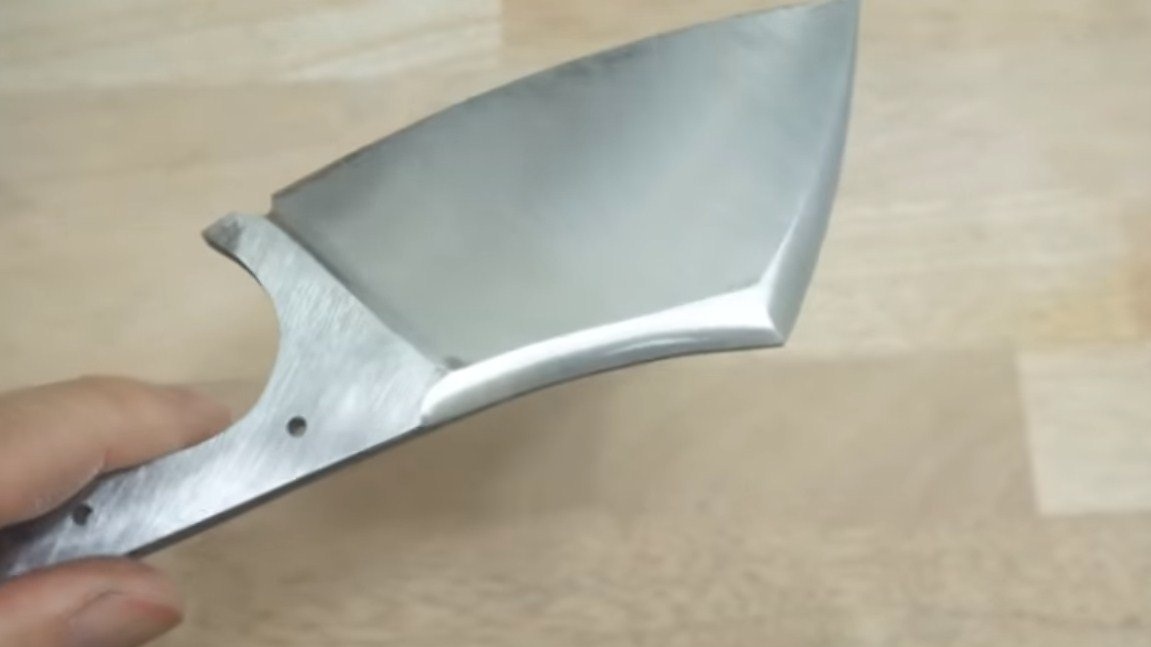
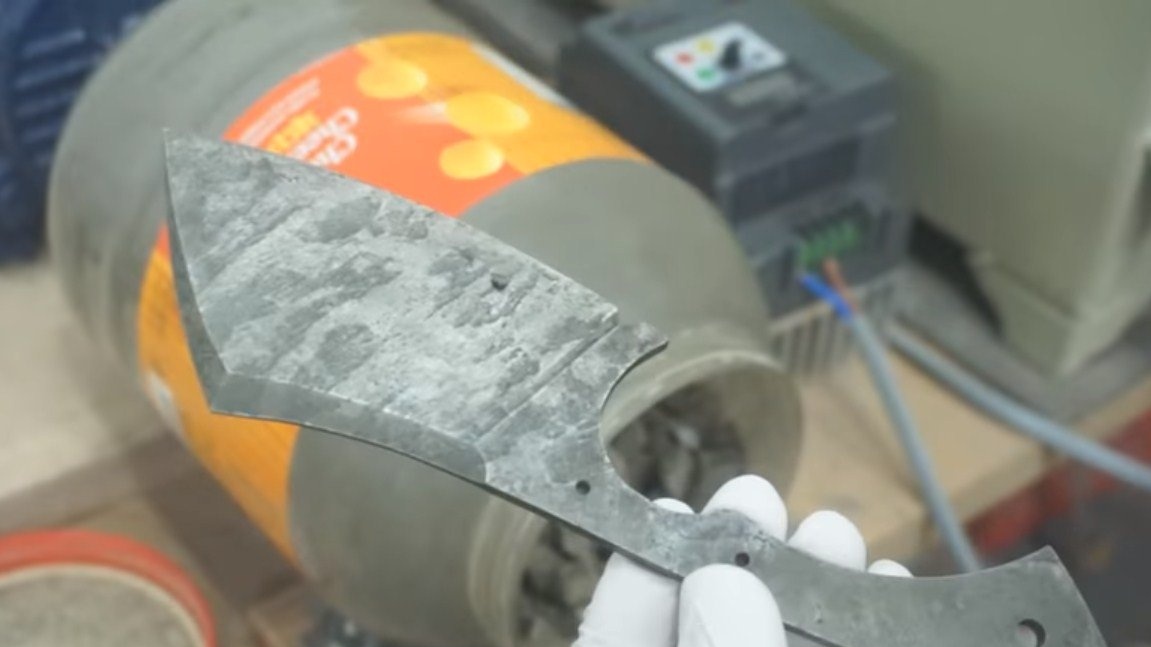
The profile cut out by the grinder will be rather rough. We pass through it on a belt sander. Those places where you can’t crawl on the grinder are treated with a grinder with a grinding disc, as well as files. As a result, you should get a complete ax profile.

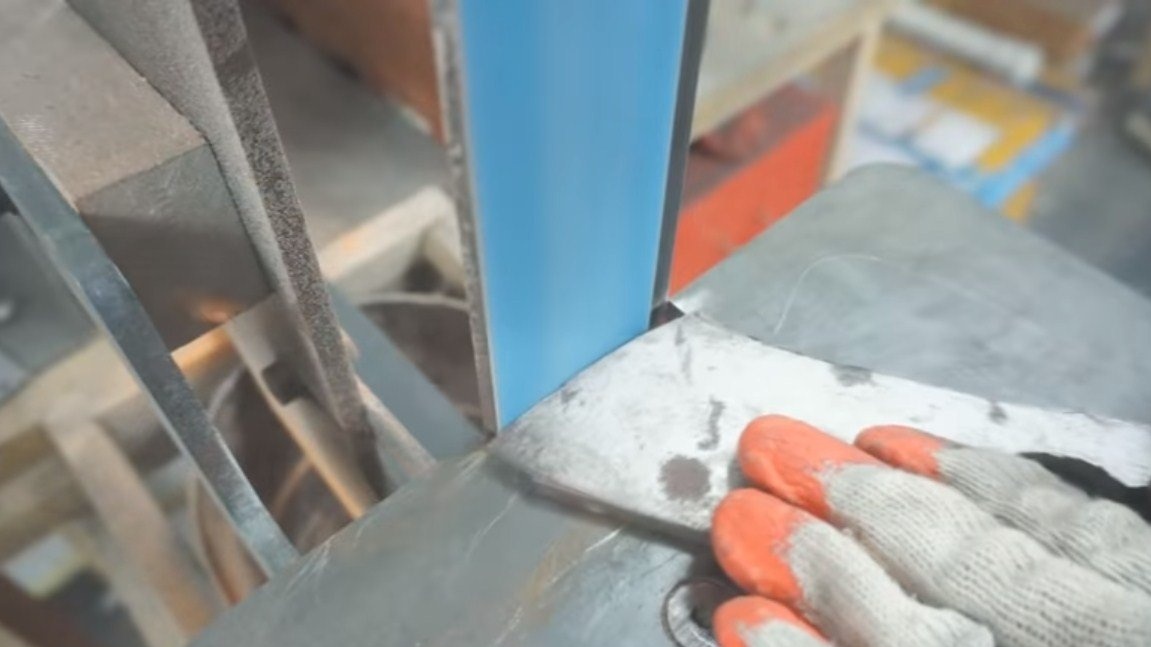
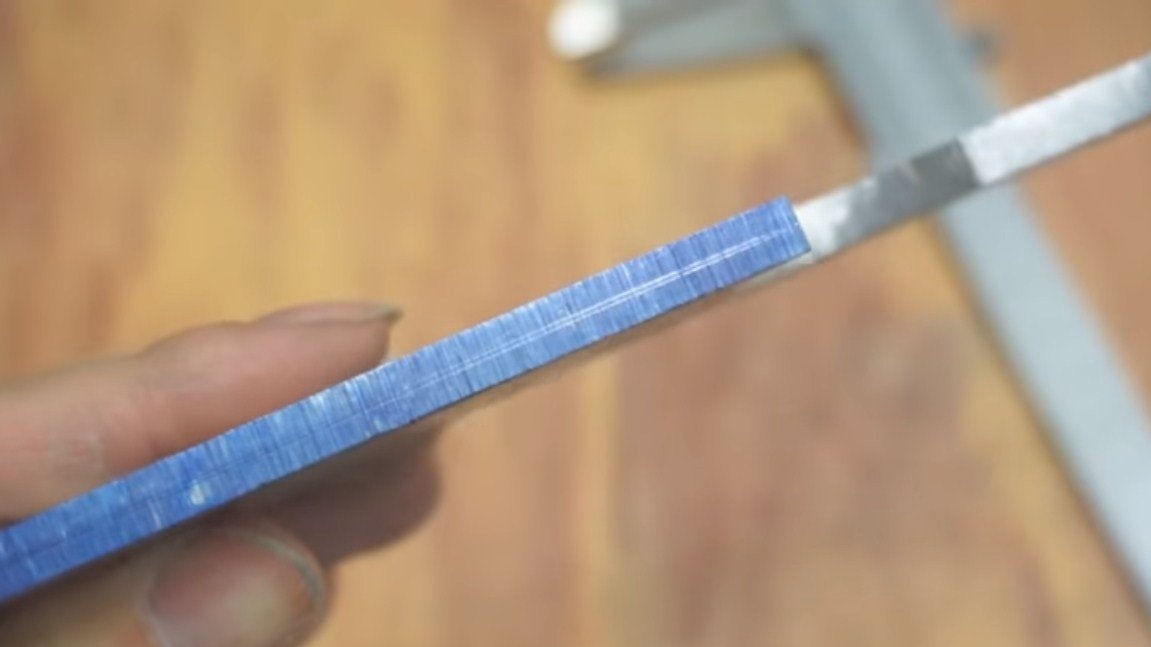
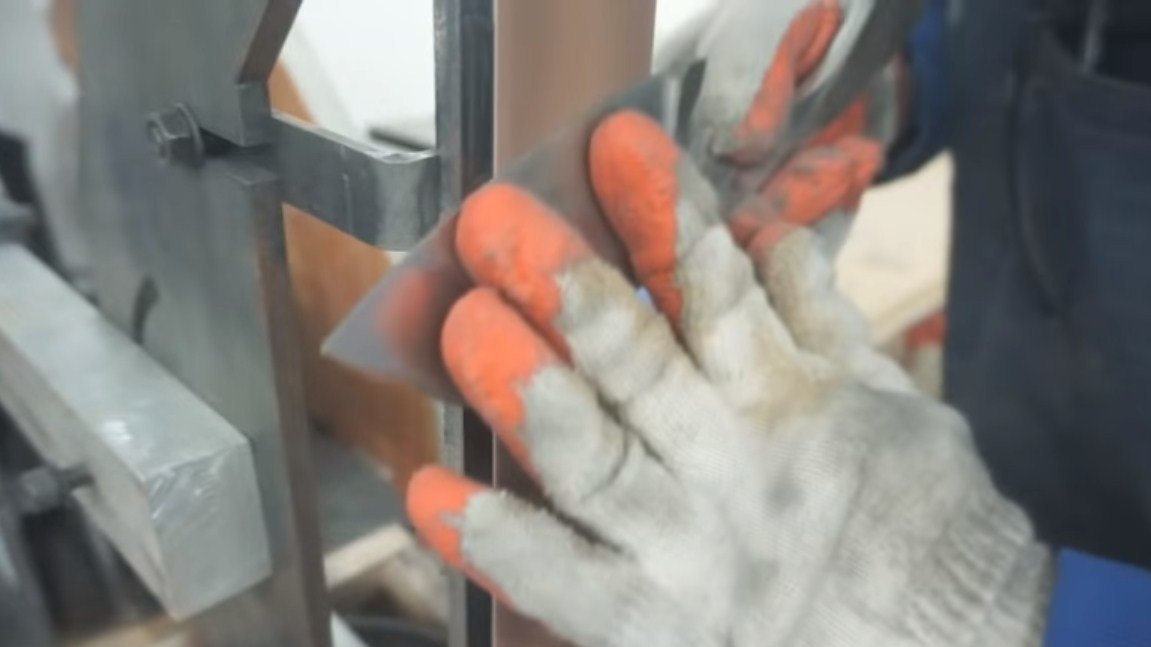
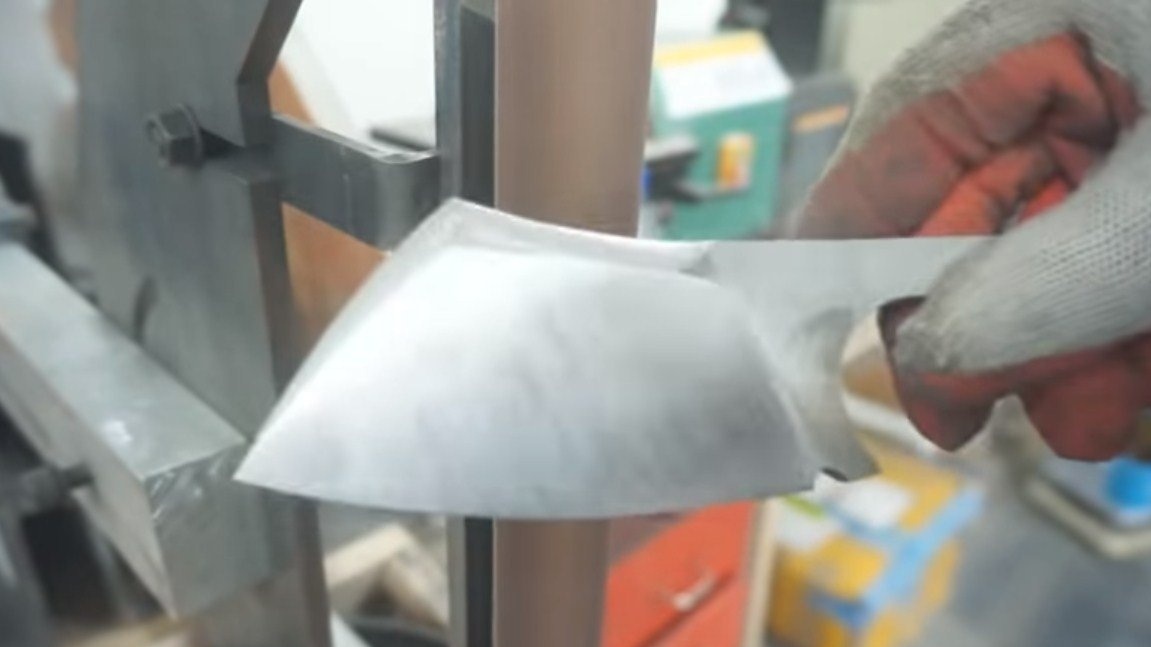
Step Three Bevels
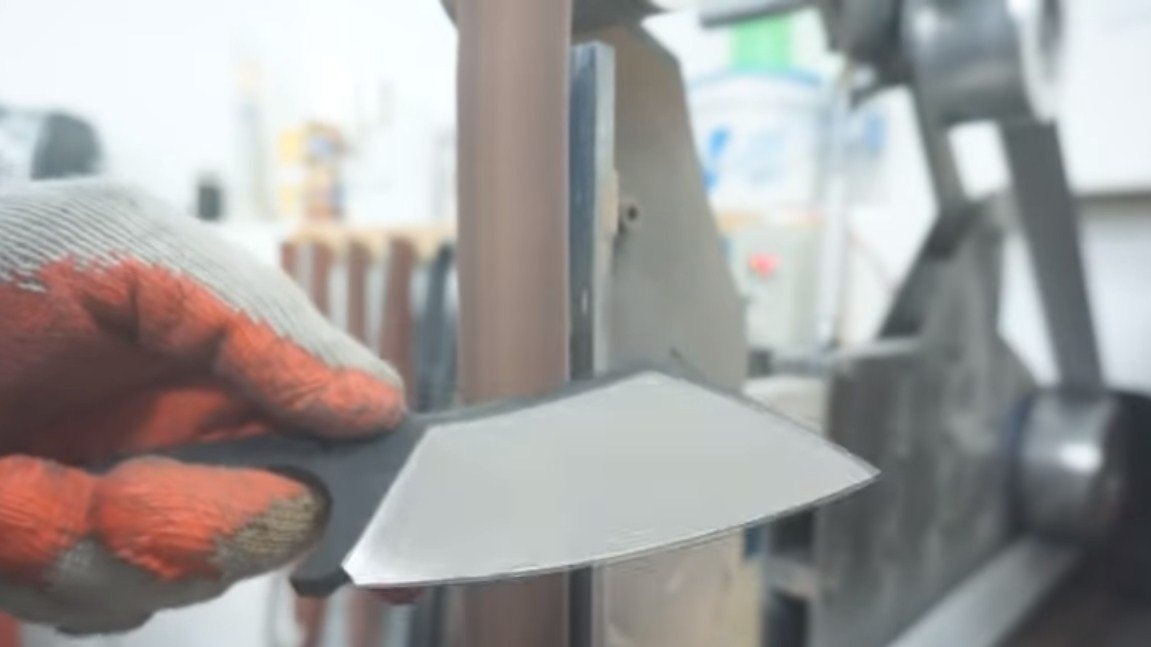
We make bevels on a hatchet; for this, we draw a line along the blade that we will focus on when working. To make the line clearly visible, paint over the blade with a marker. Well, then we scratch the line with a caliper.
Getting started, they are conducted on a tape machine, the author does not use additional devices. So that the metal does not overheat, we lower it periodically into water.In the end, we go through a finer sandpaper to remove deep scratches, which will be harder to remove after hardening.
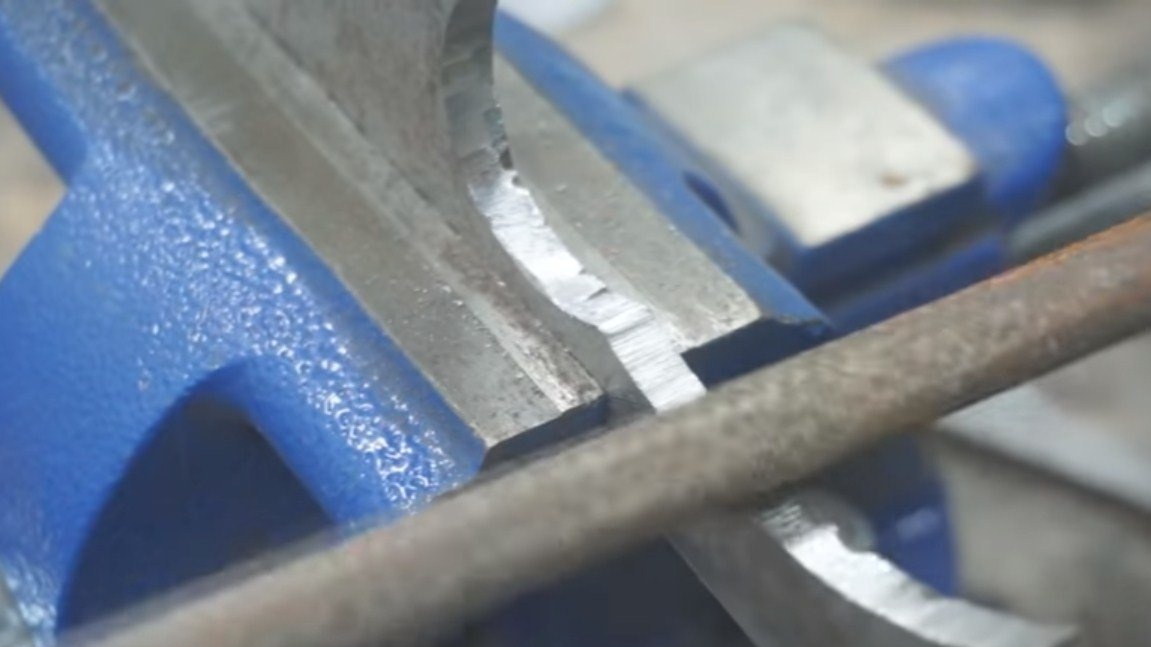
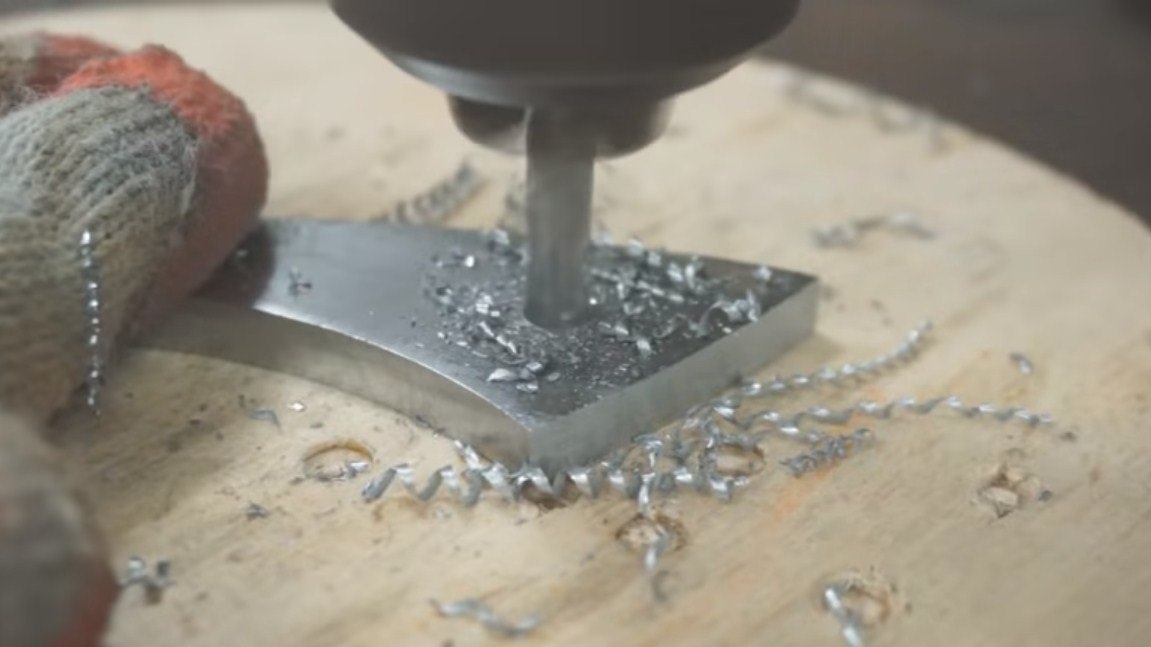
We also drill a hole in the tail section, you must remember to do this before hardening.

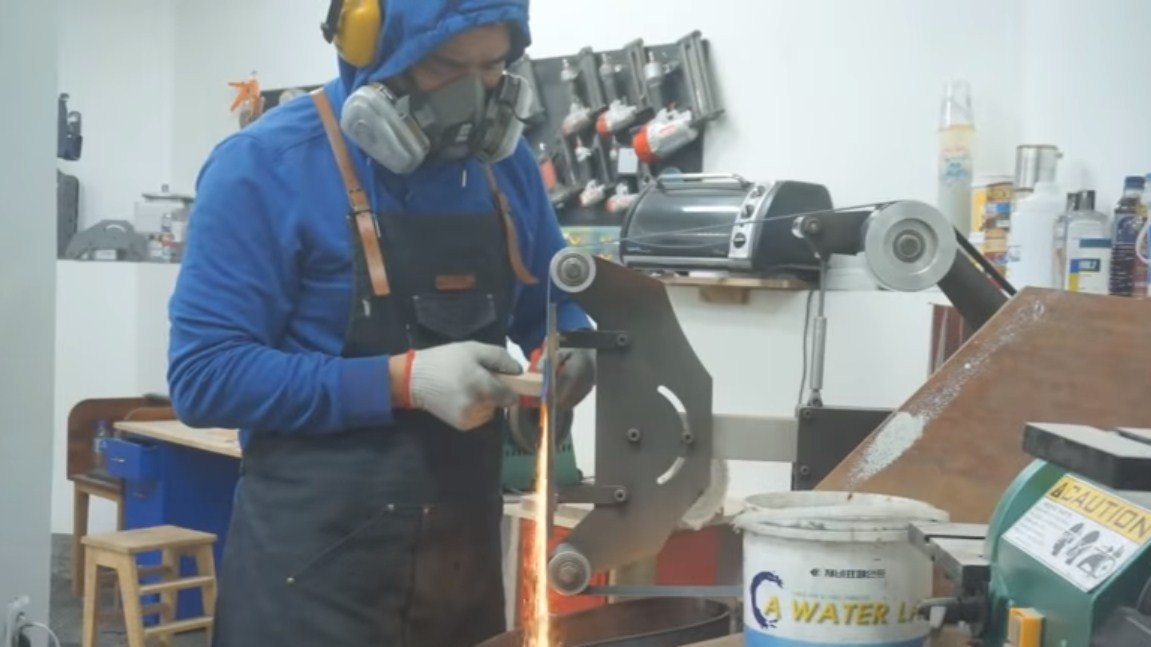
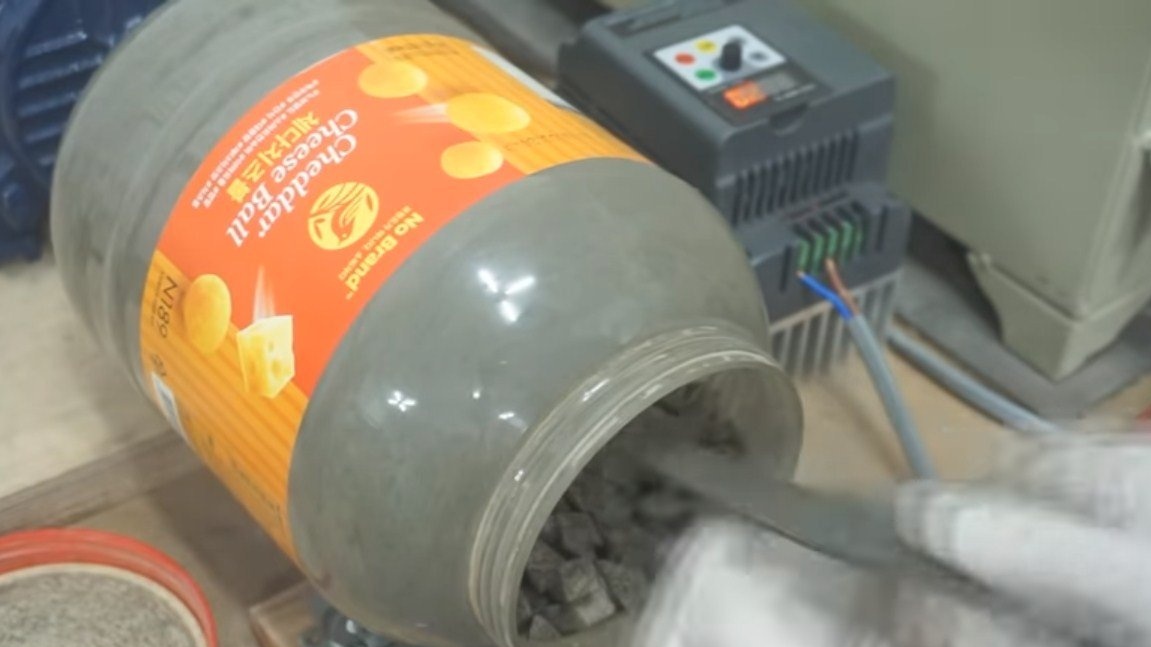
Step Four Quenching
It is important to understand that the hardening of different grades of steel is different, but in general, the steel is heated red-hot and cooled in oil. If steel is hardened, it should not be scratched with a file. If there are scratches, then the desired temperature has not been reached. At a sufficient heating temperature, the magnet should not react to steel.
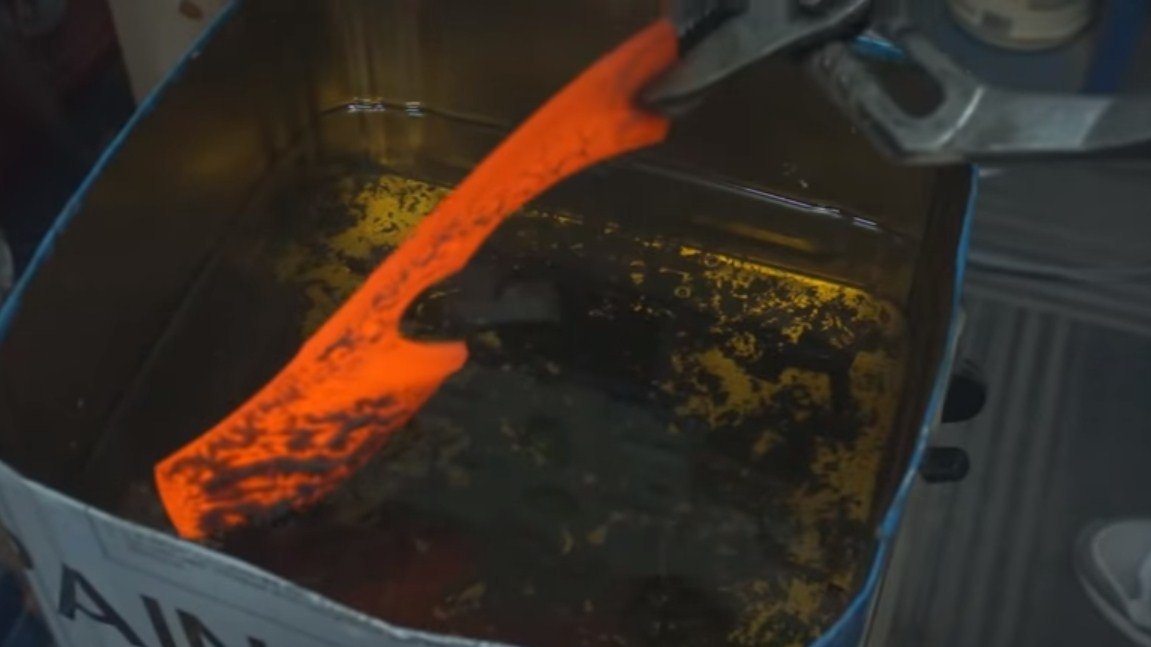
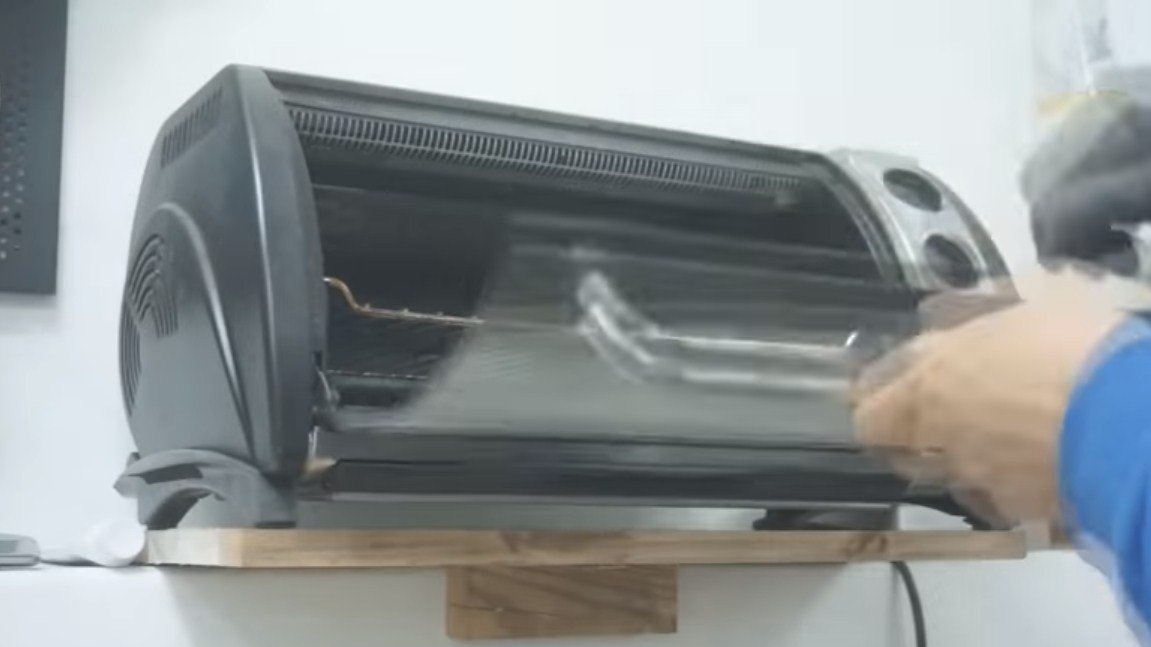
Then, after hardening, we immediately leave the ax and in no case drop it, since the steel is brittle and the hatchet can fly apart. We spend the vacation in the oven at a temperature of 200 degrees, but everything, again, also depends on the grade of steel. Usually, a straw-colored coating forms during tempering on steel. Properly tempered steel will spring and ring.
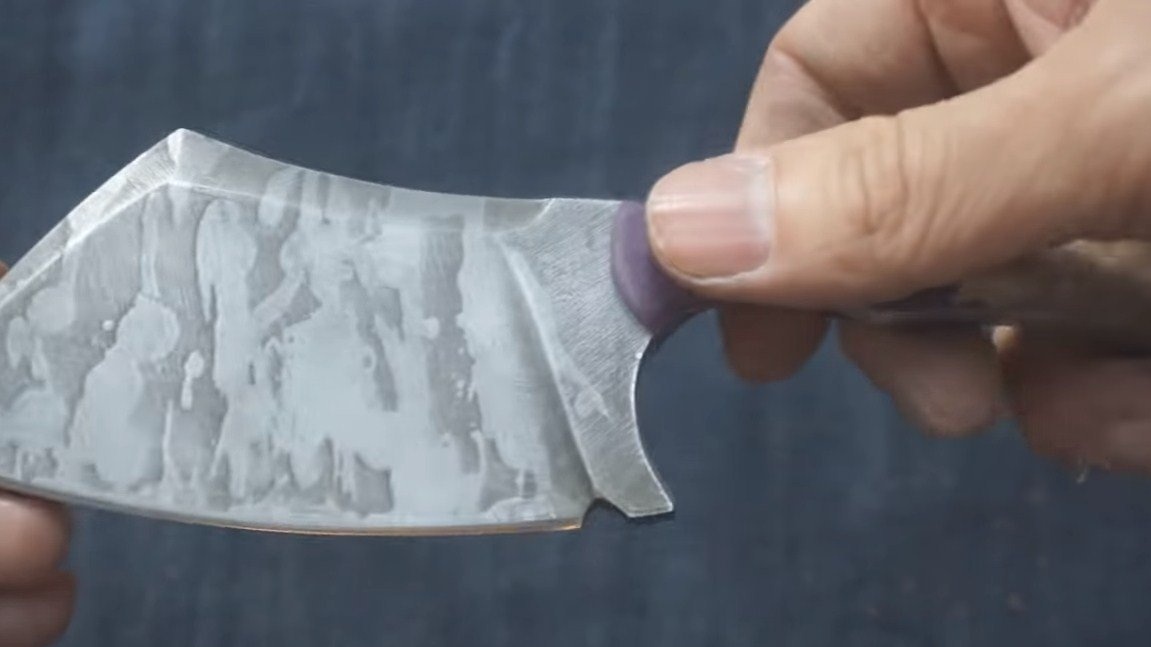
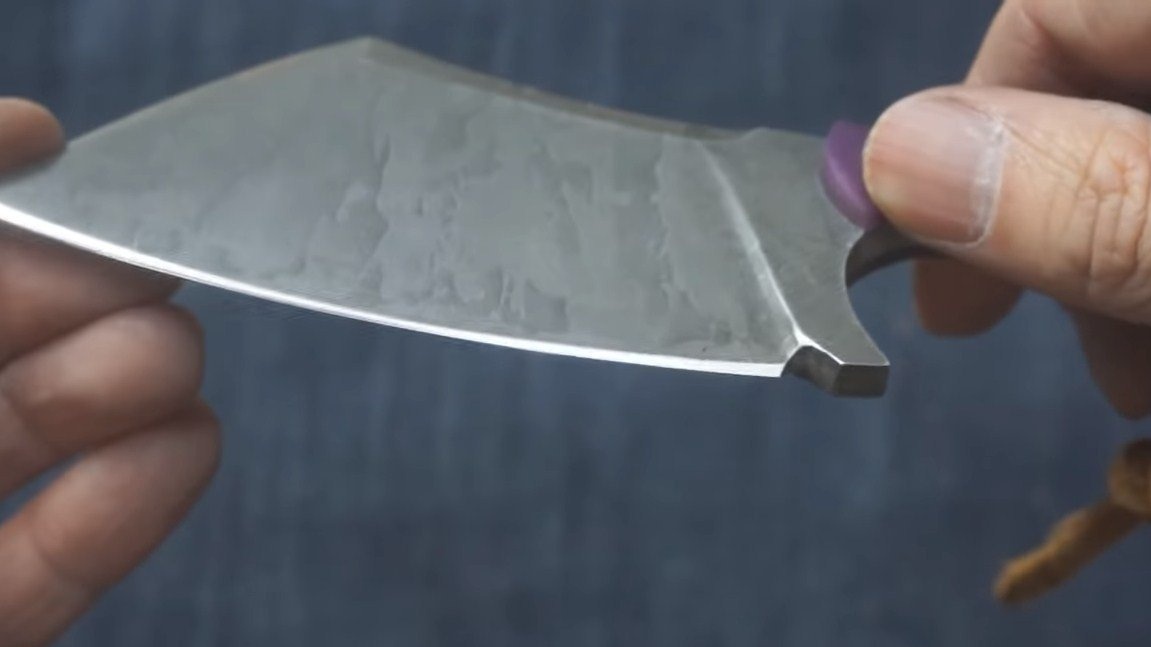
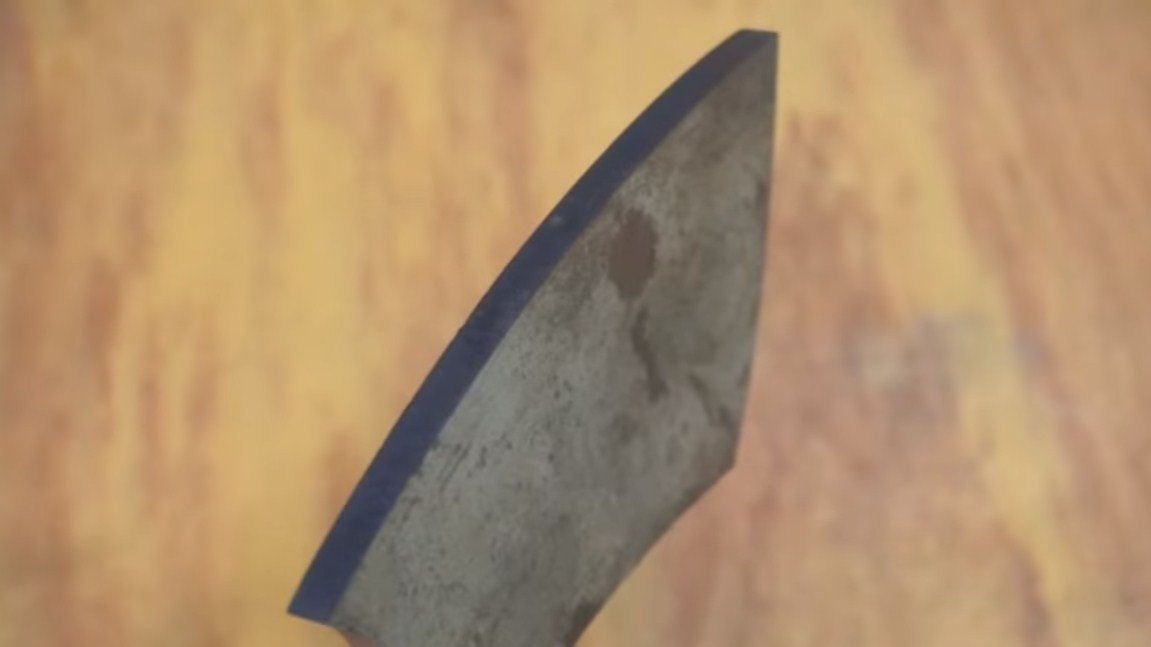
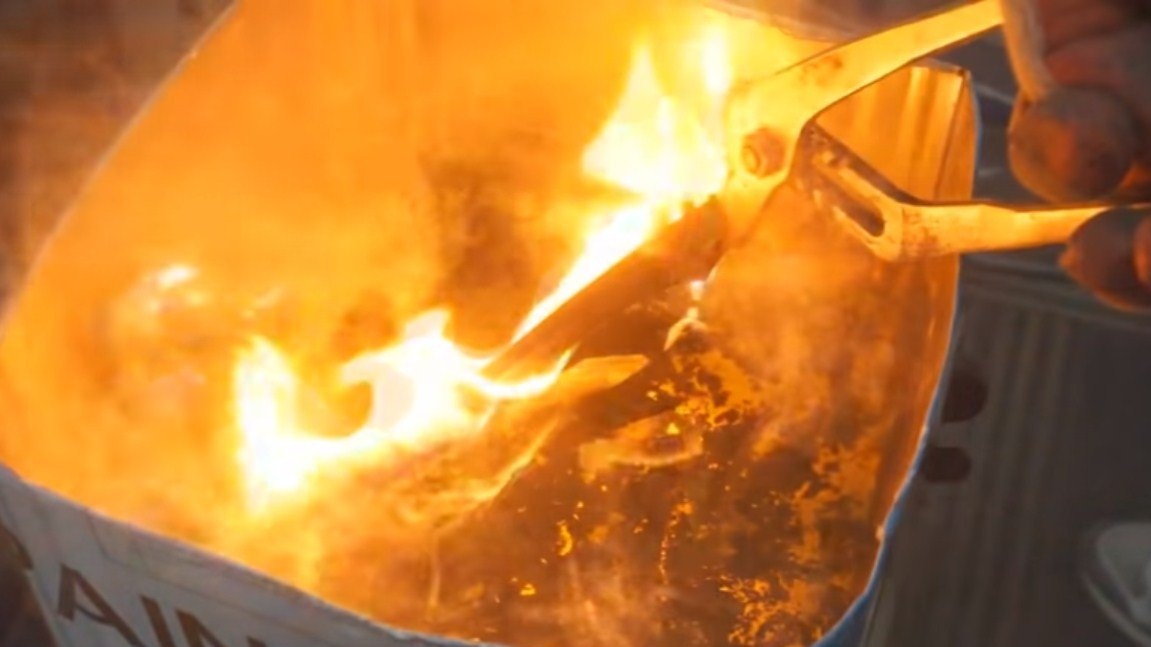
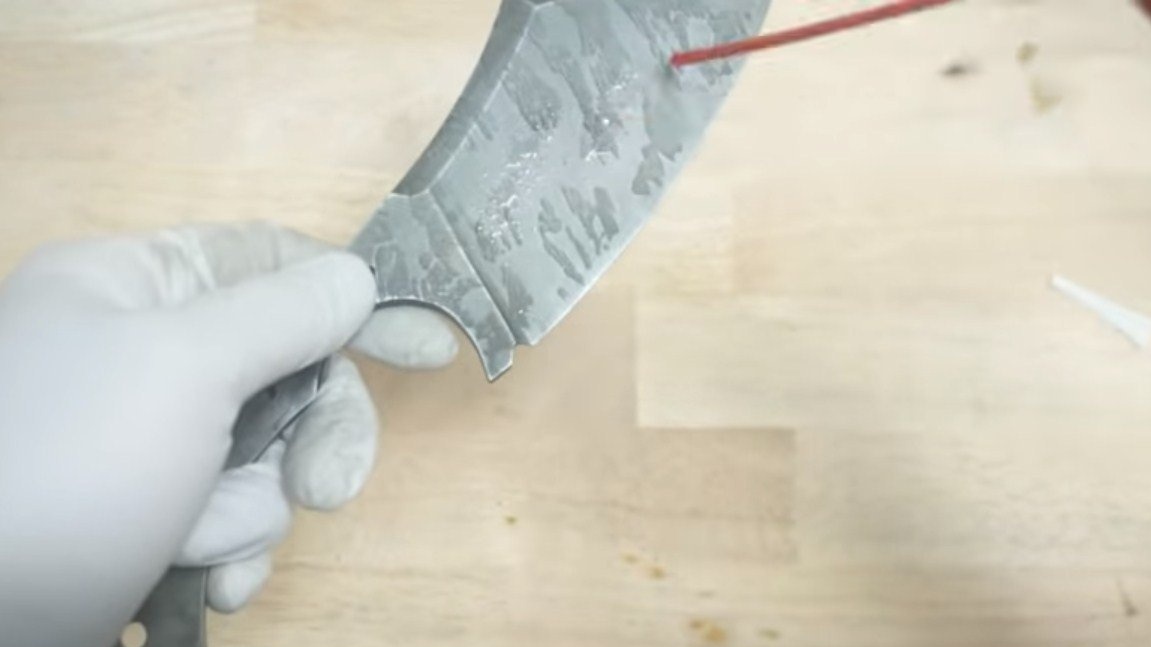
Step Five Etching
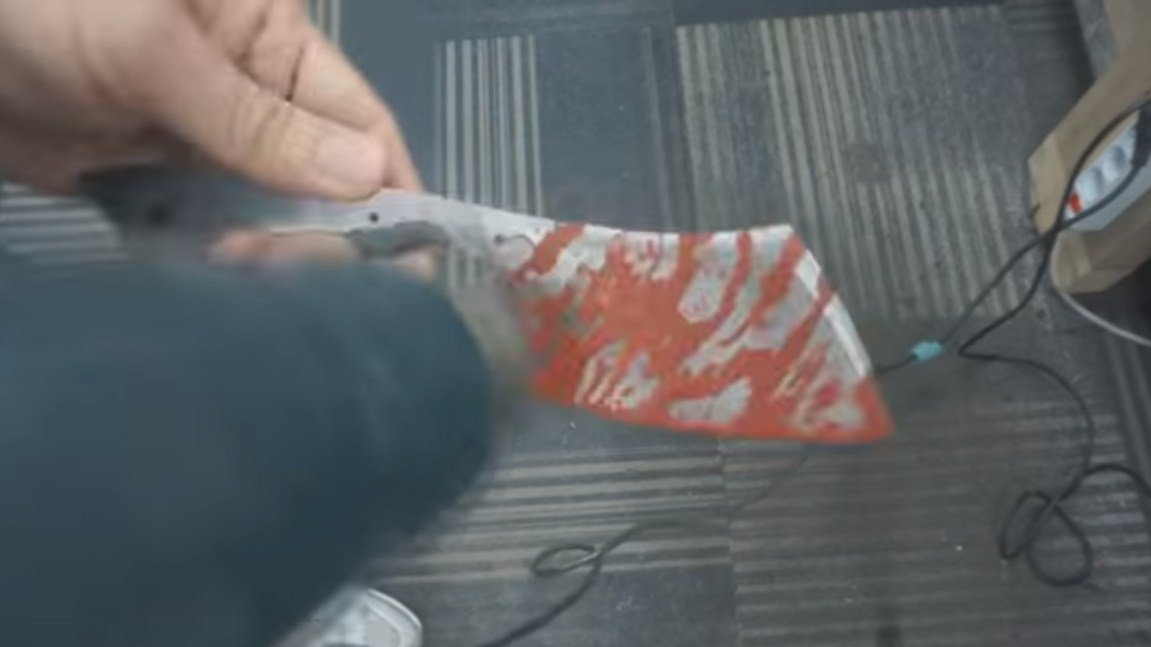
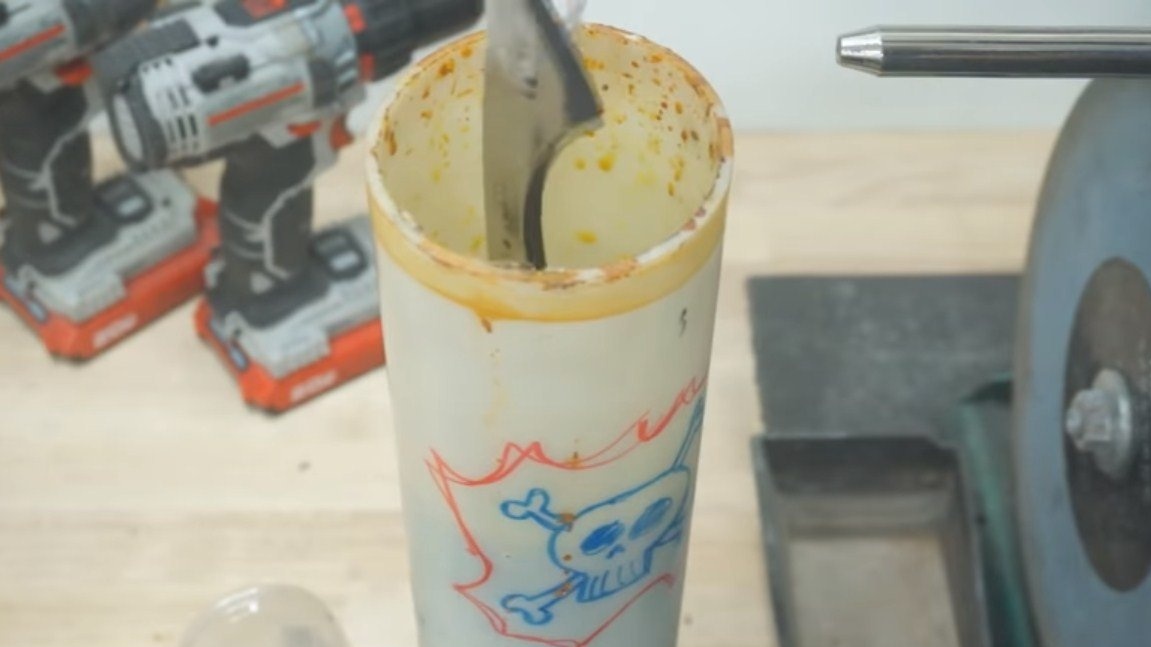
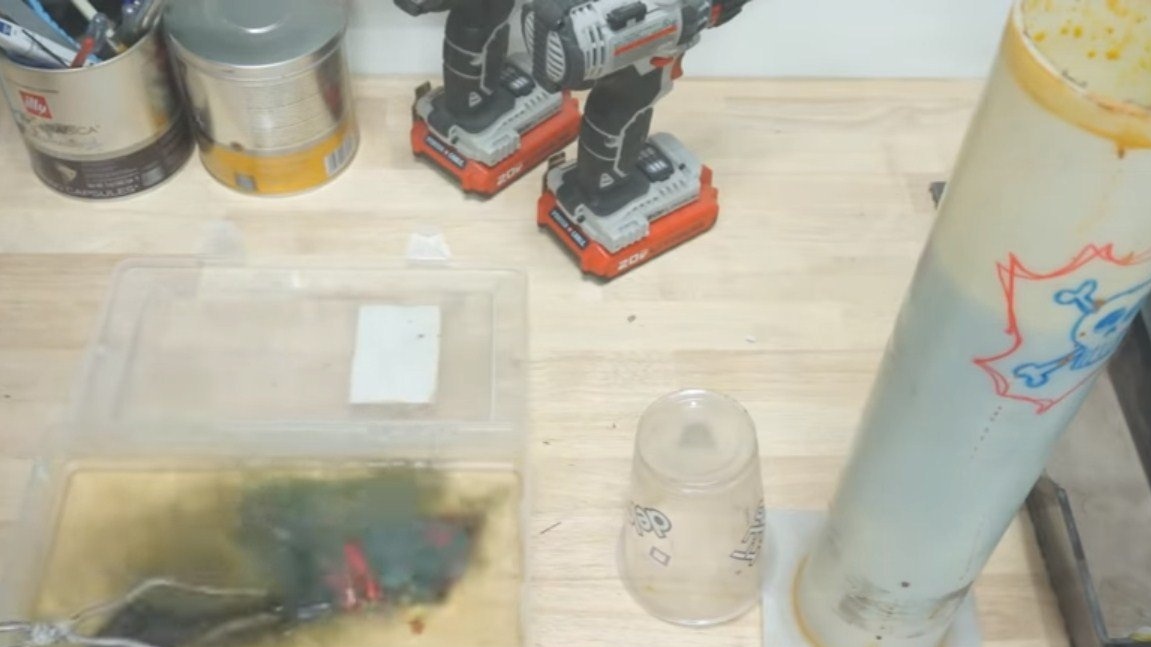
If you want to get an interesting pattern on the hatchet, like the author’s, you can etch. But first, we grind the ax well and polish it; it is important to degrease the metal so that the acid does its job. Paint the ax with random blots and blow dry with a hairdryer. The paint can be used on a water basis, it can be easily washed off. We immerse the ax in acid and wait, the author took it out when it turned black.
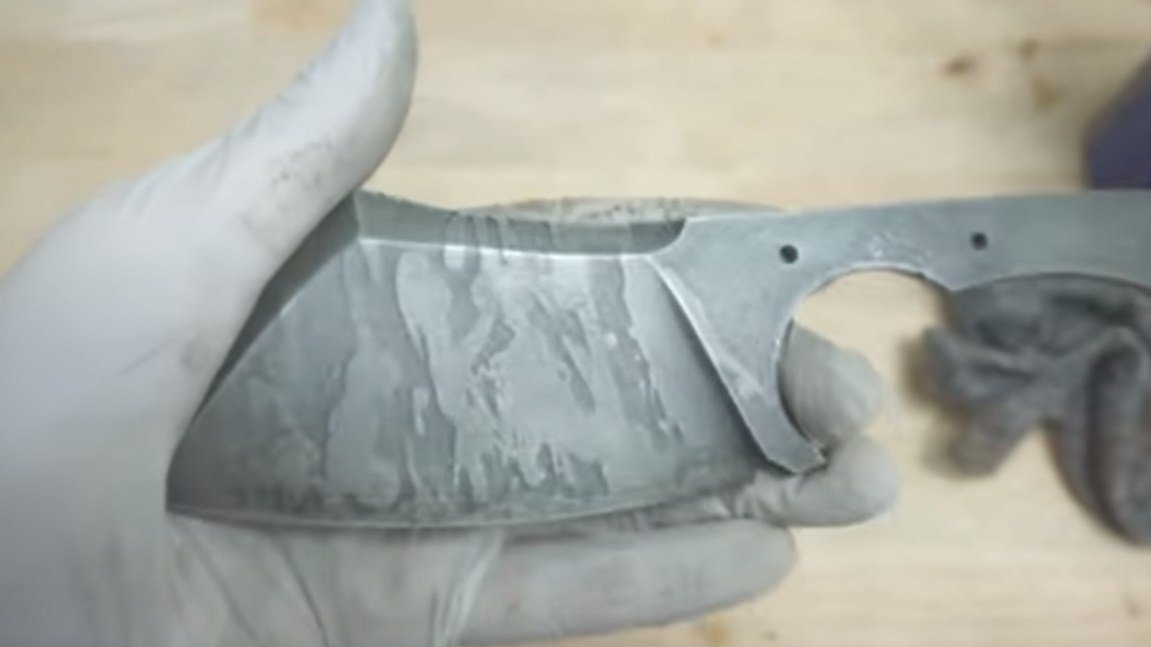
I wash my ax in water with soda to neutralize the acid, and then wash it well under running water.
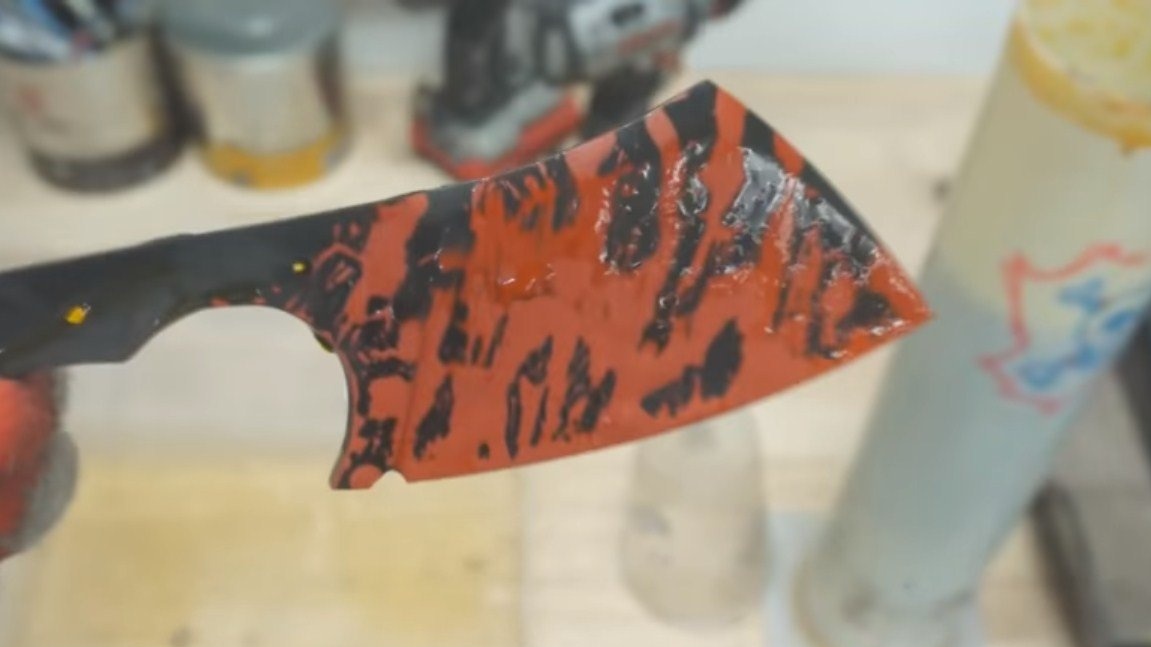
After easy grinding, a beautiful pattern is already visible on the hatchet.

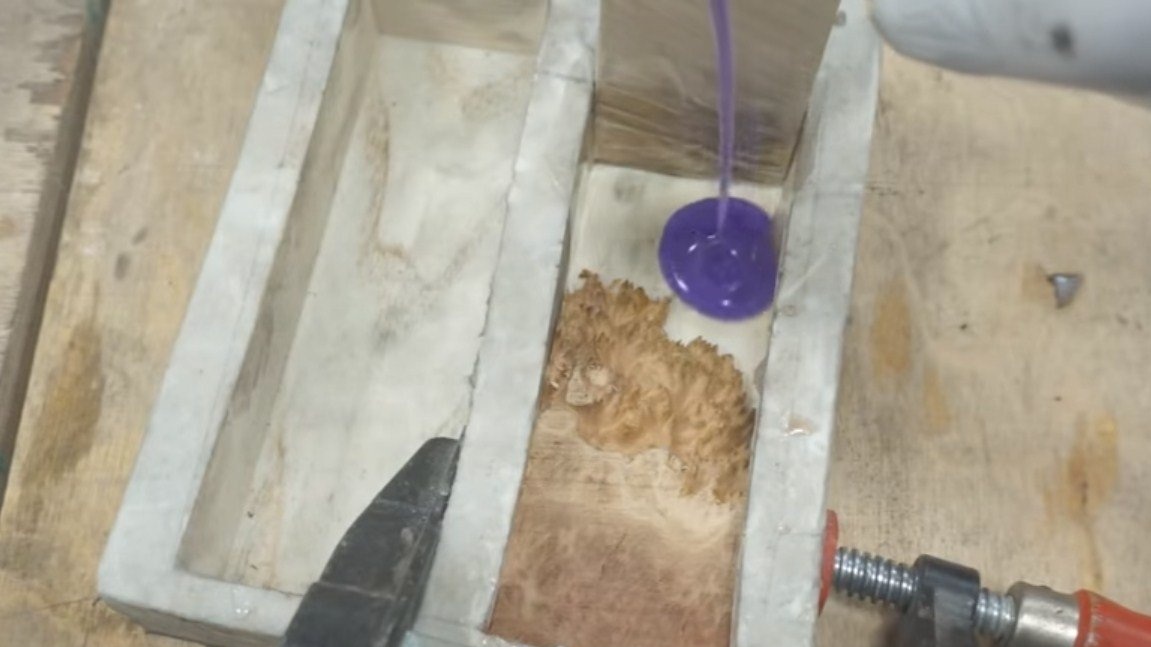
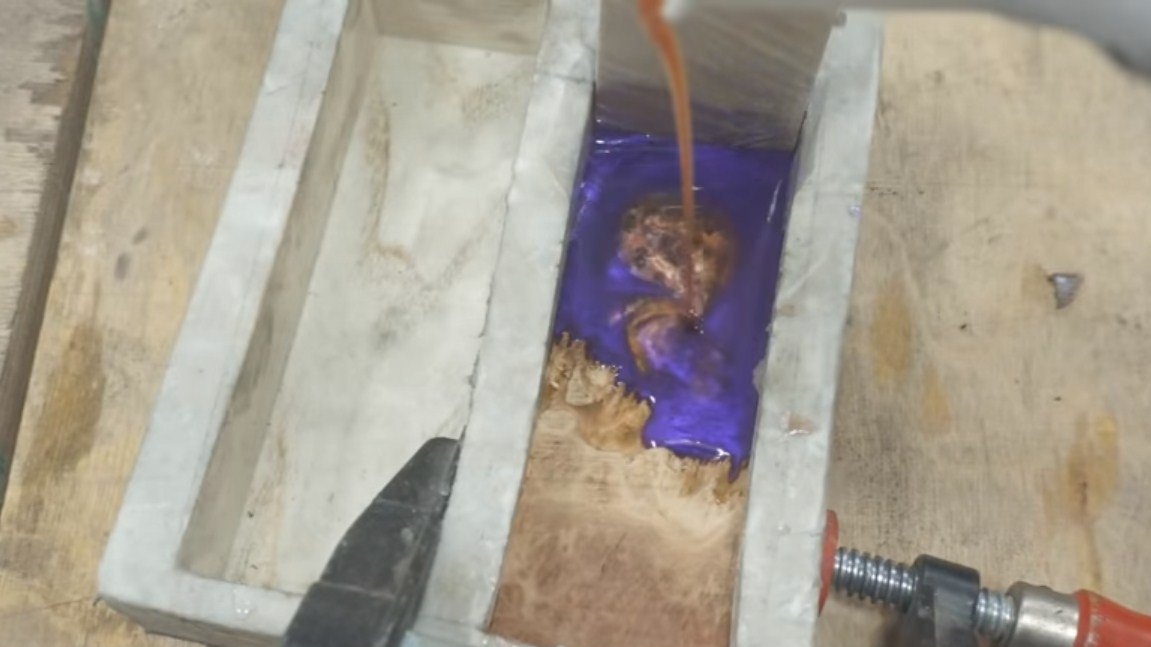
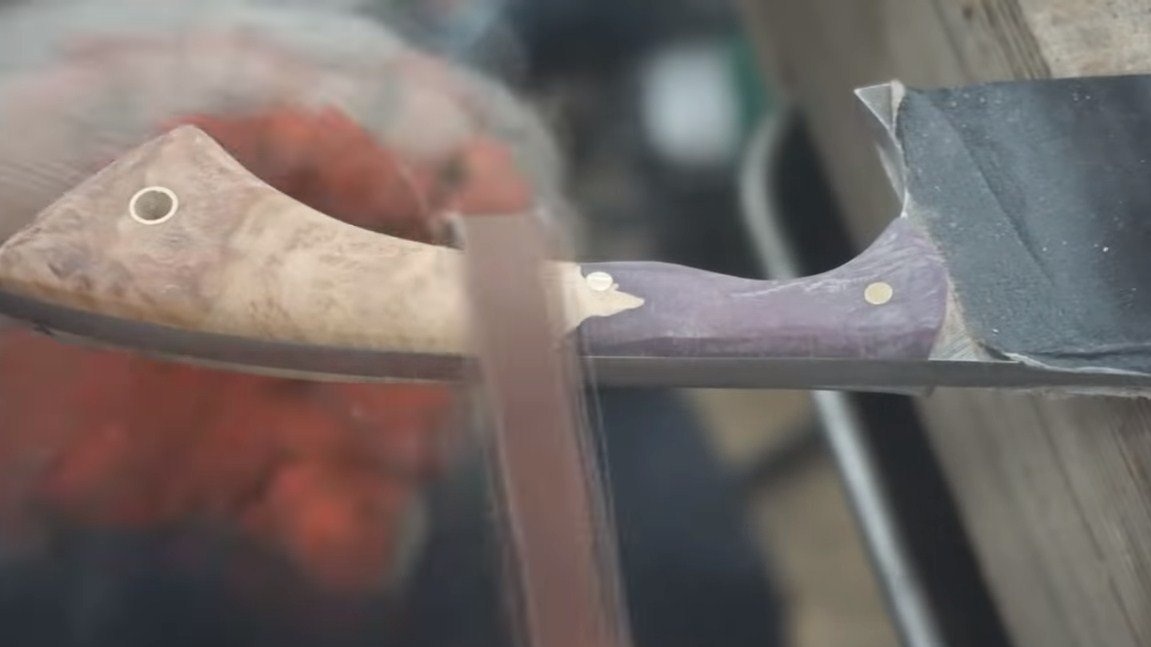
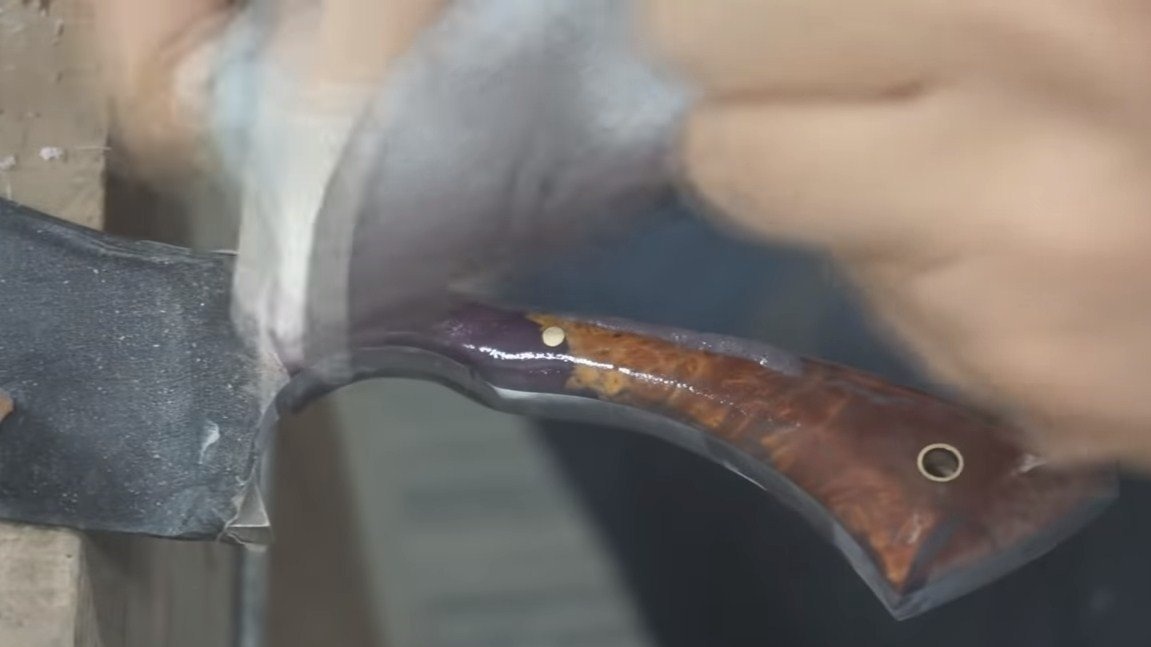
Step Six Making pens and beads
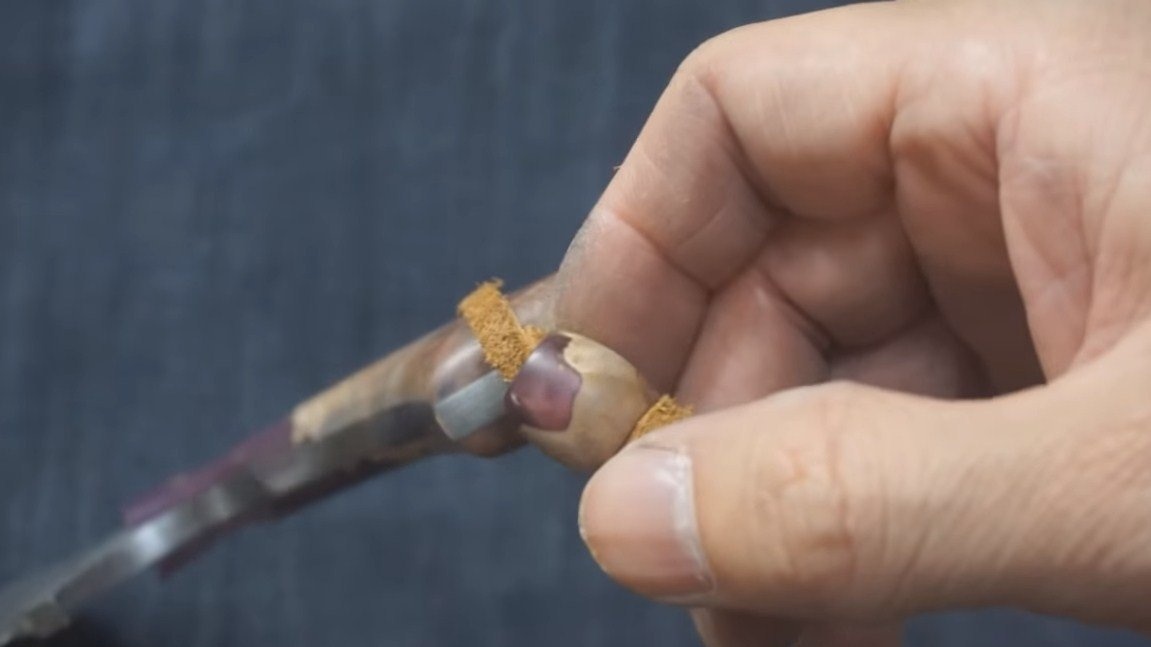
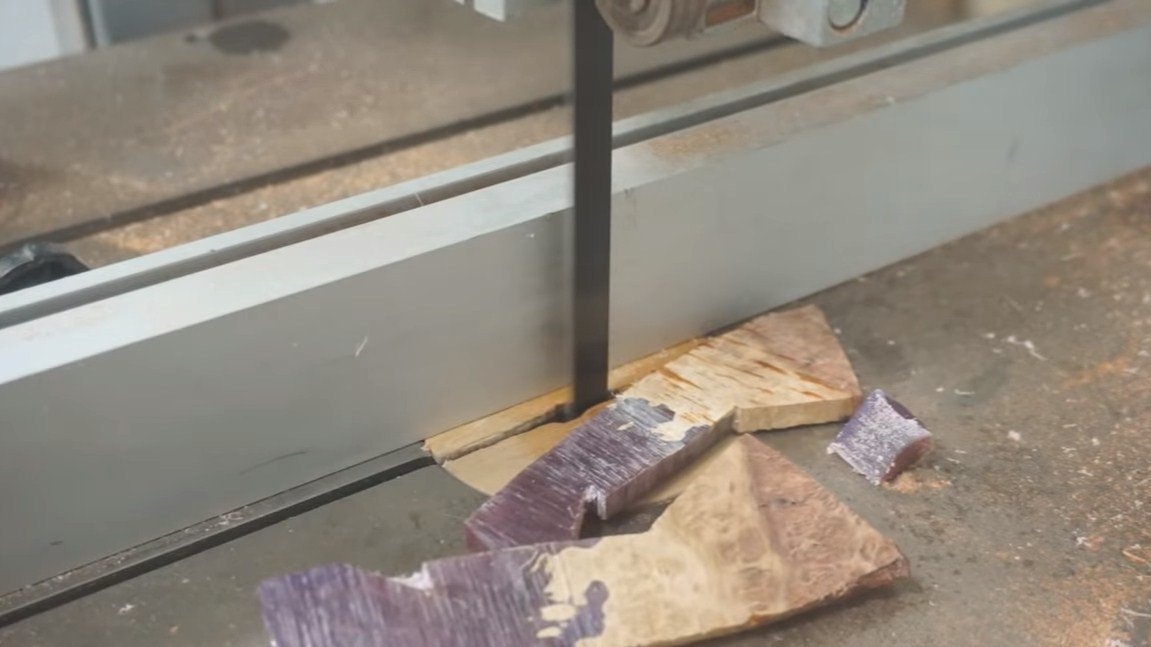
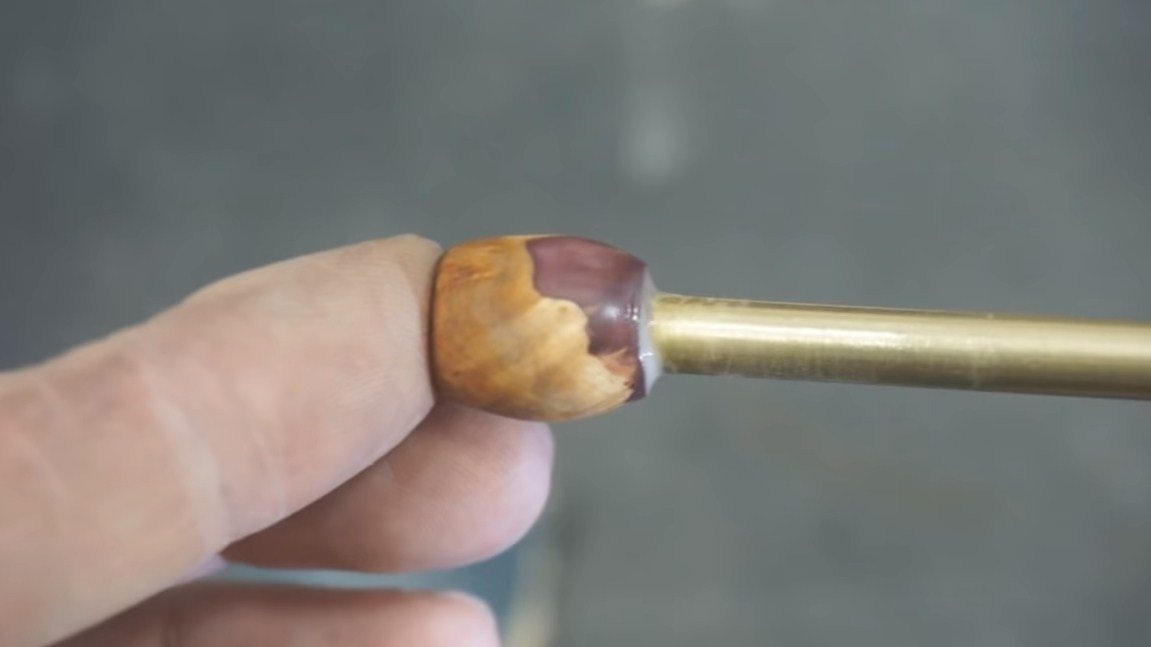
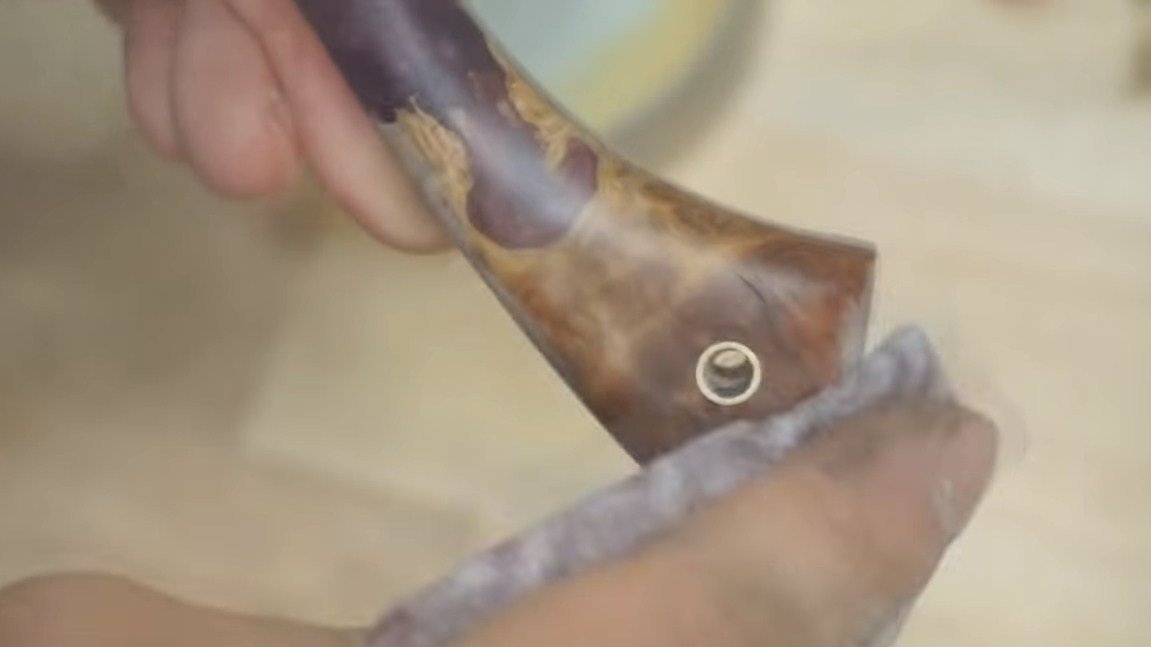
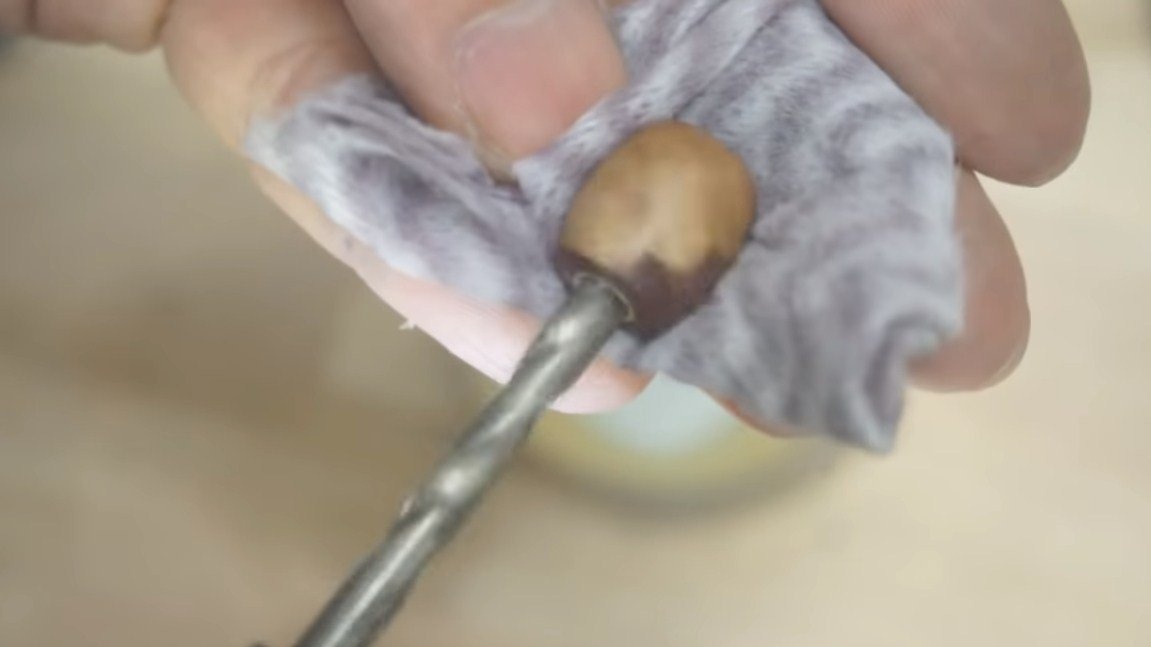
The author’s pen is made in an interesting way, it looks beautiful. He poured a piece of wood with epoxy. Dye was added to the resin, and in order to make the pattern more beautiful, another was added to the main resin, with a dye of a different color. When the epoxy dried up, and the author disassembled the formwork, an excellent workpiece was obtained. It was dissolved in two, and a piece for a bead was also cut off.

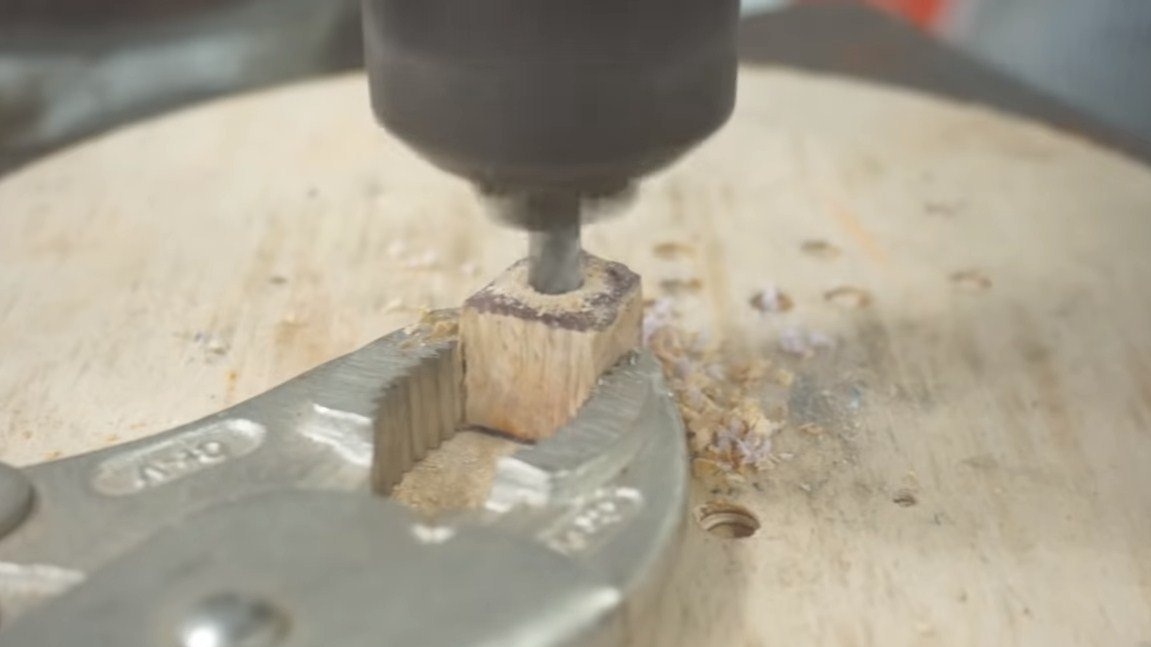
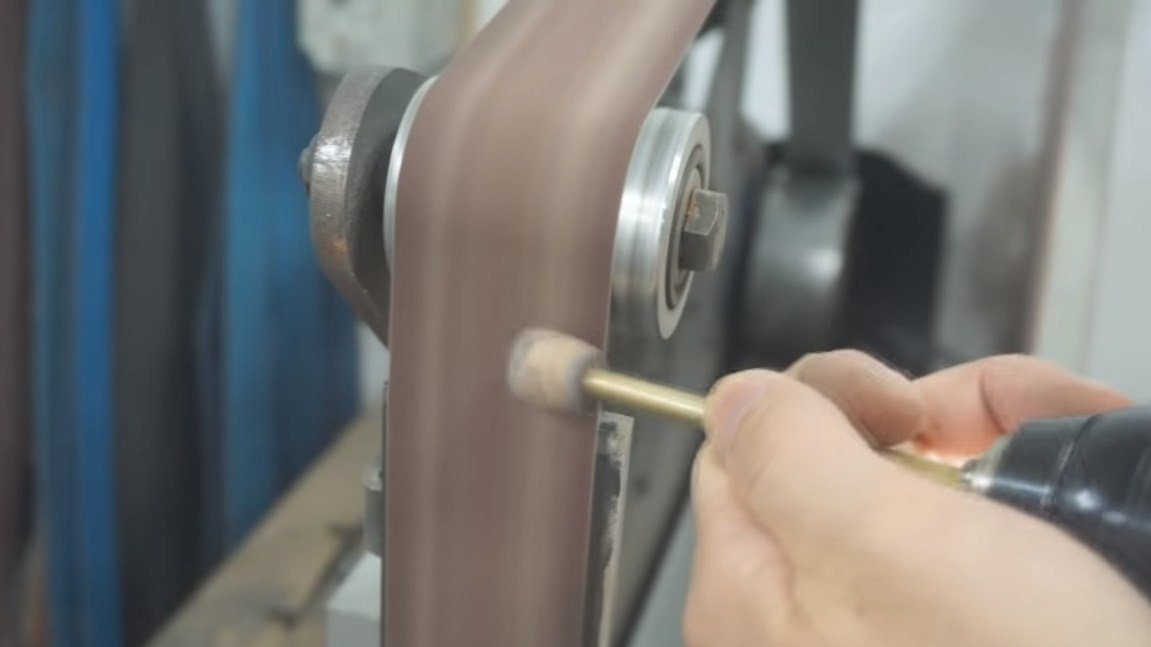
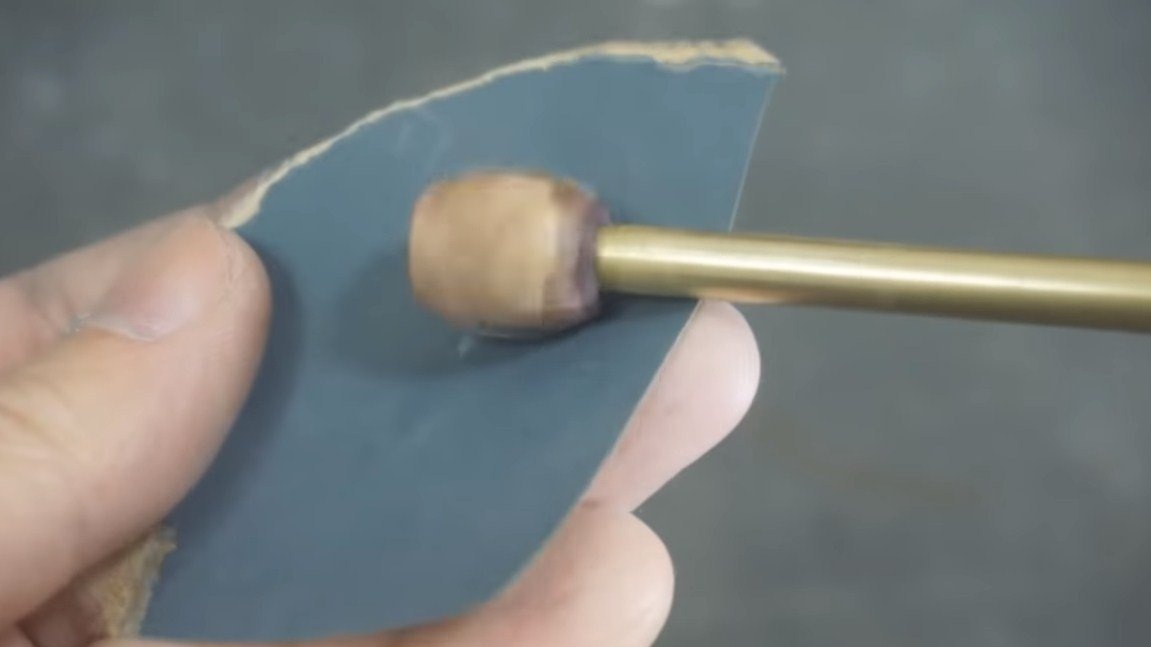
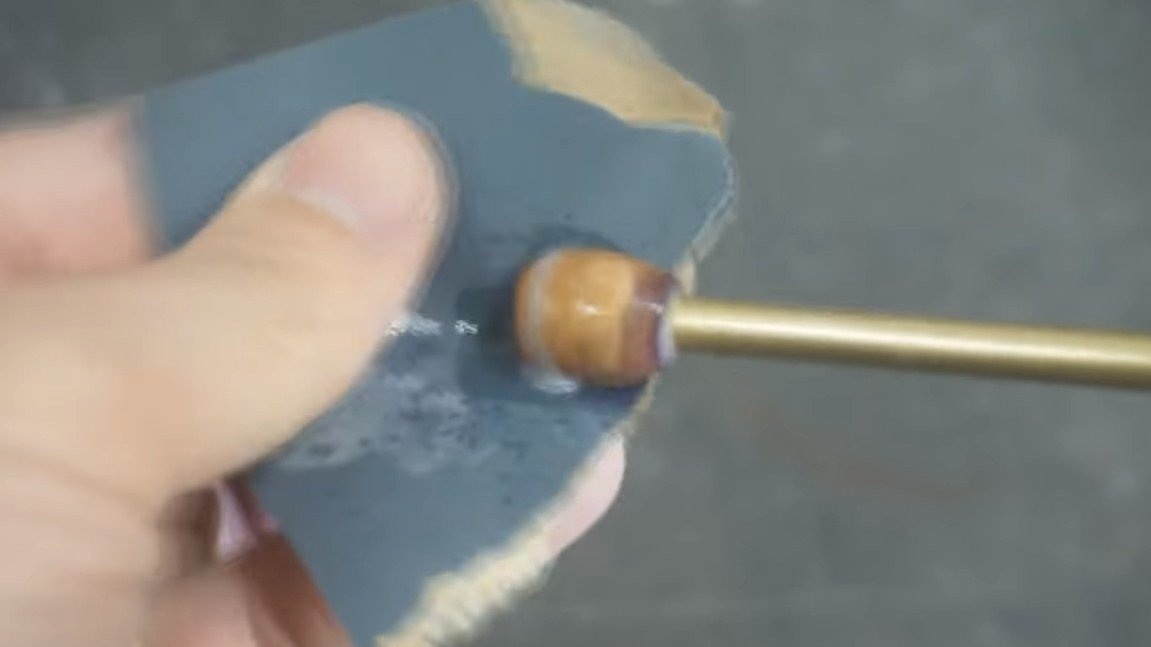
We make a bead using a drill, it can be used as a lathe. We grind the workpiece with files, sandpaper and other tools.
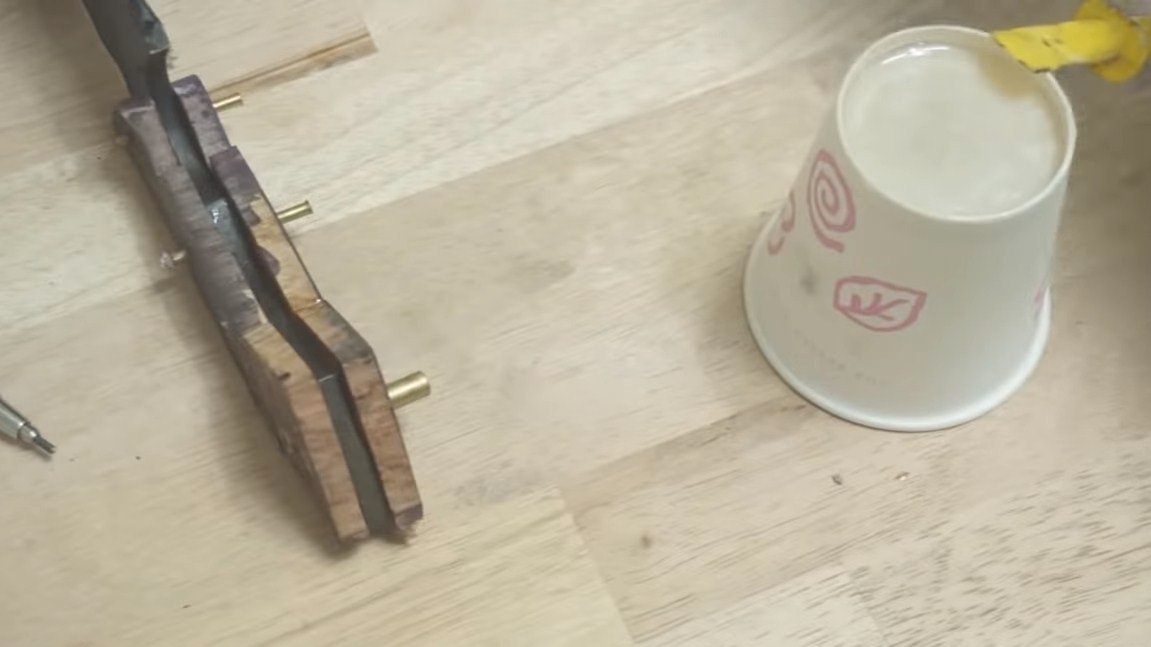
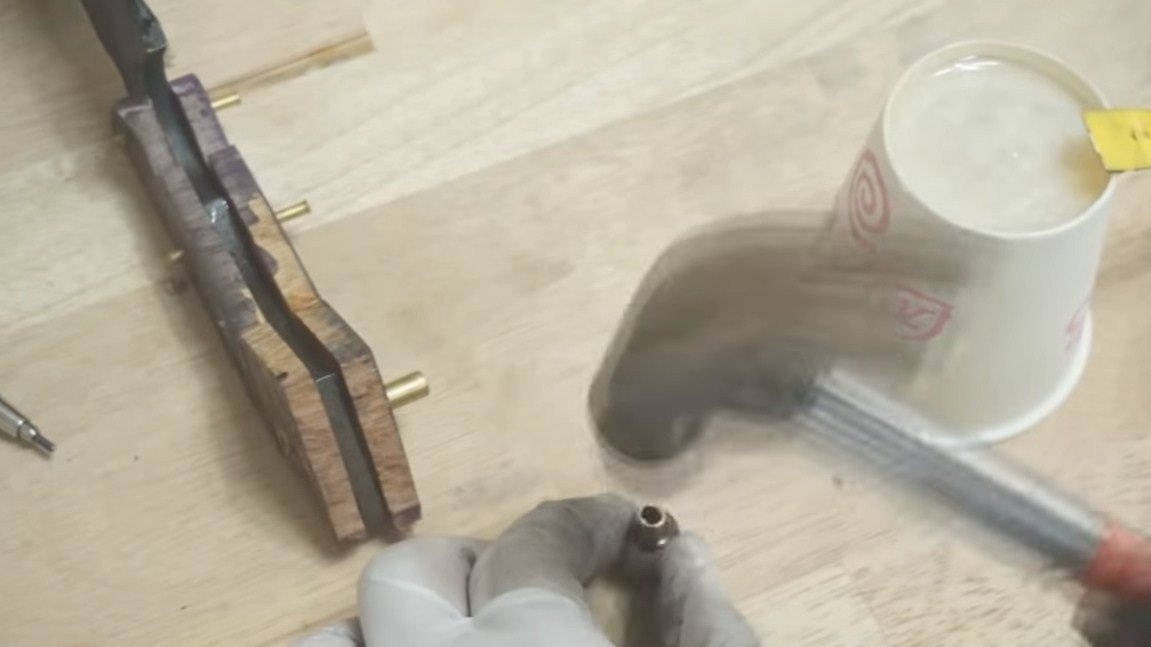
Seventh step. Pen assembly
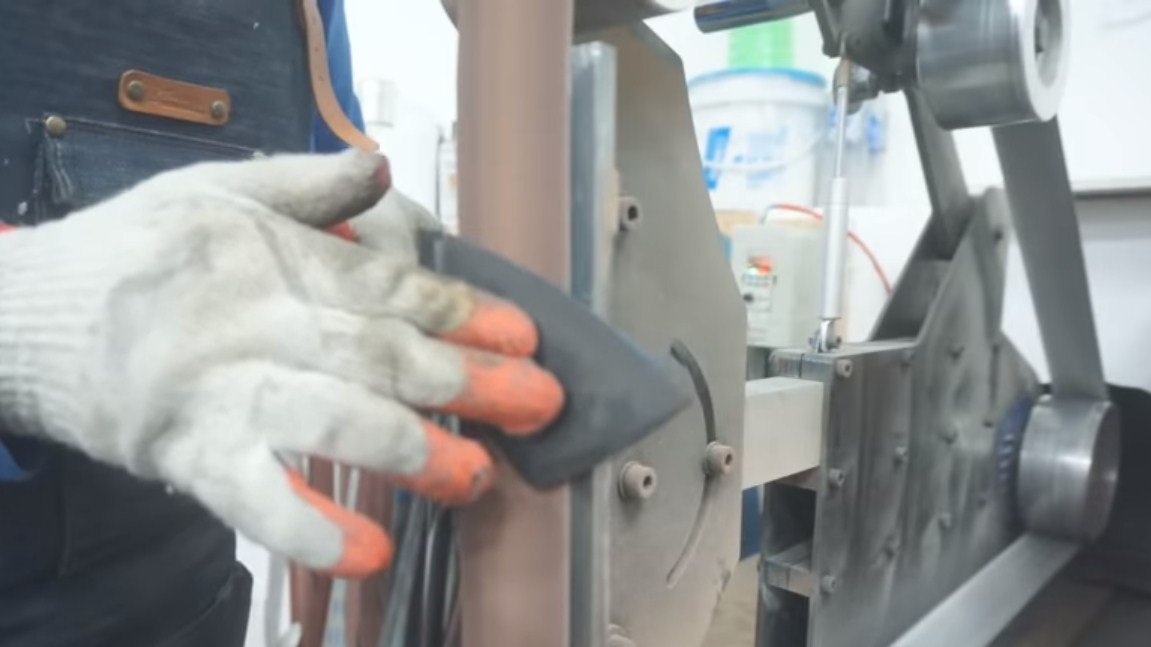
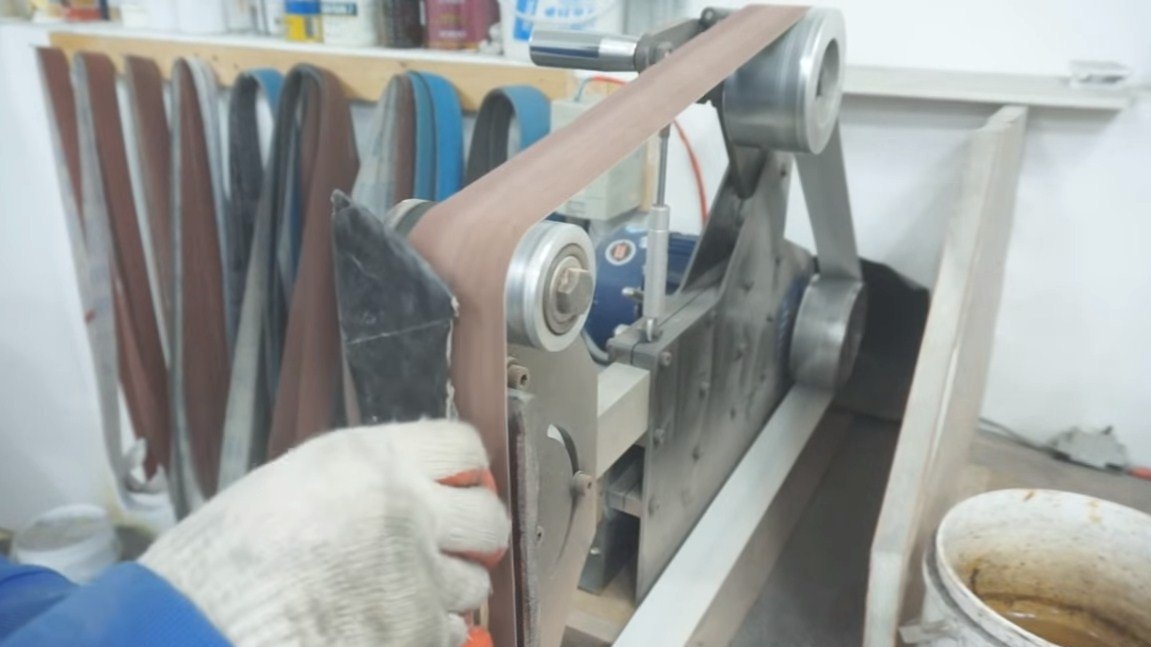
We assemble the handle, for this we need epoxy glue, brass pins and a brass tube. We coat everything well with glue and clamp it with clamps for a day. Well, then we set the desired profile for the handle using a belt sander. Final work is done manually using sandpaper. Ideally, the handle should be completely smooth.
In order for the epoxy to become transparent, and the wood to show all its beauty, you need to cover the handle with a thin layer of epoxy or oil. In the end, everything can be covered with wax and polished.
Similarly, do not forget about the impregnation of beads.
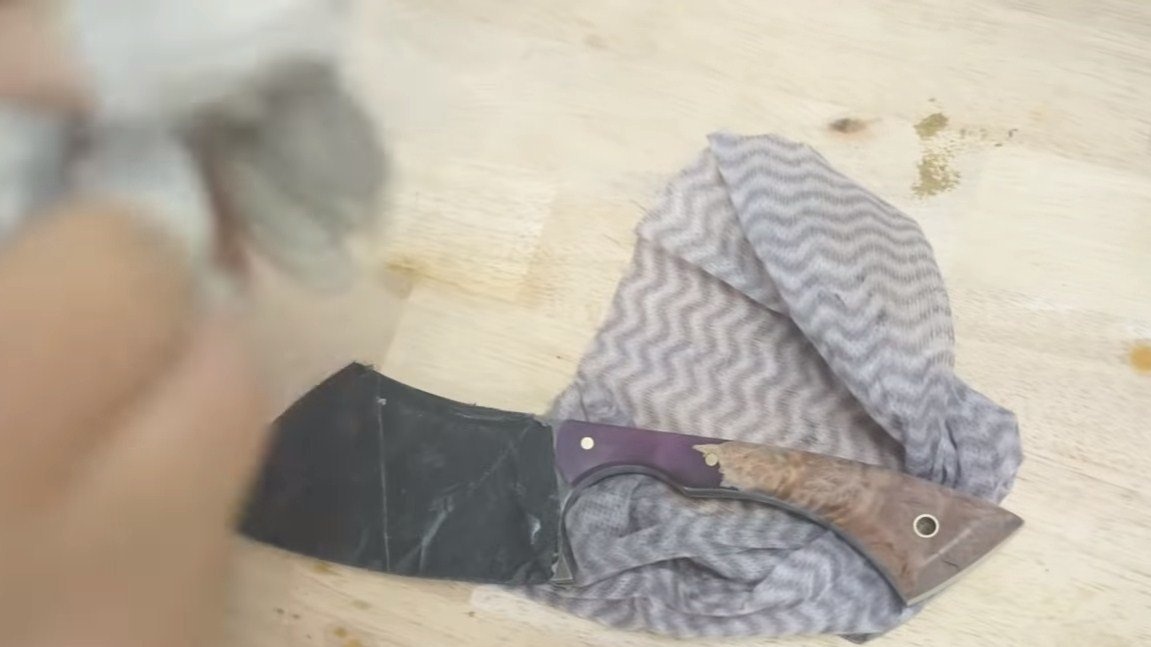
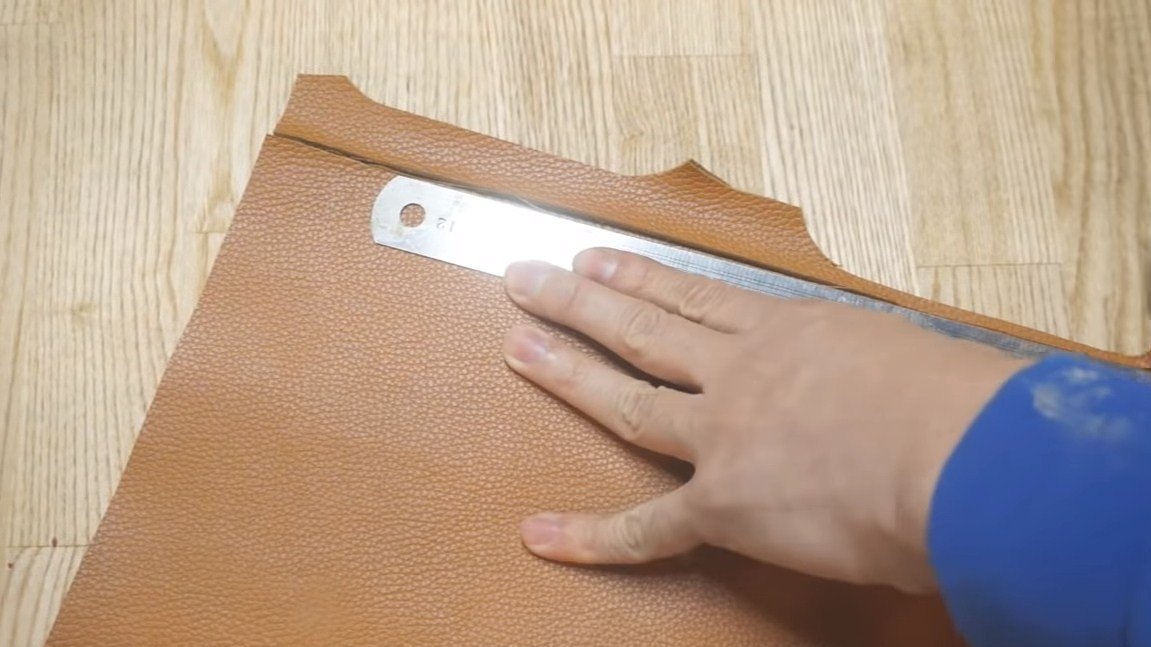
Step Eight. Strap
Let's make a knife strap, the author cut it out of leather himself. A stylish addition to the strap will be a bead, which is also a combination of wood with epoxy glue.
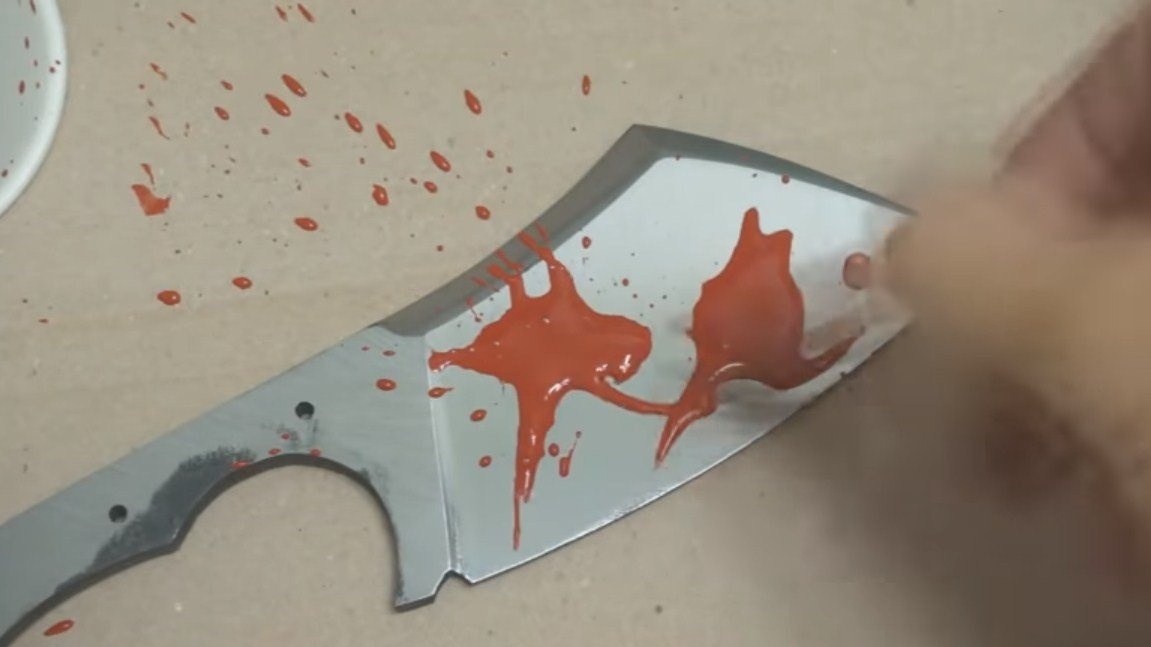
The hatchet is ready, it looks pretty beautiful and unique. I hope you liked the project too, and you found useful thoughts for yourself. Good luck and creative inspiration, if you decide to repeat. Do not forget to share with us your ideas and homemade!