

If you conduct a survey among all those traditionally celebrating the New Year, it will probably turn out that 8/10 families can be found at home a few hours before the holiday spruce. But not in every house there is a stand of this type. It is simple, maybe not so elegant, but it functions.
Tools and materials that were used in the work:
Instruments:
1) a pencil;
2) a ruler;
3) a hacksaw for wood;
4) a square;
5) sandpaper;
6) planer-planer;
7) a screwdriver;
8) a wooden miter box;
9) marking surface gage;
10) a chisel;
11) a clamp;
12) two drills for wood (with a diameter of 8 mm and 3 mm);
13) drill.
Materials:
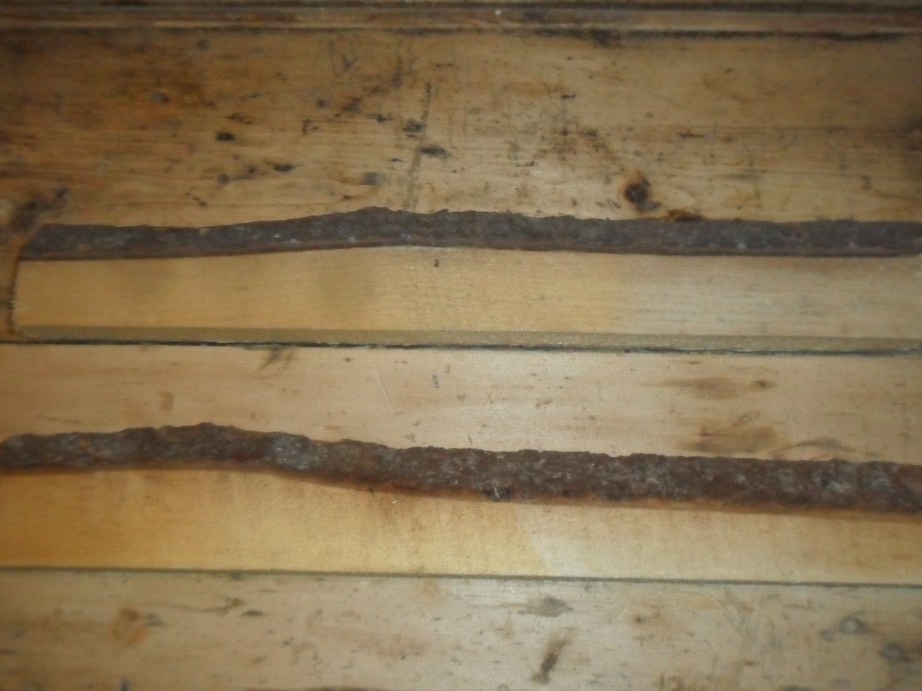
1) two boards with a review;
2) carpentry glue;
3) self-tapping screws (8 pcs.).
Manufacturing process:
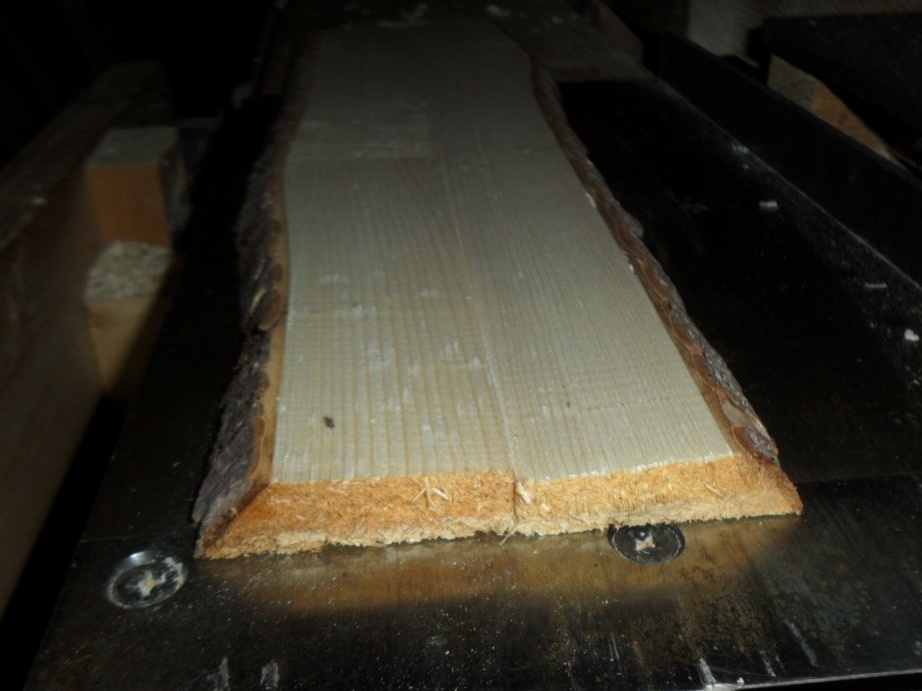
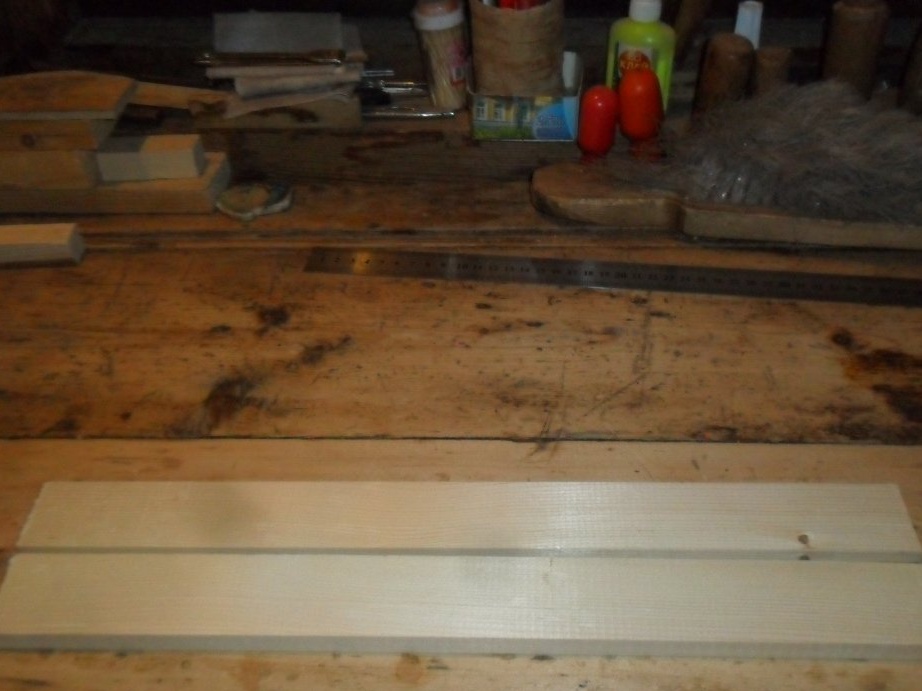
Step 1. Planing boards.
On the machine we are jointing prepared boards to a thickness of 13 mm.
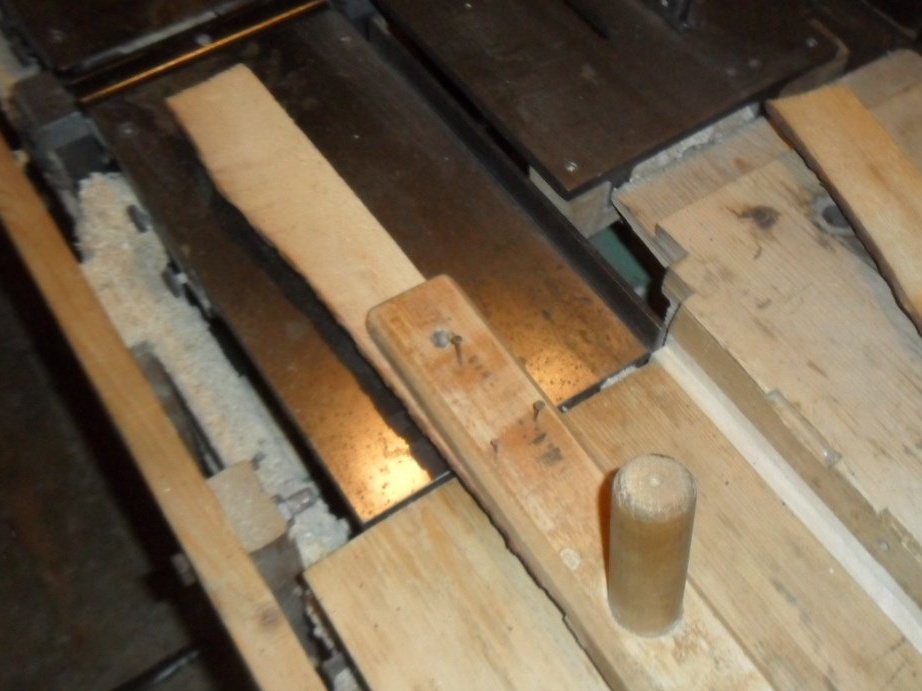
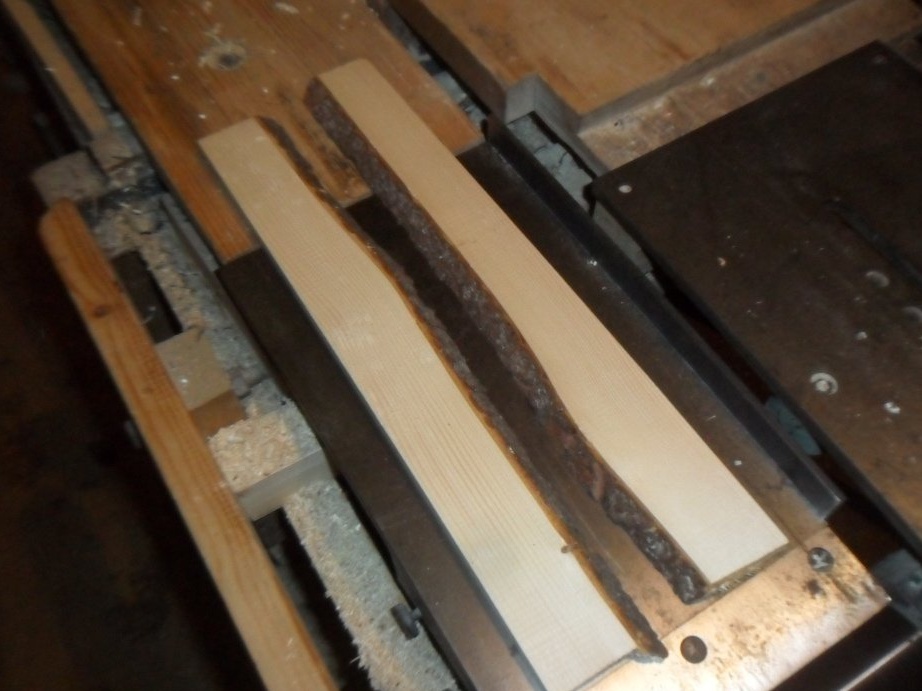
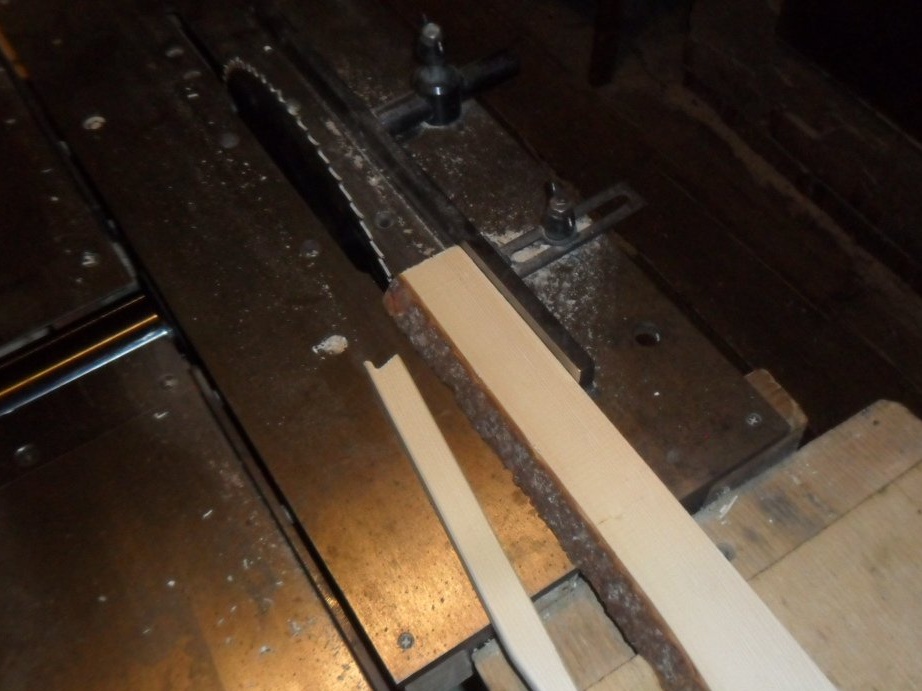
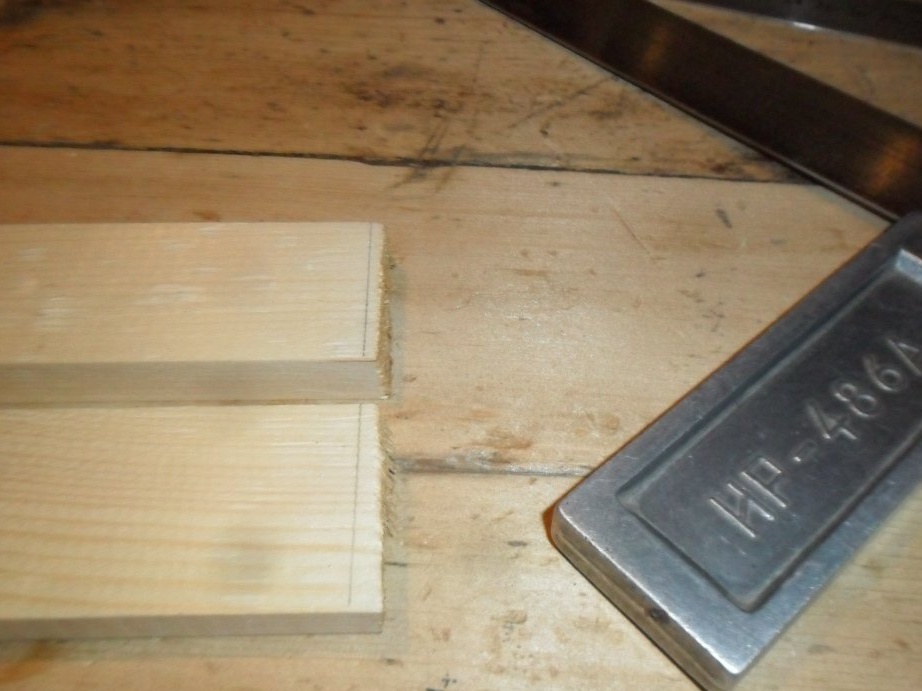
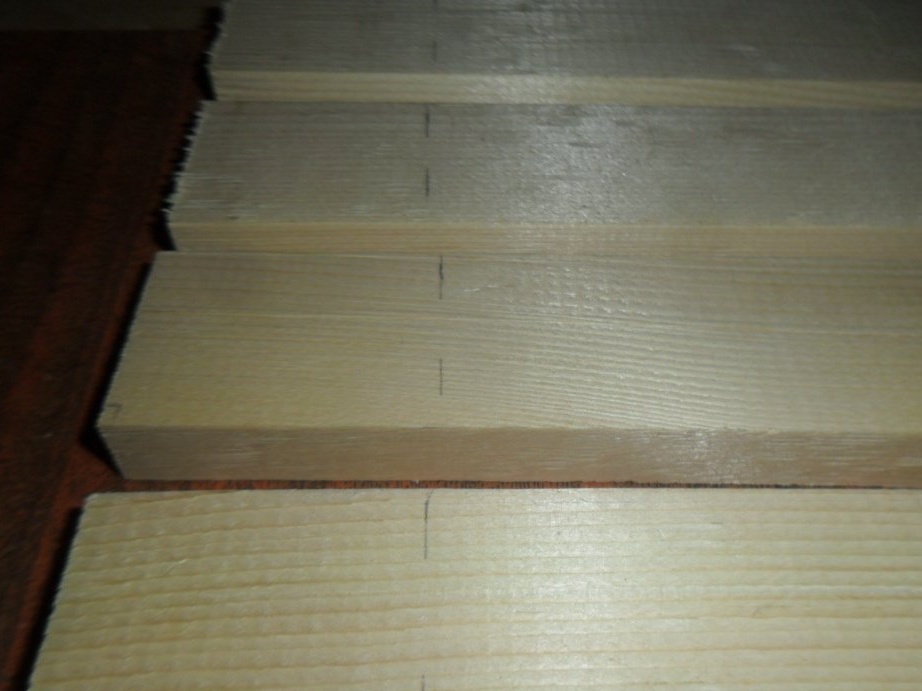
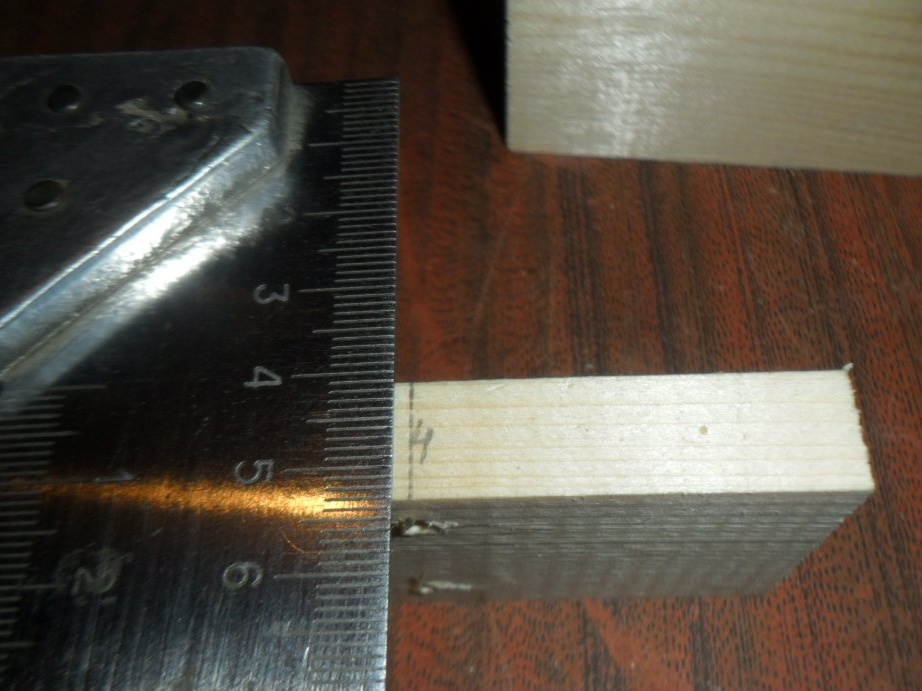
Step 2. Sawing blanks.
We pass the boards through the saw blade. As a result, we get slats with a width of 3.5 cm. The sides of the slats are also planed.
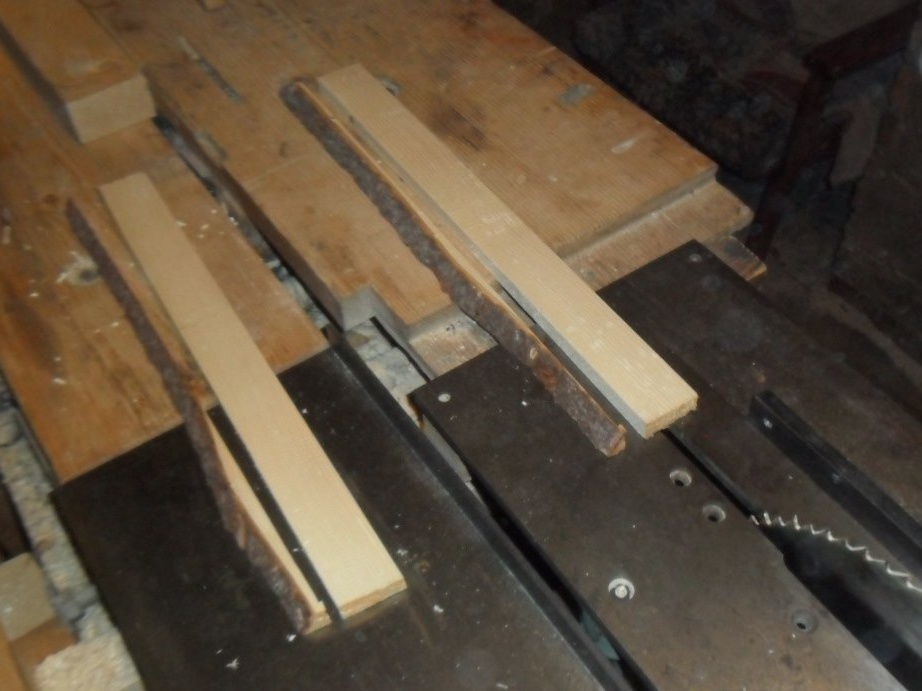
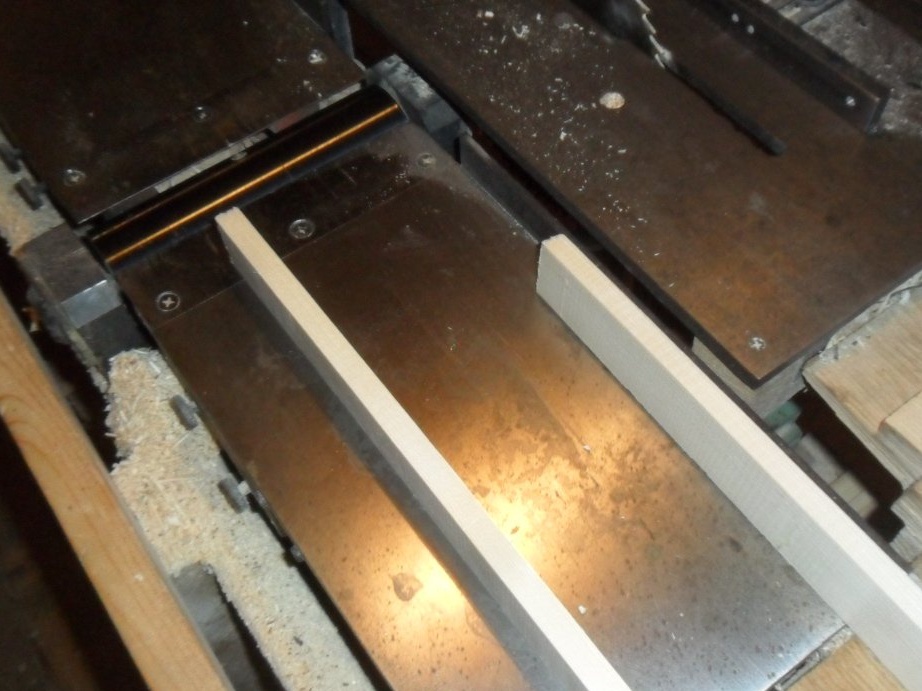
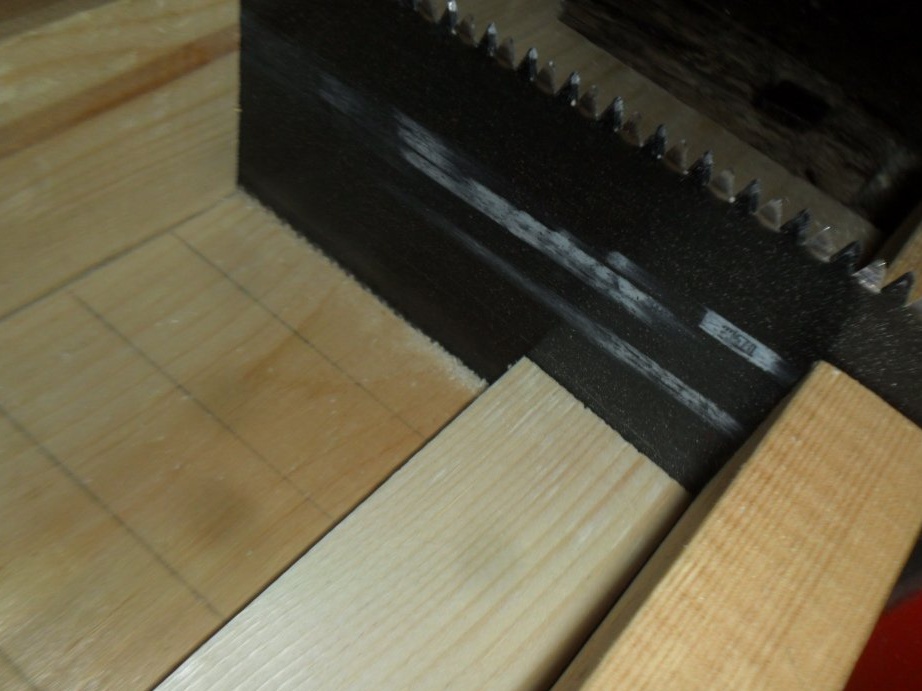
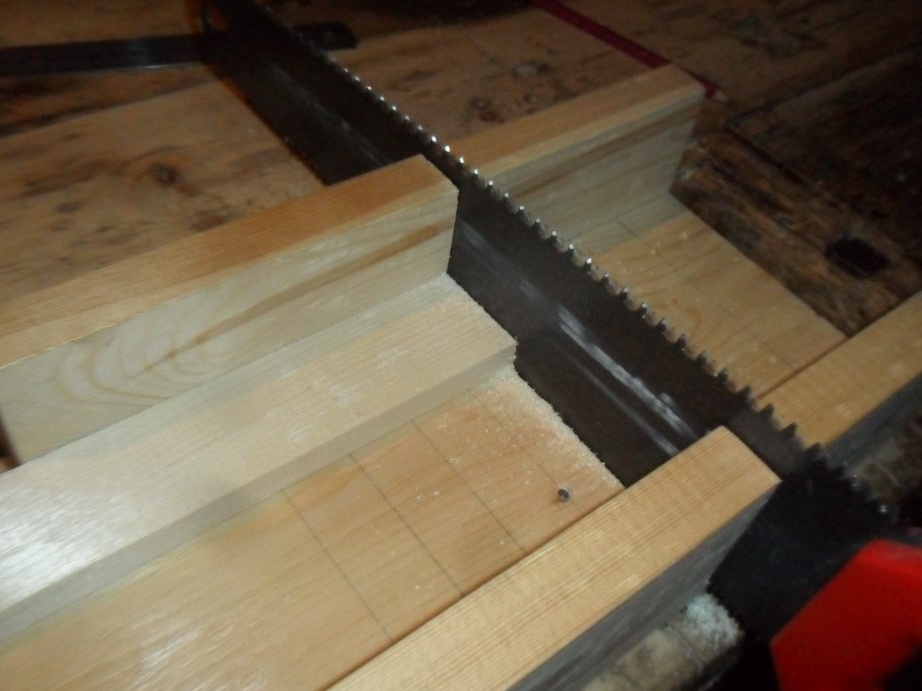
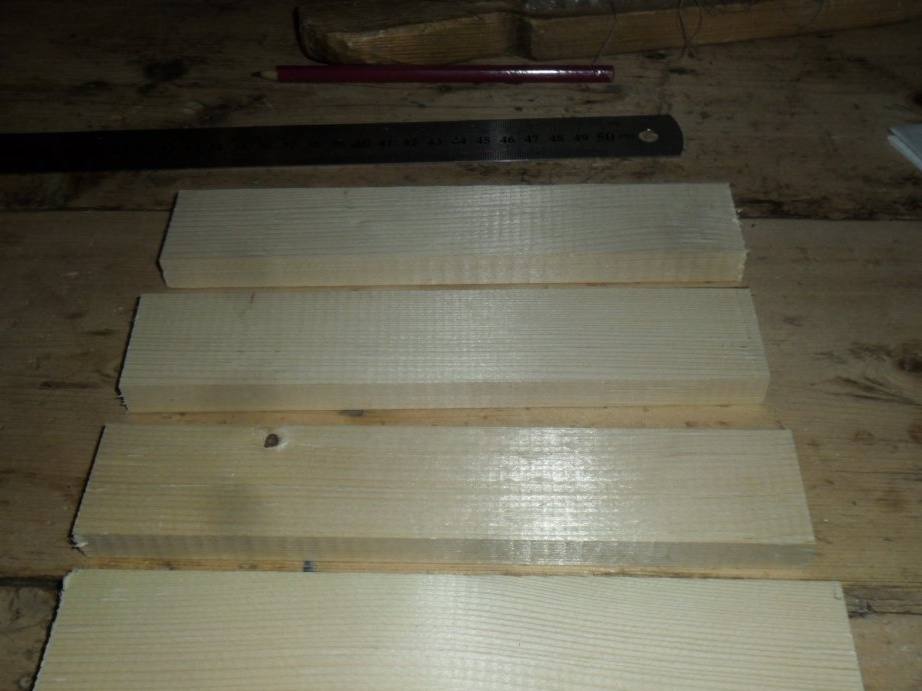
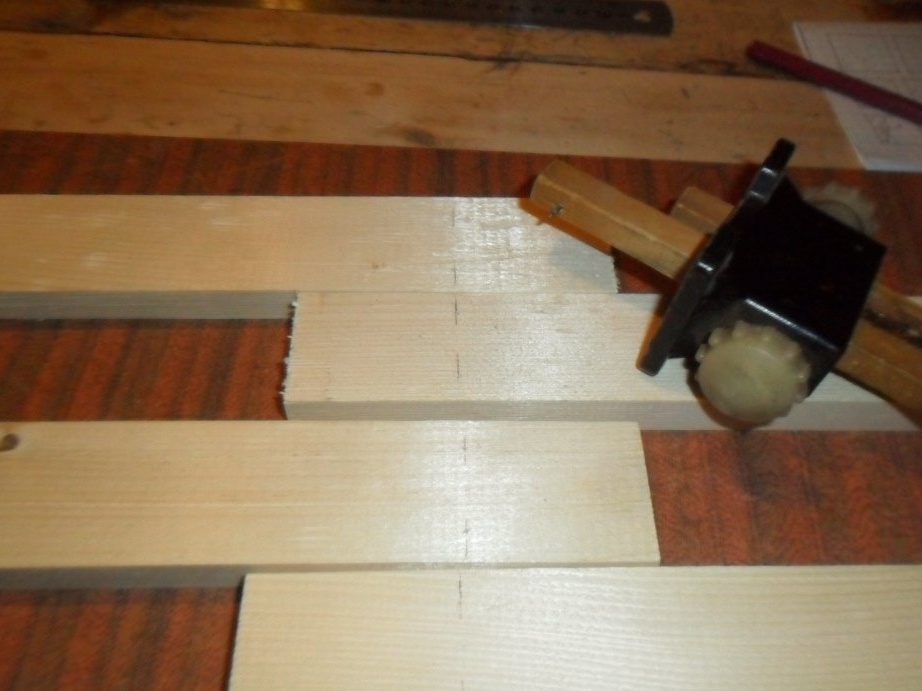
Step 3. Sawing in the miter box.
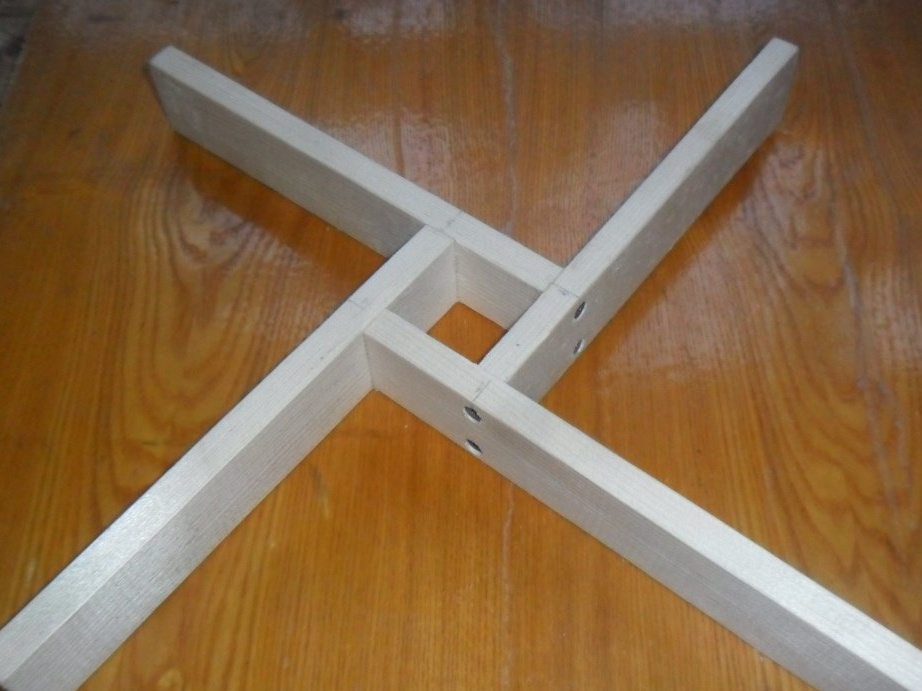
In a wooden miter box, we cut off unnecessary parts from the rails and saw the resulting workpieces in half. Four slats with a length of 20 cm each came out.
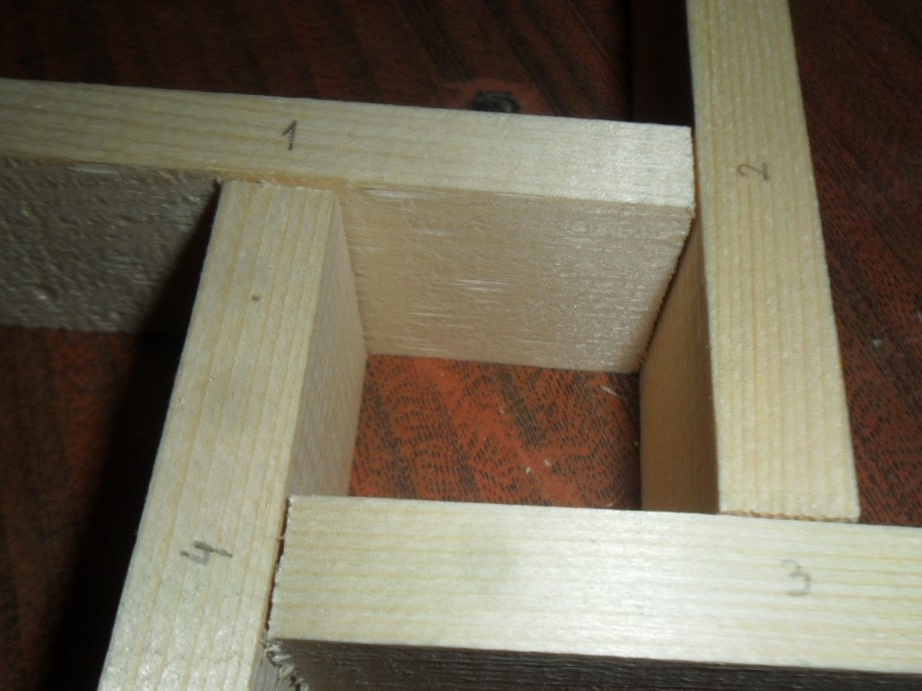
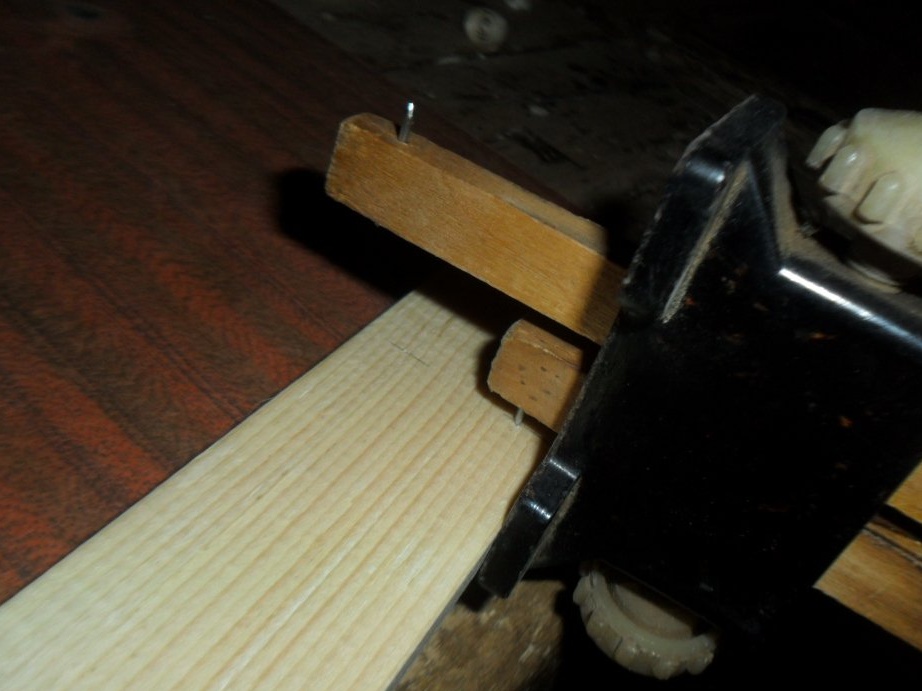
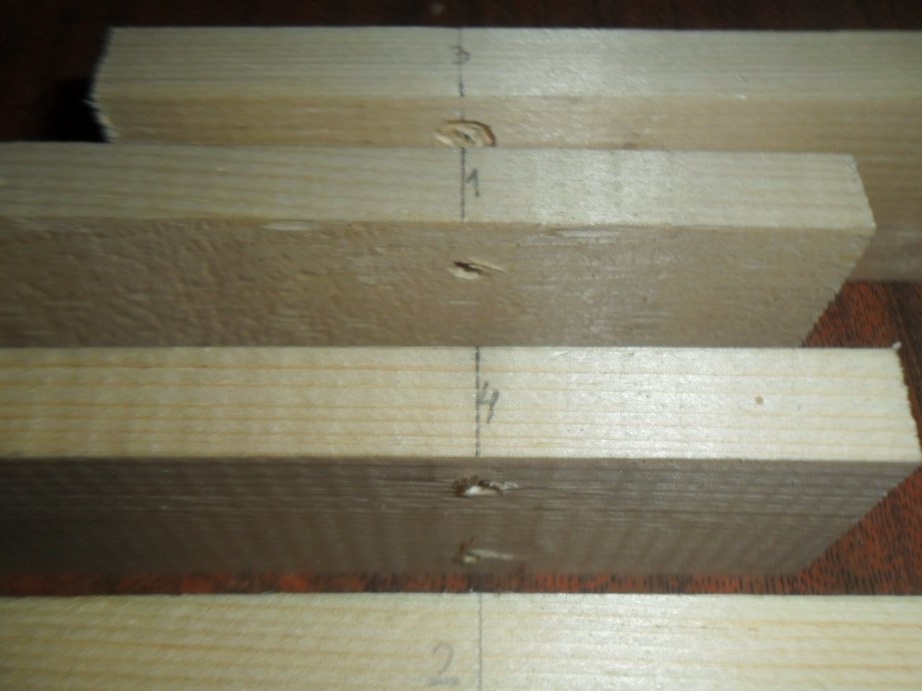
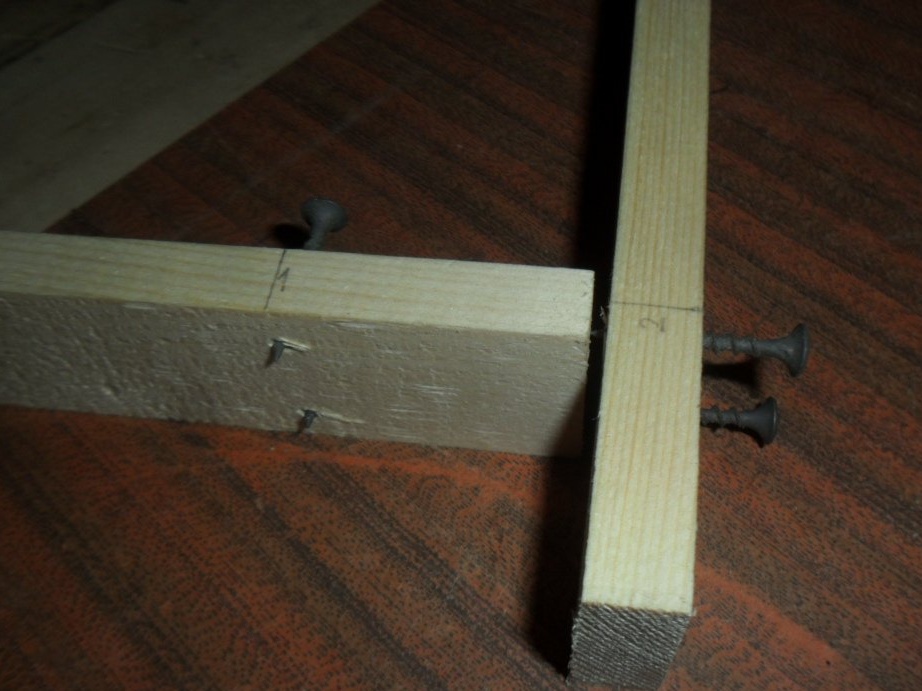
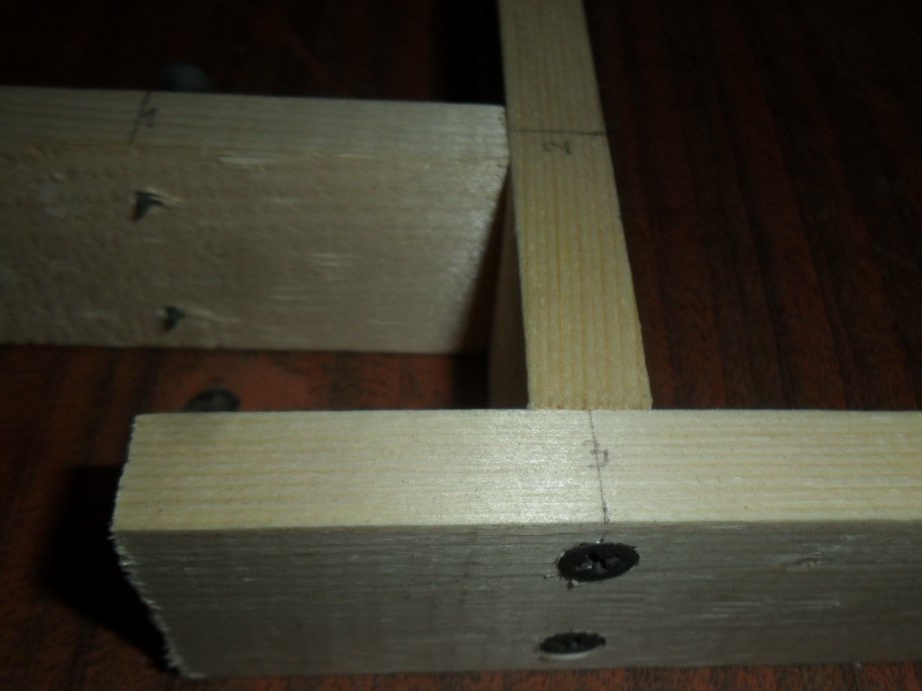
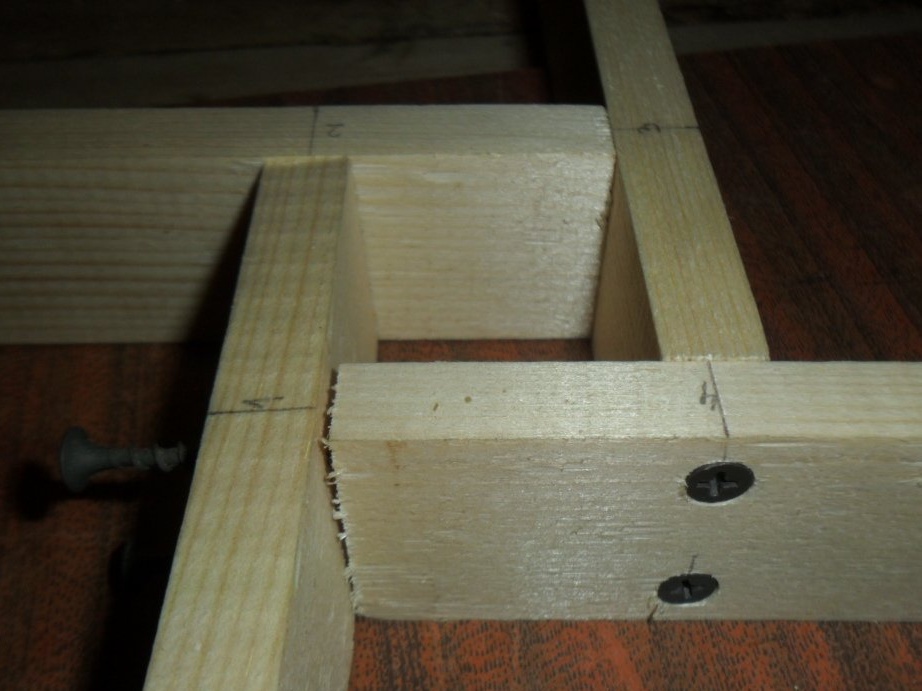
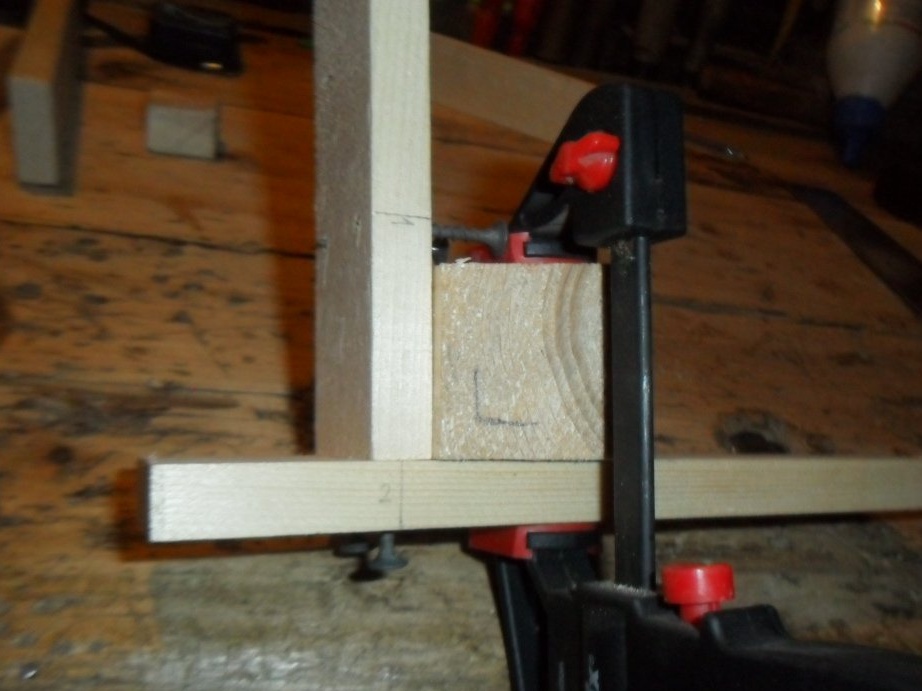
Step 4. Marking with a pencil and a surface gage.
To start, we put the blanks to each other and designate them with numbers. A square hole should turn out with a side of 4 cm. We mark with lines where the screws will be located. Next: we pierce the tree with a thickness gauge with an exposed bar at a needle distance of 8 mm from the block.
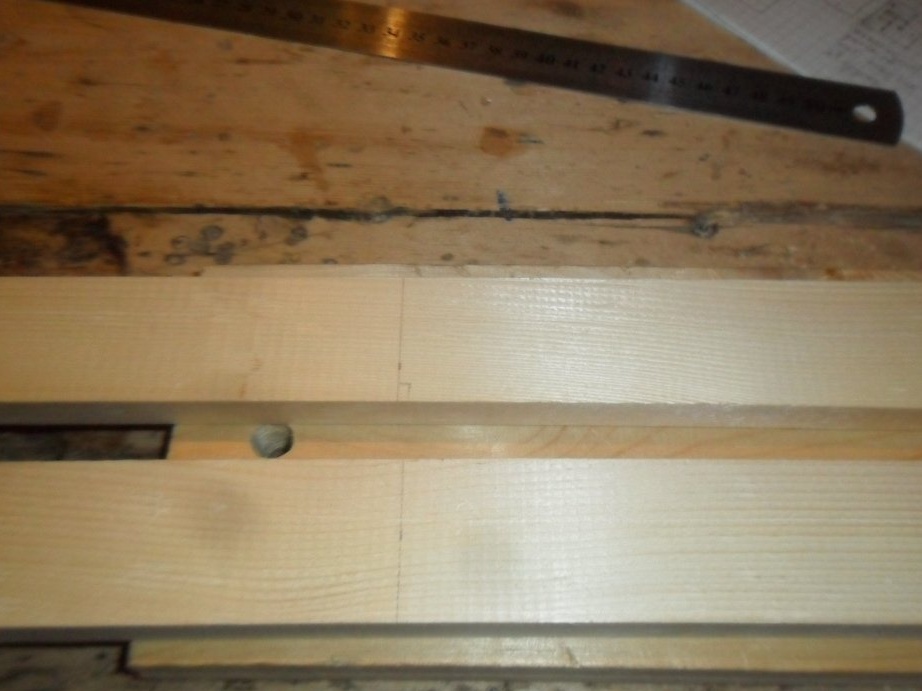
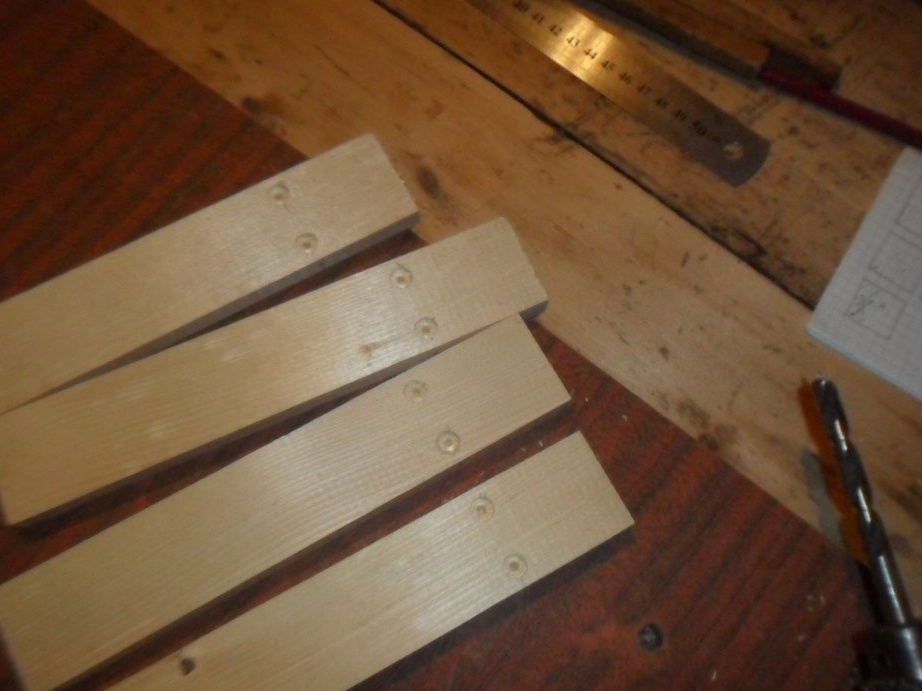
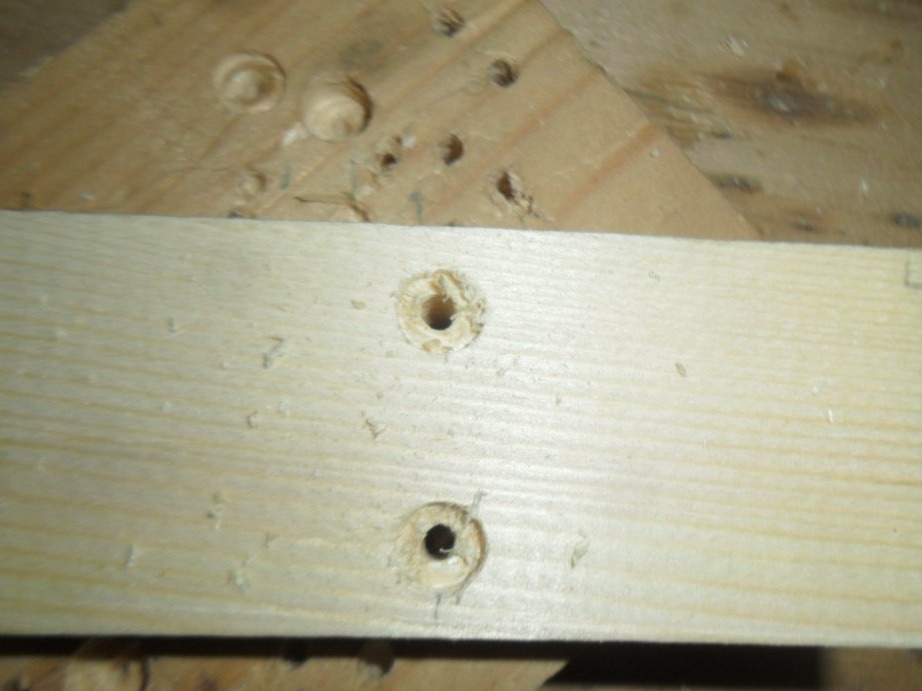
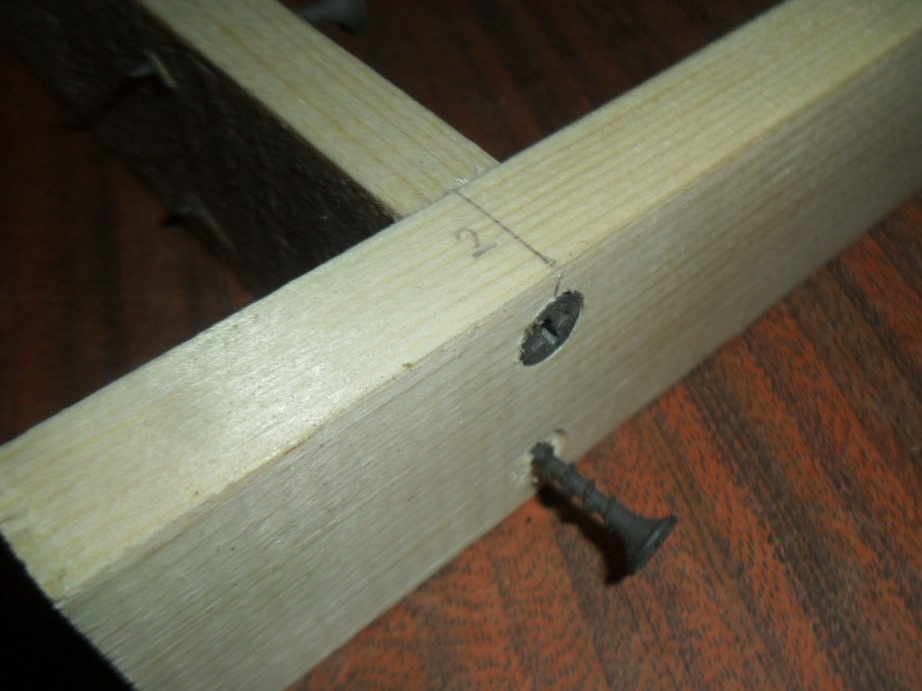
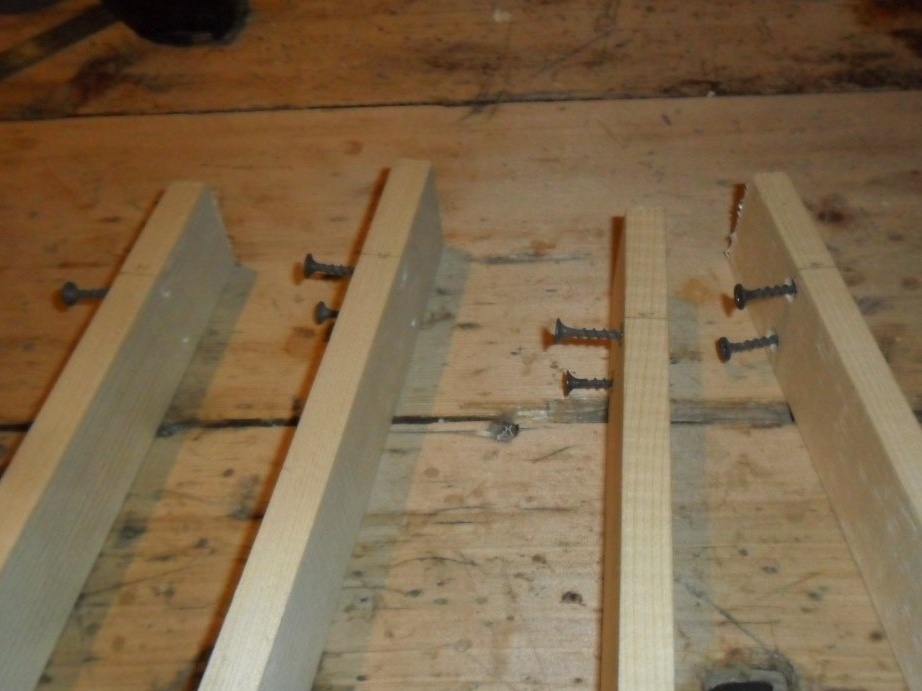
Step 5. Drilling blanks.
First, we mark the places marked with a thickness gauge with a drill (8 mm), then we drill through the rails through with a drill with a diameter of 3 mm.
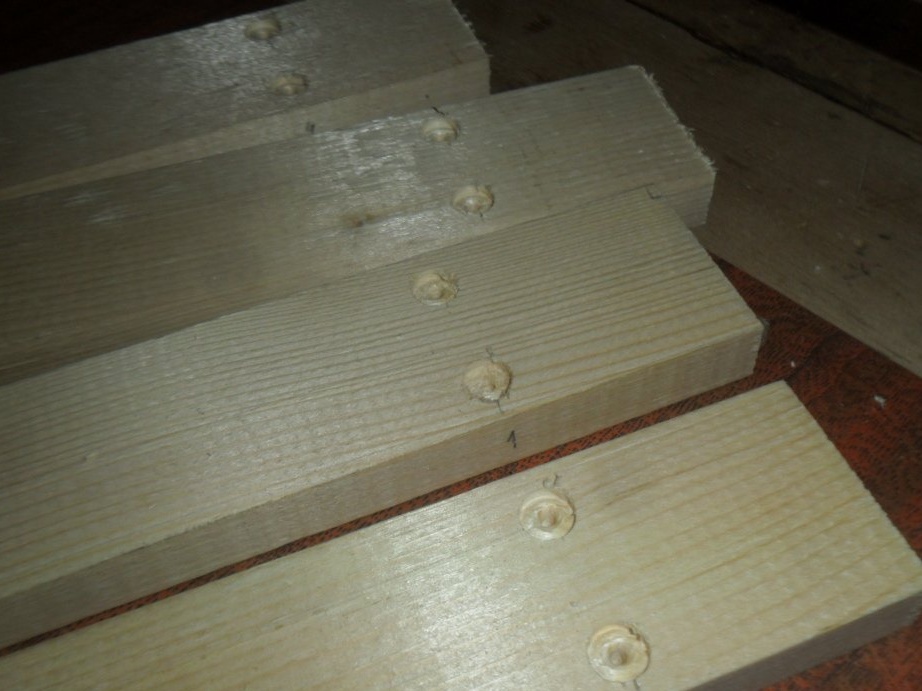
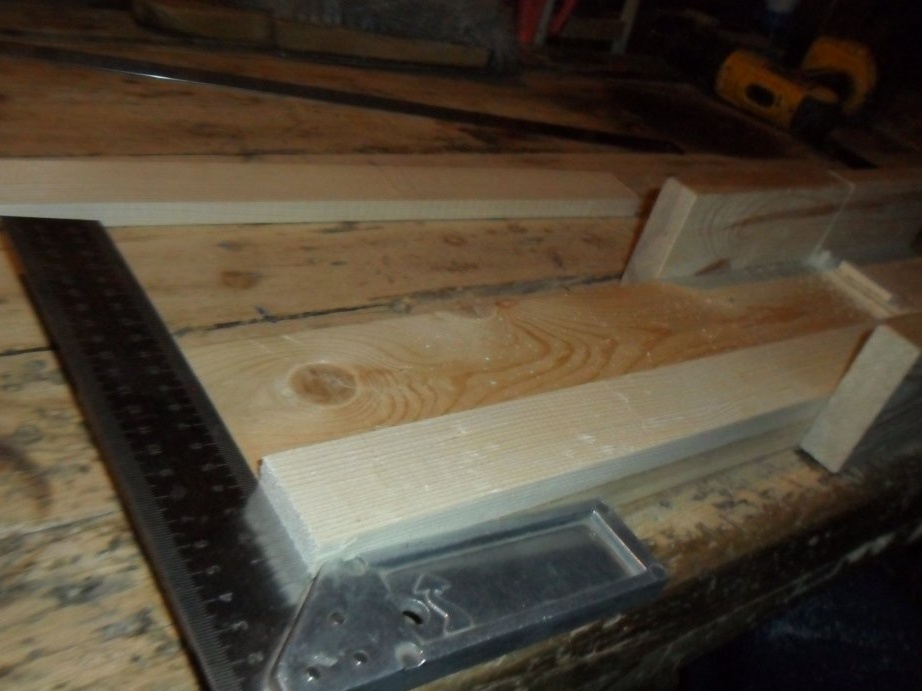
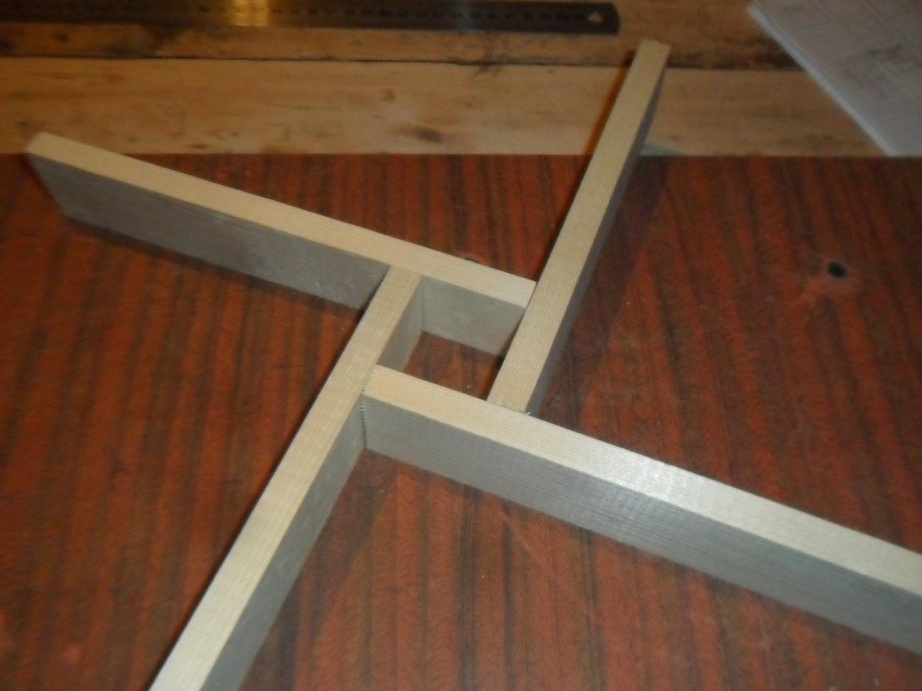
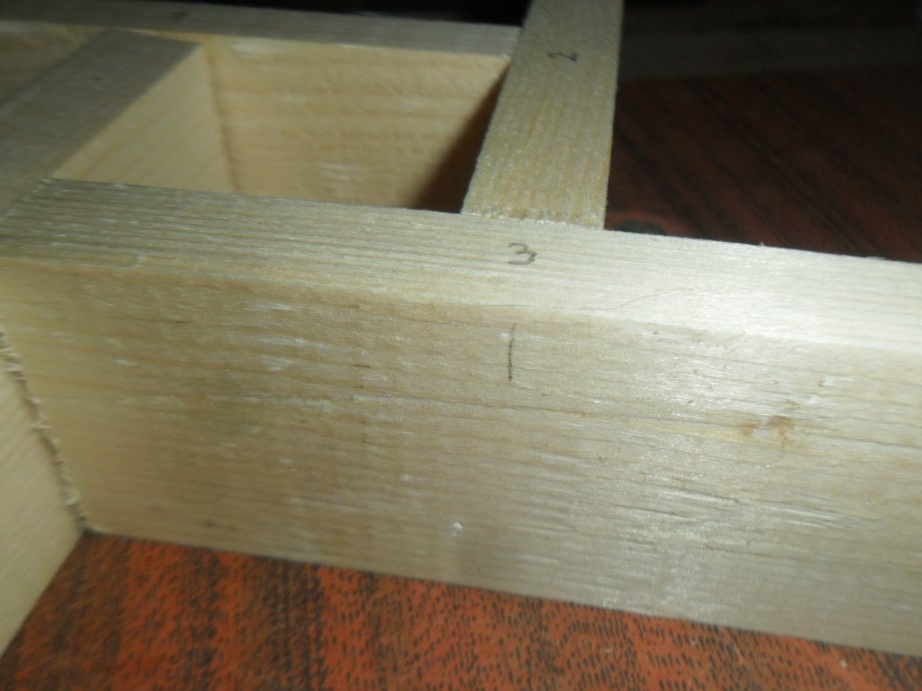
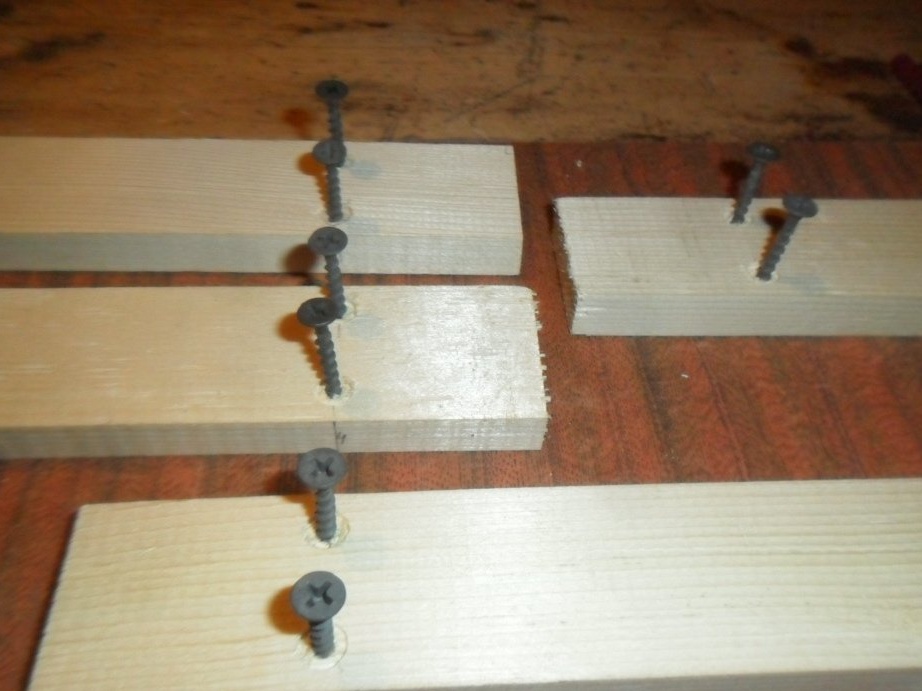
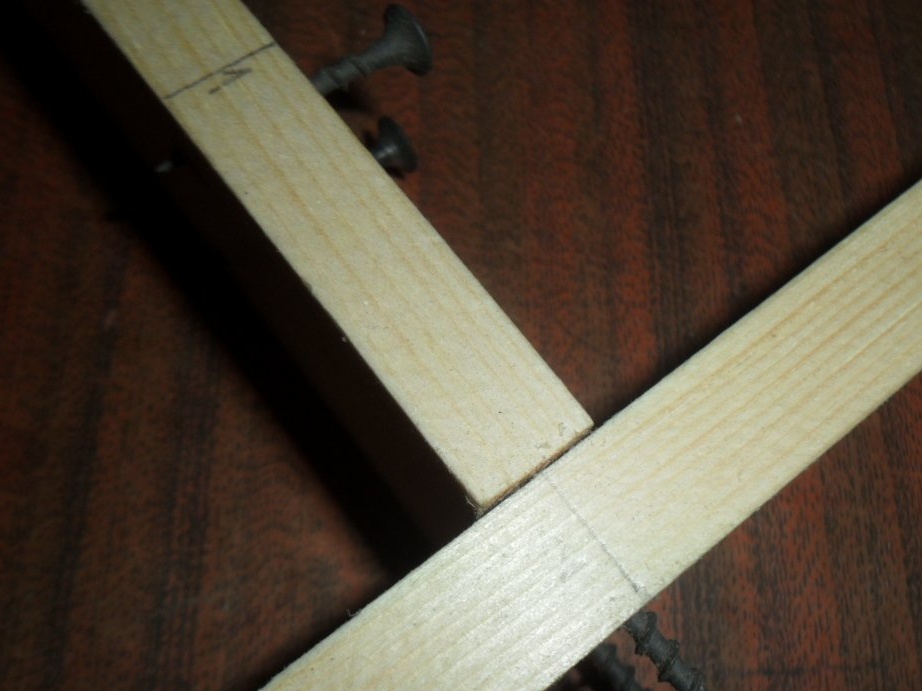
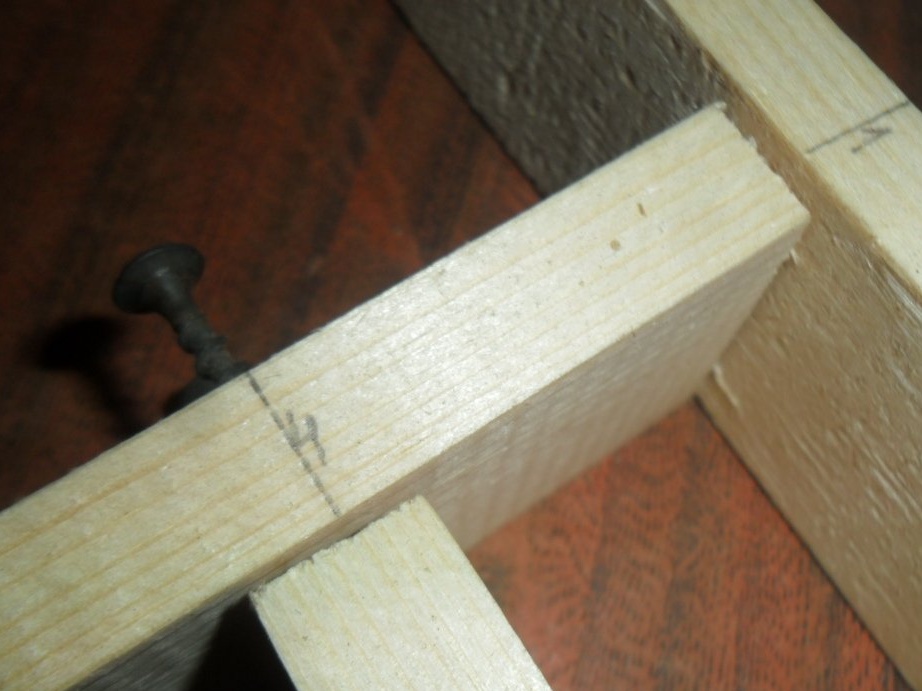
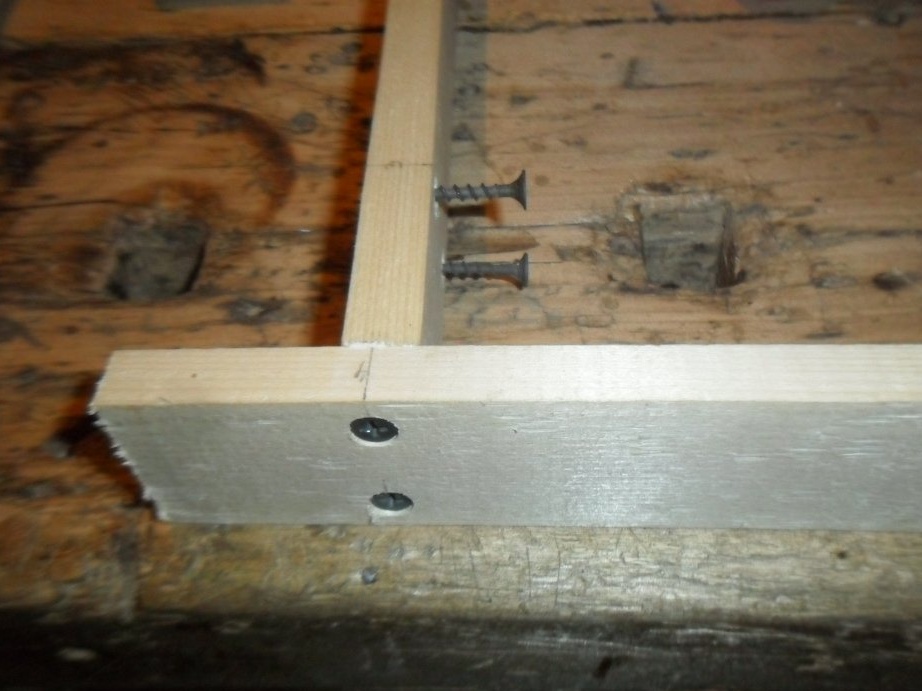
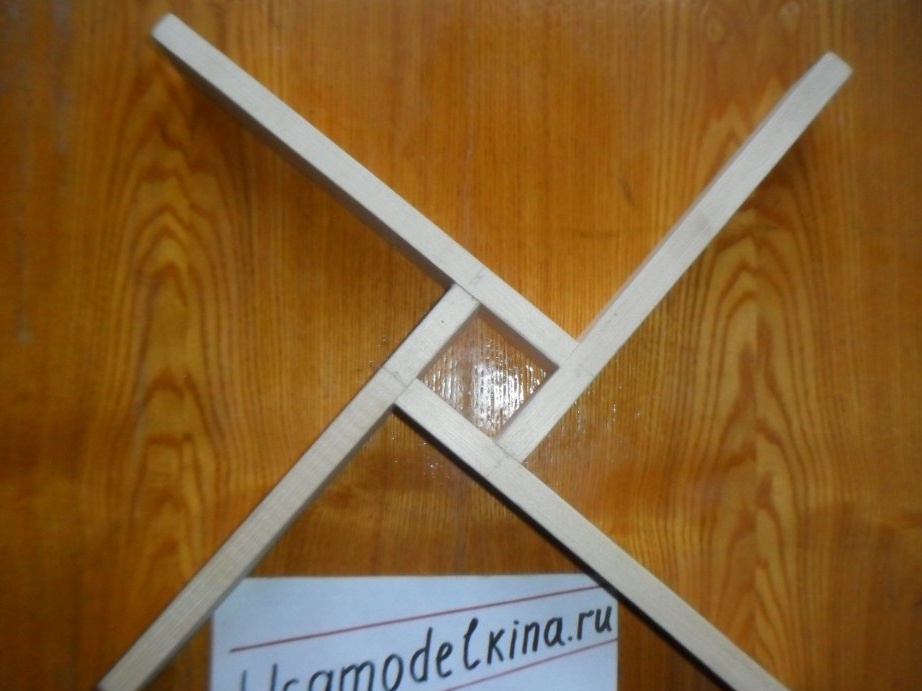
Step 6. Preparation of parts for assembly.
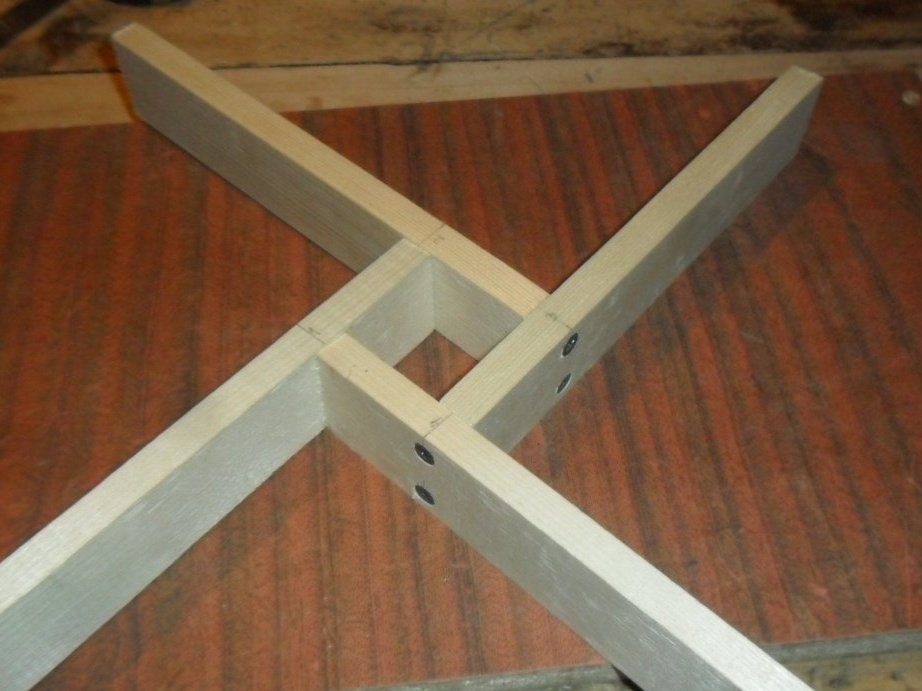
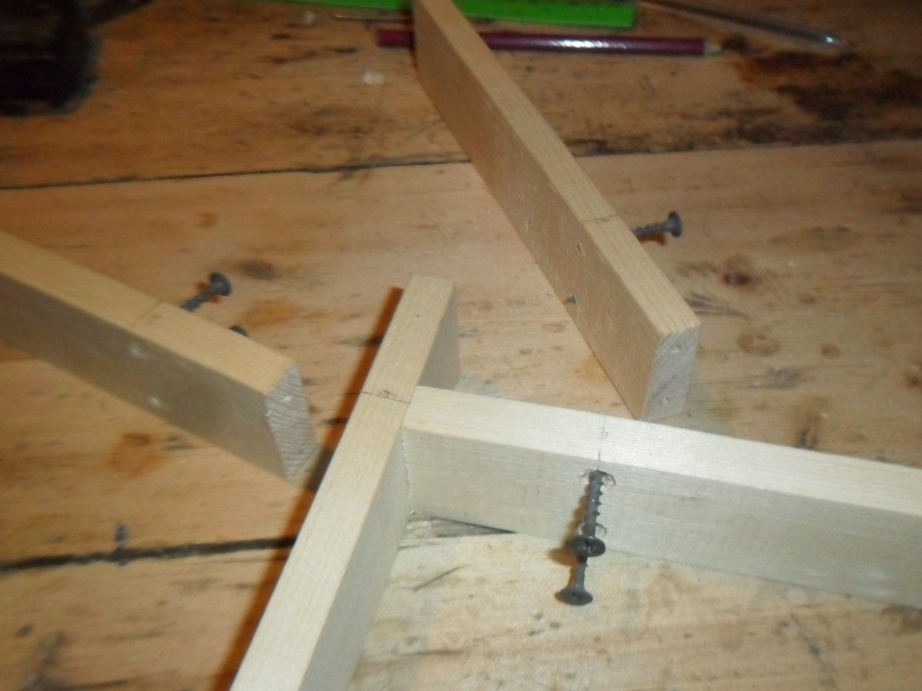
At a distance of 4.5 cm from the inner ends of the bars on top, draw lines with a pencil so that it is clearly visible how to position the workpieces when joining. Then we screw in the screws until the moment when their sharp ends protrude by 3 mm. After that, we take two bars and put them tightly against each other. Self-tapping screws did their job - outlined places for further screwing.
Screw the screws to the end with a screwdriver. We do the same operation with the rest of the rails. The stand is ready, but it will not be superfluous to lubricate the joints with glue.
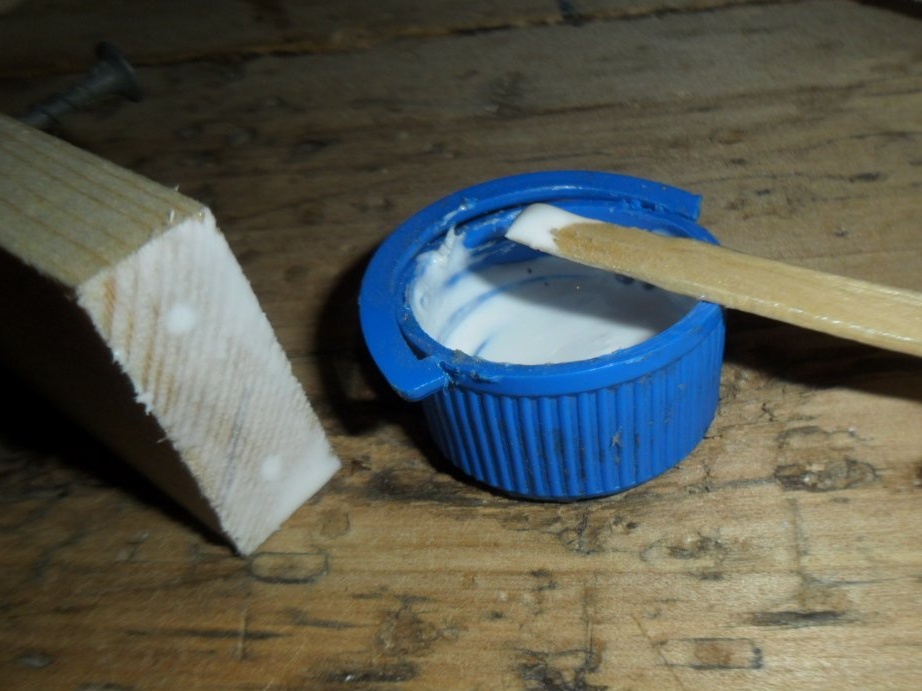
Step 7Gluing and final assembly of the product.
Having disassembled the stand, we coat the ends of the bars with carpentry glue and twist the screws again.
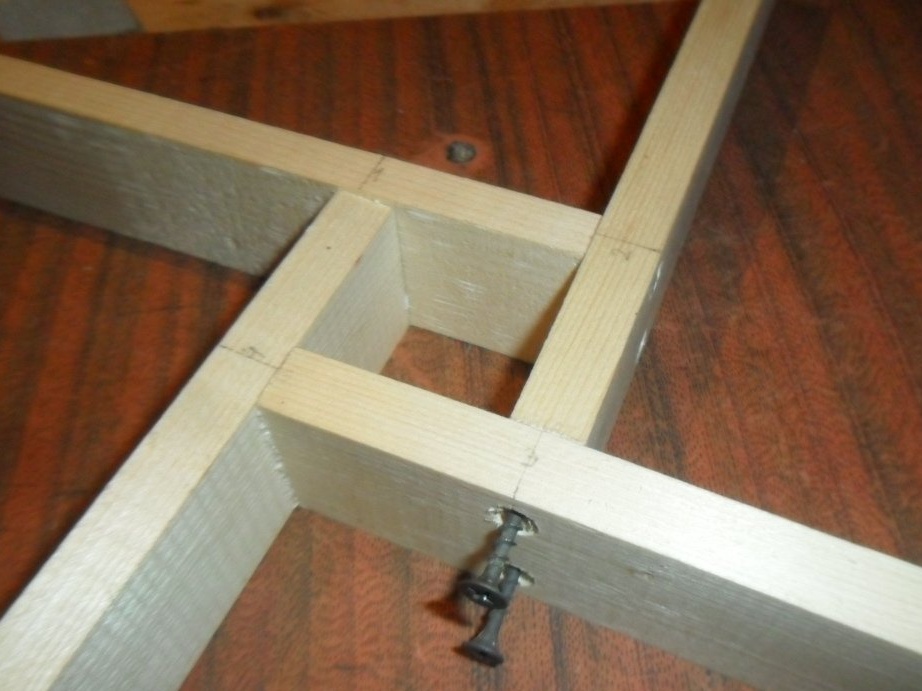
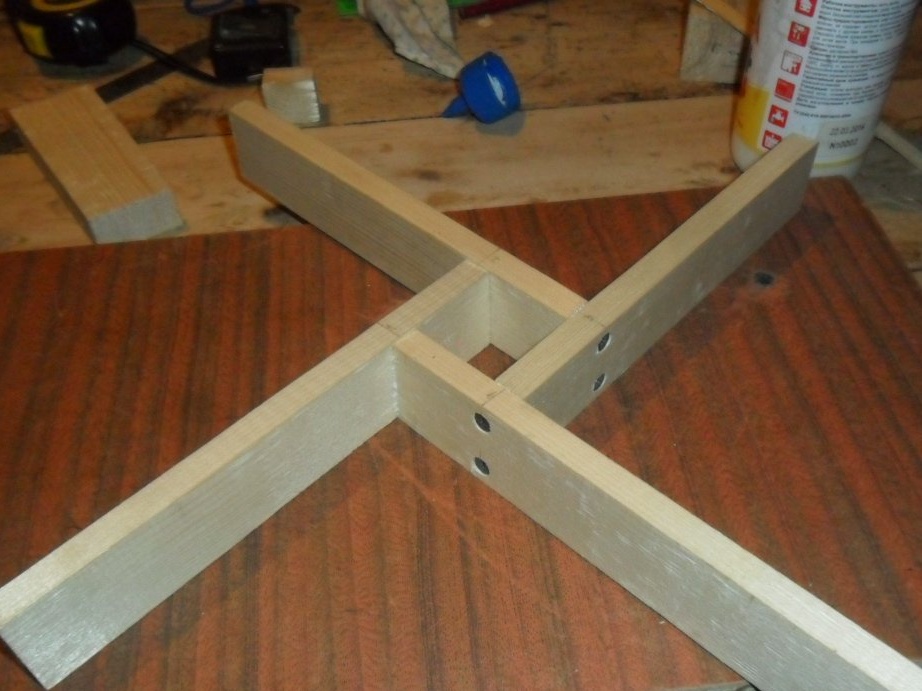
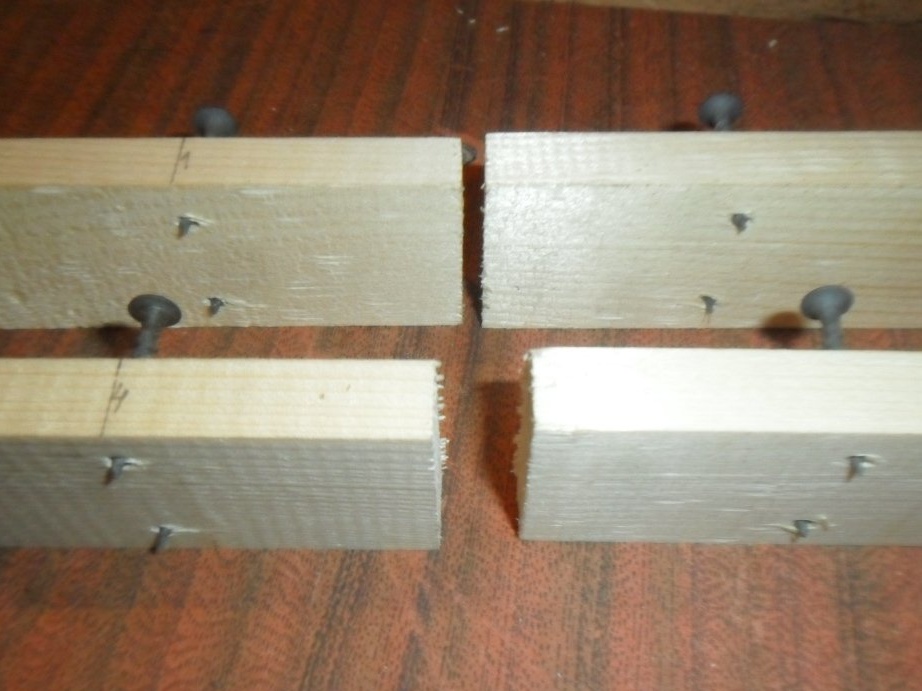
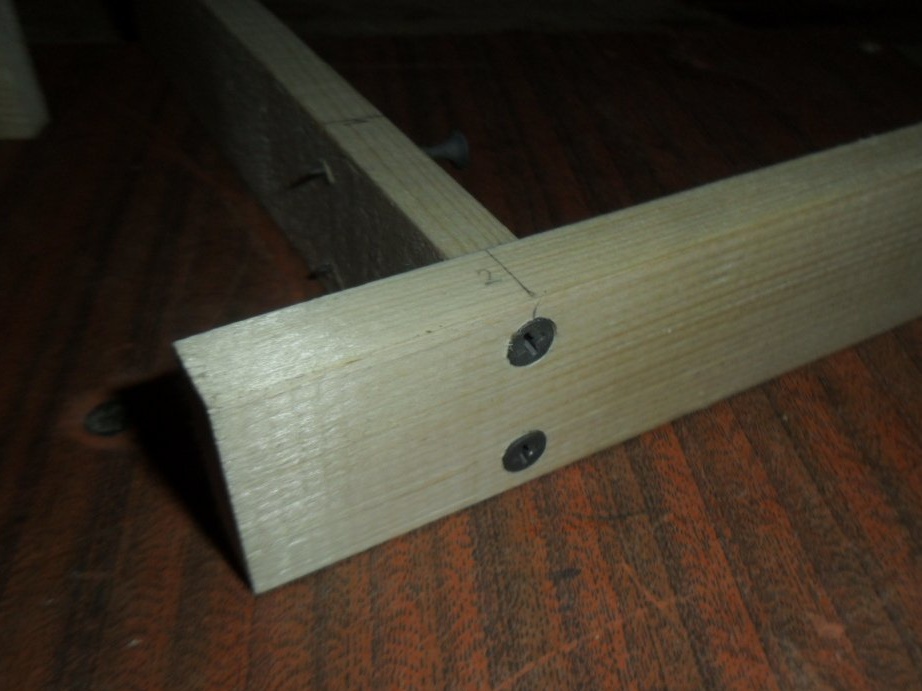
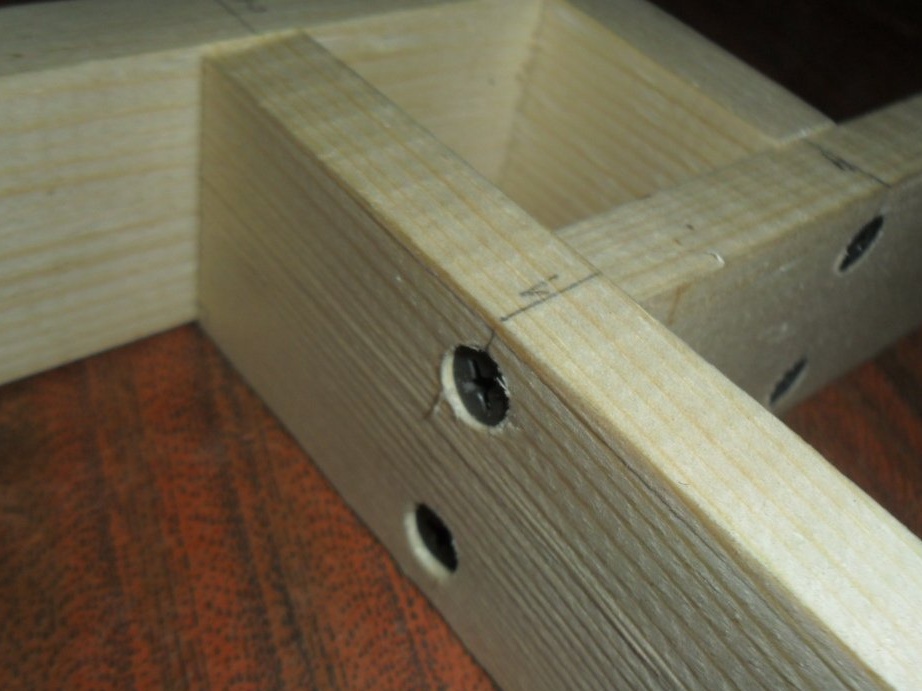
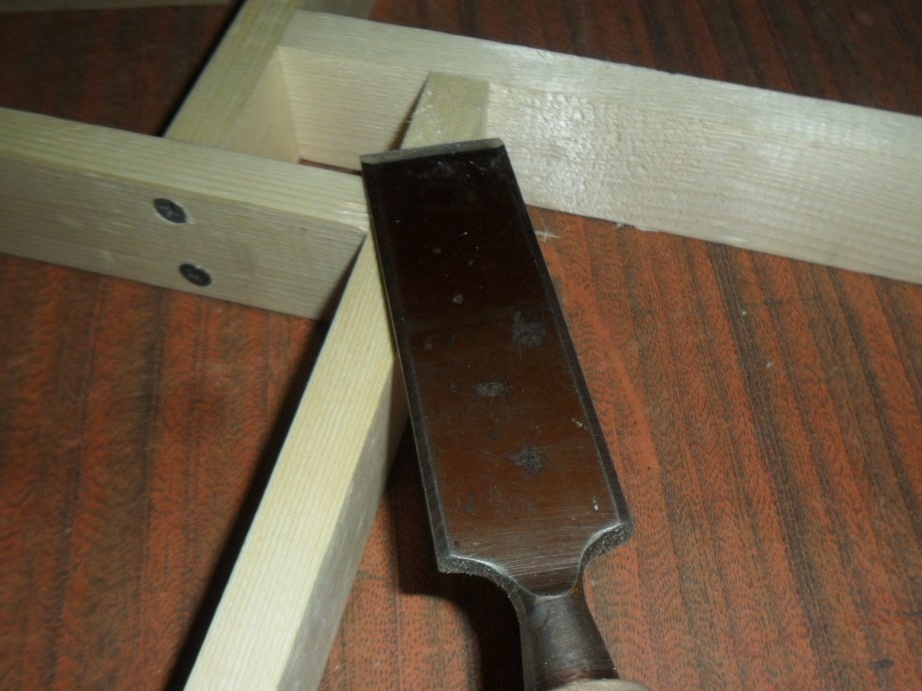
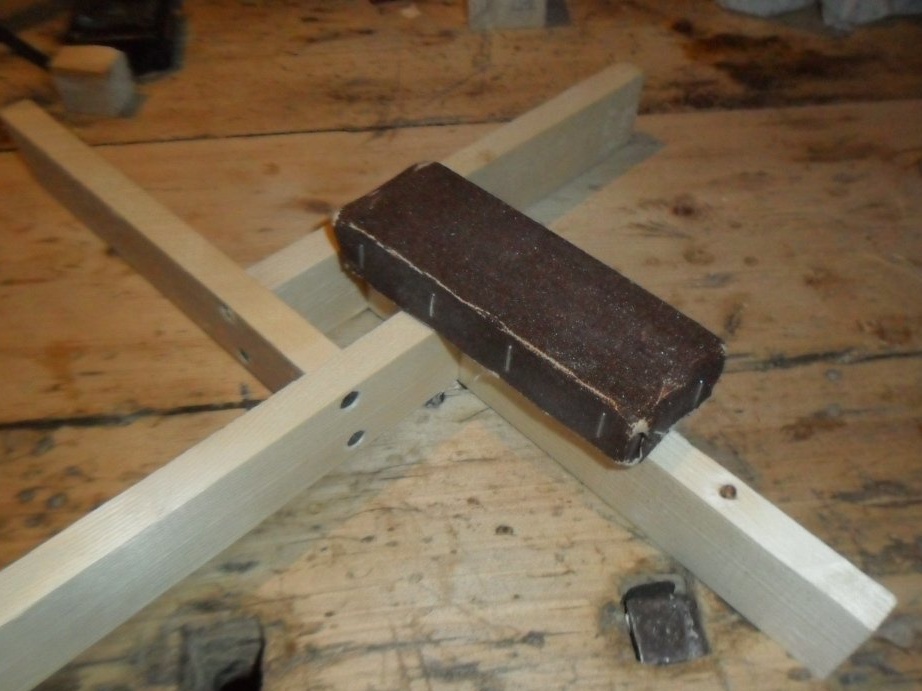
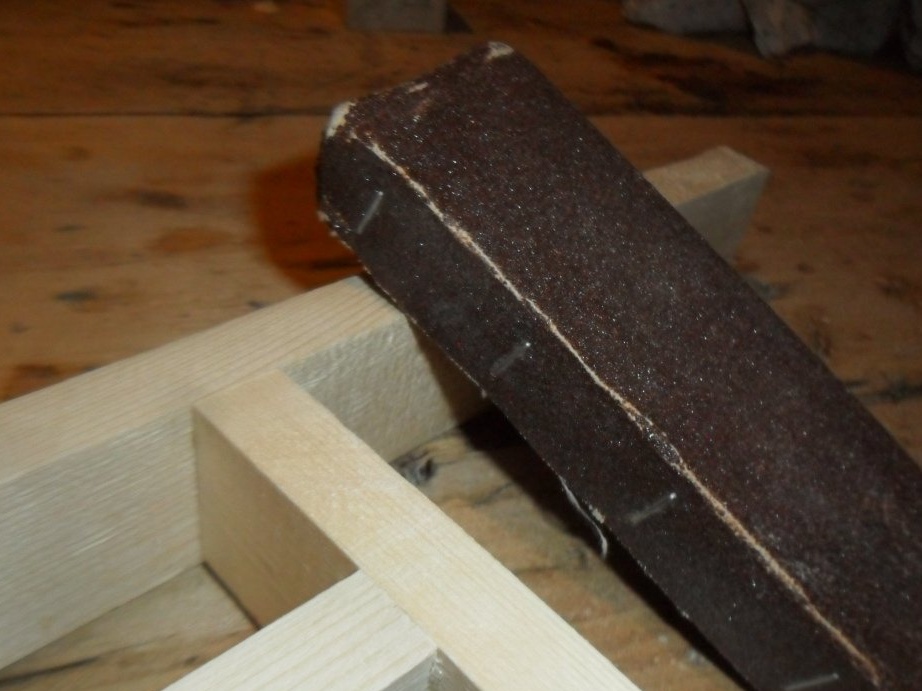
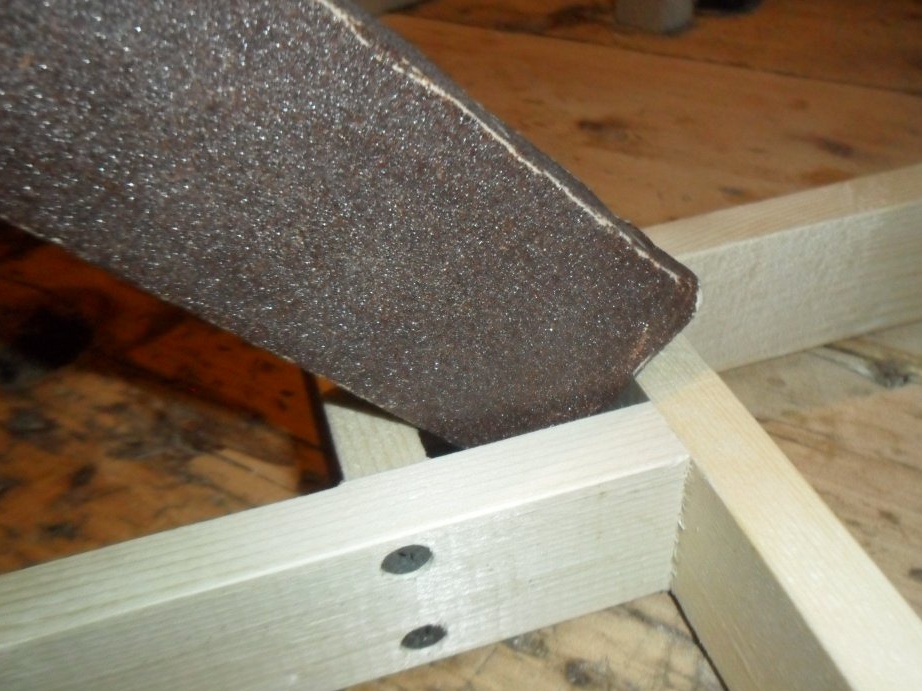
Step 8. Processing with a chisel and sandpaper.
The protruding irregularities with a square hole are removed with a chisel, after which we sander the stand in the necessary places. The support for the New Year tree is finally ready.

Conclusions.
The conclusion suggests itself here: you should not always look for complex paths where you can see another, simple, but no less interesting path. Making stand for spruce convinced of this.