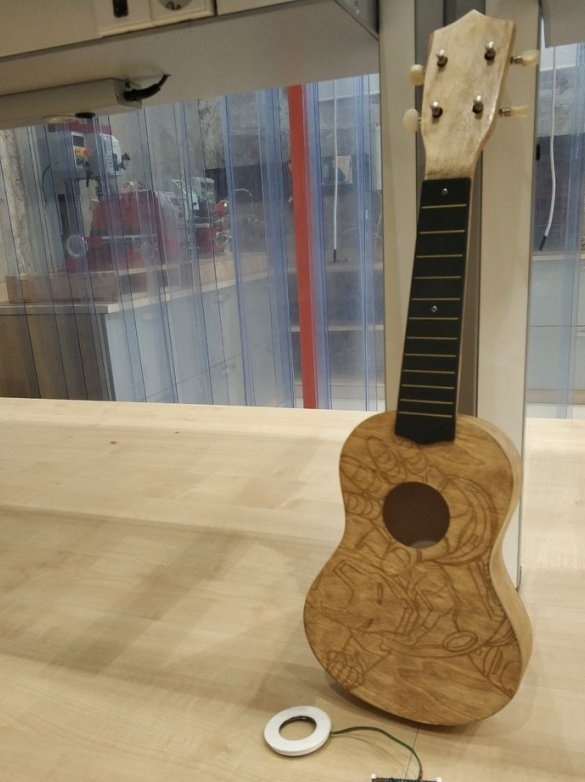
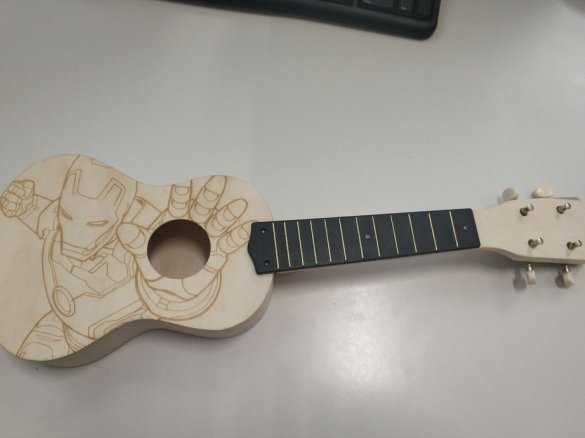
In this article, the author will tell us how to assemble a ukulele and give it a beautiful appearance using a drawing and a light ring under the control of Arduino. By the way, for those who do not know, ukulele translates as a “jumping flea”.
So, for the project you will need the following
Materials and tools:
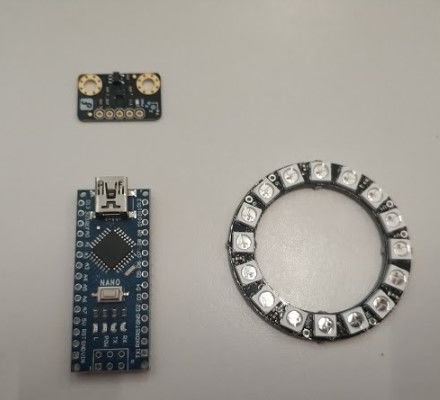
-Arduino;
- LED ring lamp WS2812;
- Three-axis accelerometer BMA220 (option);
-Battery connector;
- 9V battery;
-Switch;
-Varnish for wood;
-Double sided tape;
-Soldering iron;
-Glue gun;
-Screwdriver;
-CNC machine;
-Sandpaper;
-Brush;
Step One: Drawing
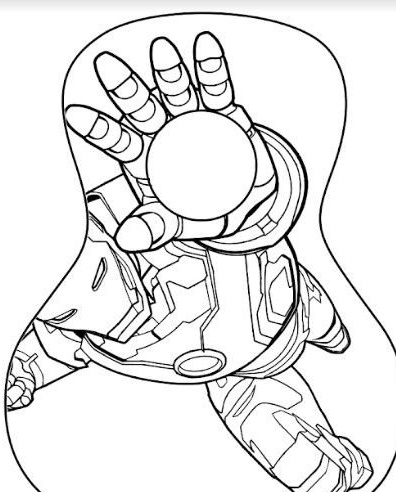
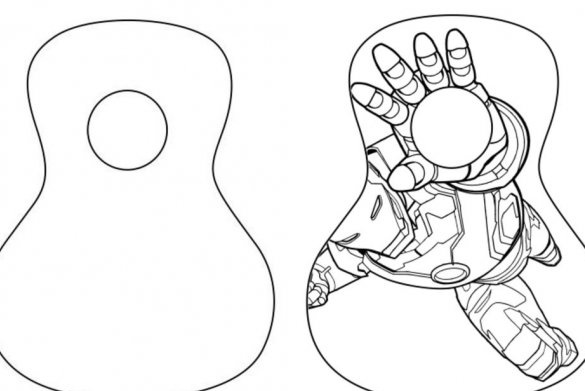
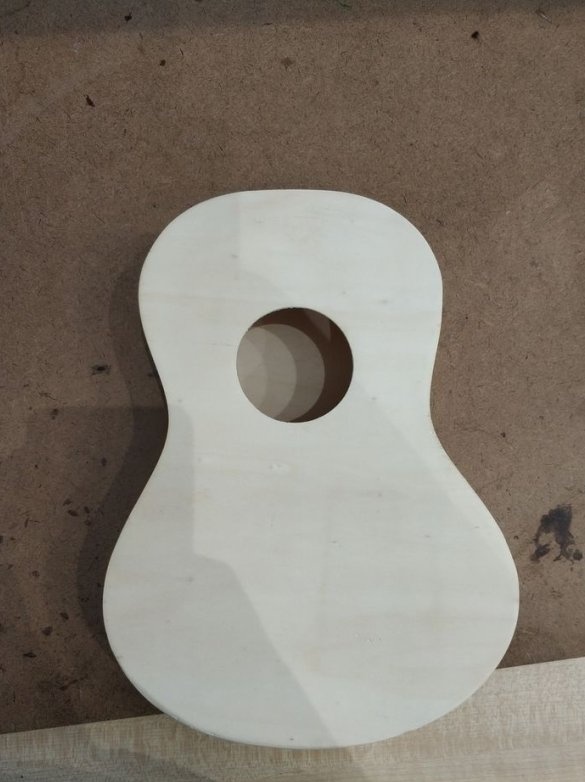
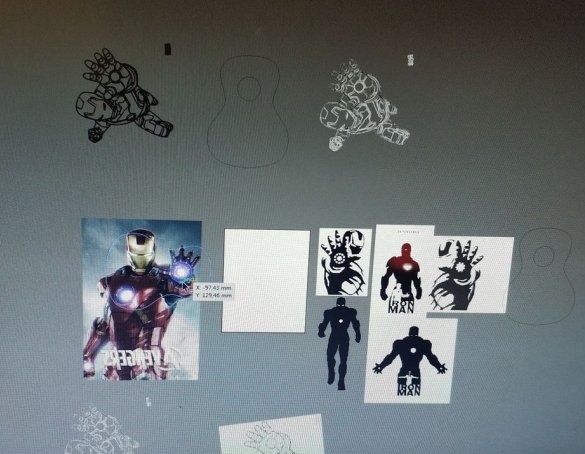
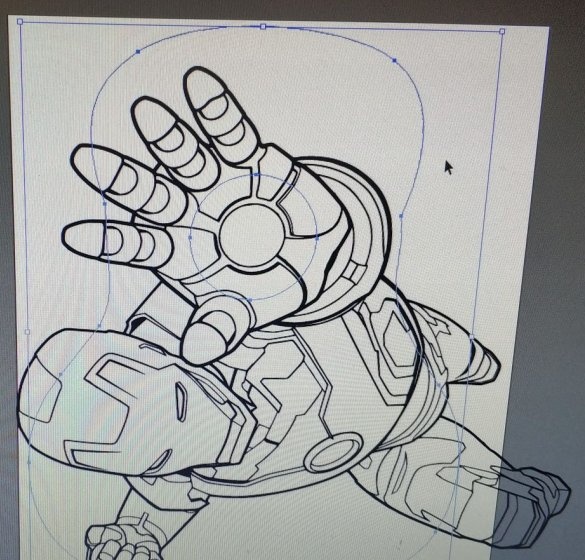
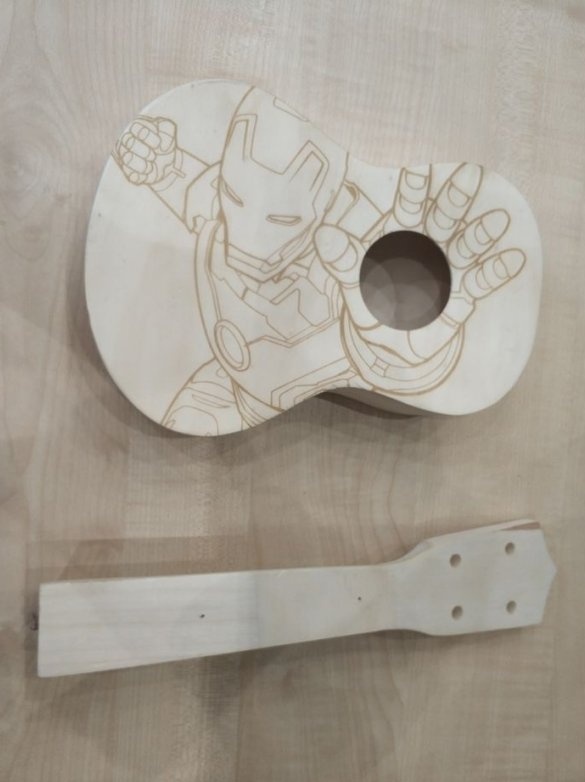
Before you apply a drawing, you need to select it and fit it to the size of the guitar body.
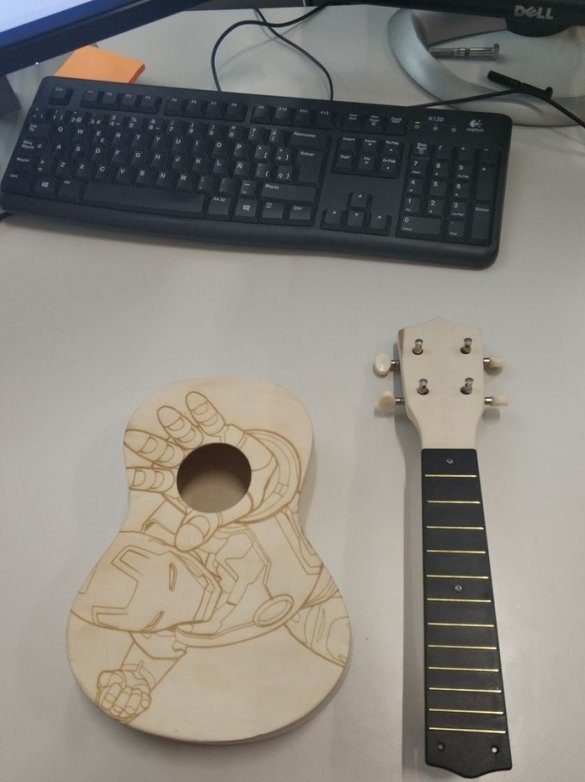
Moreover, you need to not just overlay the picture and combine the size, but also choose the correct position. The author places the hand so that the outlet is in the center of the palm. To process the image, the author uses the Inkscape program.
Step Two: Drawing
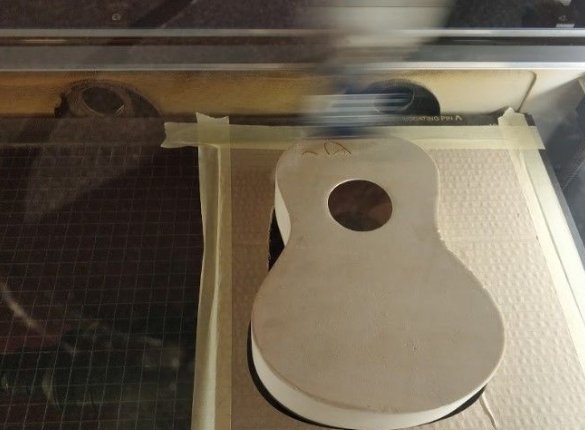
The author draws a picture using laser engraving.
Step Three: Sanding and Varnishing
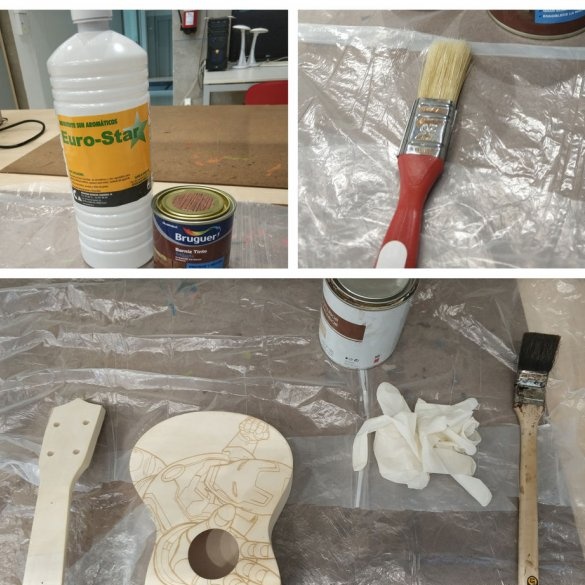
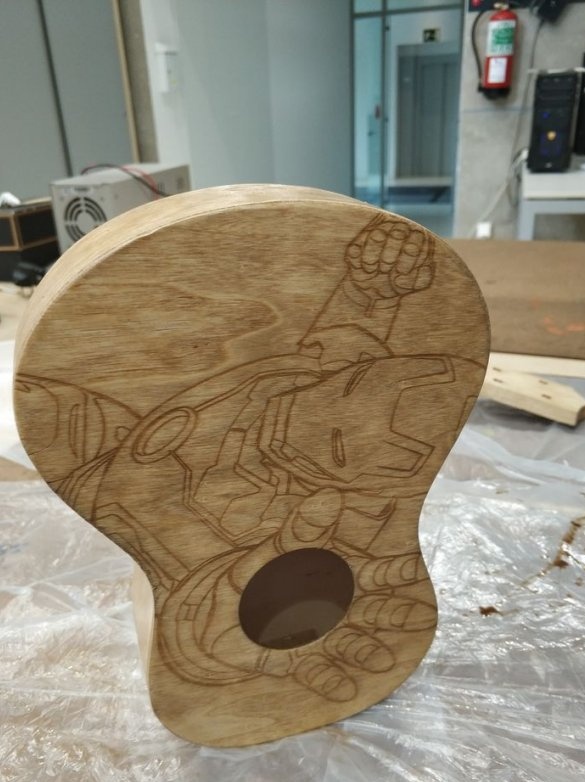
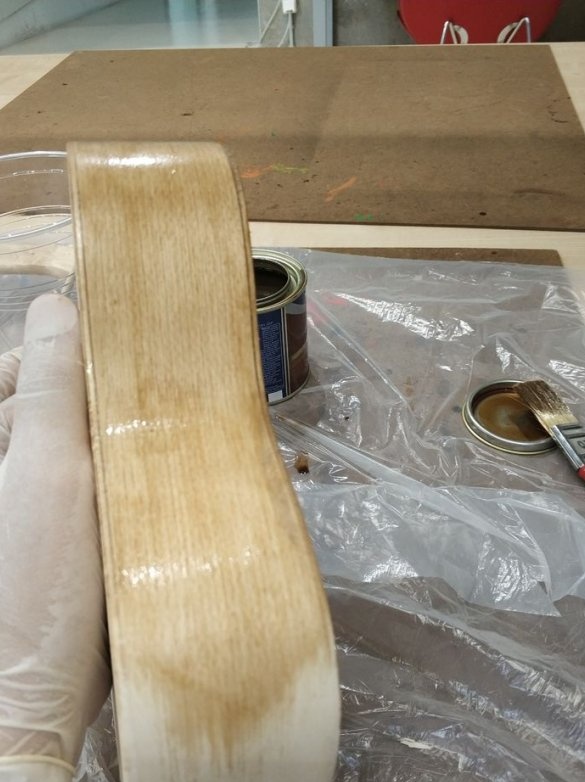
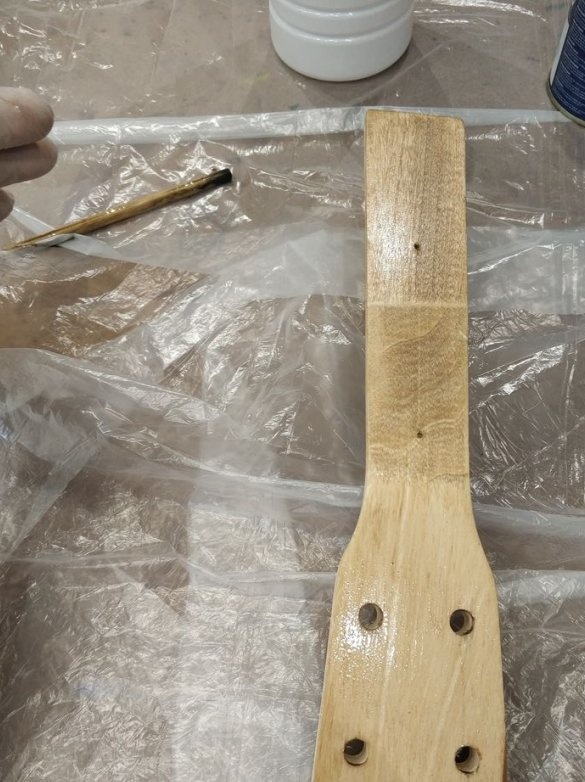
Lightly polishes the guitar. Apply two layers of varnish to it.
Step Four: electronics
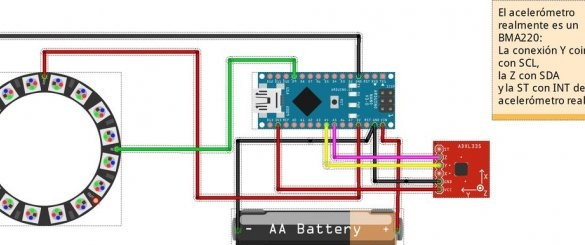
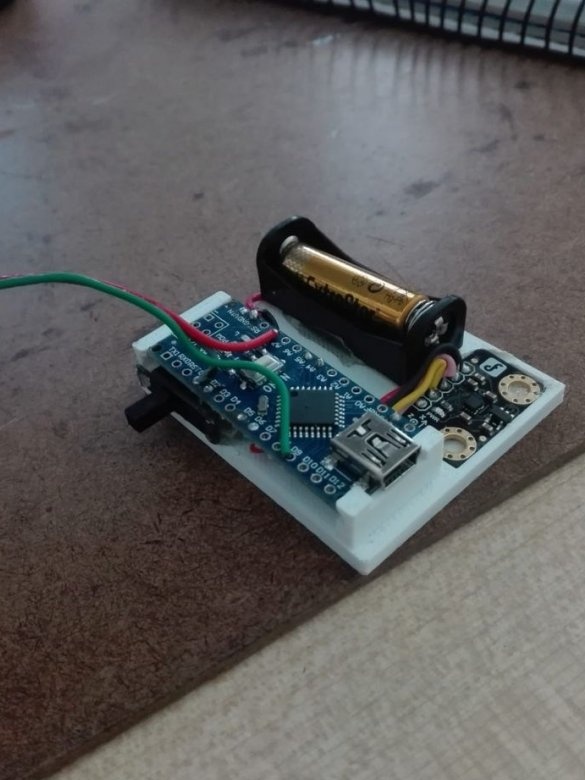
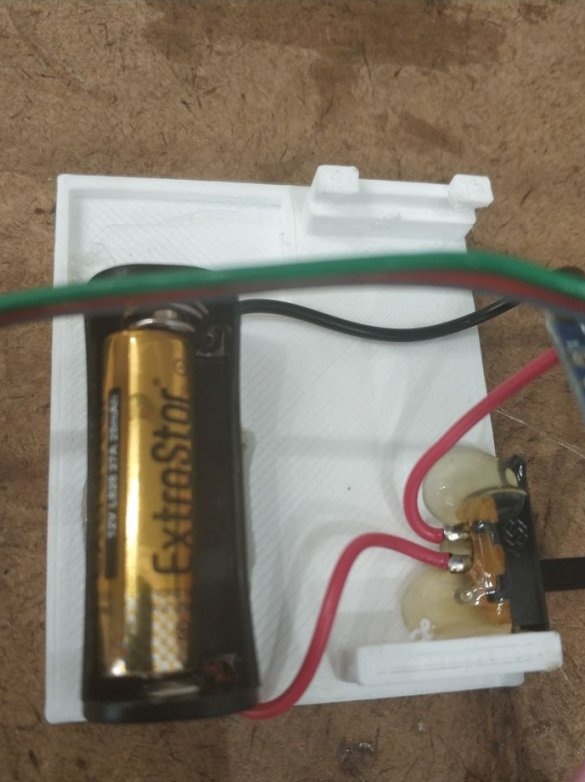
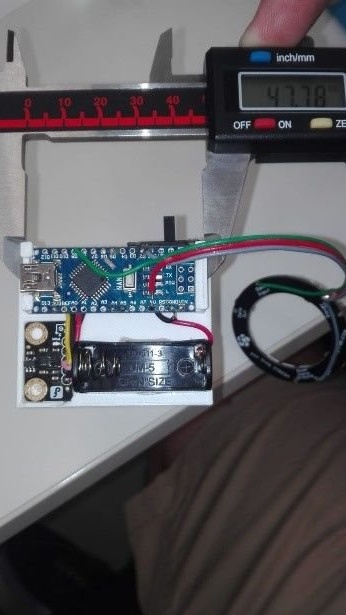
Performs installation of electronics according to the scheme.
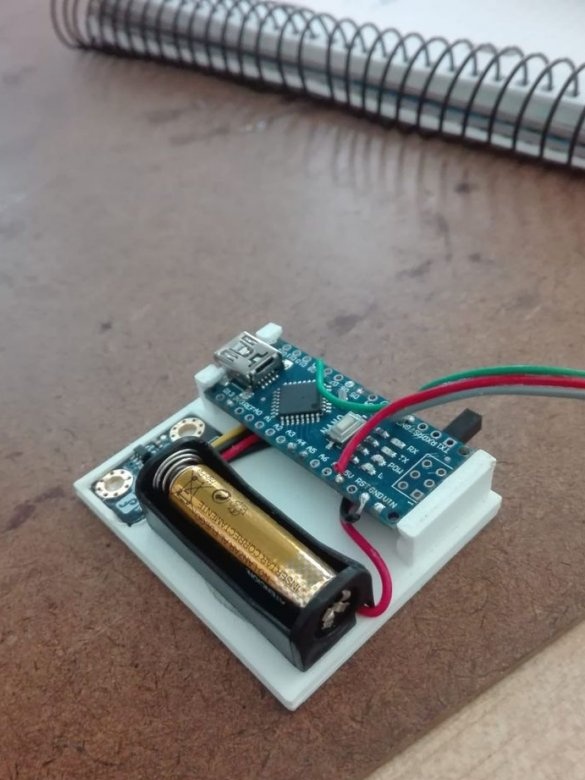
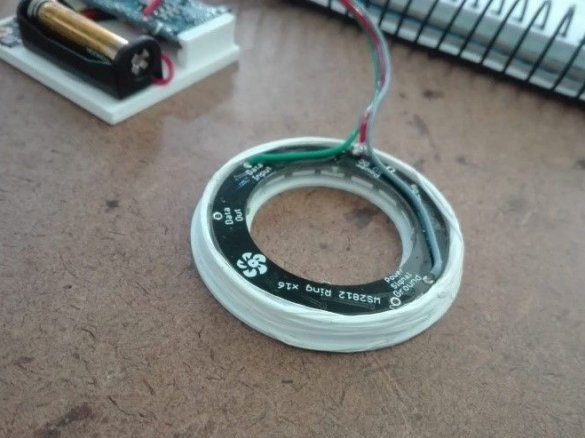
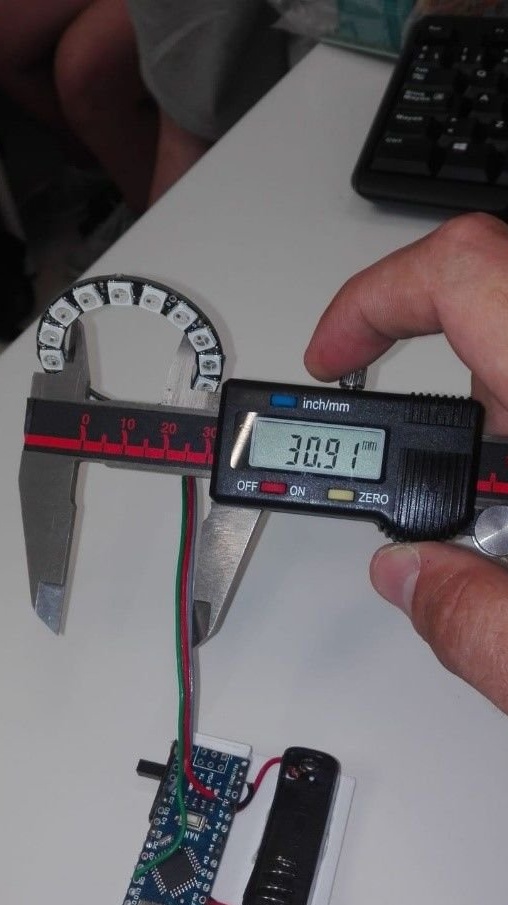
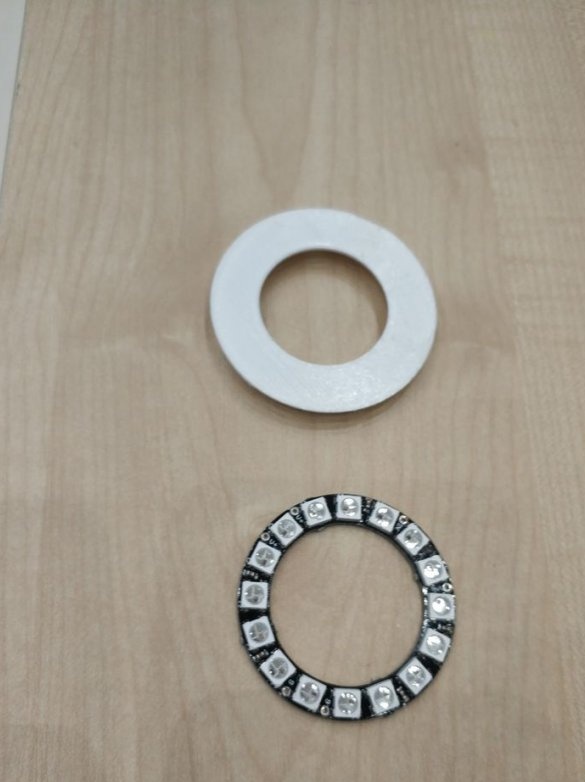
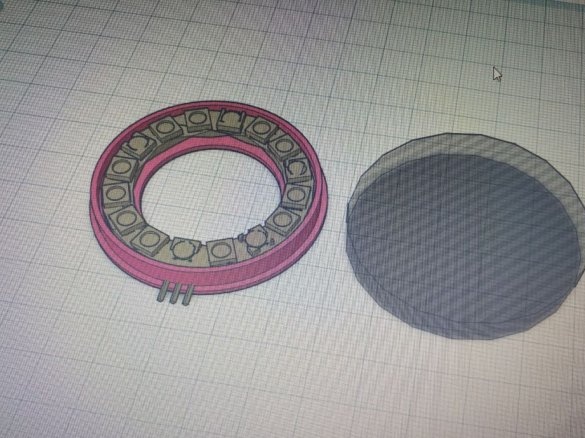
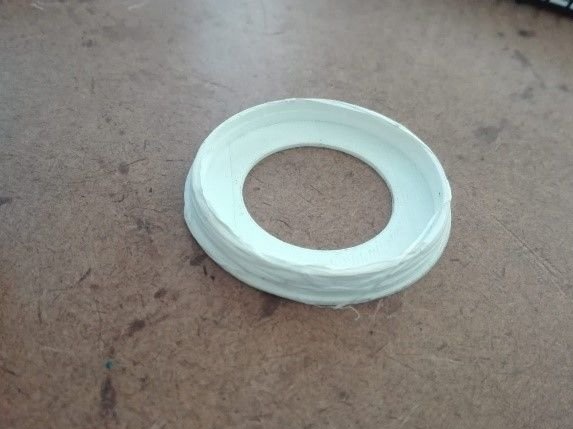
For a LED ring and electronic circuit boards, it makes a support ring and box on a 3D printer. All this is fixed with double-sided tape and hot-melt adhesive.
ukelele_support_WS2812_v0.STL
ukelele_support_arduino_v0.stl
Loads the code.
play_of_light_v0.ino
Step Five: Build
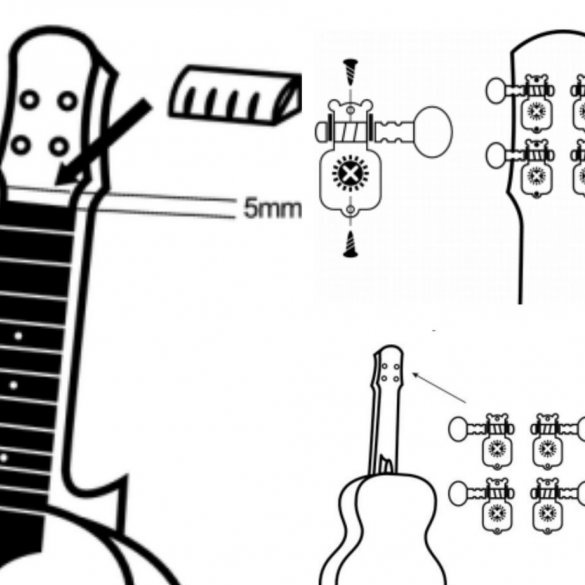
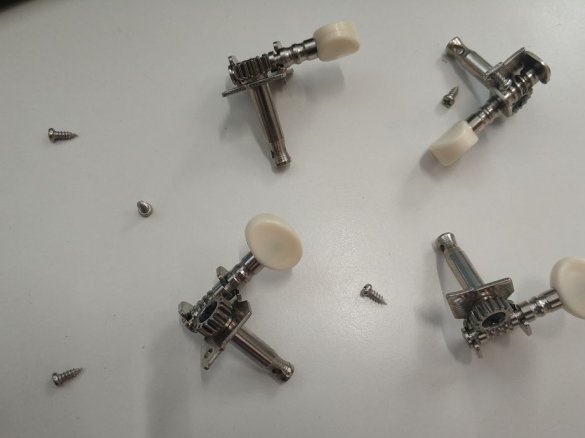
Attaches to the splitting head.
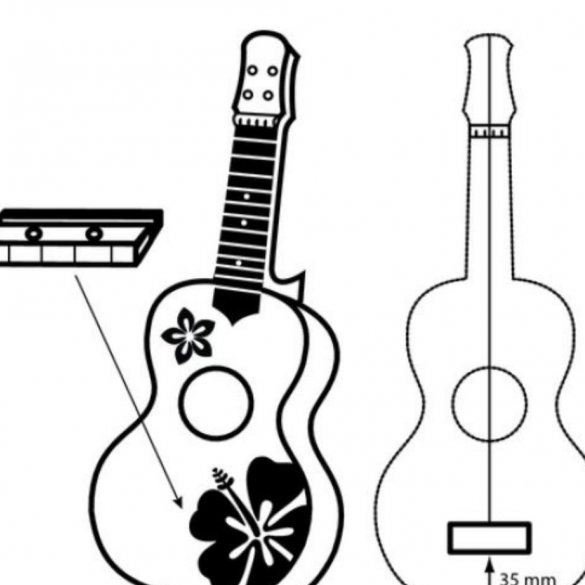
Secures the sills.
Screws the neck.
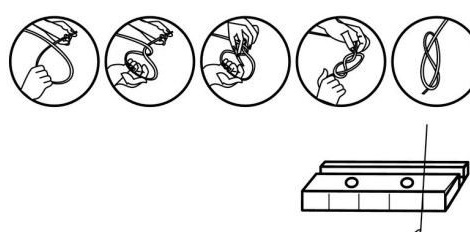
Now you need to install the strings.


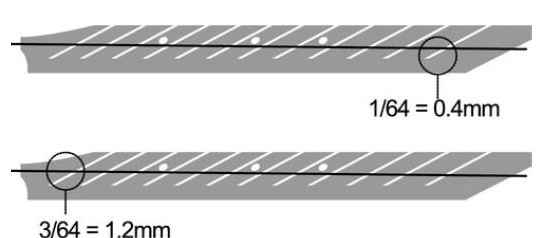
The distance from the string to the fret on the ukulele should be about, at the first fret, 0.4 mm, and at 12 fret 1.2.
Now it remains to tune the guitar and you can start playing.

